
Projects on my new, to me, 1974 914-6
 10-16-2018, 06:30 PM
#76
Racer
Thread Starter

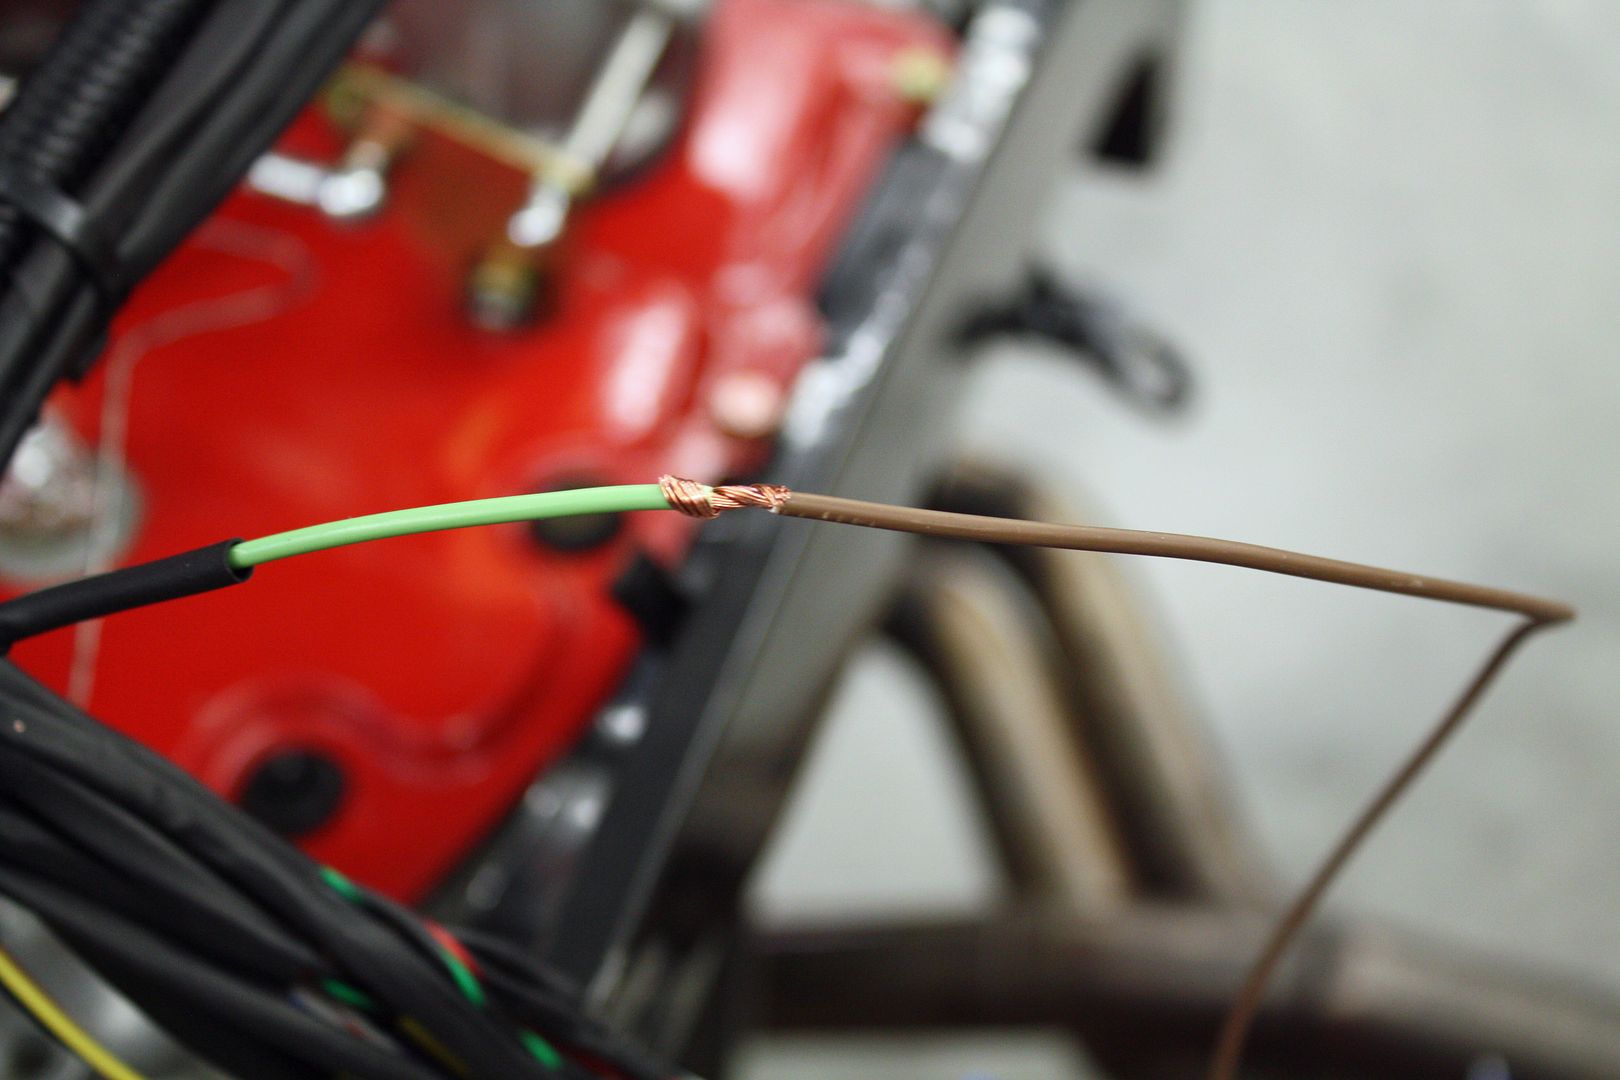
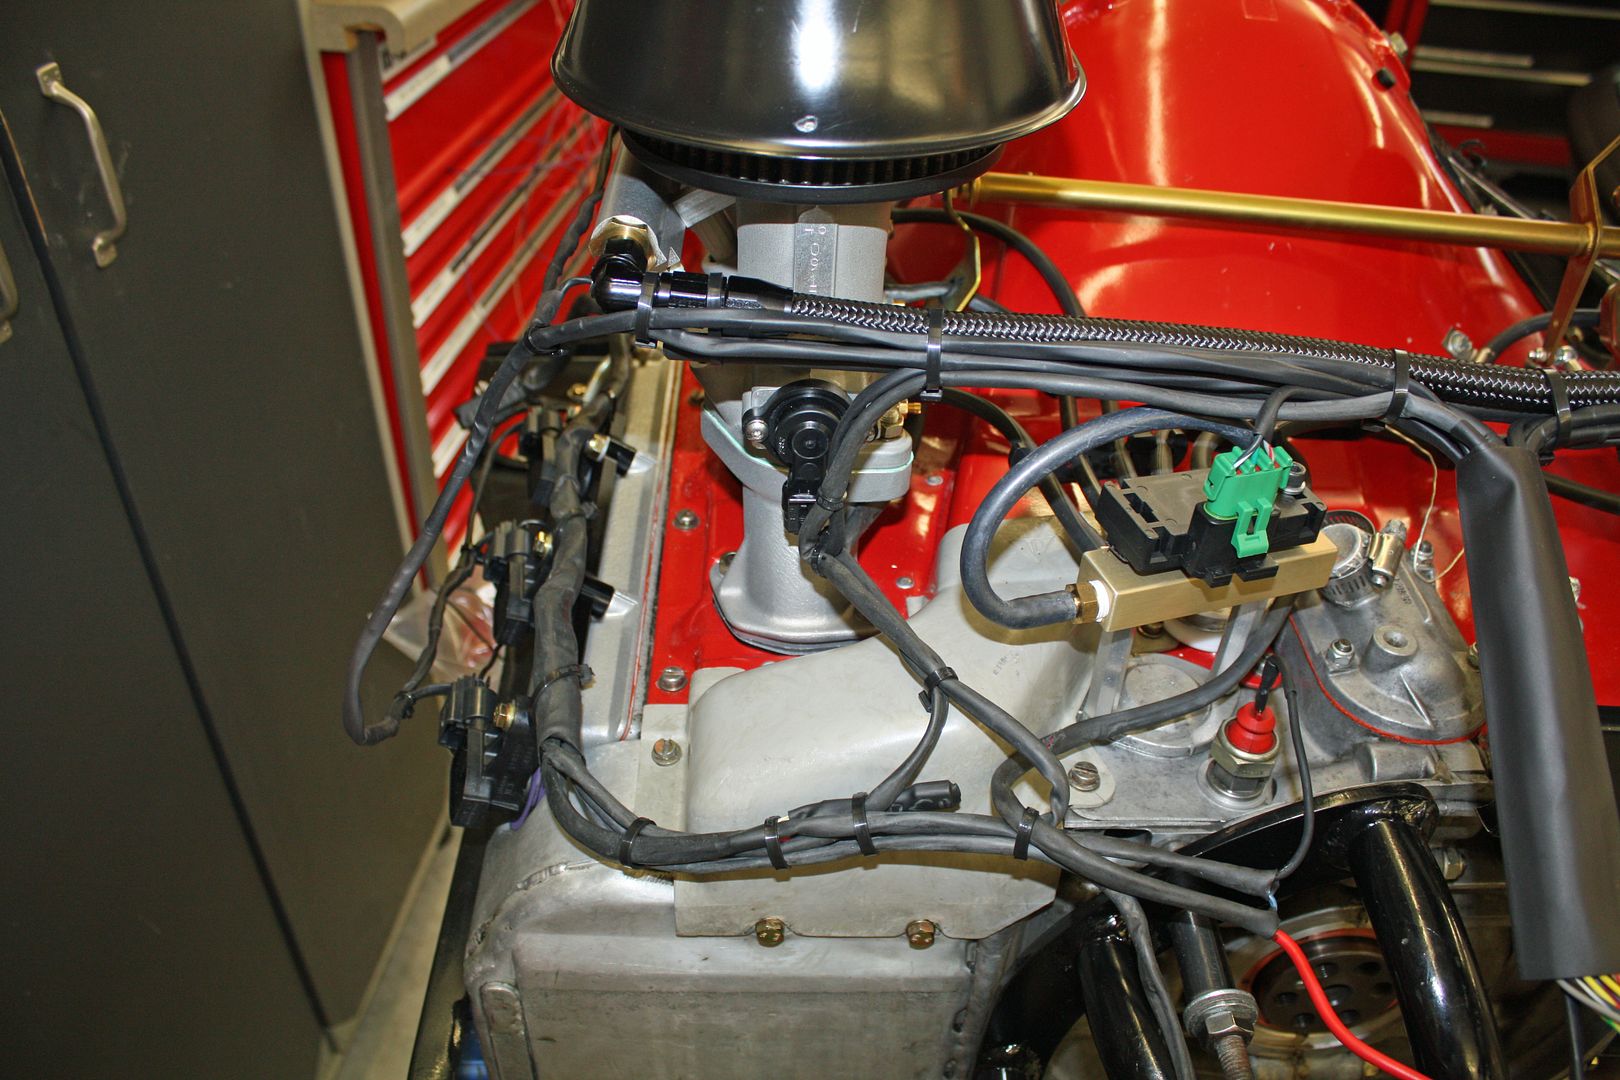
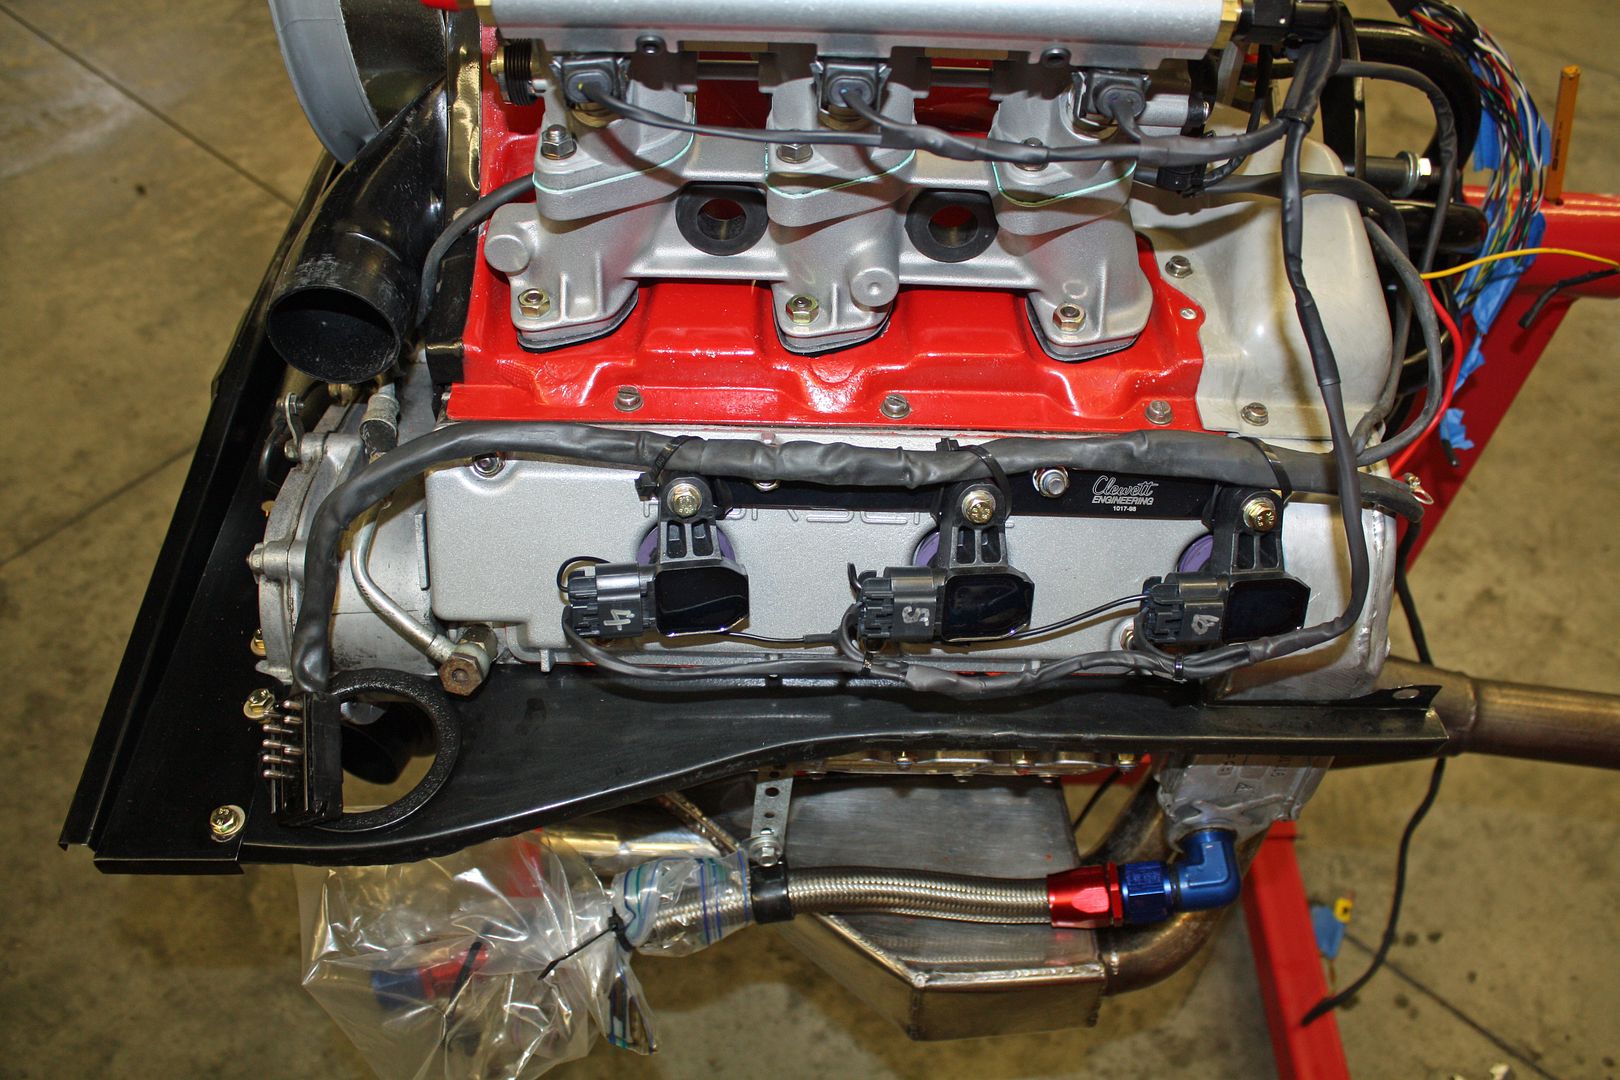
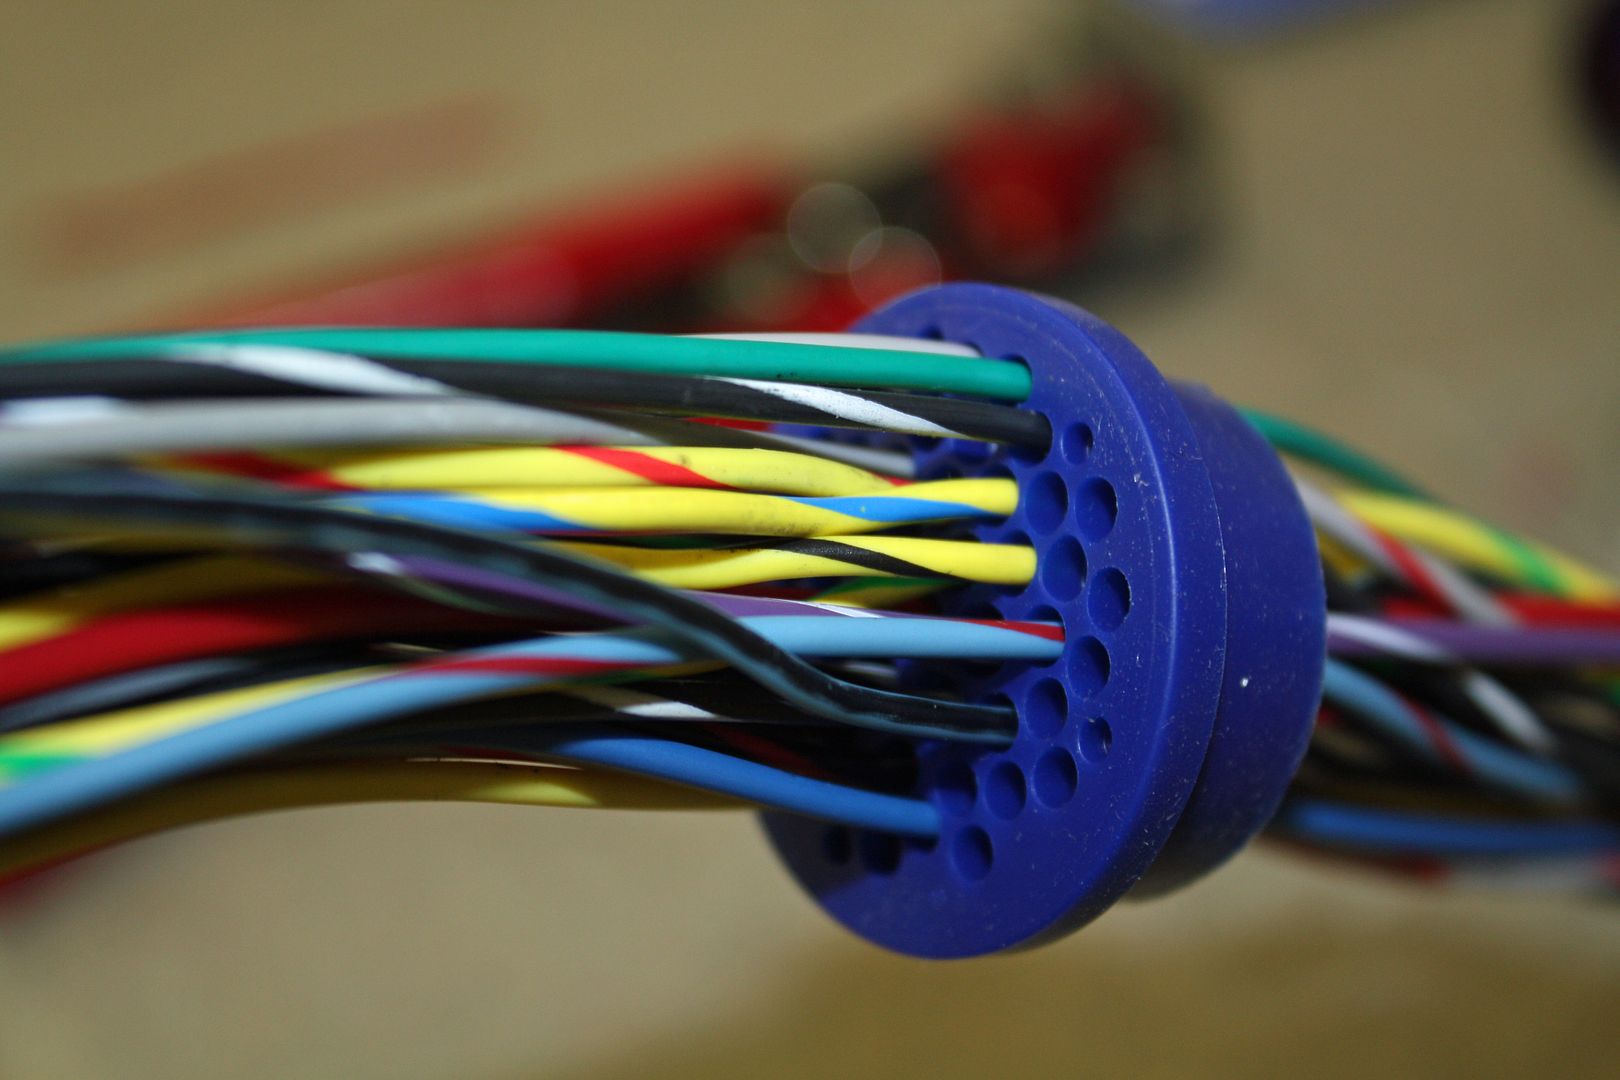
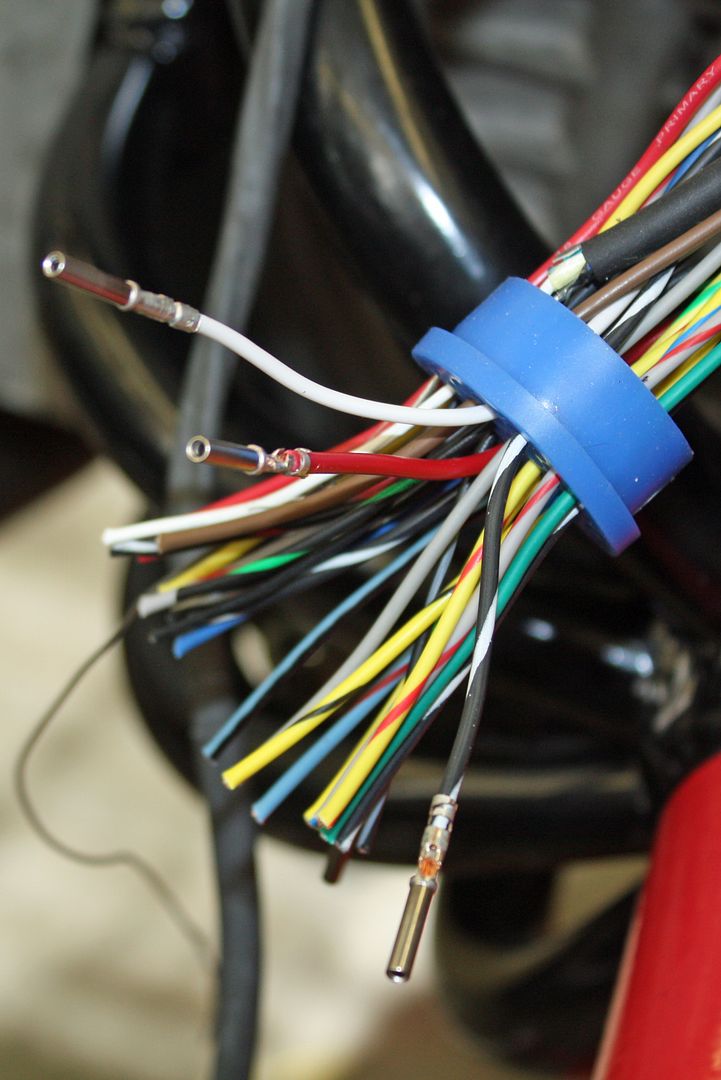
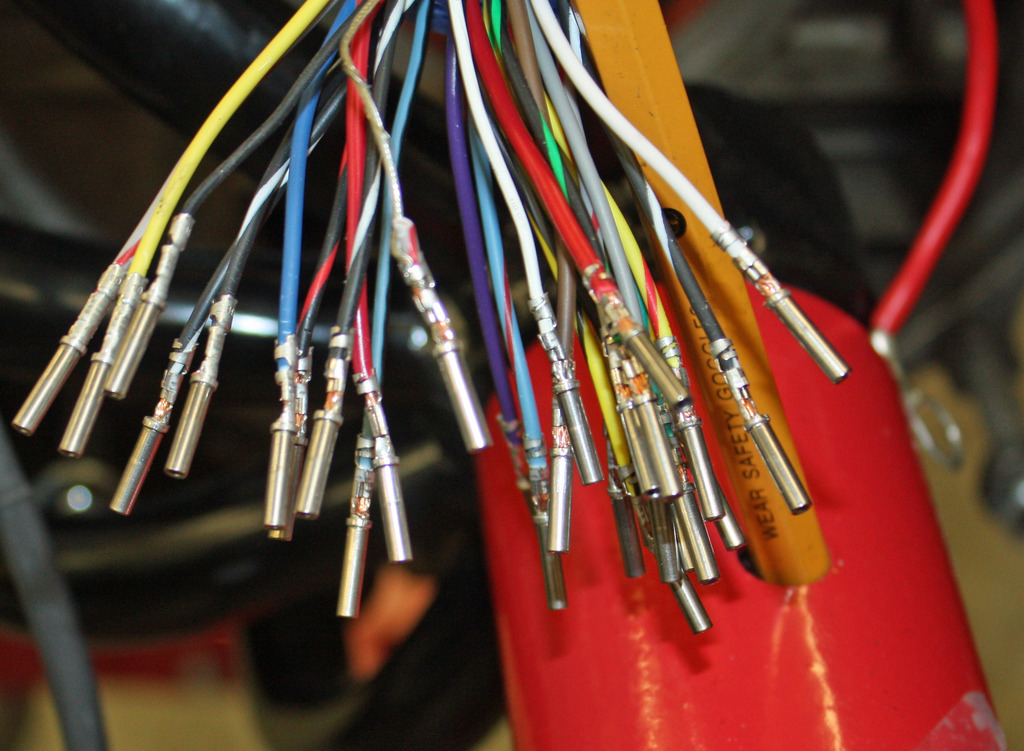
Today I did some splicing. The red line and the black/white line to the each side of the COP's needed to be spliced together. I also had to splice the signal wires as one signal fires two COP's.
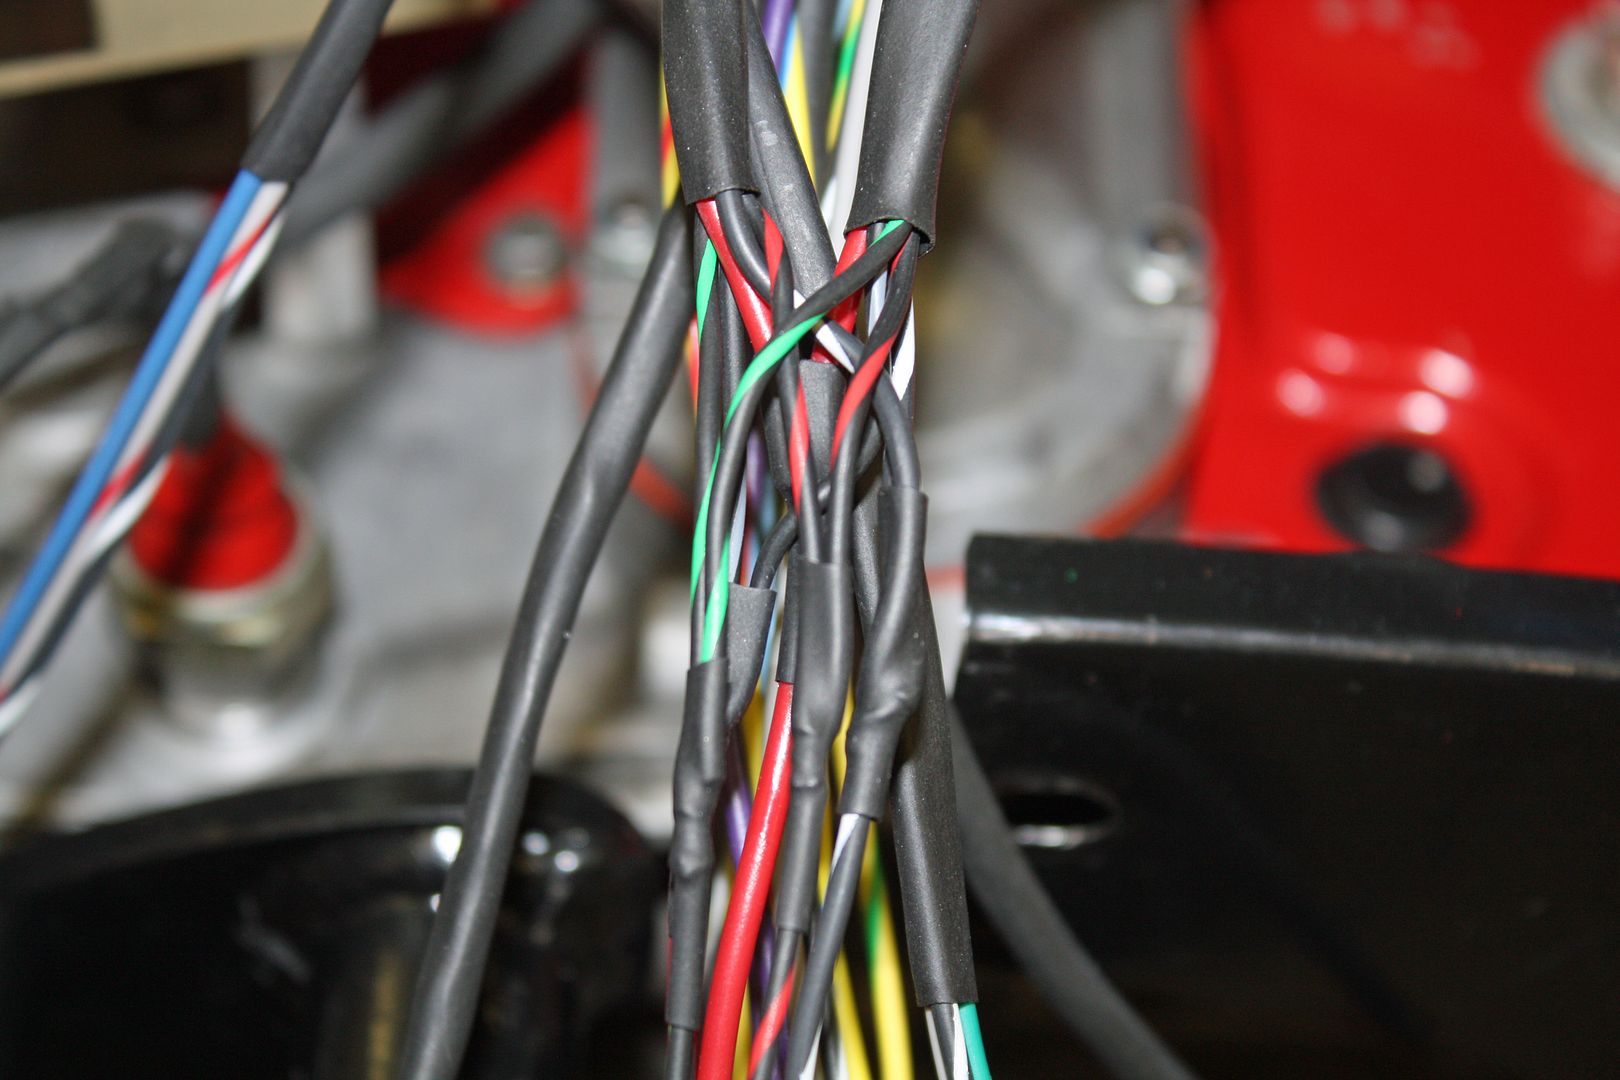
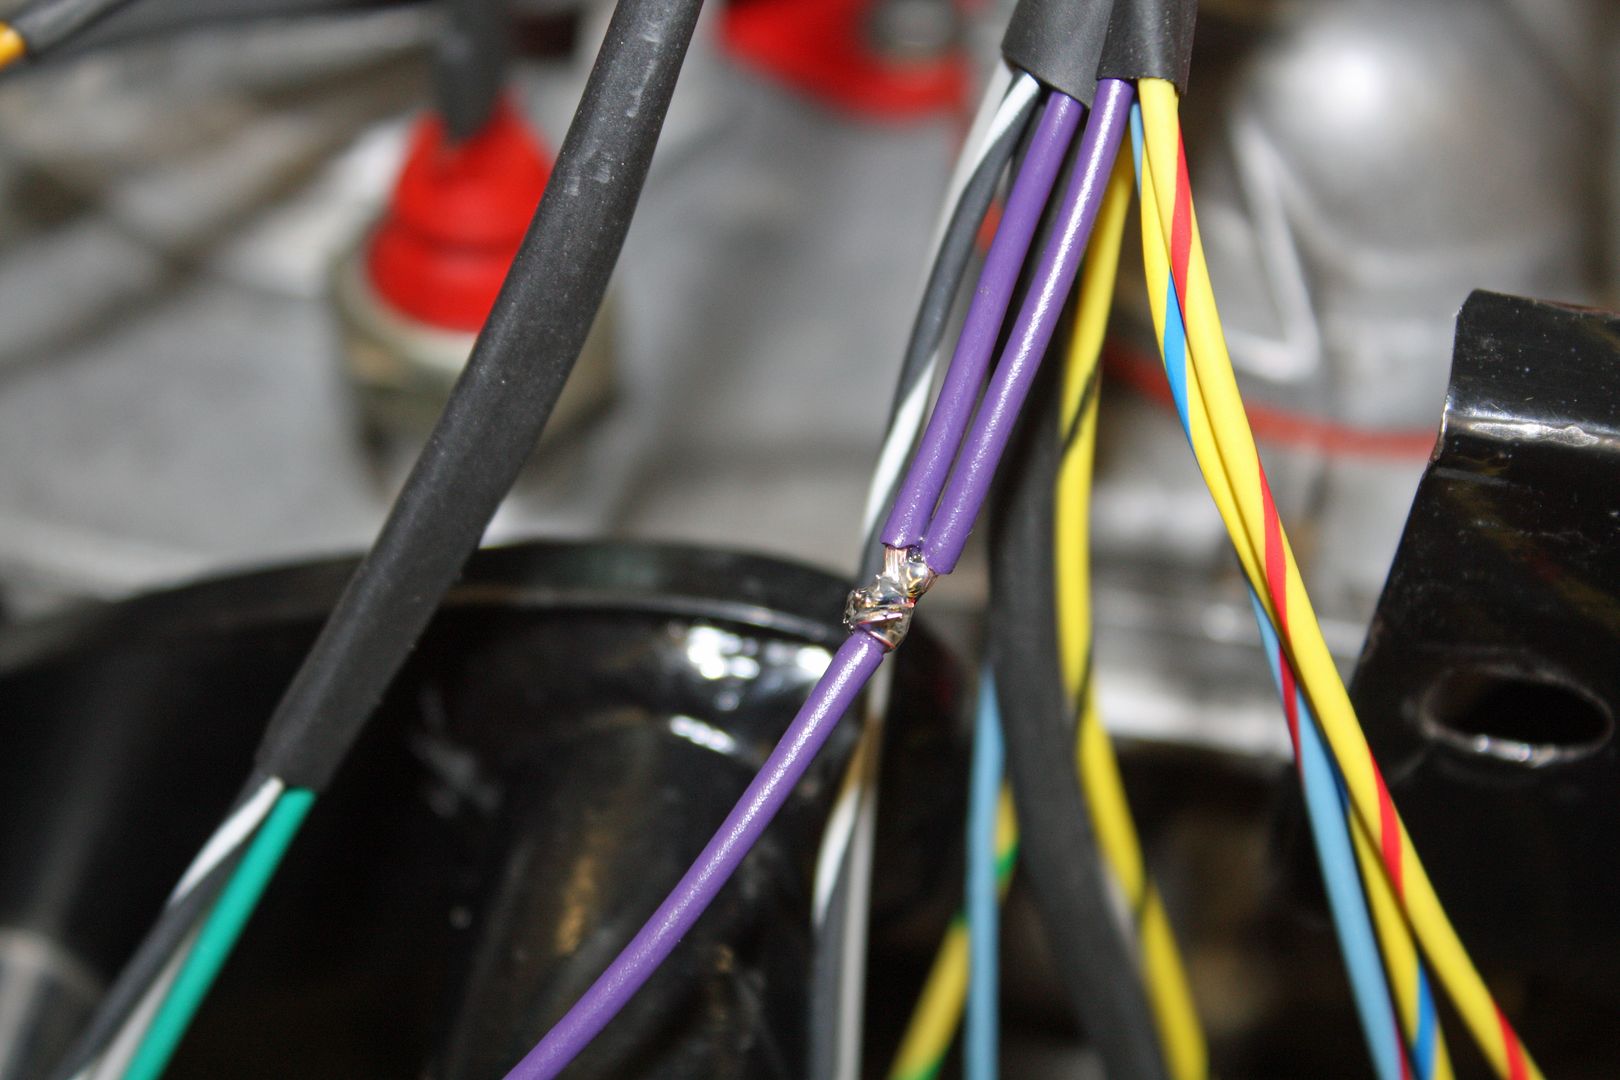
I also had to splice the purple wire from each side that run to the fuel injectors.
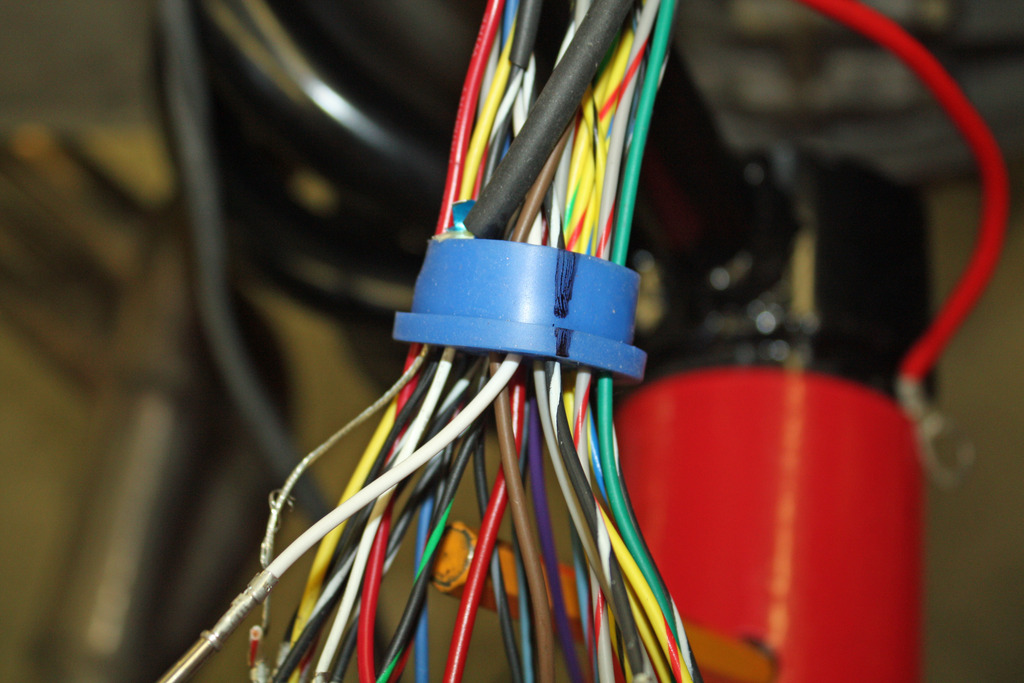
Now I could run all of the wires through a 1" shrink tube. After shrinking it, I place another 6' section of 1" shrink tube over that area. Once I have all of the wires connected to the bulkhead connector, I will slide that shrink tube down over the remaining wires. The pigtail will be a foot long which will be plenty long. I would rather have it too long rather than to short as I can always tie it up under the rear bulkhead.

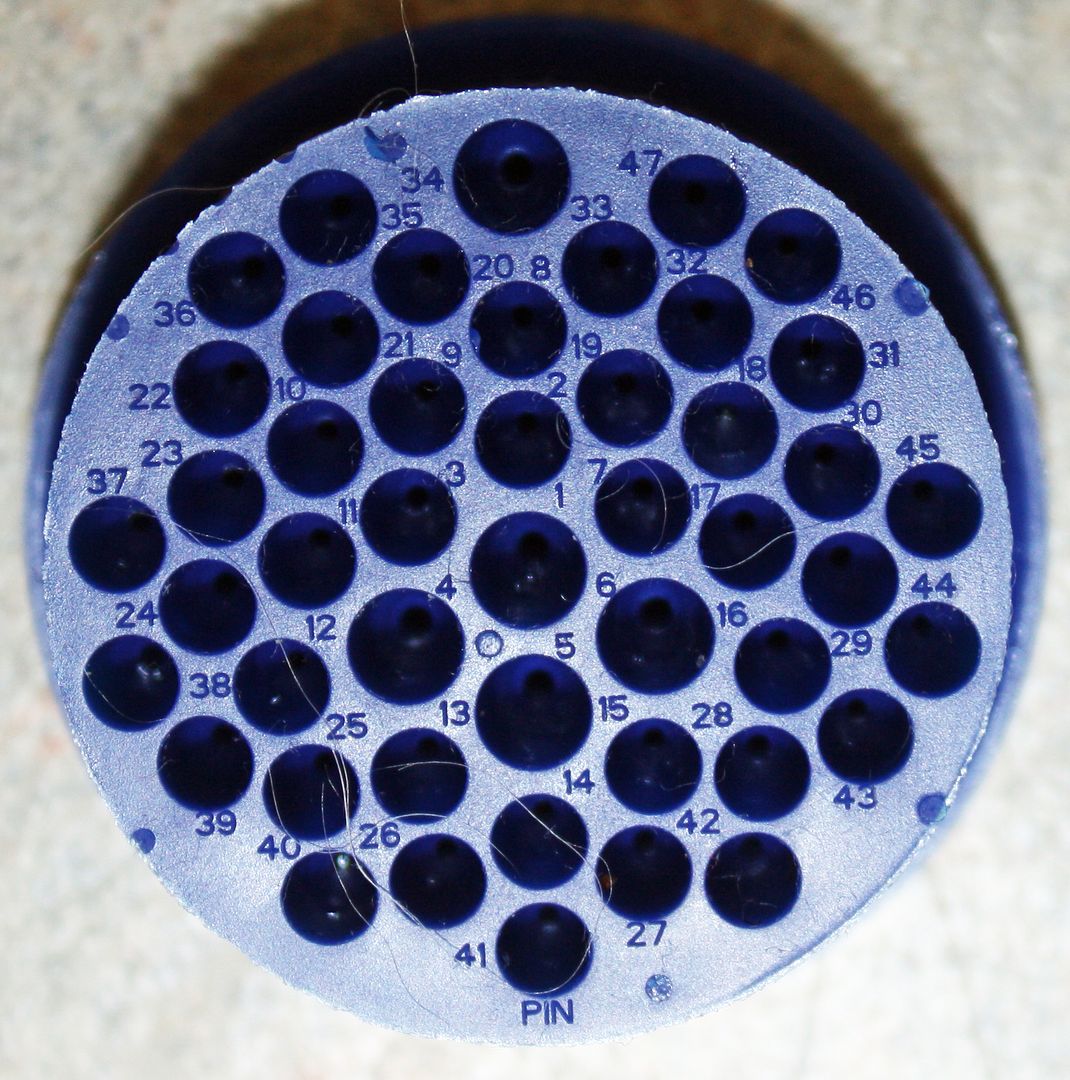
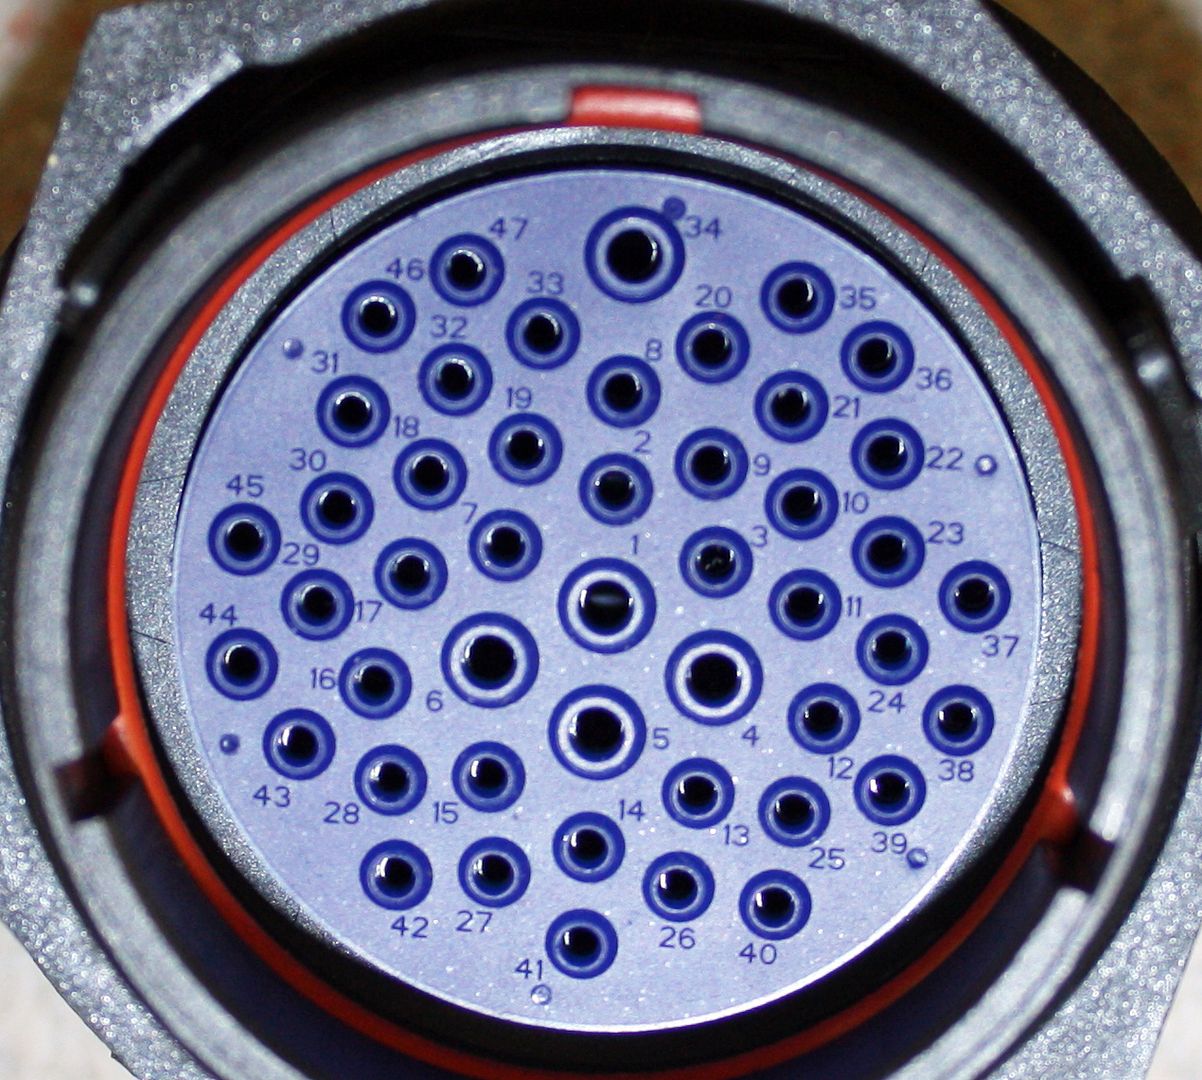
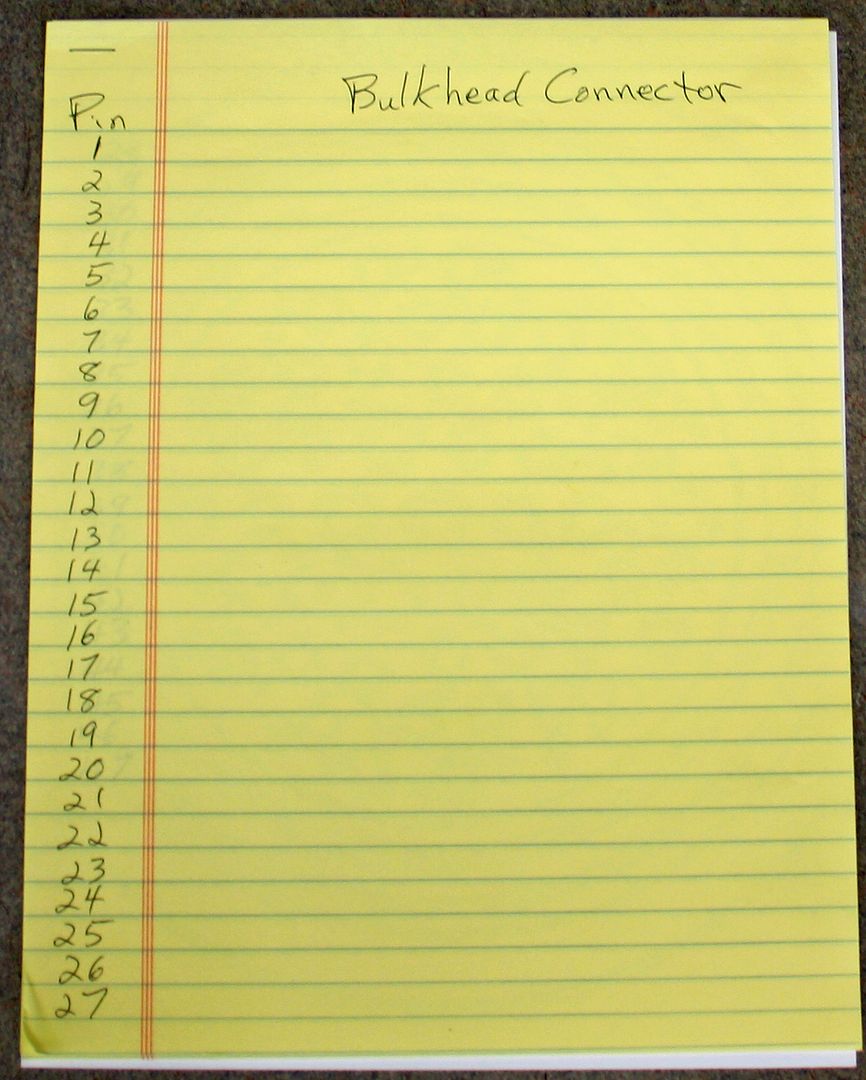
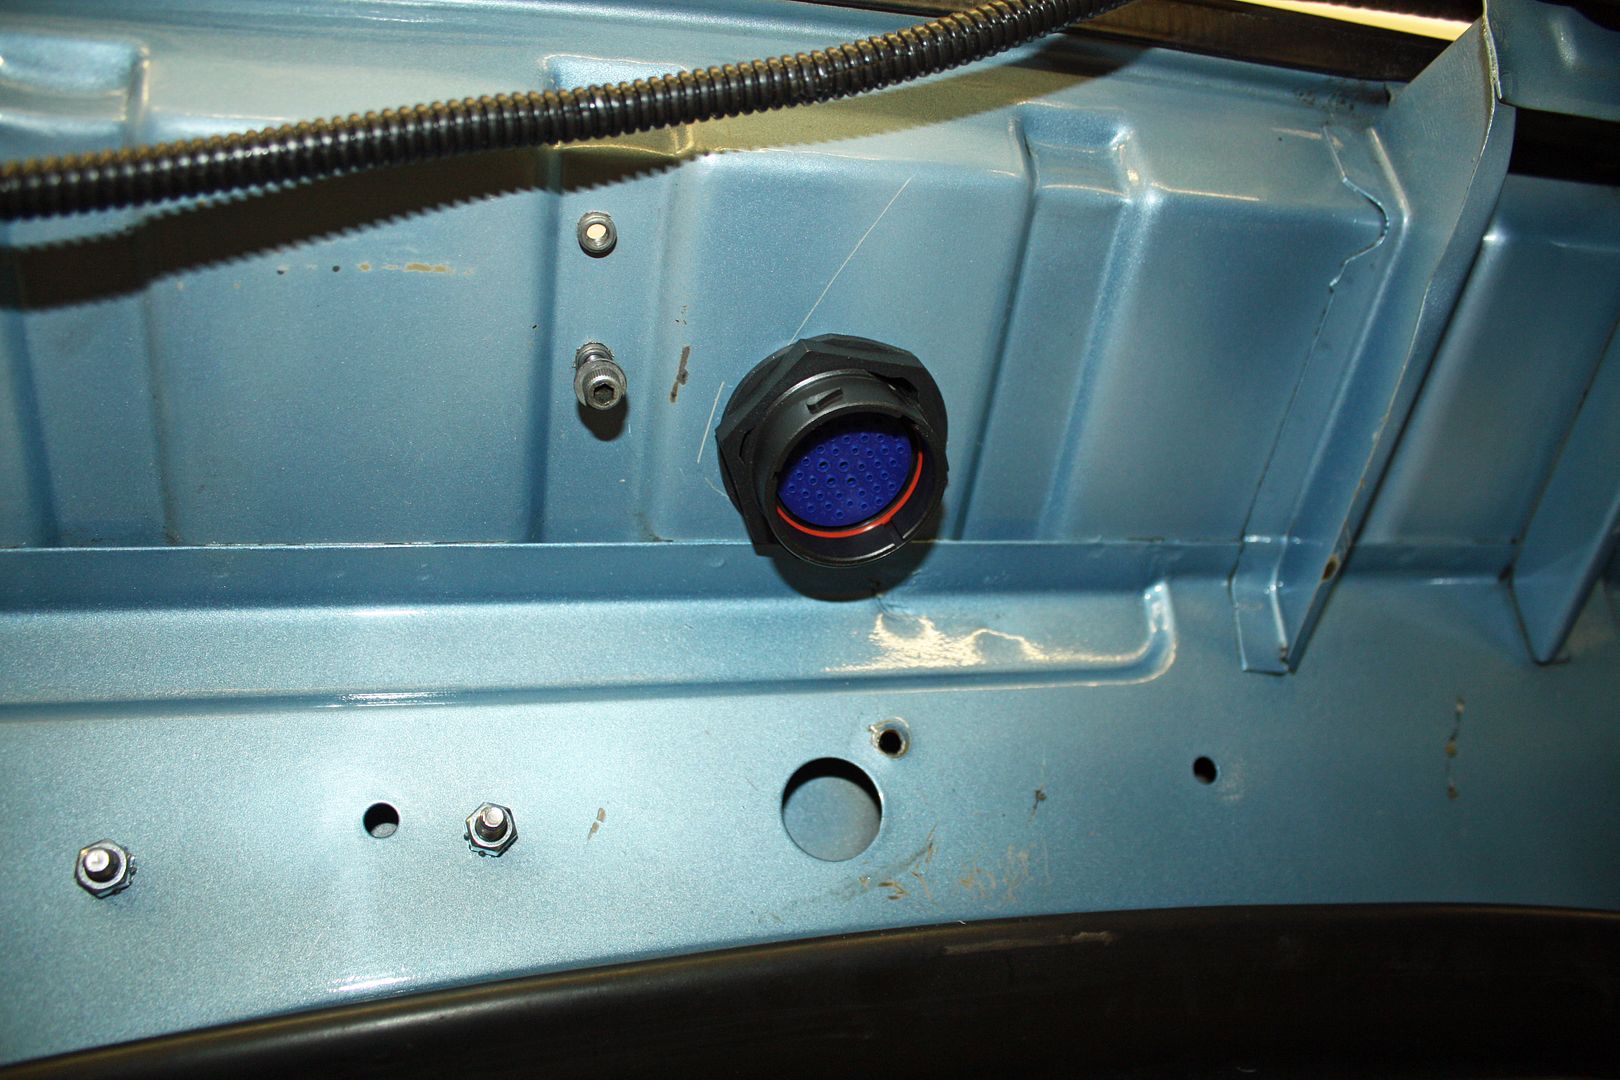
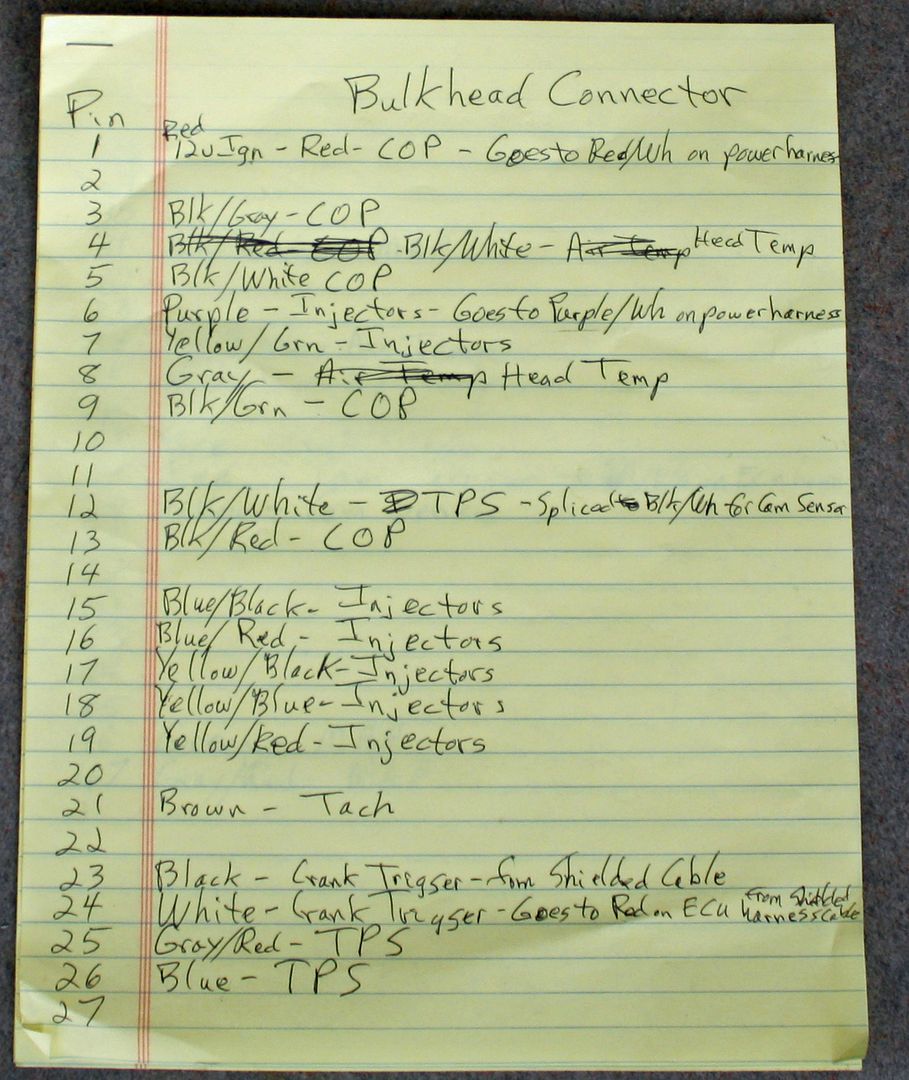
The only image I could find with the bulkhead connector terminal layout was pixilated and was difficult to read even when I blew it up to a larger size. The numbers are on the insulator for the connector but are very small and difficult to read. So I photographed them, blew them up and printed then on a 8 1/2 x 11 sheet. Now I can clearly see the numbers. I also took a couple of pages of ruled paper and numbered it from one to forty-seven. Now I should be able to keep track of the wires. As I add the wired to the male side, I will add the same wire to the female side.

I also had to splice the purple wire from each side that run to the fuel injectors.

Now I could run all of the wires through a 1" shrink tube. After shrinking it, I place another 6' section of 1" shrink tube over that area. Once I have all of the wires connected to the bulkhead connector, I will slide that shrink tube down over the remaining wires. The pigtail will be a foot long which will be plenty long. I would rather have it too long rather than to short as I can always tie it up under the rear bulkhead.


The only image I could find with the bulkhead connector terminal layout was pixilated and was difficult to read even when I blew it up to a larger size. The numbers are on the insulator for the connector but are very small and difficult to read. So I photographed them, blew them up and printed then on a 8 1/2 x 11 sheet. Now I can clearly see the numbers. I also took a couple of pages of ruled paper and numbered it from one to forty-seven. Now I should be able to keep track of the wires. As I add the wired to the male side, I will add the same wire to the female side.


 10-16-2018, 08:06 PM
#77
Racer
Thread Starter
10-17-2018, 06:29 PM
#78
Racer
Thread Starter
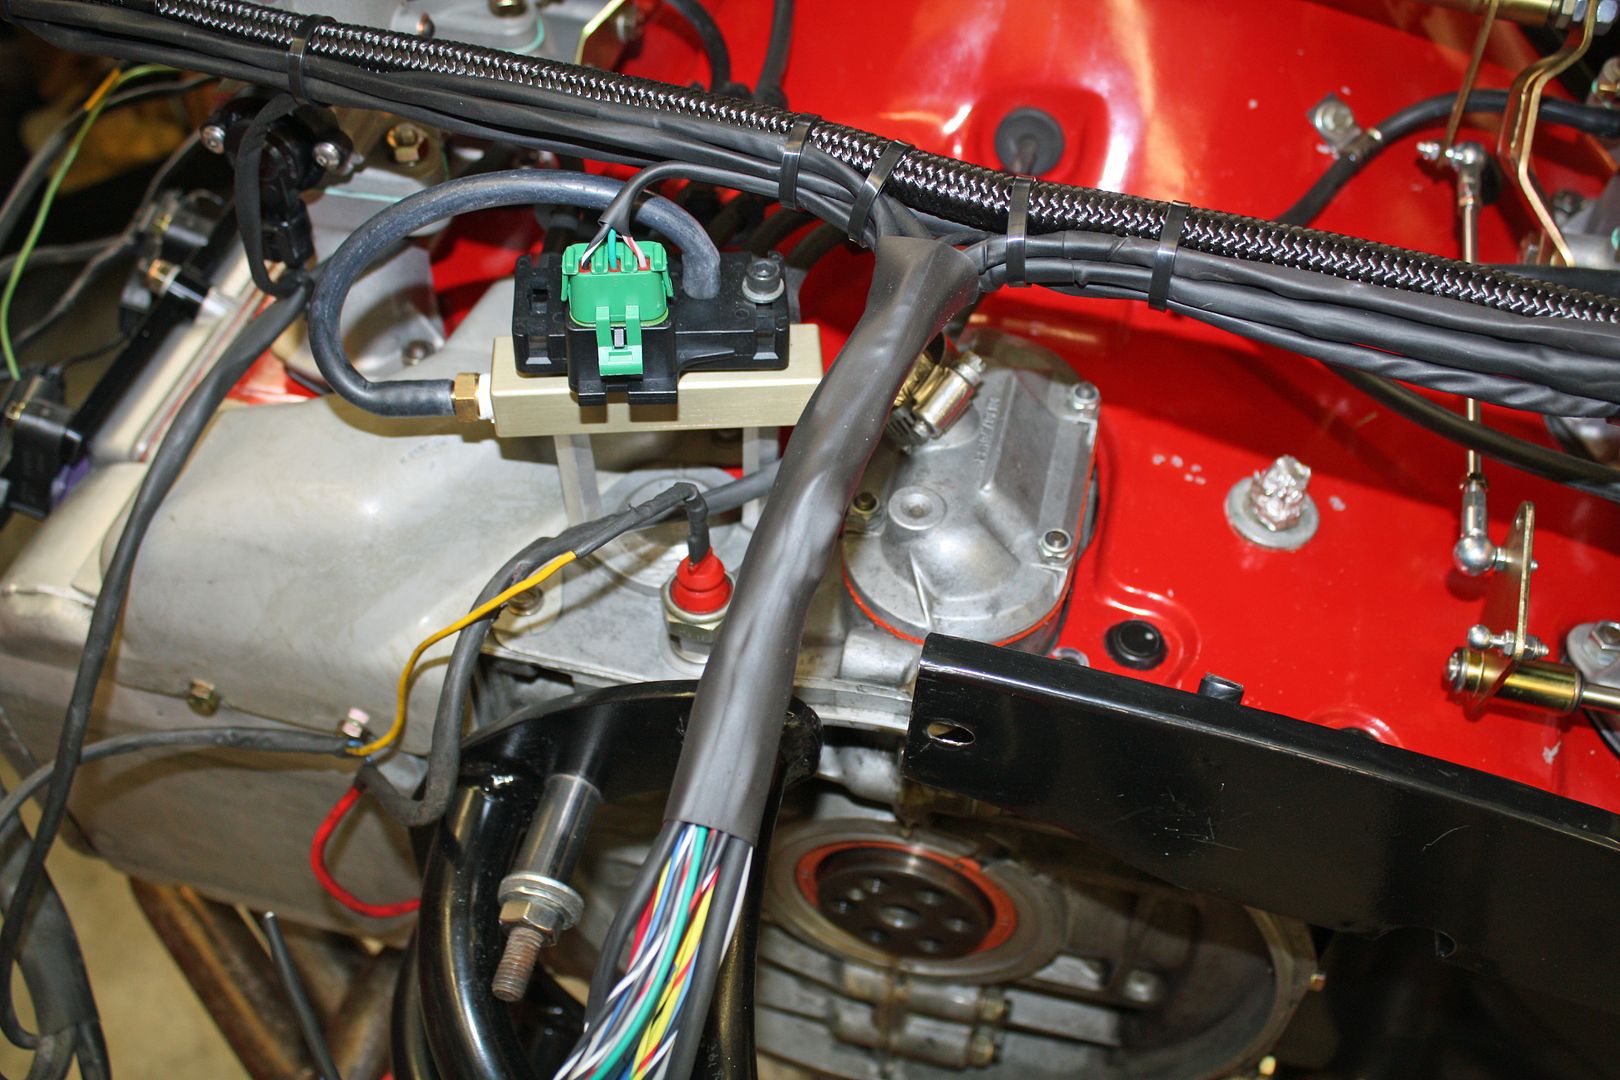
After voting this morning, I hooked up the tach wire I forgot yesterday. I had marked it when I removed it from the electronic ignition. It is connected to the main engine harness with a green wire. The TEC ECU uses a brown wire so I the green and brown together. I also routed the engine harness and tied it in place.
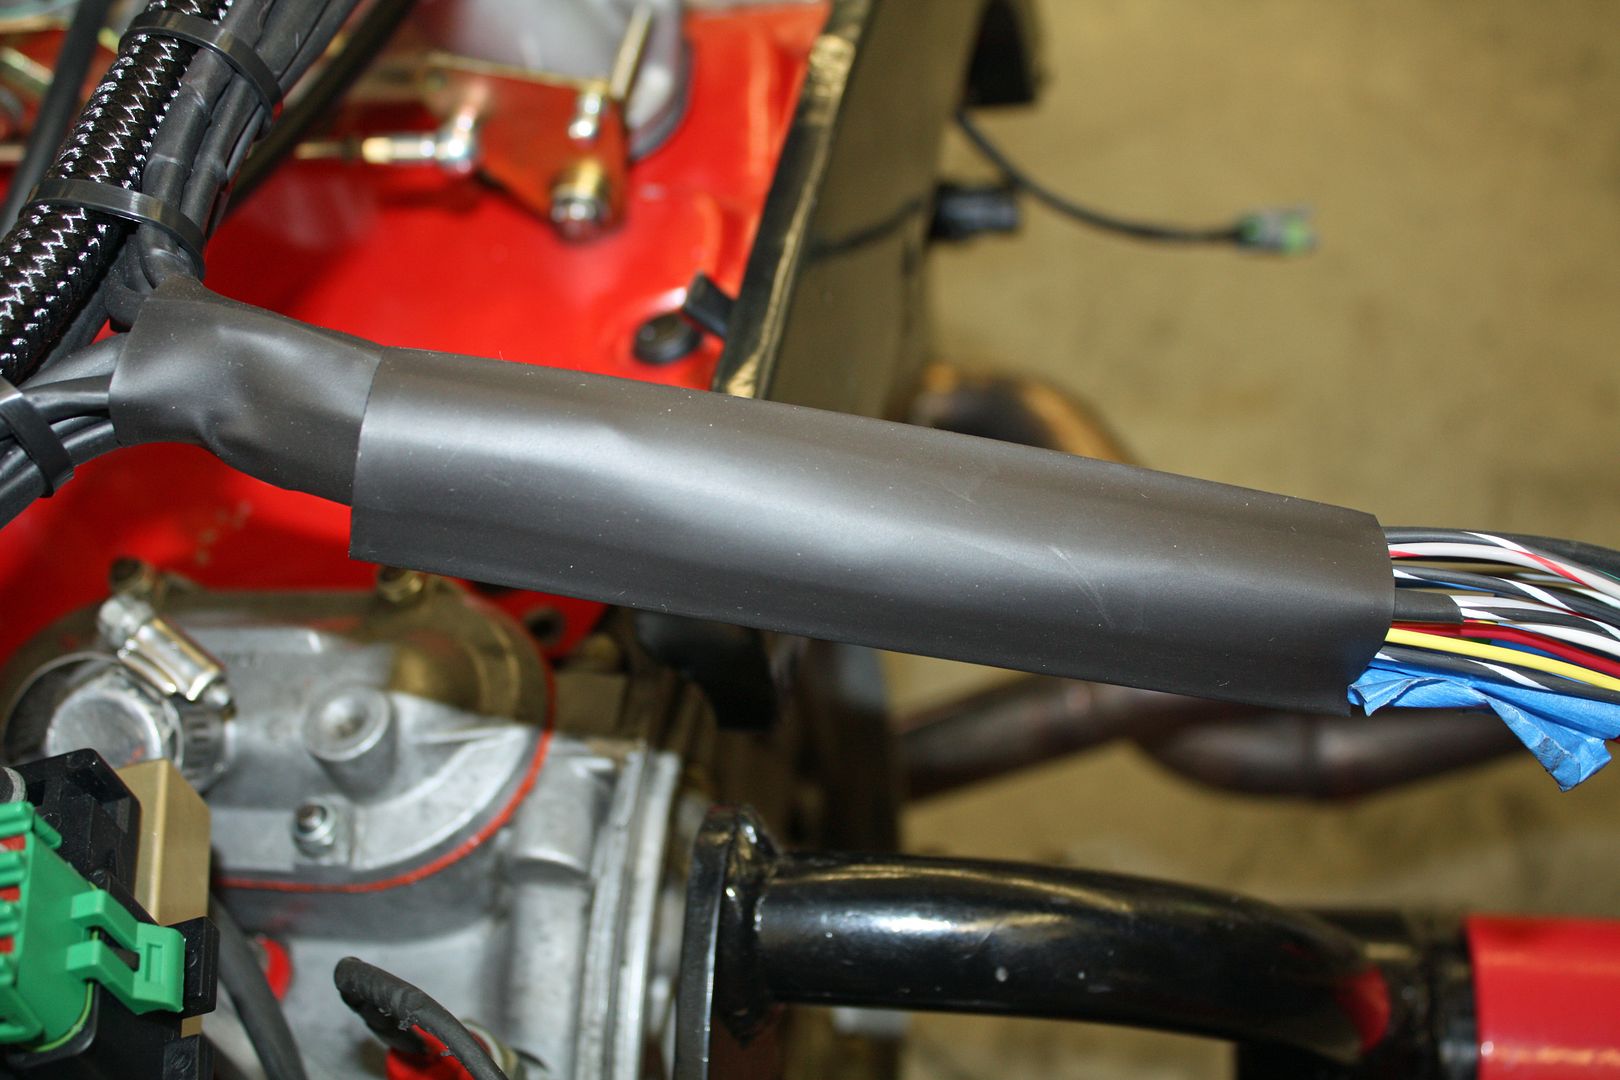
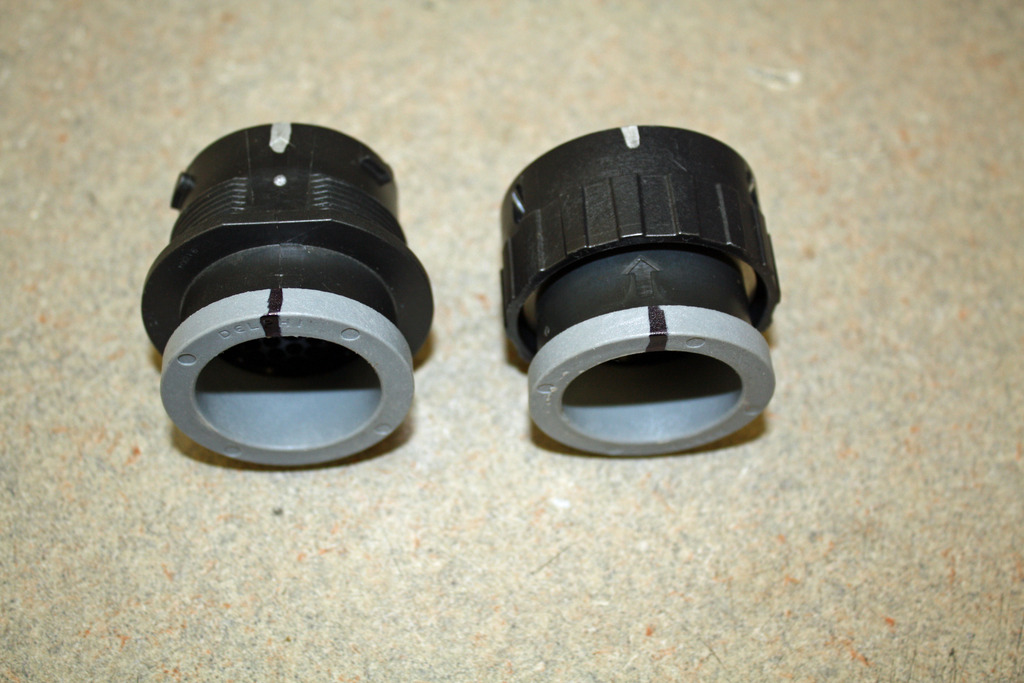
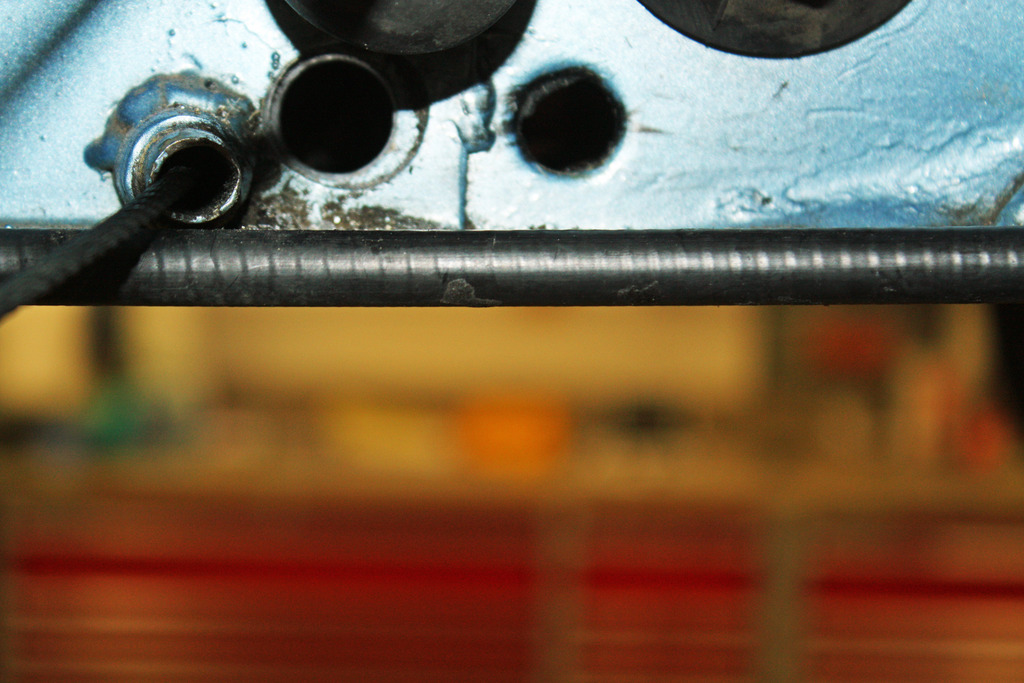
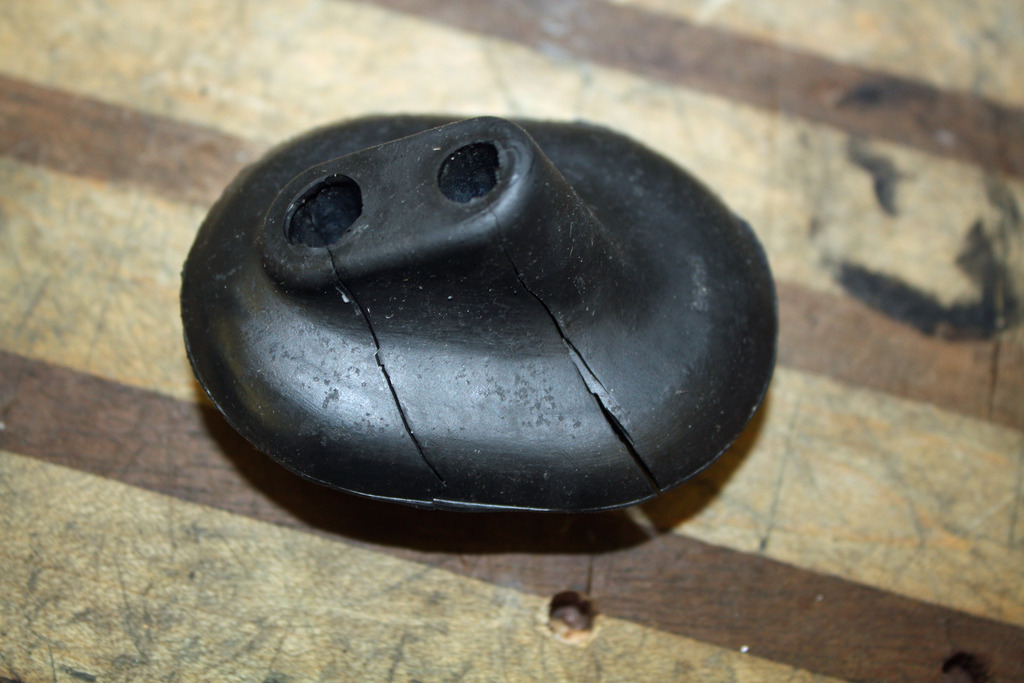
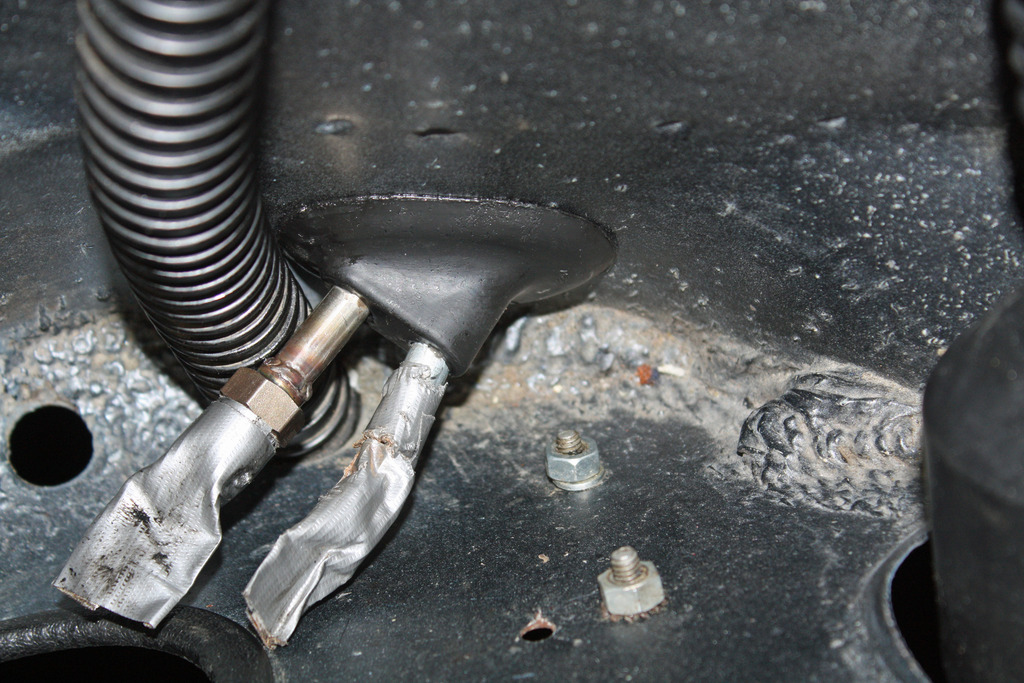
In the rear trunk I drilled a 1 3/4" hole for the bulkead connector. I then installed shrink tube on the ECU harness in preparation for wiring the bulkhead connector.
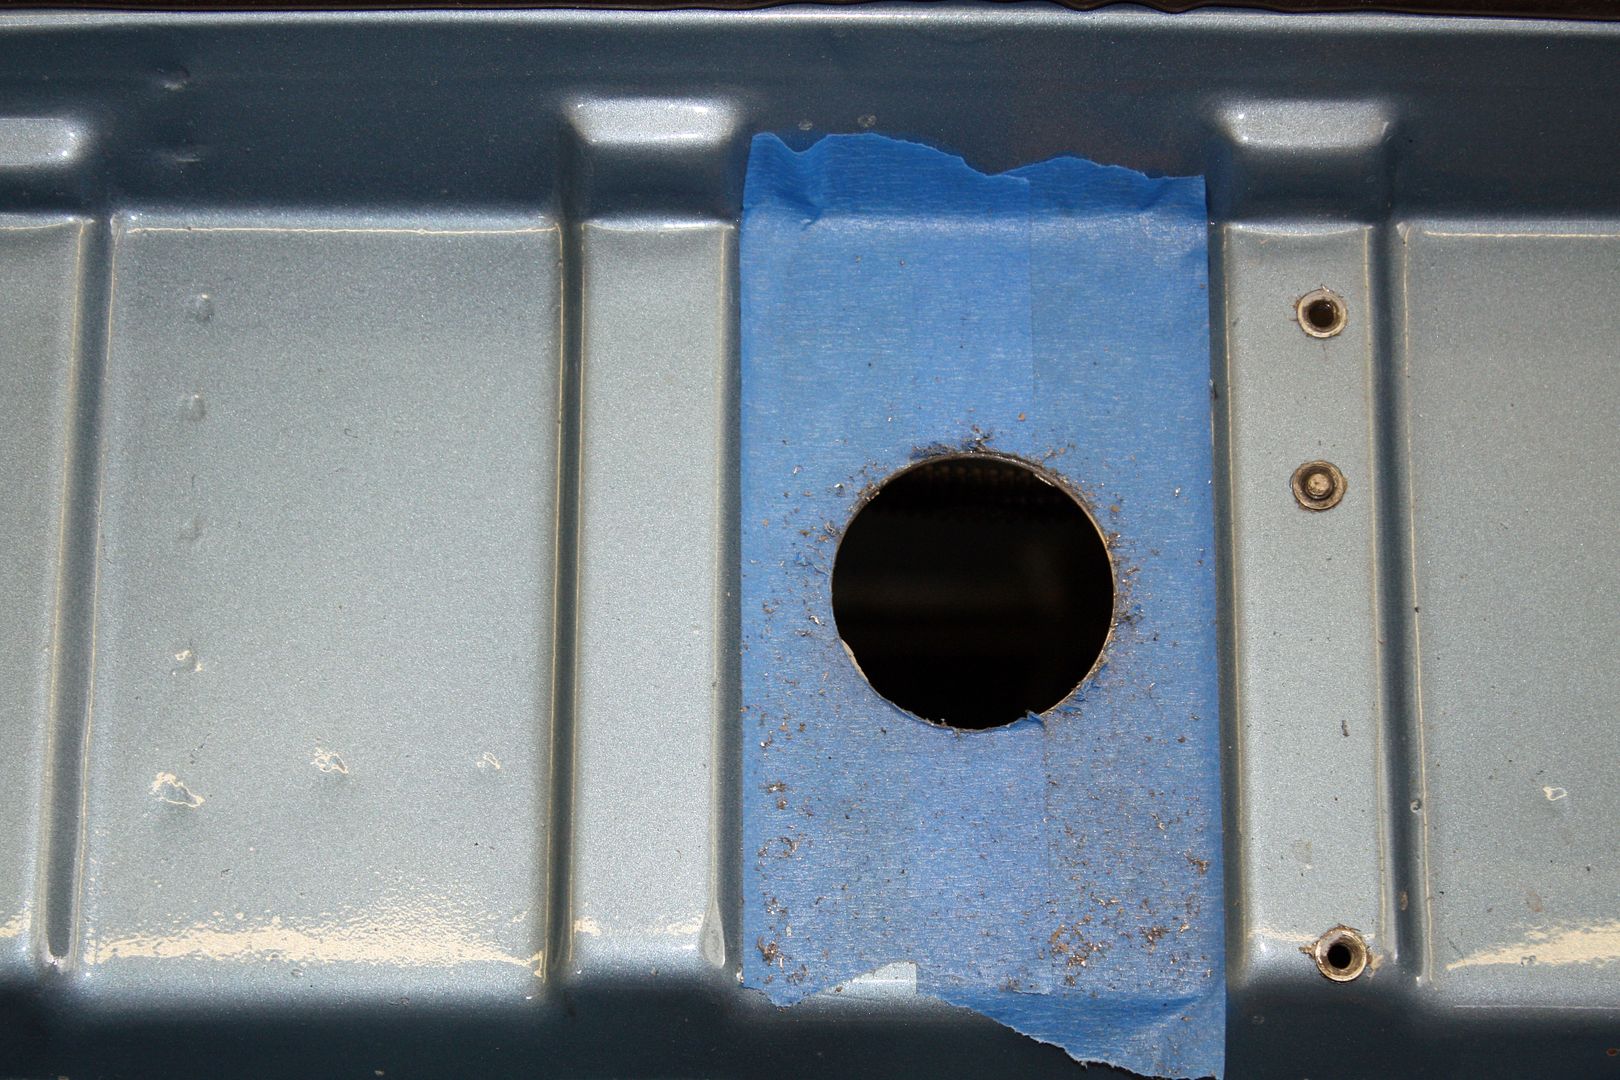
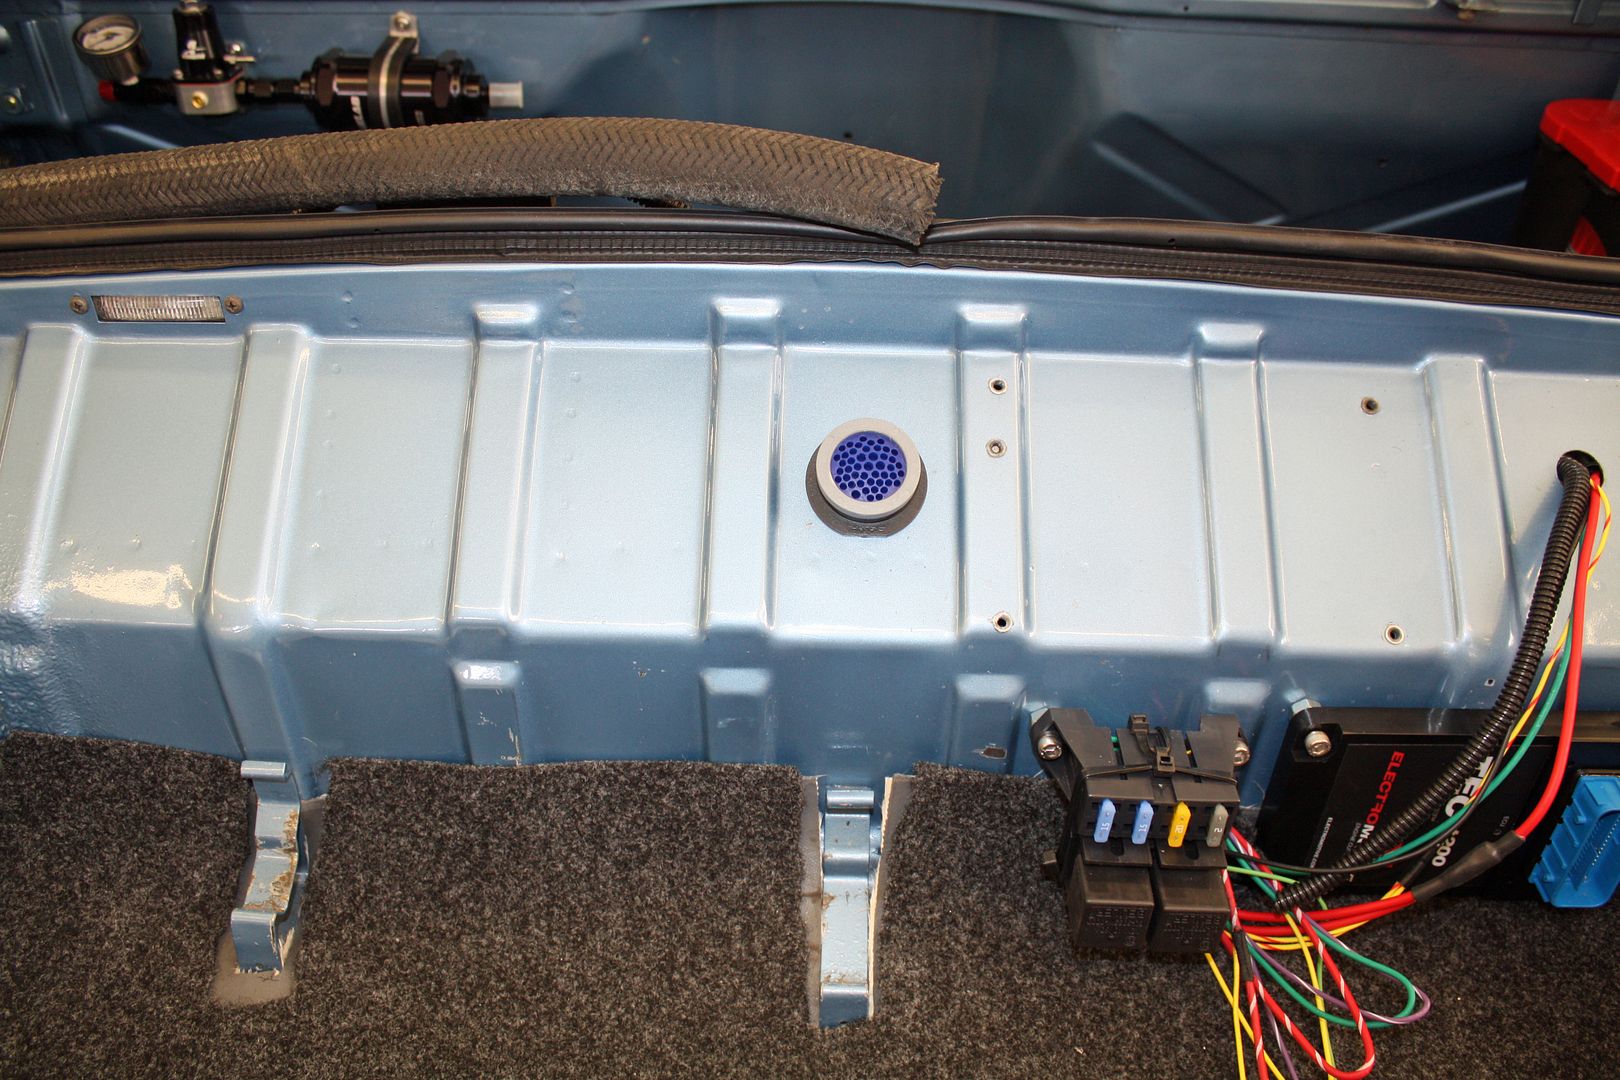
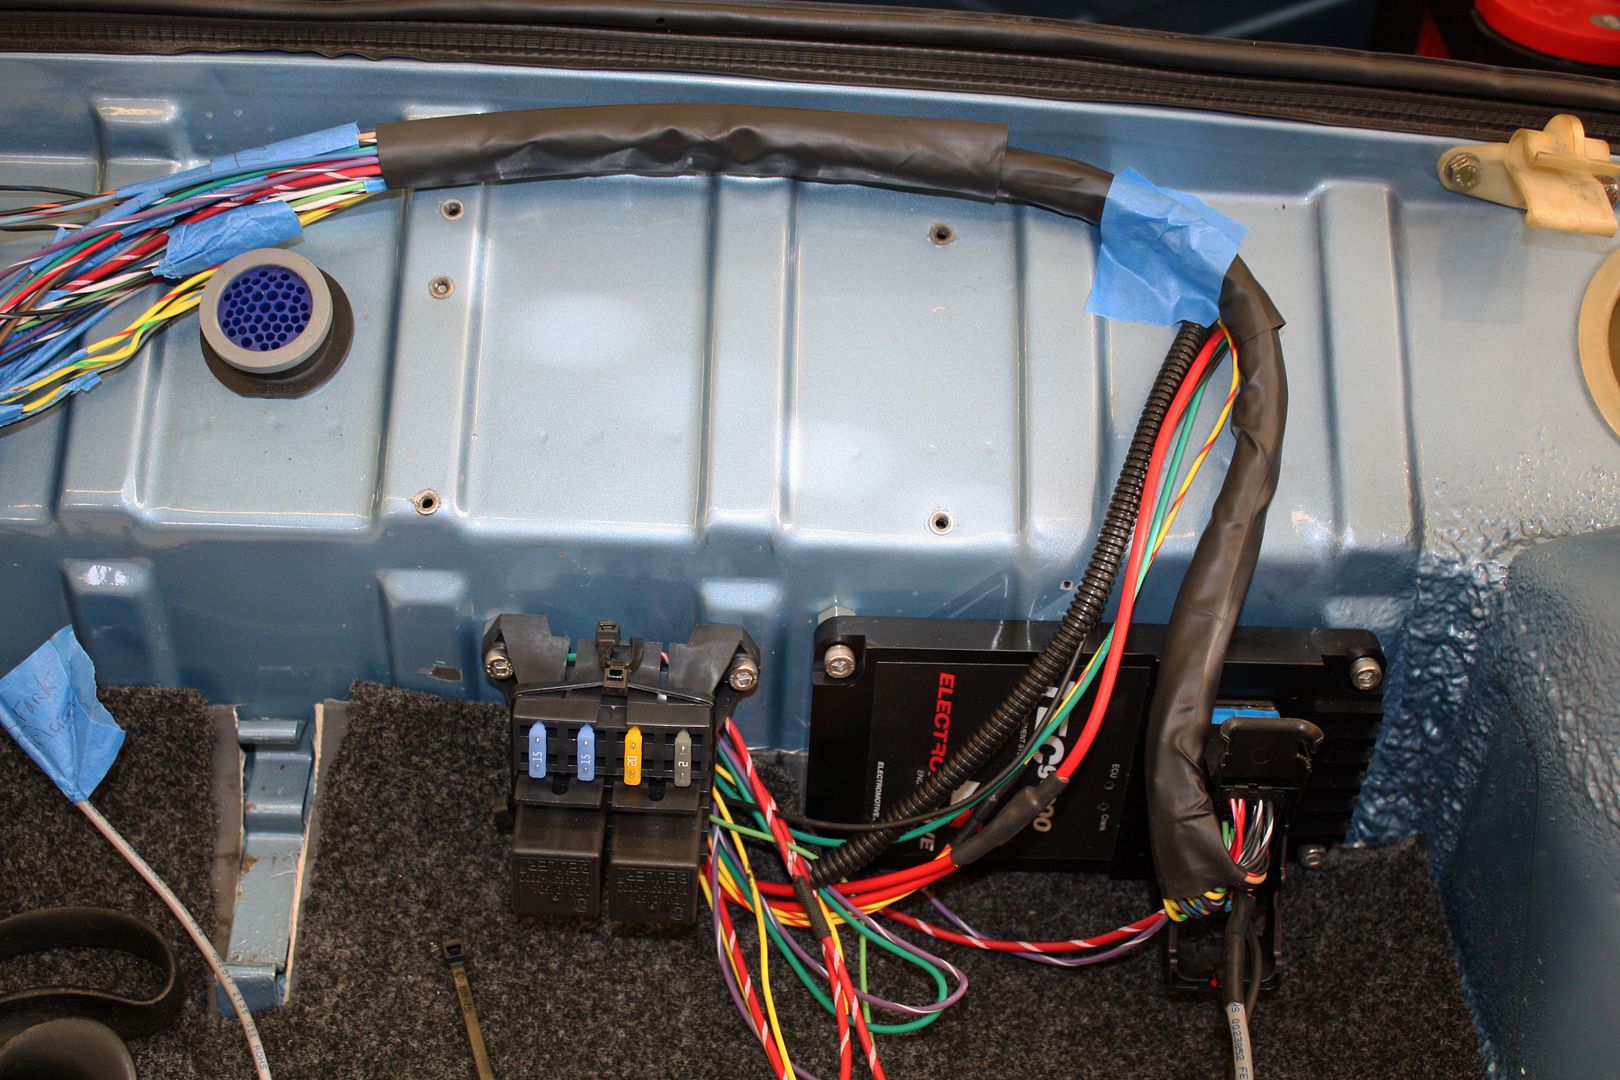


In the rear trunk I drilled a 1 3/4" hole for the bulkead connector. I then installed shrink tube on the ECU harness in preparation for wiring the bulkhead connector.


 10-18-2018, 07:28 PM
#79
Racer
Thread Starter
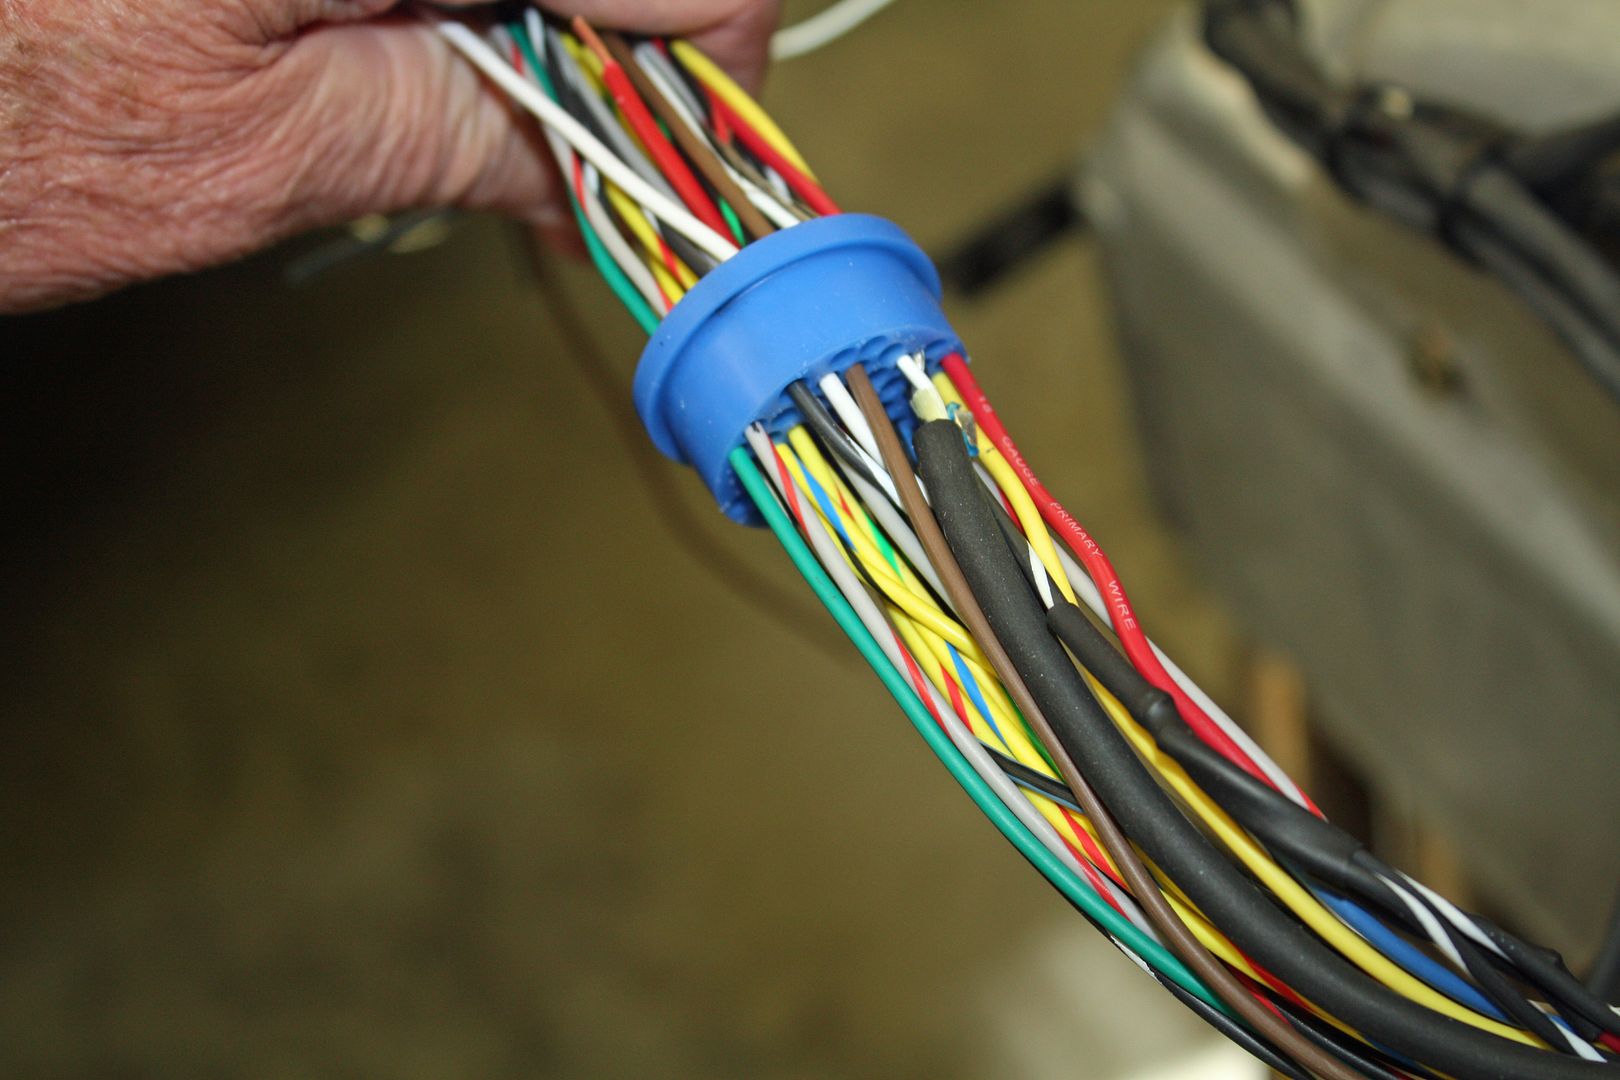
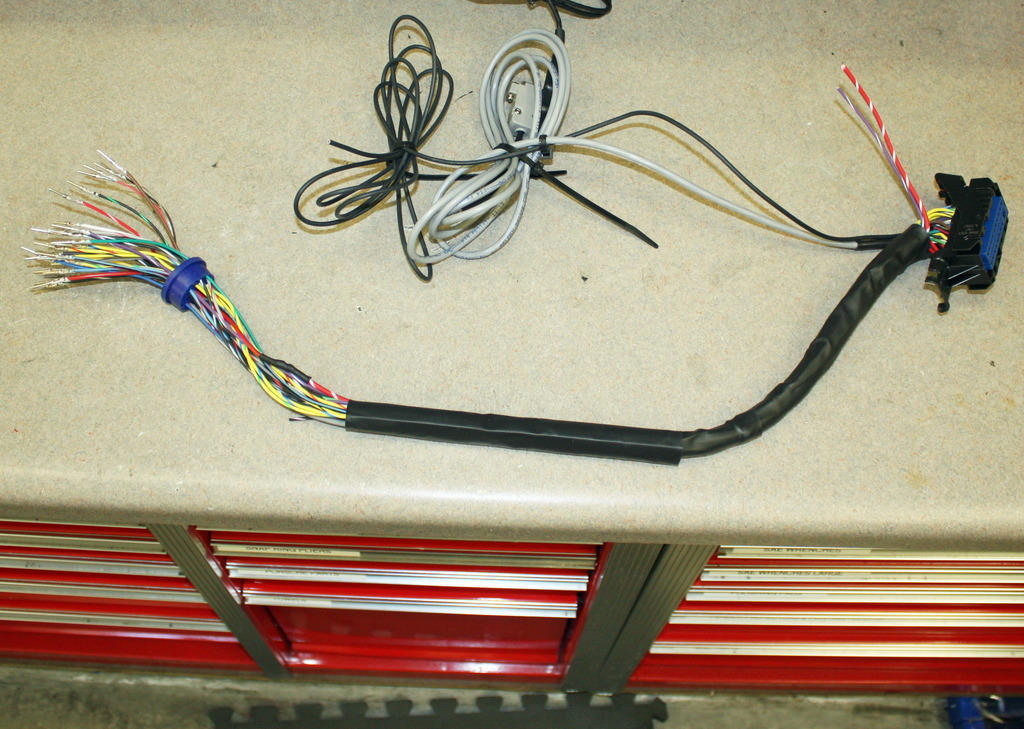
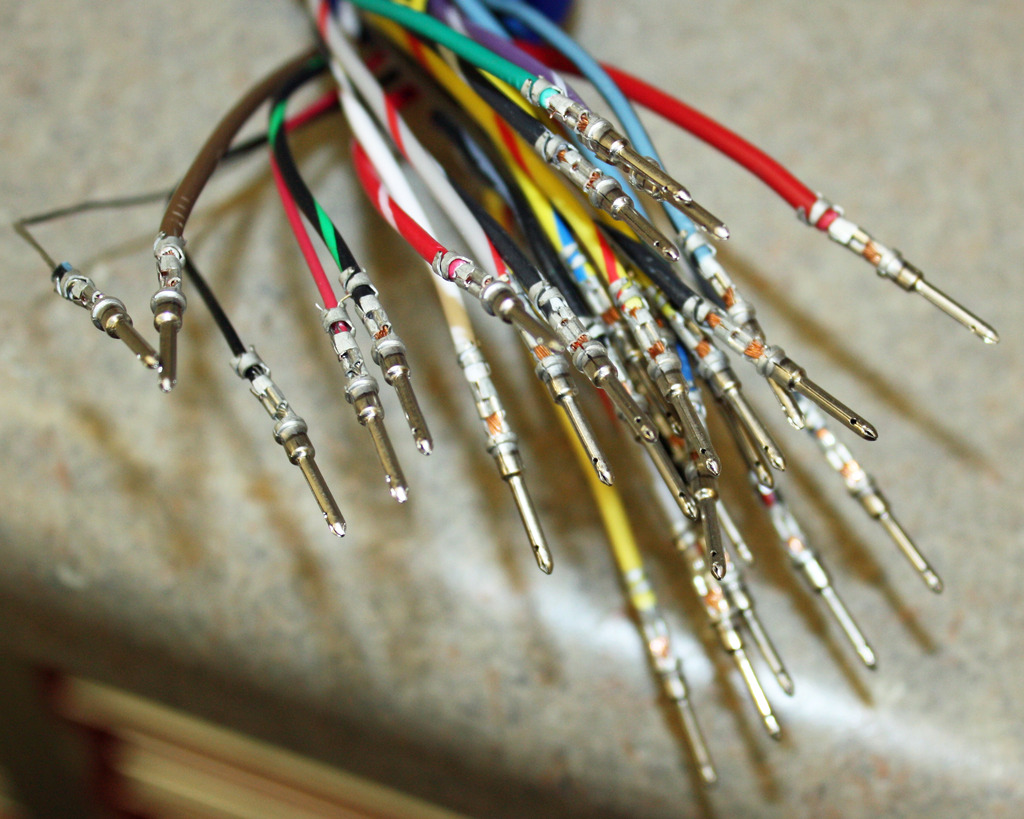
Today was spent inserting the wires into the seal for the bulkhead connector. I did one at a time on both the female and male ends. Each wire was documented on my terminal wiring sheet. For reference sake, I marked the top of each seal so it corresponded with the blown up photo of the terminal numbers. It would be even more difficult to get these wires in the right holes without the blown up photo. It was still a painstaking process trying to make sure each wire was in the same place on both ends.
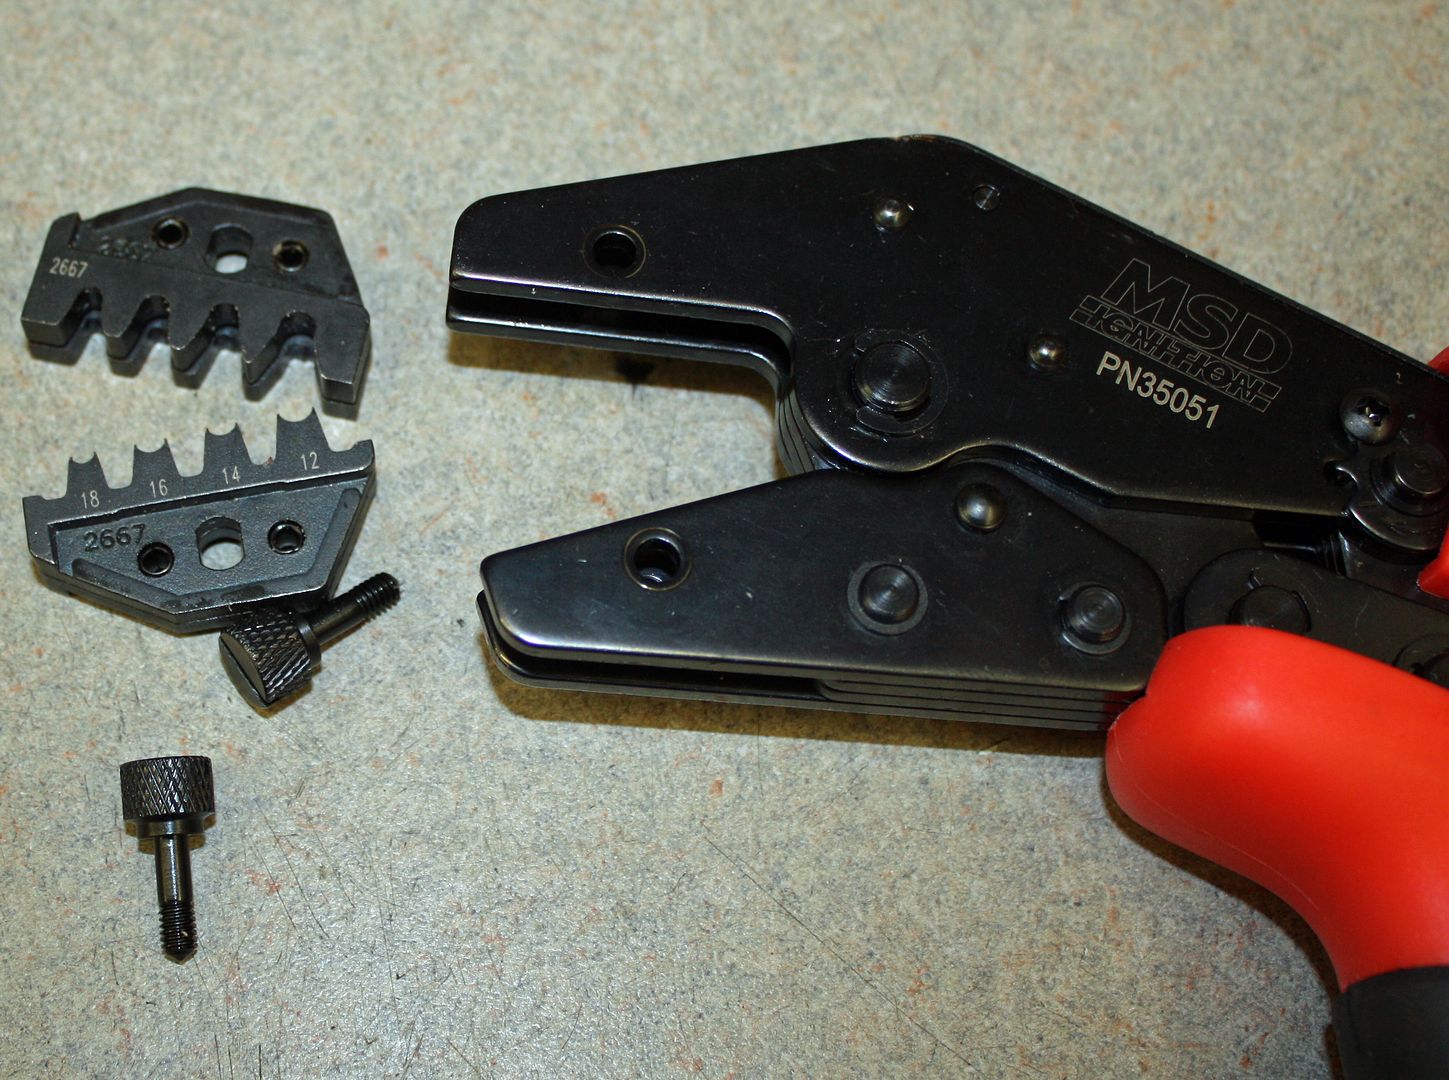
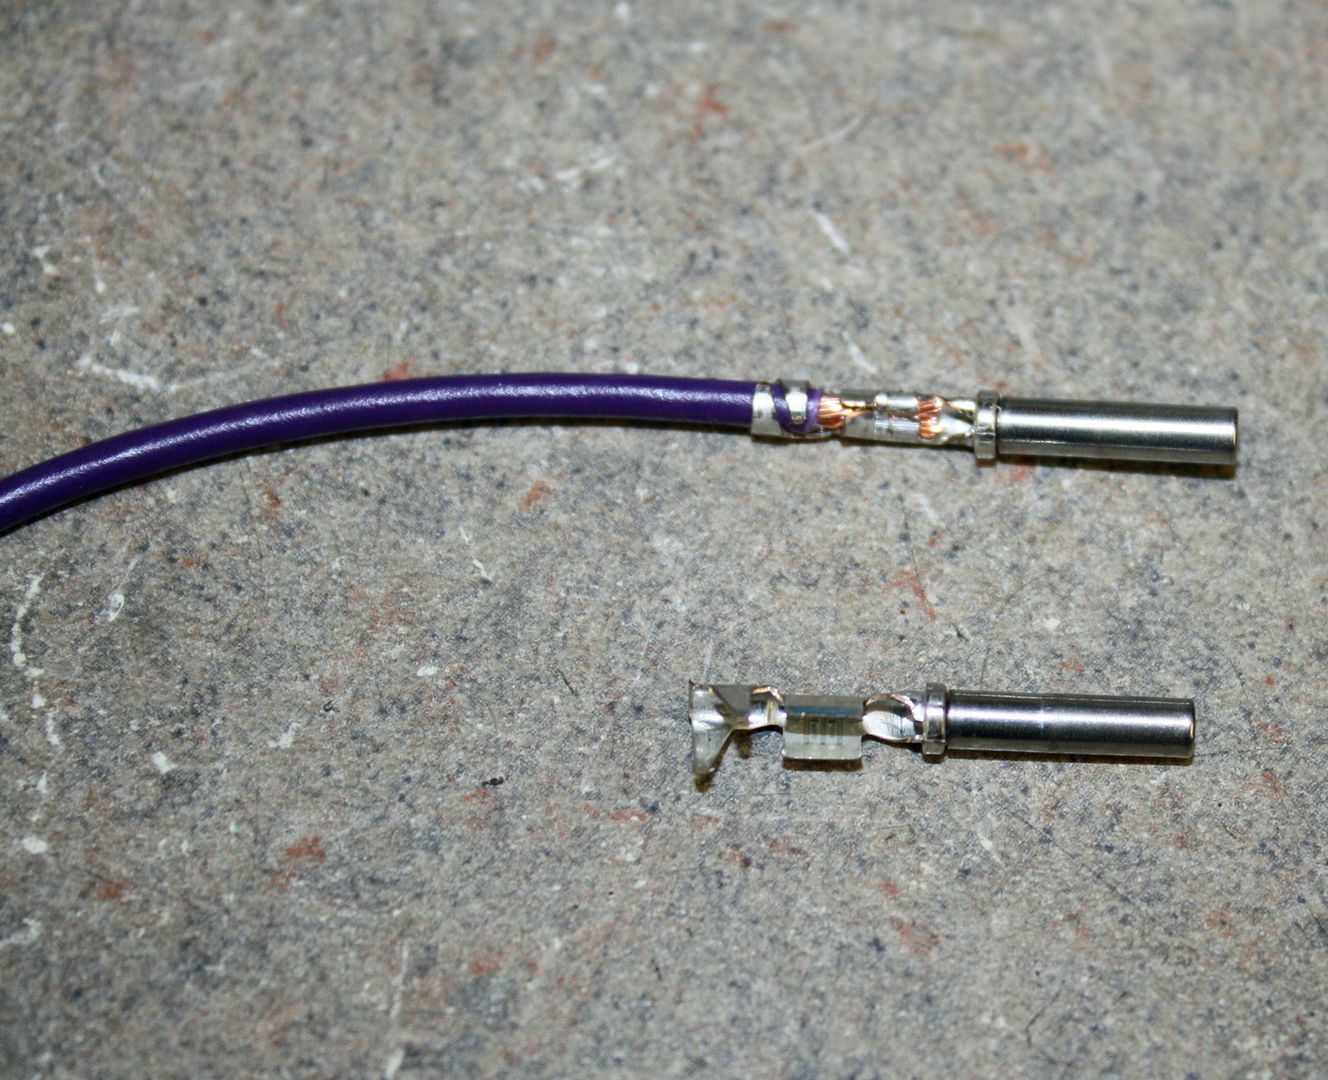
I did have time to crimp three of the female terminals. The female terminals are used on the male plug while the female plug uses the male terminals. To crimp the Deutsch terminals I had to change the dies on my crimper.
I did have time to crimp three of the female terminals. The female terminals are used on the male plug while the female plug uses the male terminals. To crimp the Deutsch terminals I had to change the dies on my crimper.


 10-20-2018, 05:36 PM
#80
Racer
Thread Starter
I spent yesterday crimping the Deutsch terminals. I marked the top of the bulkhead connector and the wire seal to make sure I get the wires in the right hole. I inserted the larger wires first in the center of the connector all went well. However, when I tried to insert the other wires, I discovered that the terminals were too big at the crimp end to fit into the holes. After some research, I found that there are three sizes of terminals, 1.0mm. 1.6mm and 2.4mm. I had the 1.6mm terminals which fit into the five holes for larger wires but no 1.0mm terminals. I have them on order and, when they arrive, I get to crimp nearly all of the wires again! These connectors have been an ongoing learning process.
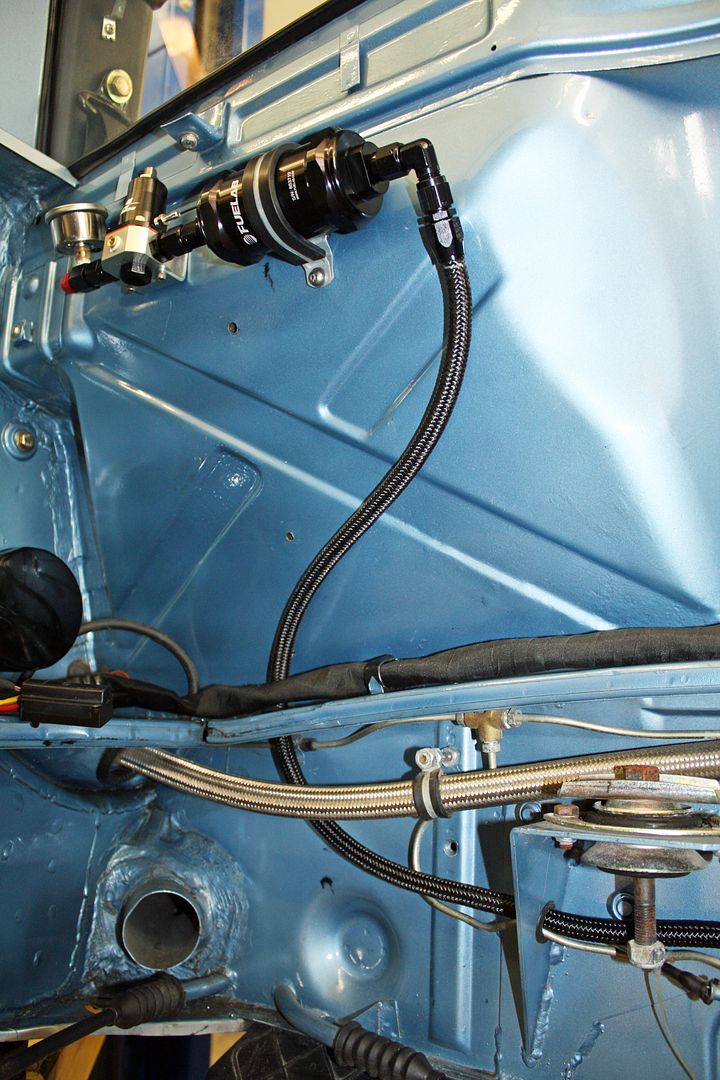
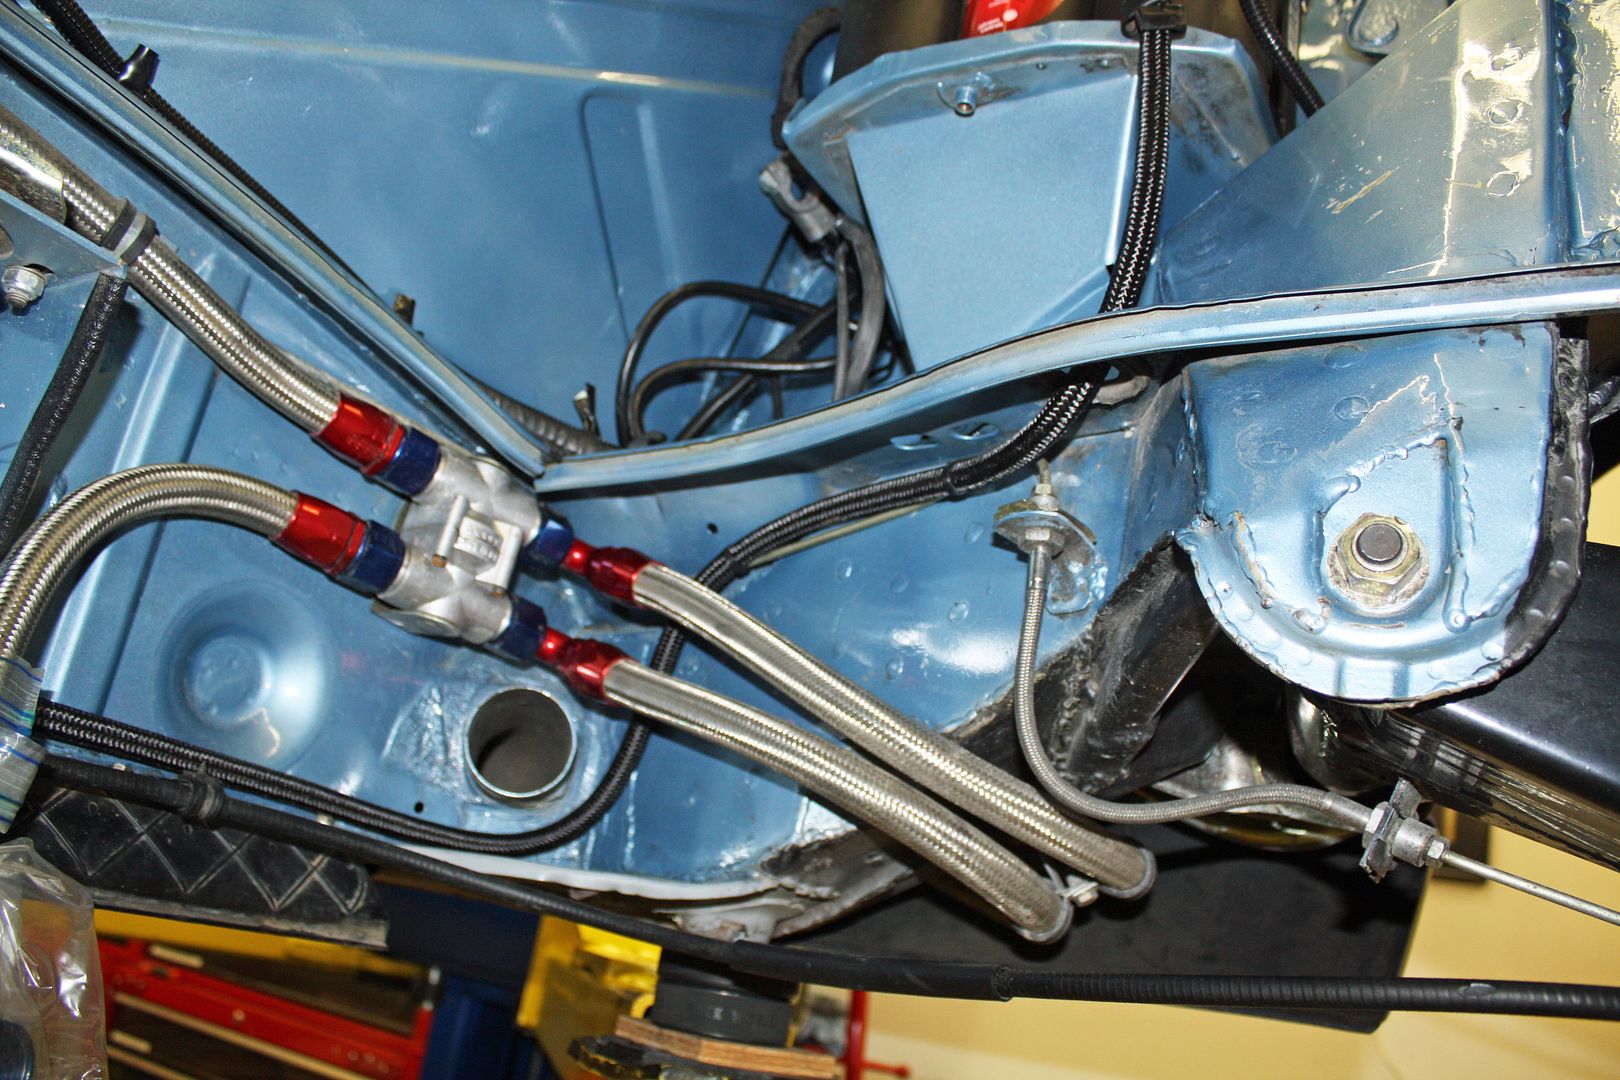
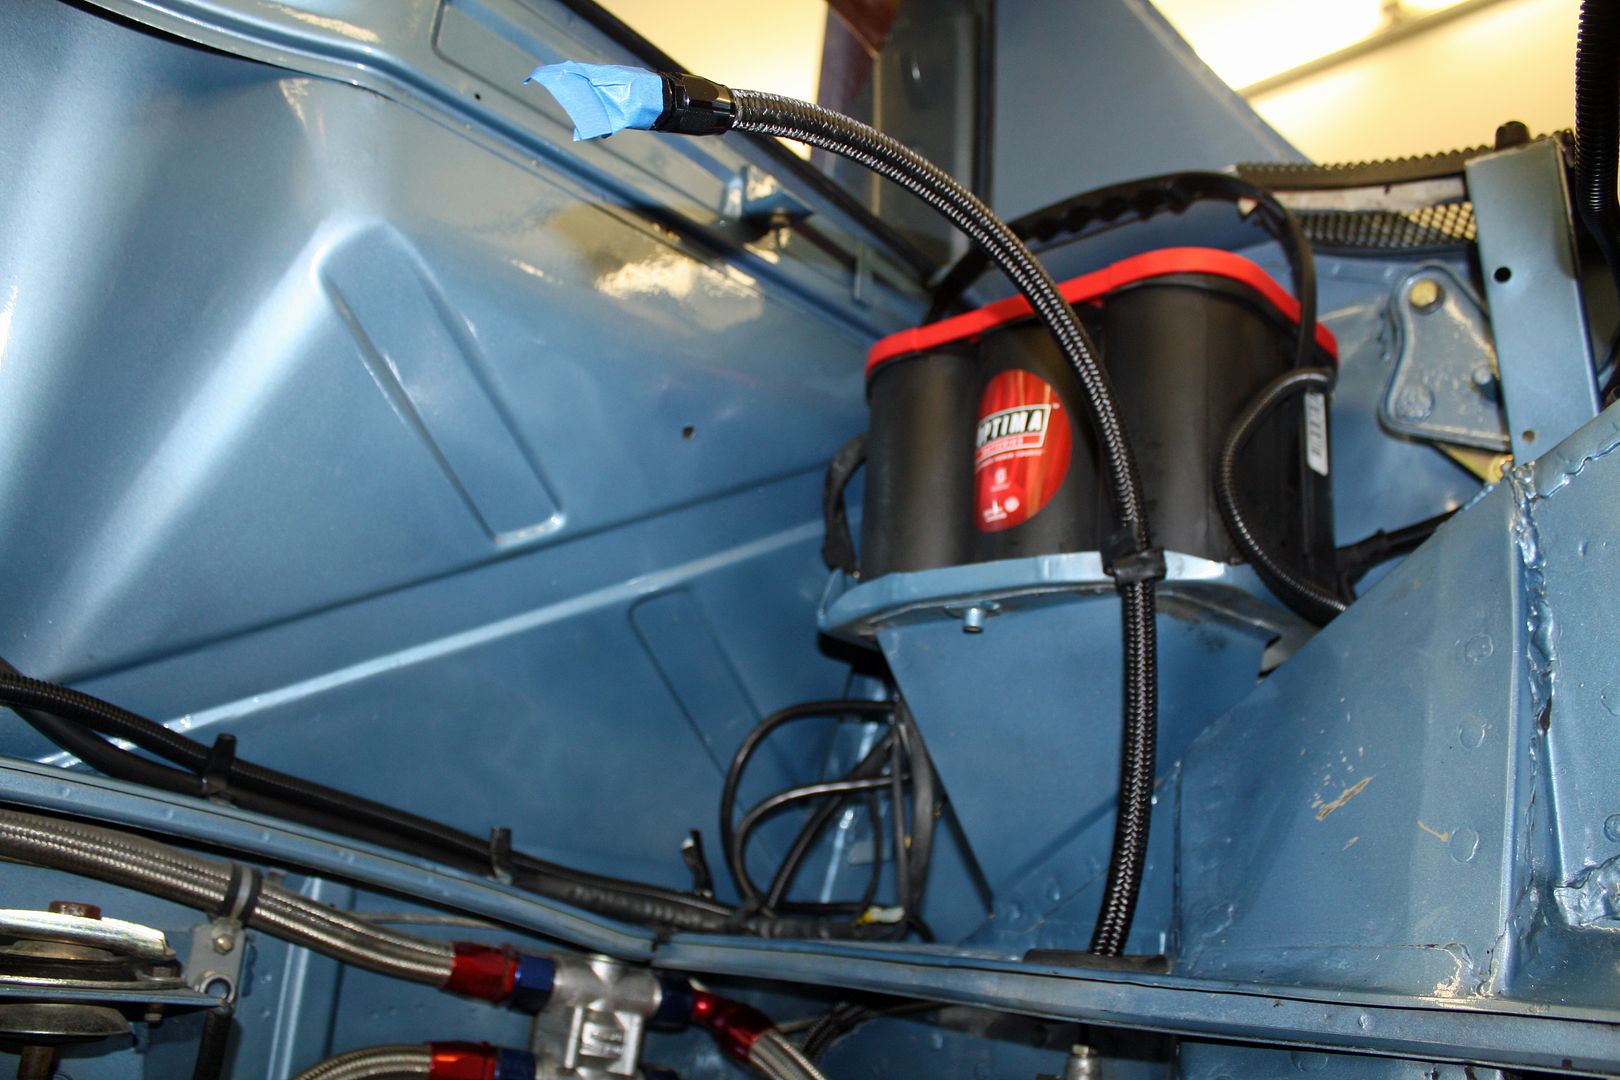
My fuel line with the -6AN fittings arrived yesterday from Chris Foley at Tangerine Racing. Since I am at a standstill on the wiring, I decided to insert the feed and return lines through the tunnel. Chris's instructions say this is a two man job. I removed the shifter as per his instructions so I could access the line in the tunnel. After fighting the first line for an hour by myself, I called my buddy to see if he could help. It still took us a bit to get both lines ran but we were ultimately successful. To get Chris's line to work I had to hog out the hole on the firewall so the -6 AN fitting would pass through. Once both lines were in place, I slit the front grommet and then inserted it over the lines and into the hole. I had to slit the grommets at the rear as well. Now I can run some more fuel lines and re-install the fuel tank. I sent Chris a photograph showing how I was going to run the line on the firewall. He used a protractor on that photo to get the correct angle for the fitting. It turned out perfectly.
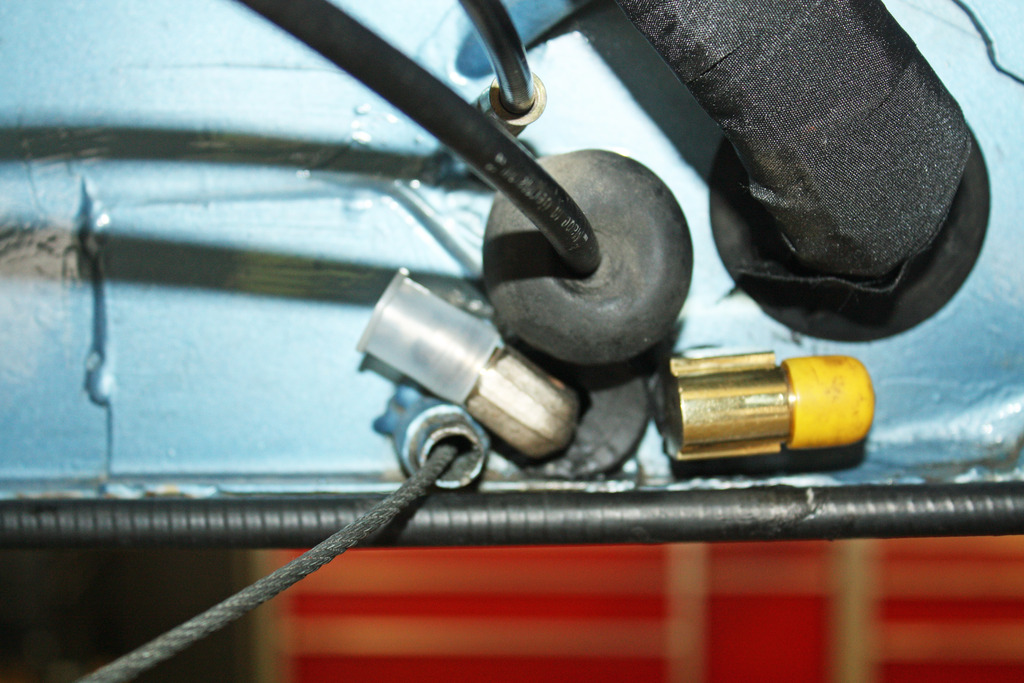


My fuel line with the -6AN fittings arrived yesterday from Chris Foley at Tangerine Racing. Since I am at a standstill on the wiring, I decided to insert the feed and return lines through the tunnel. Chris's instructions say this is a two man job. I removed the shifter as per his instructions so I could access the line in the tunnel. After fighting the first line for an hour by myself, I called my buddy to see if he could help. It still took us a bit to get both lines ran but we were ultimately successful. To get Chris's line to work I had to hog out the hole on the firewall so the -6 AN fitting would pass through. Once both lines were in place, I slit the front grommet and then inserted it over the lines and into the hole. I had to slit the grommets at the rear as well. Now I can run some more fuel lines and re-install the fuel tank. I sent Chris a photograph showing how I was going to run the line on the firewall. He used a protractor on that photo to get the correct angle for the fitting. It turned out perfectly.


 10-22-2018, 10:36 PM
#81
Racer
Thread Starter
I got up early Sunday morning to drive the Aston to Charlotte for Cars & Cappuccino. It is held every third Sunday from 9:00-11:00 for European cars only. Interesting cars are the norm here. I had a long discussion with a gentleman who is in the middle of building an "outlaw" 356. It should be a fun car.


 10-22-2018, 10:50 PM
#82
Racer
Thread Starter
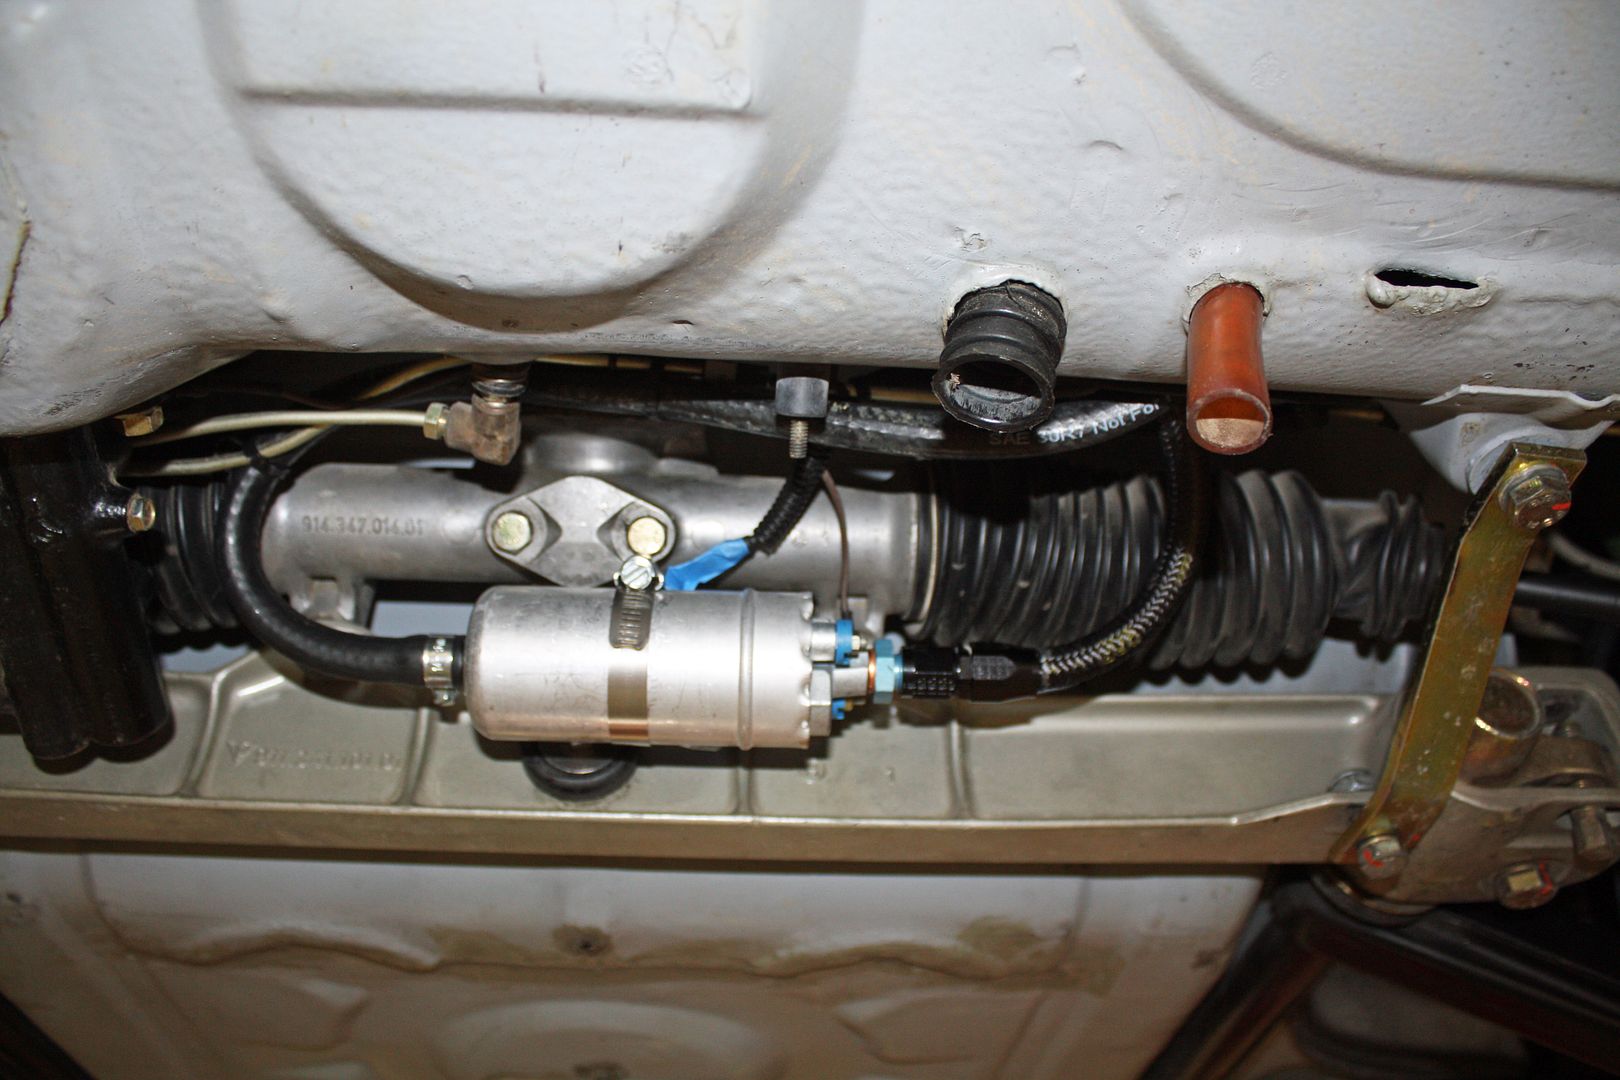
Yesterday, with the NASCAR race on in the background in the garage, I worked on installing the high pressure fuel line from Chris's new line to the fuel filter on the firewall.
This morning I began by installing the return fuel line in the engine bay. The fitting on the end of the original line had 1/4 NPT thread. I could not find an adapter that went directly from NPT to -6 AN. I did find a 1/4 NPT female couple and I used an 1/4 NPT male to -6 AN male adapter. With that adapter in place, I ran the line over to the right and up through an existing hole to the battery area. From looking at photographs of 914-6 engine bays to see the relationship of the throttle bodies to the battery, I made an educated guess on the length.
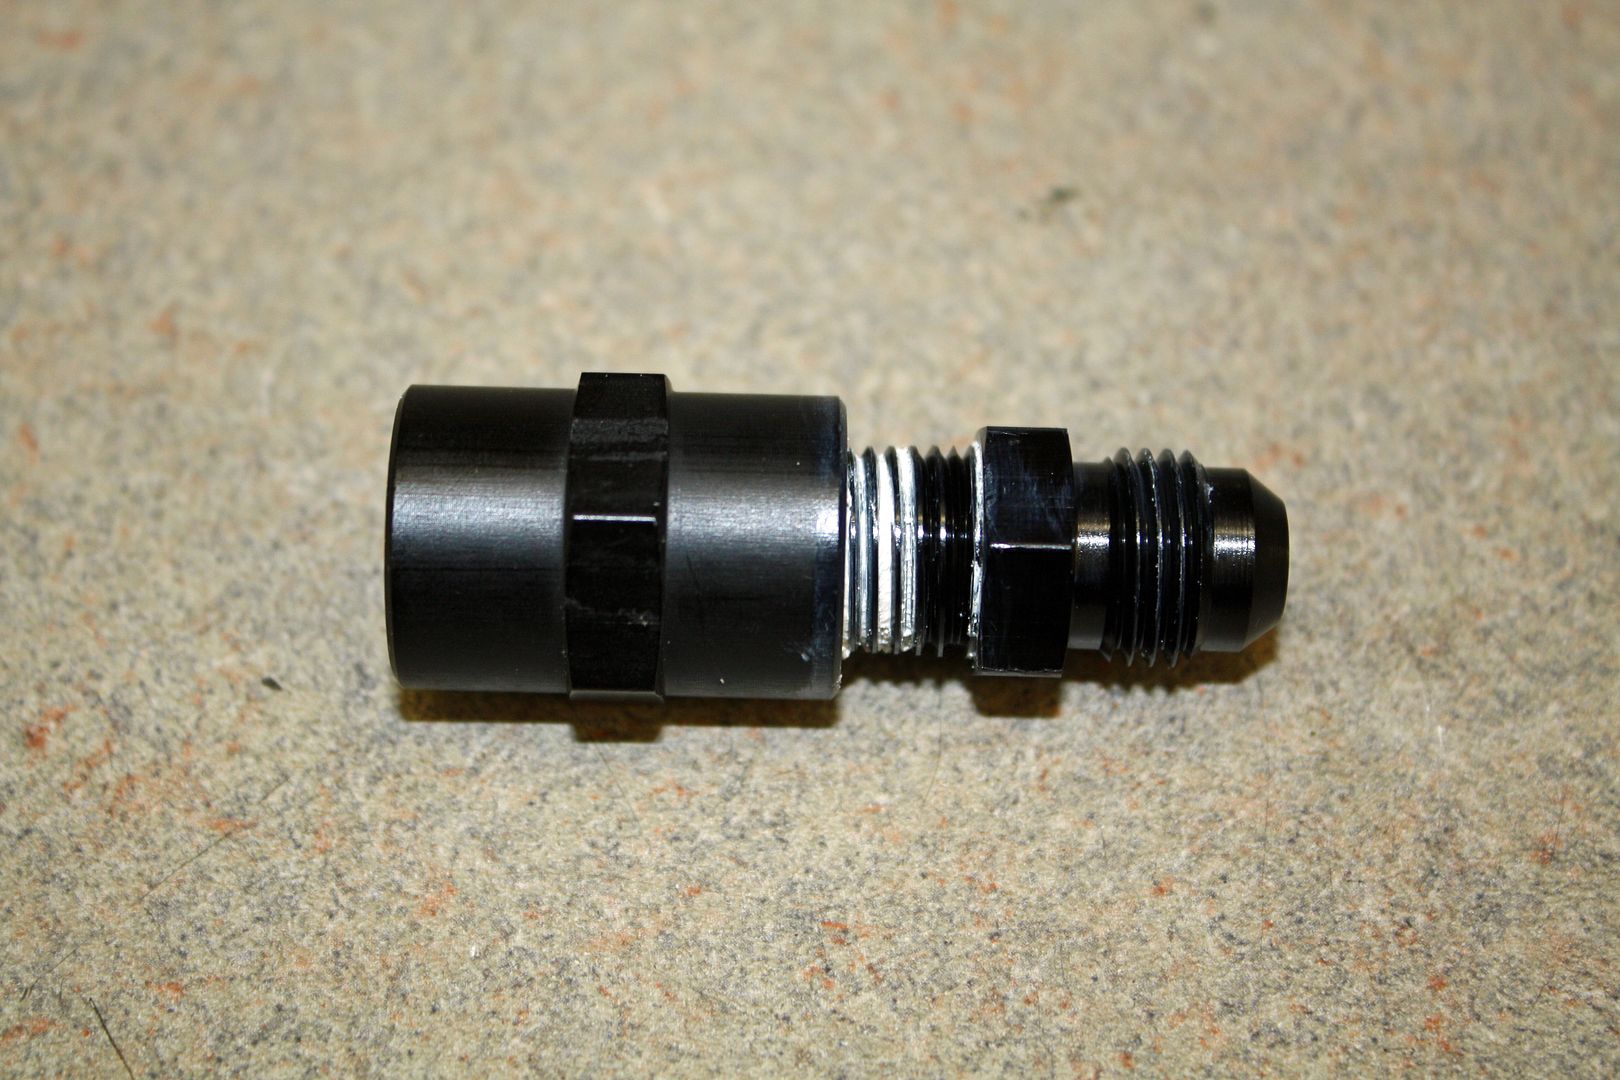
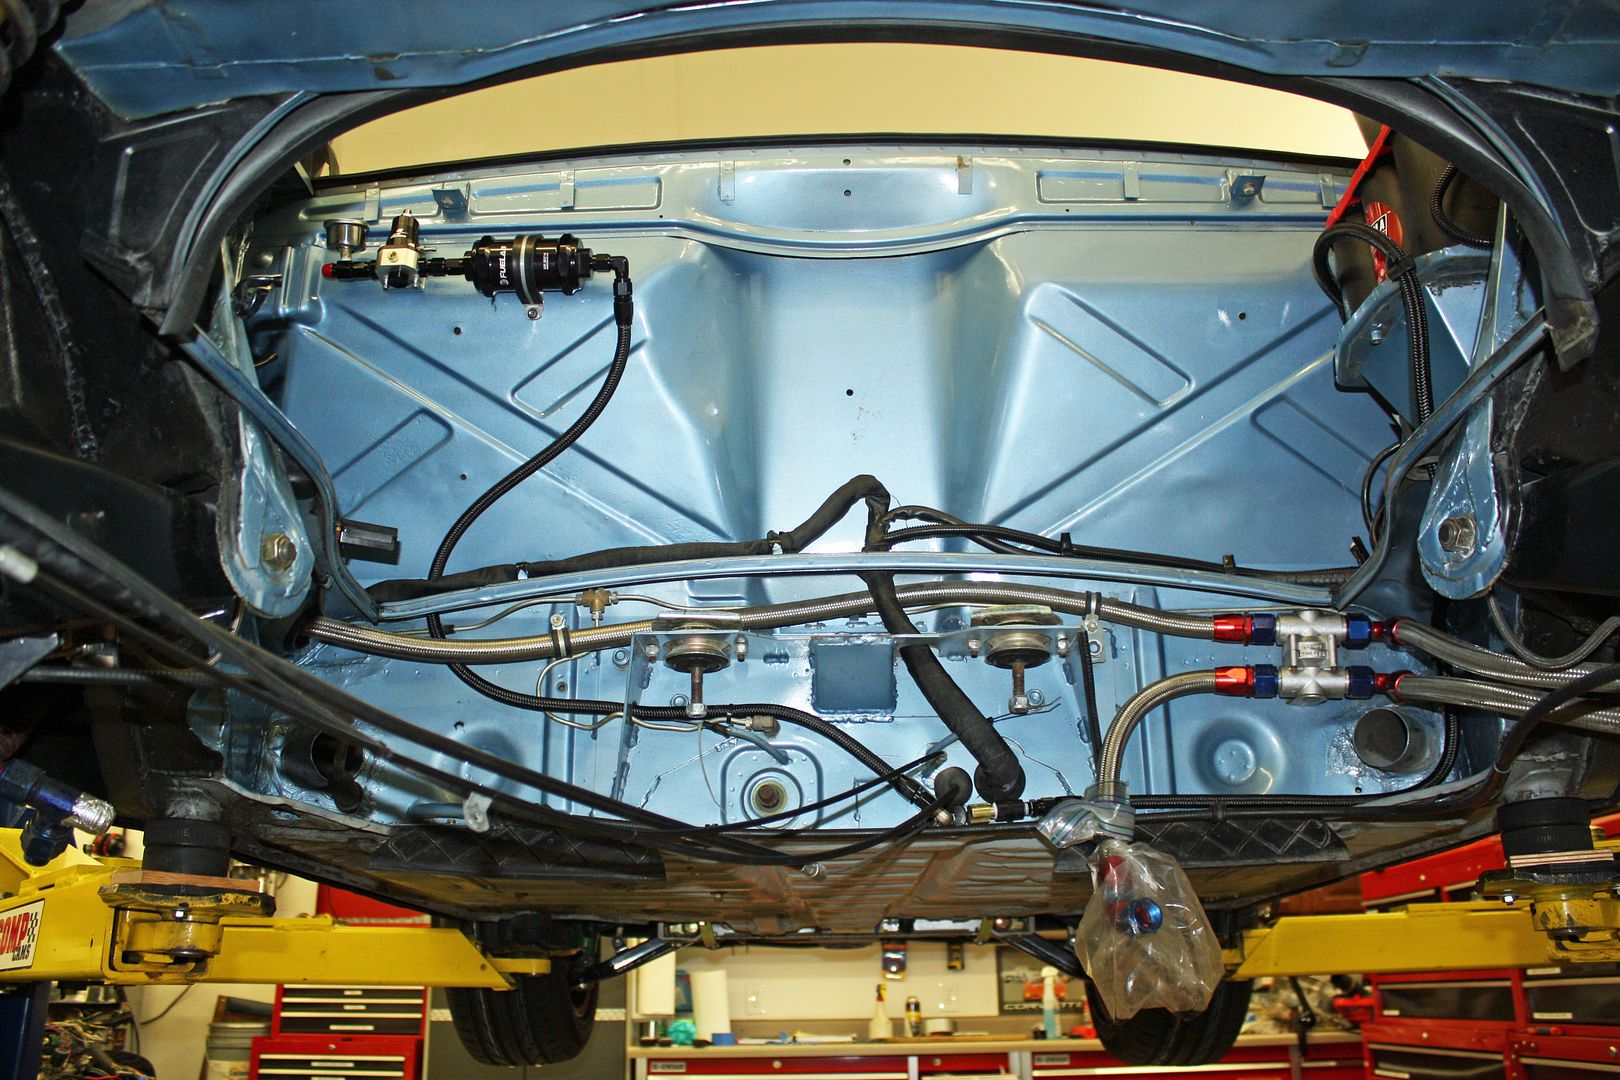


This morning I began by installing the return fuel line in the engine bay. The fitting on the end of the original line had 1/4 NPT thread. I could not find an adapter that went directly from NPT to -6 AN. I did find a 1/4 NPT female couple and I used an 1/4 NPT male to -6 AN male adapter. With that adapter in place, I ran the line over to the right and up through an existing hole to the battery area. From looking at photographs of 914-6 engine bays to see the relationship of the throttle bodies to the battery, I made an educated guess on the length.


 10-22-2018, 10:59 PM
#83
Racer
Thread Starter
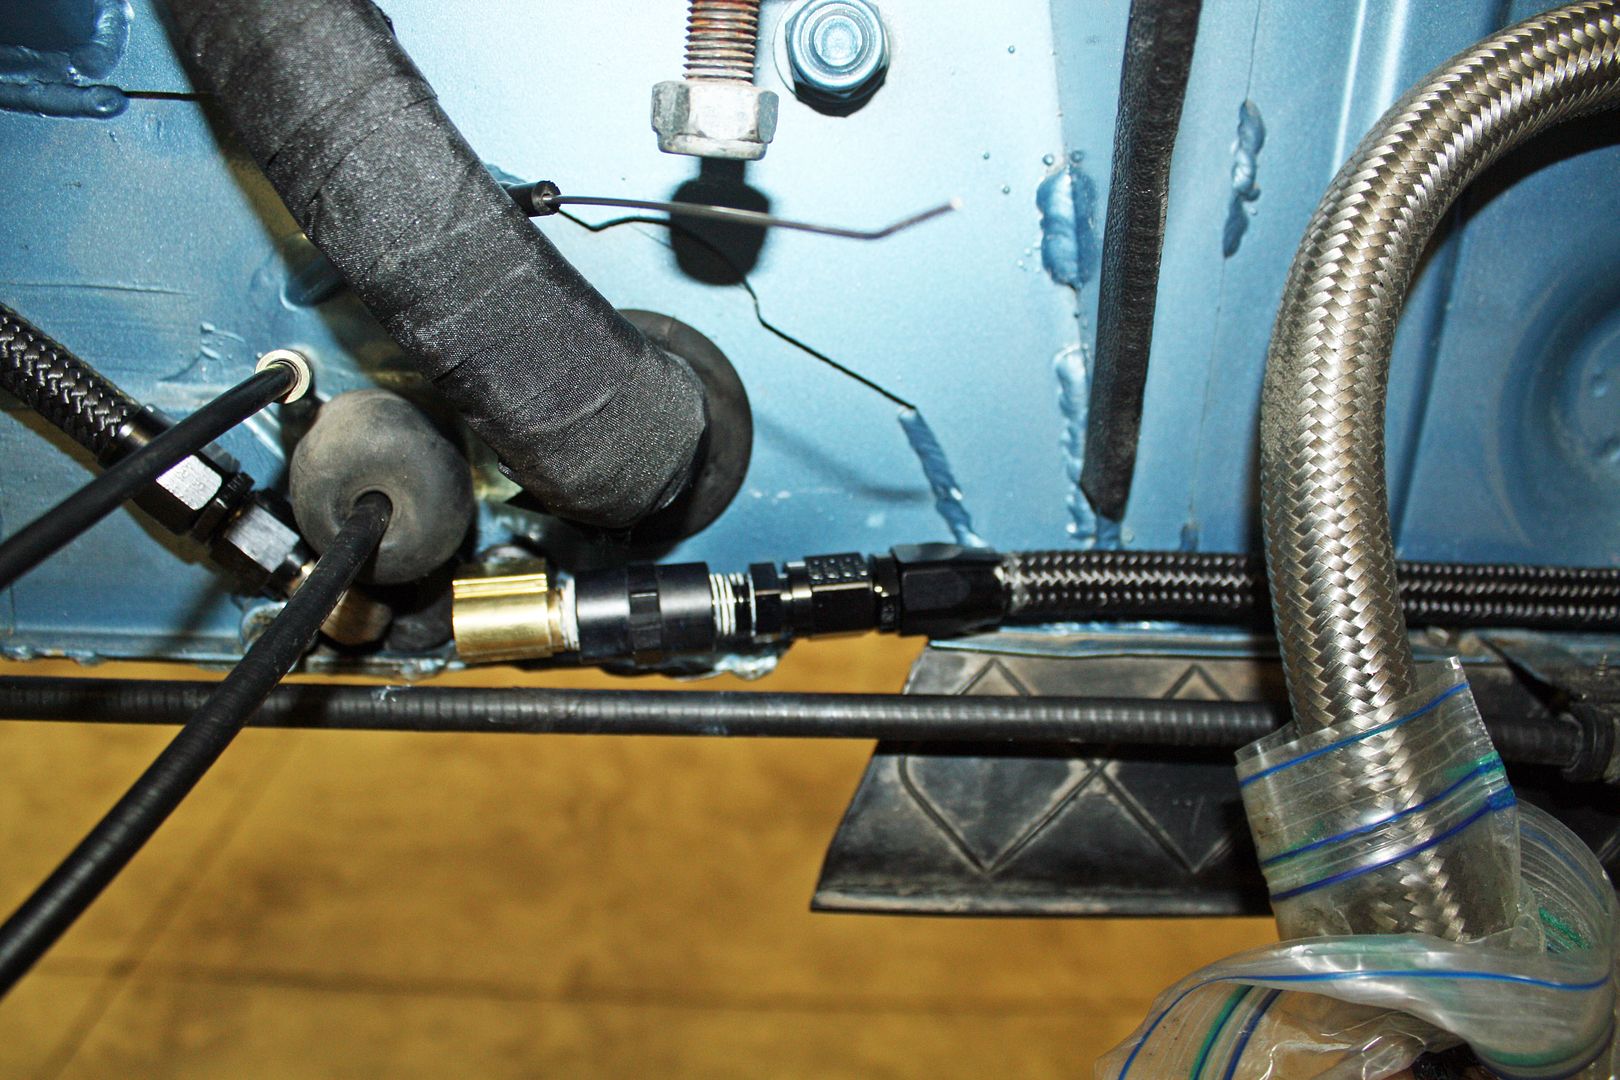
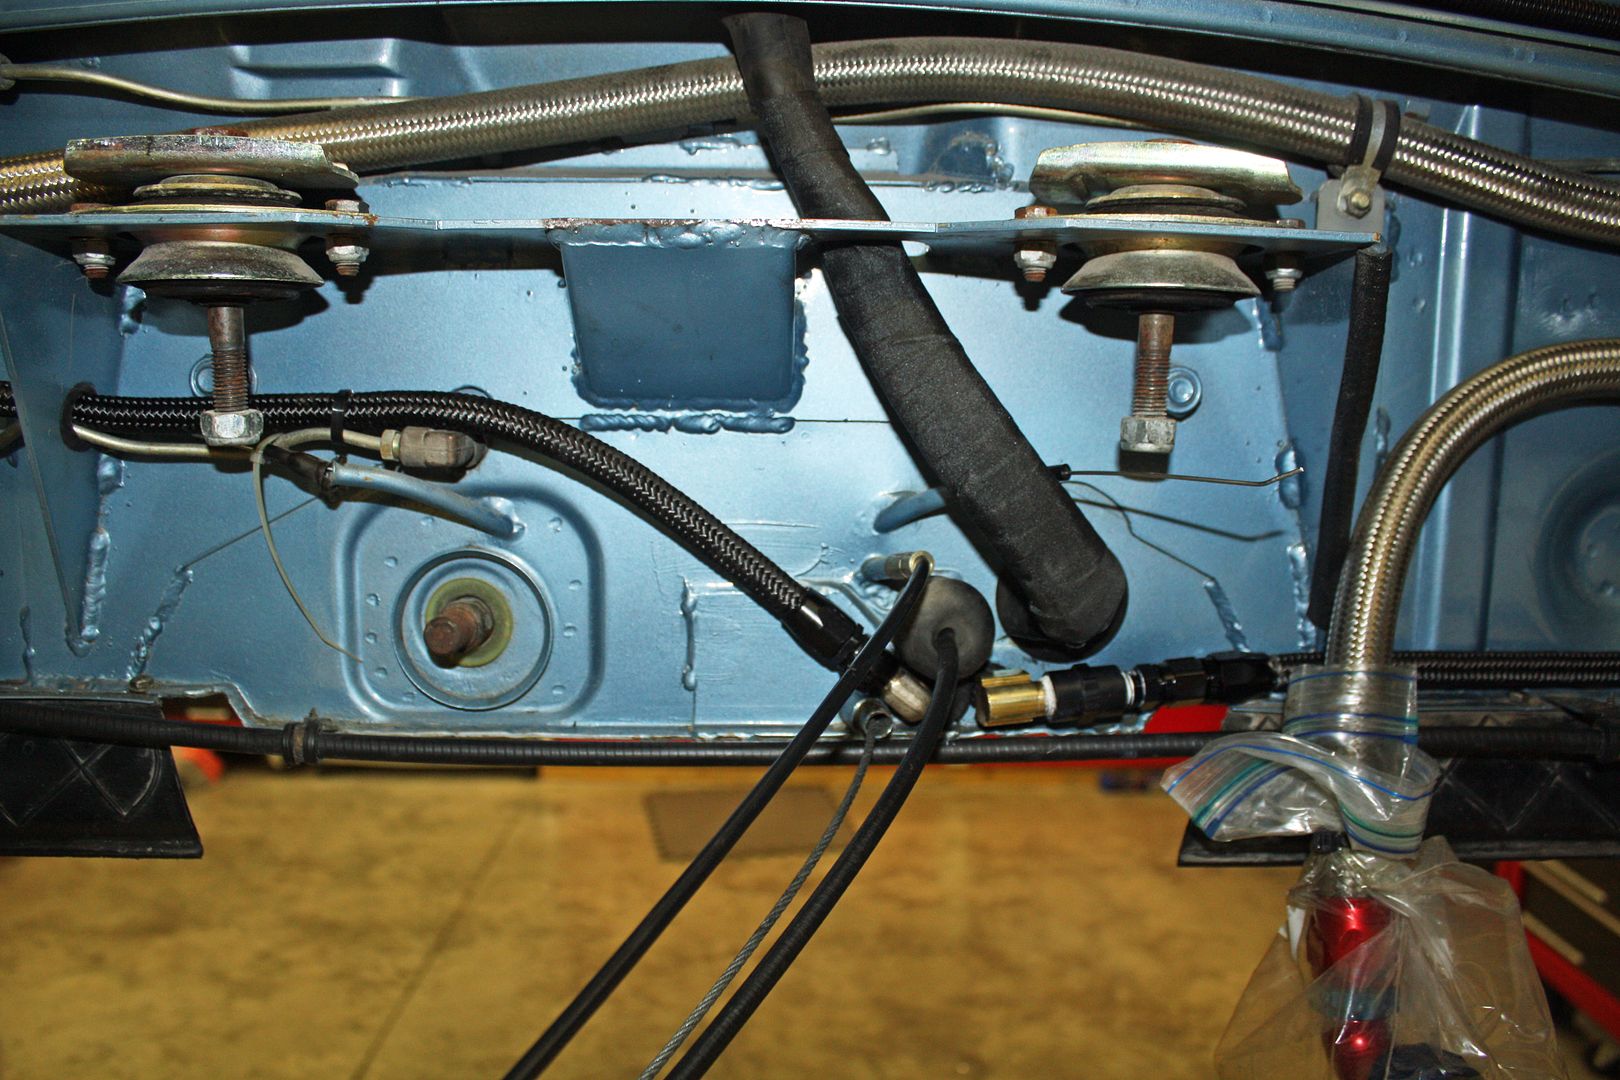
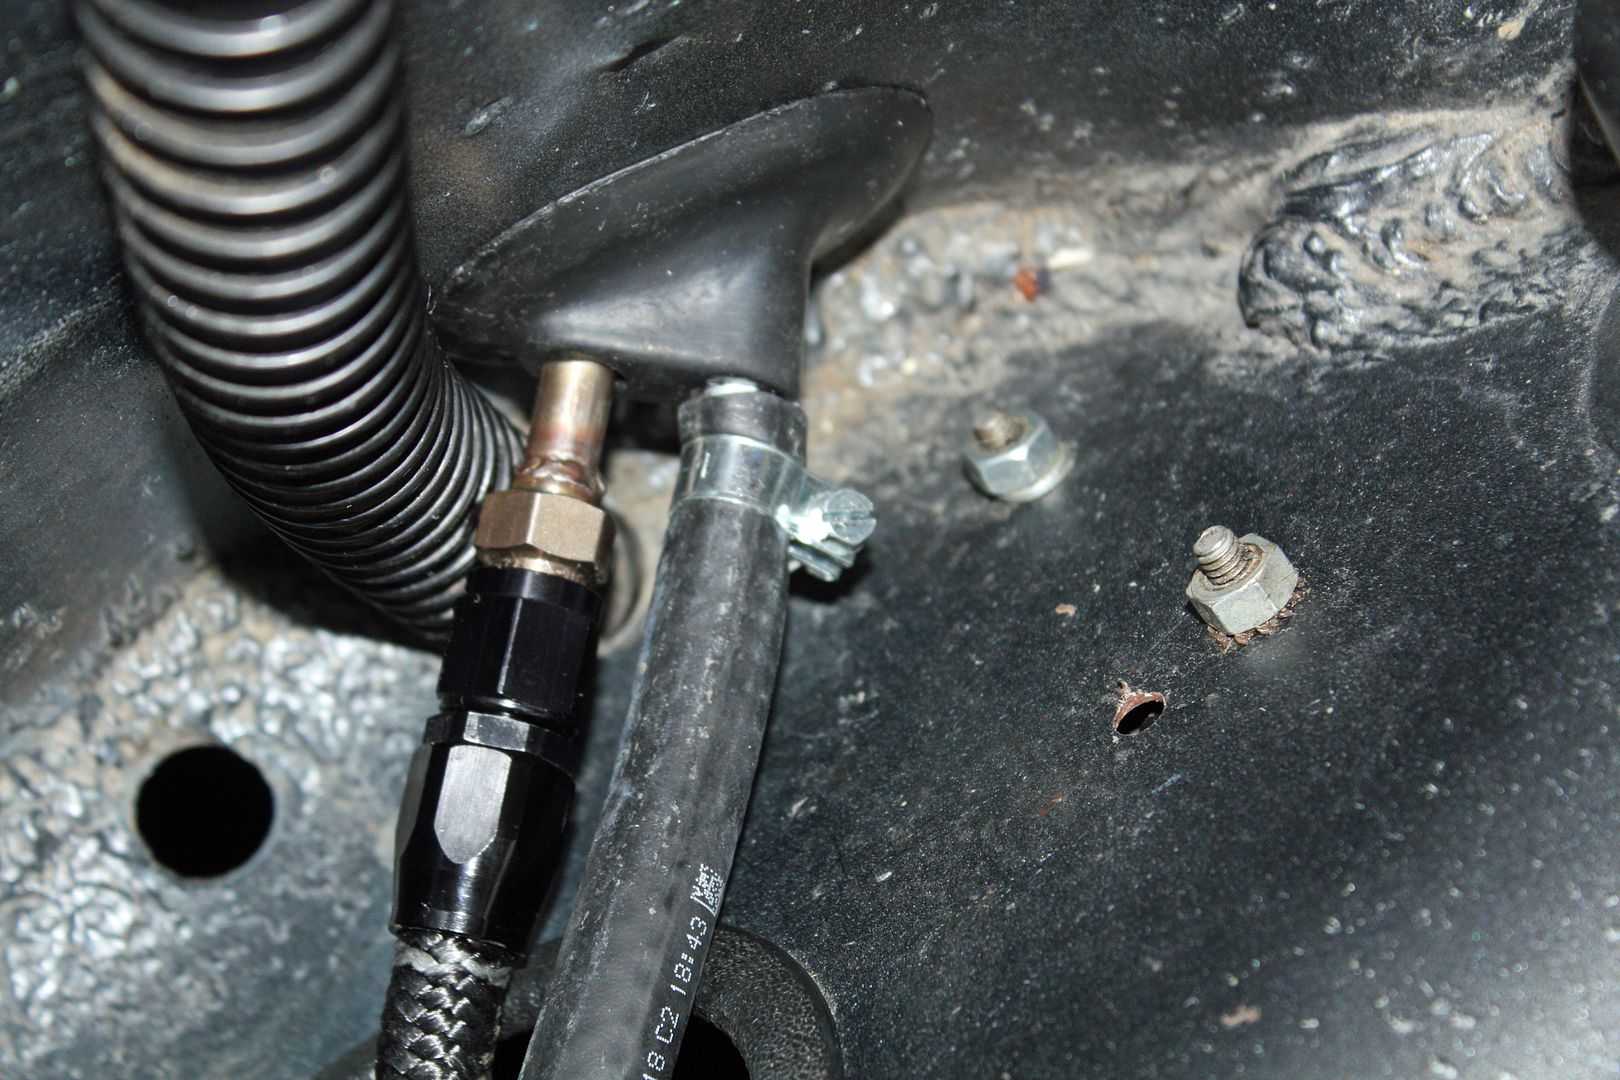
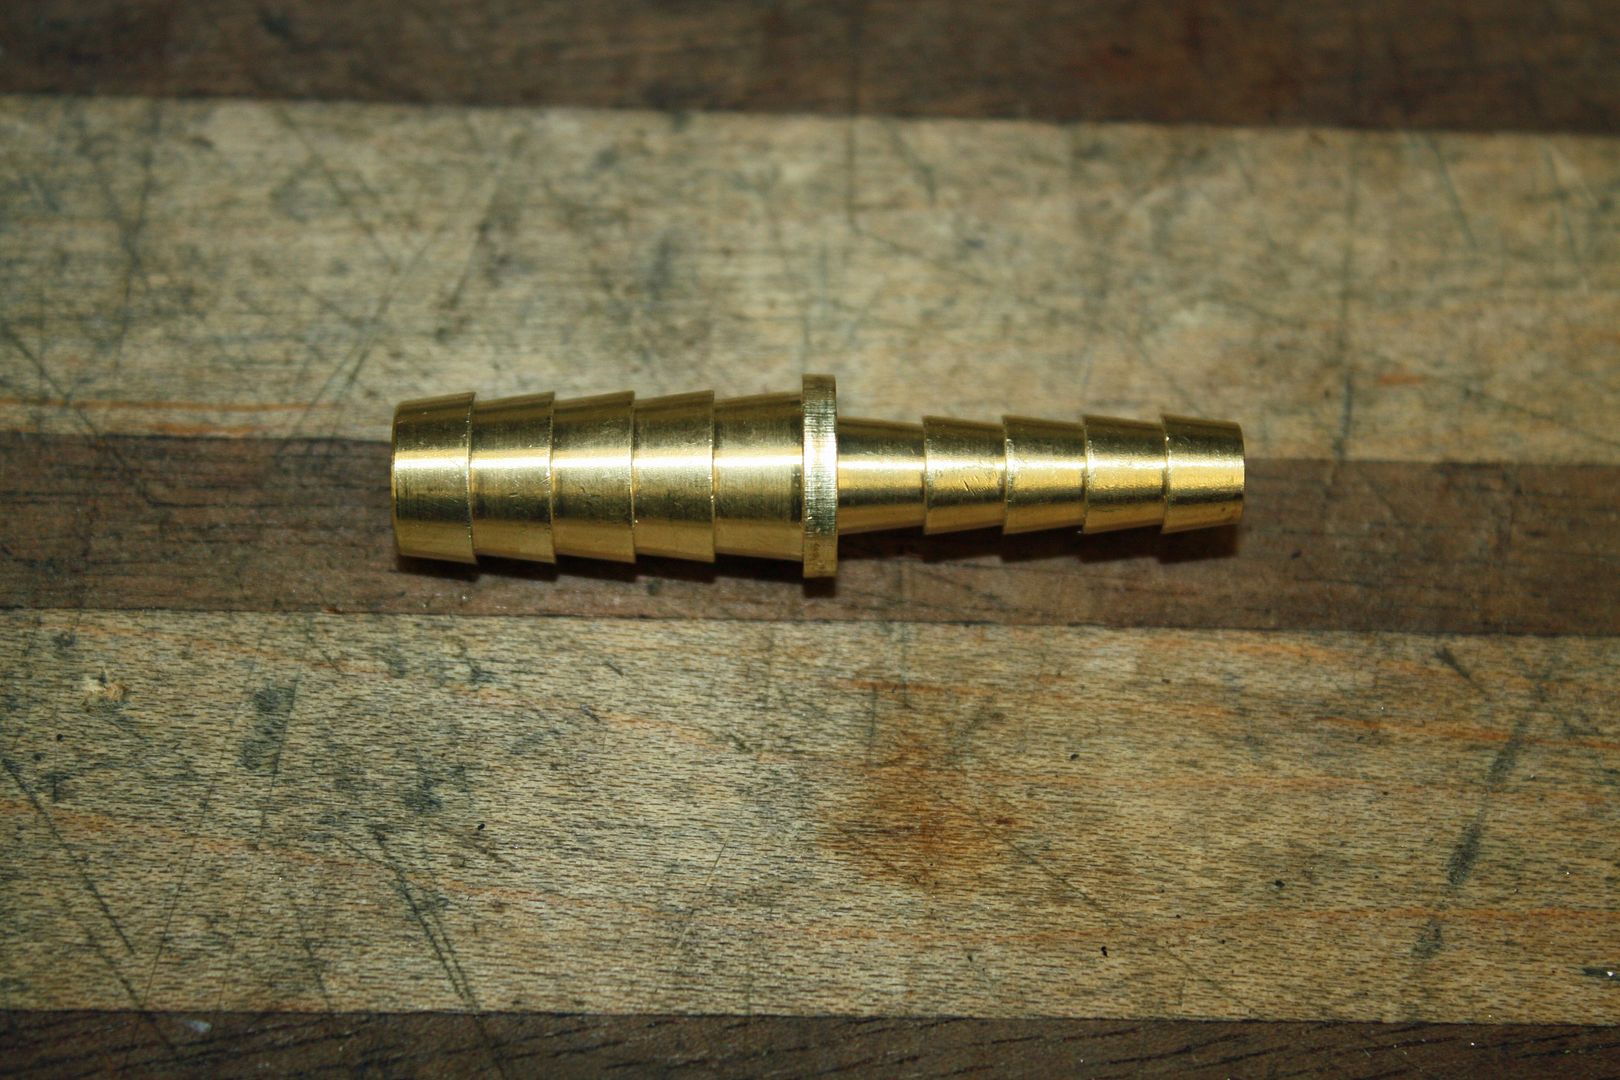
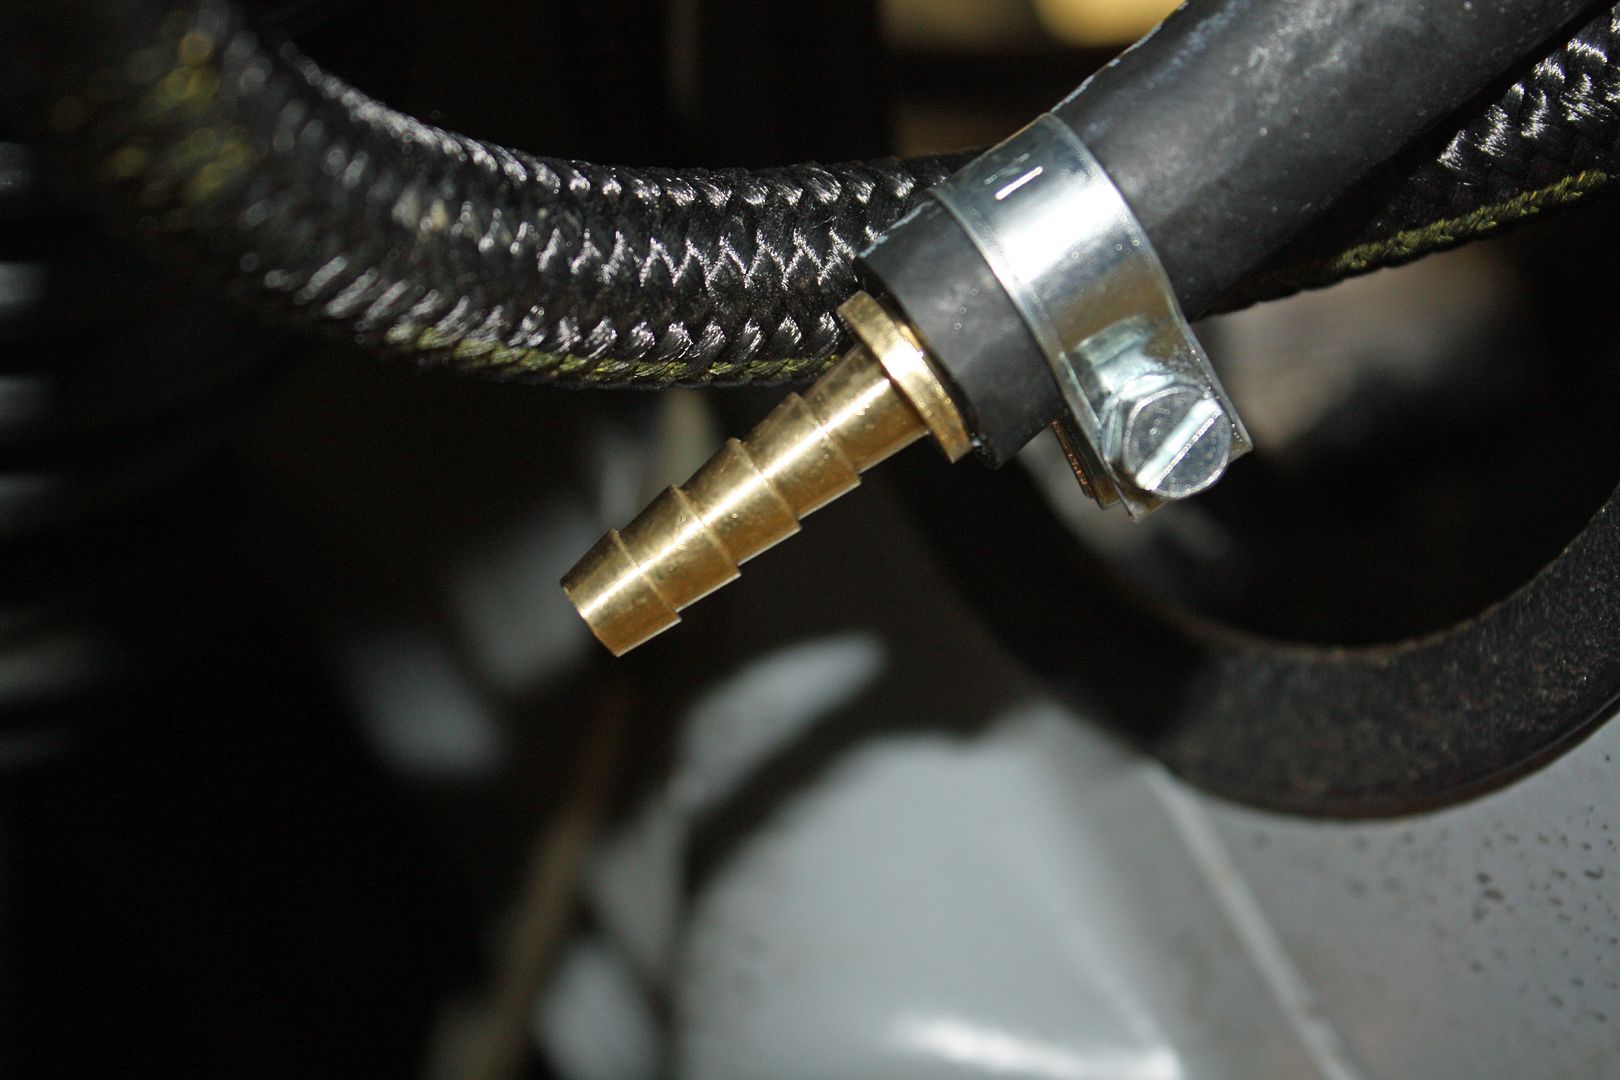
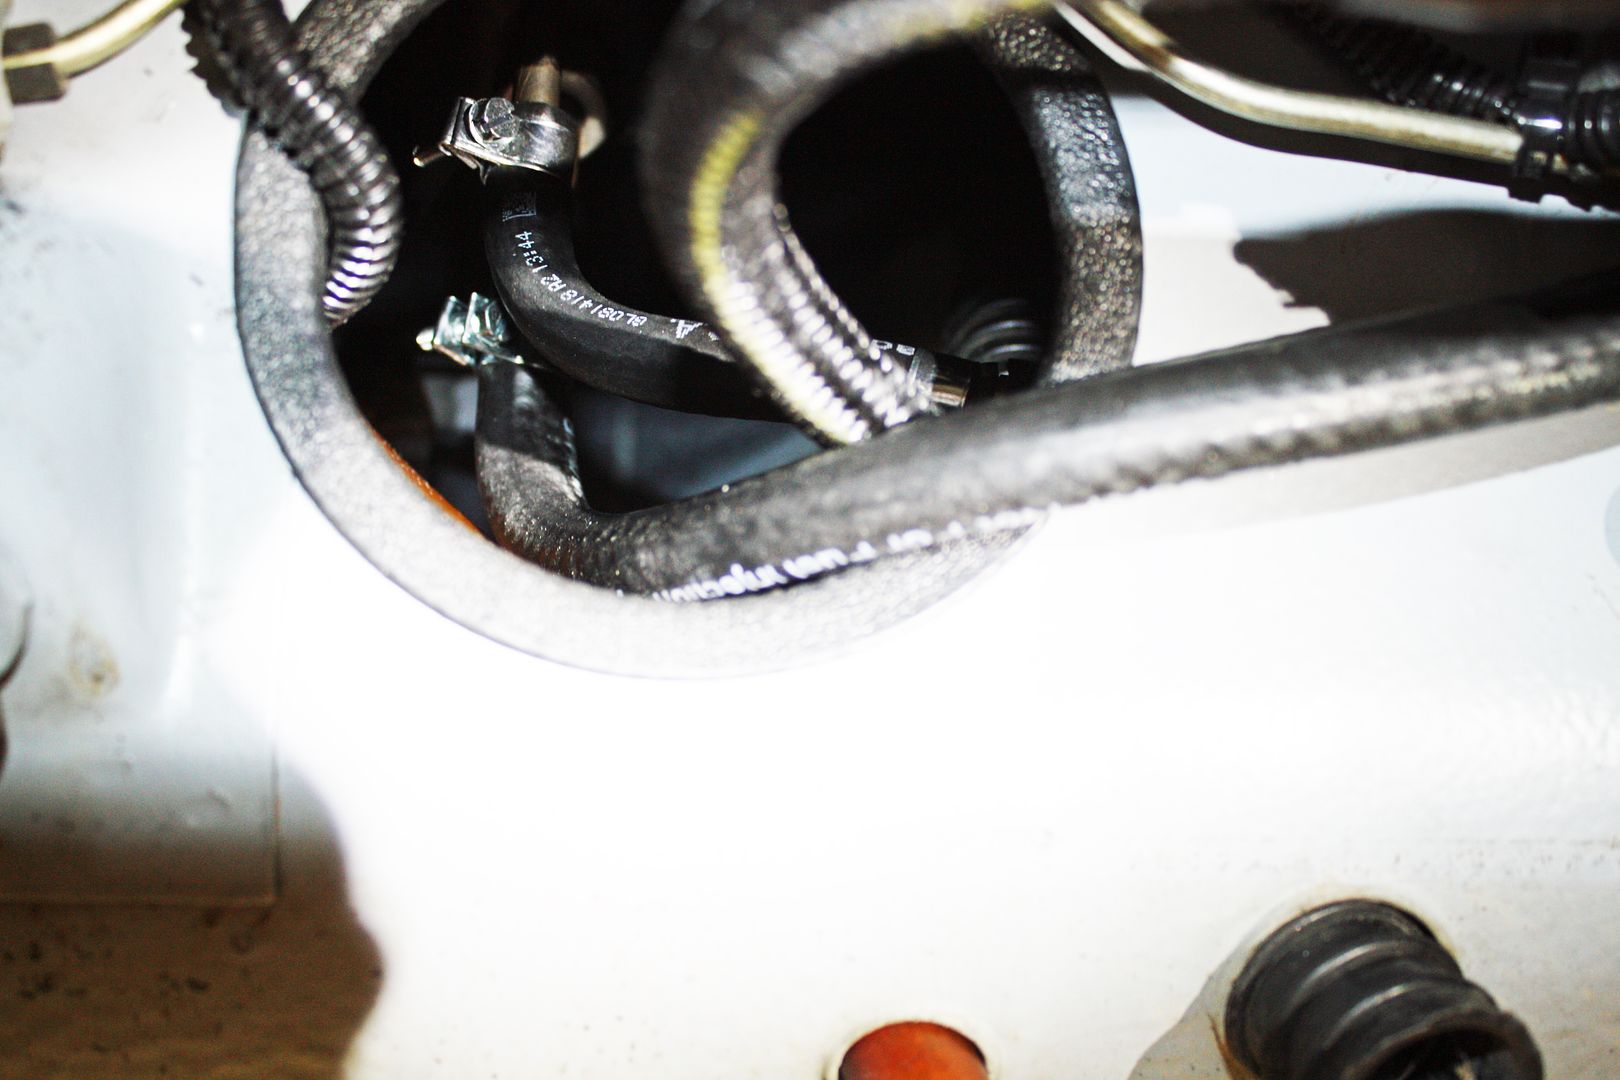
This afternoon, I moved to the front of the car. I ran a-6 AN line from Chris's fuel line to the output side of the fuel tank. I then ran a short return line from the original fuel line to the access area for the fuel lines on the tank. After installing the tank, I ran a feed line from the fuel tank to the in side of the fuel pump. I had forgotten to order an inline filter for this line. It will be here shortly and I will install it above the fuel pump. To hook up the return line from the original fuel line back to the tank, I had to use an adapter to go from 3/8" fuel line to 1/4" fuel line.


 10-25-2018, 05:42 PM
#84
Racer
Thread Starter
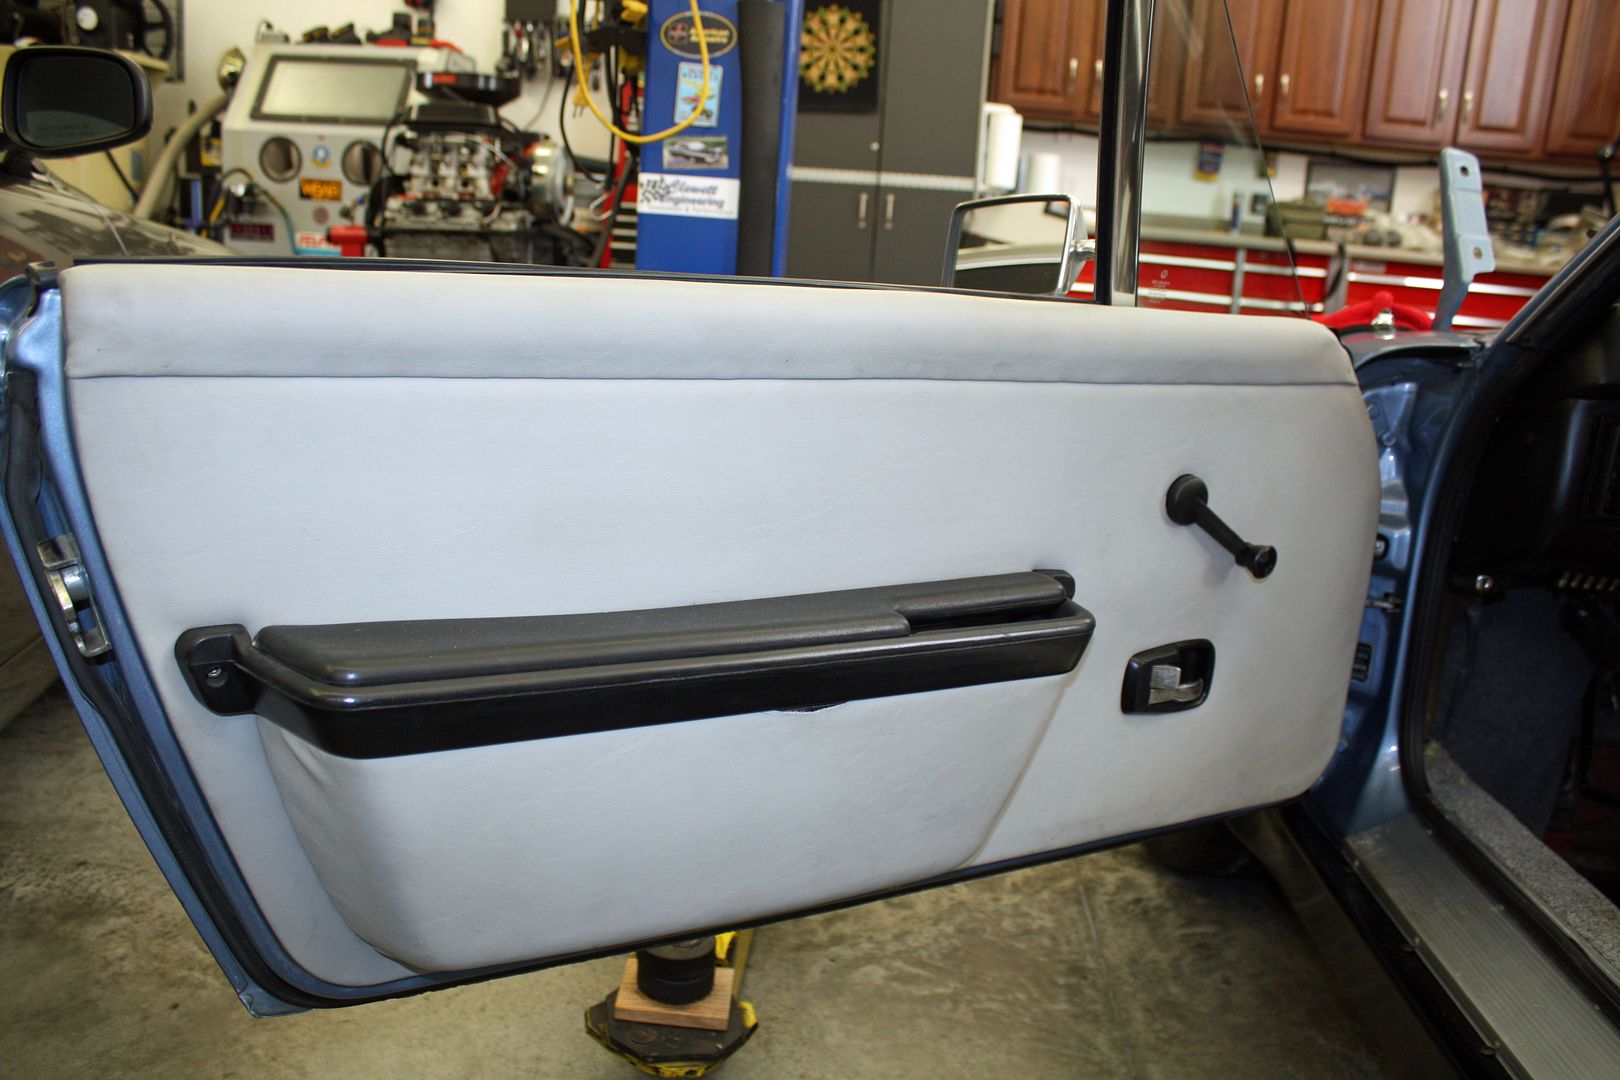
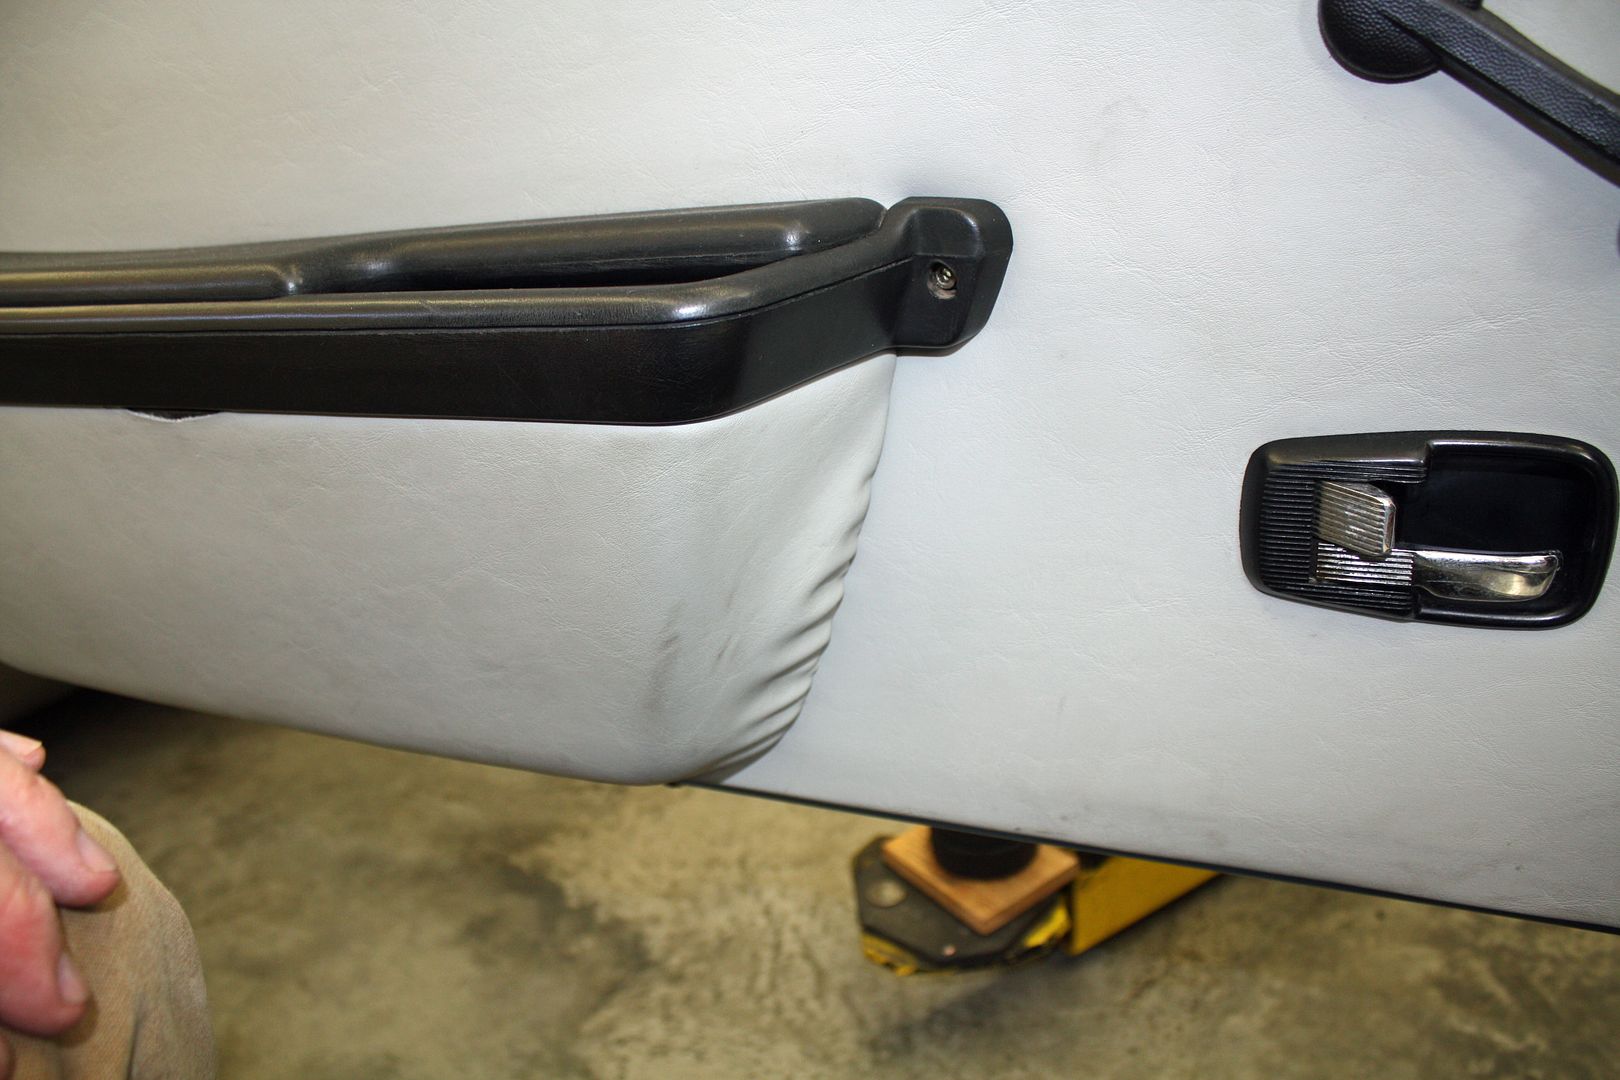
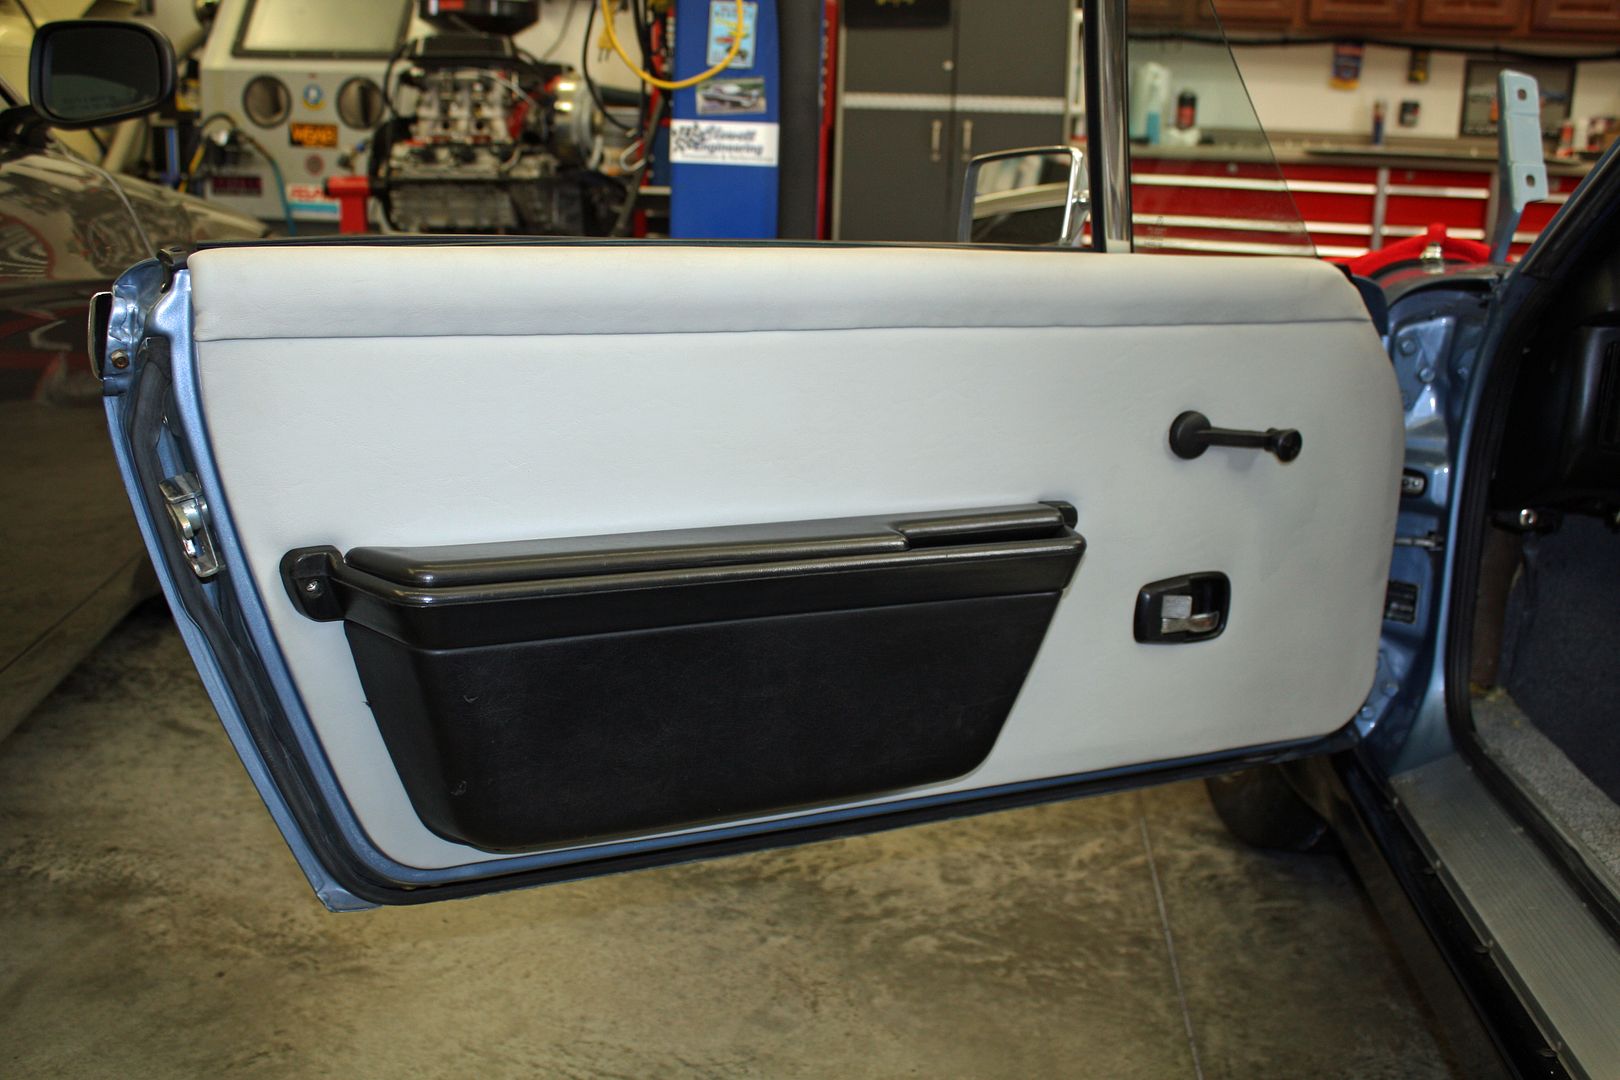
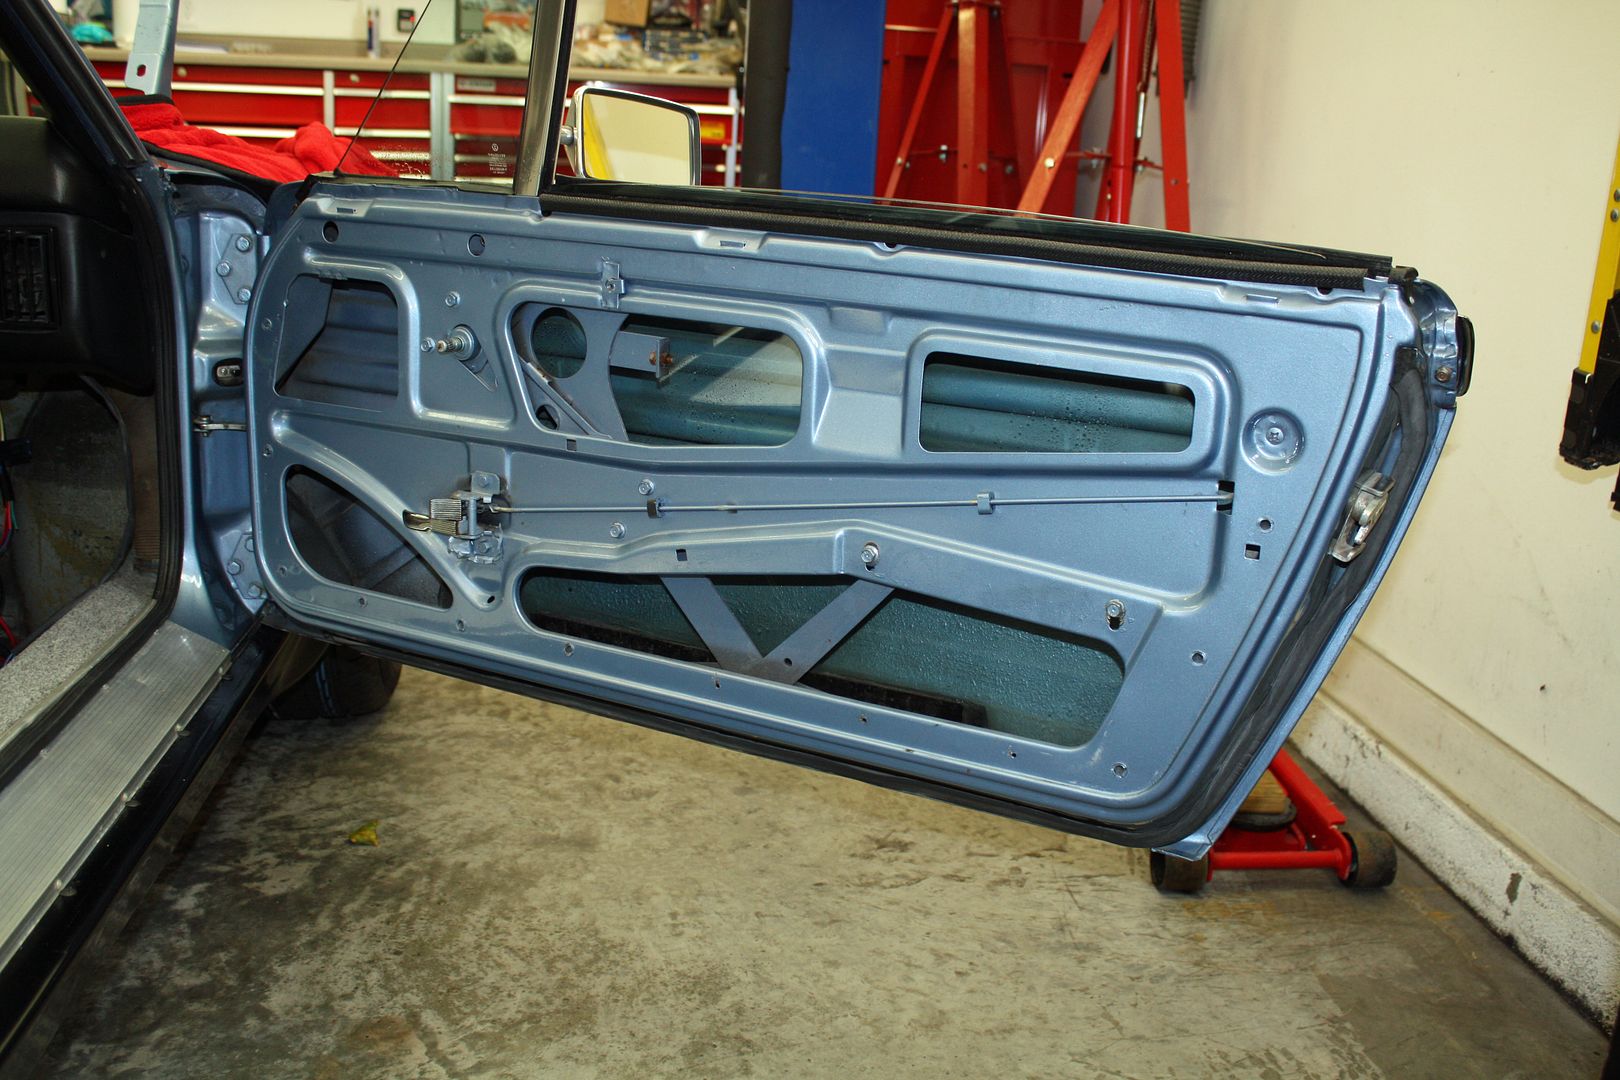
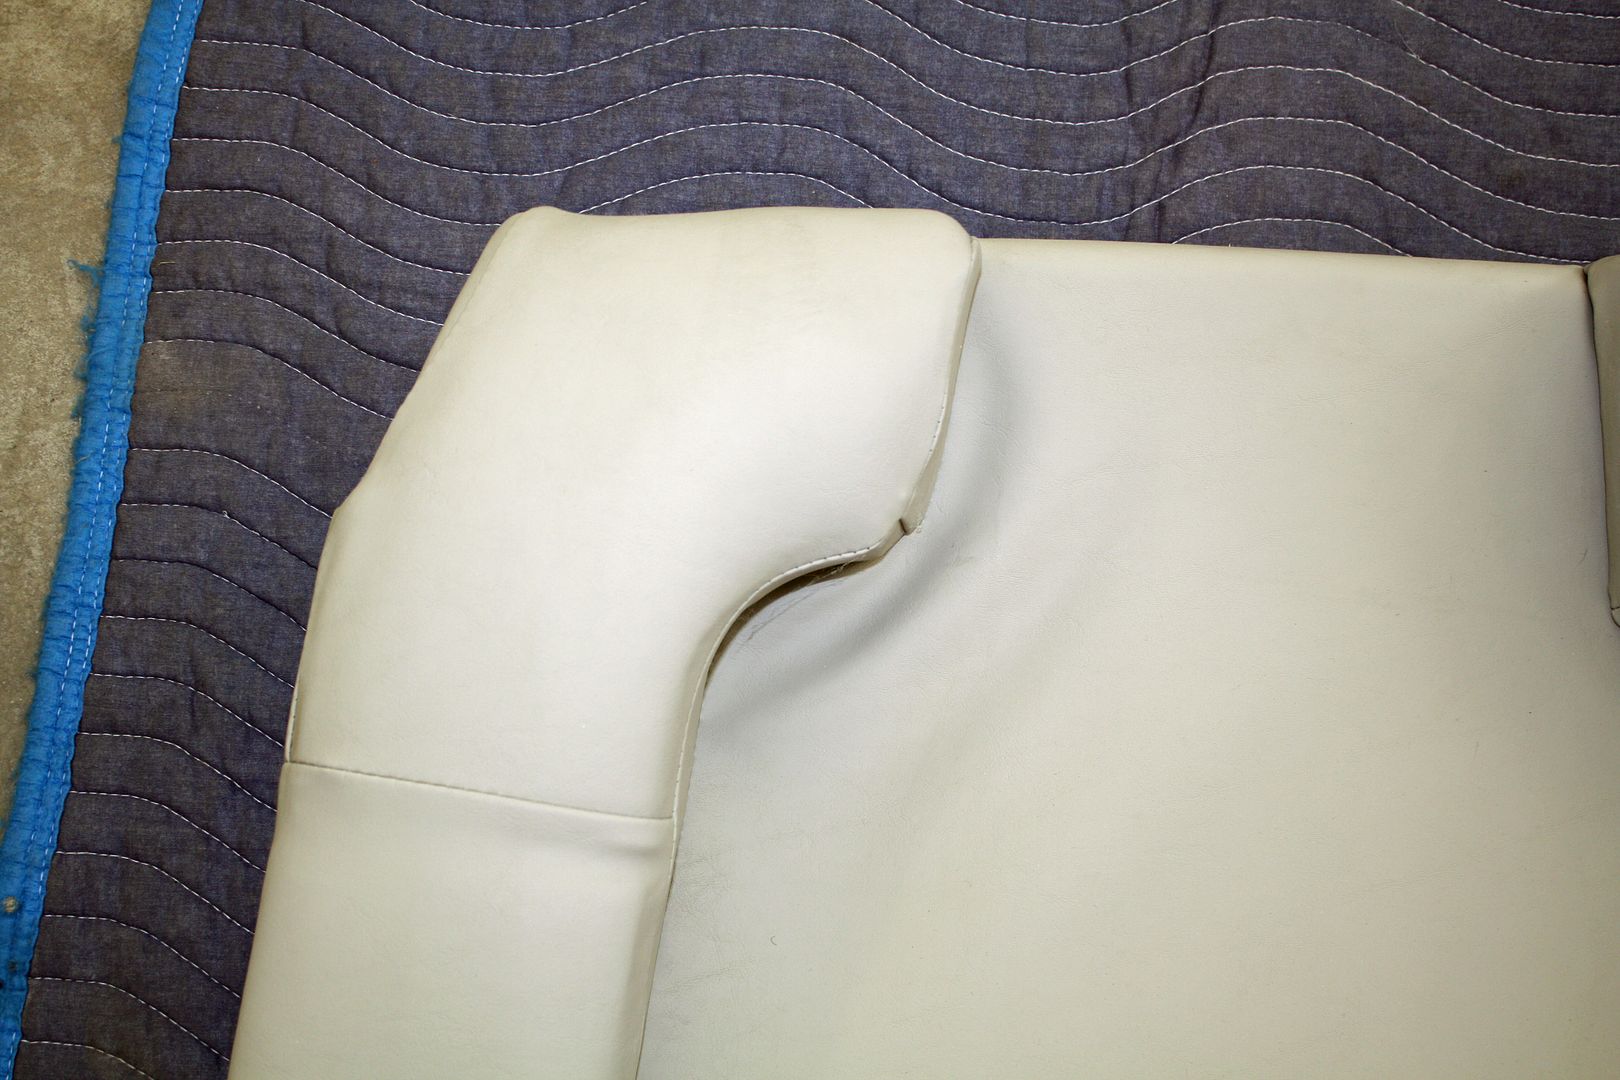
Since I am waiting for parts for the fuel lines and the wiring, I decided to address the interior. I wasn't happy with the way the fabric was bunched up on the left door pocket. After removing it, I could see that I would have to remove all of the staples, straighten the fabric and then re-staple it. Since I don't have that size of staples, I decided to replace the door pocket with an extra one that came with the car. It is finished in the factory black and has a couple of nicks on the rear end of it. I like the looks of the all black door pocket better as it breaks up all of that gray on the door panel.


 10-25-2018, 06:45 PM
#85
Racer
Thread Starter
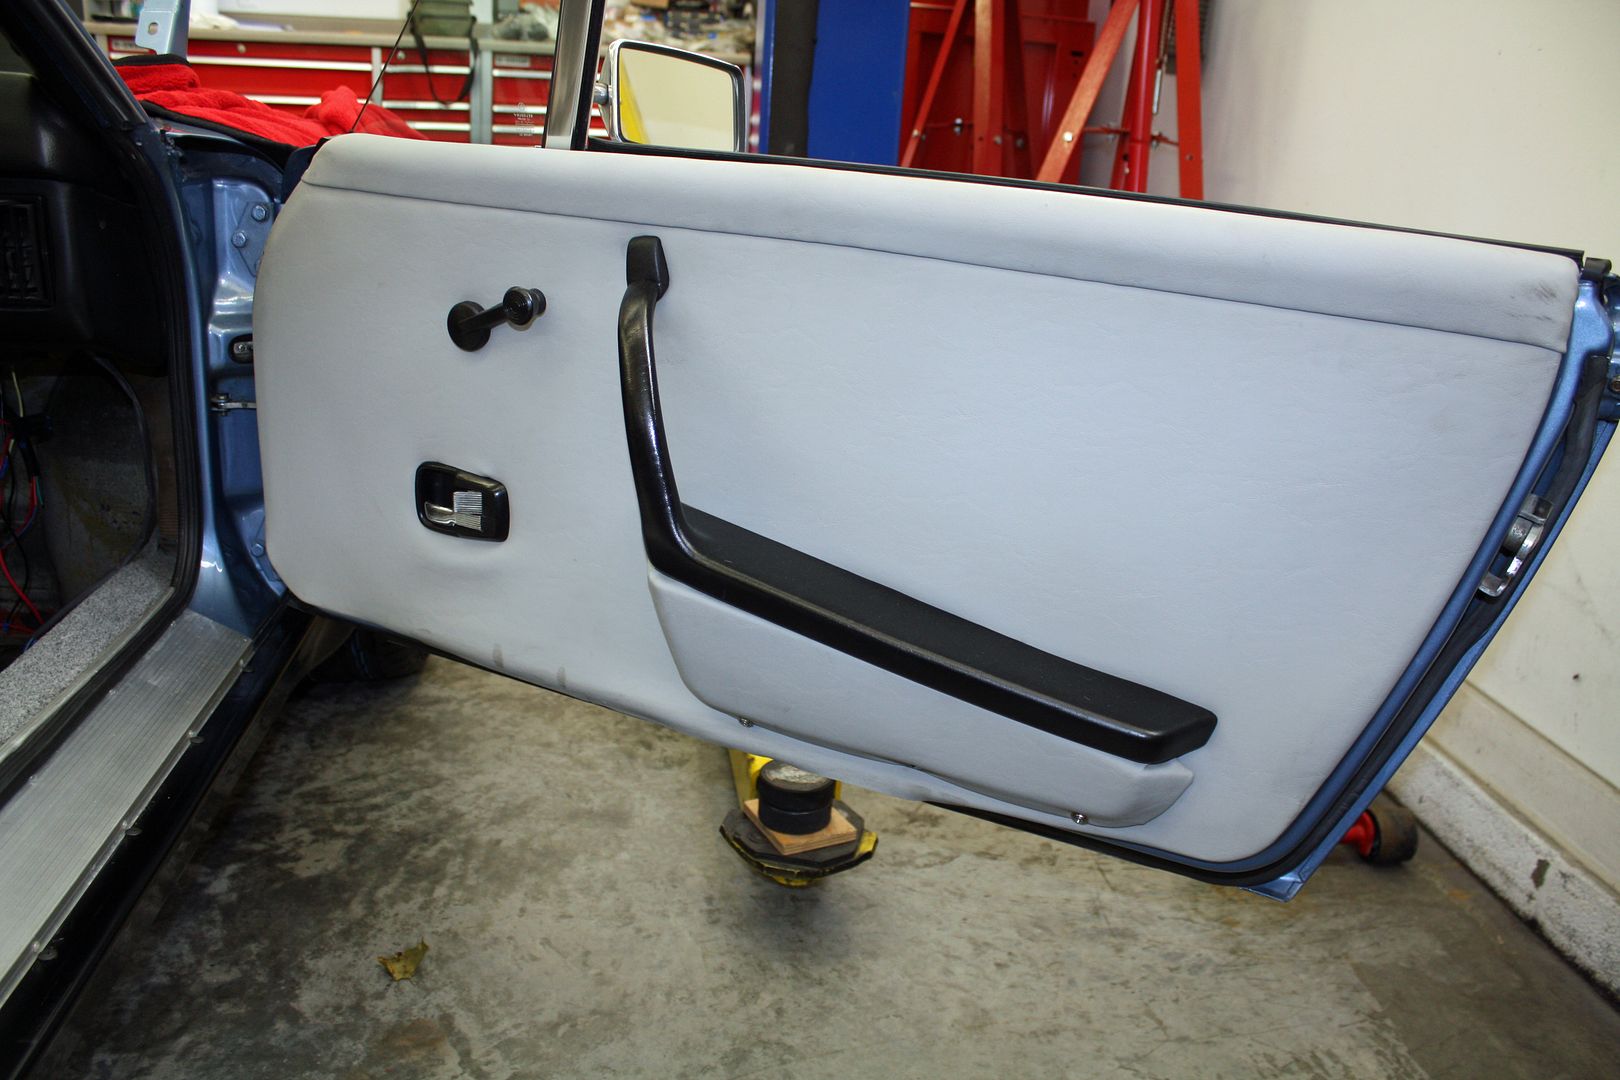
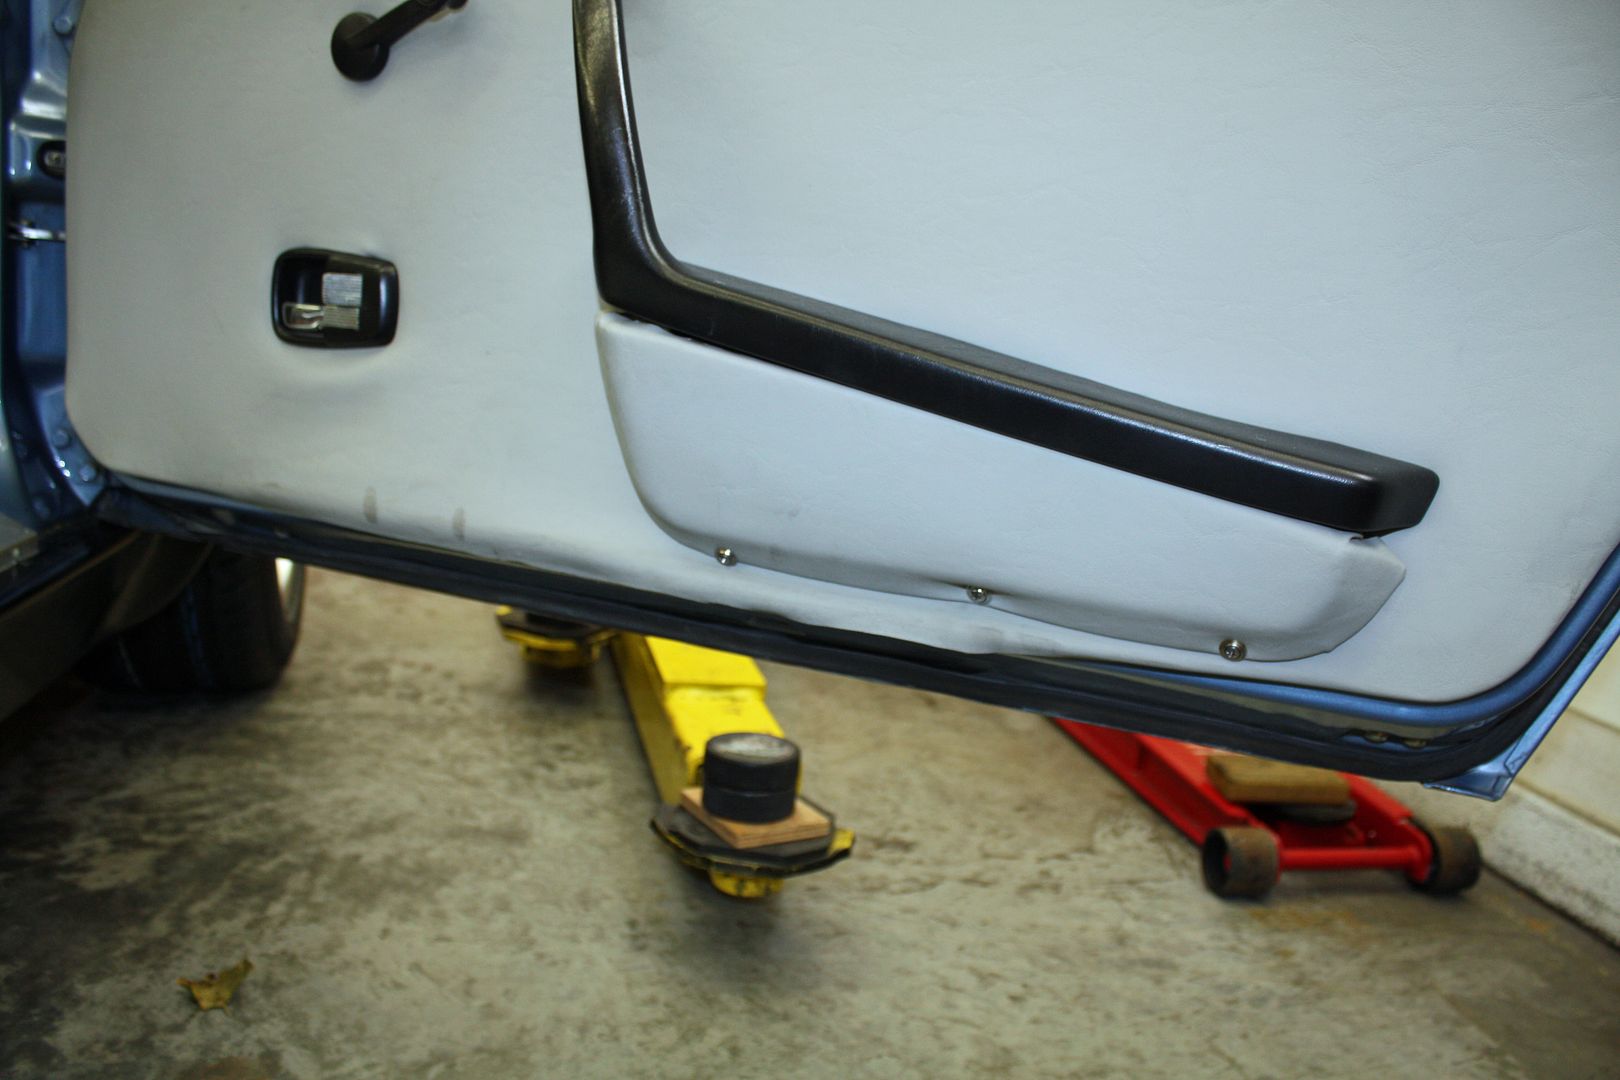
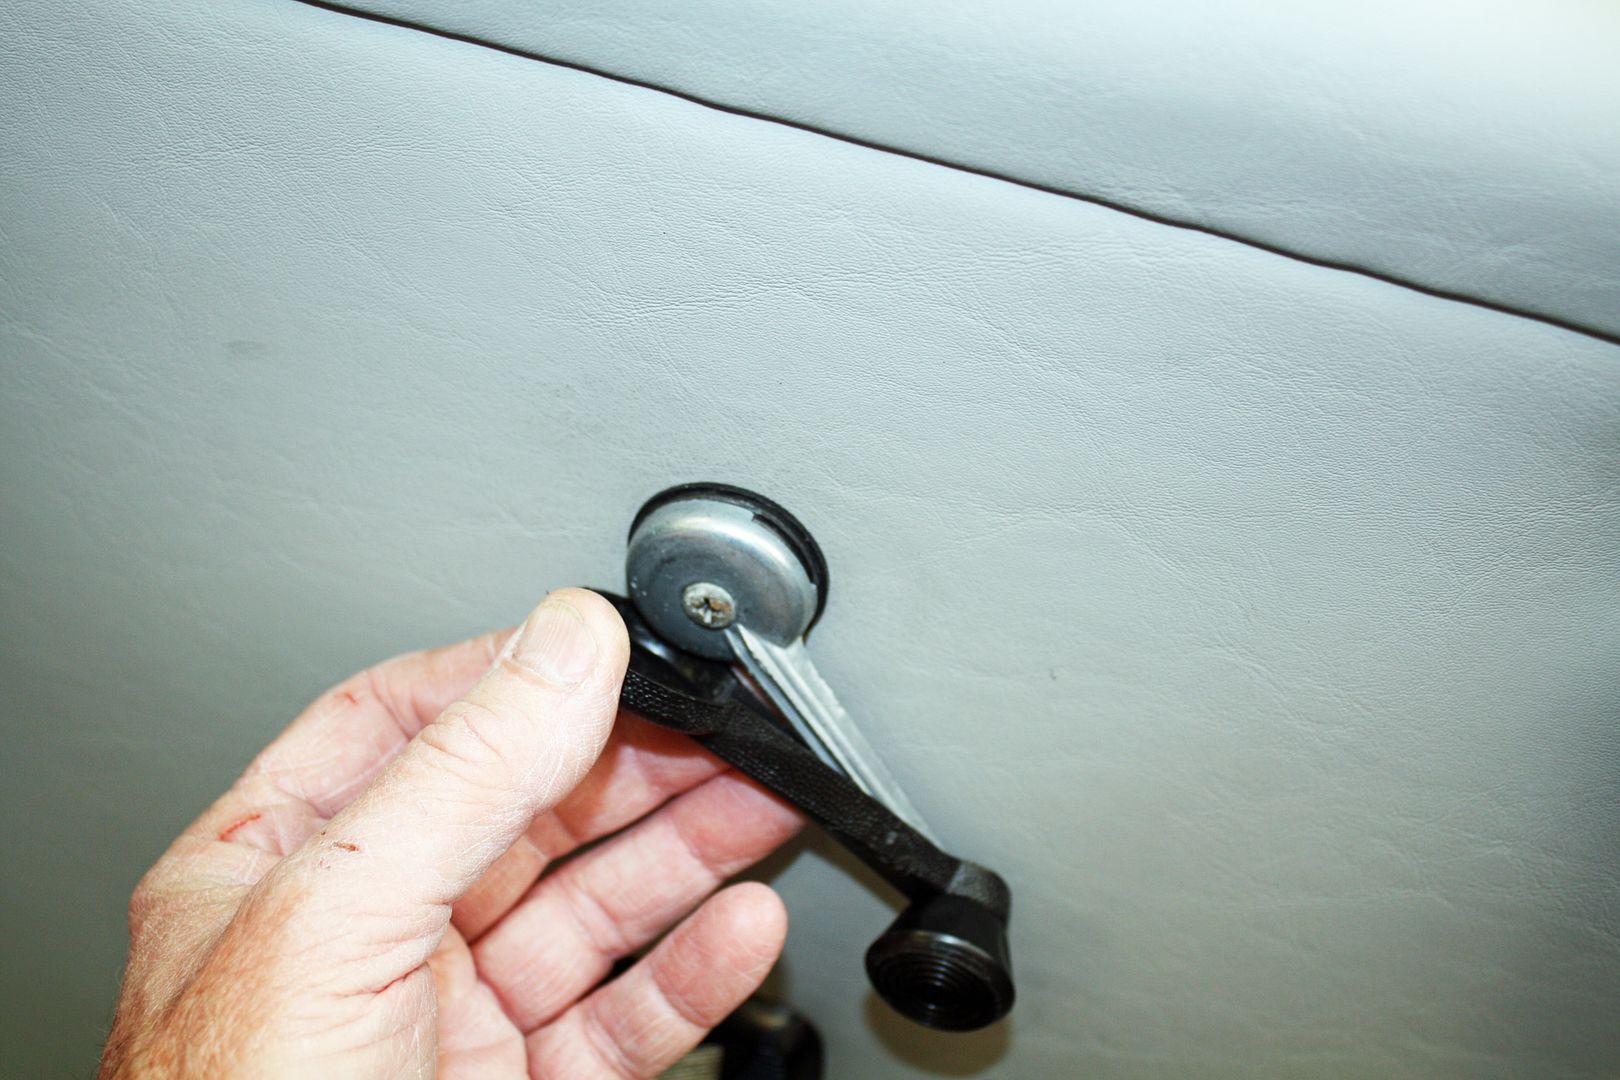
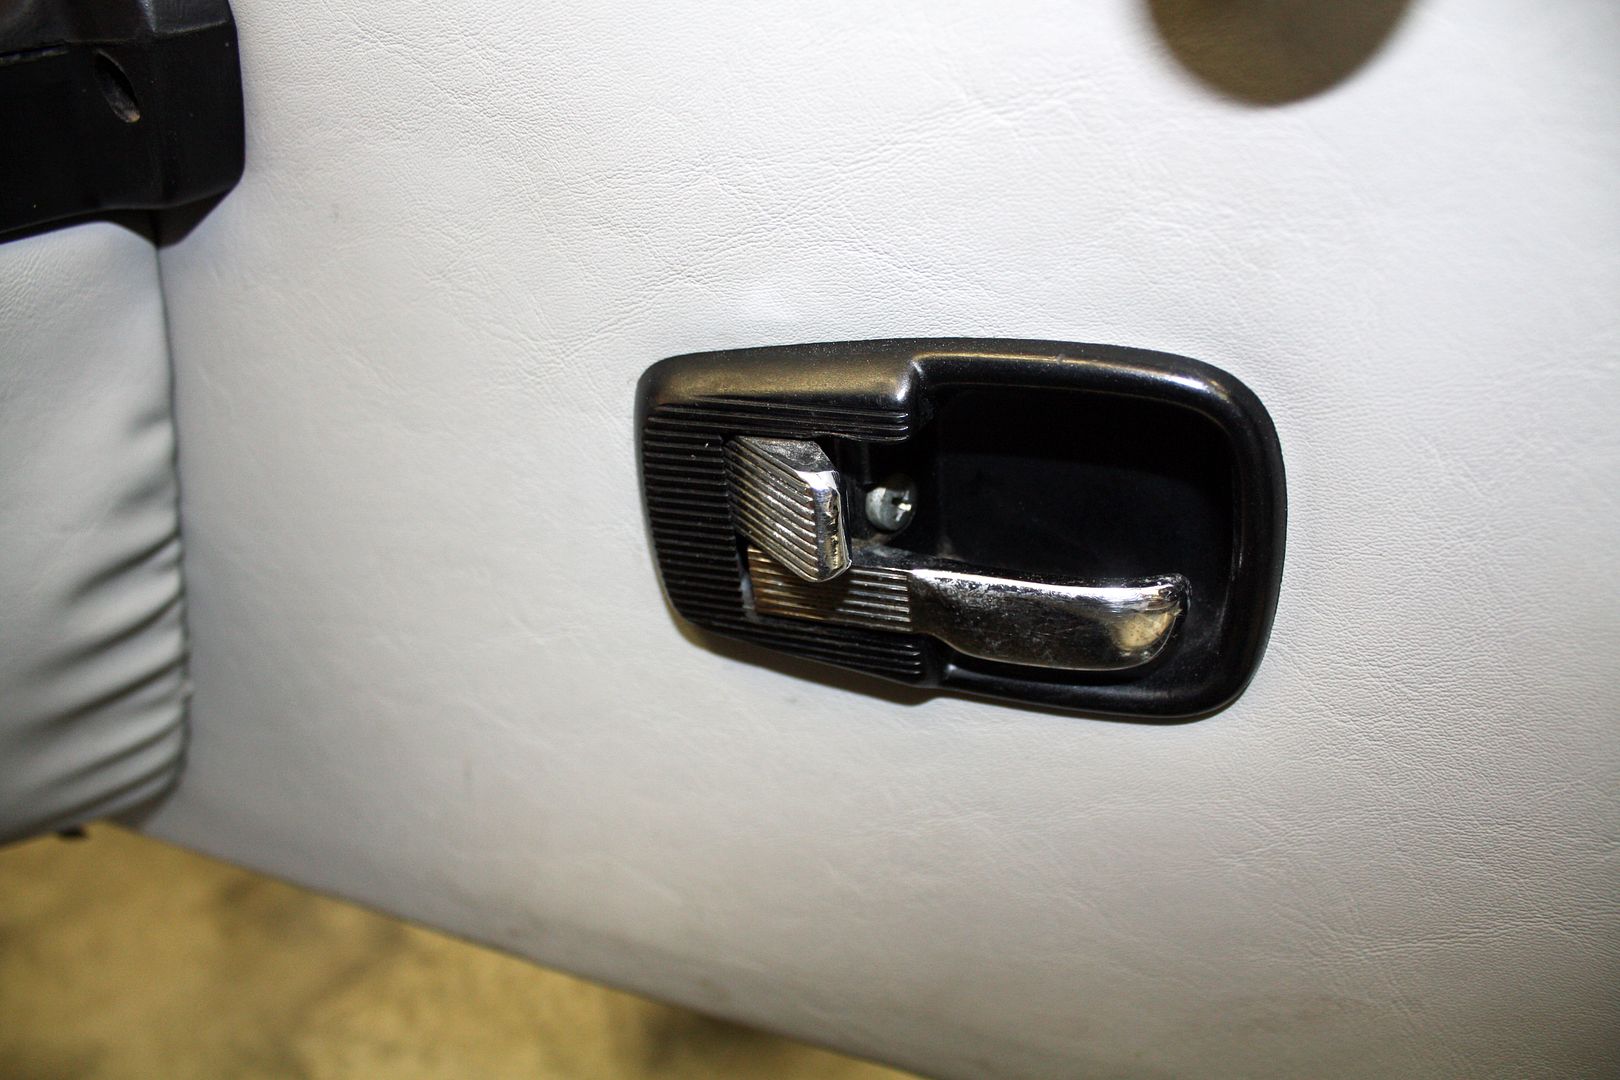
The right door panel needed a bit more attention as the fabric had come loose on the bottom and sides. To remove the door panel, I pulled back on the window crank cover to expose the screw. After removing the door handle screw to release that bezel and removing the arm rest, I popped the door panel off. Using some spray carpet adhesive, i re-attached everything. I haven't re-installed the panel yet as three of the clips were missing. They are on the way.


 10-25-2018, 06:55 PM
#86
Racer
Thread Starter
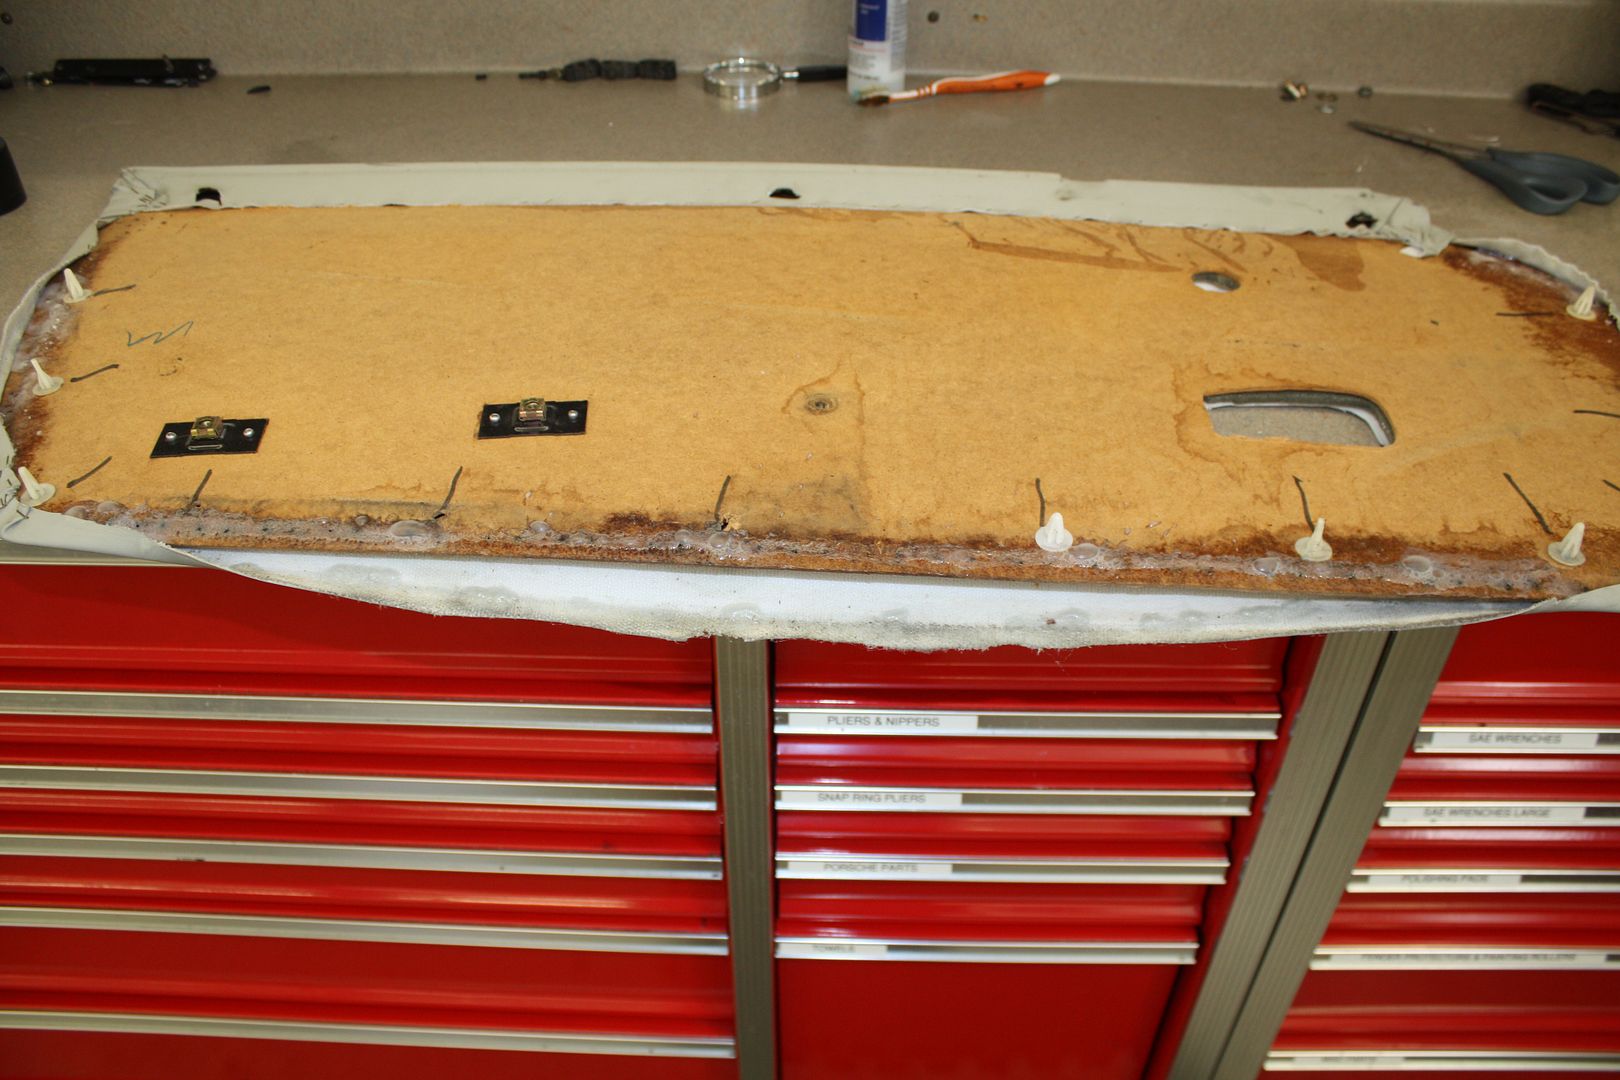
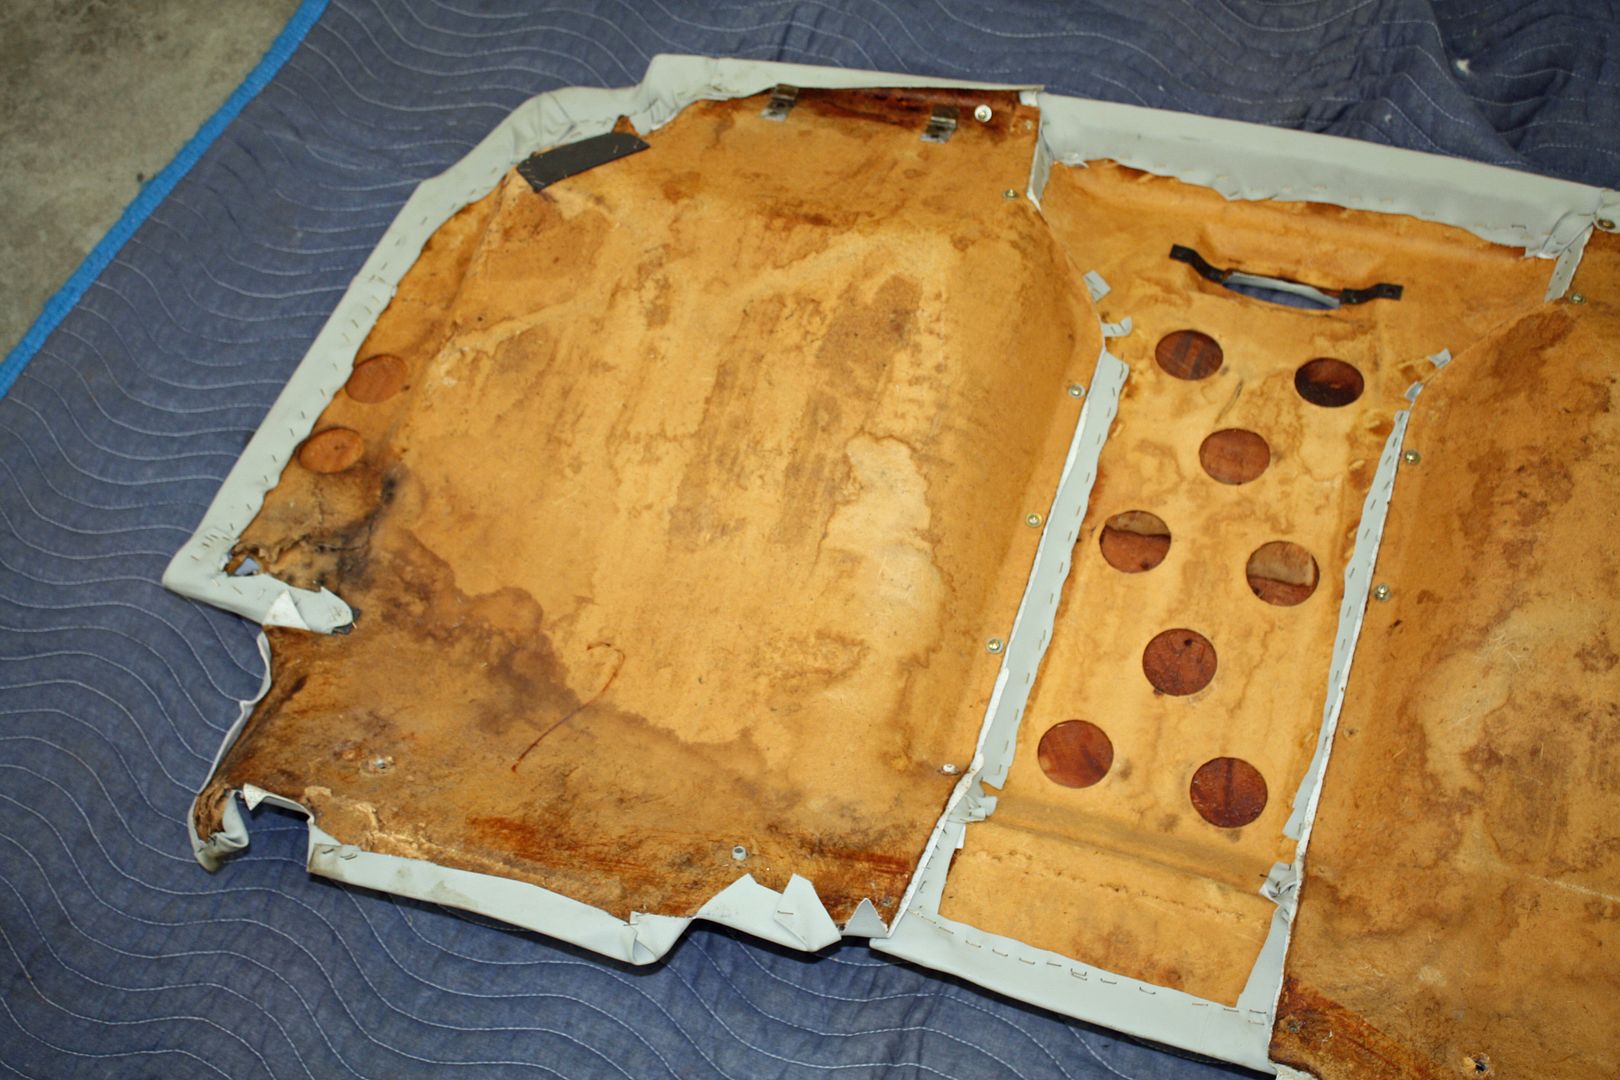
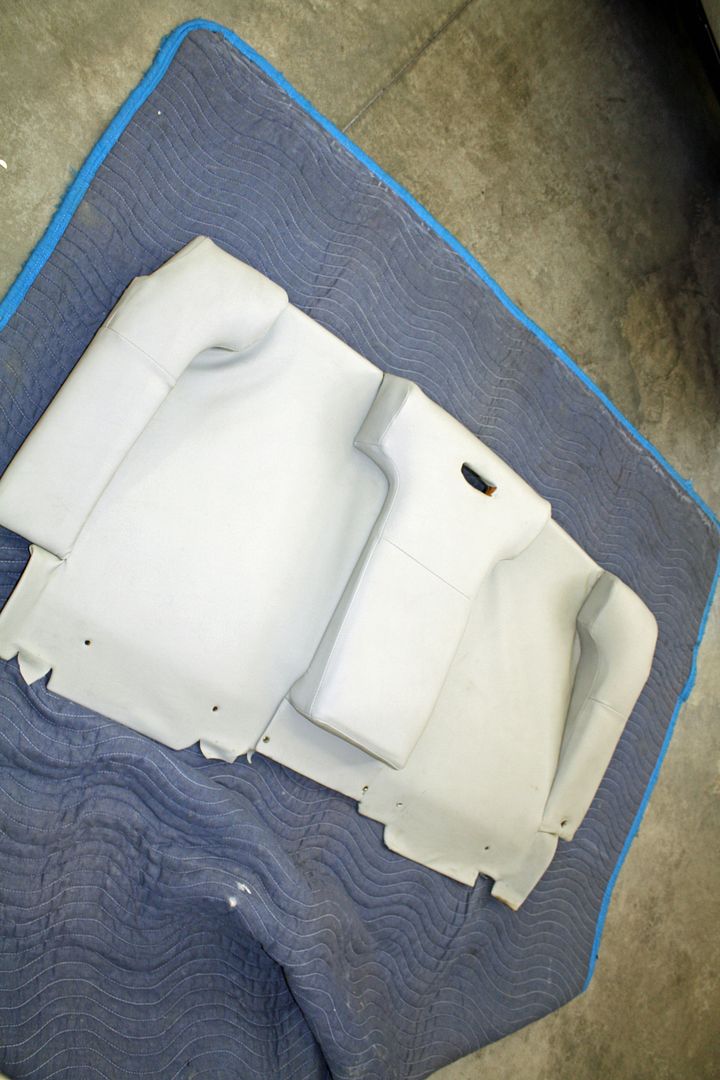
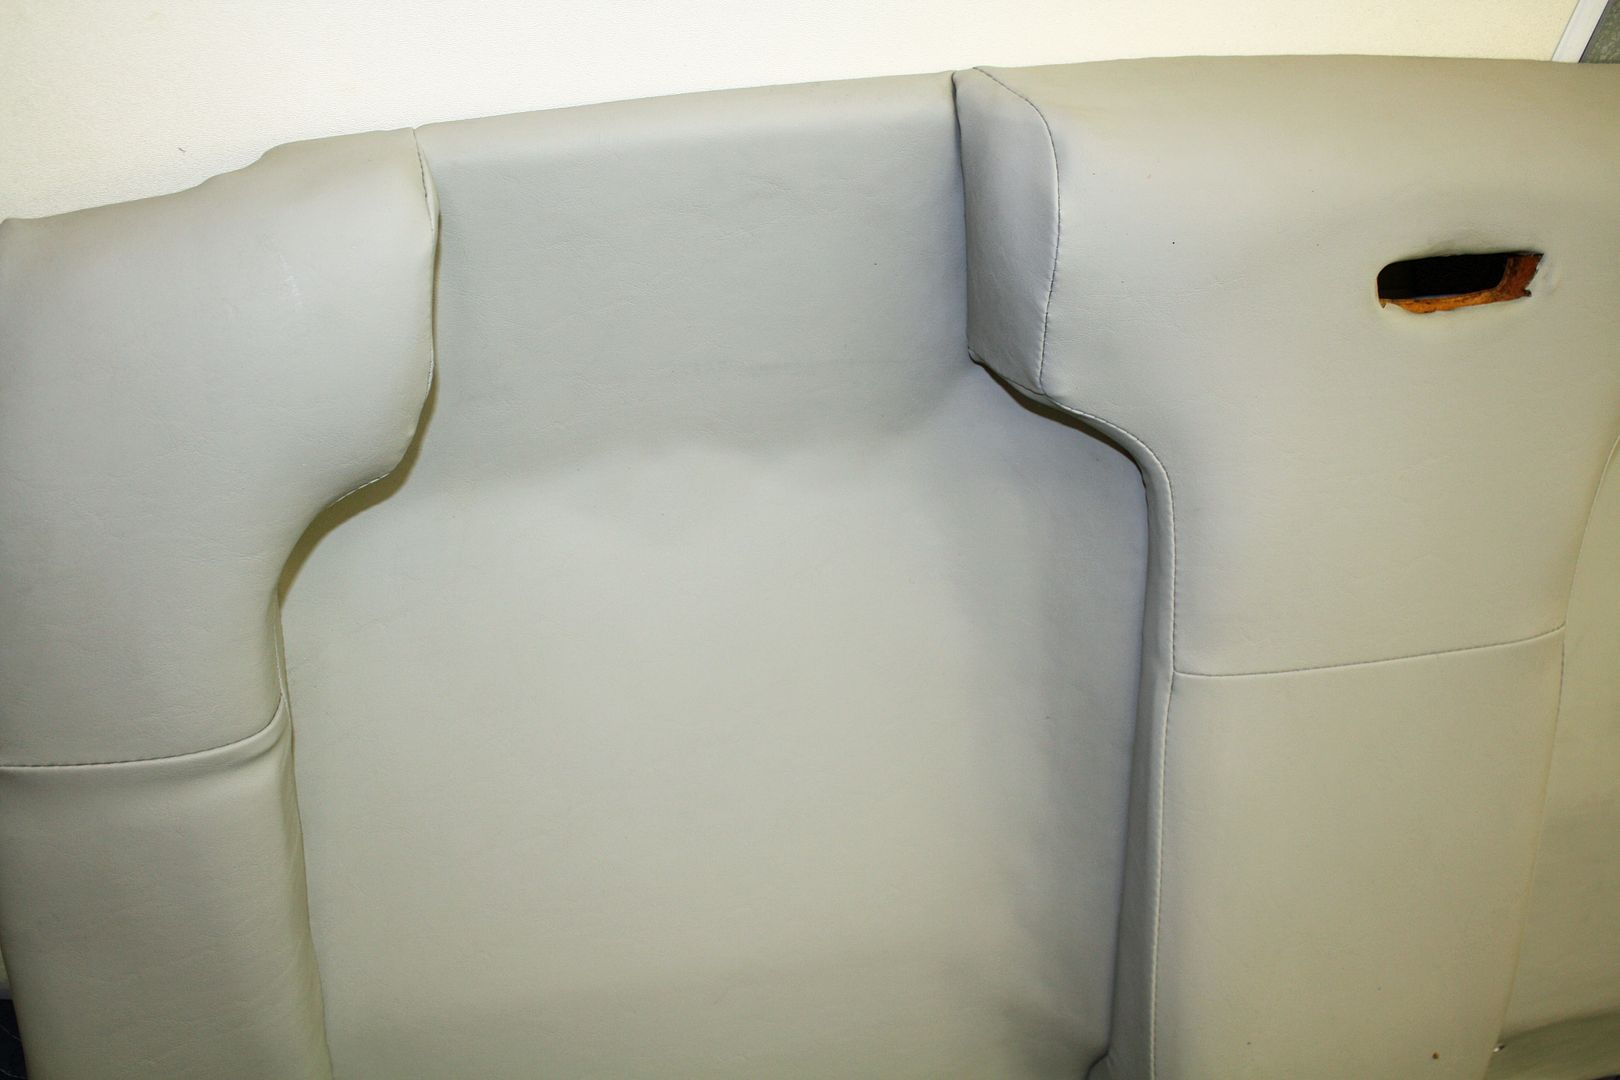
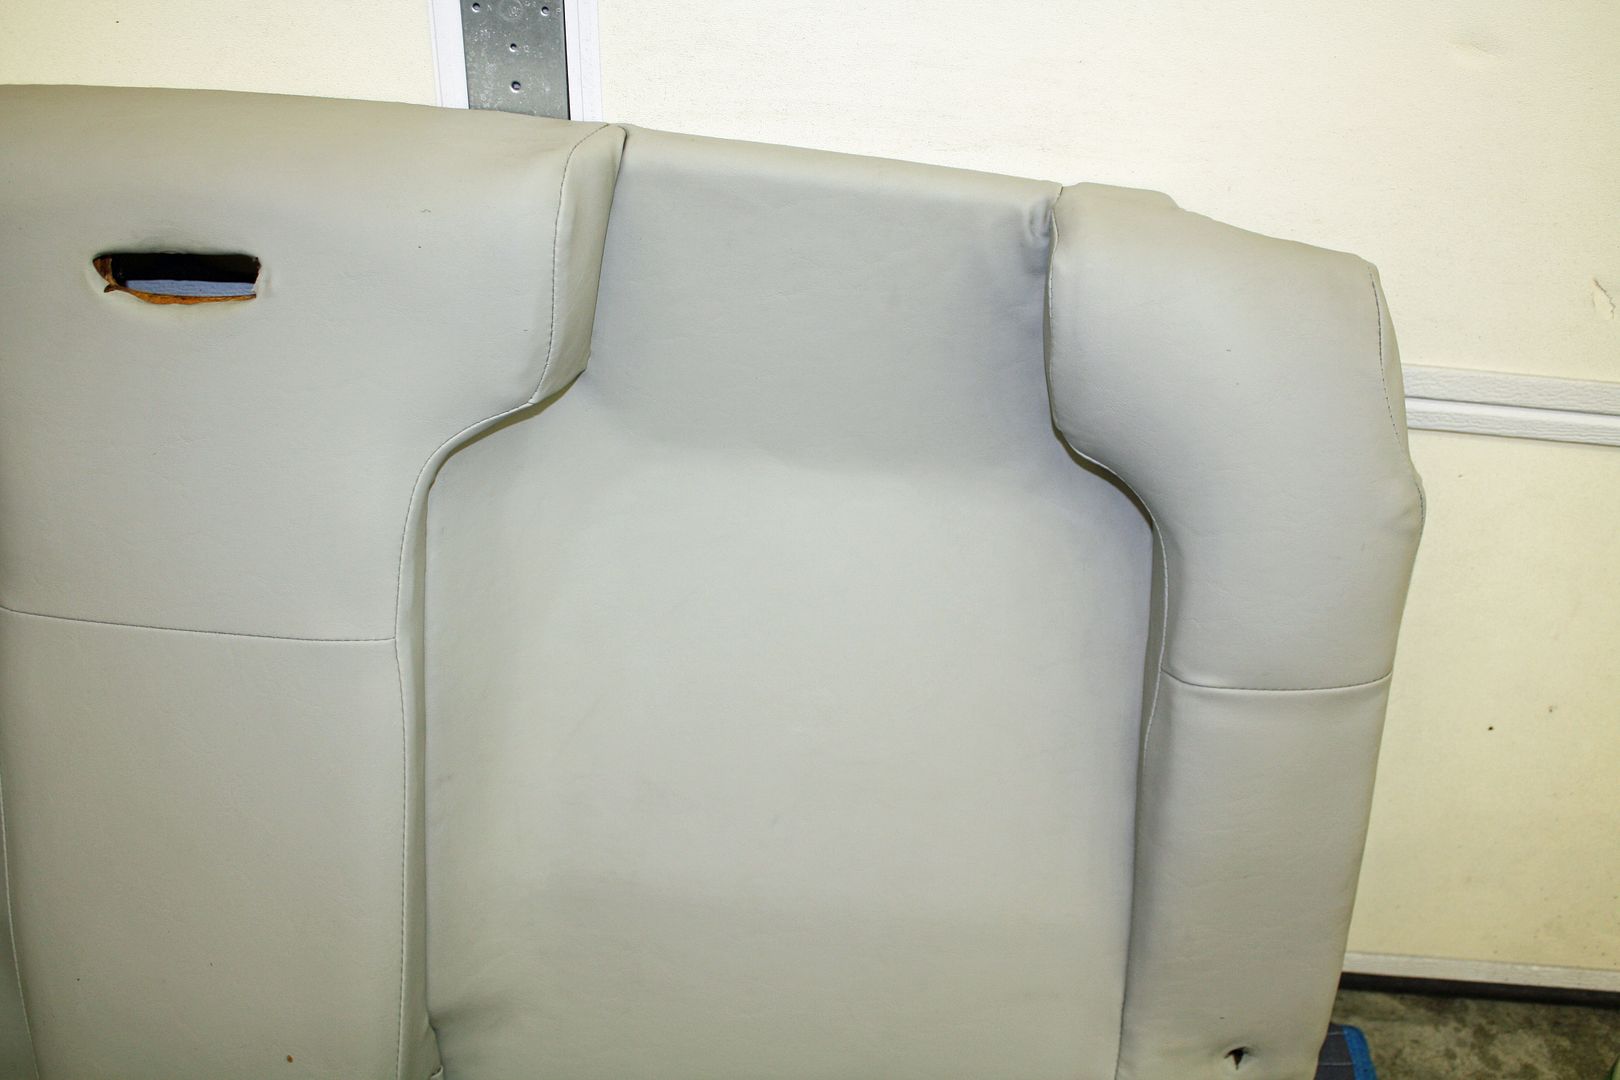
The fabric was also loose on the firewall seat panel. To work on it I separated the two sides from the center piece by removing the screws. To totally fix it, I would have had to remove a bunch of staples. So I pulled the fabric back as far as I could from the center of each panel, doused the cardboard panel and the fabric with as much adhesive as I could, waited for the adhesive to become tacky and then used my hands to smooth out the wrinkles from the outside to the center. While it is not perfect, it looks way better than when I started. There was also some loose fabric on the ends of the panel that I re-attached.


 10-25-2018, 07:06 PM
#87
Racer
Thread Starter
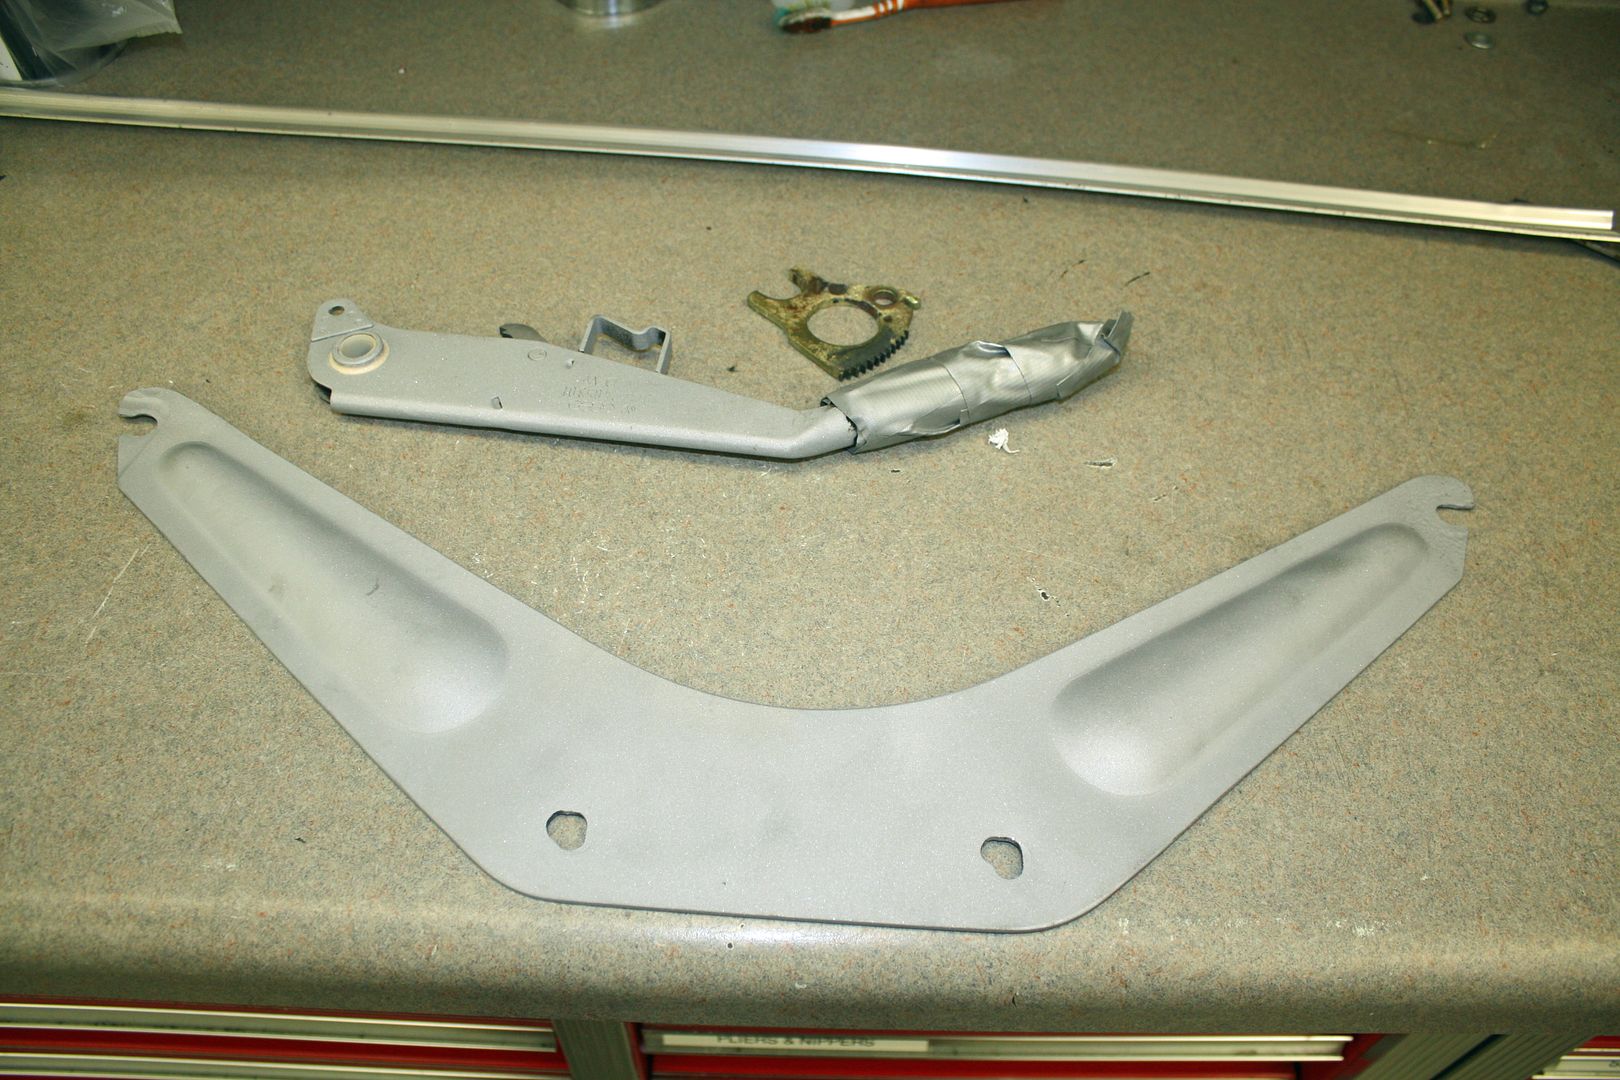
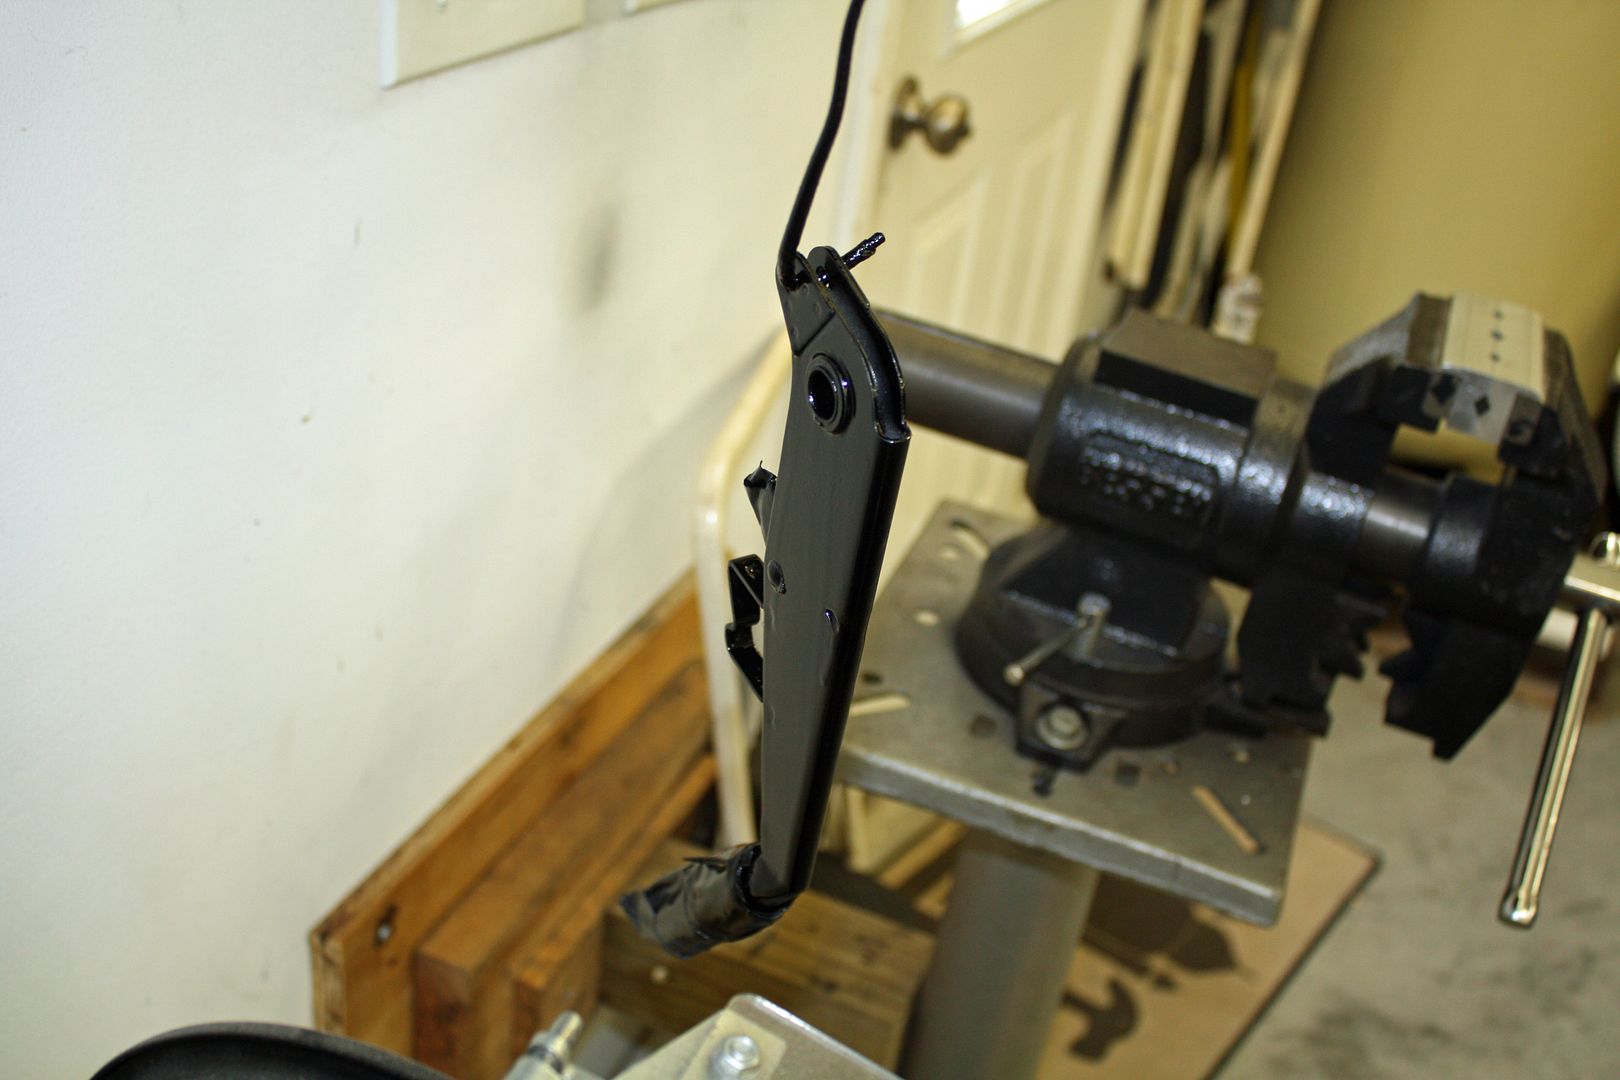
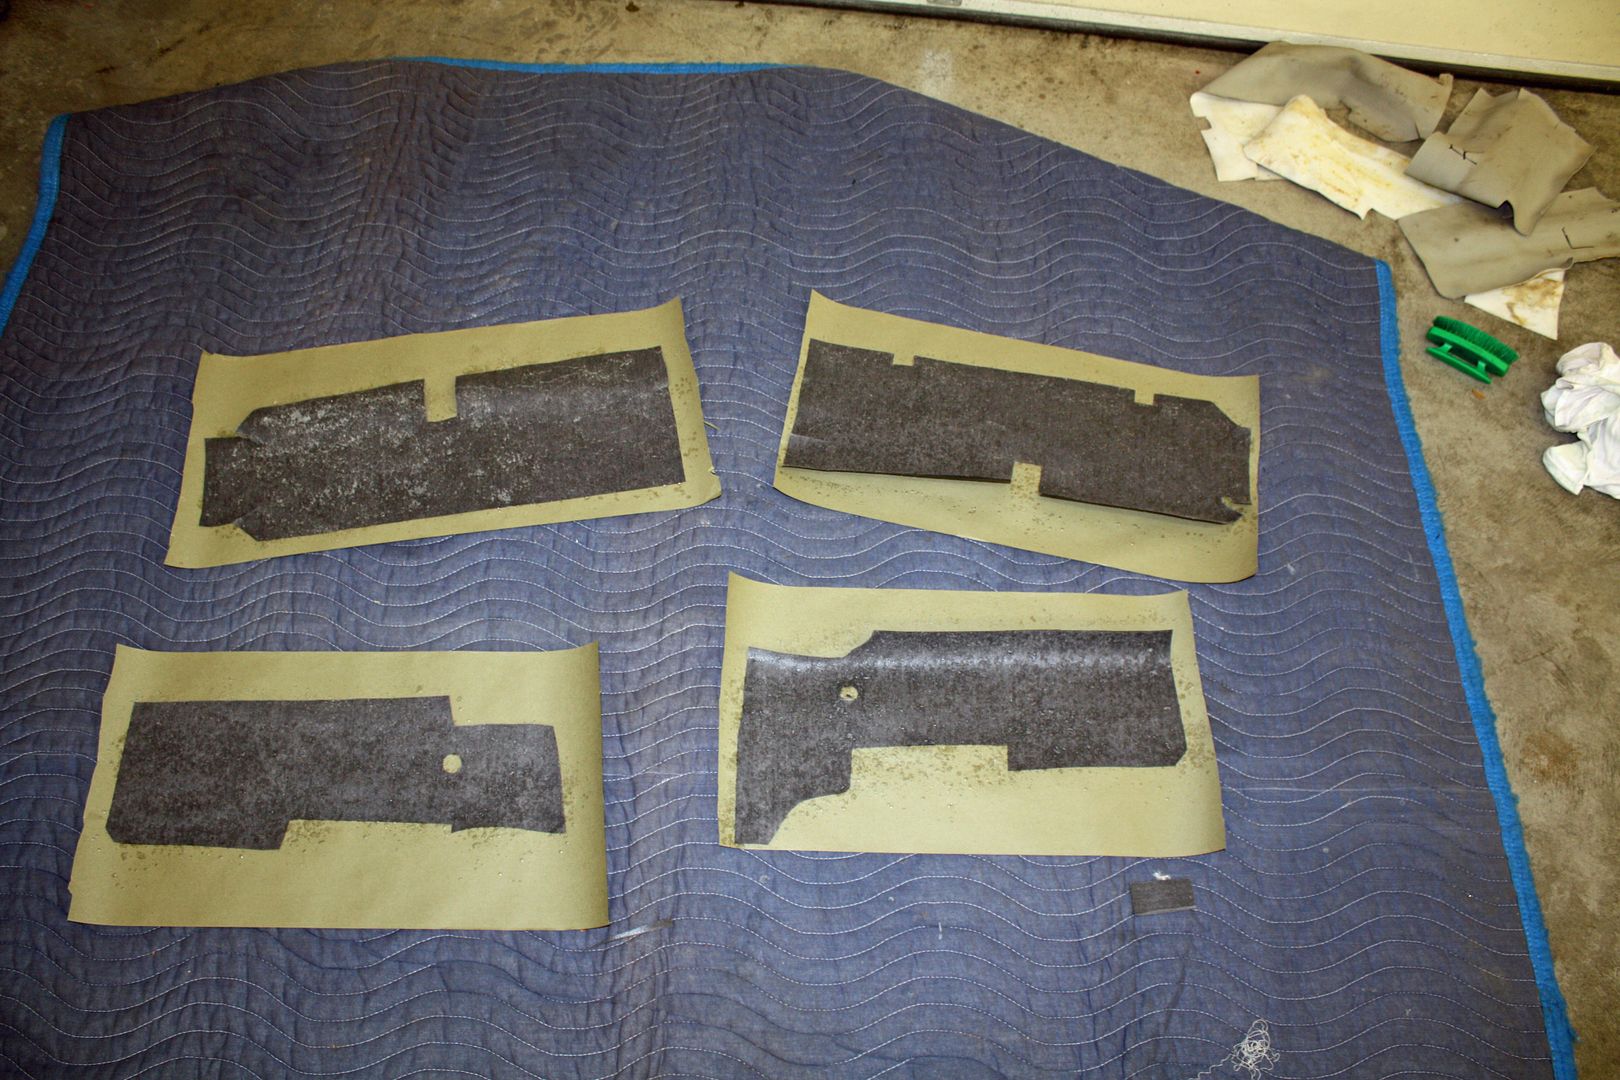
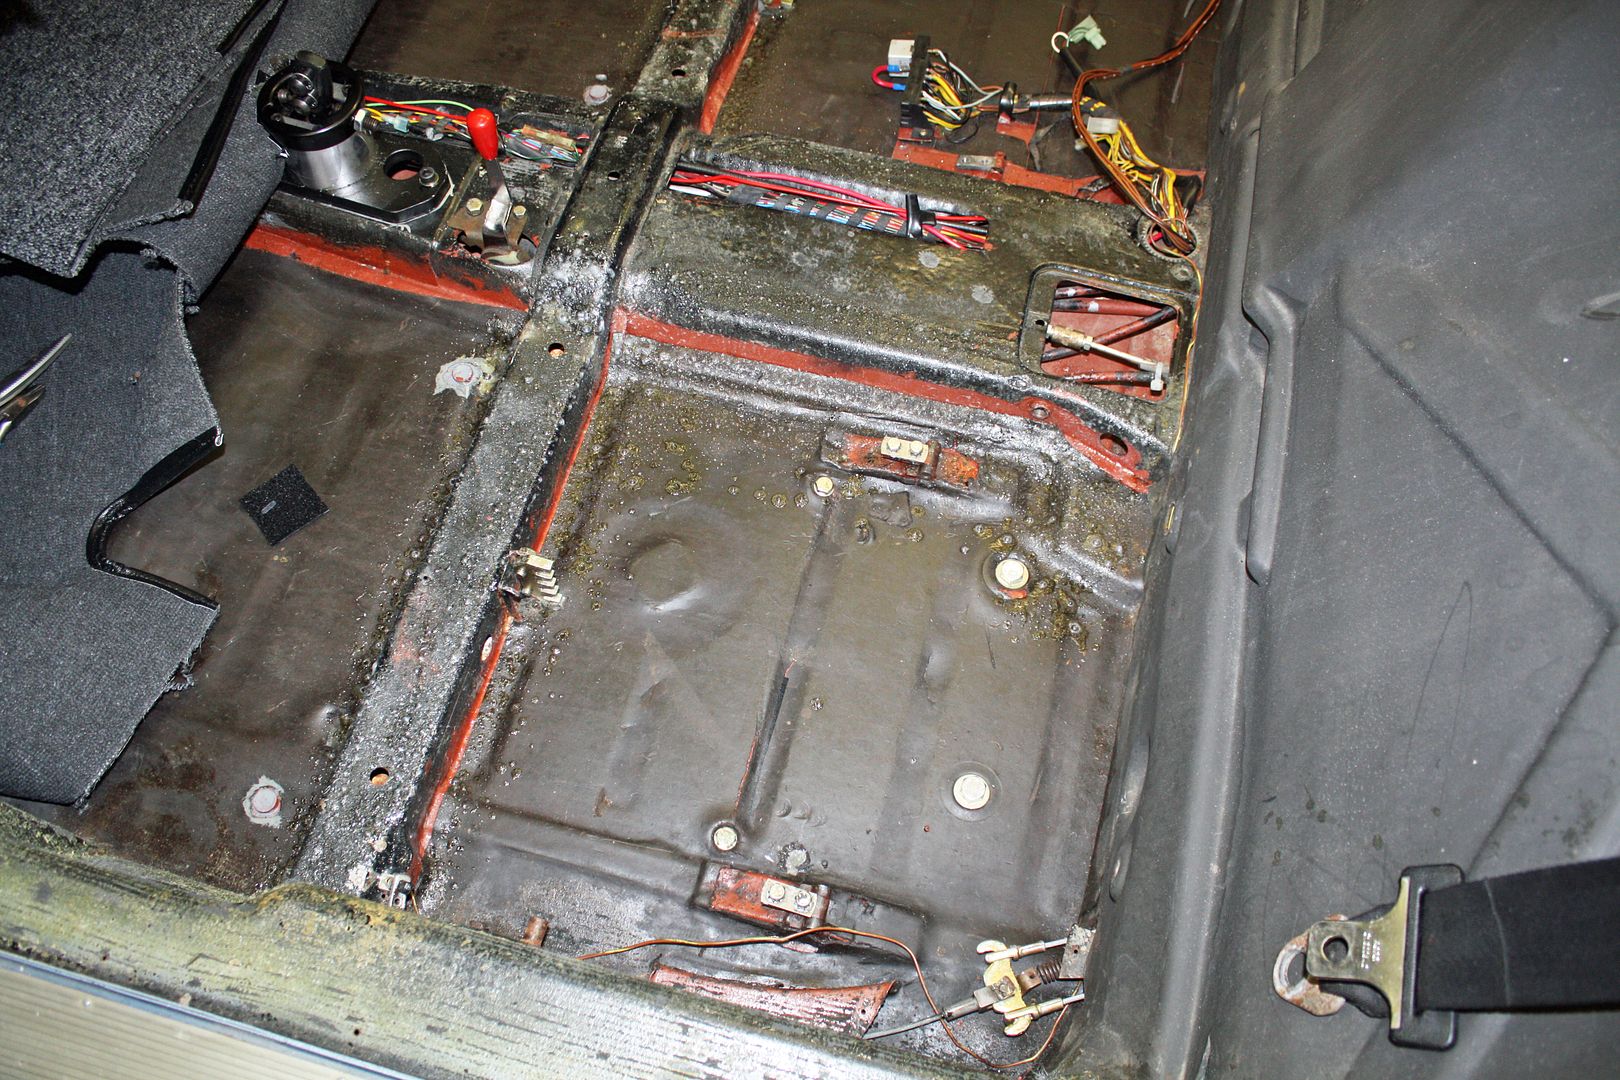
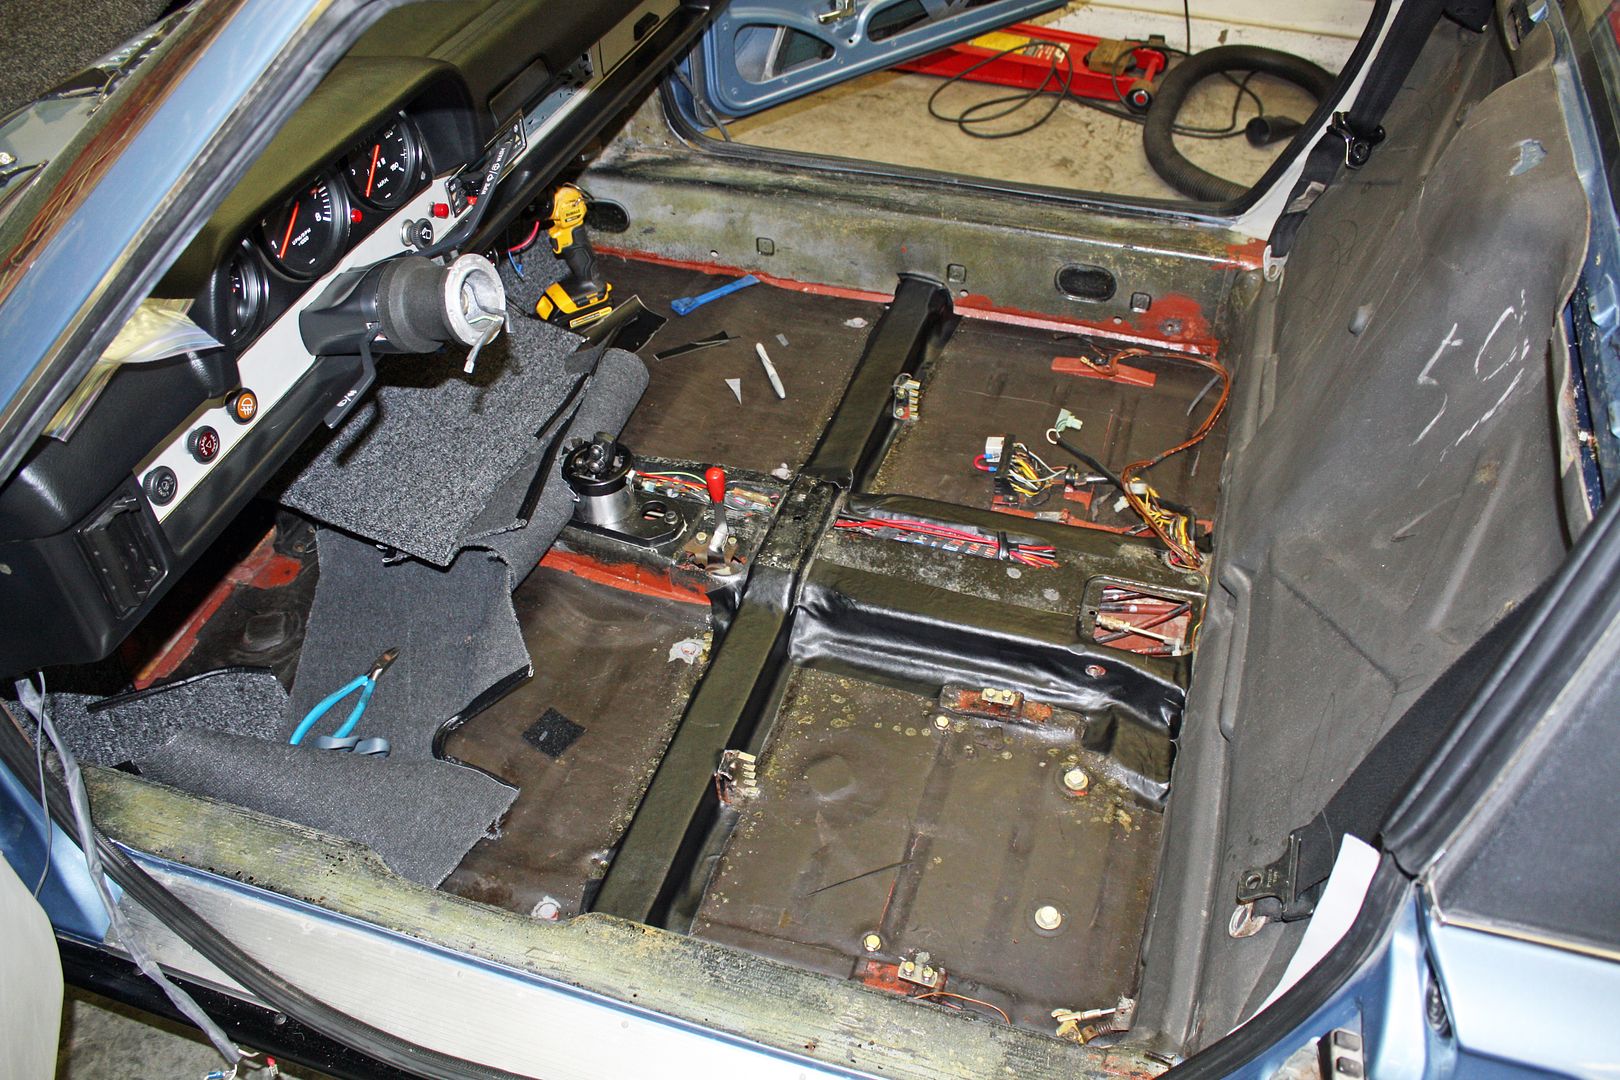
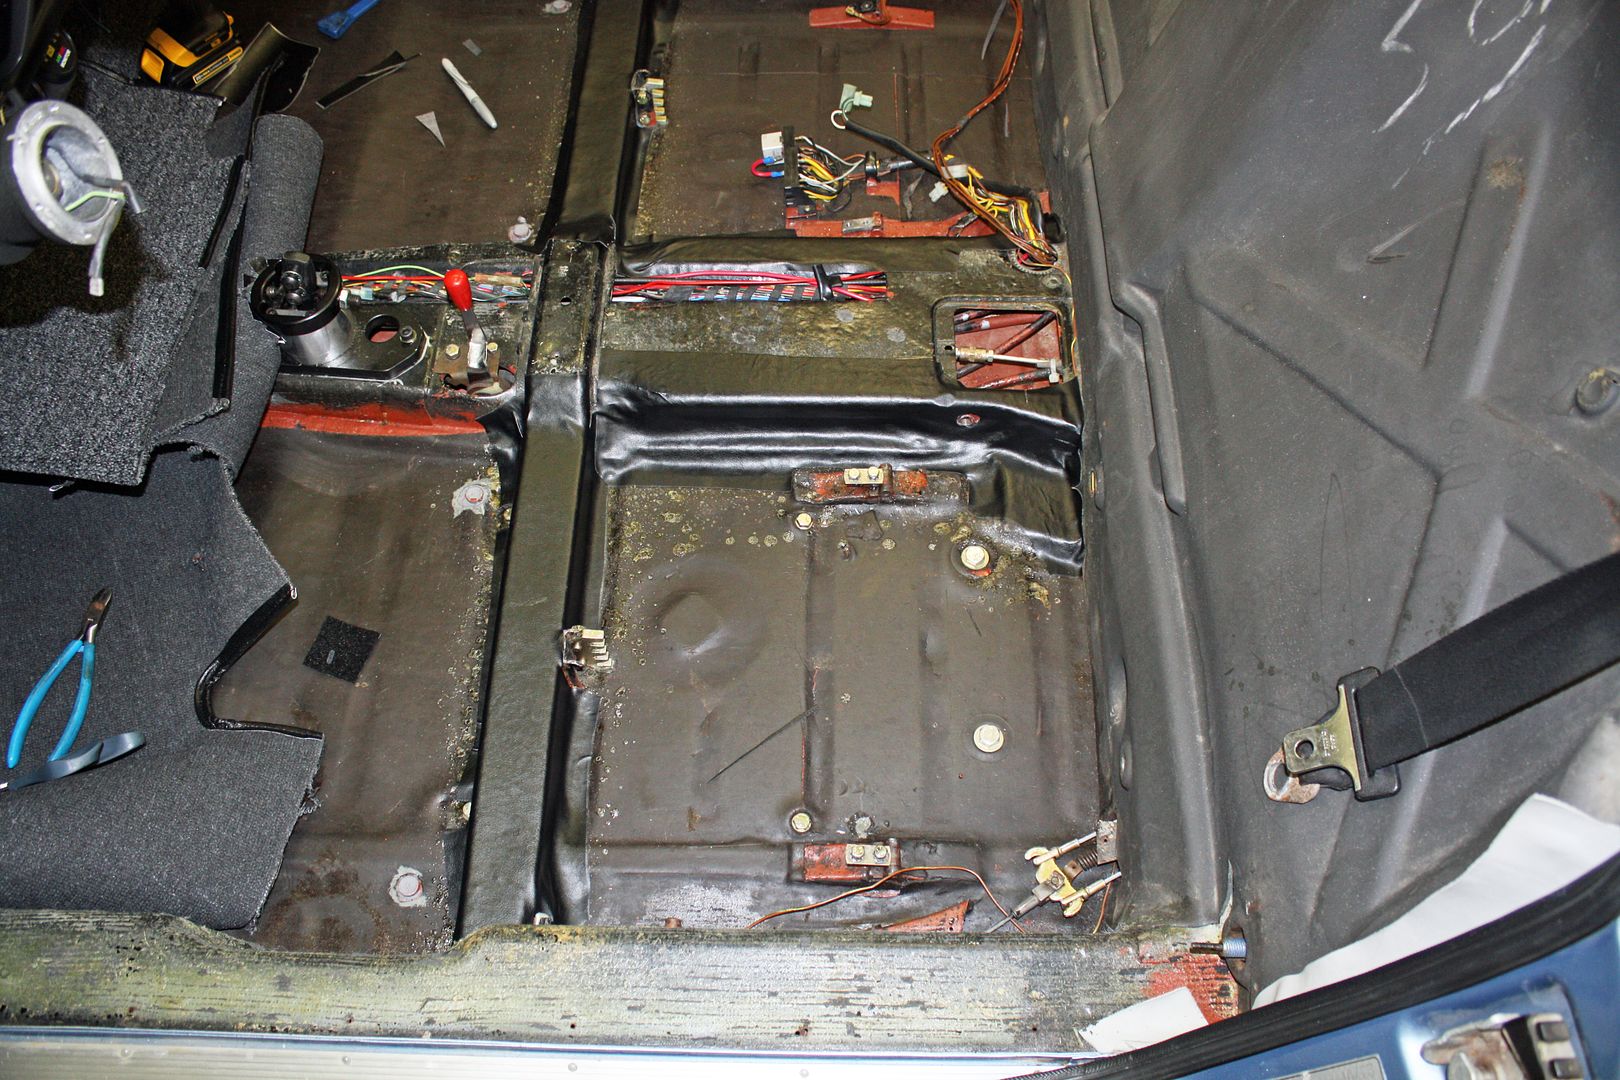
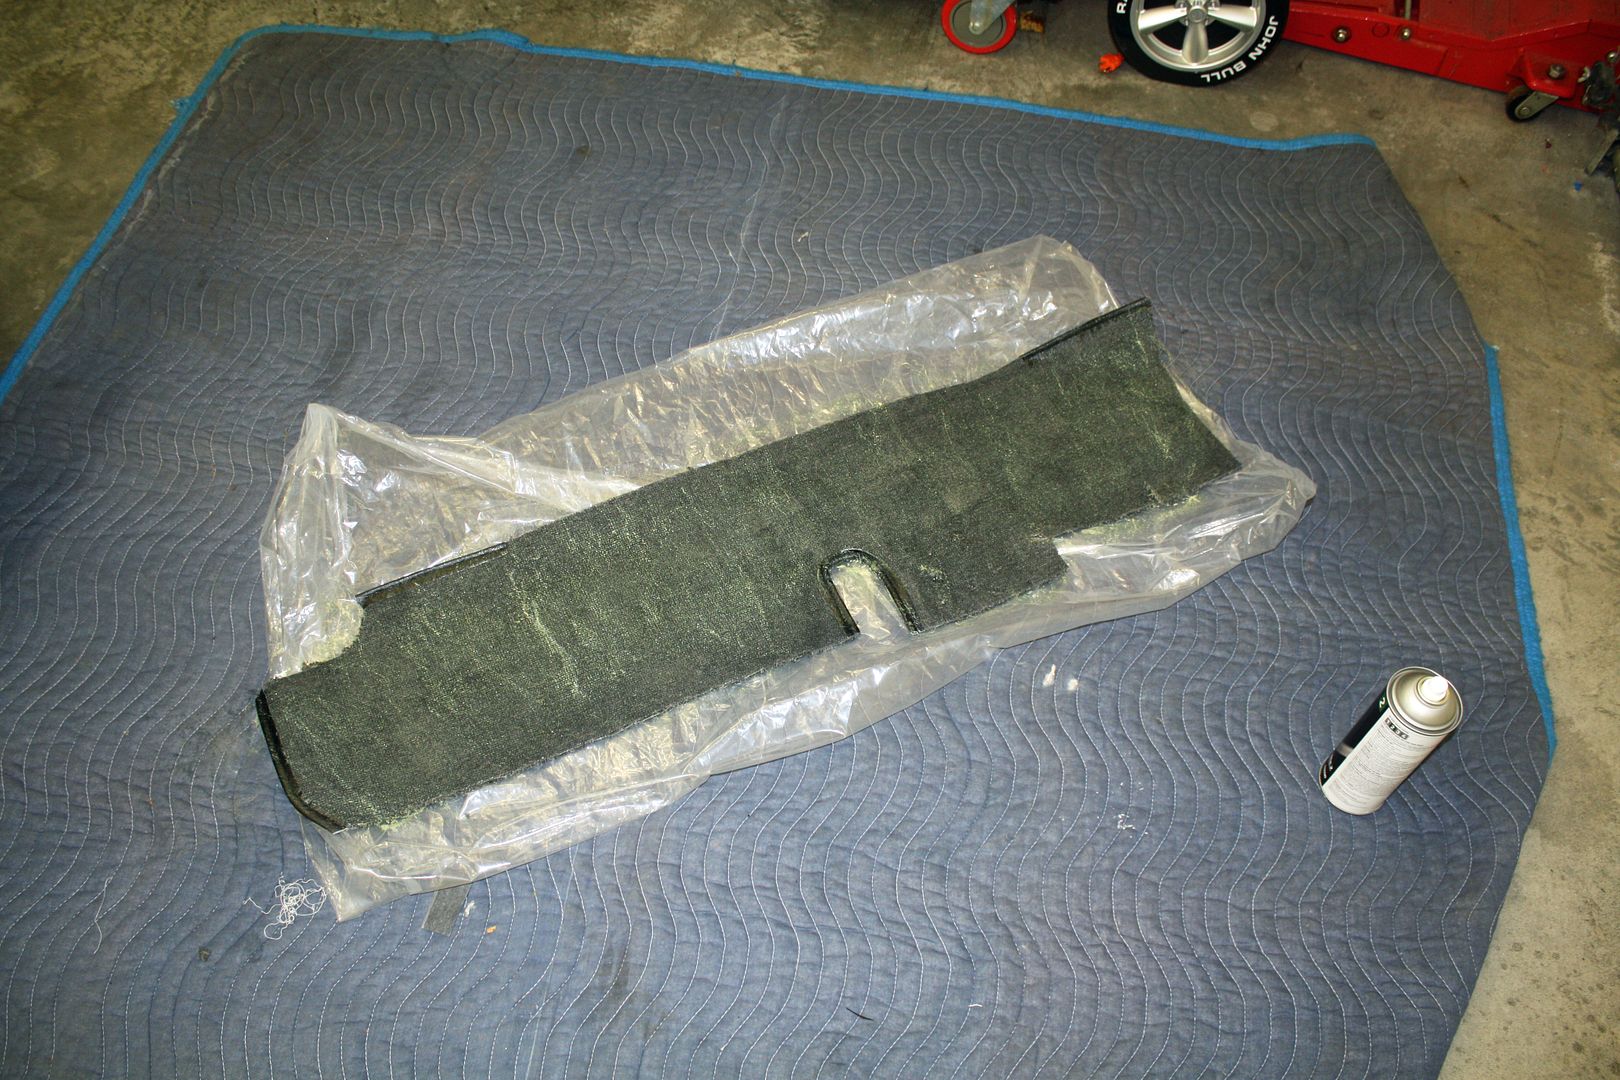
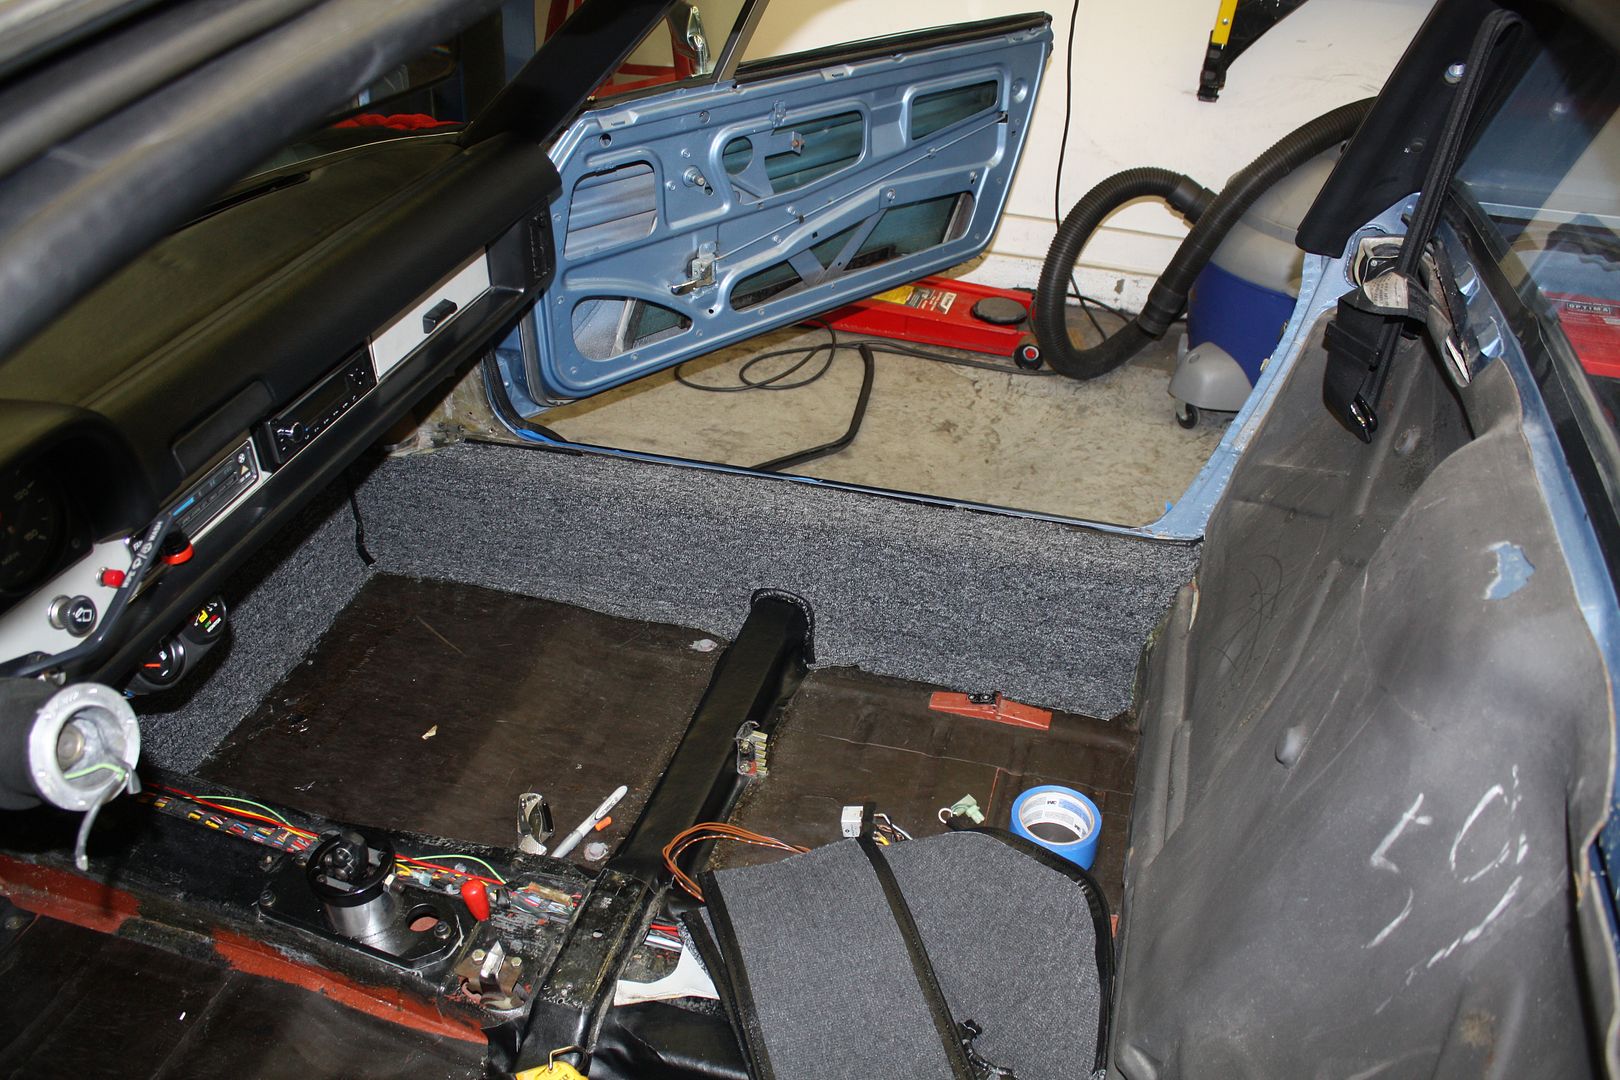
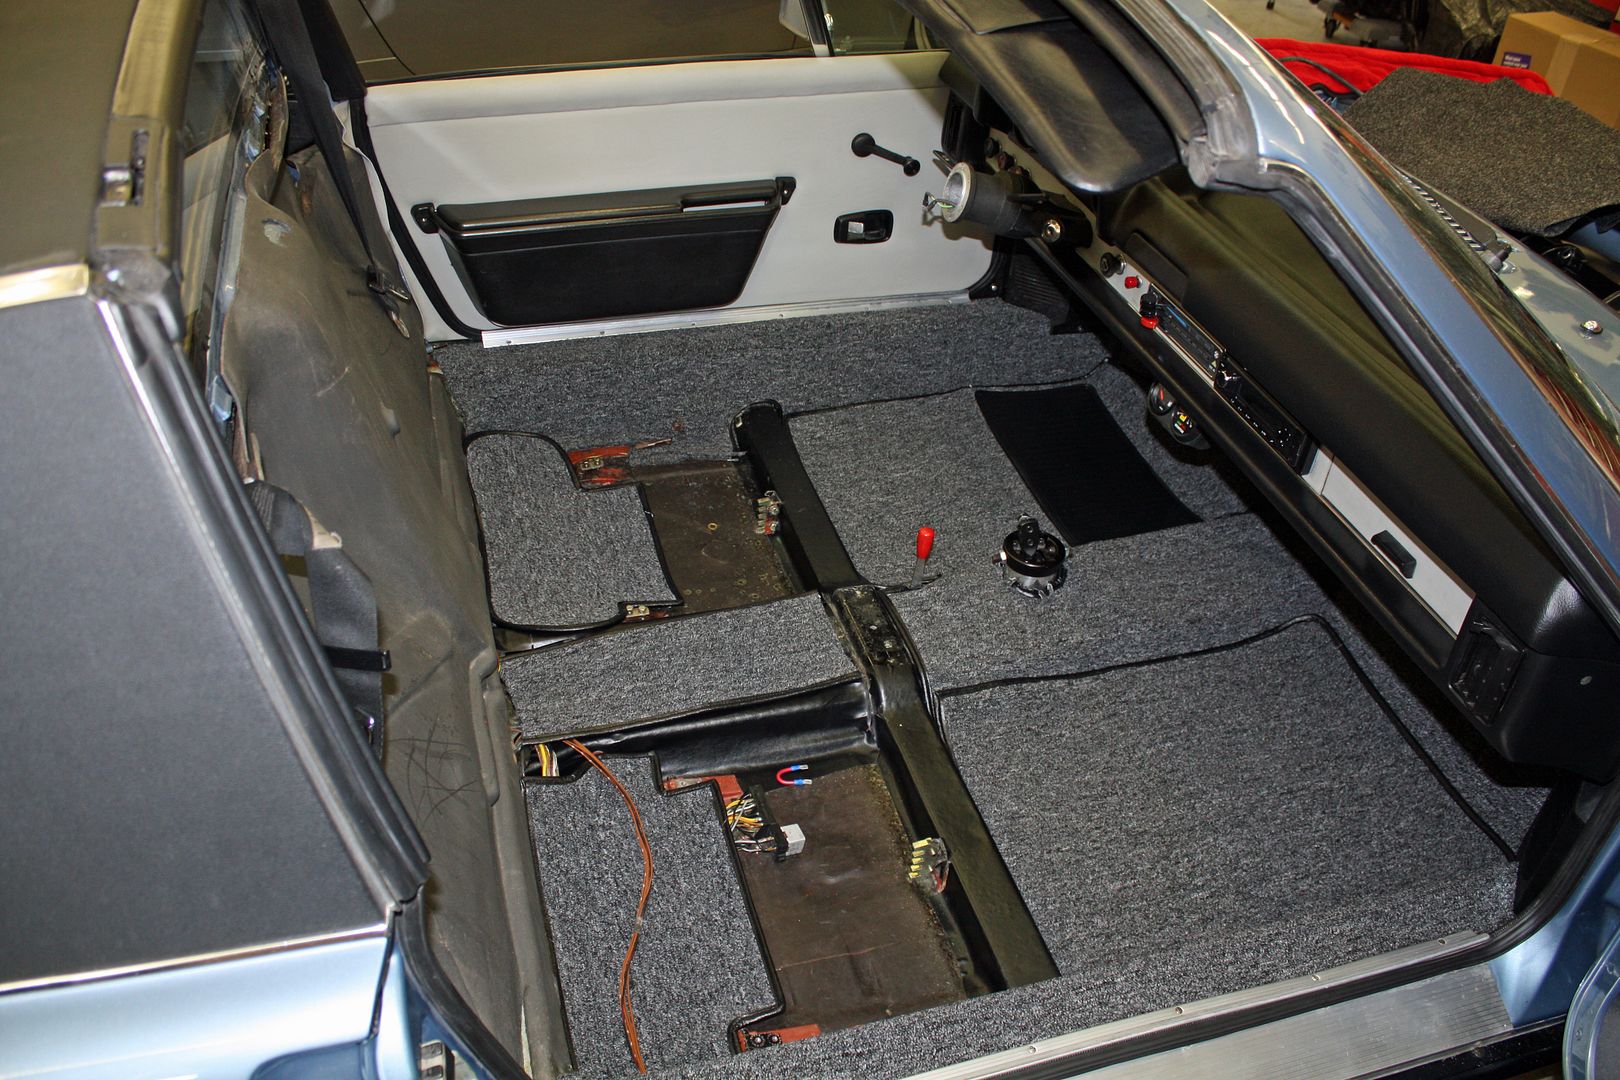
The plan is to replace the interior carpet. To that end, I removed the old carpet. On the driver's side, the parking brake lever has to be removed. It also needed some attention so I bead blasted it and the muffler mount. I will have the muffler mount powder coated to better handle the heat but the parking brake lever cannot be powder coated unless I could remove the plastic handle. So I painted it.
Once I had the old carpet out, I used a plastic scraper to remove any of the old carpet that was still adhered to the car. Everything is now cleaned up and I am ready to install the new carpet.
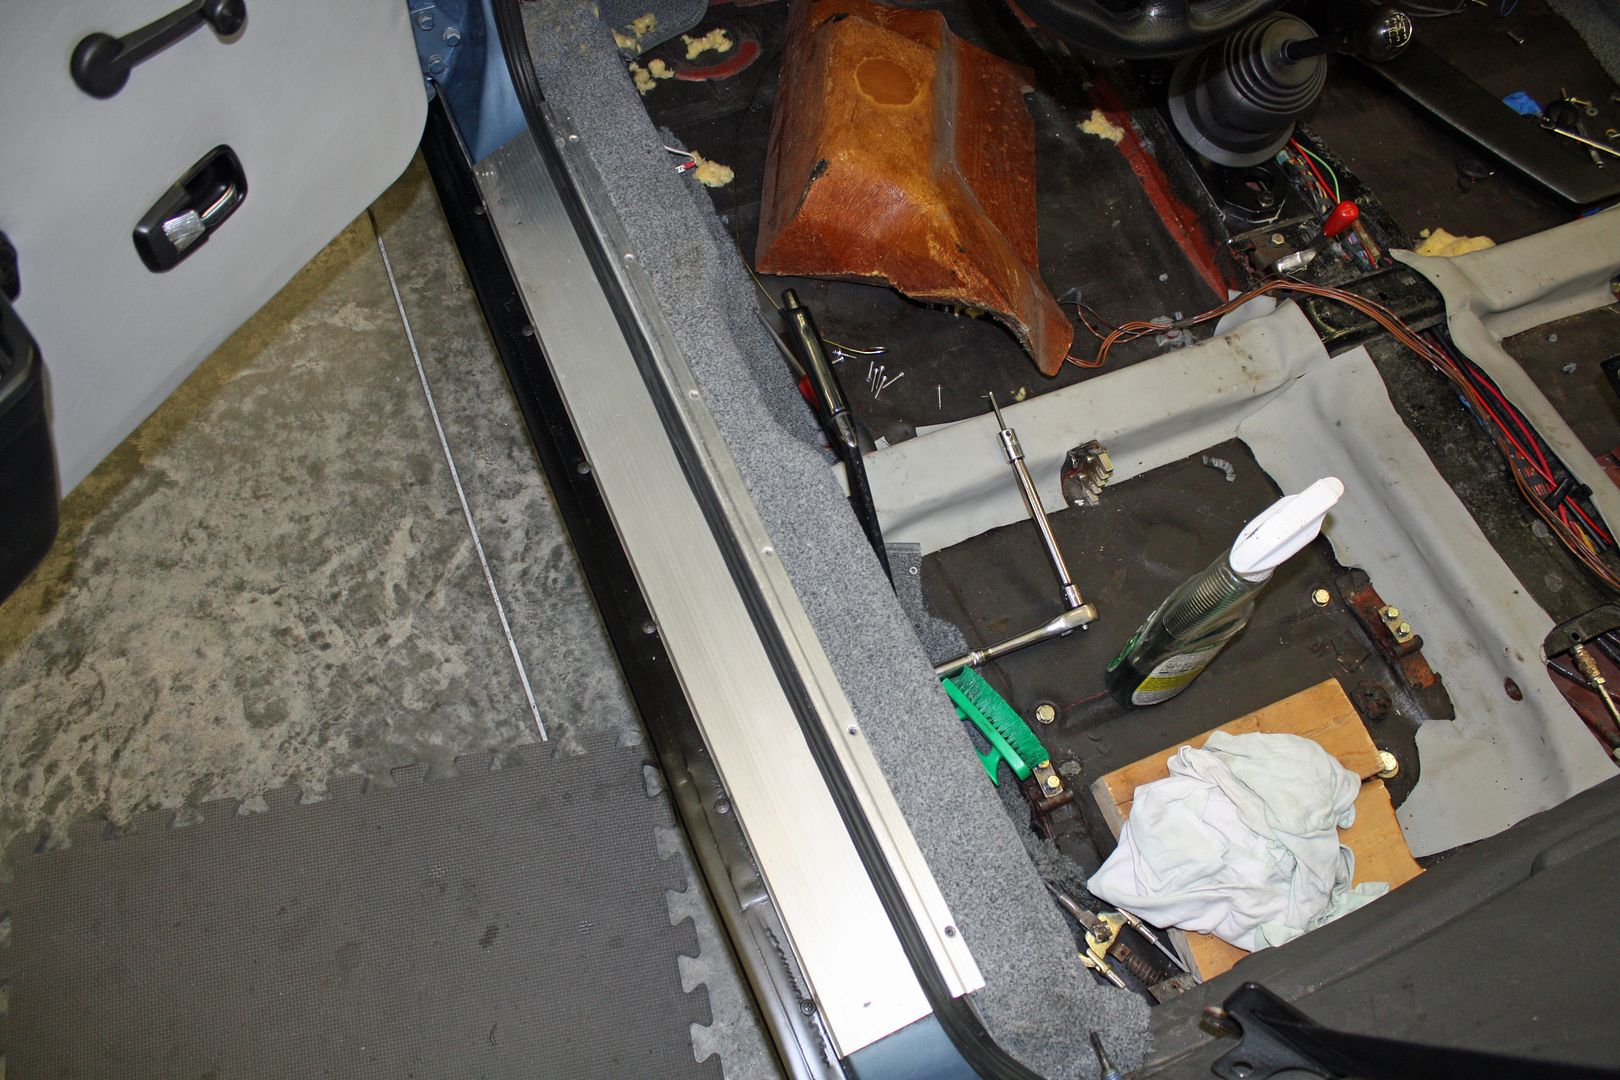
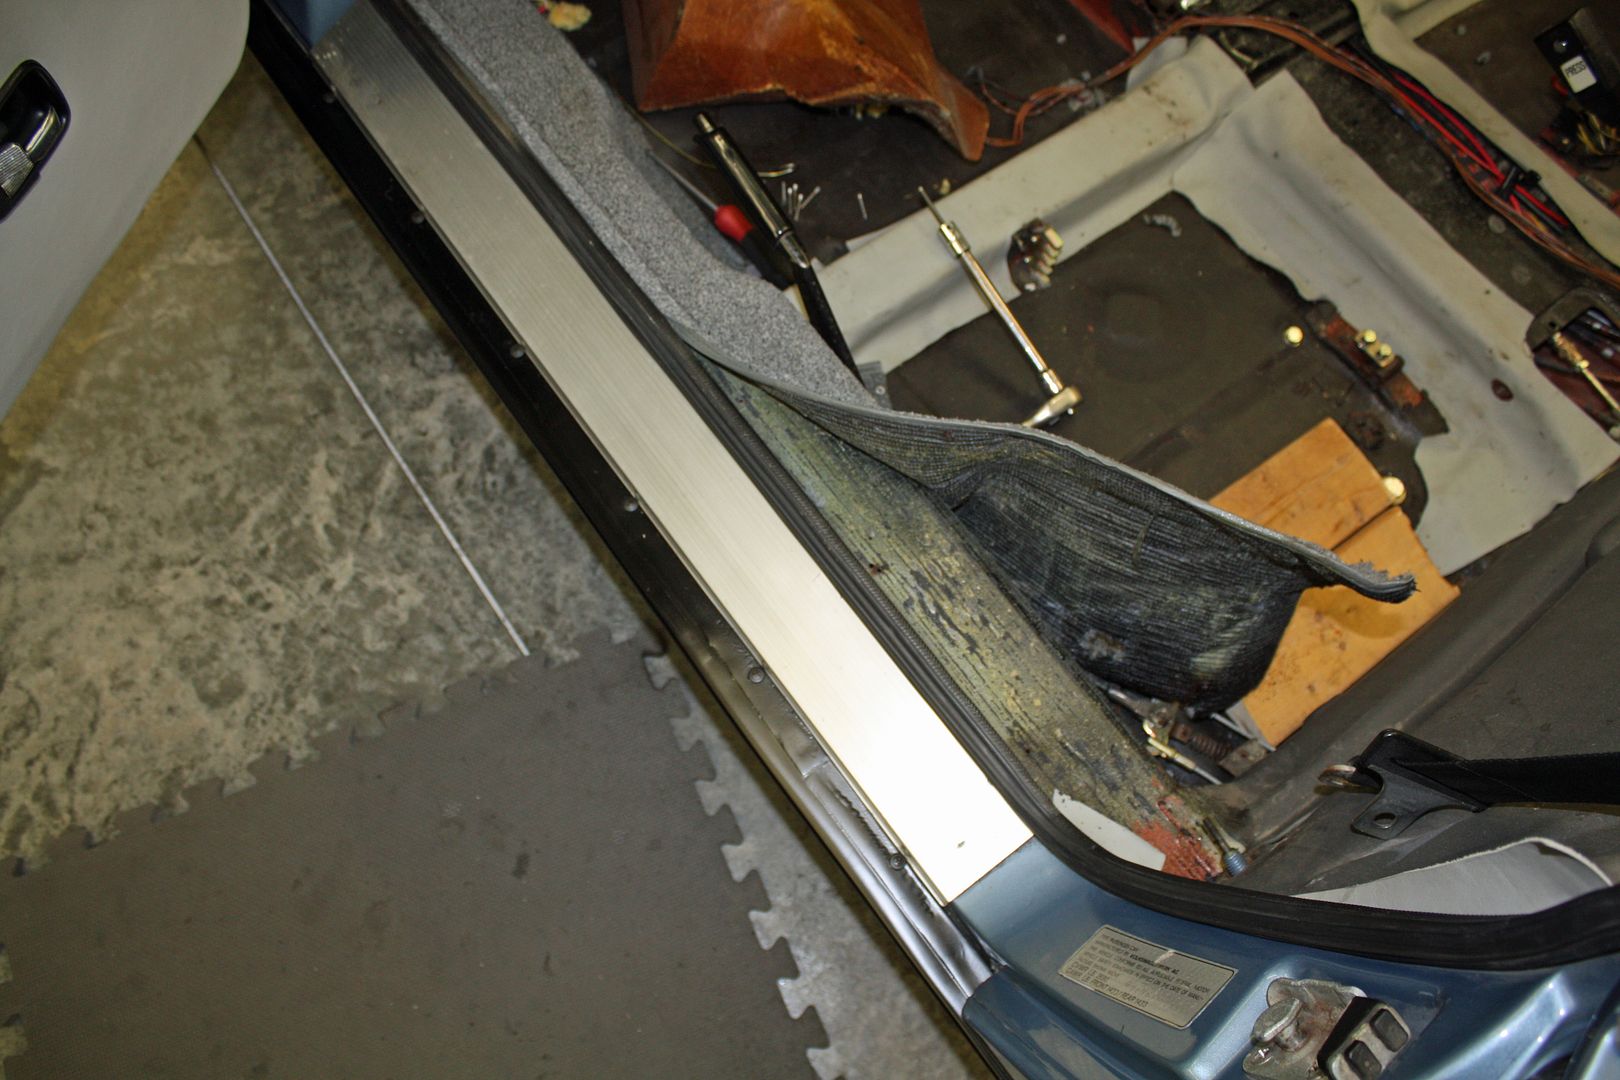
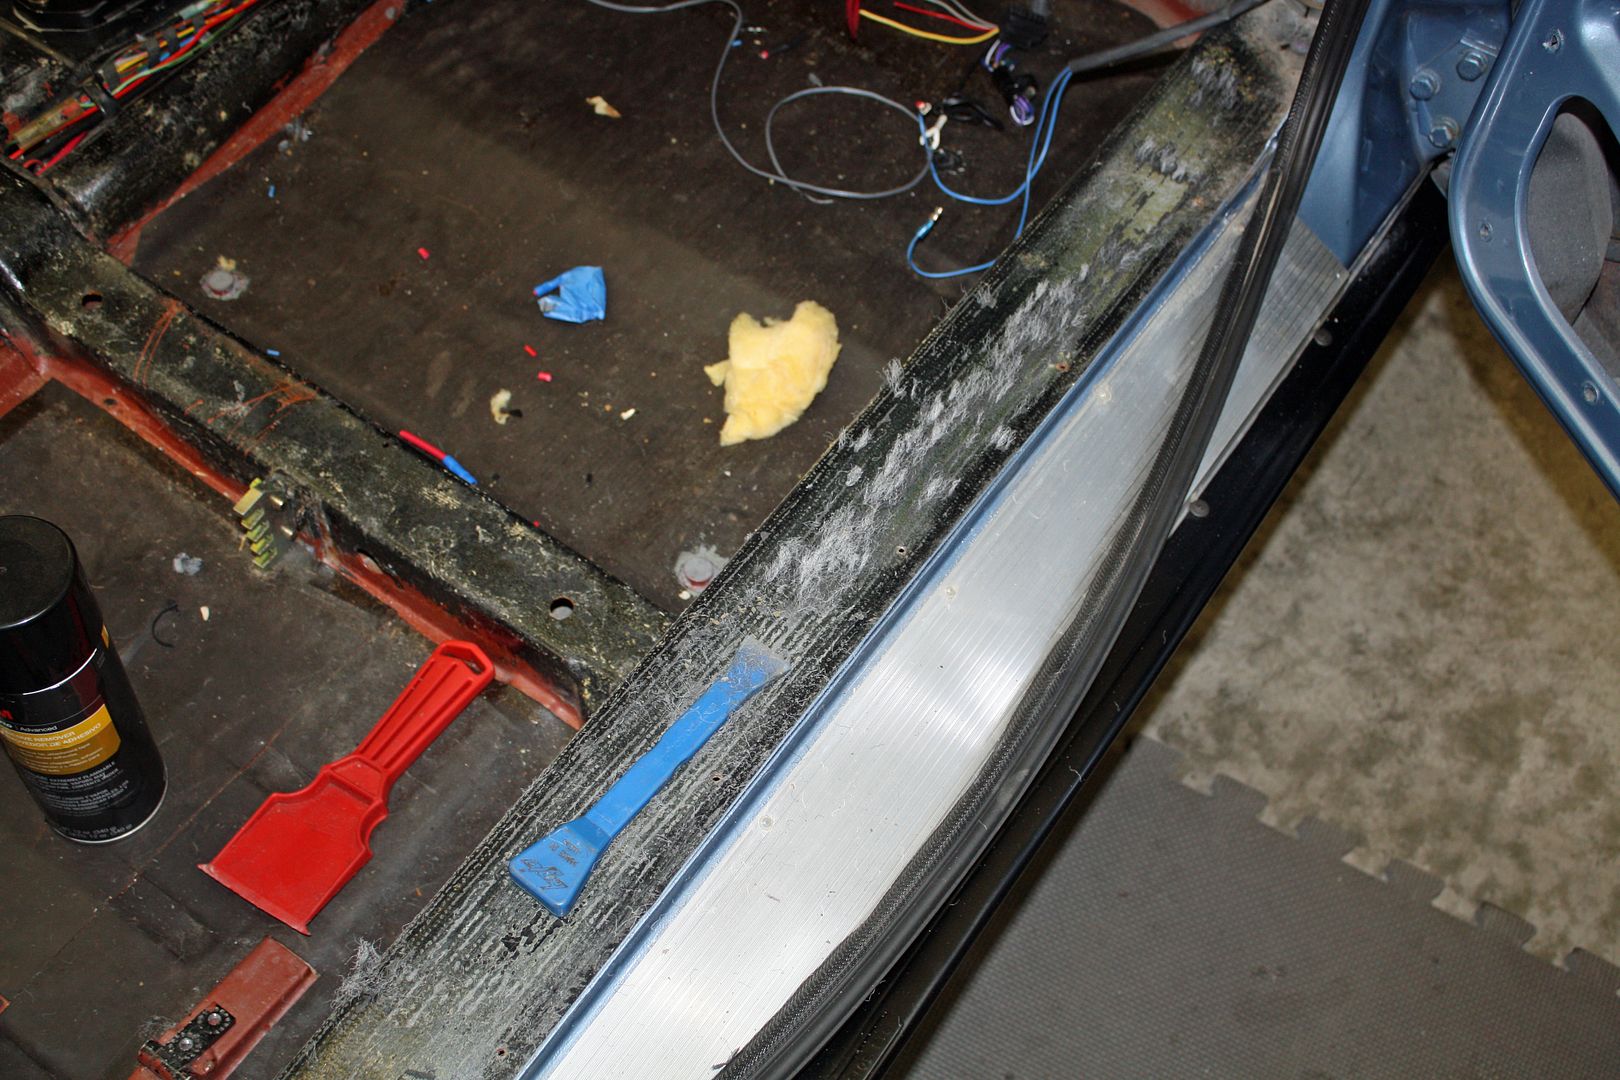
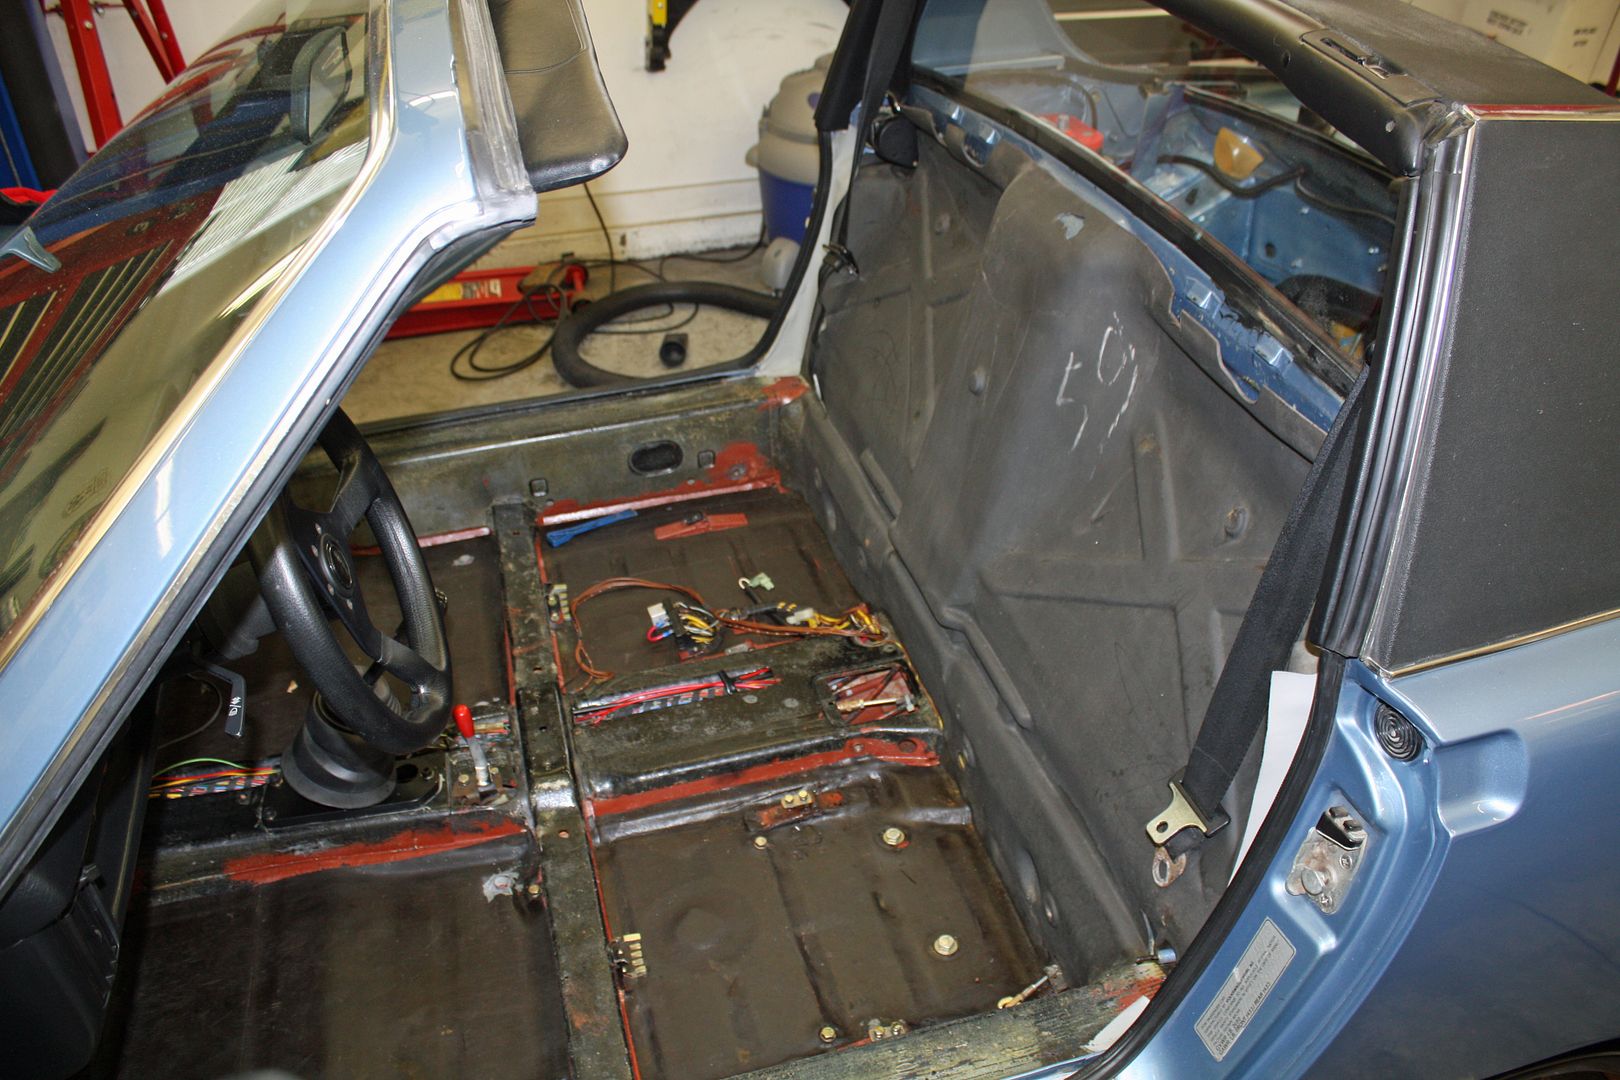
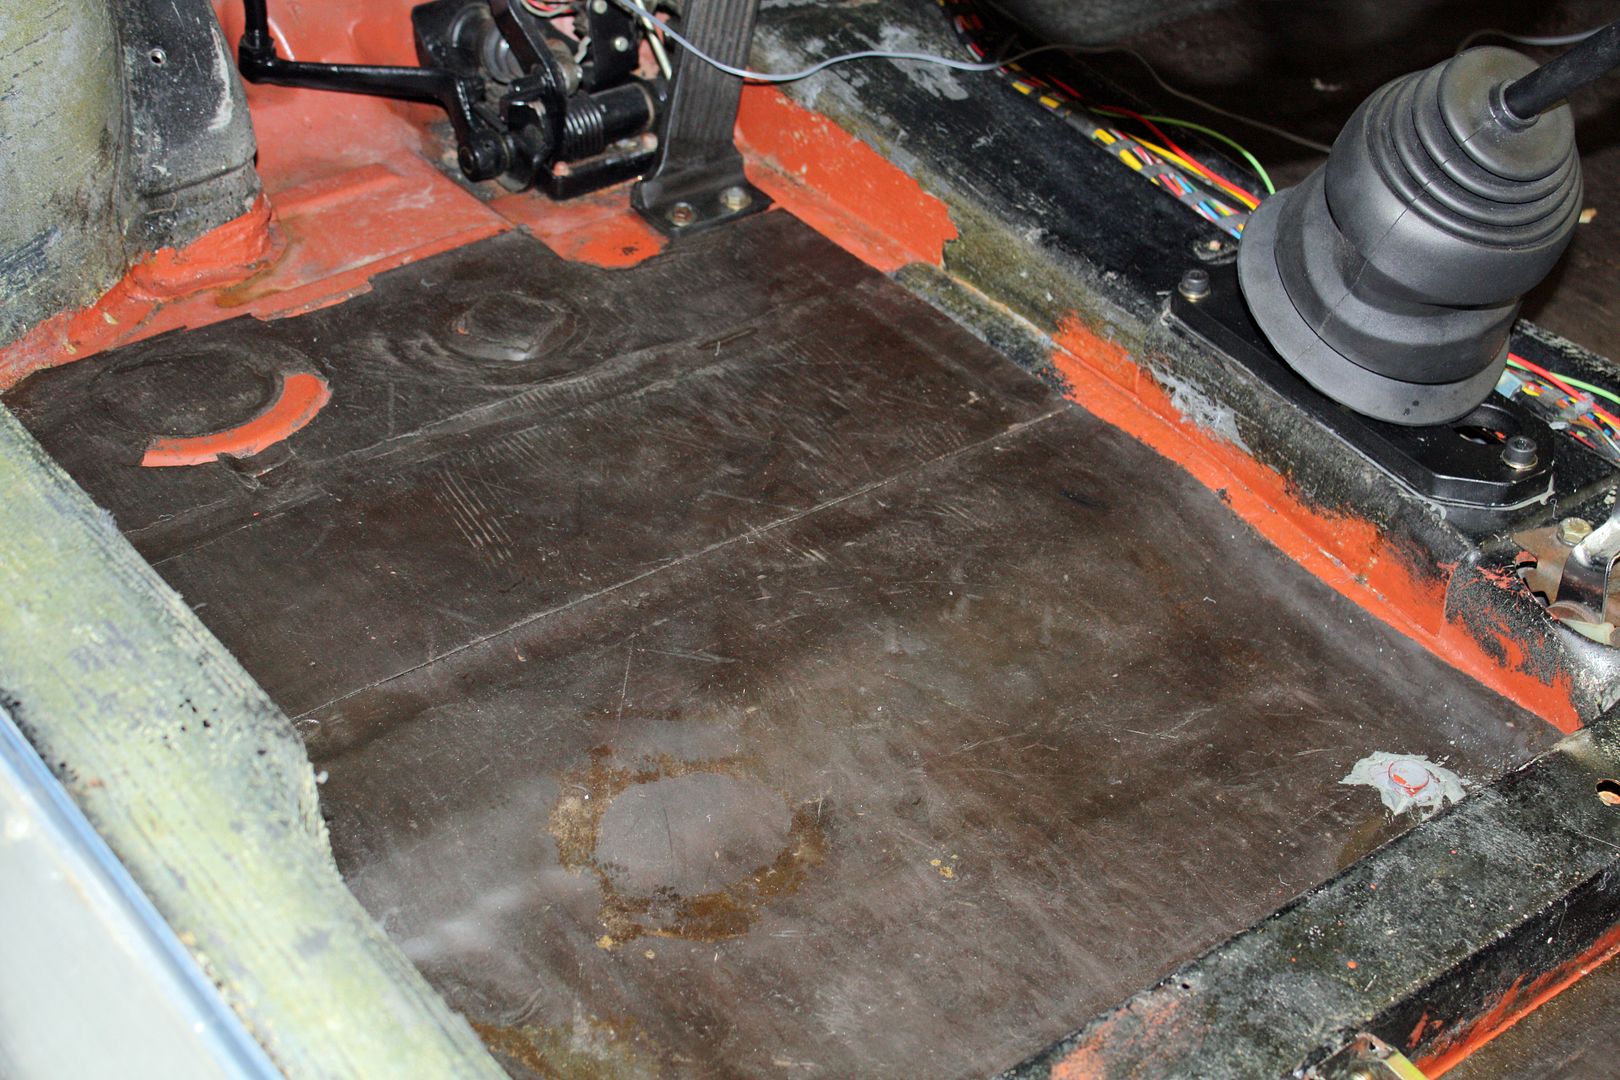


Once I had the old carpet out, I used a plastic scraper to remove any of the old carpet that was still adhered to the car. Everything is now cleaned up and I am ready to install the new carpet.


 10-26-2018, 05:15 PM
#88
Racer
Thread Starter
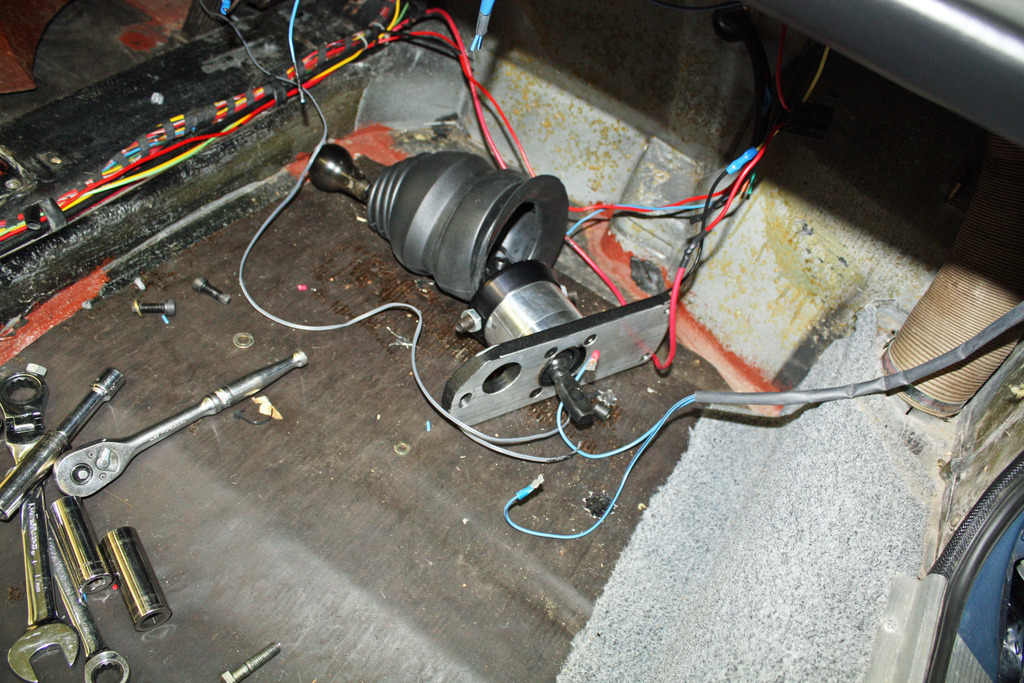
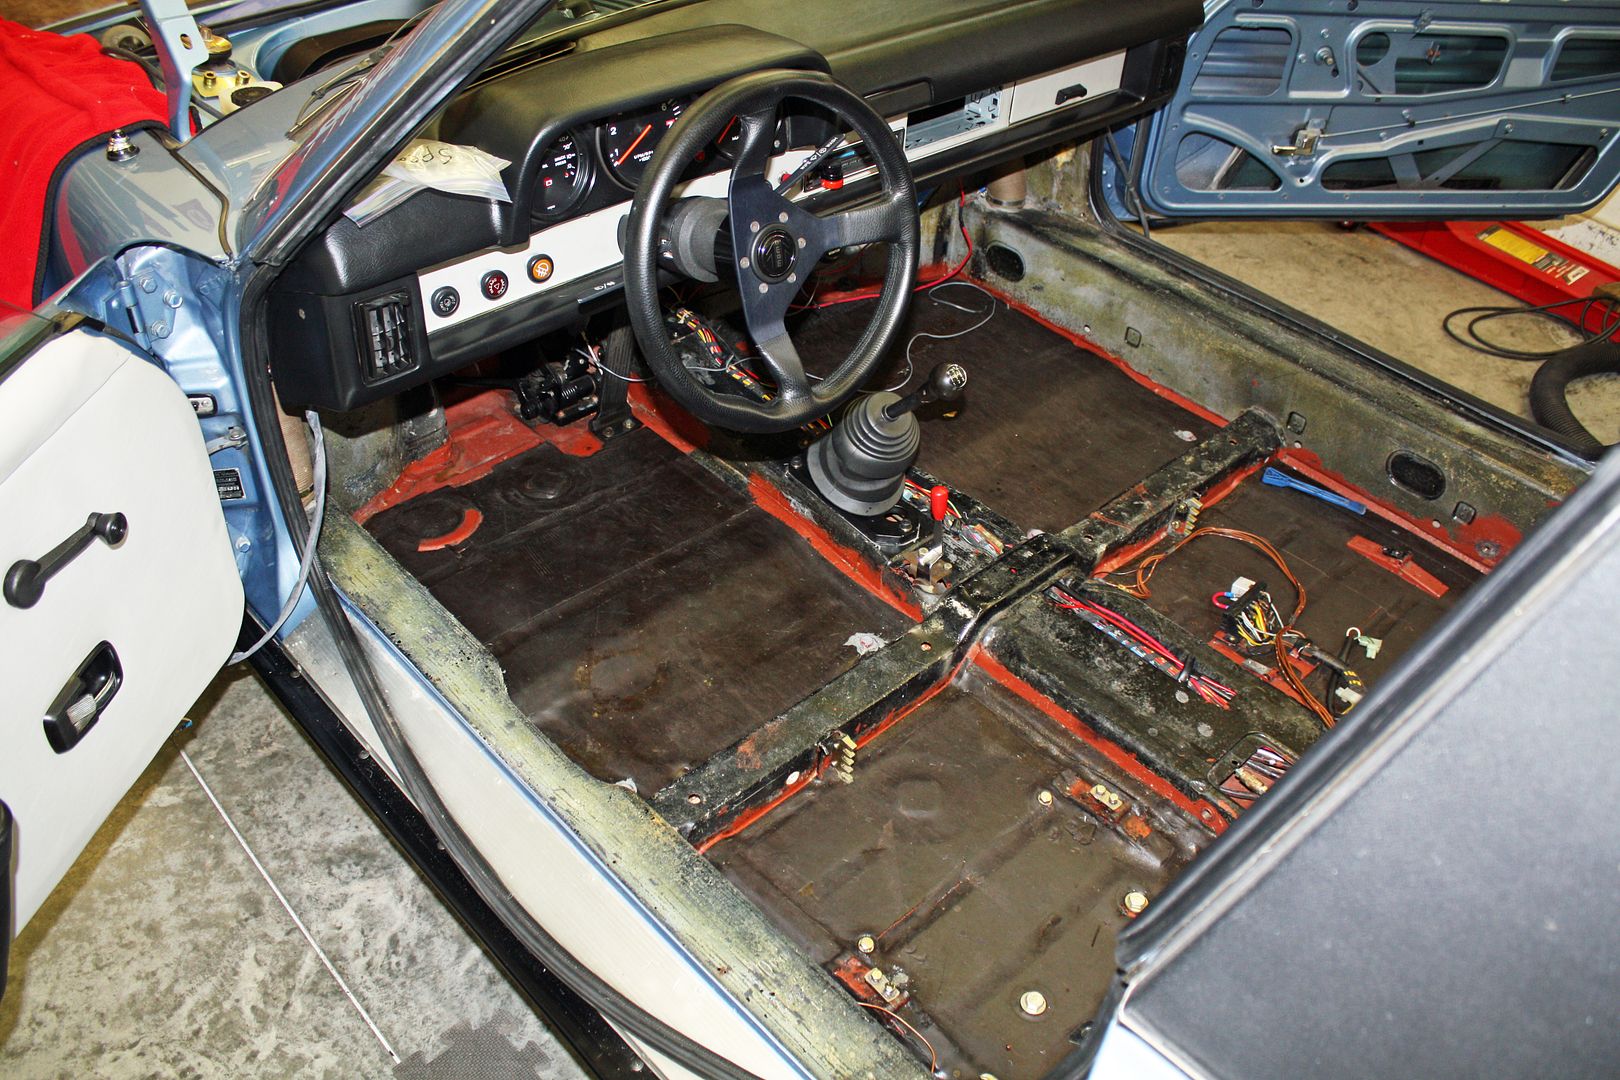
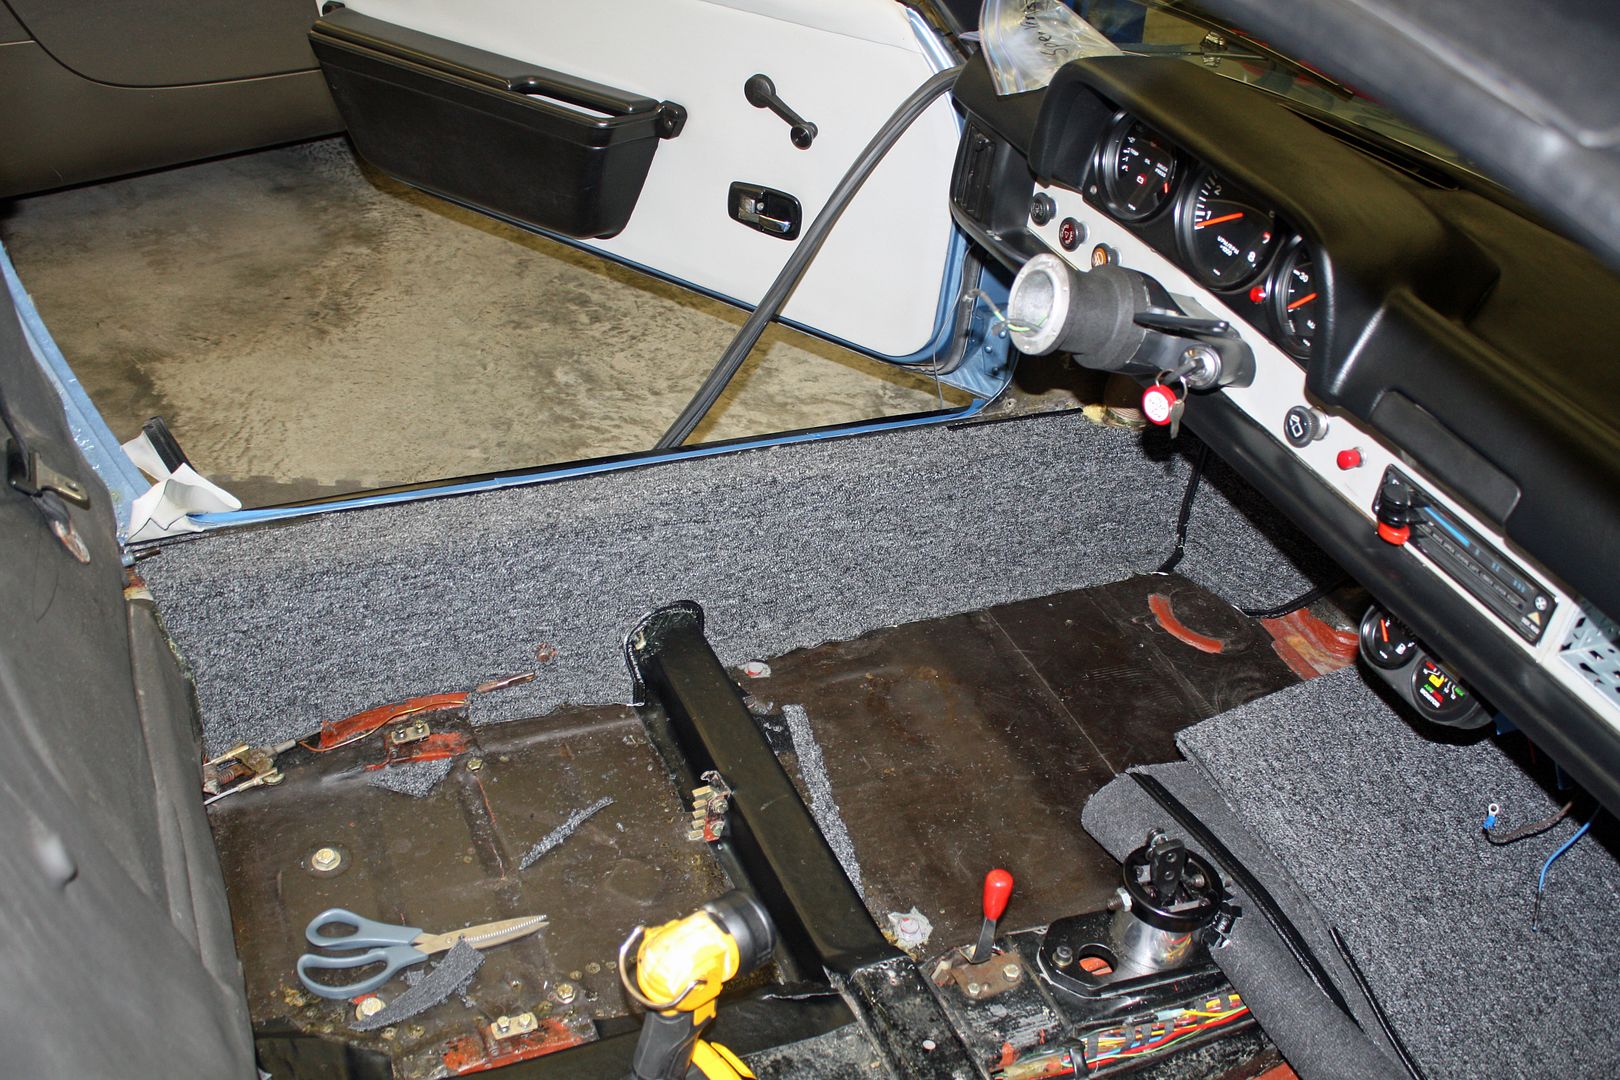
I began laying out all of the carpet pieces to see how they fit and to decide in what order they should be installed. The carpet for the tunnel had a very small hole for the shifter and wasn't close to being large enough for the shifter that is in the car. To see how much the hole needed to be enlarged, I removed the shifter so I could slip the carpet over it. I cut four slits into the carpet and then slipped it over the shifter.
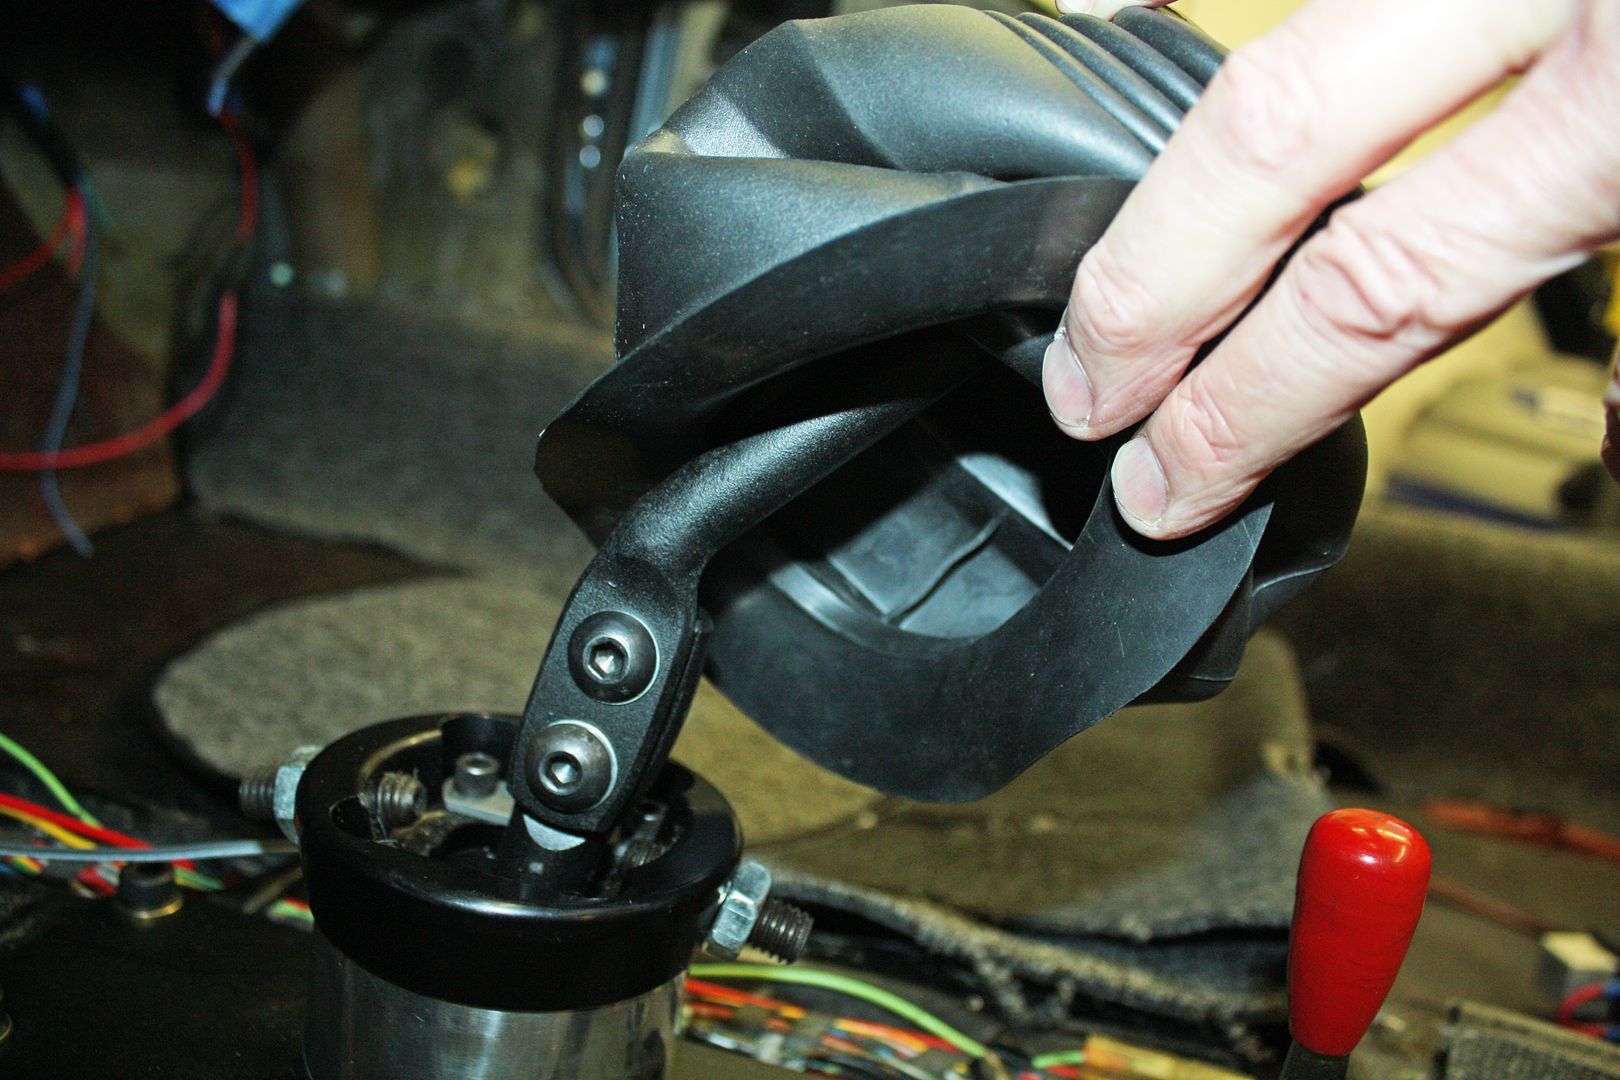
Since bumping one's head on the steering wheel is never fun, I removed it. In the process I discovered that it had a nearly two inch spacer. Since I have short legs and relatively long arms, I will probably remove the spacer when I re-install the steering wheel.
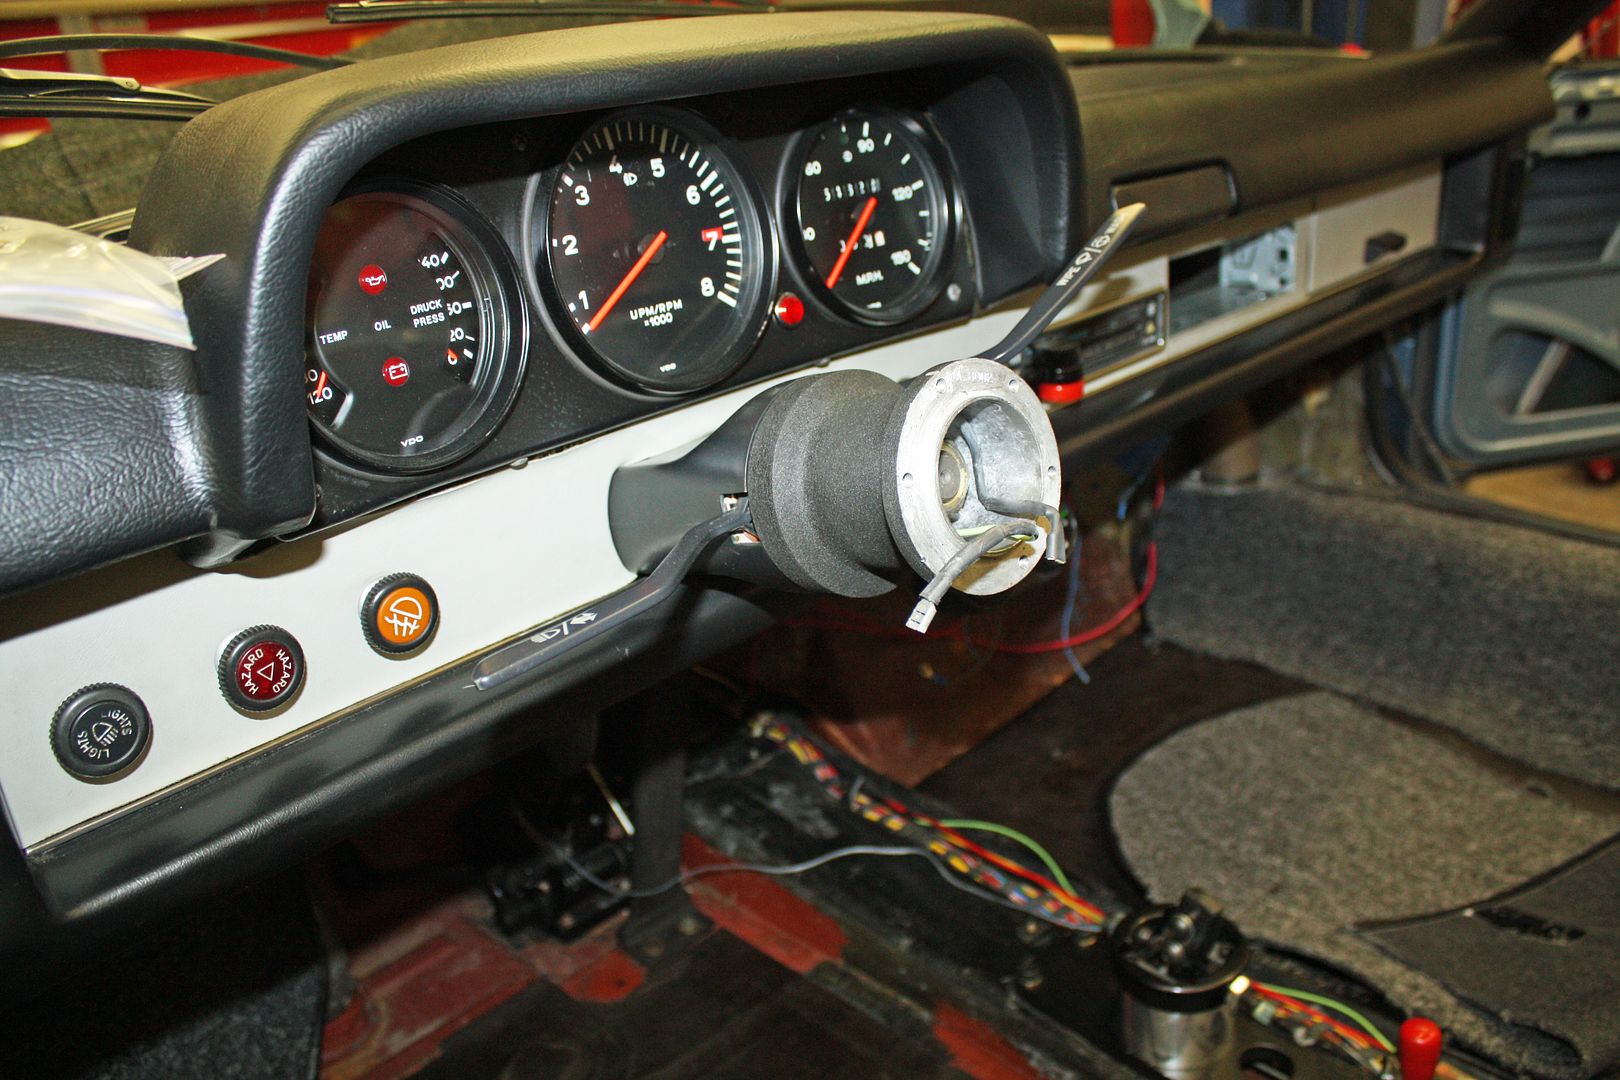
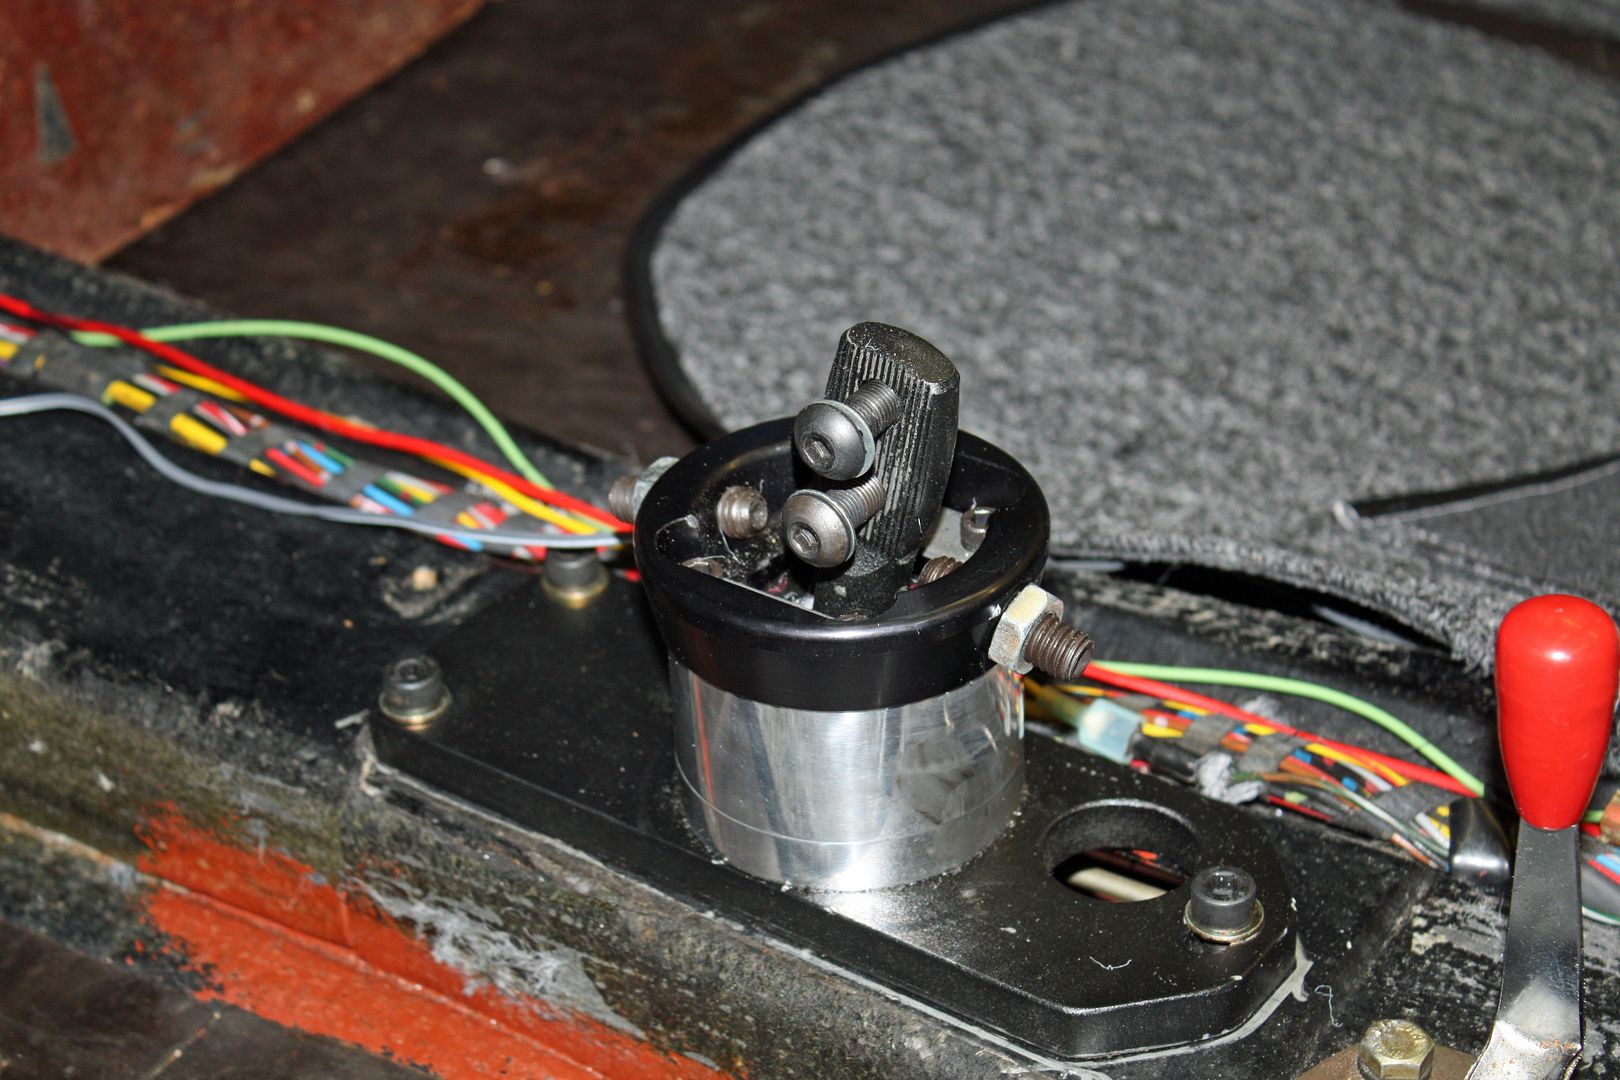
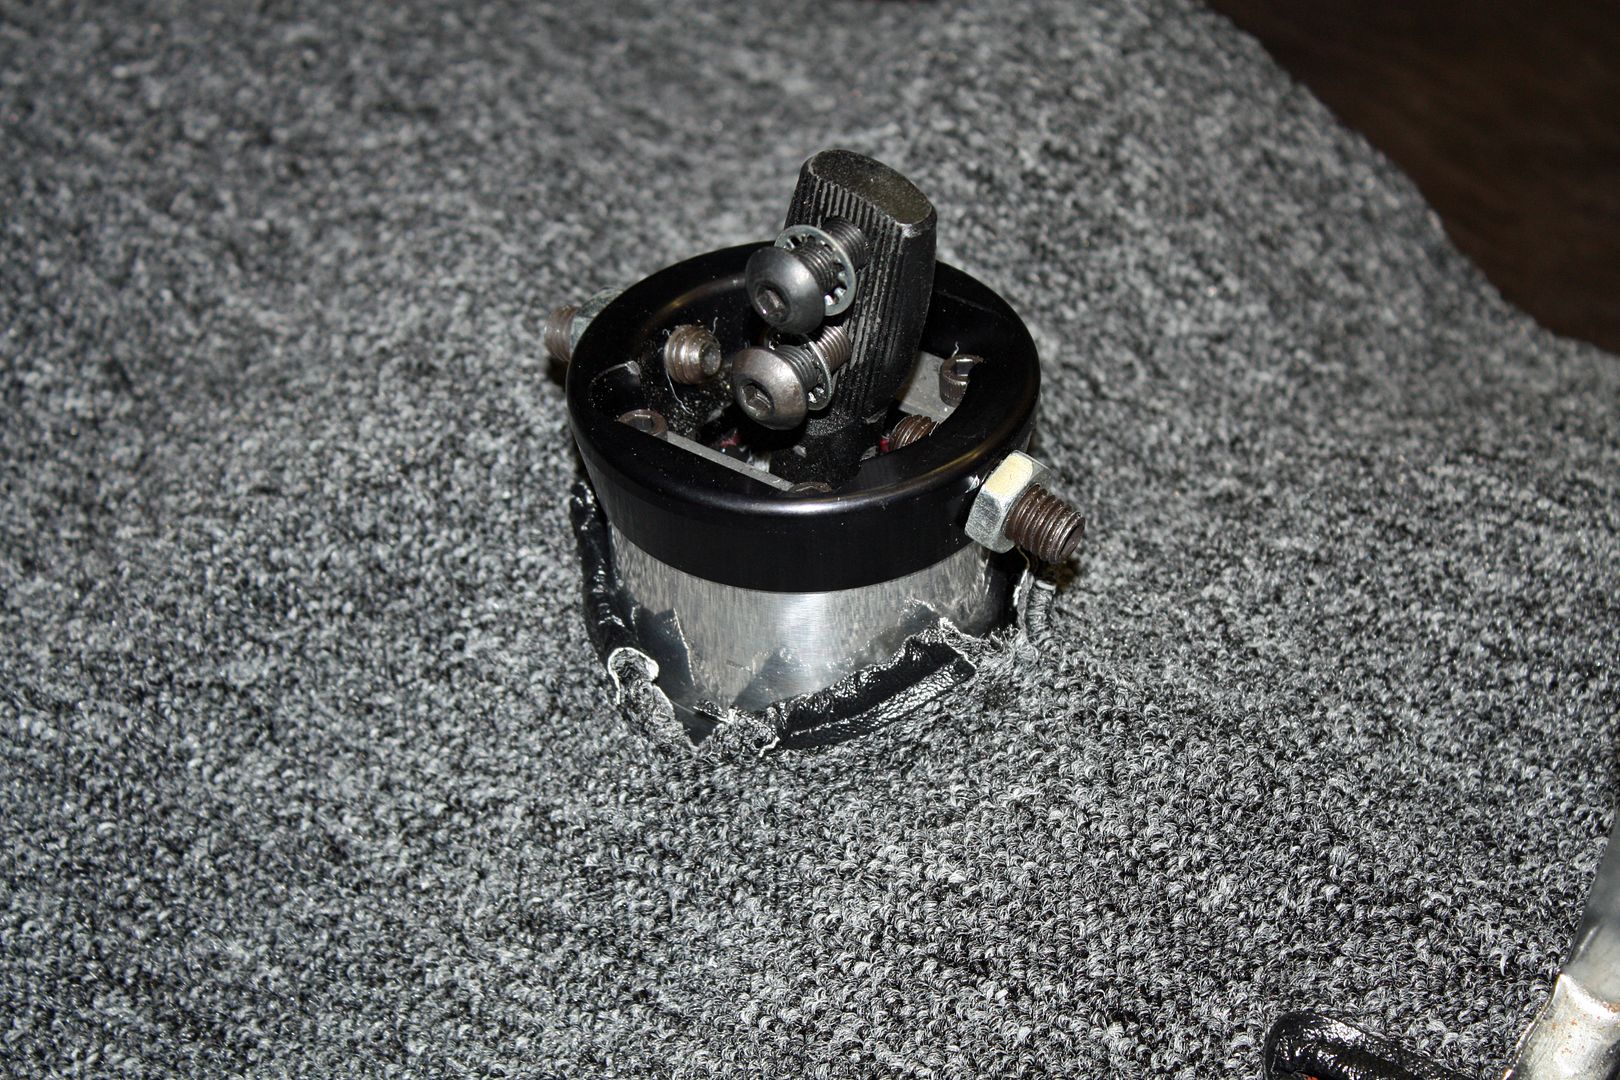
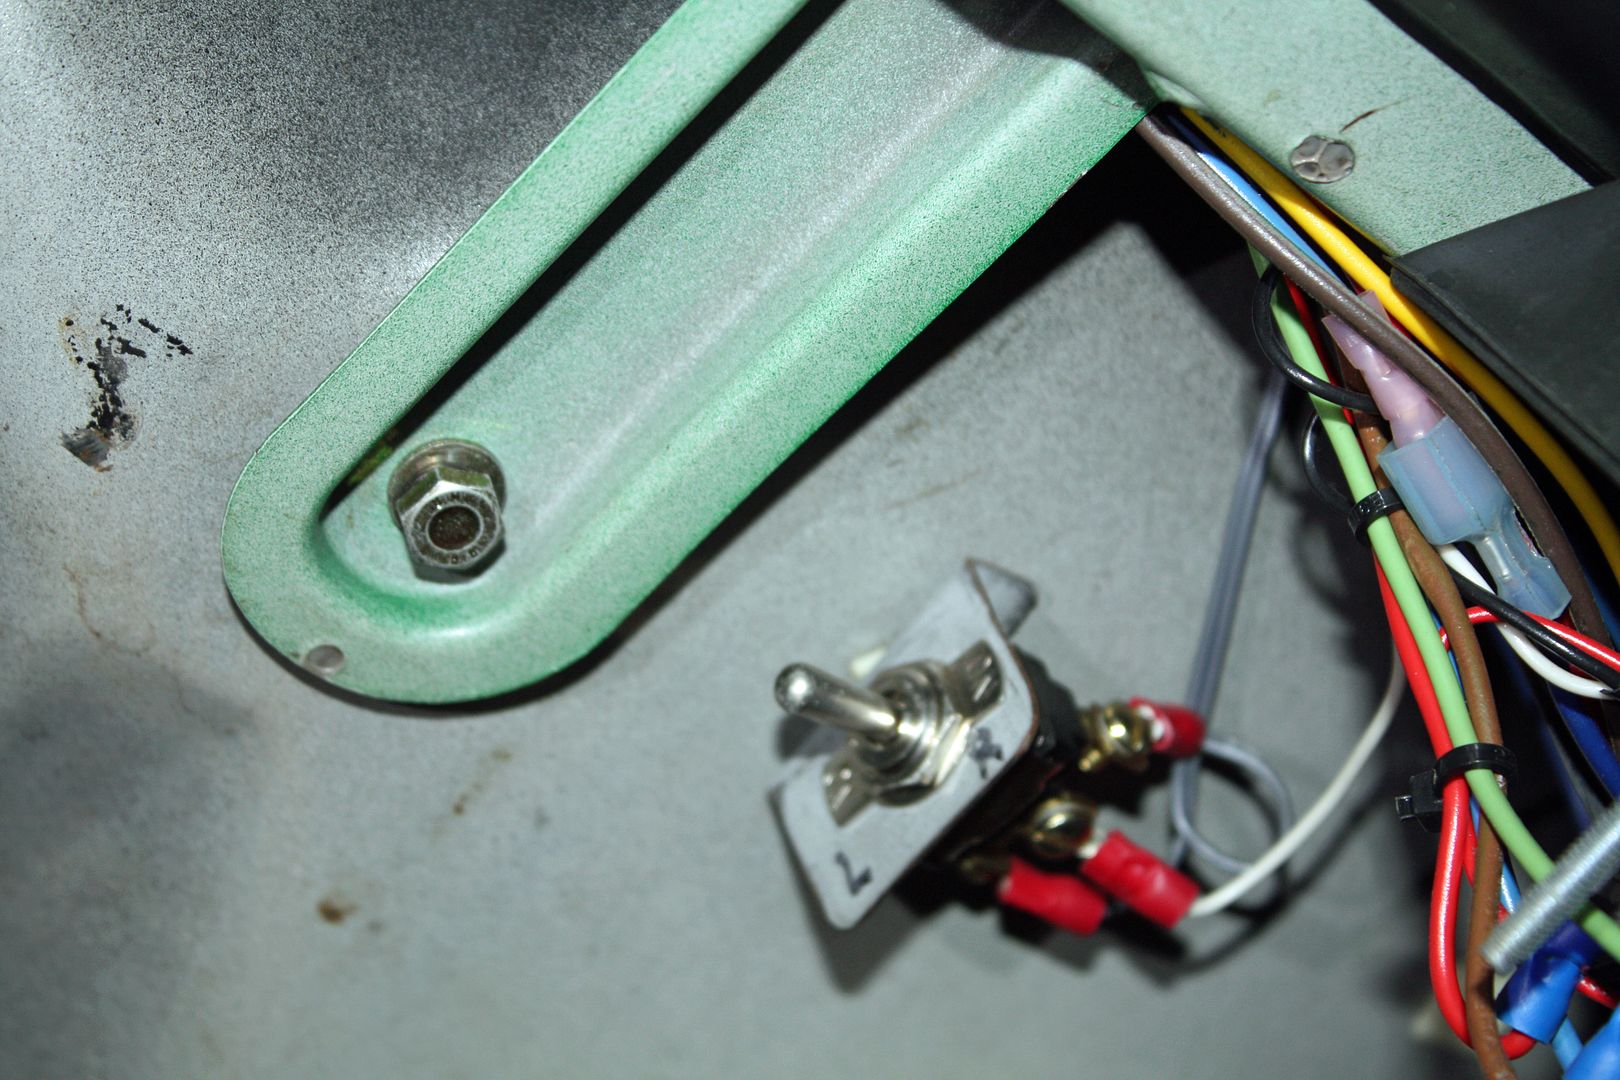
There were a couple of relays that were dangling under the dash on the left side. In the process of tying them up, I discovered this switch. At first I couldn't figure out what it was for as it has "L" and "R" written on it. Then I realized that it was for the O2 sensor gauge. There was only one gauge but the previous owner had O2 sensors in each side of the exhaust. This switch would allow him to monitor each exhaust separately on one gauge. Pretty clever!!! I won't be using the gauge as the ECU will be monitoring the O2 sensor.


Since bumping one's head on the steering wheel is never fun, I removed it. In the process I discovered that it had a nearly two inch spacer. Since I have short legs and relatively long arms, I will probably remove the spacer when I re-install the steering wheel.

There were a couple of relays that were dangling under the dash on the left side. In the process of tying them up, I discovered this switch. At first I couldn't figure out what it was for as it has "L" and "R" written on it. Then I realized that it was for the O2 sensor gauge. There was only one gauge but the previous owner had O2 sensors in each side of the exhaust. This switch would allow him to monitor each exhaust separately on one gauge. Pretty clever!!! I won't be using the gauge as the ECU will be monitoring the O2 sensor.
 10-26-2018, 05:24 PM
#89
Racer
Thread Starter
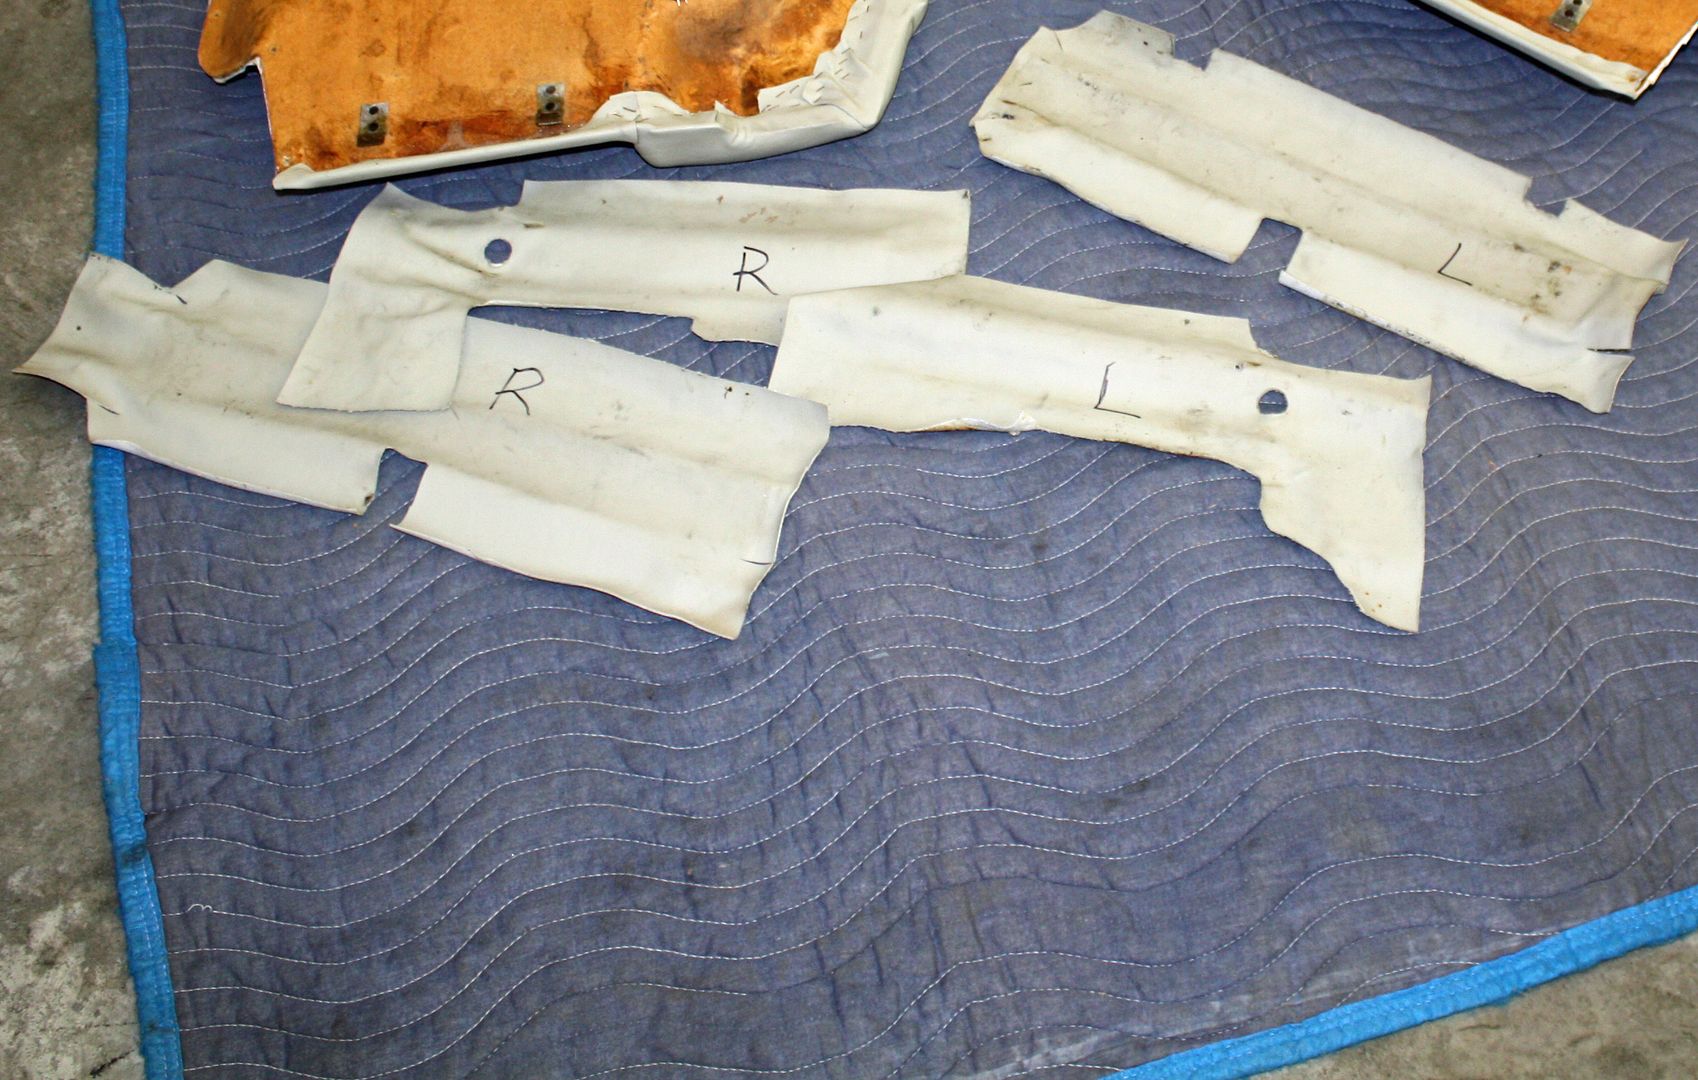
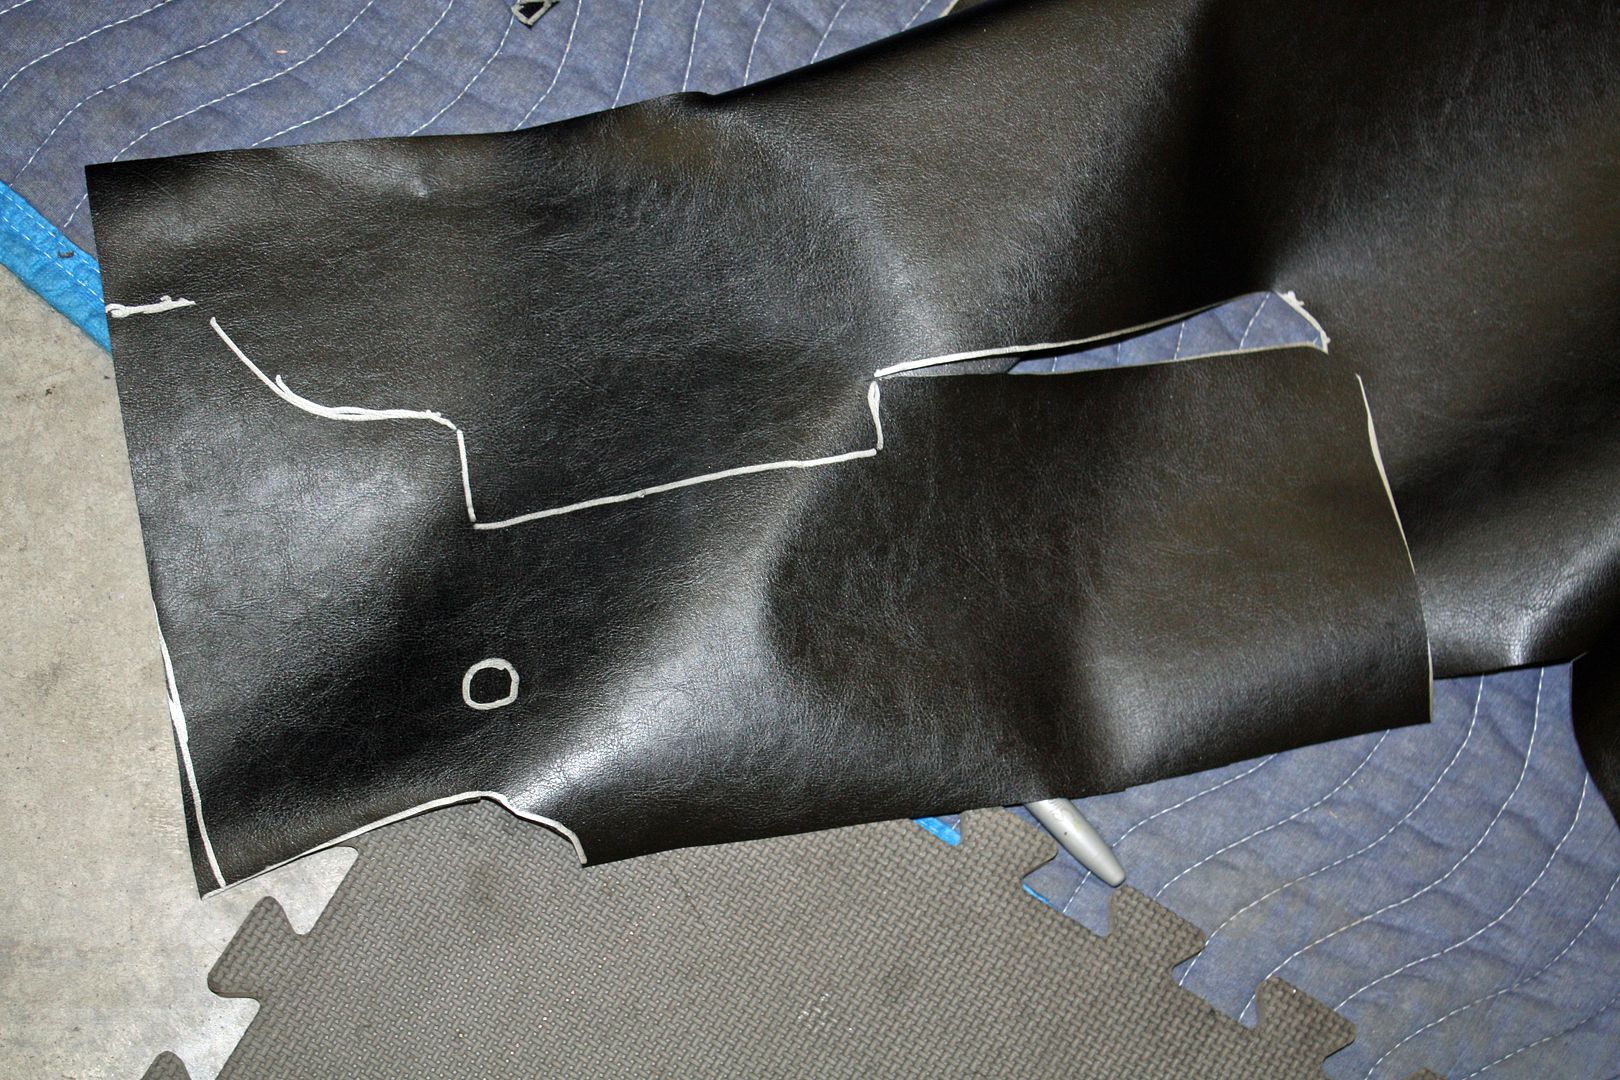
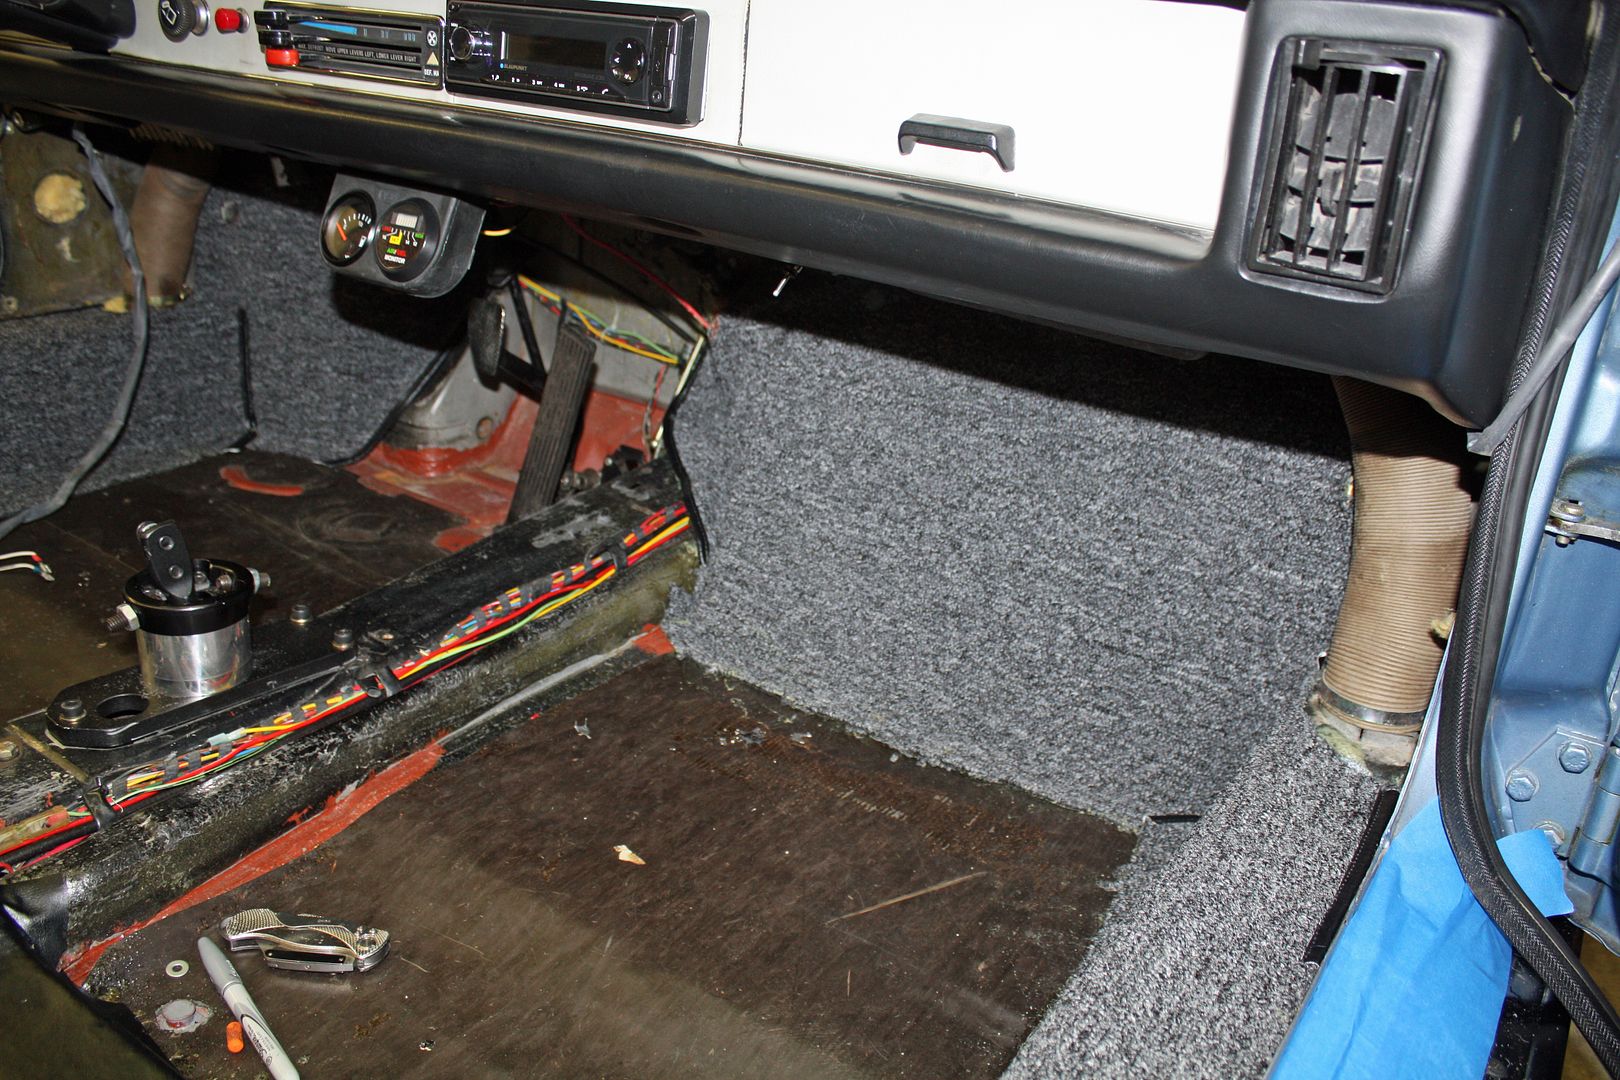
Using the old vinyl pieces as patterns, I cut new pieces to cover the frame and tunnel in the passenger compartment. I was doing some shopping in Wal-Mart yesterday morning and, as I was walking by the fabric department, i wondered if they would have some vinyl for these pieces. They did and I bought a yard of the material. After cutting out each piece, I test fitted it and then applied adhesive to the pieces and to the car.
The next job was installing the carpet pieces on the left side. After doing some fitting and trimming, adhesive was applied and the carpet was set in place.


The next job was installing the carpet pieces on the left side. After doing some fitting and trimming, adhesive was applied and the carpet was set in place.


 10-27-2018, 05:25 PM
#90
Racer
Thread Starter
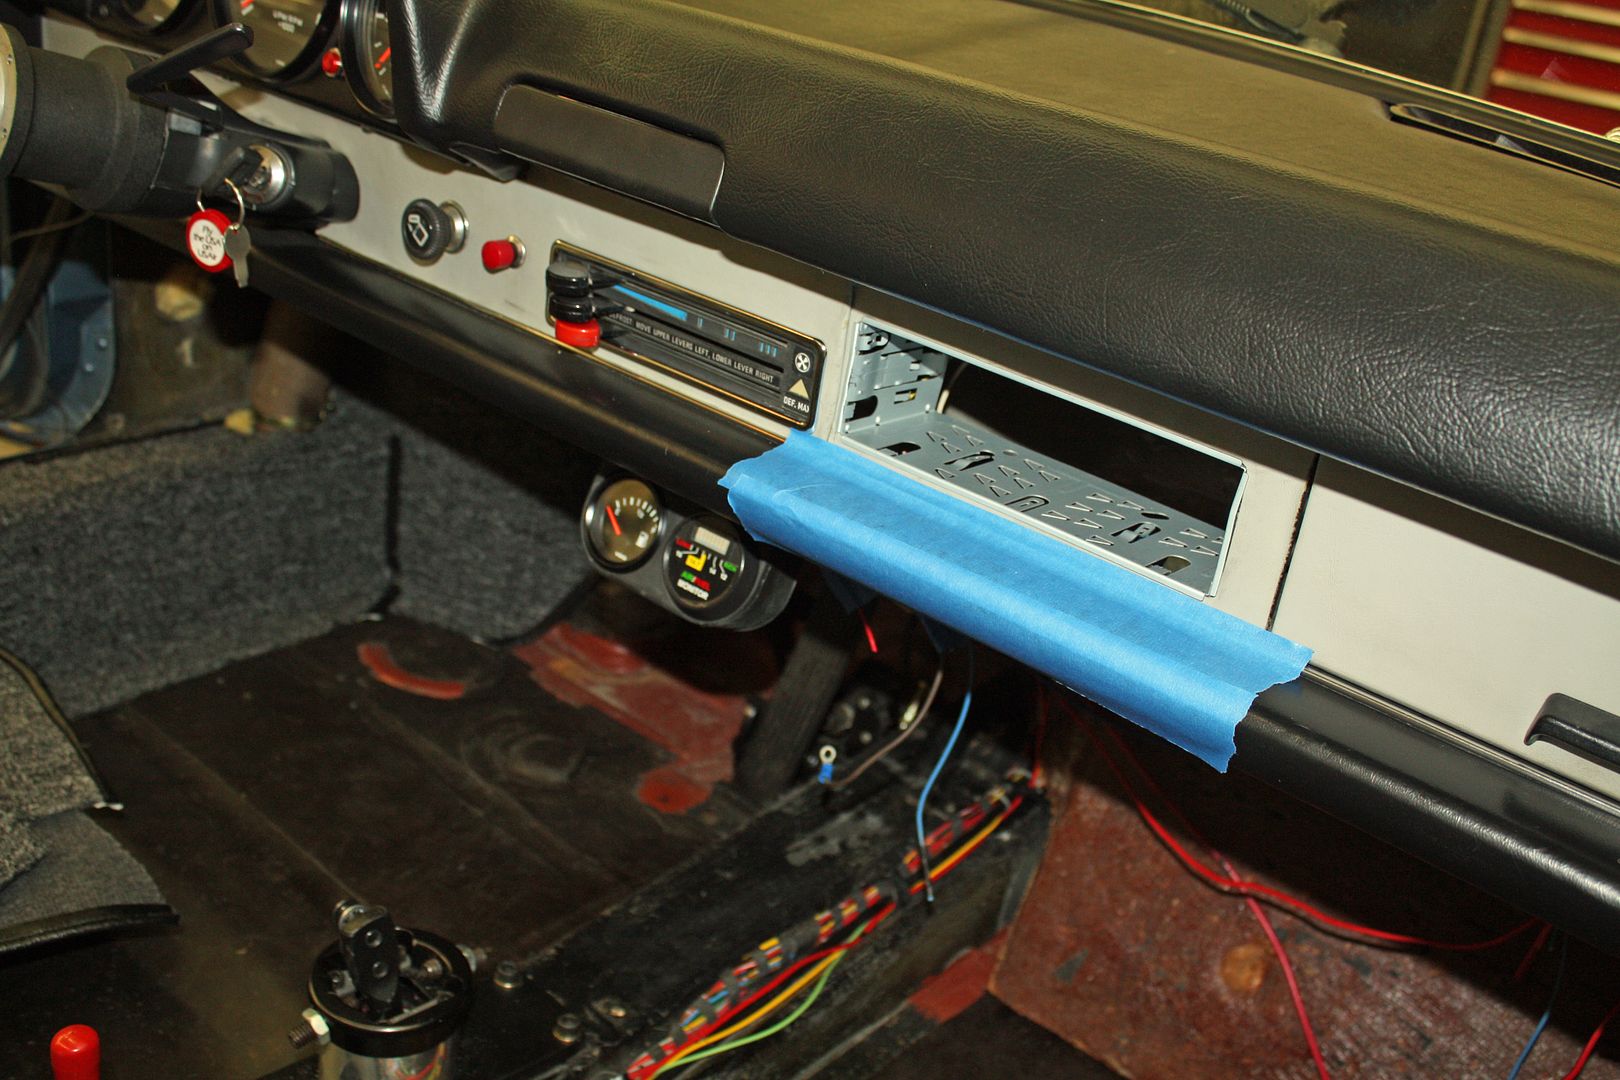
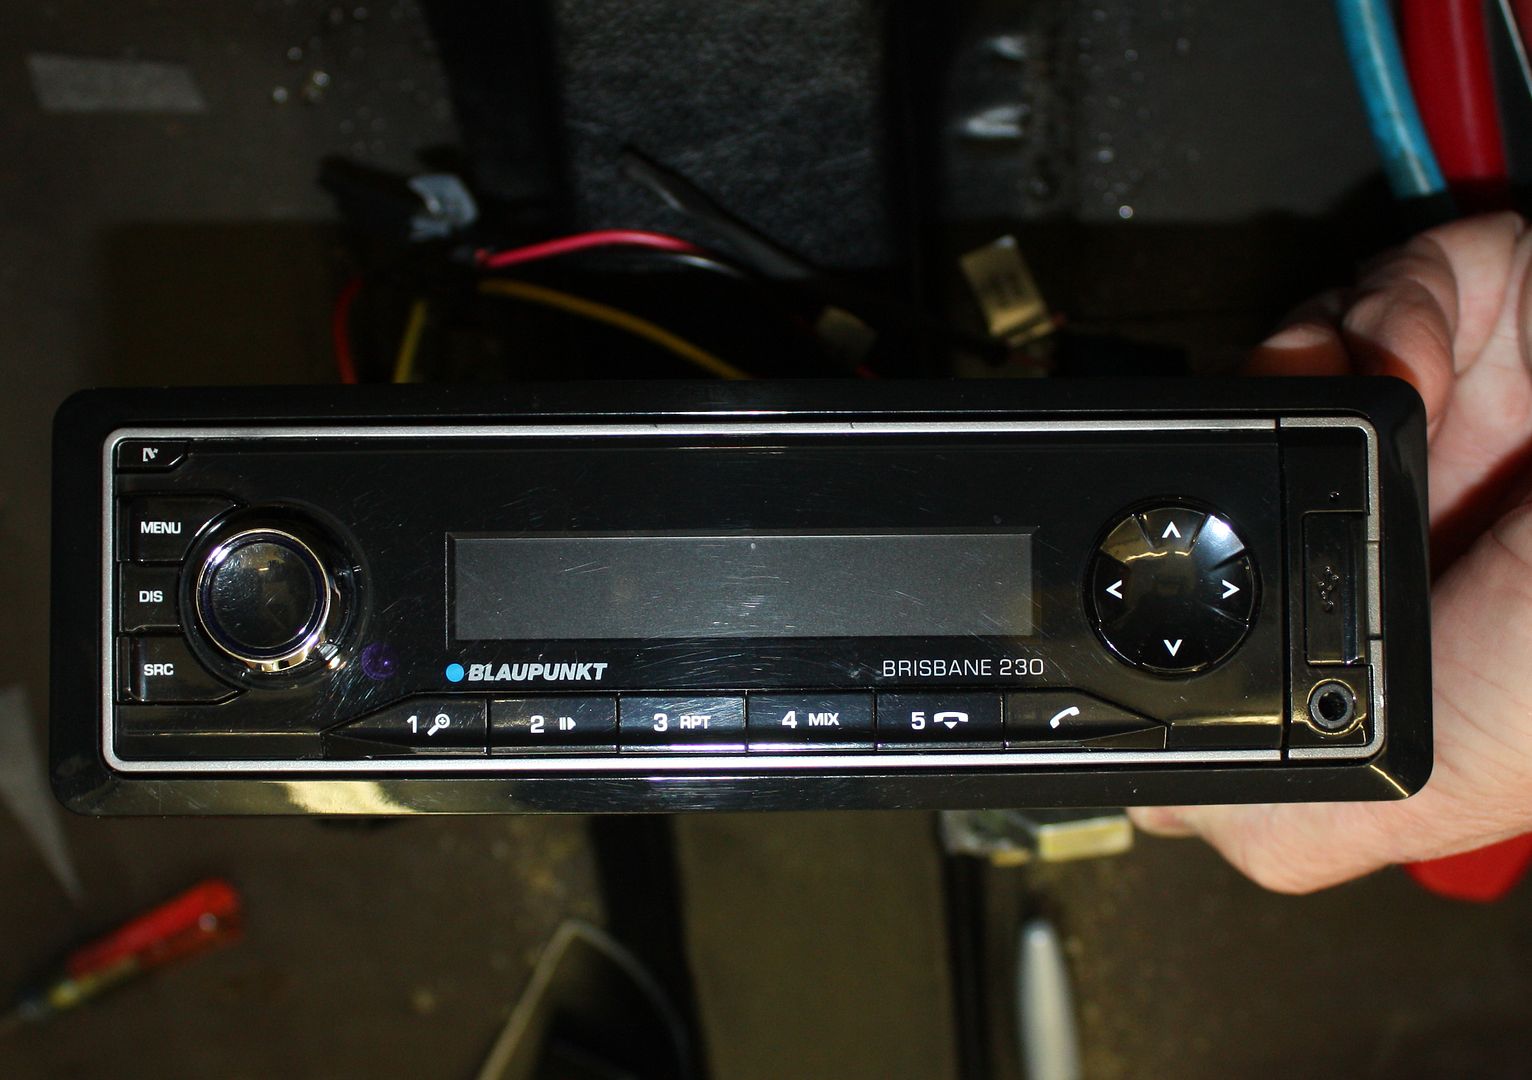
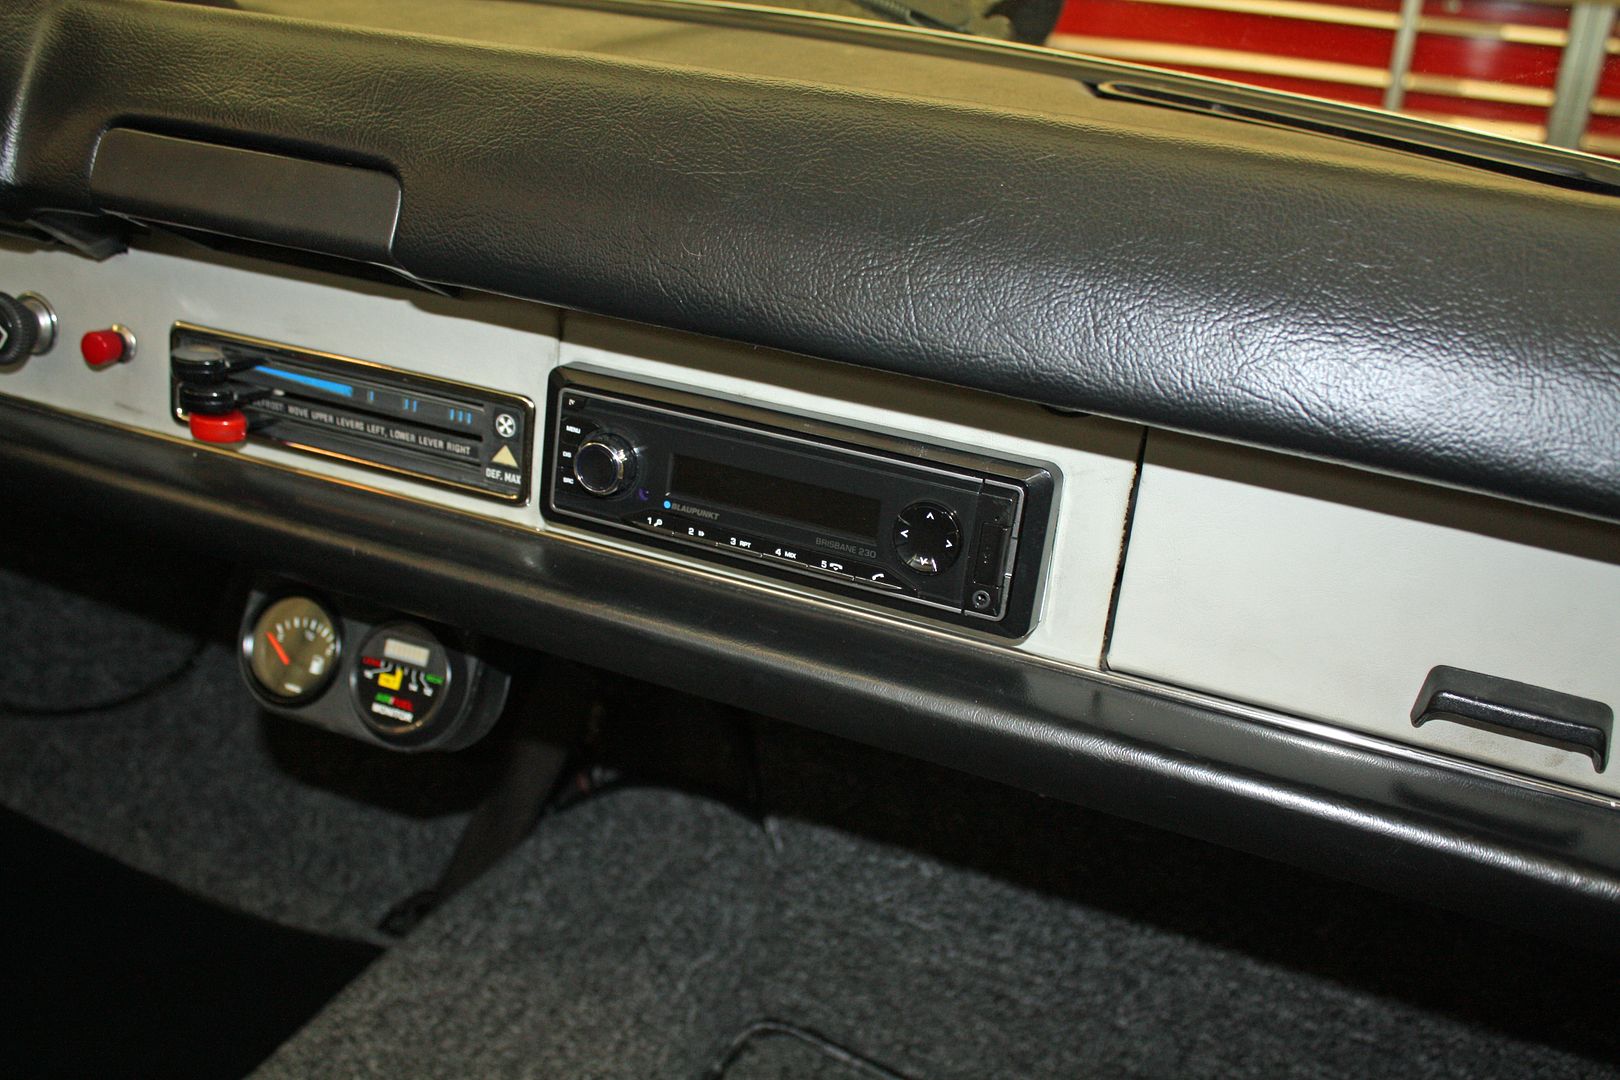
Before finishing up installing the carpet, I cleaned up the wiring under the dash and installed a different radio. I had this Blaupunkt Brisbane 230 installed in another car. It is very compact as it does not have a CD player. But it does have Bluetooth and both Aux and USB inputs.
With that out of the way, I finished the carpet installation. It was pretty straightforward. Compared to some other cars, the carpet install here was fairly easy and the carpet set from Auto Atlanta fit very well with very few adjustments needed. i did not glue the center sections as I may need access to the shifter and the rest of the tunnel. I am going to try fastening those pieces with Velcro.
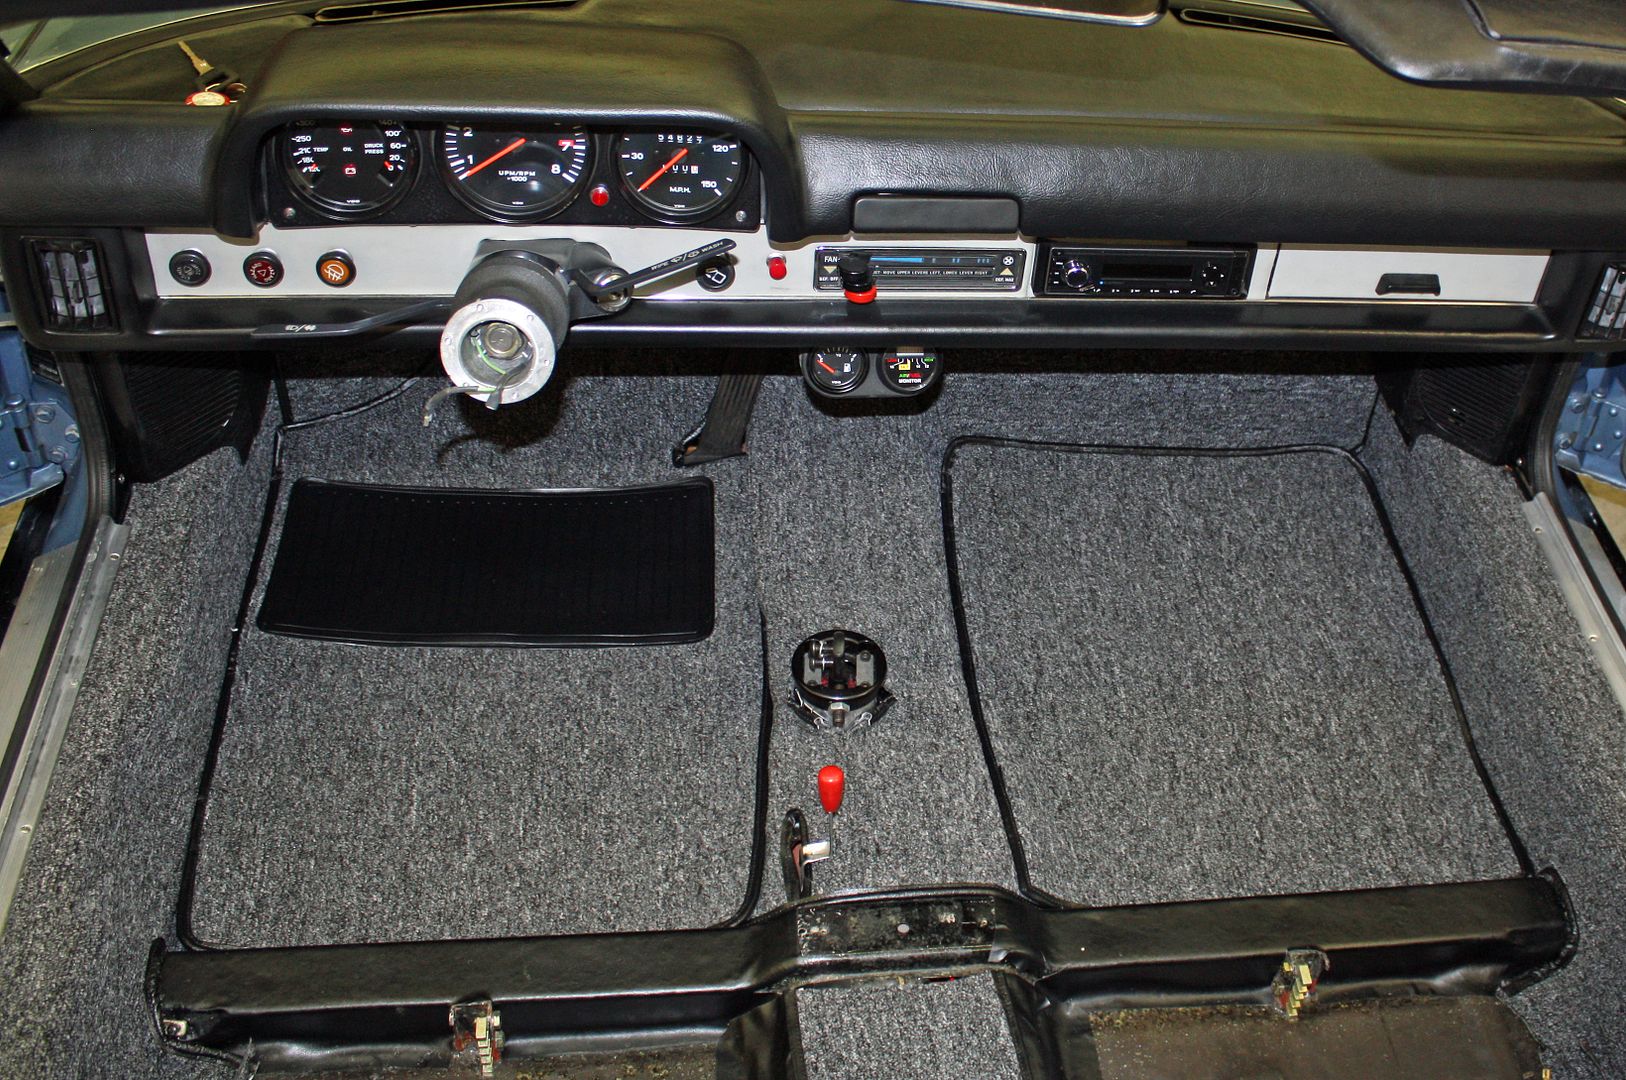


With that out of the way, I finished the carpet installation. It was pretty straightforward. Compared to some other cars, the carpet install here was fairly easy and the carpet set from Auto Atlanta fit very well with very few adjustments needed. i did not glue the center sections as I may need access to the shifter and the rest of the tunnel. I am going to try fastening those pieces with Velcro.


