When you click on links to various merchants on this site and make a purchase, this can result in this site earning a commission. Affiliate programs and affiliations include, but are not limited to, the eBay Partner Network.
Glad to have you back after a few years. I was watching this and the 912 build quite closely a few years ago. Guess I have a thread to keep my eyes on again
Glad to have you back after a few years. I was watching this and the 912 build quite closely a few years ago. Guess I have a thread to keep my eyes on again
Thank you. Feels good to be back . 912 engine should be done tomorrow and today I am taking the body panels needed to finish the metal work to my friend that is doind the work. I do not see the 912 ready this year at the pace my friend is working on it...and I cannot do body work...so I have to wait for him.
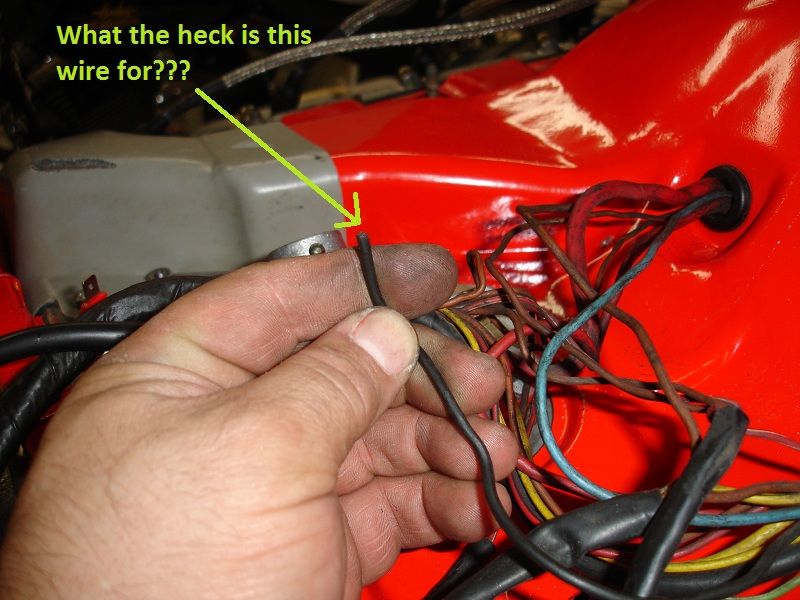
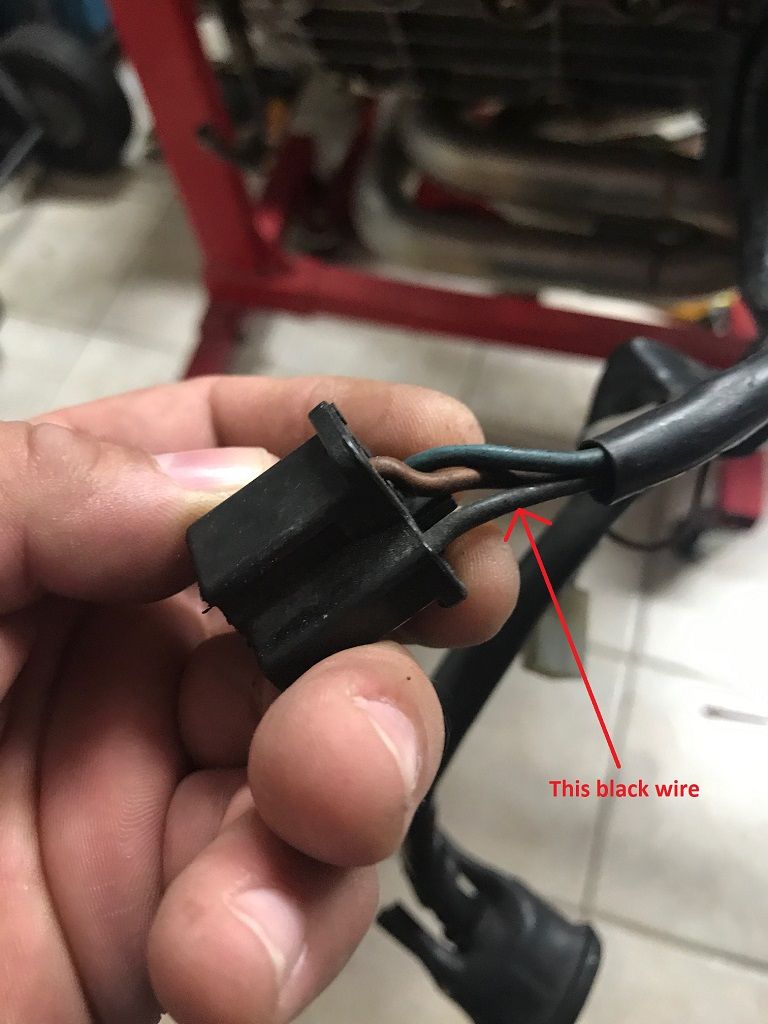
On this one, the SC, last night I was looking at the black wire that I found cut, tracing it back to the plug...will try to figure out what is for (will upload photos shortly).... then I will be installing transmission back and hope to install engine and transmission back in the car Monday or the weekend after.
This one, and the 964, I am trying to have back on the road before the year is over...will see...
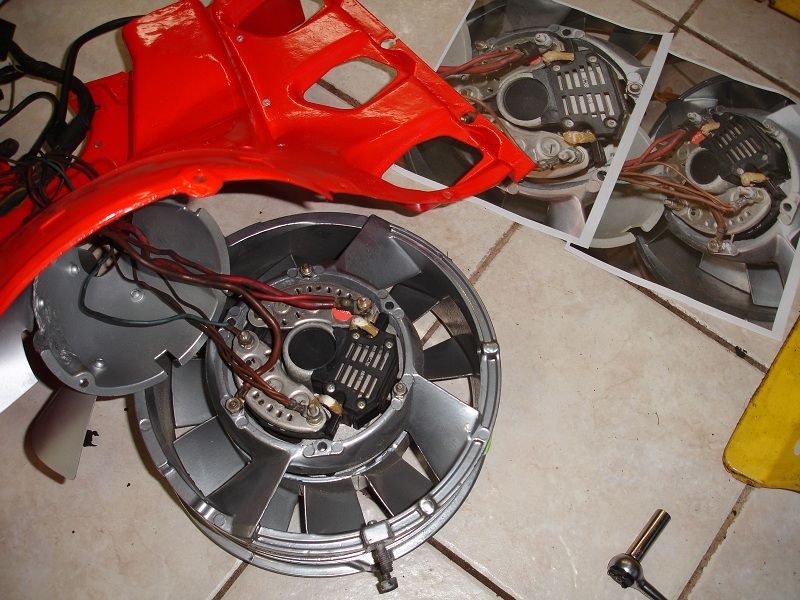
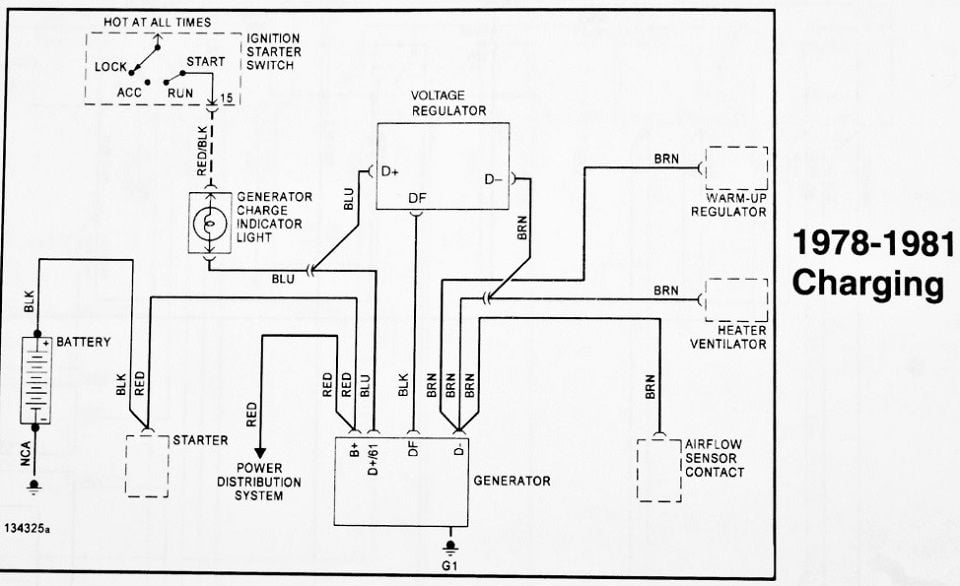
Mystery wire seems to be from the voltage regulator. It goes into the DF terminal on the older alternators... researching... looks like that wire is not use in the newer alternators and it is just left like that and not connected to anything.
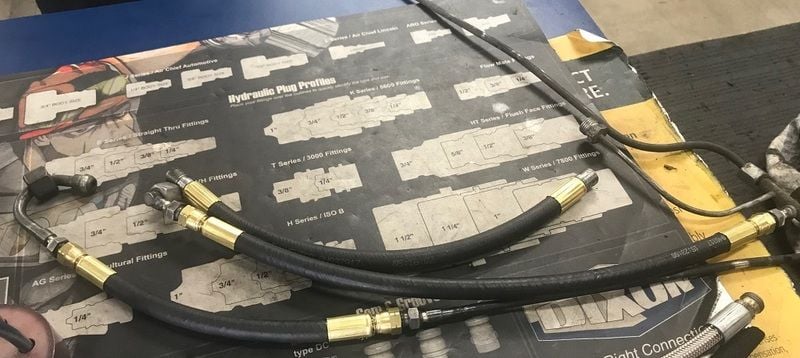
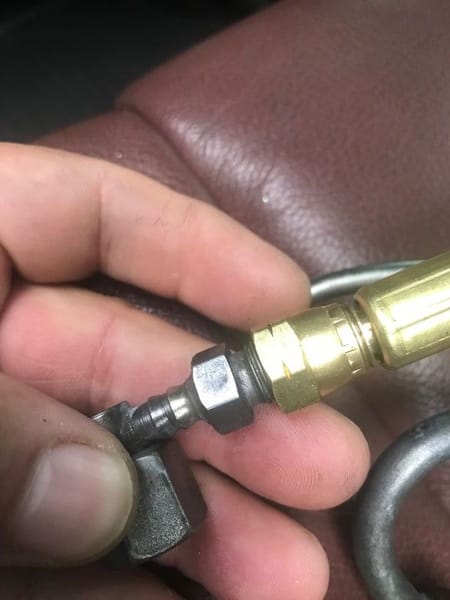
Local shop was able to redo my fuel lines... they could not crimp to original specs so the ended up brazing adapters and making standard lines... With this done I should be able to install the engine and transmission back this weekend. Woohooo!
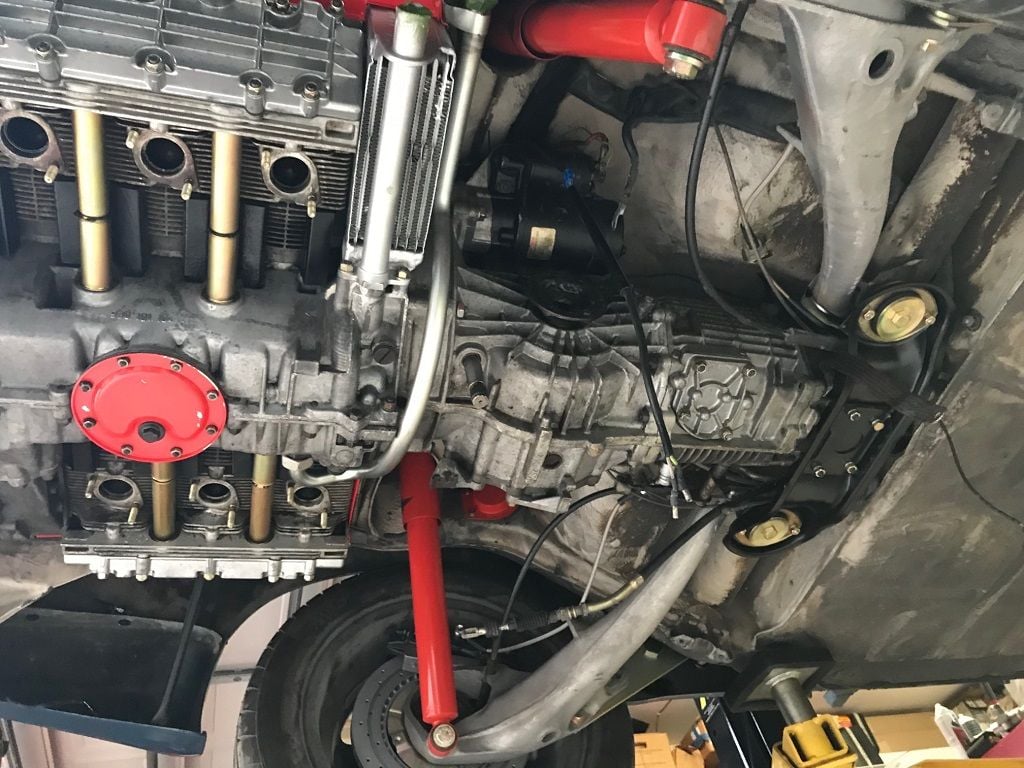
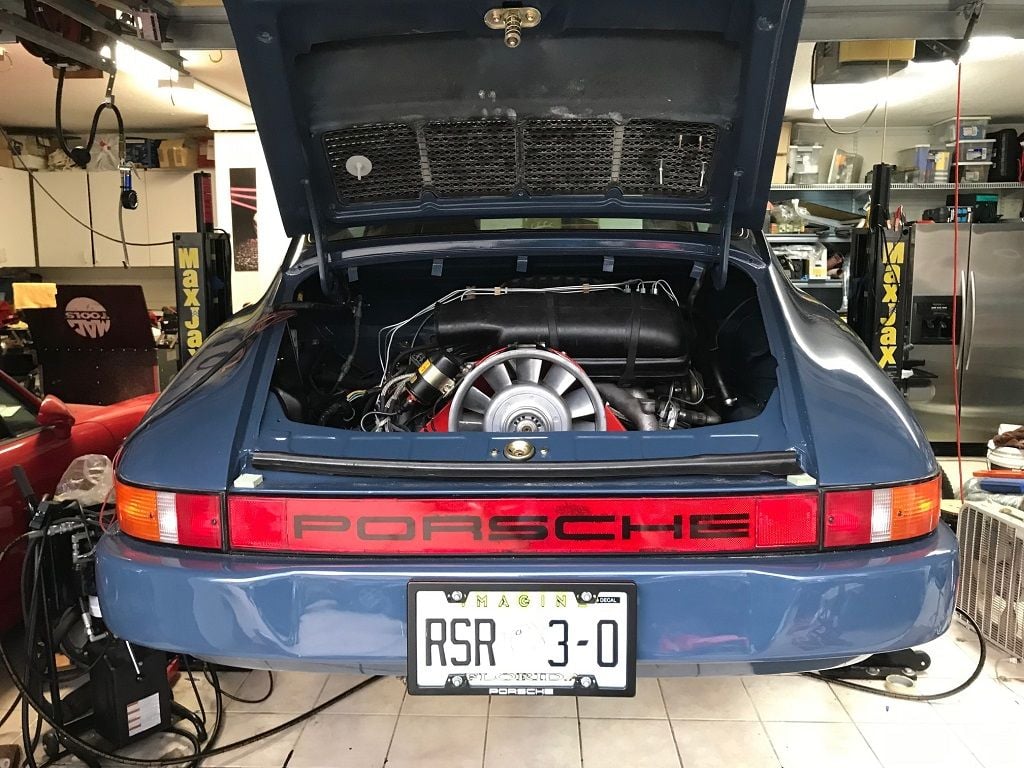
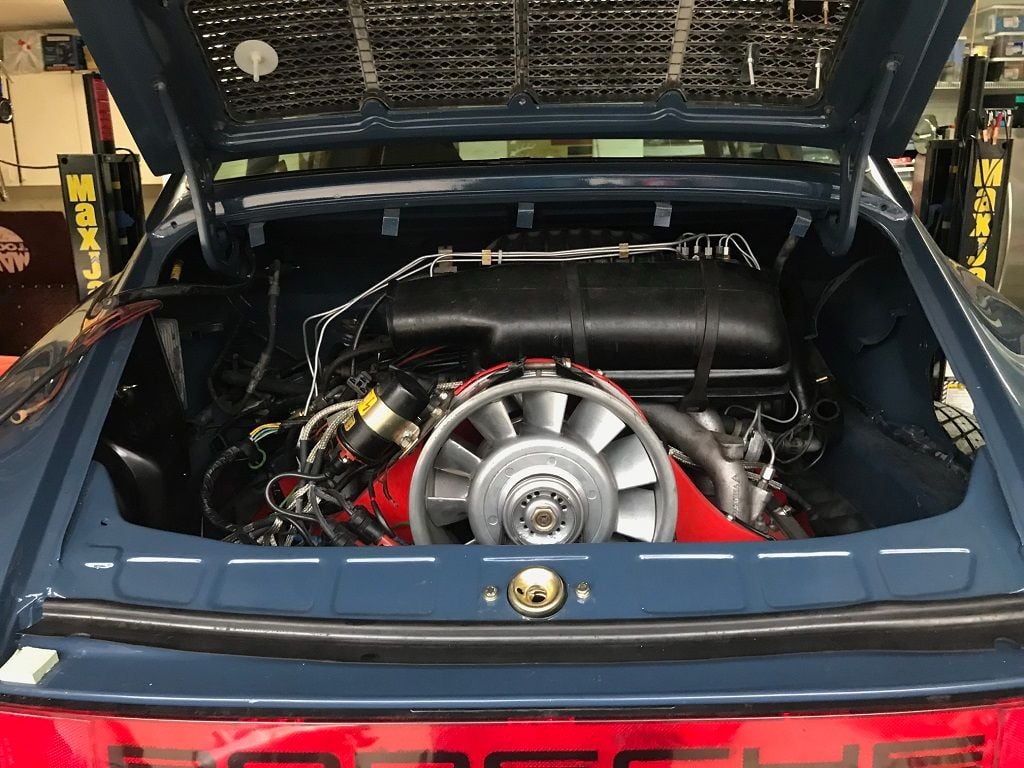
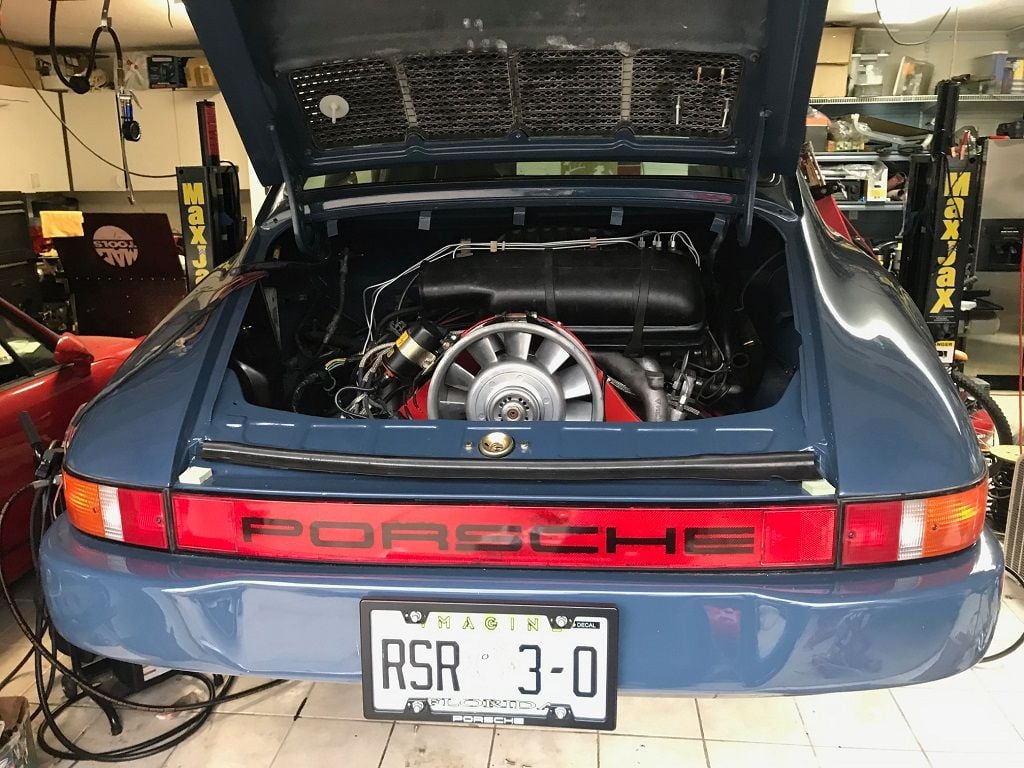
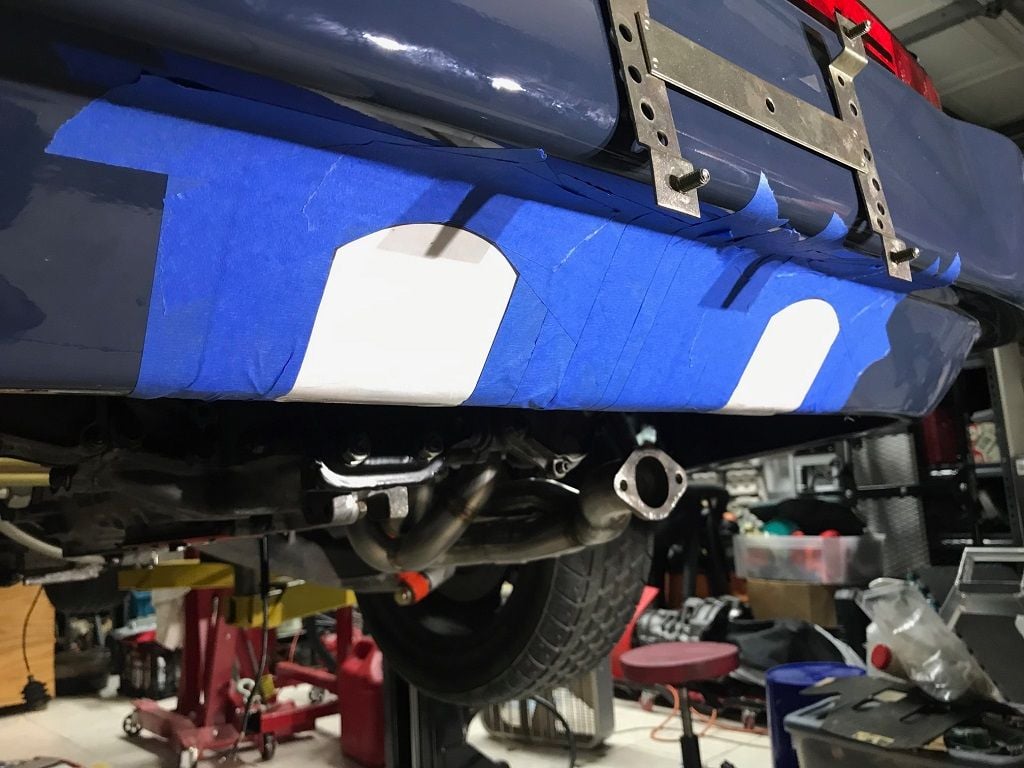
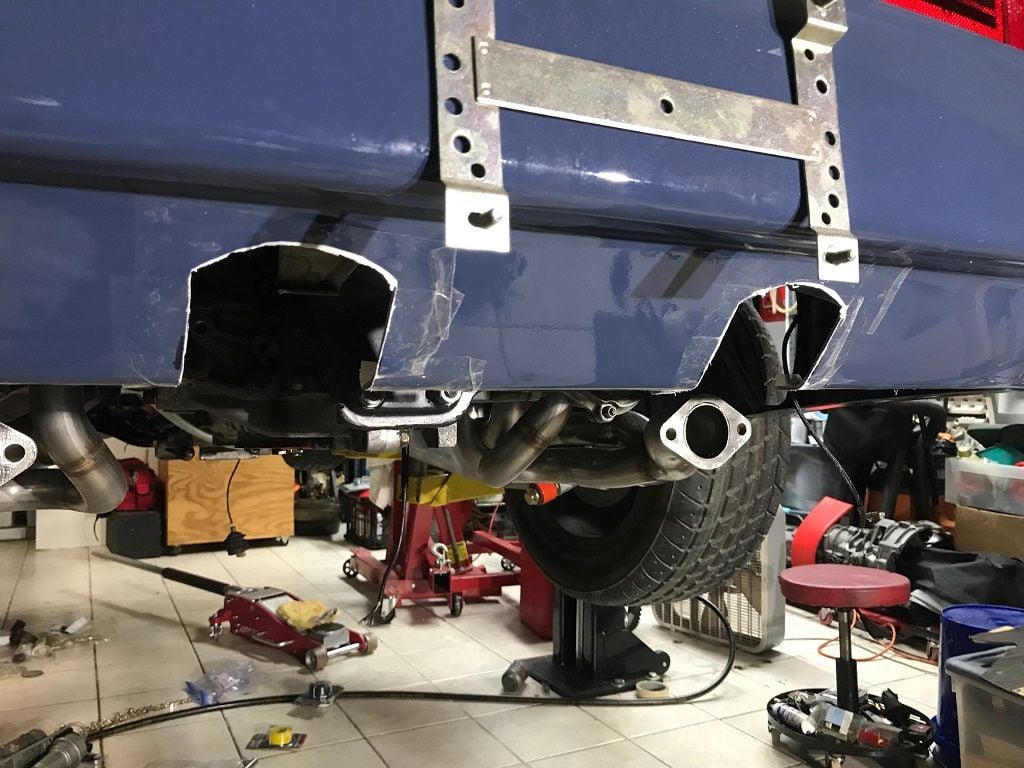
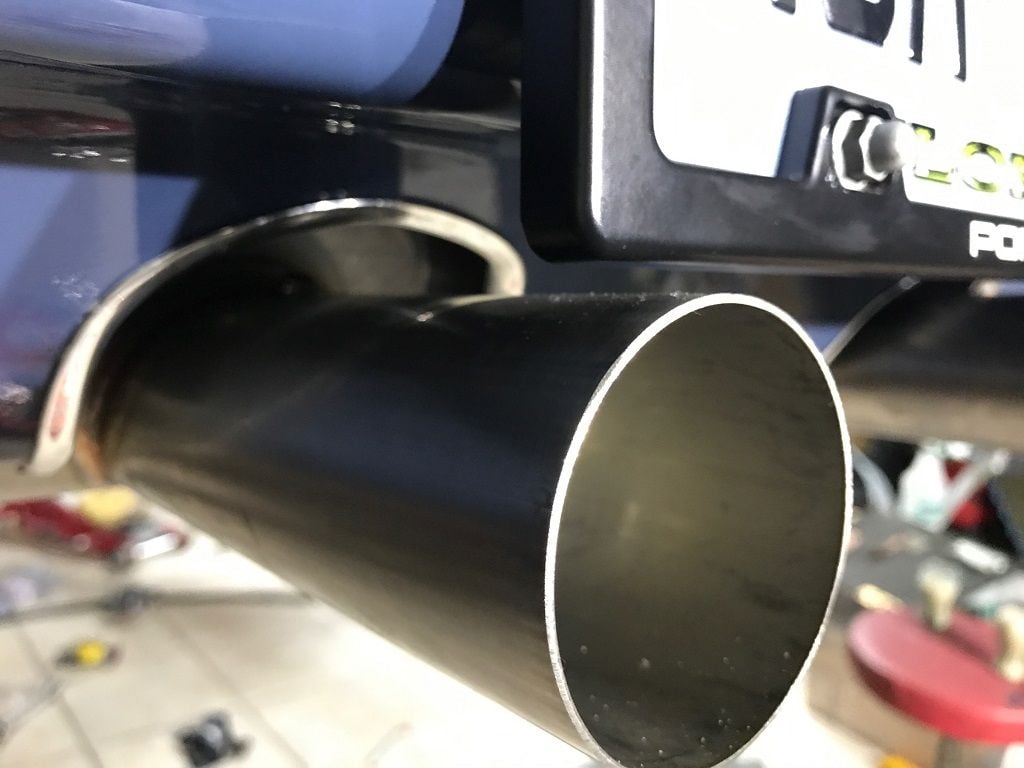
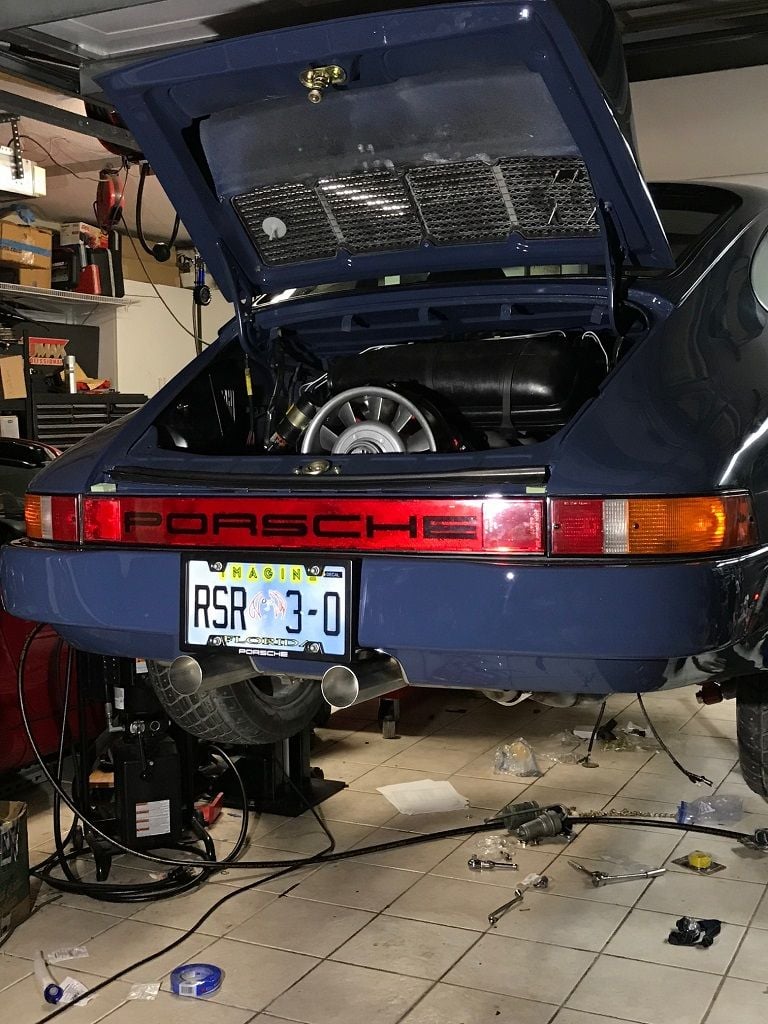
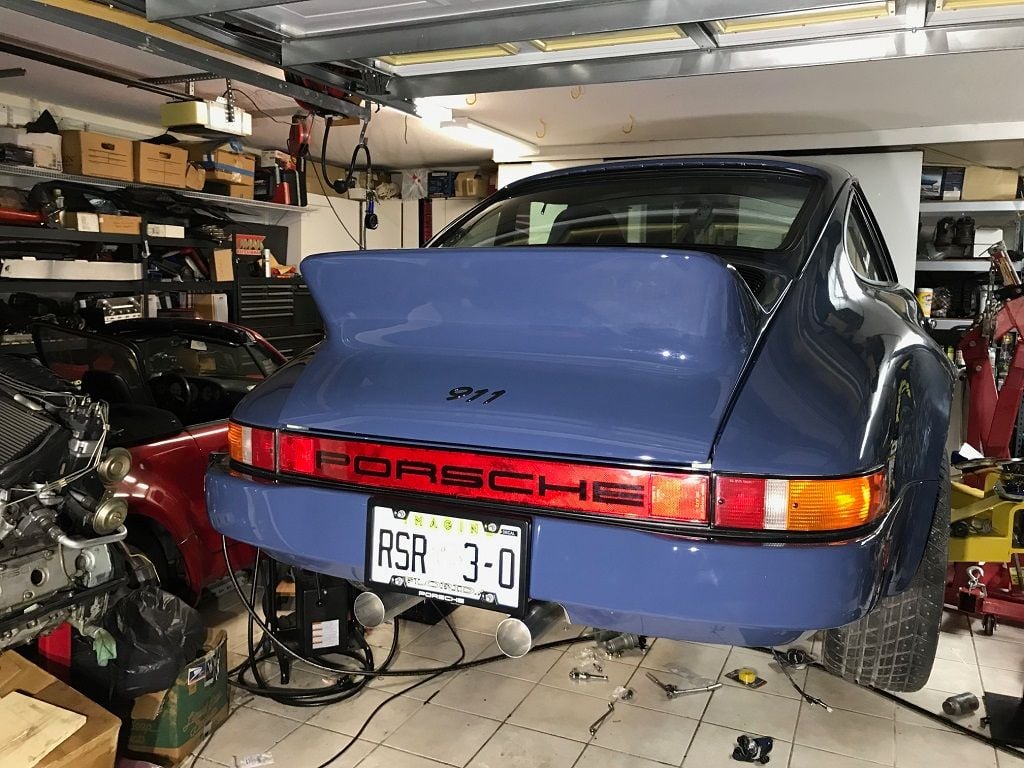
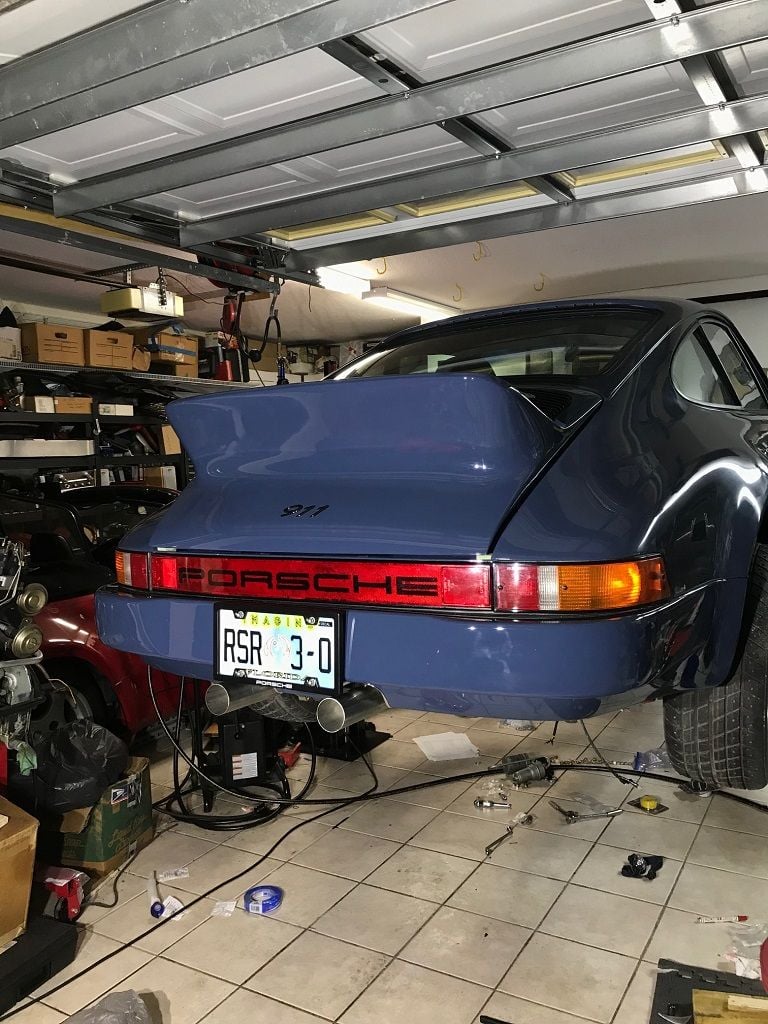
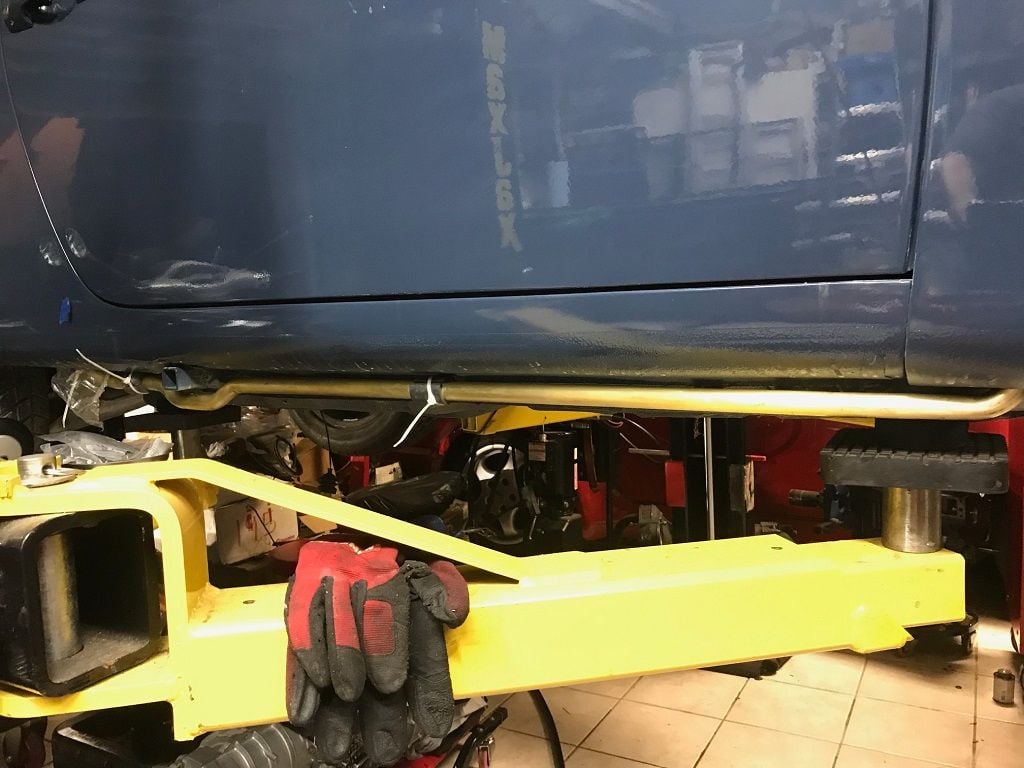
Engine is in!! Engine, transmission, headers, muffler... had to make some cutouts on the bumper to clear the tailpipes... used some trim I had to hide the cuts...
Now to work on the oil tank, oil lines, front center mounted oil cooler, etc.... Getting closer and close to being able to start it... it is that last 25% that takes forever to finish...
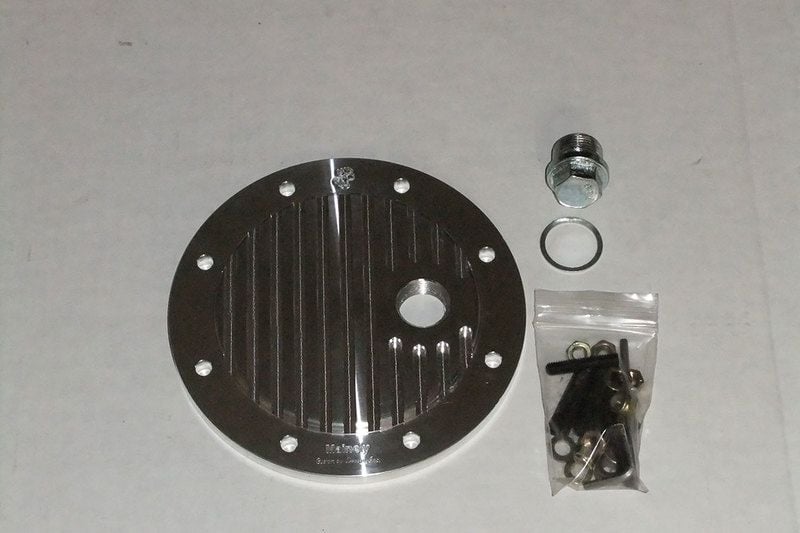
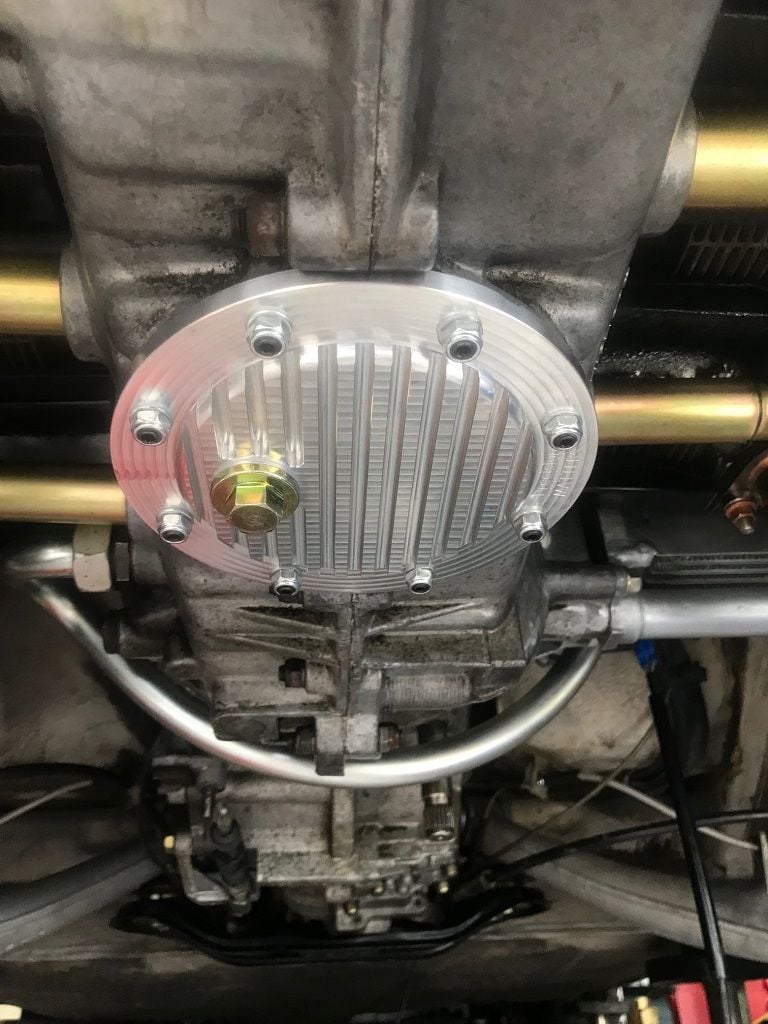
I will install the billet cover when it comes in... car has no oil at this time.
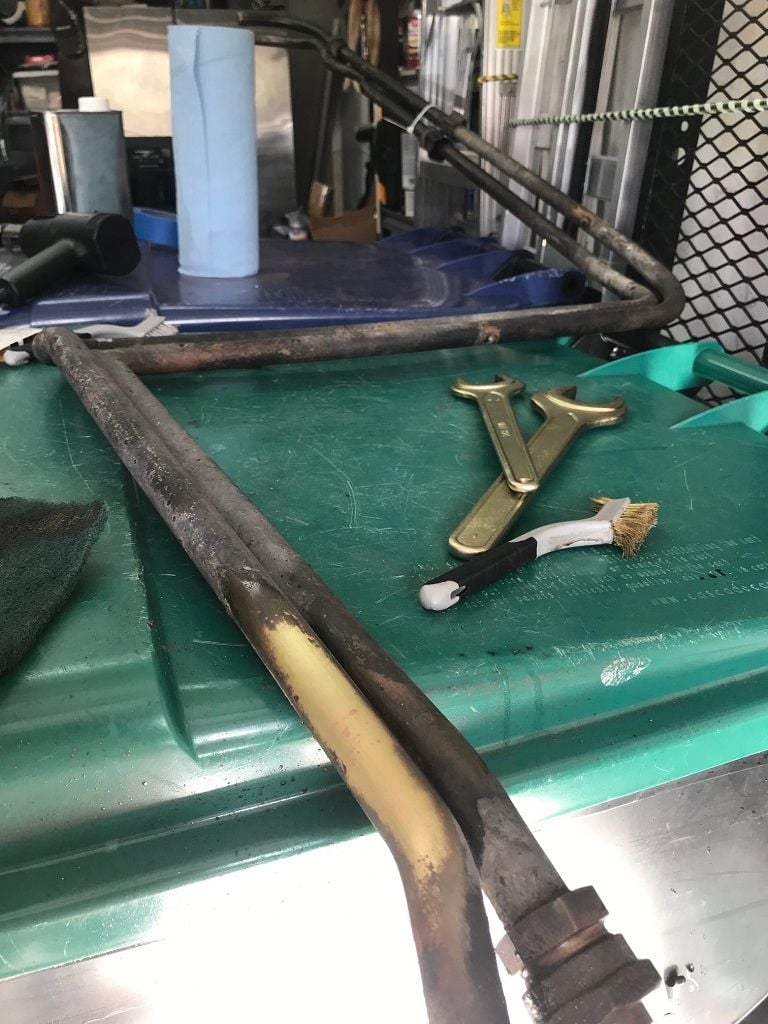
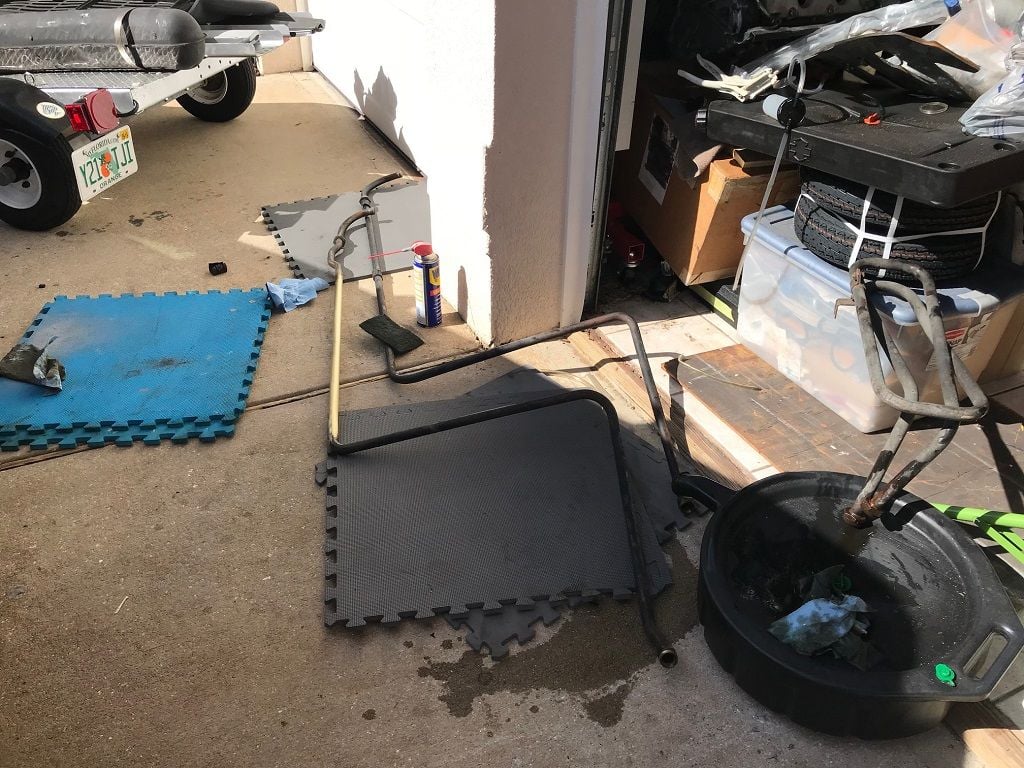
Worked on separating the stock oil lines from the side loop/cooler... man those were stuck tight!! Several cycles of heat and WD-40... at the end I placed the line on the floor and held the wrench on the fixed side while hitting the other wrench with a mallet.. broke loose without much force. Now working on cleaning them. Using scotch brite pad and WD-40 (might switch to Simple Green if it works faster, need to test)...
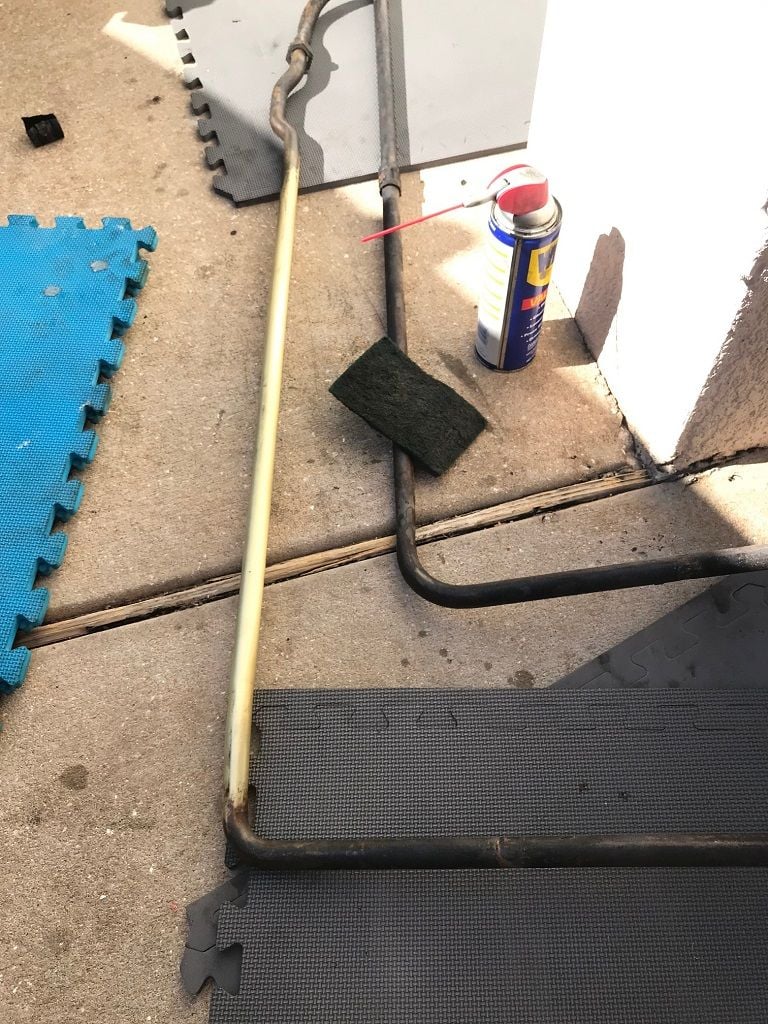
Could not dedicate the day to working on the car today... too many interruptions. Anyway, one down, one more to go... and forget the WD-40... the best thing to use is Goo Gone!! Wish I had started with that and I would have gotten both done today...
Man, the oil lines look fantastic! Funny, I 'discovered' Goo Gone a little late myself while helping a friend remove the butyl in his windshield track prior to glass replacement. WD40 didn't budge it, but Goo Gone ate it up. Could be the tar/undercoating stuff you encountered was similar.
Anyway, great work on all of it. I admire your patience. You'll have something well worth the effort when done.
Thank you for the kind words. Wished I had not let this sit for so long... but just glad that I am back on it and making progress...
Man, wish I had been as organized as I was with the 912...
When I took this one apart I did not organized the hardware in different backs/boxes... so guess what? Can't find squat! Had to order new bolts for the brackets that hold down the lines in place and also the two clamps needed...
1 - Rear Clip to Attach Oil Line Part #: 999-511-080-02-OEM
1 - Front Clip to Attach Oil Line Part #: 999-511-084-02-OEM
3 - Tapping Screw Part #: 900-187-032-02-OEM
This build is not like my 912 build... with the 912 I went overboard with every nut, bolt, hardware, etc. reconditioned... on this one, I just did the minimum... and now I am regretting it... eventually I will come back and do it all again and power coat and recondition everything nut and bolt... but for now, I just want to finish it and drive it!
Also had to order a few more items to finish the clutch install. Also ordered a few more things to get the oil tank ready for installation. On the oil tank, I need to finish cleaning it and put a coat of paint on it (was not going to risk having it powder coated)...
Engine Oil Tank Support Bracket Part #: 901-501-930-22-OEM
Washer / Spacer for Oil Tank (2 per car) Part #: 901-107-661-00-OEM
Oil Tank Mount Washer (Plastic with Recessed Center) Part #: 901-107-693-01-OEM
Oil Tank Mount Washer (Plastic with Raised Center) Part #: 901-107-692-00-OEM
Intermediate Layer Part #: 901-501-909-20-OEM
Oil Cap Seal Part #: 930-107-272-01-M127
Fuel Level Sensor Gasket Part #: 914-201-891-00-INT
Oil Tank Gasket Part #: 911-107-192-03-M253
Manual Trans Shift Rod Support Boot Part #: 911-424-294-00-INT
Helper Spring Upper O-Ring, 7.3x2.4mm Part #: 999-701-209-40-OEM
Clutch Helper Spring Pivot Washer Part #: 900-234-502-01-OEM
Helper Spring Bearing, 2 Req Part #: 999-201-212-00-OEM
Helper Spring Pivot Pin Part #: 915-116-624-00-OEM
Helper Spring Spacers Part #: 930-116-617-00-OEM
Assembly Lower Cover Part #: 900-036-016-02-OEM
Helper Spring Upper Circlip Part #: N012-408-2-OEM
Clutch Release Bearing Guide Tube O-Ring (40 X 1.5 mm) Part #: 999-701-359-40-M30
Throw-Out Lever Shaft Lower Circlip Part #: N-012-418-1-OEM
Throw-Out Lever Seal Part #: 915-301-139-00-M30 - I probably have 4 of these that I can't find!!
Engine Cylinder Head Nut Part #: 901-104-382-02-INT - This is for the top bolt on the starter
Once these parts arrive I can finish the clutch and oil tank install...
I will finish cleaning the second line and do the front bumper oil cooler install.

 11-08-2018, 01:40 AM

 . 912 engine should be done tomorrow and today I am taking the body panels needed to finish the metal work to my friend that is doind the work. I do not see the 912 ready this year at the pace my friend is working on it...and I cannot do body work...so I have to wait for him.