
Pending Projects and a few Qs?
 08-27-2012, 07:26 PM
#181
Professor of Pending Projects
Rennlist Member
Rennlist Member
Thread Starter
A few more photos... more progress...


And the guy that is the master at fixing anything! The level of detail Alejandro has put into this car is just amazing!

And the guy that is the master at fixing anything! The level of detail Alejandro has put into this car is just amazing!

 08-28-2012, 08:47 AM
#183
Professor of Pending Projects
Rennlist Member
Rennlist Member
Thread Starter


 08-28-2012, 10:10 AM
#185
Professor of Pending Projects
Rennlist Member
Rennlist Member
Thread Starter
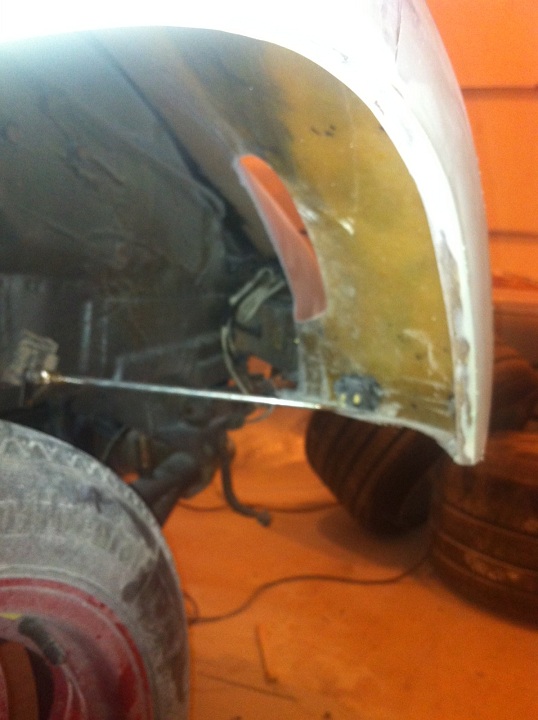
Forgot this photo...

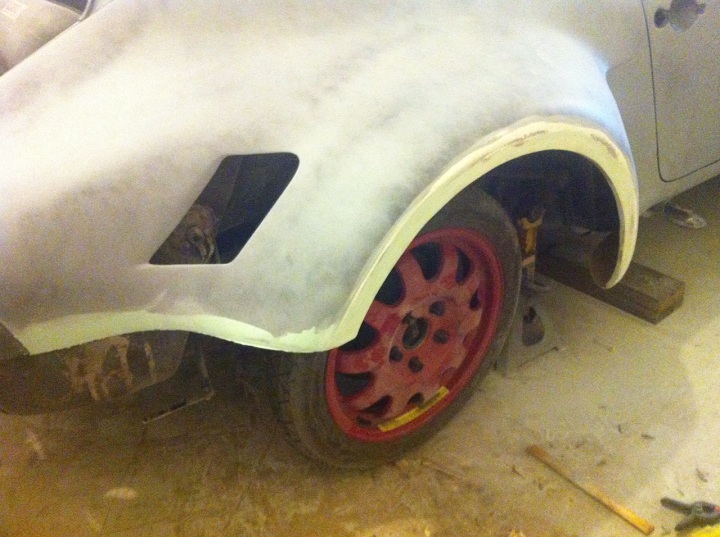
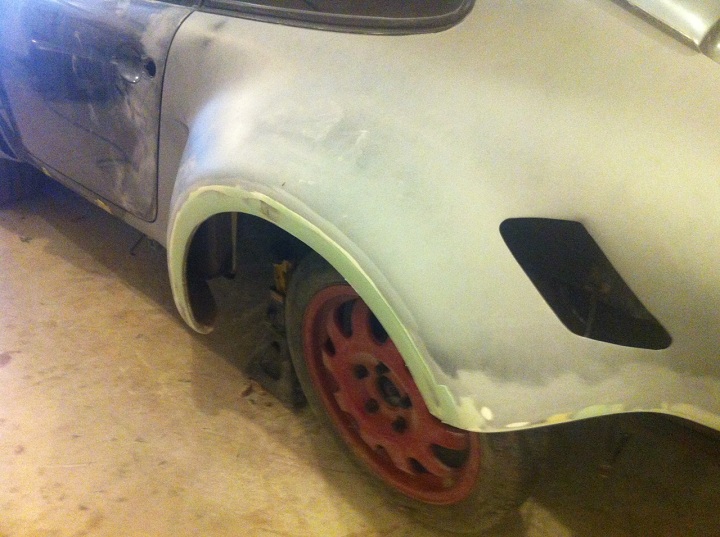
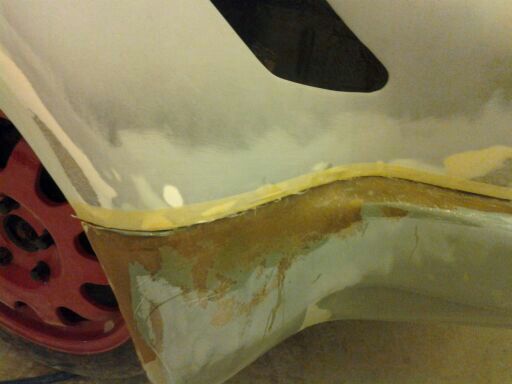
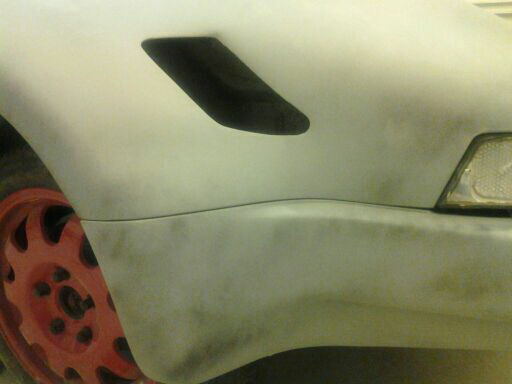
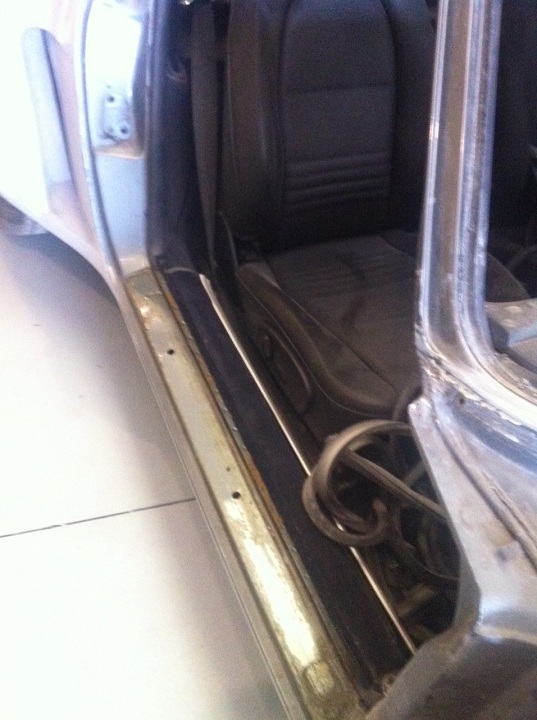
He is fixing the arch around the wheel well.
Also needed to fix the rear bumper as the bumper was not even with the arch of the qtr panel...

I was really fooling myself when I thought that I could do this in my garage... ahh, nothing like an ignorant with initiative, lol
He is fixing the arch around the wheel well.
Also needed to fix the rear bumper as the bumper was not even with the arch of the qtr panel...
I was really fooling myself when I thought that I could do this in my garage... ahh, nothing like an ignorant with initiative, lol
Last edited by Wachuko; 08-28-2012 at 11:15 AM.

 09-05-2012, 01:31 PM
#188
Professor of Pending Projects
Rennlist Member
Rennlist Member
Thread Starter
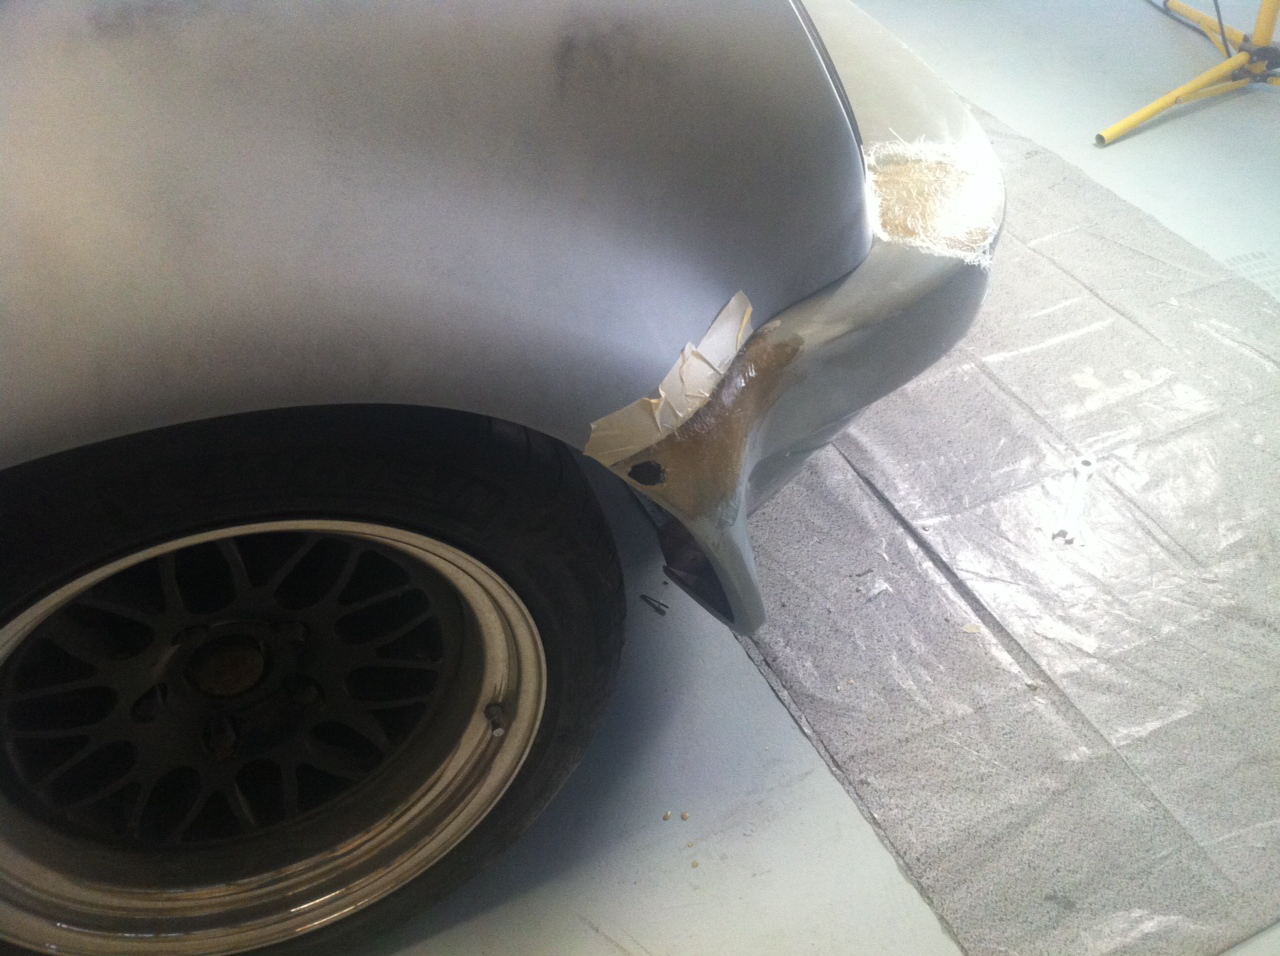
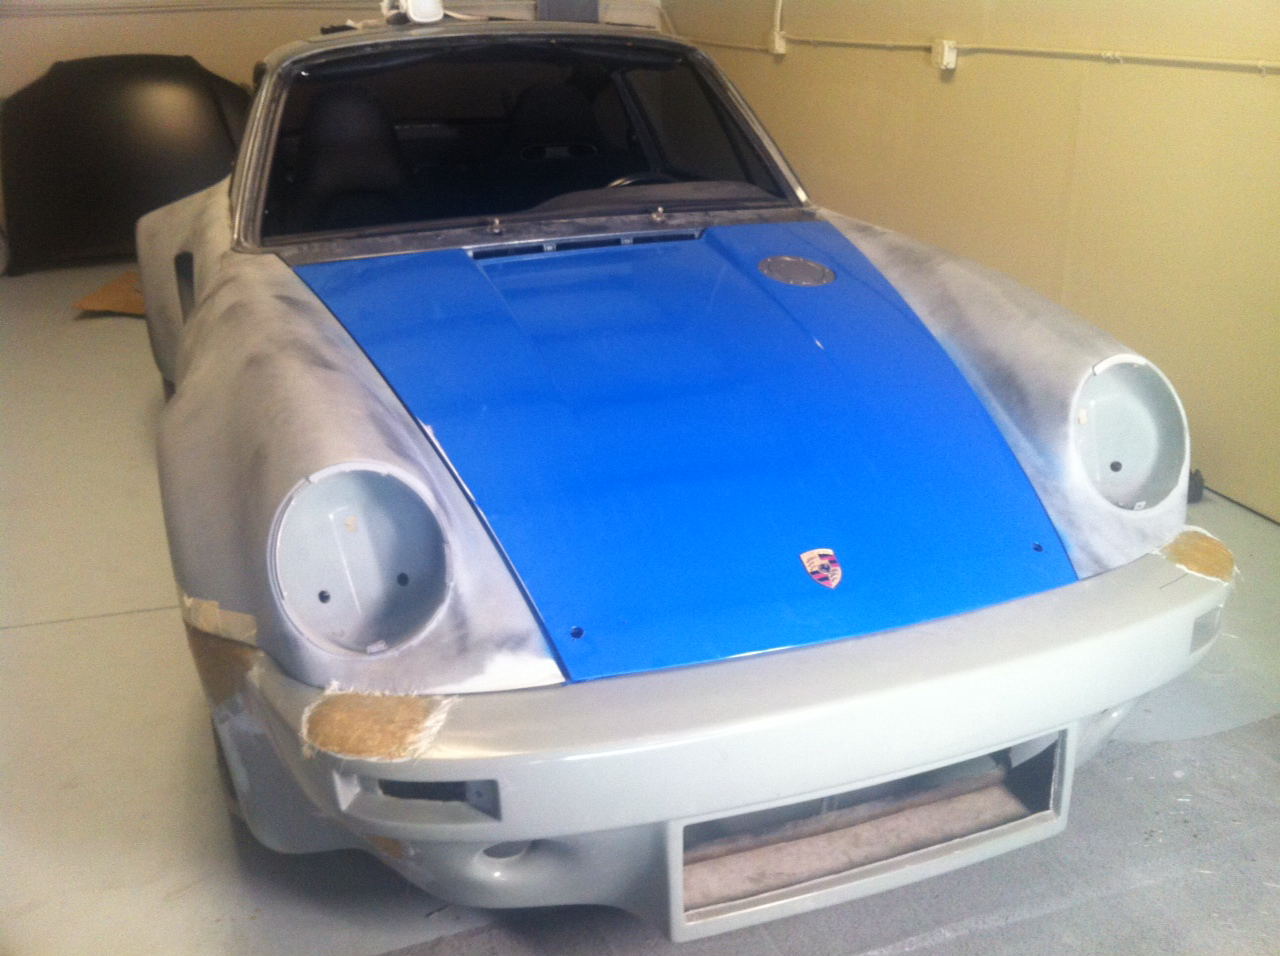
A few more photos of recent work... front bumper work

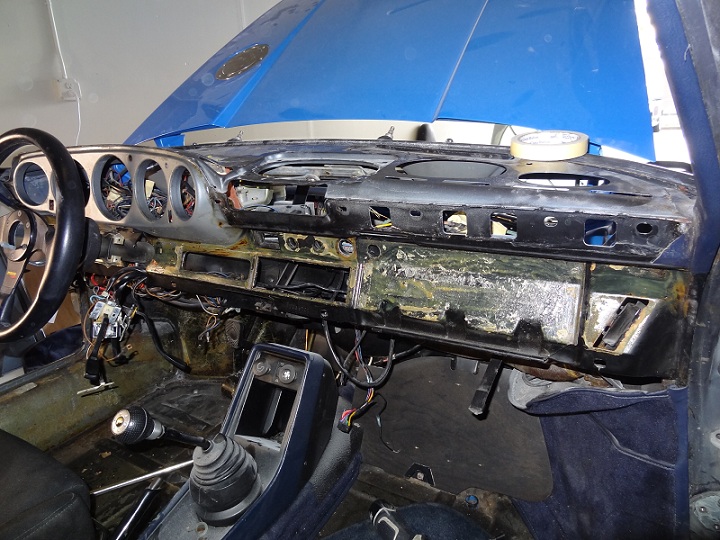
Windshield remove so that I can remove the dash to repair/recover
Windshield remove so that I can remove the dash to repair/recover
09-07-2012, 11:05 PM
#189
Professor of Pending Projects
Rennlist Member
Rennlist Member
Thread Starter
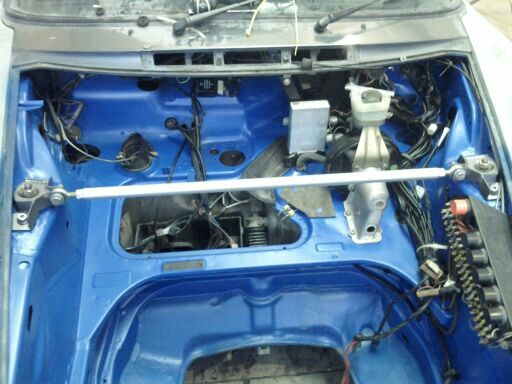
A few more... everything getting removed for painting... doors, fenders, bumpers, etc.


While Alejandro does his magic on the car, I am taking a shot at fixing the dash and recovering it with leather... will see how that goes...
While Alejandro does his magic on the car, I am taking a shot at fixing the dash and recovering it with leather... will see how that goes...
09-08-2012, 04:27 PM
#190
Professor of Pending Projects
Rennlist Member
Rennlist Member
Thread Starter
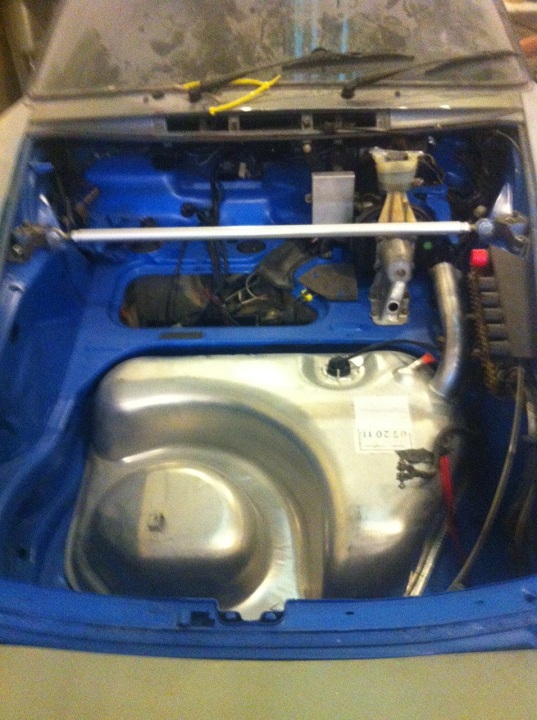
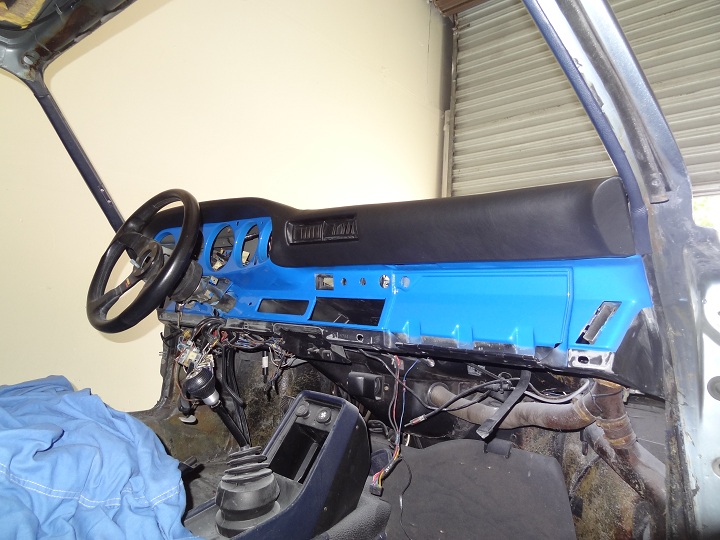
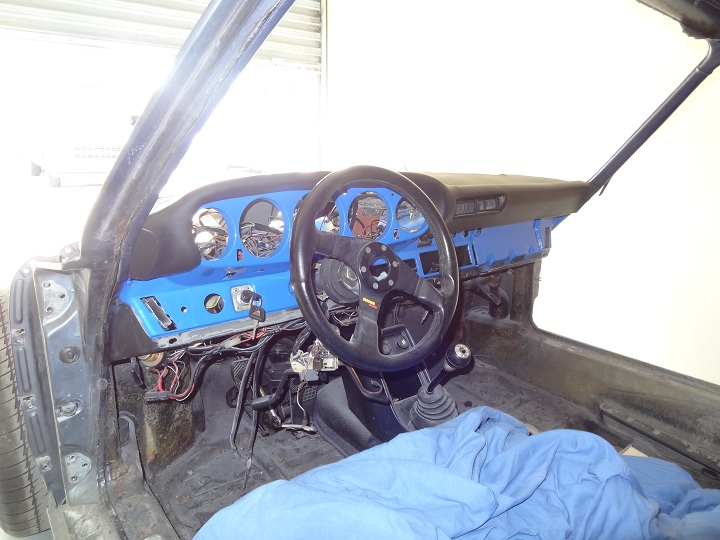
Went and removed the dash. Well, dash and everything else. Took many many photos to remember where all those wires went..yikes!

I really like how that blue looks. Can't wait to see the whole car painted already!!
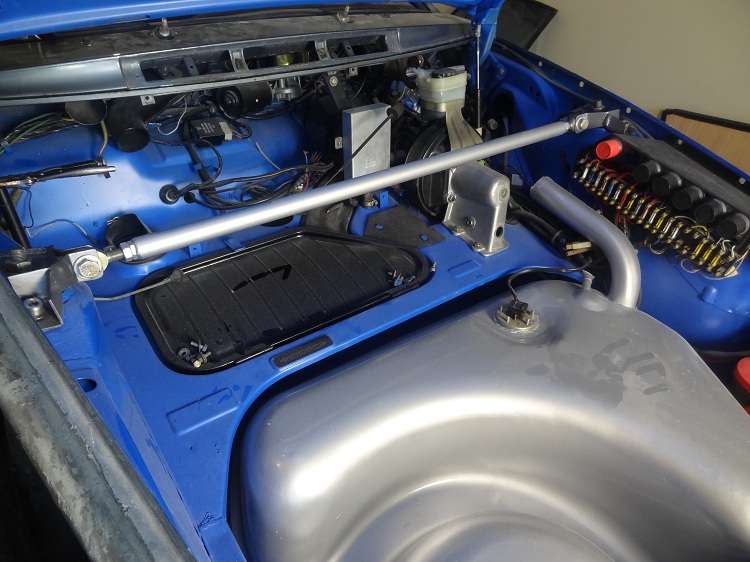
We also removed the old headliner and took out the sunroof.
I really like how that blue looks. Can't wait to see the whole car painted already!!
We also removed the old headliner and took out the sunroof.
09-08-2012, 08:09 PM
#191
Track Day
Join Date: Sep 2012
Location: Chicago, IL
Posts: 18
Likes: 0
Received 0 Likes
on
0 Posts
Wow, just made it through the posts... from the past 5 1/2 years!!! What an awesome read! Thanks for taking us through the trials and tribulations, you have some guts man. Can't wait to see how it progresses from here.
Great color choice too, it's going to be a blue beast!
Great color choice too, it's going to be a blue beast!
09-10-2012, 12:21 AM
#192
Professor of Pending Projects
Rennlist Member
Rennlist Member
Thread Starter
Wow, just made it through the posts... from the past 5 1/2 years!!! What an awesome read! Thanks for taking us through the trials and tribulations, you have some guts man. Can't wait to see how it progresses from here.
Great color choice too, it's going to be a blue beast!
Great color choice too, it's going to be a blue beast!
09-10-2012, 03:15 PM
#193
Professor of Pending Projects
Rennlist Member
Rennlist Member
Thread Starter
Some additional repairs to the dash... some bolts that came apart and some that were missing.

Some cracks that needed filling and sanding...hope to cover one dash today.
Some cracks that needed filling and sanding...hope to cover one dash today.
09-11-2012, 10:43 AM
#194
Professor of Pending Projects
Rennlist Member
Rennlist Member
Thread Starter
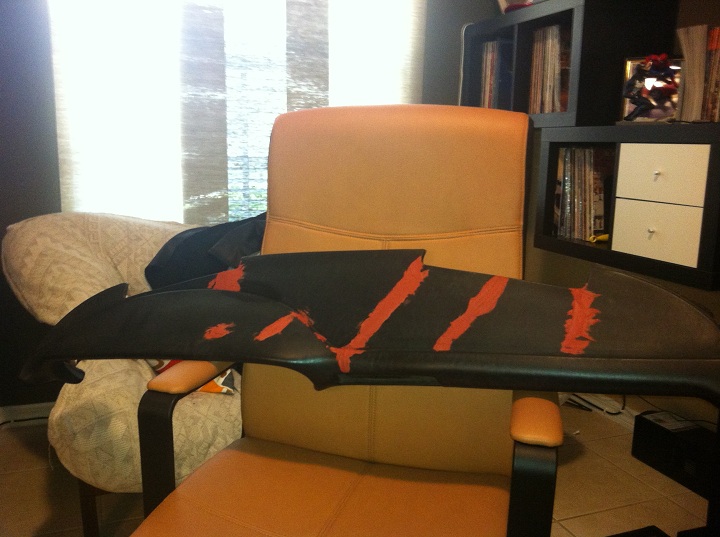
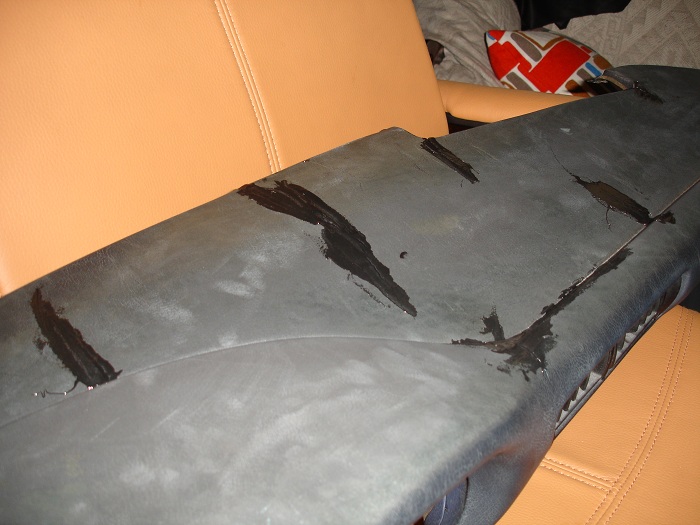
The other car we just got had an old spare dash... reading a few threads in Pelican I got the encouragement to try a repair...only thing to waste was a good piece of leather (38.00).
This is the dash. I use some Bondo flexible epoxy (Bumper and Flexible Part Repair). That is the black stuff you see. The red stuff was my first attempt with some putty (not flexible so it sucked for this repair). I got rid of all the red bondo putty before covering with leather... but forgot to take a photo.
Since this was a test, I forgot to take photos along the way. I will do so for the next one.

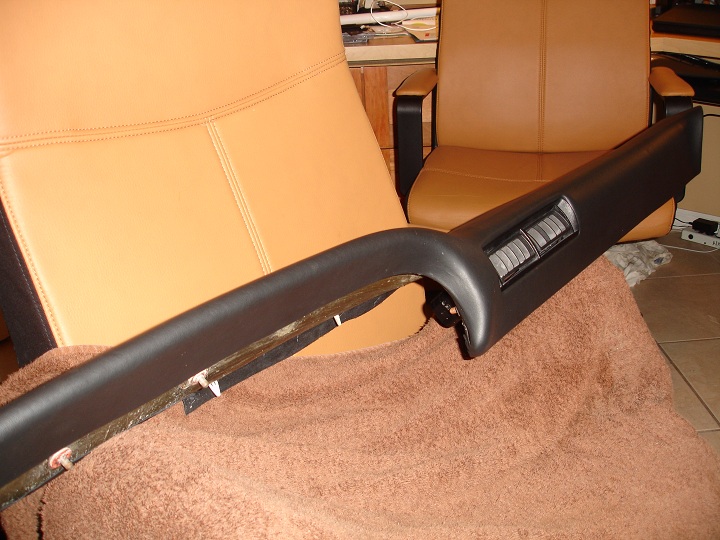
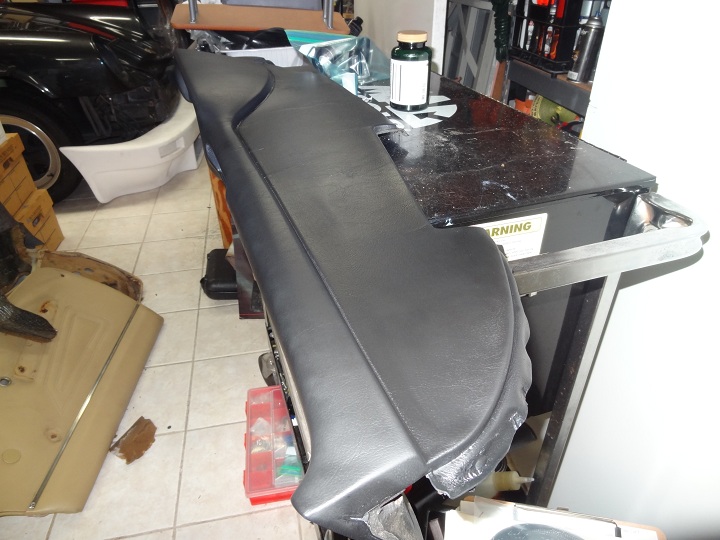
and after covering with leather. Used some 3M 80 adhesive. Strech strech strech, pull here, pull there, clean glue... cut at angle, strech some more. Turned out to be a bit easier than what I thought.
After: I have a leather dash!!
This is the dash. I use some Bondo flexible epoxy (Bumper and Flexible Part Repair). That is the black stuff you see. The red stuff was my first attempt with some putty (not flexible so it sucked for this repair). I got rid of all the red bondo putty before covering with leather... but forgot to take a photo.
Since this was a test, I forgot to take photos along the way. I will do so for the next one.
and after covering with leather. Used some 3M 80 adhesive. Strech strech strech, pull here, pull there, clean glue... cut at angle, strech some more. Turned out to be a bit easier than what I thought.
After: I have a leather dash!!
09-11-2012, 12:50 PM
#195
Professor of Pending Projects
Rennlist Member
Rennlist Member
Thread Starter
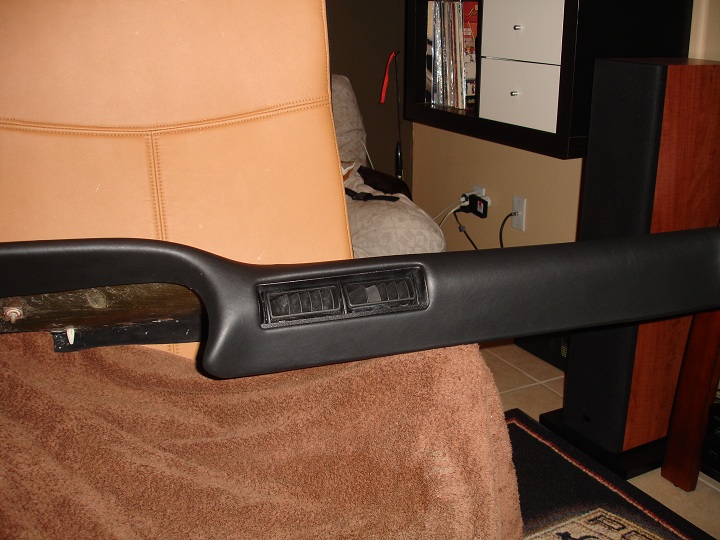
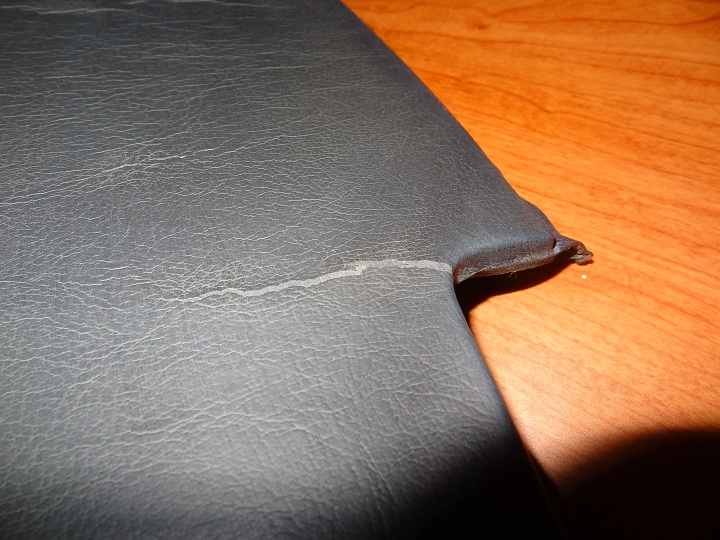
The second dash is in much better condition... here it is with the cracks filled:


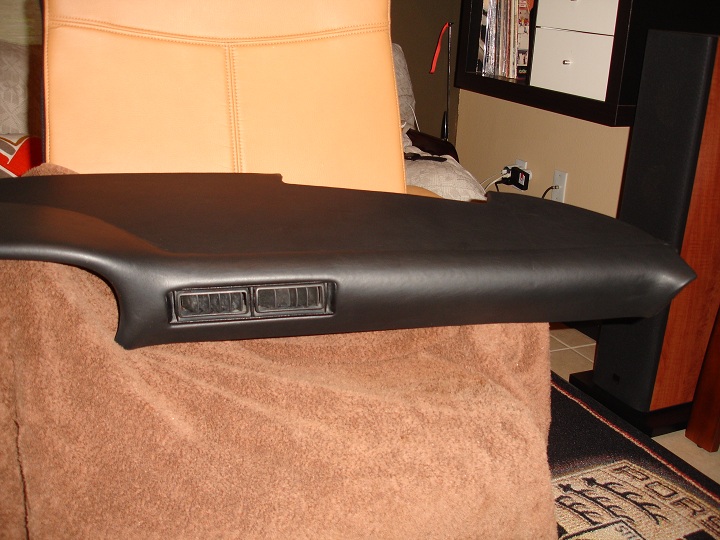
I used some vinyl preparation spray and some black vinyl paint (SEM) and here are the results.

But after the results with covering the test unit with leather, I am going to sand it again and go with leather on this one as well. This is the one that will go back in the car.
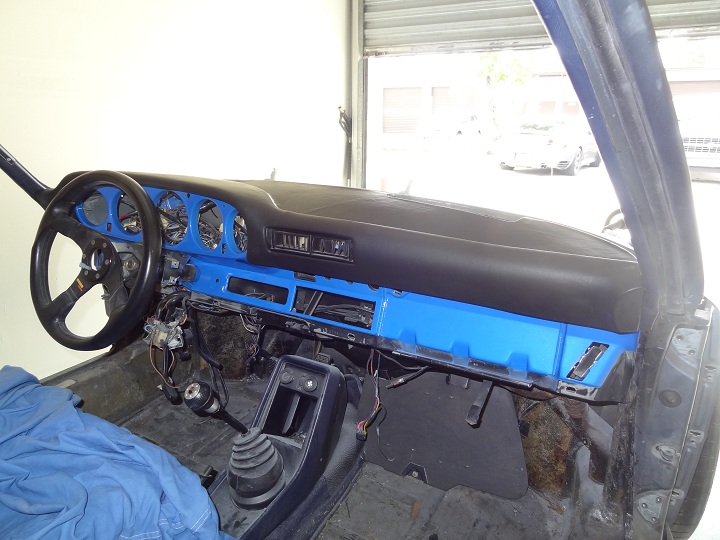
And, because I could not resist testing the other dash... here it is on the car.
I used some vinyl preparation spray and some black vinyl paint (SEM) and here are the results.
But after the results with covering the test unit with leather, I am going to sand it again and go with leather on this one as well. This is the one that will go back in the car.
And, because I could not resist testing the other dash... here it is on the car.