When you click on links to various merchants on this site and make a purchase, this can result in this site earning a commission. Affiliate programs and affiliations include, but are not limited to, the eBay Partner Network.
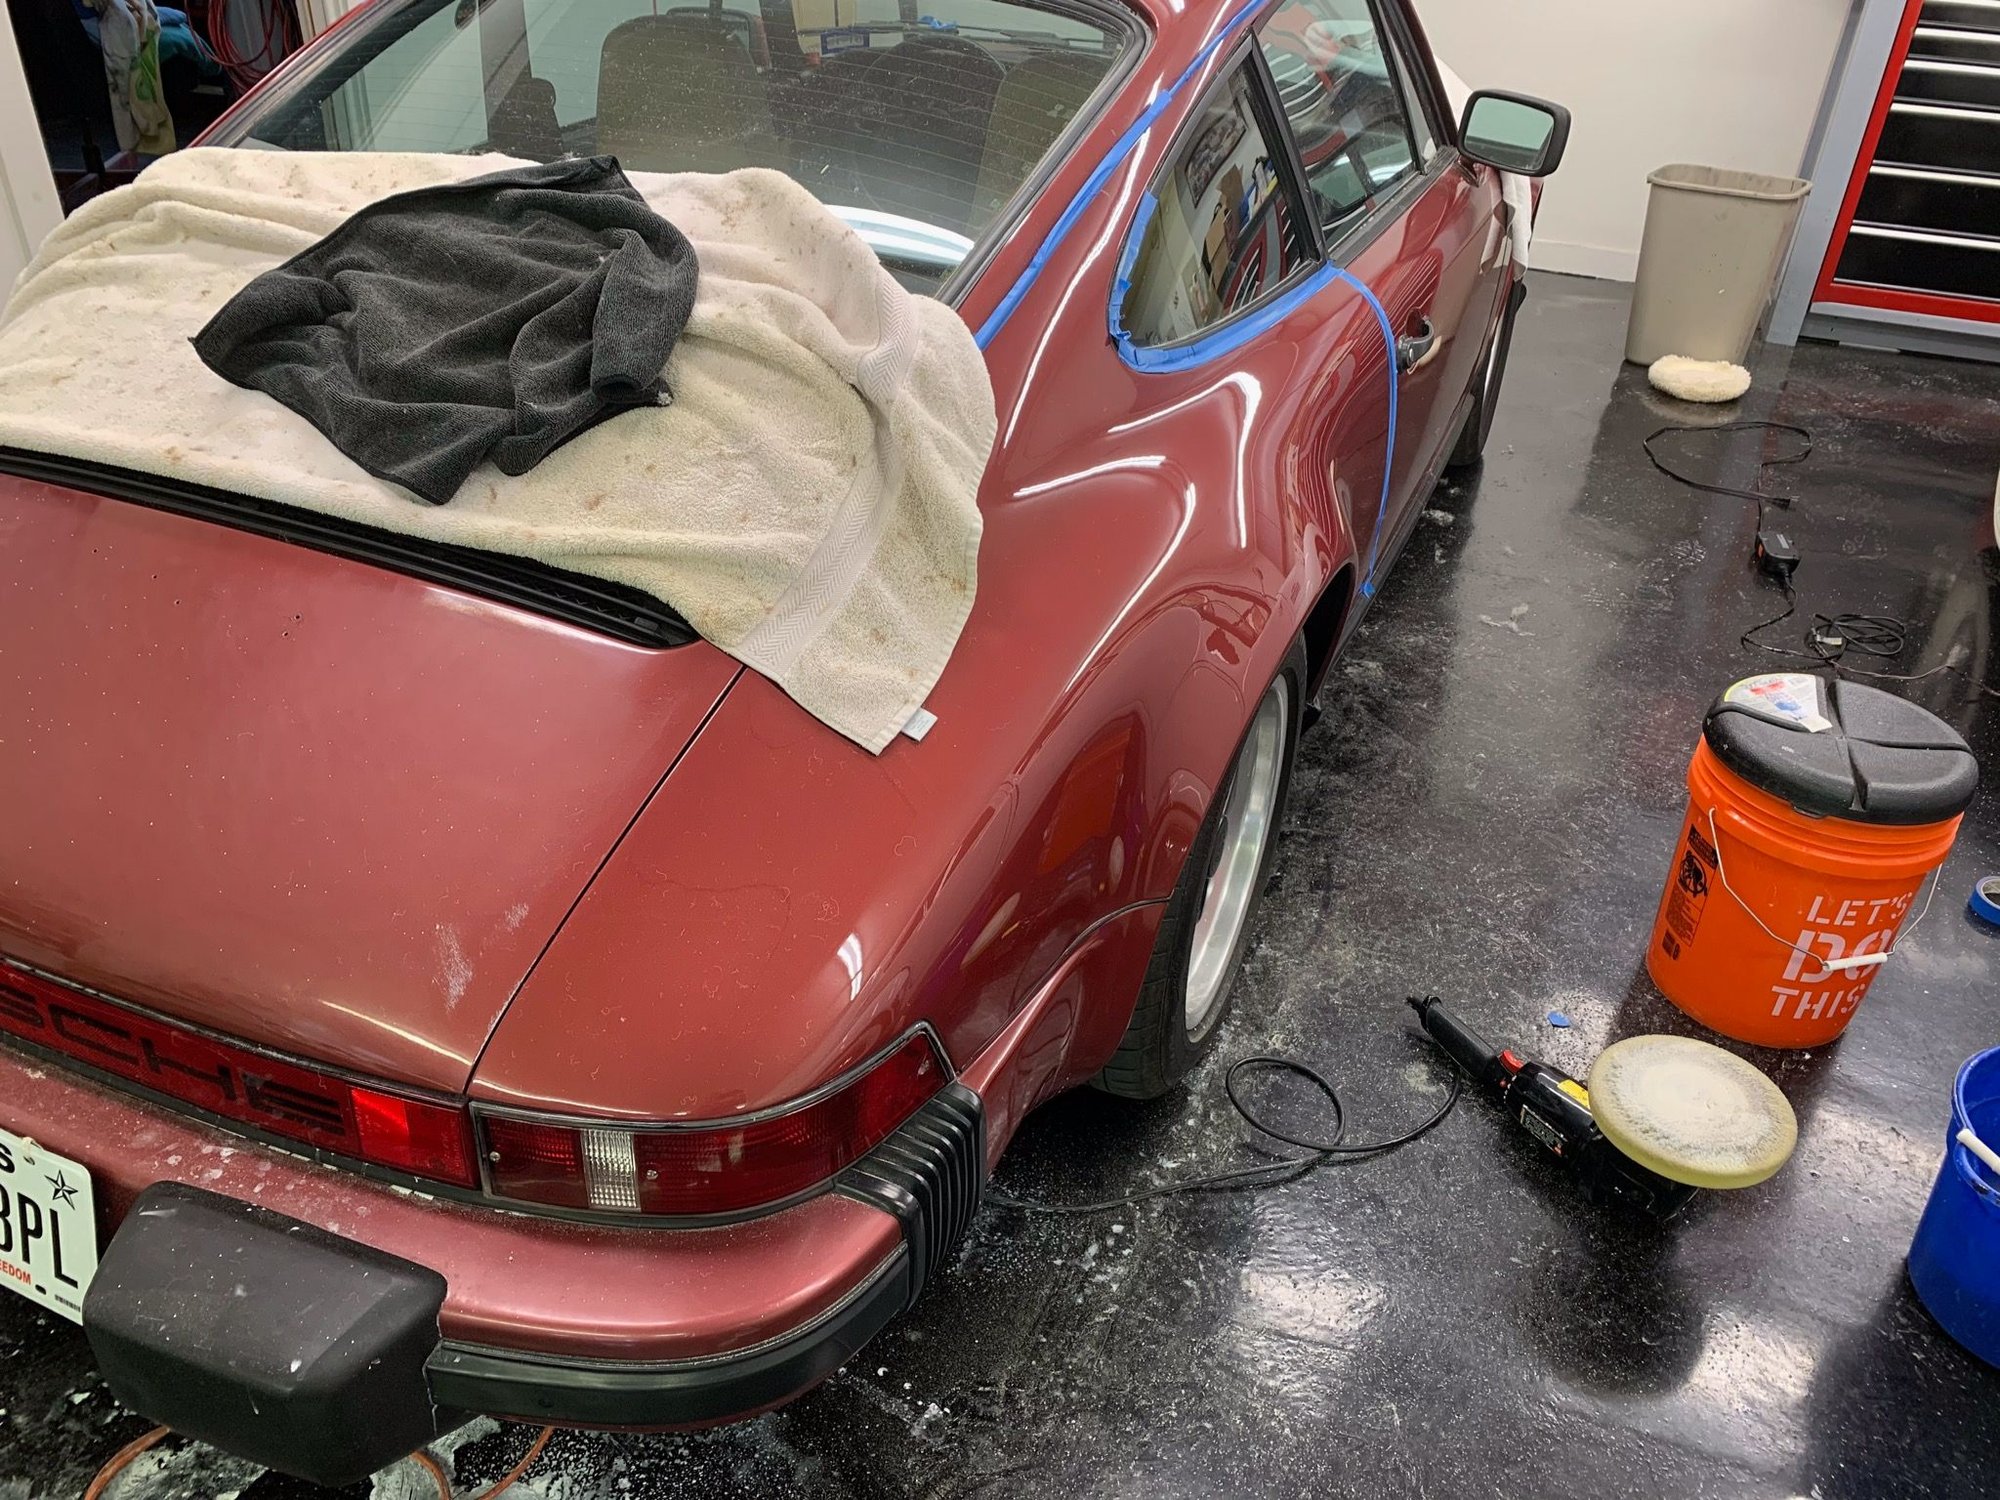
While waiting for my rebuild kit from Australia for the control pressure regulator, I got bored and decided to work on the paint.
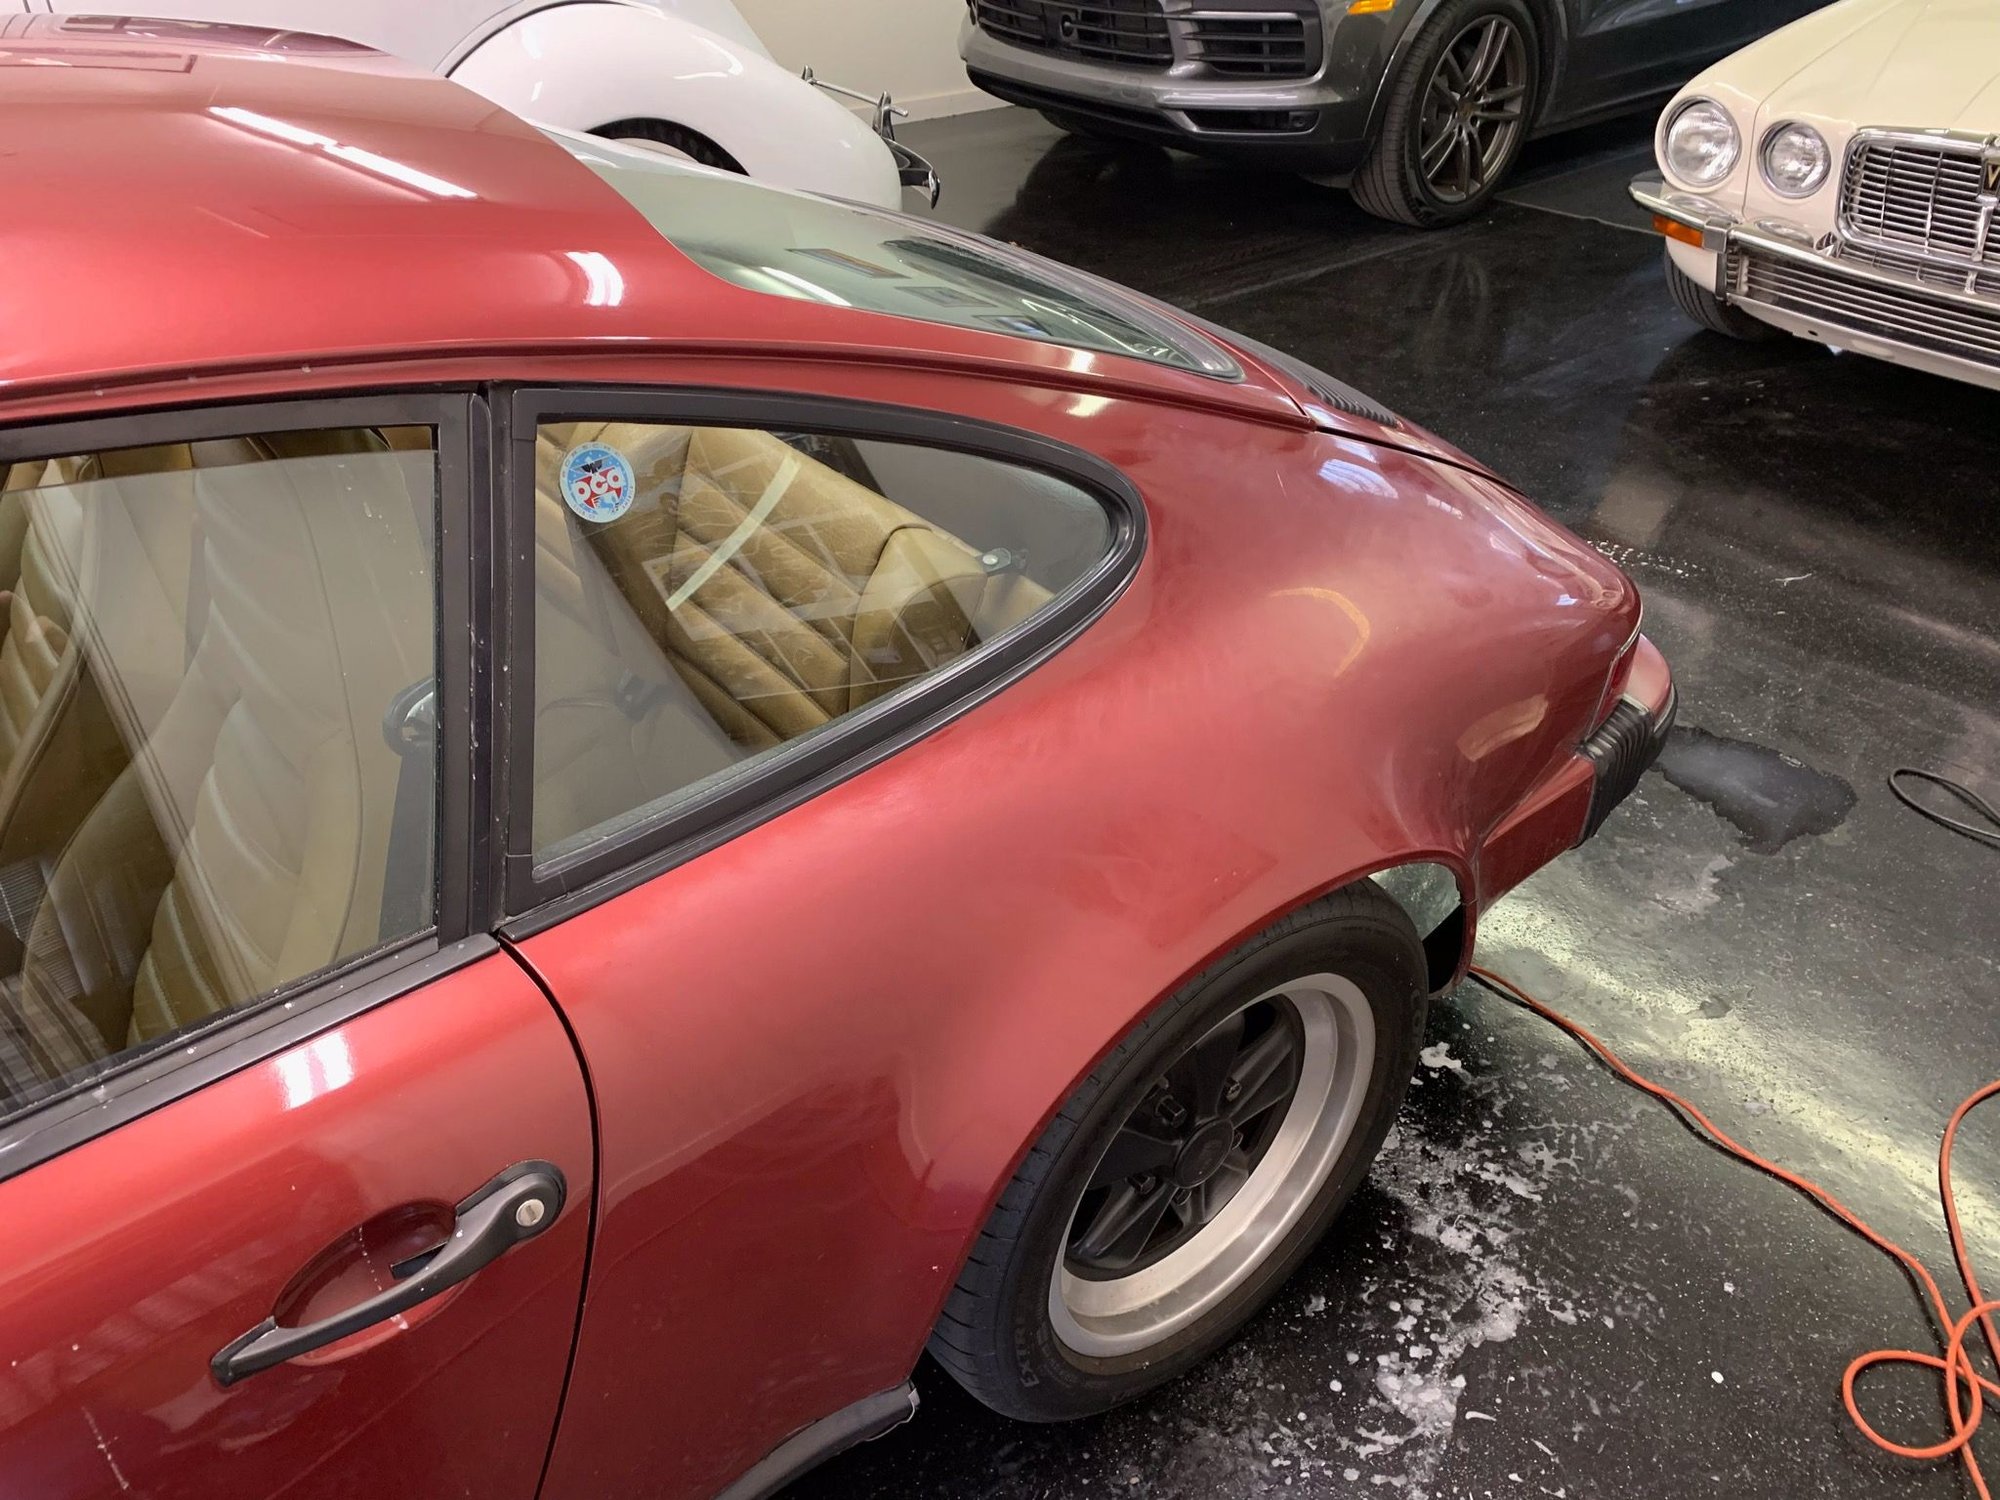
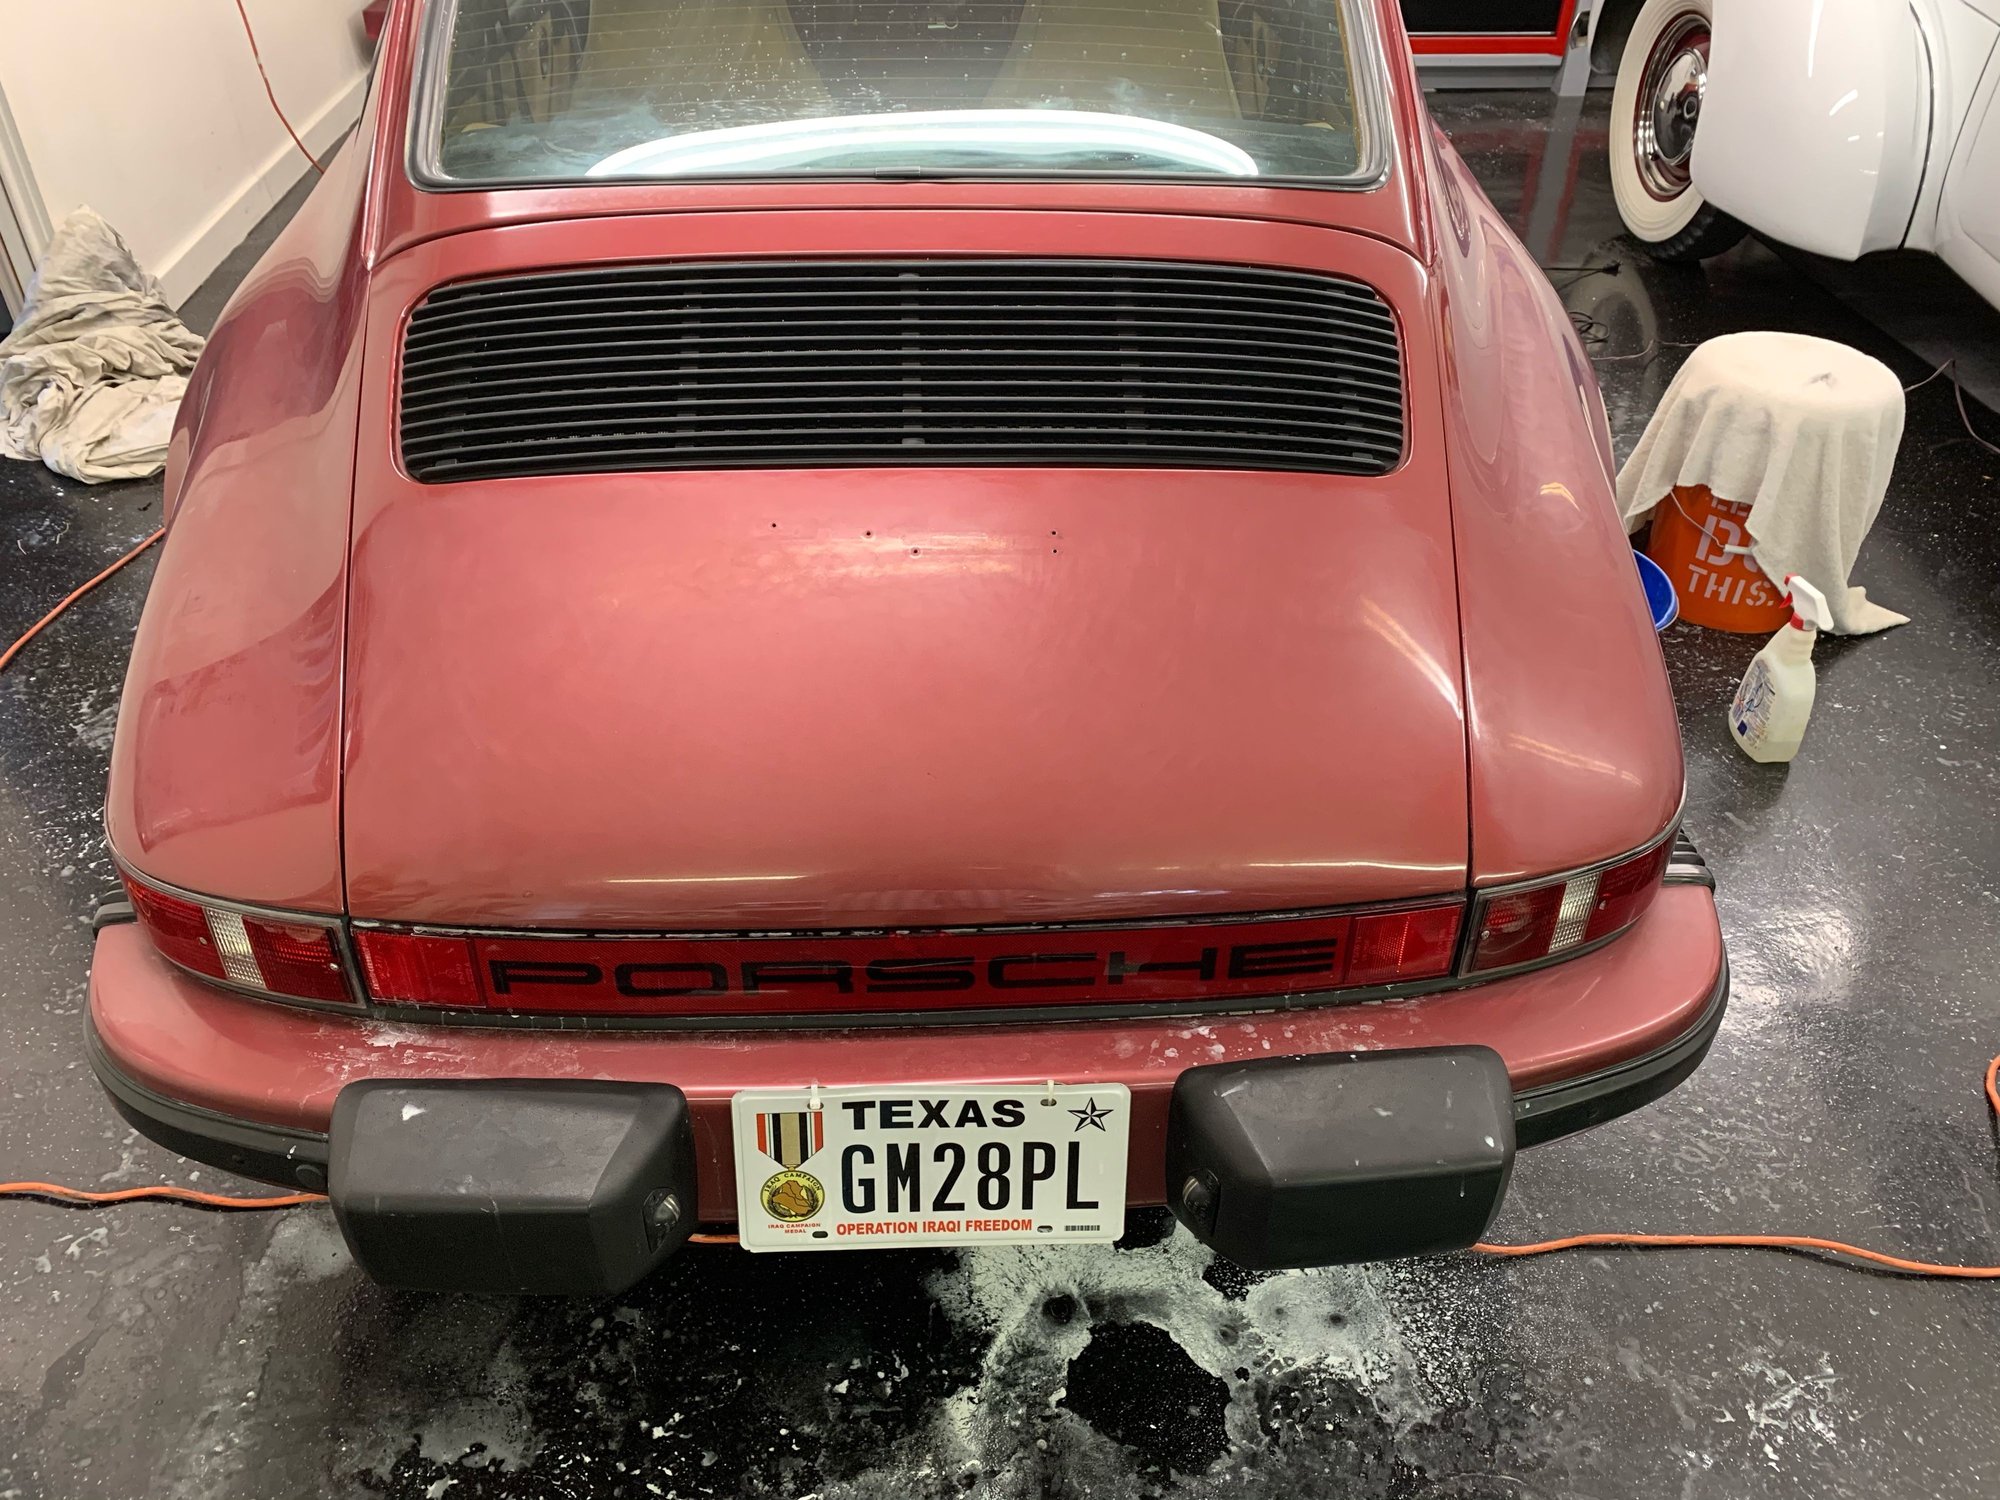
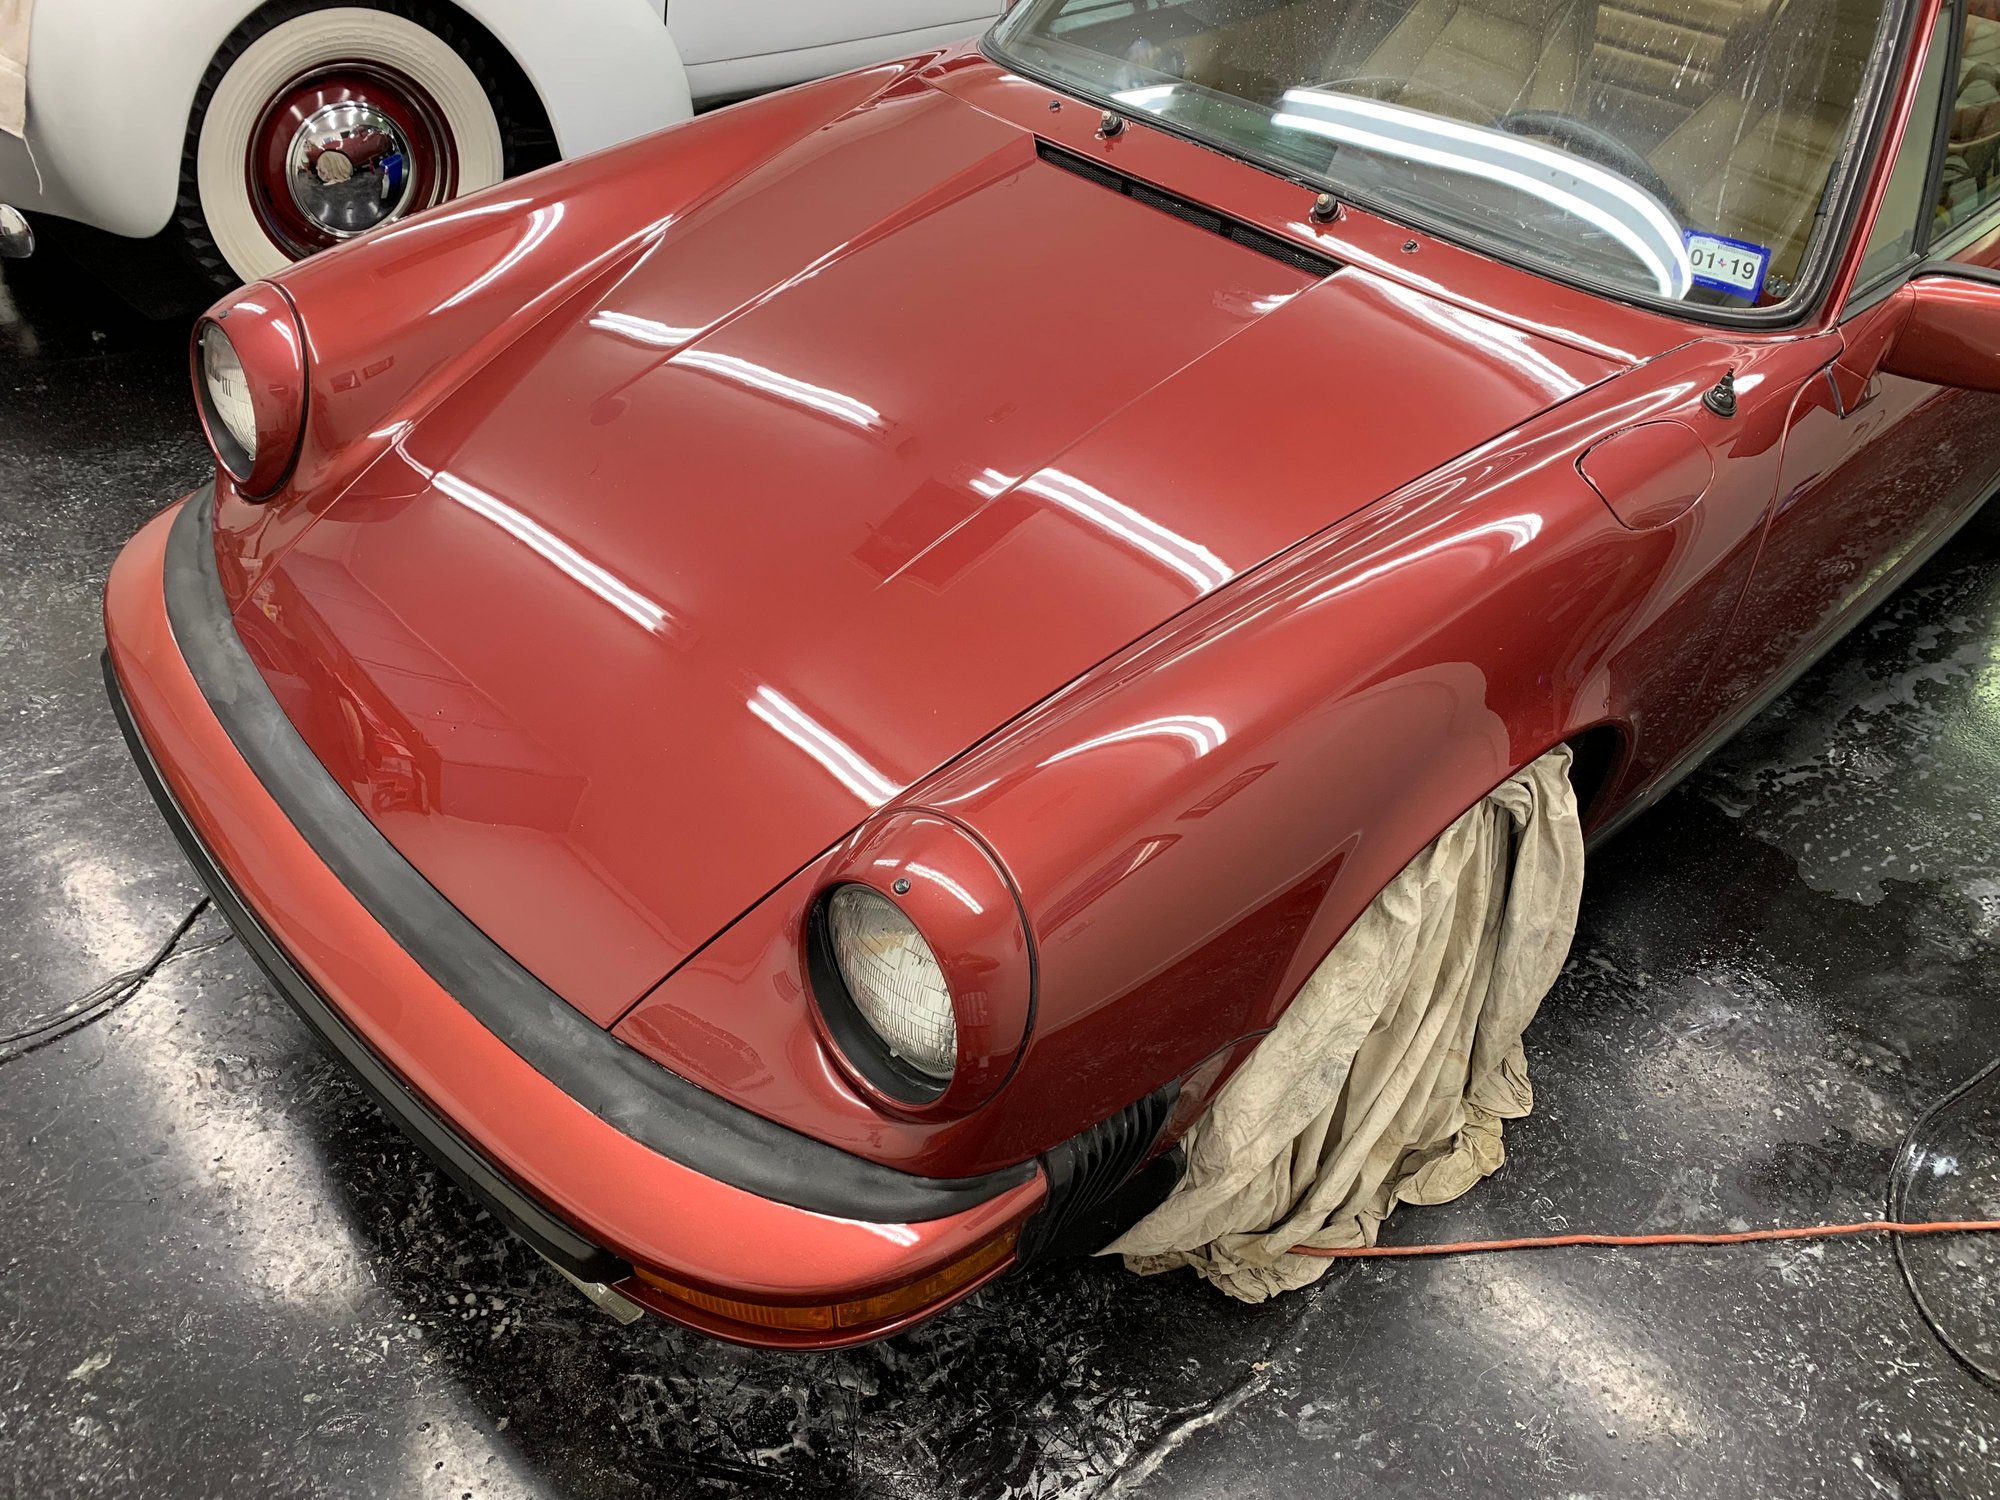
This ‘81 was painted sometime in the last 10 years I think. It wasn’t a proper job with regard to finish. There’s no overspray and the metallic in the paint is very uniform, however, the orange peel and imperfections in the clear is very widespread.
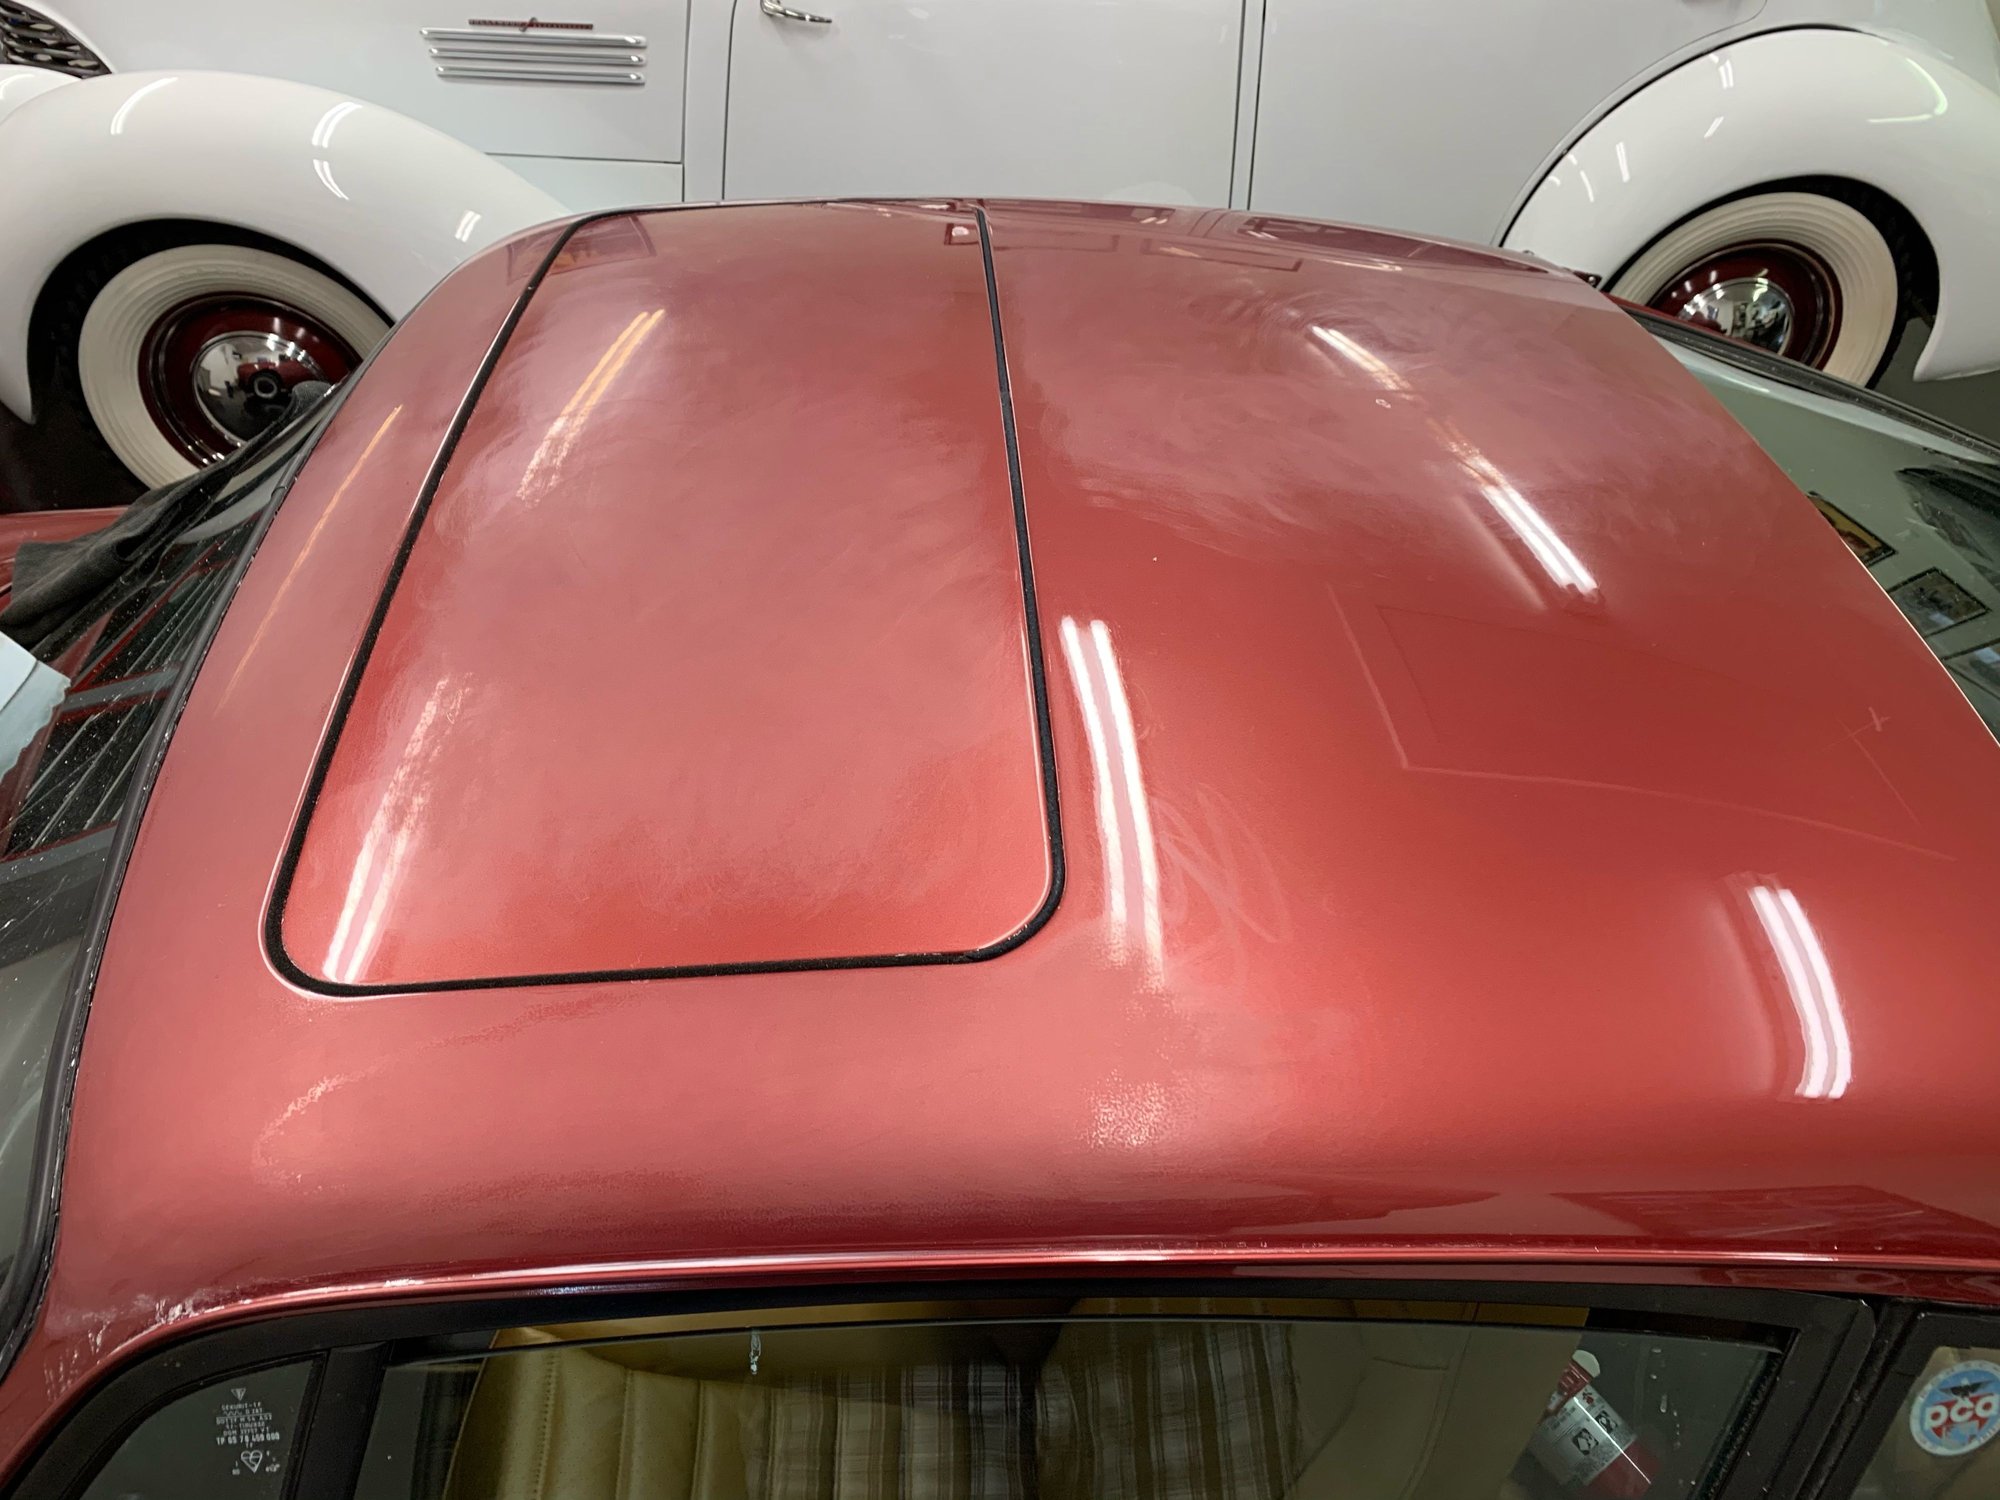
I started on the roof and worked a very small area, about 6”x6”, to see how the paint would respond. I soaked 2500 grit sand paper in water for five minutes while I mixed up a bottle of soapy water in a spray bottle. I worked the sandpaper with the soapy water lubricant turning small circles. Sometimes I used a pad with the paper, soemtime I used my hand. A 3M squeegee dragged across to reveal the clear wasn’t flat yet. I worked it again. Now it was flat. I used a clean wool pad with 3M Compound 05793 at 1600 rpm on a rotary machine. Slowly working the area, but not getting the paint hot. Using a microfiber cloth, I was pleased with what I saw. The 2500 marks were gone. Next I used a Meguair’s soft yellow pad with their Dual Action Cleaner Polish product to further smooth to a high luster. Again, I was very pleased at the results.
So I got serious and taped off edges and drip rails, etc., and wet sanded the entire roof, and the car from the trailing door jamb back. I have quite a bit polished out now, and will start wet sanding the rest of the car.
My garage has quite a few large overhead led lights so the reveal from those lights is very helpful. The one thing hard to see except in the sun is swirl marks. I’ll have to wait until the car is in the sun, and if I have swirl, I’ll use Meguair’s swirl remover with an orbital machine.
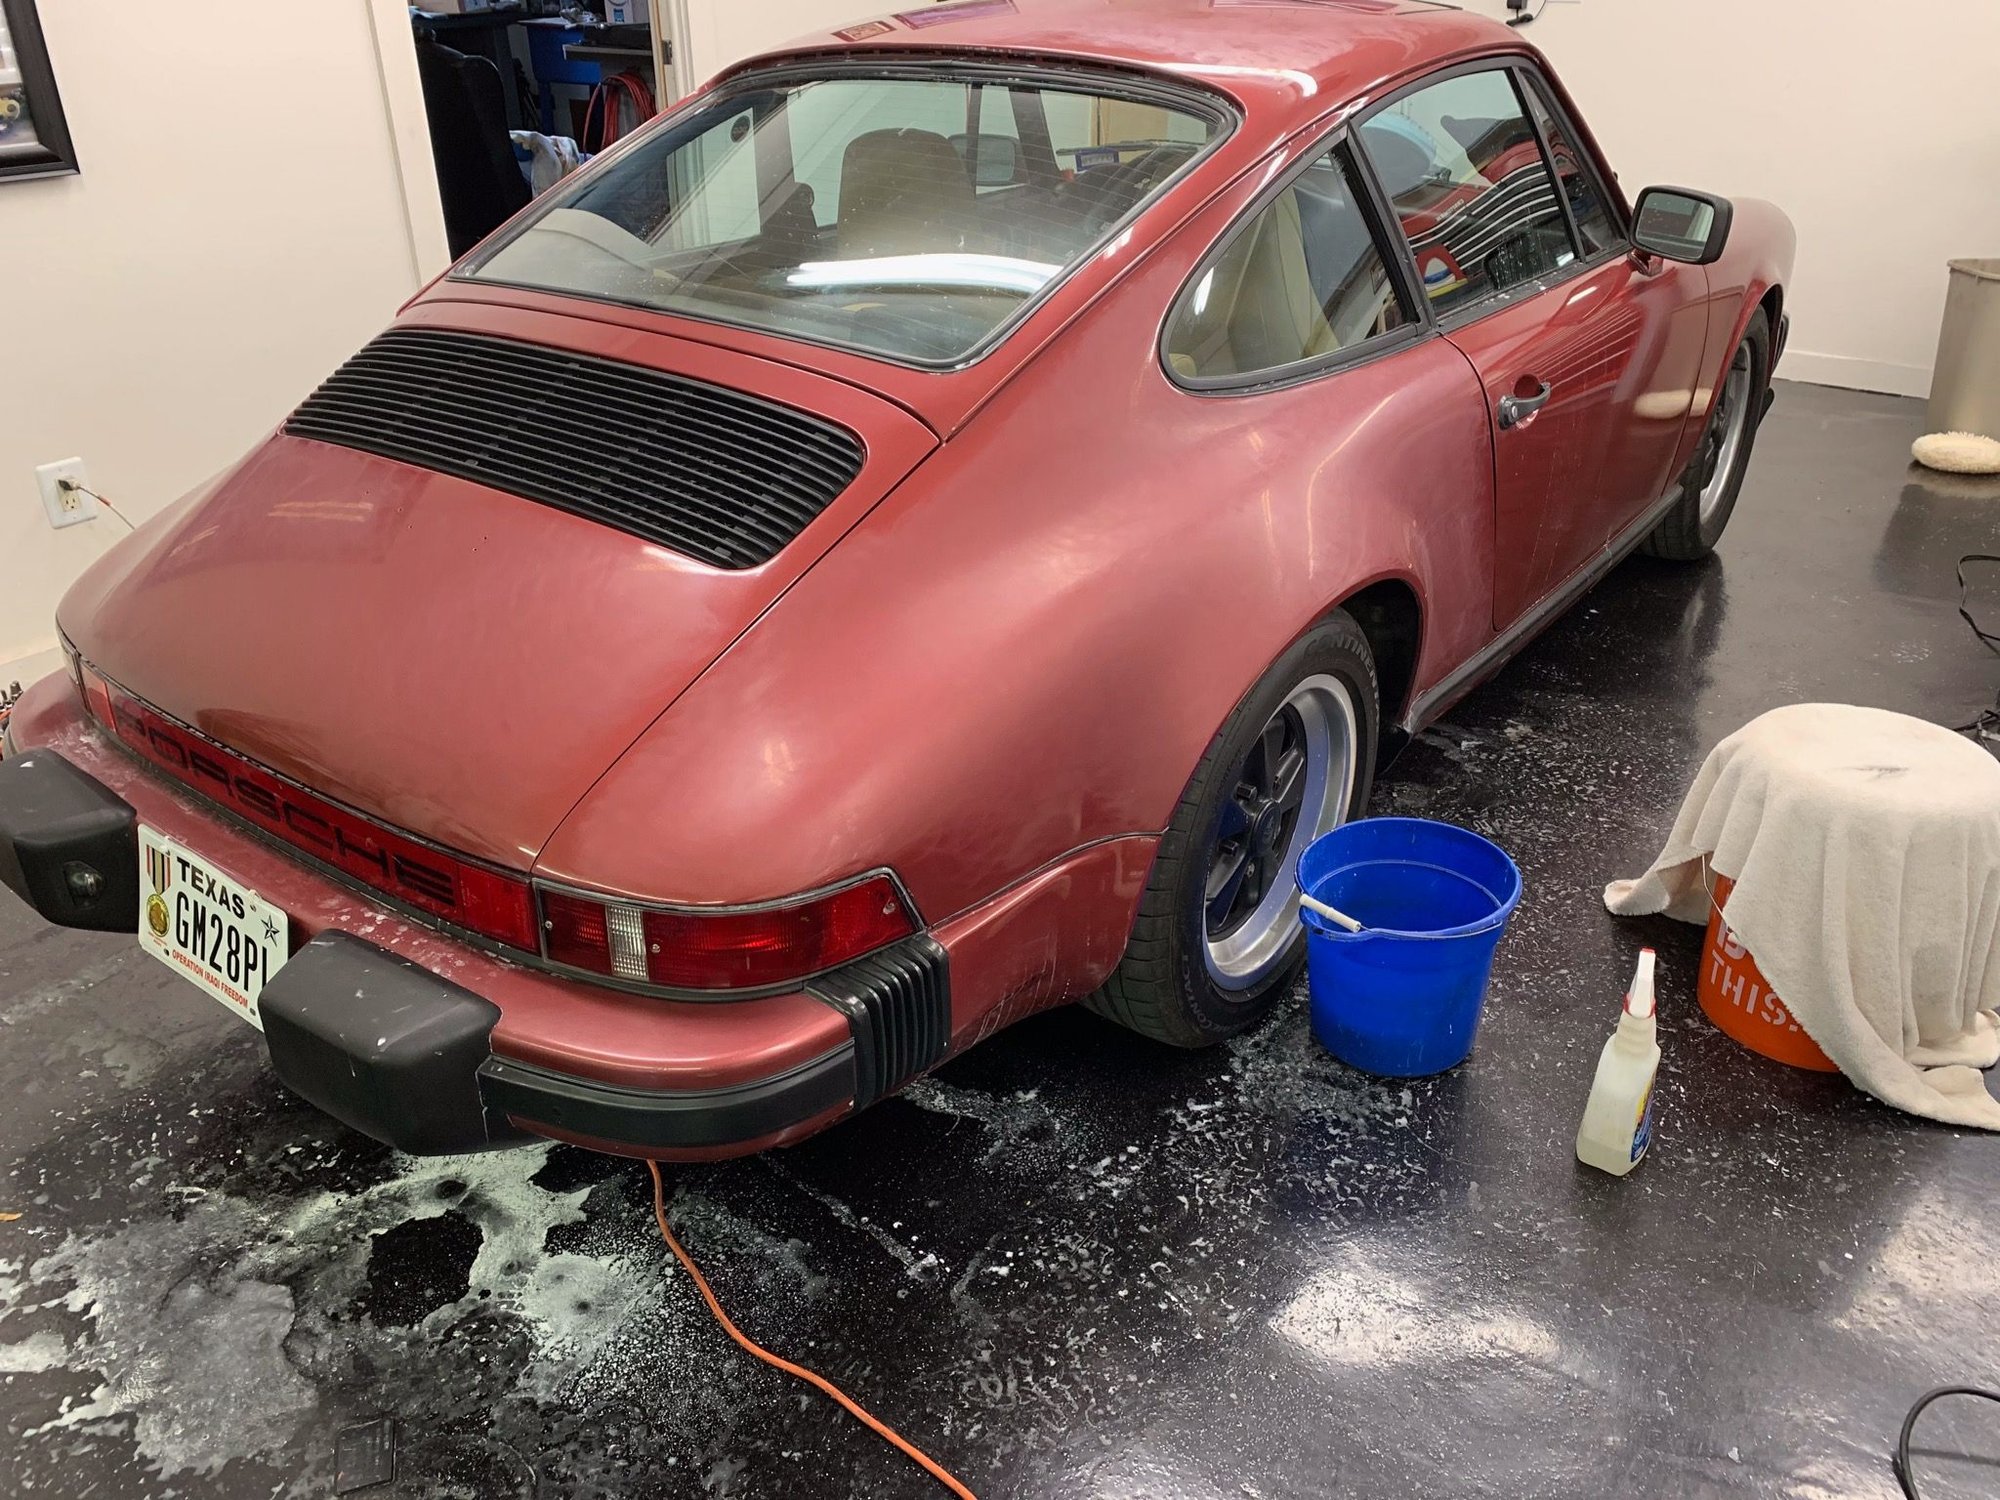
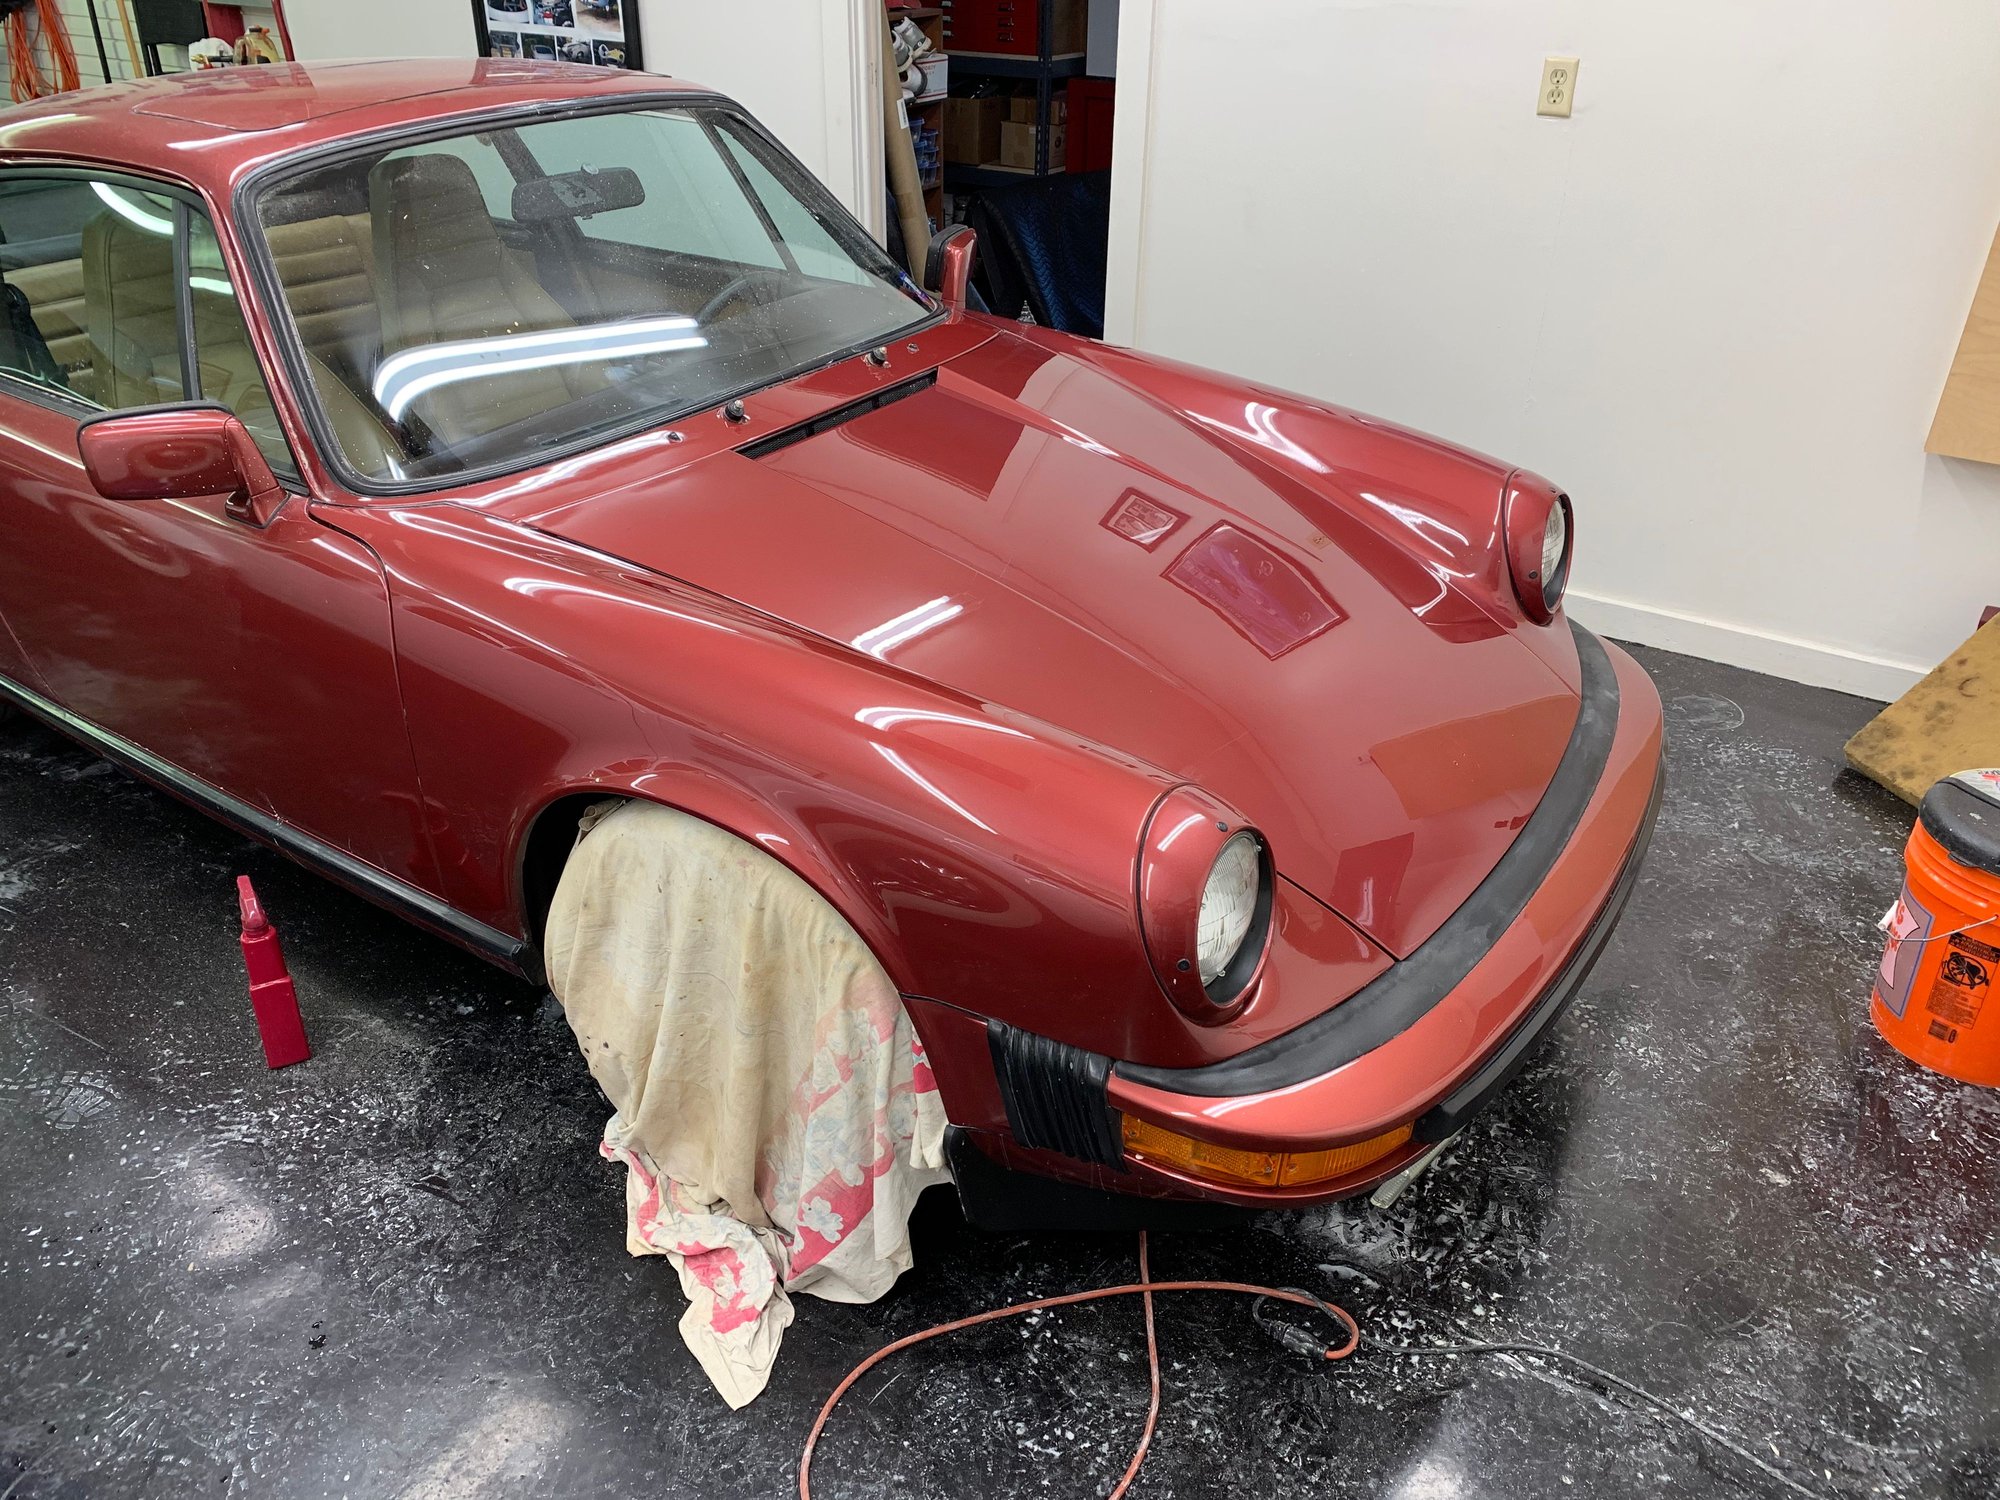
I have the trunk lid, passenger front fender, and passenger door left to sand and polish.
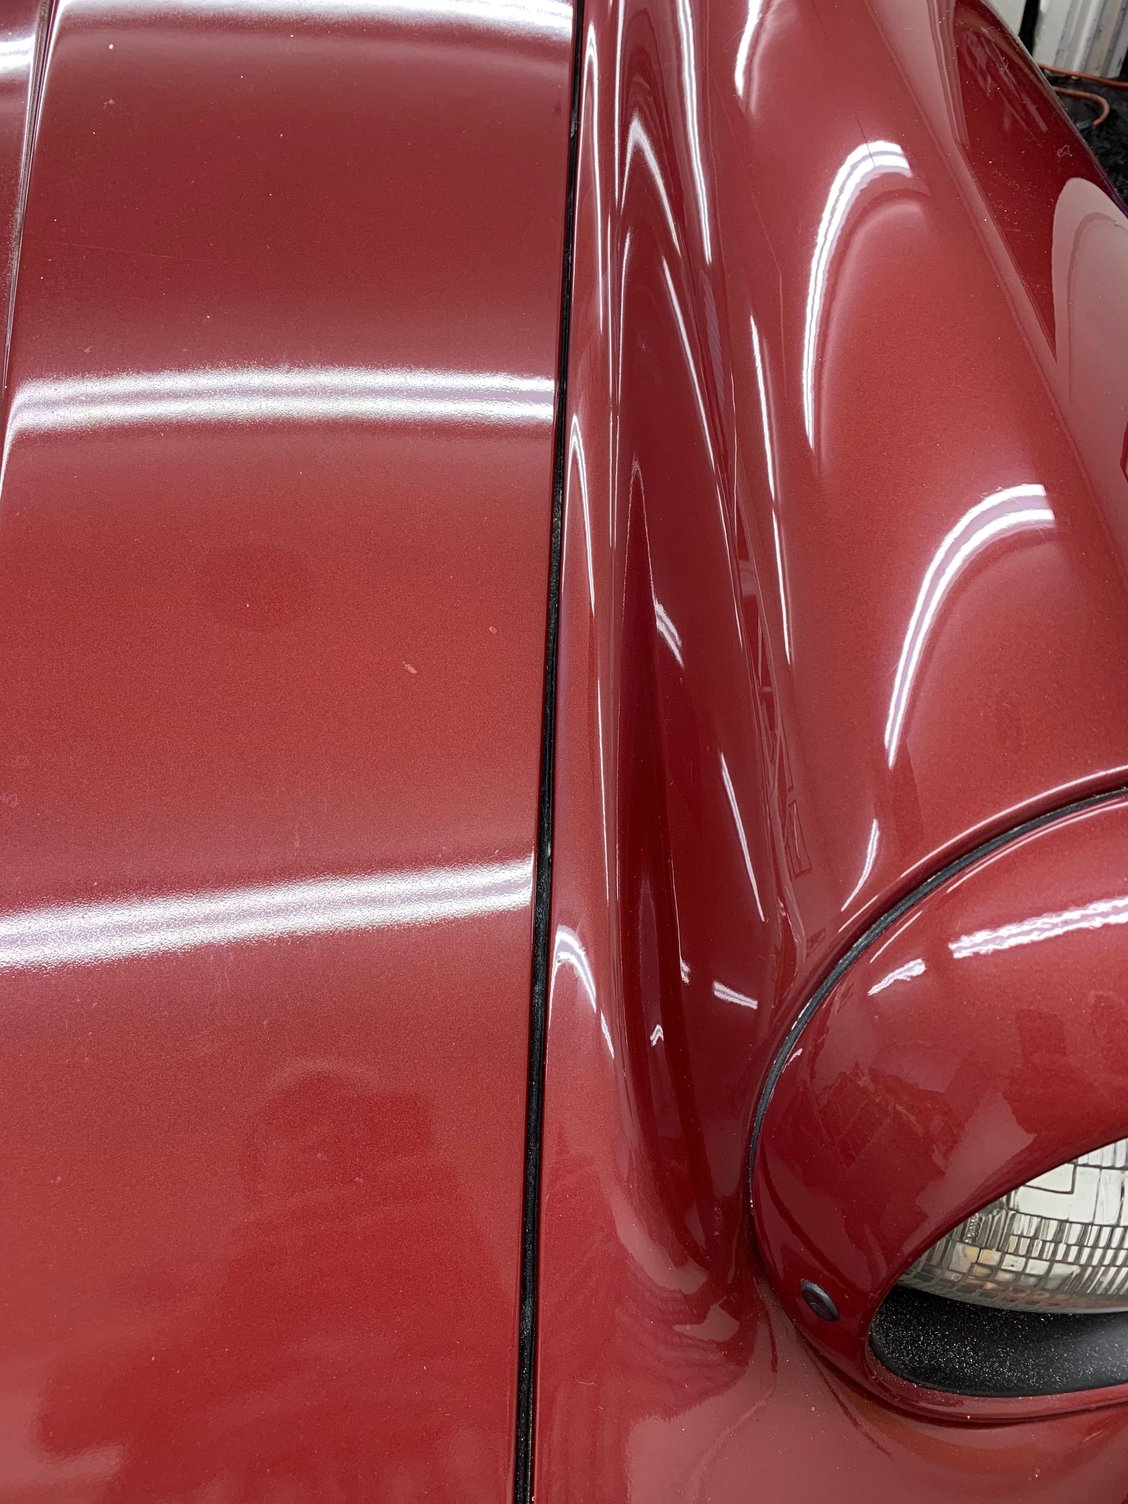
Here's a photo of the driver's fender and you can see how bad the finish is on the trunk lid, which was worse than all other panels:
I purchased this car two weeks ago.
It’s a slow go. Patience is key and remember to work small areas at a time and to never leave that area until the particular stage step is complete.
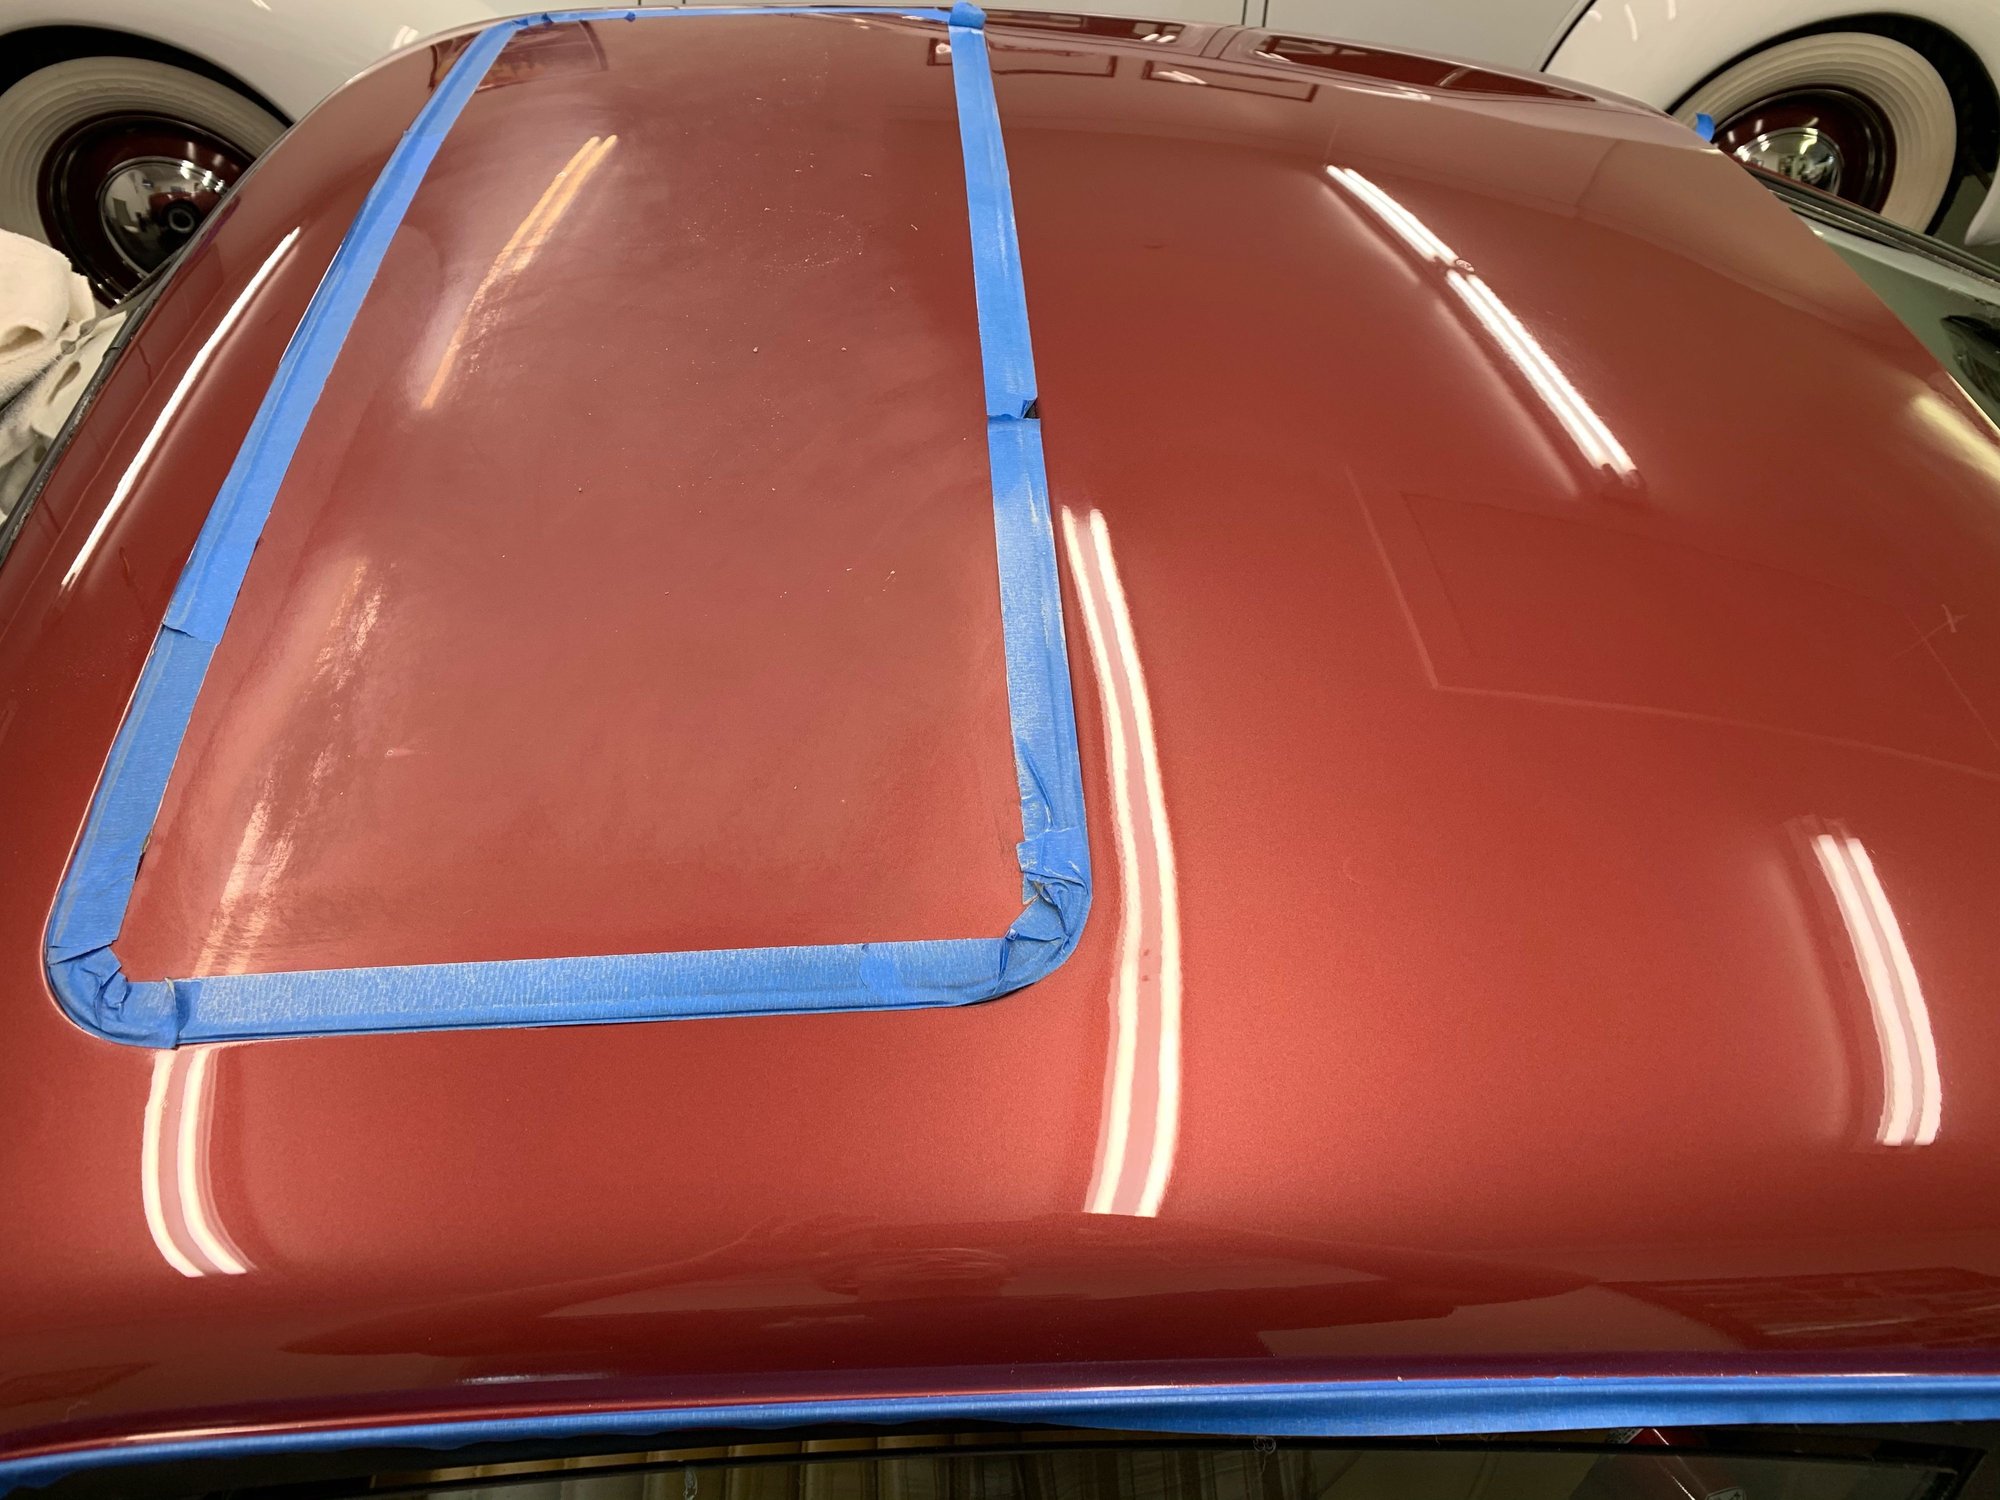
Here’s my next area. The passenger fender is polished and you can see the trunk lid is wet sanded, and partially wool pad polished.
I really need to give this a shot. There are some pretty nasty swirl marks on my roof that could use some attention (if they can be polished, that is).
I really need to give this a shot. There are some pretty nasty swirl marks on my roof that could use some attention (if they can be polished, that is).
If your repainted car has a poor clear coat finish and has never been flattened for polishing, its rather doubtful you'll sand it so much you cut through to the color, which if you do, will require paint repair. Yes, a paint thickness meter can give you confidence, but my clear was so bad with orange peel and other imperfections, I didn't have much to loose. One thing I could have done was to scuff everywhere and shoot a couple more layers of clear on it. Of course, the finishing wouldn't be very good because it would have the same basic high and lows, but there'd be more paint on it to sand and flatten not worrying about going through.
While using the 2,500 grit paper, which cuts very slowly, I stop very often, meaning sanding for 30 seconds or less, and squeegee off the area I'm sanding to study the surface. Let the paper do the work, don't push down. Change to new paper often, don't be stingy. I'm keenly aware of going too far. As beautiful as my car looks in photos and as greatly as the finish transforms the look of the car, there are areas not to be sanded, such as just below the windows on the doors, ridges, and along the edges of any panel. These are natural areas where paint coatings can be thin. So I still have orange peel for 1/2" or so just below the window trim on the doors.
Yesterday I finished the trunk lid. (still have passenger door left) The trunk lid was harder to do because of the inside low corners near the trailing edge, which required hand polishing because the curvature of the pad can't get to those areas. Plus, it just seems like the paint was "harder" on this panel, as if more sun baked? So it required extra machine polishing work. Remember not to push down on the machine, let the chemical do the work. Don't be stingy with the chemical. It doesn't actually dry when you quit using that batch of squirt. In addition, I believe the Meguair's products break down and loose their cutting ability at some point, but don't know about the 3M product? Also, take the pad on the machine and clean it very often, say after 4 or 5 uses. I walk out of the shop just to reduce the dust inside, and take a screwdriver or other stiff object, and run the machine while "cleaning" the pad with the tip of the tool (obviously paying attention to the rotation of the machine and not getting the tool thrown at you or somebody - think about it first!)
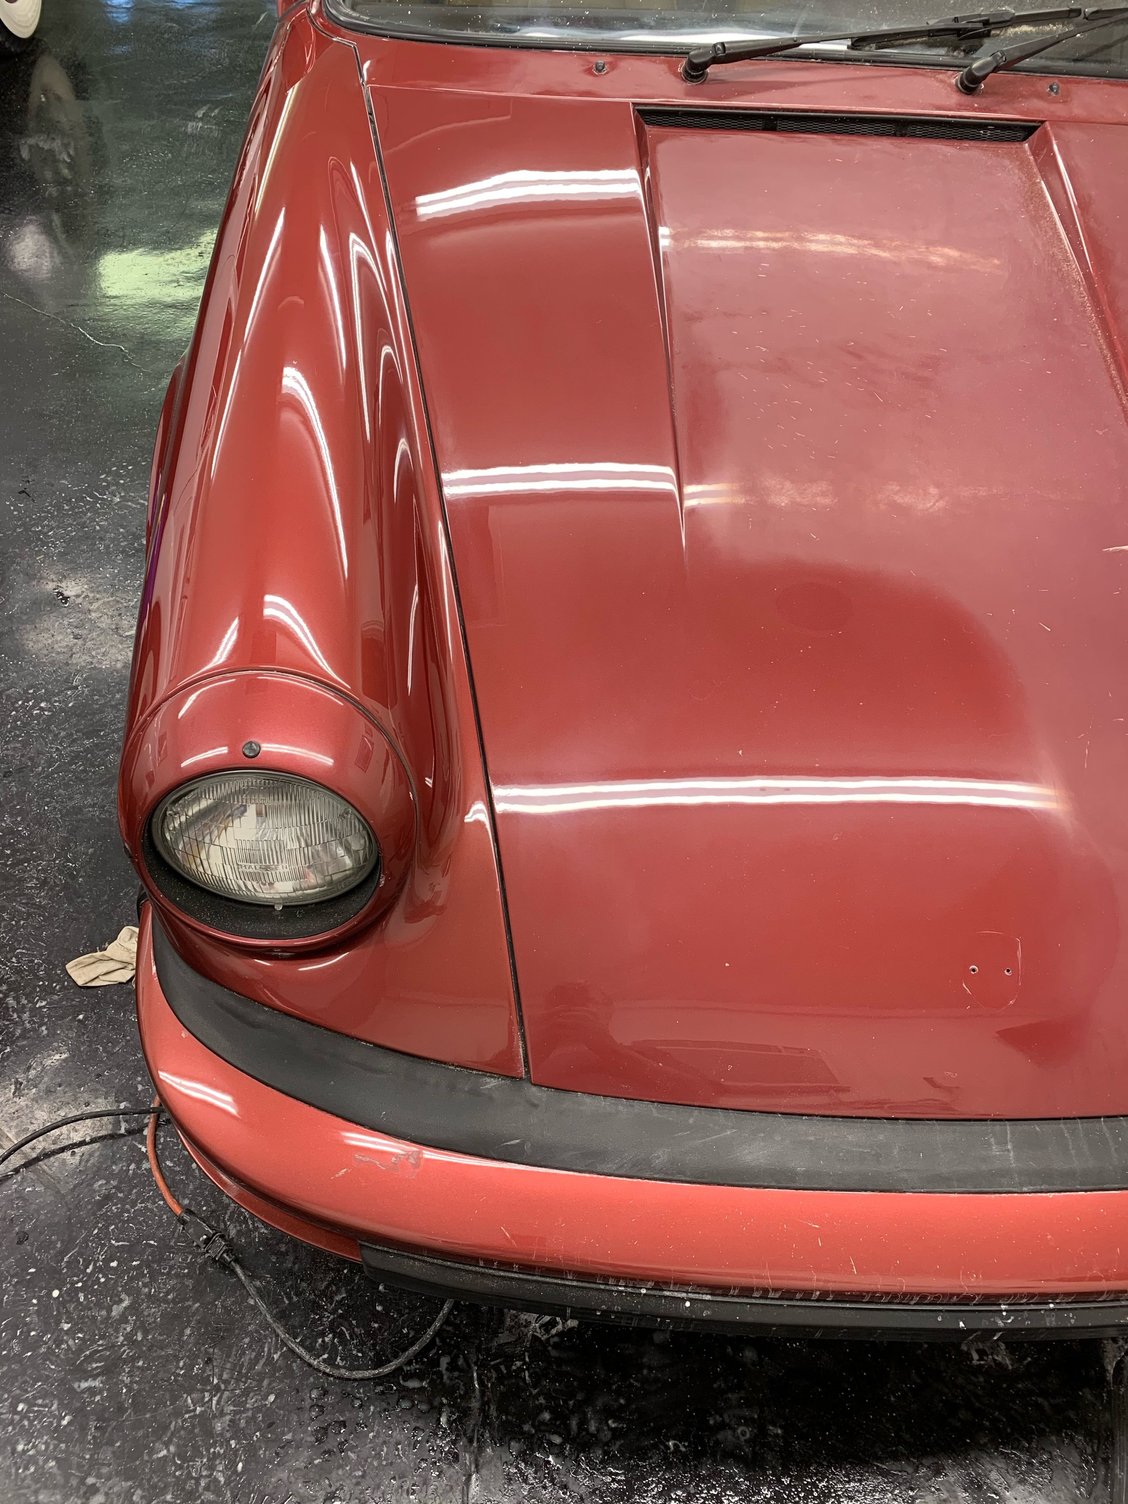
In the beautiful photos following, you see the front fenders and trunk lid polished. The paint job quality looks so much better than what was there prior. If you zoom in on the front 15" or so of the trunk lid, you'll see dozens of imperfections. These are either trash spots in the clear or they are evidence of a rock chip, both of which has caused a crater in the paint. Again, my goal was to get rid of orange peel, which was severe in this area. So when the orange peel was gone from sanding, I could see these "craters." But you can't sand out these craters because they are too deep and you'll go through the clear.
To fix the craters, one cleans the craters with wax/degreaser. Use a cloth for a quick cleaning, then use a clean dry cloth to wipe away the wetness of the wax/degreaser. Next, take an expensive can of glossy clear, such as one purchased at a body shop supply store, and spray into a cup. Use a small tip paint brush and dab a small amount of clear into the crater. It may or may not fill the crater. The idea is to fill the crater and just a little more. Give it a couple of weeks to cure. Then lightly, and I mean very lightly, sand the high area of your spots, 2500 grit. Then polish the areas. The clear in the crater can be hard to
"stick" and you don't want to pop your clear out of the hole. It can last a long time or pop out. Obviously if it pops out, just start over. I have bigger fish to fry on this car right now so i'm not going to worry about the craters and other chips on door edges, front edge of rear fender flares, etc.
So today, the front and rest of the car looks like a very high quality paint job on a car that's gone down the highway and picked up stone chips. That's not so bad and it's a lot better than a high-end car with a inferior crappy paint job.
Usually then they repaint the clear is sprayed on too thick- hence the yellowish looking clear, the orange peel has more to do with the nozzle not being adjusted or the distance or technique. especially if the thickness is different on each panel.
I doubt you'll sand through anything but I still posted that for others attempting this. I personally rather be safe then sorry and use a paint meter
your doing a great job btw- car looks really nice.
Consider buying some leatherique plastic and vinyl dye for the trim, will make a huge difference!
When did they start using clear? I've done some polishing on a race car I had, but am wary about trying it on the 911.
Im not 100% sure but I think mid 80's with metallic paints only, late 80's with solid colors. for original paint- its possible late 70's
im sure there's enivromental laws with water based and 2 stage clear.
Any repaint will have 2 stage paint clear and color.
the transformation I can do with single stage paint is like a new paint job. night and day
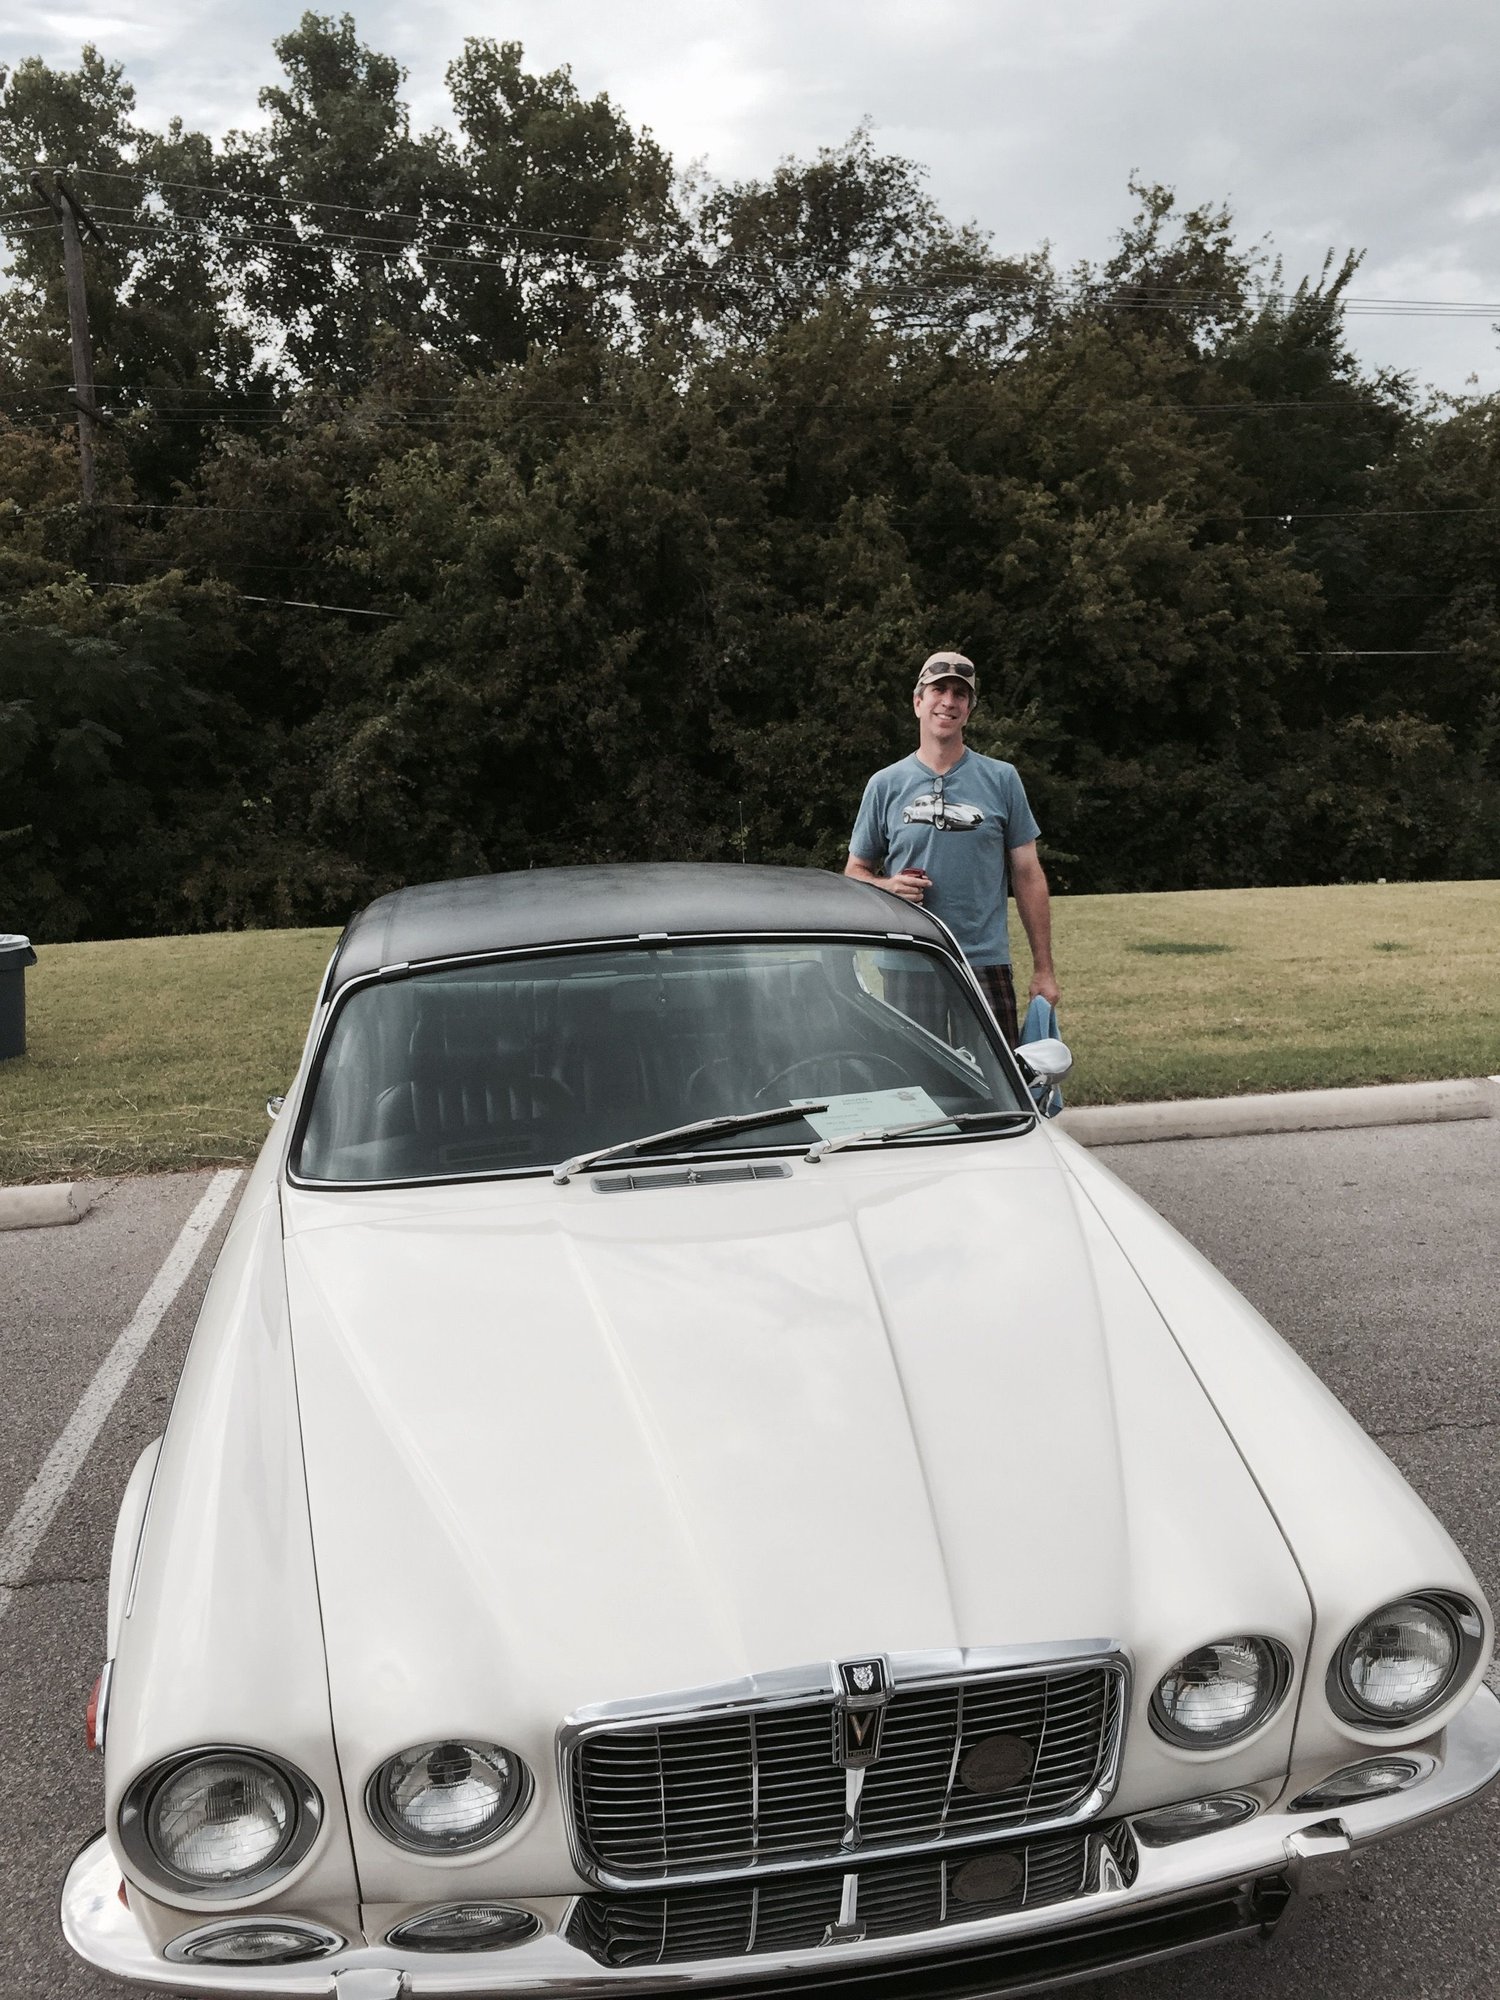
That's awesome! About 7 years ago I had a '76 Jag XJ12C painted by a cheap shop. The real bitch was the overspray in the engine compartment which took forever to get out. But the paint was really slapped on and it had a bunch of orange peel. Car is white, which is easy to work. But i did the same treatment on this car:


 03-24-2019, 09:15 PM