When you click on links to various merchants on this site and make a purchase, this can result in this site earning a commission. Affiliate programs and affiliations include, but are not limited to, the eBay Partner Network.
The engine shroud on the inside after some 47 years gets some love as does the outside. Once cleaned, going to keep it this way and will not clear coat. Further, mentioned that the fan and fan shroud would get vapor blasted, but, think this will be too shiny and not in character with the car.
That dirty engine shroud:
Cleaned with Orange Degreaser and Scotch-Bright pads, then a trip into the shop dishwasher (Pots & Pans Cycle):
Fan and fan shroud. Wet sanded with 600P wet/dry and will go over both with 3-0 steel wool and paste wax. Should slow the corrosion process and the finish more consistent with a driver condition car:
Next up on the agenda for �clean� is the air intake.
Believe there is more to polish or clean, however at this point, think this is enough for now. Clearly, more will need to be done to throttle linkage and will get to that tomorrow.
Fan and fan shroud after rubbing with 3-0 Steel Wool and paste wax. Like the luster:
The start of the air filter system and removing the paint oxidation:
Top side completed of the filter canister along with boxes for the carbs:
Snorkel was the hardest and had the most oxidation on it:
Assembled with the carbs, and by the way, think these are the most sexy carbs in our car collection, save for the car that is supercharged:
Probably think this is not necessary, but decided to see if this small gauge wire would clean the passages between the fins on the oil cooler. If there was resistance, the wire was manipulated and never forced. Was able to get most and not all of the passages, so, think this will suffice. Tedious work:
Have the throttle linkage cleaned of the rust and mouse piz and since the fellow working on the car can�t quite leave well enough alone, polished the fan outer pulley:
This is an interesting paper tag that has made it all these years and believe it is a listing for various fuses. It was about to disintegrate, so removed and reattached with 5 minute epoxy. Once the epoxy has cured, can clean this cover for the high voltage components:
Lots of time today with little results. Thanks for following along.
This car was going to be a driver. The parts that one can’t see would not get any attention. The deeper into the car, the more that is taken off to be cleaned, blasted, painted.
This is a sickness or a well documented case of OCD as it seems, (just like the fan pulley) can’t keep my hands off the parts to do as described above..... Just like there is no way to have a conversation without using my hands.
The surrounding tin work has been removed:
The next items to remove are the exhaust headers and heater boxes.
Degrease, blast, and then treat with POR15 high heat paint.
It is all fun and certainly will be rewarding. Should the oil cooler be removed for ultrasonic cleaning, pressure testing? While we are at it, why not?
Removing the oil cooler has been challenging. On this car, the heat exchanger needed to be removed, otherwise, there may have been some damage to the cooler:
Removing the heat exchanger was a bit of a battle. Penetrating oil was applied over a few days time and believe this was a good call.
Will bend up a 13mm wrench to fit the contours of the exchanger so that reassembly will go better. Found that one stud was replaced with a bolt, and one stud backed out only because the nut in this case, 1/2� standard, was cross threaded on to the stud and it was not tight to manifold flange so there was an exhaust leak there.
Once the left side is removed, will get both heat exchangers �hot tanked� then, will blast and treat them to some POR 15 high temp paint.
Oil cooler will get shipped off to Pacific Oil Cooler in California. Have used this company previously for the oil cooler on the �63 356 Cab and it came back finished like a jewel. http://www.oilcoolers.com/
Left side heat exchanger was a walk in the park to remove compared to the other side. Issues are that one of the studs is a little longer than the others and is at a bit of an angle. Guessing that this stud has been pulling out of the head.
Left & Right side:
Taking a closer look at the carbon build up, there is a little area where the carbon has been scraped off. Thinking that the rings/valve guides might be in good shape. Clearly not an expert here, so if anyone can do a forensic reading on this issue, would be greatly appreciated:
And�.
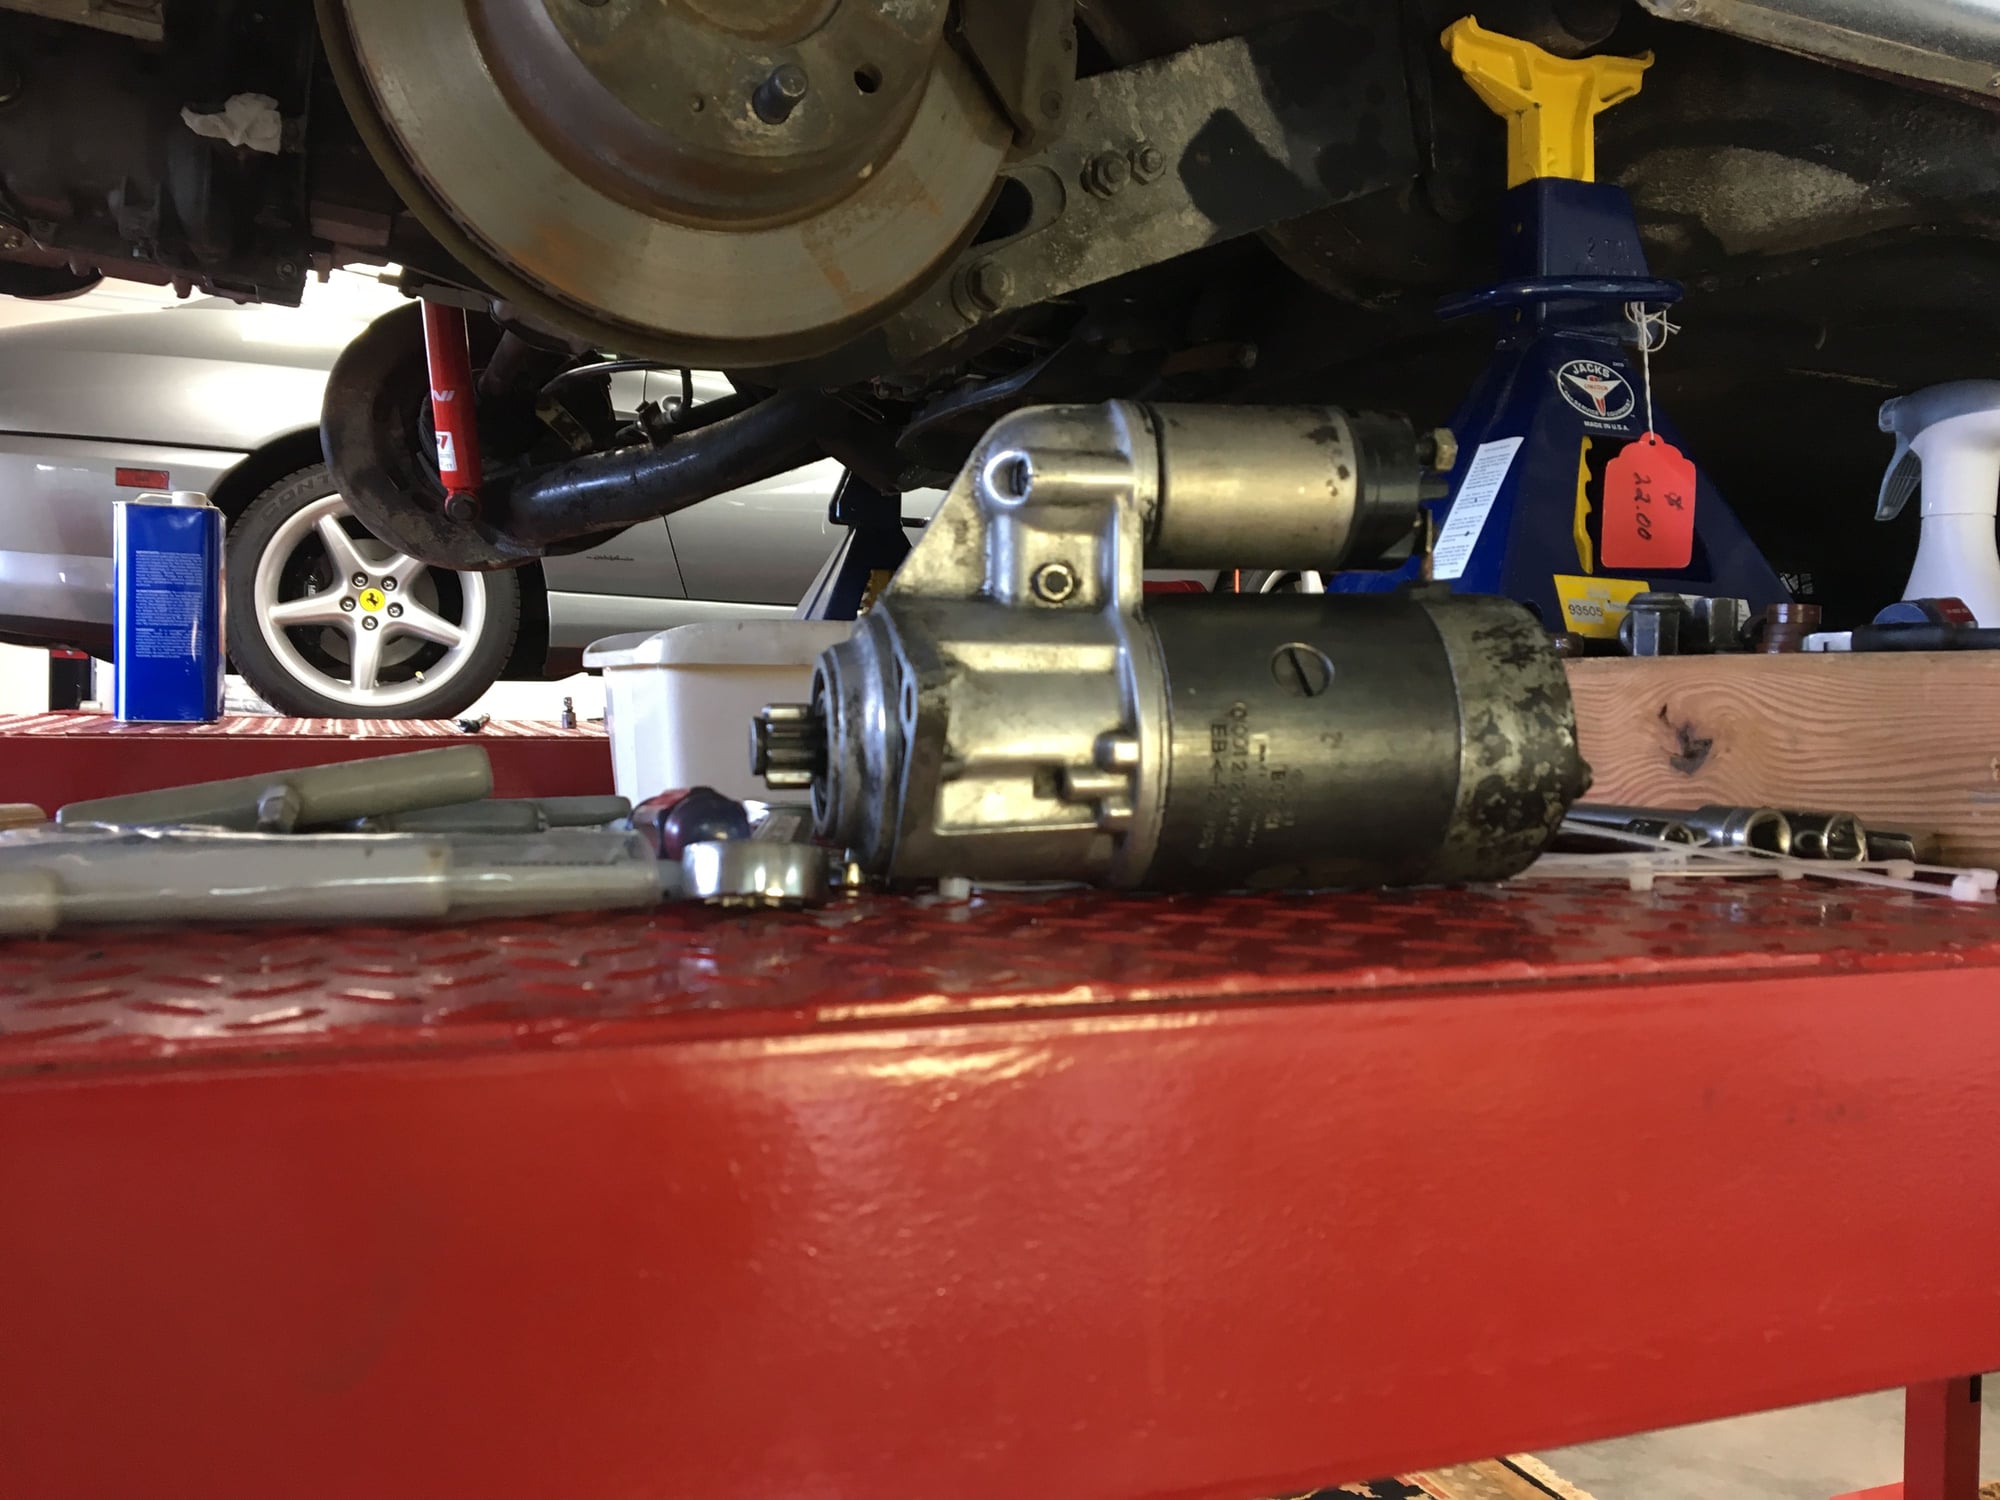
since the starter is exposed, yeah, just had to take it out and will do a job on it and check the brushes/bushings/bendix.
More parts arrived today. Pretty soon, parts go back on the car and not off:
Lubricated all the rocker arms and cam surfaces with Swepco 306. Just wanted to make sure while adjusting the valves there would be some lubrication on the cam. Also decided to do another round of MMO into the cylinders…. Did they need it, probably not but figured if a little is good, isn’t more, better?
The only valve that was very tight, that is to say, no movement when at it’s TDC was the exhaust on #5. The rest all had play but most exhaust valves needed to be re-set:
Interesting figuring out the marks on the crank pulley. Of course, it has not seen any cleaning in a long time, and, wanted to make sure the correct marks were hit:
And what is up with the distributor rotor? Wonder what the science is behind that design:
Last off the list to do today was to clean the ground strap. Straight forward stuff:
I can't enlarge the picture right now but it looks like your distributor rotor has a centrifugal RPM limiter. Spin it too fast and the spark shorts out. A $$$$$ saving mod for sure
I can't enlarge the picture right now but it looks like your distributor rotor has a centrifugal RPM limiter. Spin it too fast and the spark shorts out. A $$$$$ saving mod for sure
the only way th rev limit the early motors, factory rev limiter, the rpm limit is stamped on the rotor
I can't enlarge the picture right now but it looks like your distributor rotor has a centrifugal RPM limiter. Spin it too fast and the spark shorts out. A $$$$$ saving mod for sure
Thank you. An interesting technology. When we first bought our '92 964 Cab, was so impressed with the way the engine just seemed to want to rev, so kept pushing it, till the engine started to miss like crazy. Thought, oh boy, now you have done it. No idea there was a rev limiter on it. Silly me.

 03-10-2018, 05:30 PM