When you click on links to various merchants on this site and make a purchase, this can result in this site earning a commission. Affiliate programs and affiliations include, but are not limited to, the eBay Partner Network.
could you simply take the nuts off of the OPF pipe "side" and pull the exhaust with the studs still attached? (if one were replacing the main exhaust for example)?
Yes, exactly. PB B'laster the nuts and remove them. Leave all studs in place. If only doing the OAP, loosen the rear section (do not need to remove) and tons of clearance to get over the studs on the aft section of the OAP.
Yes. (If I understand your question correctly)
I didn't have to remove or even loosen the muffler section to get the link pipes out.
Drivers side ALL of the studs came out of the cat -- so removal was really easy.
Passenger side ONE of the studs came out (so two remained) -- and there was enough give to allow me to get the link pipe out.
If you're asking about the muffler section removal .. no idea. I didn't remove it.
I didn't remove it because I have no clue how to remove the line that controls the PSE valve and it seems like it would be easy for me to break.
It *should* simply pull off if you *gently* rotate it from side to side while pulling, but it is "clamped" at both ends, but when I replaced my exhaust on my 991 GTS they went back on w/o any issues....
Originally Posted by Westcoast
I never had a problem with any of the nuts or studs everything came off cleanly and no studs moved at all.
Yes, I left all studs in place, when I did the rear section the OEM came back 'just' far enough with the studs in place to get it down and out, sure it would have been easier with the studs out but it is not necessary. The OAP was even easier, with the rear exhaust out they slipped out without any interference.
good to know ... building up to installing the Soul+Akra this weekend - visualizing the steps, and since the Soul comes with new h/w for the exhaust side (they reuse the cat side h/w) I was planning on saving time and knuckles by leaving the studs on the OEM exhaust and just pulling it out with them still attached!
Yes, exactly. PB B'laster the nuts and remove them. Leave all studs in place. If only doing the OAP, loosen the rear section (do not need to remove) and tons of clearance to get over the studs on the aft section of the OAP.
assembled my quikjack last weekend in anticipation!
I also assembled my QJ and then did this install.
TIP! Orient the QJ backwards from now they depict in the manual. Send the hoses forward to the motor unit. Put the motor unit in front of the car. Then there won't be anything in the way.
I had it the normal way initially and the hoses would have been in the way right where I was rolling around.
... I didn't remove it because I have no clue how to remove the line that controls the PSE valve and it seems like it would be easy for me to break.
Originally Posted by Larry Cable
It *should* simply pull off if you *gently* rotate it from side to side while pulling, but it is "clamped" at both ends, but when I replaced my exhaust on my 991 GTS they went back on w/o any issues....
The vacuum line (if that what we are talking about here) can be carefully pulled off at the valve end. FWIW, the JCR valve has a larger diameter nipple than the OEM, I had to massage the inner lining of the vacuum line in order to get it on.
Right now it is back on the JCR rear section, temporarily secured with a twist of 14ga copper wire, I will be fashioning a more appropriate clamp from stainless steel tube when time permits.
Last edited by Westcoast; 03-16-2021 at 02:28 PM.
Reason: correct the removal procedure
I also assembled my QJ and then did this install.
TIP! Orient the QJ backwards from now they depict in the manual. Send the hoses forward to the motor unit. Put the motor unit in front of the car. Then there won't be anything in the way.
I had it the normal way initially and the hoses would have been in the way right where I was rolling around.
Yep, oriented mine the same way, hoses and motor unit to the front. Also didn't have the front end clearance; with longitudinal shift I had to use this orientation anyway.
The vacuum line (if that what we are talking about here) can be carefully pulled off 'once' you use side cutters to remove the crimp clamp at the valve end, you may be able to slid it off without doing this but I didn't try. FWIW, the JCR valve has a larger diameter nipple than the OEM, I had to massage the inner lining of the vacuum line in order to get it on.
Right now it is back on the JCR rear section, temporarily secured with a twist of 14ga copper wire, I will be fashioning a more appropriate clamp from stainless steel tube when time permits.
I also assembled my QJ and then did this install.
TIP! Orient the QJ backwards from now they depict in the manual. Send the hoses forward to the motor unit. Put the motor unit in front of the car. Then there won't be anything in the way.
I had it the normal way initially and the hoses would have been in the way right where I was rolling around.
Originally Posted by jacksot
Yep, oriented mine the same way, hoses and motor unit to the front. Also didn't have the front end clearance; with longitudinal shift I had to use this orientation anyway.
The vacuum line (if that what we are talking about here) can be carefully pulled off 'once' you use side cutters to remove the crimp clamp at the valve end, you may be able to slid it off without doing this but I didn't try. FWIW, the JCR valve has a larger diameter nipple than the OEM, I had to massage the inner lining of the vacuum line in order to get it on.
Right now it is back on the JCR rear section, temporarily secured with a twist of 14ga copper wire, I will be fashioning a more appropriate clamp from stainless steel tube when time permits.
Originally Posted by Larry Cable
why not use OEM hose clamps?
I tried for at least 30 minutes to open this 'crush style' clamp, no way could I get it to open even a little, any further attempt would have damaged the vacuum line, discretion was the better part of valor here...
I tried for at least 30 minutes to open this 'crush style' clamp, no way could I get it to open even a little, any further attempt would have damaged the vacuum line, discretion was the better part of valor here...
Oh I get it, you could not remove the OEM clamp from the hose itself ... maybe Dremmel it off and replace with a new crush clamp?
(Oetiker ear clamps)
Last edited by Larry Cable; 03-16-2021 at 01:50 PM.
Oh I get it, you could not remove the OEM clamp from the hose itself ... maybe Dremmel it off and replace with a new crush clamp?
(Oetiker ear clamps)
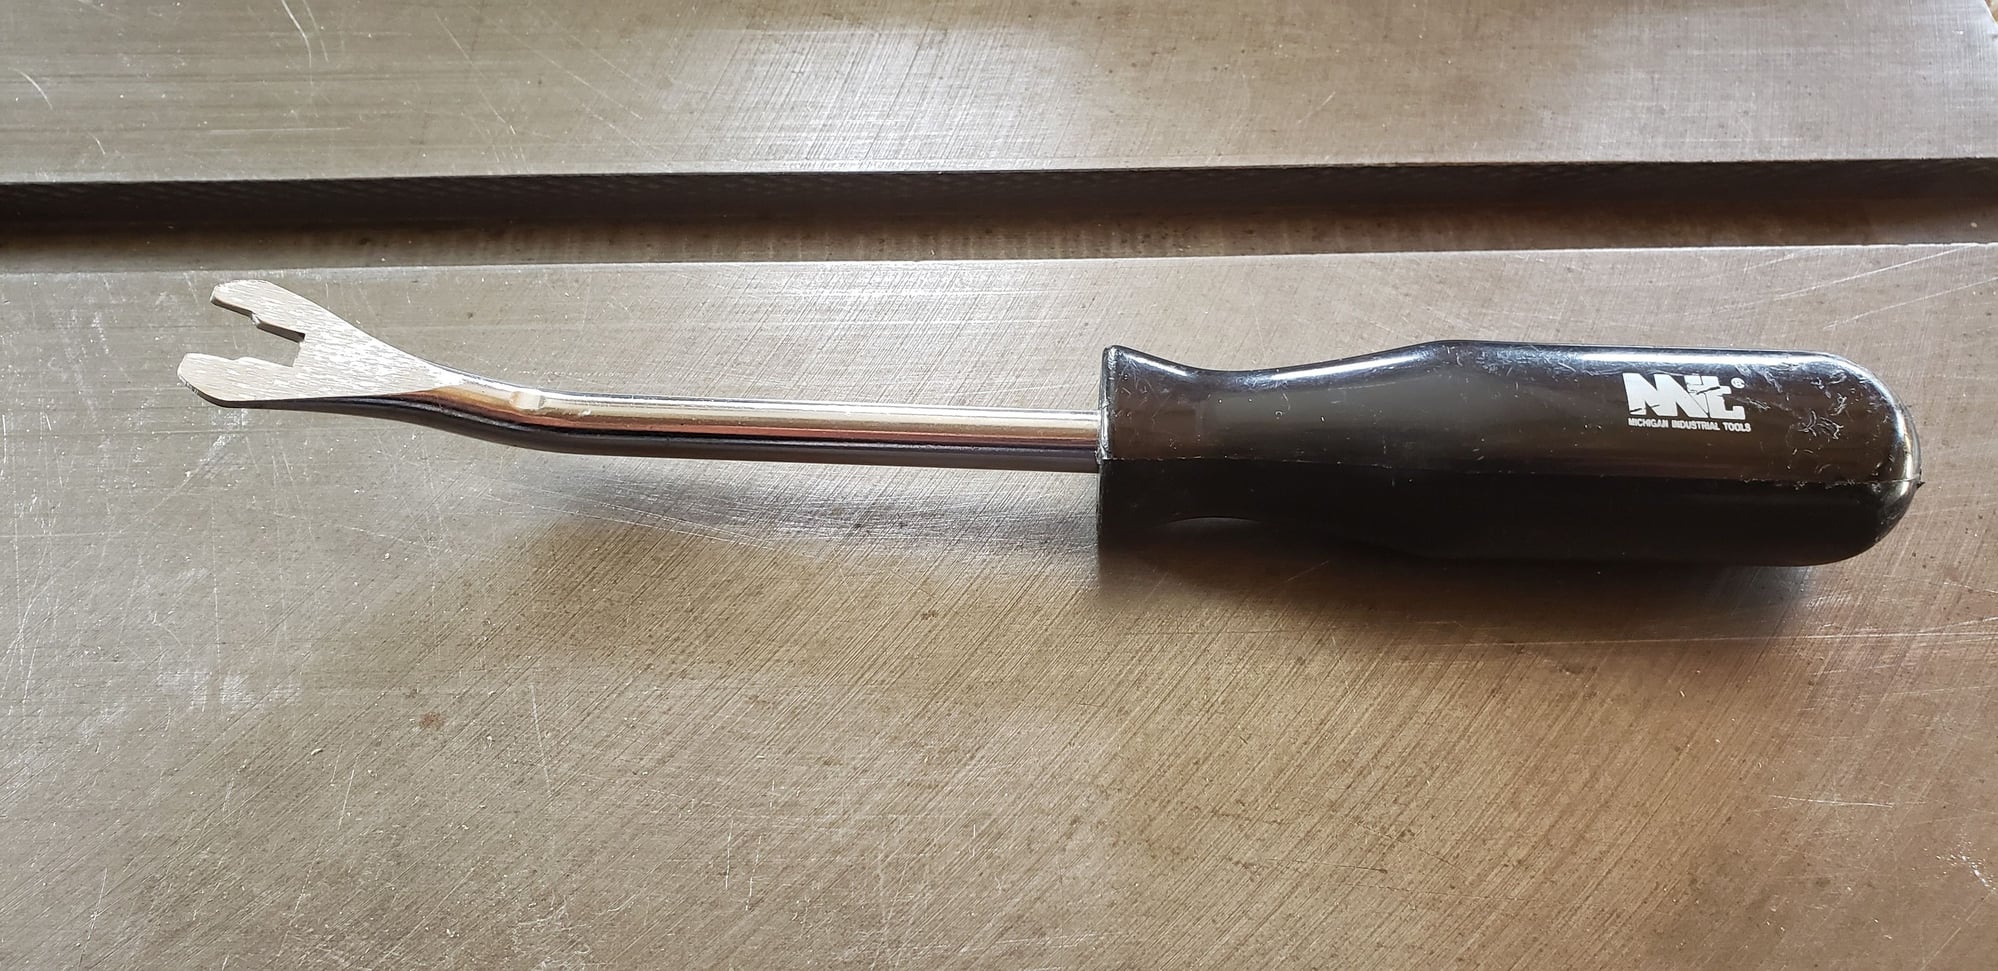
OK, I need to back up just a little, I edited my original post, I did NOT have to cut them, I found a trim removal tool that I could get behind the hose end with and lever it off as there is no raised end on the nipple.
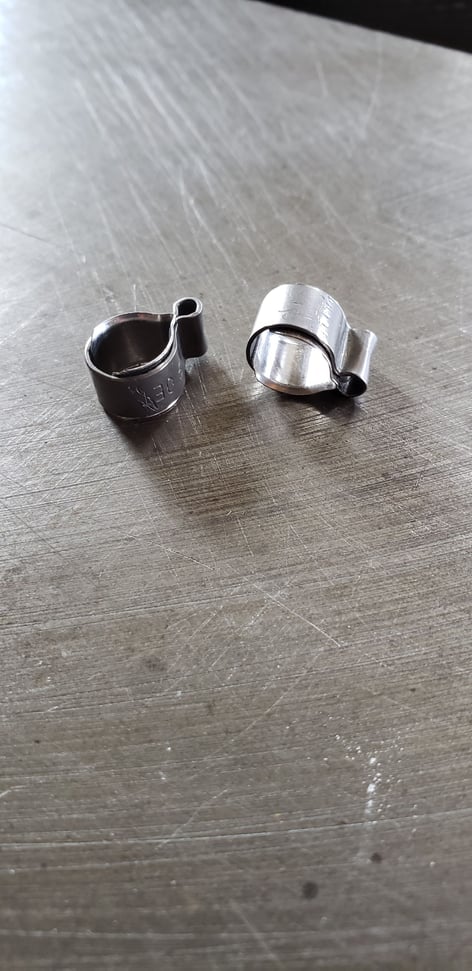
Here is a picture of the OEM clamps and the tool I used to pry them off, the JCR valve nipples being bigger required me to open up the line at that end, the OEM clamps as they came off would not go back on, hence the copper twist wire.
Old school trim removal tool OEM clamps at exhaust valves
OK, I need to back up just a little, I edited my original post, I did NOT have to cut them, I found a trim removal tool that I could get behind the hose end with and lever it off as there is no raised end on the nipple.
Here is a picture of the OEM clamps and the tool I used to pry them off, the JCR valve nipples being bigger required me to open up the line at that end, the OEM clamps as they came off would not go back on, hence the copper twist wire.
Old school trim removal tool OEM clamps at exhaust valves
you might look to see if you can get slightly larger Oetiker clamps to attach the hoses to the JCR valves ...
you might look to see if you can get slightly larger Oetiker clamps to attach the hoses to the JCR valves ...
Thanks for the actual name of a suitable clamp, when I did this last year I could not find anything locally but armed with a name the outcome may be different!

 03-16-2021, 01:06 PM