When you click on links to various merchants on this site and make a purchase, this can result in this site earning a commission. Affiliate programs and affiliations include, but are not limited to, the eBay Partner Network.
718 Spyder Steering Wheel Spoke Replacement - Black Spokes
Porsche has once again decided to make the spokes on the 718 Spyder's steering wheel different from the GT4 (chrome v. black). I guess old habits die hard - this was the same for the 981. Fortunately there is an OEM swap that is straight forward - with a little patience. I picked up the black spoke insert set from Sun Coast (https://www.suncoastparts.com/).
You will need the following tools to get started:
A 3/8 socket set with a 10mm socket to disconnect the negative of your battery
3/8 drive socket extension (8 to 10 inch extension will do)
Small screw driver or allen wrench to pop out the air bag - I used my T10 screw driver
A T20 and a T10 screw driver
12mm XZN Triple Square Spline socket (to remove and to reinstall the steering wheel
Torque wrench
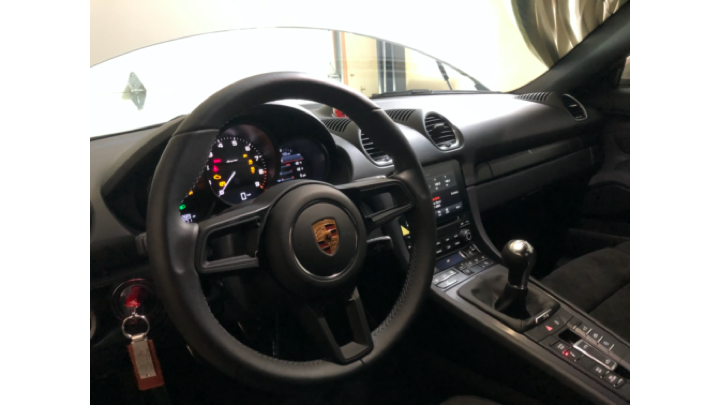
The completed Job will look like this.
First, you need to remove the wheel. No need repeat the steps I followed from a Rennlist post on how to remove the steering wheel...follow the steps in this Rennlist post: https://rennlist.com/forums/991/1093...stall-diy.html.
A couple of notes:
The post linked above will reference (in their step 3) a blue arrow..."The second one, with the blue arrow is easy to miss. It pulls right out." This does NOT exist on Spyders...you can ignore this.
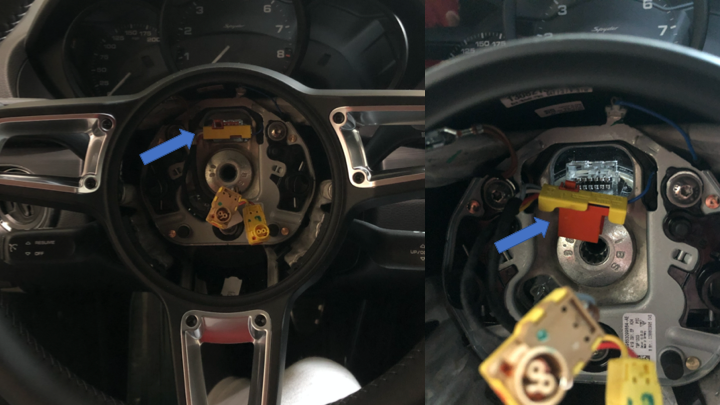
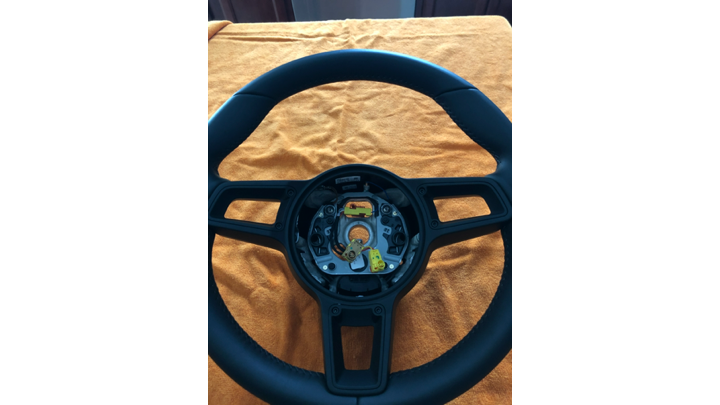
Before removing the steering wheel make sure that you pull the tab below completely out of the connector.
Now for the steps required to swap the chrome spokes out for black ones.
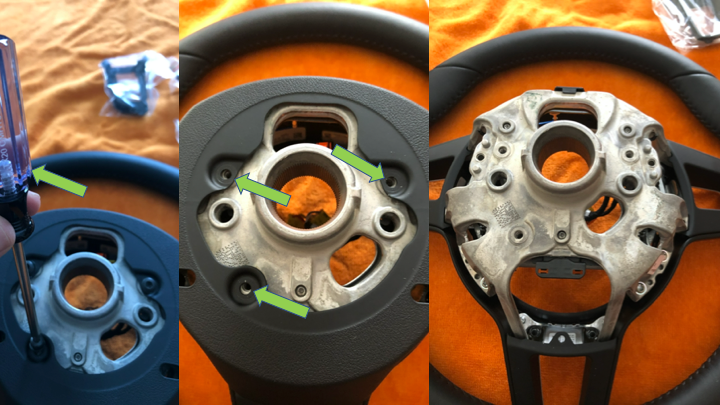
Place a towel down on a hard surface then the steering wheel facing down. Using a T20 screw driver, remove the screws holding the plastic cover on the back of the steering wheel. Remove the plastic cover.
Using the T20 remove the 6 screws holding the spoke cover onto the steering wheel housing. Once you do, the spoke cover will pop right out.
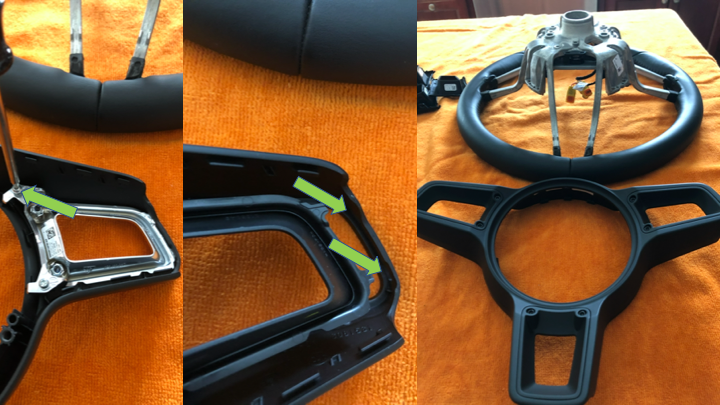
Flip the spoke cover over and using a T10 remove the original inserts. Replace with the new inserts..each insert has a couple tabs that fit right into the spoke cover. Do NOT over-tighten the screws...you will break the plastic stem on the insert.
Screw the spoke cover back onto the steering wheel housing. Screw the plastic cover back onto the rear of the steering wheel housing
those are the correct ones for the Spyder/GT4 wheel - not the ones I got (also from Suncoast) which fit but do not have the faux "bolts" on them ala GT version
Last edited by Larry Cable; 04-09-2021 at 05:06 PM.

 02-22-2021, 01:21 AM