When you click on links to various merchants on this site and make a purchase, this can result in this site earning a commission. Affiliate programs and affiliations include, but are not limited to, the eBay Partner Network.
You need to have the GPS antenna already installed to install this. My 2021 CGTS had it installed. I don't know if most of the 2021 or 2022 MY all came with the GPS antenna.
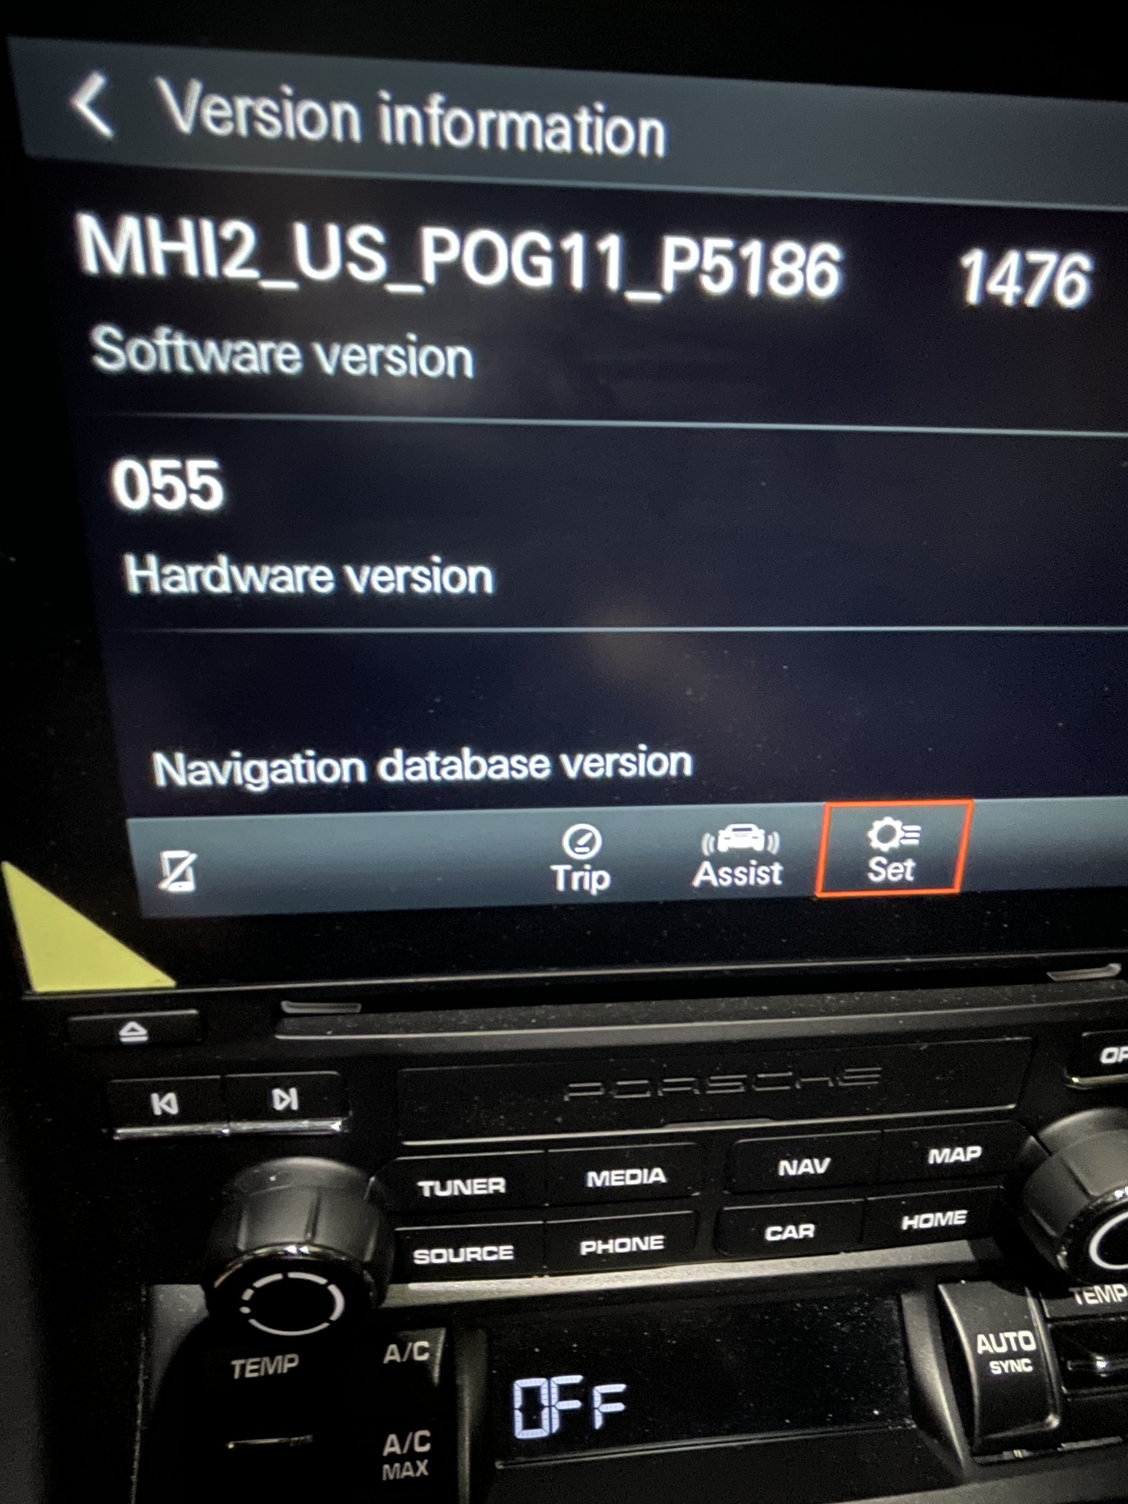
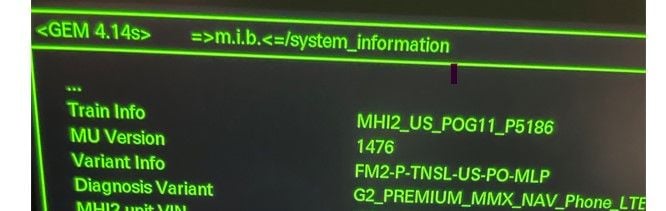
The whole process to patch your PCM and load the Navigation map takes about an hour. I highly recommend that you use a battery charger when doing this. Press the CAR button on your PCM and go to Set => System => Software Update => Version Information
You should see this screen
Write down your version number, you will need this to patch your unit later.
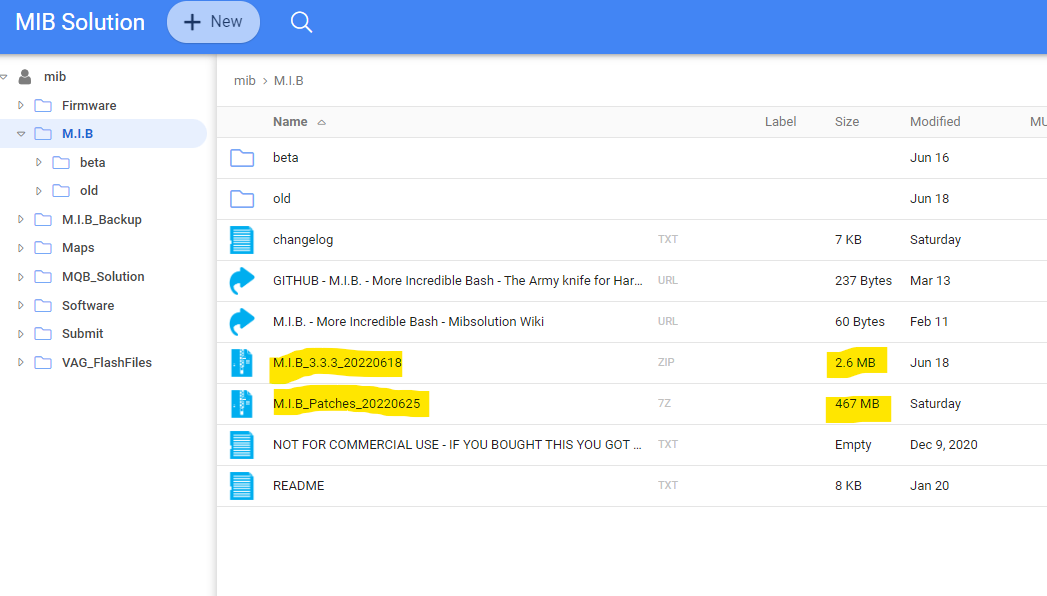
I followed the thread from @CaneTLOTWhere and downloaded the MIB tool and patch from this website https://mibsolution.one/#/1 (username and password is guest)
click on M.I.B. and download the two files below.
Format your 32 GB SD card to FAT 32.
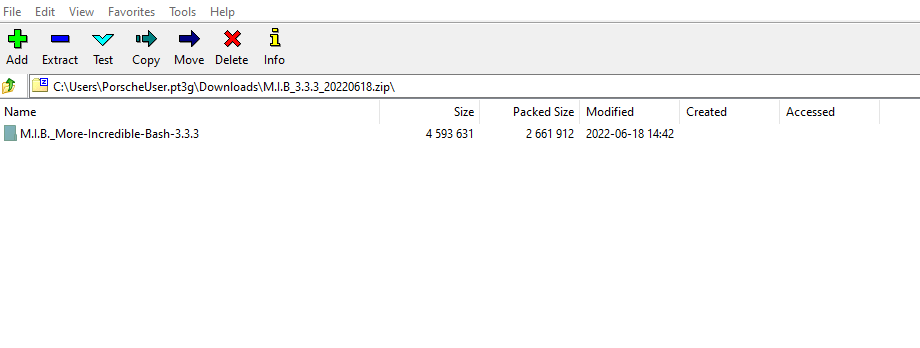
Open the first file M.I.B_3.3.3_20220618.zip with 7-Zip.
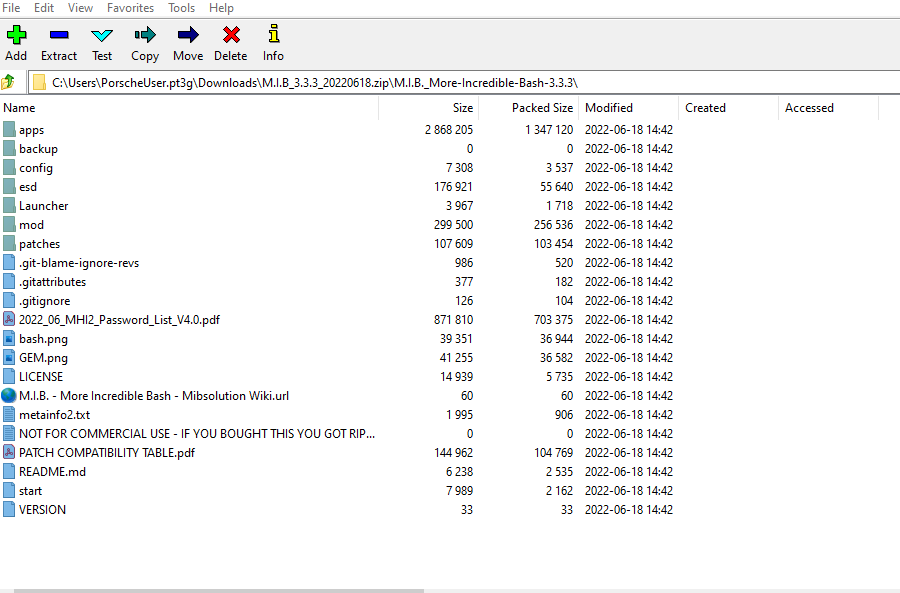
Double click on the folder and you should see this.
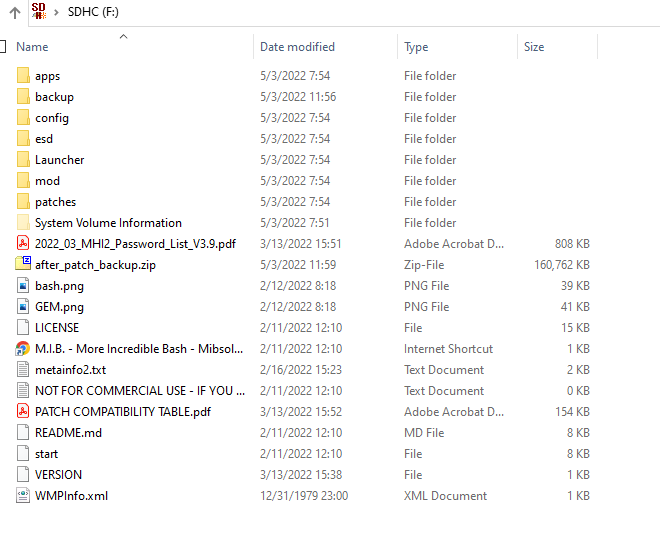
Select all the files and extract to your 32 SD card
It should look like this now.
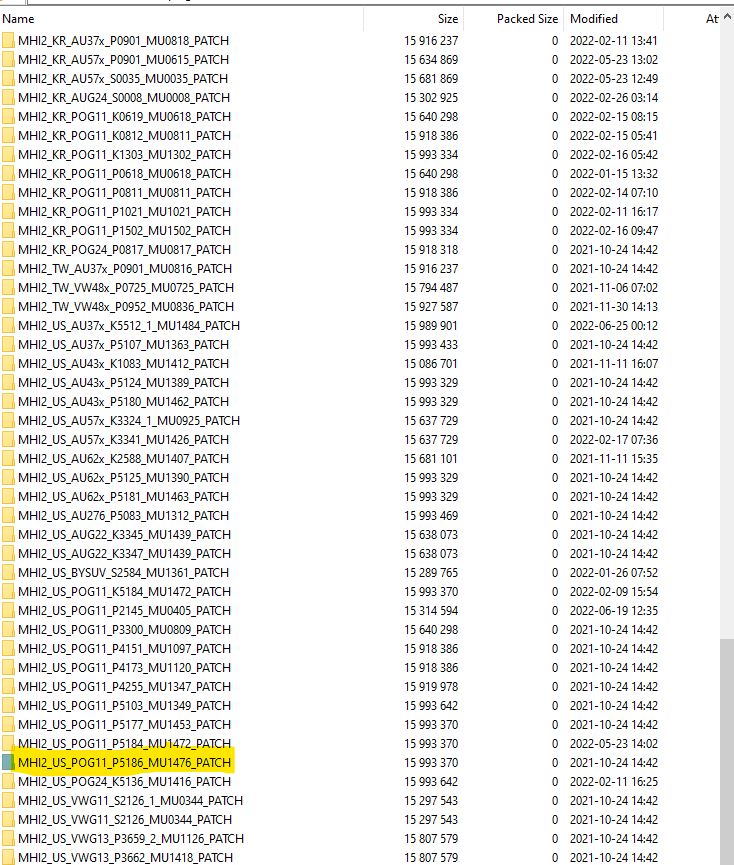
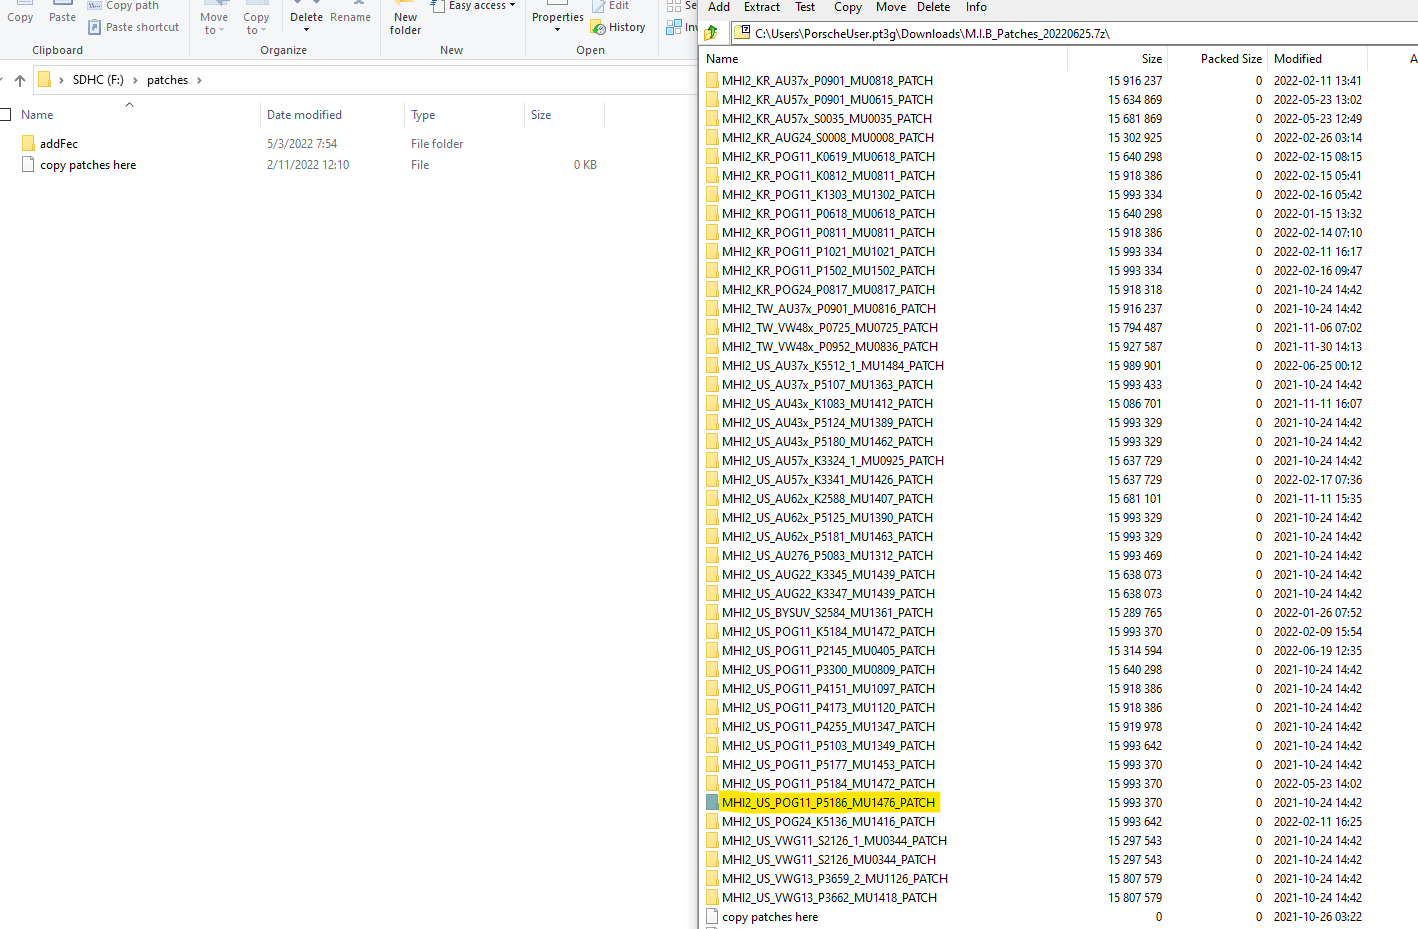
Open the second file M.I.B_Patches_20220625.7z and select the folder matching your PCM
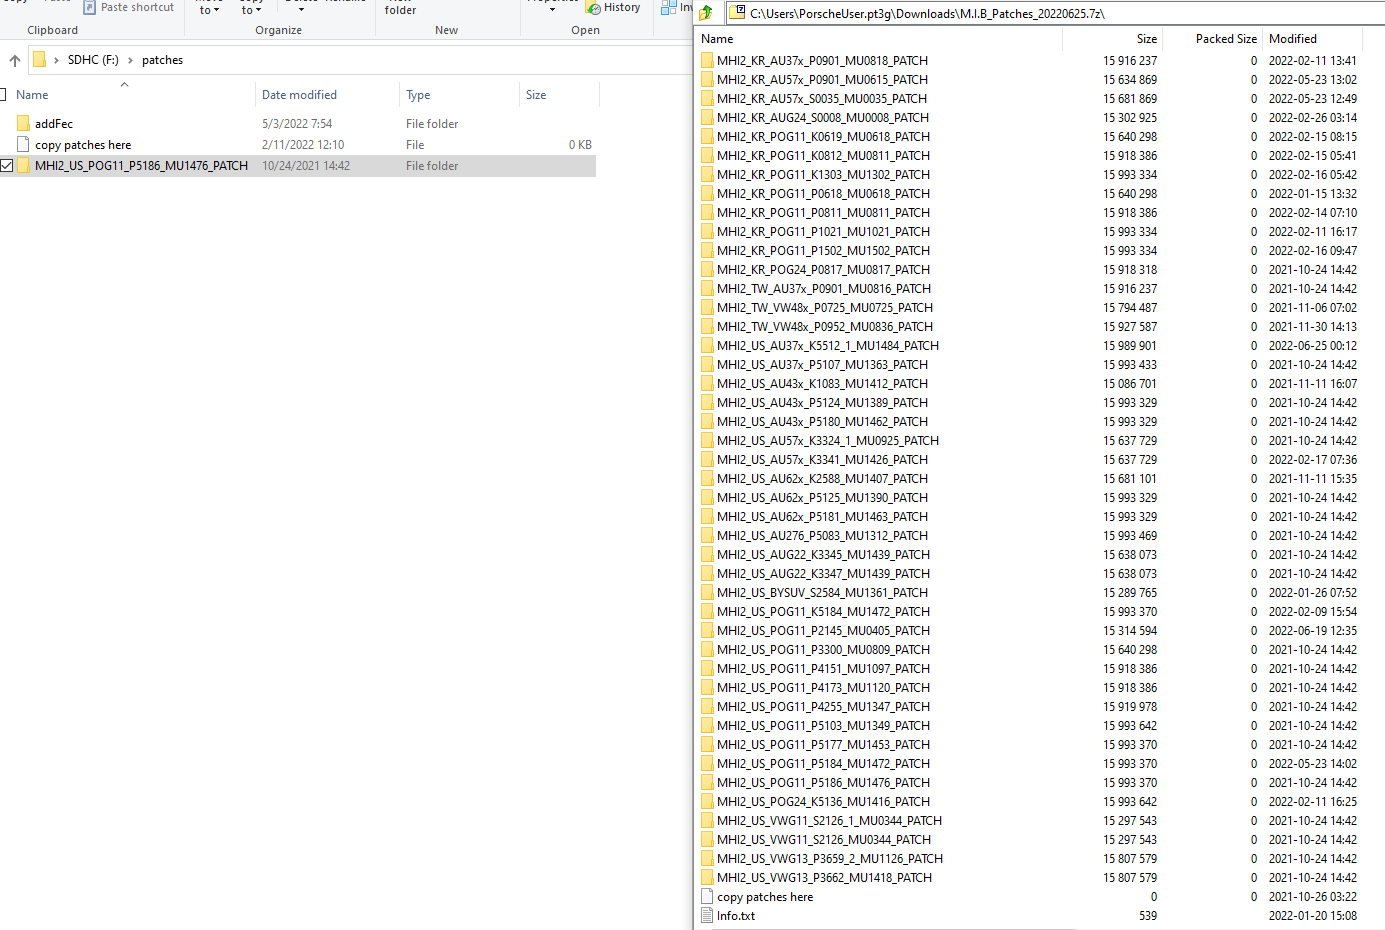
Go to your 32 GB card and open the Patches folder and extract the folder from 7-Zip
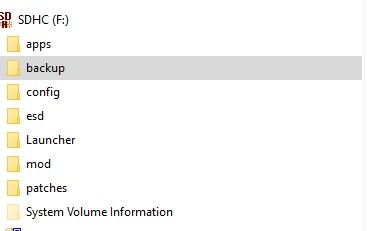
It should now look like this
Your 32 GB SD card is now ready to patch your PCM. Format your 64 GB card to FAT 32
Download the Map from here https://mibsolution.one/#/1/15/MHI2(Q) (username and password is guest)
Go to Maps => MHI2(Q) and download P85_N60S5MIBH3_NAR_NT_Q1.21.
The fie is over 21 Gb and will take a while to download.
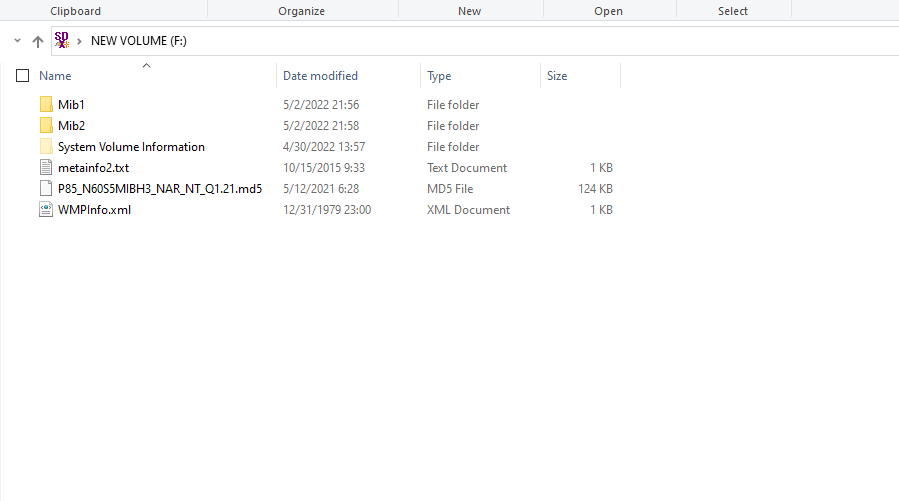
Open the file and extract it to your 64 GB SD card.
It should now look like this.
Your 64 GB SD card has the maps loaded (Canada, US and Mexico).
Disclaimer. I am not responsible for any coding done to your car. Try at your own risk. If you are not comfortable modifying your car, you should not attempt this.
Big thanks to @rnlst_log@Westcoast@CaneTLOTW and others
Last edited by Westcoast; 01-03-2023 at 01:51 PM.
Reason: Update information for AIO
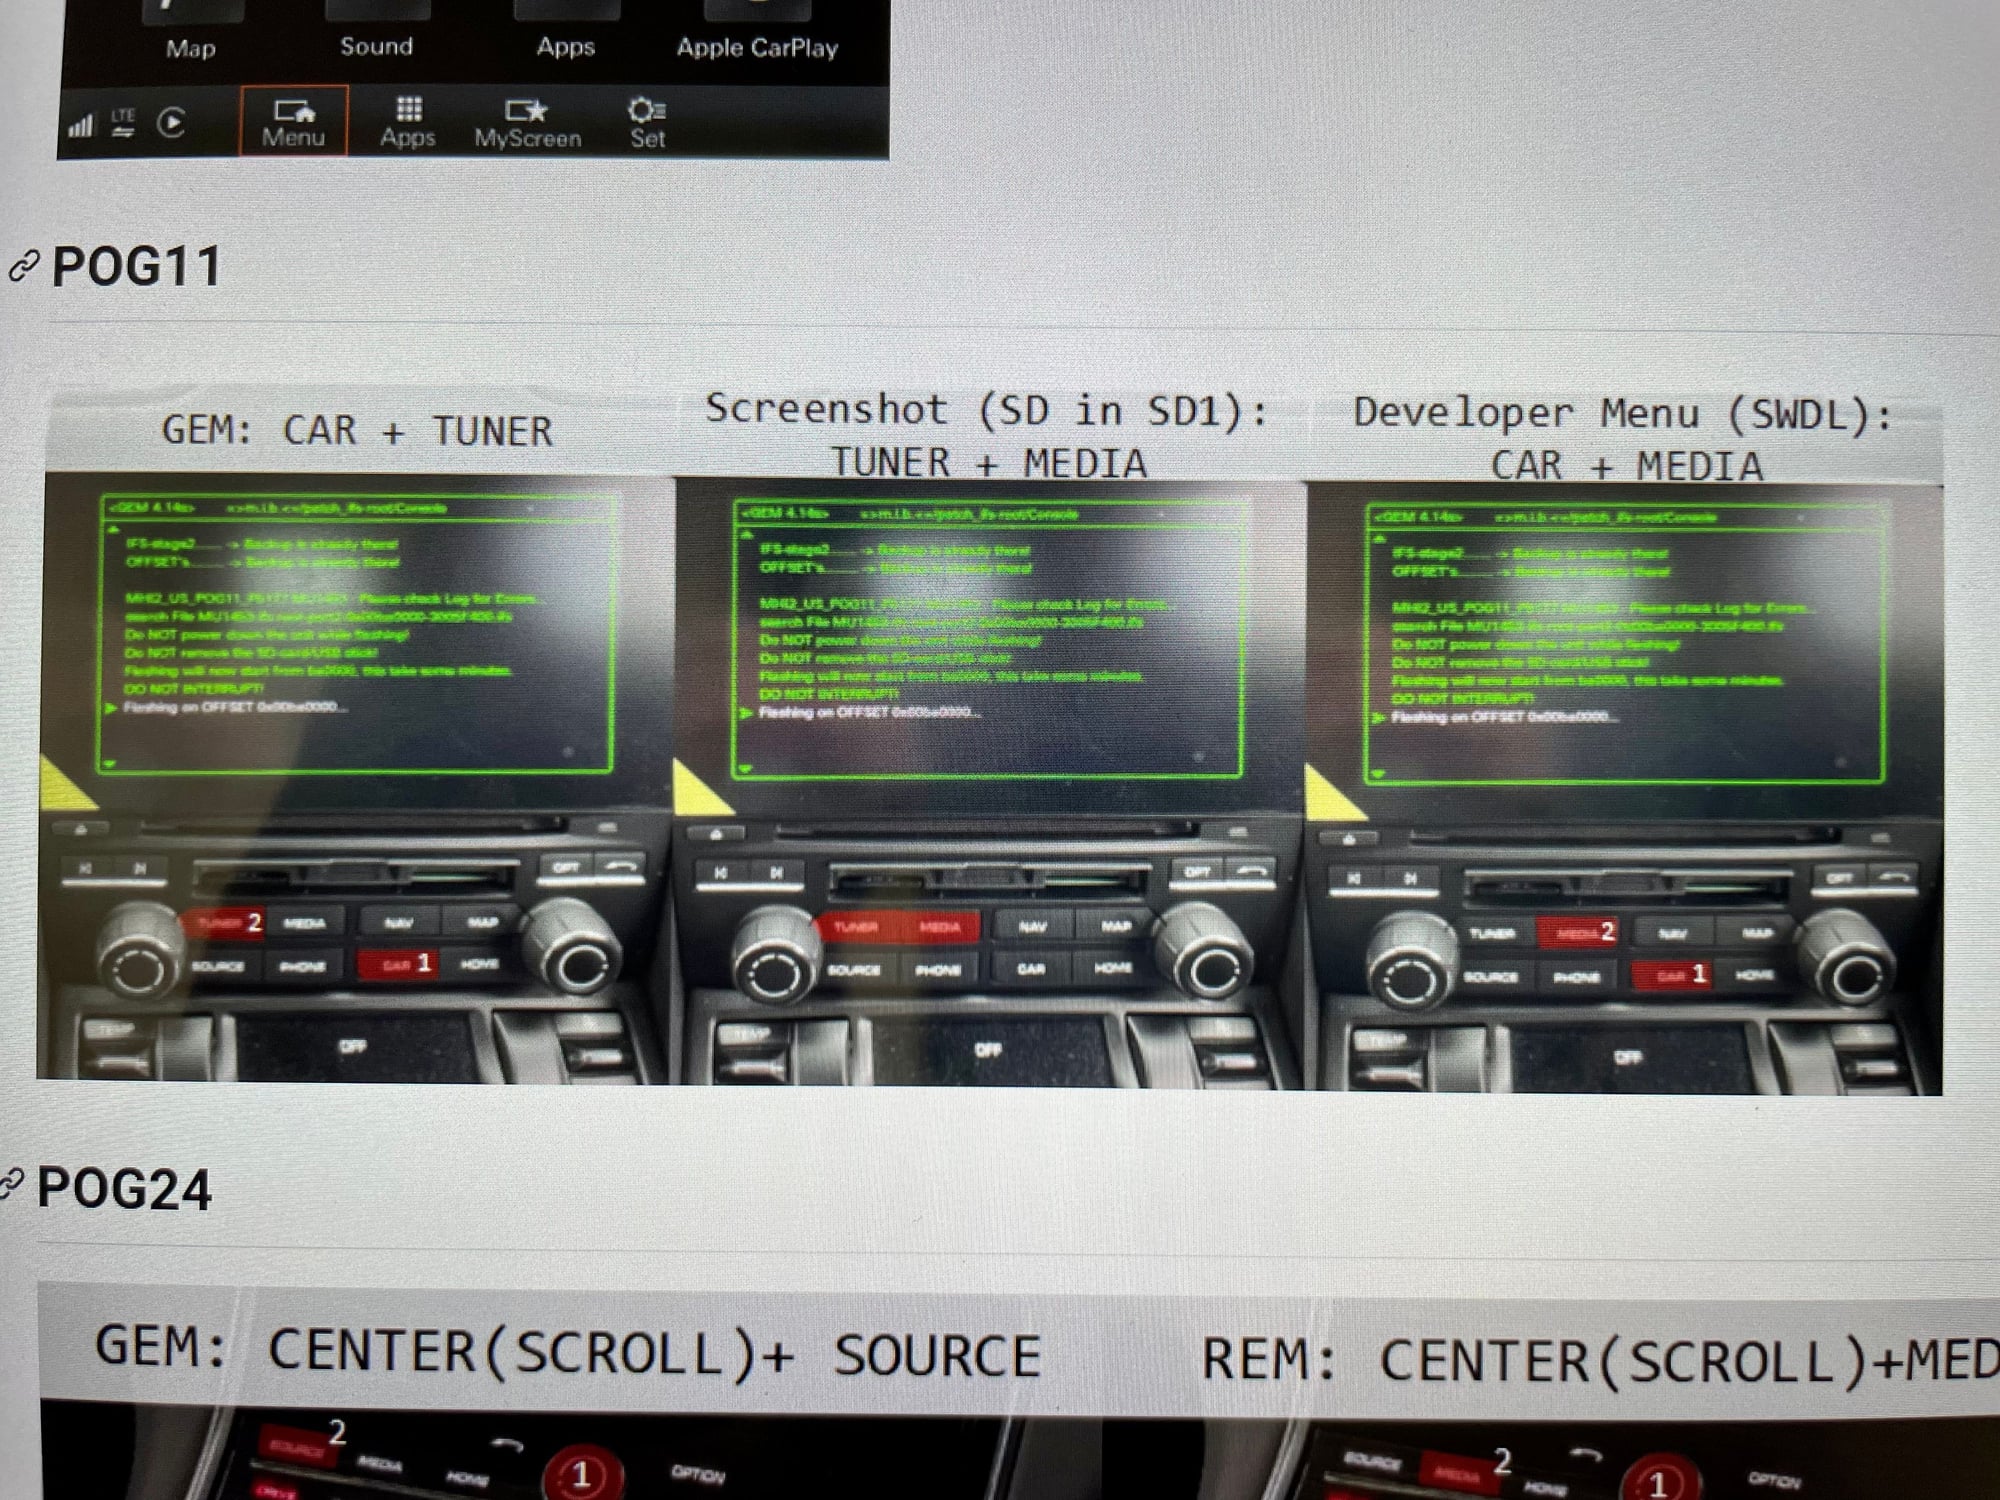
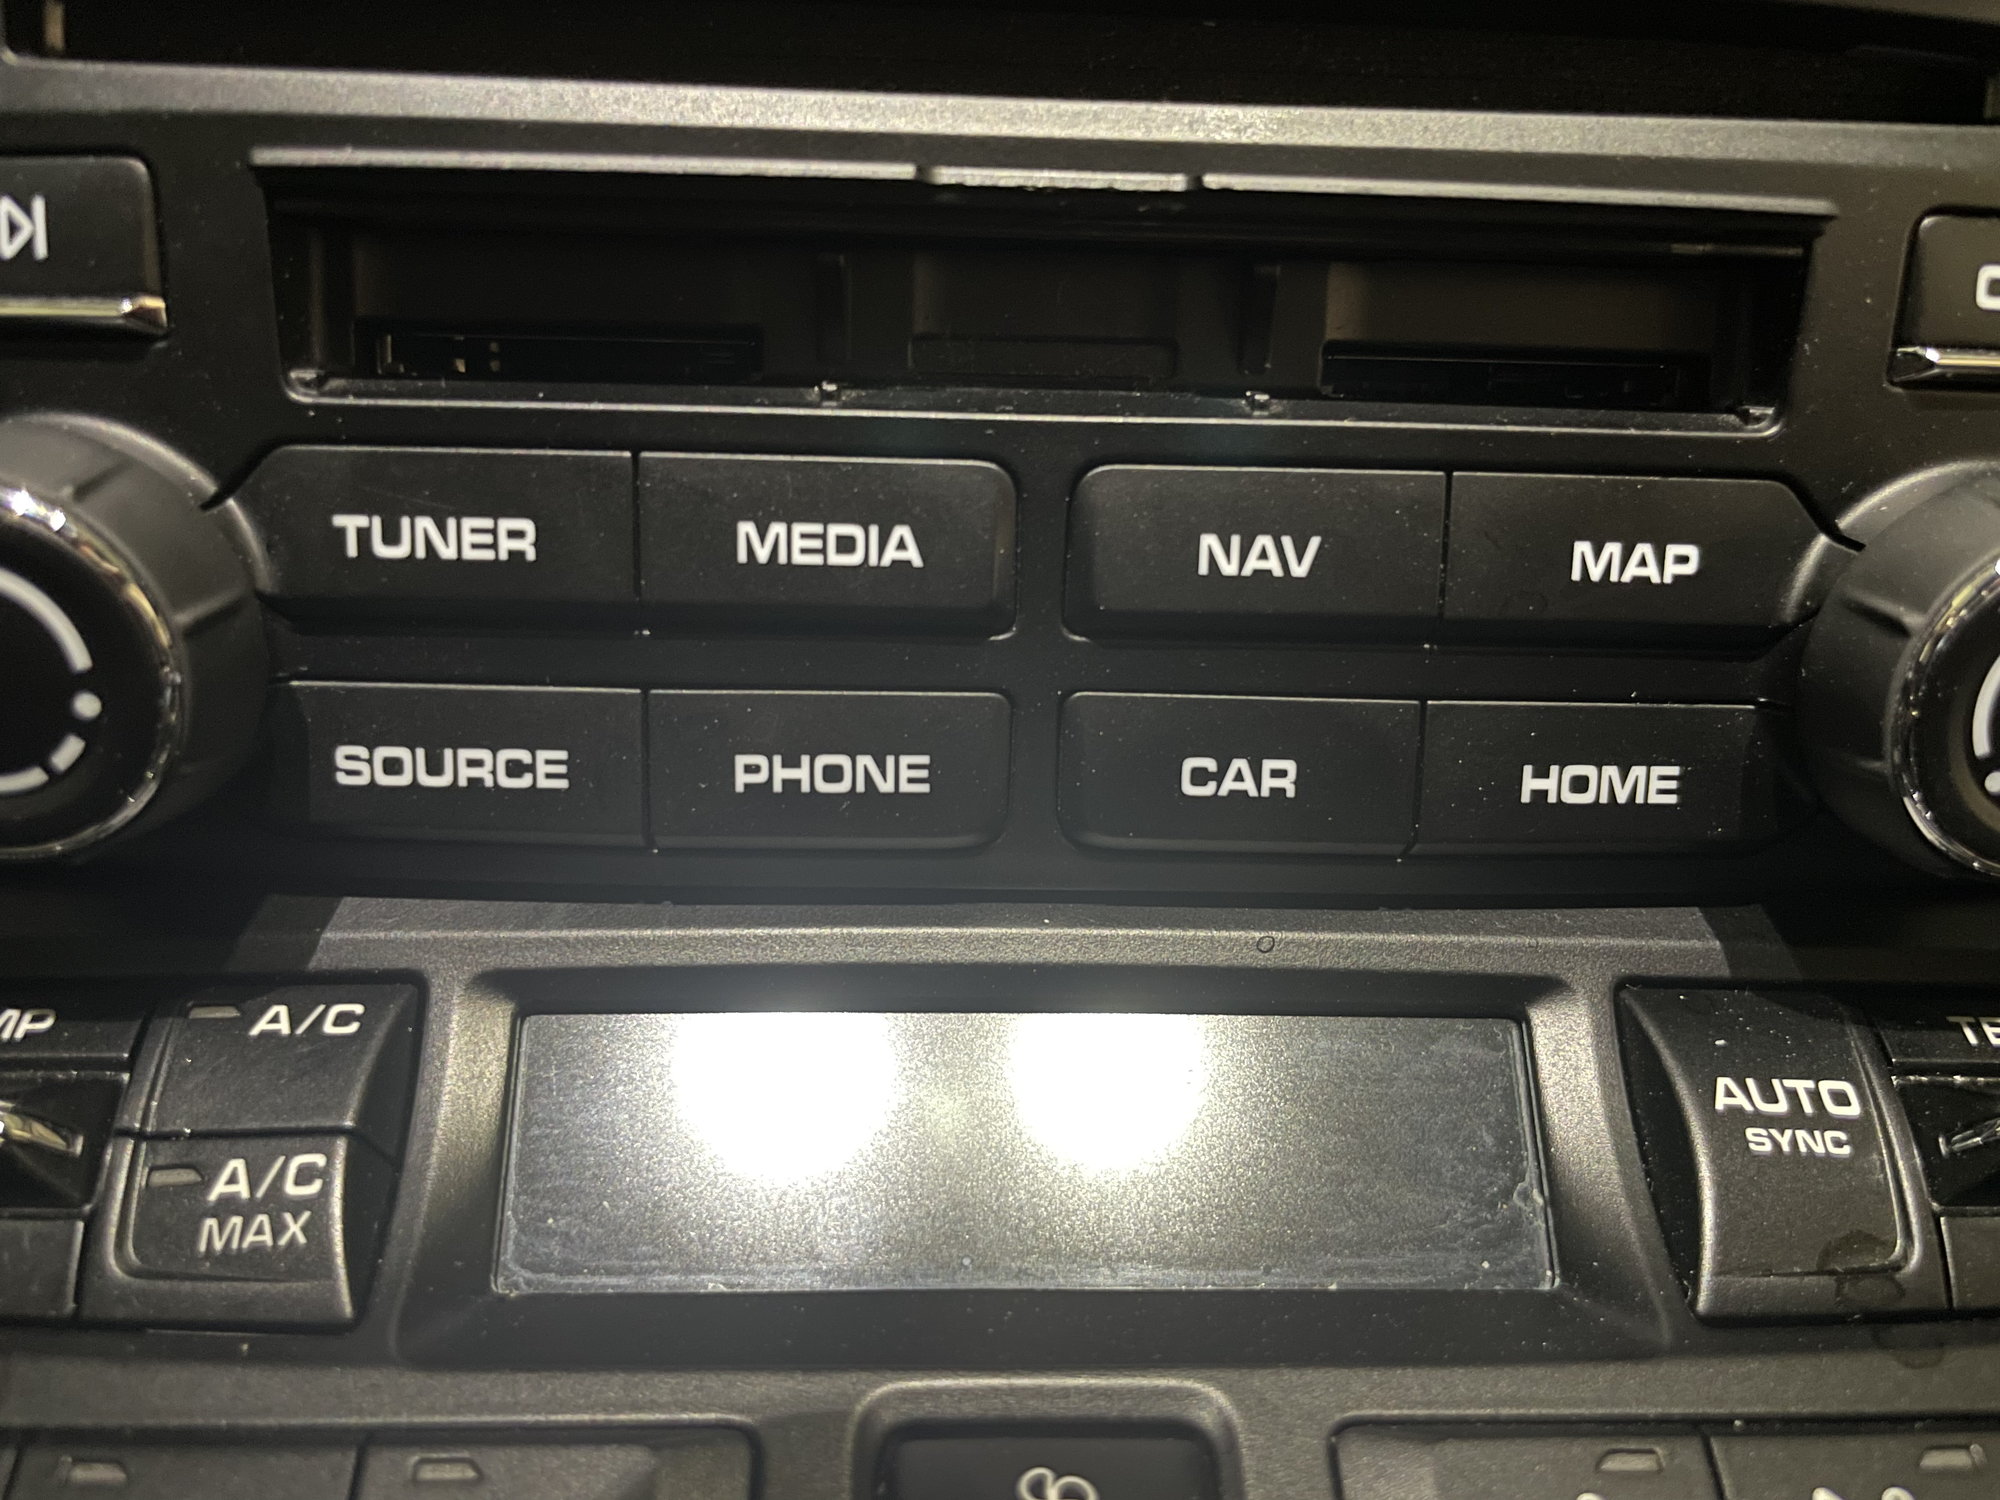
Here are the Key Combinations to get to the GEM and Developer Menu for POG11
Make sure that you connect your car to a battery charger before continuing.
Turn your key to Ignition ON.
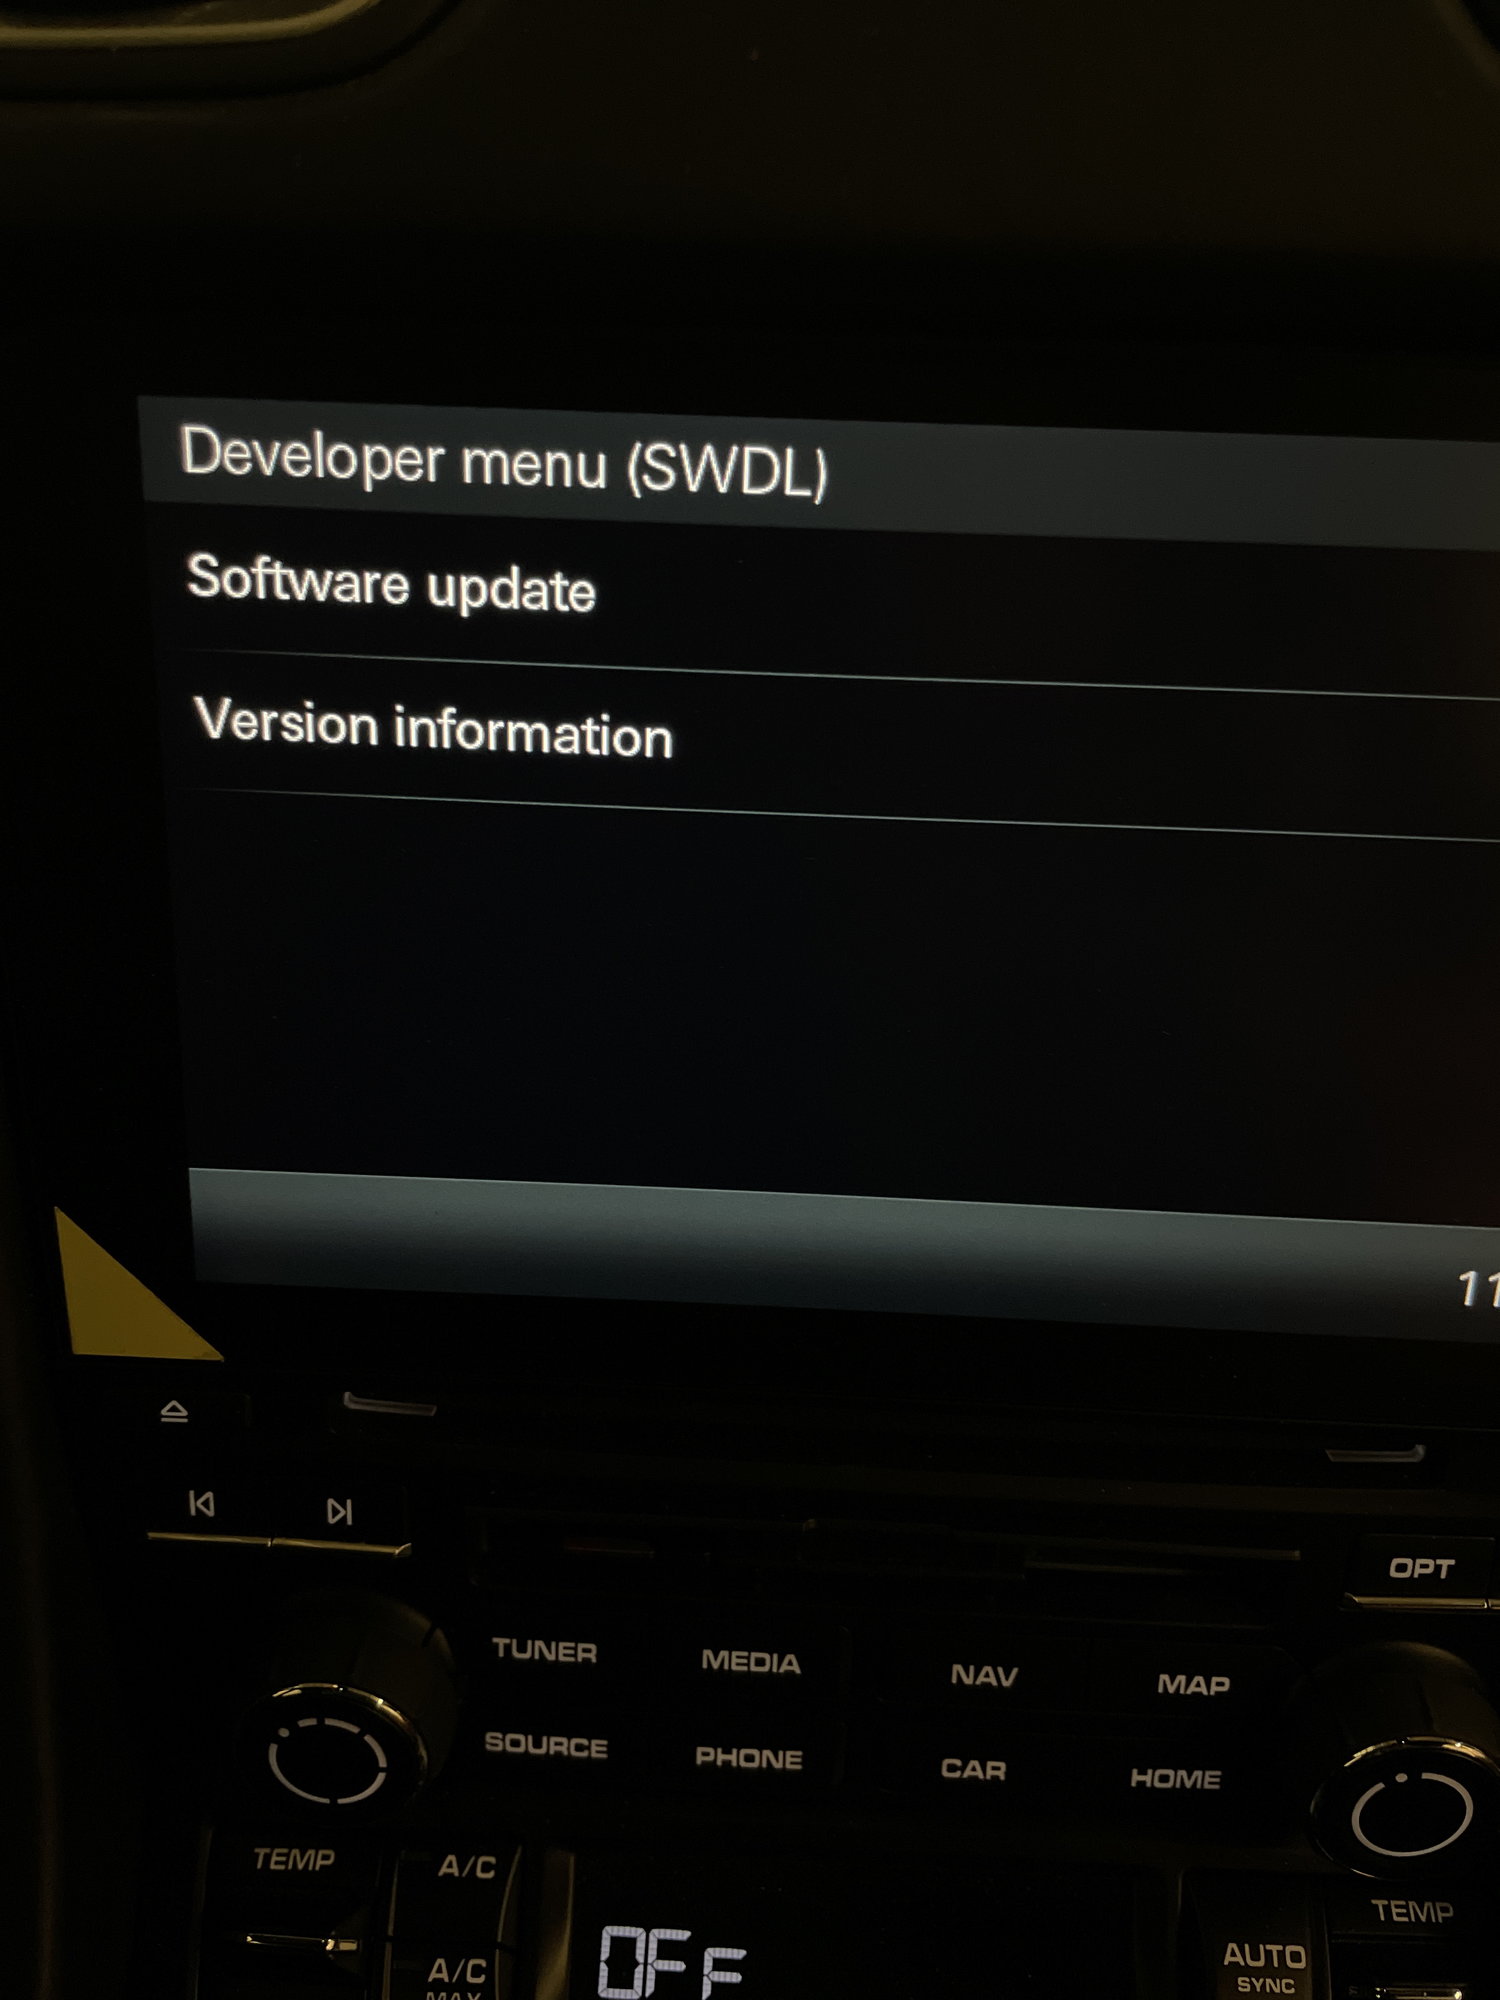
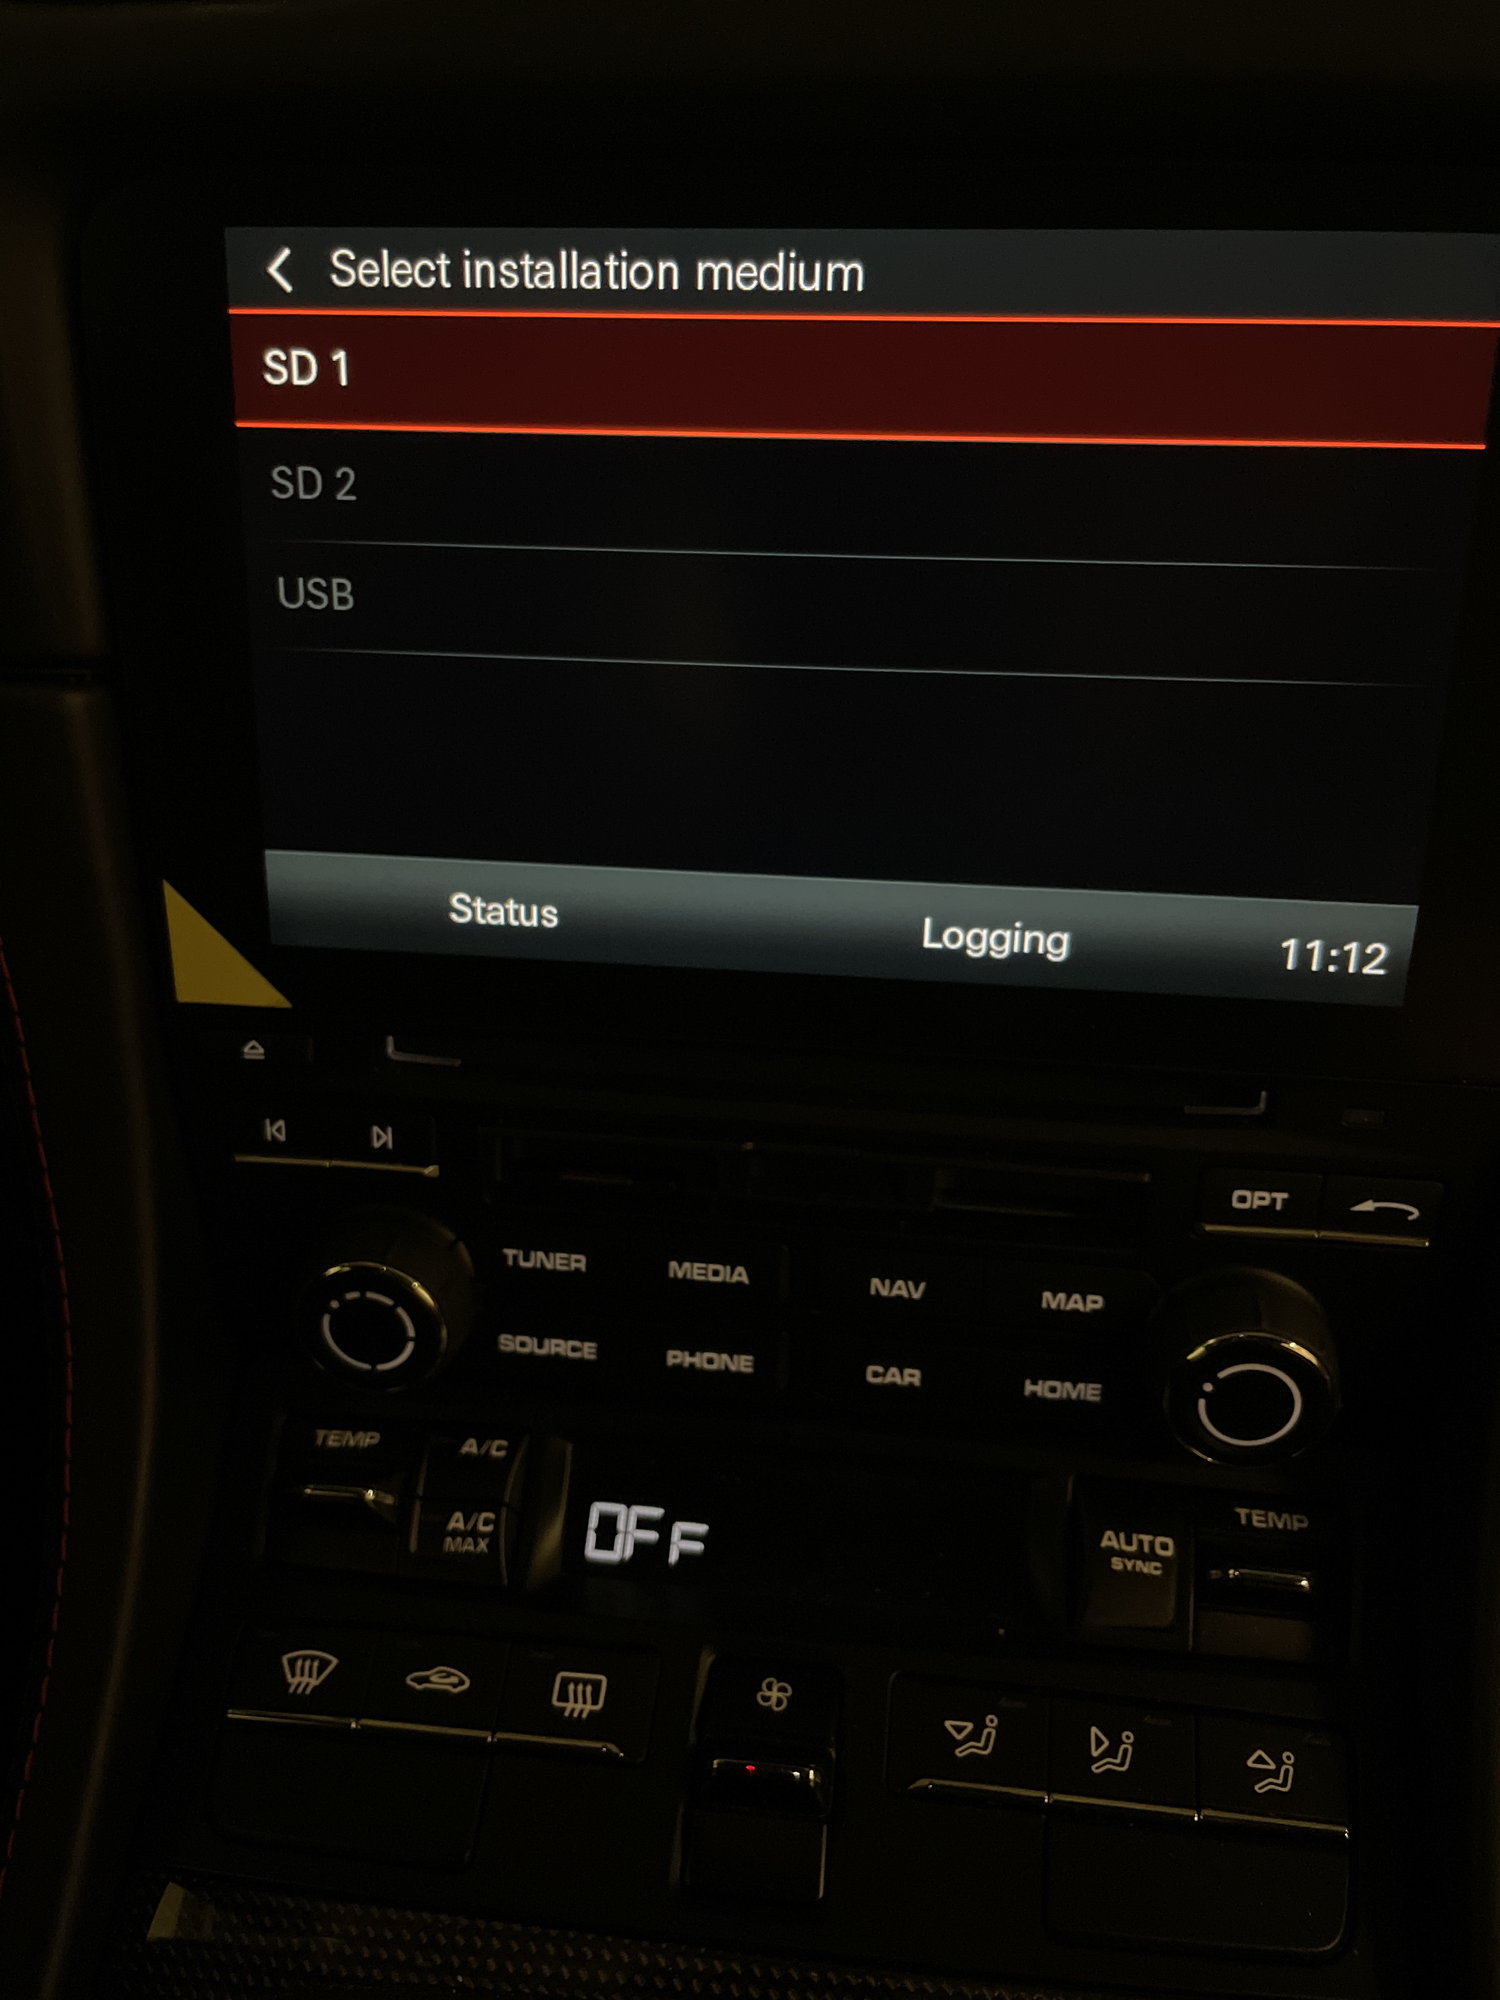
Insert the 32 GB card in Slot 1 (Left) and go to the Developer Menu
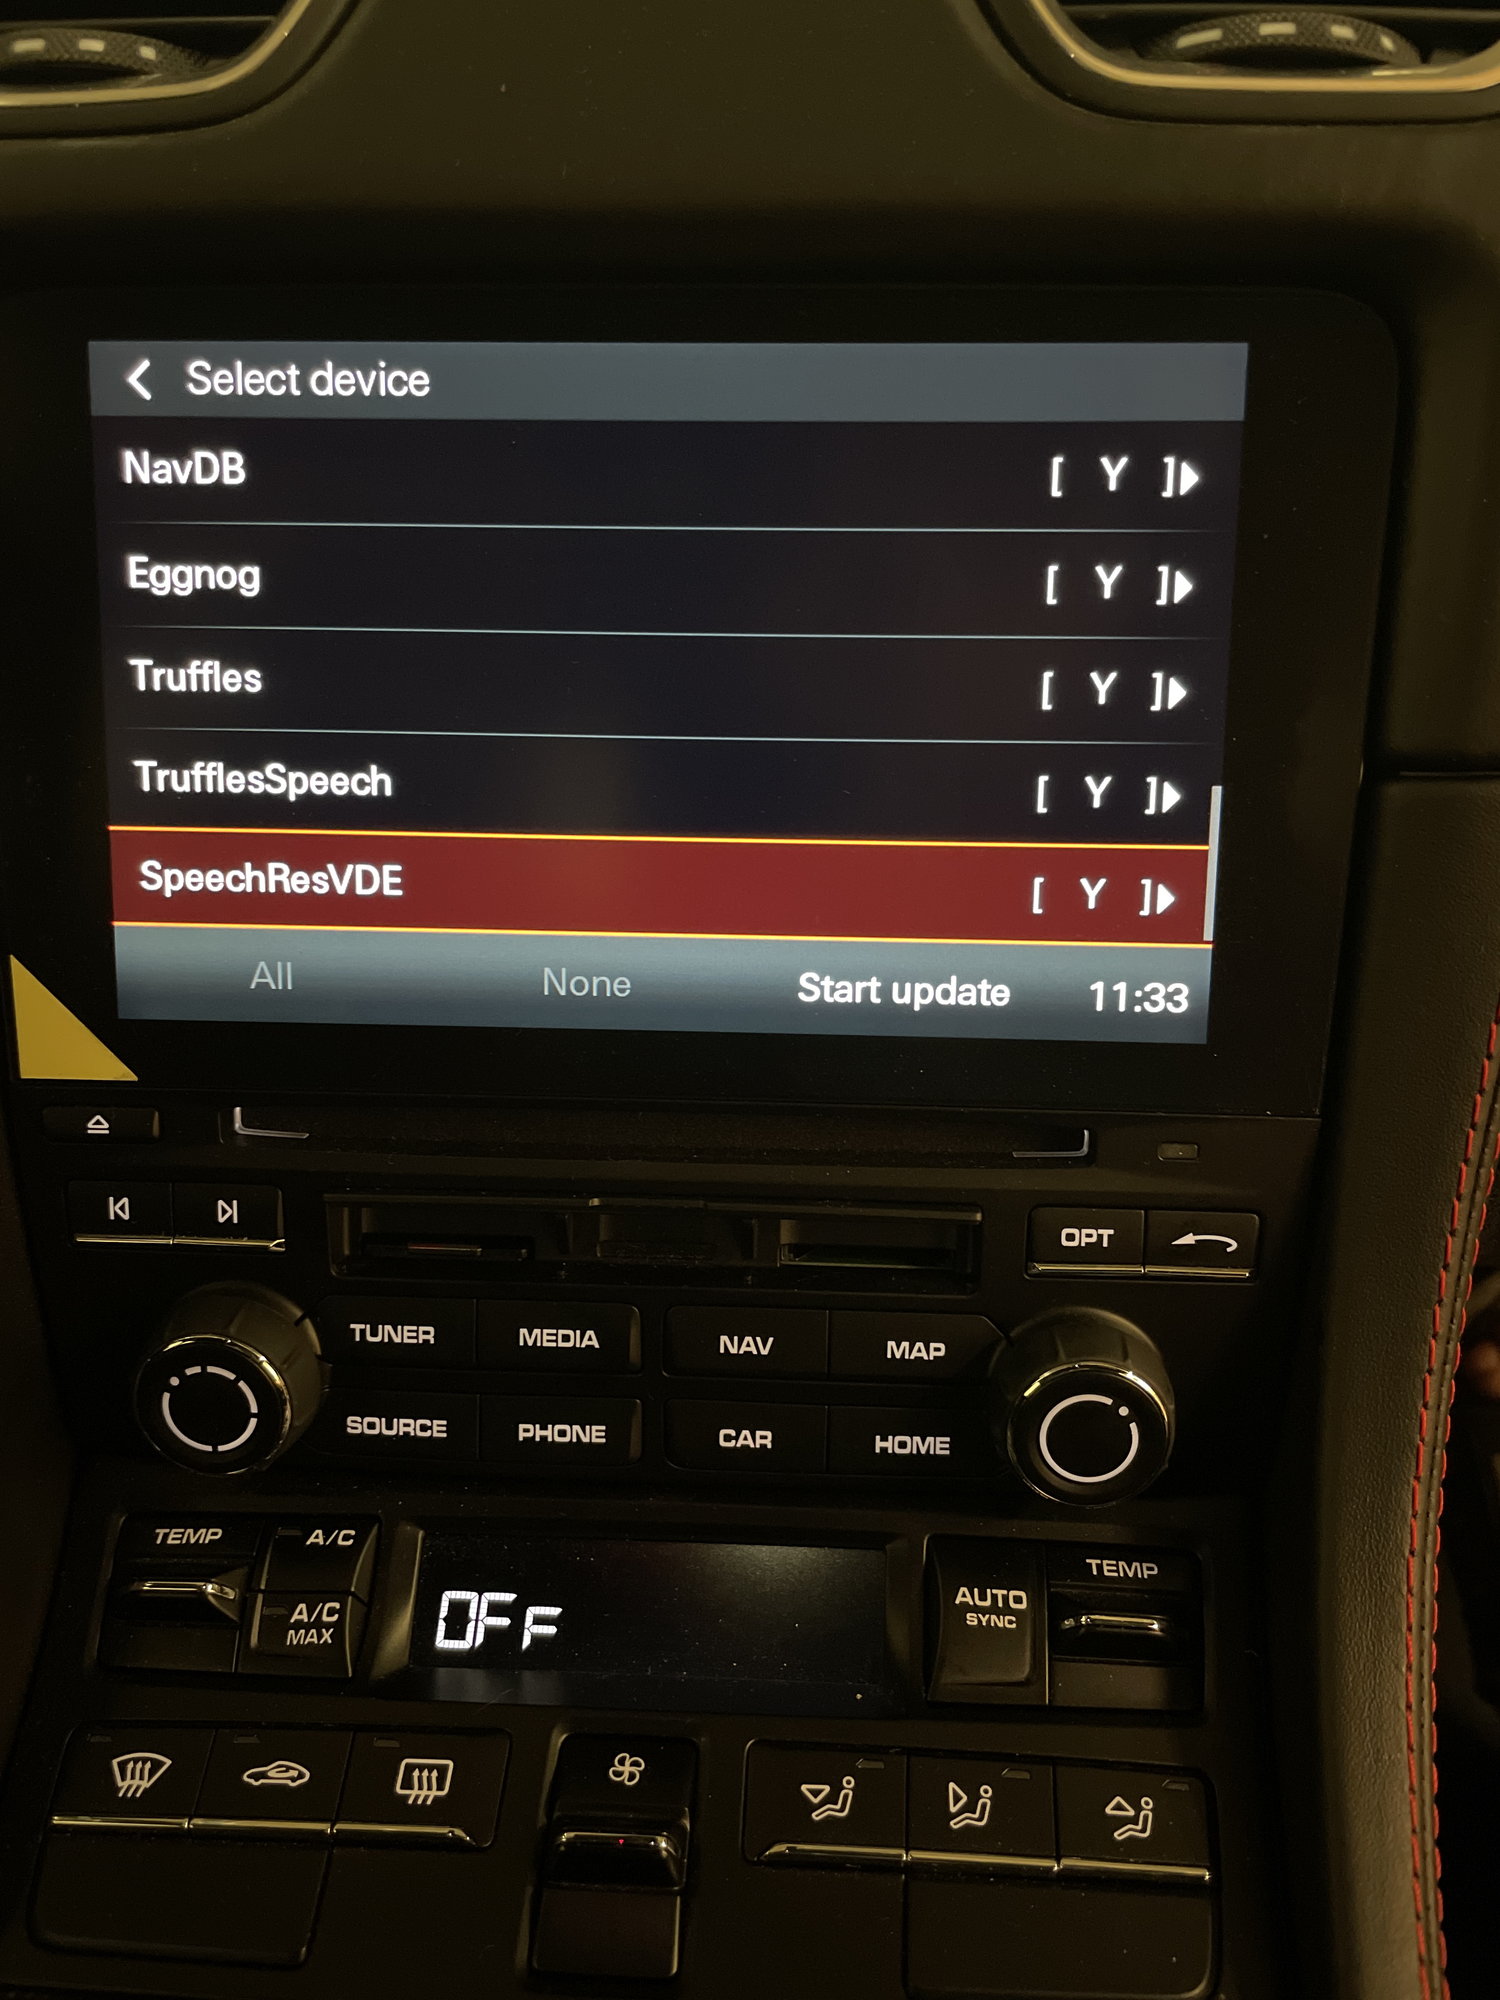
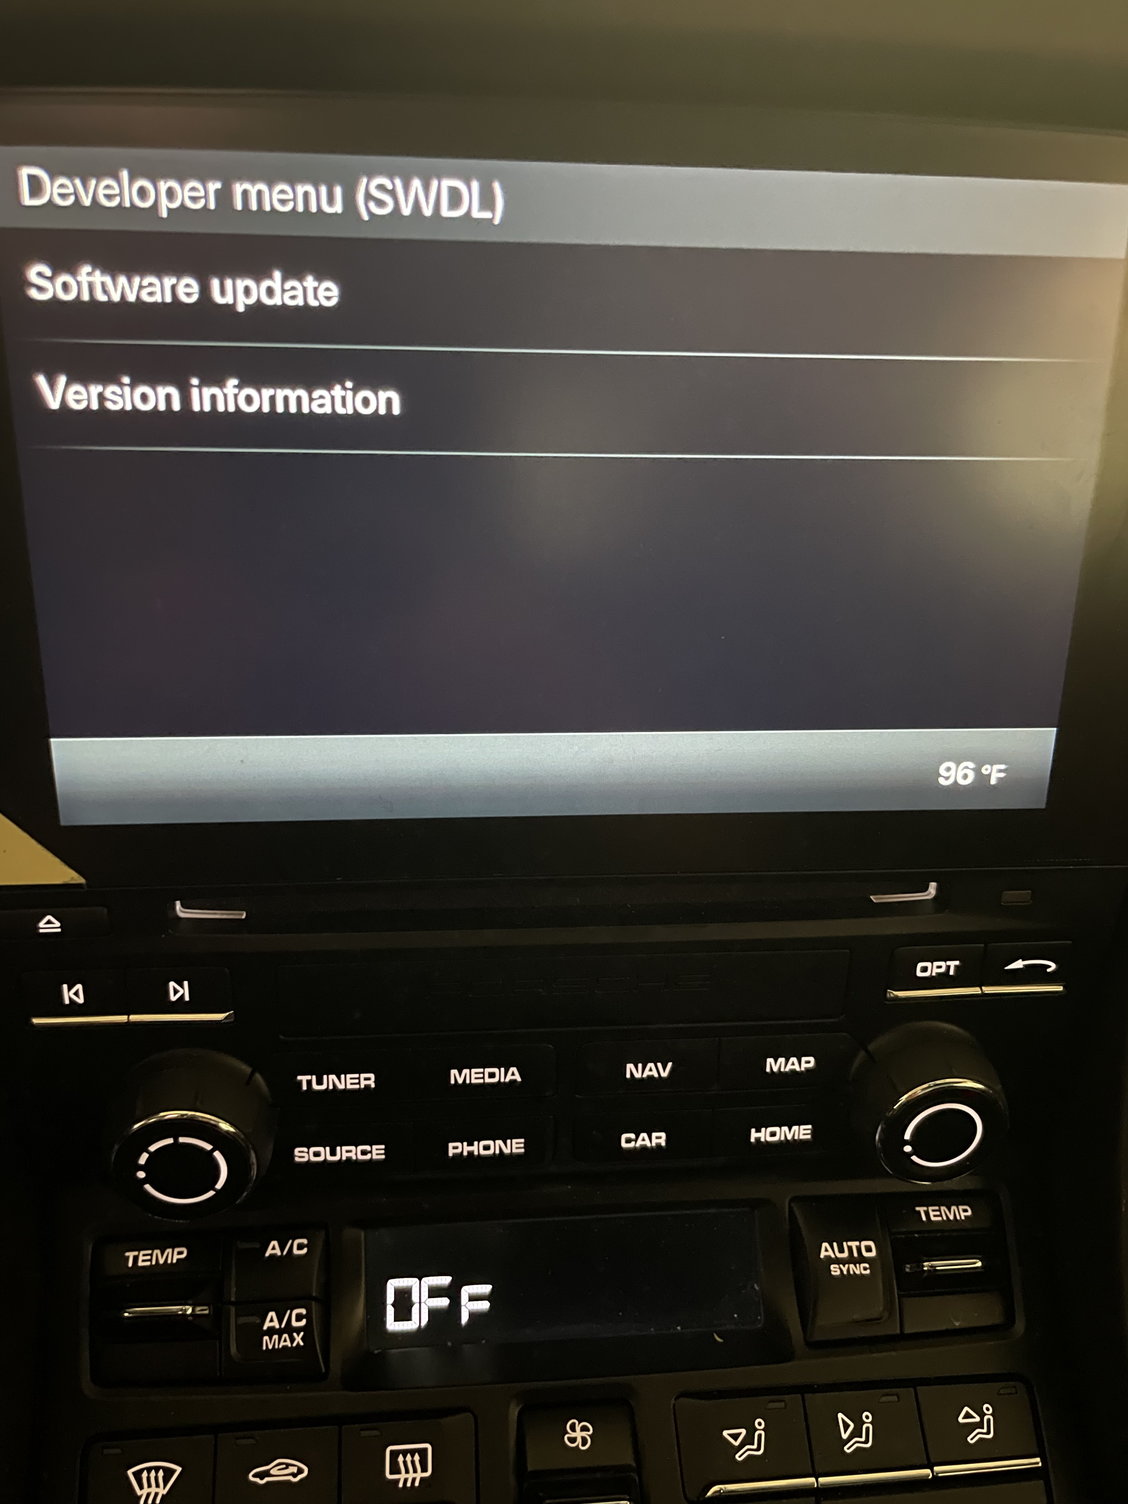
Go to the Developer Menu and click on SD1 then Software Update
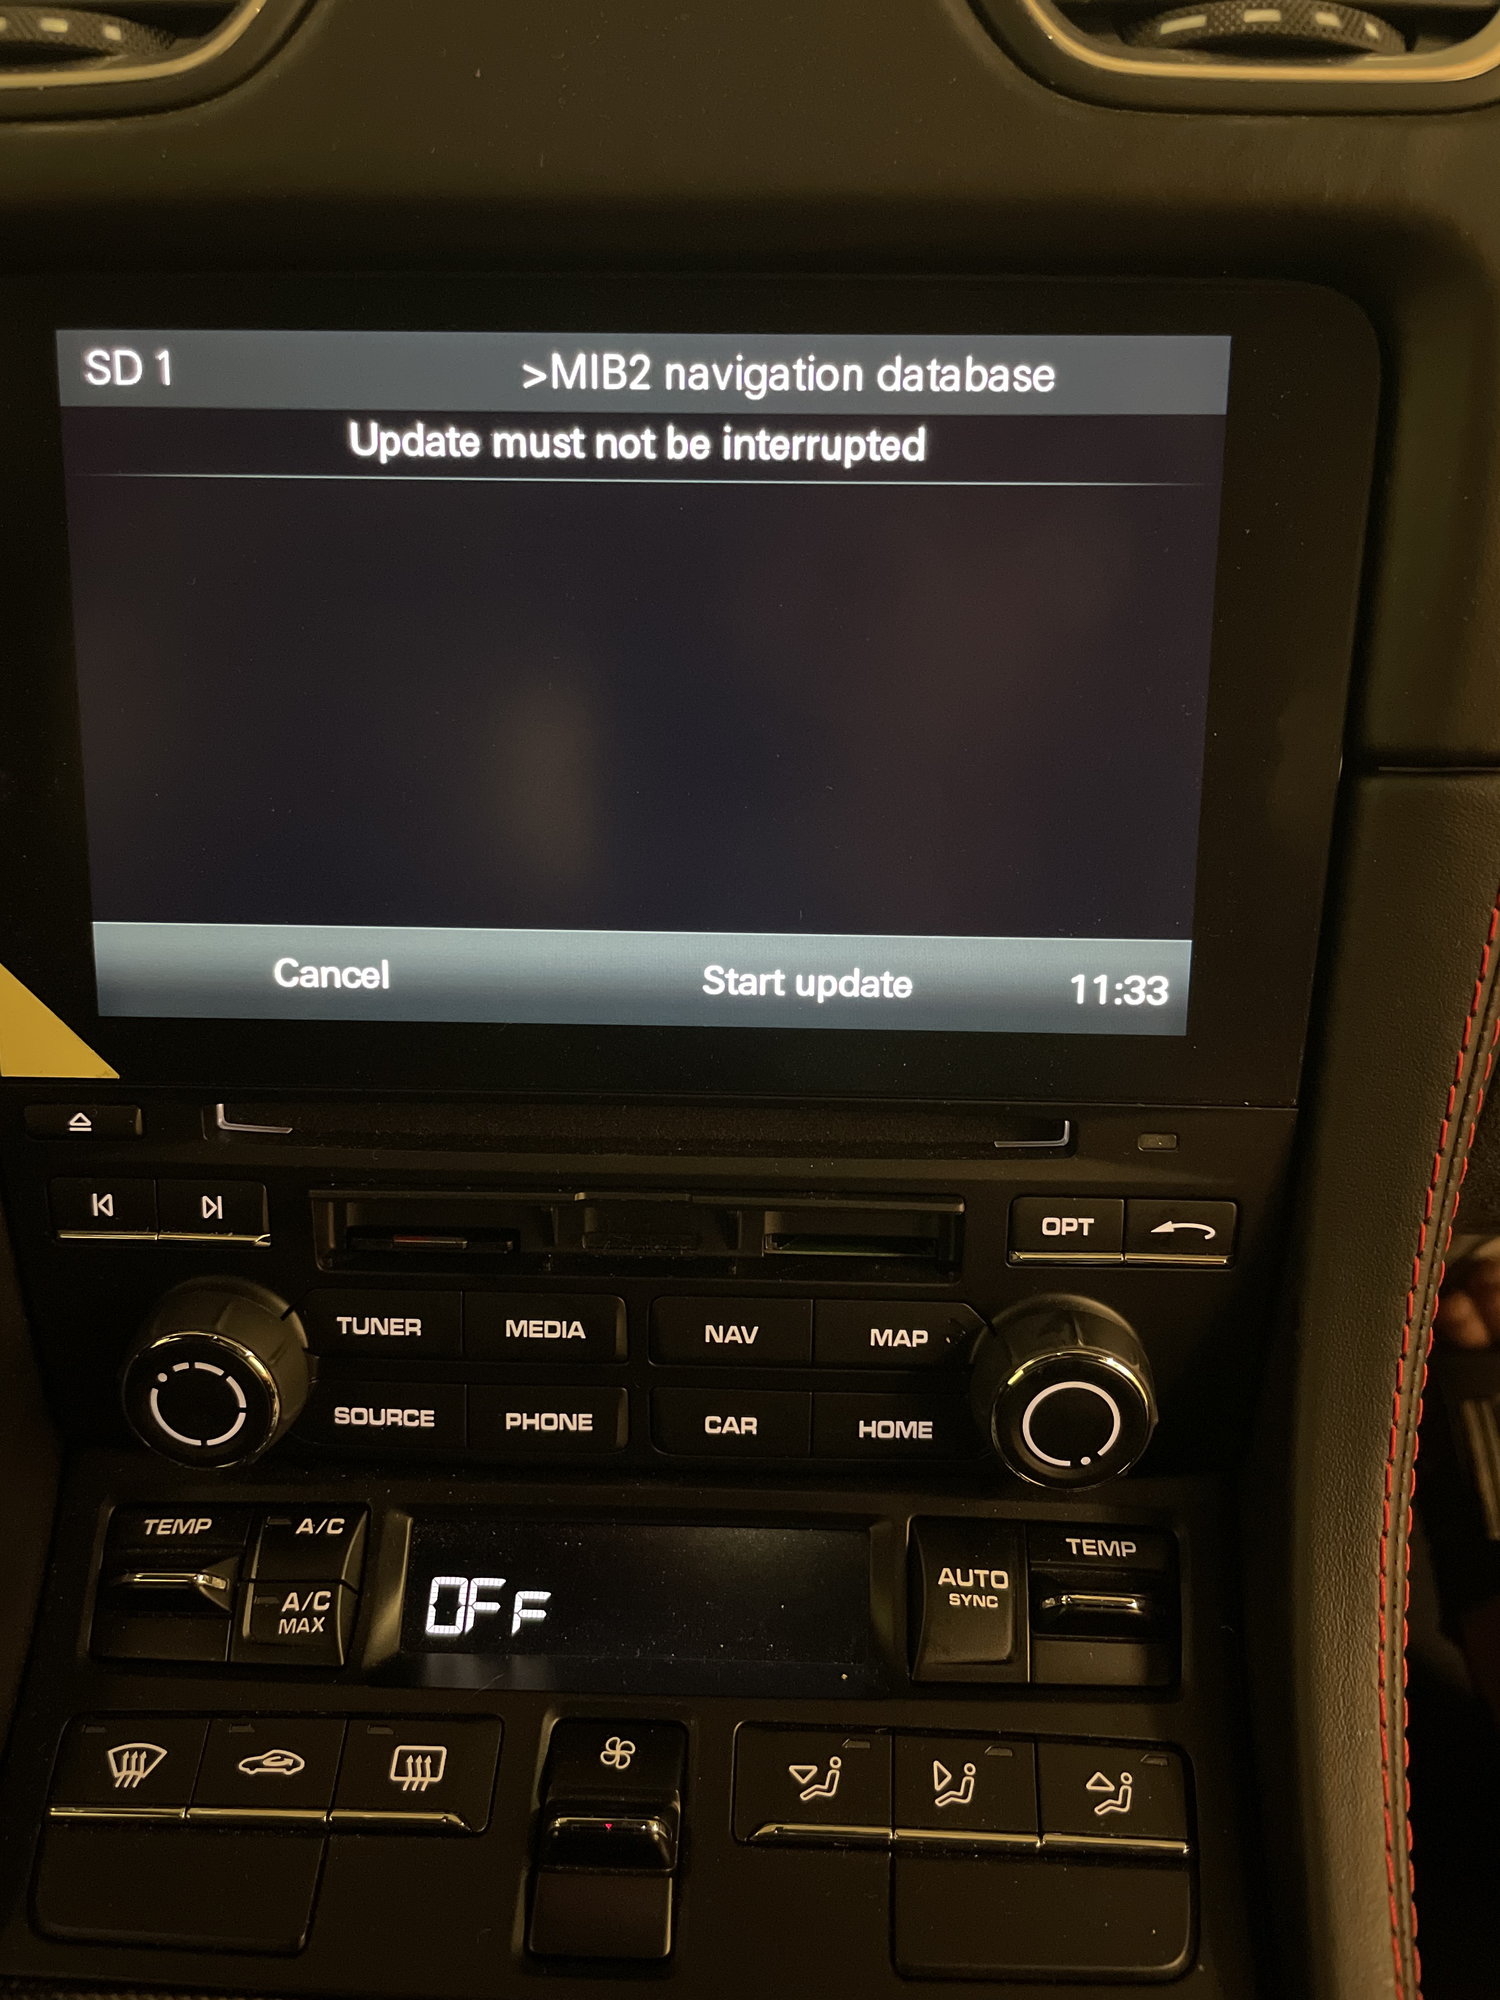
and Start Update.
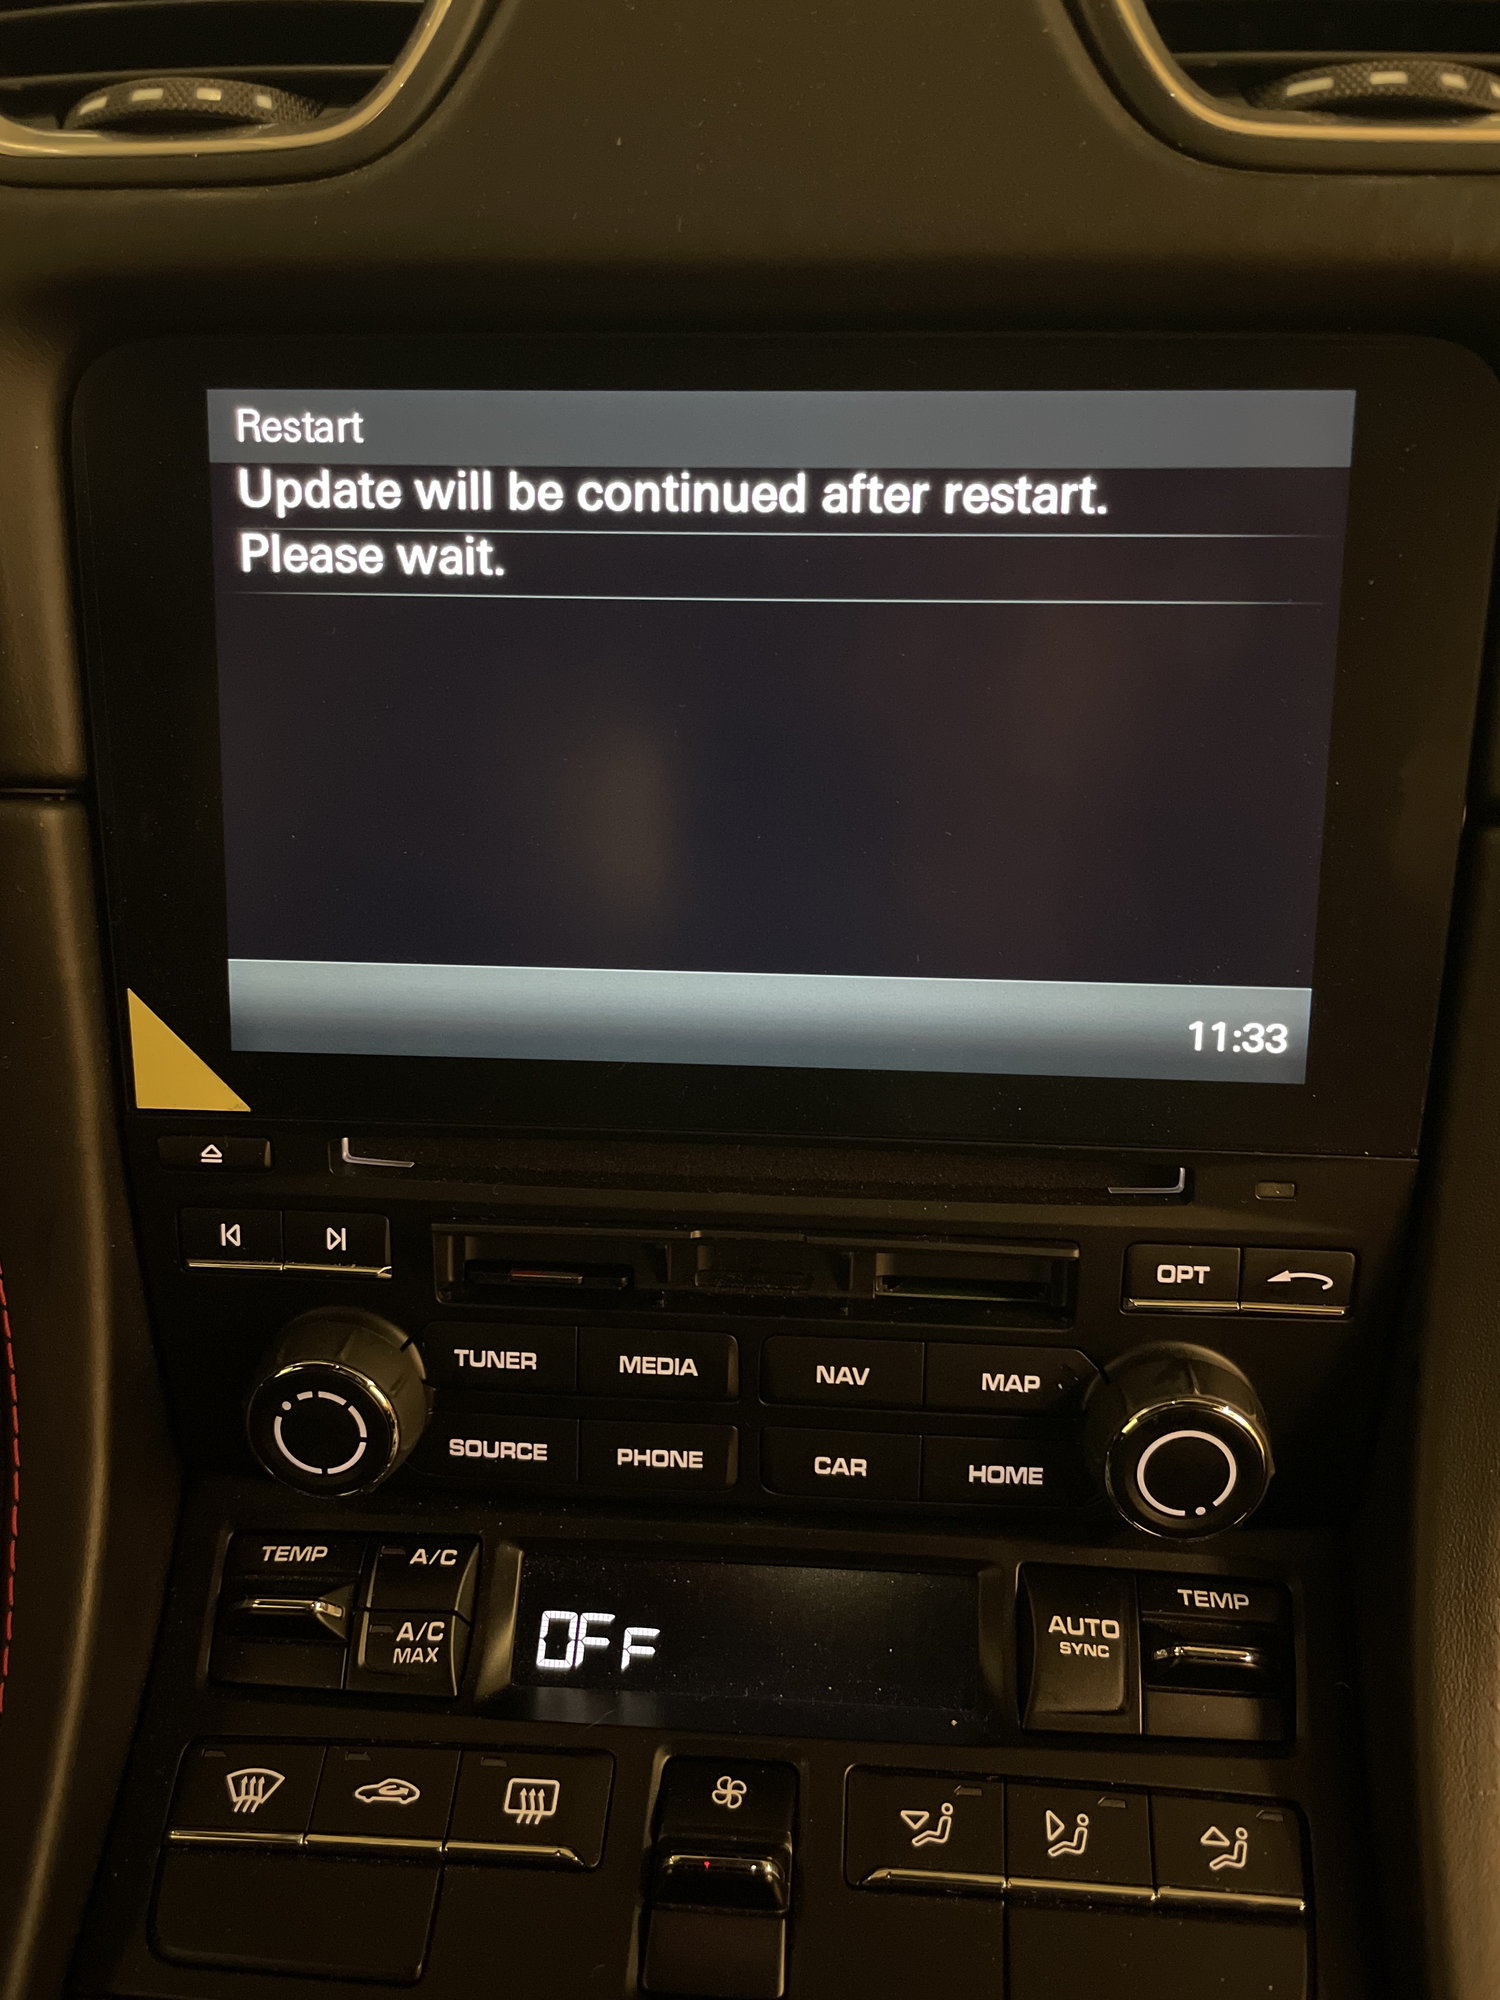
Your PCM will reboot a few times to finish the installation of MIB.
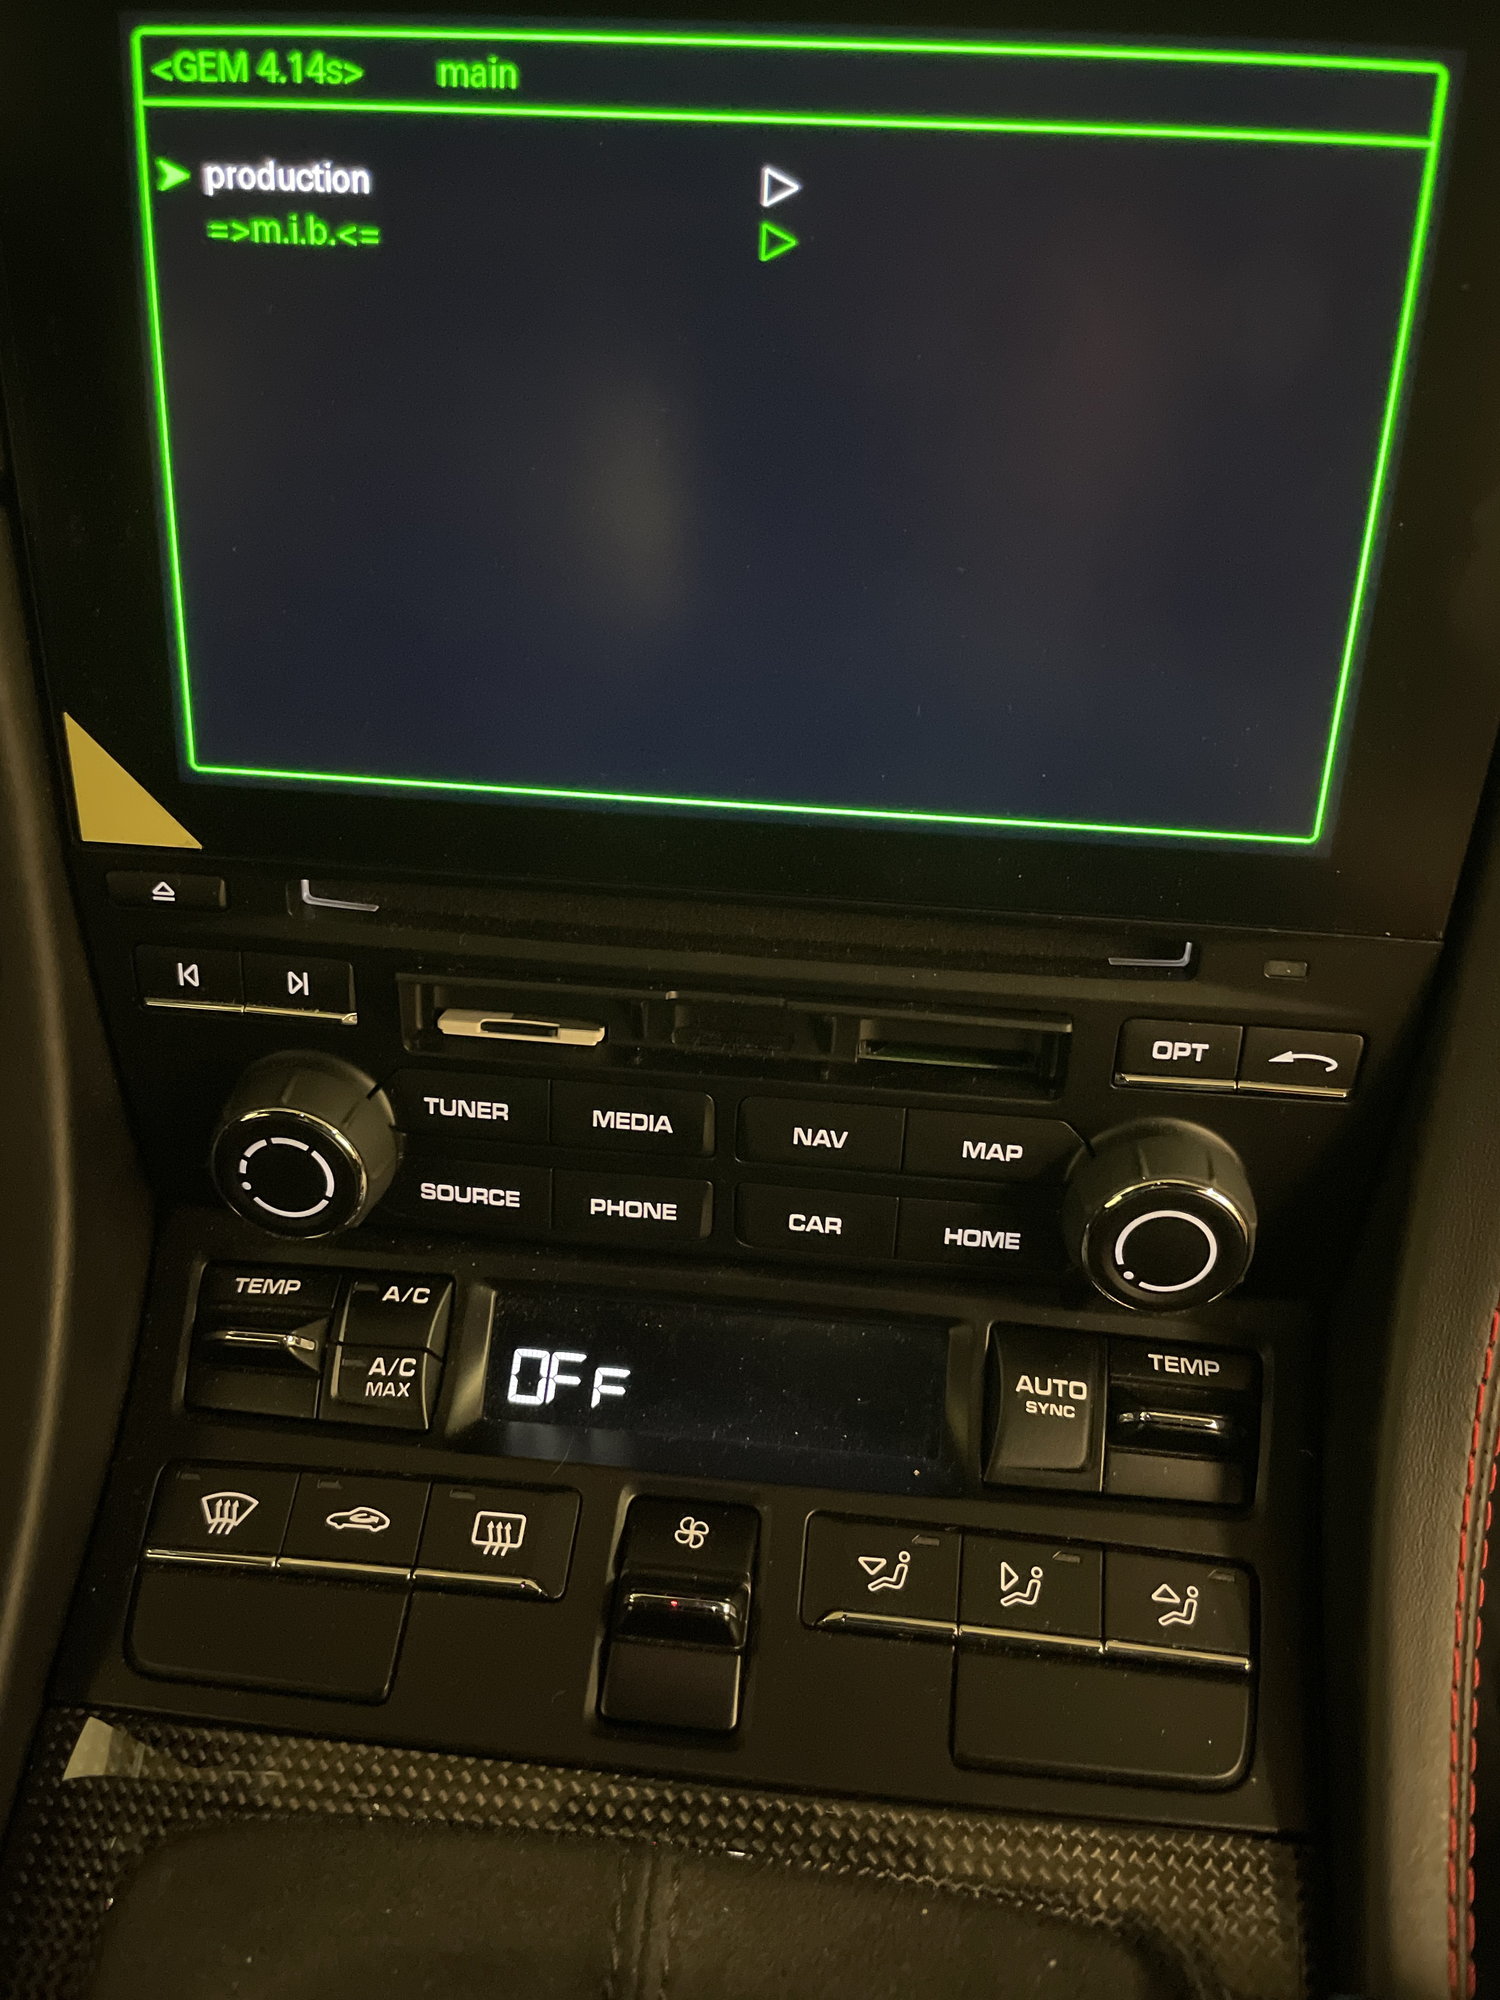
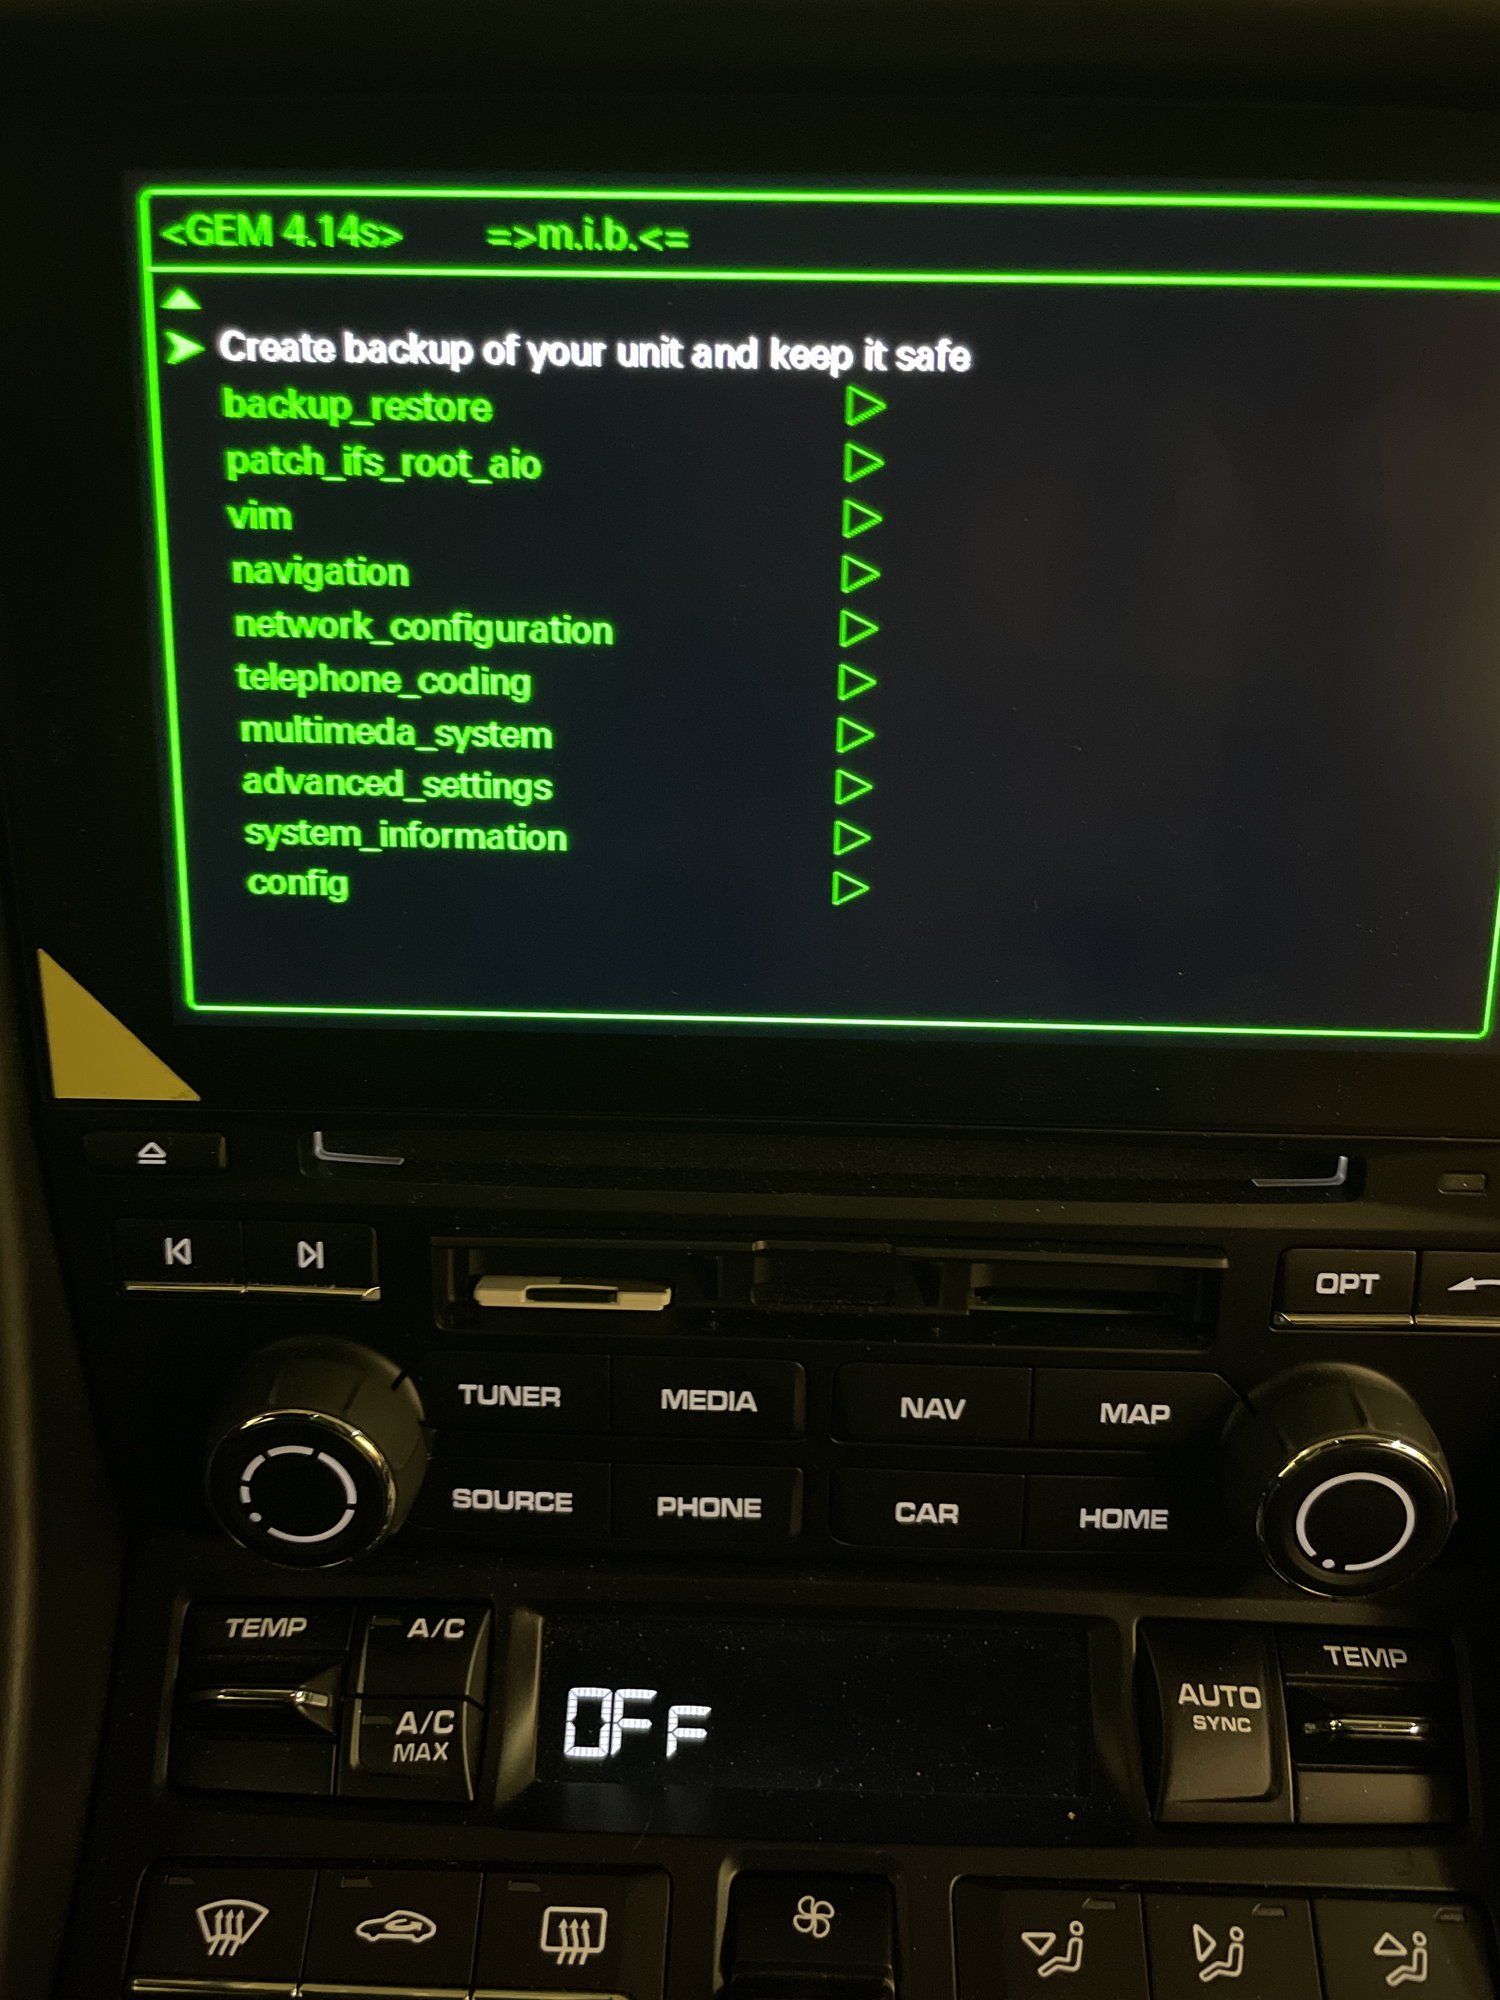
After MIB is installed go to the GEM menu
You should see this now.
Click on production
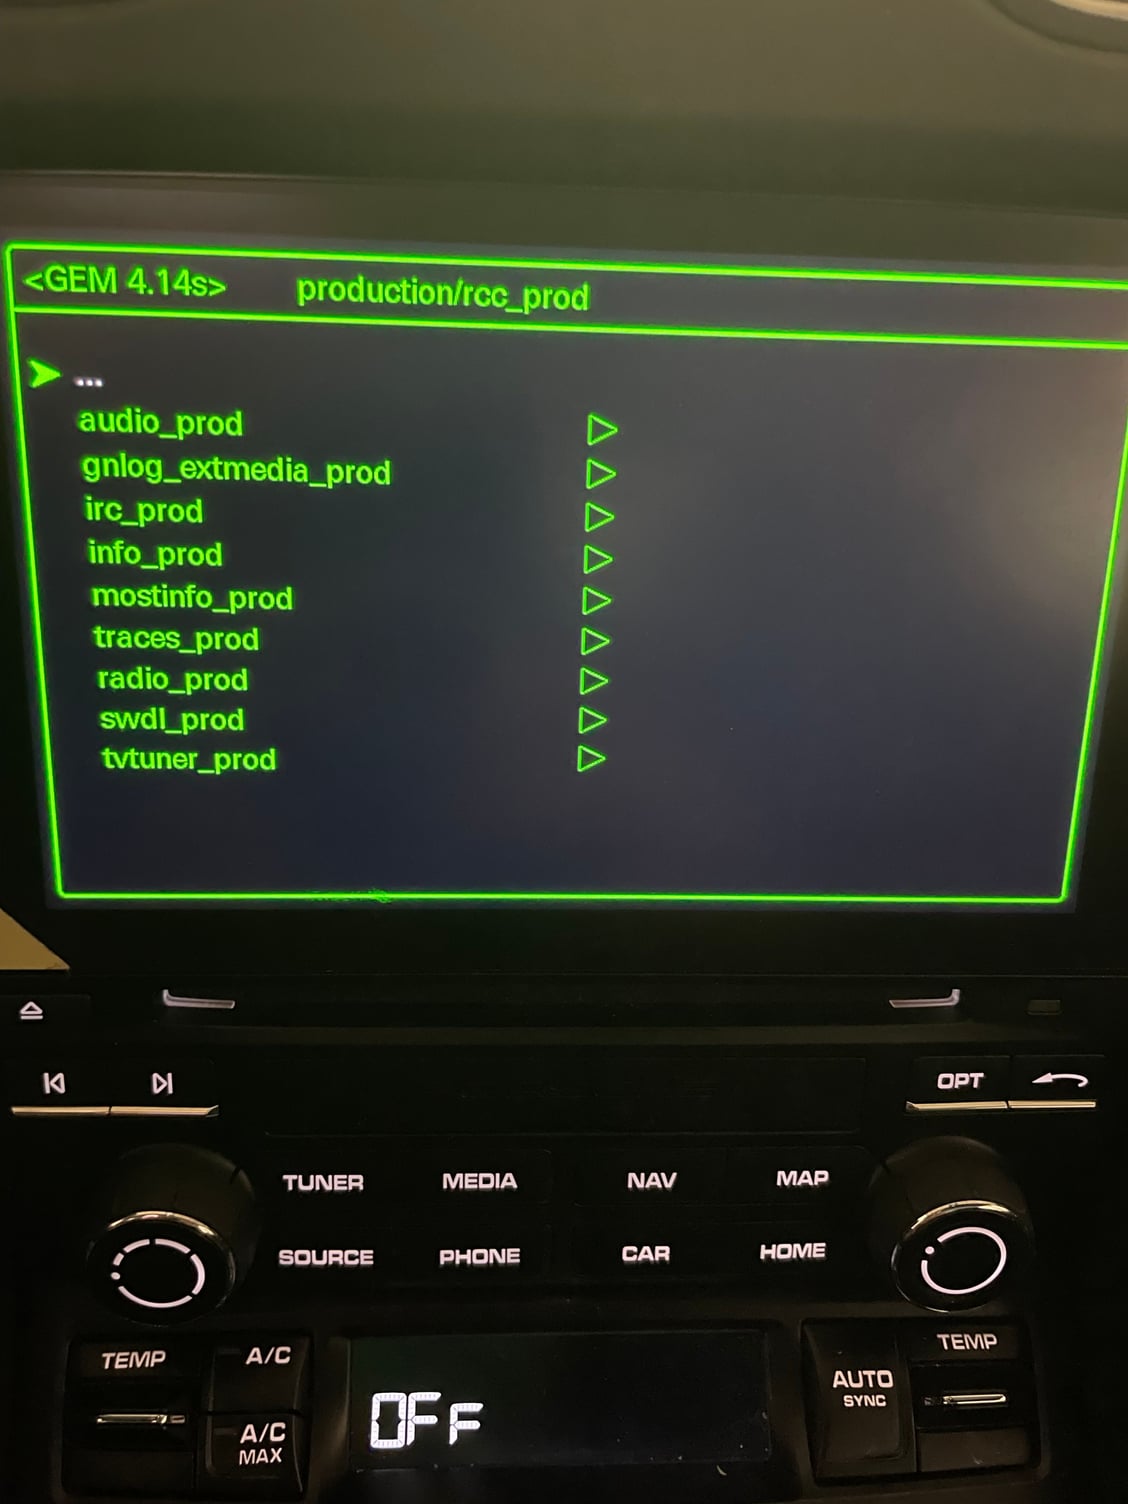
Click on rcc_prod
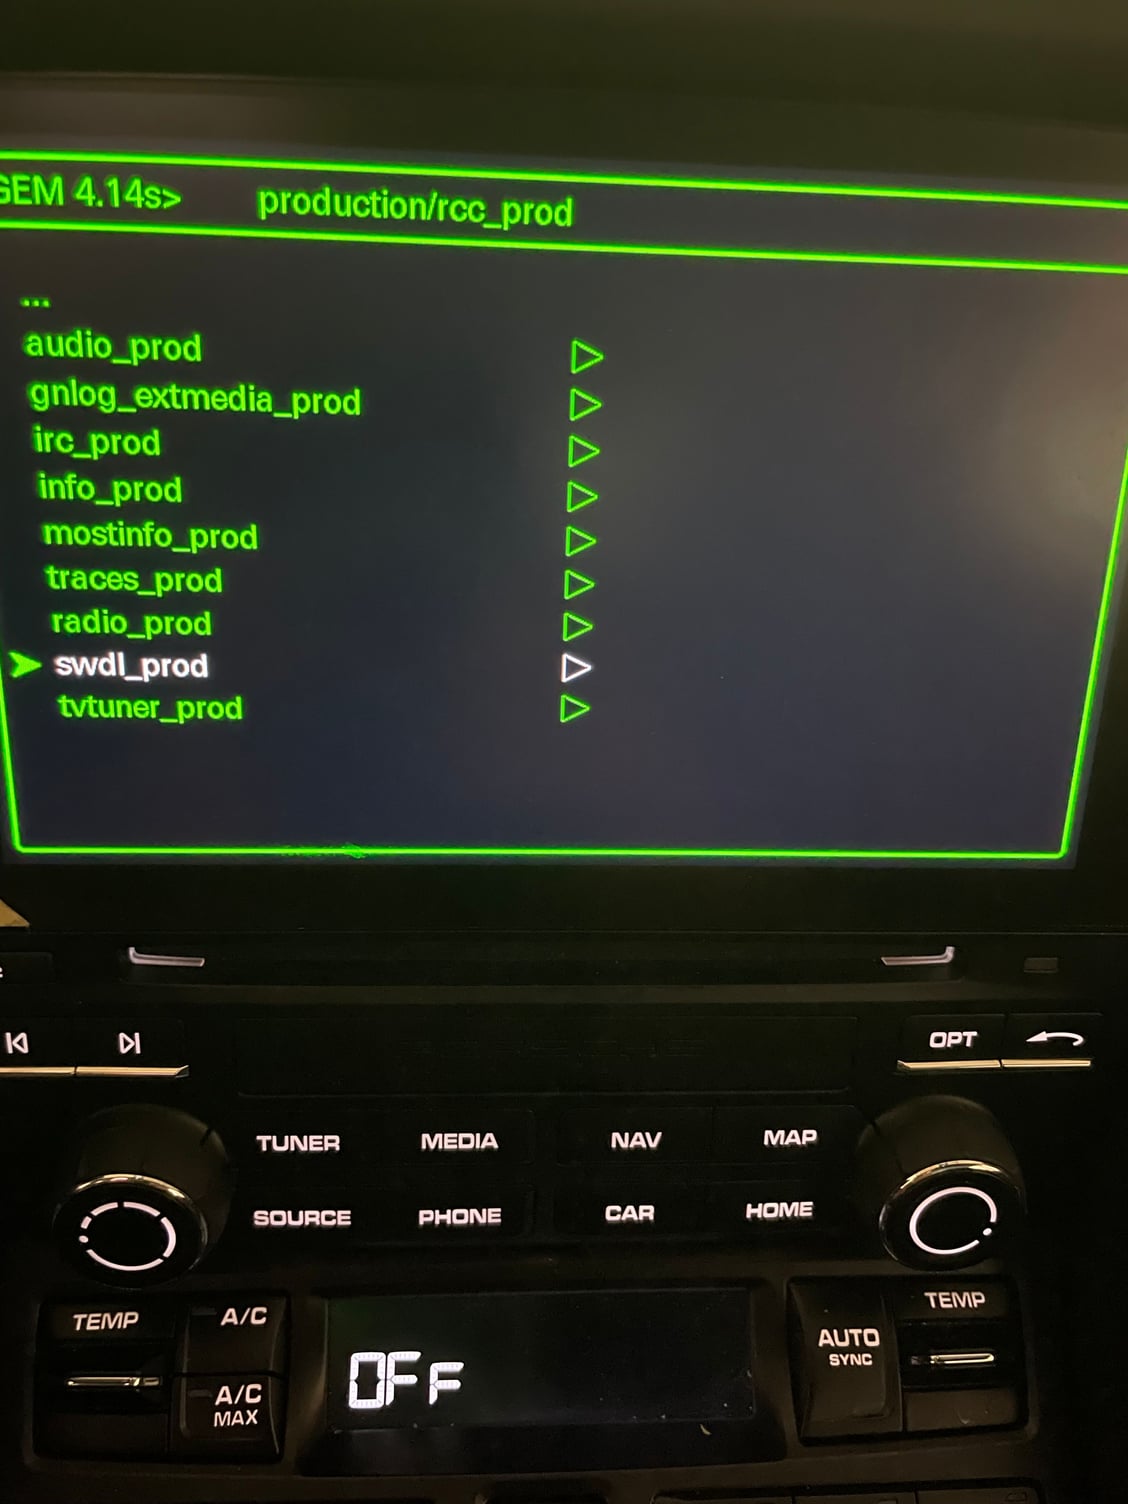
Click on swdl_prod
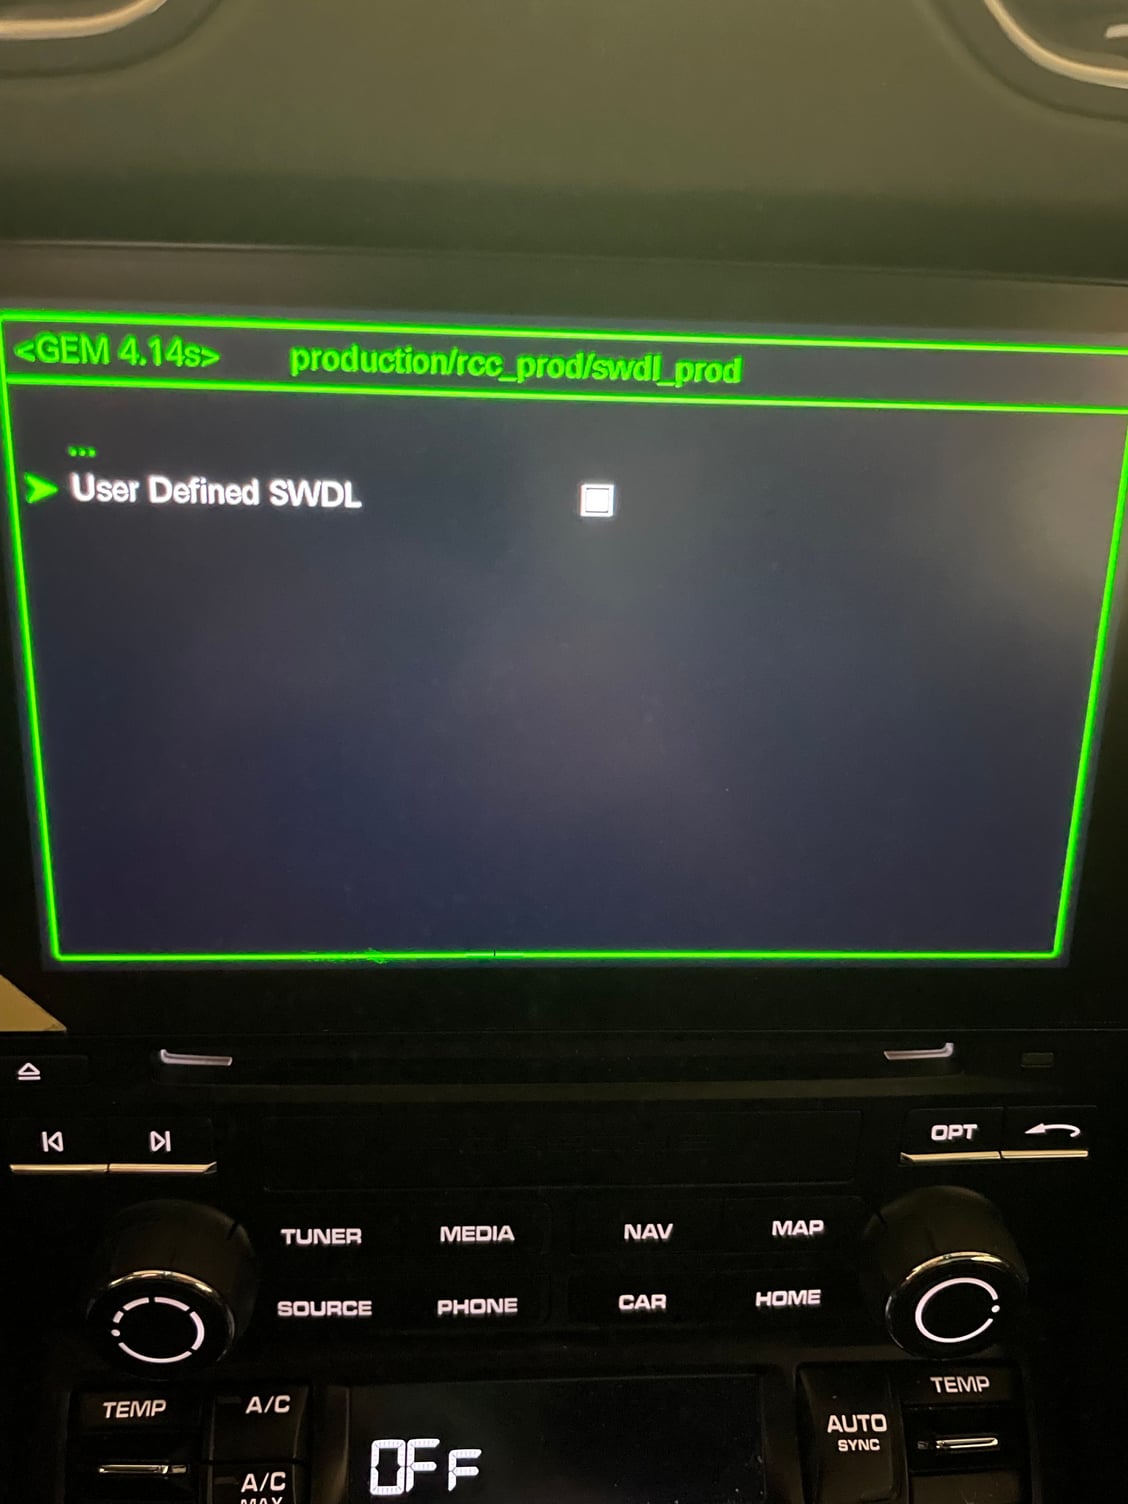
Check User Defined SWDL
Go back to the GEM menu by clicking on the back button
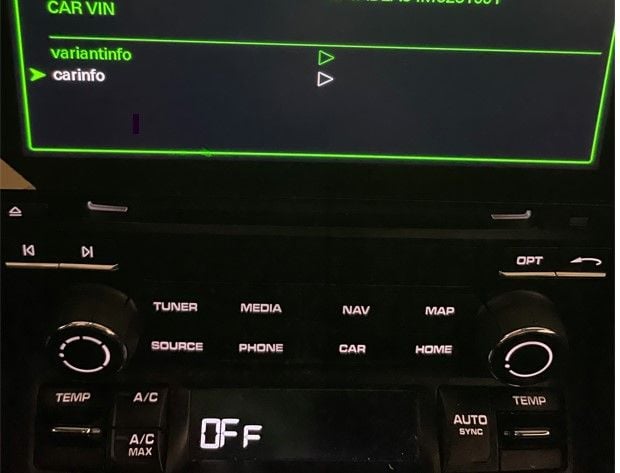
Scroll down to M.I.B and click on it..
Scroll down to backup_restore
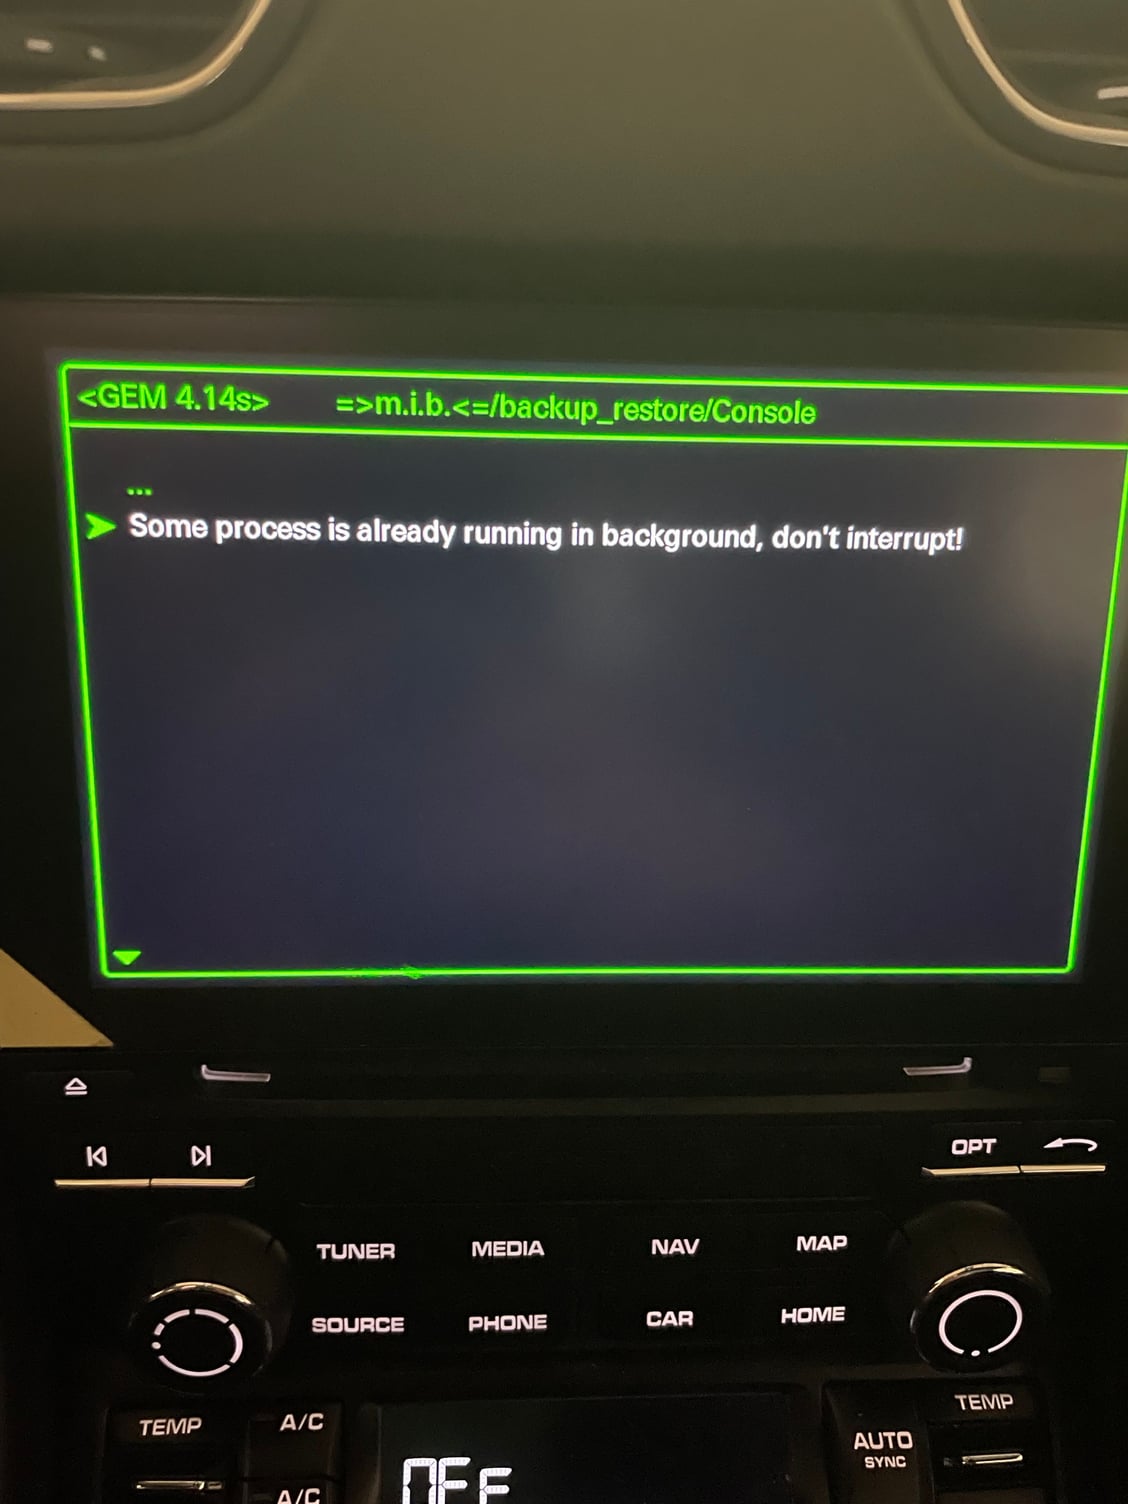
Click on Backup restore and choose Backup ~ 5 minutes
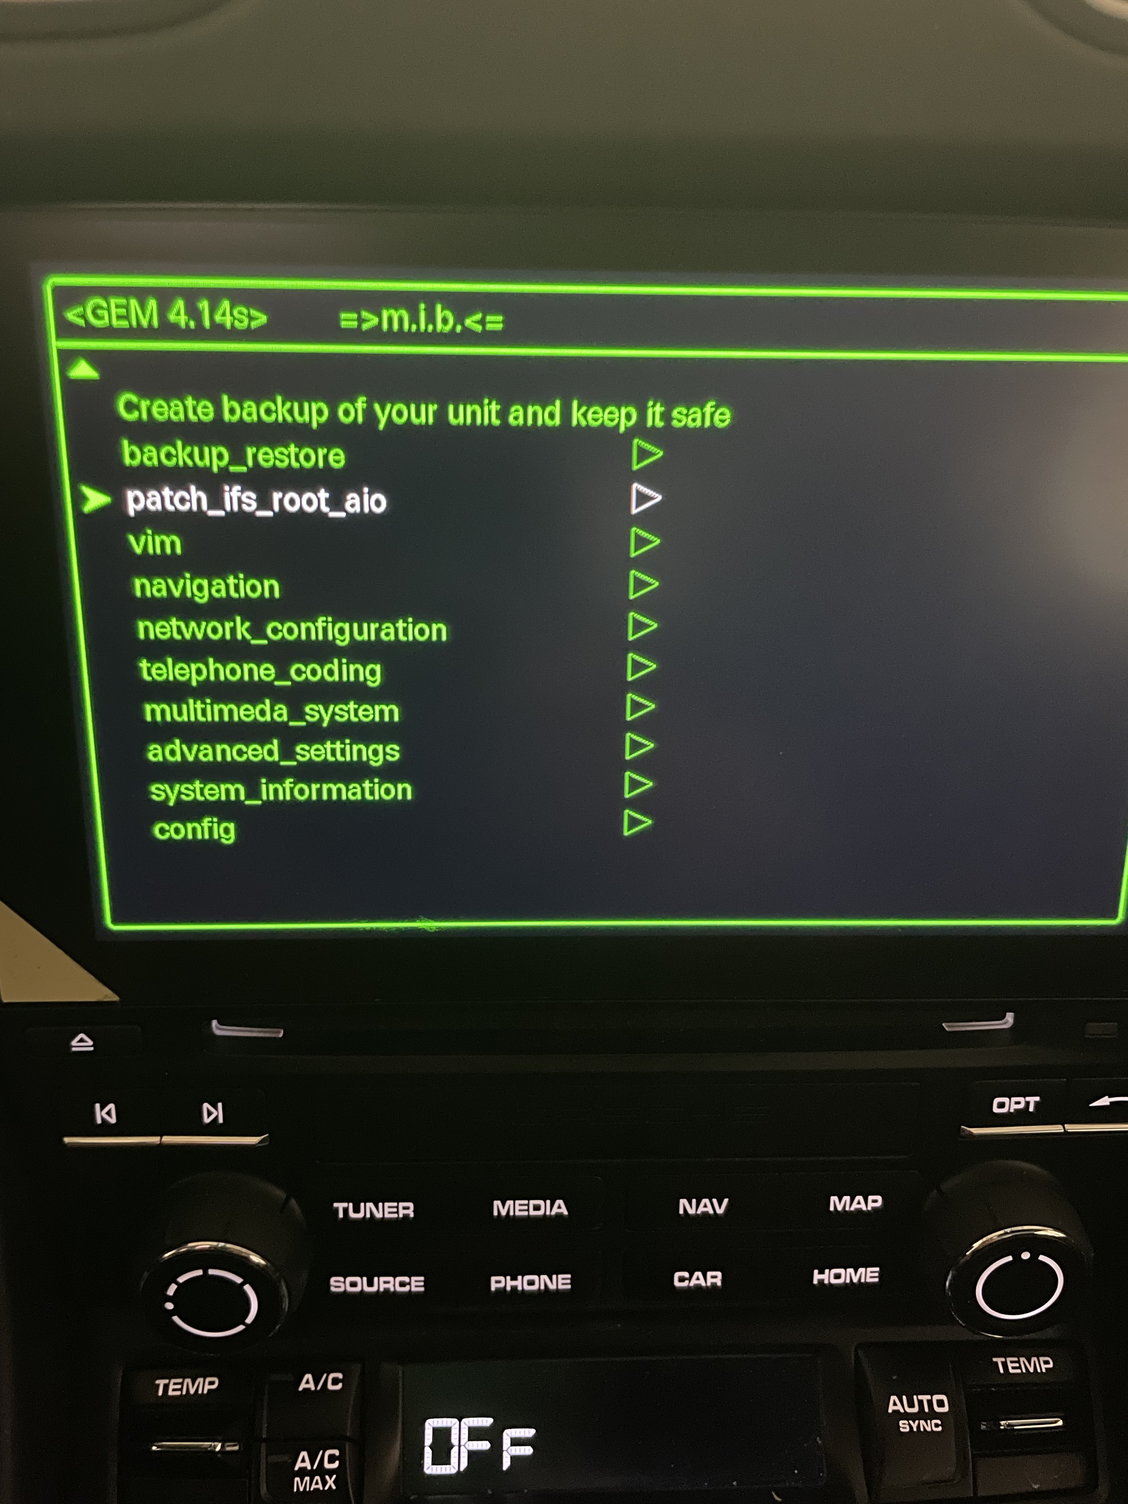
After the backup is done, go to patch_ifs_root_aio
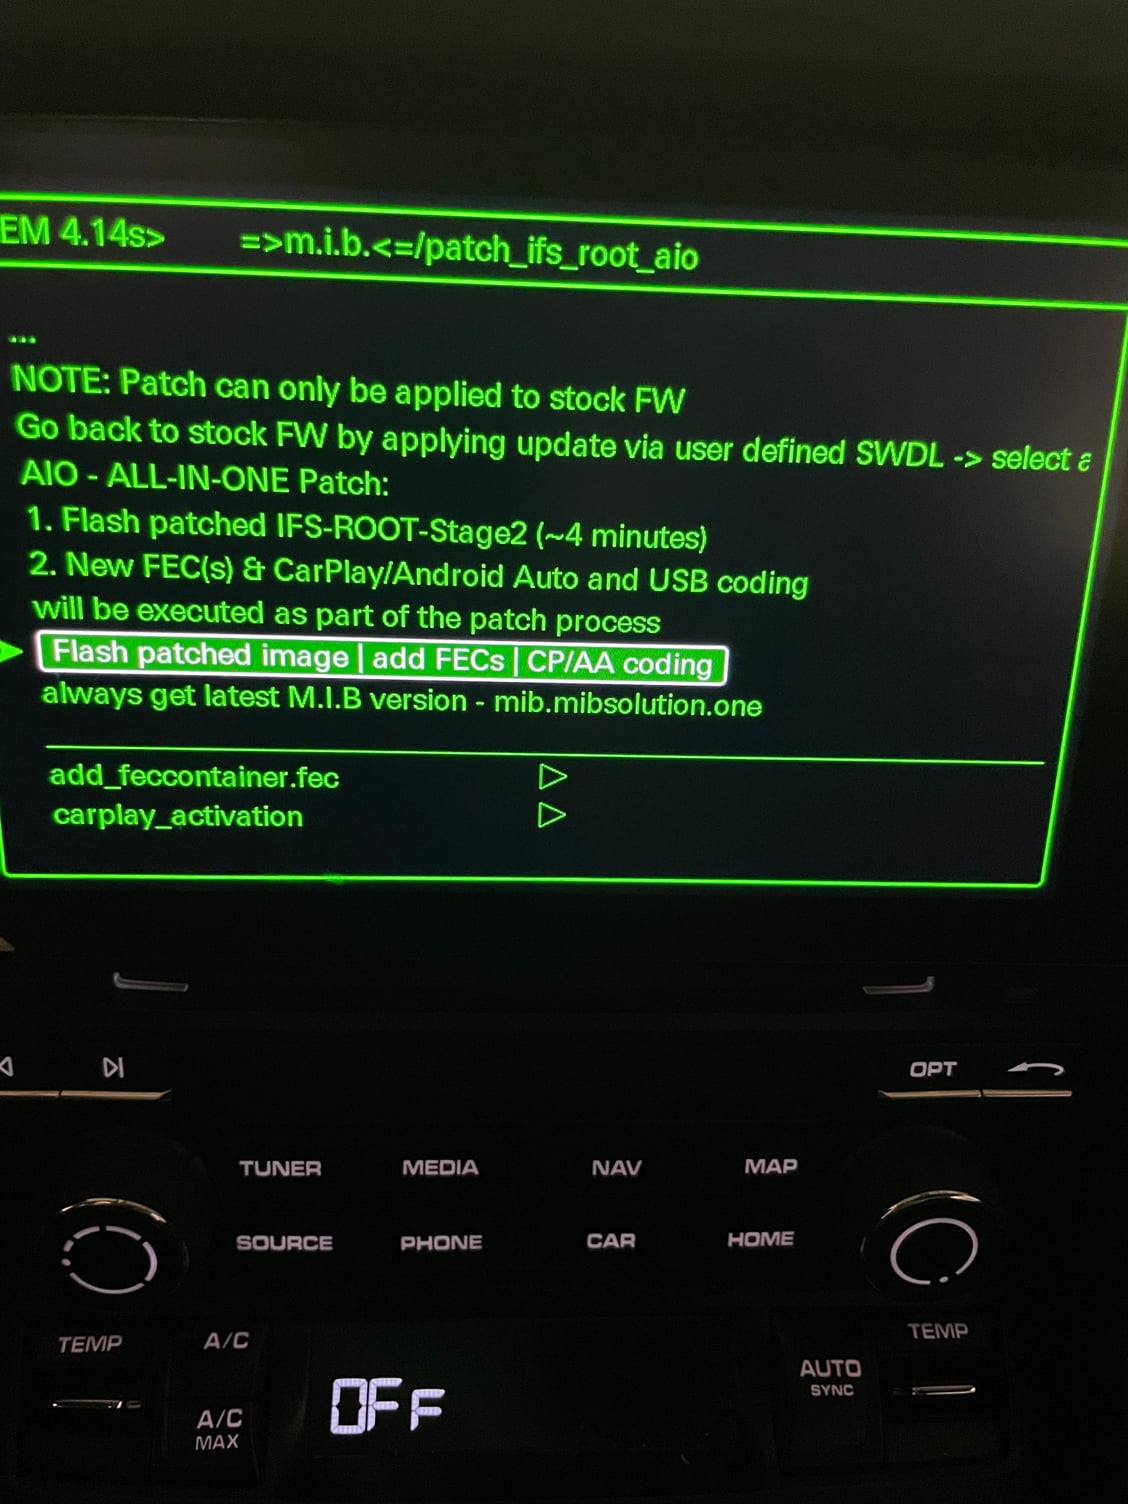
Click on Flash patched image
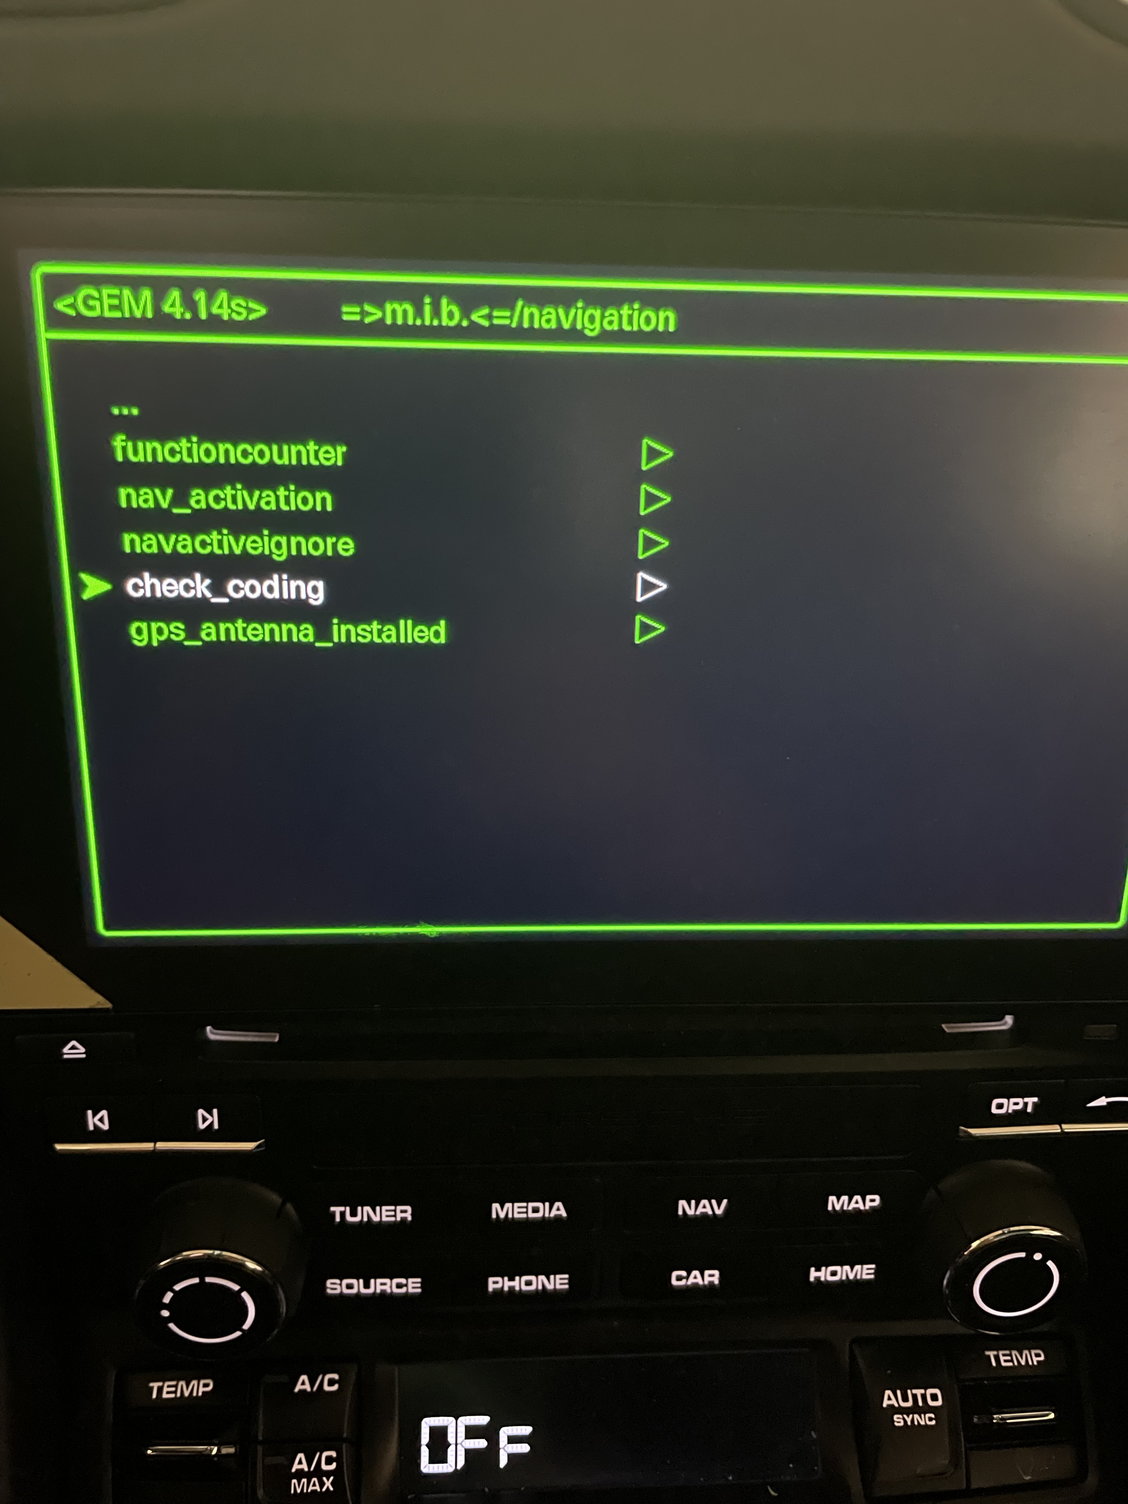
The PCM will reboot. Go back to the GEM menu and click on Navigation
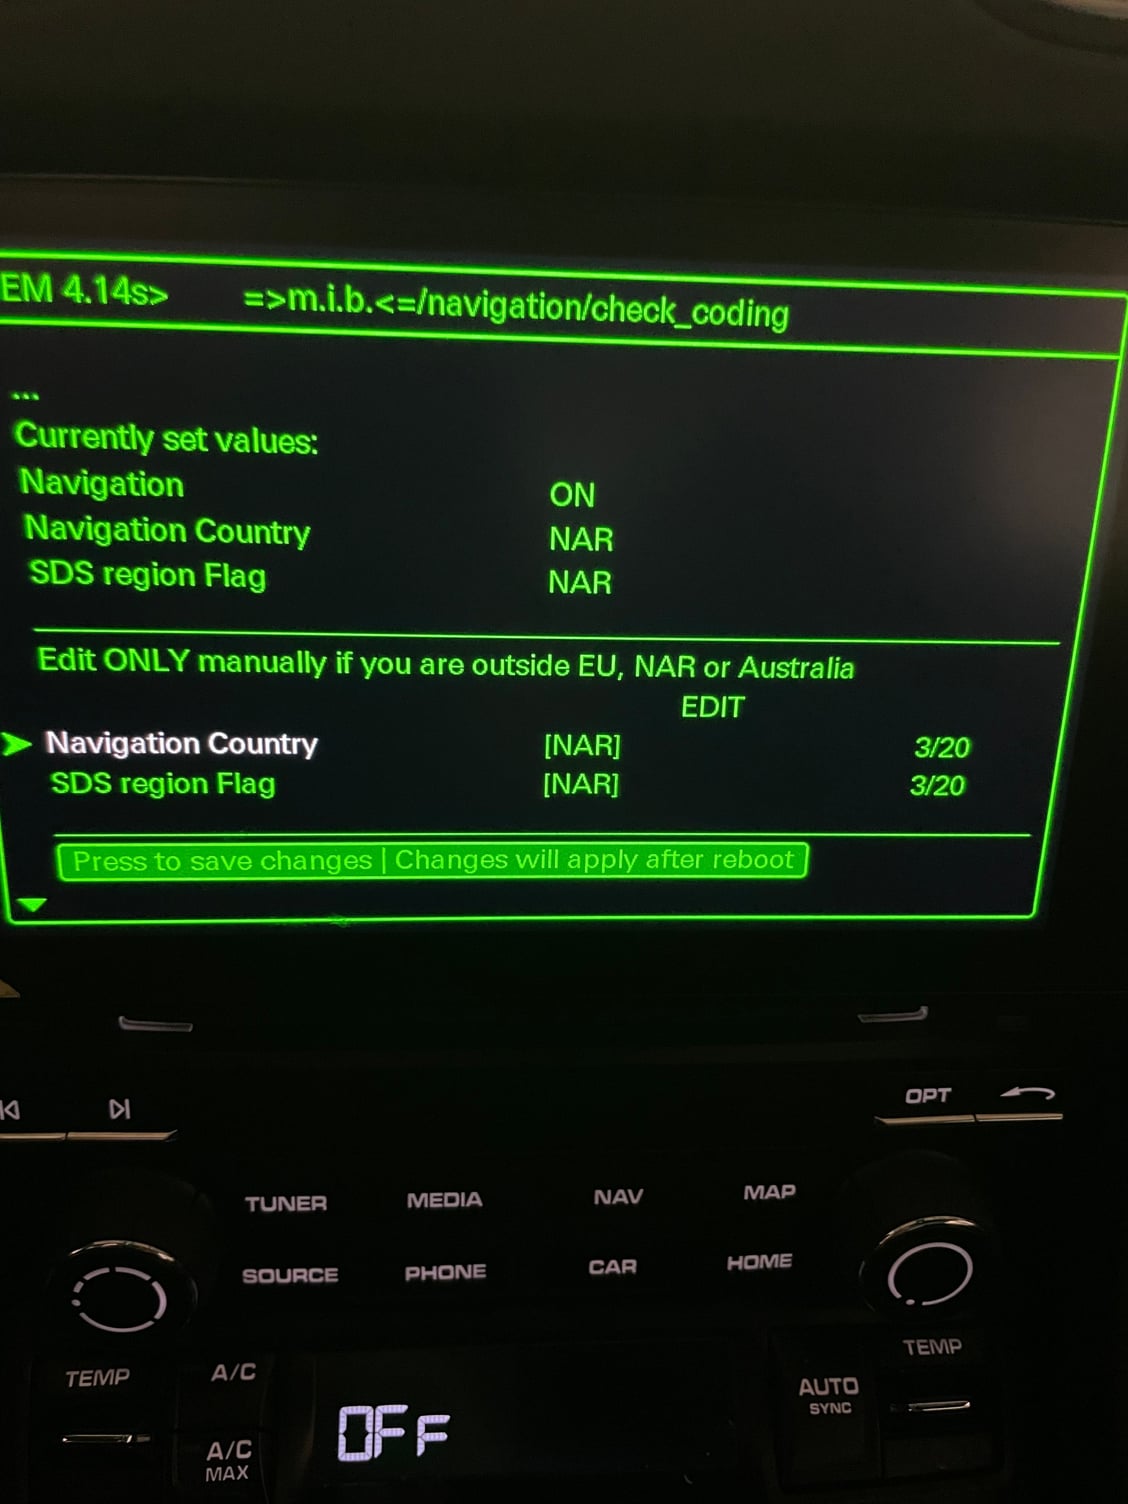
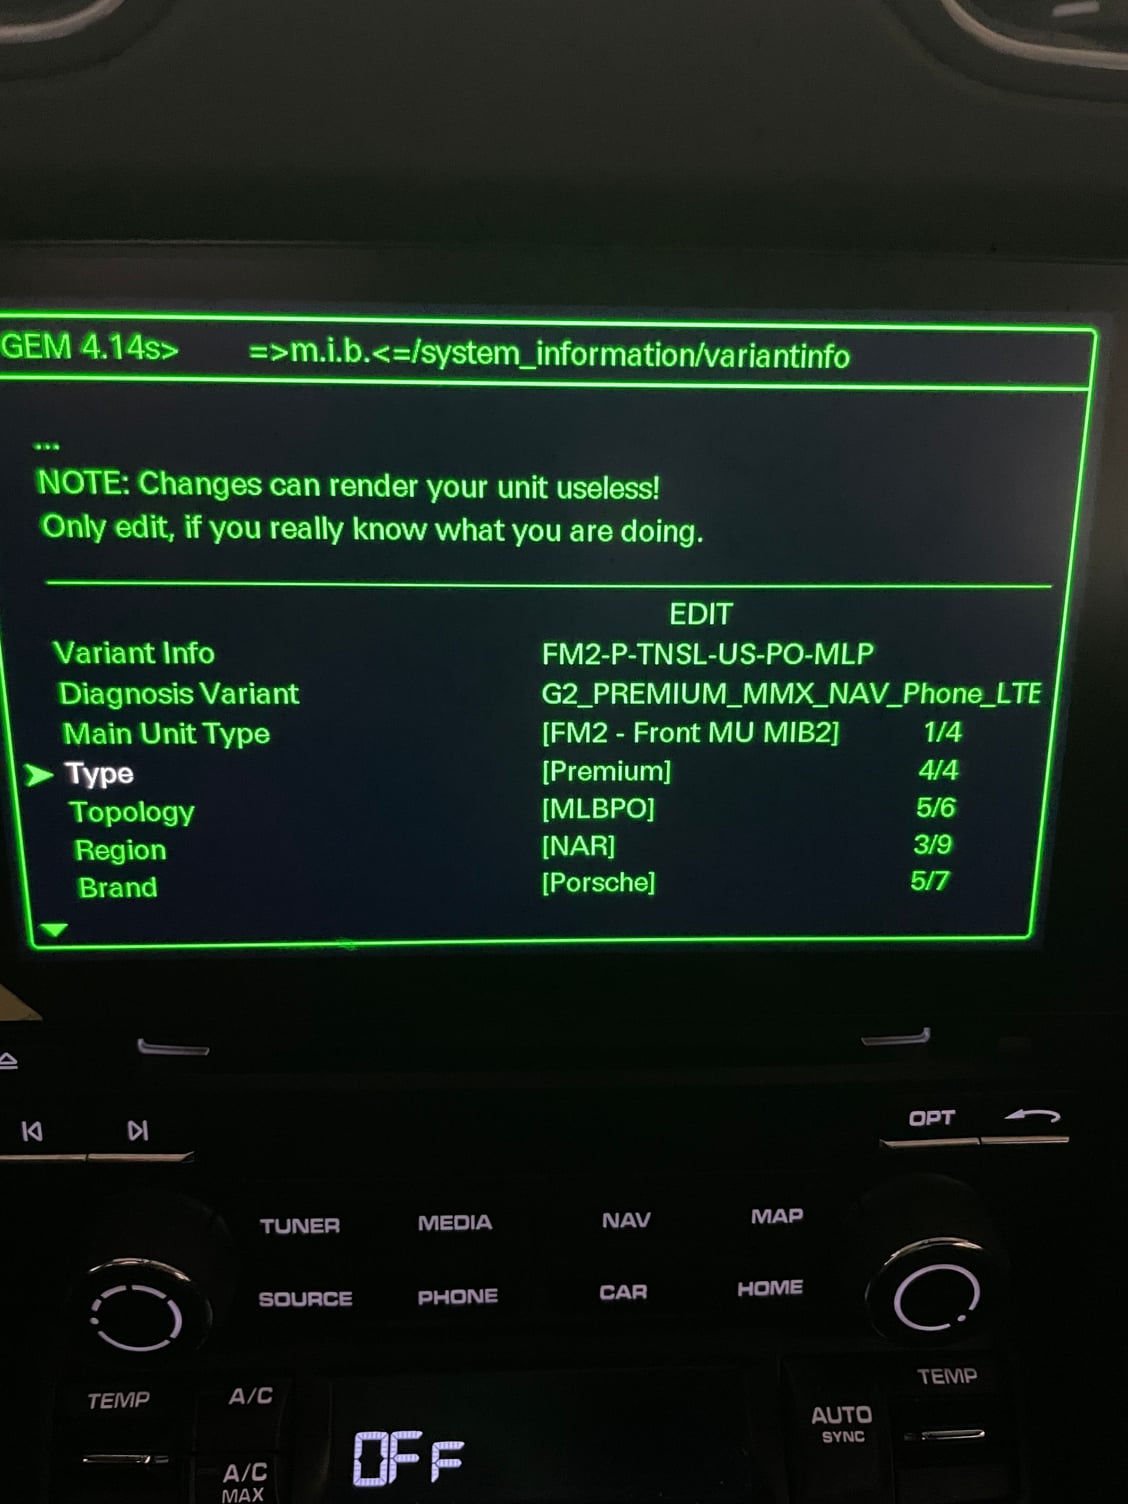
Click on check_coding. Make sure the Navigation Country and SDS region flag is set to NAR
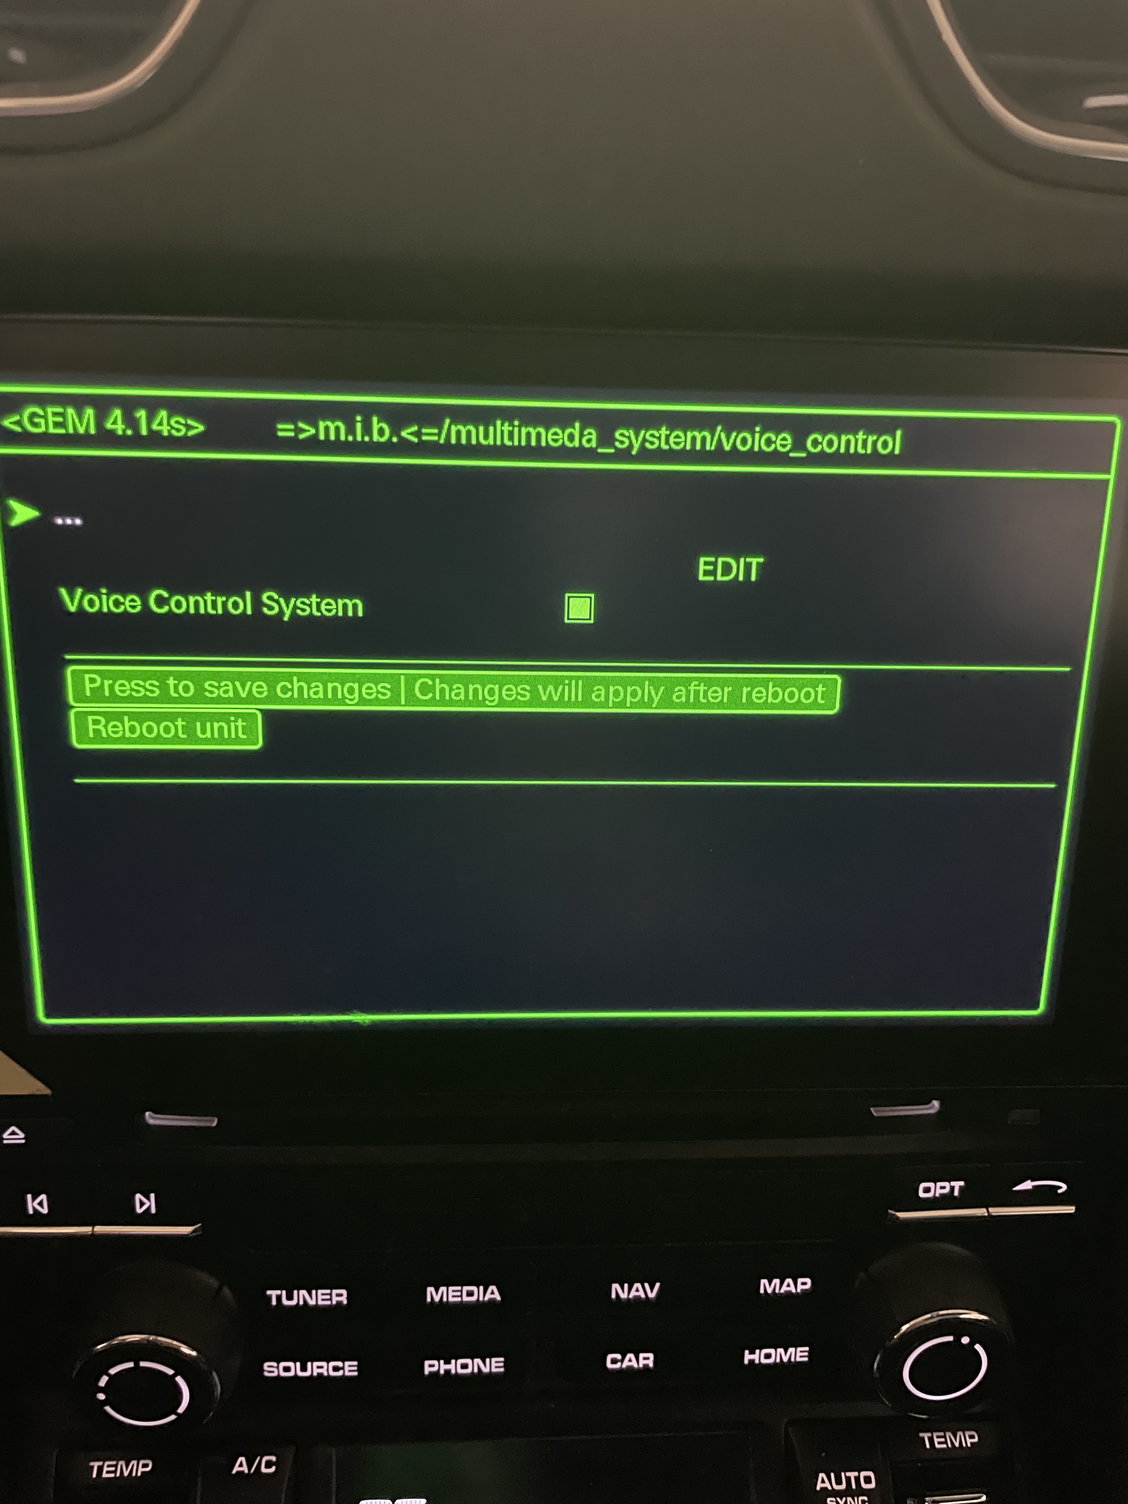
Go to multimedia_system and check Voice control System
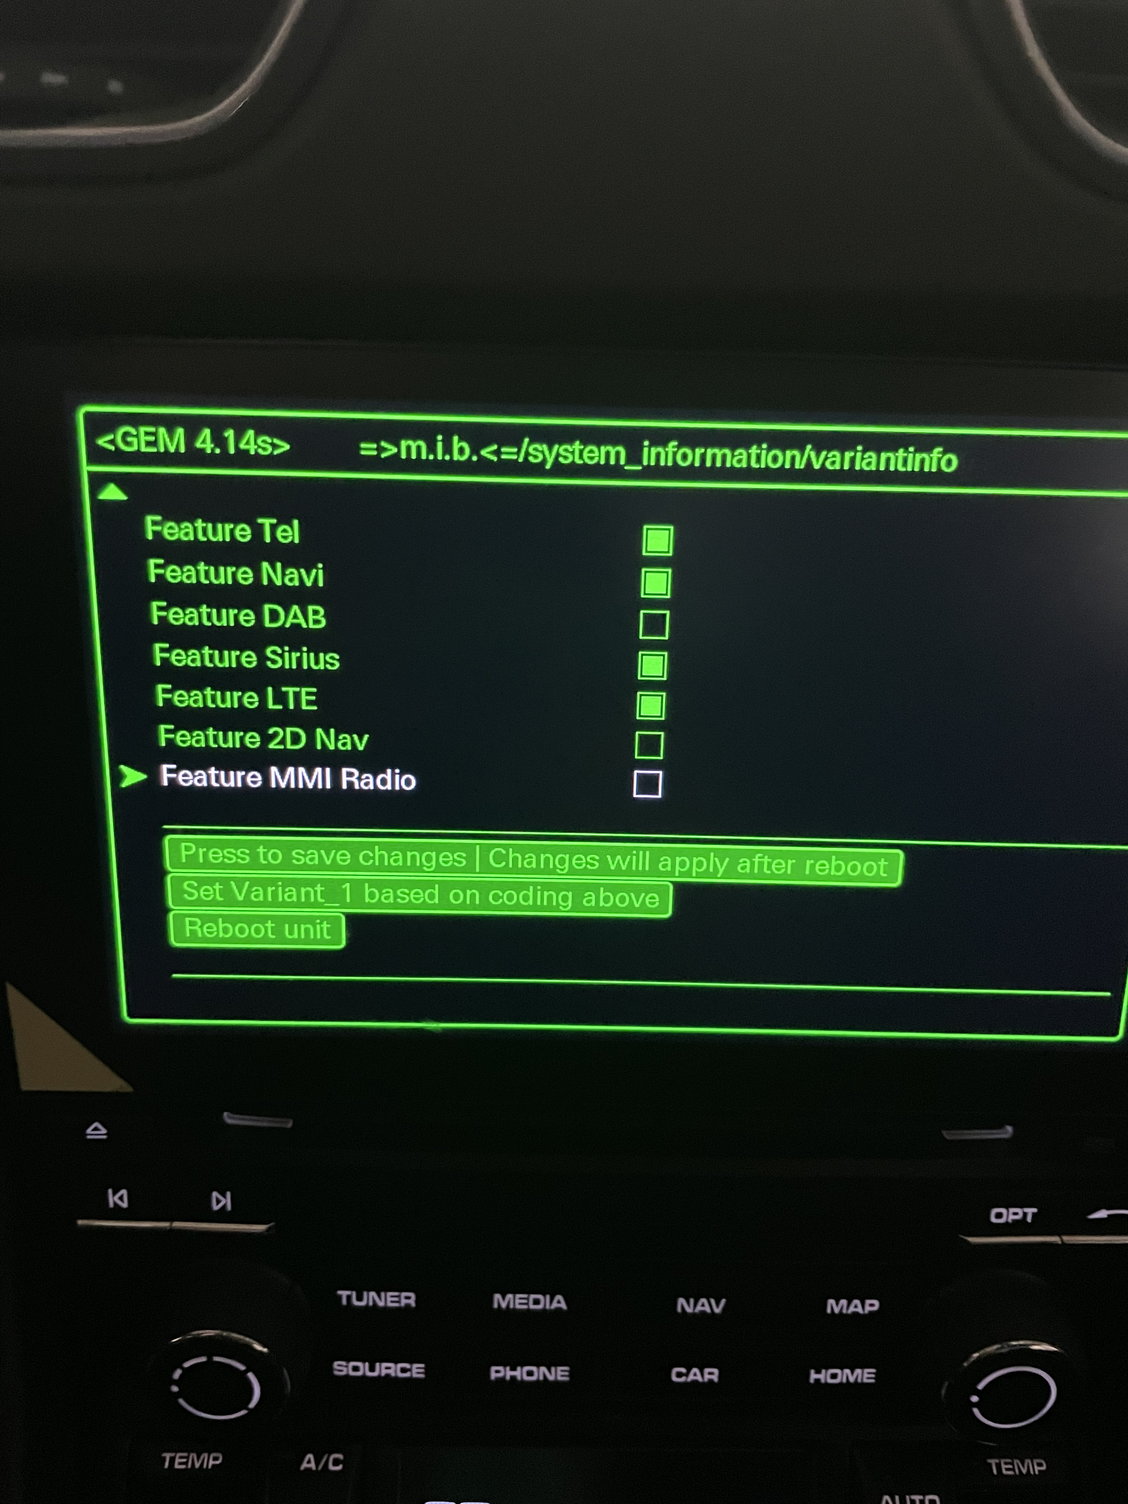
Scroll to the bottom on to the next screen and check Feature Tel, Feature Navi and Feature LTE
Scroll down and click on Reboot Unit
After the PCM is rebooted remove the 32 GB card.
Insert the 32 GB card to your PC and make a copy of the Backup folder.
It is very important that you make several copies of this folder as it contains your setting to go back to stock.
Now you are ready to load the maps.
This will take between 20-30 minutes.
Insert the 64 GB card to Slot 1
Go to the Developer menu
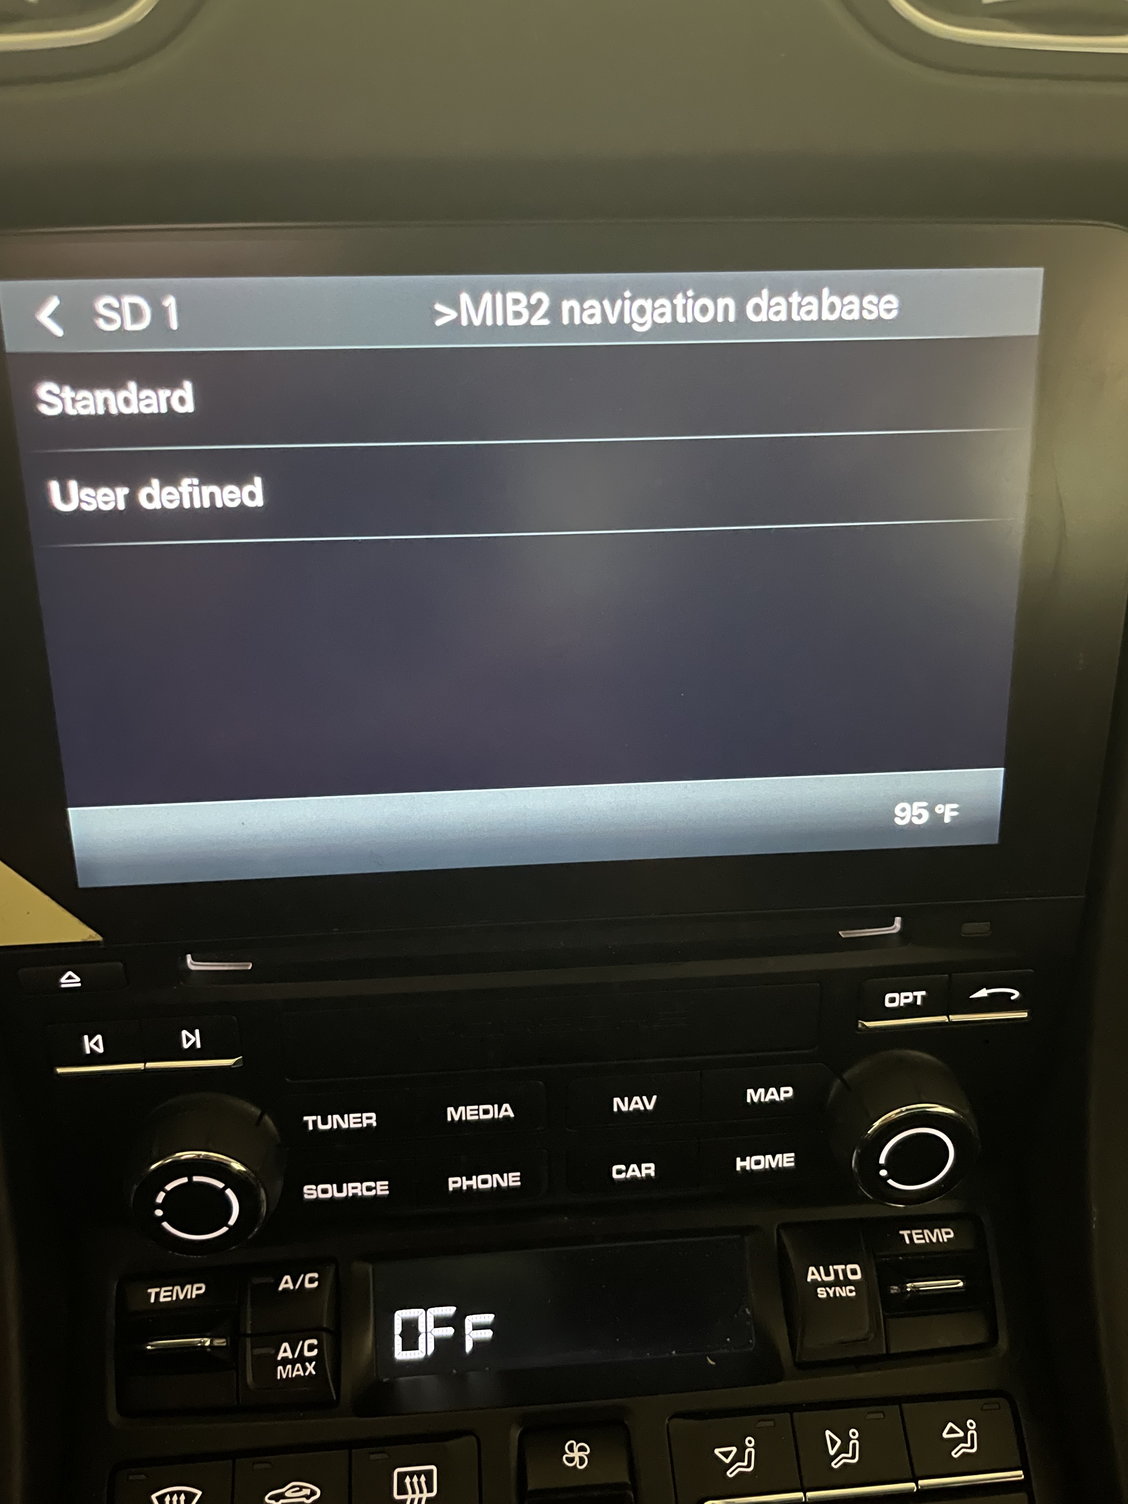
Go to Software Update then SD1
Click on Standard
Click on Start Update.
The PCM will reboot a few times.
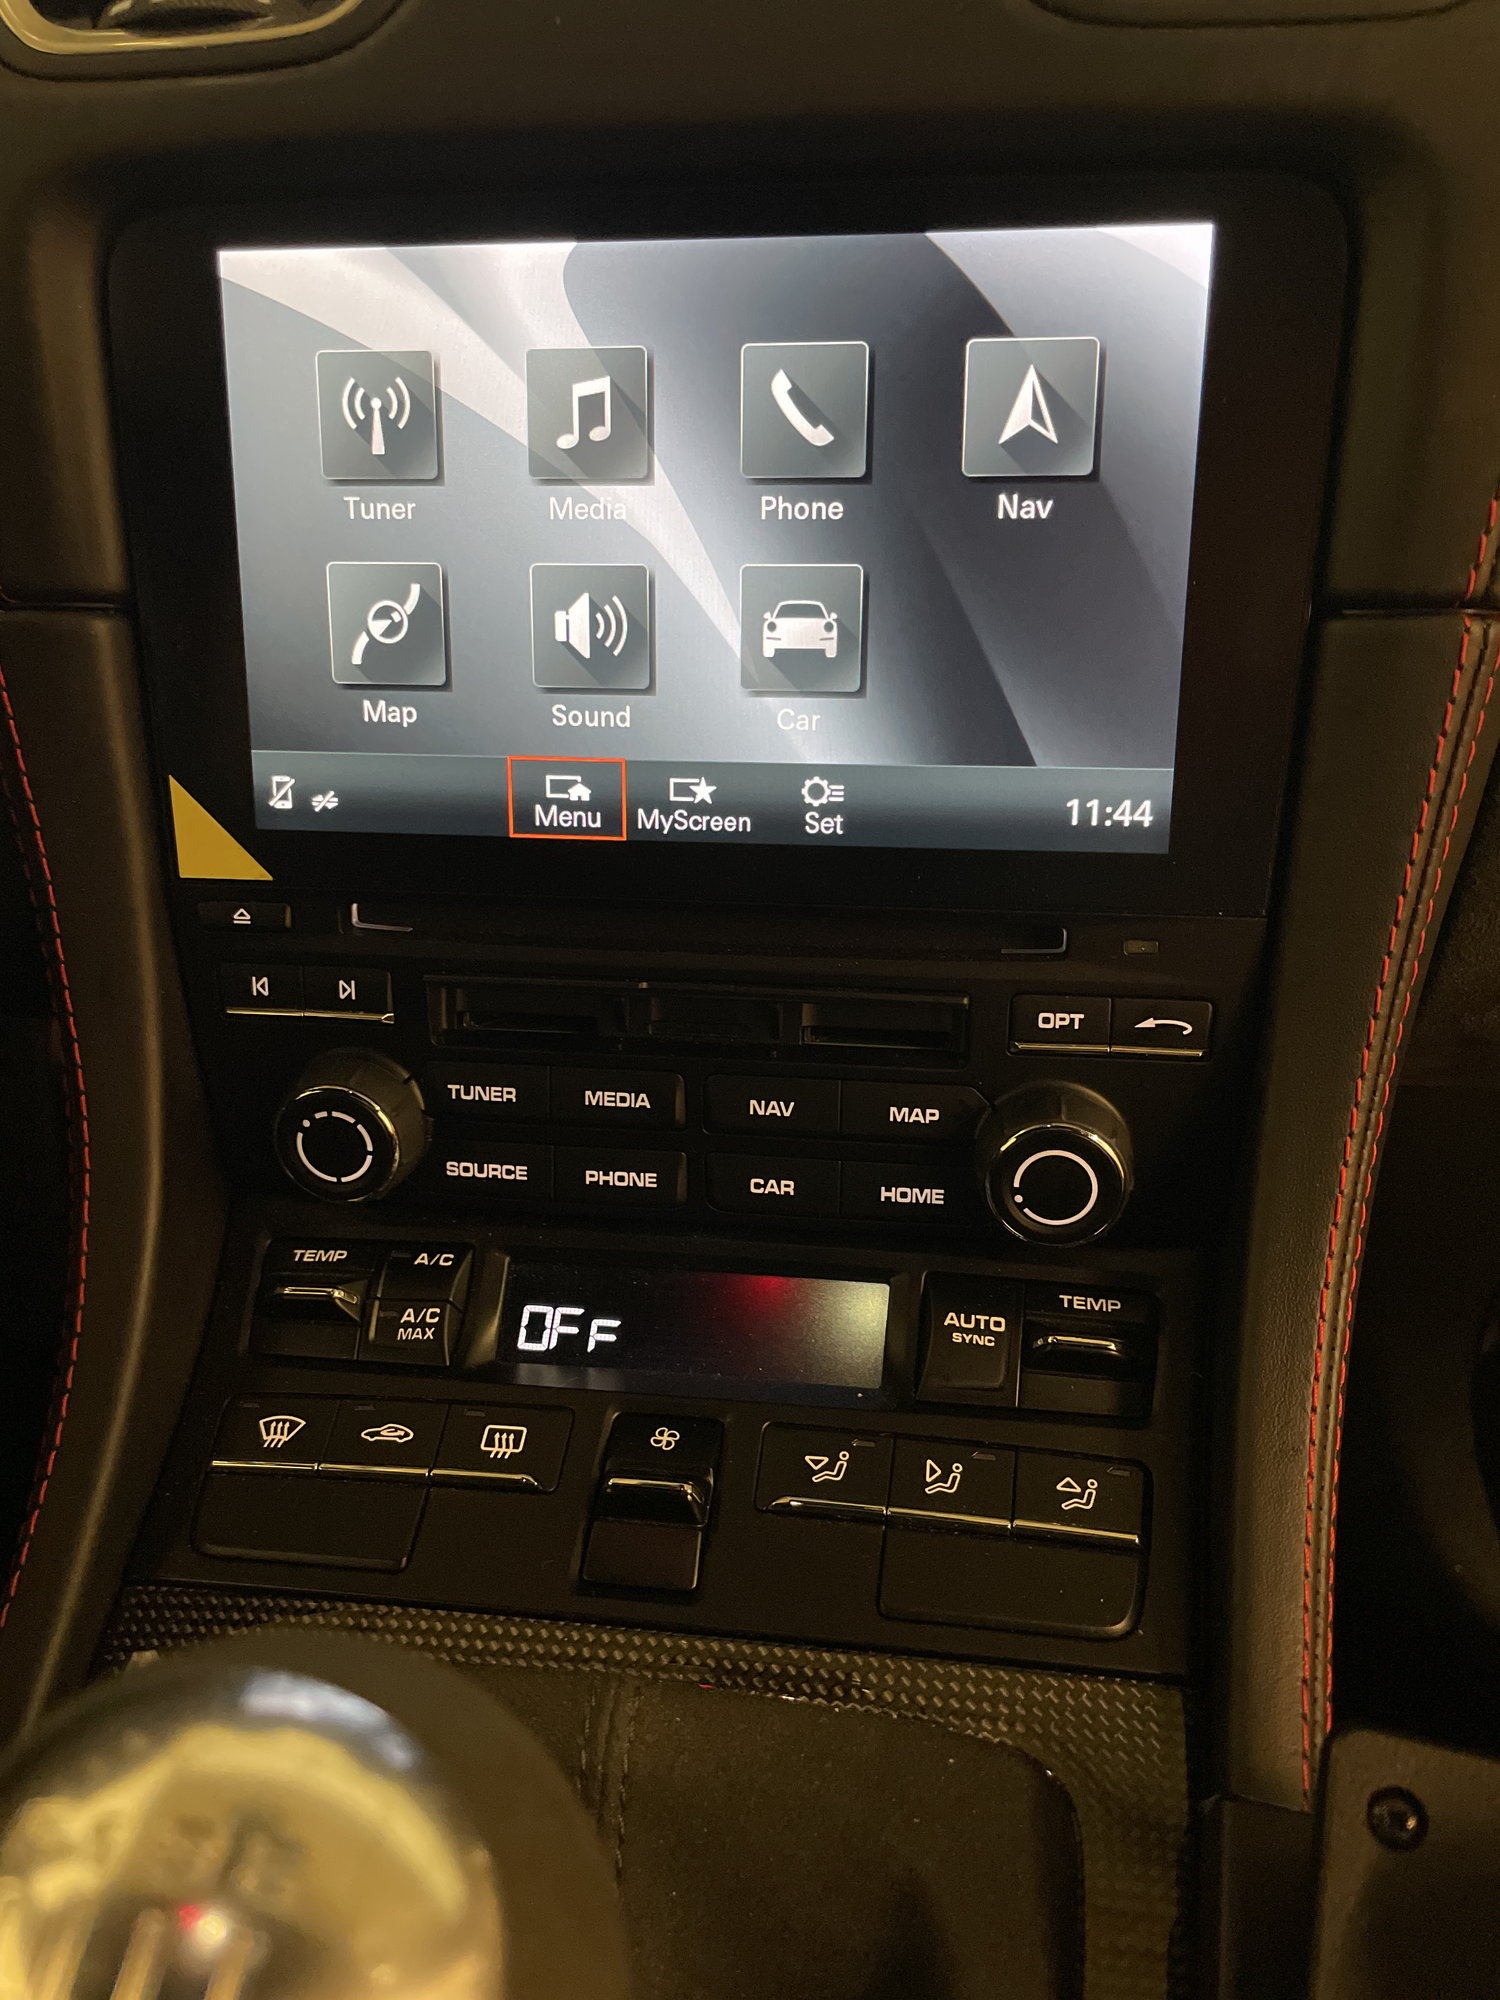
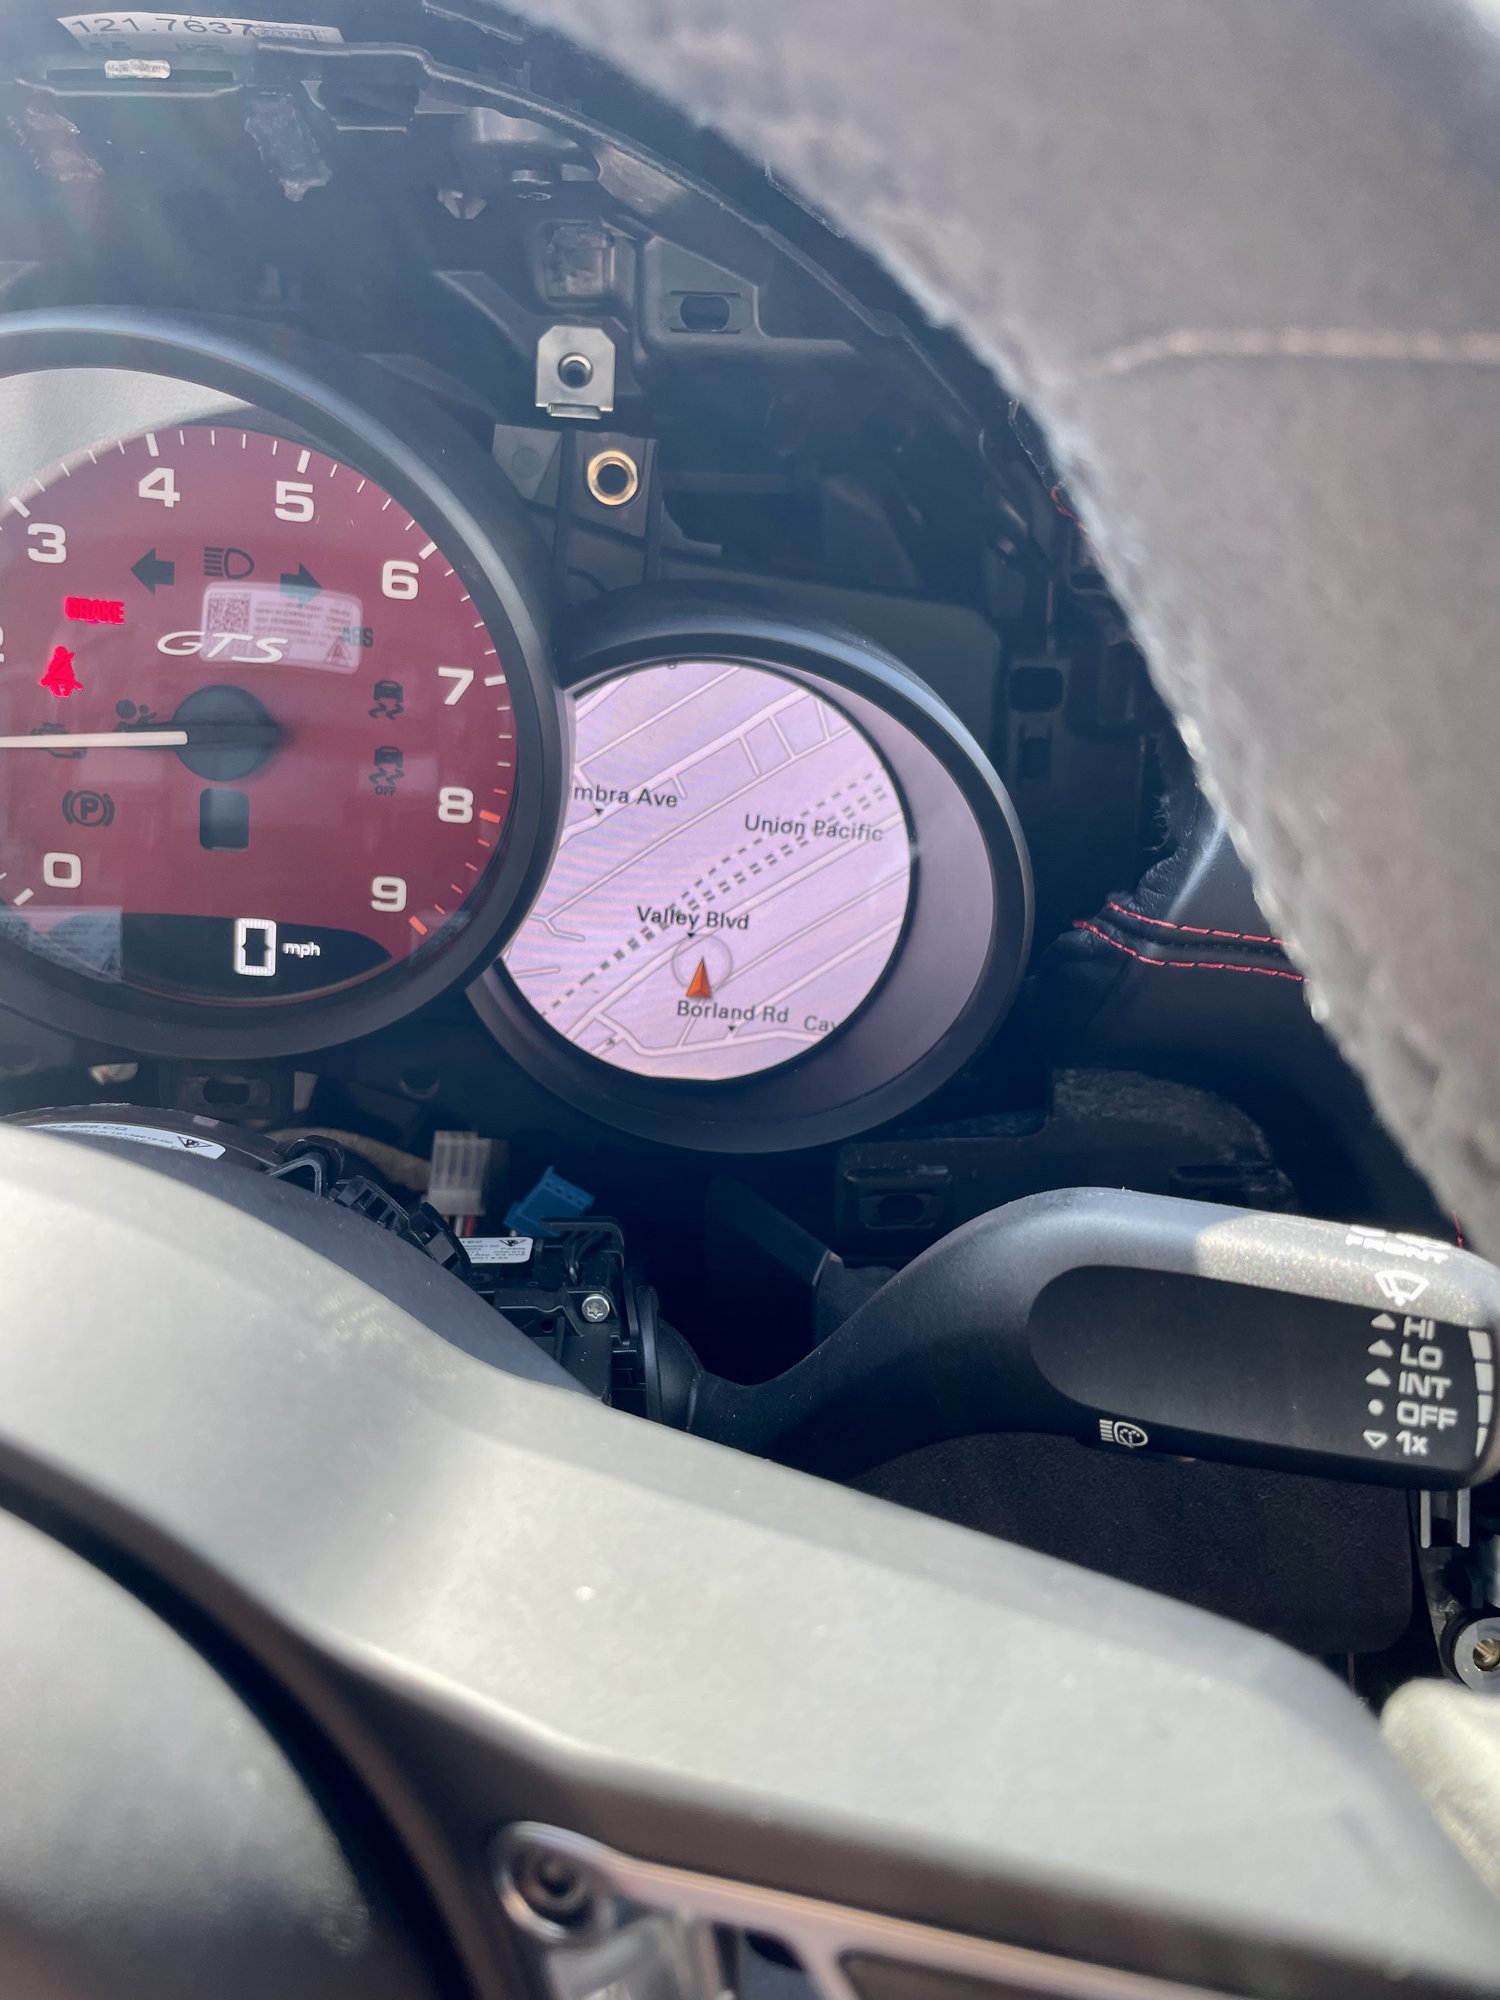
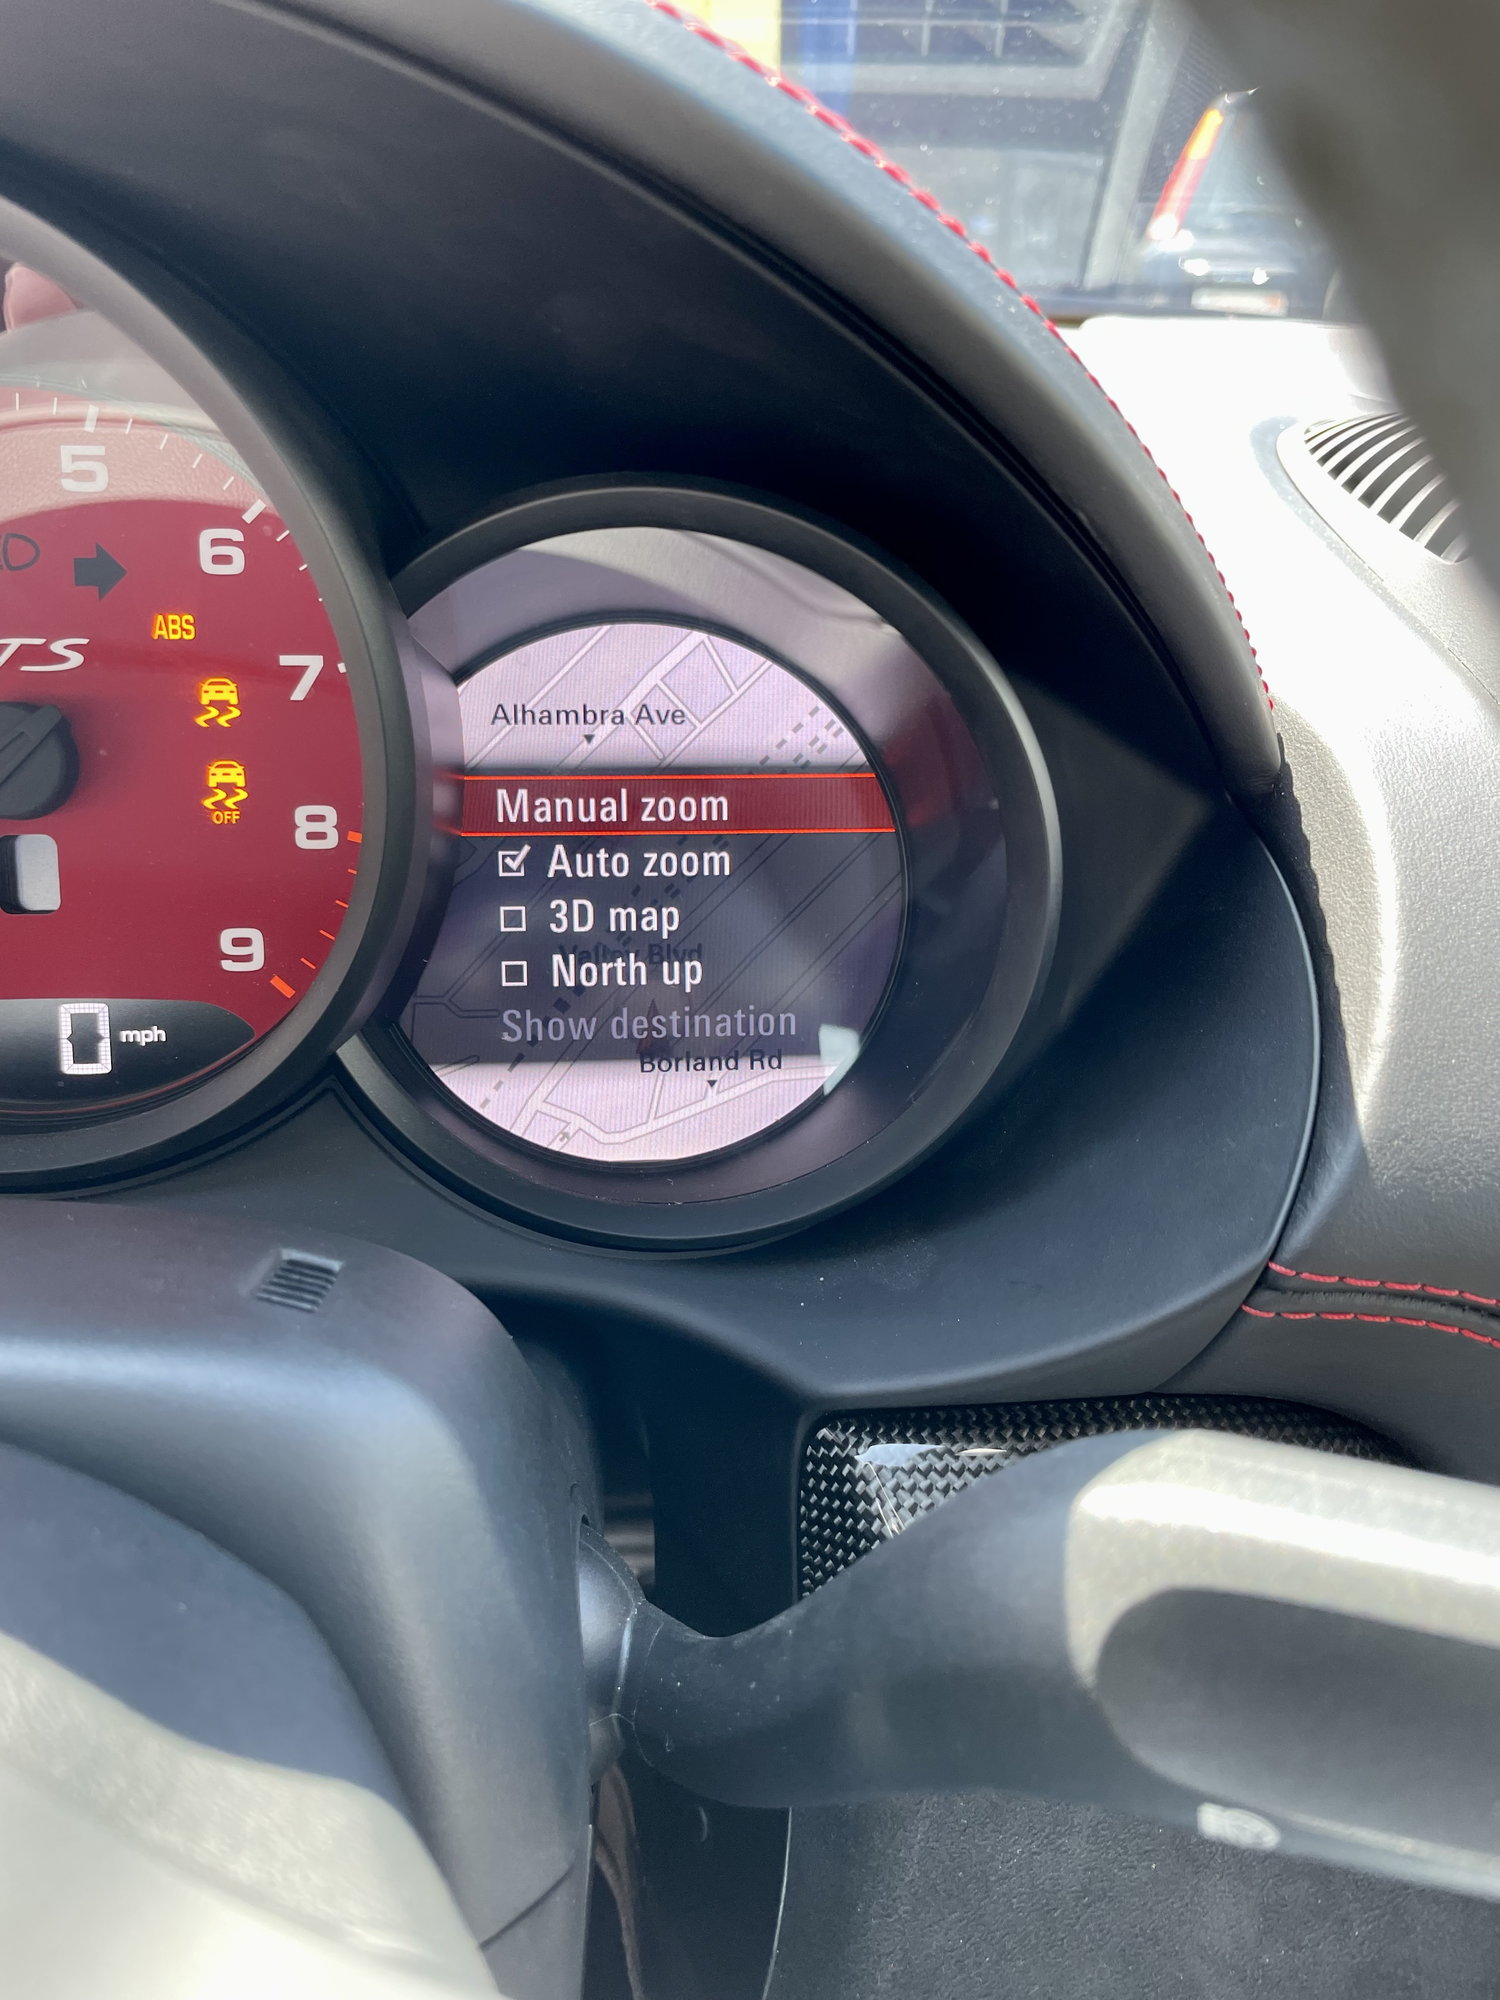
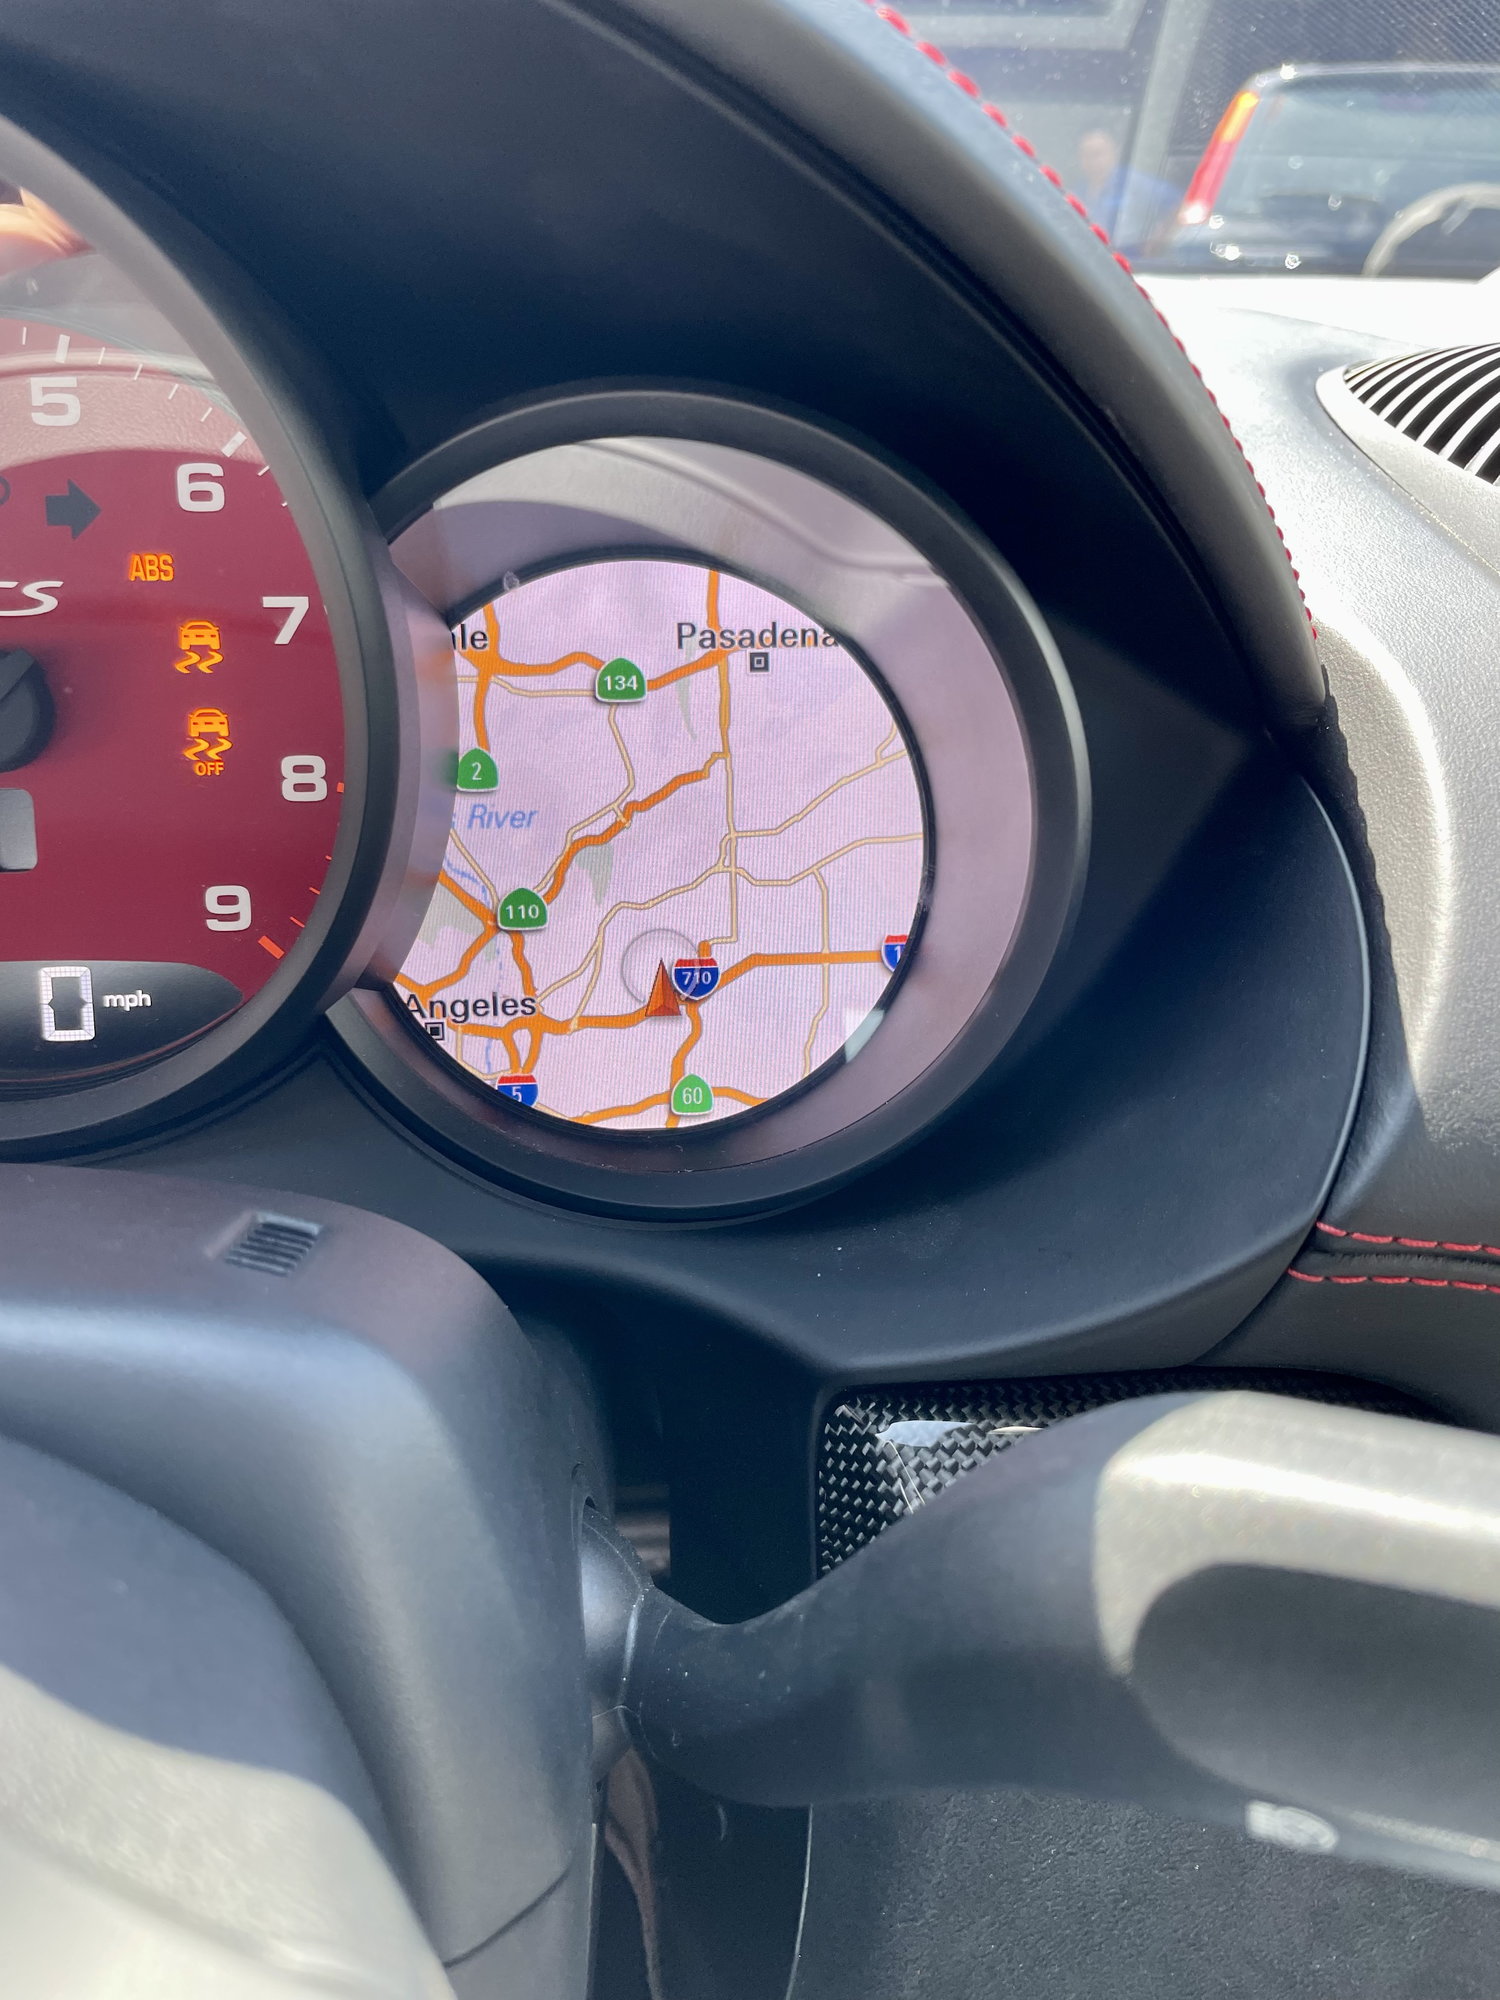
After all the maps are loaded you should see the NAV and MAP tiles on your PCM screen.
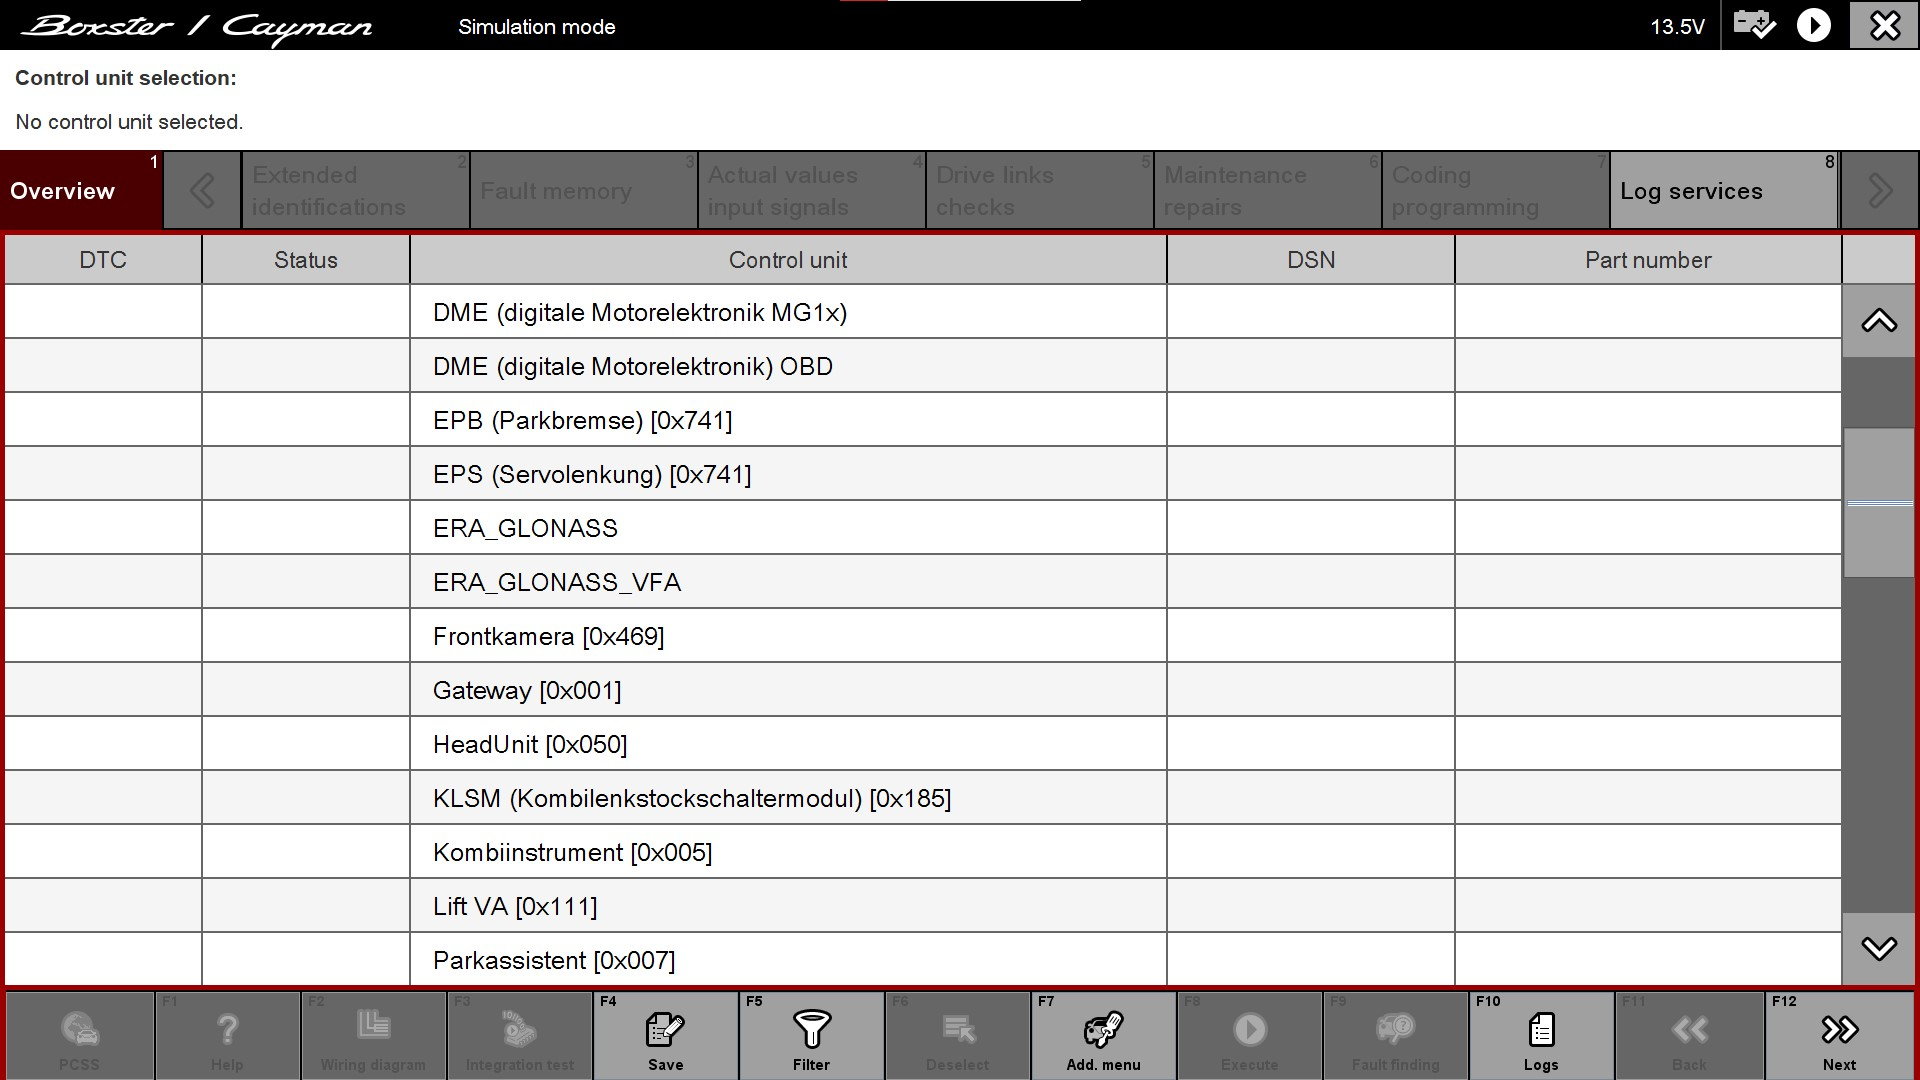
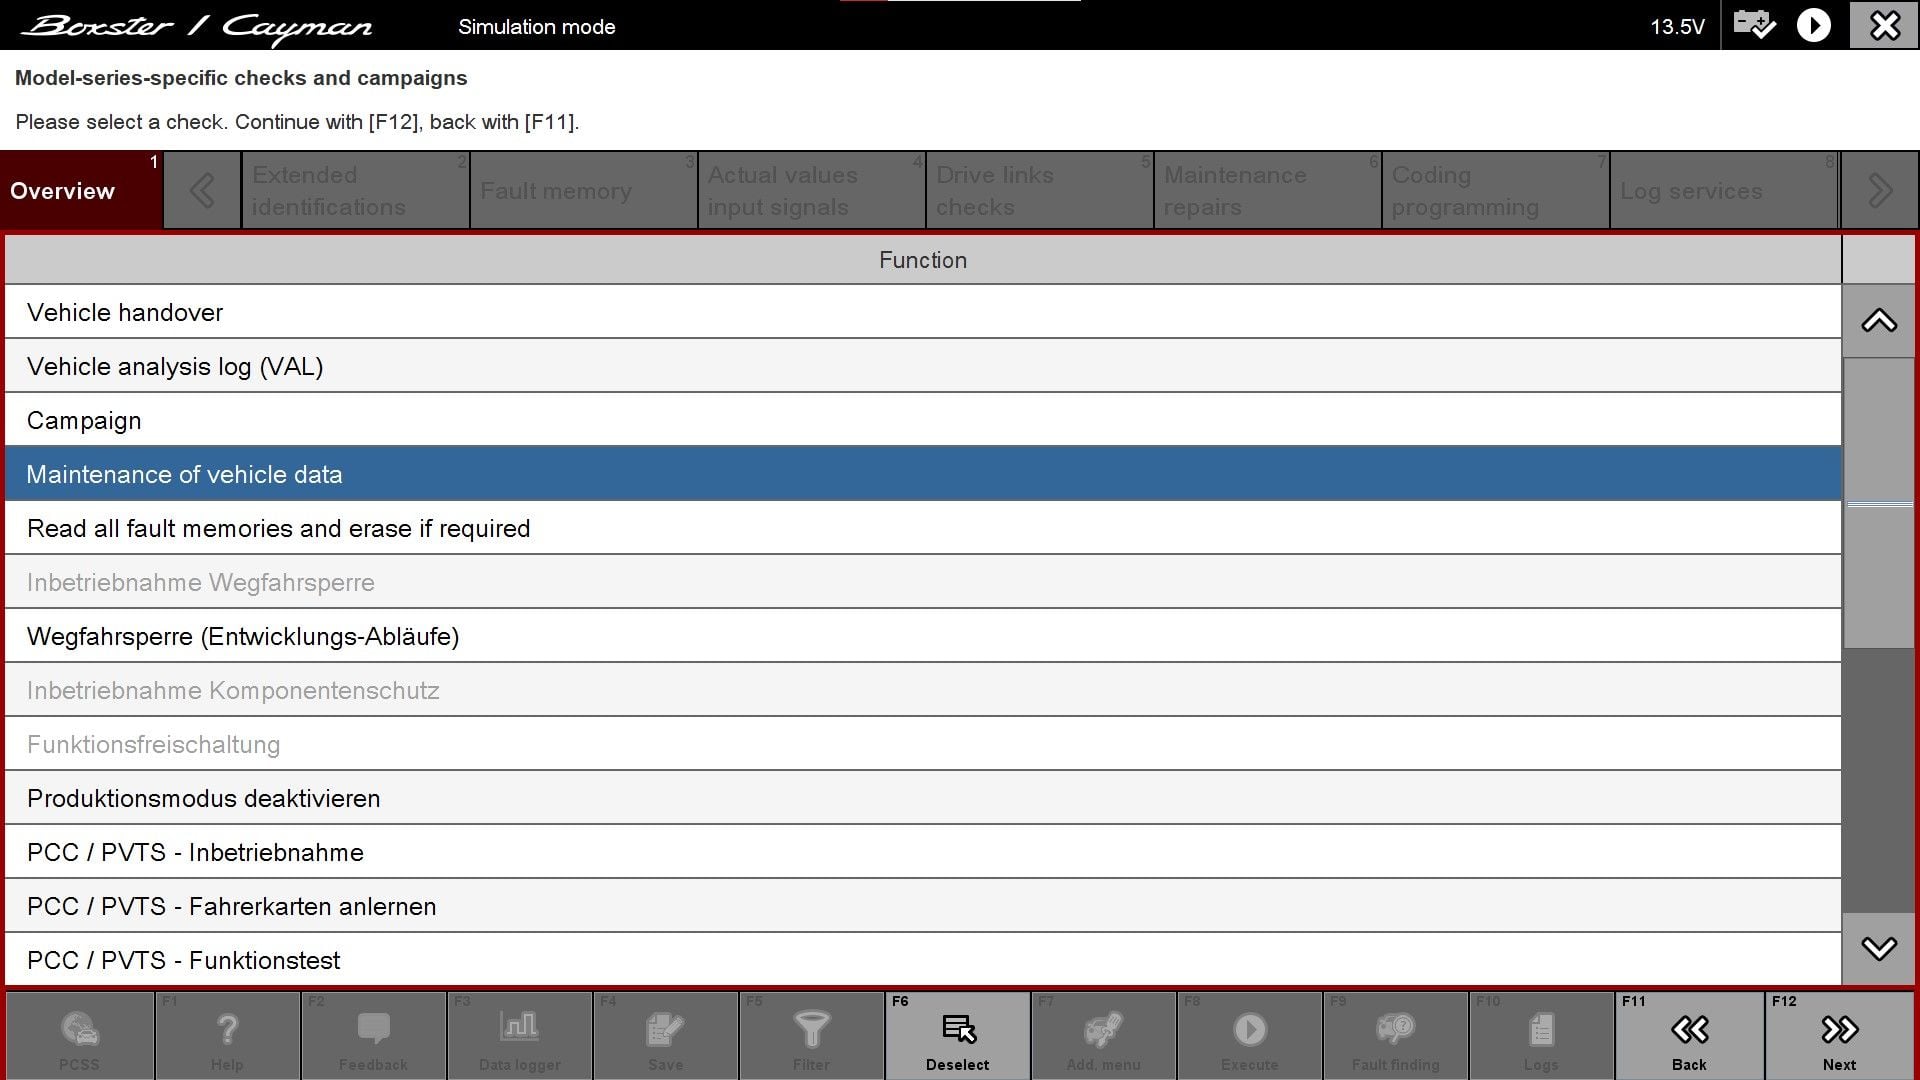
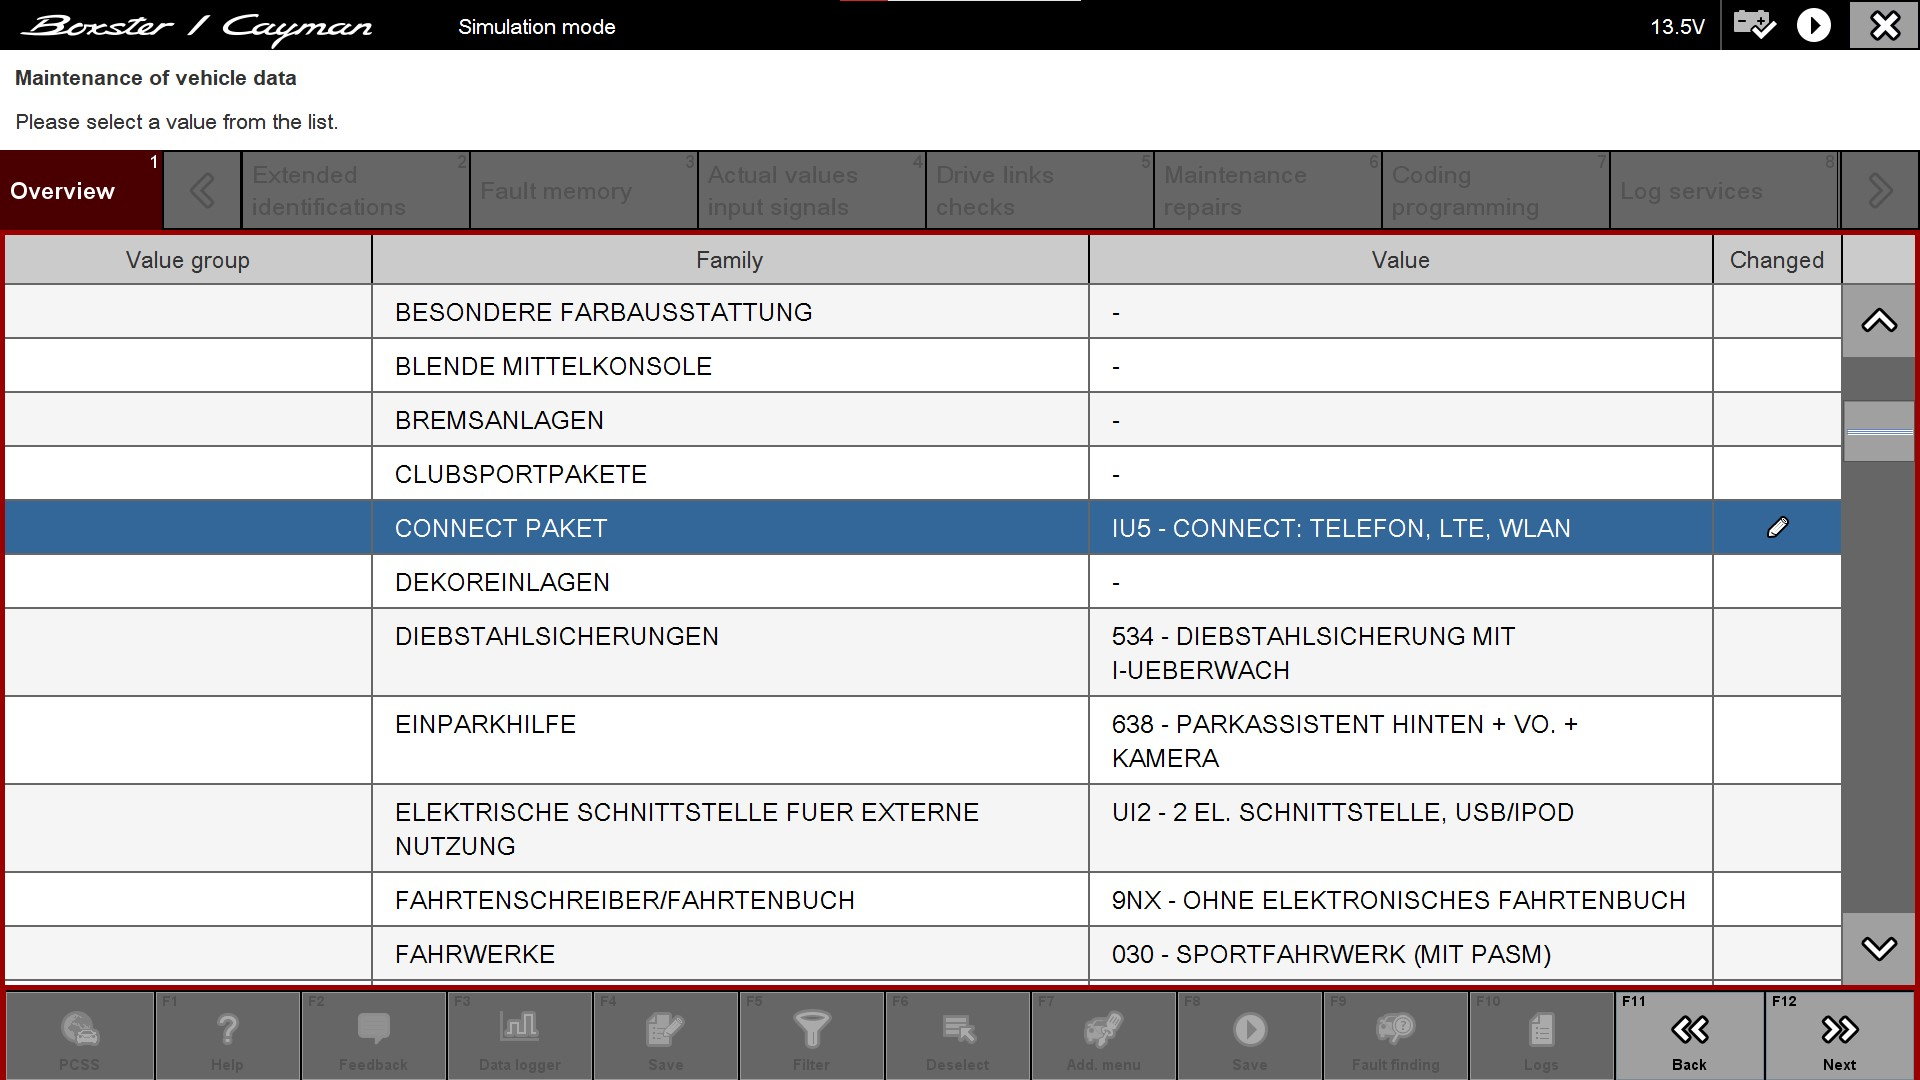
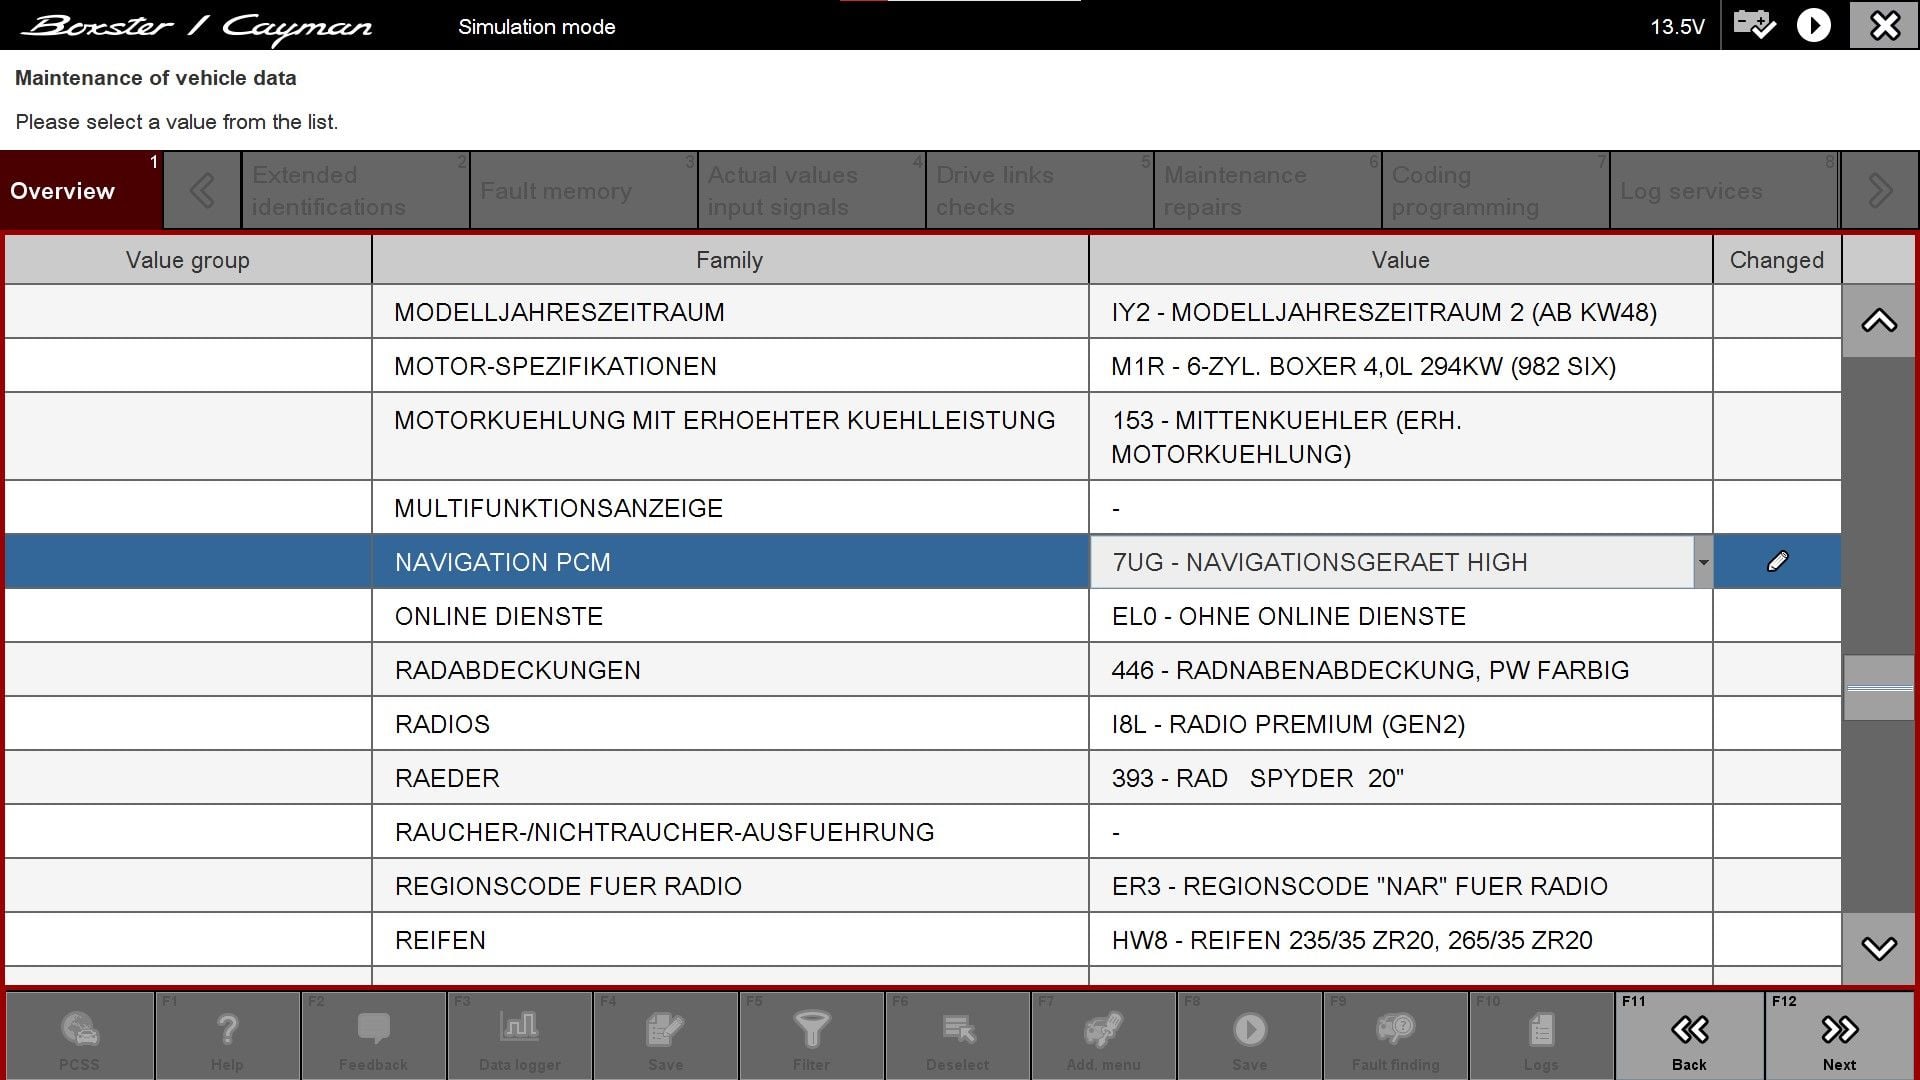
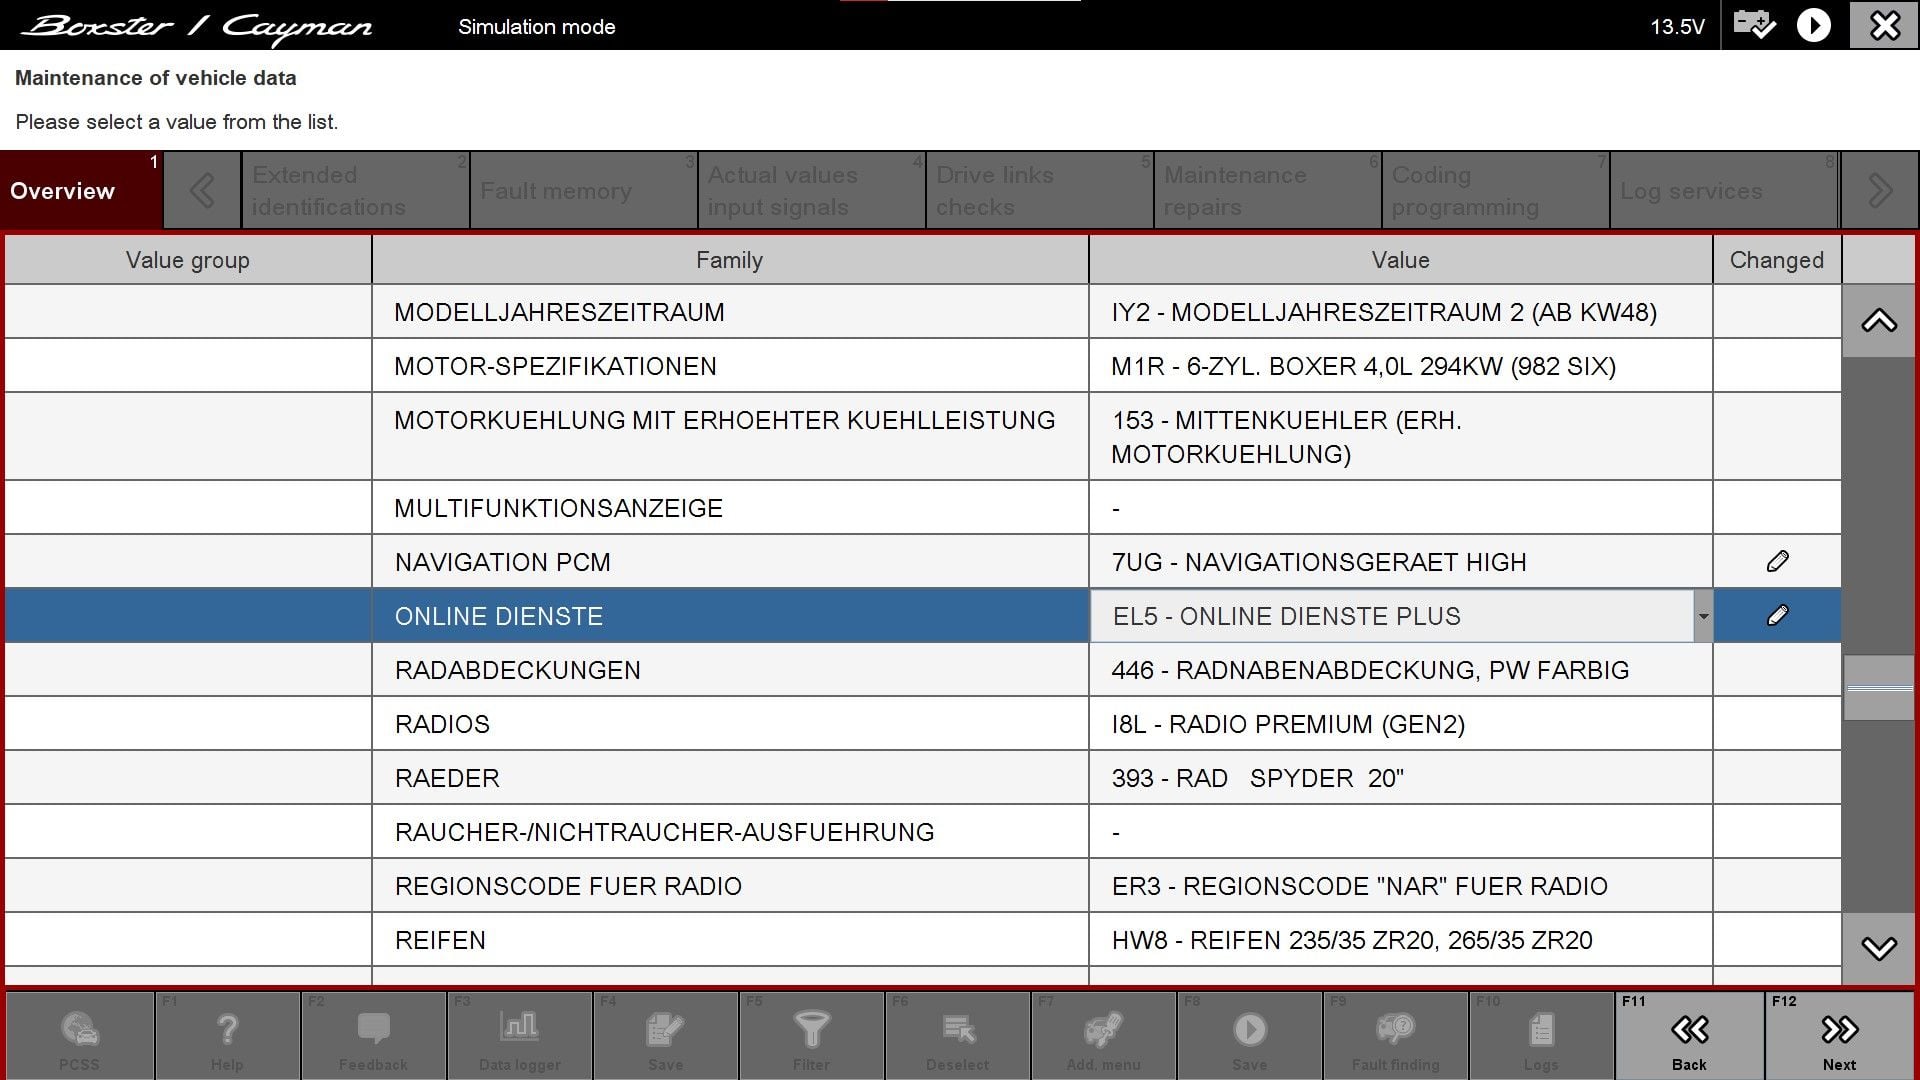
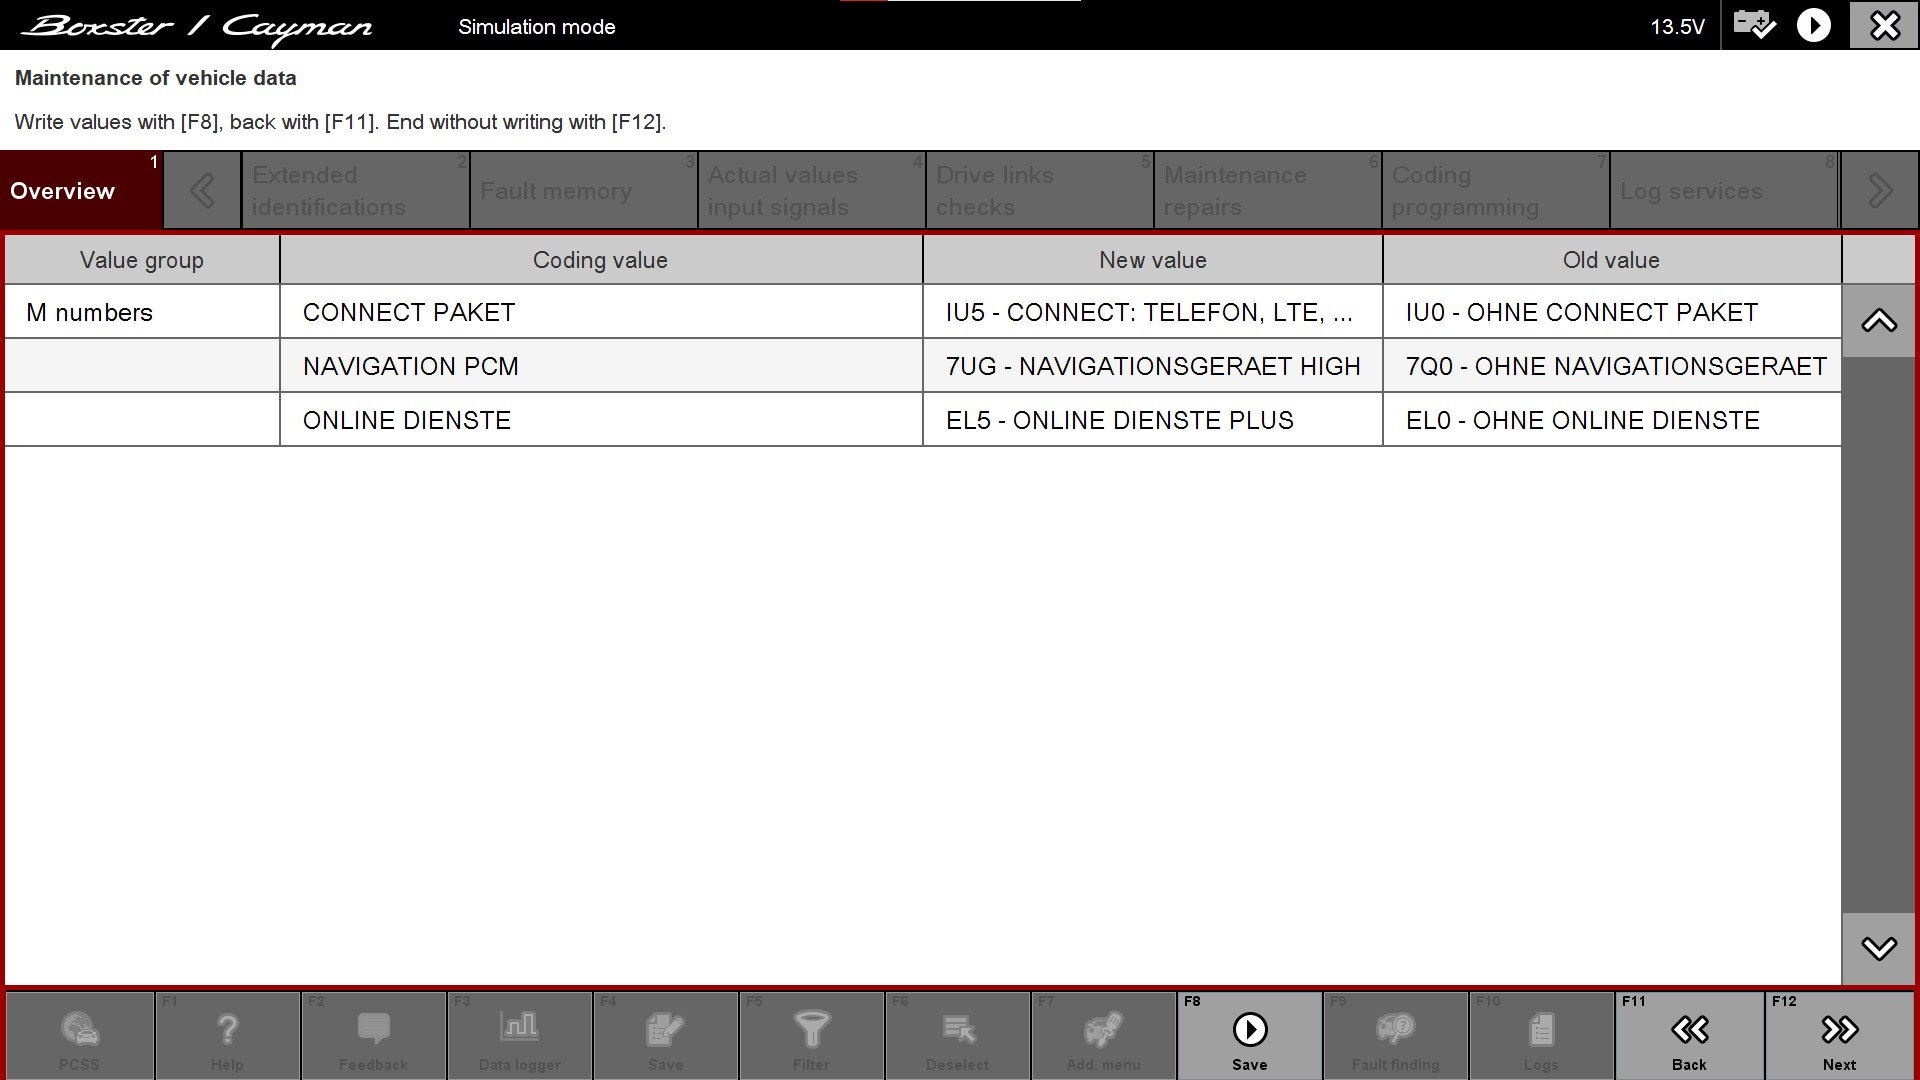
Coding NAV with PIWIS 3
The Navigation will need to be coded to the instrument cluster in order to see it in the TFT.
I added the Navigation, Online services and Connect package but the last two are optional.
Click on Save and go back to Automatic coding by selecting all the modules in your car.
This will code all the settings to your modules.
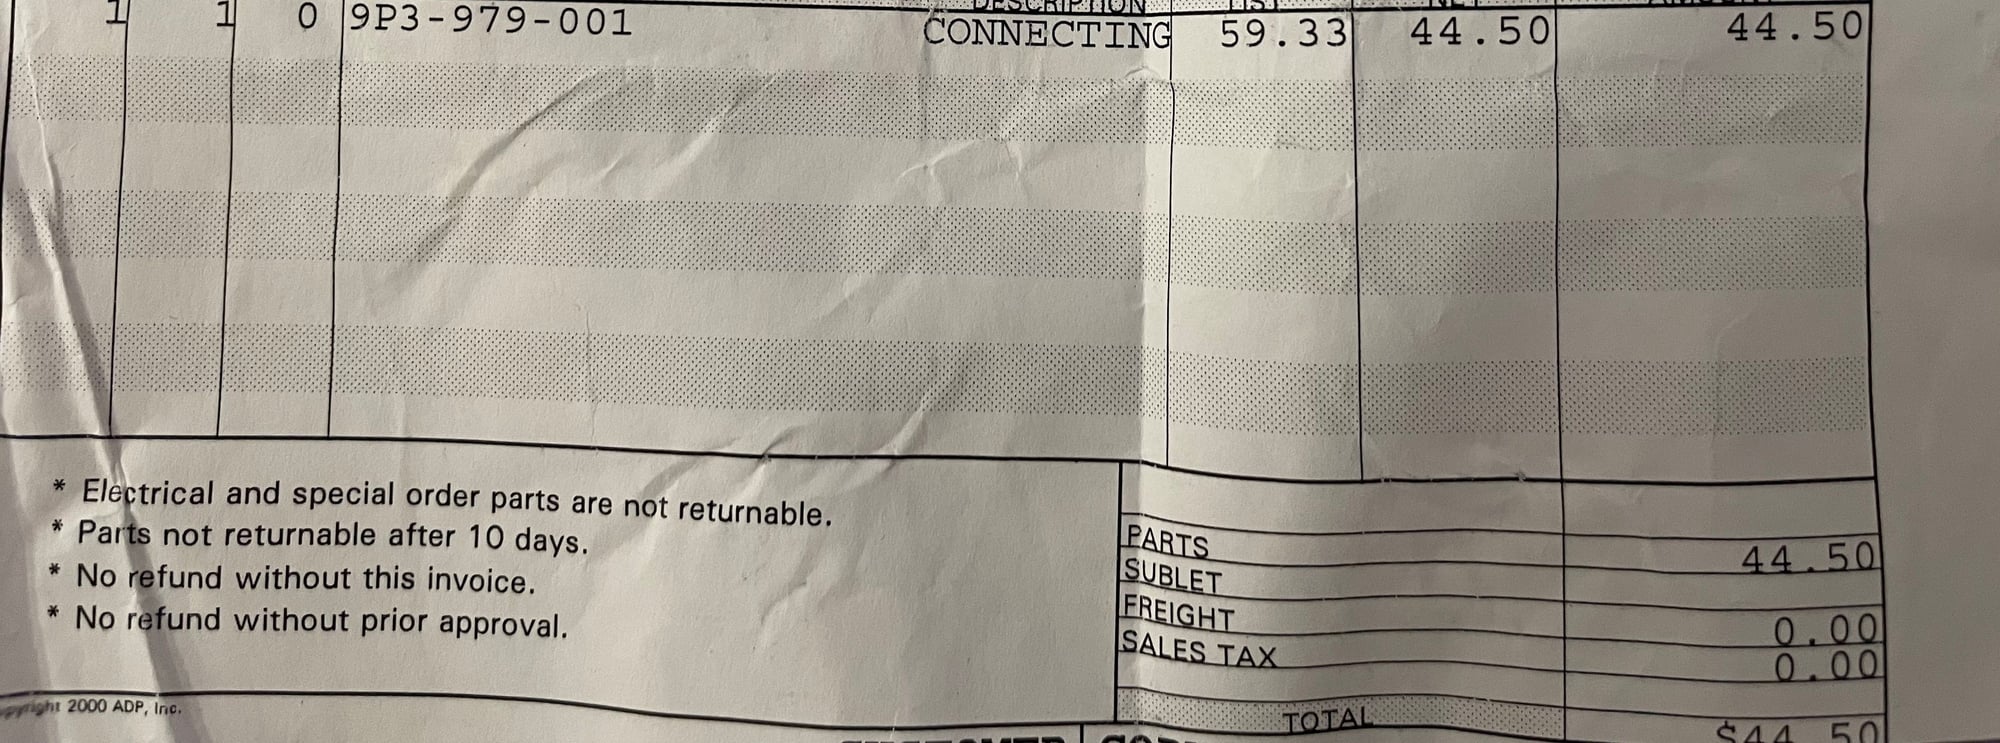
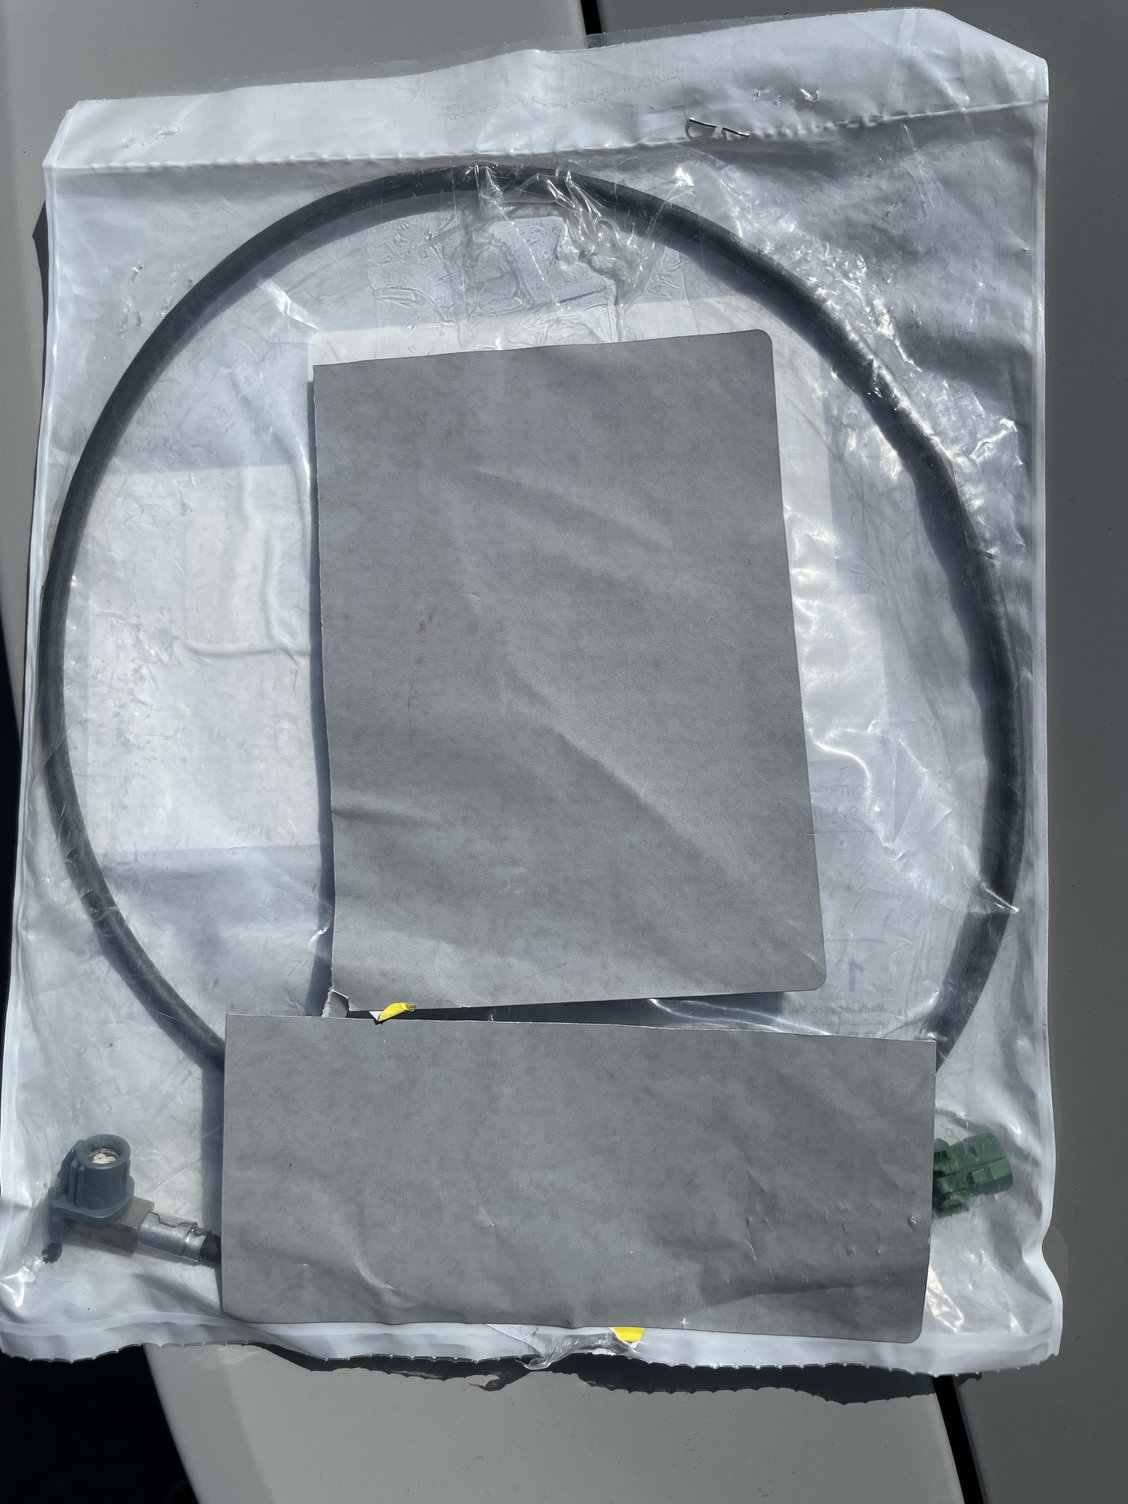
Connecting the Cluster to the PCM.
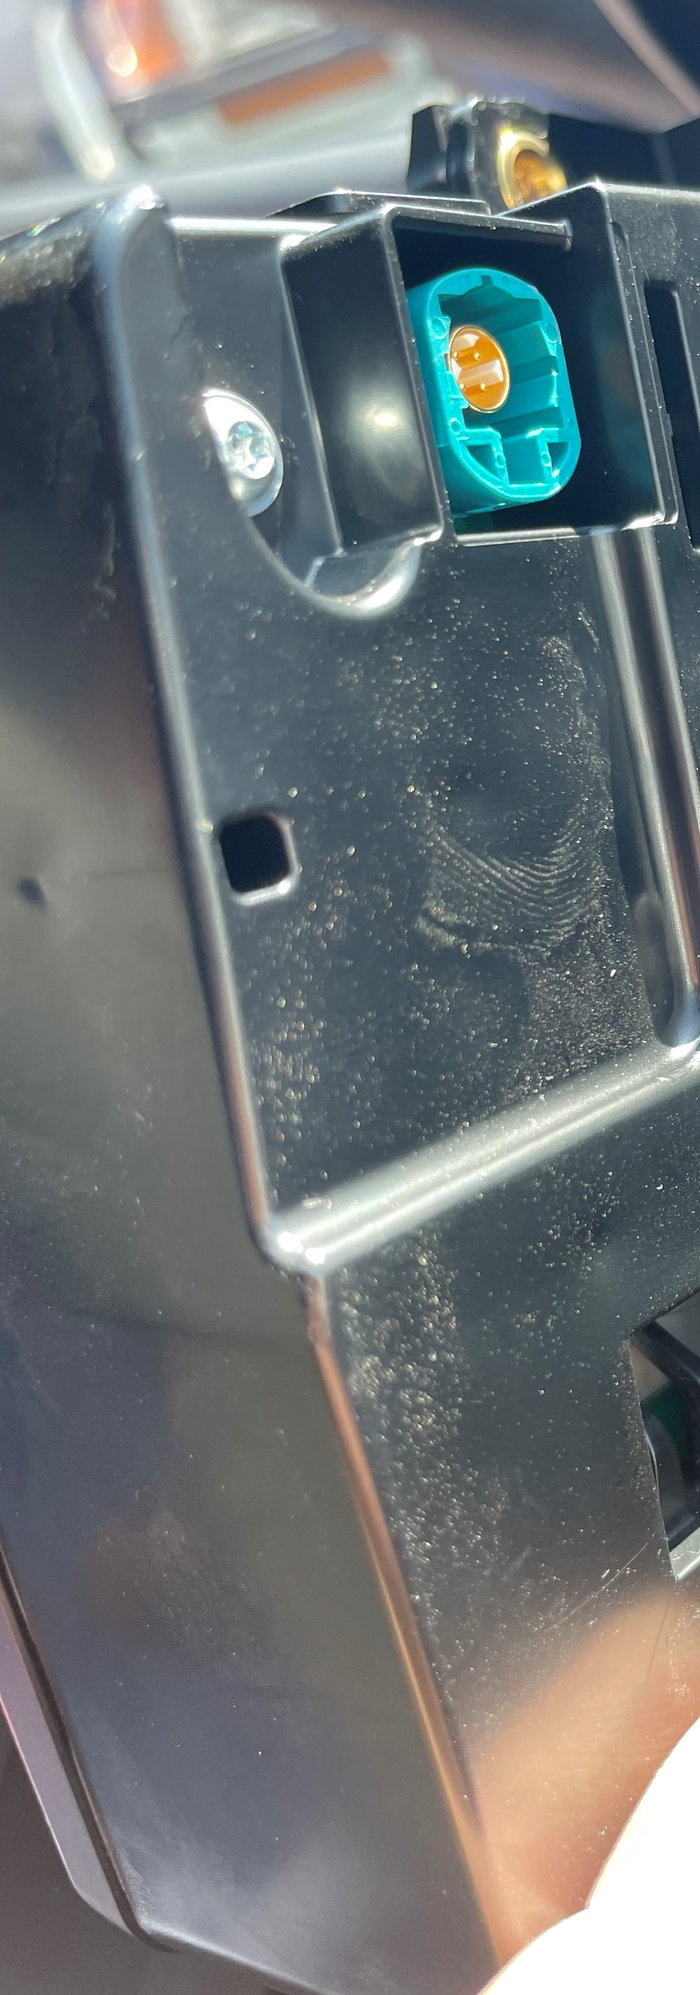
You need to buy the LVDS cable part number 9P3-979-001.
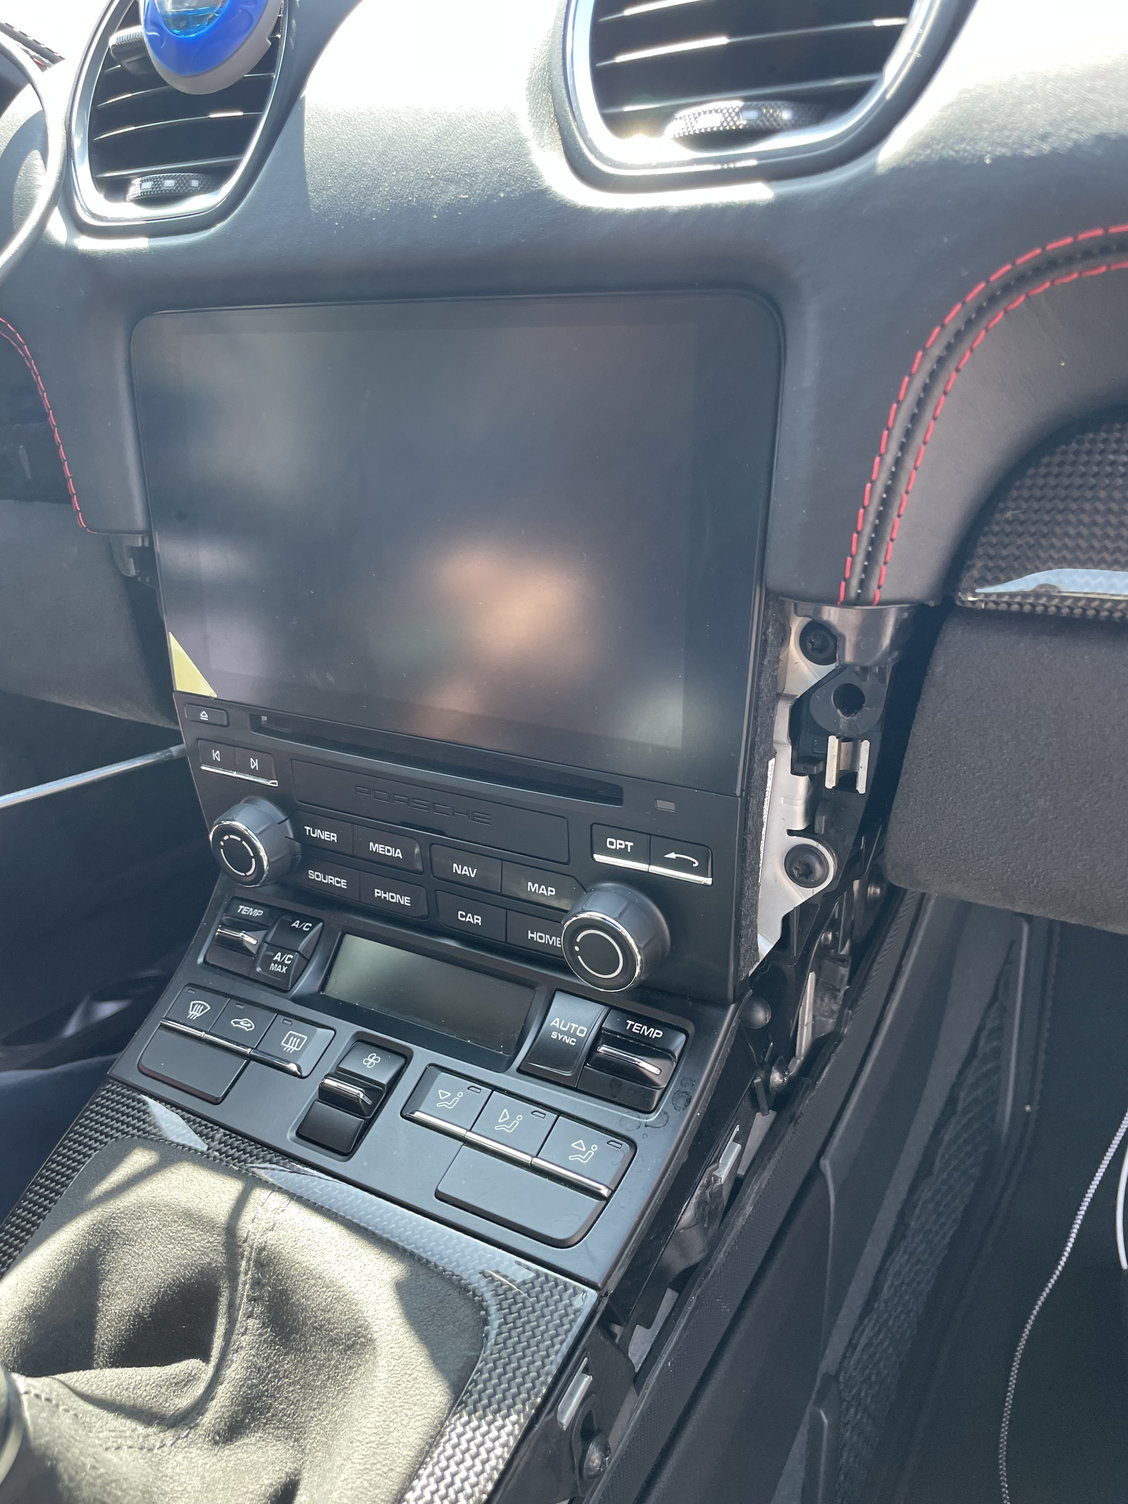
The PCM removal is pretty straightforward remove the side trim on both sides and remove four screws.
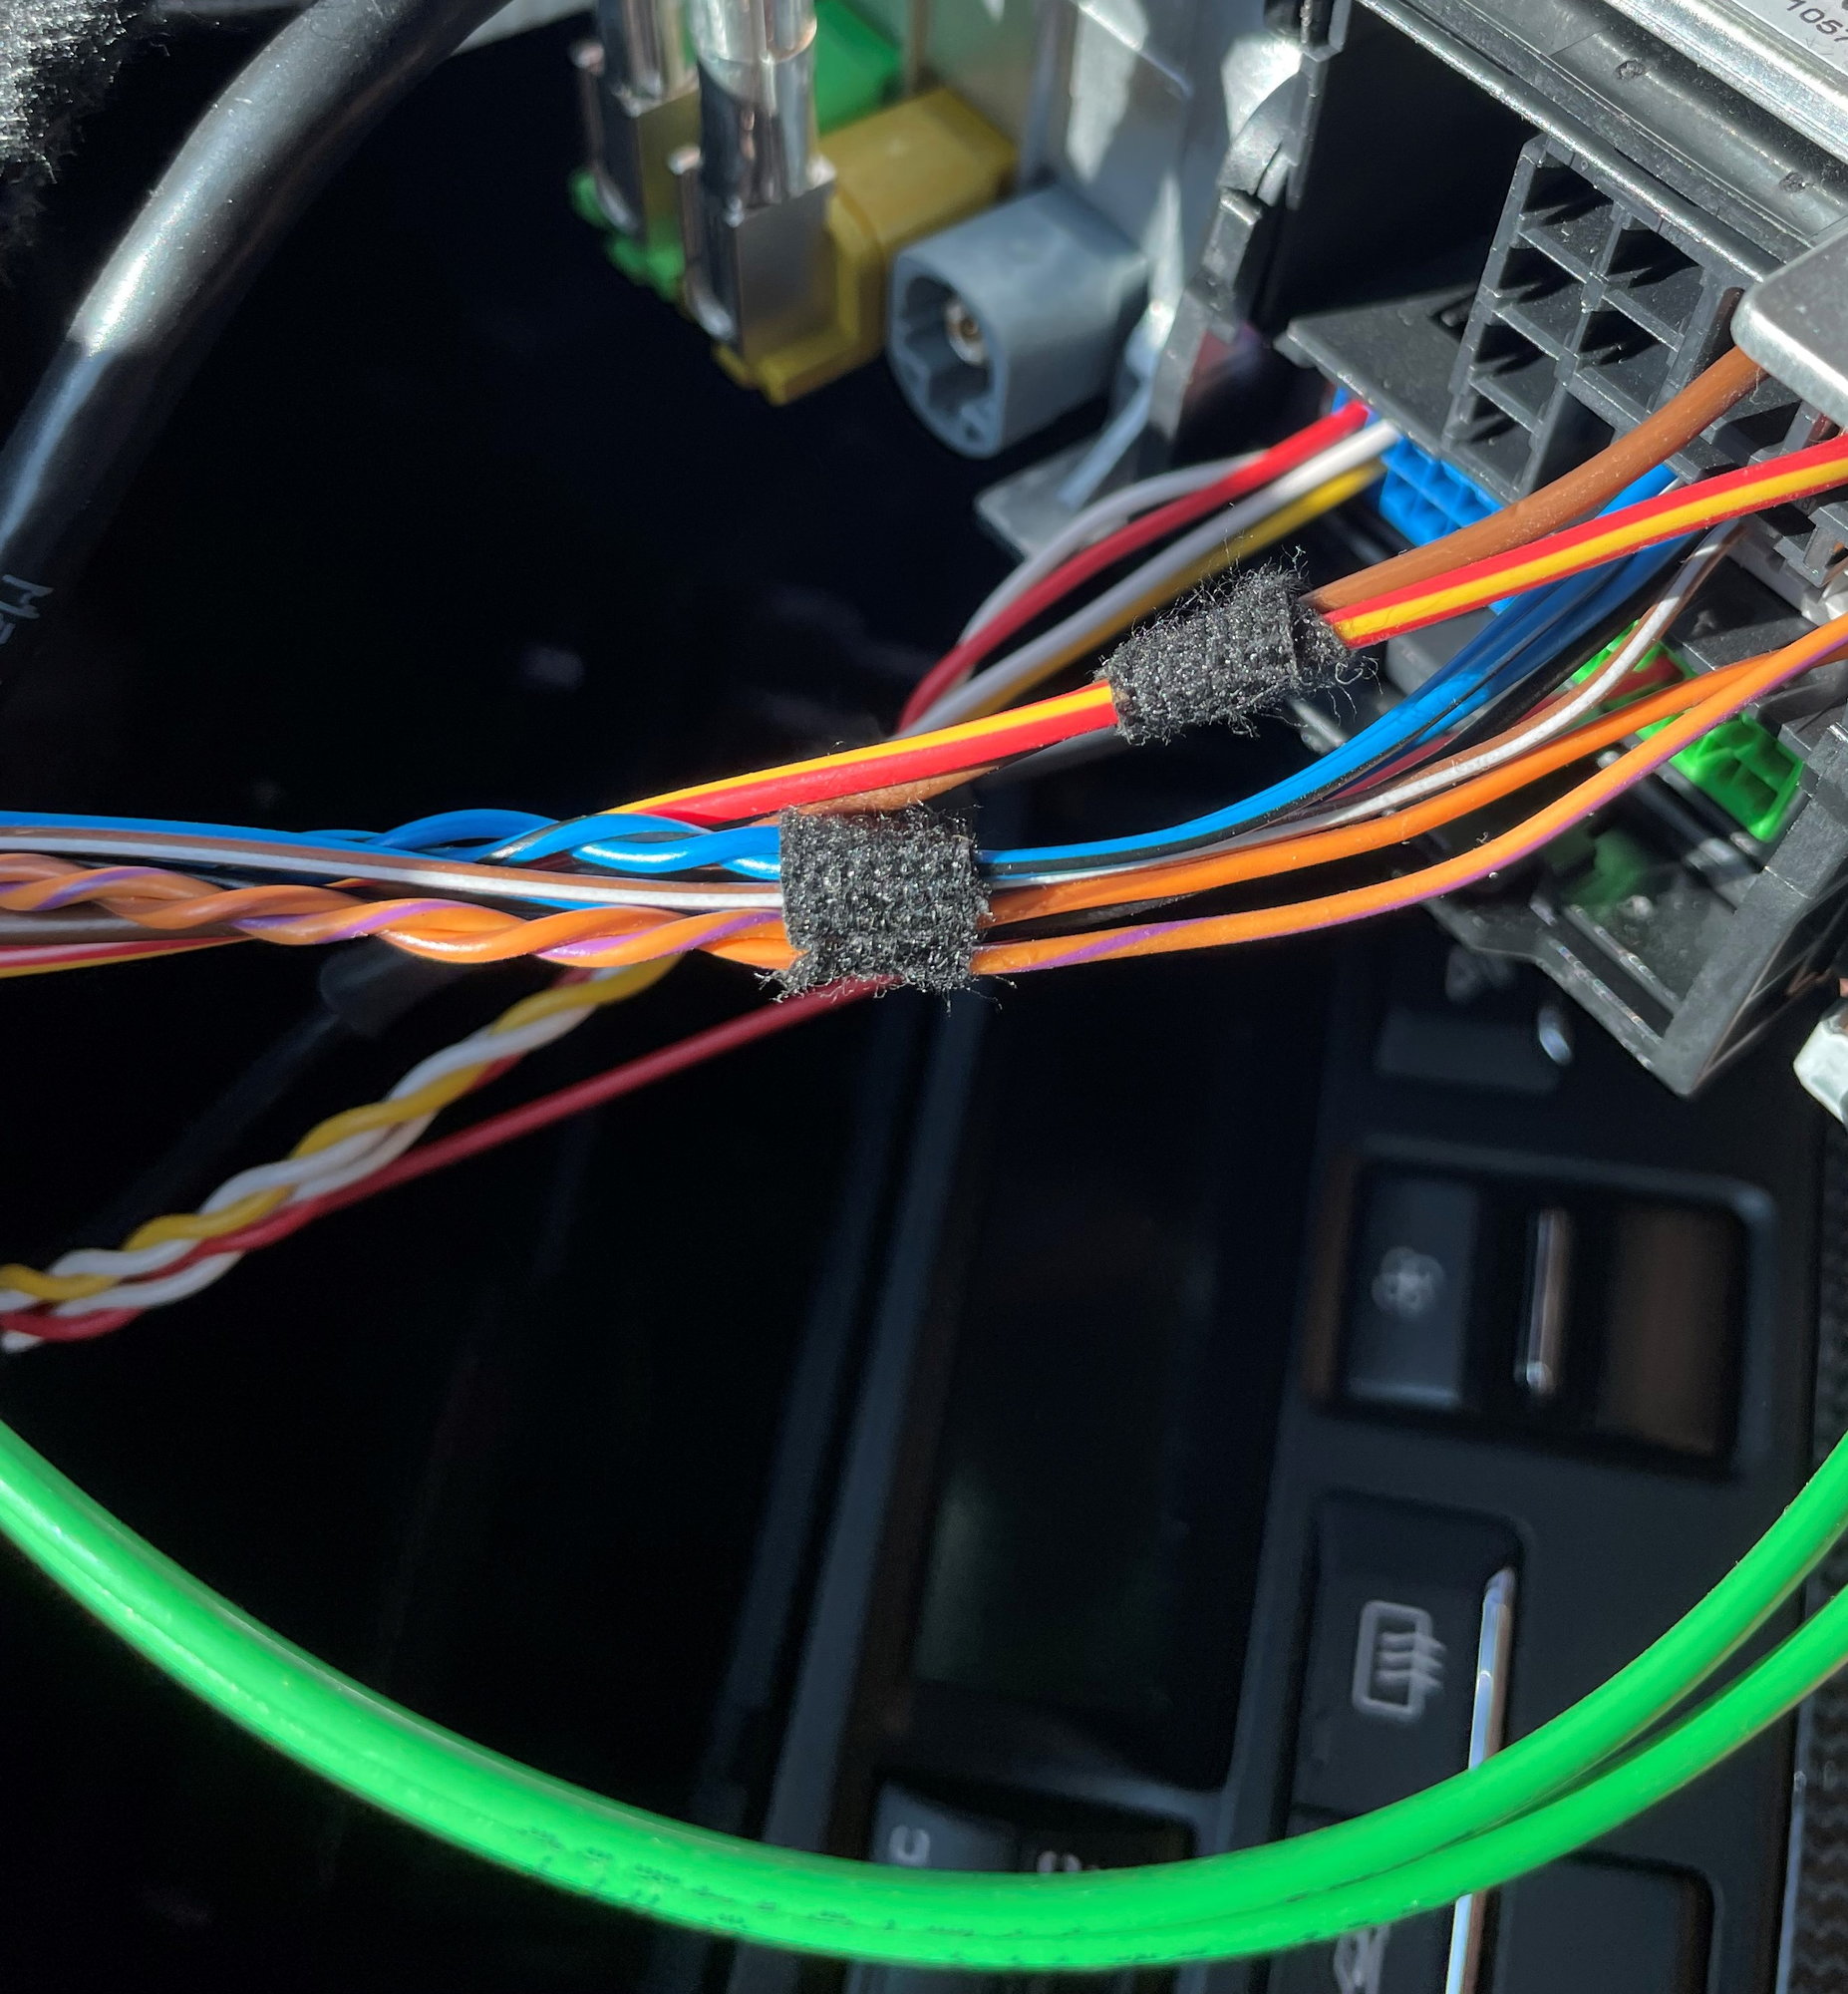
Slide the PCM unit forward and locate the Grey connector.
Plug the Grey cable connector to the back of the PCM Grey connector and route the cable to the instrument cluster behind the PCM to your left after you remove the instrument cluster.
I used this video to remove the instrument cluster but not to stop my odometer

 07-01-2022, 07:08 PM