Porsche 997: How to Replace Brake Pads, Rotors, and Calipers
If you follow the correct steps and take your time, replacing the brake pads, rotors, and calipers on your Porsche 997 is not as difficult as it might seem. Read on to learn how.
This article applies to the Porsche 911 997 (2005-2012).
Repairing the brake components on your Porsche is a moderately difficult task. As long as you take your time, follow the same steps for each wheel, and have the proper tools, you should be able to knock this repair out without any issues. Of course it doesn't hurt to have a basic understanding of what it takes, but that's what the Internet is for! This how-to article explains the basics of removing and replacing the brake pads, brake discs, and brake rotors on your Porsche 911 997.

Materials Needed
- Jack
- Jack stands
- 10mm Hex/Allen socket
- Phillips screw driver
- Impact driver with Phillips bit
- Needle nose pliers
- Brake bleeding tool (power bleeder, vacuum bleeder, or willing assistant)
The DIY cost varies depending on the brake component(s) you need to replace. In general for the Porsche 997, brake pads cost between $50-$450, rotors cost between $200-$400, and calipers cost between $200-$2,000.
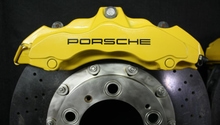
Before beginning, it is best to determine what brakes your specific car came equipped with. You either should have standard steel brakes or the optional PCCB (Porsche Ceramic Composite Brakes). You must replace whichever brakes you have with the exact replacement.
Also, keep in mind that it is important to keep everything as clean as possible when working on your brakes, especially when installing the new parts. Brake systems tend to create brake dust in the process of being used. It's a good idea to clean off all of the brake dust that has accumulated so that it doesn't build up to a point where it will start to interfere with braking performance.
Step 1 – Elevate the car off the ground
Using the jacking points on the car, use the jack to raise the car off the ground and place it securely on the jack stands. It is best to get all of the wheels off the ground that you will be changing the brakes on. This will help in saving time.
(Related Article: Porsche 997: How to Jack Up Your Car - Rennlist.com)

Step 2 – Remove wheels
Go ahead and loosen the wheel bolts and remove the wheels. Be careful not to hit the brake caliper or disc with the wheel while taking it off; this could damage these components.

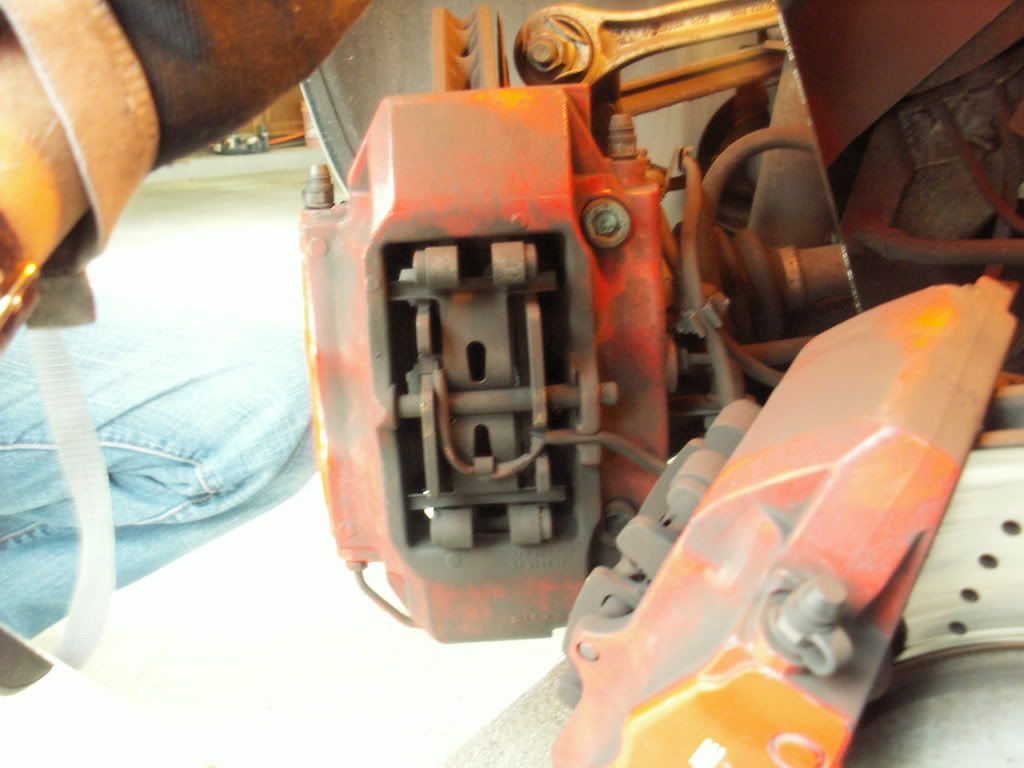
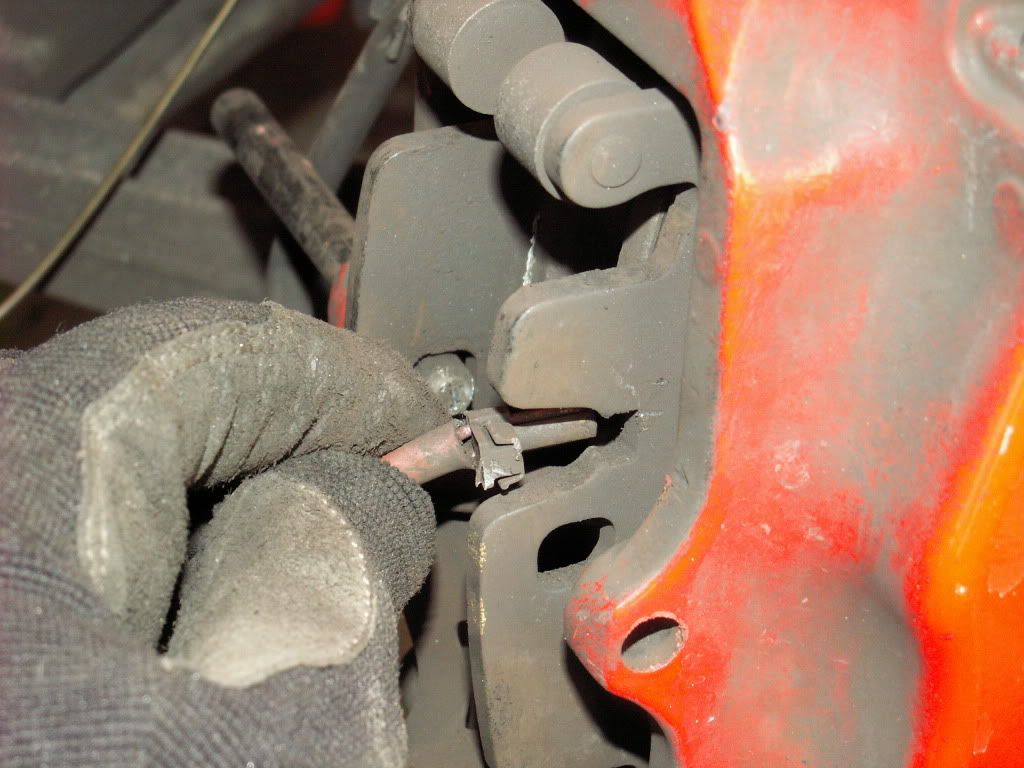
Step 3 – Remove the pad retainer pin from the caliper
In the center on top of the brake caliper there is a pin that goes from one side to the other. On the inner end of the pin there is a cotter pin that goes through it. Remove this cotter pin with your needle nose pliers and then remove the pin from the caliper.
Pro Tip
Turning or twisting the pin while trying to pull it out will make it easier to pull out.
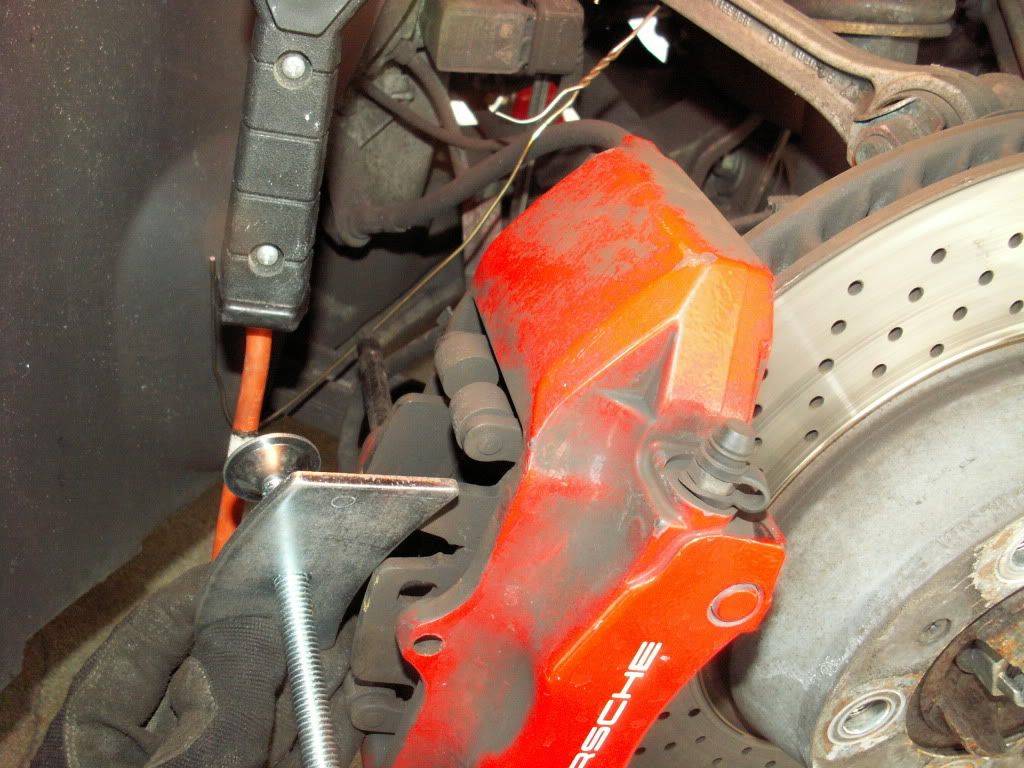
Step 4 – Remove warning contact wire from brake pad
On each brake pad you will see that a wire is attached to them. This is the brake pad sensor that warns you inside of your car when the pads are worn out and need to be replaced. Gently pull up on the ends of the wires where they connect to the pads and remove them. You will also need to remove the wire where it attaches to the caliper.
Step 5 – Pull brake pads out of the caliper
Now that the wire and the pin are out of the way, you can remove the pads from the caliper. The spring that holds the pad down can be set aside which will give you access to the pad. It might be necessary to depress the pistons on the caliper in order to give the pads enough room to be pulled out. You can depress the pistons either with the special tool from Porsche, or you can buy a tool for doing this at your local auto parts store. This tool will make the job a lot easier. Also, remember that there are vibration dampers that are attached to the back of the pads and insert into the caliper piston. Once you have enough room, you can push in towards the rotor with the pad and pop the vibration damper out of the piston.
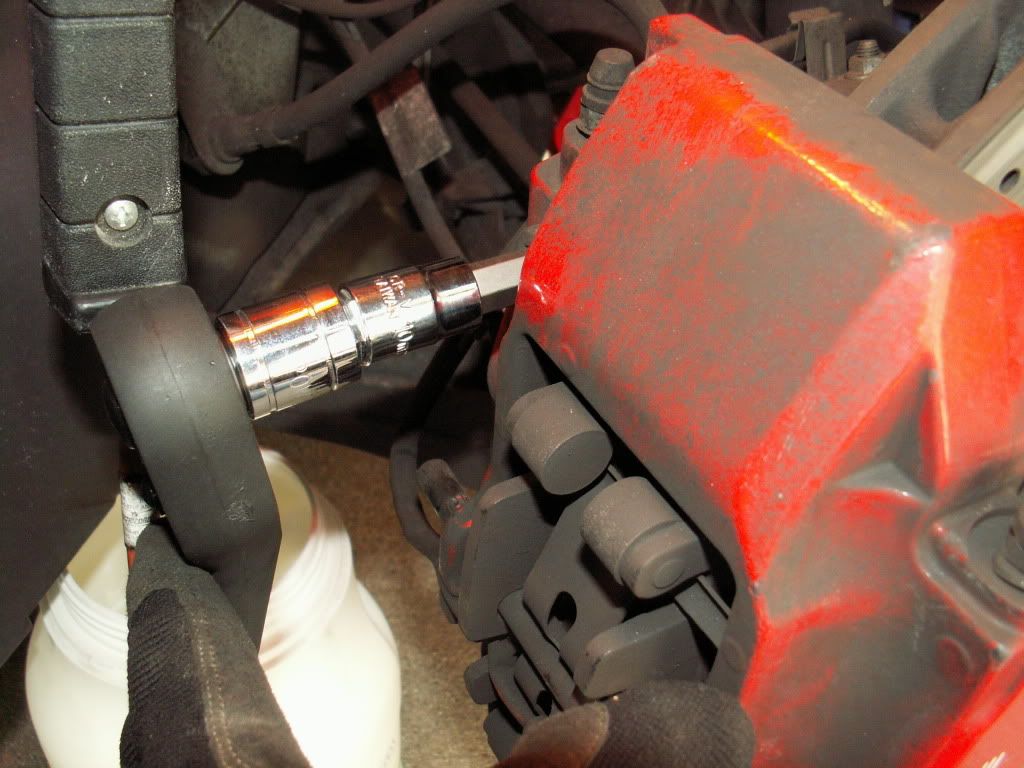
Step 6 – Remove caliper from suspension
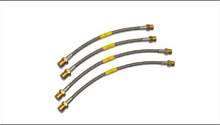
Now that you have the pads removed, you can remove the caliper from where it attaches to the suspension. Before doing this, loosen the brake line where it attaches to the caliper. Loosening this while the caliper is being held by the suspension will be a lot easier than trying to do it after you remove the caliper. Brake fluid will drip out when you loosen this line, so make sure you have something to catch the fluid that comes out.
After you loosen the line, locate the two bolts that secure the caliper to the suspension. They are 10mm Hex/Allen bolts. After you locate them, use your 10mm Hex/Allen socket and remove the bolts. Removing these bolts will free up the caliper and allow you to remove it from the suspension.
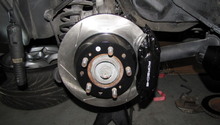
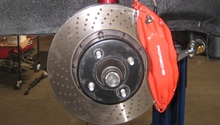
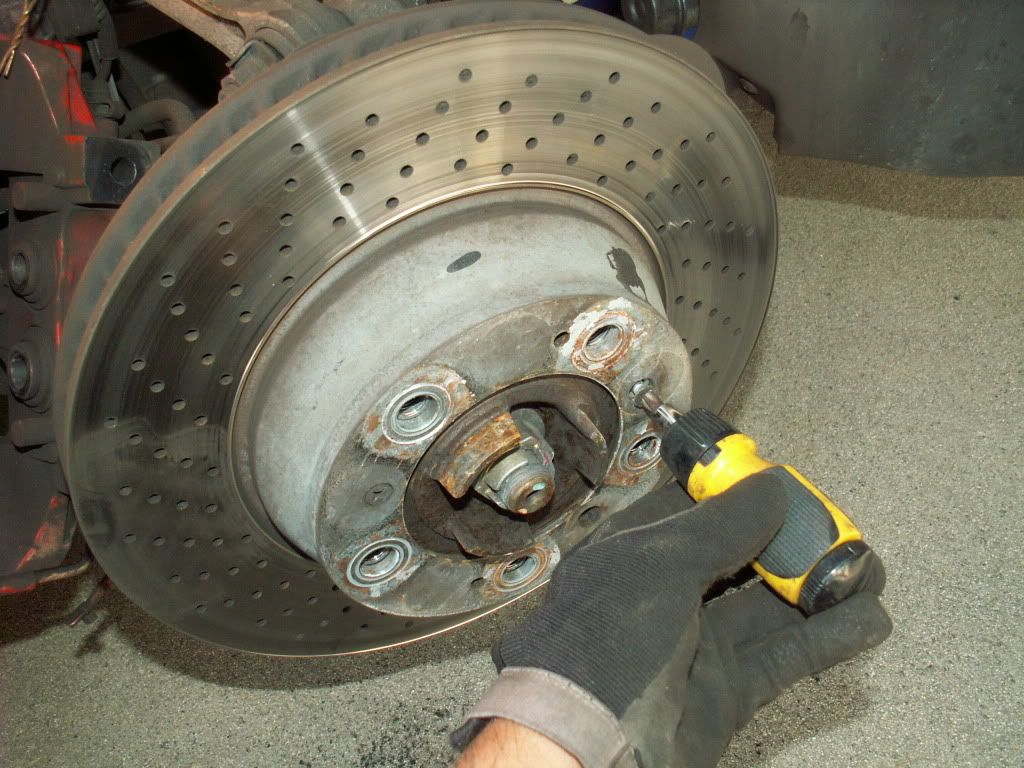
Step 7 – Remove brake discs
Once the brake caliper is out of the way, it will allow you access to the brake disc. If you look on the hub of the brake disc, you will notice two Phillips head screws. These screws are what holds the brake disc to the wheel carrier. You must remove them to take the disc off. Sometimes, these can be difficult to remove and will require the use of an impact driver. Be very careful not to strip them or they will have to be drilled out. After you remove the screws, you can remove the brake disc. It might require some taps from a rubber mallet to remove. Make sure you use gentle taps if this is required.
Pro Tip
For the rear discs you will need to make sure that the parking brake is not set.
Step 8 – Repeat Steps 3-7 in reverse order to install new brake parts
Installing your new discs, pads, and calipers will be as easy as reversing the steps to take them off. Make sure that you replace the vibration dampers, spring, and retainer pin with new parts. It is also recommended to replace the bolts that hold the caliper onto the suspension with new ones as these are one-time-use bolts.
If you are rebuilding your calipers, do that before re-installing them. Make sure to torque everything to the proper torque specs when installing all fasteners.
Step 9 – Bleed brake system
Any time you disconnect a brake line, you will need to bleed your brake system. There are a few different ways to do this. Figure out which way will work best for you and make sure to replace the brake fluid with the correct type.
(Related Article: Porsche 997: How to Bleed Brakes - Rennlist.com)
Related Discussions and Site
- 997 Brake Pads - Rennlist.com
- DIY Brake Pad and Disc Change - 6speedonline.com
- Changing Front Brakes - Rennlist.com