Porsche 993: How to Install Amplifier
If you're serious about upgrading the sound in your 993, it's time to add some power in the form of an amplifier. Learn about the installation process here.
This article applies to the Porsche 993 (1993-1998).
Installing an aftermarket stereo and speakers is a great way to get started in improving the sound quality of your ride, but when you're ready to get serious about upgrading your car stereo, installing an amplifier is a must. Amplifiers do exactly what you would think – they send additional power to your speakers, giving them a serious boost. Whether you want better sound from a set of regular aftermarket speakers or you're installing a subwoofer, adding an amplifier makes a big difference in sound quality. Here's what you have to do to make it happen.

Materials Needed
- Power wire
- Inline fuse or fuse block
- Screwdrivers, flat and Phillips
- Socket wrench set
- Coat hanger
- Car stereo removal tool
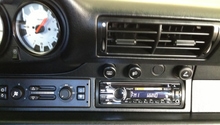
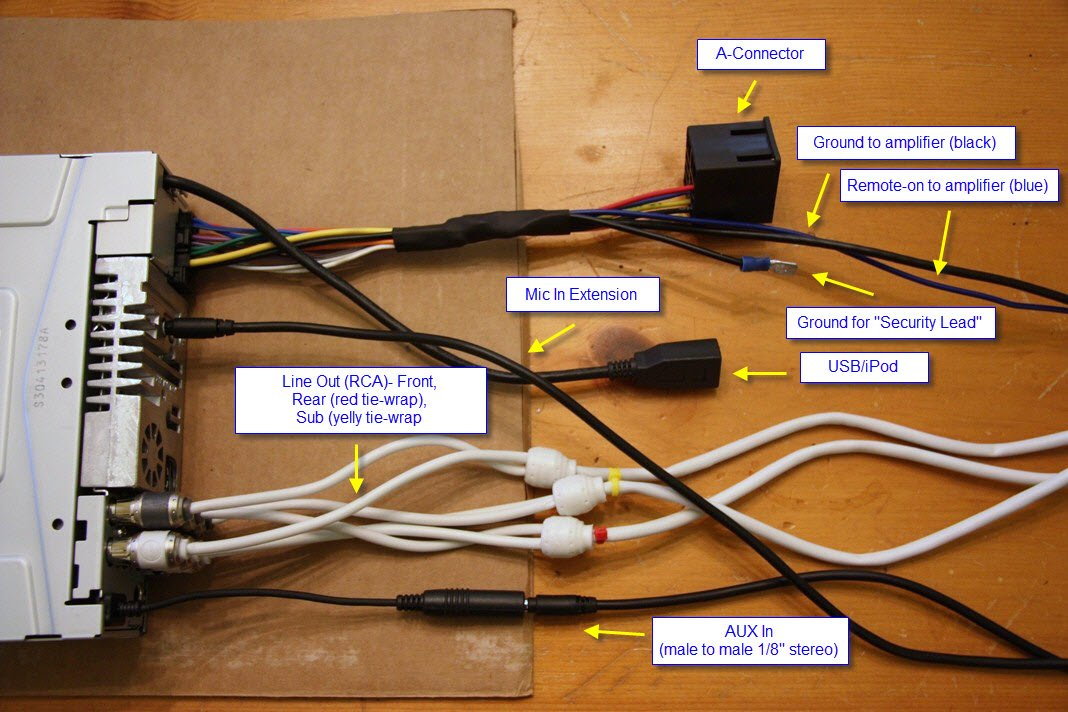
Step 1 – Run remote wire and RCA cables to car stereo
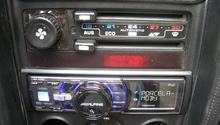
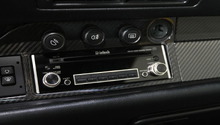
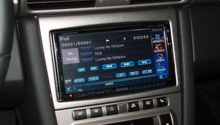
Use a car stereo removal tool to remove the car stereo by placing one piece in the notch on each side of the stereo. Pull the radio out. You will need to splice and connect a remote wire (typically blue in color) to run from the car stereo to the amplifier as well as a set of RCA cables. Simply plug in the RCA cables to the back of the stereo. Run the remote wire and the RCA cables behind the dash and under the carpet to the door sill to keep them hidden. Slide the car stereo back in place until you hear a click.
Step 2 – Run the amplifier power cable
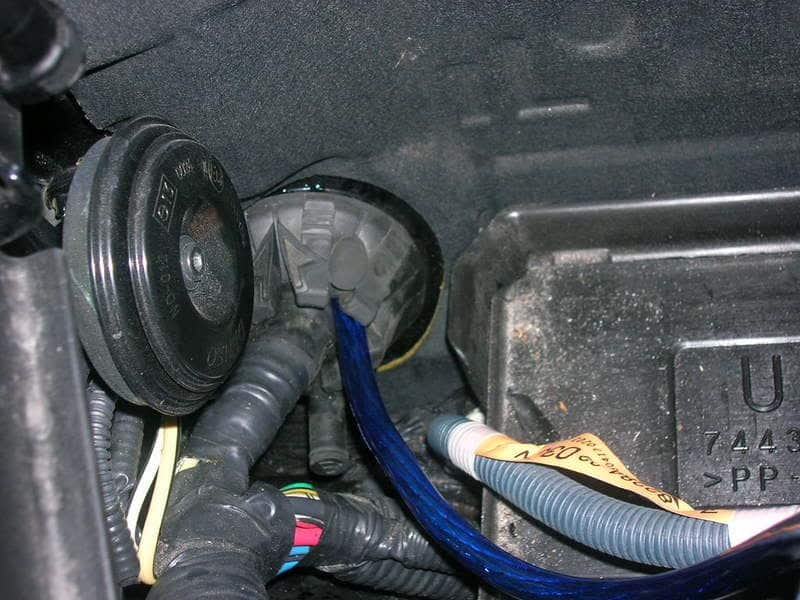
The hardest part of the installation is running the power cable for the amplifier. Start by removing the negative battery cable from your battery, followed by the positive terminal. Look for a suitable rubber grommet along the firewall to use as a pass through for the power wire. Use a screwdriver to punch a hole for the power wire in the grommet. Splice the power wire and install whichever type of inline fuse you will be using ahead of the battery connection, then install the end connector on to the power wire. Feed the other end of the wire through the grommet.
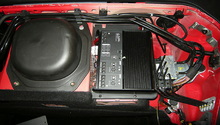
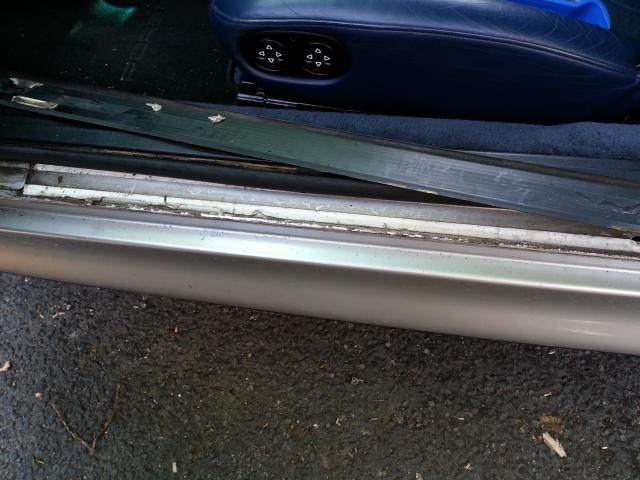
Step 3 – Run wiring to desired amplifier location
Most people prefer to wire up the amplifier in the trunk, where it can be connected to a subwoofer if desired. To run the wiring to the trunk, you will first want to remove the passenger side scuff plate. Once removed, run the power wire, remote wire, and RCA cables underneath. You can use a cable tie to keep them neatly together. Lift up the carpet around the scuff plate and you will be able to completely hide all the cables. Re-install the scuff plates. You may also need to remove the back seat to gain access to the trunk.
Step 4 – Install amplifier
To install the amplifier, first decide where you want it to be. Plug in the RCA cables, screw in the remote wire connection, and connect the speaker wire running to the speakers you want the amplifier to power. Screw in the power wire. Find a solid piece of metal to connect the amplifier's ground wire to. Usually you can lift up the carpet and find a bolt that is suitable for the job. Once you have wired up the amplifier, reconnect the ground and power wire on the battery with the power wire for the amplifier. Ensure everything is tight before testing.

Related Discussions
- Replacing a Nokia Factory Amp in a 993 - Rennlist.com
- Amplifier Installation in a Porsche 993 - Rennlist.com
- Amplifier Installation with Factory Radio - Rennlist.com