When you click on links to various merchants on this site and make a purchase, this can result in this site earning a commission. Affiliate programs and affiliations include, but are not limited to, the eBay Partner Network.
Yes would love inside diameter of replacement tubing if anyone has it. I'd rather just cut a couple inches and splice it as well. I am guessing either 1/8" or 1/4" inside diameter?
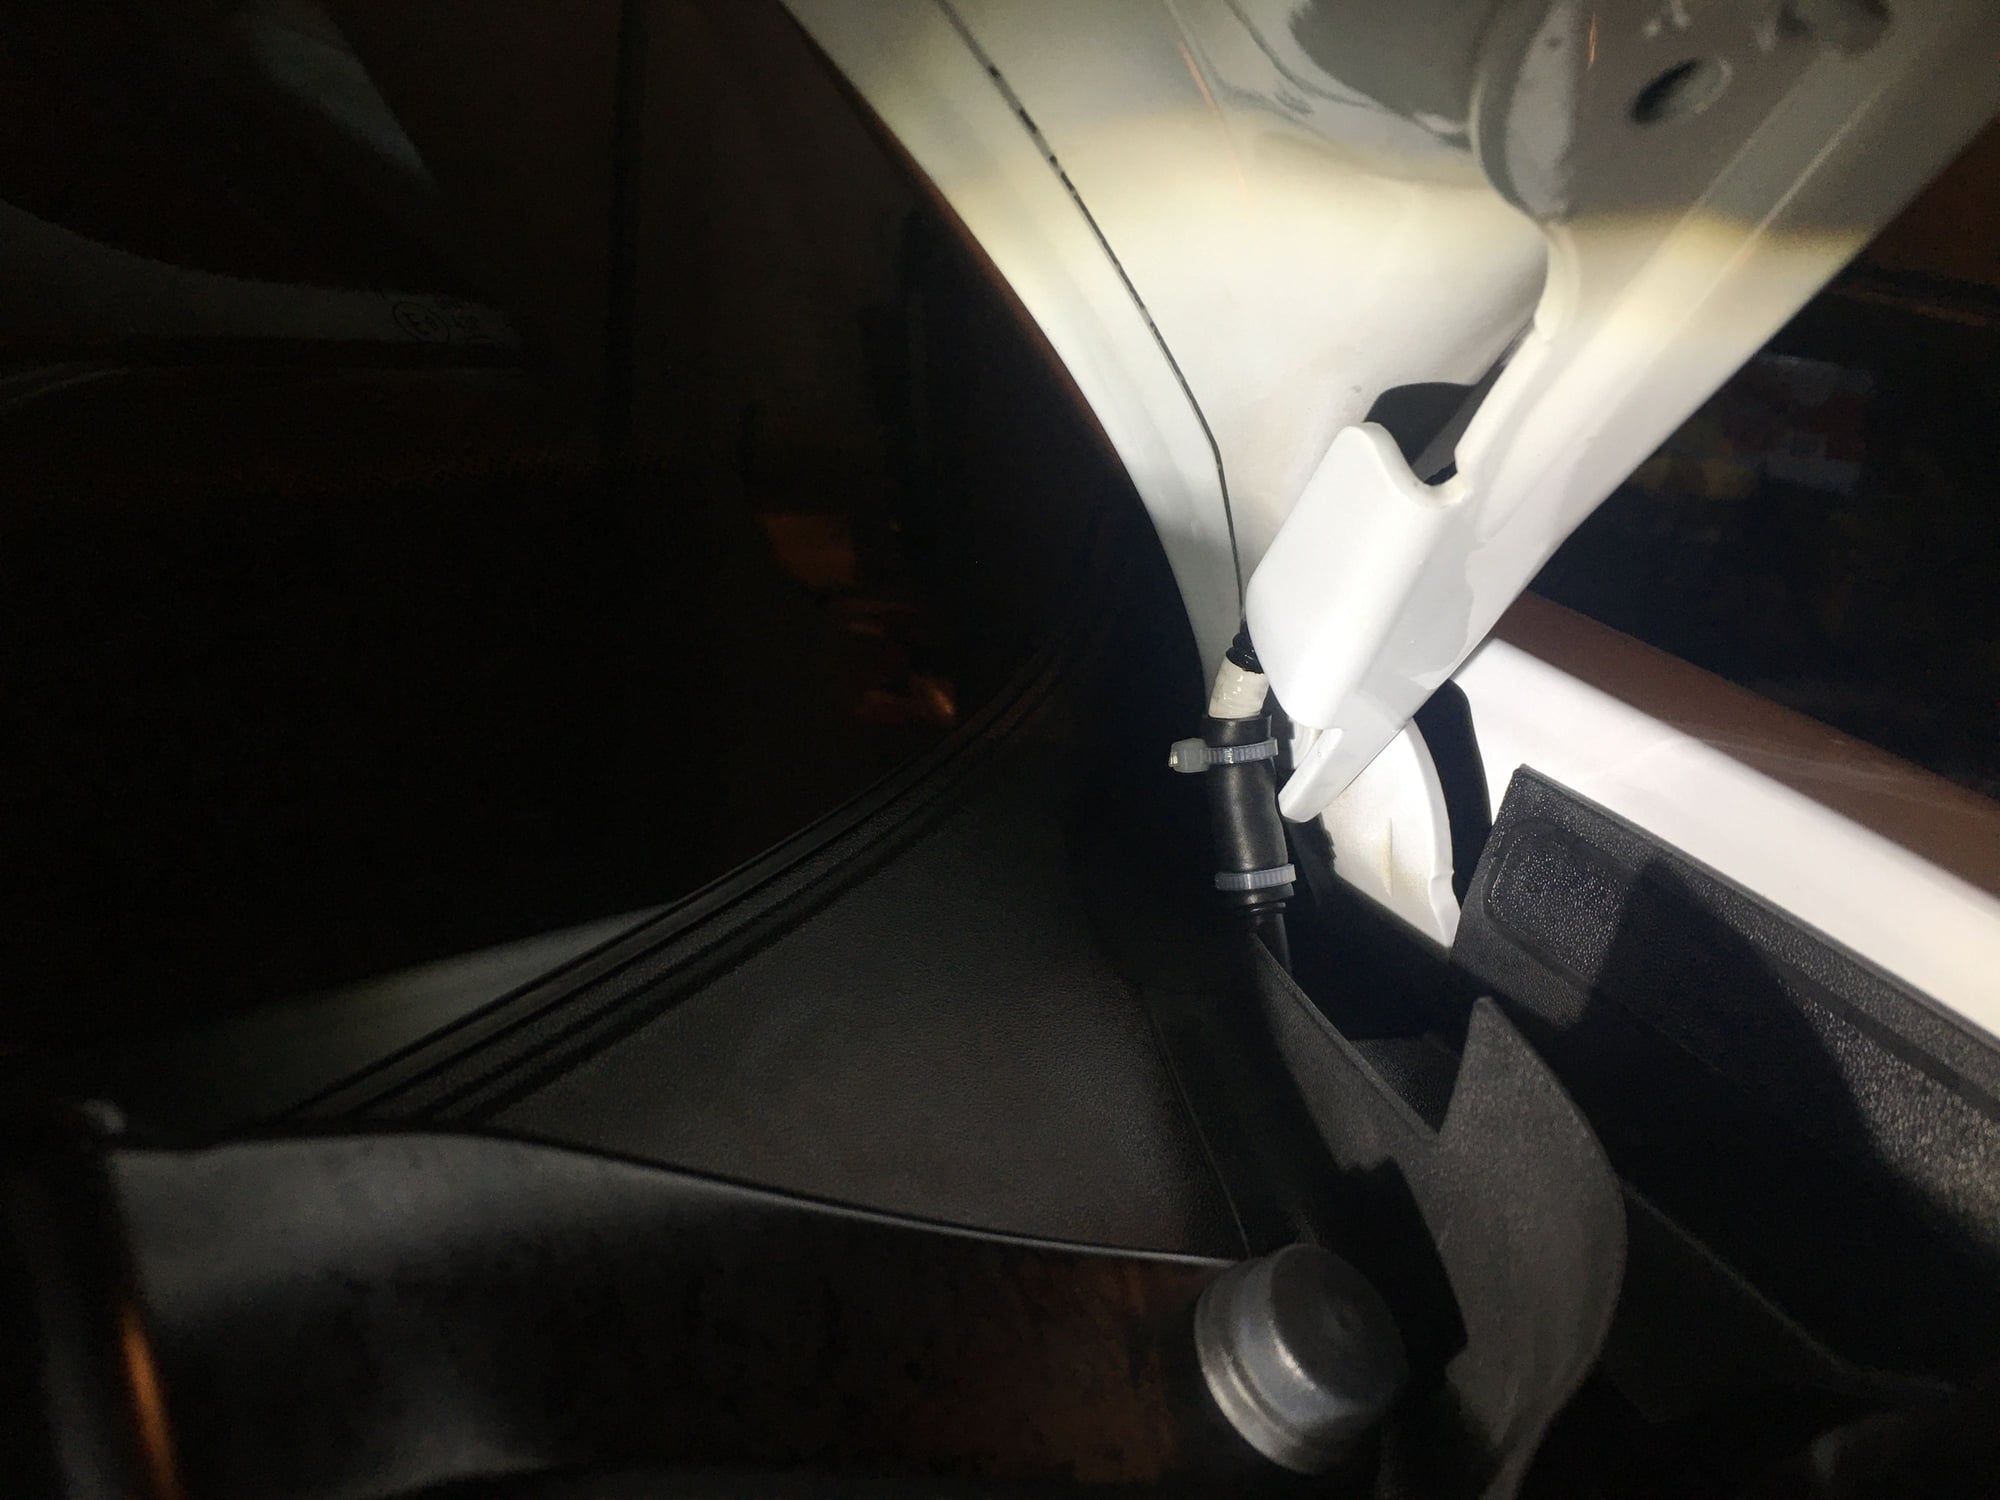
I ended up accidentally breaking the little plastic bracket that "secures" the tube in place. If you use a piece of rubber hose to connect the broken washer fluid line, then there's a good chance you won't be able to fit the plastic bracket back on depending on where your break is. But to be honest, I don't think that bracket secures anything. In fact, I think the washer fluid line has more laxity without the bracket which I think will help prevent future breaks. I'm going to keep the bracket off.
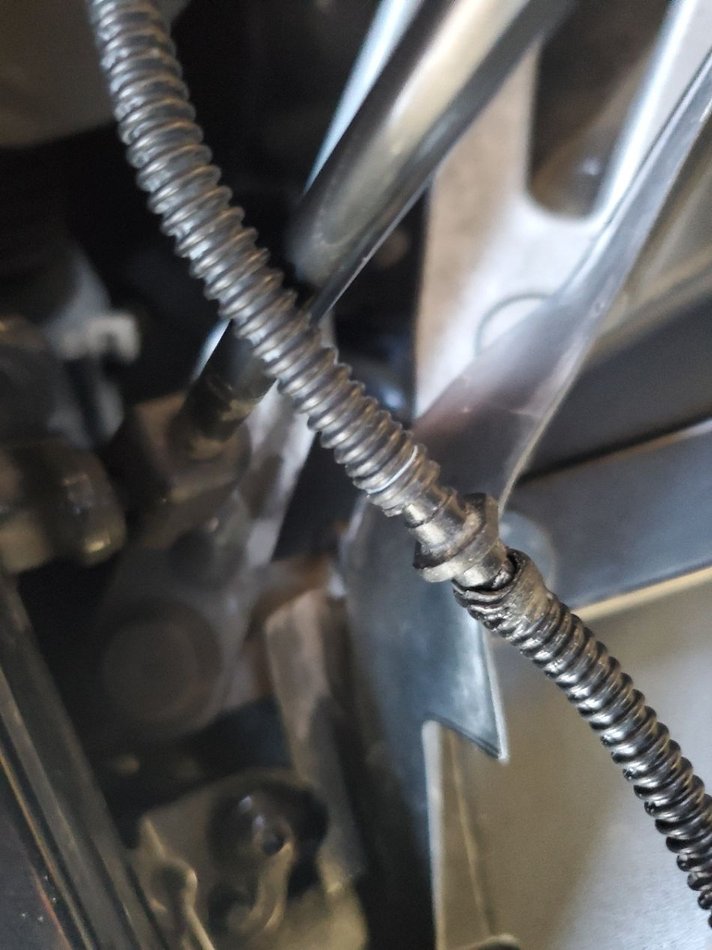
I've had this hose break twice on my old C4S, and now it broke on my TT.
The design of the bracket almost guarantees a breakage, since the plastic used for the hose is extremely brittle - almost feels like ABS - and is subjected to nearly a ninety degree bend angle when the frunk is open. The second time that I got this issue repaired under my CPO for my C4S, I remarked to the tech that it was a design flaw, and he agreed - he said anecdotally that they would see a couple cars a week come in for this problem, like clockwork.
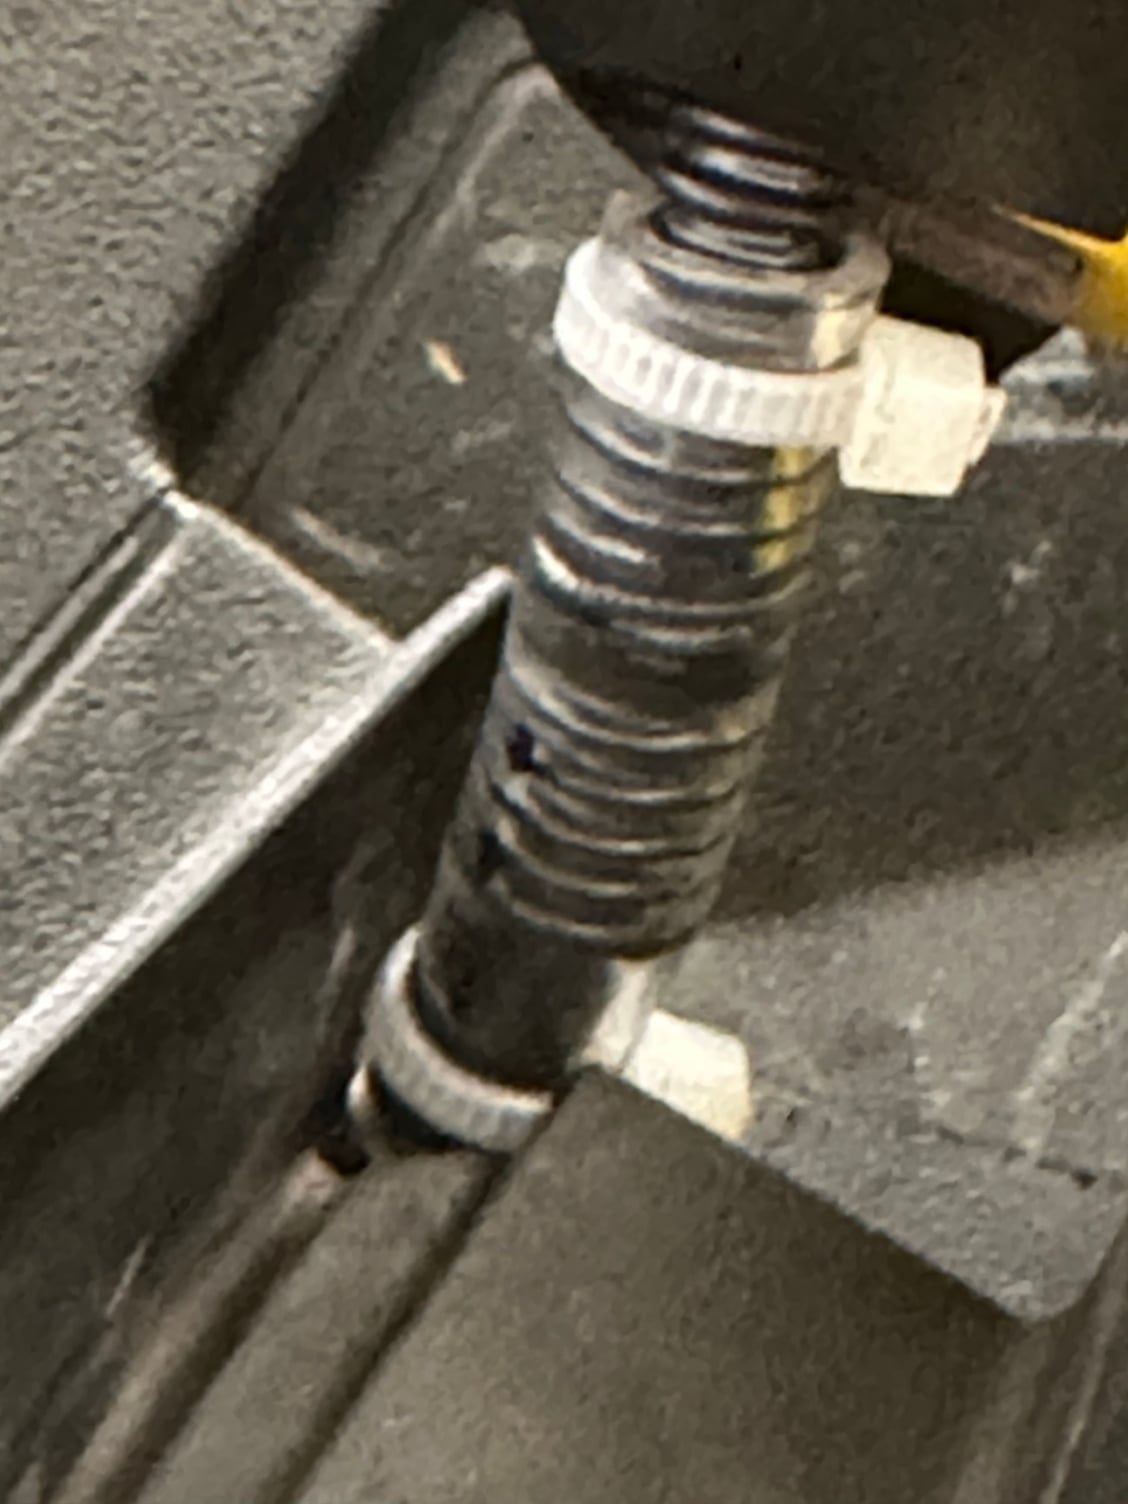
I ended up using the flexible rubber hose from O'reillys to fix this (7/32" ID), but I added zip ties to both ends of the repair for security - because during my first test run without them, the hose slipped off after about 10 seconds of wiper on. My second test run completed without incident.
I'm also thinking about shaving down a portion of the plastic in the bracket so that it fits the newly-modified hose. Need to borrow a file set, or maybe a dremel, to do that.
Does the headlight washer jet squirter whenever the windshield washer one does. I thought I read somewhere that it only squirter if the headlights are on, but I might be confusing that with the Cayenne.
according to manual the headlights squirt after 10 uses of the windshield squirter.
Only thing I would add to this thread would be to tie string to the end of each end of the tubing where the jets are at when removing the old line and use the string to pull the new tubing back in. I did this and pulling the new tubing in took about 5 seconds. This was with two people, with one person feeding and one pulling both strings on each part of the line back through.
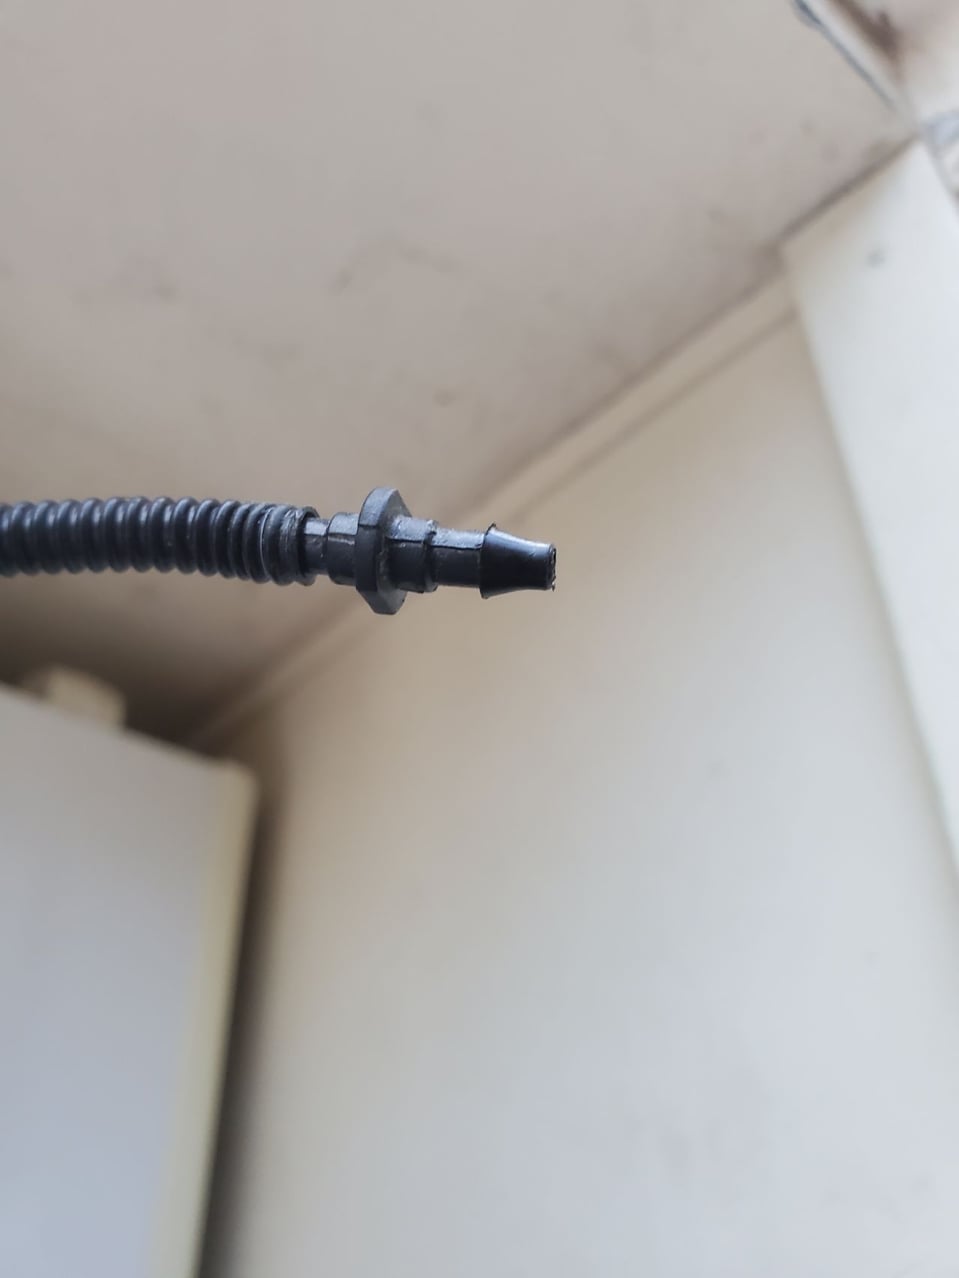
Thanks for the excellent and informative post. Armed with this information, I was able to fix the broken washer hose on my 2013 Boxter quite easily. I ended up fixing the existing hose by connecting a 1/4" irrigation fitting at the break point. Once I figured out how to access the hose, the repair took about two minutes.
The ribbed plastic hose is hard plastic that does not have much flexibility. My solution was to warm the hose with a hot air gun before inserting the fitting. This worked great but given the age of the plastic hose, I suspect that I will have to perform this repair again one of these days. 1/4" irrigation fitting Warming the plastic hose makes it soft enough for the fitting to be inserted
Just had this happen to my 991.2 GT3 as well. Took me longer to read this post than to do the fix -- thank you to all that have blazed the trail before me.
(left over from plumbing a drink tube into my race helmet). As suggested above I push fit this over the ends of the broken hose and zip tied it above and below the break. This tubing is super flexy so I made sure that the middle part of it was sitting at the point where the flow has to bend past the lower edge of the hinge clip mentioned above. I think this should let me leave the clip in there (which covers up the view of the tubing and zip ties from the outside when the hood is closed for one thing) without risking the tube breaking again as the hood opens and closes. Seems to work quite well based on a few test cycles.
Thanks for the link! $12 and Amazon will have the tubing on my porch tomorrow!
Originally Posted by boxer-11
Just had this happen to my 991.2 GT3 as well. Took me longer to read this post than to do the fix -- thank you to all that have blazed the trail before me.
To fix mine, I used a 2" piece of 1/4" ID clear silicon tubing (left over from plumbing a drink tube into my race helmet). As suggested above I push fit this over the ends of the broken hose and zip tied it above and below the break. This tubing is super flexy so I made sure that the middle part of it was sitting at the point where the flow has to bend past the lower edge of the hinge clip mentioned above. I think this should let me leave the clip in there (which covers up the view of the tubing and zip ties from the outside when the hood is closed for one thing) without risking the tube breaking again as the hood opens and closes. Seems to work quite well based on a few test cycles.
Mine just broke. Stopped for gas and popped the frunk to figure out what was going on, thinking maybe there was just some ice stuck in the nozzles or something. Saw the broken line and immediately thought, someone on Rennlist has figured this out. I bet it's no big deal. Forums like this have made car ownership SO MUCH easier. Thanks OP.
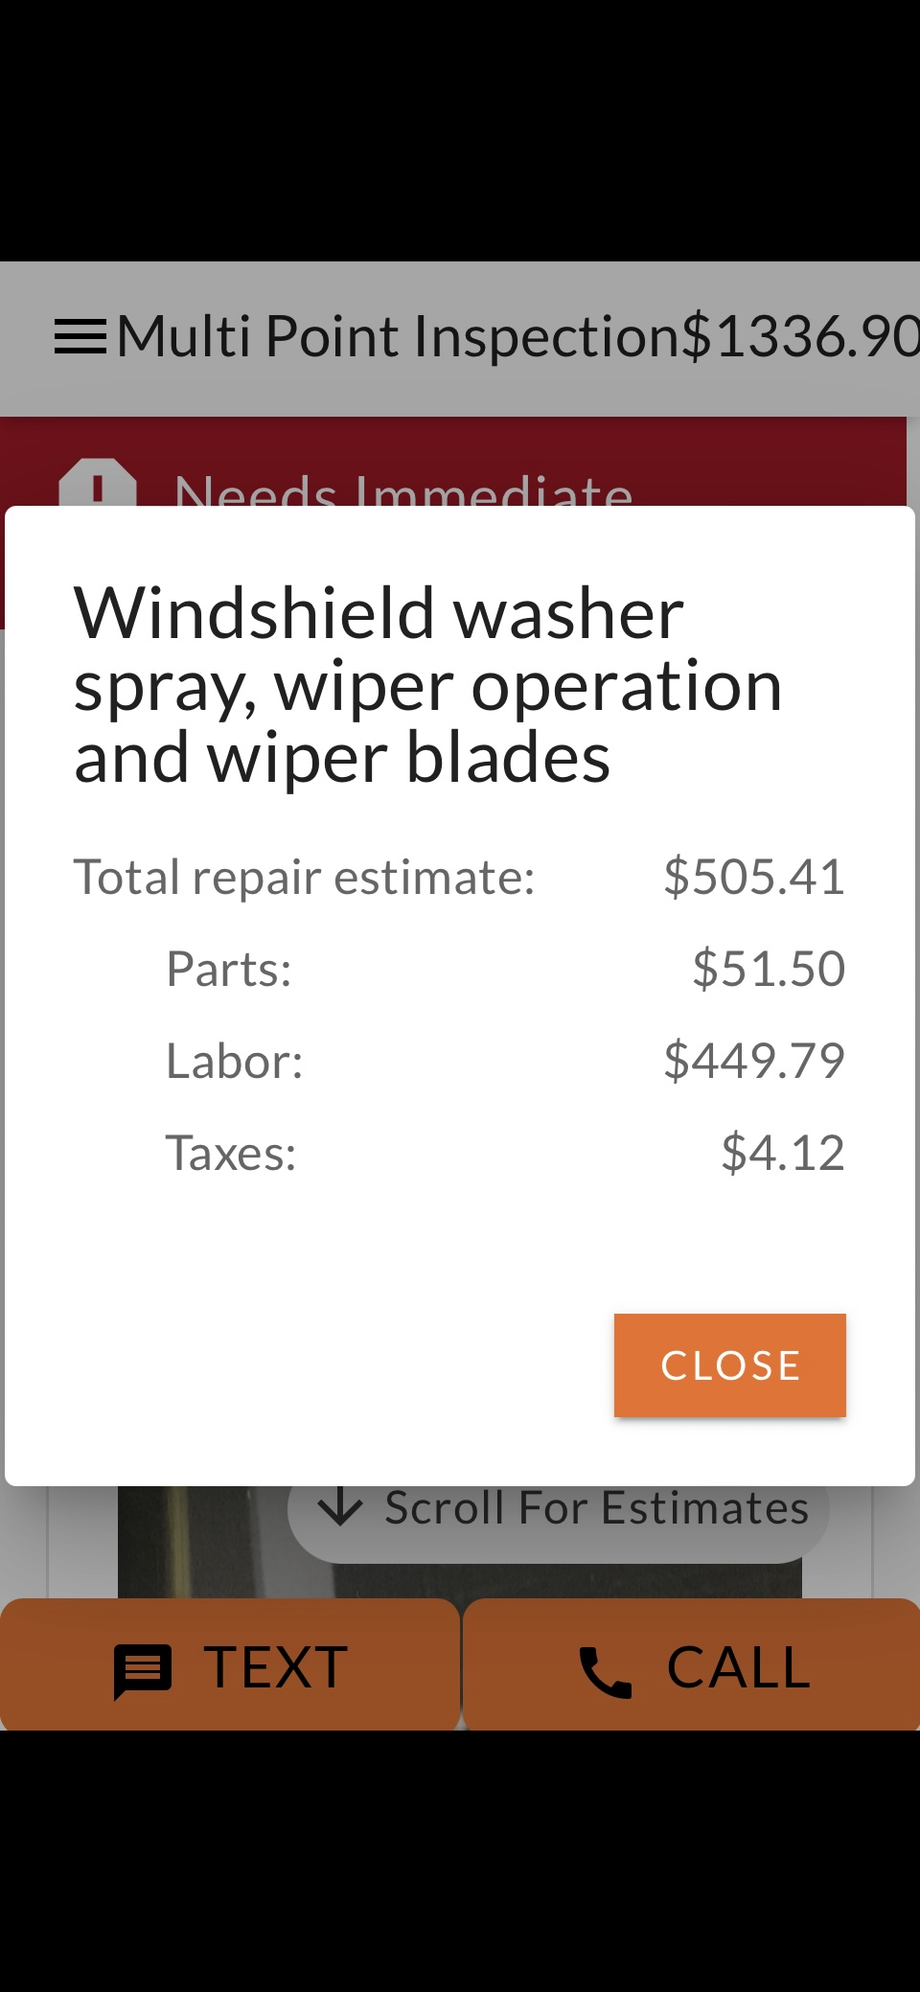
Took my car for service and they told me mine was broken (had no idea) and the dealer quoted me $505 to fix this. I did a search and found 3 different threads about it (I will post this on all three) so I declined the repair and I decided to give it a try.
I purchased one foot of two different tubings at Ace hardware, total $1.15. One was 3/16 and the other one 1/4 inner diameter. Such tubing was a bit stiff so the 3/16 was impossible to get the plastic in there so I used 1/4
that worked just fine. It is extremely snug as it is but I decided to put a couple of small zip ties on both sides to secure it in place. I tested it and it worked just fine and it doesn�t get kinked at closing.
hope this helps to others especially with this prone to fail design.
 05-04-2020, 11:22 AM