When you click on links to various merchants on this site and make a purchase, this can result in this site earning a commission. Affiliate programs and affiliations include, but are not limited to, the eBay Partner Network.
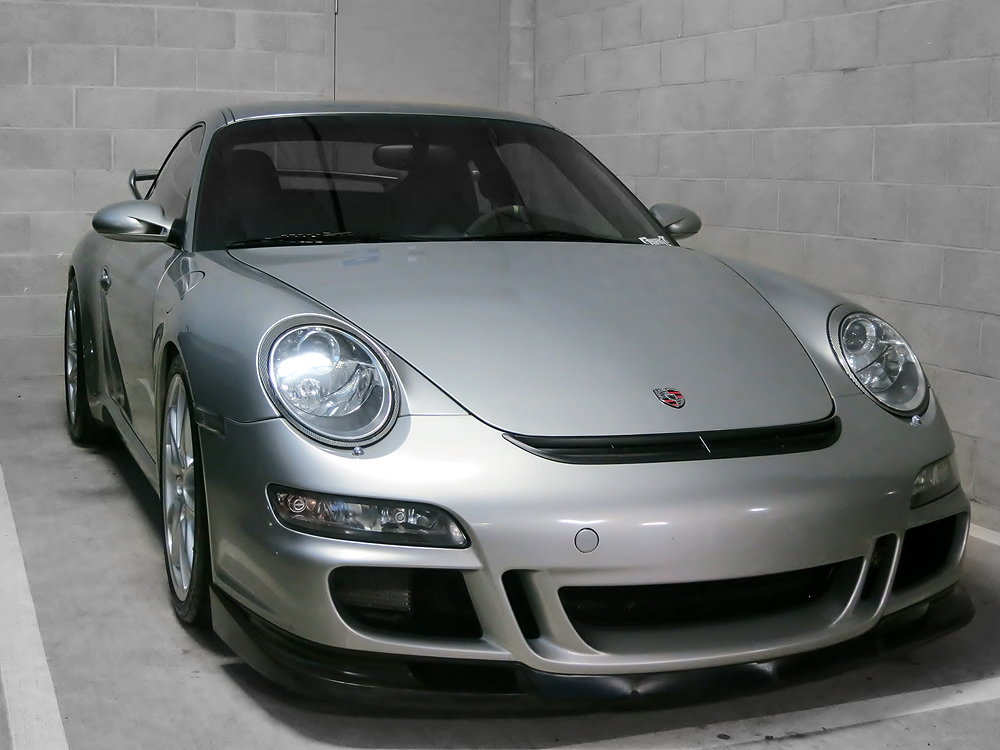
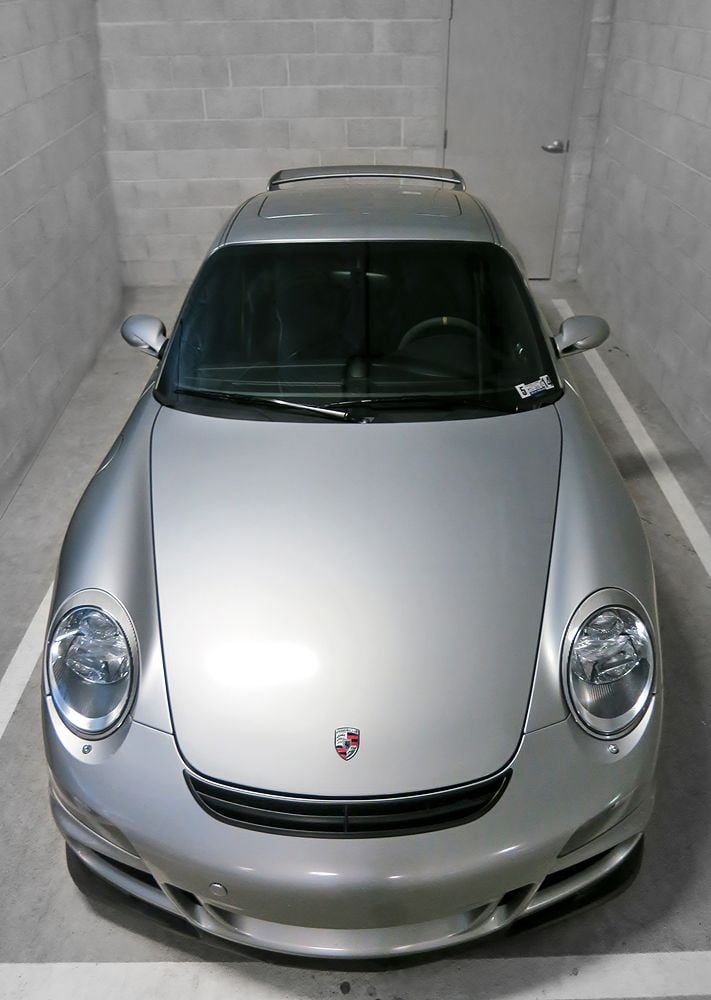
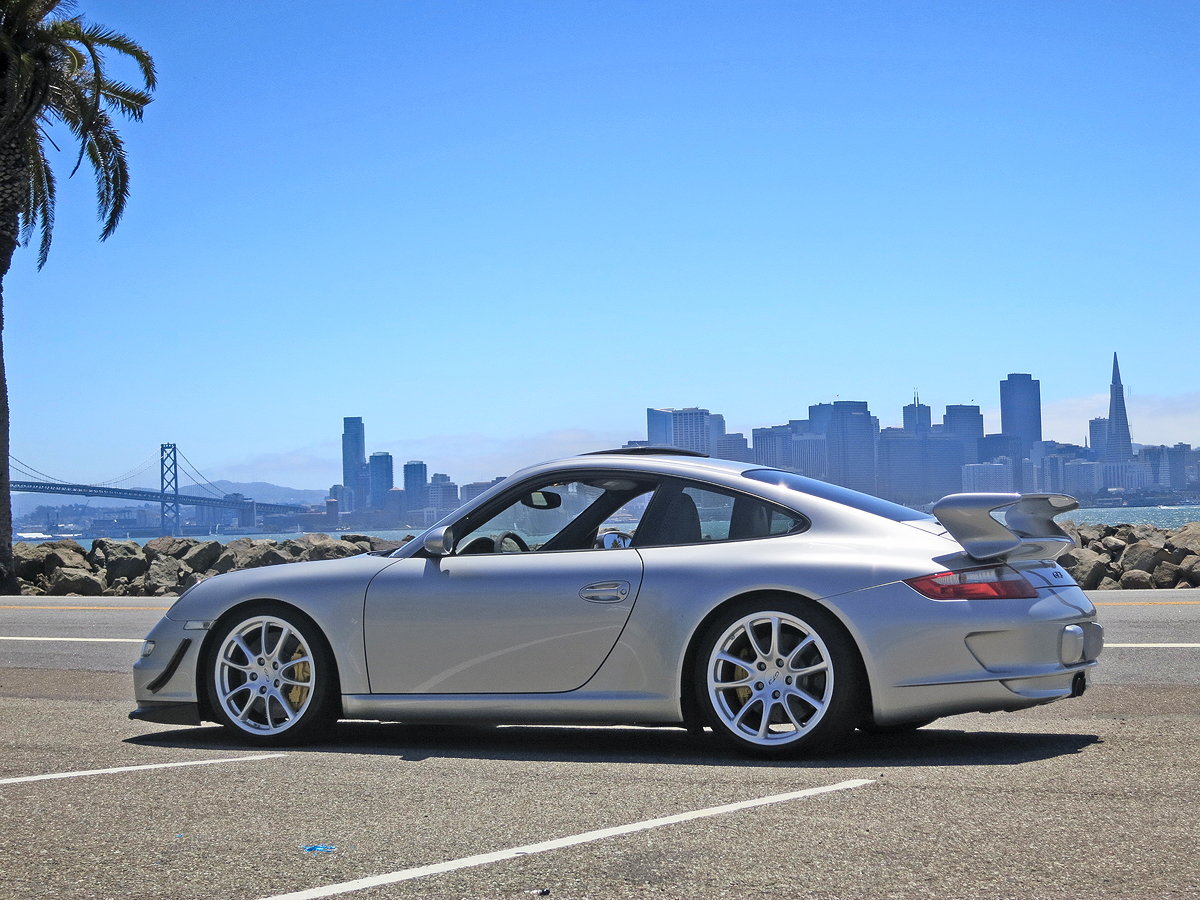
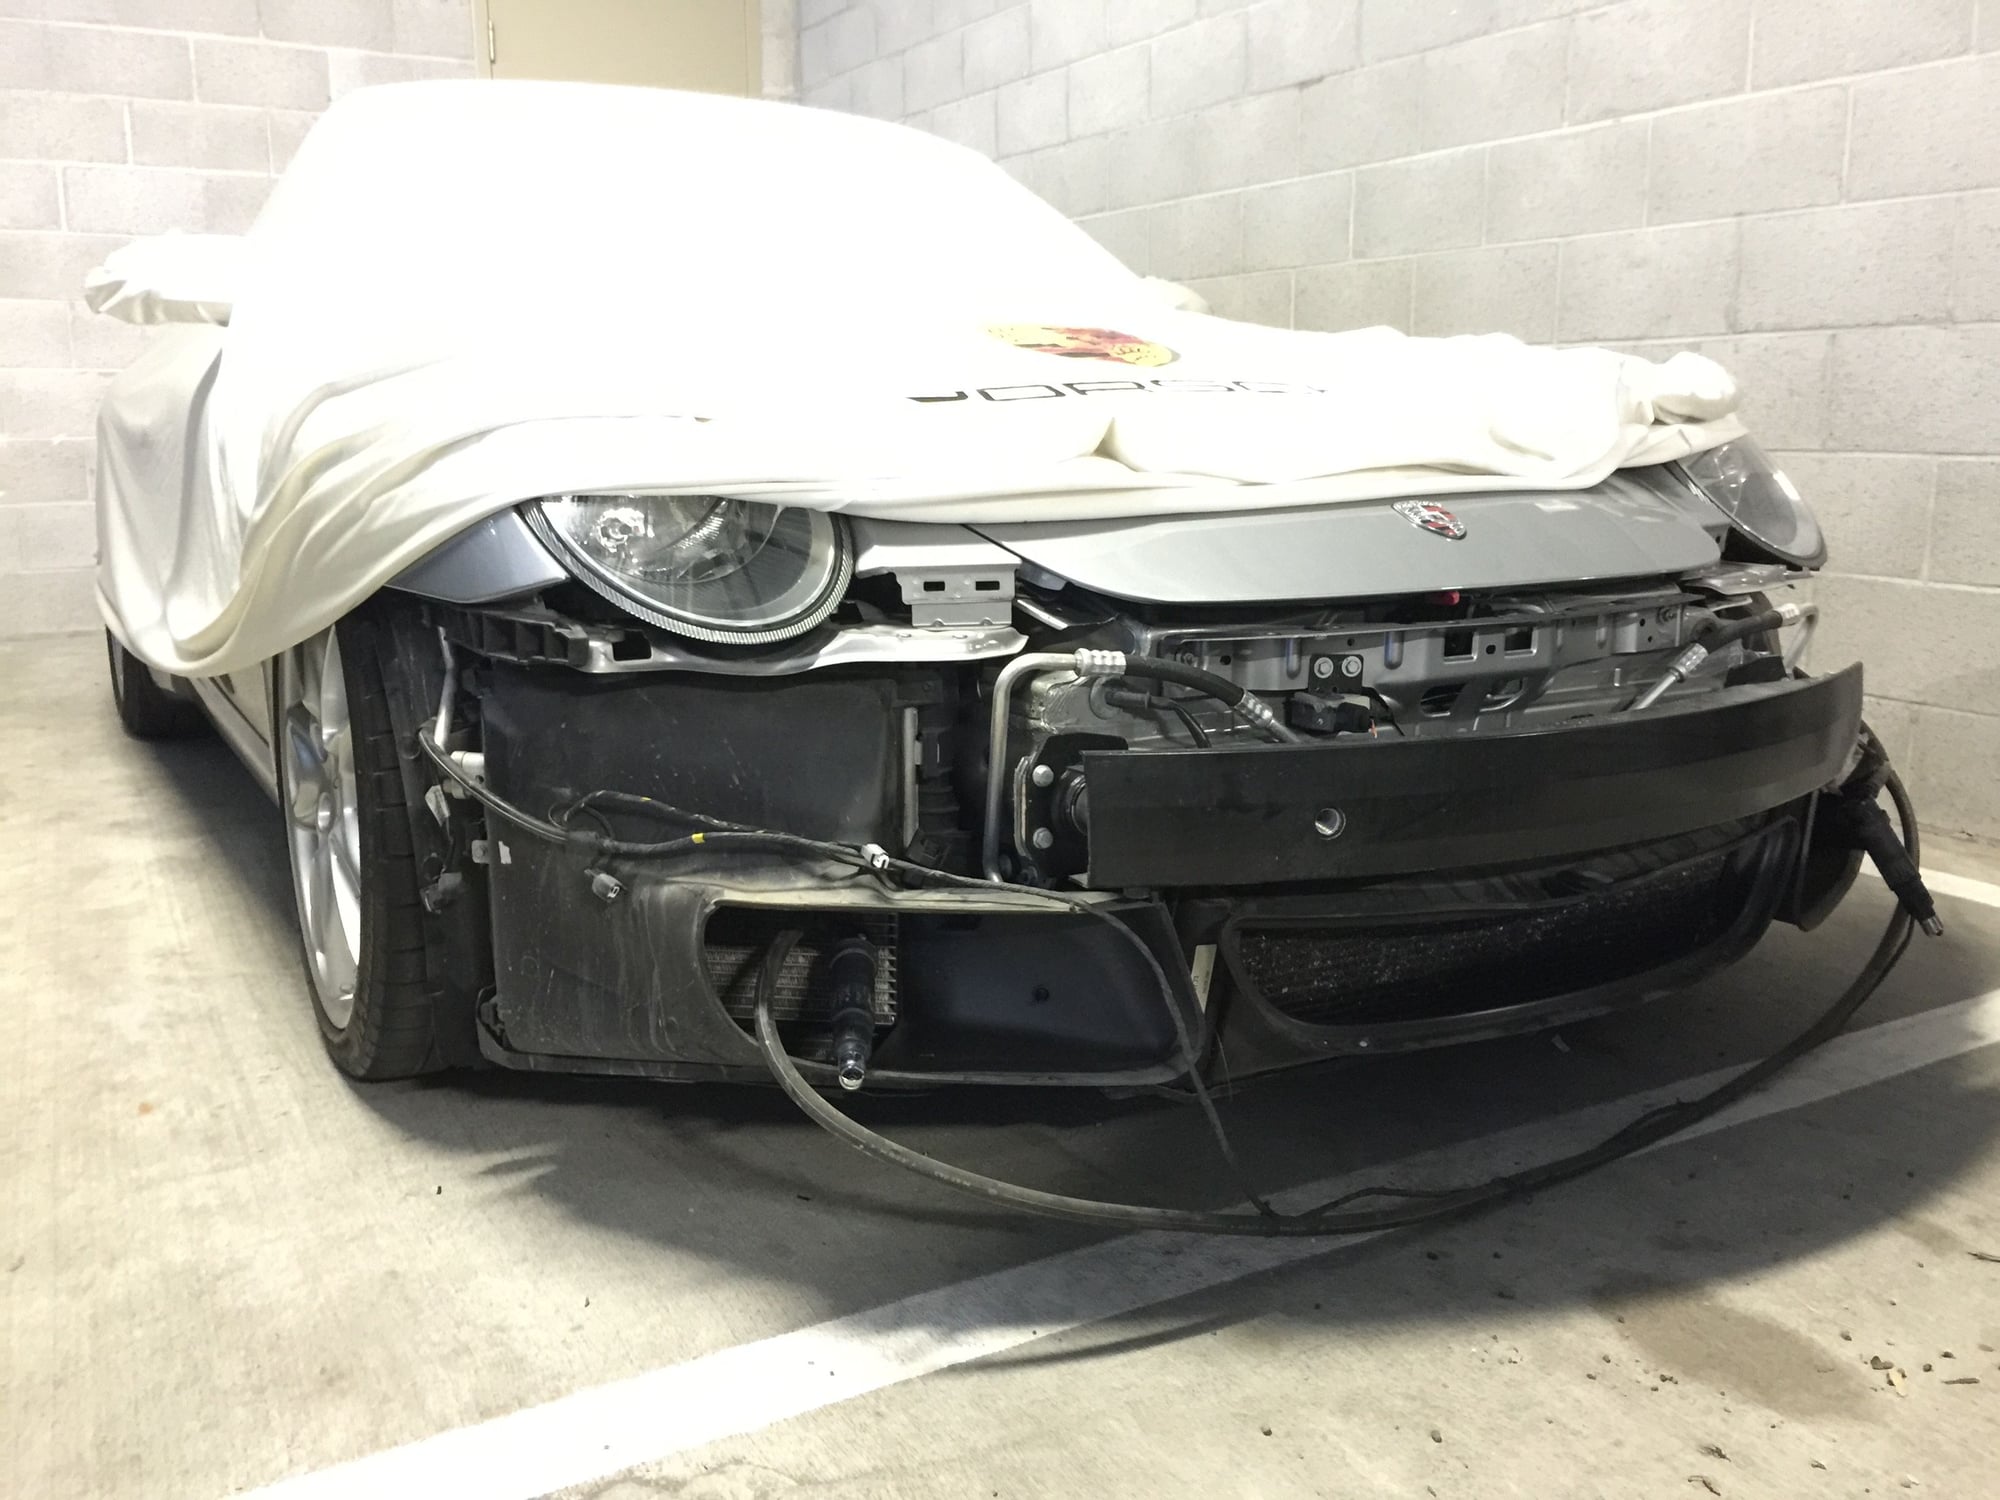
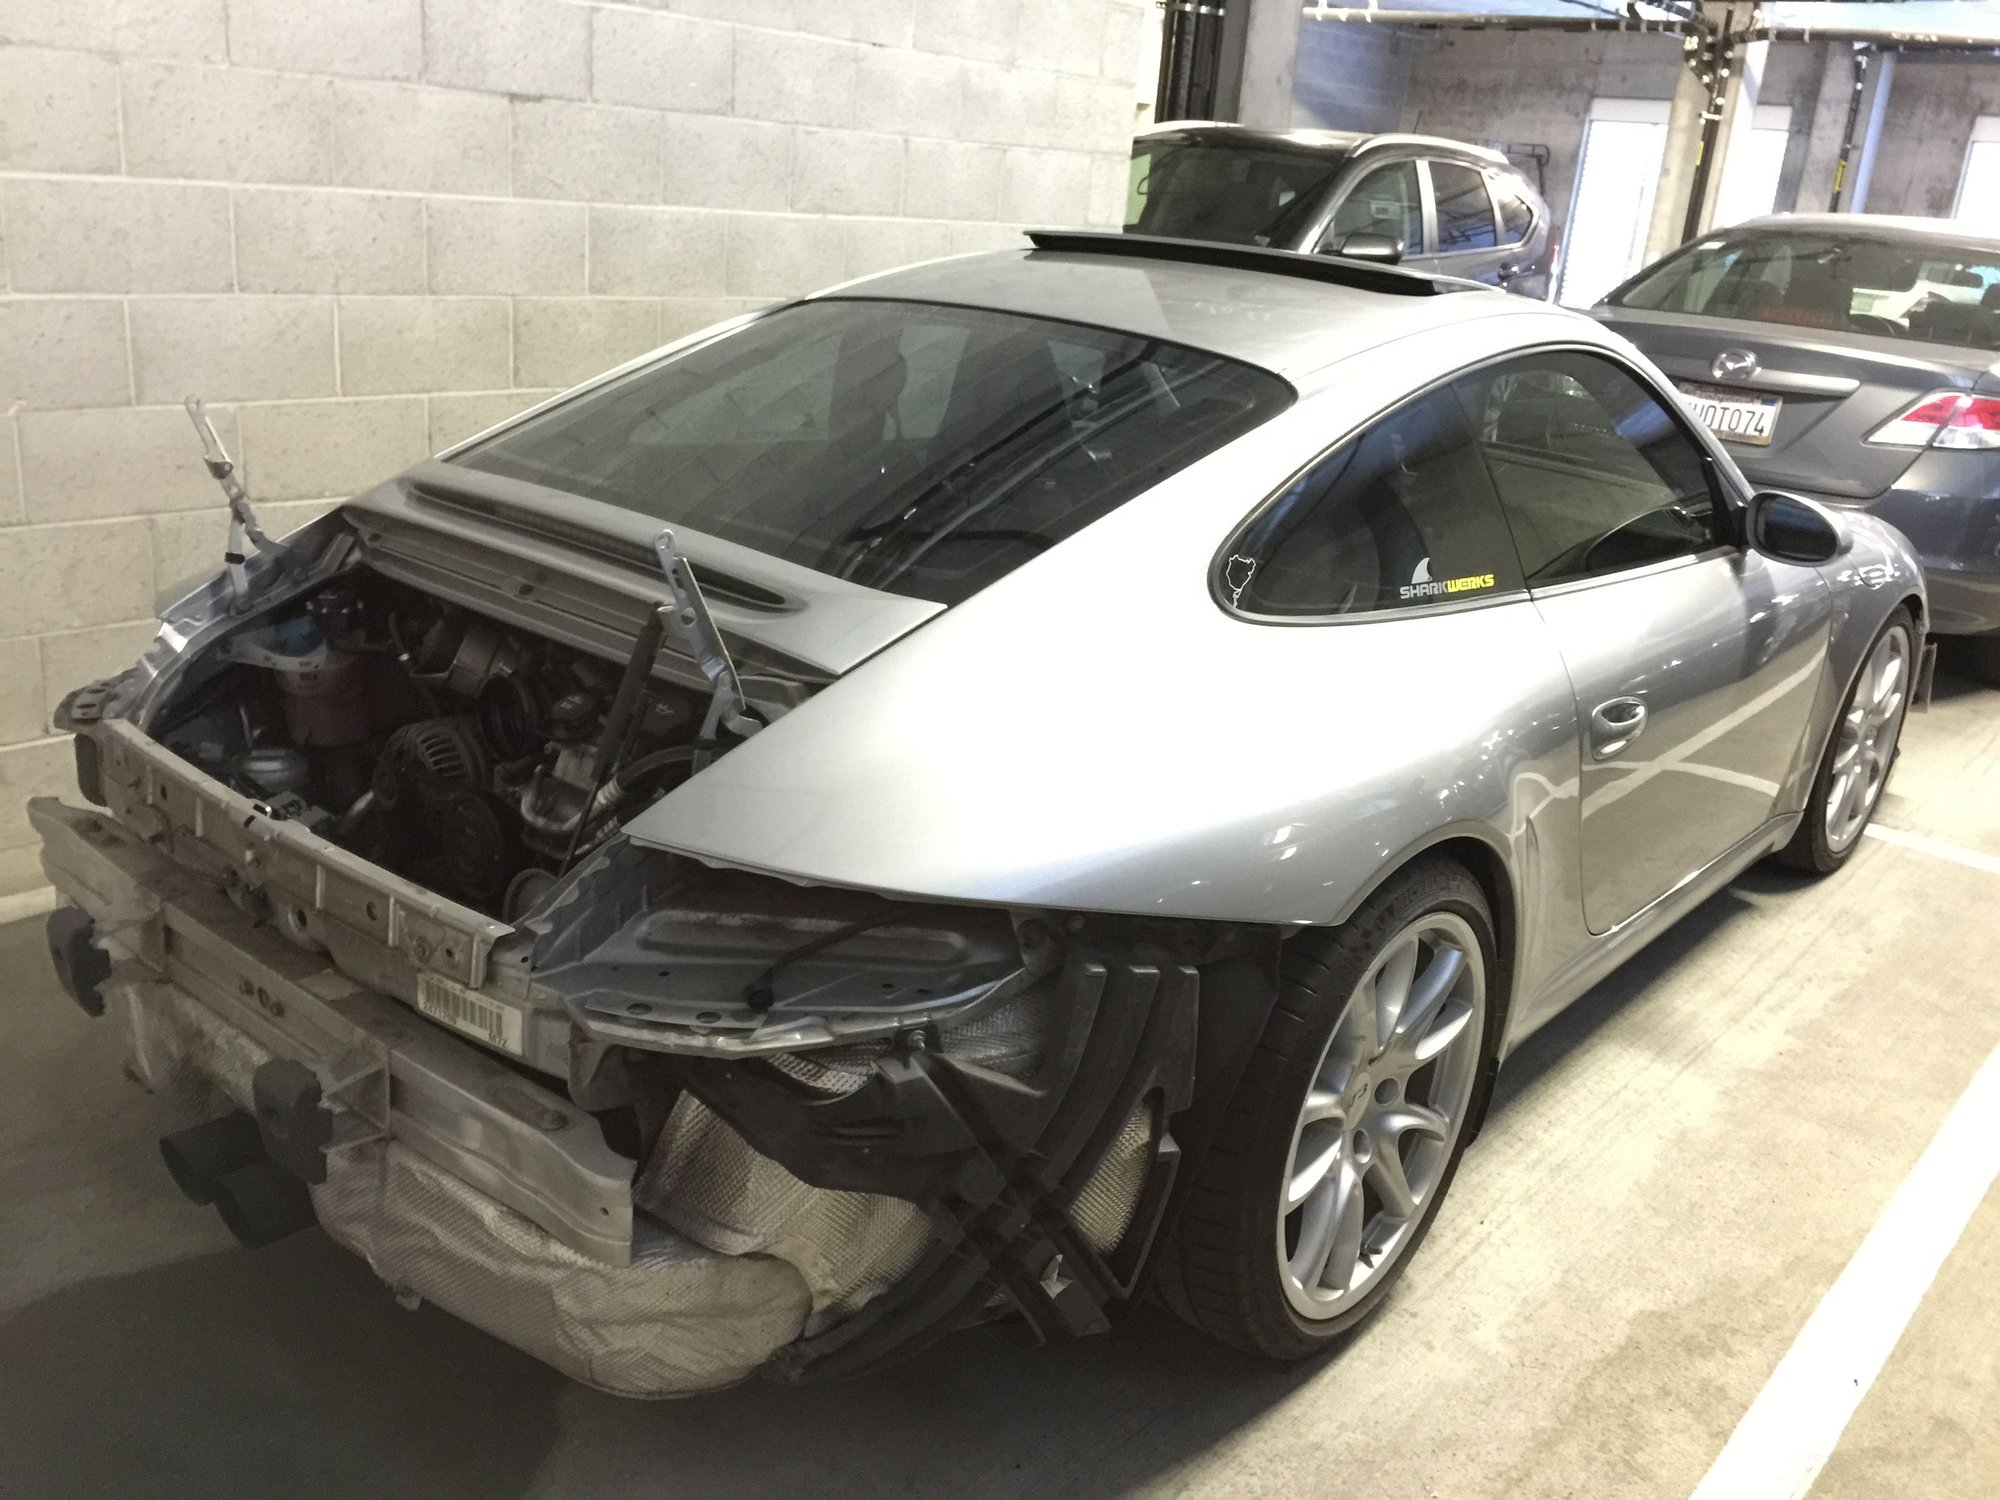
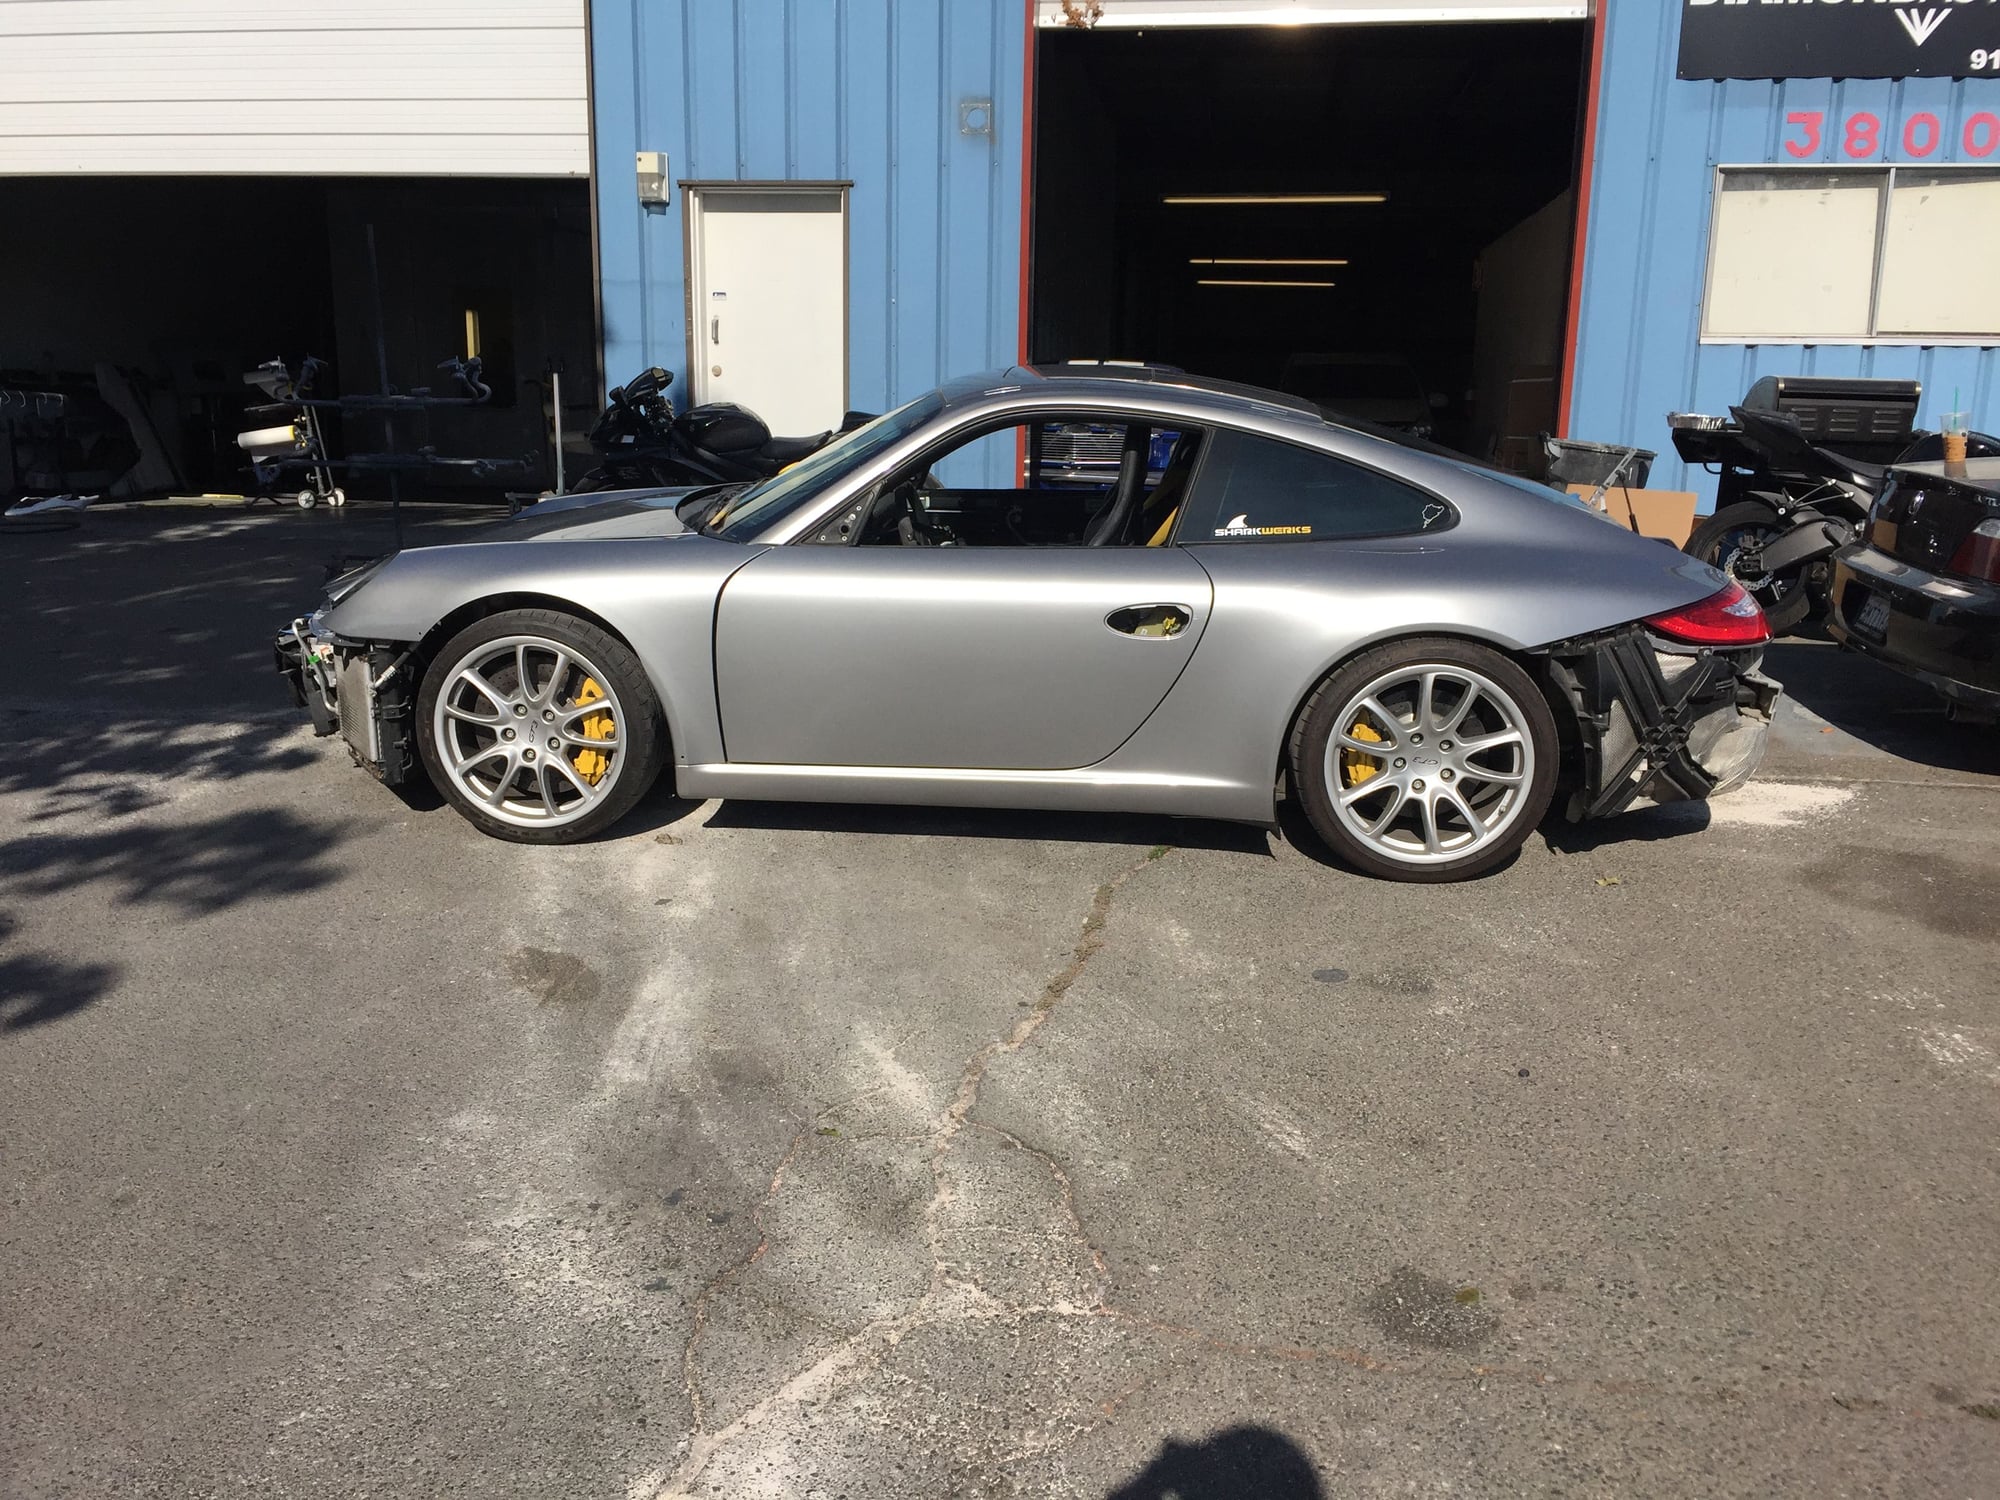
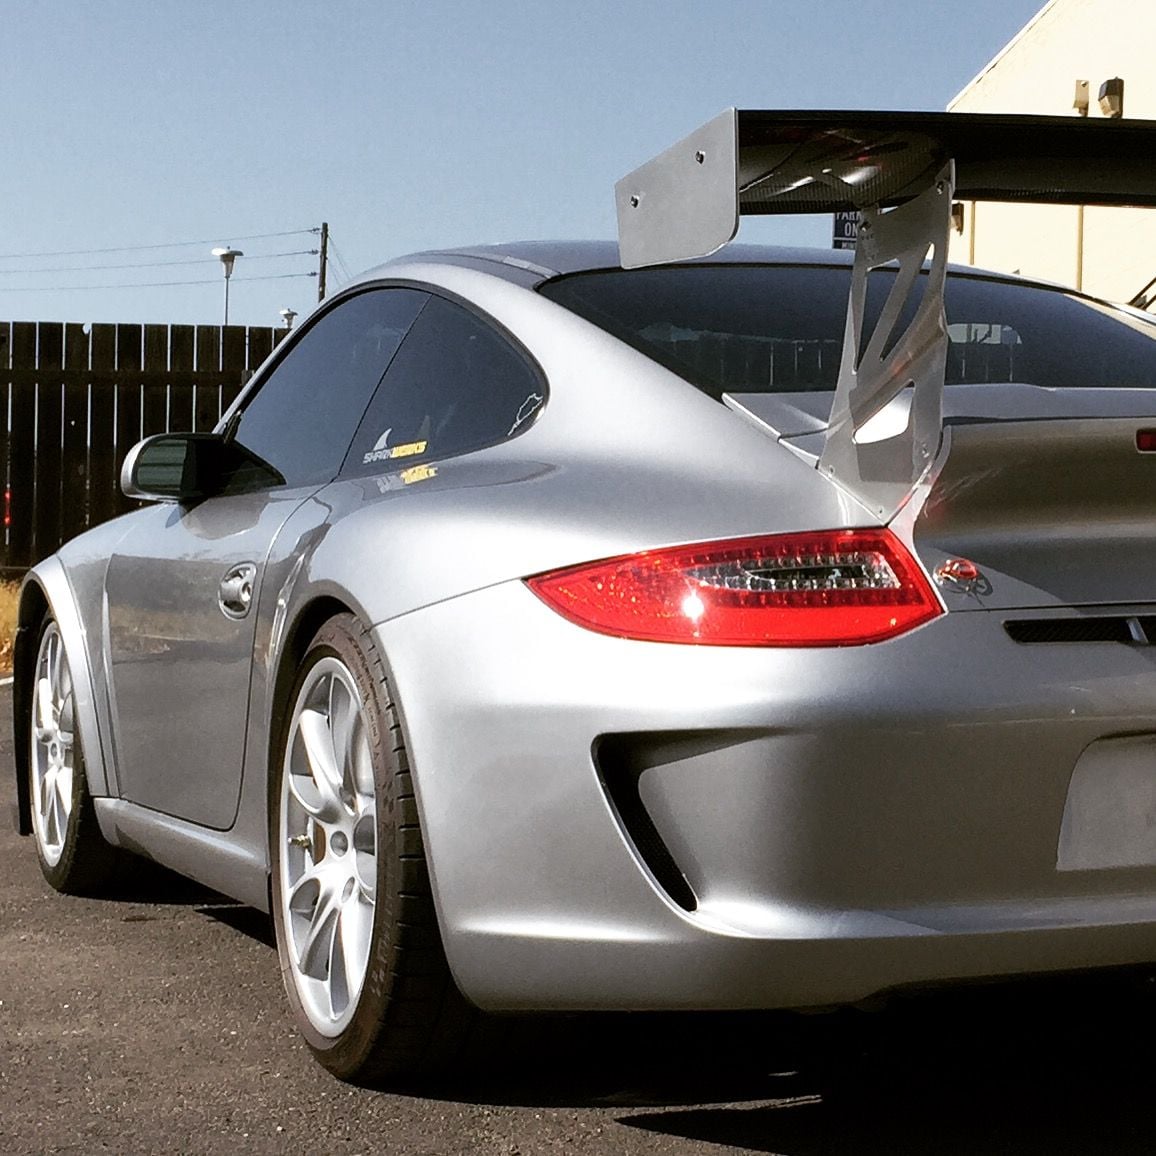
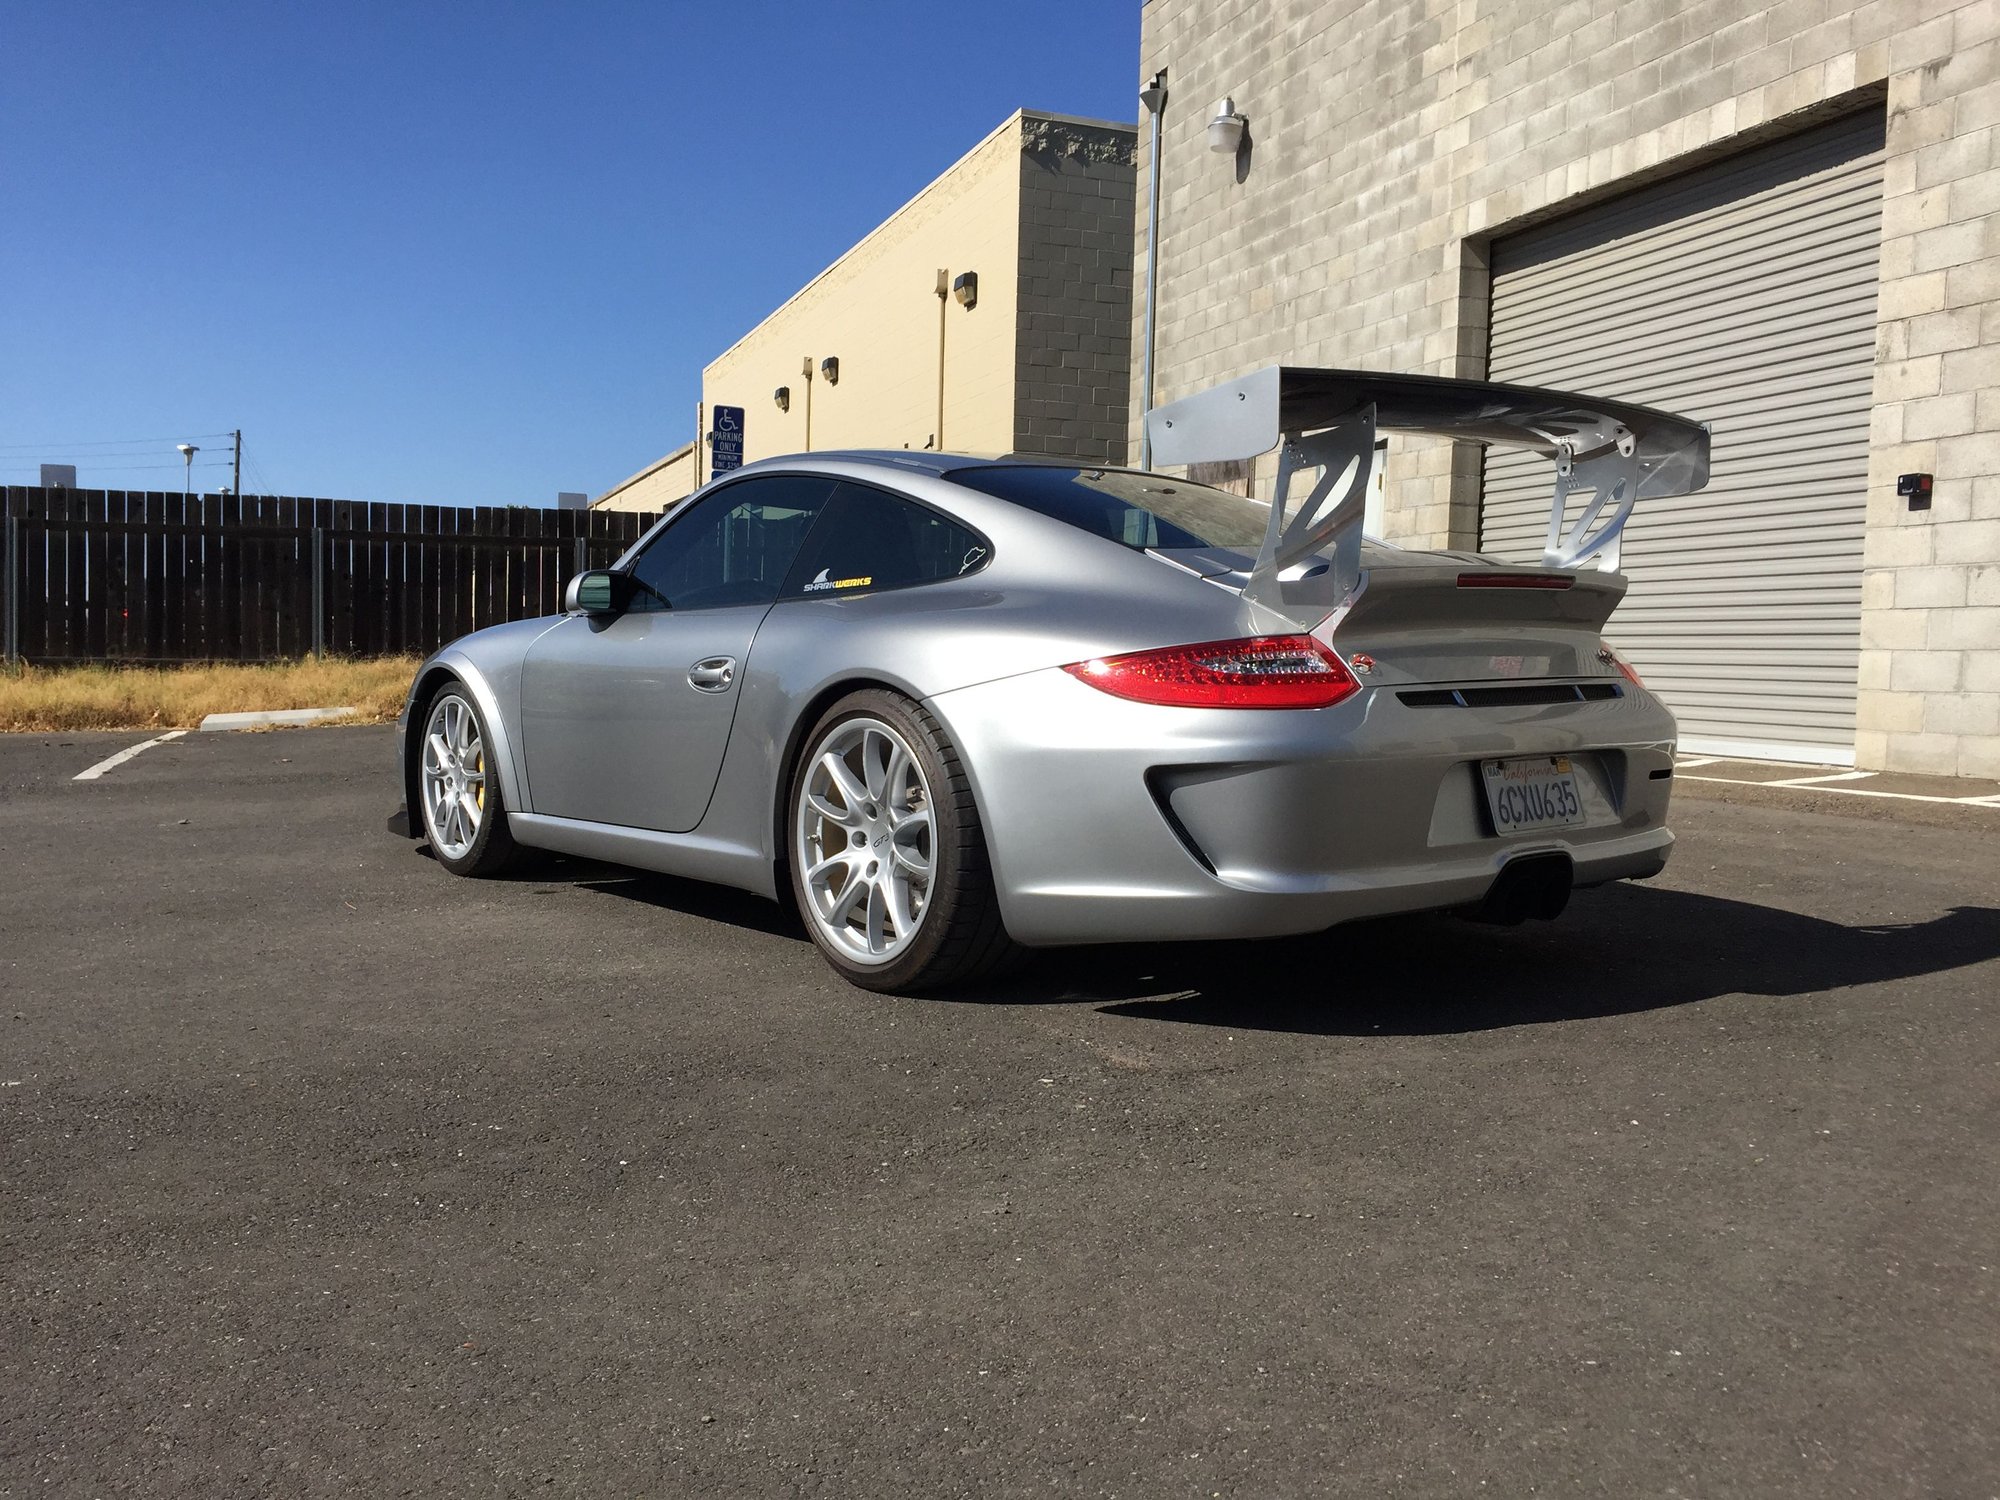
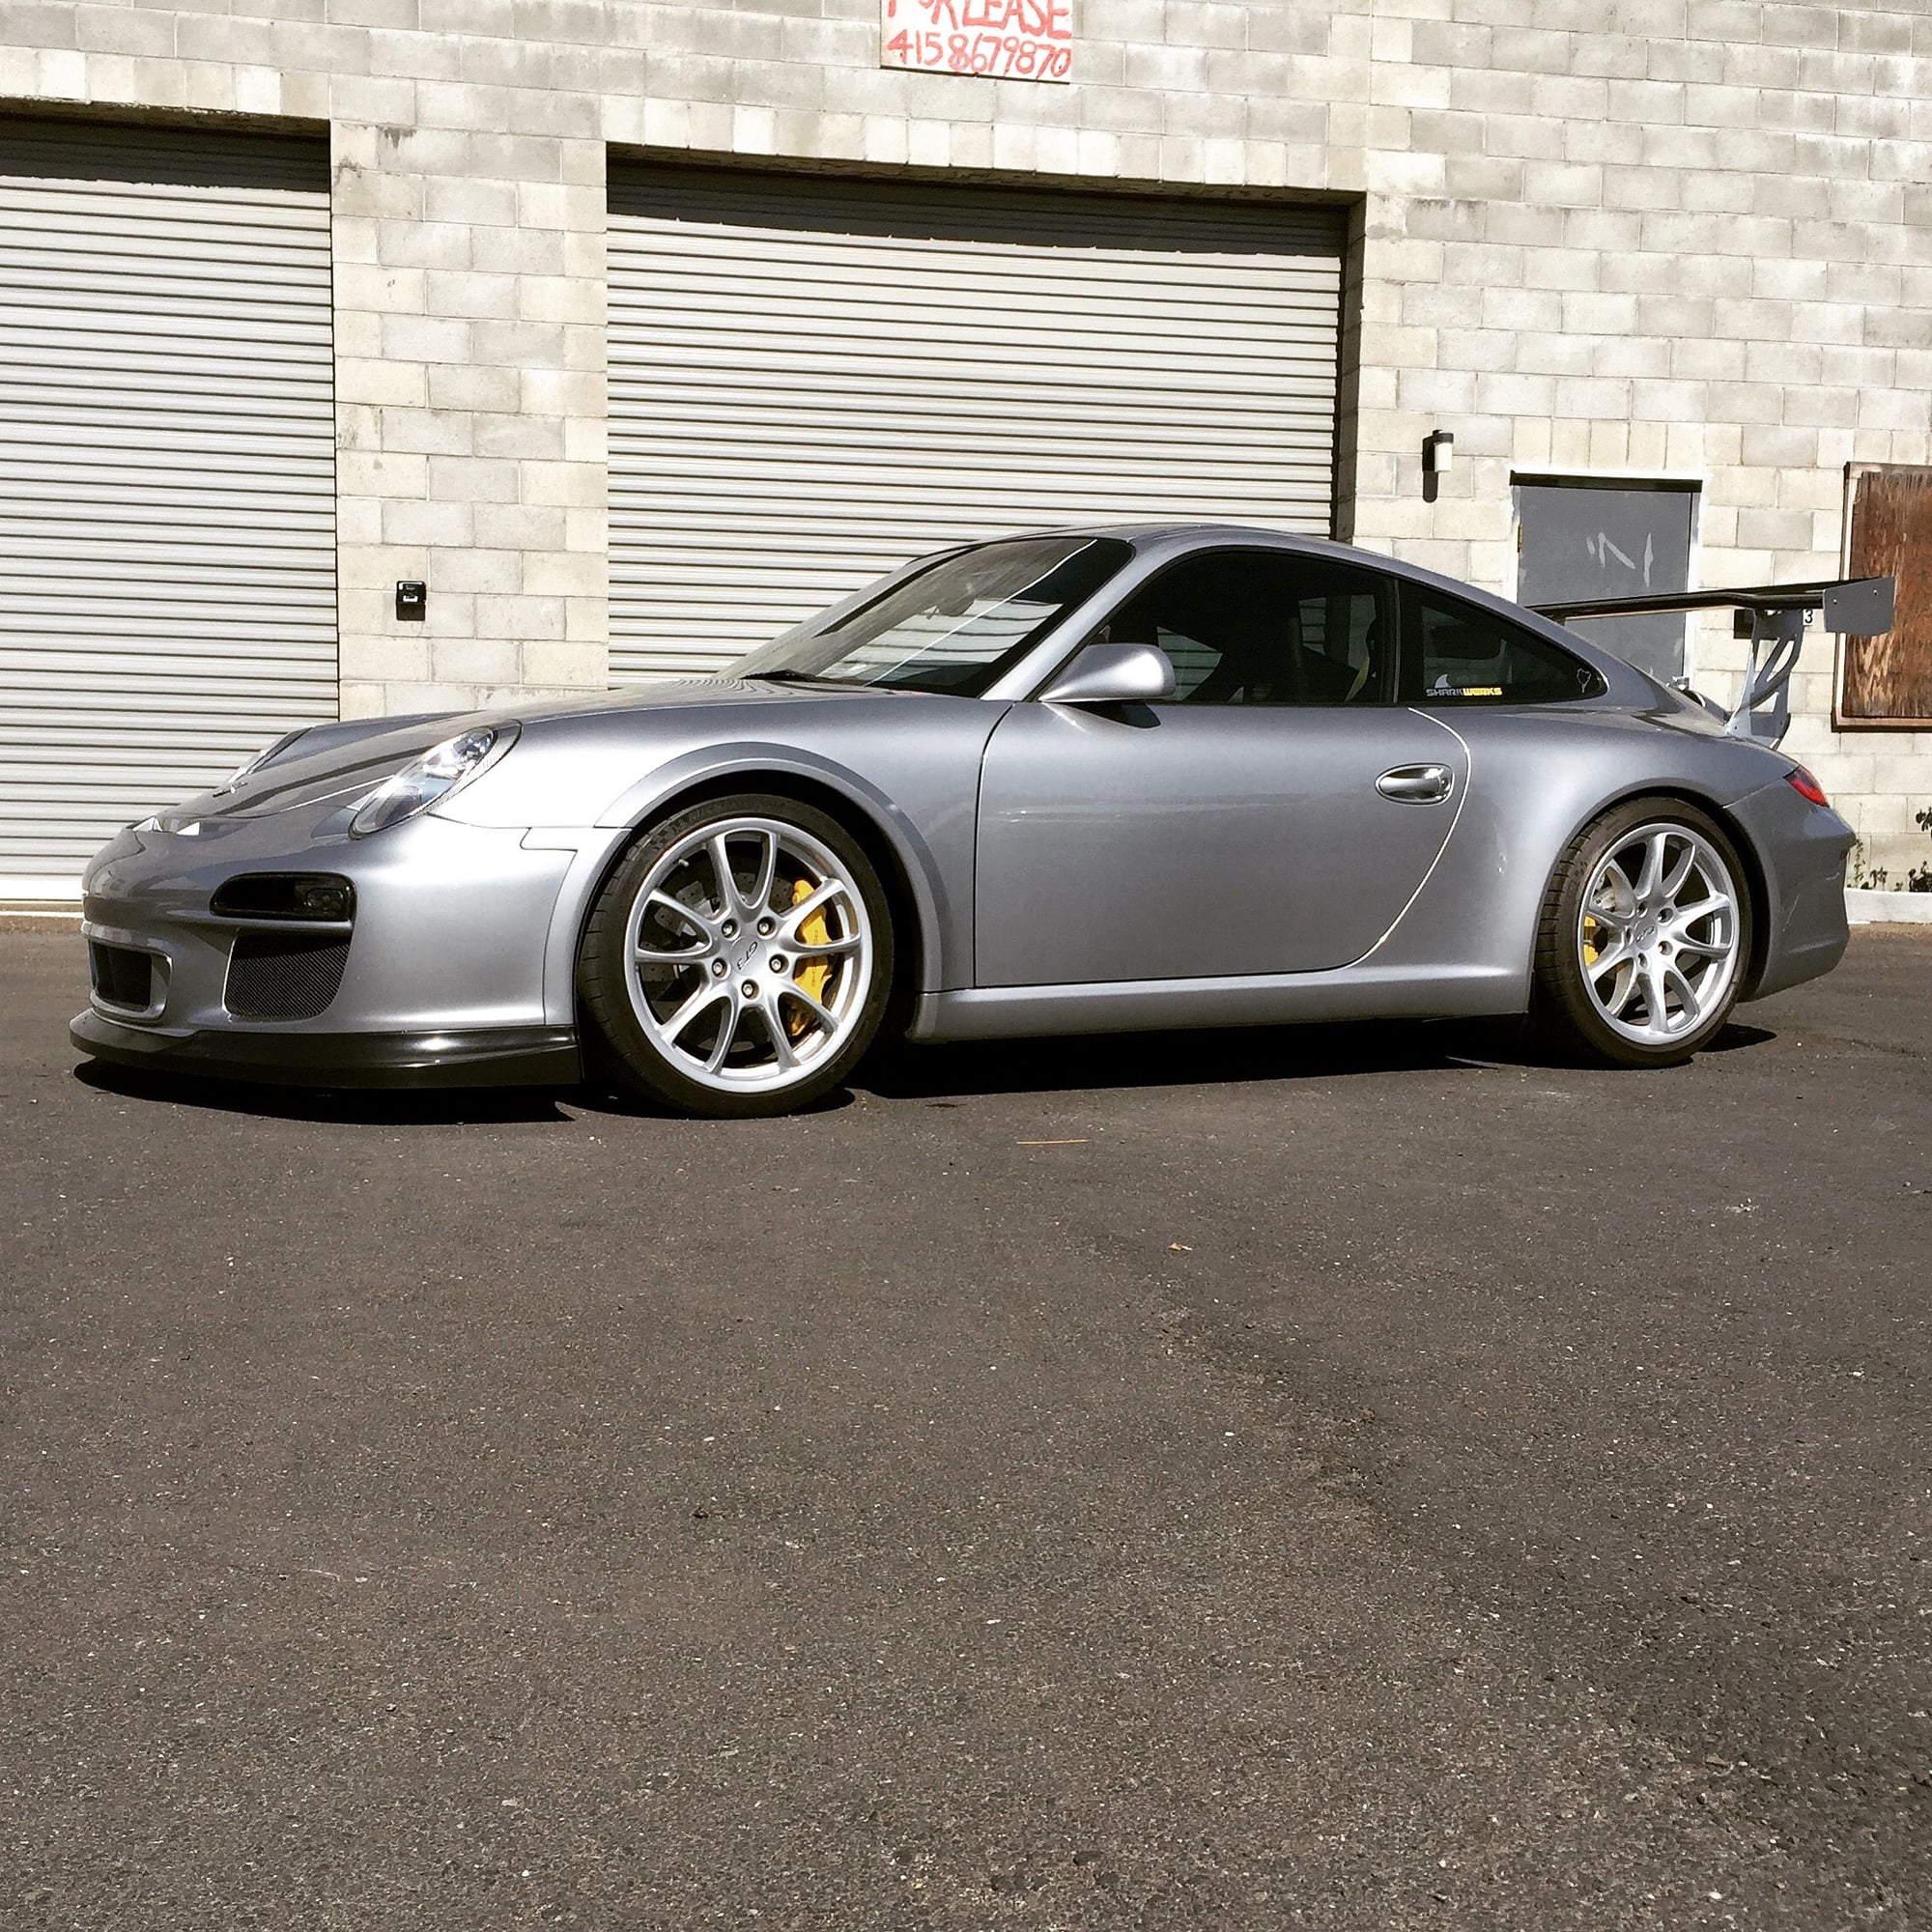
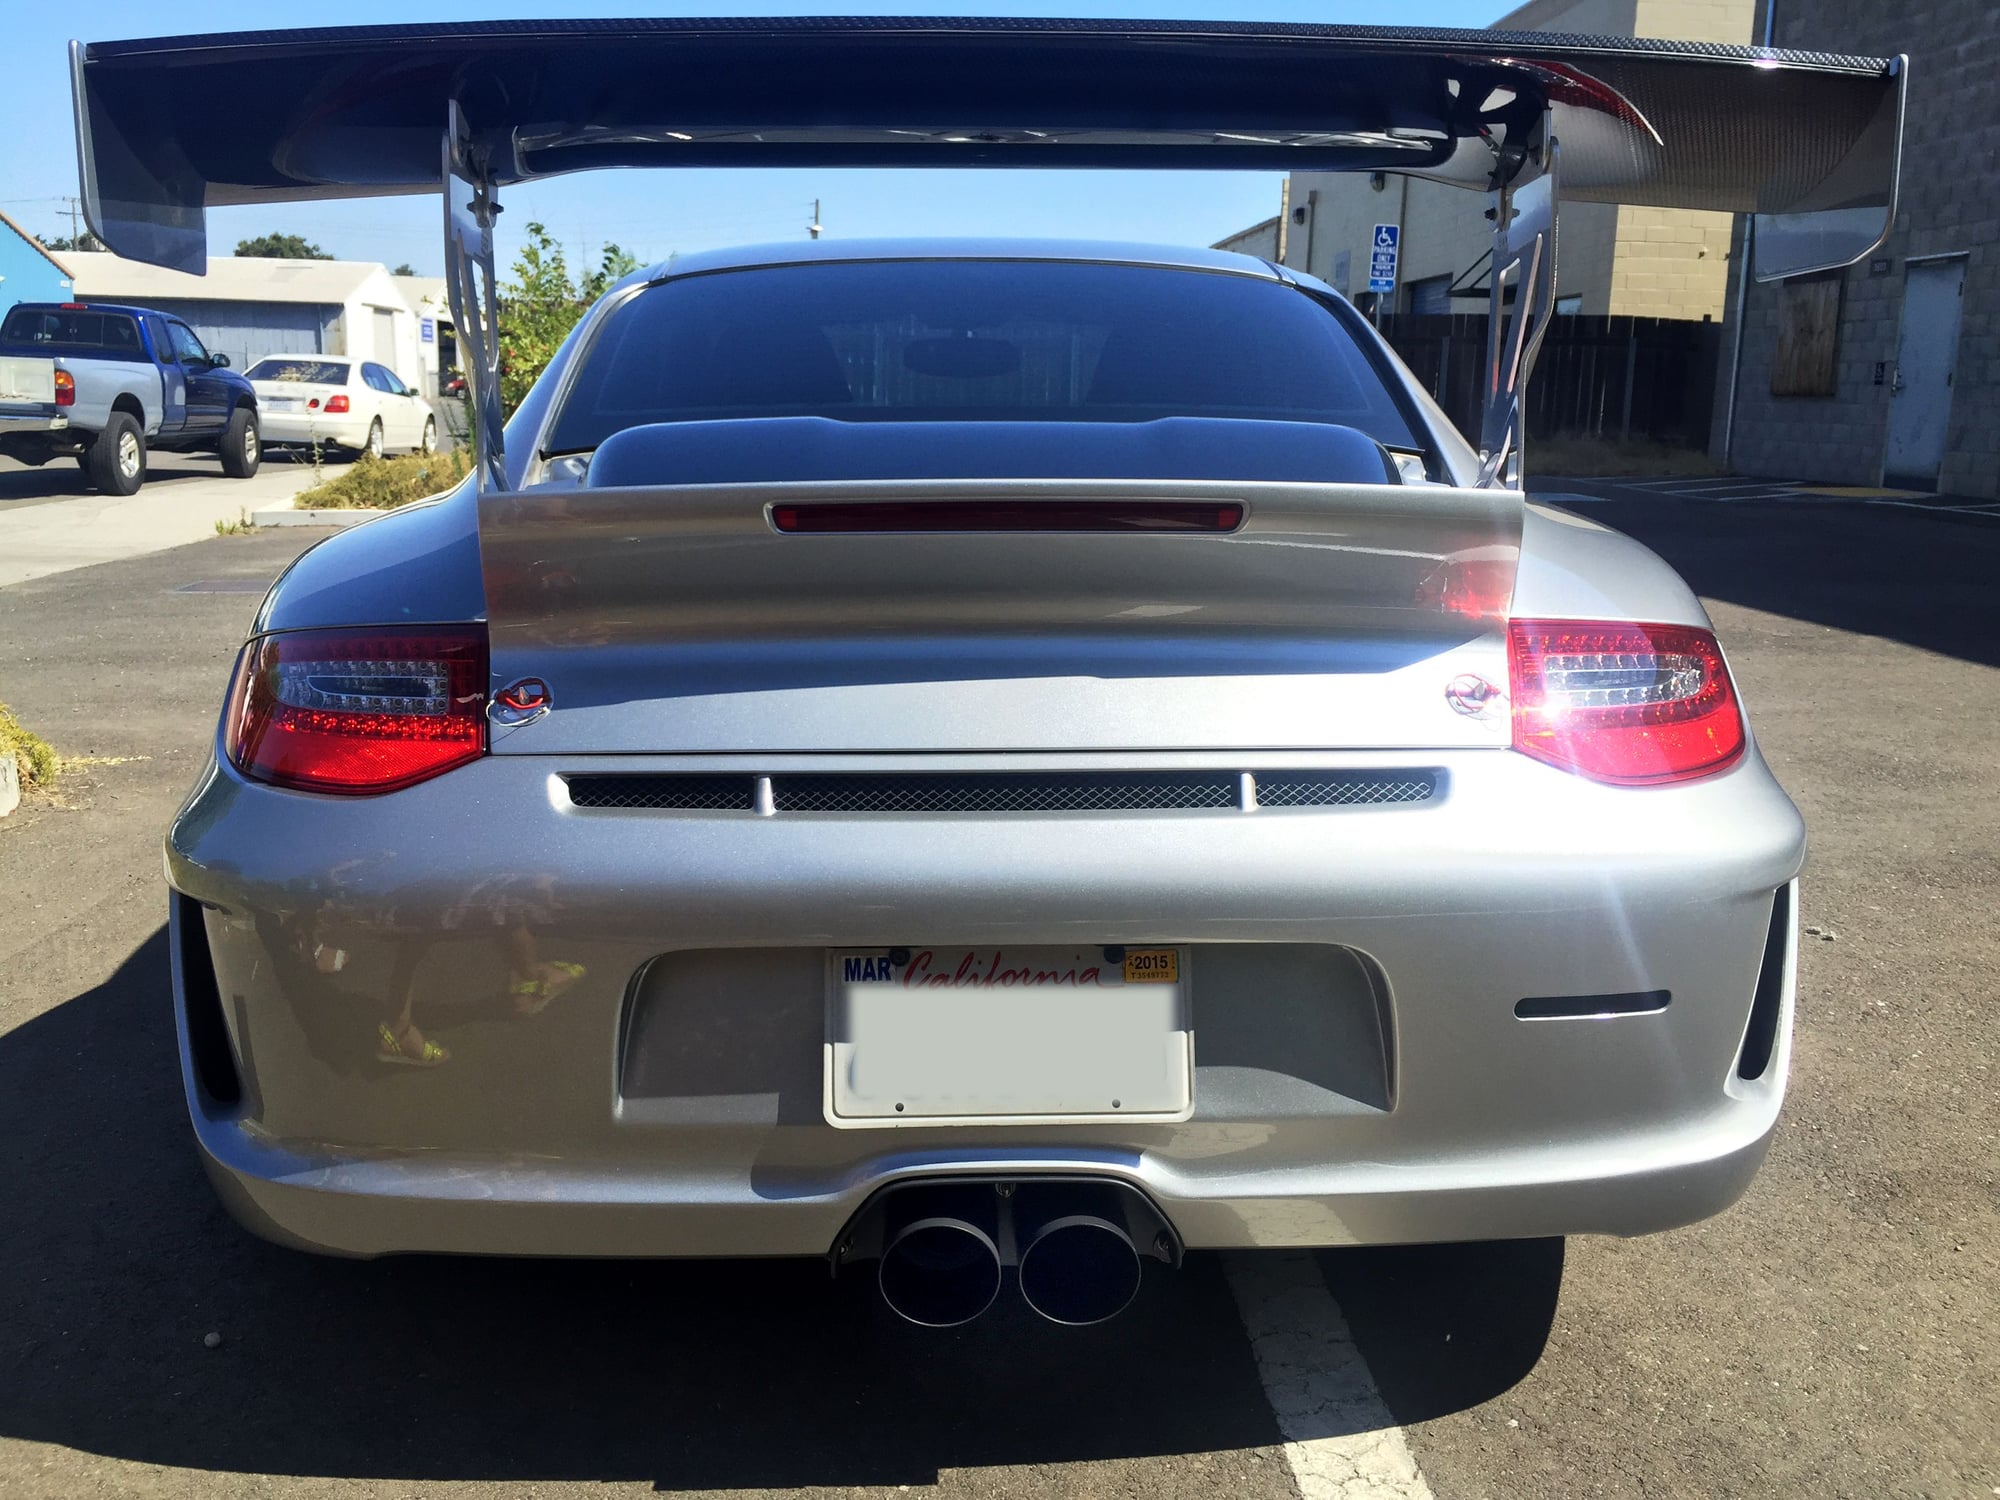
Before diving into Part 1, just wanted to share the blank canvas I started with. Im the 2nd owner of this 2007 GT3 and bought it with 16k miles on it 5 years ago.
The Original Spec...
Colors: GT Silver Metallic / Special Leather Black
Options:
342 Heated Front Seats
450 Ceramic Composite Brakes-PCCB
460 Leather Sport Steering Wheel
490 Sound Package Plus
509 Fire Extinguisher
640 Chrono Package Plus
78 Black Full Leather
810 Floor Mats � Interior Color
P12 Self-Dim Mirrors & Rain Sensor
P16 PCM 2.1
P74 Bi-Xenon Headlamp Package
U2 GT Silver Metallic
XSX Seat Belts � Guards Red
XXZ Foot Rest Aluminum
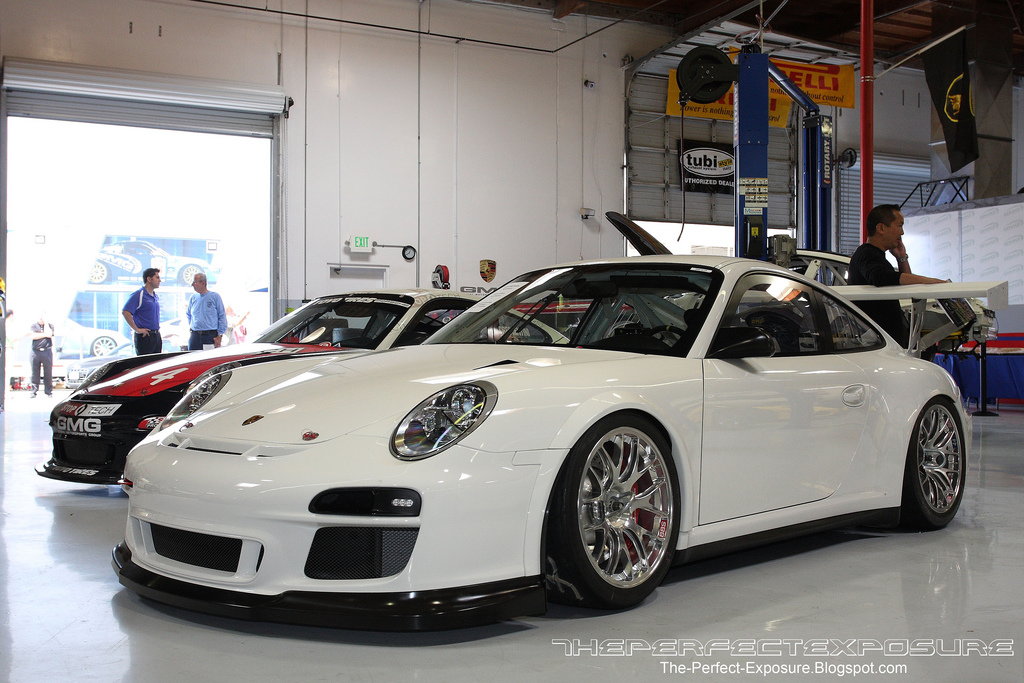
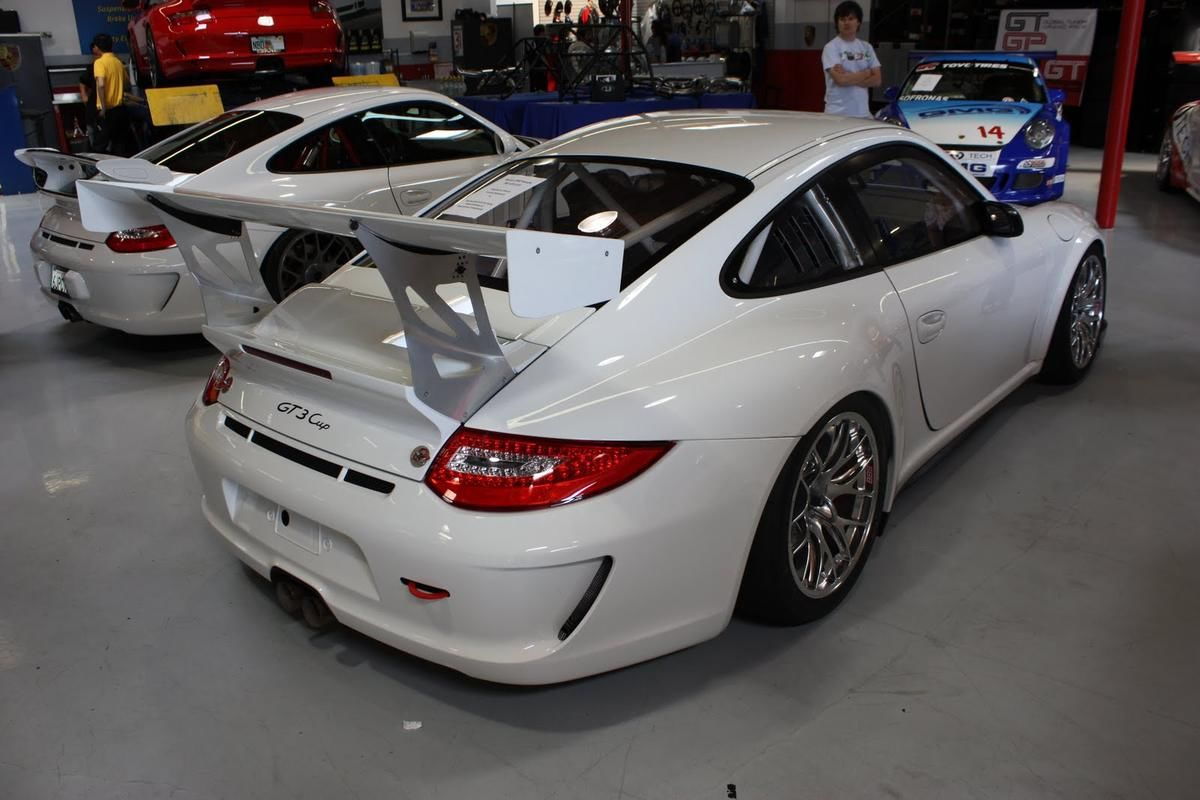
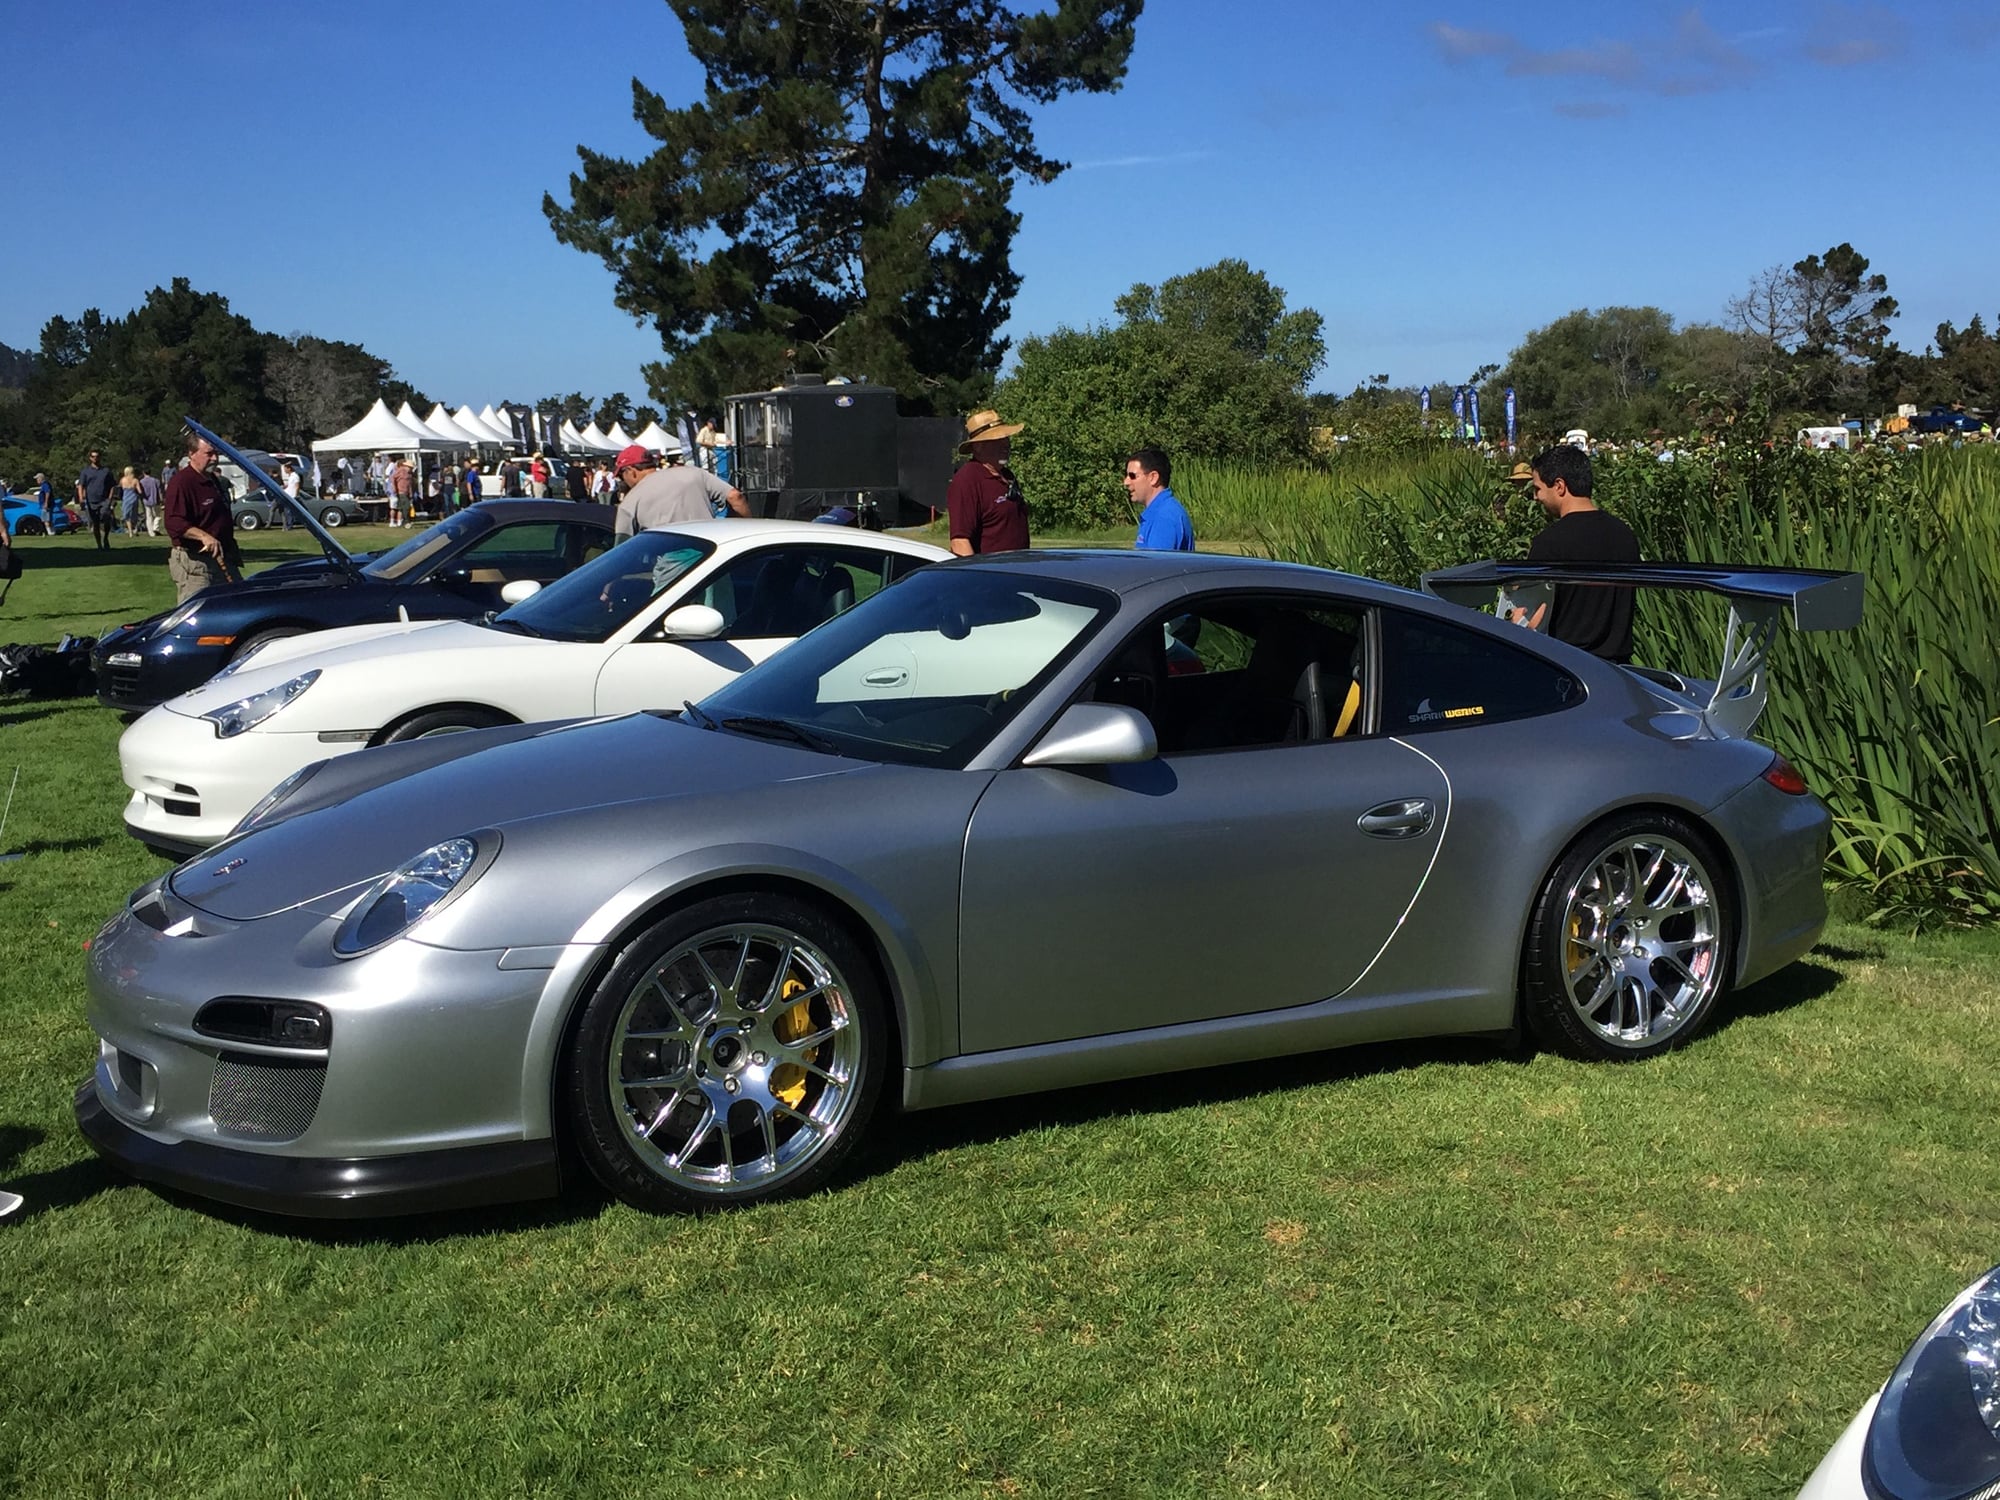
The 997.2 GT3 Cup served as in inspiration of what i wanted to achieve exterior wise with the car. A bit more aggressive, but not over the top.
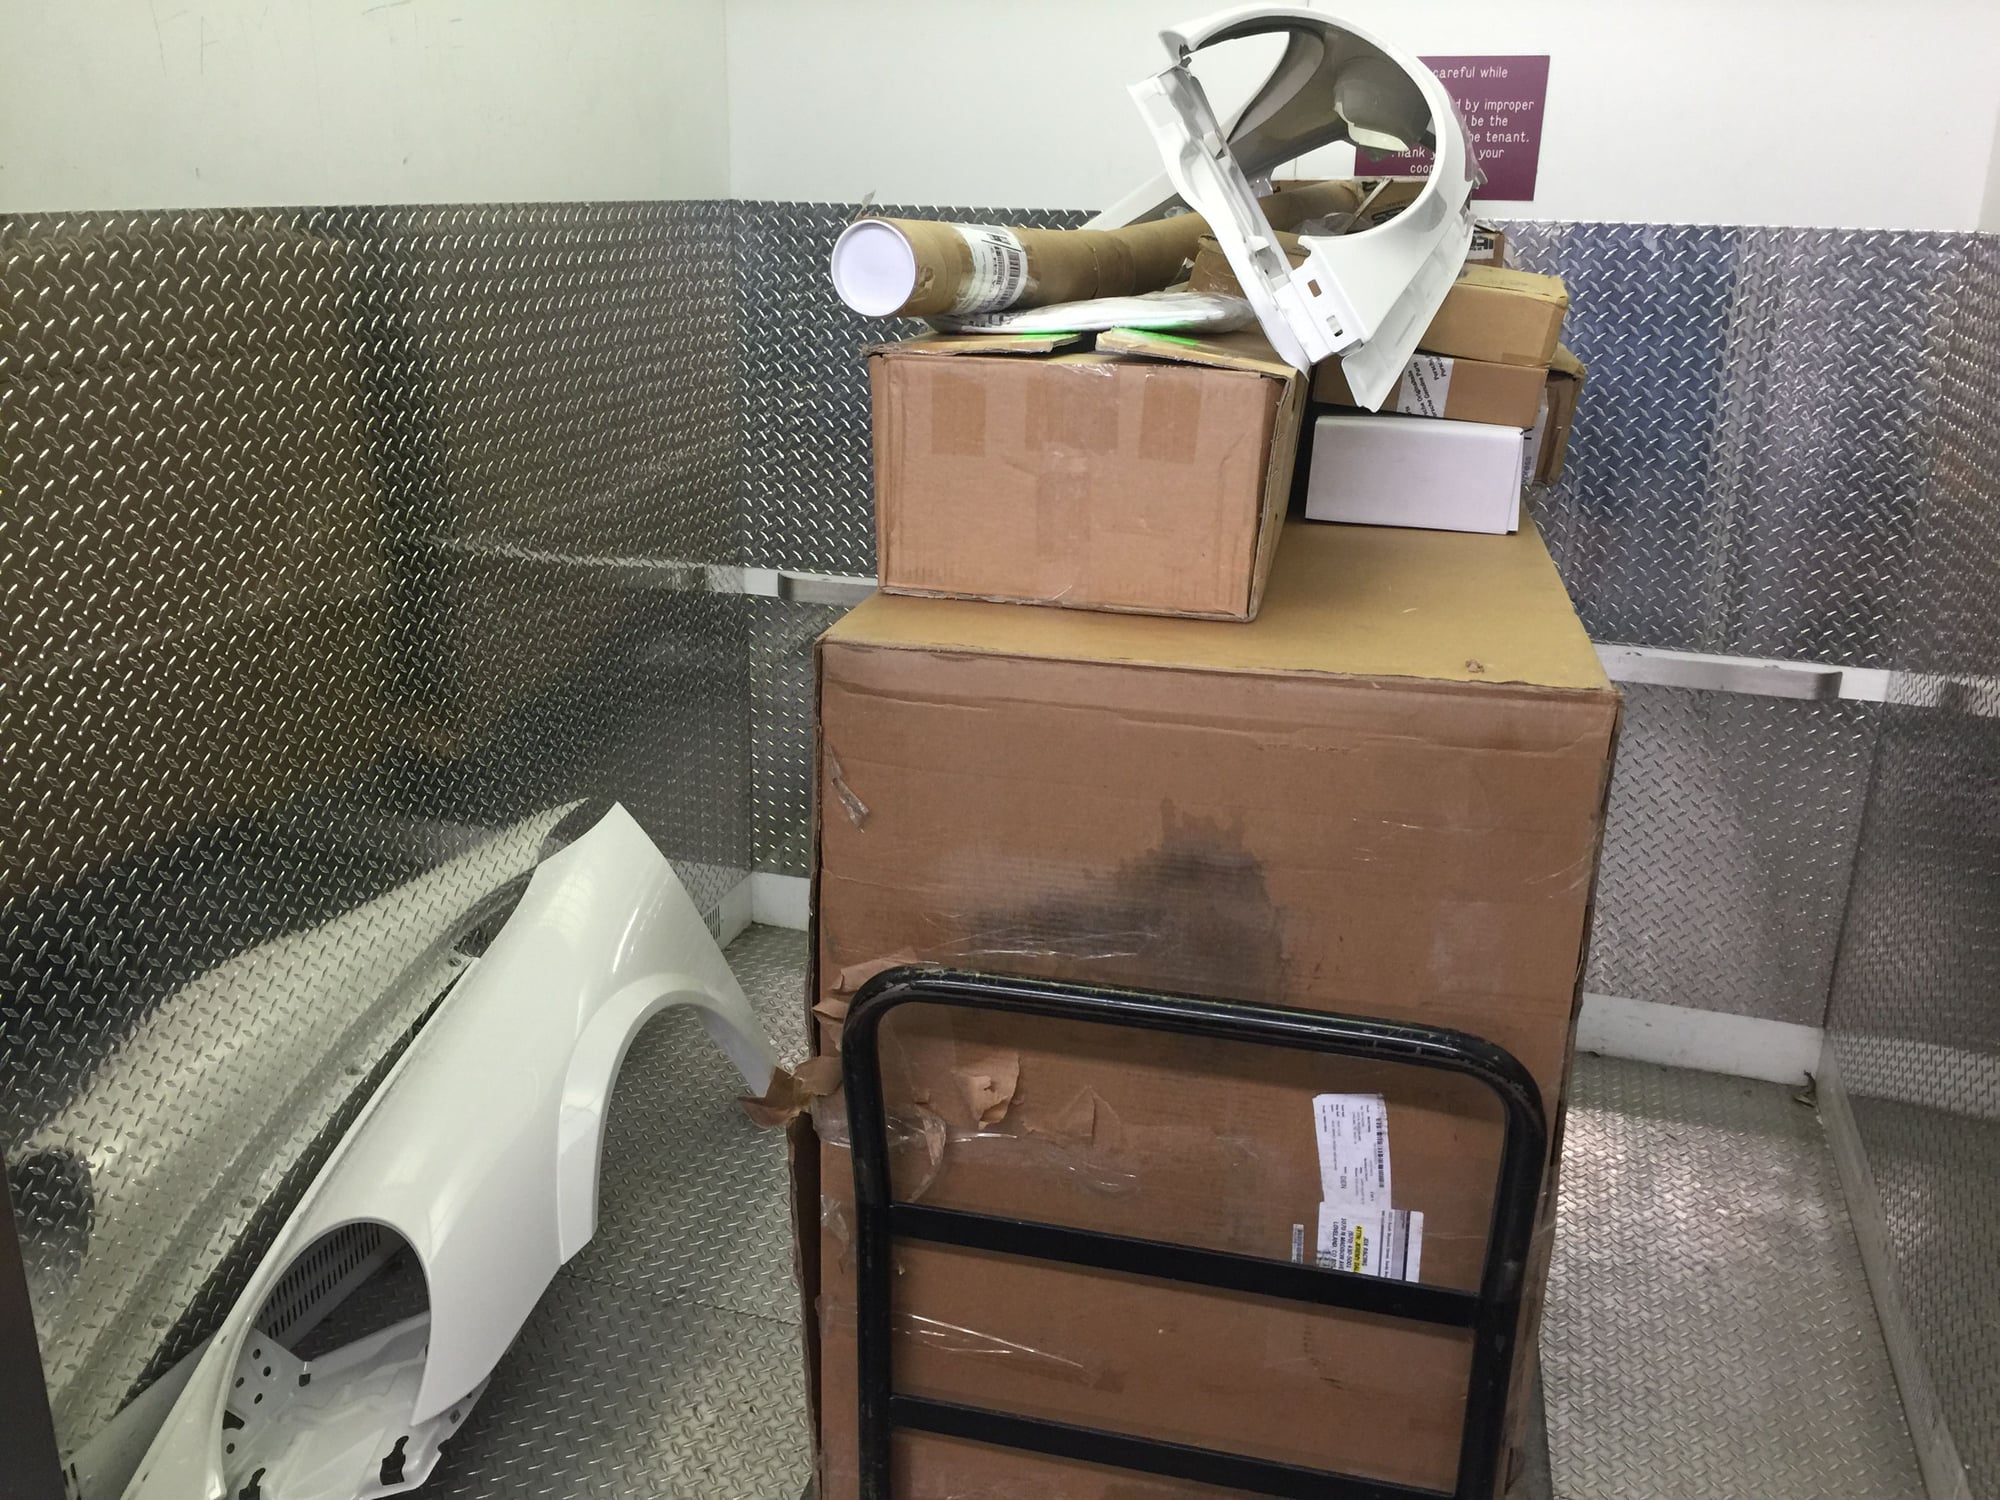
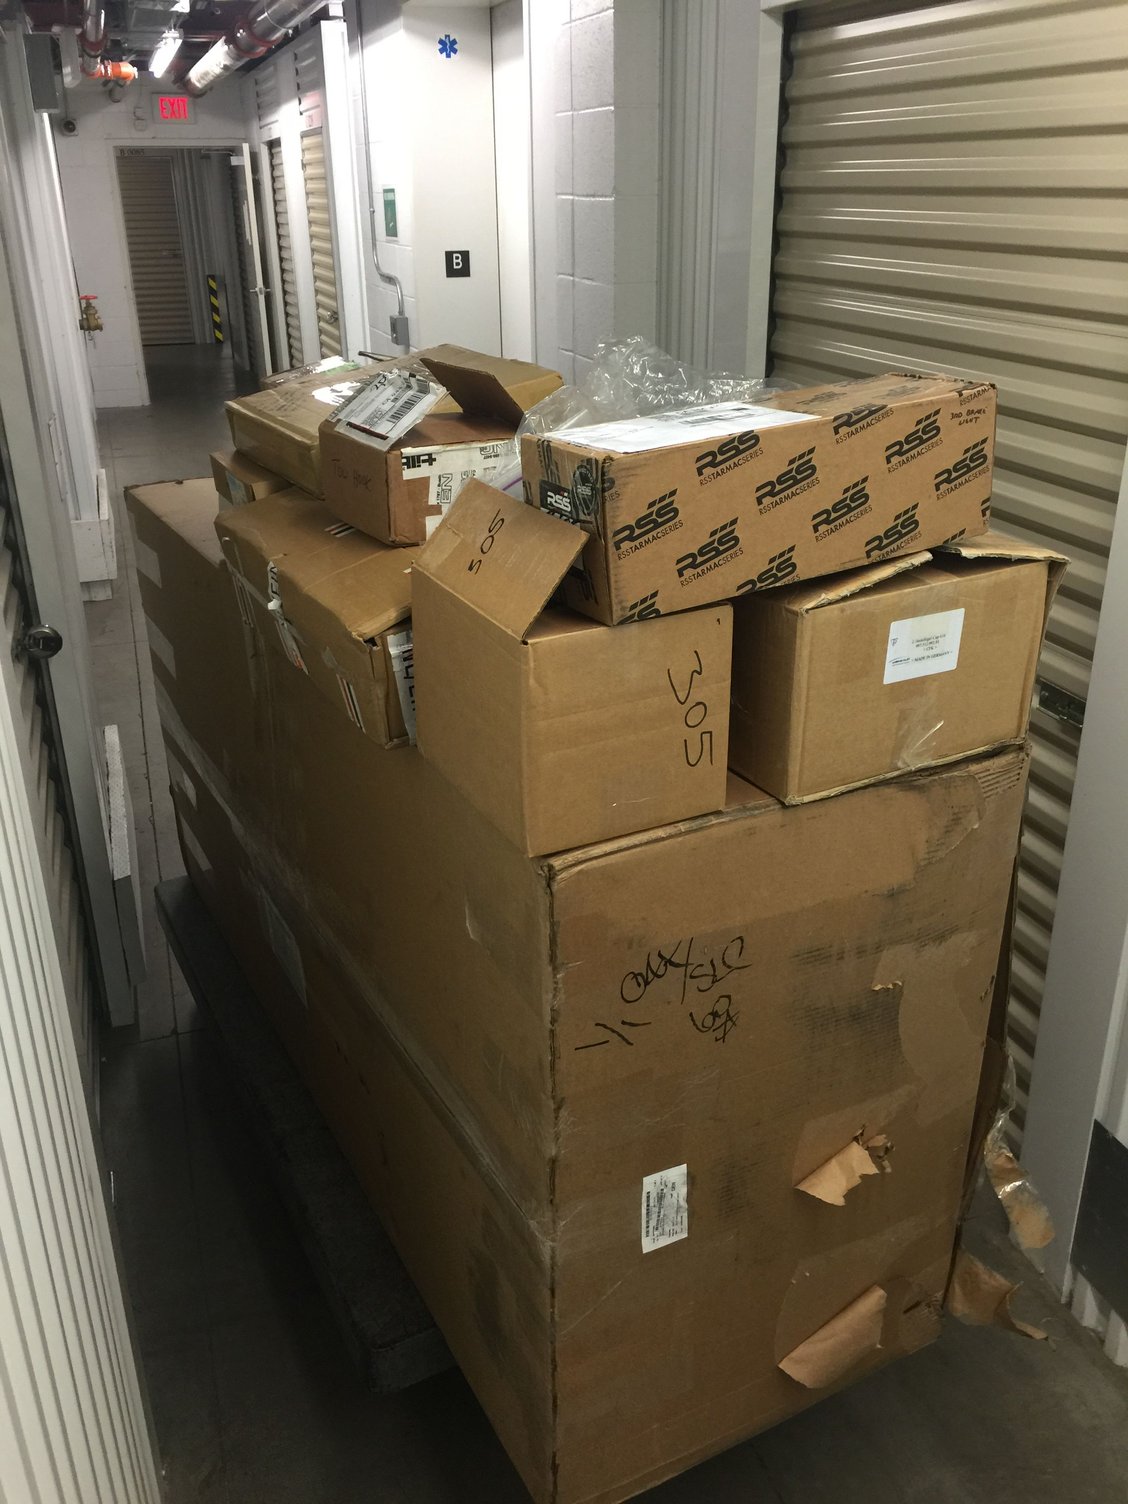
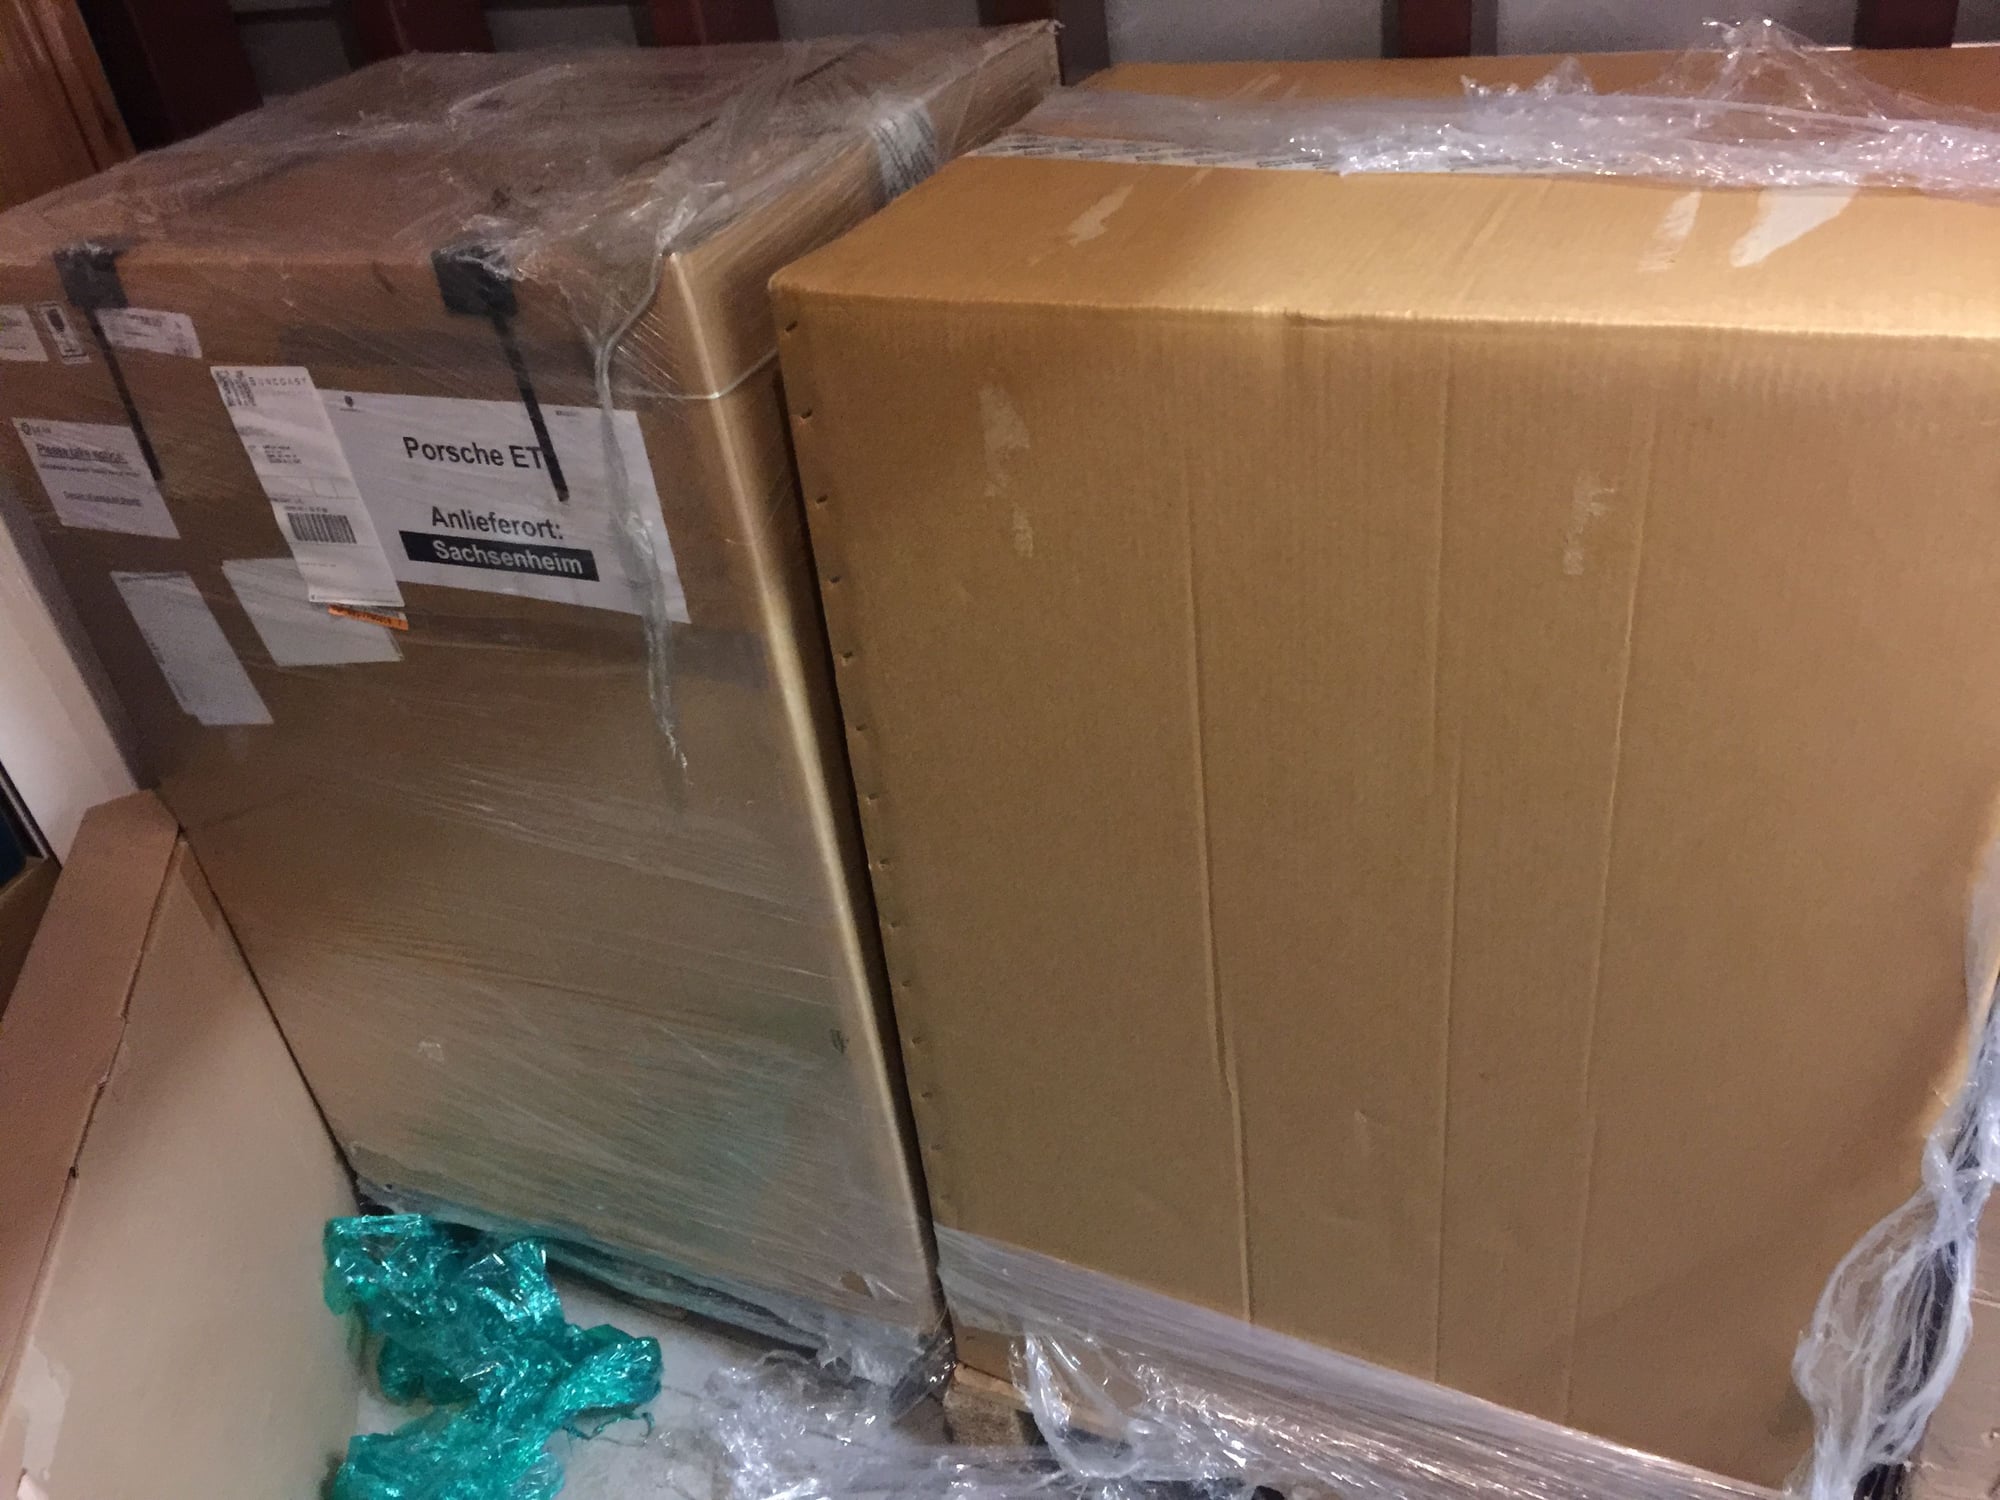
A Silo of Parts...
After scouring the GT3 Cup Parts Catalogue, I slowly collected all the parts necessary for the change, taking advantage of cup teams dumping their spares as they moved to the 991 platform. The hardest part was refraining from beginning the project until I had got everything I needed. I didn't want to do things piece by piece, but rather wait until I could do the exterior transformation all at once.
Capital City Air Exit Screens (in front of front tire)
Orbit Racing Carbon Fiber Dive Planes
Orbit Racing Carbon Fiber Gurney Flap
BBS motorsport forged monoblocks
Prep Work...
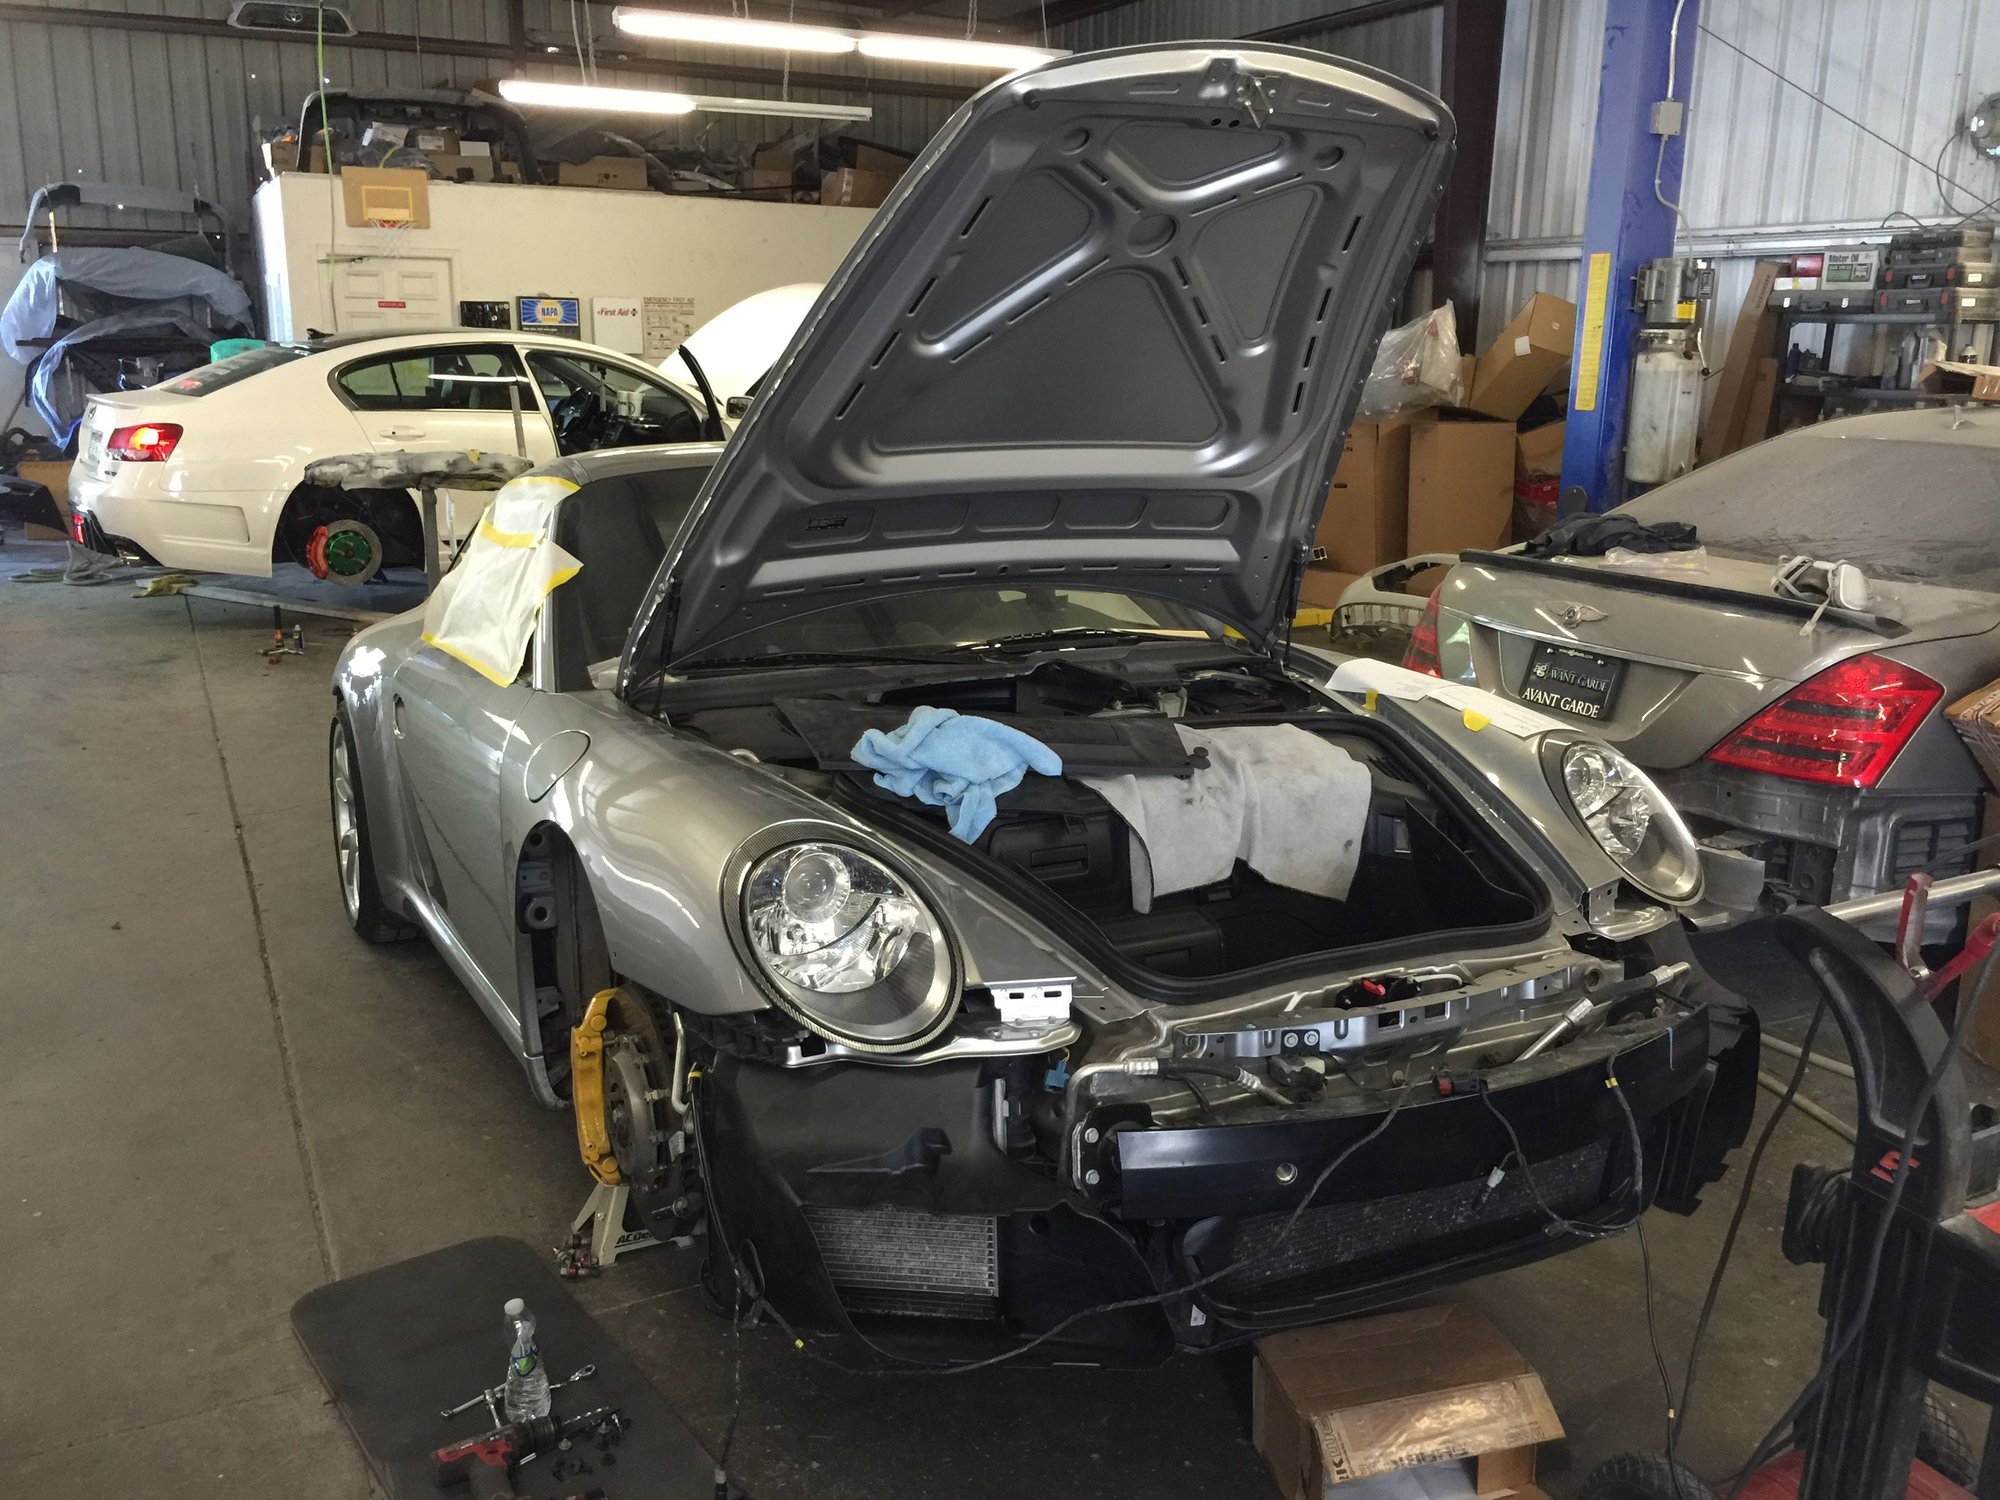
Before bringing the car to the shop to have all the parts painted, the first step was to start to dismantle the car.
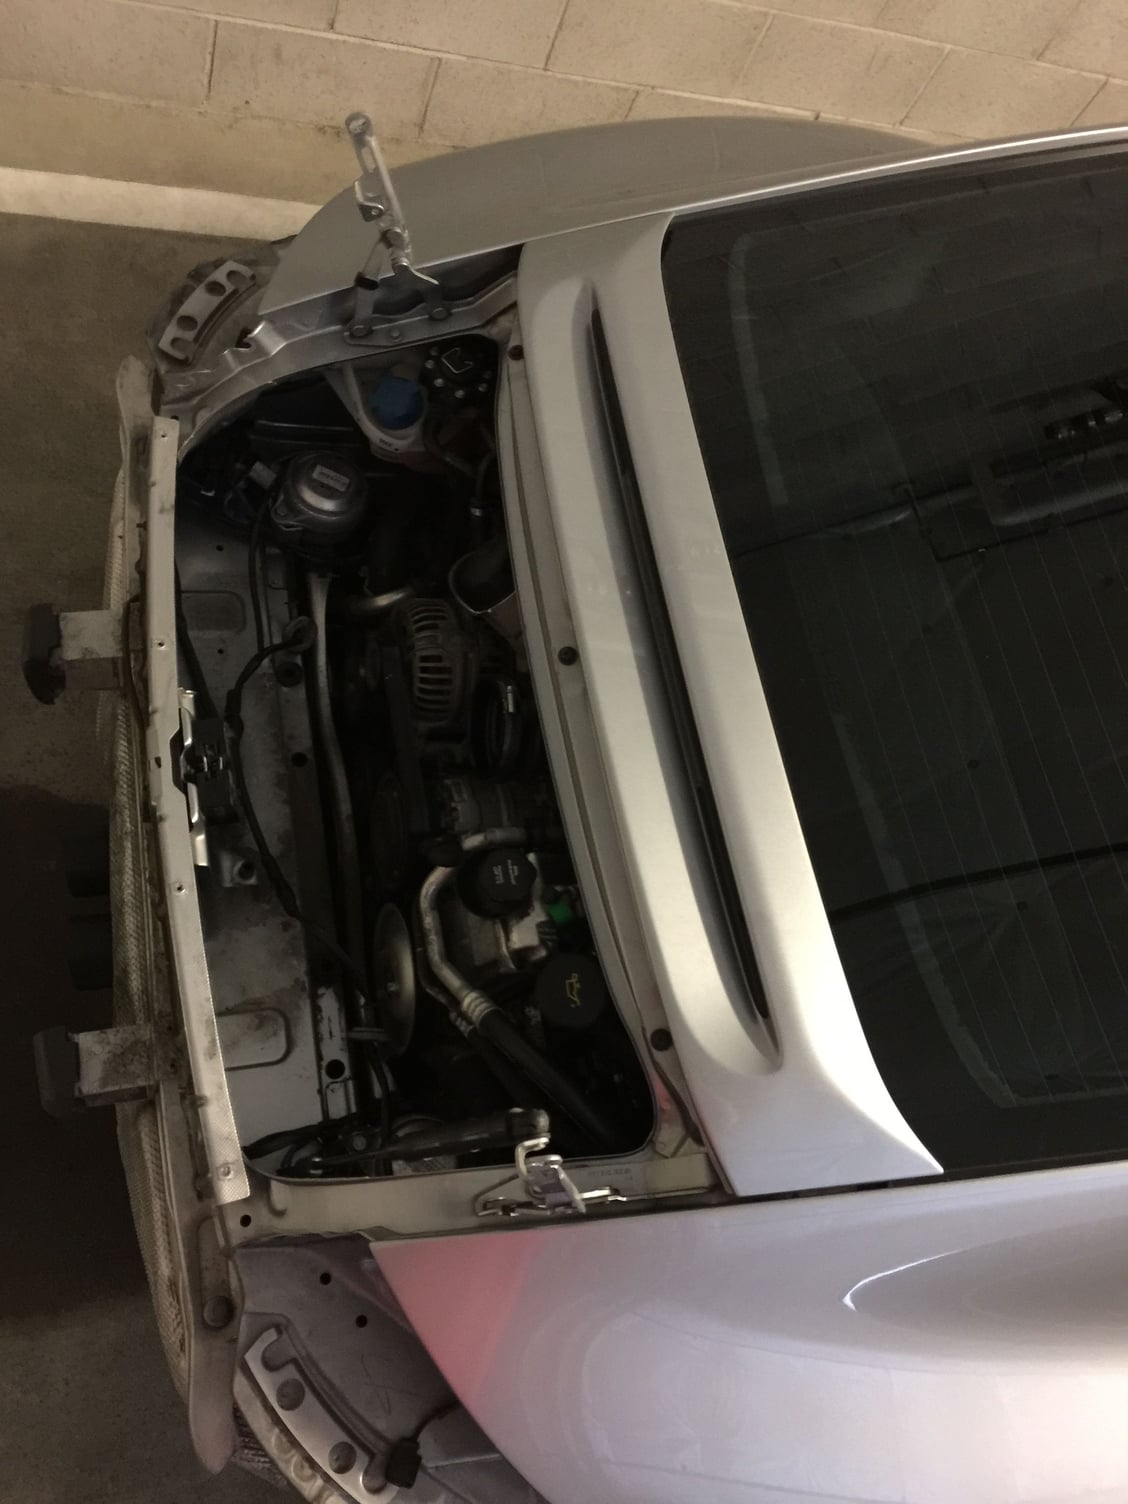
The .1 Airbox was removed as well to make way for the dual inlet airbox required to mate with the 997.2 Cup Deck Lid.
And also did a test fit of the cup deck lid. Since I was going with a cup rear bumper which mean no bumperettes, I removed the metal bumper guards that placed the absorbers behind the bumperettes. They are just riveted on so a quick drilling of the rivet took care of that.
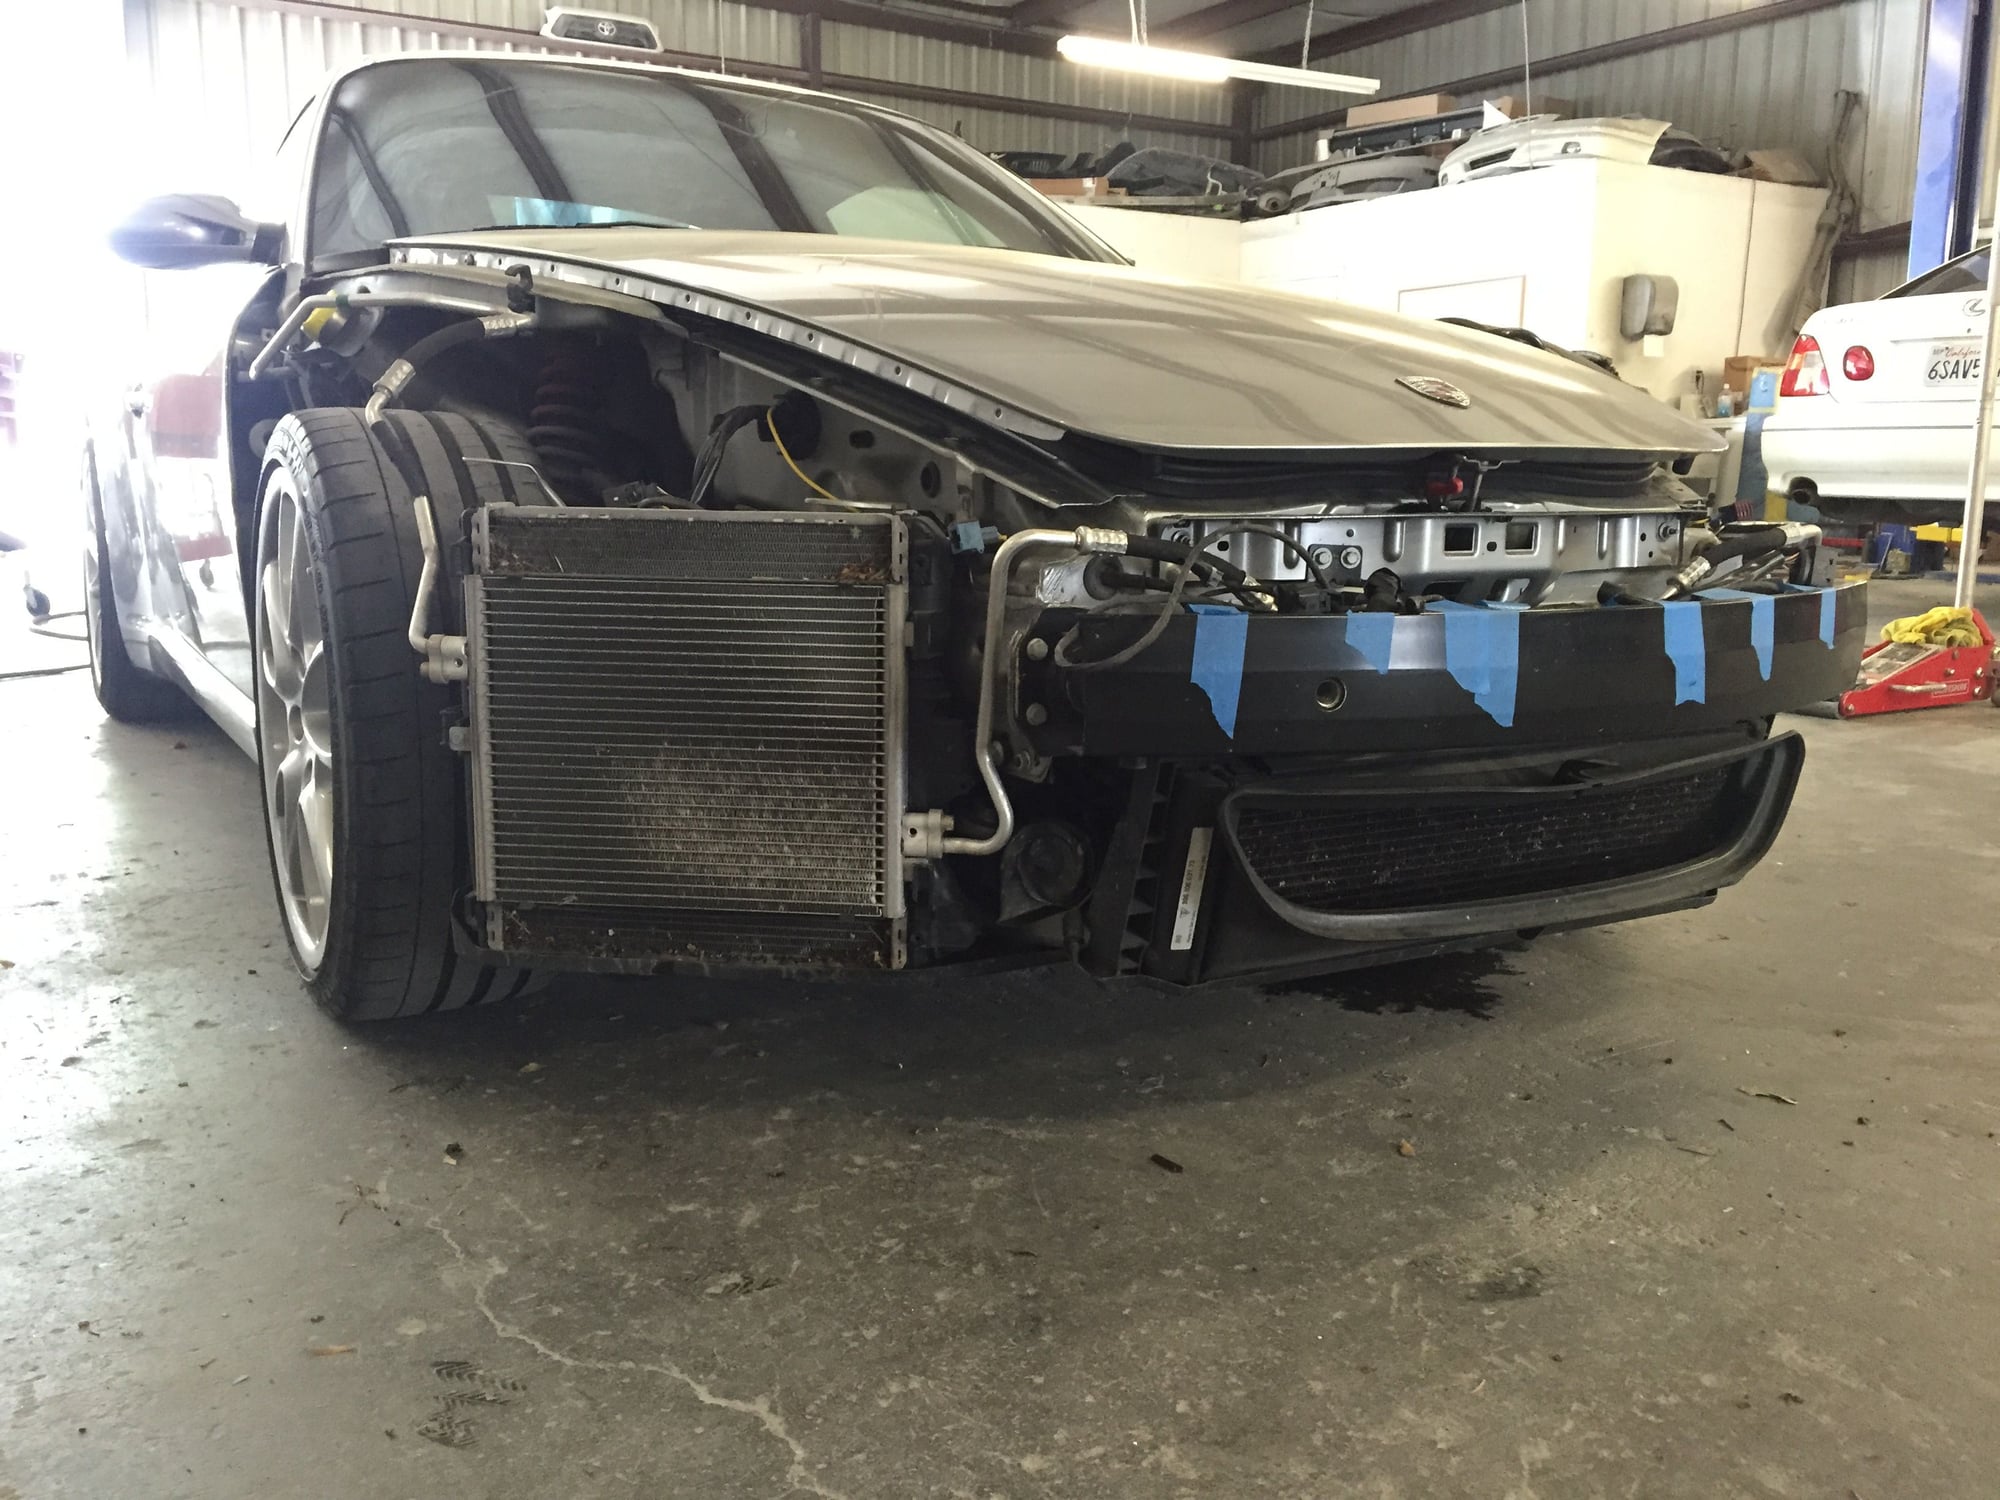
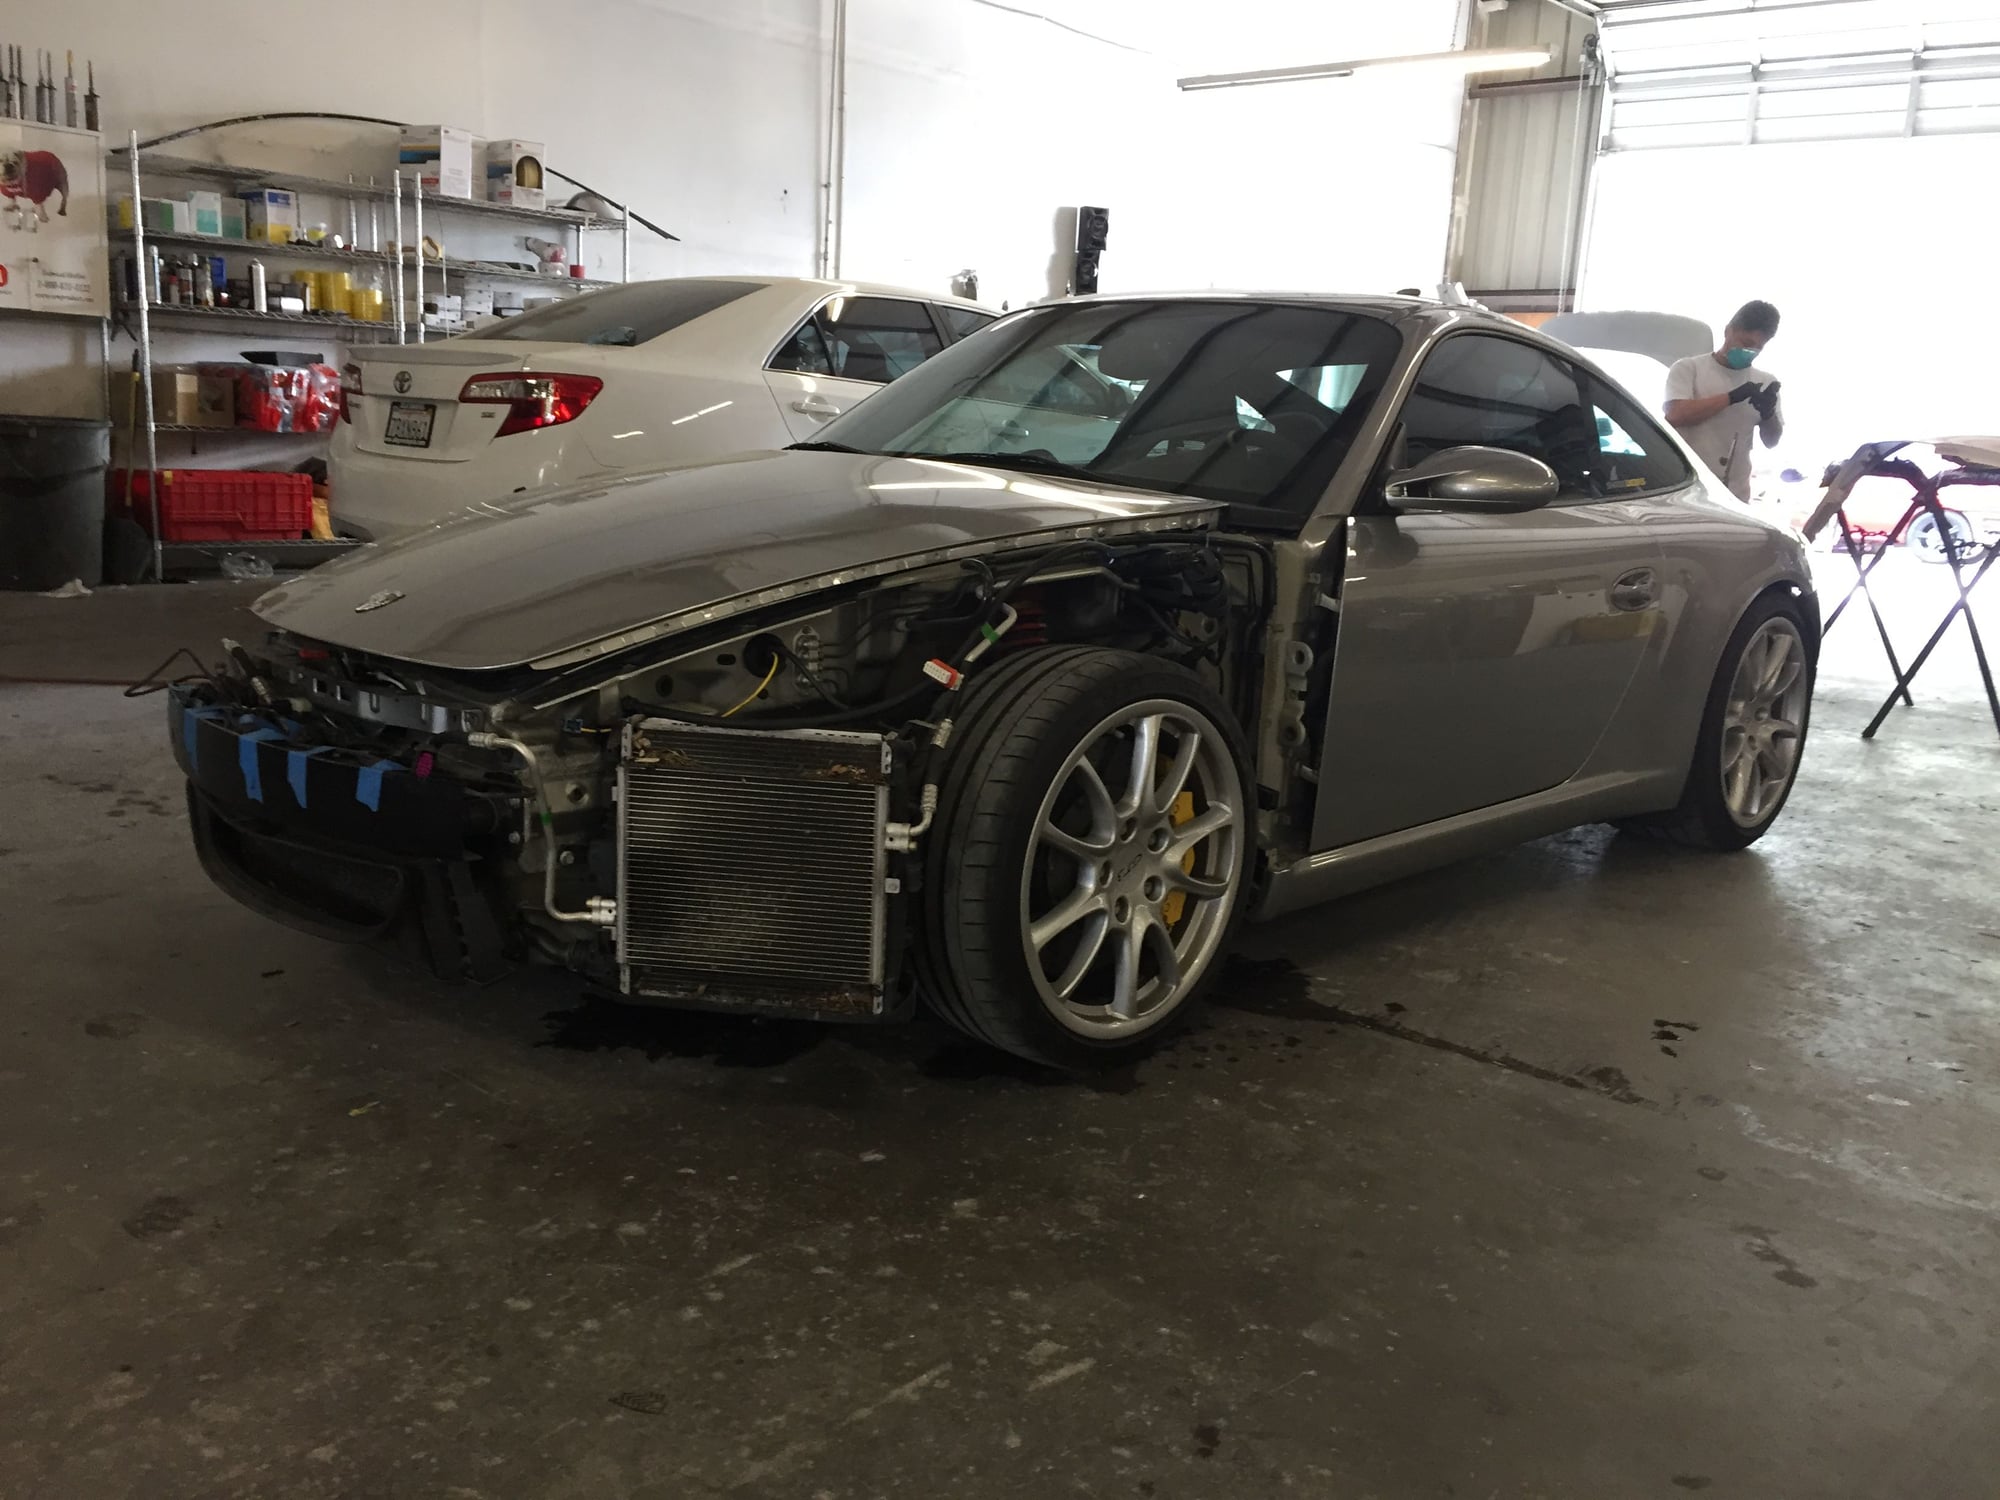
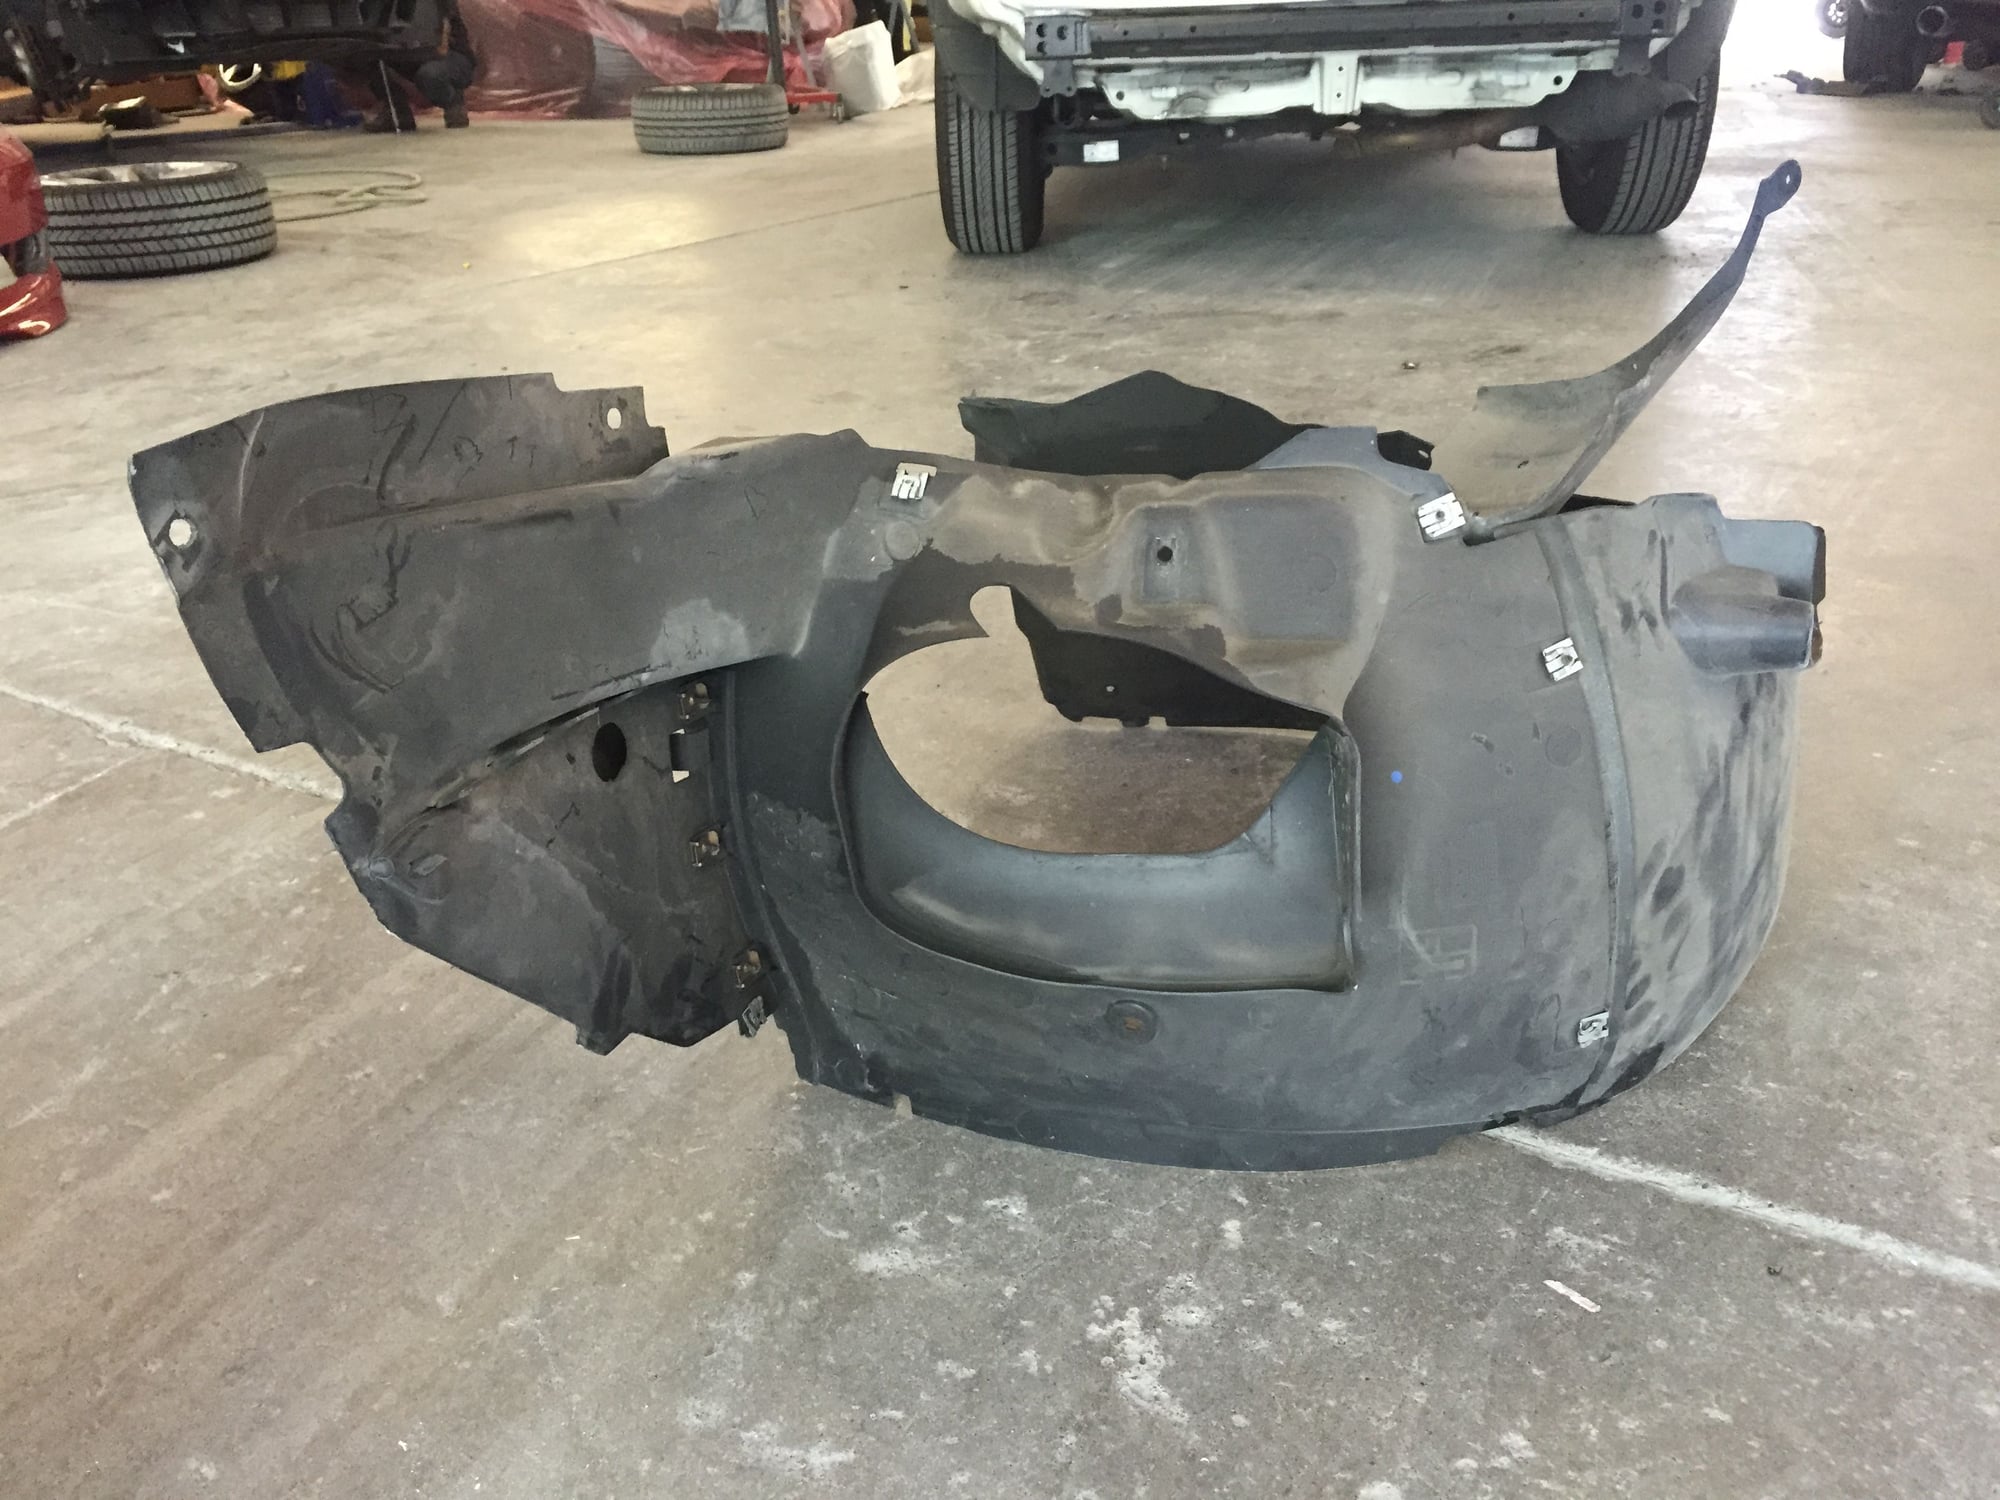
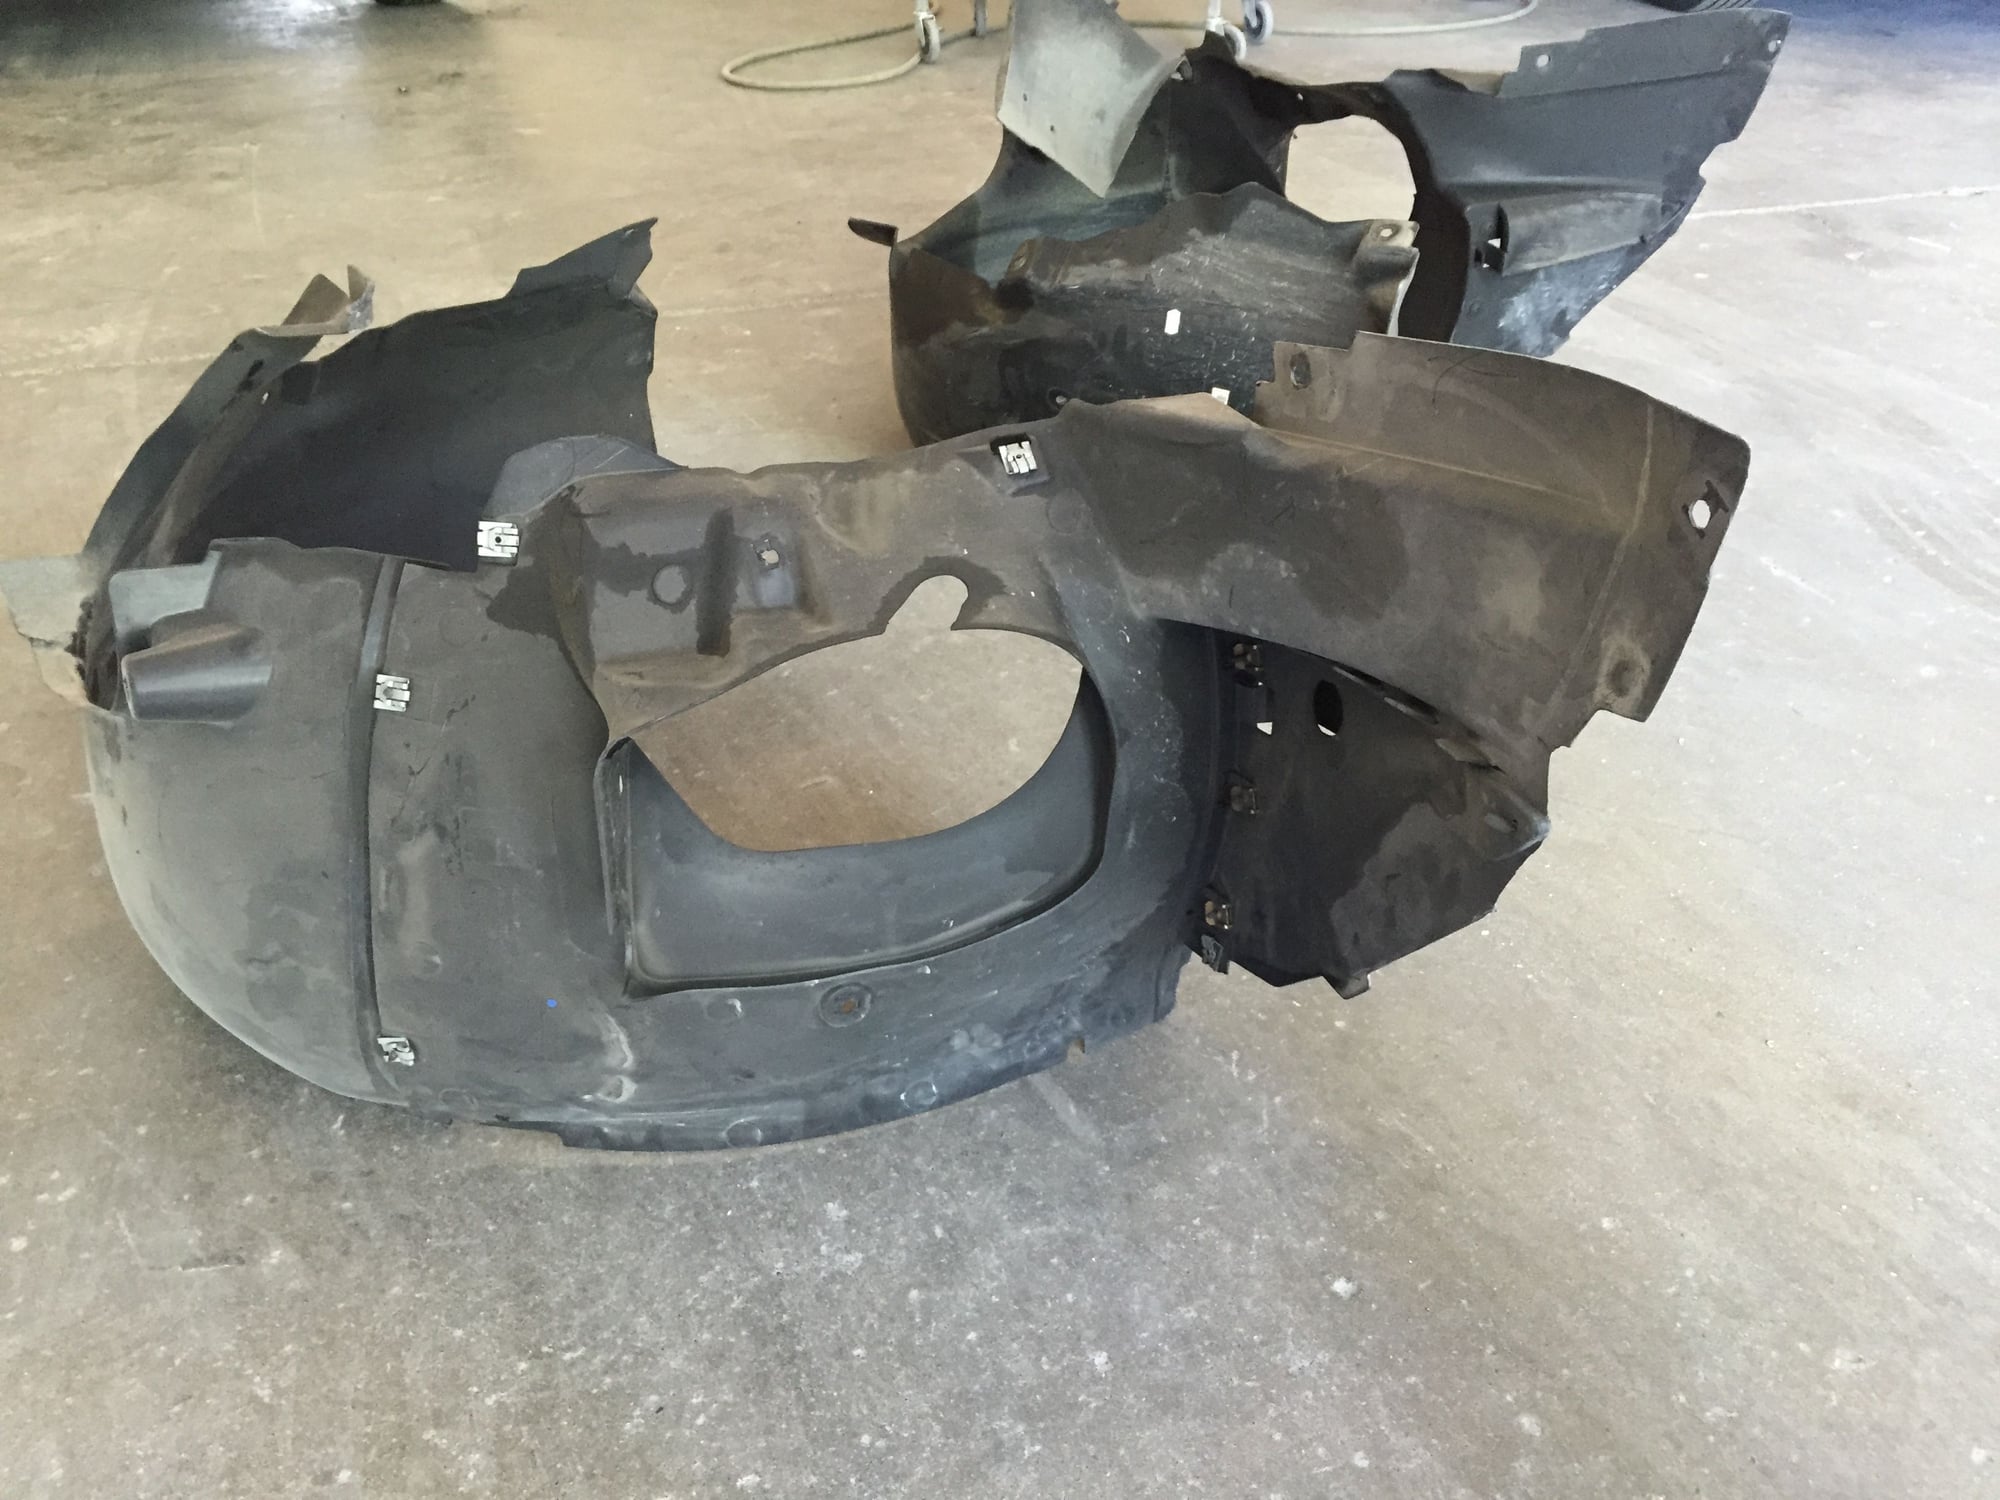
Then into the shop to remove the fenders, wheel liners, washer fluid reservoir, .1 radiator ducts.
Paint and Fitment...
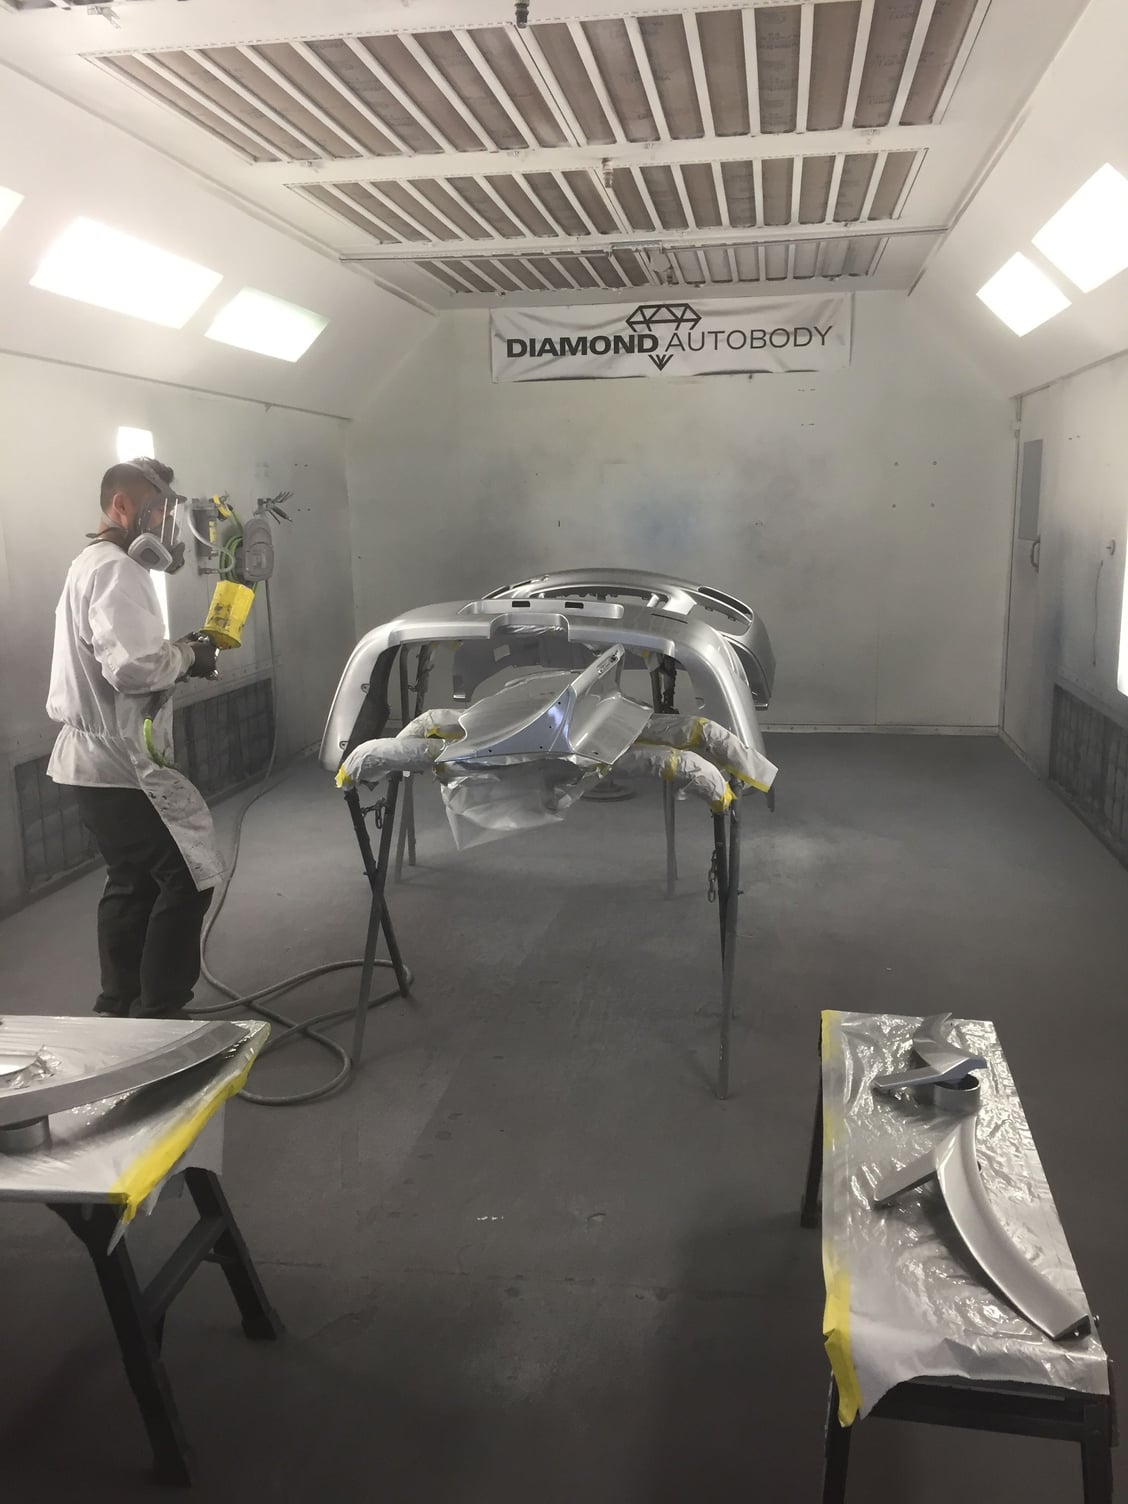
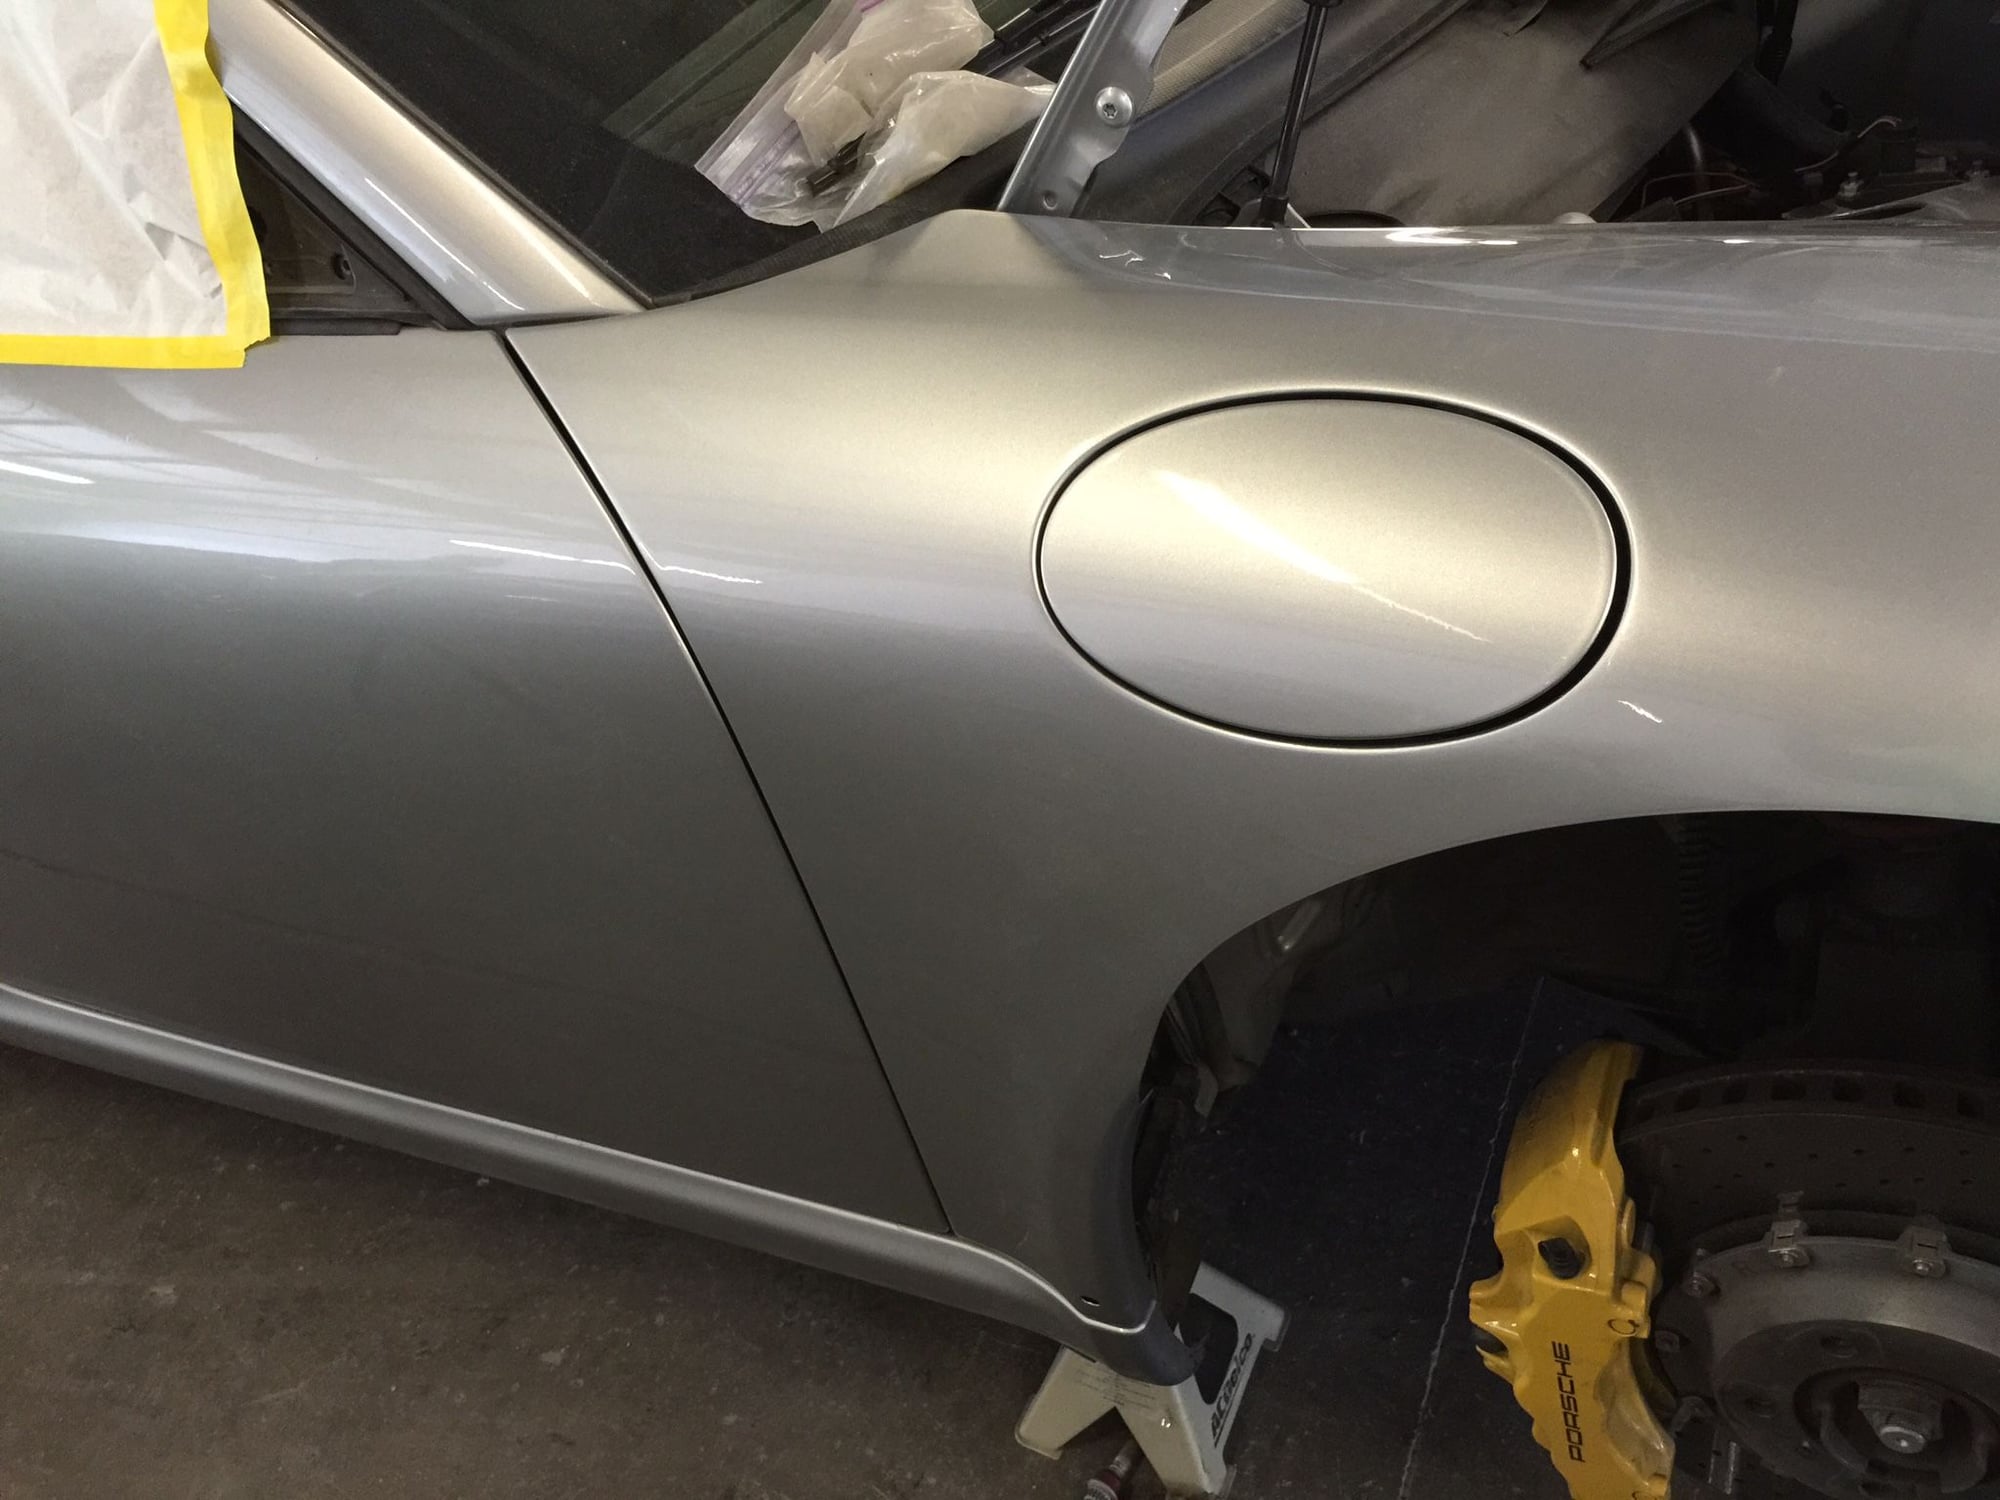
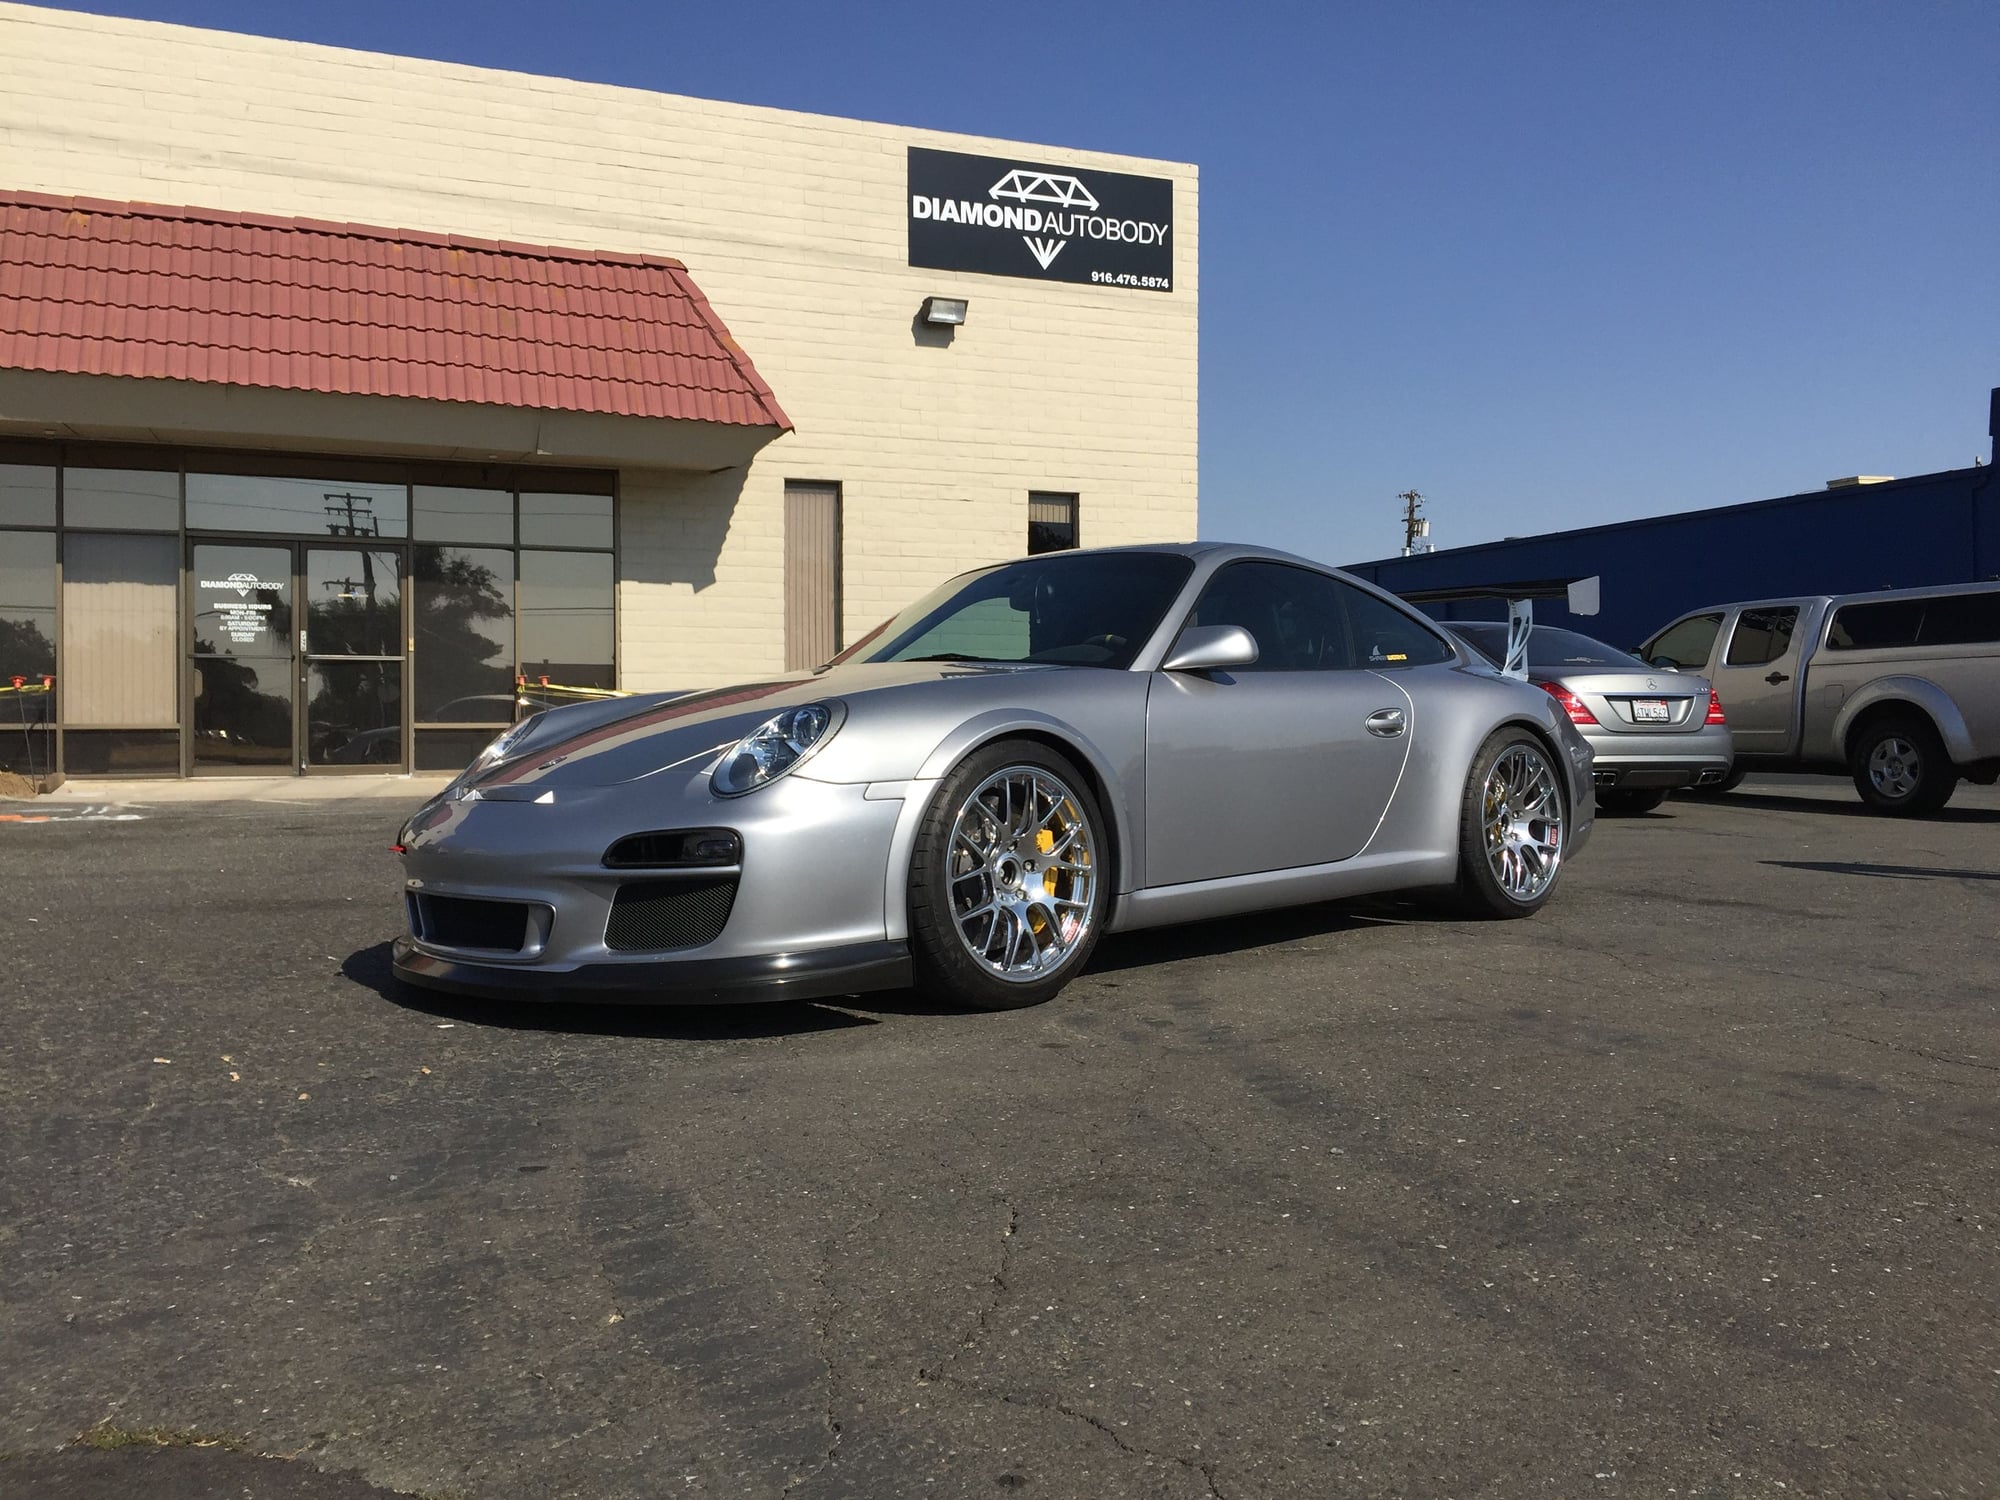
Being the car is GT Silver, I knew from the start it would not be an easy color to match. And with how detail oriented I am, I knew I would need a shop with a similar mindset to put up with me. After talking to several shops around the Bay Area, unfortunately I was not happy with any of them. After speaking with some friends about my concerns, I was referred to Diamond Auto Body in Sacramento. After speaking with the owner, David Tran, and seeing some of his work, I knew this would be the right shop.
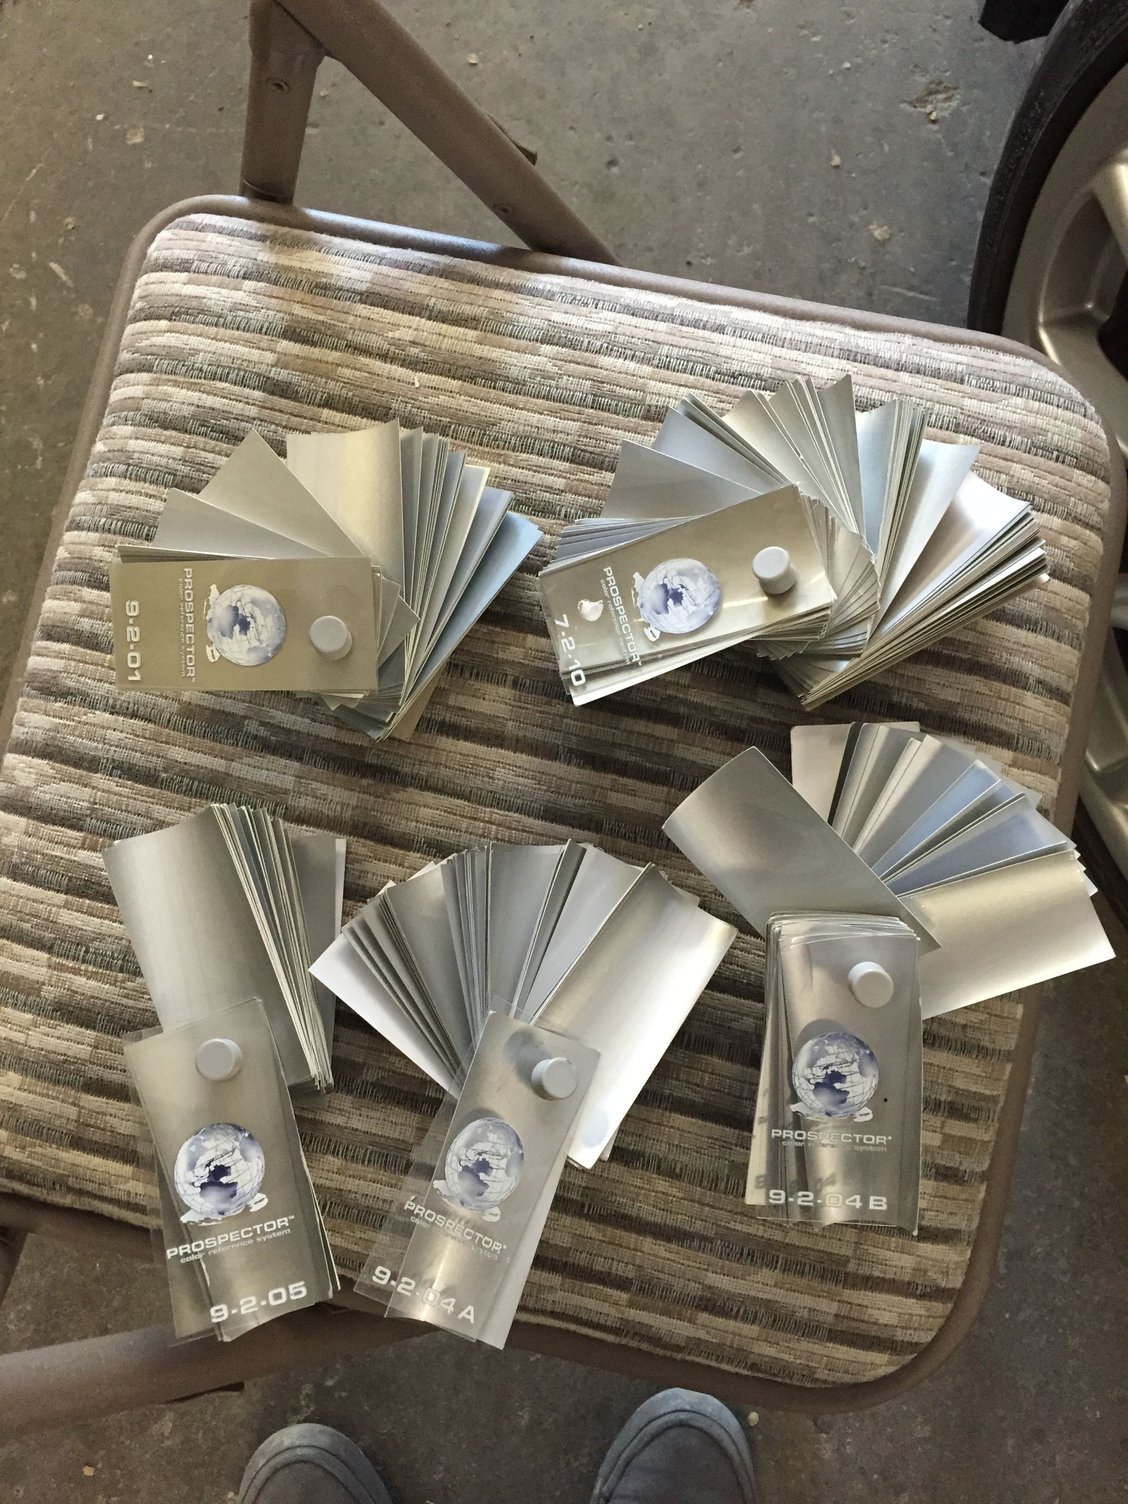
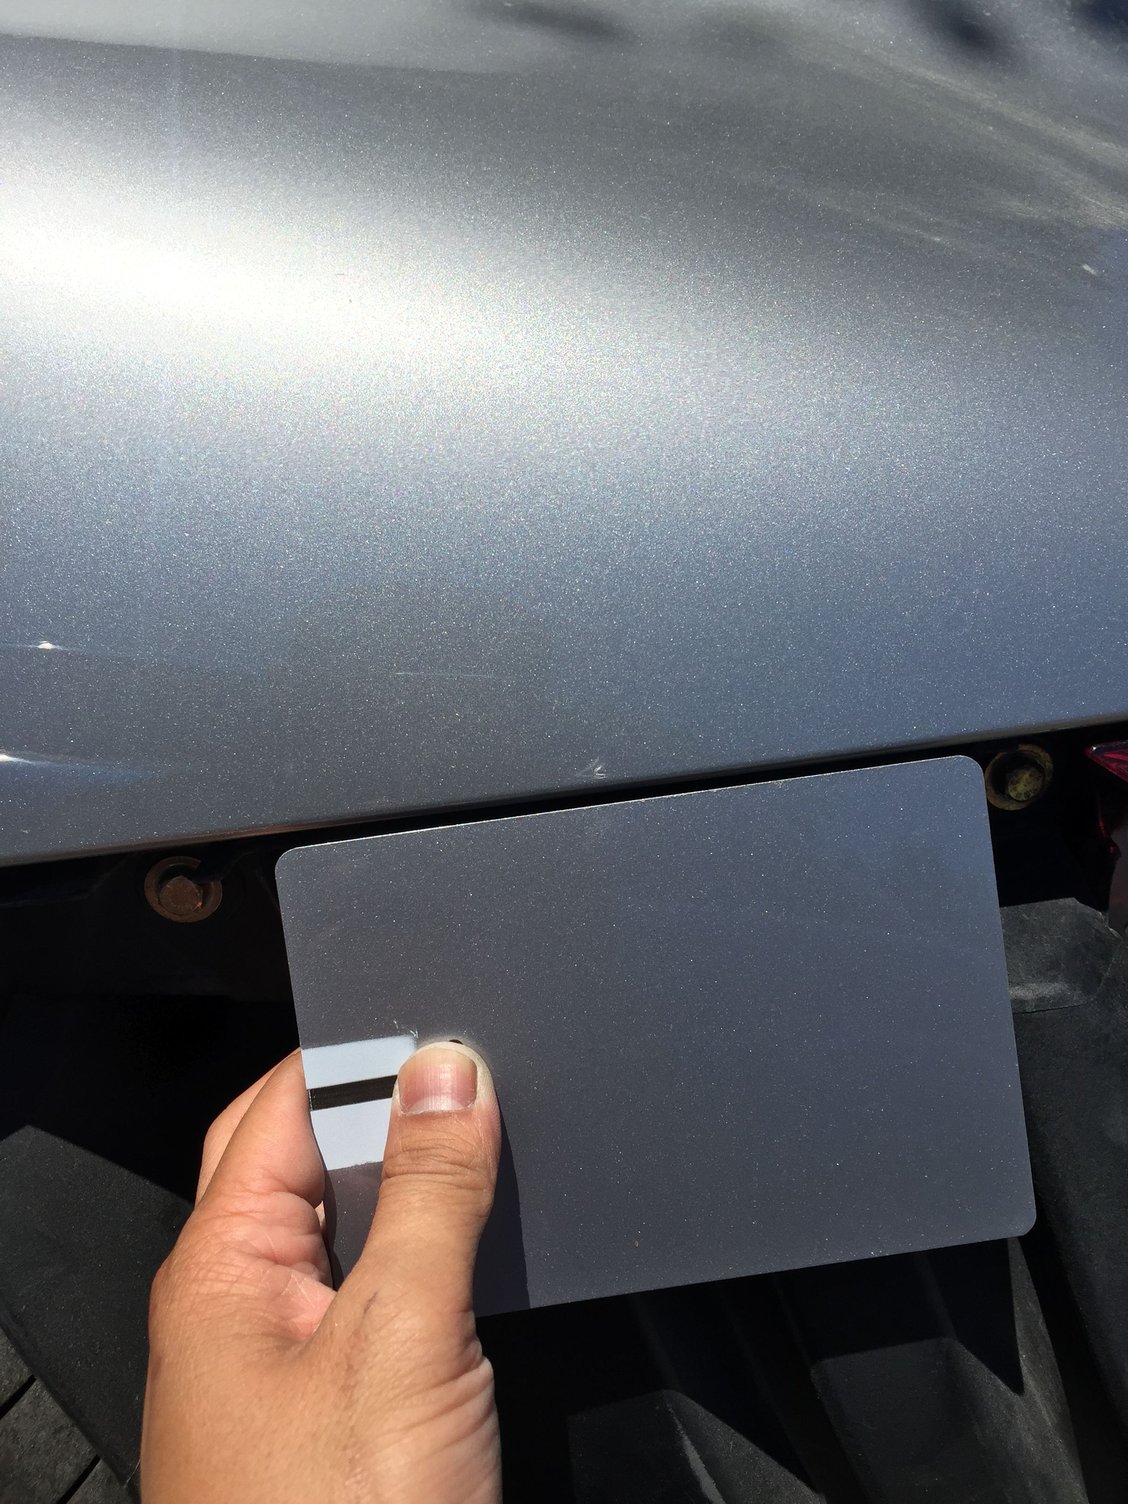
So now the fun part, matching GT Silver paint. Remember how I said I am super detail oriented and did not want to settle (which is why it took me a while to find a shop), well I wanted the paint matched perfectly, and no blending of panels. Had I been willing to blend, sure this job would have been significantly easier, and most the shops I talked to wanted to blend. Diamond Auto Body was up for the challenge. So just what did it take to match GT Silver and not blend.
Here are some quotes: I've feverishly went thru all 5 of those color chip decks and the ones that I found close but not exact to your vehicle, I mixed the formula and sprayed a test card.
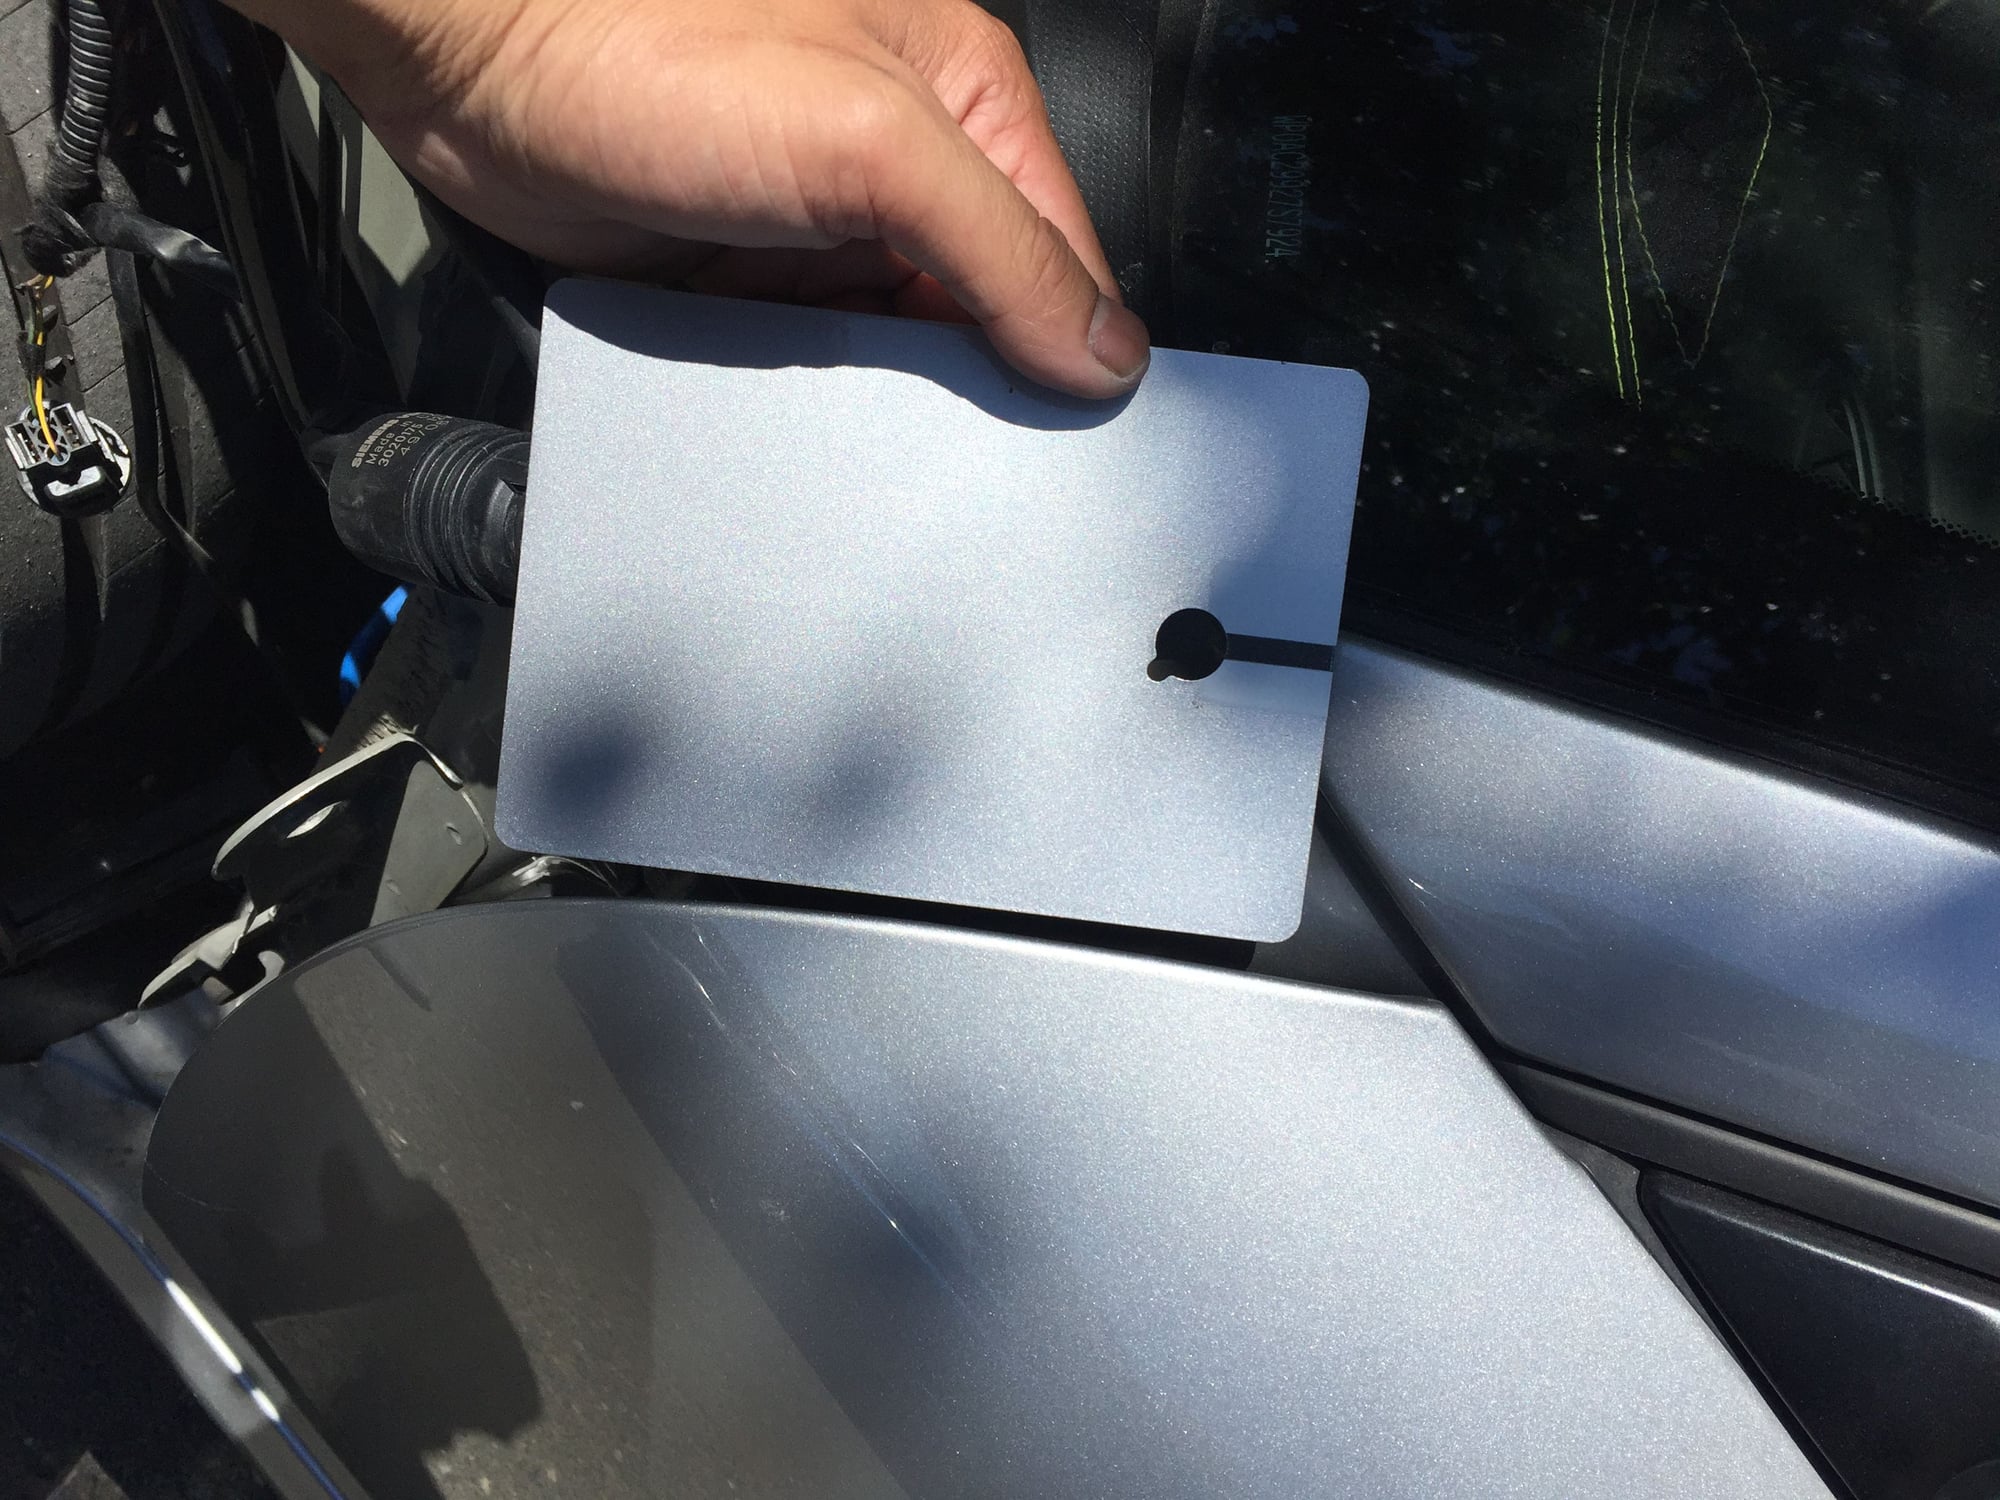
We created just about 17 different shades of silver and we are getting pretty dang close. The face we got, but it's the side tone (flop) that is posing a problem. Any time we adjust for the side tone the face skews away from the initial match.
And finally they got it! I was so happy the day I got the news and likewise impressed with the amount of time and effort they spent to get it right. I know any other shop would have given up well before this and said we are blending, no choice.
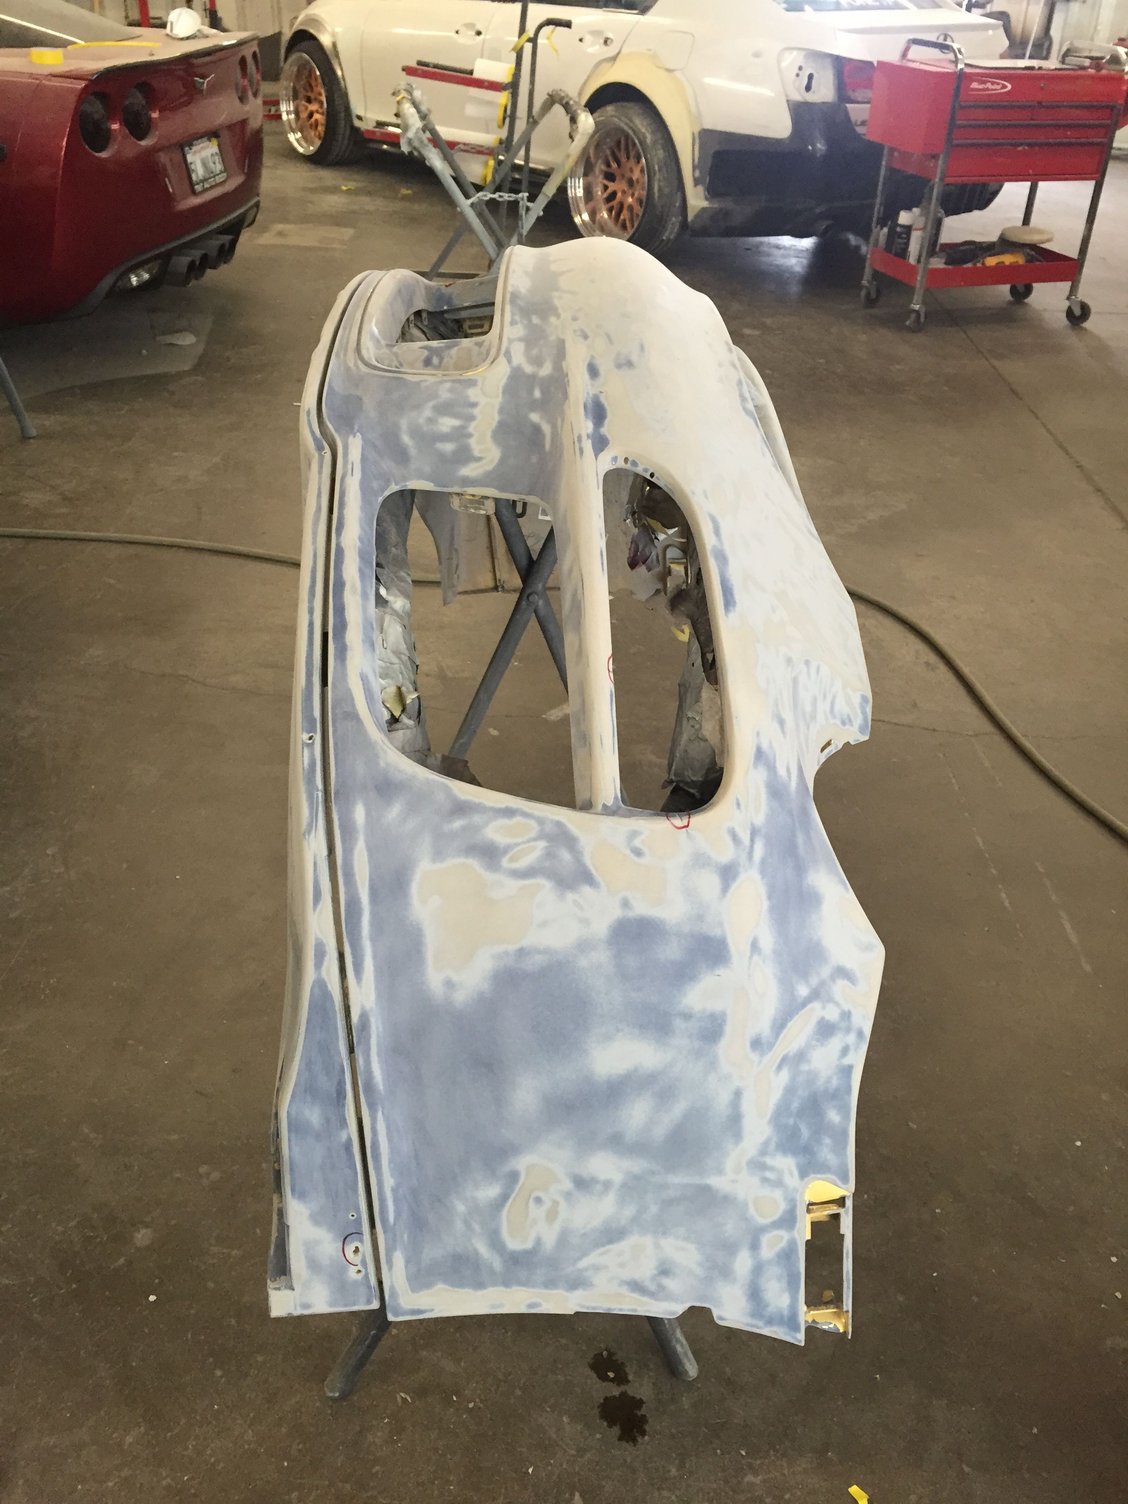
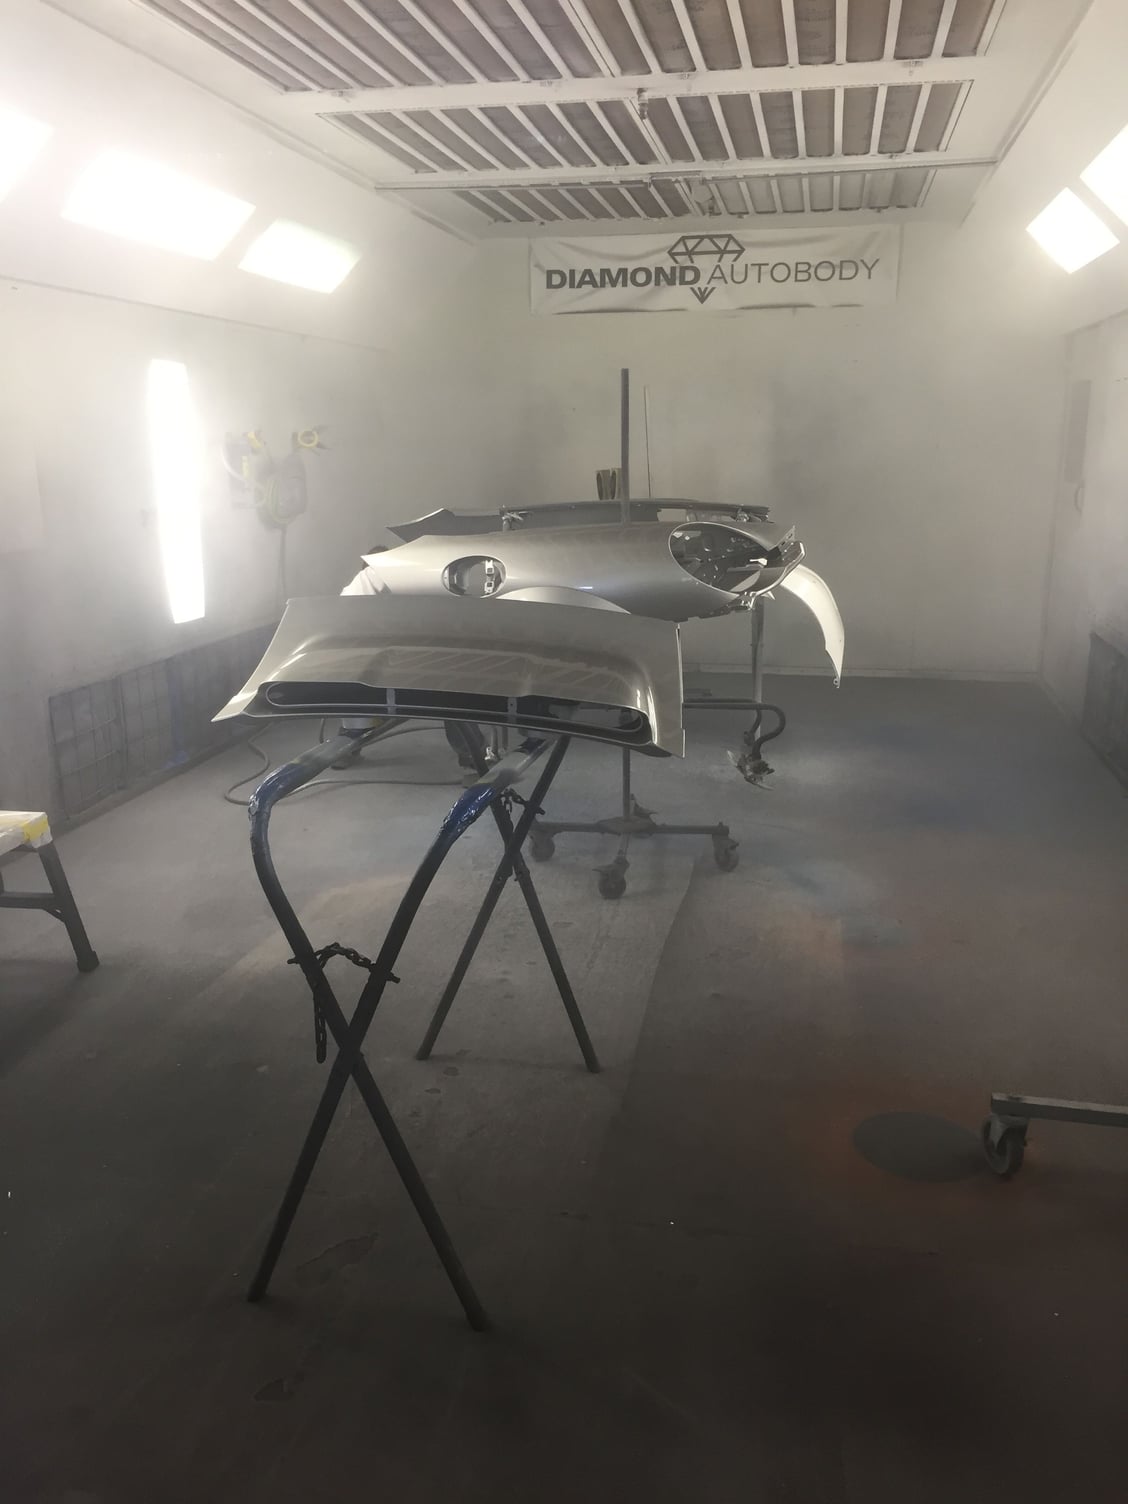
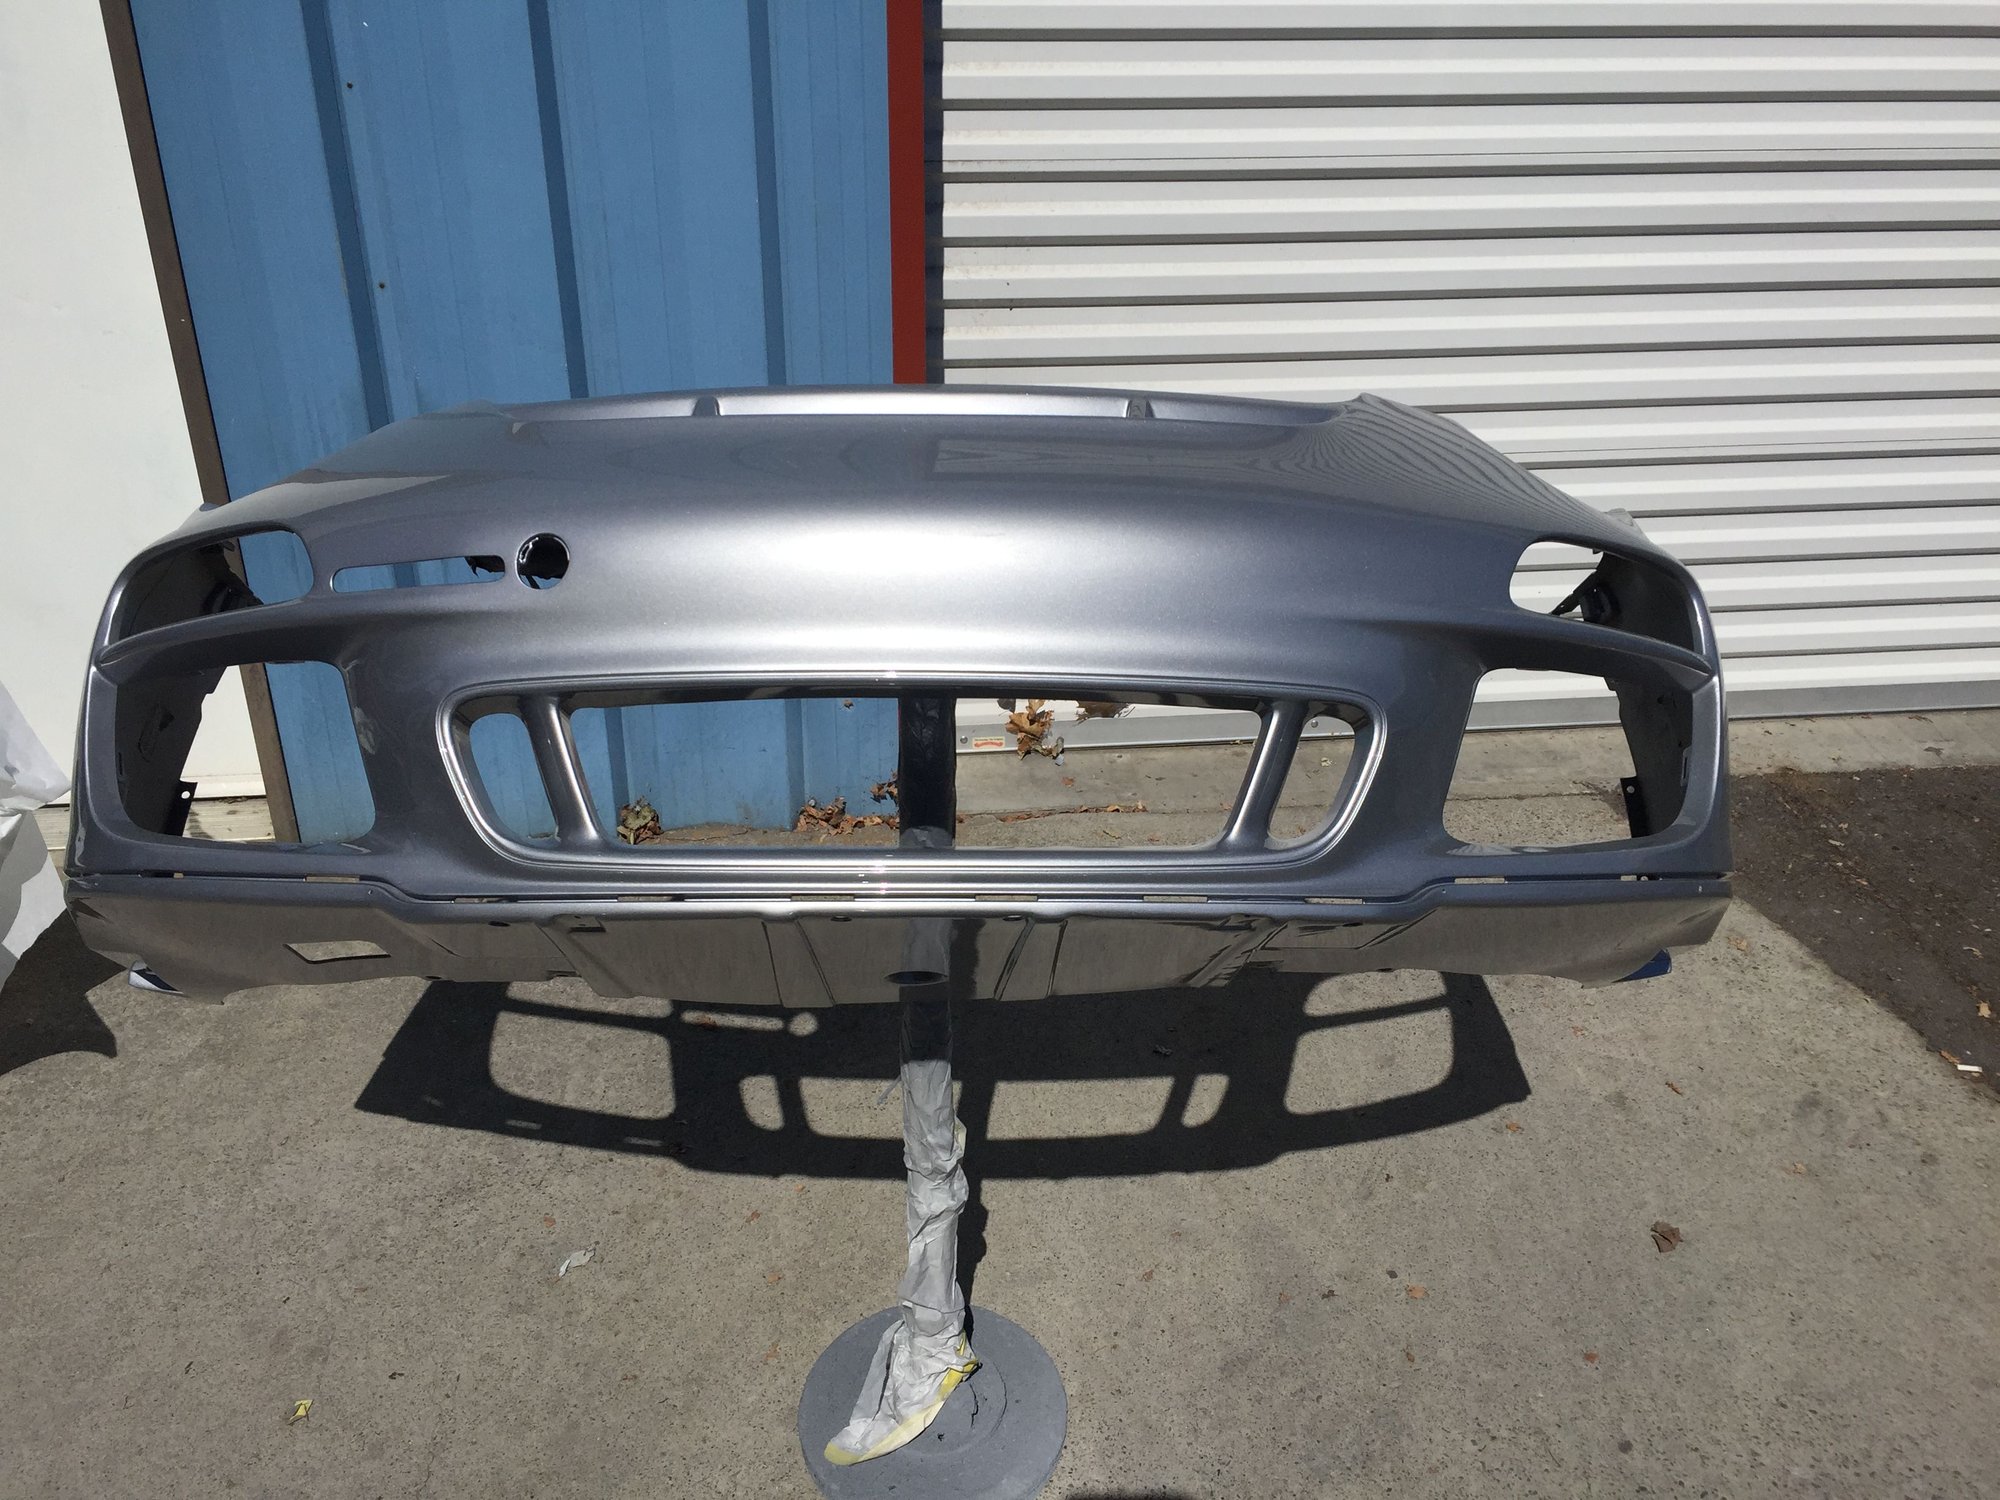
Now that the color match was taken care of, it was time to prep the parts and get them into paint.
While the paint was curing, took the time to work on some of the things that go unnoticed but are just as important.
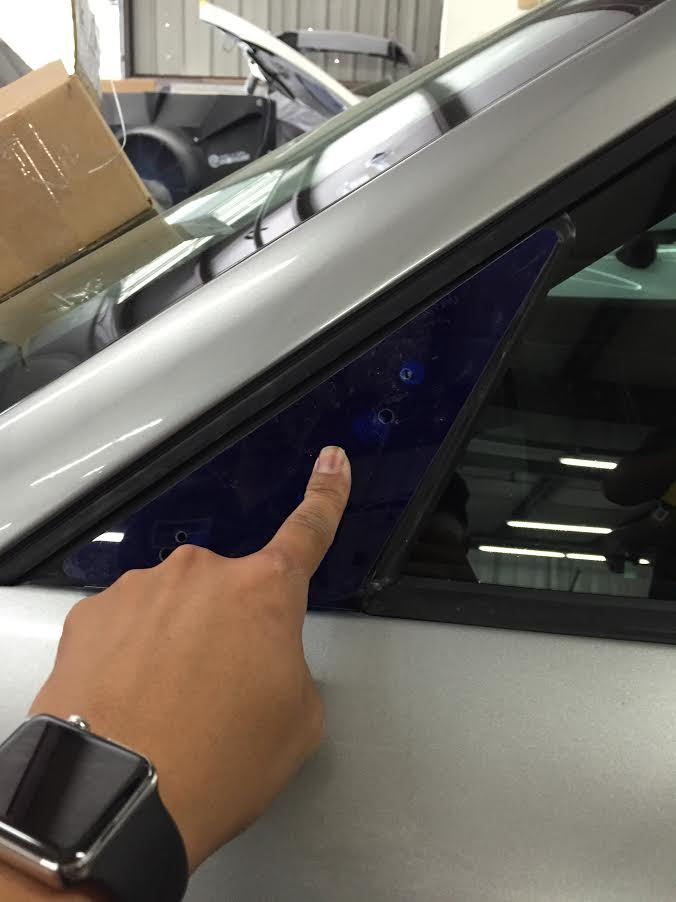
Mounting Cup Mirrors to OEM Doors
The first thing to address was how to mount the cup mirrors to the standard doors, since the cup door mirror mounting points are different.
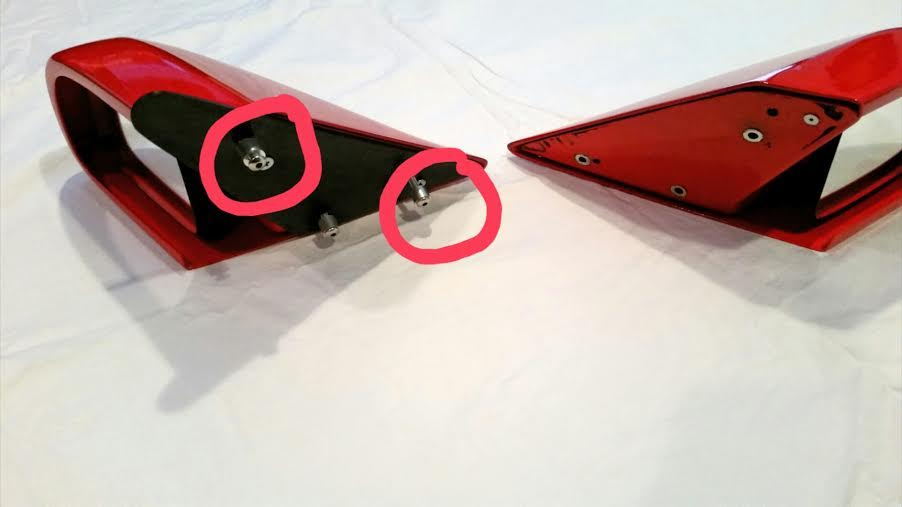
Its not that difficult to make the cup mirrors work. However you need to build a base plate since the mounting plate is different than the OEM mirrors as well as the attachment points. You can build the base plate out of a strong plastic and then just paint the plastic a matte or satin black to match.
Then you need to drill two sets of holes (1 for the cup mirrors to attach to the base plate) (another for the base plate to attach to the factory mouthing holes in the door) Attach the base plate to the cup mirror with screws, and then attach that whole assembly to the door in the door to the factory mirror holes.
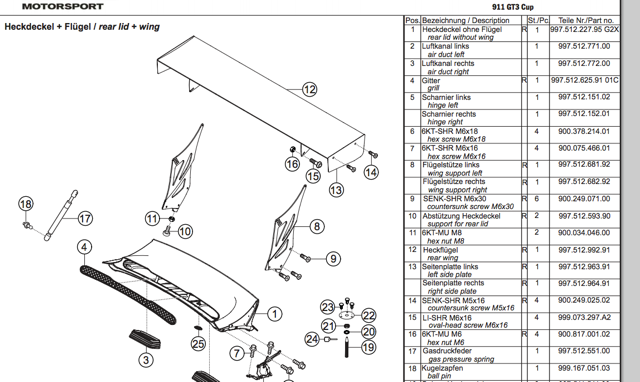
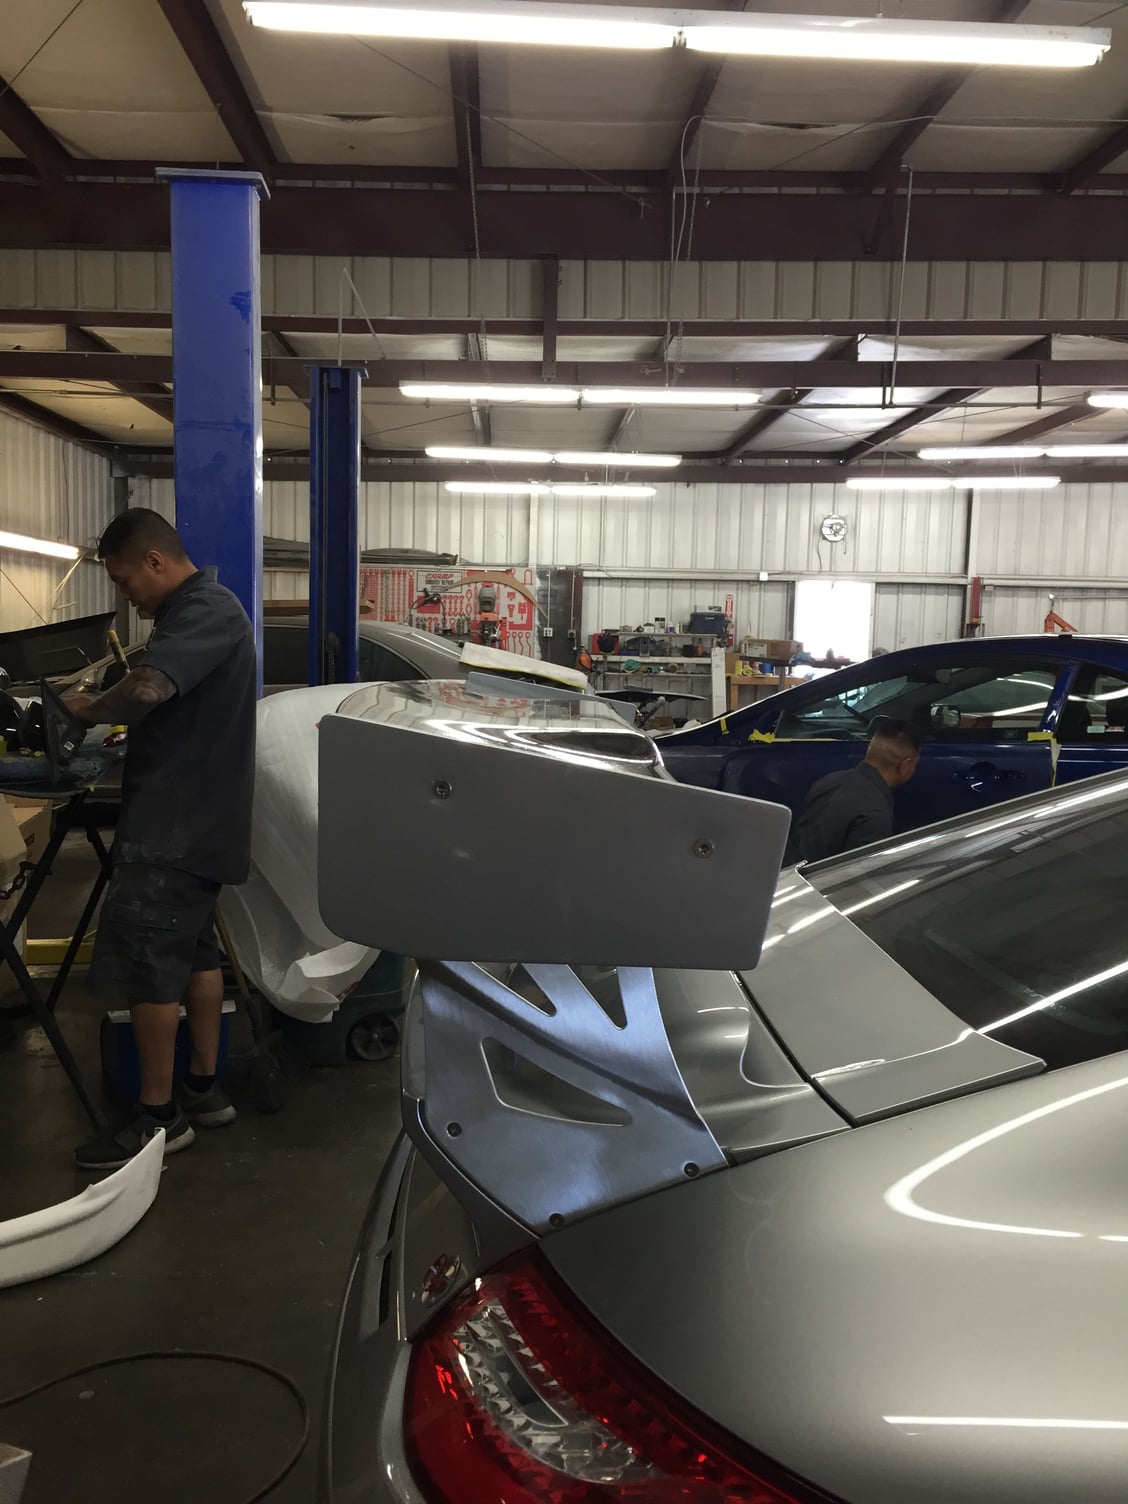
Modifying Cup Uprights and End Plates for RS Wing blade
Parts needed to perform this:
Qty Item
1x #8 Left
1x #8 Right
6x #9
2x #10
2x #11
1x #13 Left
1x #13 Right
4x #14
4x longer equivalent of #15
4x #16
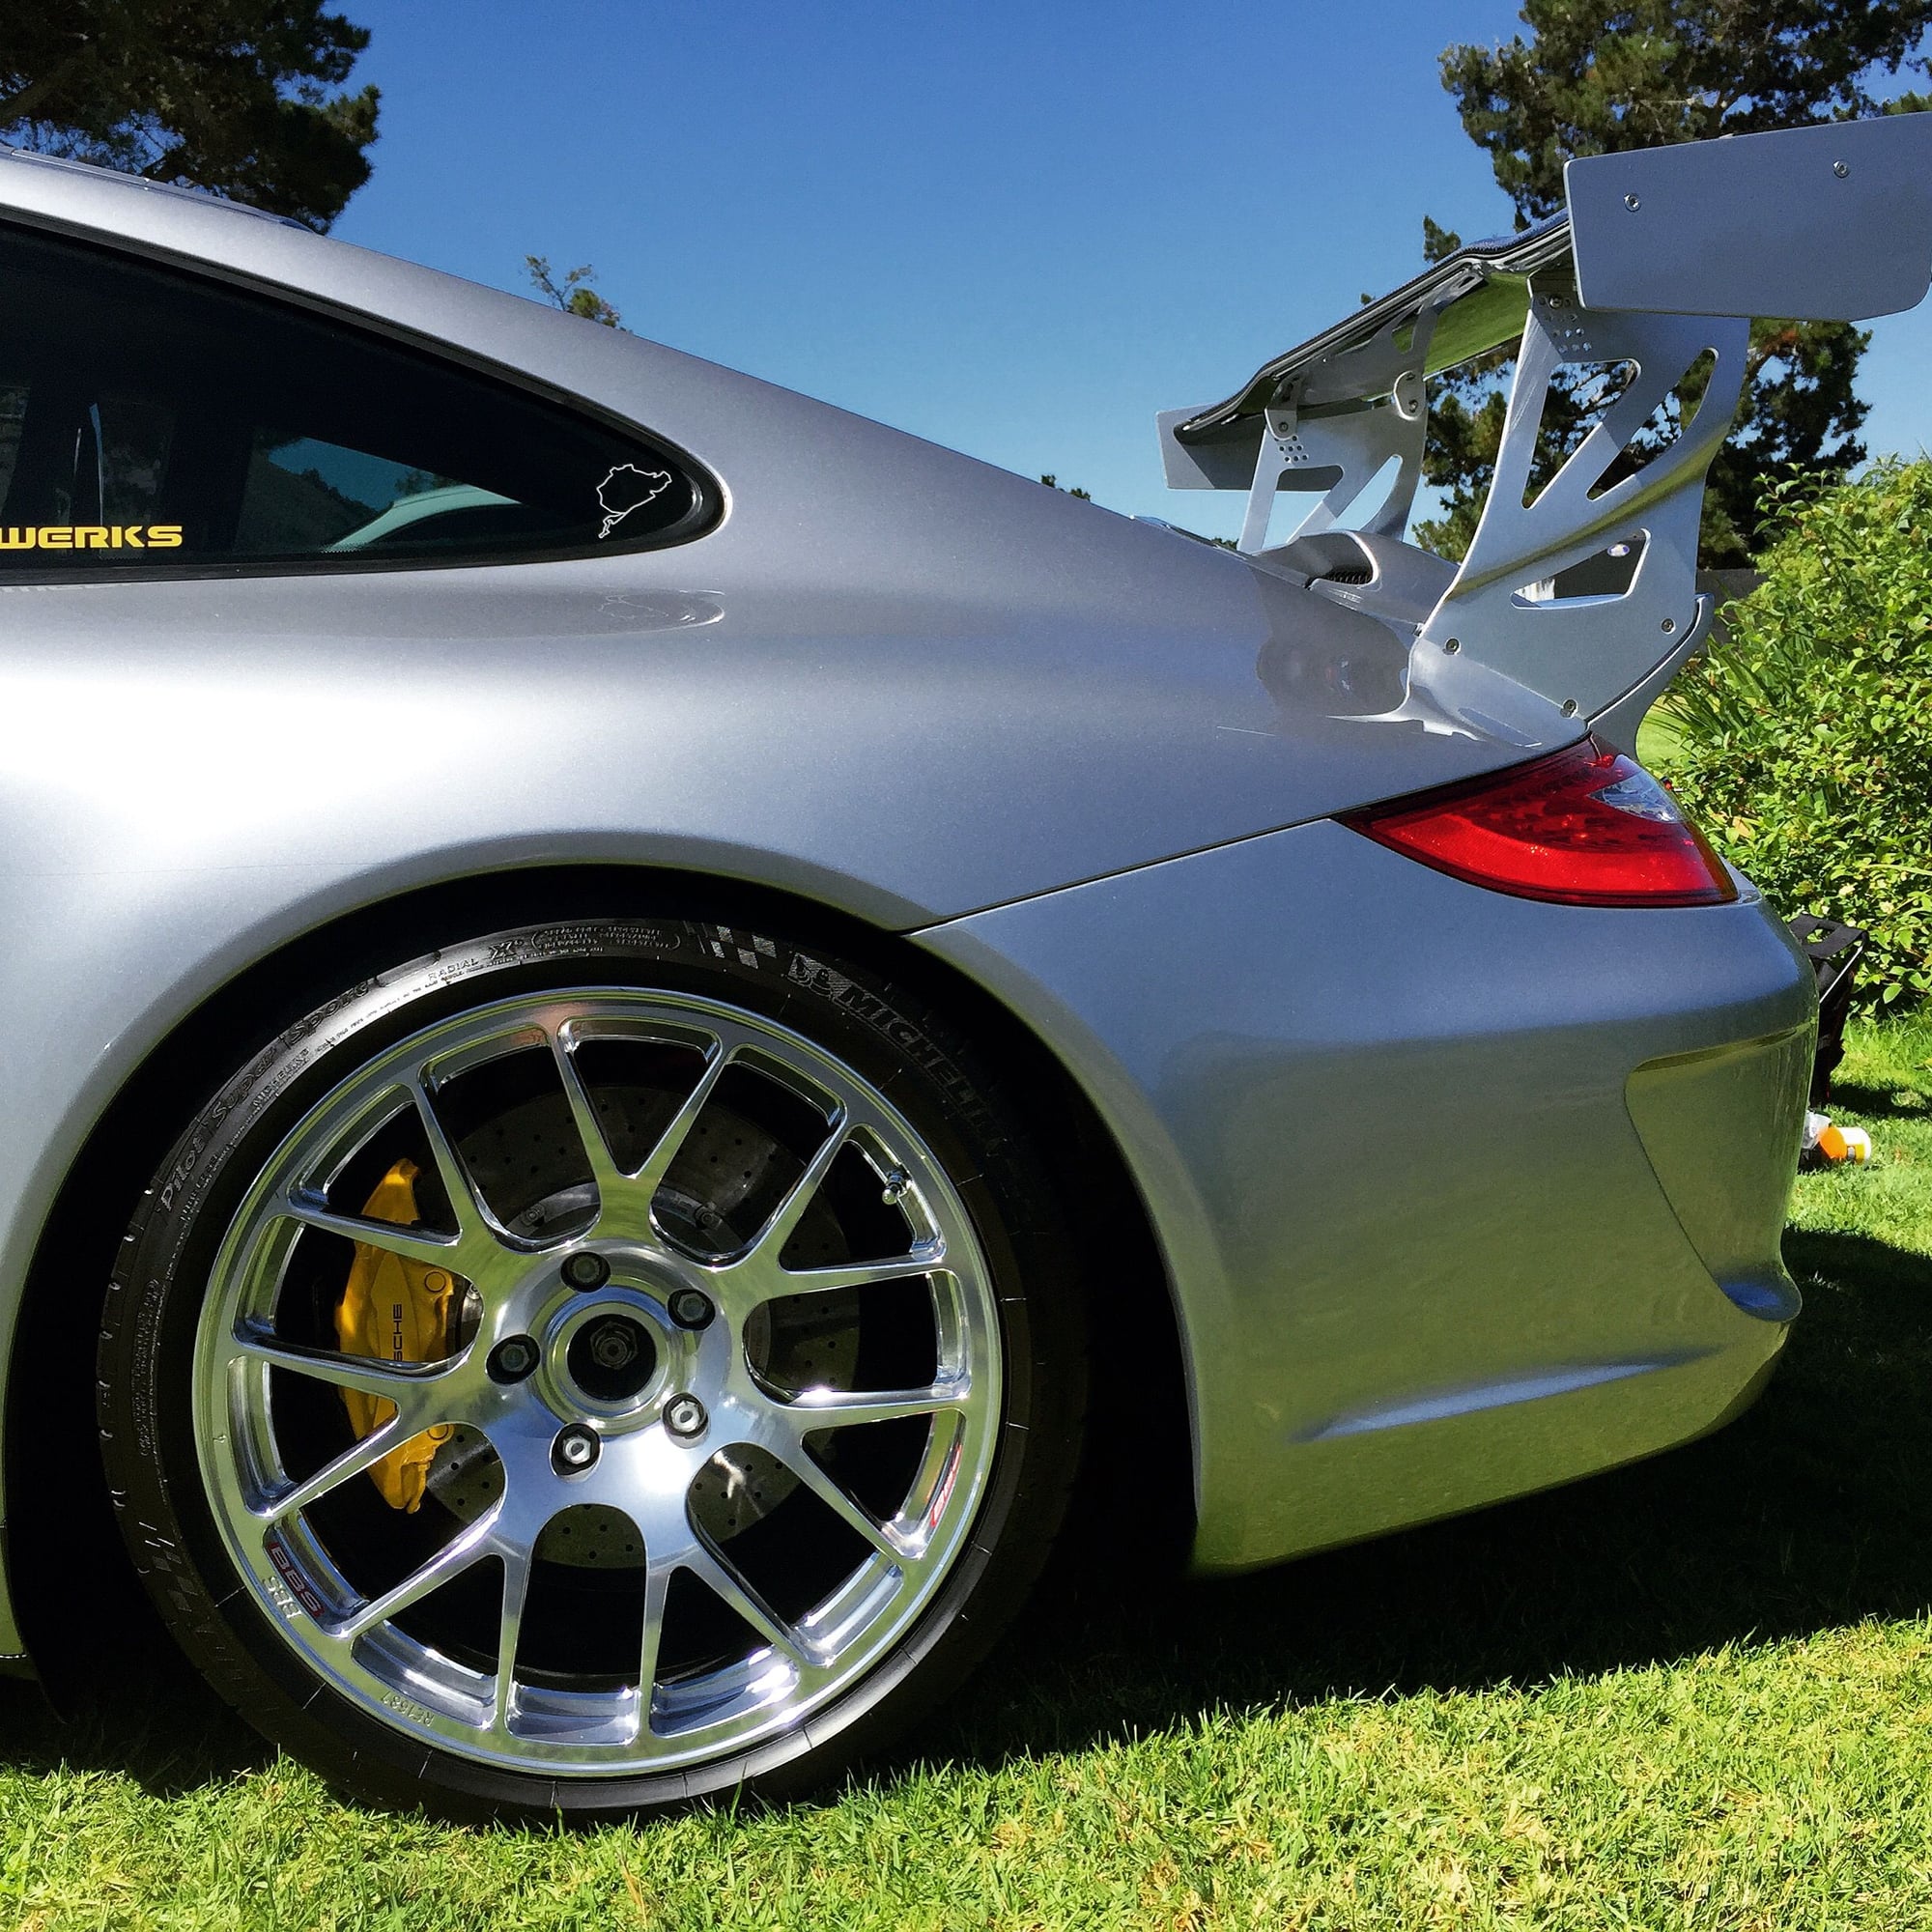
The modification is to the top of the upright to allow the oem RS wing to attach to it. You cut the upper portion of the upright to match the factory angle of attack (Using the front upper portion as a starting point, you will cut across in a slight incline following the wing angle)
With the modified cup uprights, the wing is 11cm (4.3 inches) higher at the mounting points and 8.4cm (3.3 inches) further back with relation to the stock wing
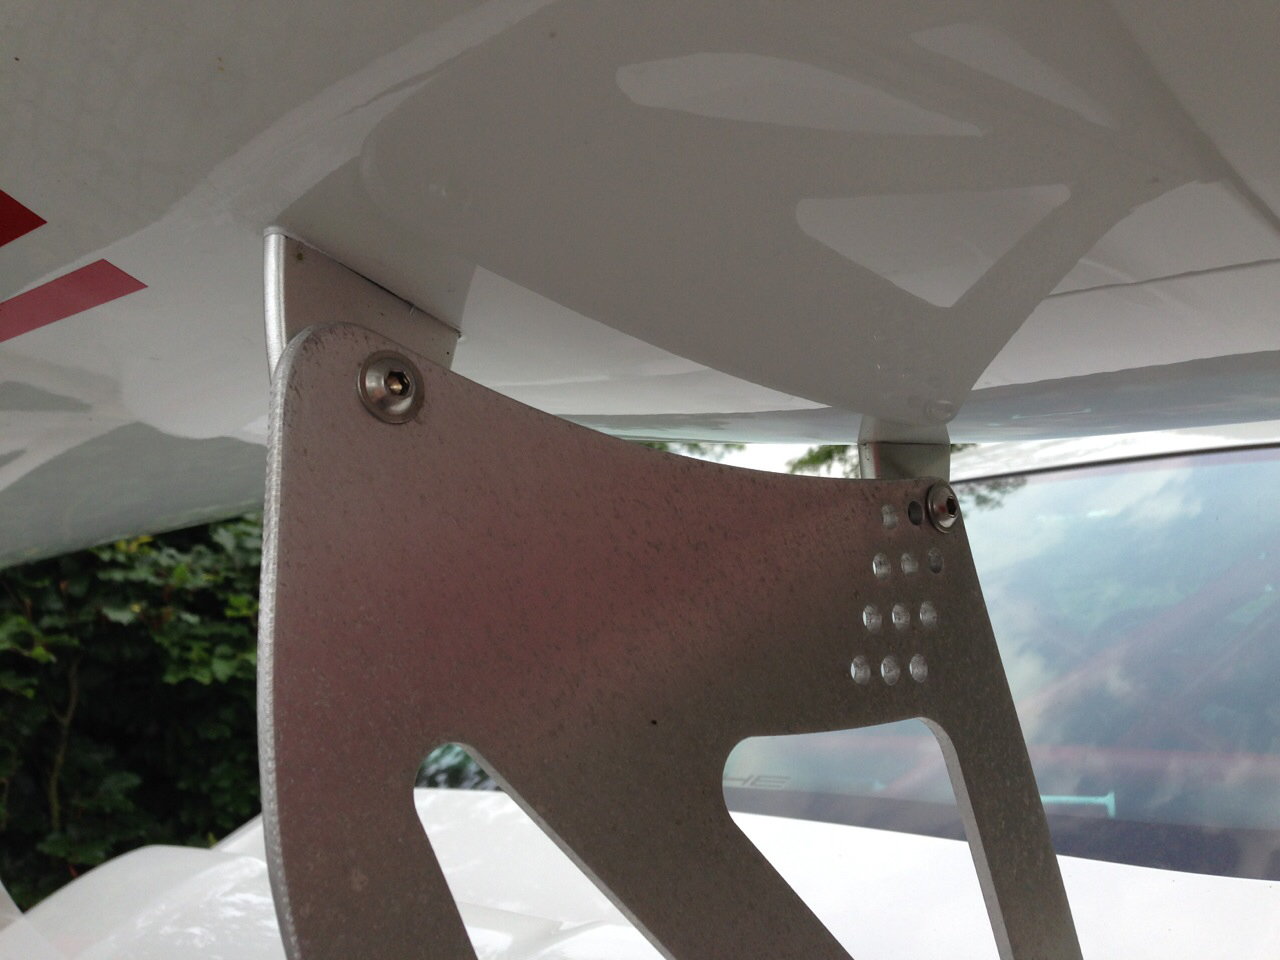
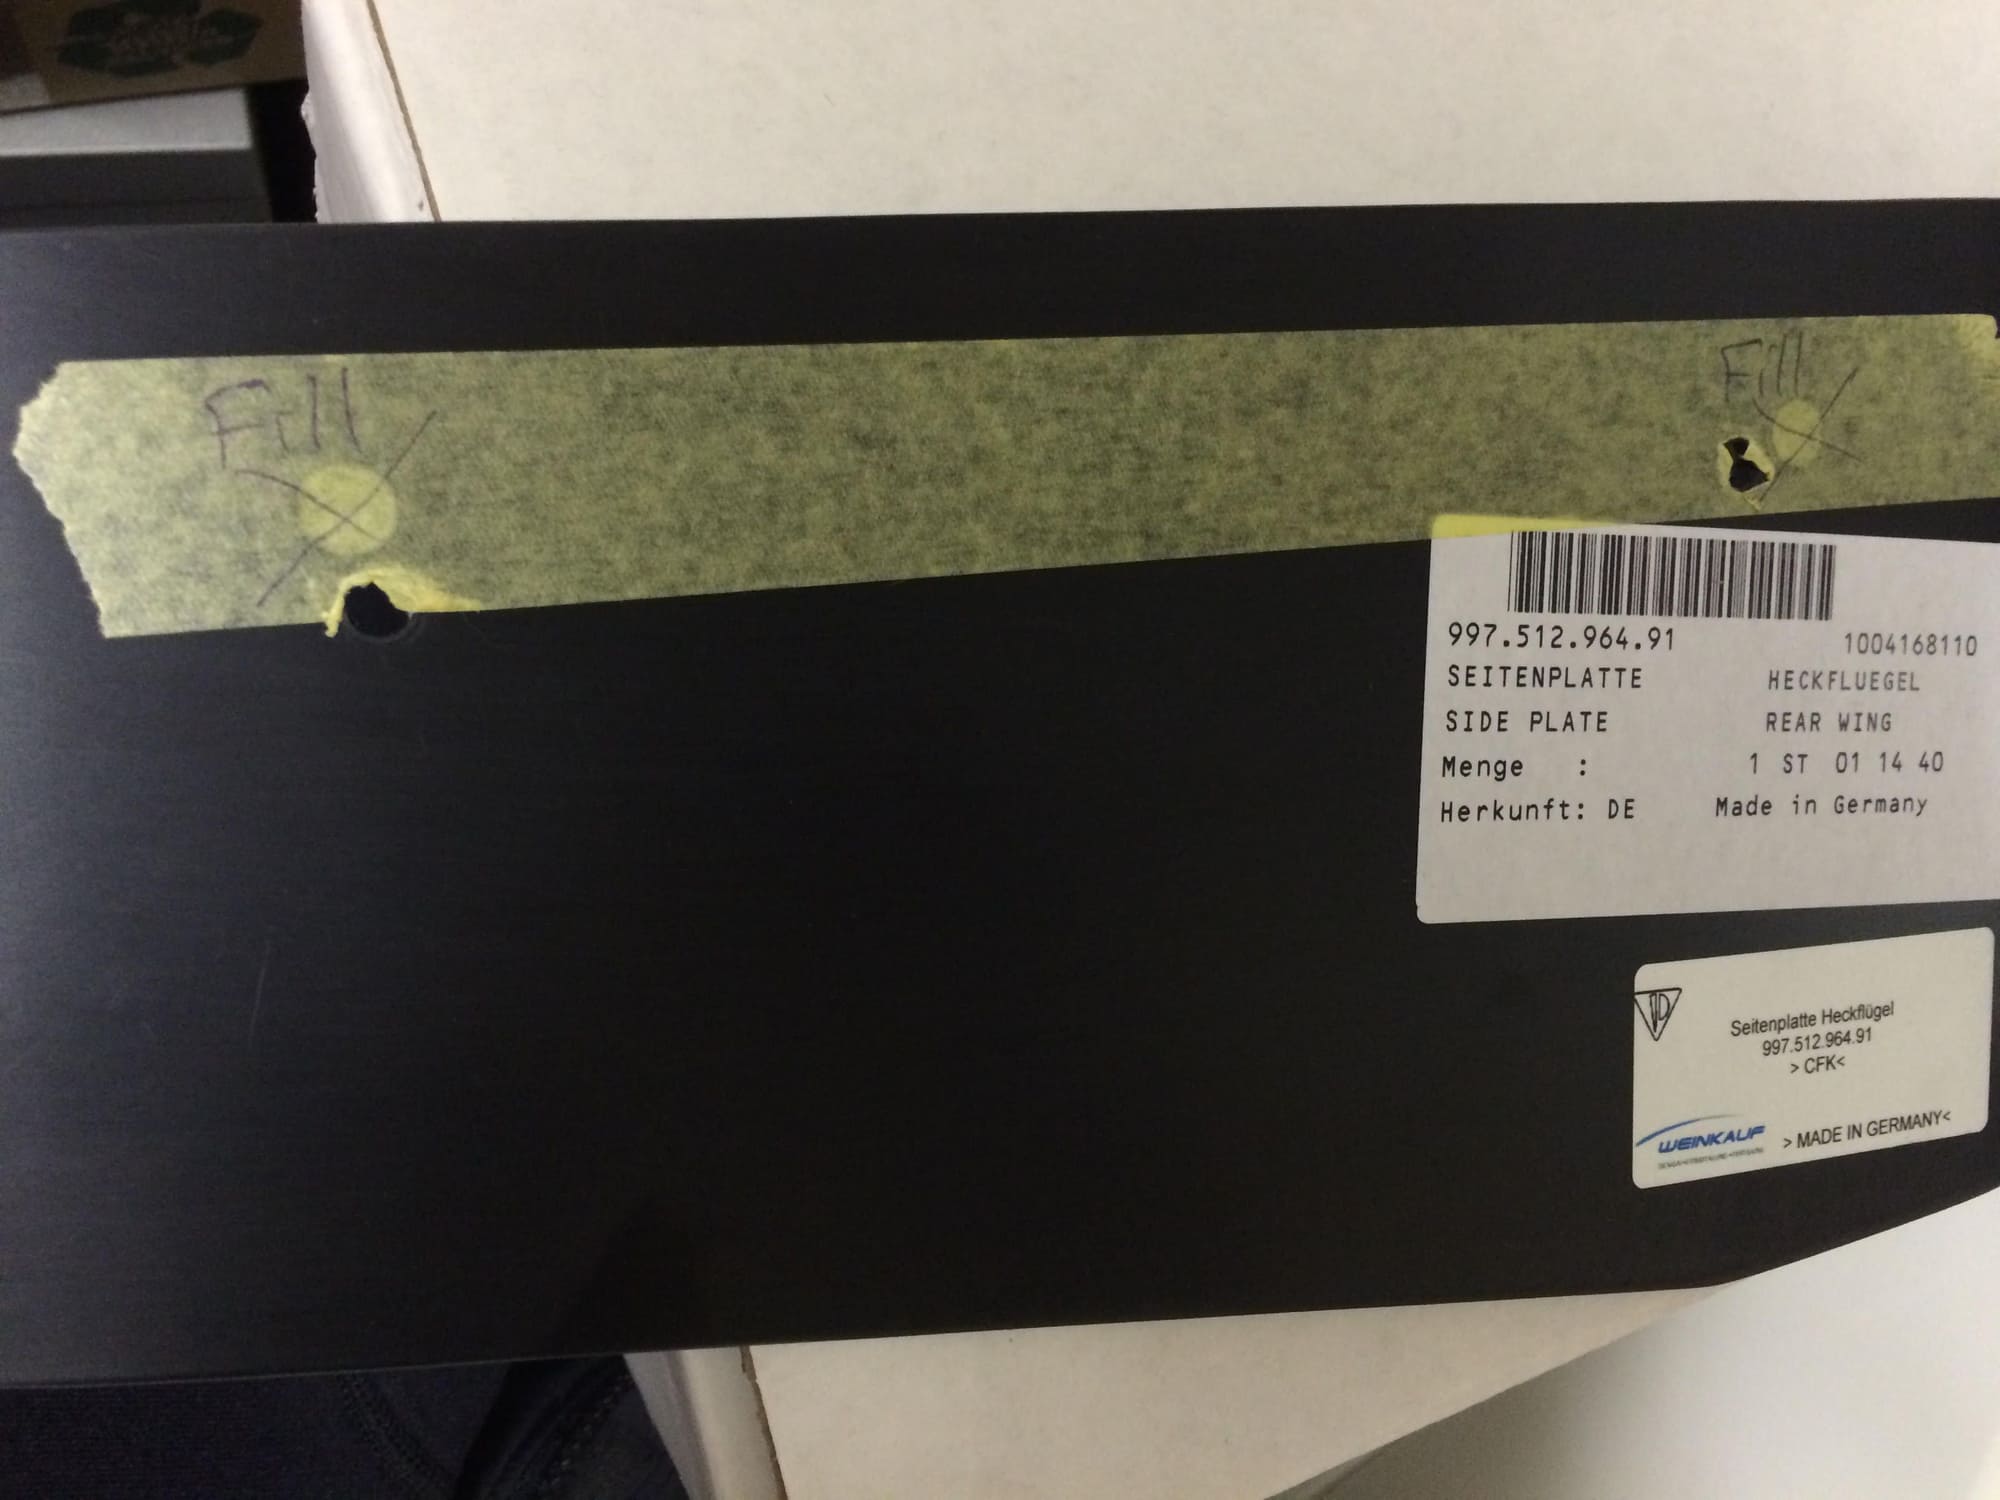
The cup wing end plates increase the effectiveness of the wing tremendously (they are larger in surface are and have most of the area under the wing). New holes are drilled and countersunk for the Anhedral wing location (in order to mount them in the correct location with relation to leading and trailing edge as well as height on wing). The original holes are filled.
I adjusted the wing end plates up 10mm as I would be adding a 10mm gurney flap to the edge of the wing.
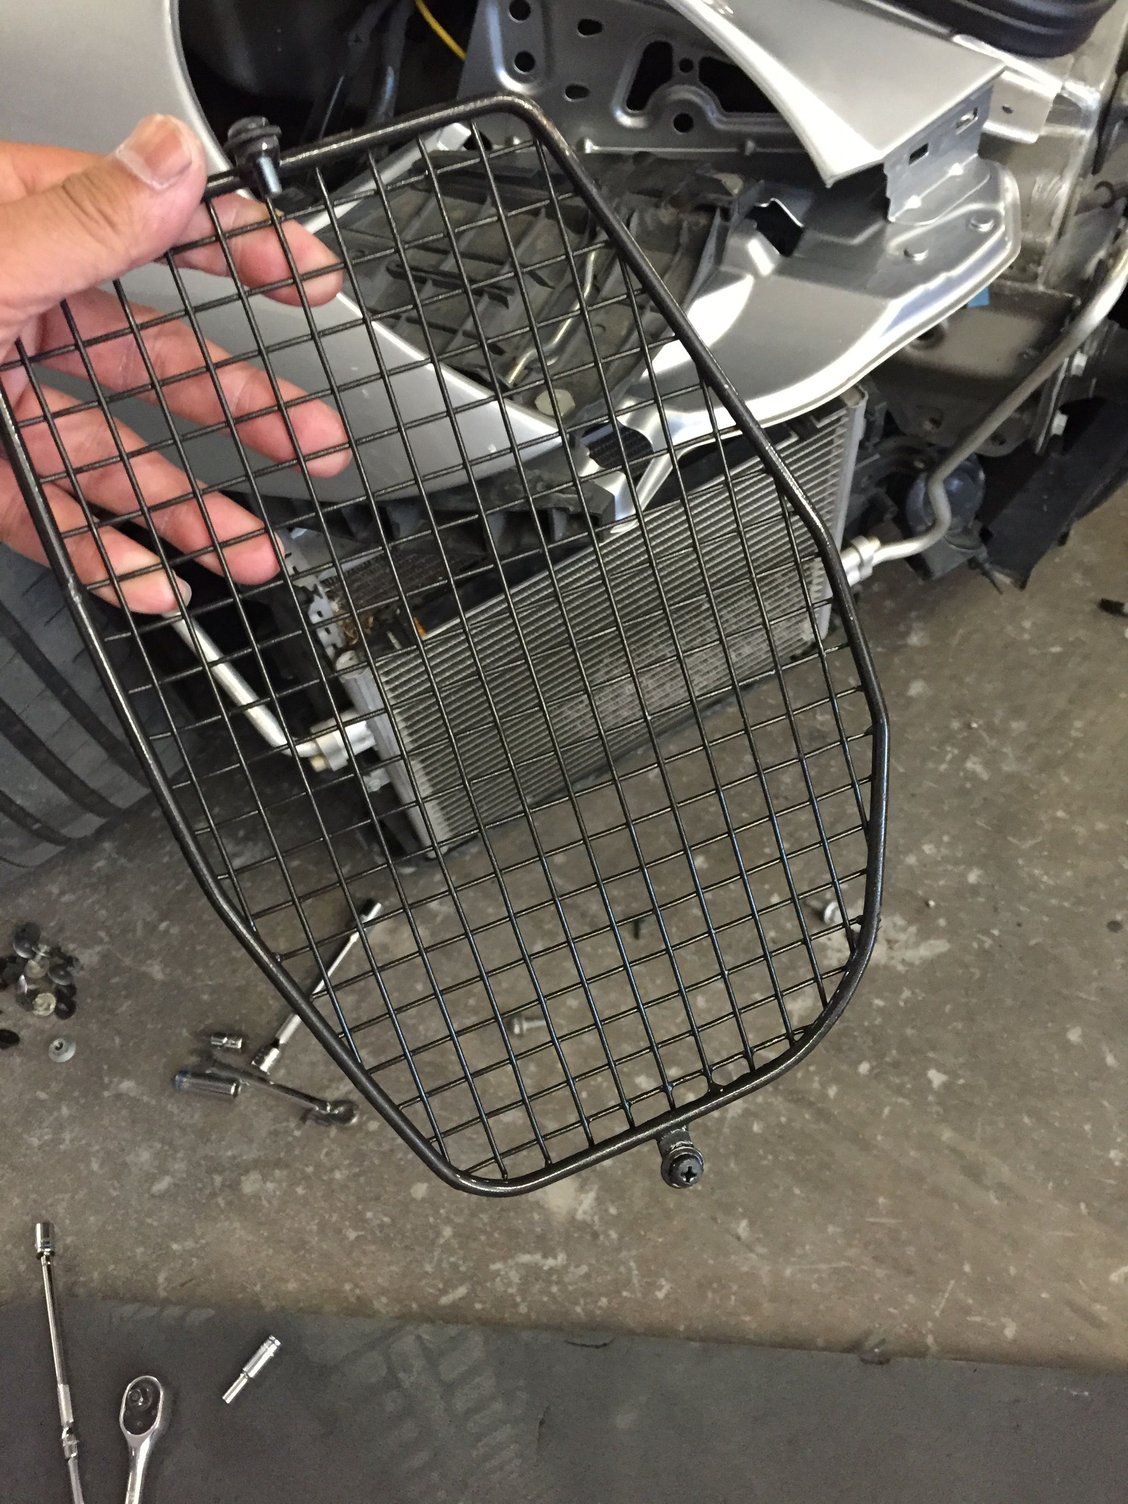
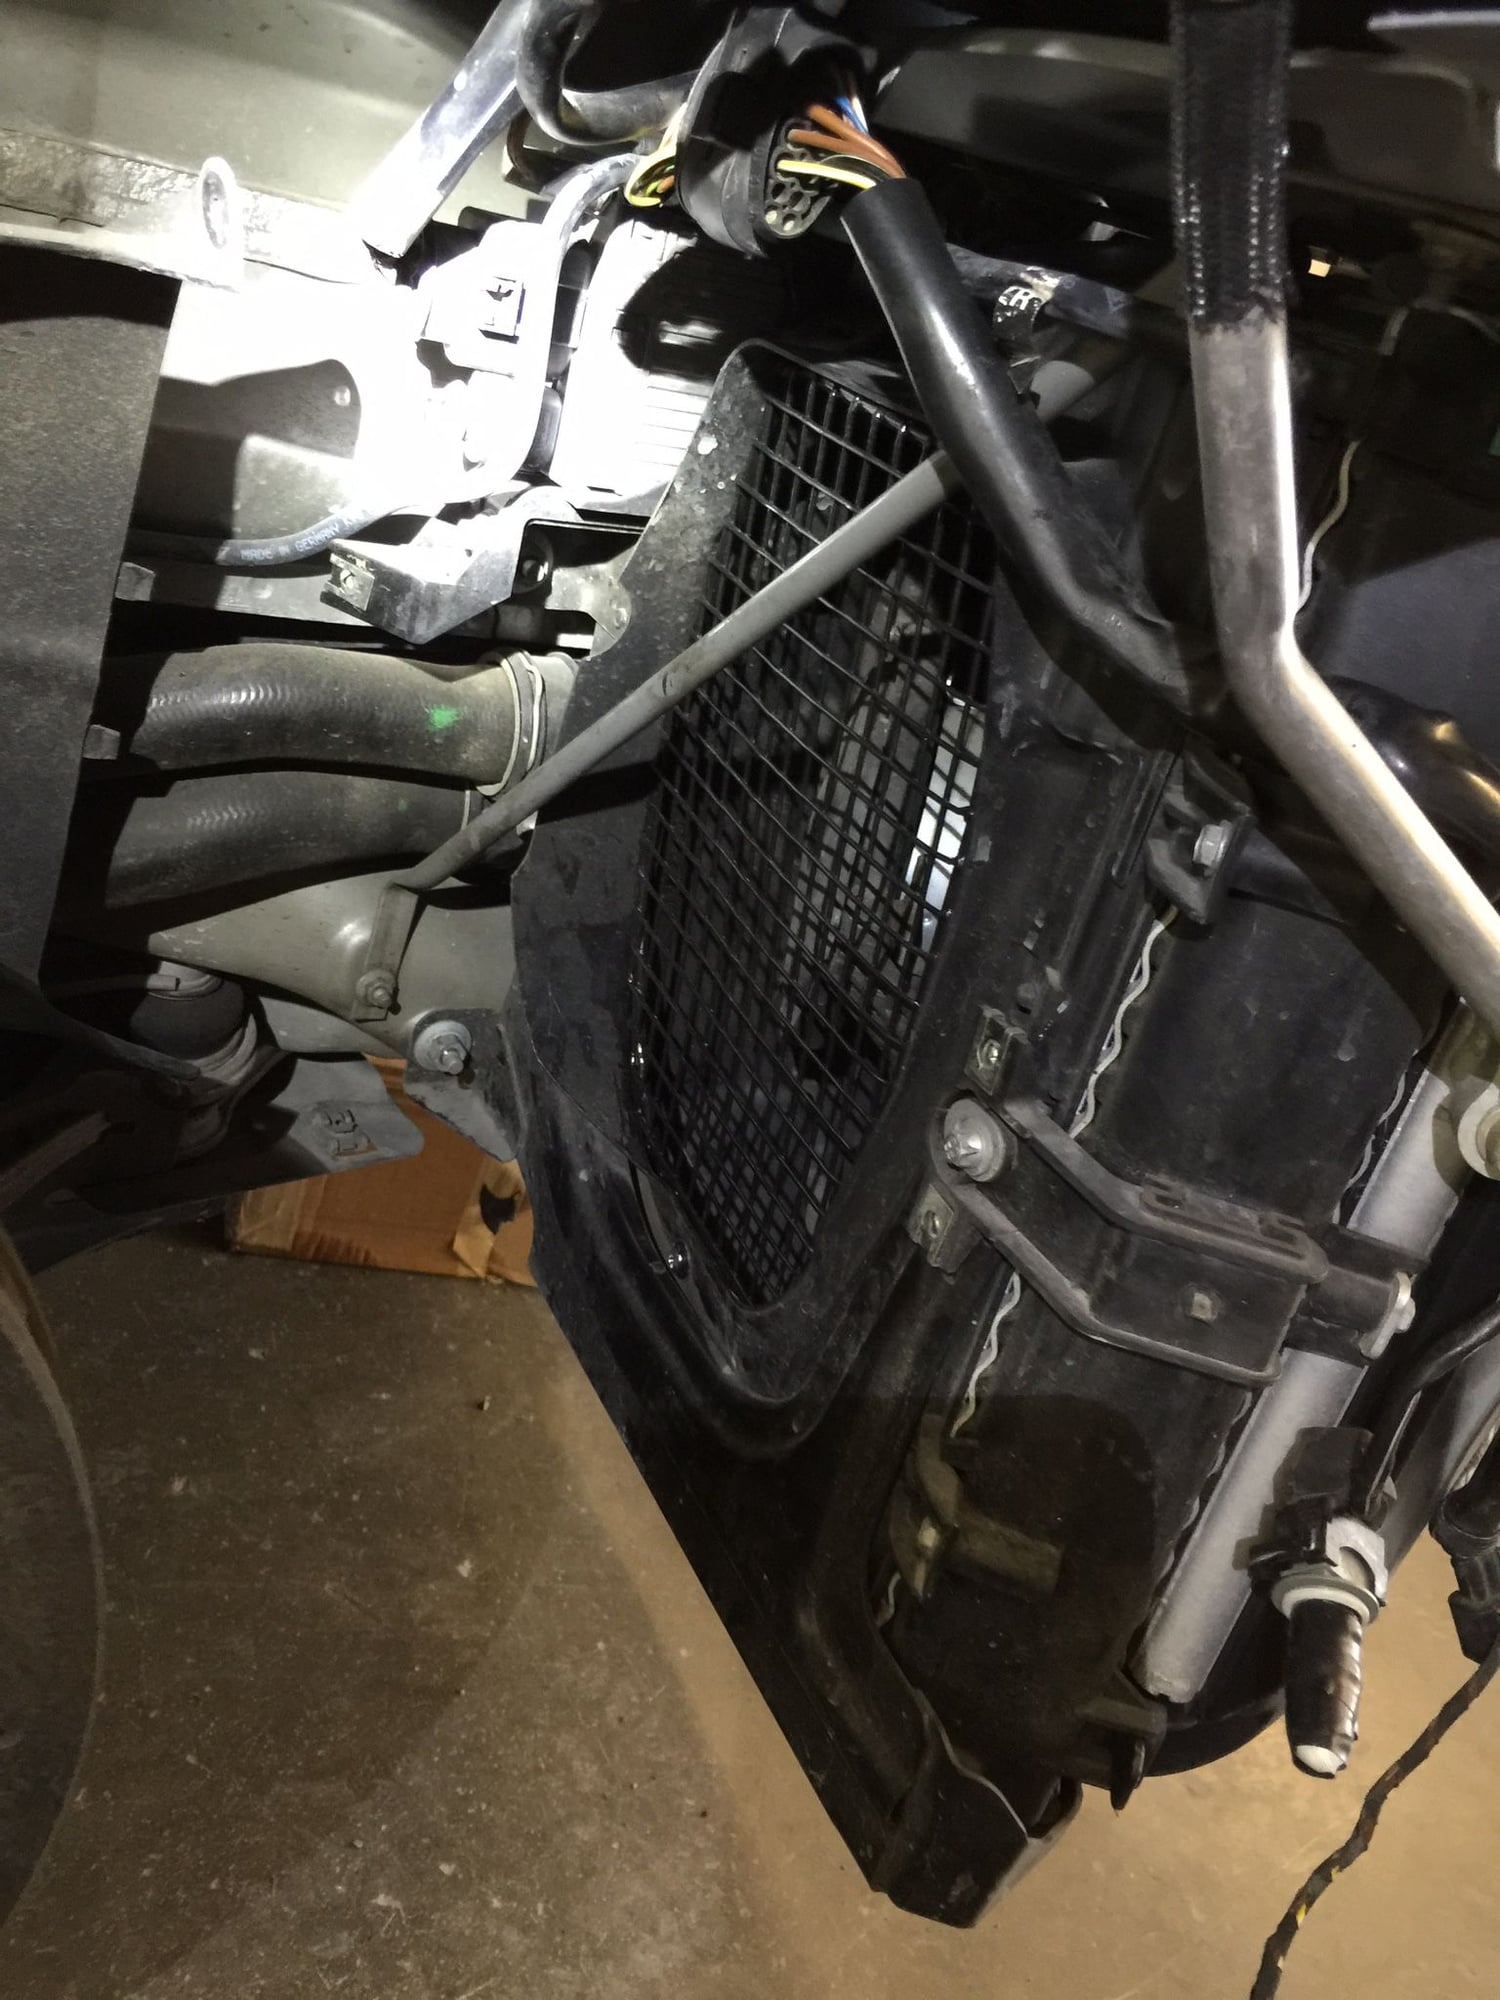
Air Exit Screens
With the air exits right in front of the front tire, the large vent hole leaves the radiator unprotected against rubber and debris. So I felt this was a must to have a screen in this location. Capital City Motorsports makes a high quality exit screen that was designed for this location. It is made with 3/16 stainless steel frame and 1/2 inch welded stainless screen. Being this screen is in an area that will be exposed to elements, I had the screen coated for extra protection and to blend in with the fender liners.
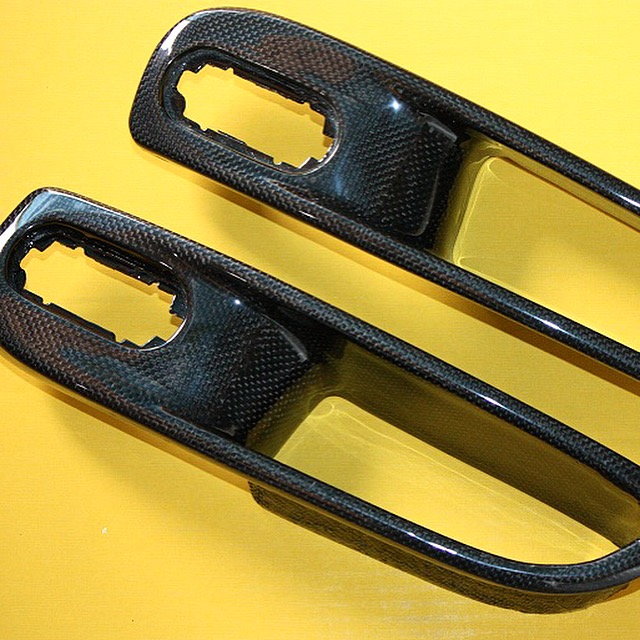
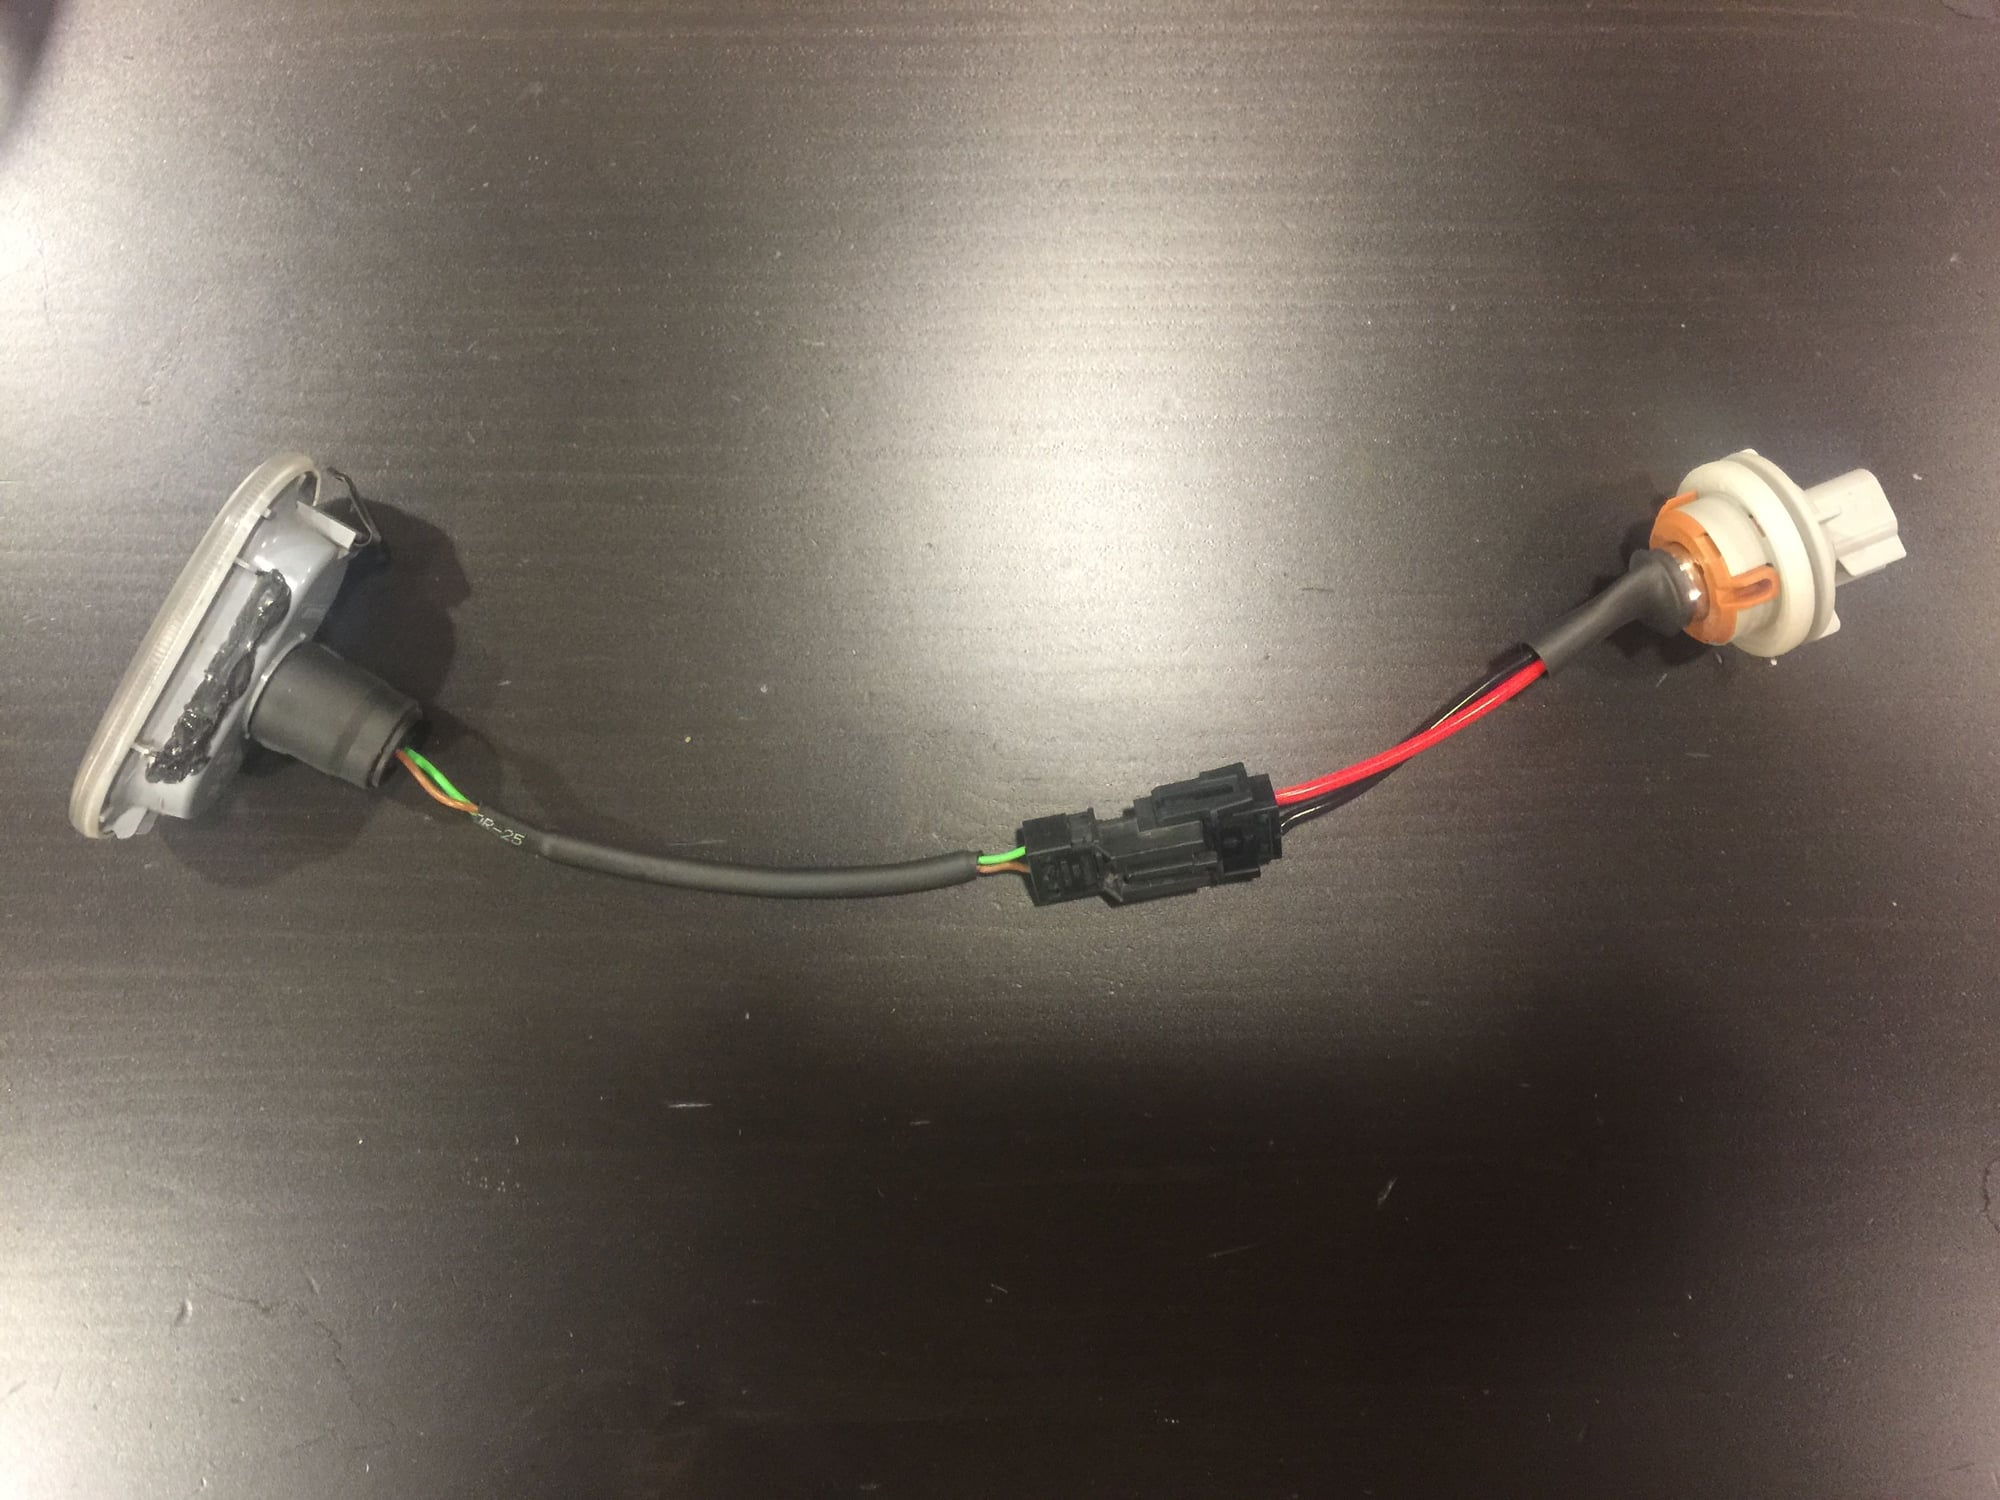
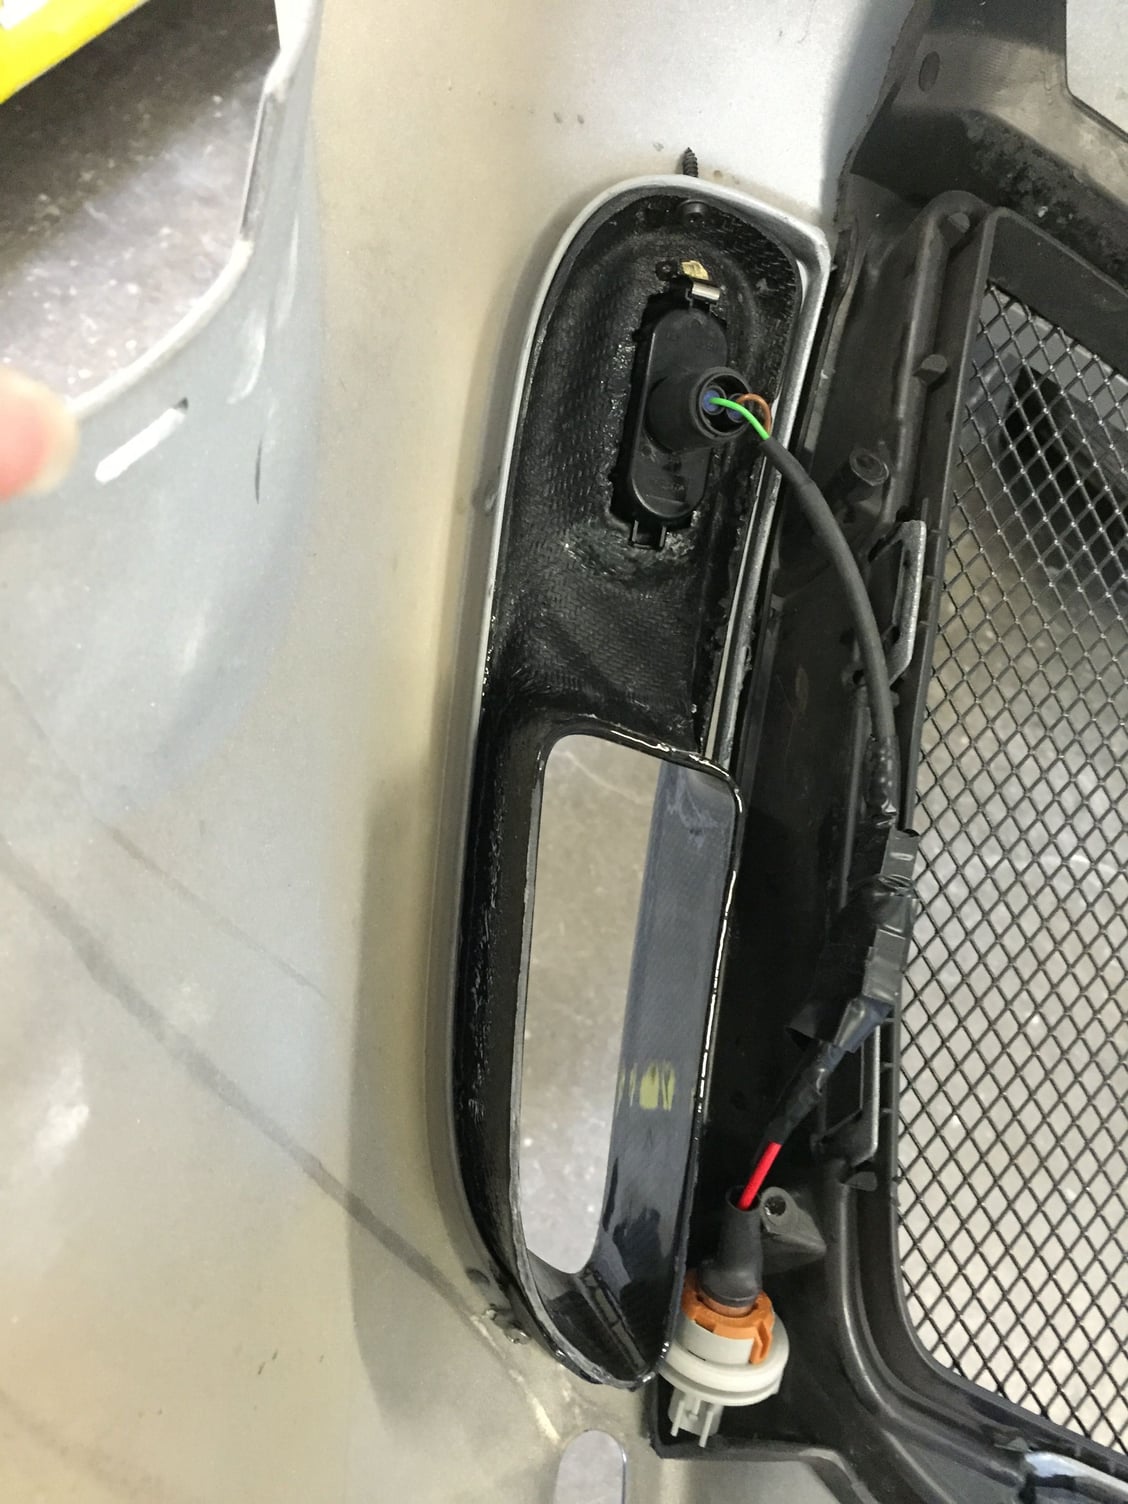
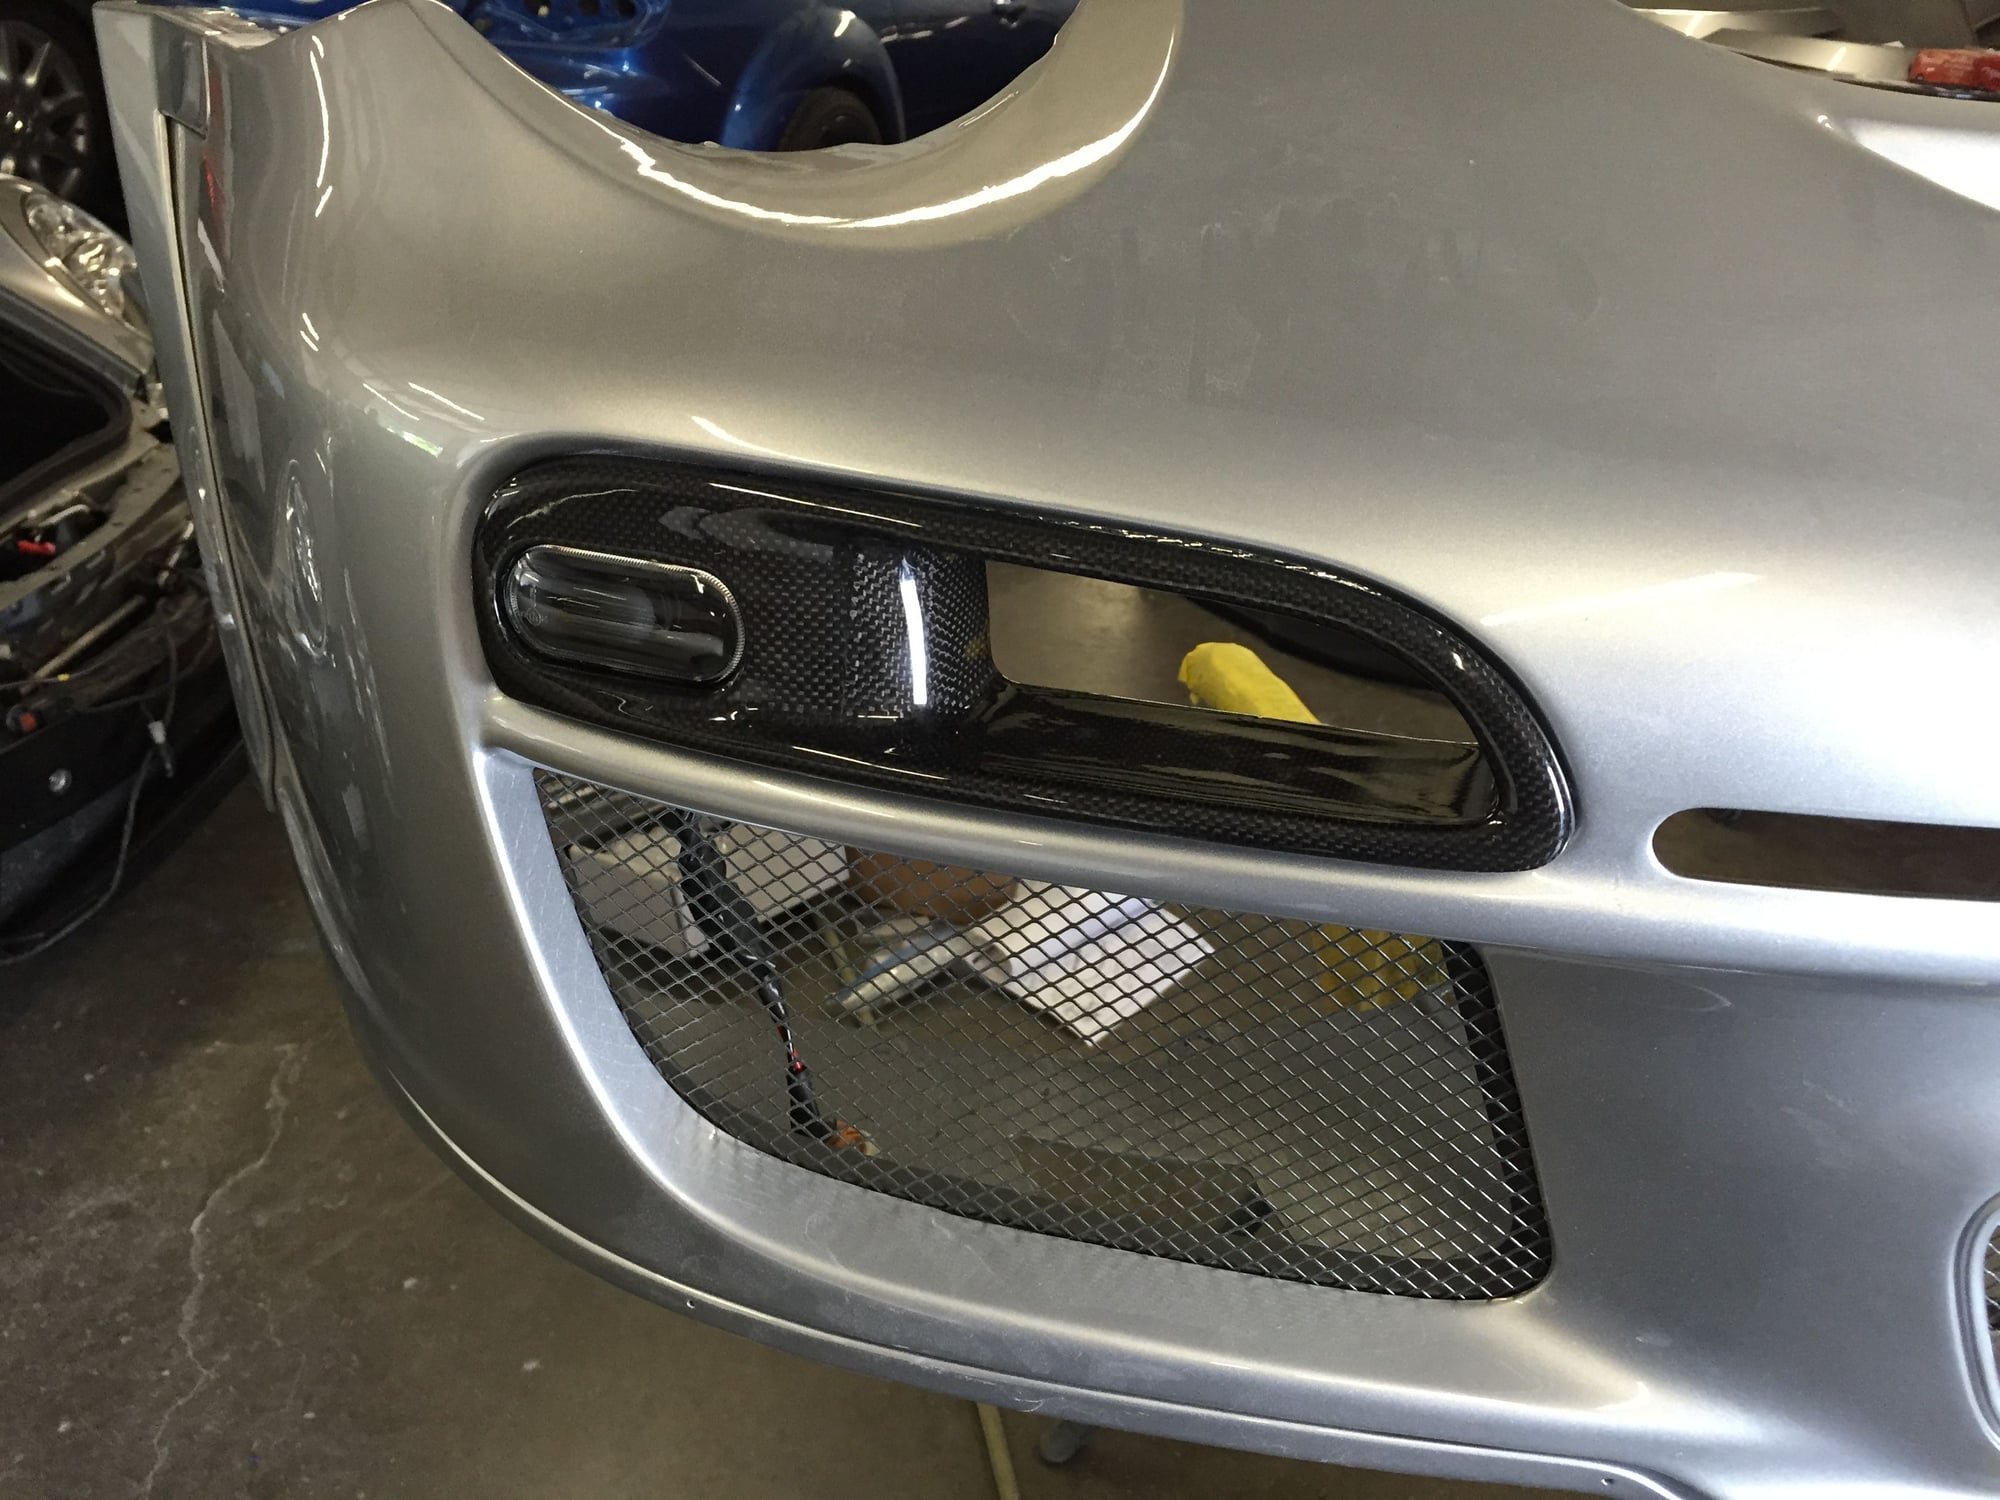
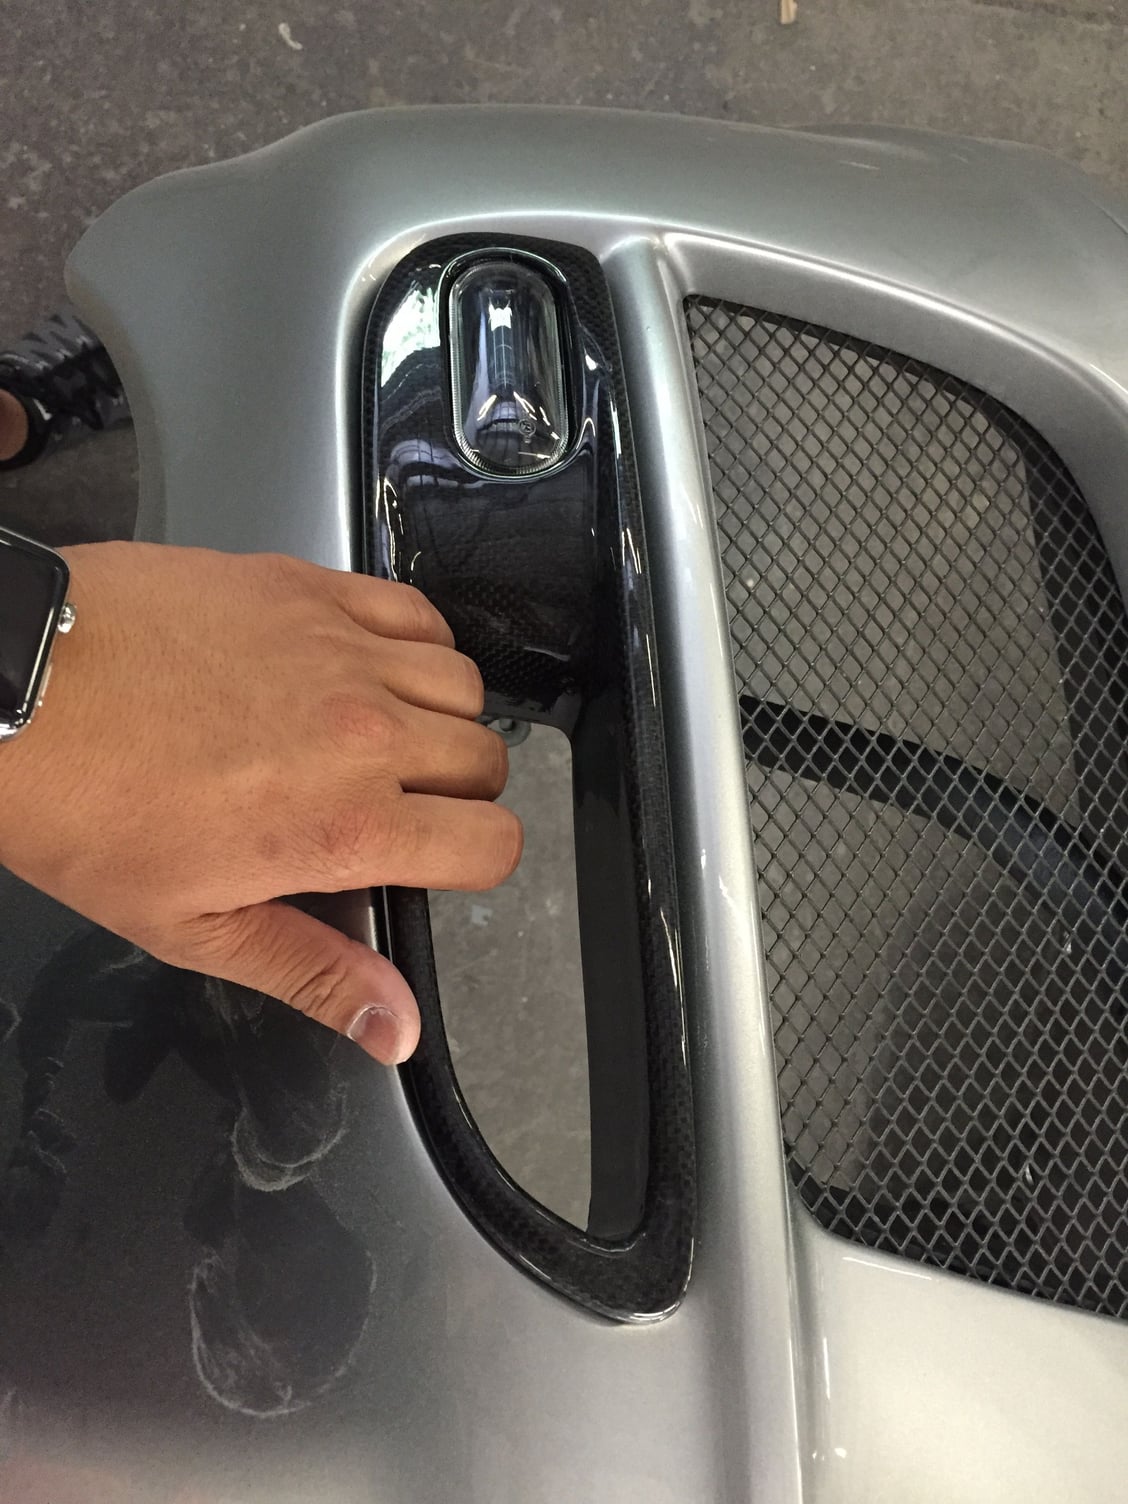
GTC Bumper Brake Ducts and Indicator Lights
Being the ducts are a race part, the carbon finish on them wasnt the best, so I enlisted the help of DbCarbon to overlay a cleaner carbon finish.
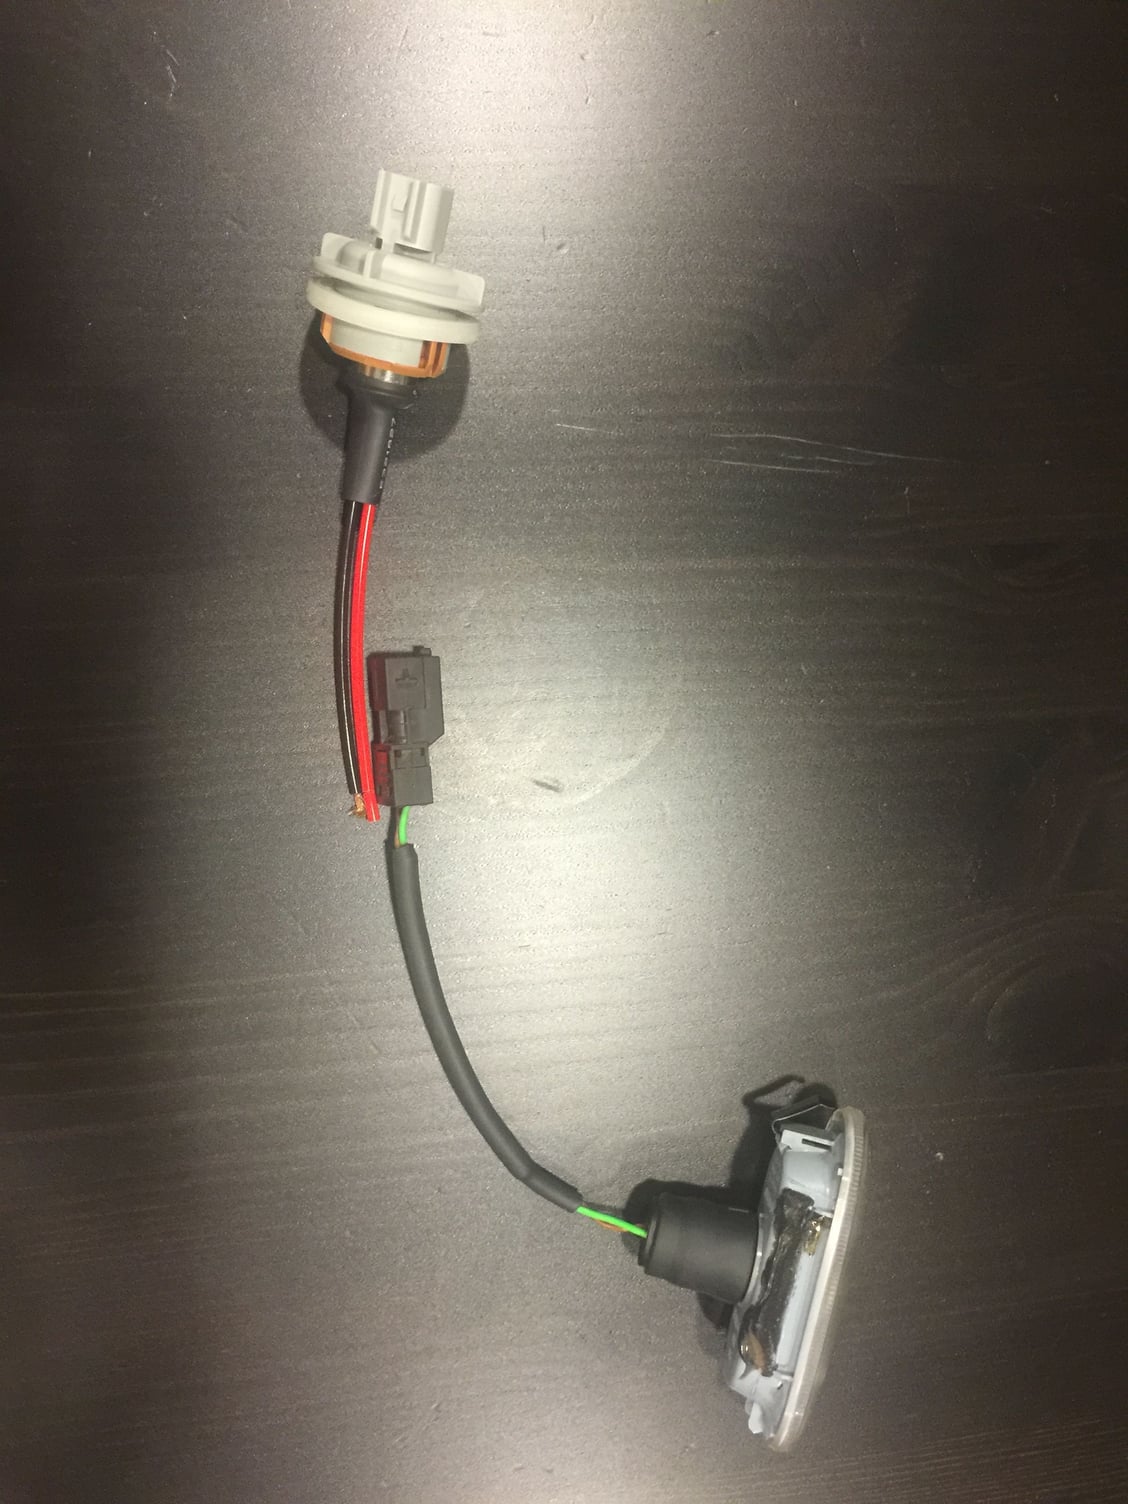
And since the GTC Bumper Brake Ducts take the place of the factory Fog/Indicator lights, I needed a way to retain the turn signals.The ducts themself have a provision for a small indicator, and I learned the factory cups using these ducts use a VW polo side marker light for the indicator. I found a smoked side marker light so that it would blend with the carbon fiber finish of the duct rather than stick out like a sore thumb. Being that I did not want to hack up the OEM indicator wiring and cut off the OEM bulb socket, I needed to come up with a solution to make this plug and play. So I found a socket insert with positive and negative (2X 1156/7506 Male Adapter Wiring Harness For Headlight Tail Lamp Signal Retrofit) and used that to make the wiring harness between the indicator and factory bulb socket. The male and female connector in between are BMW part numbers:
Female housing 611.313.78.106
Metal clip 611.313.76.191
Male housing 611.313.78.108
Metal clip 611.313.76.202 or 611.313.76.204
I chose to use these as the cup cars Ive seen used them and it makes it easier to unplug the indicator light if you need to change the bulb, and pull that through the opening in the duct.
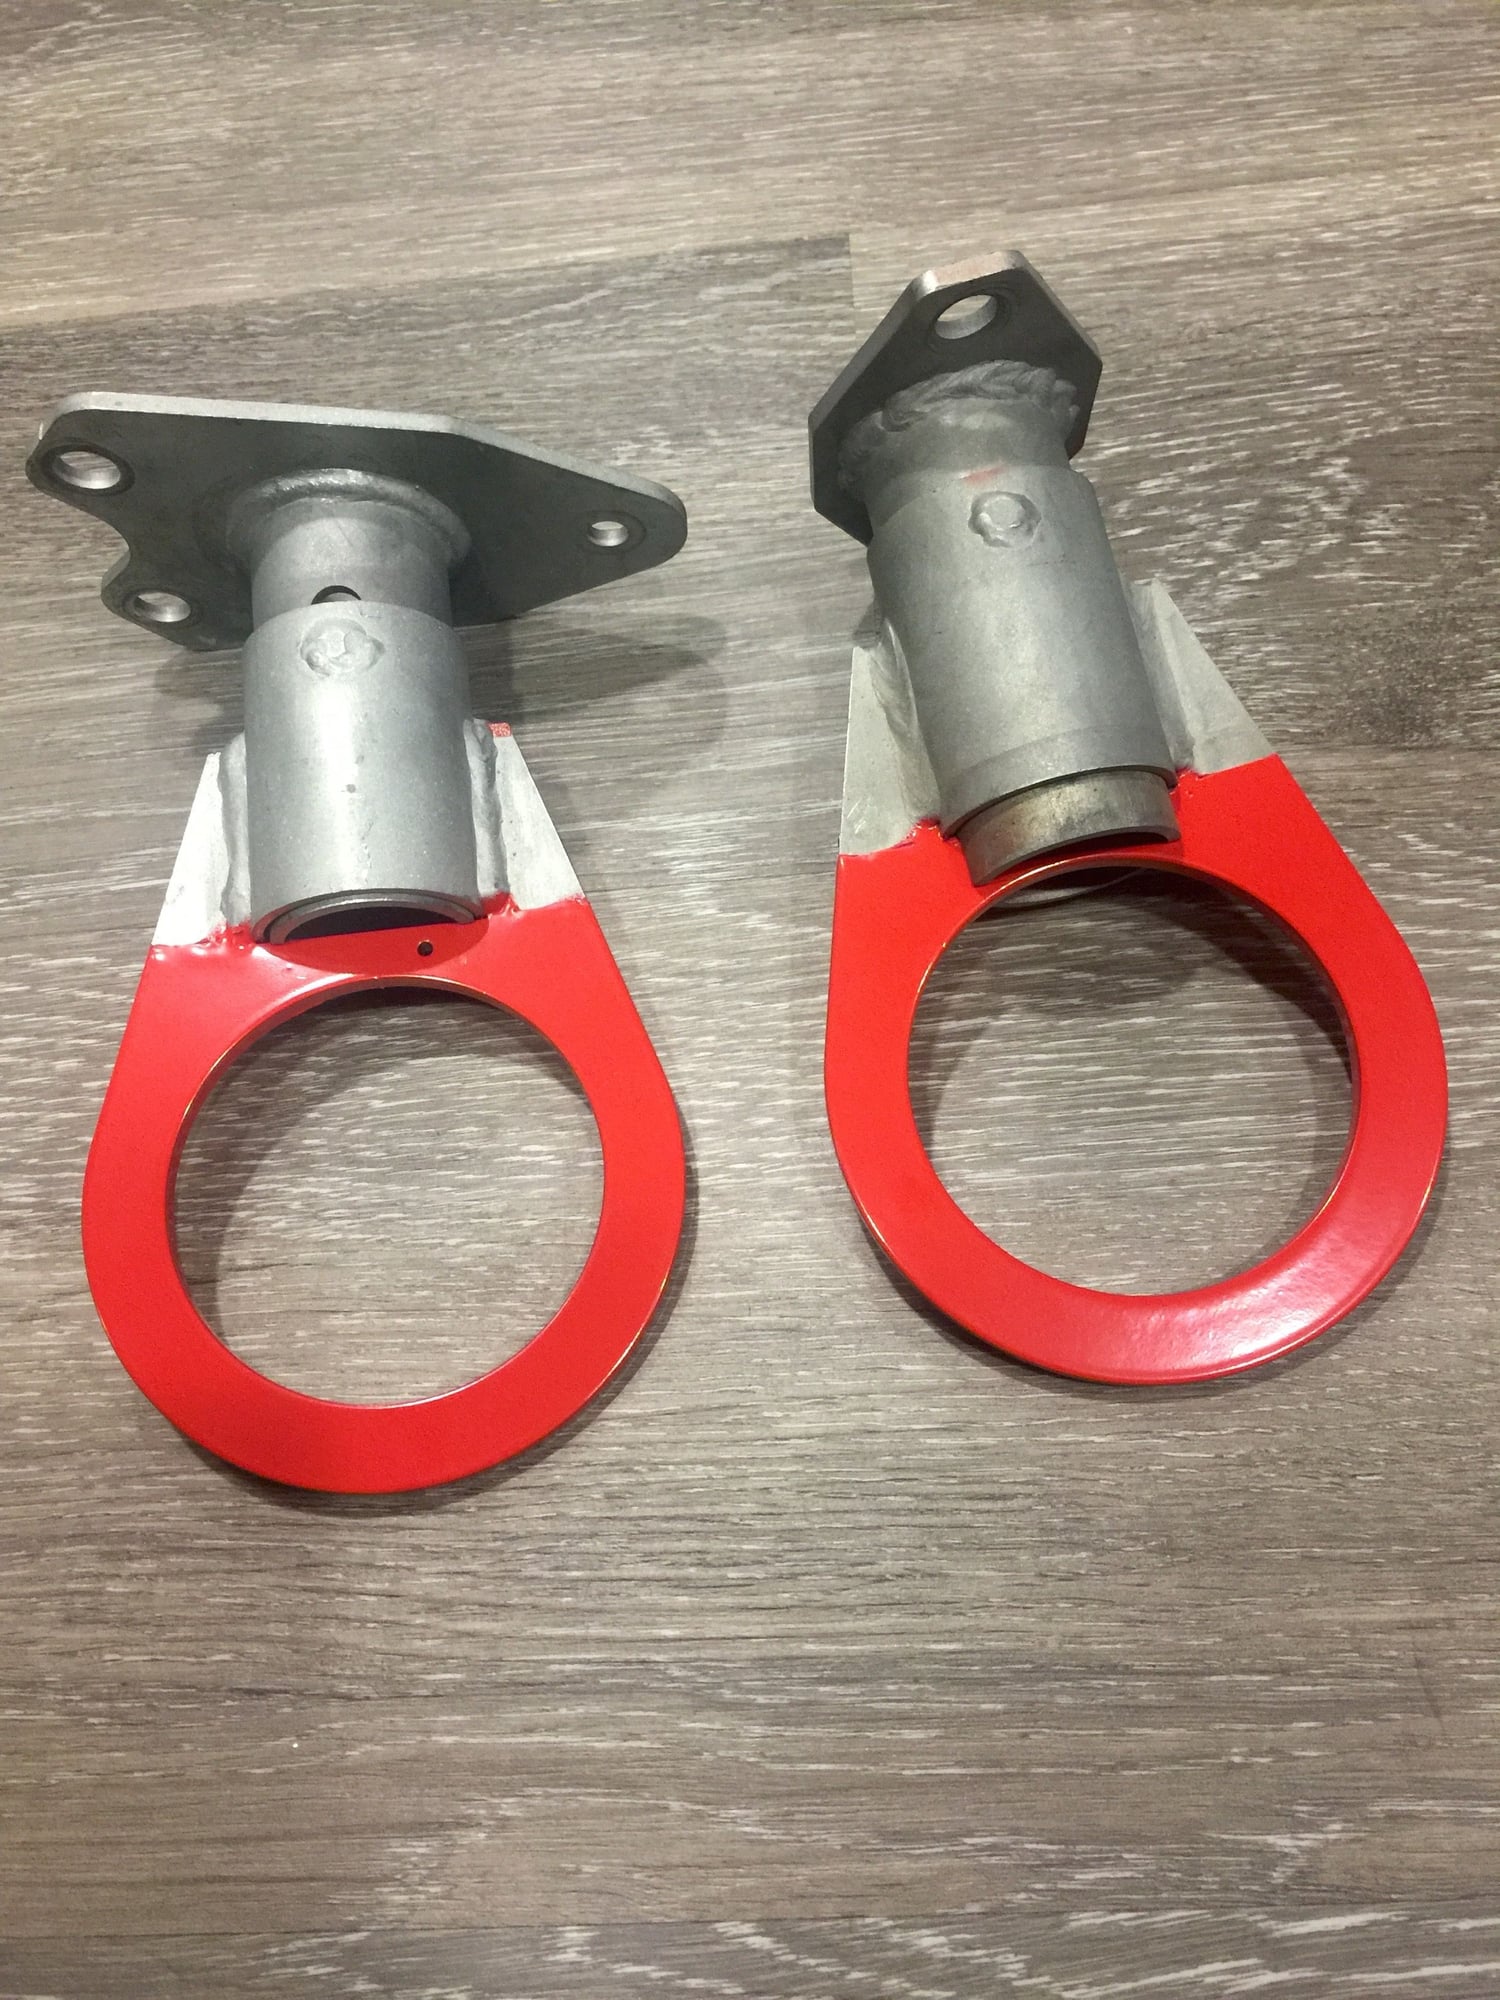
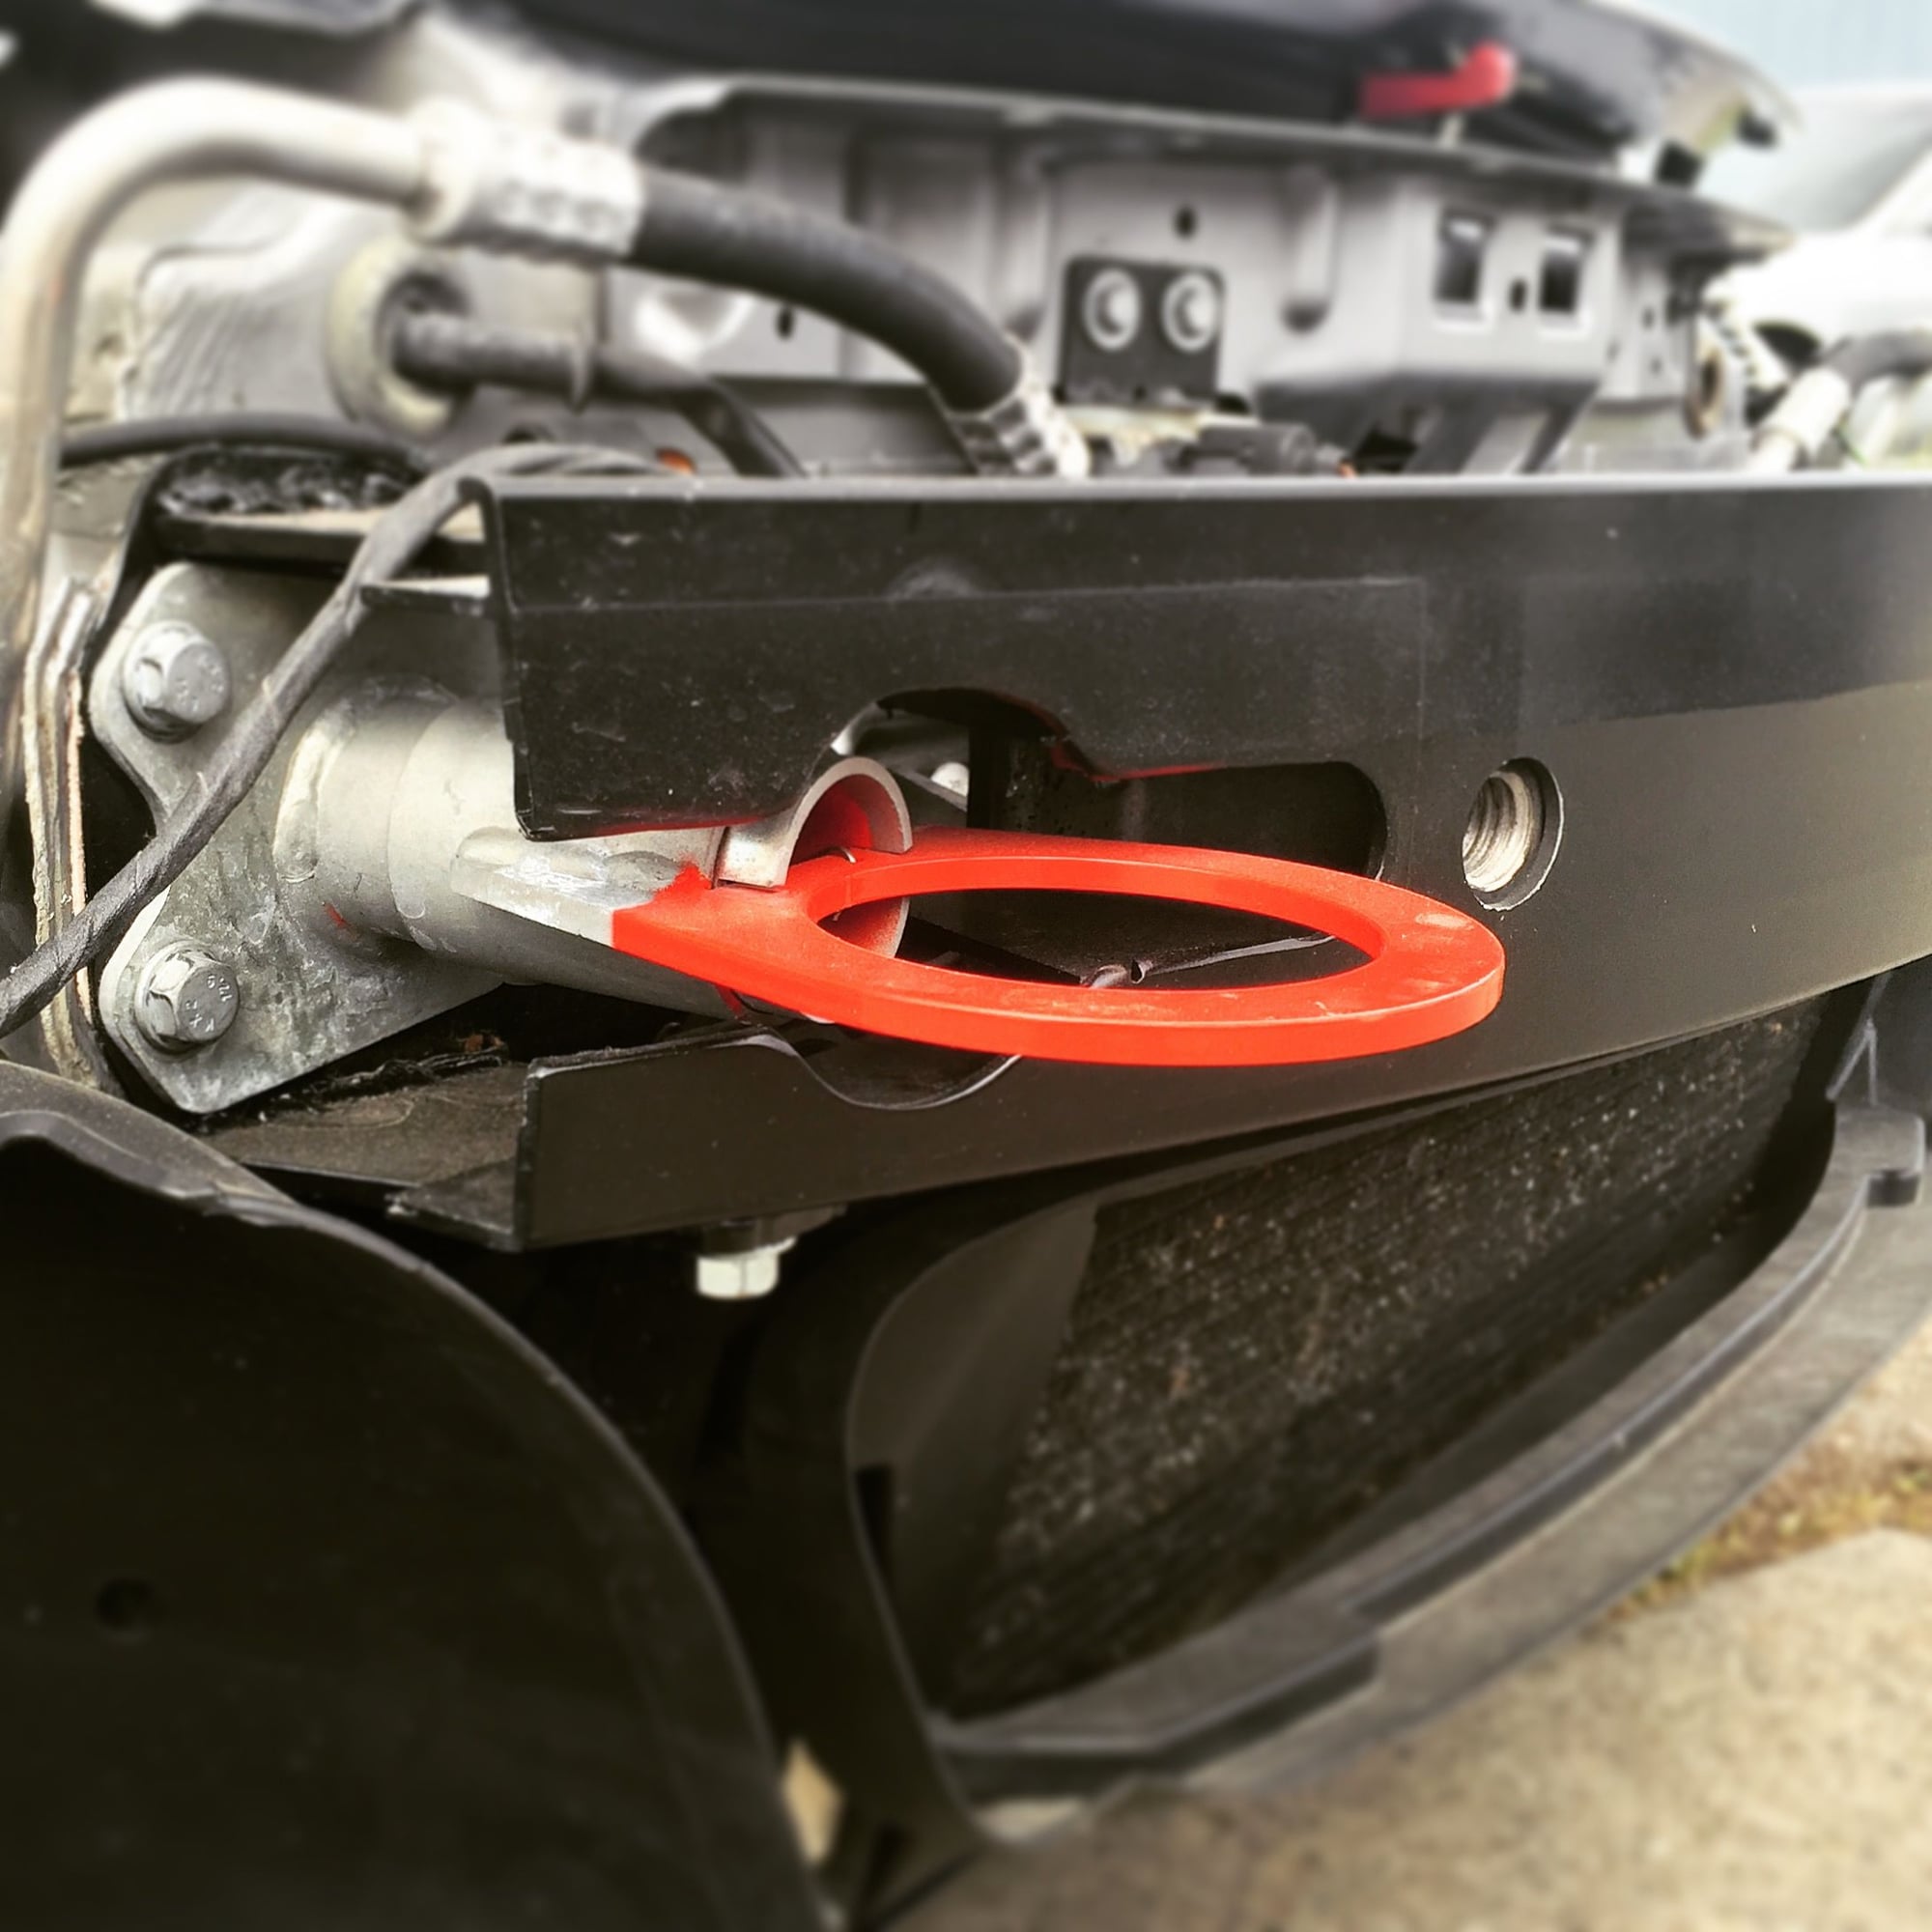
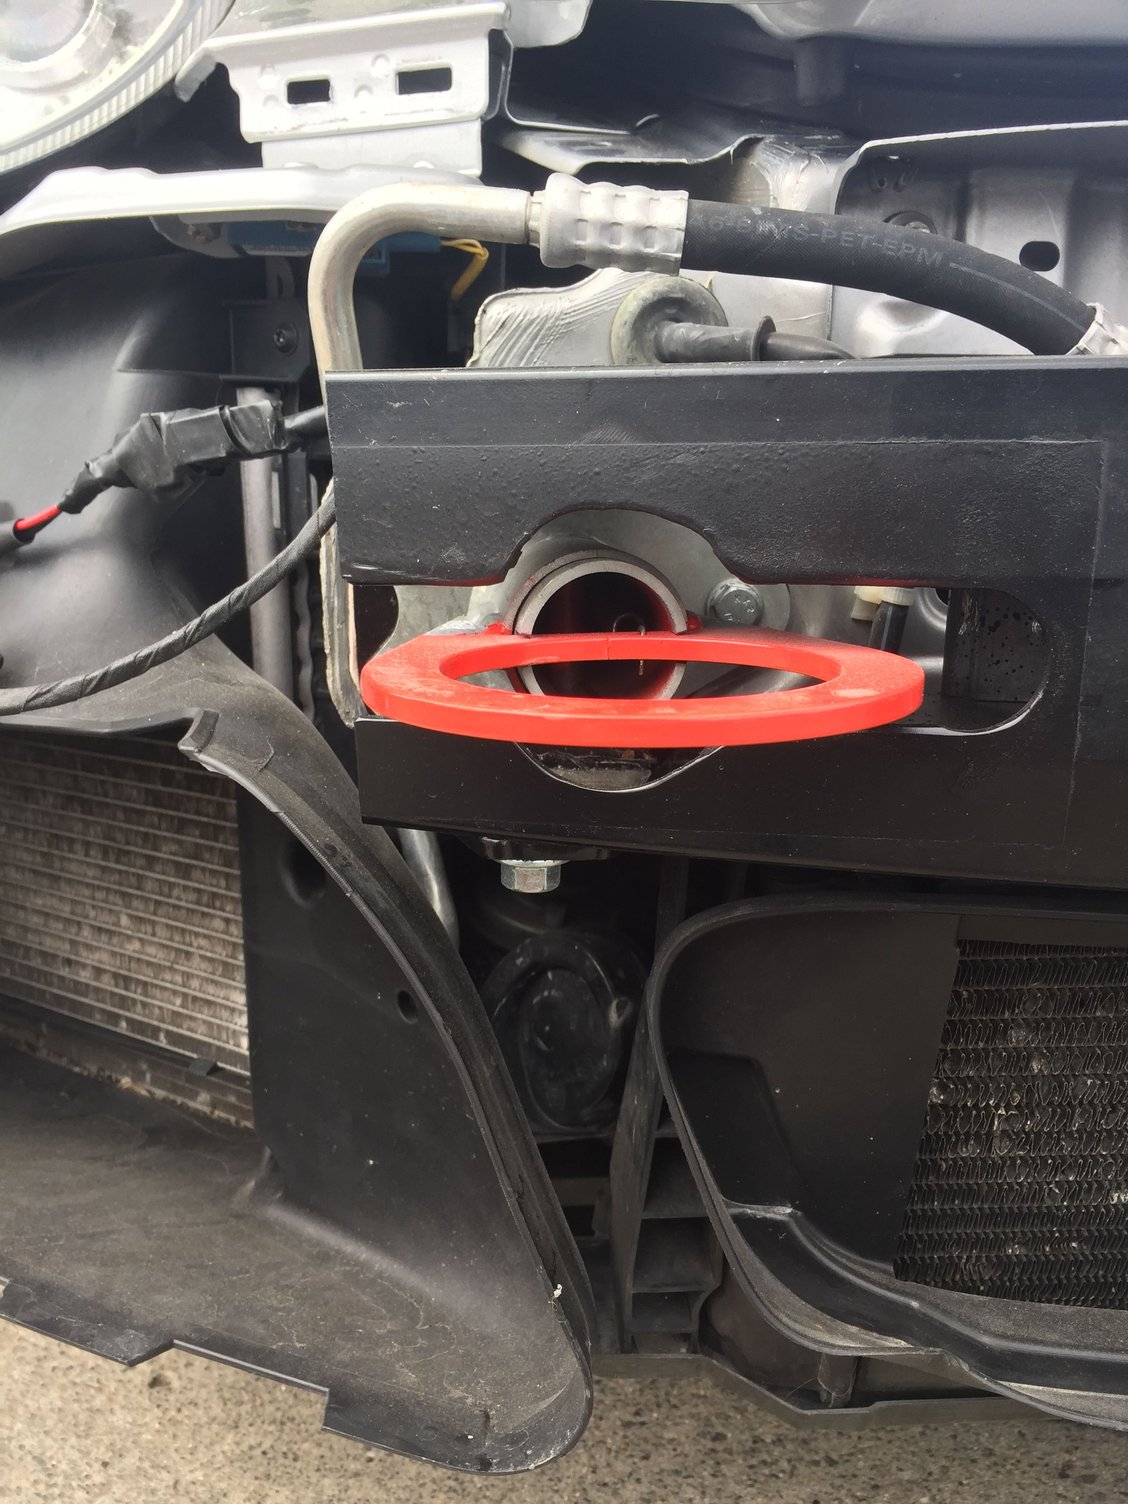
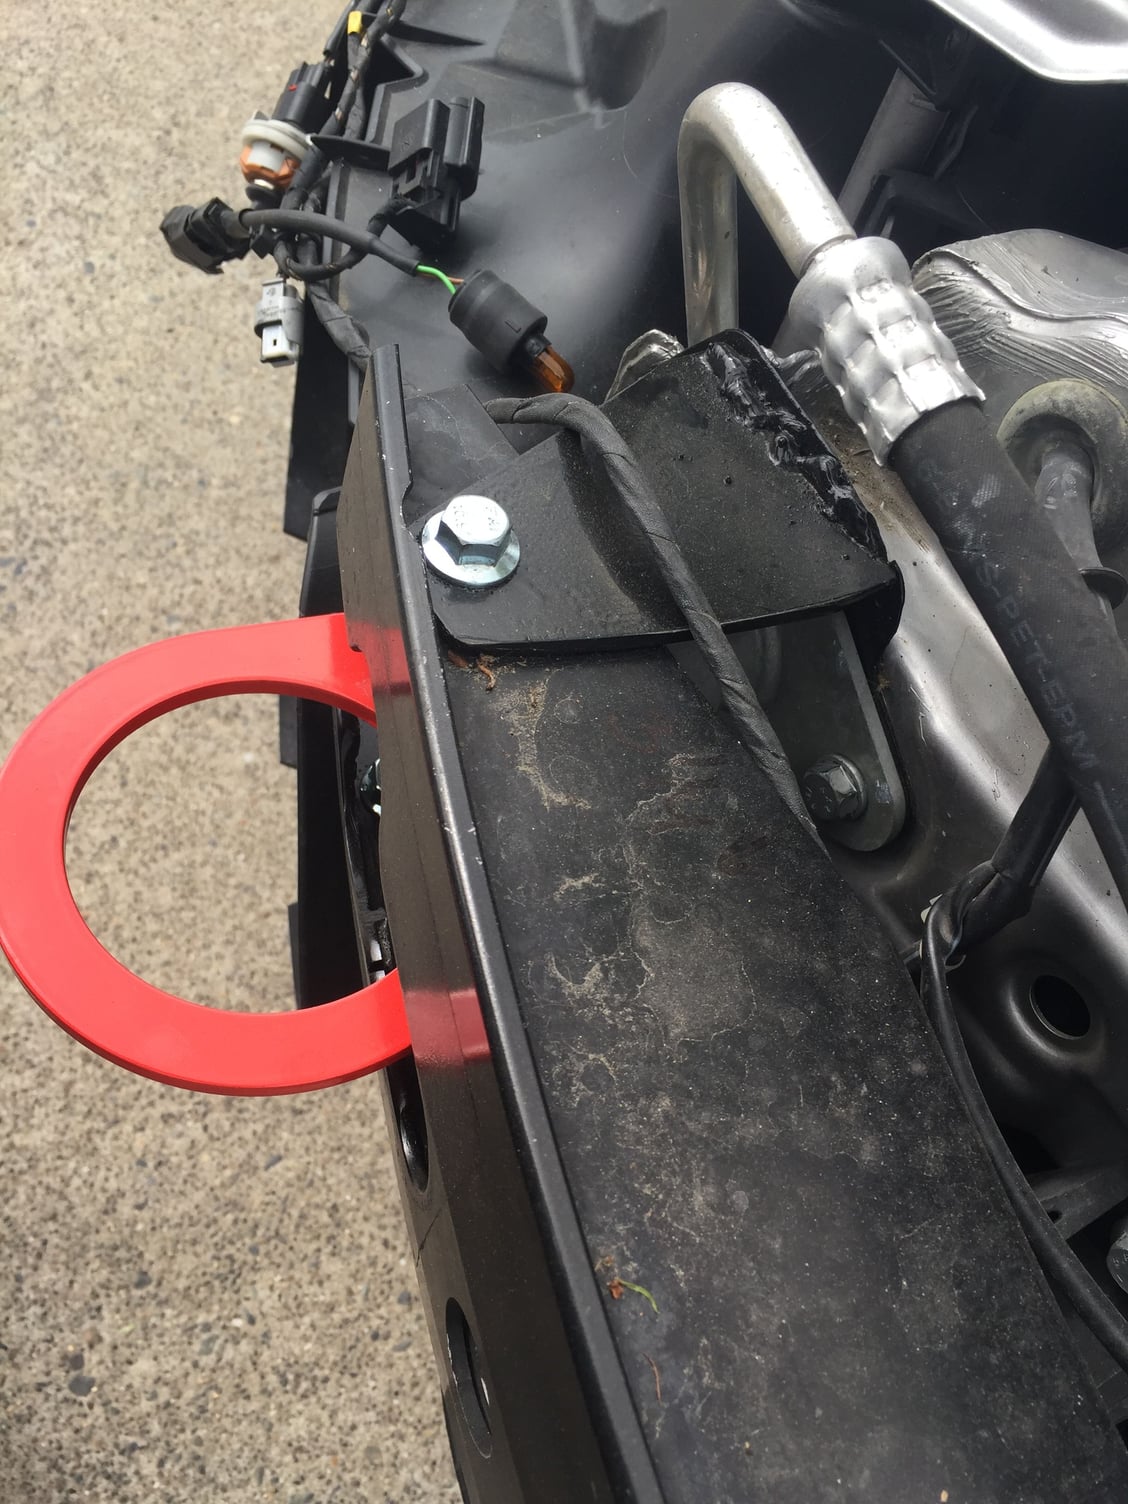
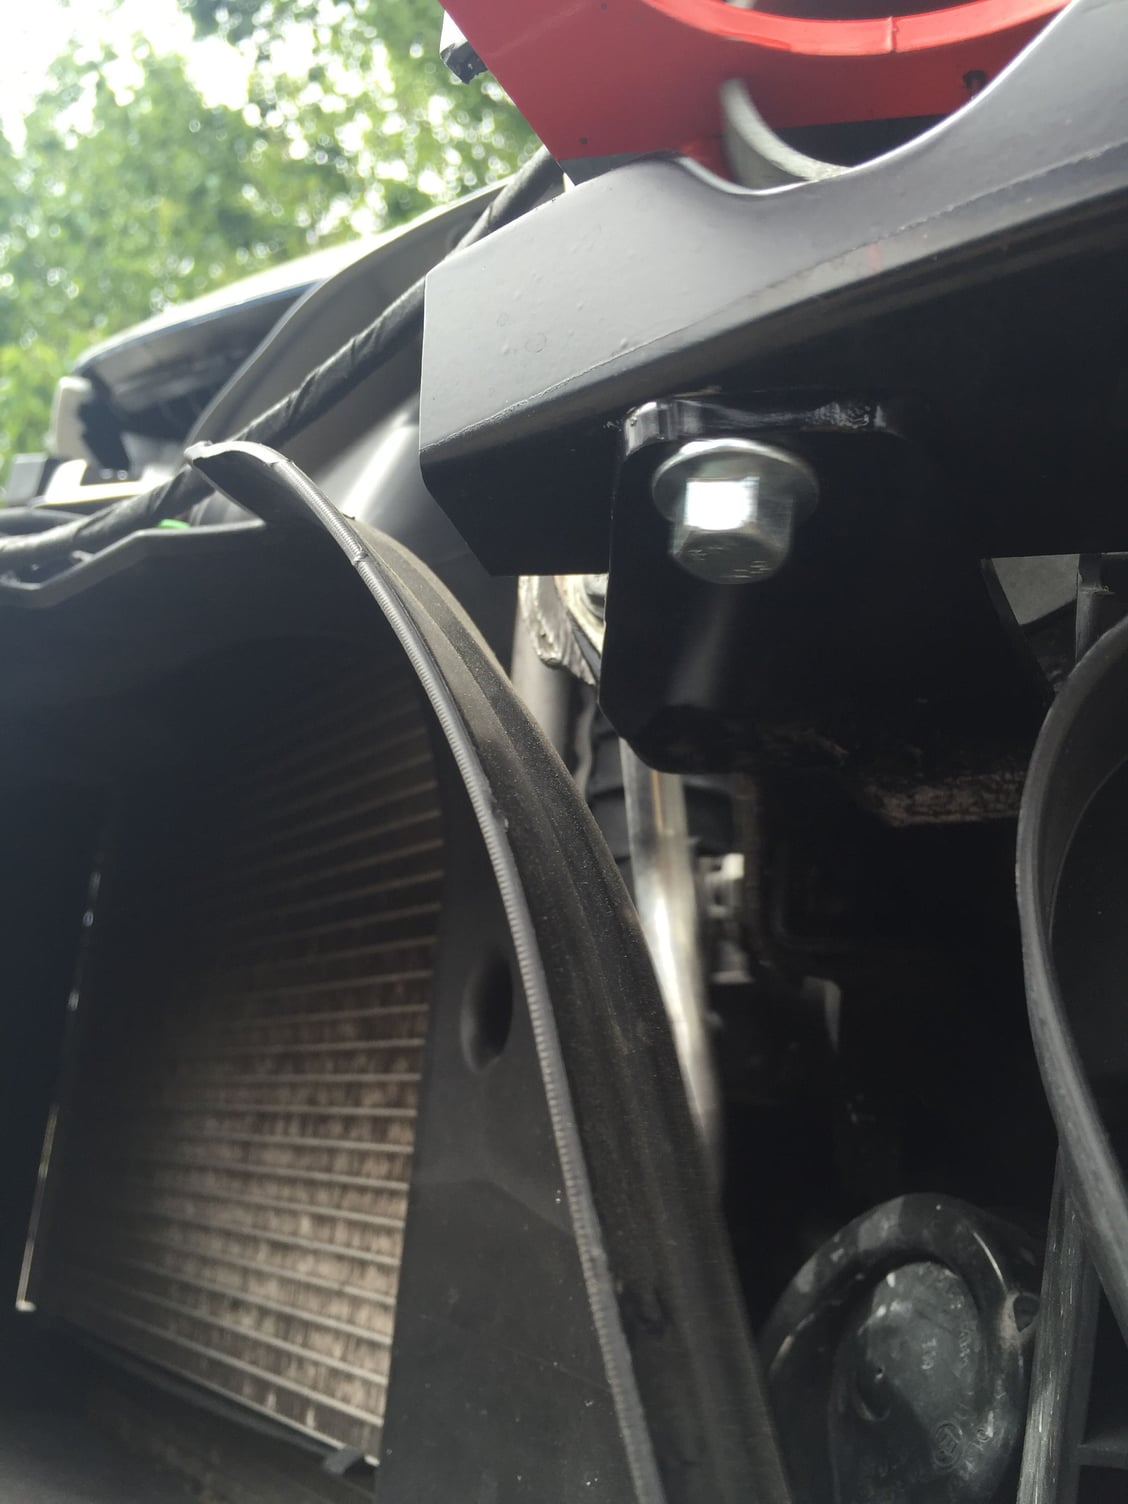
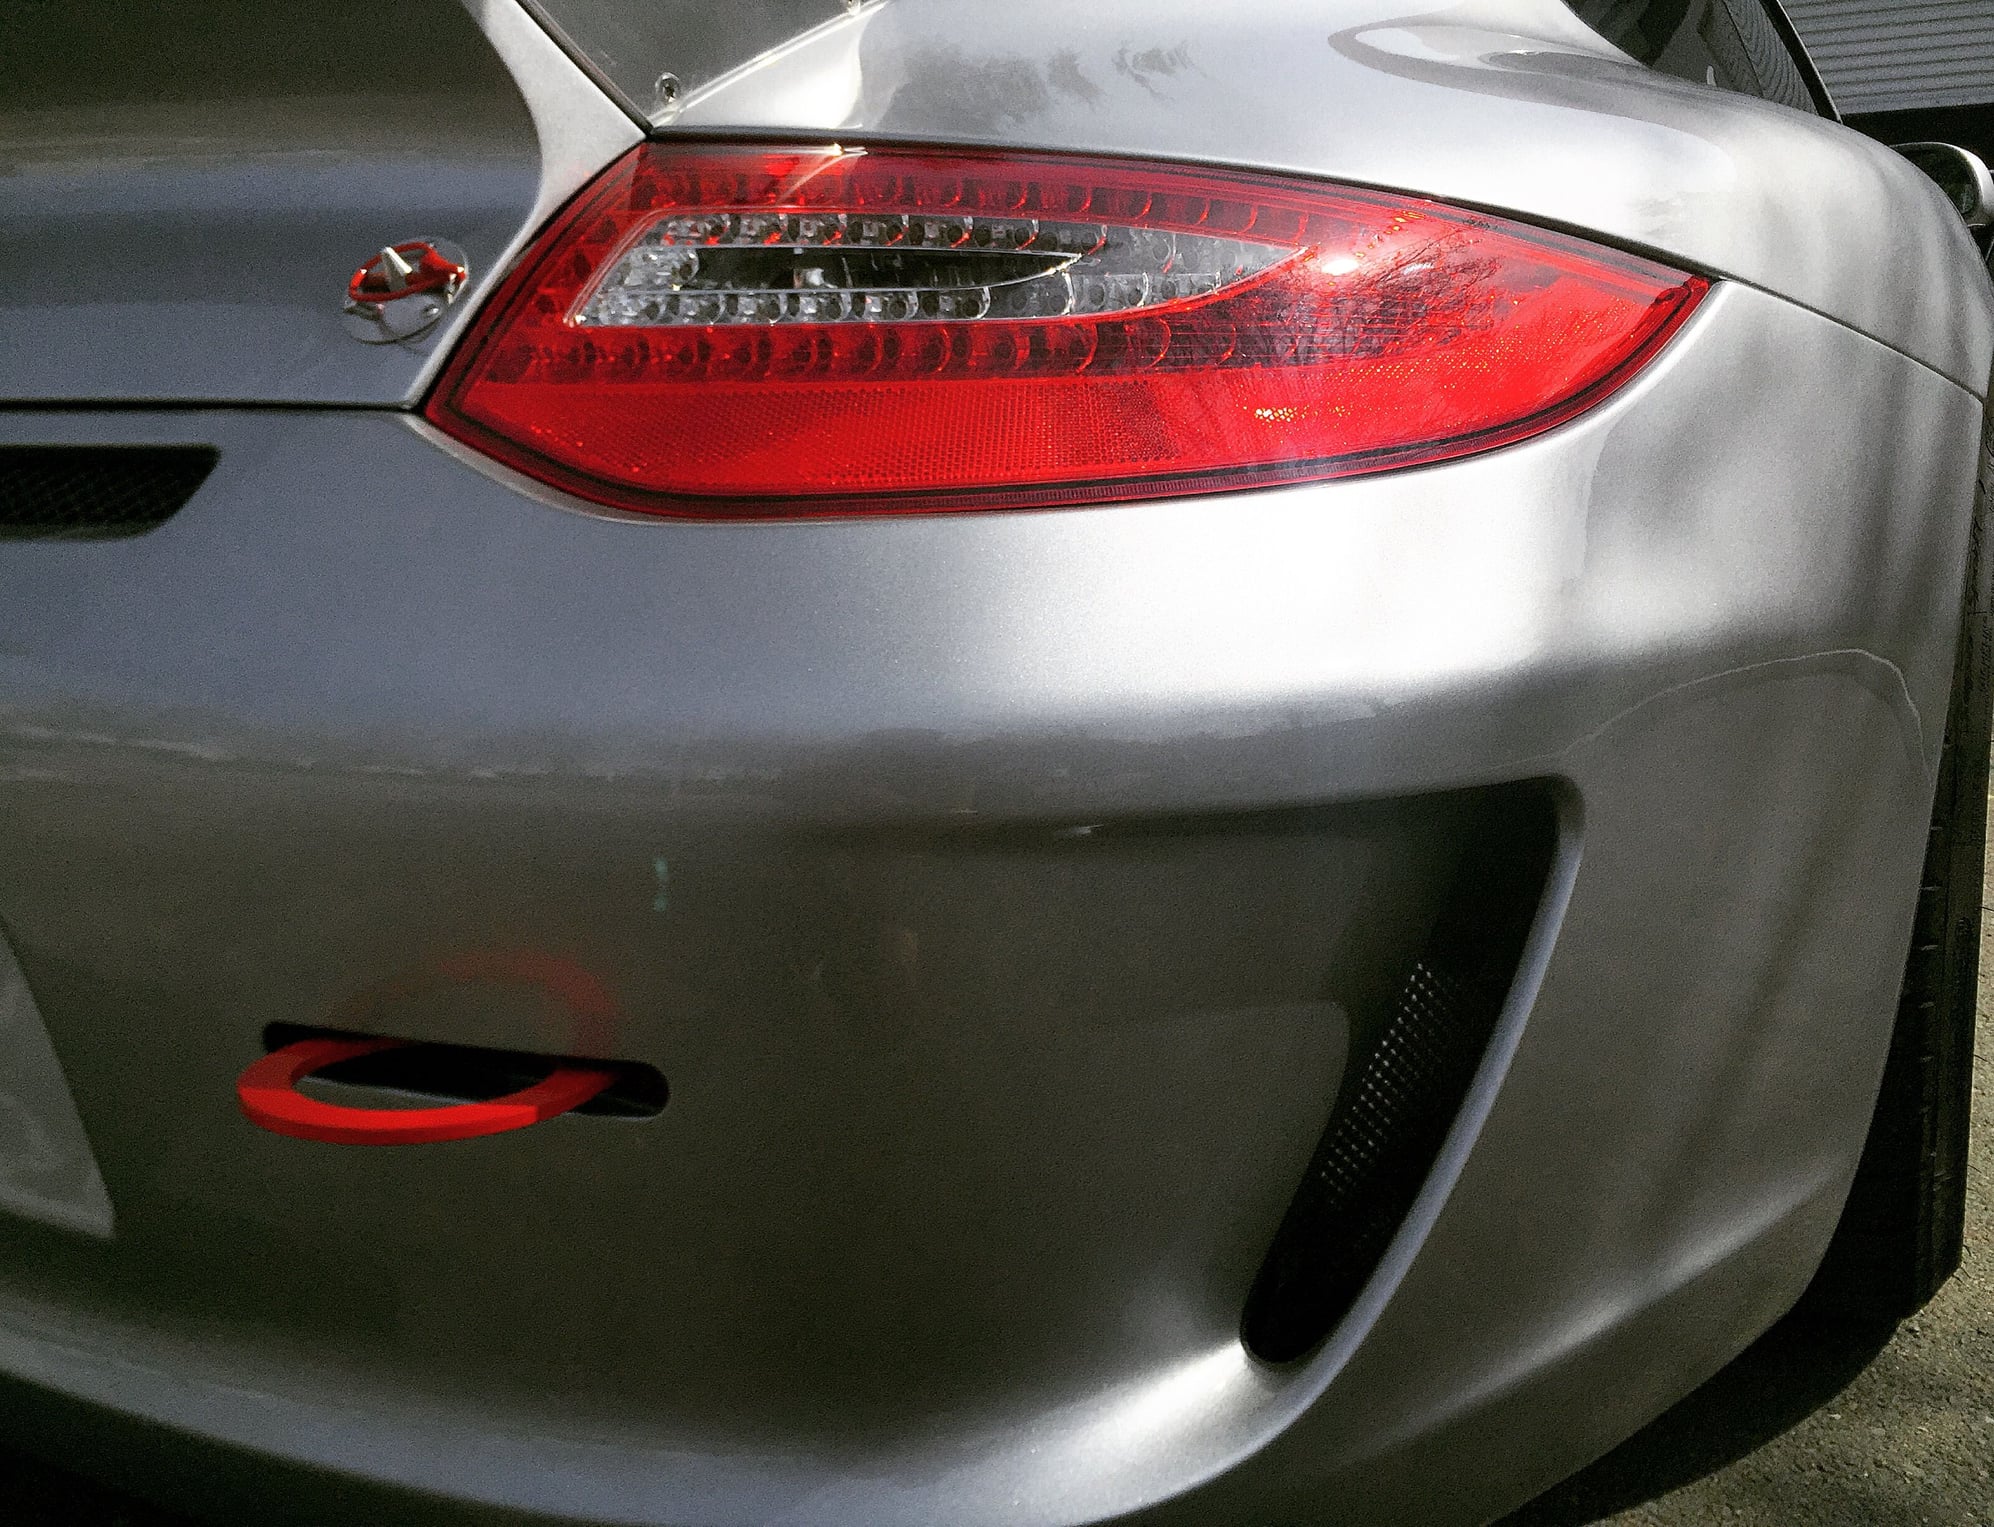
Cup Tow Hooks
Being that I wanted to remain true to form and function, I wanted to use the PMNA Cup tow hooks with my cup bumpers. Being that my car sees street time, removing the factory crash bar was not an option (cups dont have this crash bar). So I needed to come up with a way to retain the crash guard while utilizing the spring loaded cup tow hooks. The nice thing about them being spring loaded is they tuck back into the bumper and not stick out too far when not being used. And since they are bolted directly to the frame, theres no worries of actually using them if ever needed to pull the car.
The crash guard was notched to allow for the tow hook to pass through it, and a bracket was fabricated to allow the crash guard to be secured to it.
Assembly
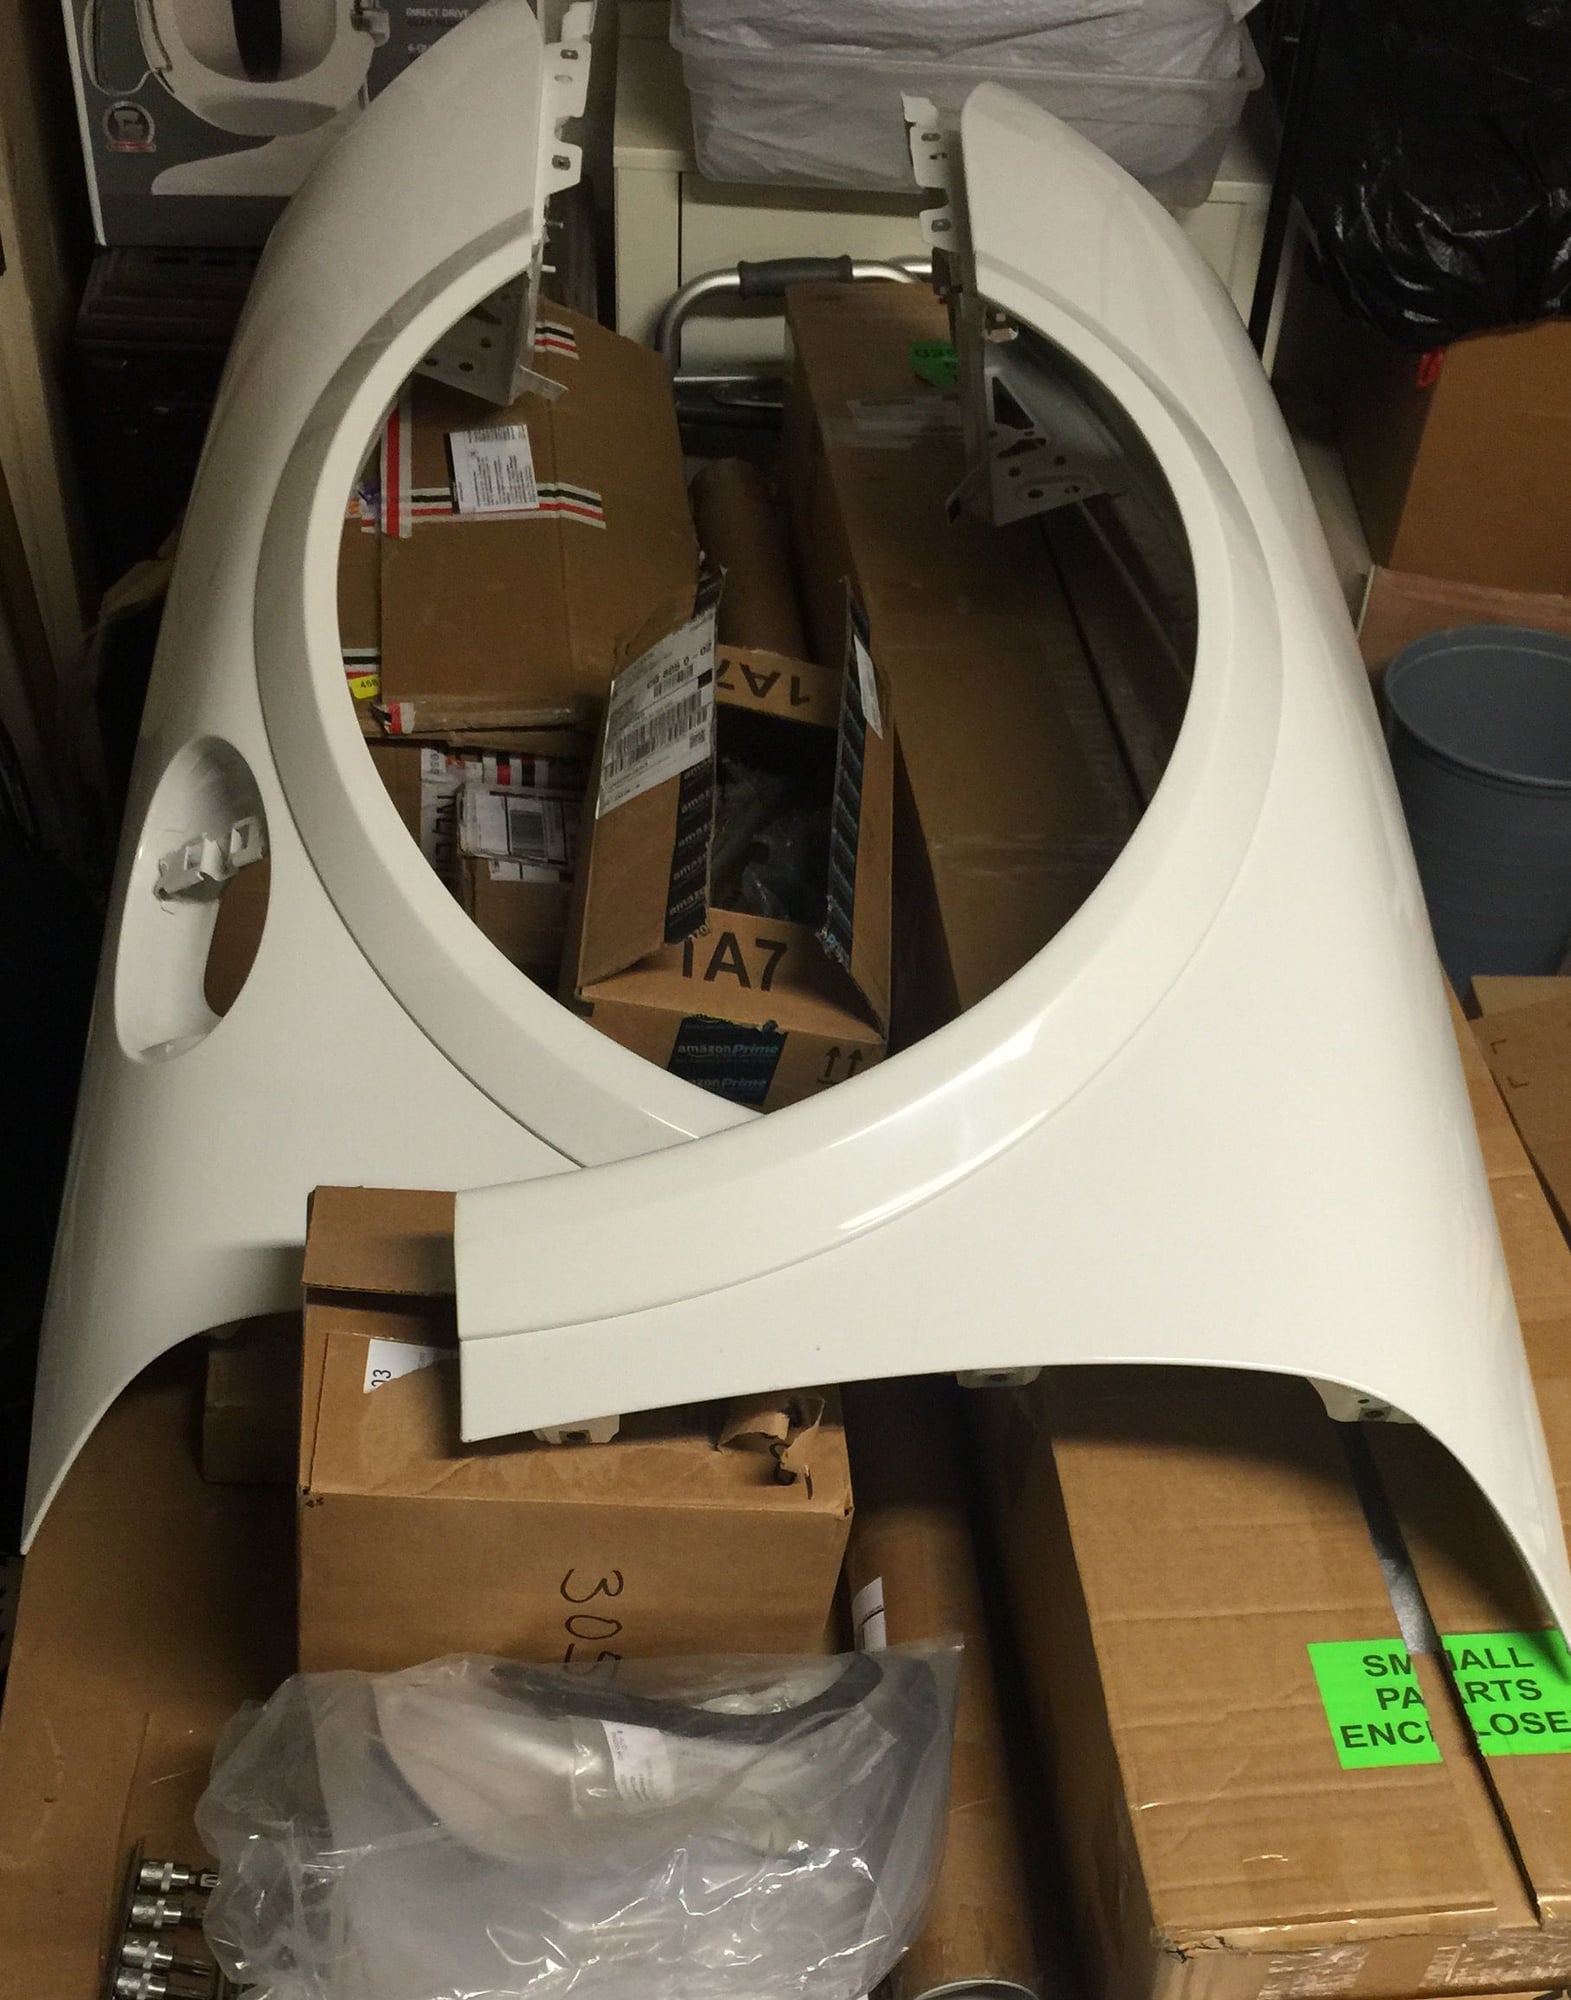
Now that everything underneath is squared away, assembly can commence. Being that these are all PMNA parts, assembly was very easy.
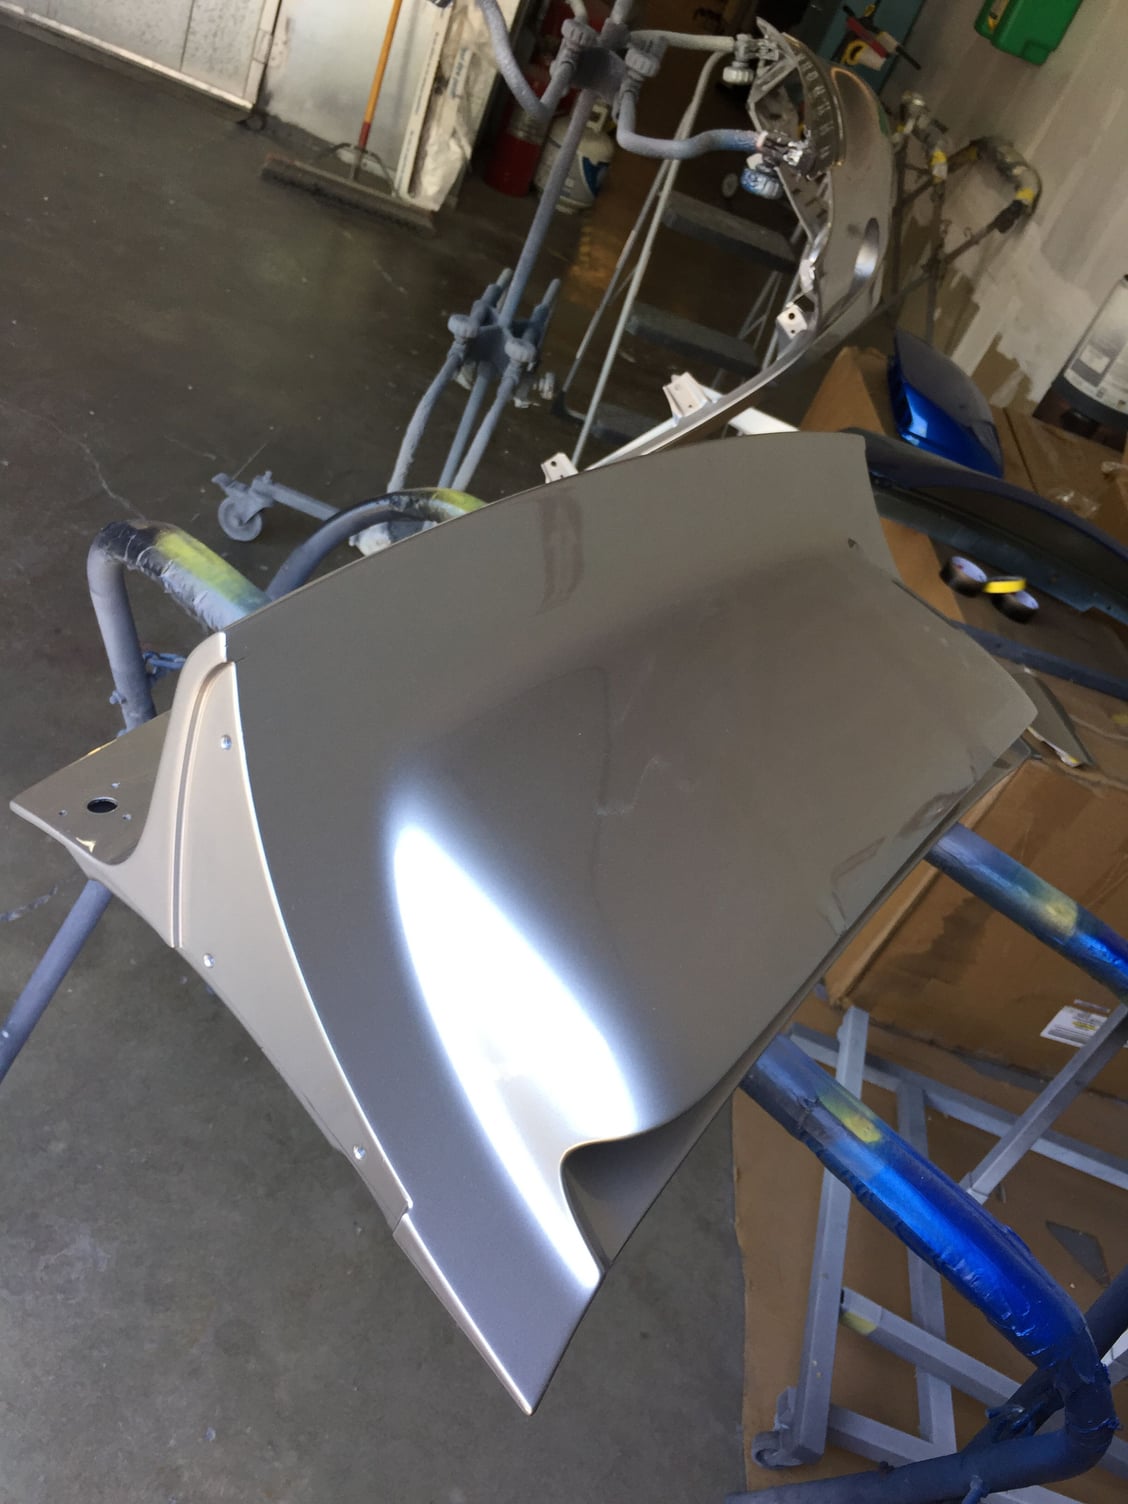
Cup Fenders on, as you can see the opening of these fenders is significantly larger than stock fenders to allow a wider front tire to fit under the flare.
Securing the GTC Duct to the bumper
Fitting the Cup Deck lid
997.2 LED Taillights, using FVD converter boxes so its plug and play. Modified cup uprights on.
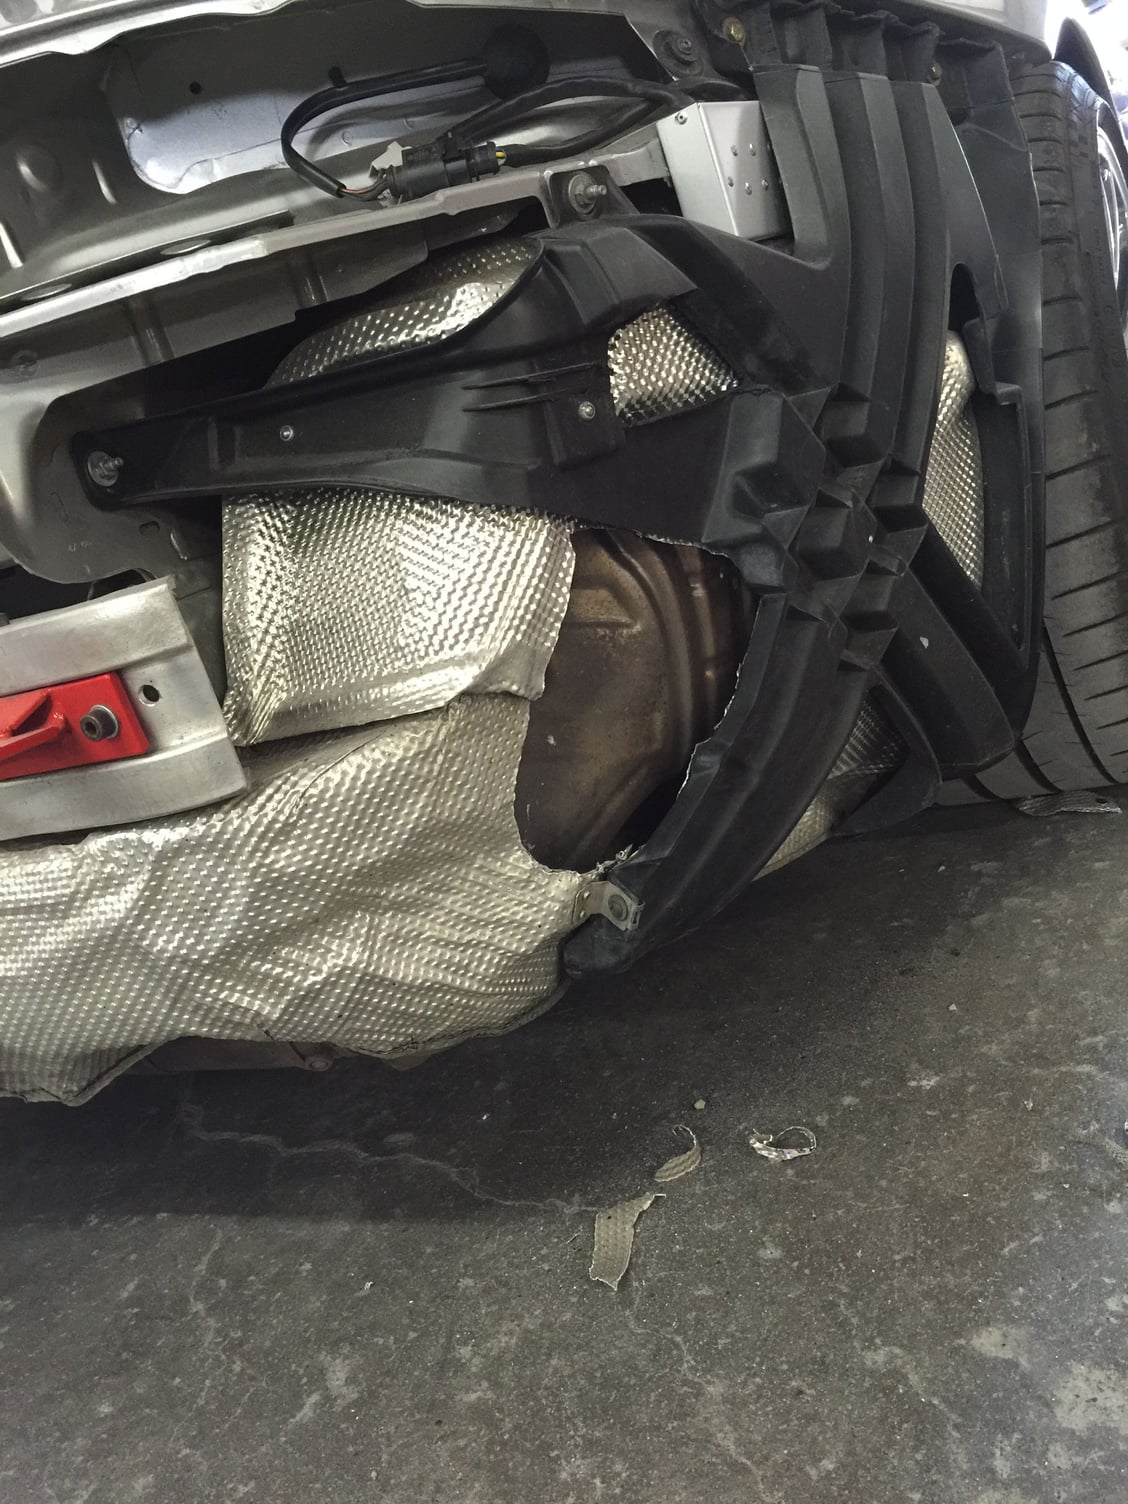
I wanted to make the rear bumper vents functional, so cut out some of the heatshield over the side muffler to allow air to pass through and out the vent. I utilized high temperature gold foil inside the bumper to protect it from the heat.
Will be adding results from thermal camera comparing non vented vs vented.
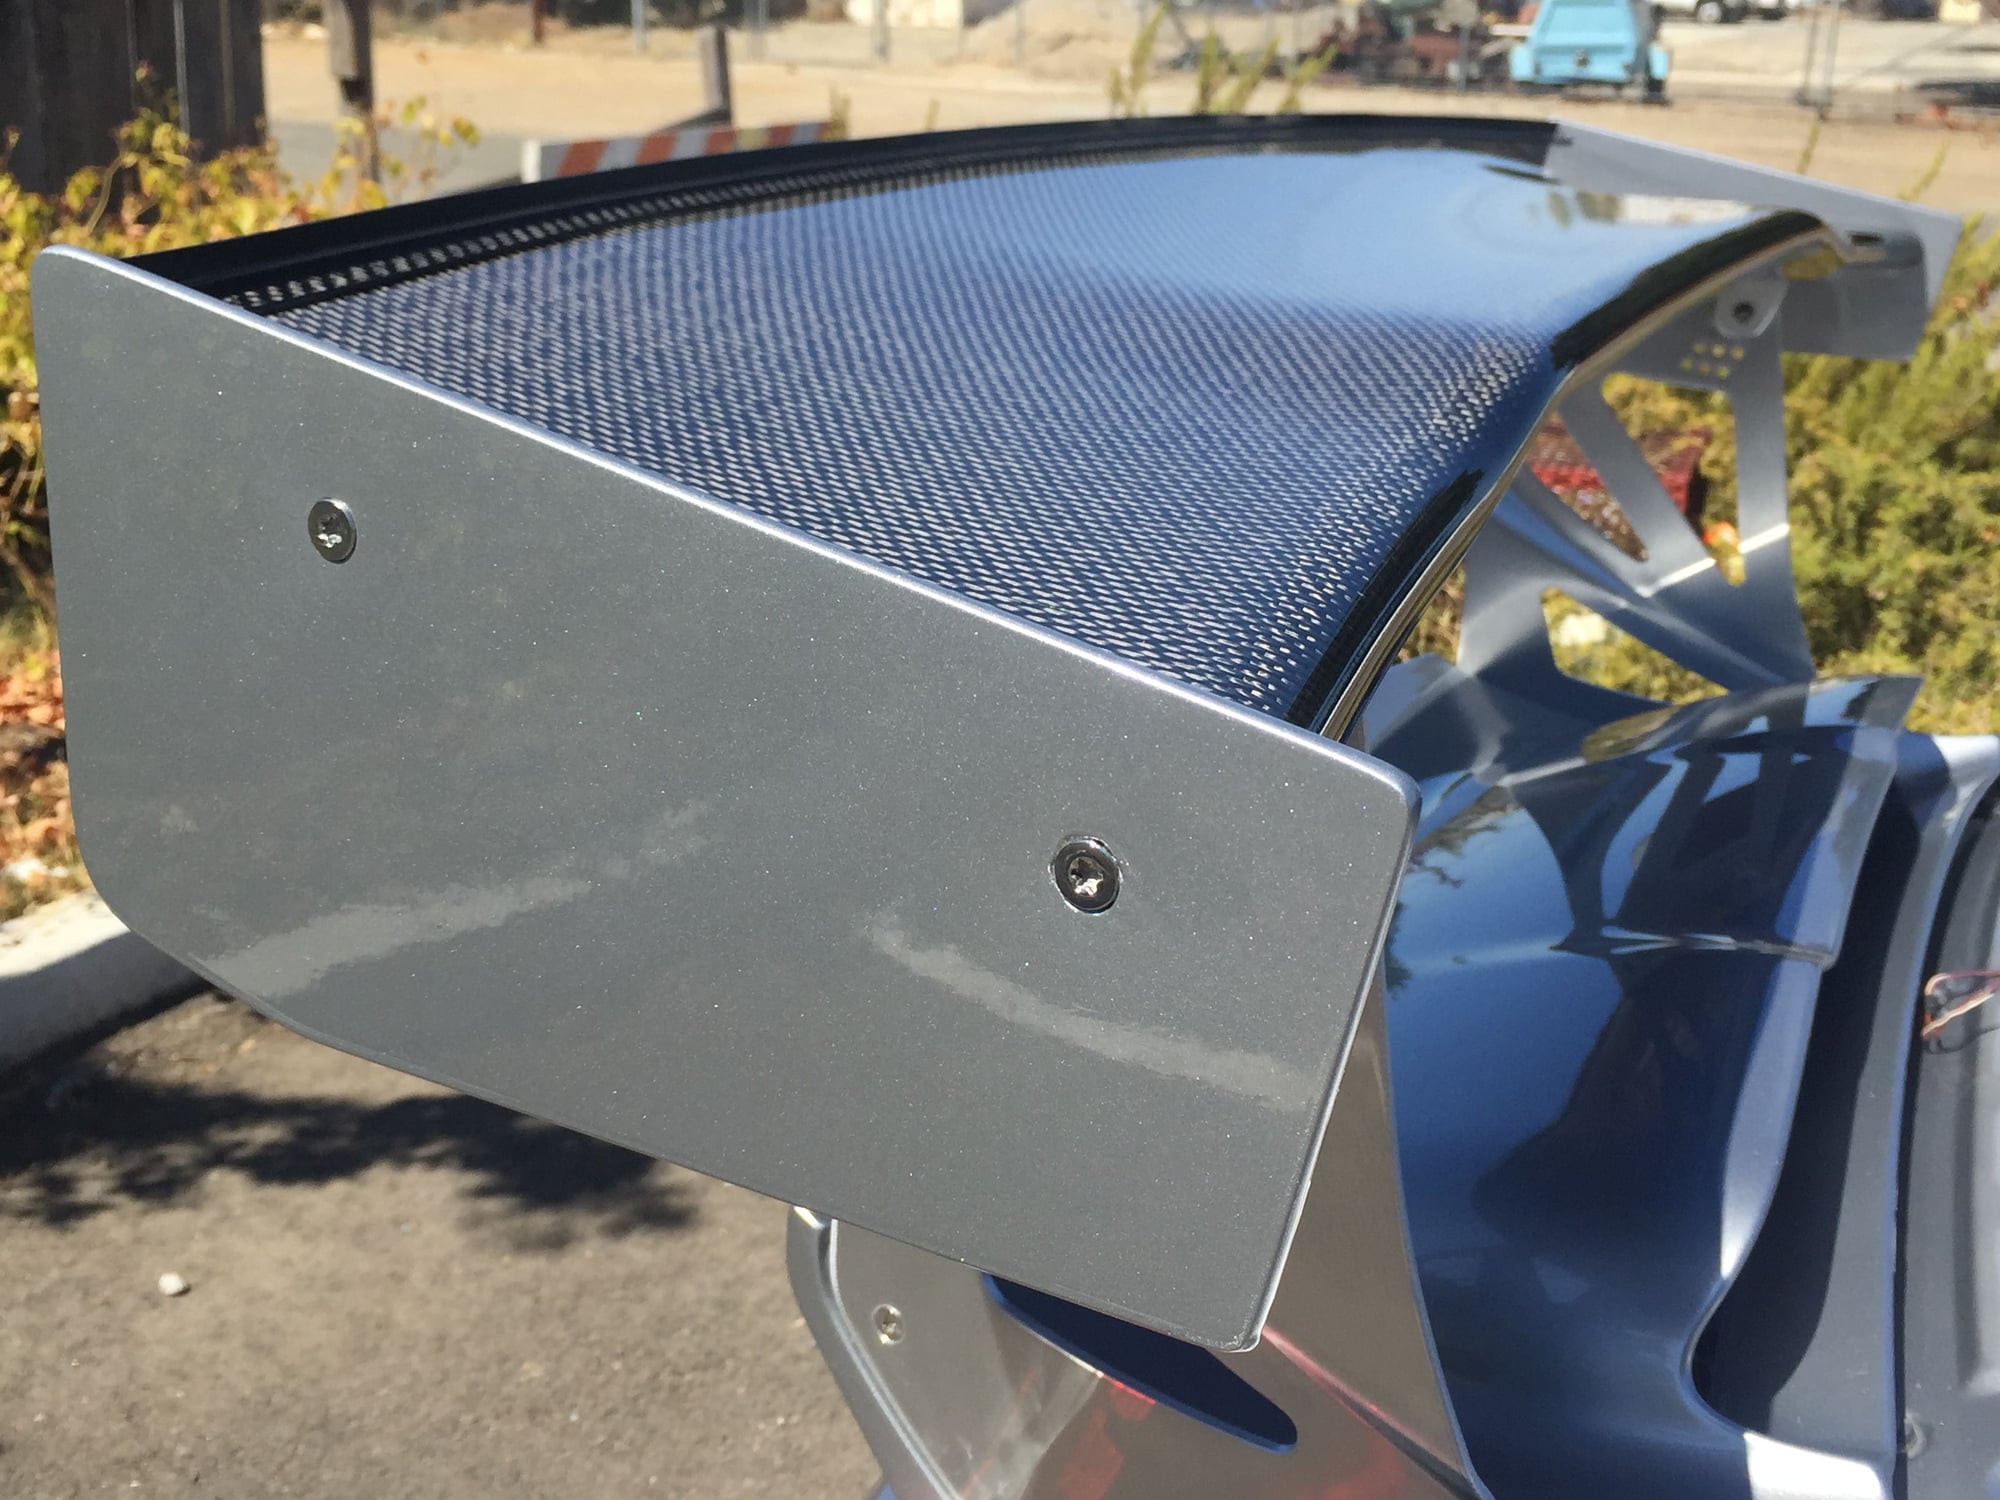
Modified Cup End Plates on
997.2 Radiator Ducts on
Rear bumper on and cup decklid pins installed.
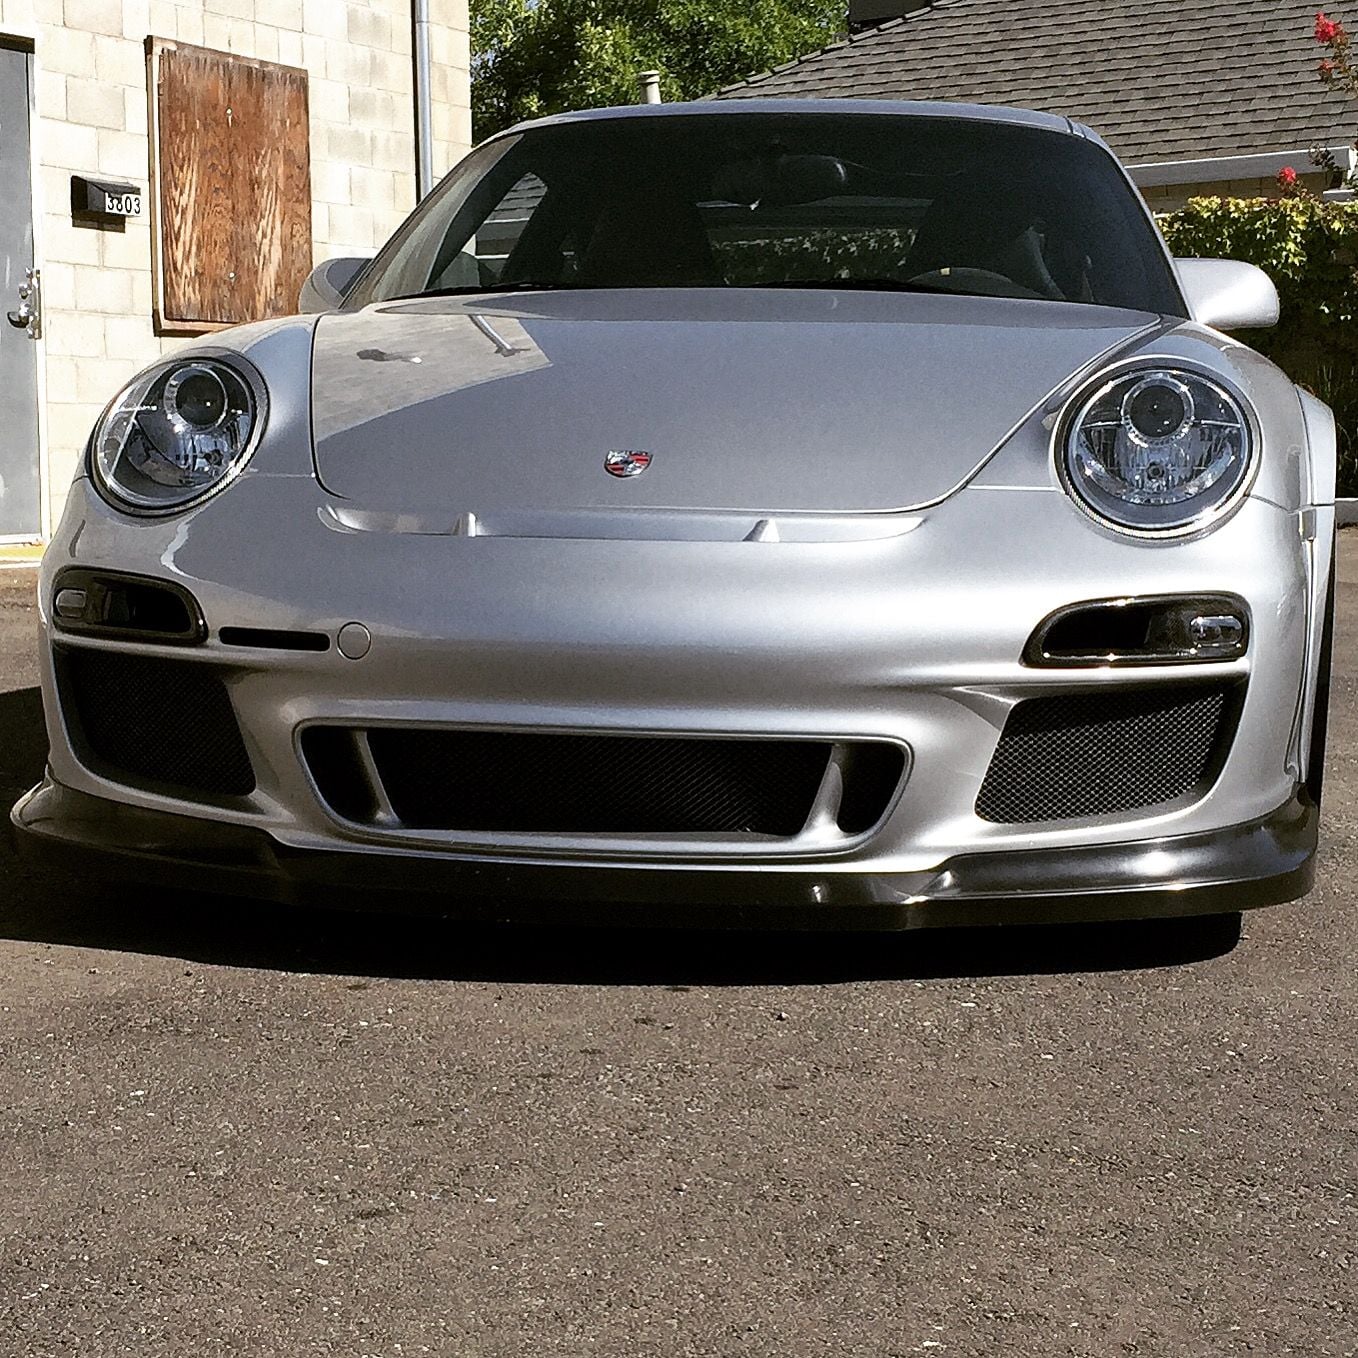
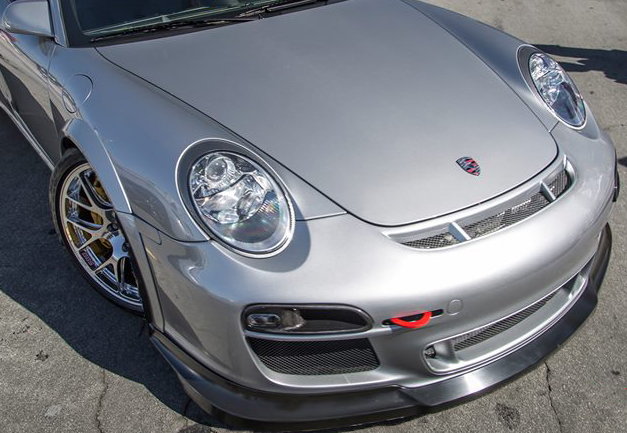
Front bumper and flares on
Cup mirrors on, Cup Lip on, Cup front flaps on
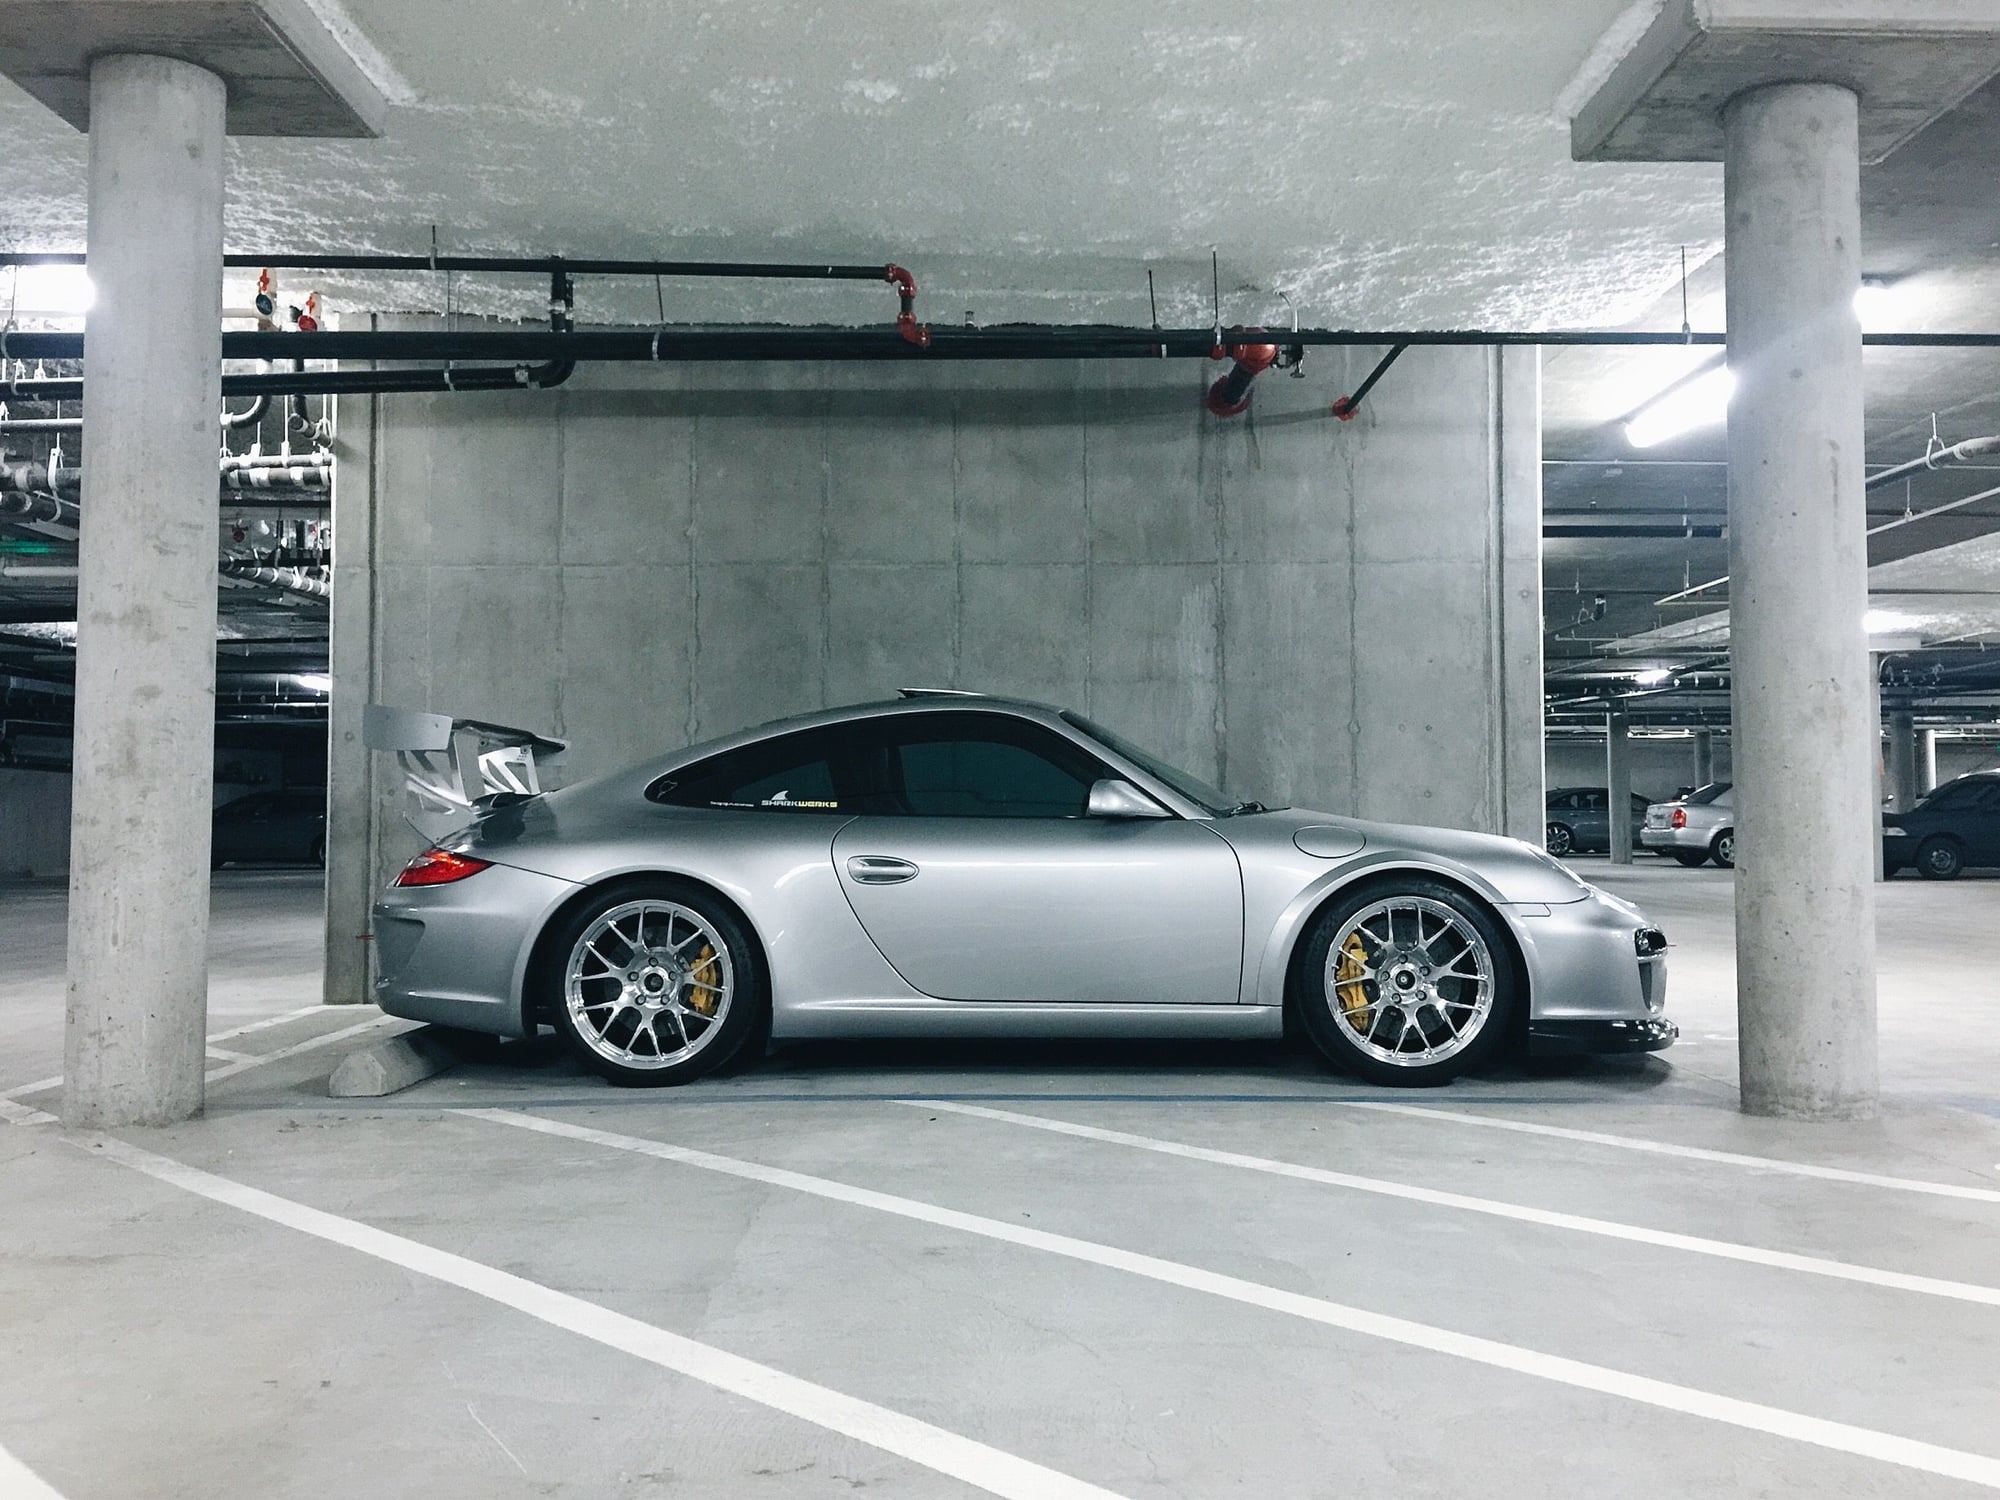
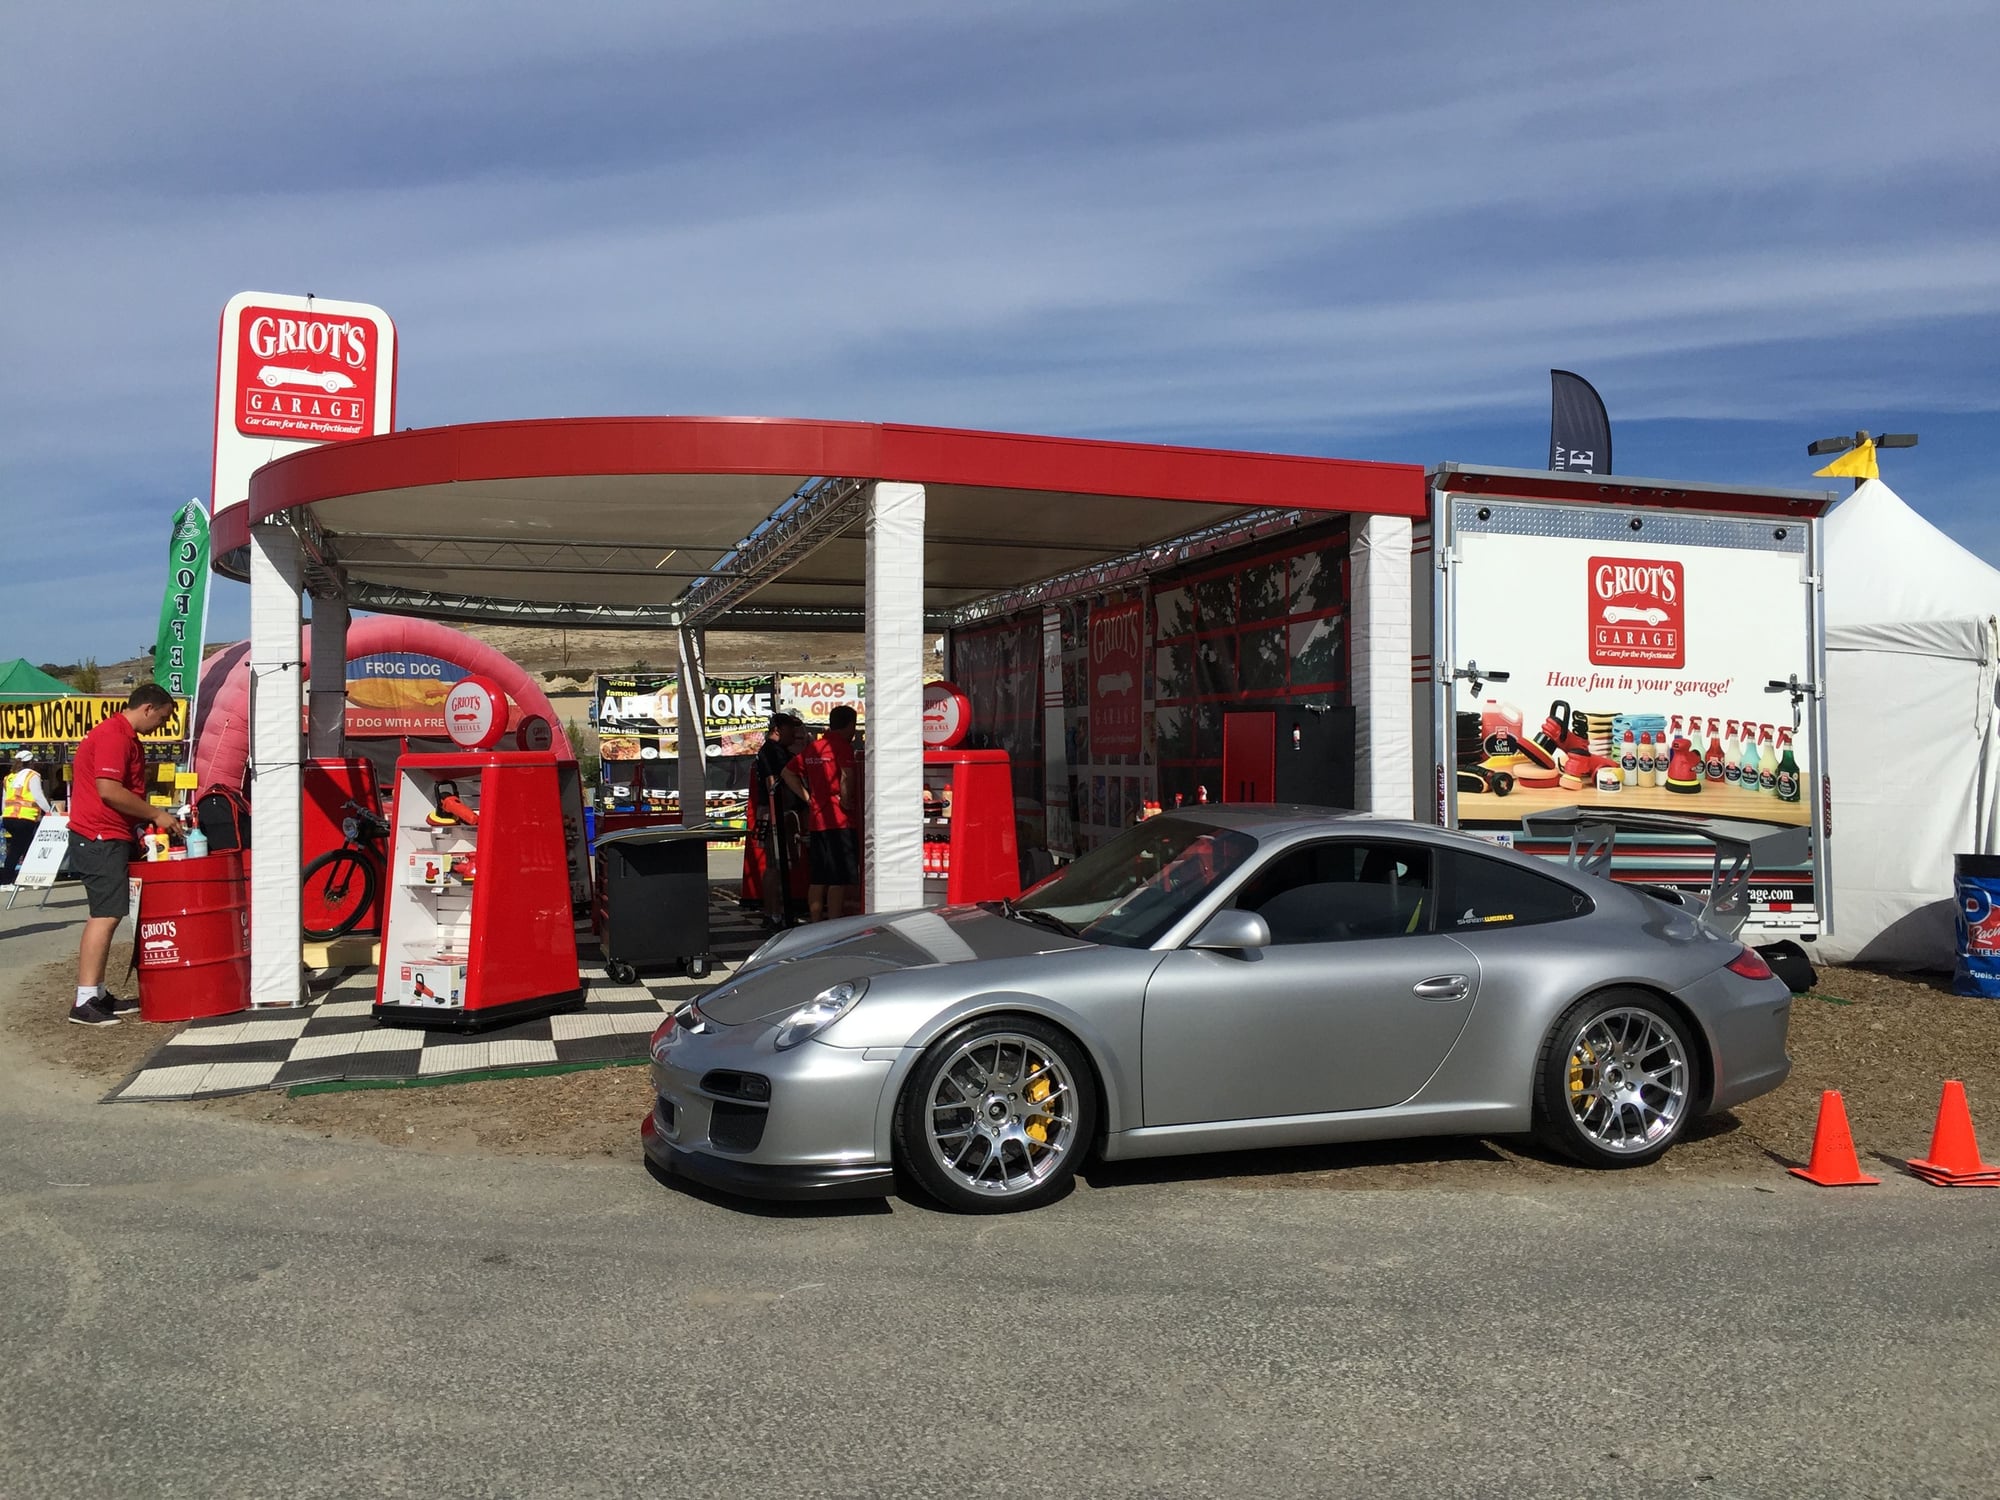
Wing and Wicker on, and rest of the car assembled. You can see from this first angle just how much more wheel and tire you can fit under the front fender/flare now.
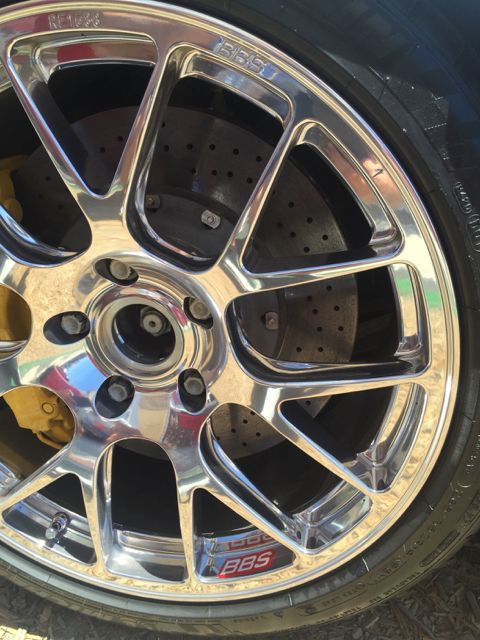
BBS Monoblocks
No conversion is complete without the proper wheels. And ever since I saw the cup car with them, I knew I had to find a way to have this wheel without having to switch to cup centerlocks and deal with not ideal offsets since my car is a narrowbody. I talked to a lot of BBS vendors to see if there was some way to get the cup car monoblocks made in a 19" 5 Lug configuration. When the answer was no, I was pretty bummed and started looking at what other potential options did I have. I knew that was the style I wanted, so I talked to wheel manufactures if they would make a similar style, again the answer was no. Then I started talking to Jamie at Dundon Motorsports about all the paths I had gone down, and what I was trying to achieve. He seemed to share the same sentiment as me about the wheels, and wanted a set for himself as well and wanted to find a way to make this happen for us. After numerous conversations with Motorsport, we finally got to a point where they agreed to design the wheel.
Seeing these renderings come over was an exciting time, for the first time I felt this was actually going to happen.
9 long months of trying to get the perfect wheel had paid off. It wasnt too long after that I received shipment of the 19" 5 Lug BBS Monoblocks.
Here are the specs I went with:
19x9.5 ET 42 (19.734 lbs)
19x12 ET61 (21.592 lbs)
While BBS could have made the wheels lighter, it was agreed upon that this was the best combination of weight and strength. Going lighter would have compromised strength of the wheels. With all of BBS's motorsport experience, we were not going to question that.
We were also able to talk BBS into finishing my set in Motorsport Polish (polished and clear coated), which is the finish that came on the GT3 Cup monoblocks these were modeled after.
Wheels are individually numbered from production
#1
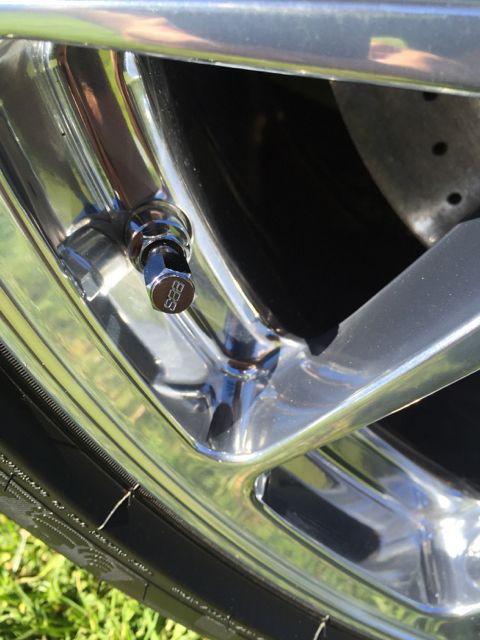
I chose to retain TPMS, so got these polished TPMS valve stems, as well as BBS valve caps to finish it off.
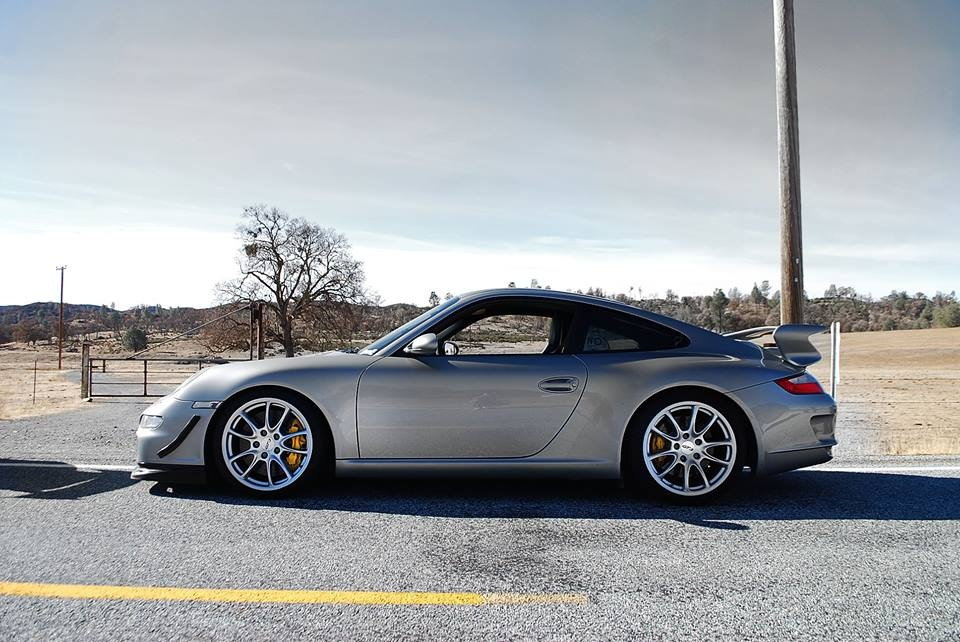
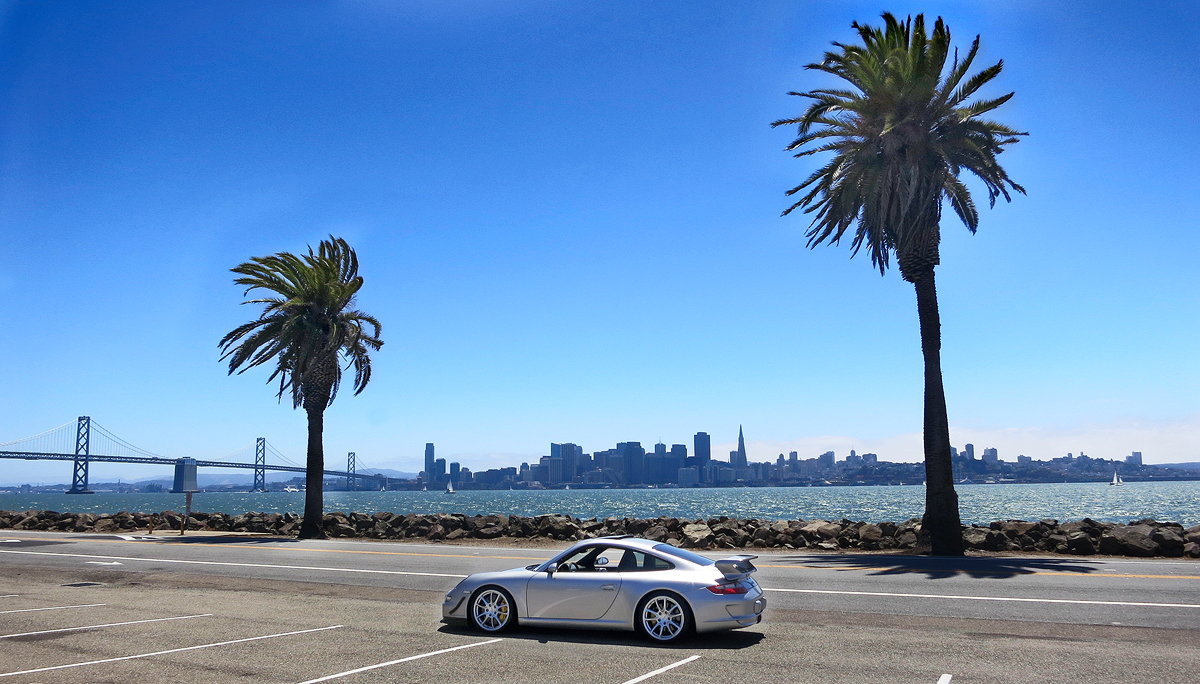
These wheels really completed the look I was trying to achieve.
Wow. Subscribed. Question Tye, I was thinking you just did the fronts, but did you widebody the rear fenders too?
I did not do the widebody rear fenders. If I end up touching the rear fenders in the future, I think it would be to go with a GT3R setup, which would mean bigger fenders up front too.
I did not do the widebody rear fenders. If I end up touching the rear fenders in the future, I think it would be to go with a GT3R setup, which would mean bigger fenders up front too.
Gotcha, thanks for the response. Love the documentation, awesome for people like me dreaming about what is possibly out there that we can do next. Keep the posts coming!

 09-29-2016, 01:12 AM


 Keep the posts coming!