When you click on links to various merchants on this site and make a purchase, this can result in this site earning a commission. Affiliate programs and affiliations include, but are not limited to, the eBay Partner Network.
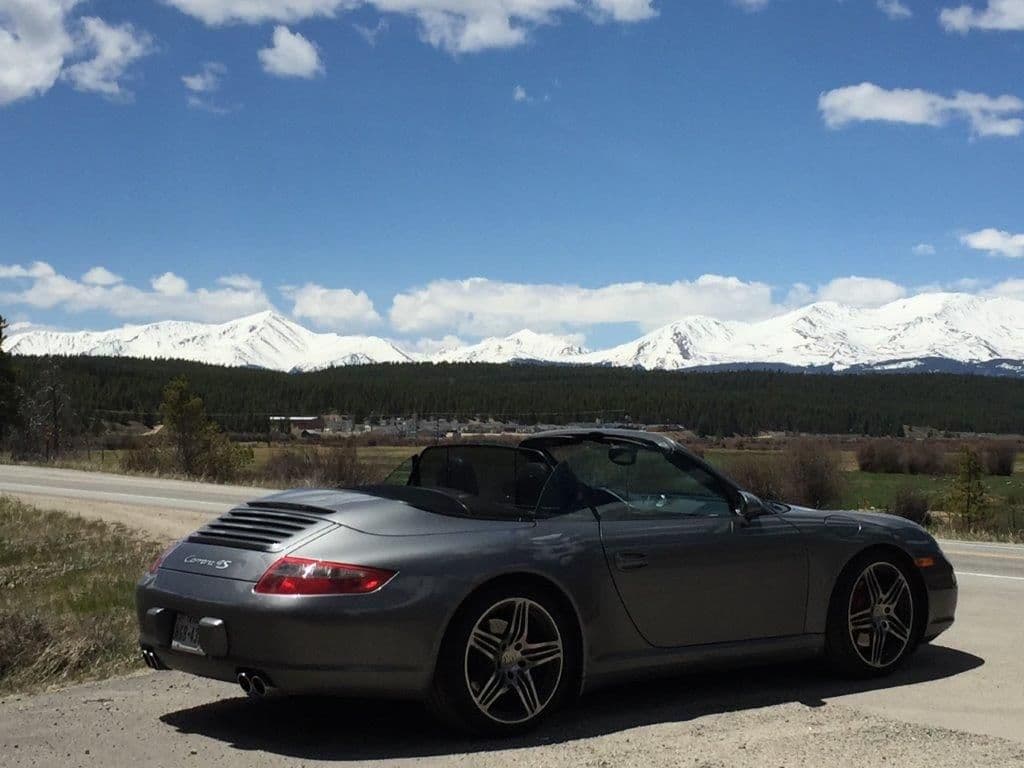
My wife and I had planned a 2500 mile road trip through the Rockies and we wanted the simplicity of satellite radio without the cost.
As much as I would love to replace the PCM with a modern GPS/MOST HUR/Bezel kit; I’d rather spend that money on other things, like a vacation.
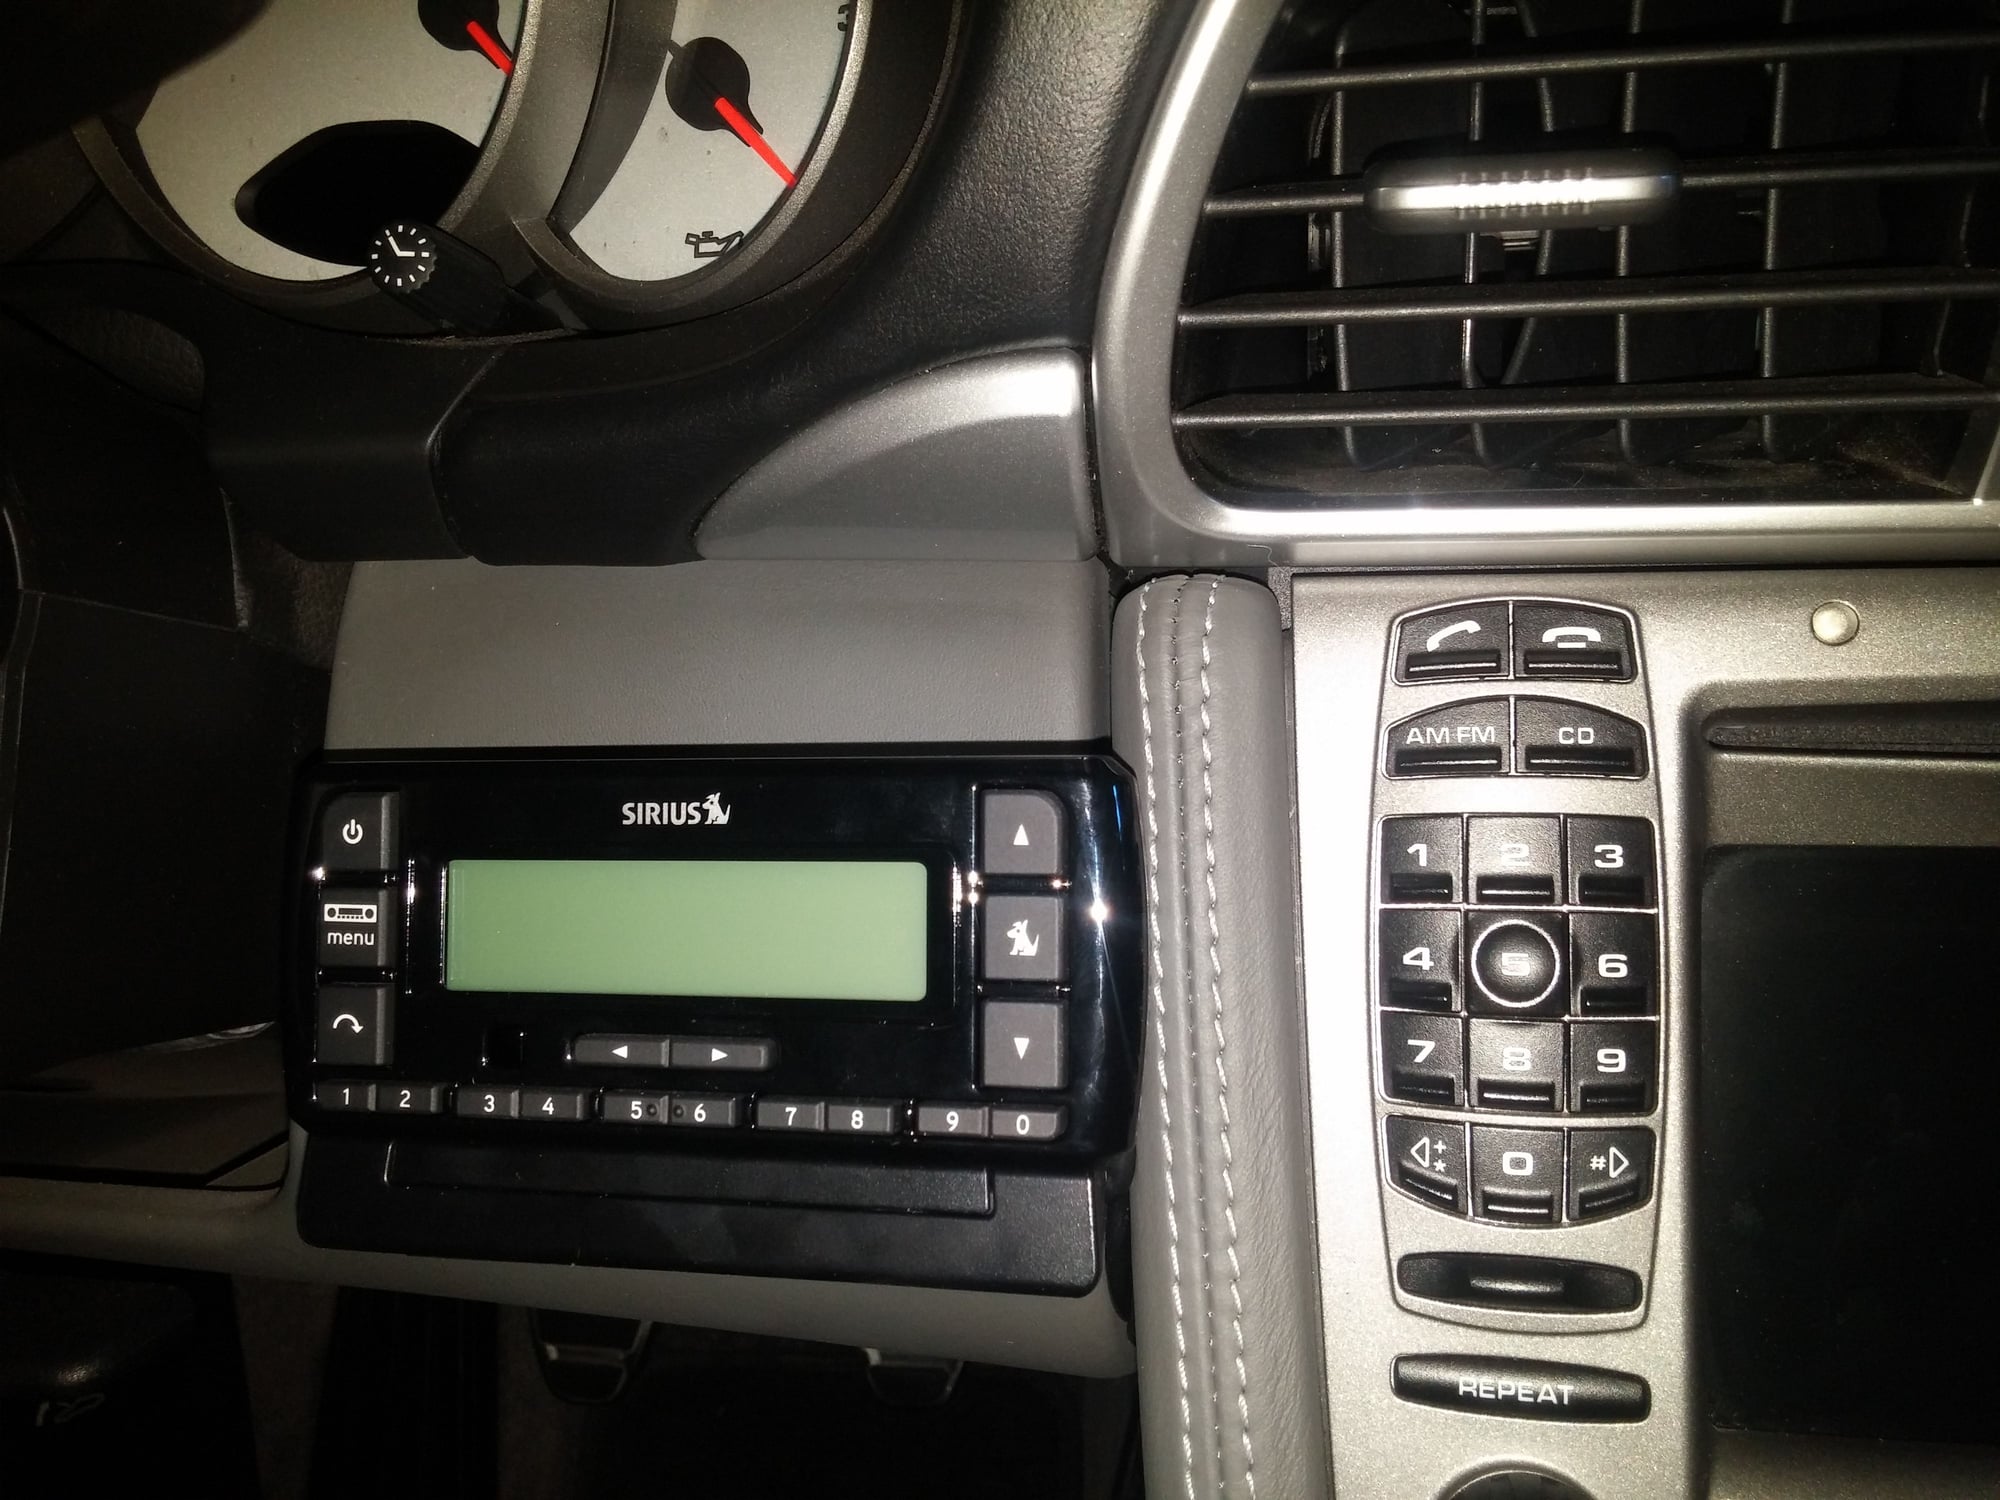
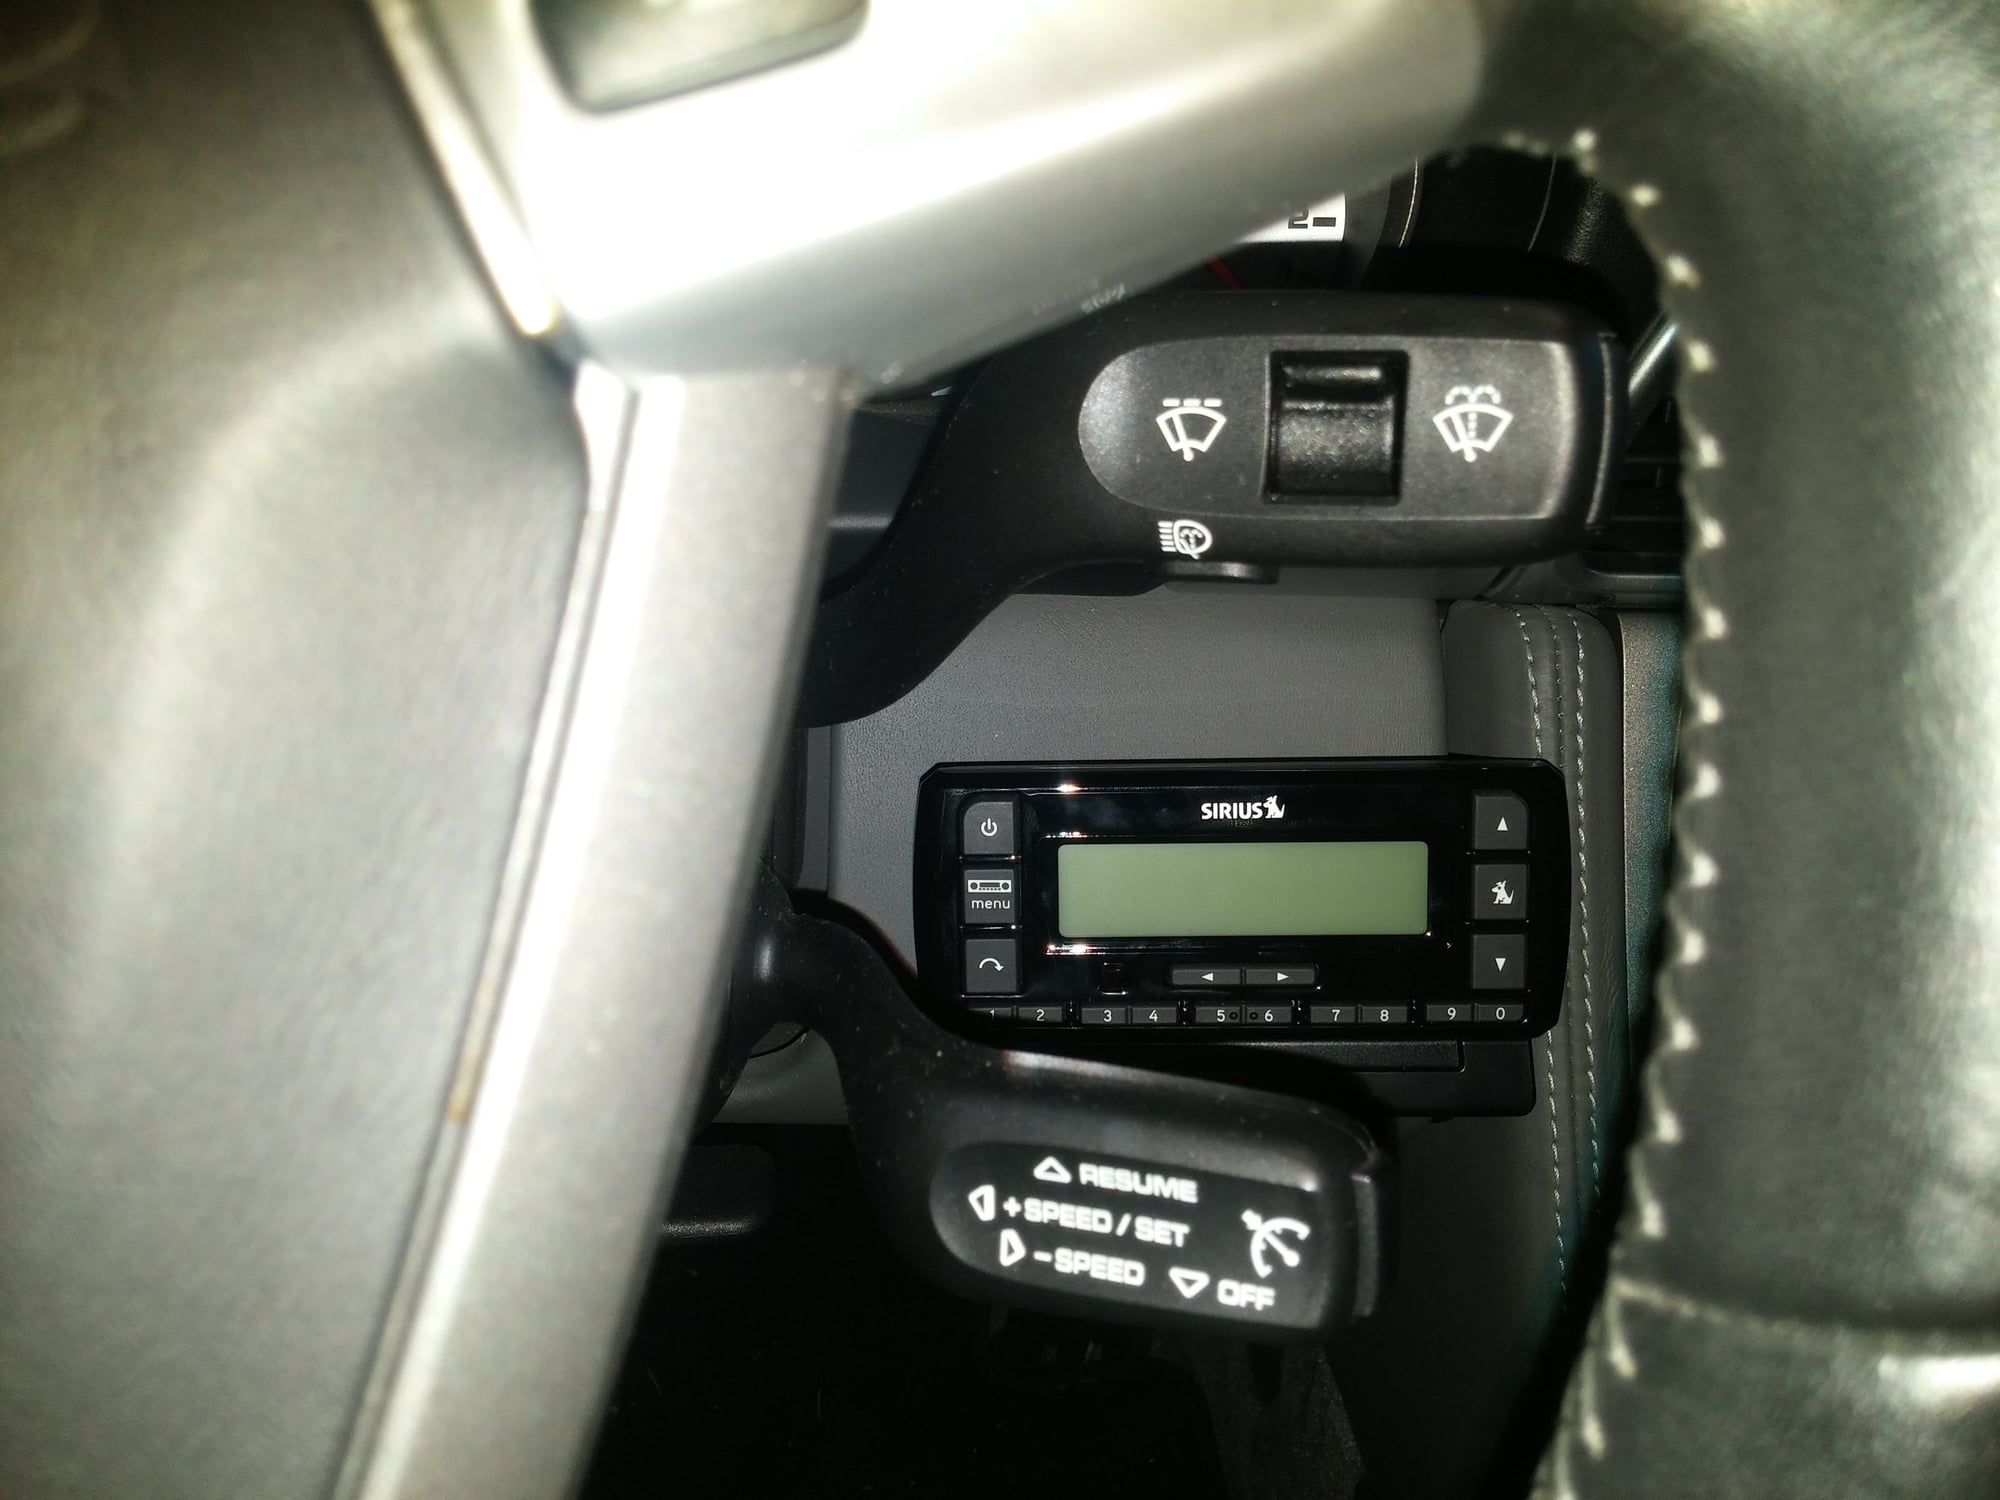
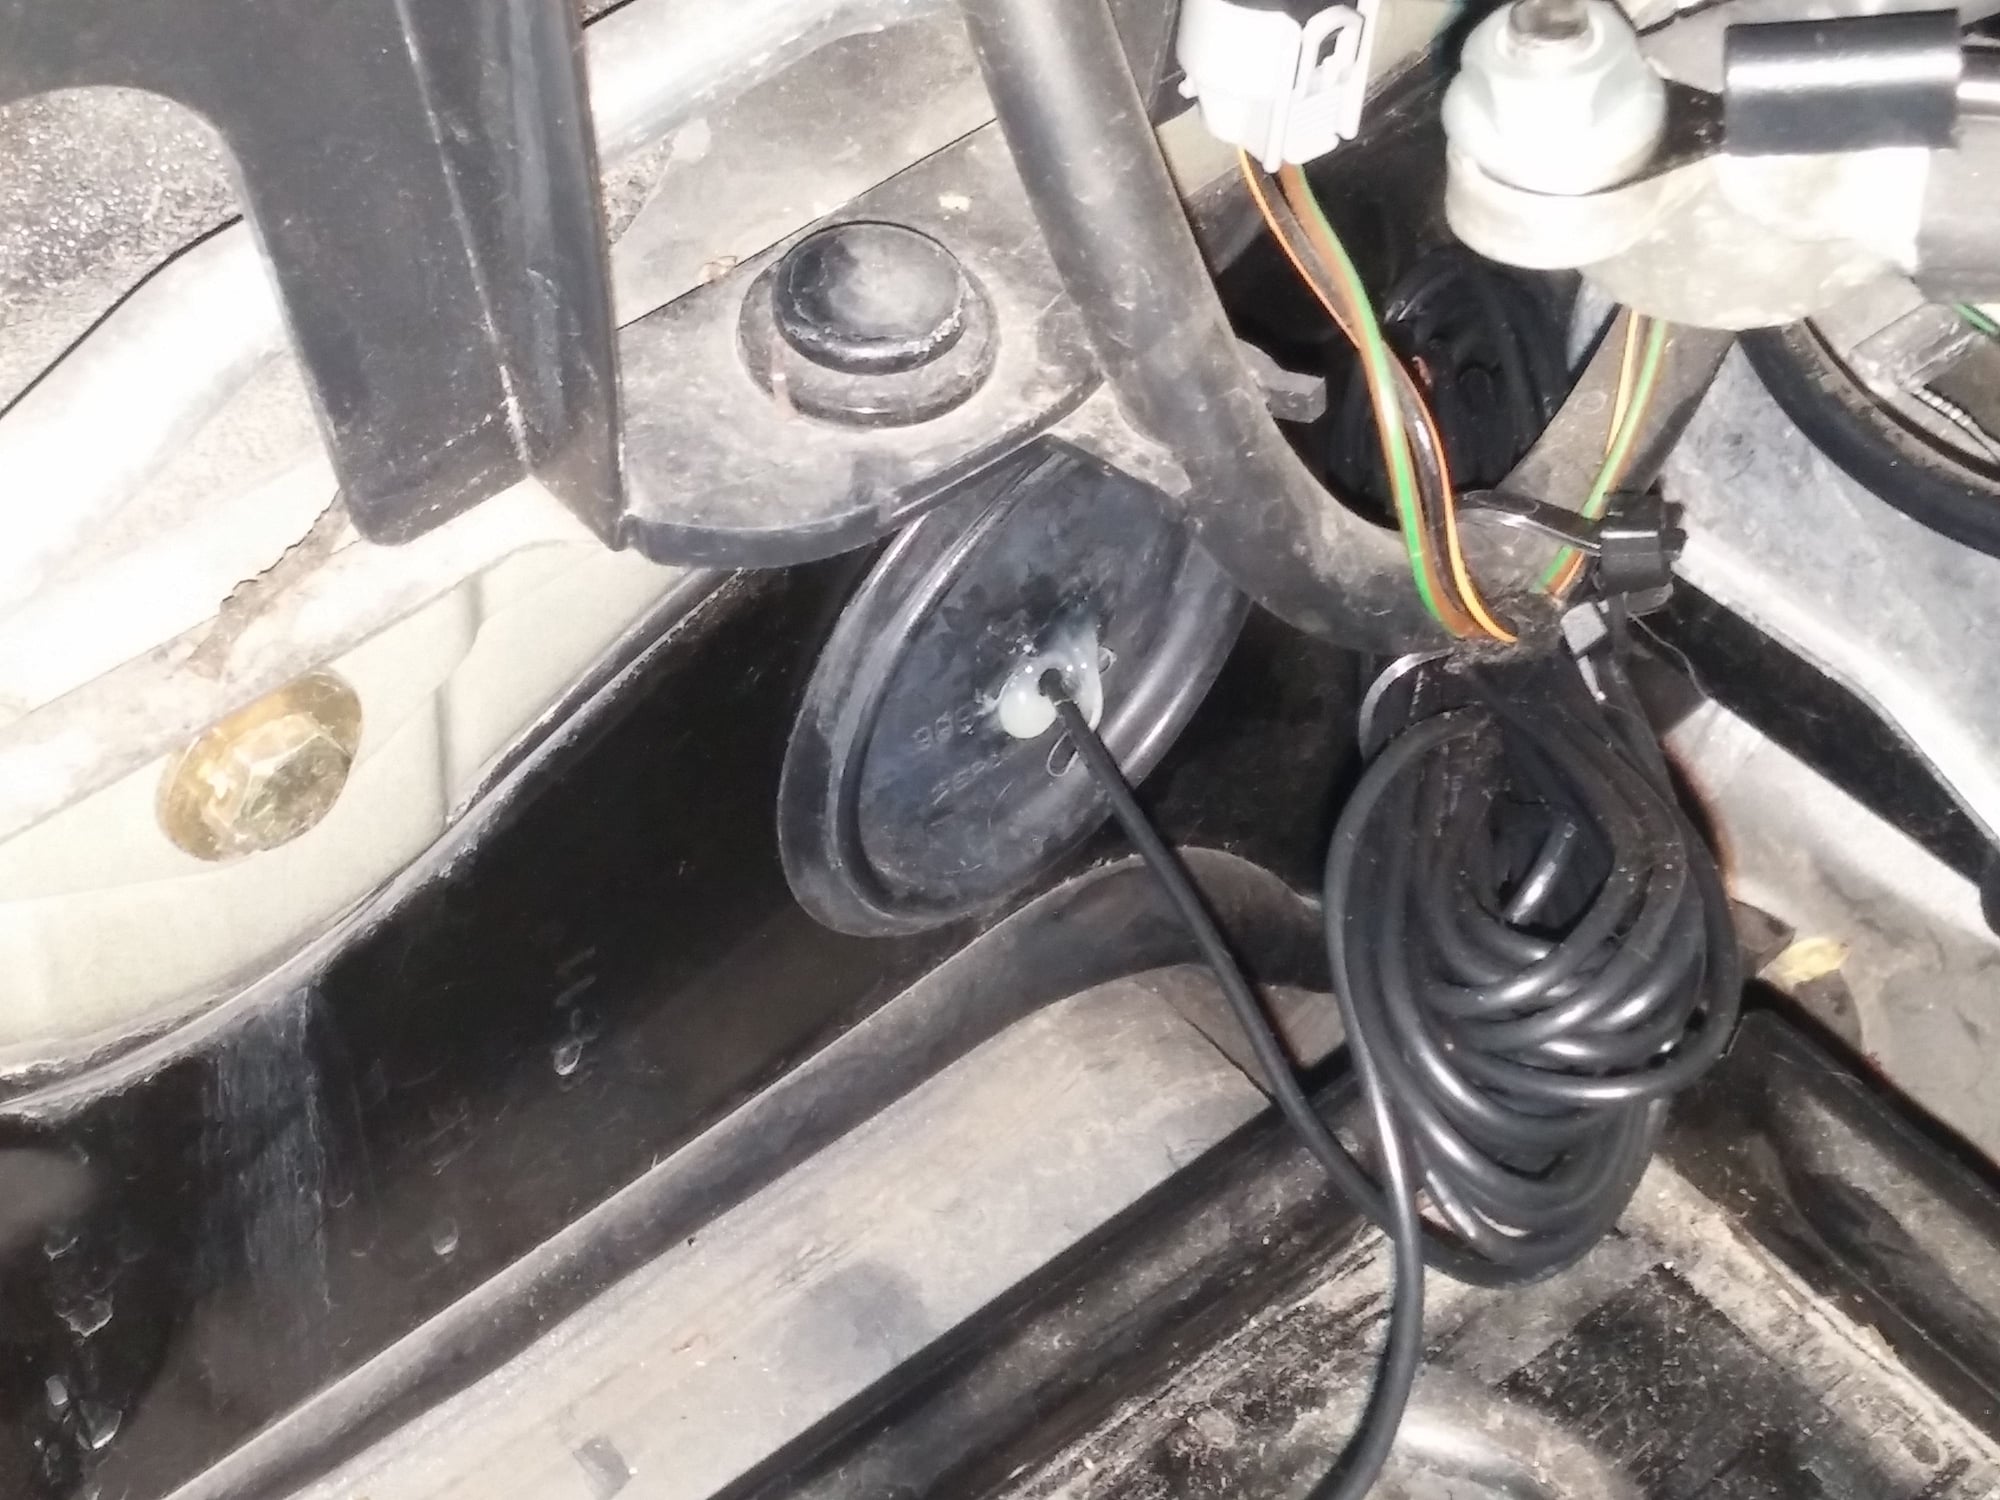
This kit worked for me and may work for others as well, so I figured I would post what I used. I’m not going to post the install as this has been done many times over on this and other forums. I purchased everything needed on "The River" for $77.39 delivered as a Prime member. Took about 2 � hours to install. All cables are hidden, antenna is mounted under the cowl next to the GPS antenna. I grabbed power from the cigarette lighter in the passenger foot-well, leaving the lighter disconnected so as not to inadvertently blow a fuse. I used a double layer of double sided tape to mount the cradle to the dash (thoroughly clean with alcohol, and clean again before applying tape). The double layer of tape bumps the cradle out enough to allow the receiver to clear the side panel and hide the wires.
I’m not a big channel changer and this receiver has 10 pre-sets, so this install works well to hide the wires and makes the receiver very unobtrusive while allowing easy access to the controls (albeit non-visually).
Here’s what I used:
SiriusXM Satellite Radio SSV7V1 Stratus 7 Satellite Radio (Black) $31.46
SiriusXM FMDA25 Direct Adapter $14.04
Metra 40EU30 2002-Up VW/BMW/European Vehicle Antenna Adapter Cable Kit-Add CD with FM Modulator $12.55
EDO Tech� Direct Hardwire Vehicle 5V Power Cord Adapter Kit for Sirius XM Radio PowerConnect Dock Onyx Edge Lynx Stratus Starmate $14.95
Scotch Exterior Mounting Tape, 1-Inch by 60-Inch $4.39
"The River" - Is that the new term on the street for Amazon?
Yes. Not sure about Rennlist, but some forums don't like retailers to be mentioned by name if they are not sponsors.
Originally Posted by captainbaker
Now give up the ghost......how did ya do it?
Very easy to install if your handy and aren't afraid to work on your car.
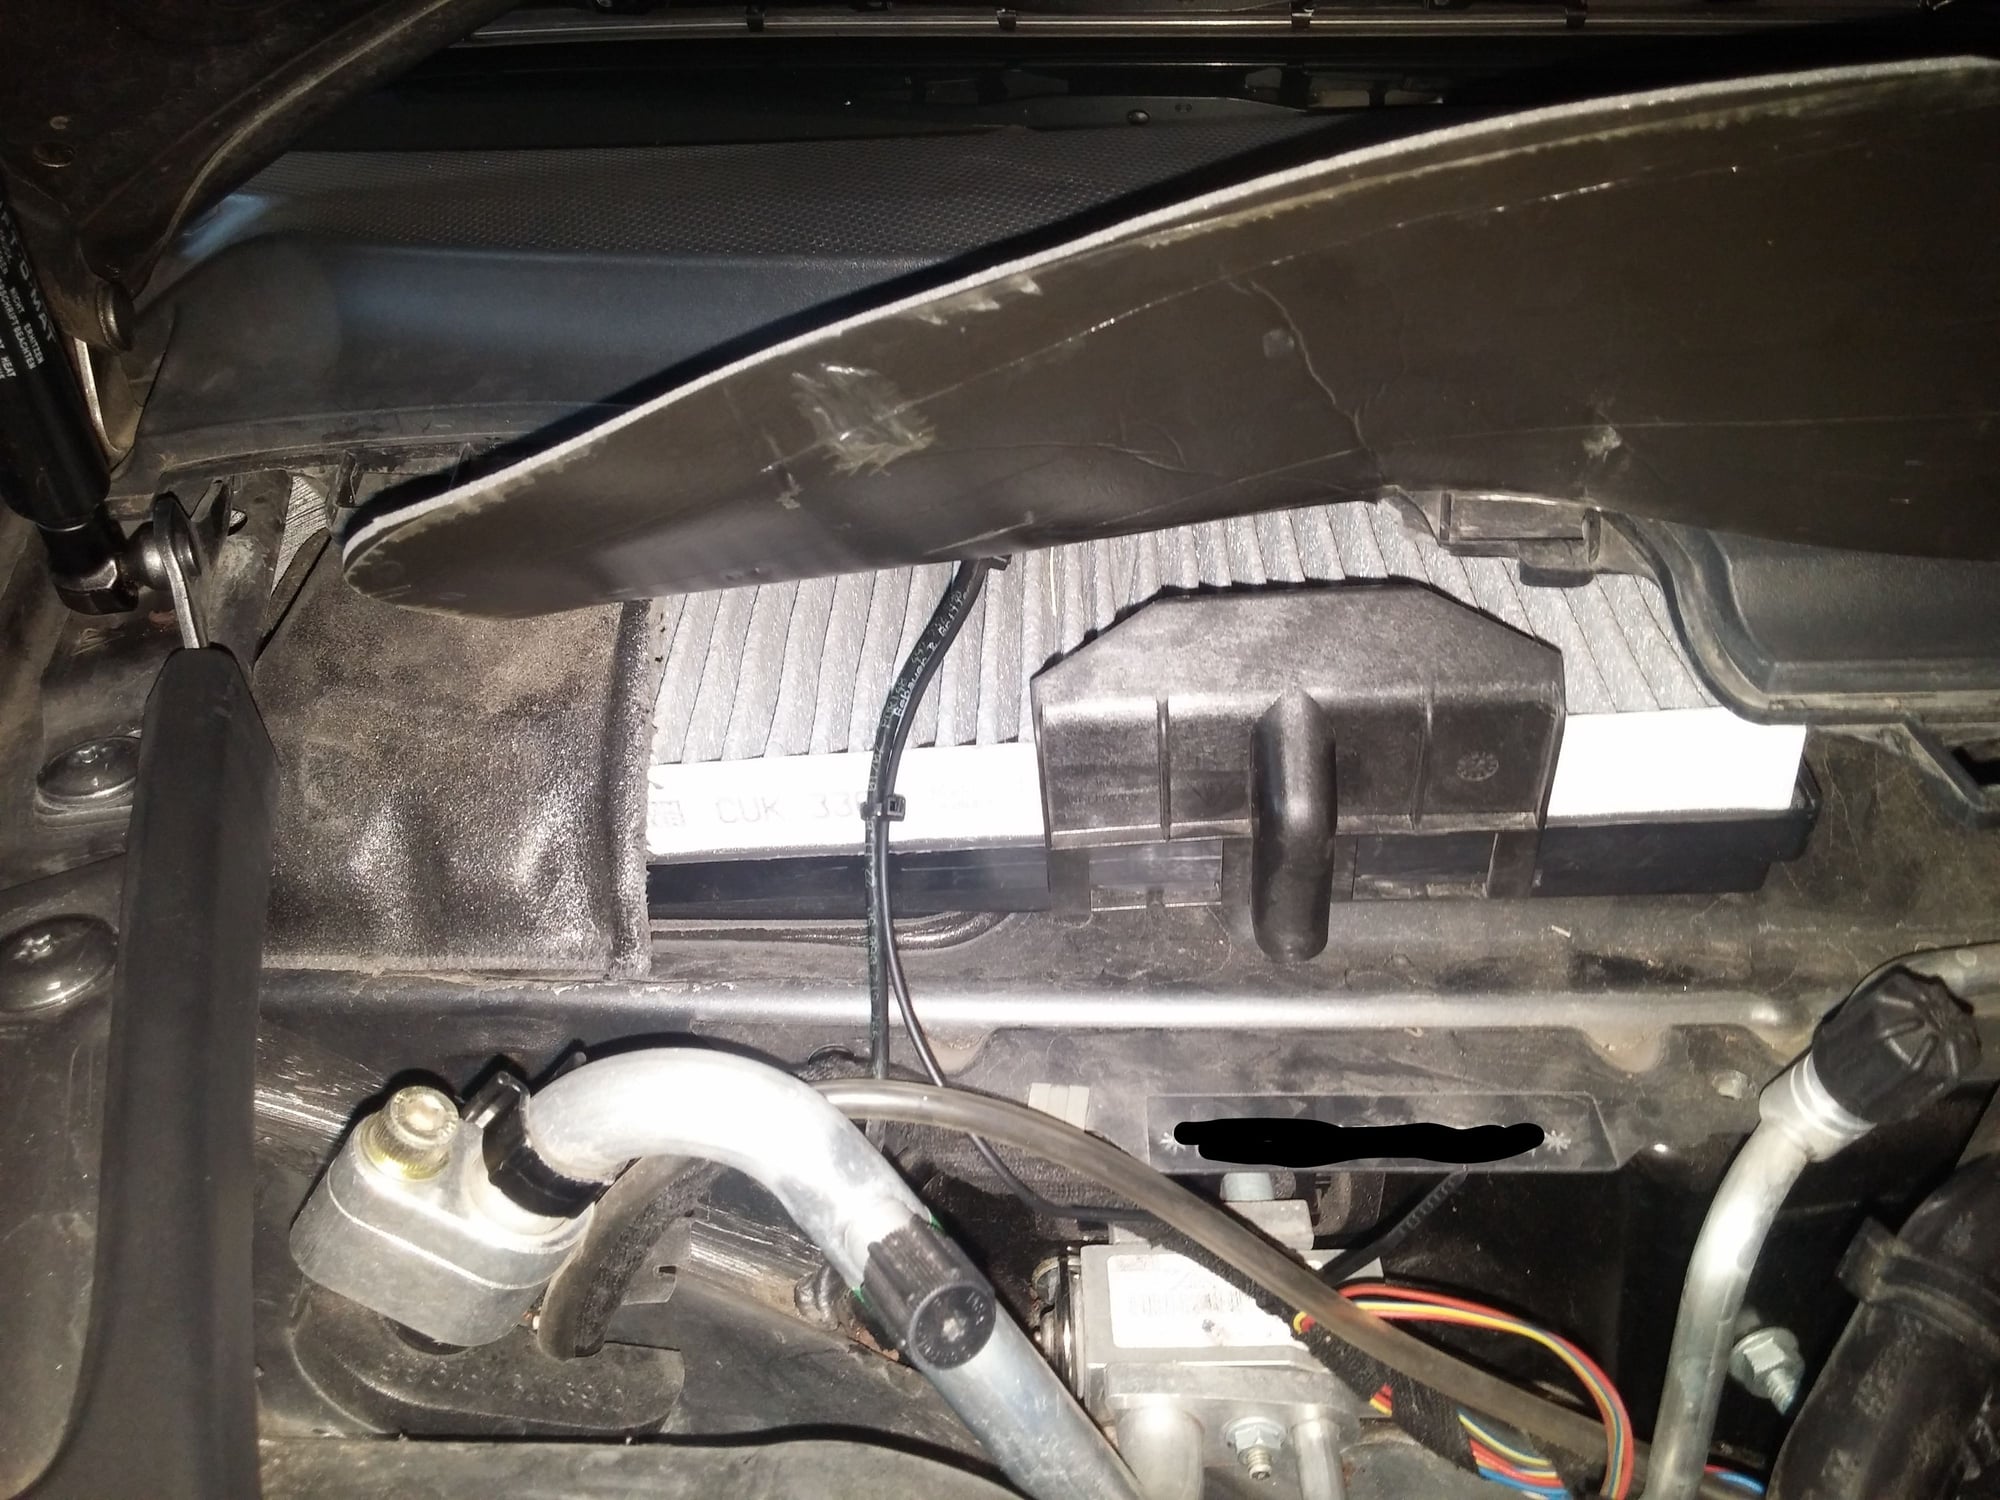
You'll need to remove the battery and the cabin air filter to install the antenna.
As I had originally planned to install a Dension interface I used this awesome video to learn how to remove the panels without damaging them. At 8:15 in the video he taps the power outlet in the foot-well. I did not use the posi-taps. I used the proper size spade connectors (can't remember if it was male or female) to connect to the power and ground to the stock plug and left the outlet disconnected to avoid the possibility of blowing a fuse.
Thanks Rex. I ordered everything last night. How is the sound quality........comparable to FM?
It will run through the FM stereo so the sound is as good as the system in your car. My car has the BOSE which is great to a point, but being the car is a Cabriolet the cabin noise gets very loud at speed.
I set a preset channel on the stereo to 88.1 and set the FM channel on the Sirius receiver to 88.1 as well. The FMDA-25 cuts off all incoming FM signals except the one from the Sirius receiver so there is zero interference from local stations. This is especially nice when travelling from one radio market to another as it eliminates the need to search for clear stations. Simply turn of the Sirius receiver to use the FM radio. Keep in mind that you will need to turn off the receiver manually when you leave the car as it is not on a switched circuit.
Thanks again and got your PM. I have the Bose setup and actually like it.
Me thinking out loud.......So basically, the idea is to tie into the stock antenna (via an adapter cable), the new head unit has a sat antenna that goes under the plastic cowl in the frunk and you run power to the new head unit. The stock head unit will think chan 88.1 (using your example) is just another FM radio station and put out the selected sat channel.
Im so excited as the other options were to buy a used Cayman sat receiver for $$$$. I dont mind the extra little interface in the cabin.
Yessir, you've got it. Take your time and you'll be fine. The Enfig video was a great help.
Biggest problem I had was removing the PCM from the dash. One of the four locks refused to let go and of course it was the top left one that is nearly impossible to access. Also, make sure to do a good job cleaning the dash area of all protectants etc.or the tape won't stick.
Tex, did you remove the PCM for the purpose of routing wires or do you need access to the rear of the PCM it install wires into it? I think I can run the power wires from the aux power outlet behind the PCM to the new control unit, thus not removing the PCM. But if I need to plug things into the PCM I will.
Just trying to simplify my install. I should have every thing today except the antenna cable.
Edit: Disregard, the PCM has to come out because the FM direct adapter plugs into the the back of the PCM.
Tex, did you remove the PCM for the purpose of routing wires or do you need access to the rear of the PCM it install wires into it? ]
Remove both of the side panels and the PCM. Use an easy touch when turning those locks on the PCM, it's easy to turn them too far. Watch the video when he demonstrates how they work and you'll see they do not turn very much at all. With the PCM out you'll have an easier time to connect the Metra adapter. There is plenty of room behind the PCM to hide the wires and other components.
It will help to have a good supply of zip ties on hand. I believe I wrapped the Direct Connect in a small piece of router mat to keep it from rattling before I zip tied it to the dash frame behind the PCM. I did not wrap the power block from the EDO as it will get warm and needs to breathe. Keep in mind when you tie up your cables, etc. that you don't want anything to rattle or chafe after the install.
I got everything in the mail today except the Metra adapter. Thankfully my local Frys has it and its cheap (cant wait until next week). So Hopefully Ill be up and running by noon!
Fingers crossed!
Thanks for the info Tex....Looks like everything is straight forward....I just needed to get it sorted in my head....and it is.
Everything works as advertised. Just need to button up everything but, turned on the Sat unit and manually scrolled through frequencies on the PCM until I had clean crisp sound. Its CD quality. The only thing I would mention, is battery removal is not needed, just loosen everything and push it towards the passenger side to gain access to the grommet on the firewall.
After it stops raining, Ill finish up.
Big thanks to TexRex02. This is exactly what I was looking for instead of dropping big money on Porsche parts.

 11-19-2016, 02:40 PM