When you click on links to various merchants on this site and make a purchase, this can result in this site earning a commission. Affiliate programs and affiliations include, but are not limited to, the eBay Partner Network.
My Clutch Interlock switch failed about 2 years ago with 17K and now with 28K it has failed again. I decided to take care of this myself since it looked straightforward to replace. The part cost was $31.00 and it took about 20 minutes to replace. My regular shop is about 55 miles from the house, so round trip is 110 miles or 2 hours of driving, not to mention the time it takes to get checked in and have the repairs actually made. This just made fiscal sense.
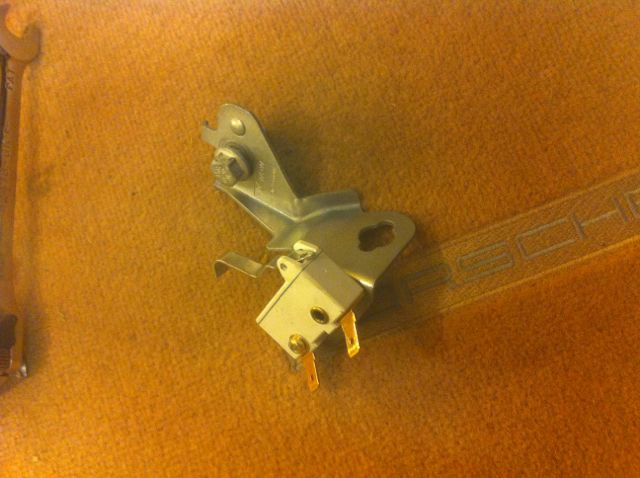
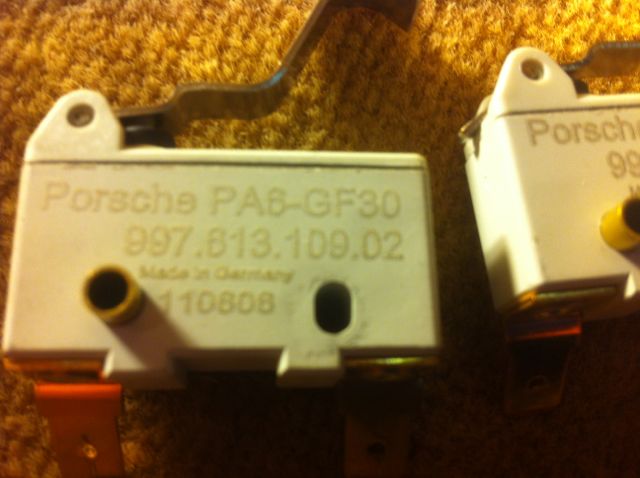
I looked at the old part number (997 613 109 02) and compared it to the new one (997 613 109 50). I am not sure what the difference is.
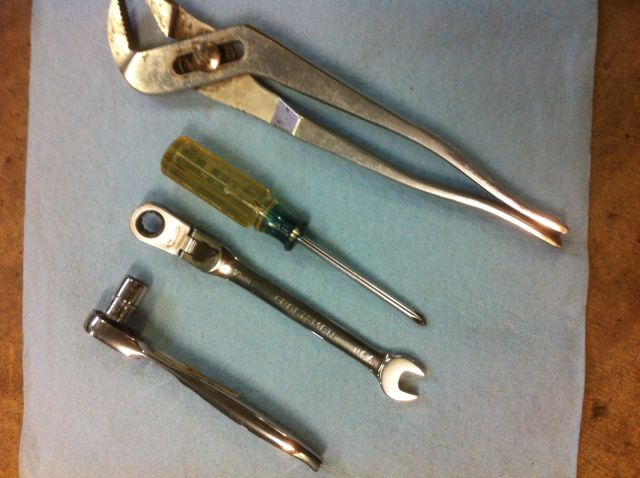
Tools needed were:
� #1 Phillips
� quarter inch drive 10mm socket and ratchet
� 10mm ratchet box end (made it easier to remove)
� Channel locks
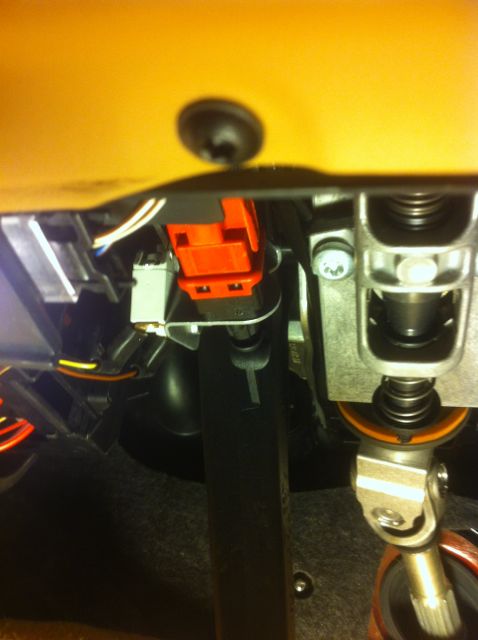
1. Remove the Red clutch switch by rotating it 90 degrees, either direction. It does not have to be disconnected. Did not require any tools
2. Disconnect the two wires connected to the Interlock Switch (White Switch)
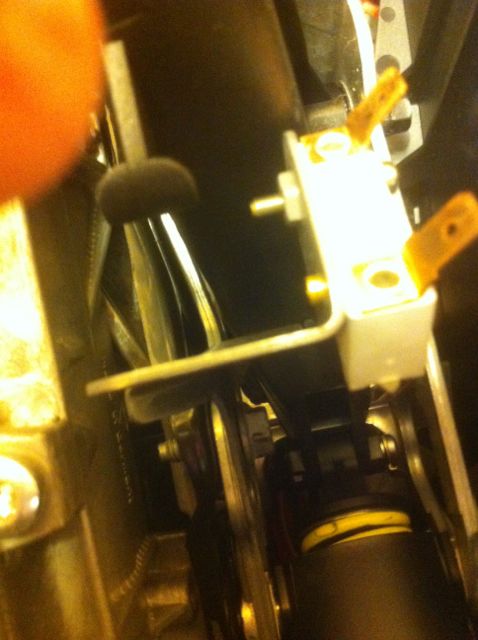
3. Remove 10 mm bolt securing the mounting bracket
4. Using the #1 Phillips screwdriver, remove the Interlock switch from the mounting bracket
5. Install in reverse order.
NOTE: I used the Channel locks to rotate the Red clutch switch during reinstallation. You have to push the switch in against the mounting bracket and then rotate it 90 degrees.
The switch on my 2007 Cayman S was starting to show signs of flakiness, so I decided to change it now. The job took about 10 minutes total. A couple of notes:
The 10mm ratcheting box end wrench is definitely the way to go, there's not much room for a socket.
My cruise control switch came out and went back in very easily. It's easier to twist it when you depress the clutch pedal a bit with your other hand.
The switch I took out was part number -00, so that must have been the original in the car. The new one I got from Pelican was -50. They look identical on the outside, so I assume (hope) they have improved the mechanism inside.
Was starting to have intermittent starting issues with my '09 C2. It has about 130,000km on it so lots of clutch use. Picked up the switch at the dealer and just finished changing it. Both the old and new switches had the 50 suffix. Good DYI - only change seems to be they have replaced the small Phillips head screw with a Torx one. You'll need a T10 Torx screwdriver.
Replaced this in my 09 987.2. I did not need to remove the bracket. Just unplugged the two leads from the switch and used a small ratchet with T10 torx as mentioned. Once you know/see where it is, it's about a 10 minute job.
Bern
Screw actually goes in the other hole - this is just for photo
Same here...didn't have to remove the bracket. Just disconnected the red switch and leads and then unscrewed the small phillips head screw on mine. Easy fix.
What are the signs this is about to fail? On my car, I have to push the clutch very firmly to the floor to defeat the interlock circuit - pending problem?
That sounds about right the_buch. On my car you could push it all the way to the floor and it wouldn't start every time. The warning message would appear on the display to depress clutch pedal to start the car even when it was pushed all the way in.
I got the part at the dealer for $35 and took about 5 minutes to replace it per instructions above.
Replaced this in my 09 987.2. I did not need to remove the bracket. Just unplugged the two leads from the switch and used a small ratchet with T10 torx as mentioned. Once you know/see where it is, it's about a 10 minute job.
Bern
Screw actually goes in the other hole - this is just for photo
Thanks for the tip. I�m going to try it on my car today. It�s been intermittently working for the last few weeks.
Smh/Lol.. I spent $1000 chasing this issue in my 987.2 because symptoms were EXTREMELY random and weird. Replaced the starter because the car would ALWAYS start normally cold (first crank of the day). After that it was roulette if I could get the car fired after it was warm. Starter wouldn�t even engage. I had the starter replaced and the car was fine (for a week). Problem came back with a vengeance. Thought then it was voltage related since my battery was 6 years old. So I replaced that too. Problem returned as SOON as I turned the car off. BUT THIS TIME (for the first times) the �depress clutch pedal� messages started. I had a clutch switch sitting on my dining room table for 3 weeks as I was trouble shooting (not very well I might add Lol). Replaced it and the car starts every time now as normal. I don�t regret much of this episode because between the new battery and the new starter the car on startup sounds and feels showroom fresh. Both were old and I bought some �insurance� that will now last the life of car. At least the starter will. The BEST PART was I was able to help a fellow Rennlister whose starter in his 997.2 had indeed crapped the bed by providing him my old starter. Paying it forward...
Last edited by PhillyNate; 01-27-2019 at 12:42 PM.
My start performance has been slowly deteriorating, I checked my switch today it�s a 00 suffix part number, I ordered a 50 suffix switch just in case. I have a RHD car which presents a whole set of access and old man body problems. I also rushed out and bought some nice ratchet spanners as advised. Master stroke!
Thanks from my part as well! I only loosened the supporting bracket to turn it bit so I was able to remove the switch with the TX10 screw directly. Working overhead with that little space available is a real PITA (or back in that case)!

 11-21-2013, 05:00 PM