DIY 996TT Connecting Rod Replacement
 01-09-2007, 12:26 AM
#1
Addict
Rennlist Member
Rennlist
Site Sponsor
Rennlist Member
Rennlist
Site Sponsor
Thread Starter
As we are requiring more HP from our 996TT engine, we must address the rods. The rods in the 996TT are the same ones used in it's older brother the 993TT. It's a sad excuse from Porsche to give us such a weak rod when in the racing programs Porsche has always had the good hardware.
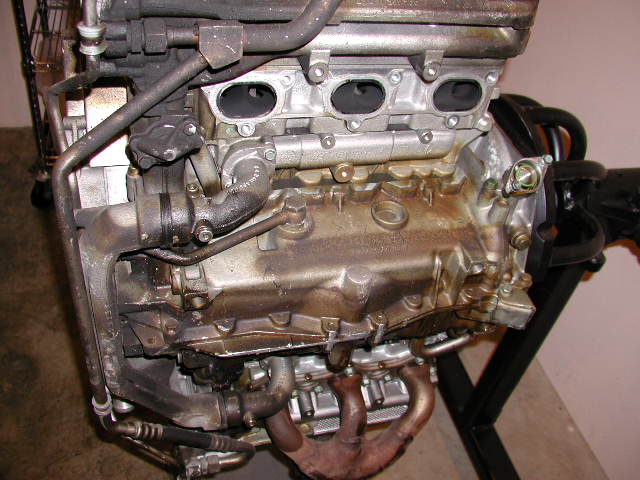
This DIY is basically a pictorial and discussion of the disassembly and assembly of the 996TT engine. This is the second engine that I have torn apart in the recent days. So I am going to fast forward the pictures to the fun stuff.. Tearing apart the engine on the engine stand.. I must also state the fact that this engine destroys a the engine build clean room floor.. This engine pukes oil and coolant constantly.. Since it is a boxer flat six gravity makes your life hard. Everytime you rotate the engine it makes it's way to the floor. I usually have a large engine drip tray, but with the coolant dripping all the time, a smaller oil pan is used. A mop and bucket is getting it's work out.
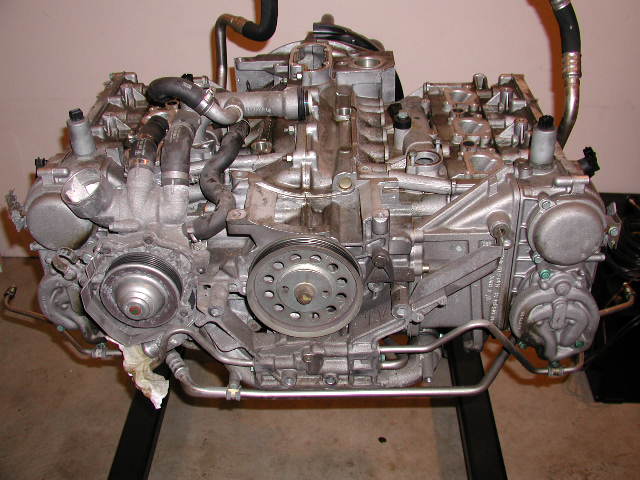
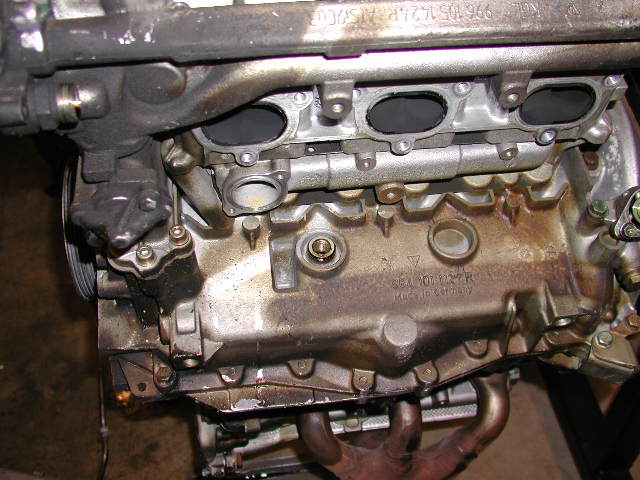
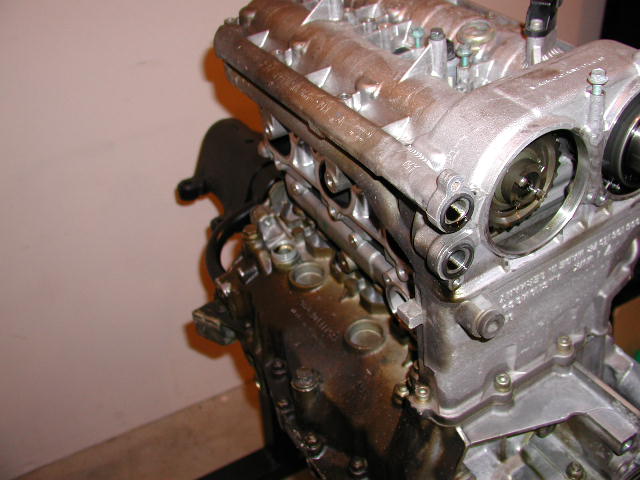
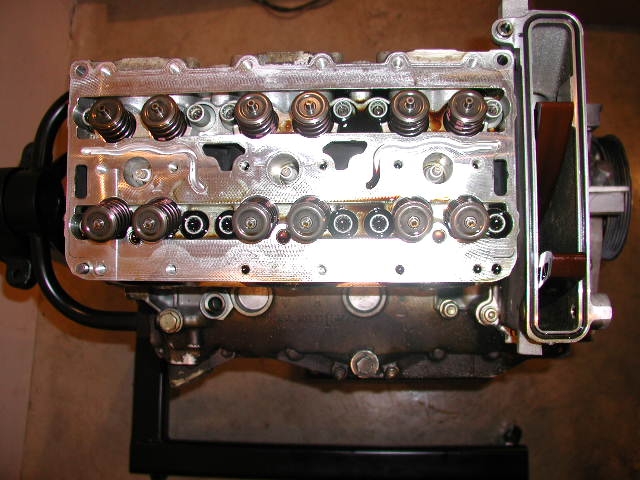
I left one of the coil packs in (cylinder #5) to show you folks how it is mounted on and in the cam housing/cover. I have removed the 4-5-6 headers and will remove the turbocharger oil sump/suction line and at the same time removing the cam housing sump pump lines. This engine has 3 external sump pumps one for the turbochargers driven off the center intermediate shafts and then the two sump pumps driven off each exhaust camshafts.
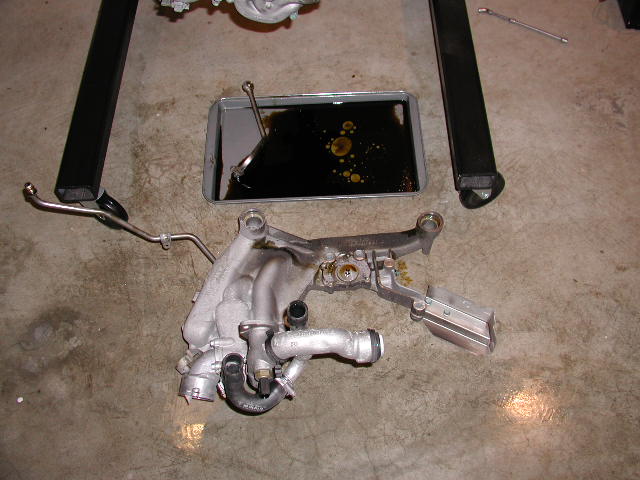
The above picture shows the water pump console/manifold which contains the water pump and turbocharger sump pump (located in the center).
This DIY is basically a pictorial and discussion of the disassembly and assembly of the 996TT engine. This is the second engine that I have torn apart in the recent days. So I am going to fast forward the pictures to the fun stuff.. Tearing apart the engine on the engine stand.. I must also state the fact that this engine destroys a the engine build clean room floor.. This engine pukes oil and coolant constantly.. Since it is a boxer flat six gravity makes your life hard. Everytime you rotate the engine it makes it's way to the floor. I usually have a large engine drip tray, but with the coolant dripping all the time, a smaller oil pan is used. A mop and bucket is getting it's work out.
I left one of the coil packs in (cylinder #5) to show you folks how it is mounted on and in the cam housing/cover. I have removed the 4-5-6 headers and will remove the turbocharger oil sump/suction line and at the same time removing the cam housing sump pump lines. This engine has 3 external sump pumps one for the turbochargers driven off the center intermediate shafts and then the two sump pumps driven off each exhaust camshafts.
The above picture shows the water pump console/manifold which contains the water pump and turbocharger sump pump (located in the center).
Last edited by Kevin; 01-09-2007 at 12:47 AM.
 01-09-2007, 12:57 AM
#2
Addict
Rennlist Member
Rennlist
Site Sponsor
Rennlist Member
Rennlist
Site Sponsor
Thread Starter
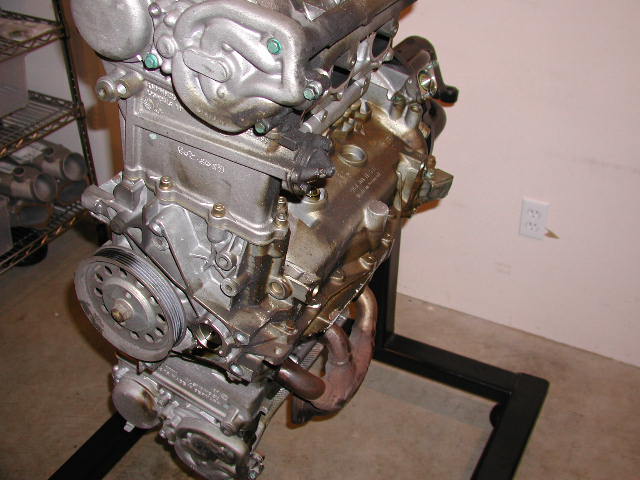

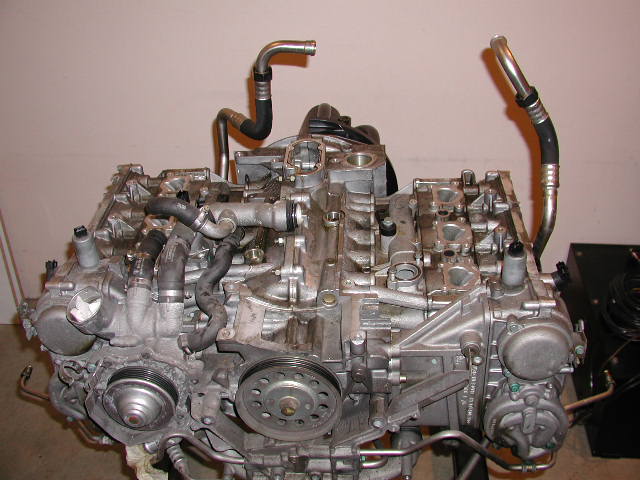
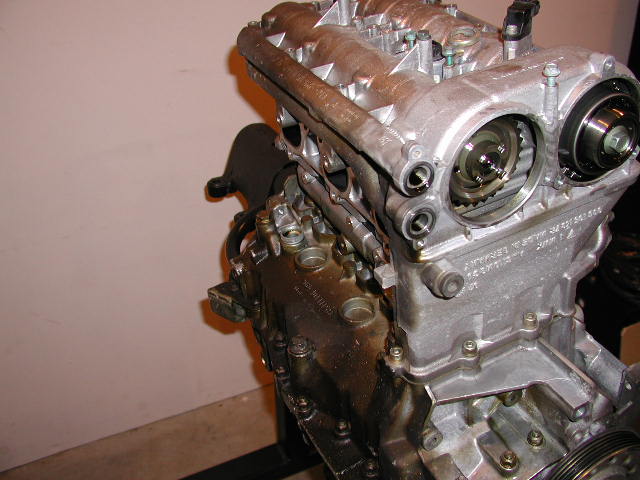
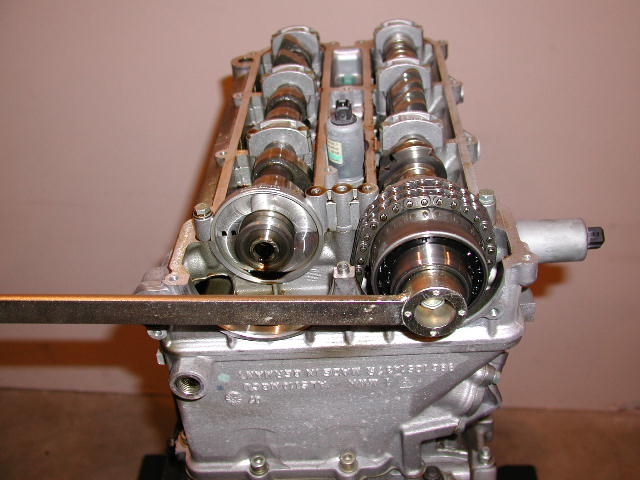
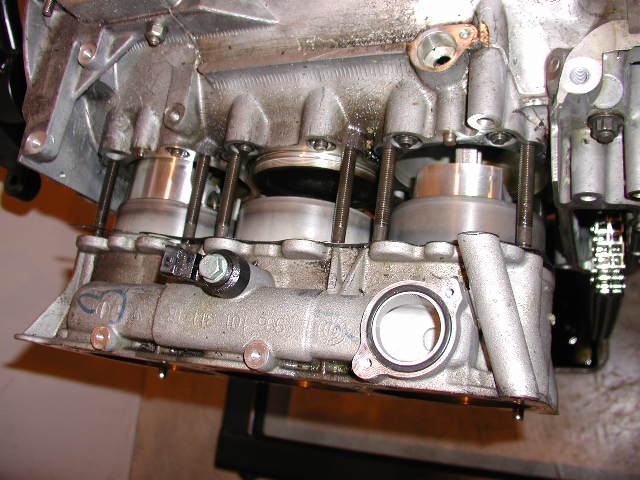
This picture shows the cam housing sump pump removed, showing the lower exhaust cam sprocket and vario-cam sprocket.
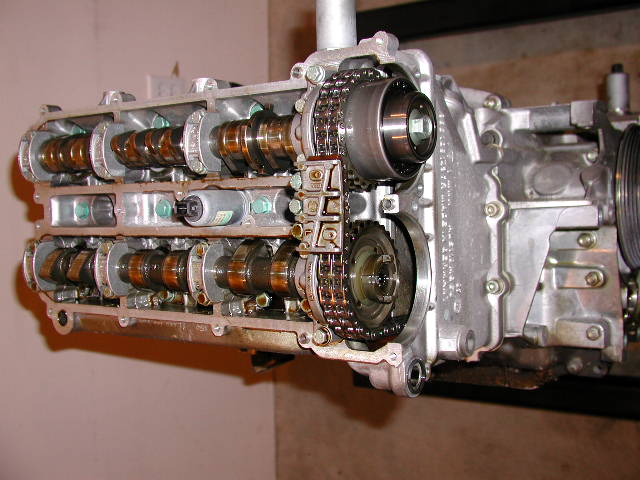
Cam viewed with the cam housings removed.
In order to remove the camshafts, you have to remove the tension from the hydraulic buckets/tappets. Rotate the engine to top dead center. One must also release the chain tension, this is done by removing the hydraulic tensioner located on top of the engine/chain box (bank 1,2,3).. I also need to remove the chain ramps which are located in the chain housing and top chain guide.
01-09-2007, 01:10 PM
#5
Addict
Rennlist Member
Rennlist
Site Sponsor
Rennlist Member
Rennlist
Site Sponsor
Thread Starter
Thanks Marty..
Geoffrey in all fairness, the early 993NA rods weren't spec'd out with the stronger rod bolts. Once replaced and/or updated they would be the same. I didn't want to bring into the fray the NA comparison.. We can also mention that the engine case that the 996TT uses is the same casting as used since the '89 964. This was used till 2004 when Porsche changed the casting.
Geoffrey in all fairness, the early 993NA rods weren't spec'd out with the stronger rod bolts. Once replaced and/or updated they would be the same. I didn't want to bring into the fray the NA comparison.. We can also mention that the engine case that the 996TT uses is the same casting as used since the '89 964. This was used till 2004 when Porsche changed the casting.

Trending Topics

 01-09-2007, 09:36 PM
#12
Pro
Join Date: Aug 2005
Location: Michigan
Posts: 726
Likes: 0
Received 0 Likes
on
0 Posts
Originally Posted by Zippy
Kevin, for some reason I thought the DIY project was your engine?
 01-10-2007, 02:08 AM
#14
Addict
Rennlist Member
Rennlist
Site Sponsor
Rennlist Member
Rennlist
Site Sponsor
Thread Starter
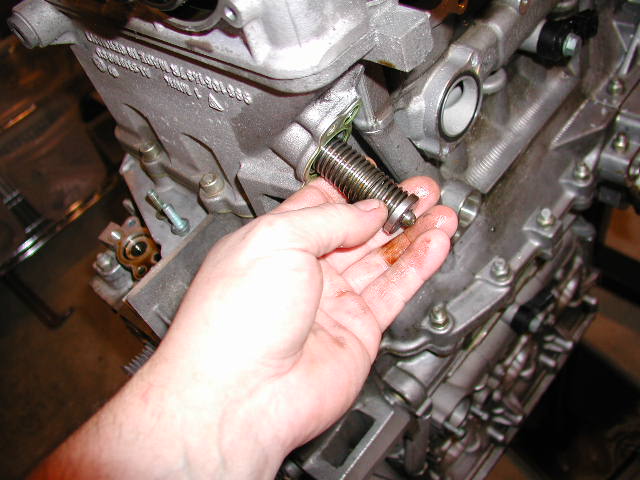
One thing that hasn't changed with Porsche is the "Cost" of special tools that are required to rebuild these engines. A special 4' wrench for the exhaust cam and this pictured wrench for the intake vario cam module.
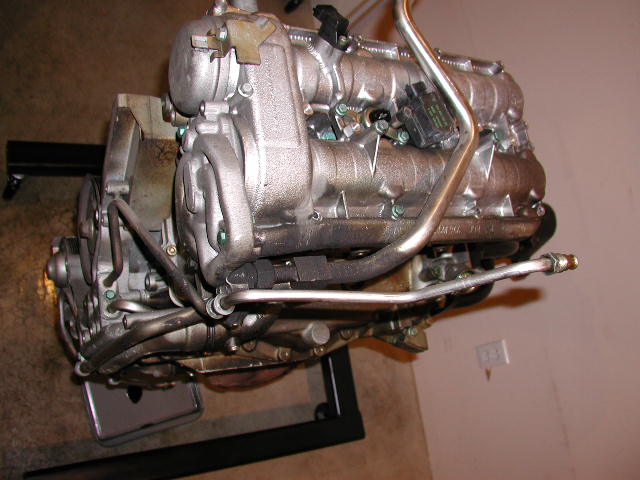
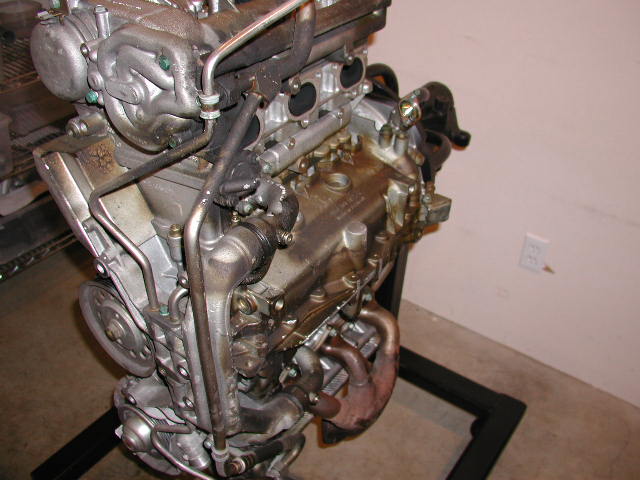
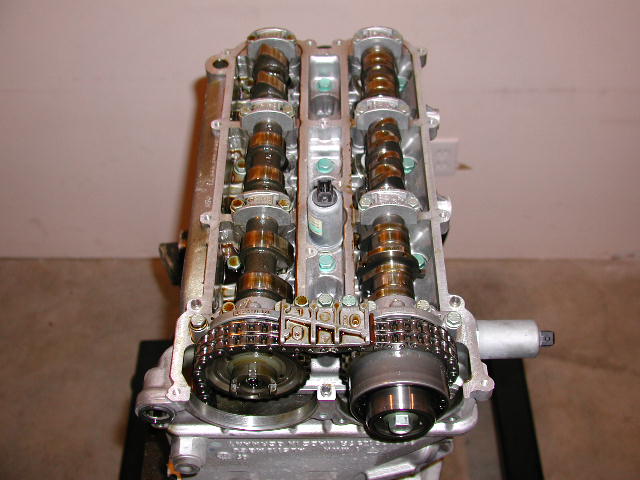
I have removed the camshafts.
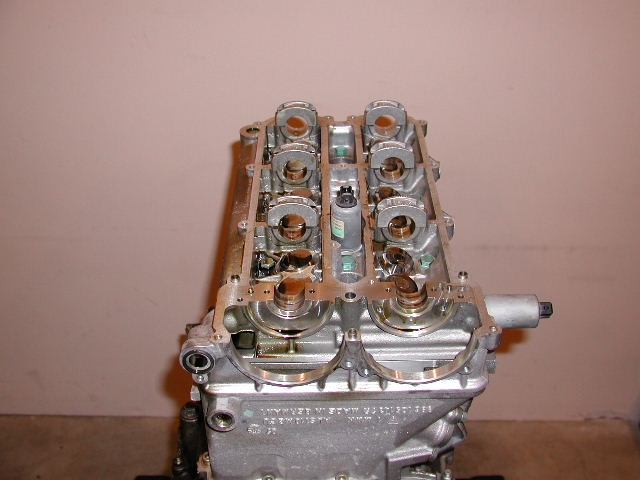
You can now see the camshaft followers or buckets. If you look at the intake camshaft buckets, please notice the center low lift actuator. I must also note that Porsche insists of a bolt removal pattern for both the cam-housing and cylinder heads. If you don't follow it your will warp the castings. They also state that the fastener must only be turned a 1/2 a turn, initially.
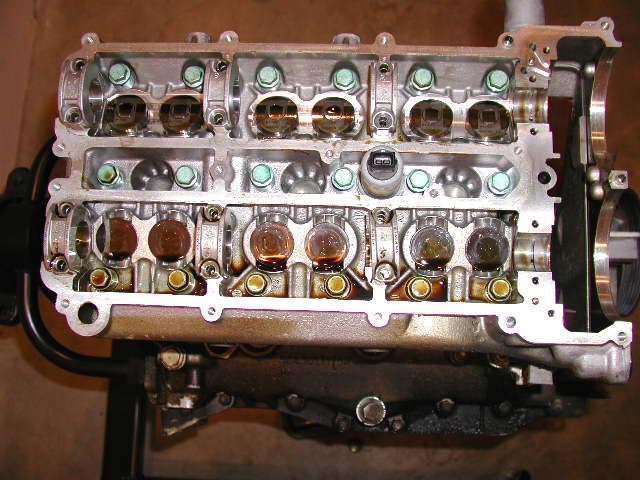
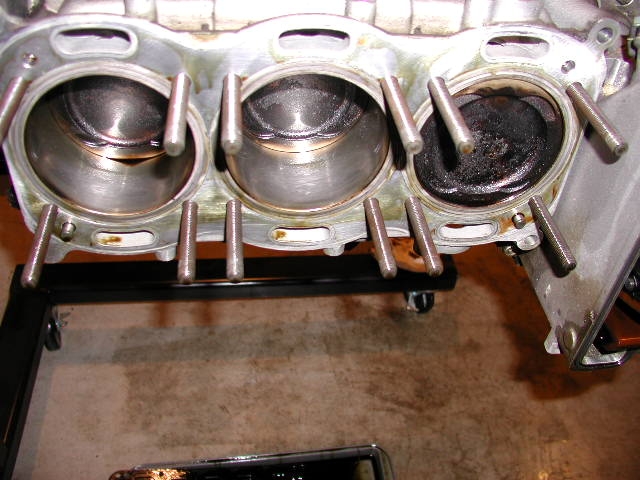
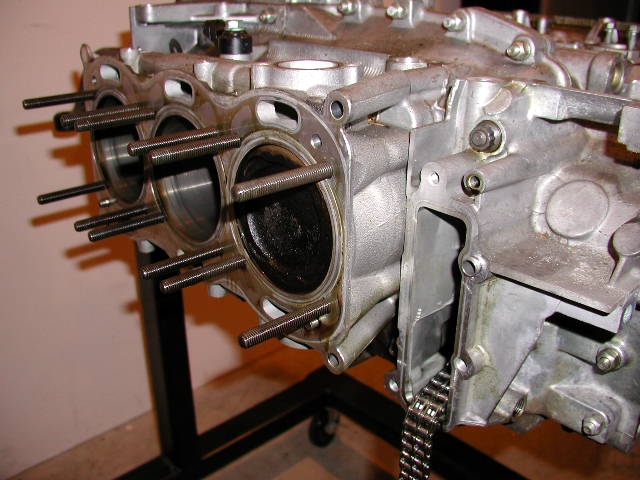
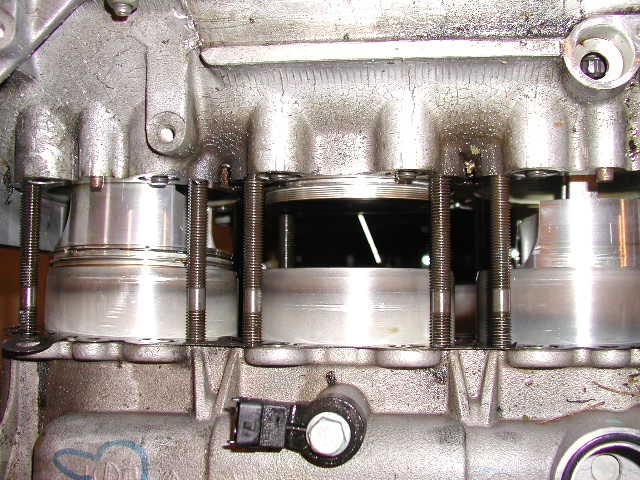
One little trick that I do when pulling the cylinder liners is to put tooth pick under the pistons so that as the liner pulls away, the piston doesn't scrape the spigot bore.
I have removed the camshafts.
You can now see the camshaft followers or buckets. If you look at the intake camshaft buckets, please notice the center low lift actuator. I must also note that Porsche insists of a bolt removal pattern for both the cam-housing and cylinder heads. If you don't follow it your will warp the castings. They also state that the fastener must only be turned a 1/2 a turn, initially.
One little trick that I do when pulling the cylinder liners is to put tooth pick under the pistons so that as the liner pulls away, the piston doesn't scrape the spigot bore.
Last edited by Kevin; 01-10-2007 at 03:03 AM.
01-10-2007, 09:58 PM
#15
Addict
Rennlist Member
Rennlist
Site Sponsor
Rennlist Member
Rennlist
Site Sponsor
Good stuff mate. I love those tools.... my bank balance didn't but hey! I like your tooth-pick satefy feature James has something like that he does as well. What sorta hp did this motor have and I wonder how the rods looked
James has something like that he does as well. What sorta hp did this motor have and I wonder how the rods looked