01 TT Coming Back to Life
 06-25-2015, 08:11 PM
#1
Advanced
Thread Starter
Join Date: Dec 2014
Posts: 77
Likes: 0
Received 0 Likes
on
0 Posts
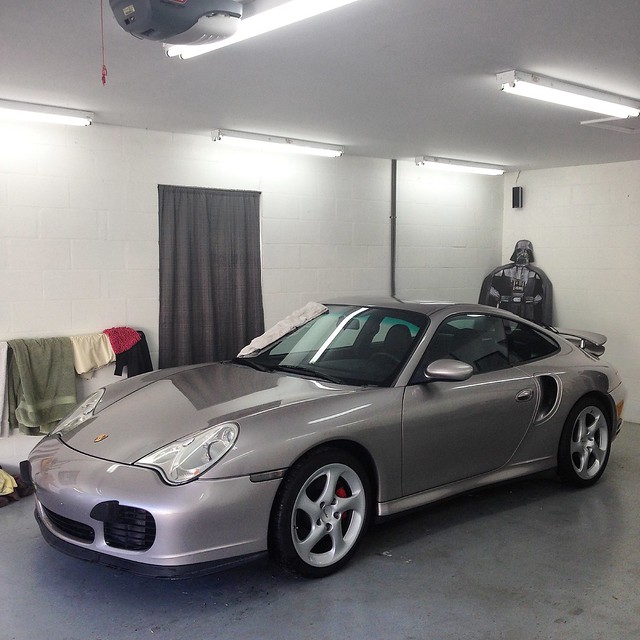
So I picked up a 2001 turbo in October of 2014 from work for an amazing deal and the paint was not in best of shape. She had a few issues and leaks I had to fix. I saw it as an awesome opportunity to transform the car (I do this with every car). I plan to use this thread as a place to update and track the progress of the build on the car. It's certainly not going to be anything crazy, but I do plan to continue to clean it up and put some more mods on it. feel free to comment or help me out with any suggestions you might have.
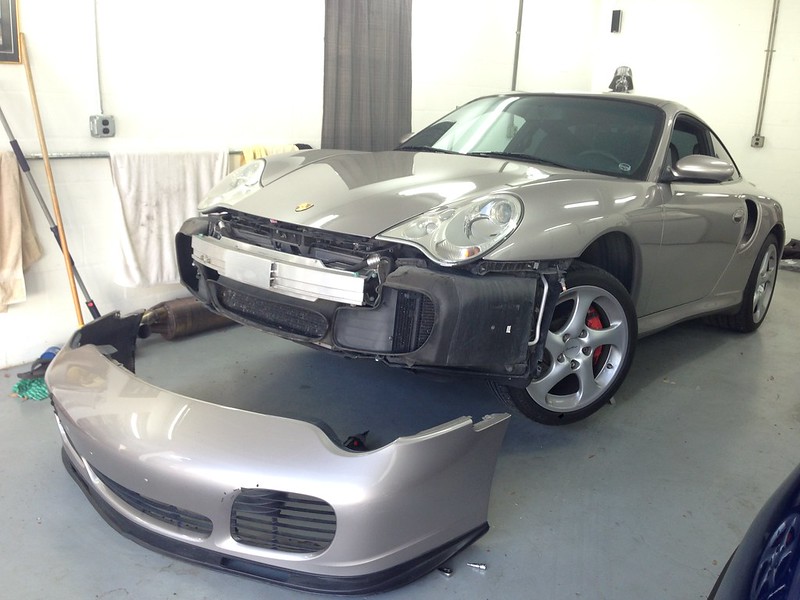
I sold my C2 after buying the Turbo (it was hard to see it go), but the sale was so worth having the power! The car had a coolant leak from the reservior and a rear main seal leak (very slight). The paint was very neglected, and had spots all over the bumper and hood where love bugs had been left on too long and paint was missing. First few things I went after were the items I could afford to do. The reservoir was first on the list...very cheap and relatively easy job to do. Next was a full detail, window tint, and try to figure out what those ugly bumperettes were doing on the front bumper. I could not get a straight answer from anyone as to whether or not there would be holes if I pulled them off the car. I decided to do it anyway.
 996tt pics by William Reilly IV, on Flickr
 996tt pics by William Reilly IV, on Flickr
 Untitled by William Reilly IV, on Flickr
My old C2 before it sold
 Untitled by William Reilly IV, on Flickr
 02 front grill install by William Reilly IV, on Flickr
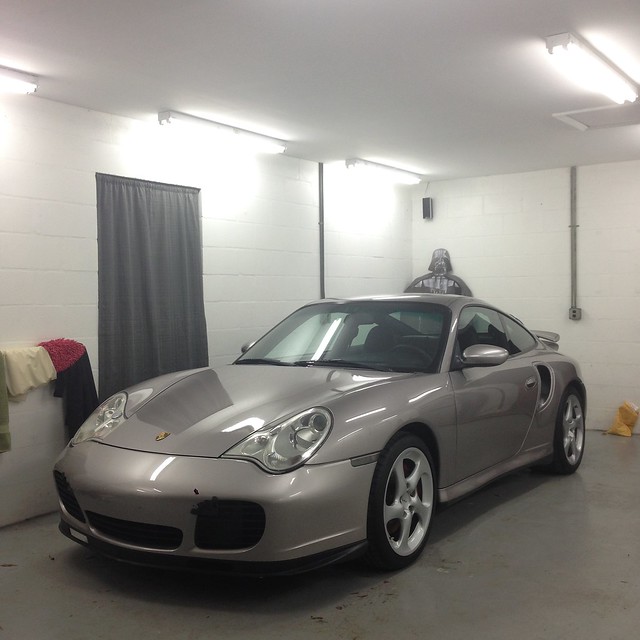
The answer, as you can see, is that the holes are definitely there! They have to be filled professionally. In the meantime I removed all of the brackets and installed the 02 and up grills which held me over until I could afford to move on to the paint and body work that was needed.
I sold my C2 after buying the Turbo (it was hard to see it go), but the sale was so worth having the power! The car had a coolant leak from the reservior and a rear main seal leak (very slight). The paint was very neglected, and had spots all over the bumper and hood where love bugs had been left on too long and paint was missing. First few things I went after were the items I could afford to do. The reservoir was first on the list...very cheap and relatively easy job to do. Next was a full detail, window tint, and try to figure out what those ugly bumperettes were doing on the front bumper. I could not get a straight answer from anyone as to whether or not there would be holes if I pulled them off the car. I decided to do it anyway.
996tt pics by William Reilly IV, on Flickr996tt pics by William Reilly IV, on FlickrUntitled by William Reilly IV, on FlickrMy old C2 before it sold
Untitled by William Reilly IV, on Flickr02 front grill install by William Reilly IV, on FlickrThe answer, as you can see, is that the holes are definitely there! They have to be filled professionally. In the meantime I removed all of the brackets and installed the 02 and up grills which held me over until I could afford to move on to the paint and body work that was needed.
Last edited by MBR_WILL; 06-26-2015 at 09:05 AM.
 06-25-2015, 08:20 PM
#2
Rennlist Member
The answer, as you can see, is that the holes are definitely there! They have to be filled professionally. In the meantime I removed all of the brackets and installed the 02 and up grills which held me over until I could afford to move on to the paint and body work that was needed. I will continue to add more to this progression story tomorrow 
http://www.bumperplugs.com/index.php...gory&path=1_11
you can also get them at auto parts stores like AutoZone. They come in various sizes. I used them to plug the license plate holes on my new (at the time) BMW X3. They look like proximity sensors when done. I just used the factory touch up paint to paint them. Gently blew air over the head to smooth out any brush marks and they came out perfect. I did have to grind the insert section down until it fit the hole diameter without widening it but this was easy as well.
An option if you don't want to have it professionally done right away.
 06-25-2015, 08:53 PM
#4
Rennlist Member
Here's a photo after I installed the bumper plugs. They are underneath the kidney grill. The two inside ones are the plugs. The larger outside ones are the parking sensors. It's hard to tell the quality from the photo, but the paint finish is smooth. The box of plugs from the parts store was $3 or $4. The bottle of touchup paint from the dealer was the most expensive part, around $20 if I recall, but I keep TU paint around regardless.
 06-26-2015, 12:42 AM
#7
Rennlist Member
It's difficult I agree. The brush that comes in the TU bottle just seems to blob on the paint. For chips, I use a tooth pick or a broom straw with very little paint at a time. The airbrush below won't work for very small paint chips but for small parts like the bumper plugs you could use it. I bought a model like this one at a hobby shop, set my air compressor at 40 psig with a filter/regulator and it does a great job. Just pour a little of the touchup paint in one of the small containers. I've used it underneath my front bumper also where perfection didn't matter but it quickly eliminated all the scratches and chips. In this case (the bumper plugs) I smoothed out the brush strokes without the airbrush but it is another option.
http://www.paascheairbrush.com/produ...er/hobby/H-SET
It's pretty versatile. And with a name like Paasche, it can't be too bad. I've even used it to put the final coat of dye on some sports seats.
http://forums.pelicanparts.com/porsc...procedure.html
http://www.paascheairbrush.com/produ...er/hobby/H-SET
It's pretty versatile. And with a name like Paasche, it can't be too bad. I've even used it to put the final coat of dye on some sports seats.
http://forums.pelicanparts.com/porsc...procedure.html
Trending Topics
06-26-2015, 09:00 AM
#9
Advanced
Thread Starter
Join Date: Dec 2014
Posts: 77
Likes: 0
Received 0 Likes
on
0 Posts
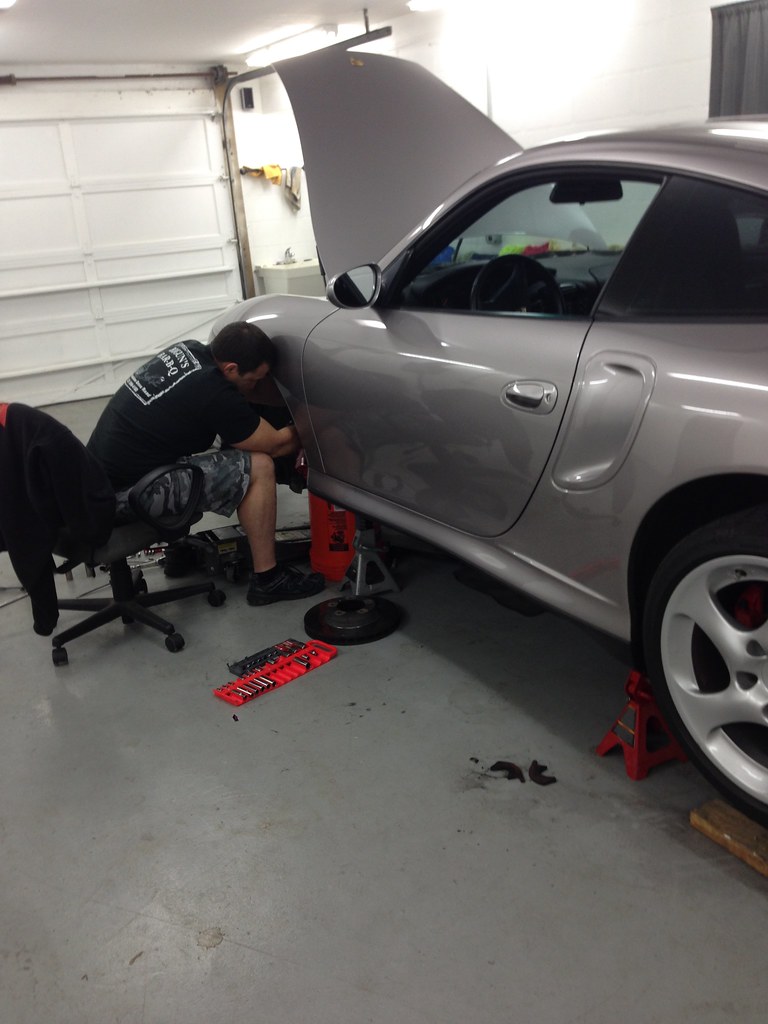
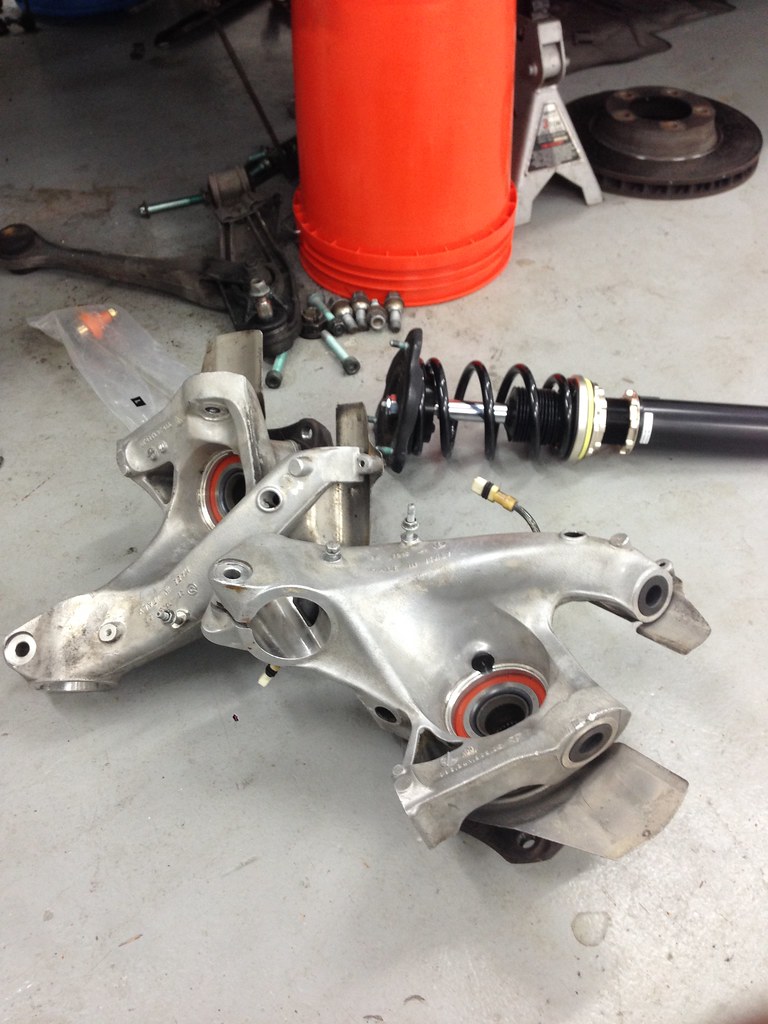
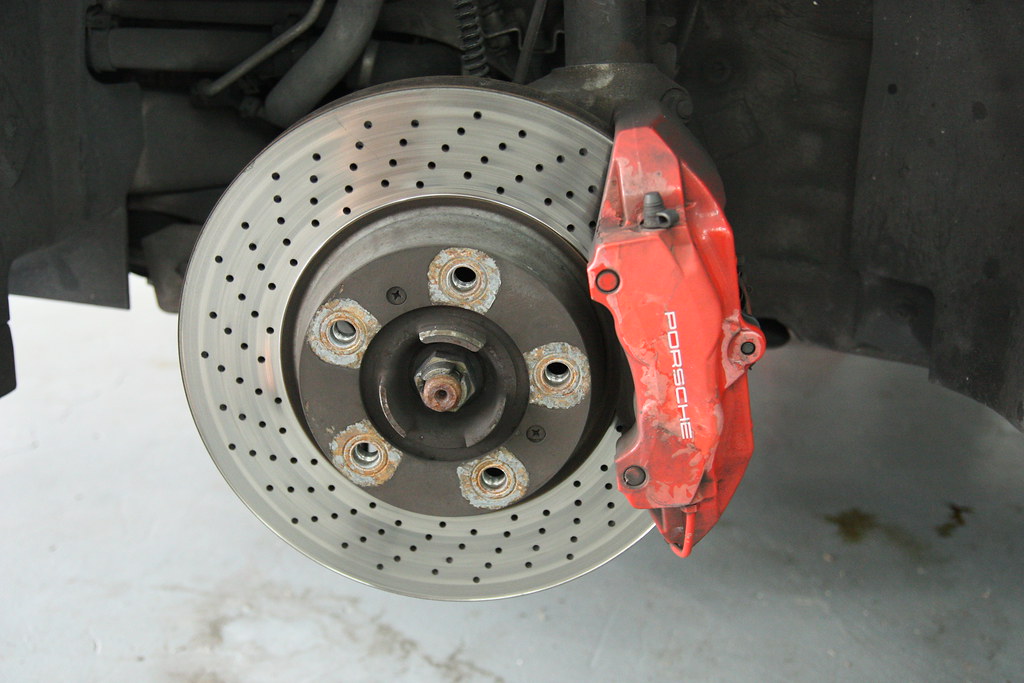
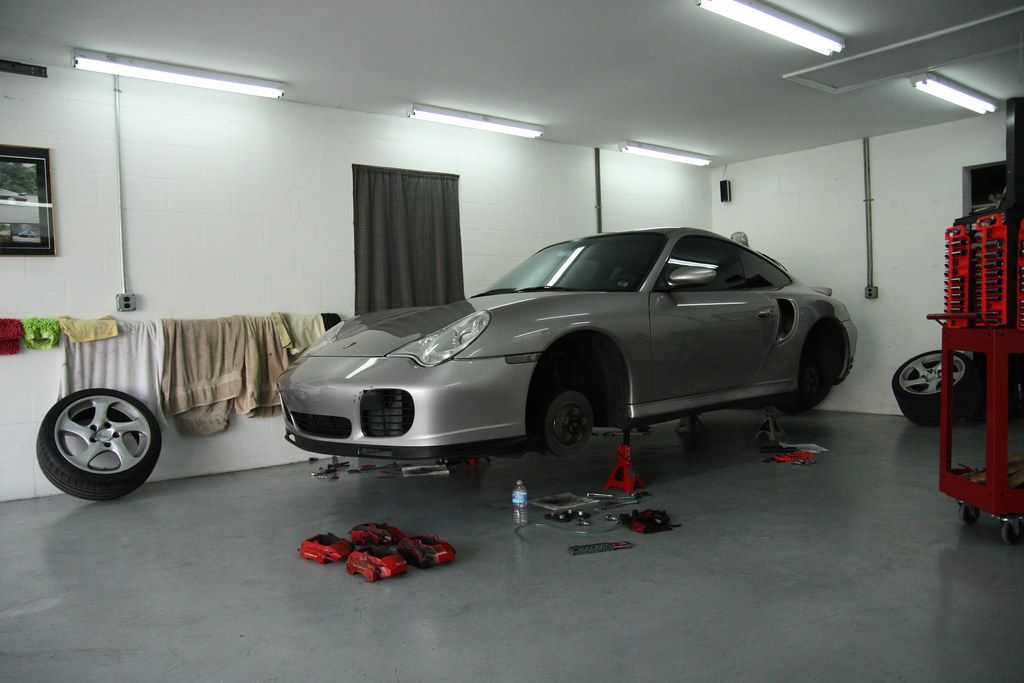
next up was to get coilovers on the car and re-powder coat the calipers which were looking real rough. While I did the suspension install I replaced the wheel bearings up front, re-built the front axles (had torn boots), and replaced the upper strut mounts.
 996tt by William Reilly IV, on Flickr
 996tt by William Reilly IV, on Flickr
 IMG_1767 by William Reilly IV, on Flickr
 IMG_1796 by William Reilly IV, on Flickr
 996tt by William Reilly IV, on Flickr
Very pleased with the progress, I drove the car like this for a while to save more money up to tackle the next project.
996tt by William Reilly IV, on Flickr996tt by William Reilly IV, on FlickrIMG_1767 by William Reilly IV, on FlickrIMG_1796 by William Reilly IV, on Flickr996tt by William Reilly IV, on FlickrVery pleased with the progress, I drove the car like this for a while to save more money up to tackle the next project.
06-26-2015, 09:11 AM
#10
Advanced
Thread Starter
Join Date: Dec 2014
Posts: 77
Likes: 0
Received 0 Likes
on
0 Posts
Nice job on the refurbish. If the paint adjacent to the holes is not too bad, you can plug them yourself. Although you can buy plugs here:
http://www.bumperplugs.com/index.php...gory&path=1_11
you can also get them at auto parts stores like AutoZone. They come in various sizes. I used them to plug the license plate holes on my new (at the time) BMW X3. They look like proximity sensors when done. I just used the factory touch up paint to paint them. Gently blew air over the head to smooth out any brush marks and they came out perfect. I did have to grind the insert section down until it fit the hole diameter without widening it but this was easy as well.
An option if you don't want to have it professionally done right away.
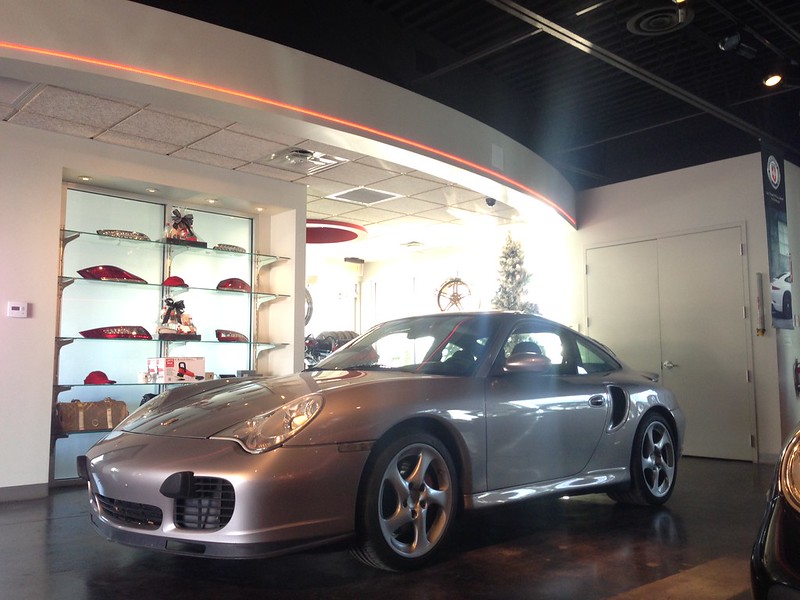
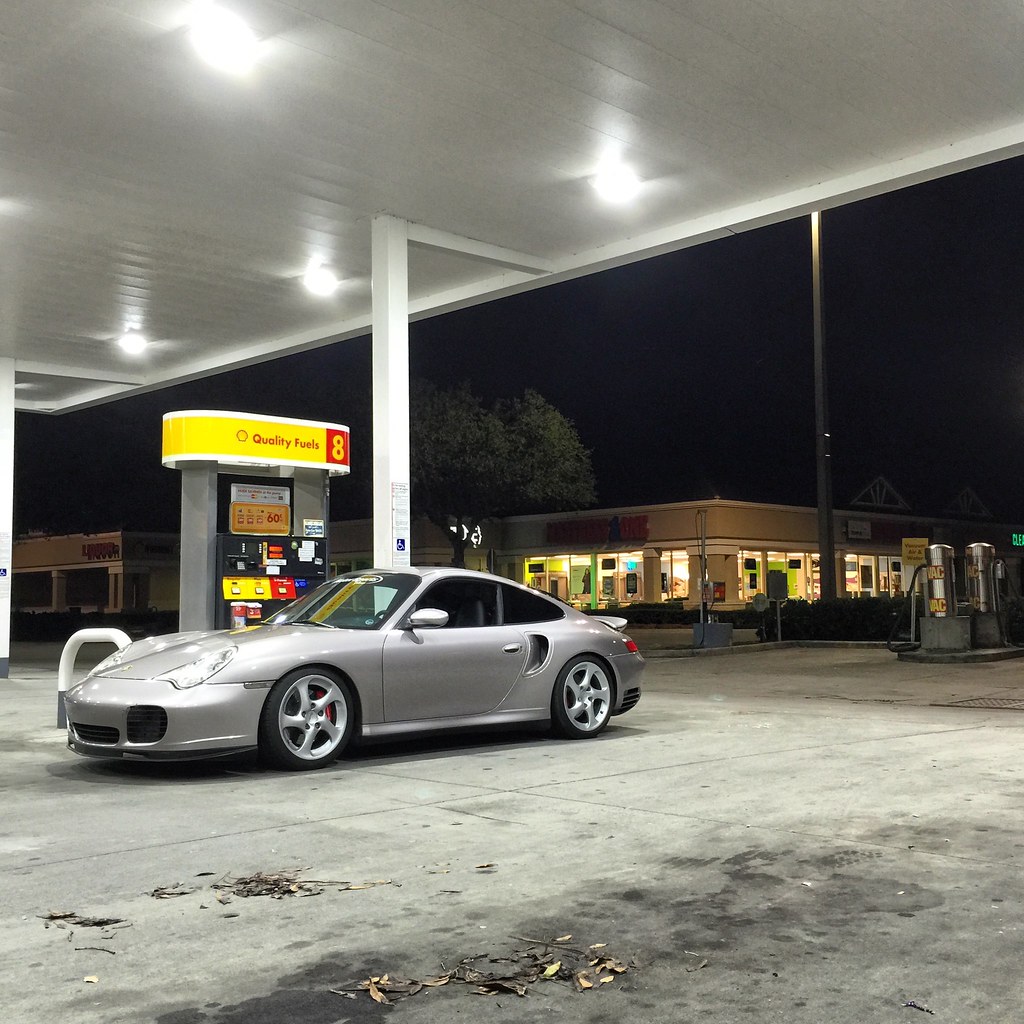
Although the turbo being meridian silver is not my favorite...I have a tendency to look right past that because of how much more fun I have in this car.
06-26-2015, 04:48 PM
#12
Advanced
Thread Starter
Join Date: Dec 2014
Posts: 77
Likes: 0
Received 0 Likes
on
0 Posts
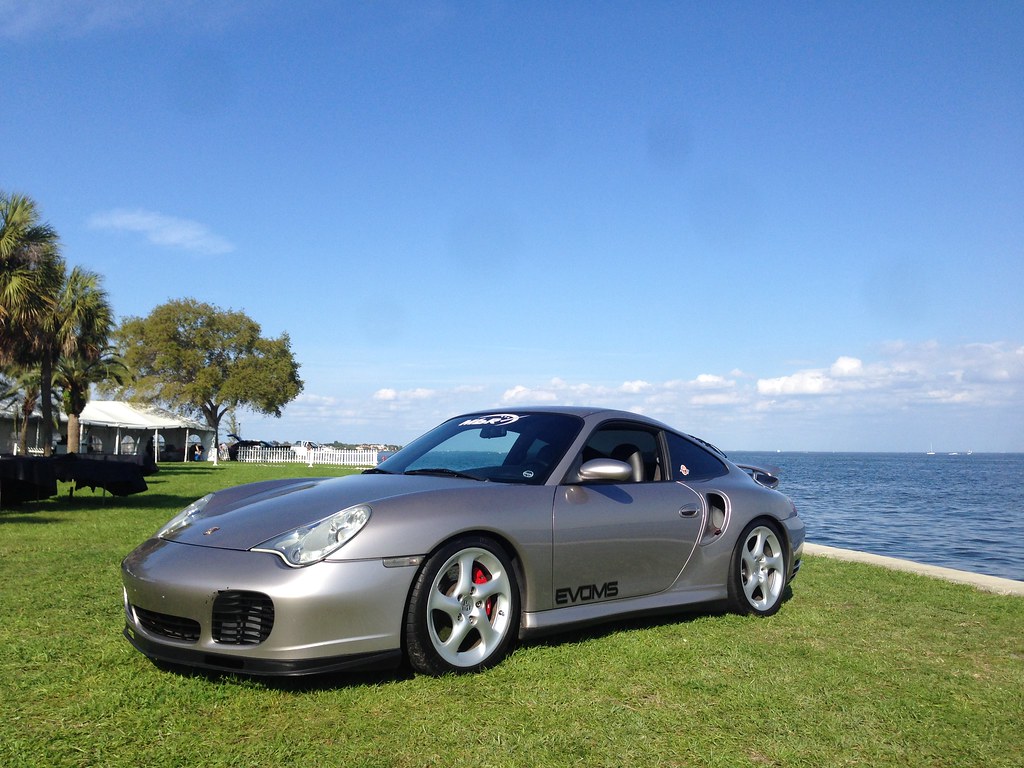
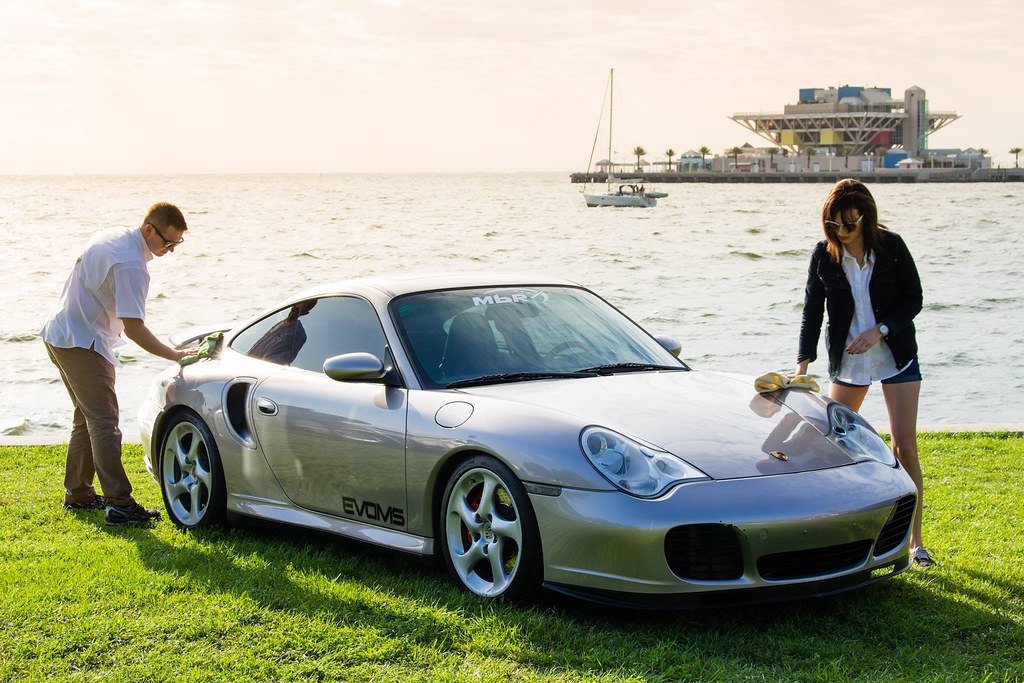
My girlfriend is in to cars too so she has helped me A LOT with this car. I'm a very lucky guy
 996tt by William Reilly IV, on Flickr
 996tt by William Reilly IV, on Flickr
996tt by William Reilly IV, on Flickr996tt by William Reilly IV, on Flickr
06-26-2015, 04:51 PM
#13
Advanced
Thread Starter
Join Date: Dec 2014
Posts: 77
Likes: 0
Received 0 Likes
on
0 Posts