When you click on links to various merchants on this site and make a purchase, this can result in this site earning a commission. Affiliate programs and affiliations include, but are not limited to, the eBay Partner Network.
I really doubt you need 90ft/lb on these screws, as far as I recall the oil pan required like 18f/lb on the screws, which is very low torque is required considering the part is already glued to the engine and that the engine is all aluminum aka fragile. May be someone has the manual to give the proper torque, I would say it is around 30ft/lb max.
I really doubt you need 90ft/lb on these screws, as far as I recall the oil pan required like 18f/lb on the screws, which is very low torque is required considering the part is already glued to the engine and that the engine is all aluminum aka fragile. May be someone has the manual to give the proper torque, I would say it is around 30ft/lb max.
90 ft/lb would be crazy on m6 bolts considering lug nuts are specd at 96 ft/lb!
argh I did not know there was such thing as in/lb ... learning every days thanks to you guys
so 90 in/lb is same as oil pan 7.5 ft/lb, makes sense...
sorry for the misinformation, my memory is a bit rusty, long time since I wrenched on my car.
Are you going to do a "vacuum" before refilling with coolant ? I wanted to purge my coolant but the whole vacuum process scared me off.
Ive read a bunch of threads about proper procedure for refilling coolant to eliminate air lock. Here's how I understand it:
1. Elevate rear of car and open radiator cap
2. Fill reservoir with coolant to neck
3. Remove oil cap and dipstick
3. Lift metal reservoir bleed tab
4. Start car and turn heat on high
5. Run car at 2500 rpm until rad fans kick on
6. Check coolant level and top up as needed
7. Replace coolant cap, oil cap and dipstick
8. Drive car for 1 mile and check coolant level after, add coolant as needed and repeat until no more coolant loss
GTsilber, IIRC that is the correct sequence for coolant fill up. I highly recommend getting your hands on the book 101 Projects for your Porsche 996 written by Wayne Dempsey of Pelican Parts, lots of good information in the book for those of us who are willing and able to work on our cars. I used that book for countless repairs including the Air Oil Separator replacement (which was a PITA)
Don't stress too much on how long it takes, I always considered that to be bonding time with the car, great relationships take work!
Thanks Mike. I actually just bought the uview 550500 which uses an air compressor to evacuate air from the system as well as fill up coolant, no mess and no need to worry about air lock! Peace of mind for $75!
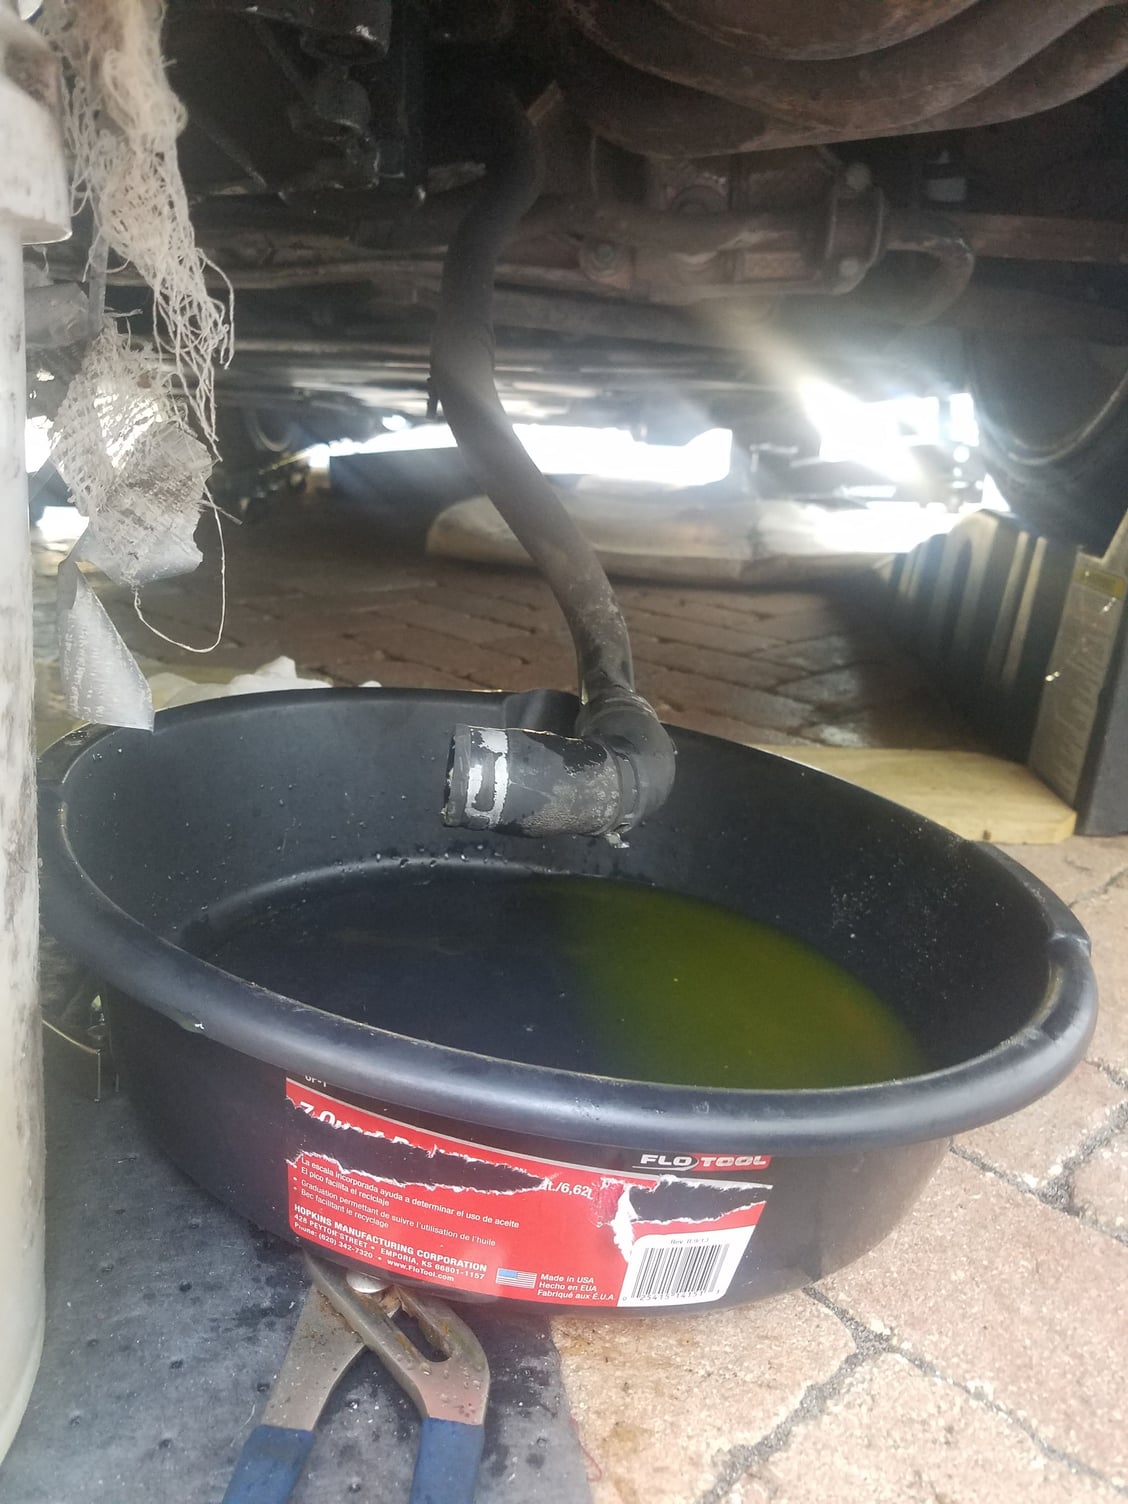
Here's another coolant related question. I've drained the coolant from the car but how can I ensure I've gotten all of it out? Furthermore, my car currently doesn't look like it has P coolant as it's got an orange tint, now I'm worried about filling up with pink coolant and mixing the two...what to do?
This may help https://rennlist.com/forums/996-forum/737700-simple-3-step-complete-coolant-drain-updated-w-refill-procedure-water-pump-tips.html
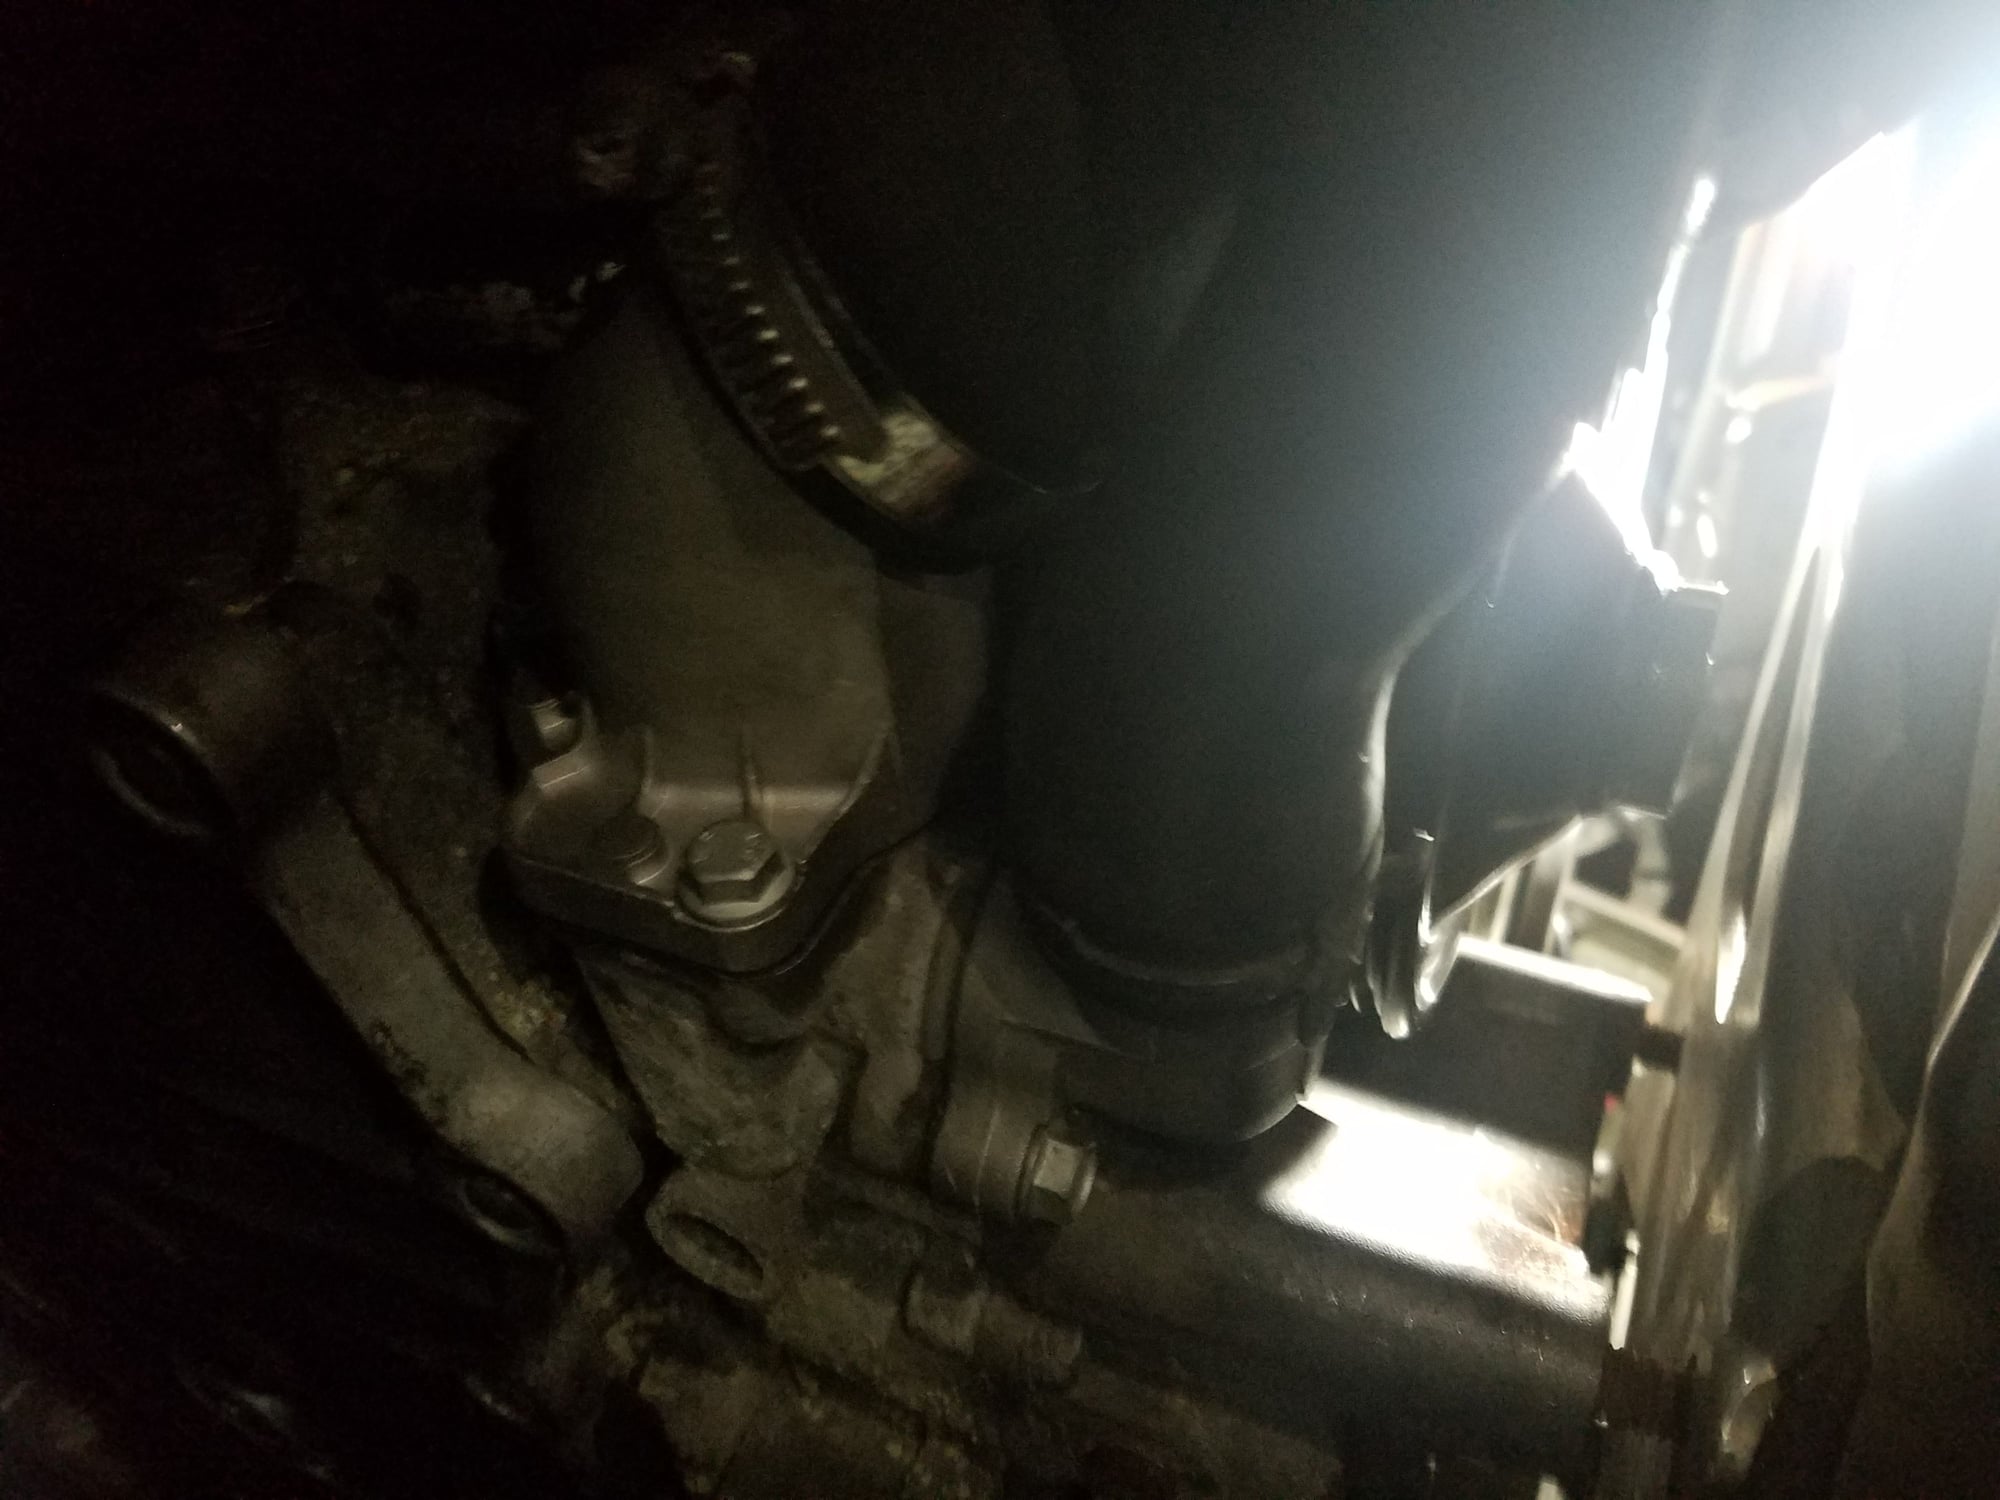
Where exactly is the hose in step 3, is it the metal line directly in front of the oil sump?
Here's where I am after today:
1. WP and thermostat install complete
2. Engine mount replacement complete
3. New passenger radiator installed (bent quite a few fins) but still struggling with one of the hose clamps - I bought that lever actuated clamp tool but it broke after one use. Driver side top rad hose was not delivered today as scheduled so I need to wait.
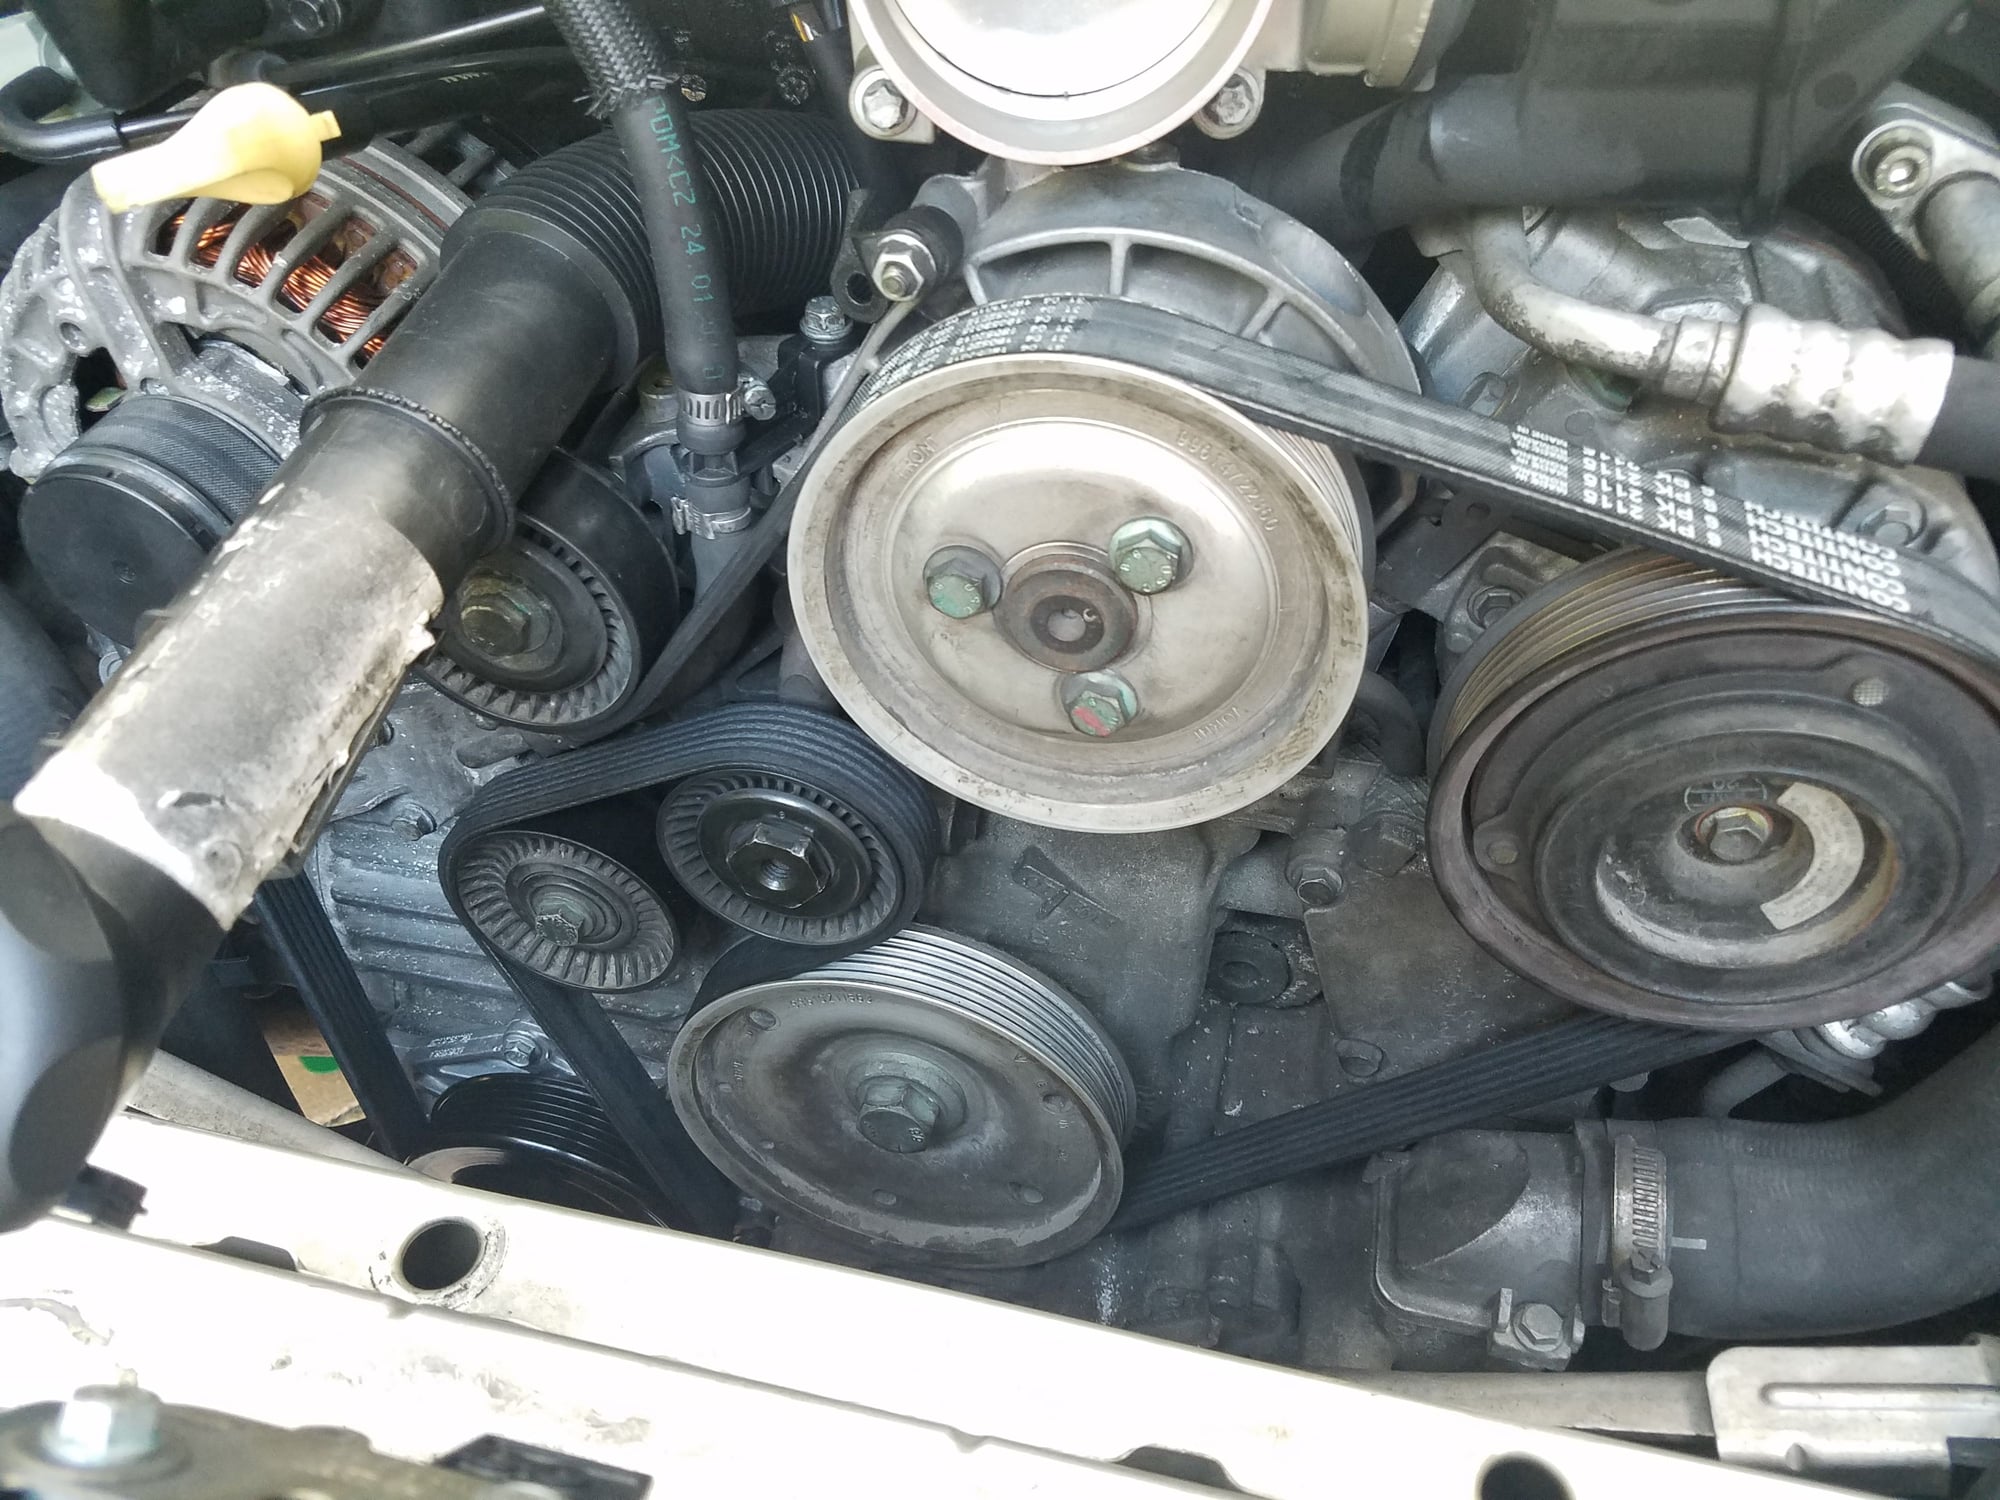
4. Tried to fit new serpentine belt but my idler tensioner pulley is shot, just keeps spinning and I can't tighten it...joy
5. Pretty sure I drained my battery. when I put key in ignition I can barely read display but am seeing a bunch of failures (spoiler, airbag, coolant level, etc.)
It's the hose on the passenger side right next to the sump plate. It's shown in the second last photo in the first post.
The idle pelley bolt needs to be tightened (countered) really well using a wrench behind the pulley. Otherwise it will keep slipping when you try to crank the pulley to install the drive belt.
Originally Posted by GTsilber
Where exactly is the hose in step 3, is it the metal line directly in front of the oil sump?
Here's where I am after today:
1. WP and thermostat install complete
2. Engine mount replacement complete
3. New passenger radiator installed (bent quite a few fins) but still struggling with one of the hose clamps - I bought that lever actuated clamp tool but it broke after one use. Driver side top rad hose was not delivered today as scheduled so I need to wait.
4. Tried to fit new serpentine belt but my idler tensioner pulley is shot, just keeps spinning and I can't tighten it...joy
5. Pretty sure I drained my battery. when I put key in ignition I can barely read display but am seeing a bunch of failures (spoiler, airbag, coolant level, etc.)
It's the hose on the passenger side right next to the sump plate. It's shown in the second last photo in the first post.
The idle pelley bolt needs to be tightened (countered) really well using a wrench behind the pulley. Otherwise it will keep slipping when you try to crank the pulley to install the drive belt.
Yeah I read about the dreaded 15 mm nut behind the pulley, really easy to access 😂 I'll try to get that done today.
What do I do with my old radiators, WP, thermostat and hoses - does anyone on RL buy used parts?
Sunday update:
1. Tightened idler tensioner bolt and got new belt on
2. Finished the passenger side radiator install
3. Emptied remaining coolant from heater core
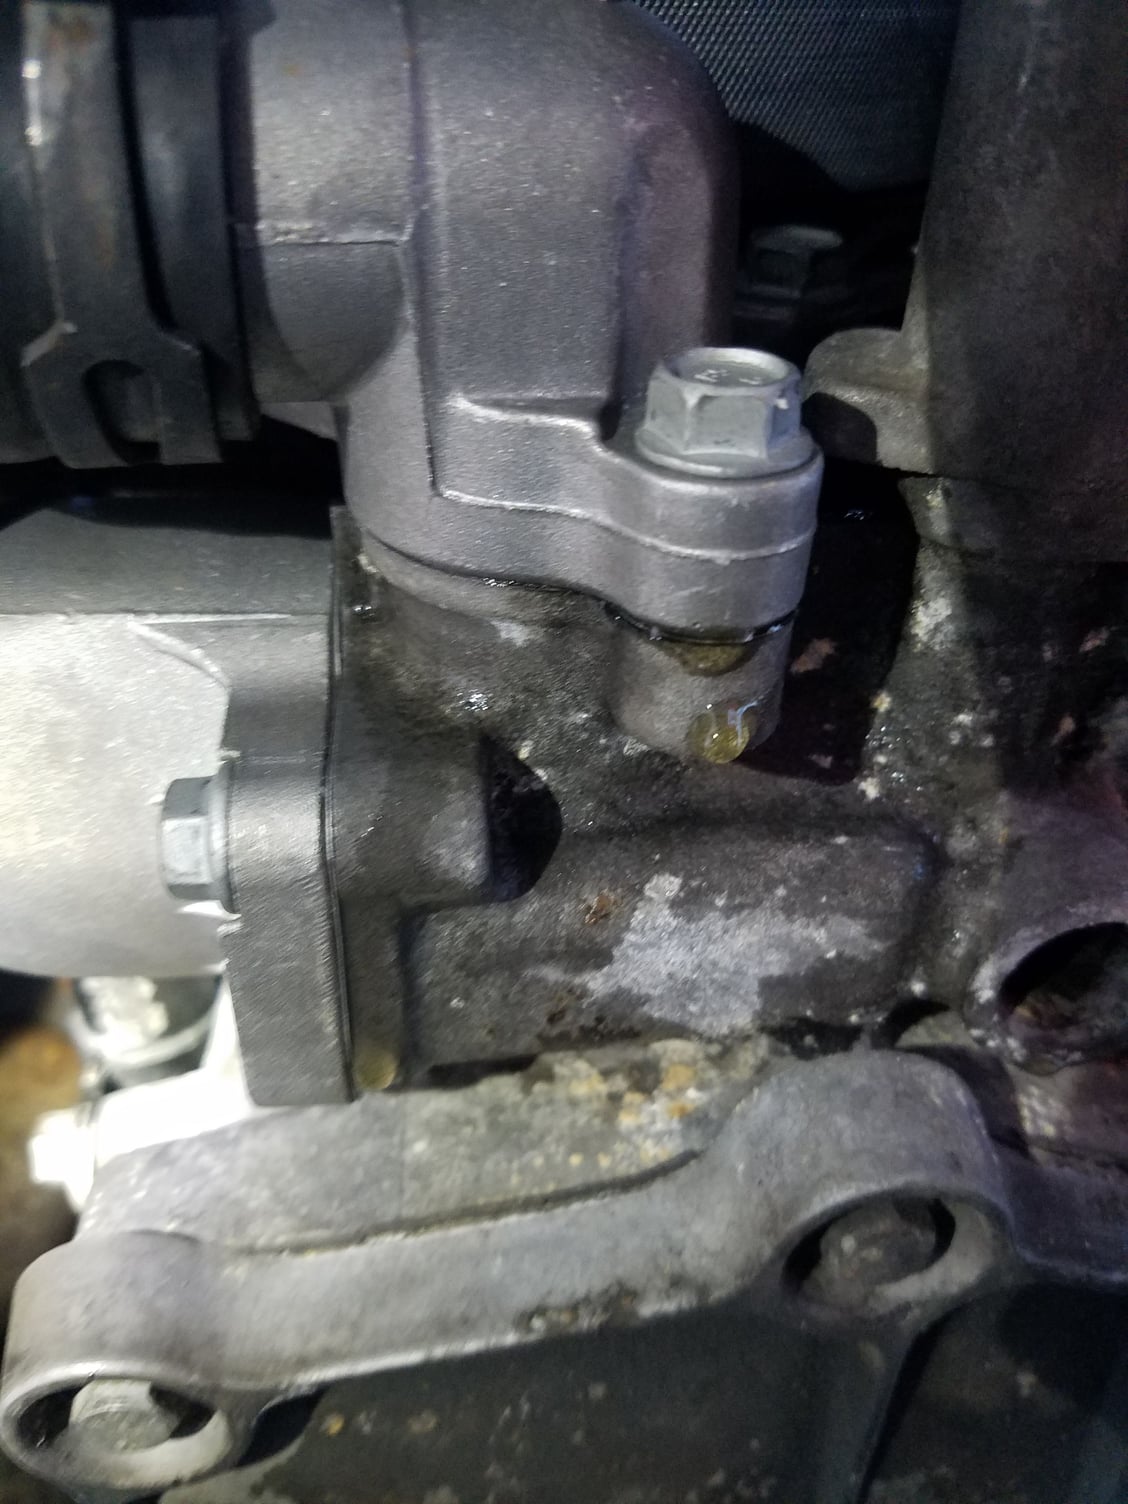
4. Pressure test FAILED 😬, water pump and thermostat are leaking, I think I'm throwing in the towel, what a punch in the nads
 12-14-2016, 06:58 AM