When you click on links to various merchants on this site and make a purchase, this can result in this site earning a commission. Affiliate programs and affiliations include, but are not limited to, the eBay Partner Network.
Yep thats how tight mine is! If it is tight then perhaps try a new one like Ahsai suggests. The drain for this area drips down past the spark plug coil area and may not make it to the ground. Could be your coolant smell in the engine area. P.S. once I got all my leaks corrected it took some time for the smells to completely go away.
yeah I accidentally pulled the drain hose out through the engine bay and relocated it so I could see if I'm losing coolant. I think I'll buy another cap just to check the box, cheapest fix out there.
Worth checking there is no coolant leaking out from the bleeding valve. I had to replace my bleeding valve once.
Thanks Shred, I checked the bleeder valve but didnt notice and leakage.
I just did my first oil change on the car today, I didn't have a record of the last oil change and figured it couldnt hurt - I also wanted to see what was in the filter. Everything checked out, no sign of intermix at all. However, after the change I can no longer smell that sweet tinge to the exhaust gas - there's barely any smell at all, which is great, just not sure why that is?
I have been putting off the radiator cleaning for a while, been busy with work and haven't had a real window to attempt this item. This task was really two fold, I wanted to see if I could find any visible cracks on the passenger side radiator and I also need to clean out all the crap that was stuck on there.
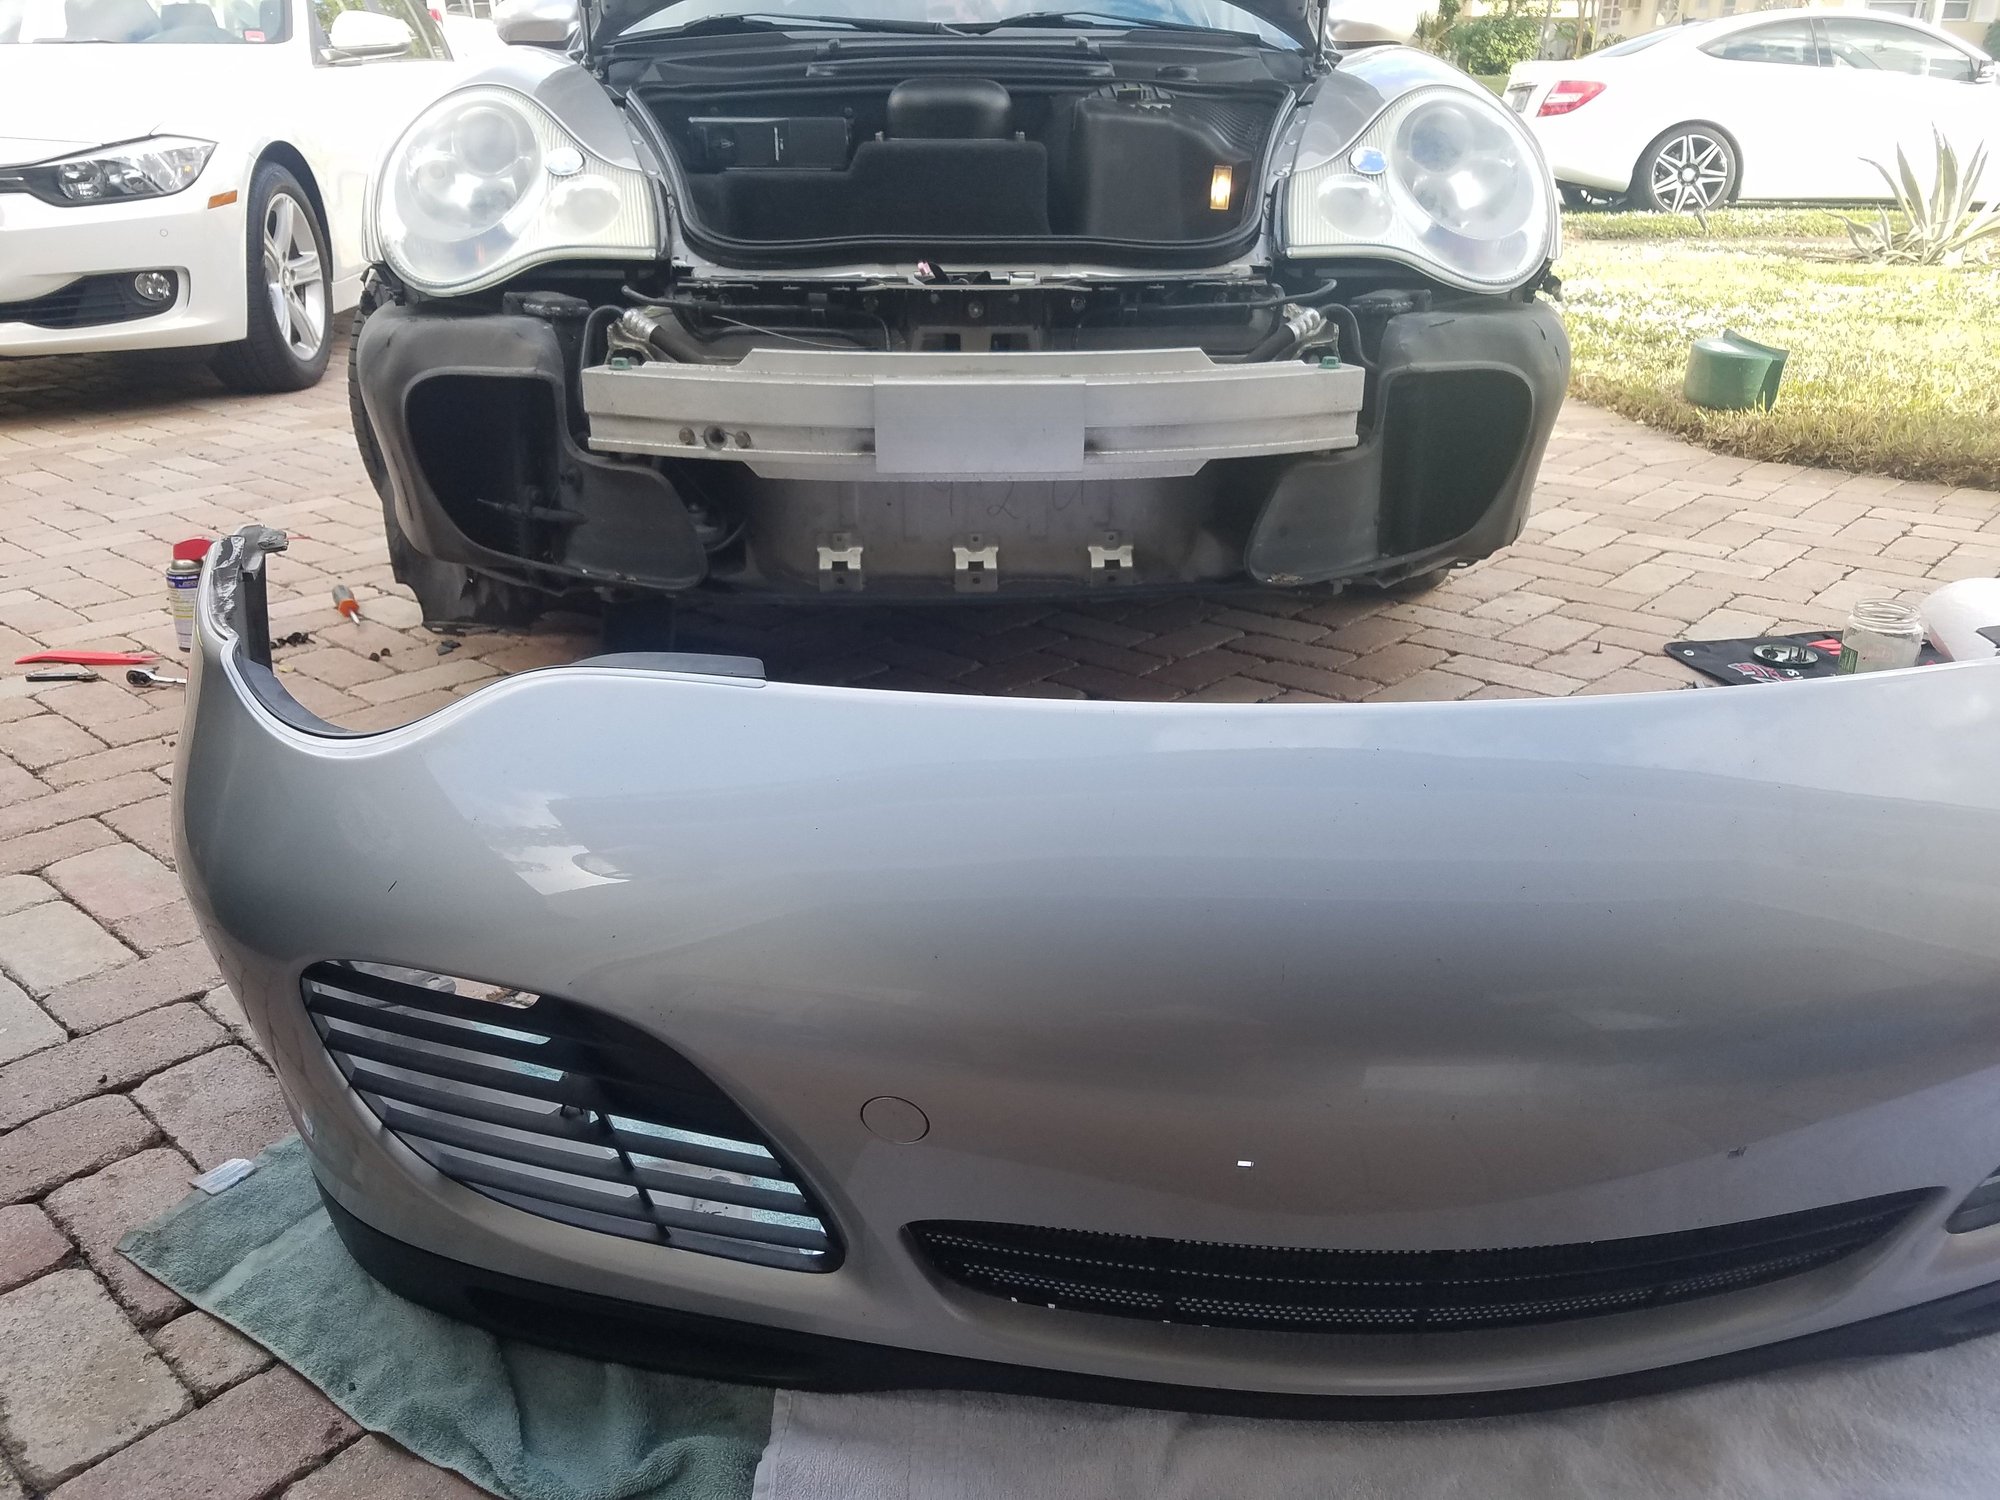
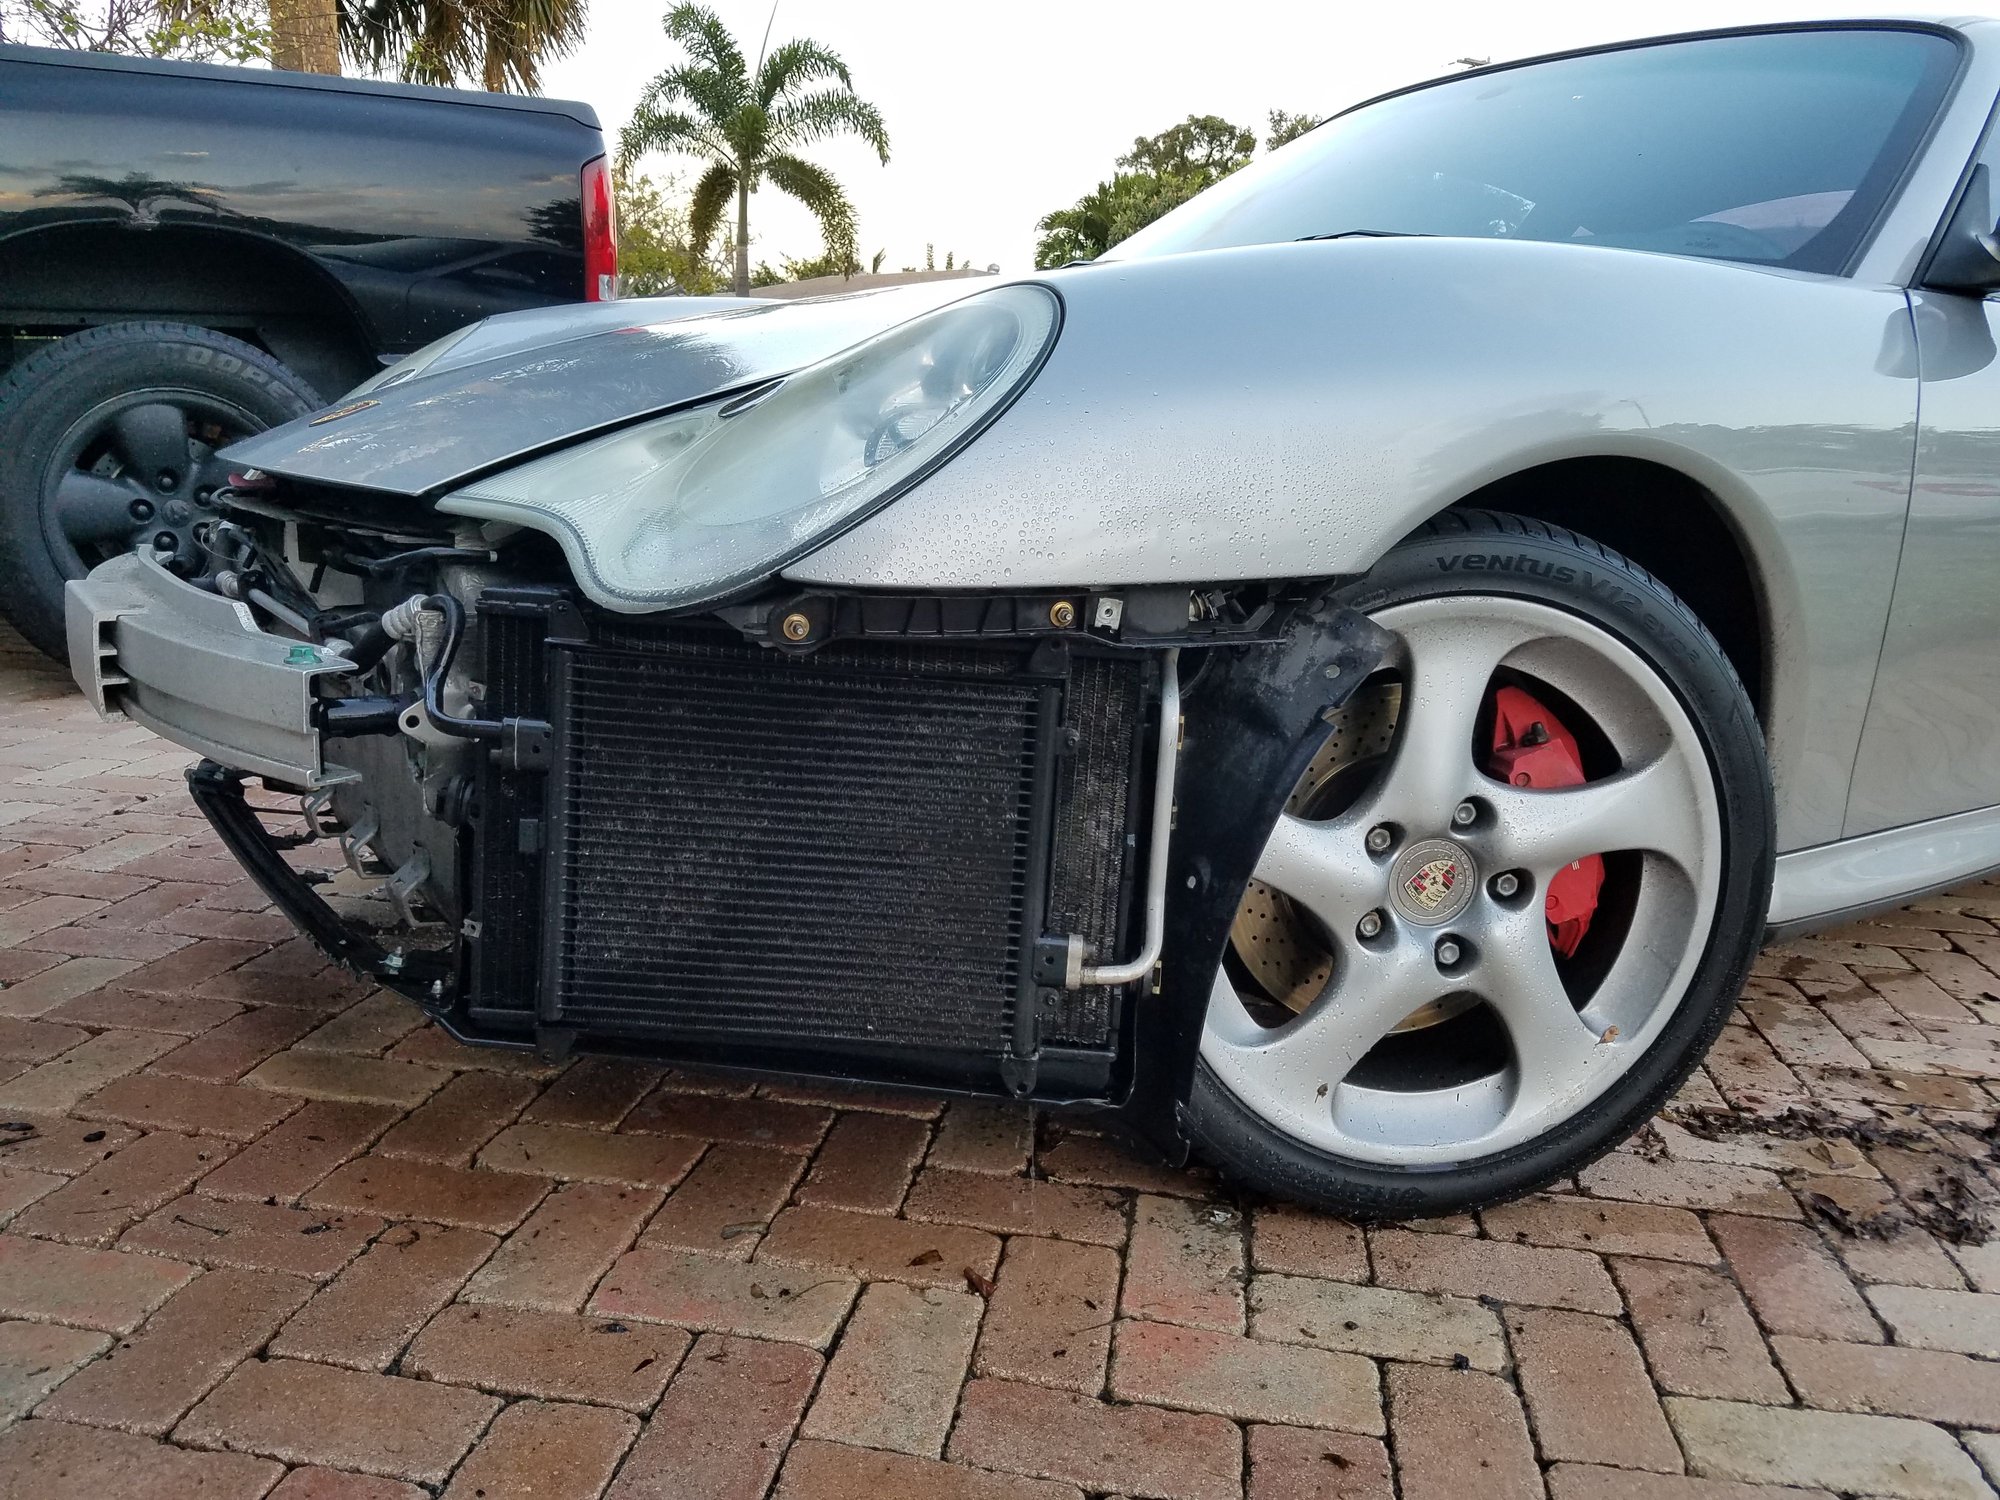
I followed a youtube video to help with the bumper removal, it was pretty straightforward, took about 30-40 minutes. Once I got the bumper off, leaves, dirt, and random **** just started falling off the condenser and rads. I don't think these radiators have ever been cleaned.
Here are some pics of the radiator debris carnage. I plan on pressurizing the cooling system again tomorrow to see if I can identify the source of the radiator leak. I checked the hoses and they all appear to be connected - I'm hoping I don't have a hairline crack in the rad
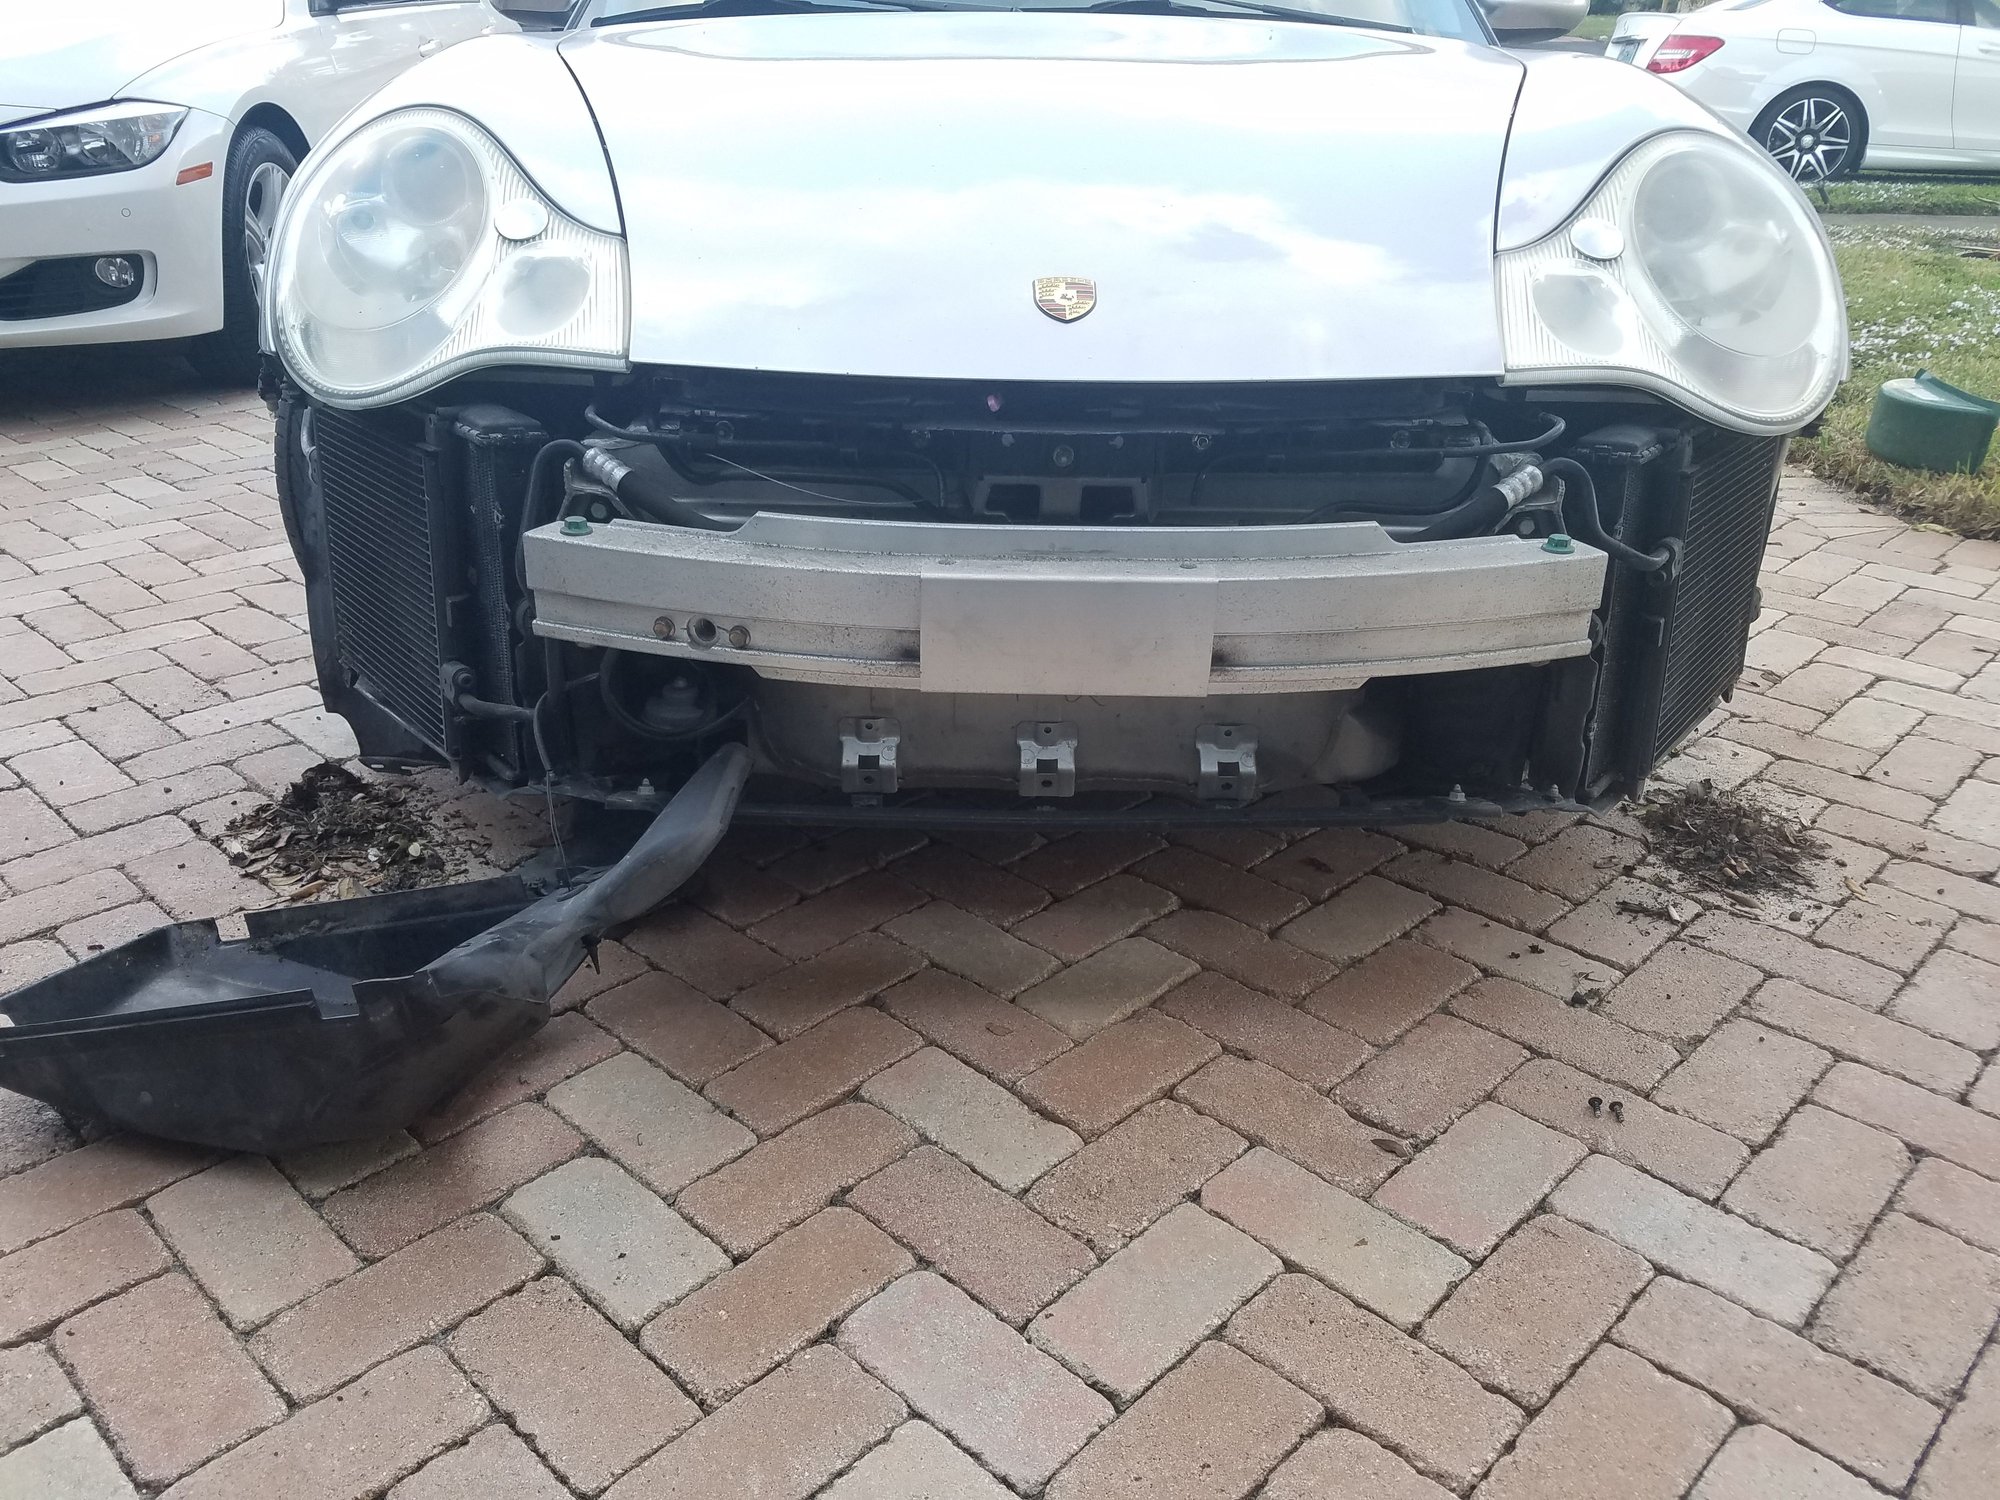
Bumper removal.
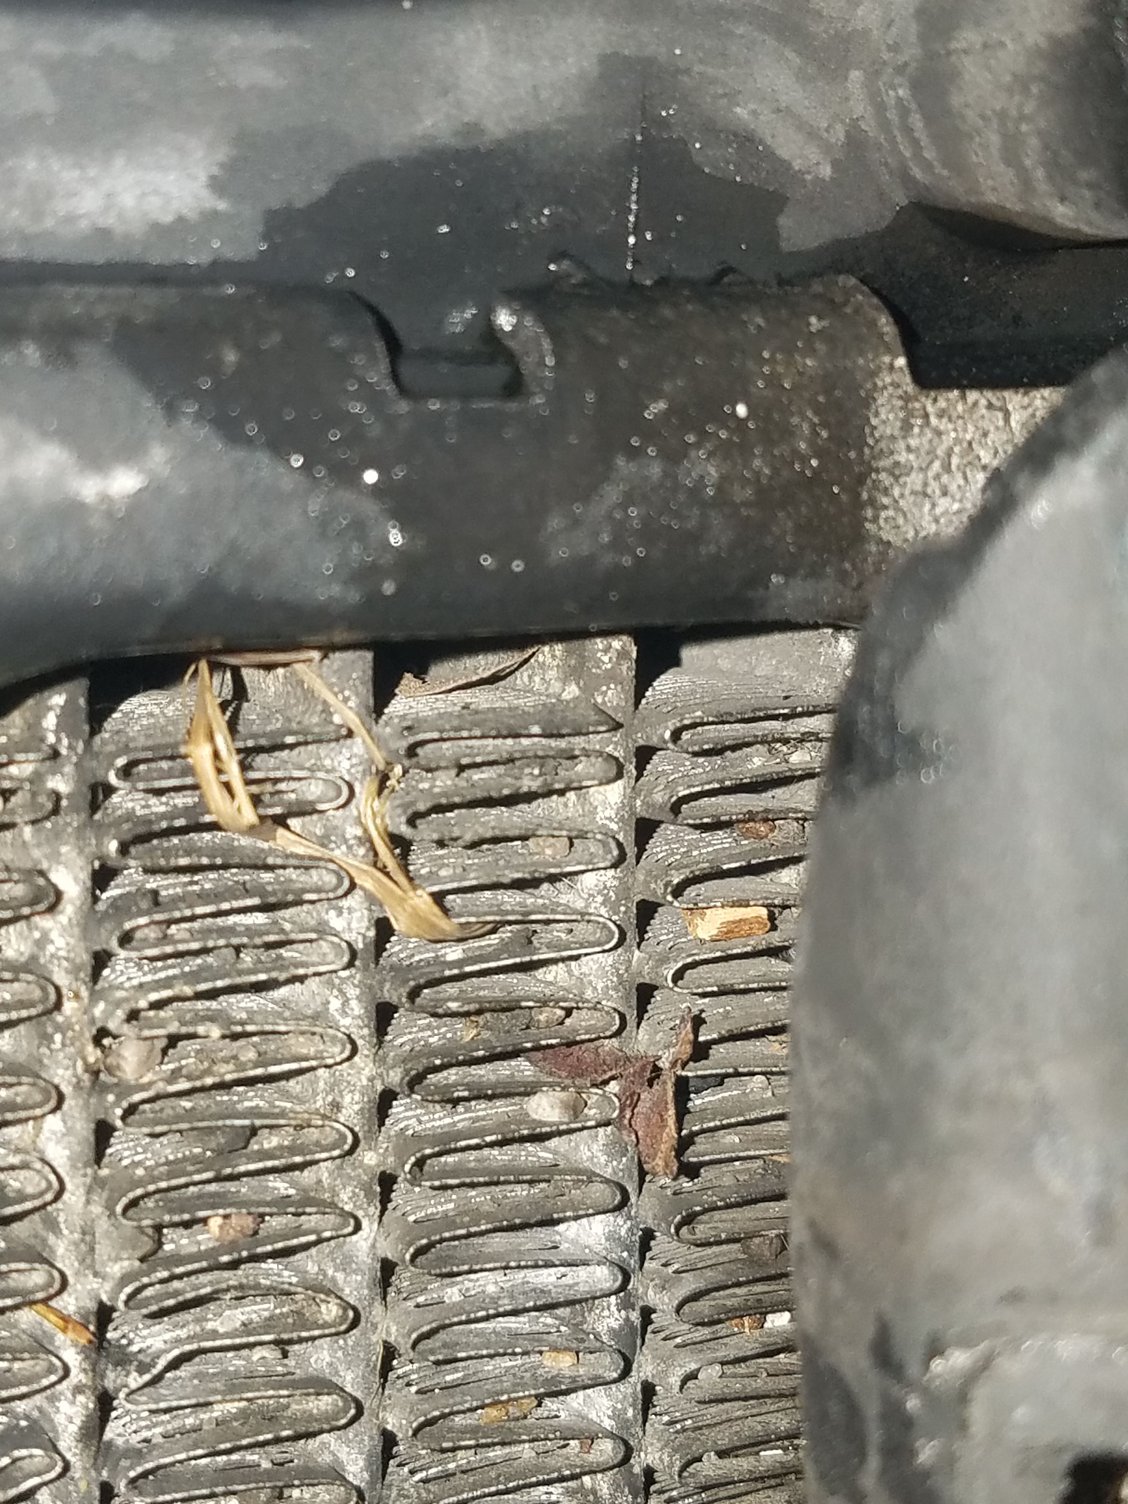
Air vent removal, you can see the debris on the floor without even removing the air condensers.
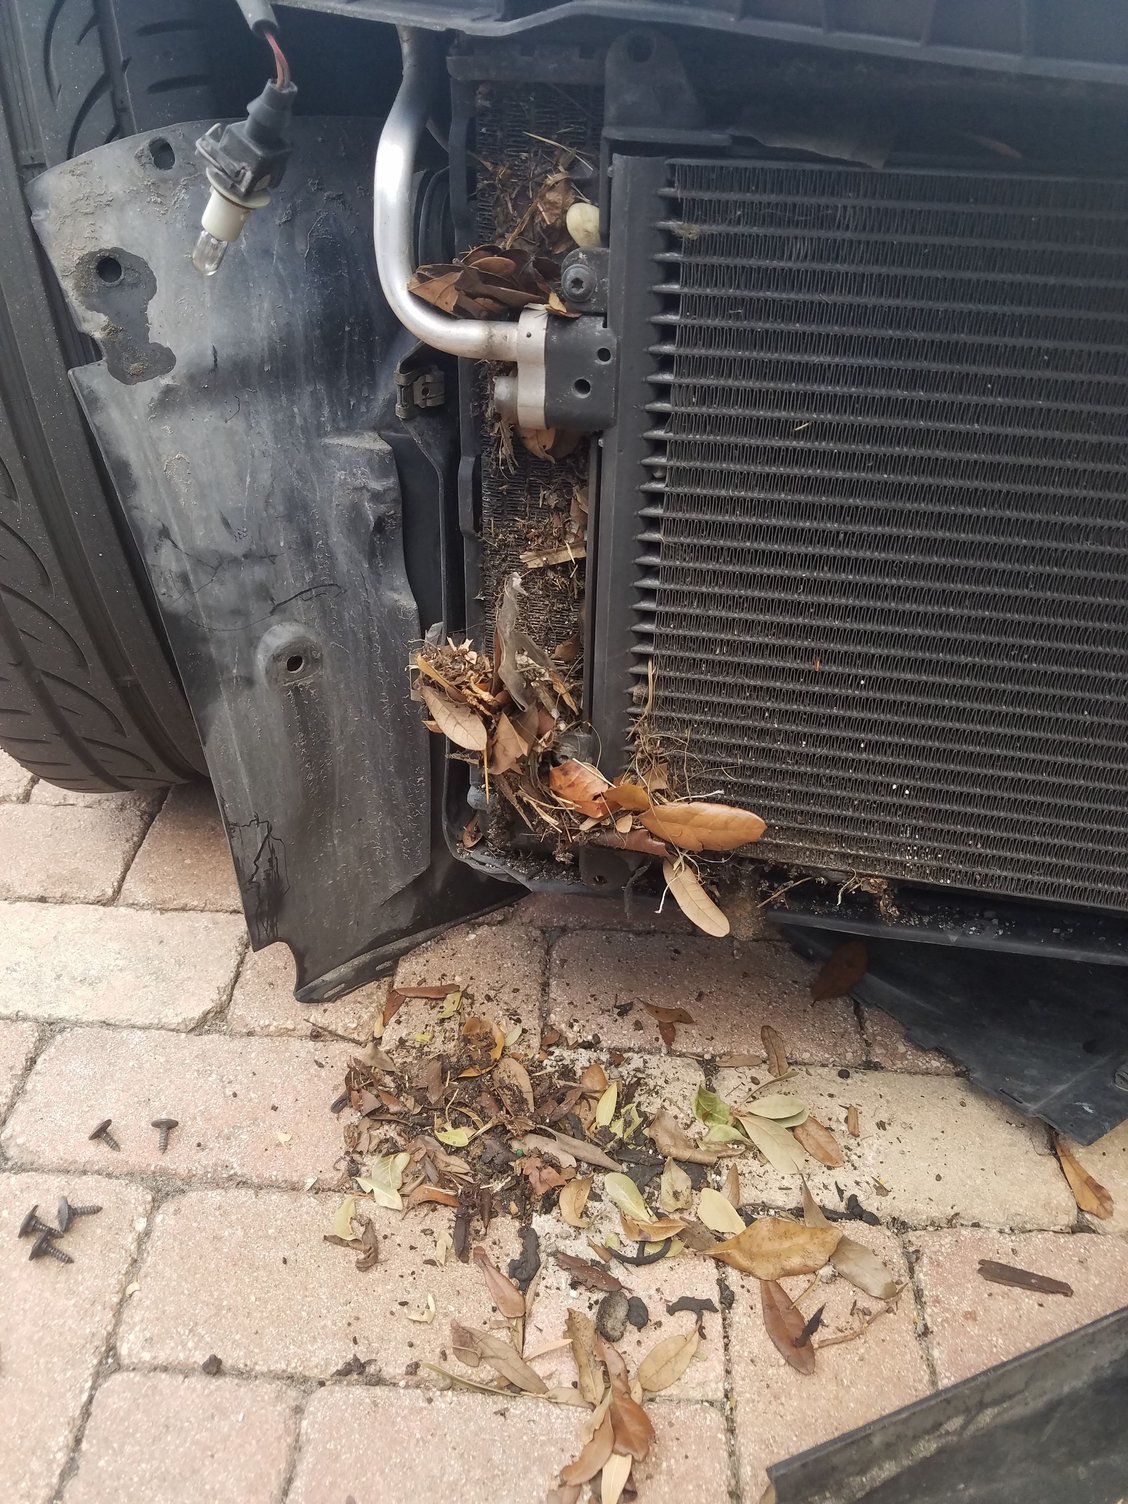
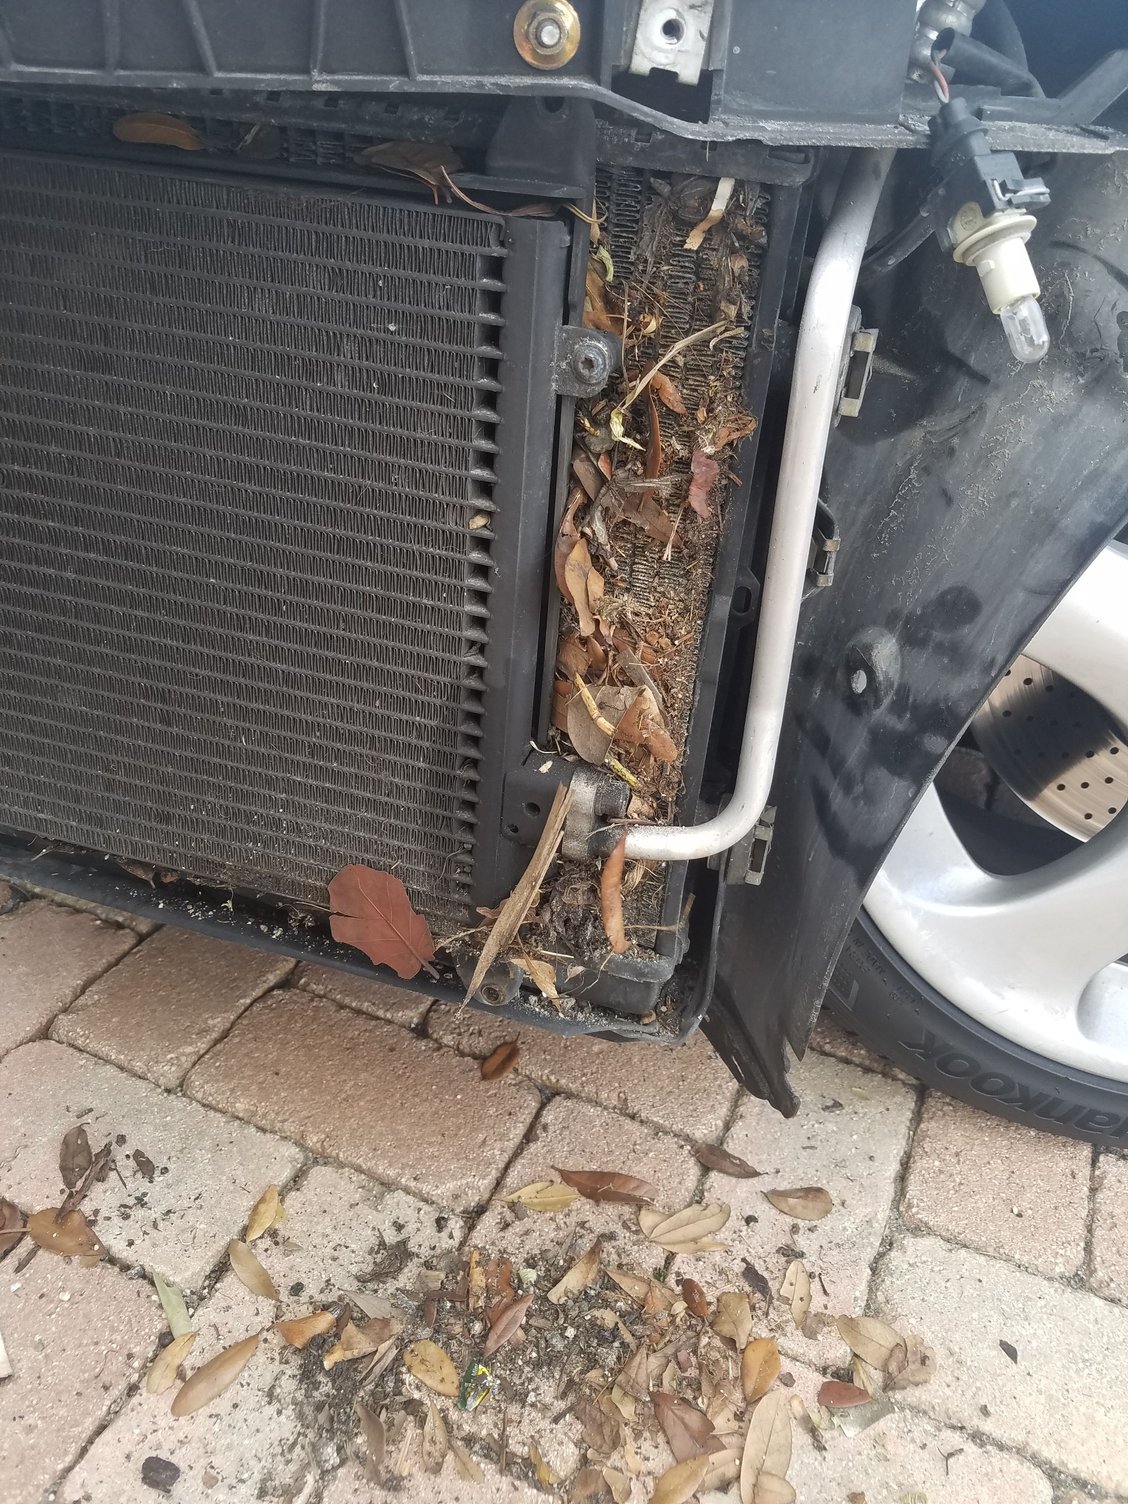
Passenger side debris, without condenser removal.
Driver side debris, without condenser removal.
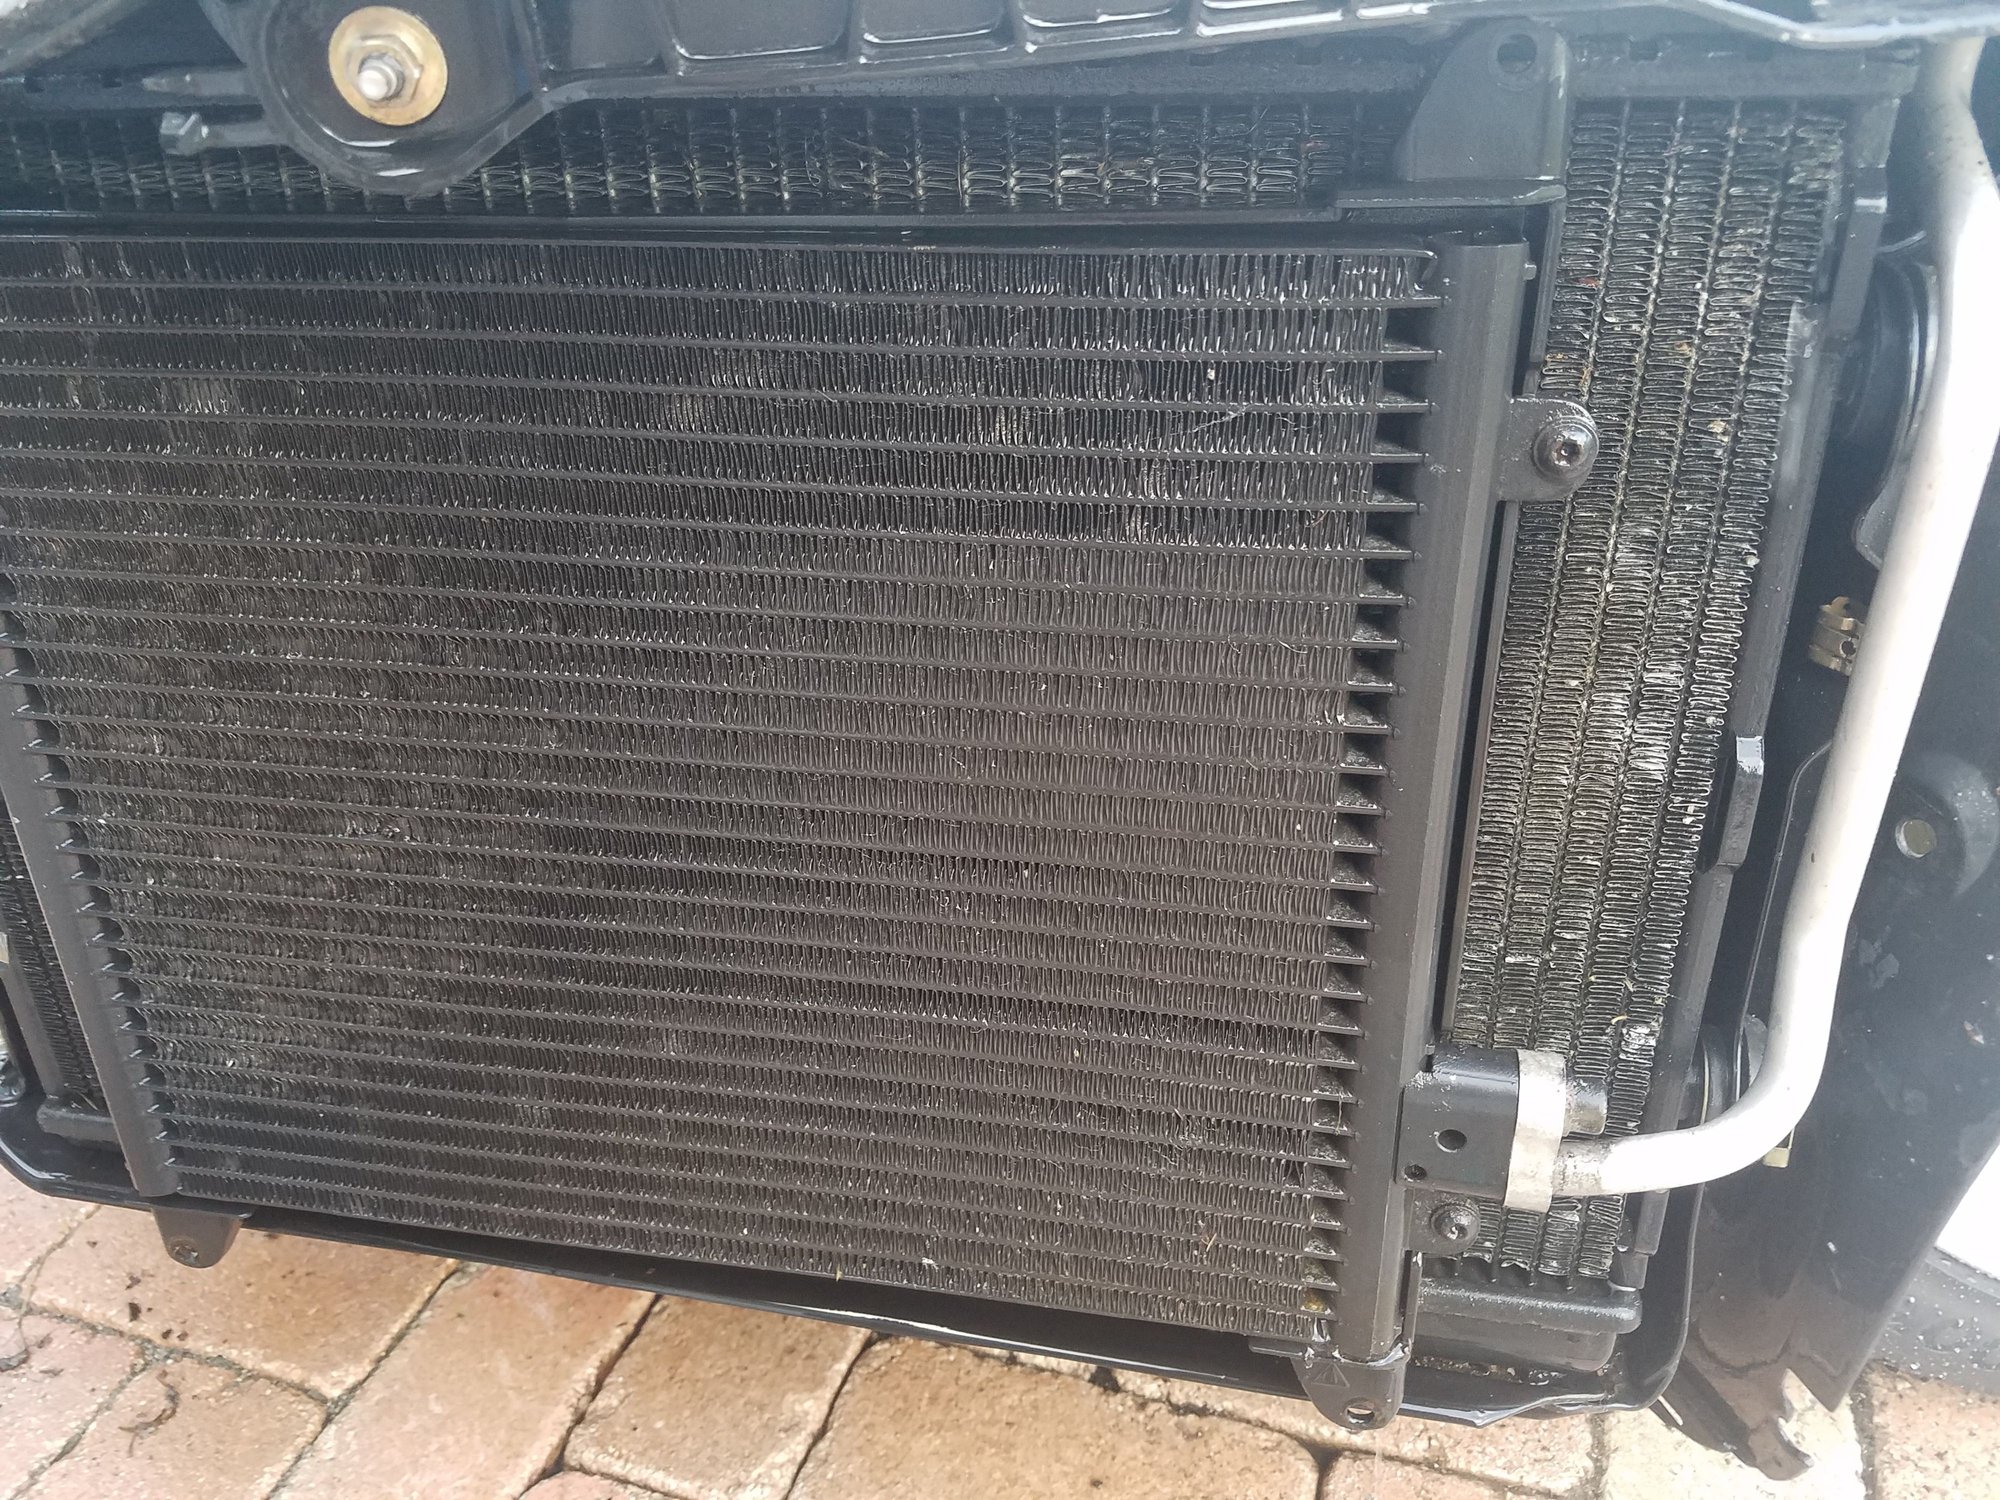
Driver side after condenser removal and light wash - many of the fins are bent, not sure how much of an impact that has on cooling properties.
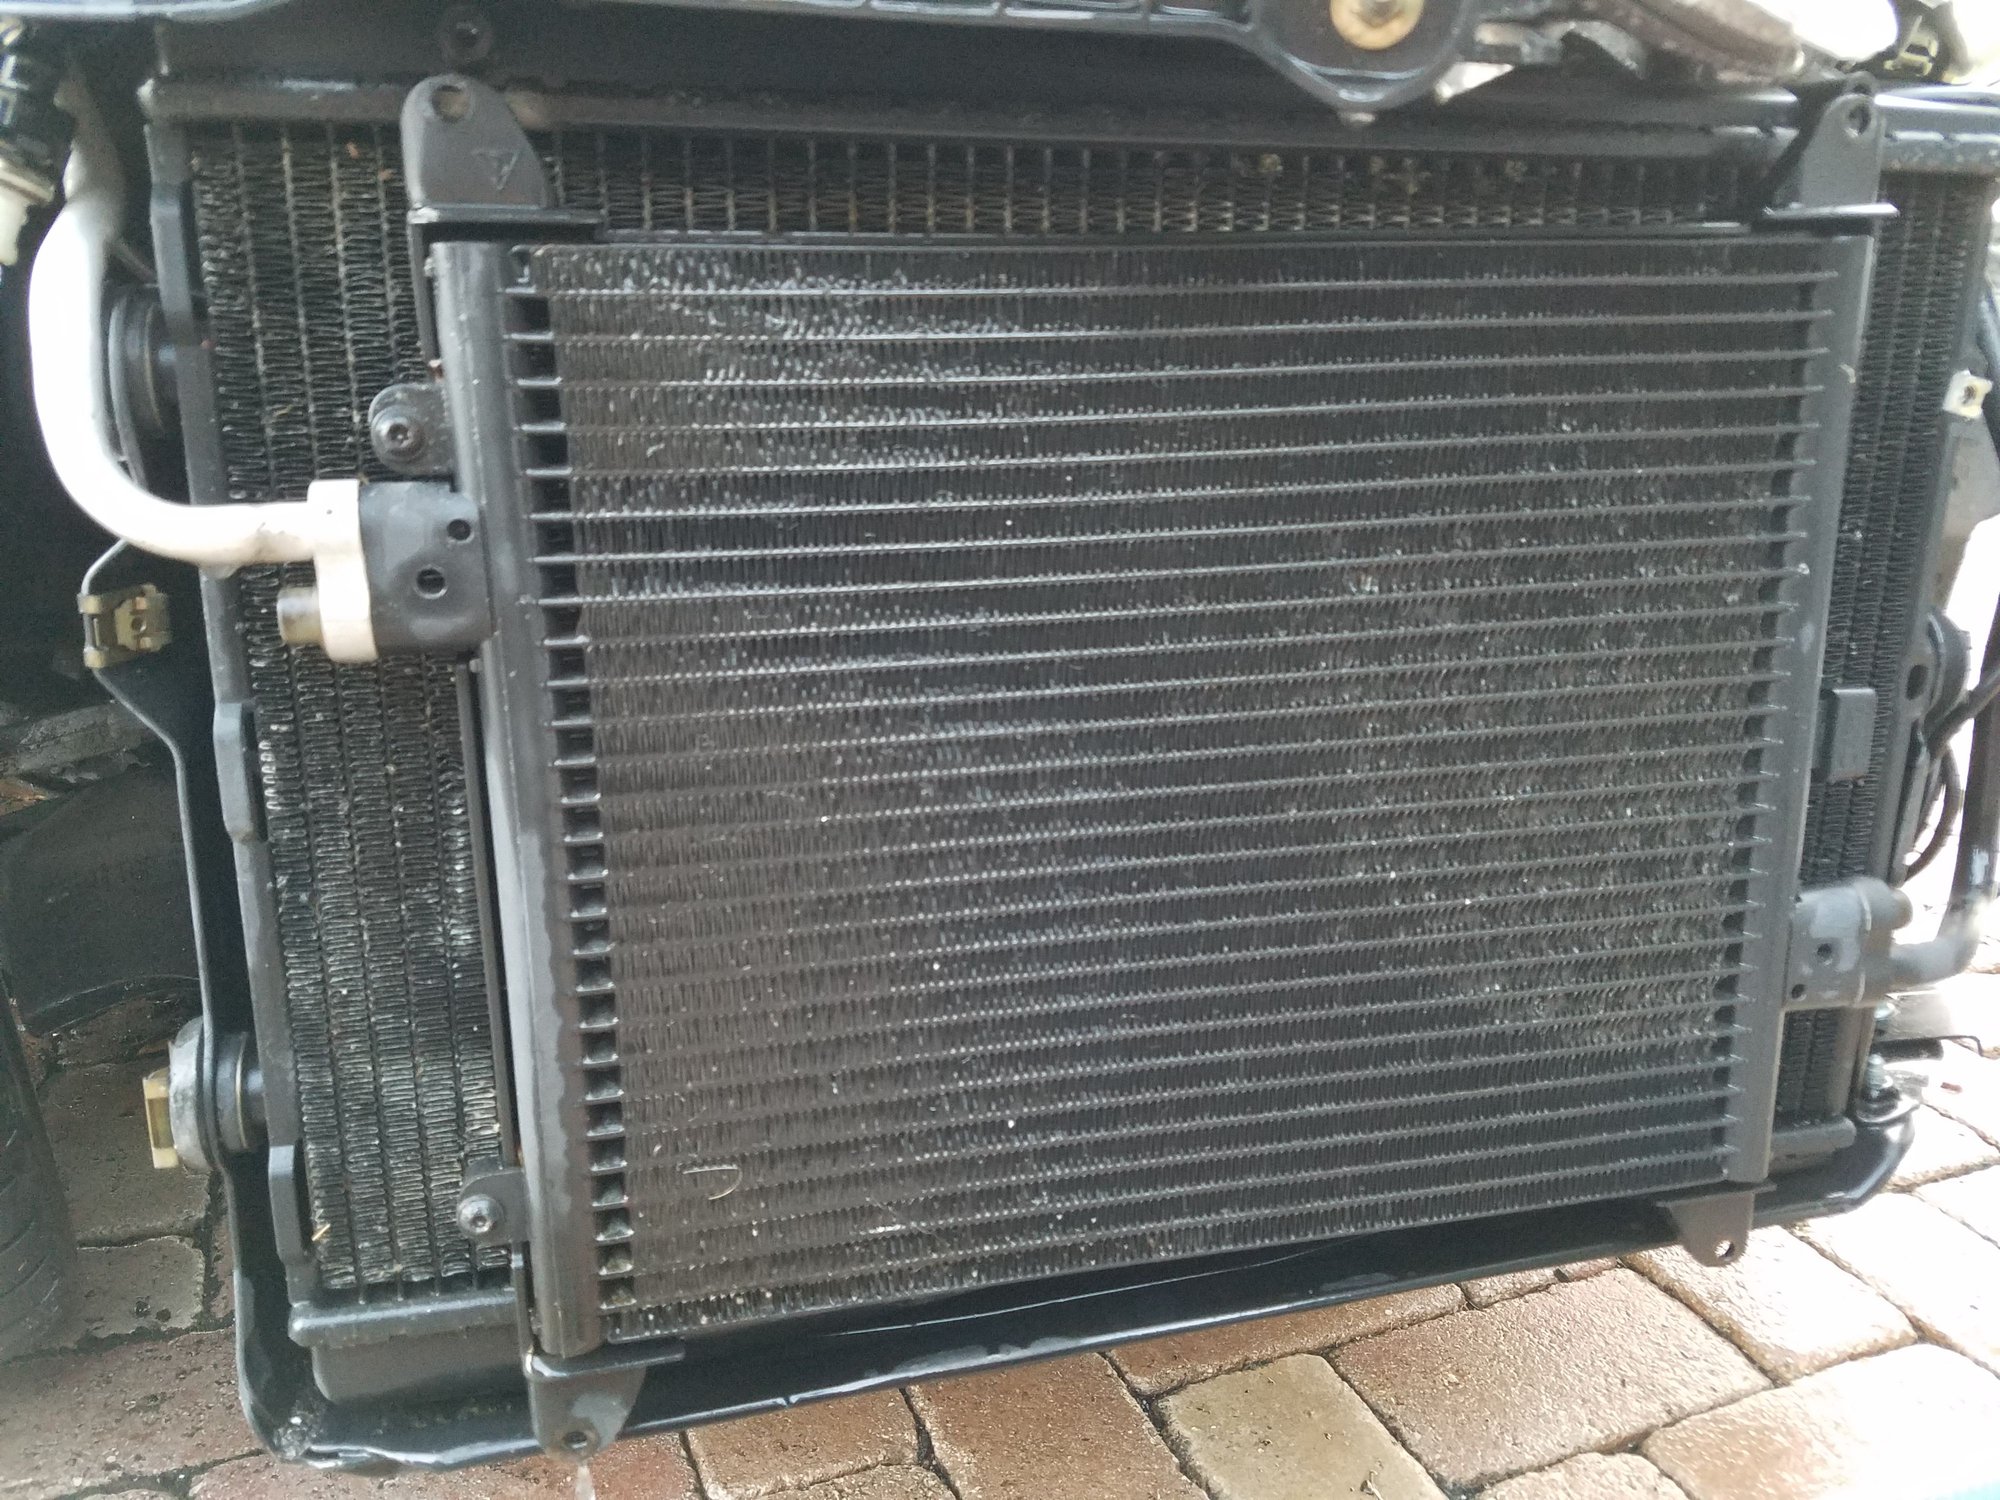
Passenger side after condenser removal and light wash
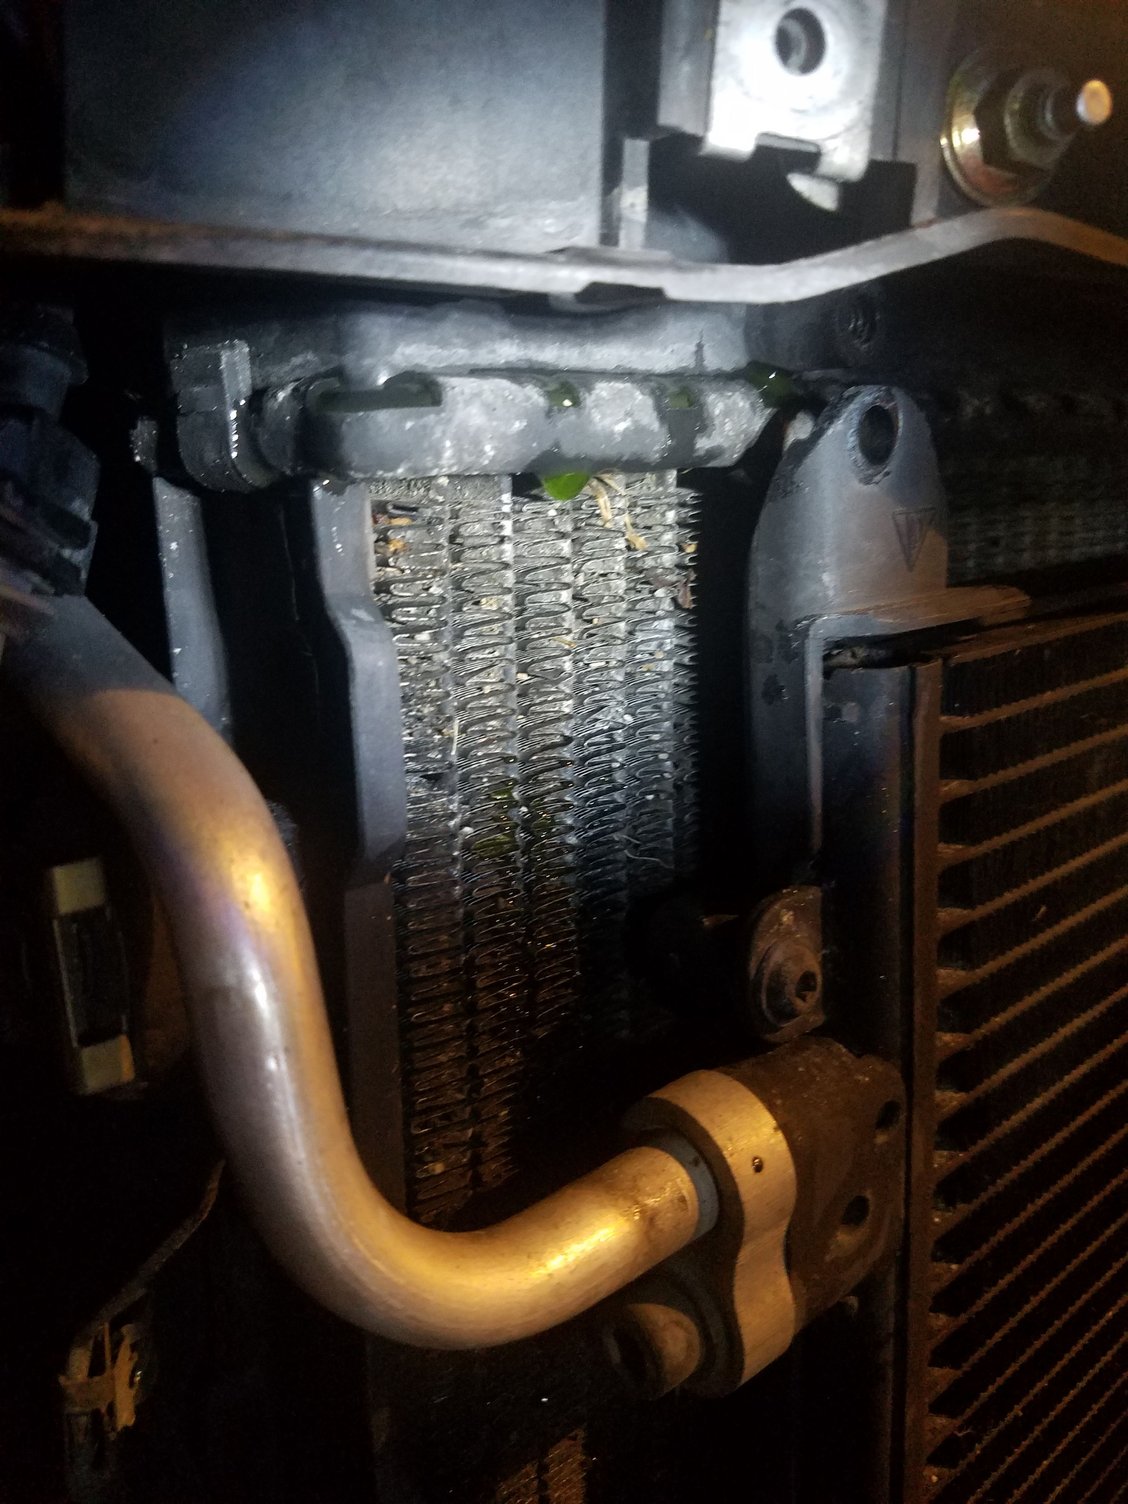
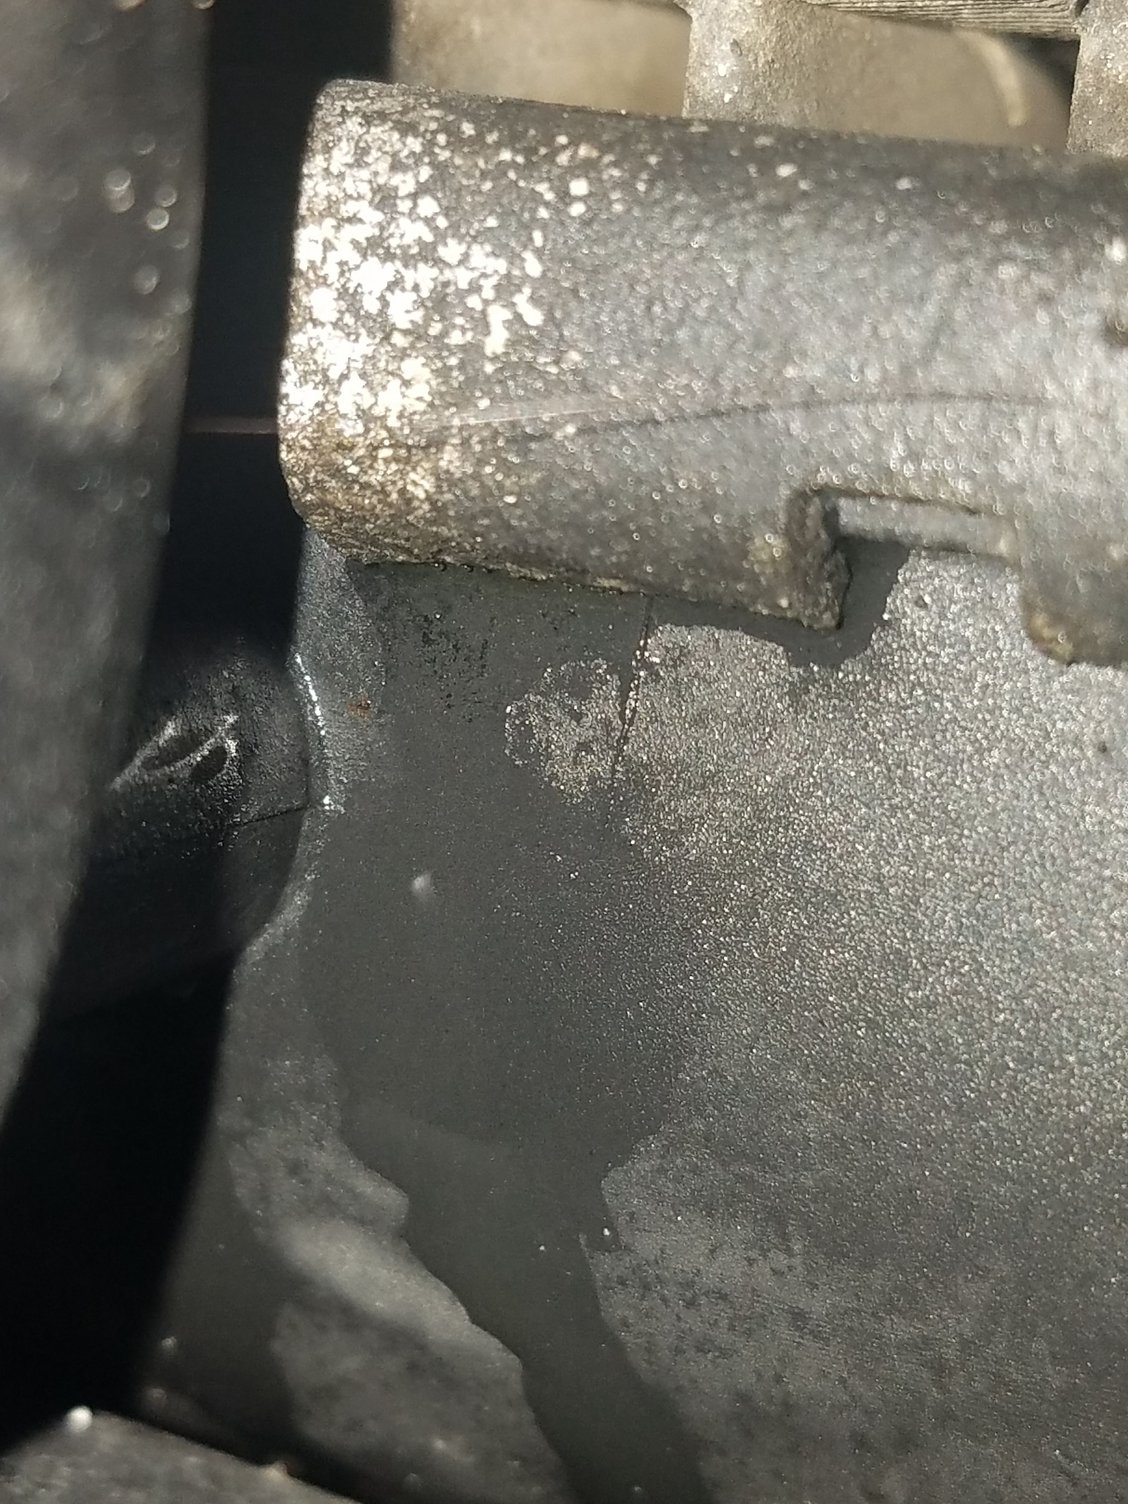
I just performed another pressure test - results are not good...BOTH radiators are weeping. The passenger side is leaking from the top near the condenser screw fitting seam and the driver side bottom is also leaking near the condenser screw fitting. I can see micro fissures on both passenger and driver side. There is also visible corrosion on both radiators. I am guessing that my only real solution is to replace both rads, which would warrant replacing rad hoses, water pump (last replaced 6 years ago), thermostat, coolant (obviously), what else should I consider "while i'm in there?" Is the rad replacement a DIY job or should I bring it to a shop, any links to radiator replacement how to?
Here are some pictures, may be helpful in diagnosing severity of the leaks:
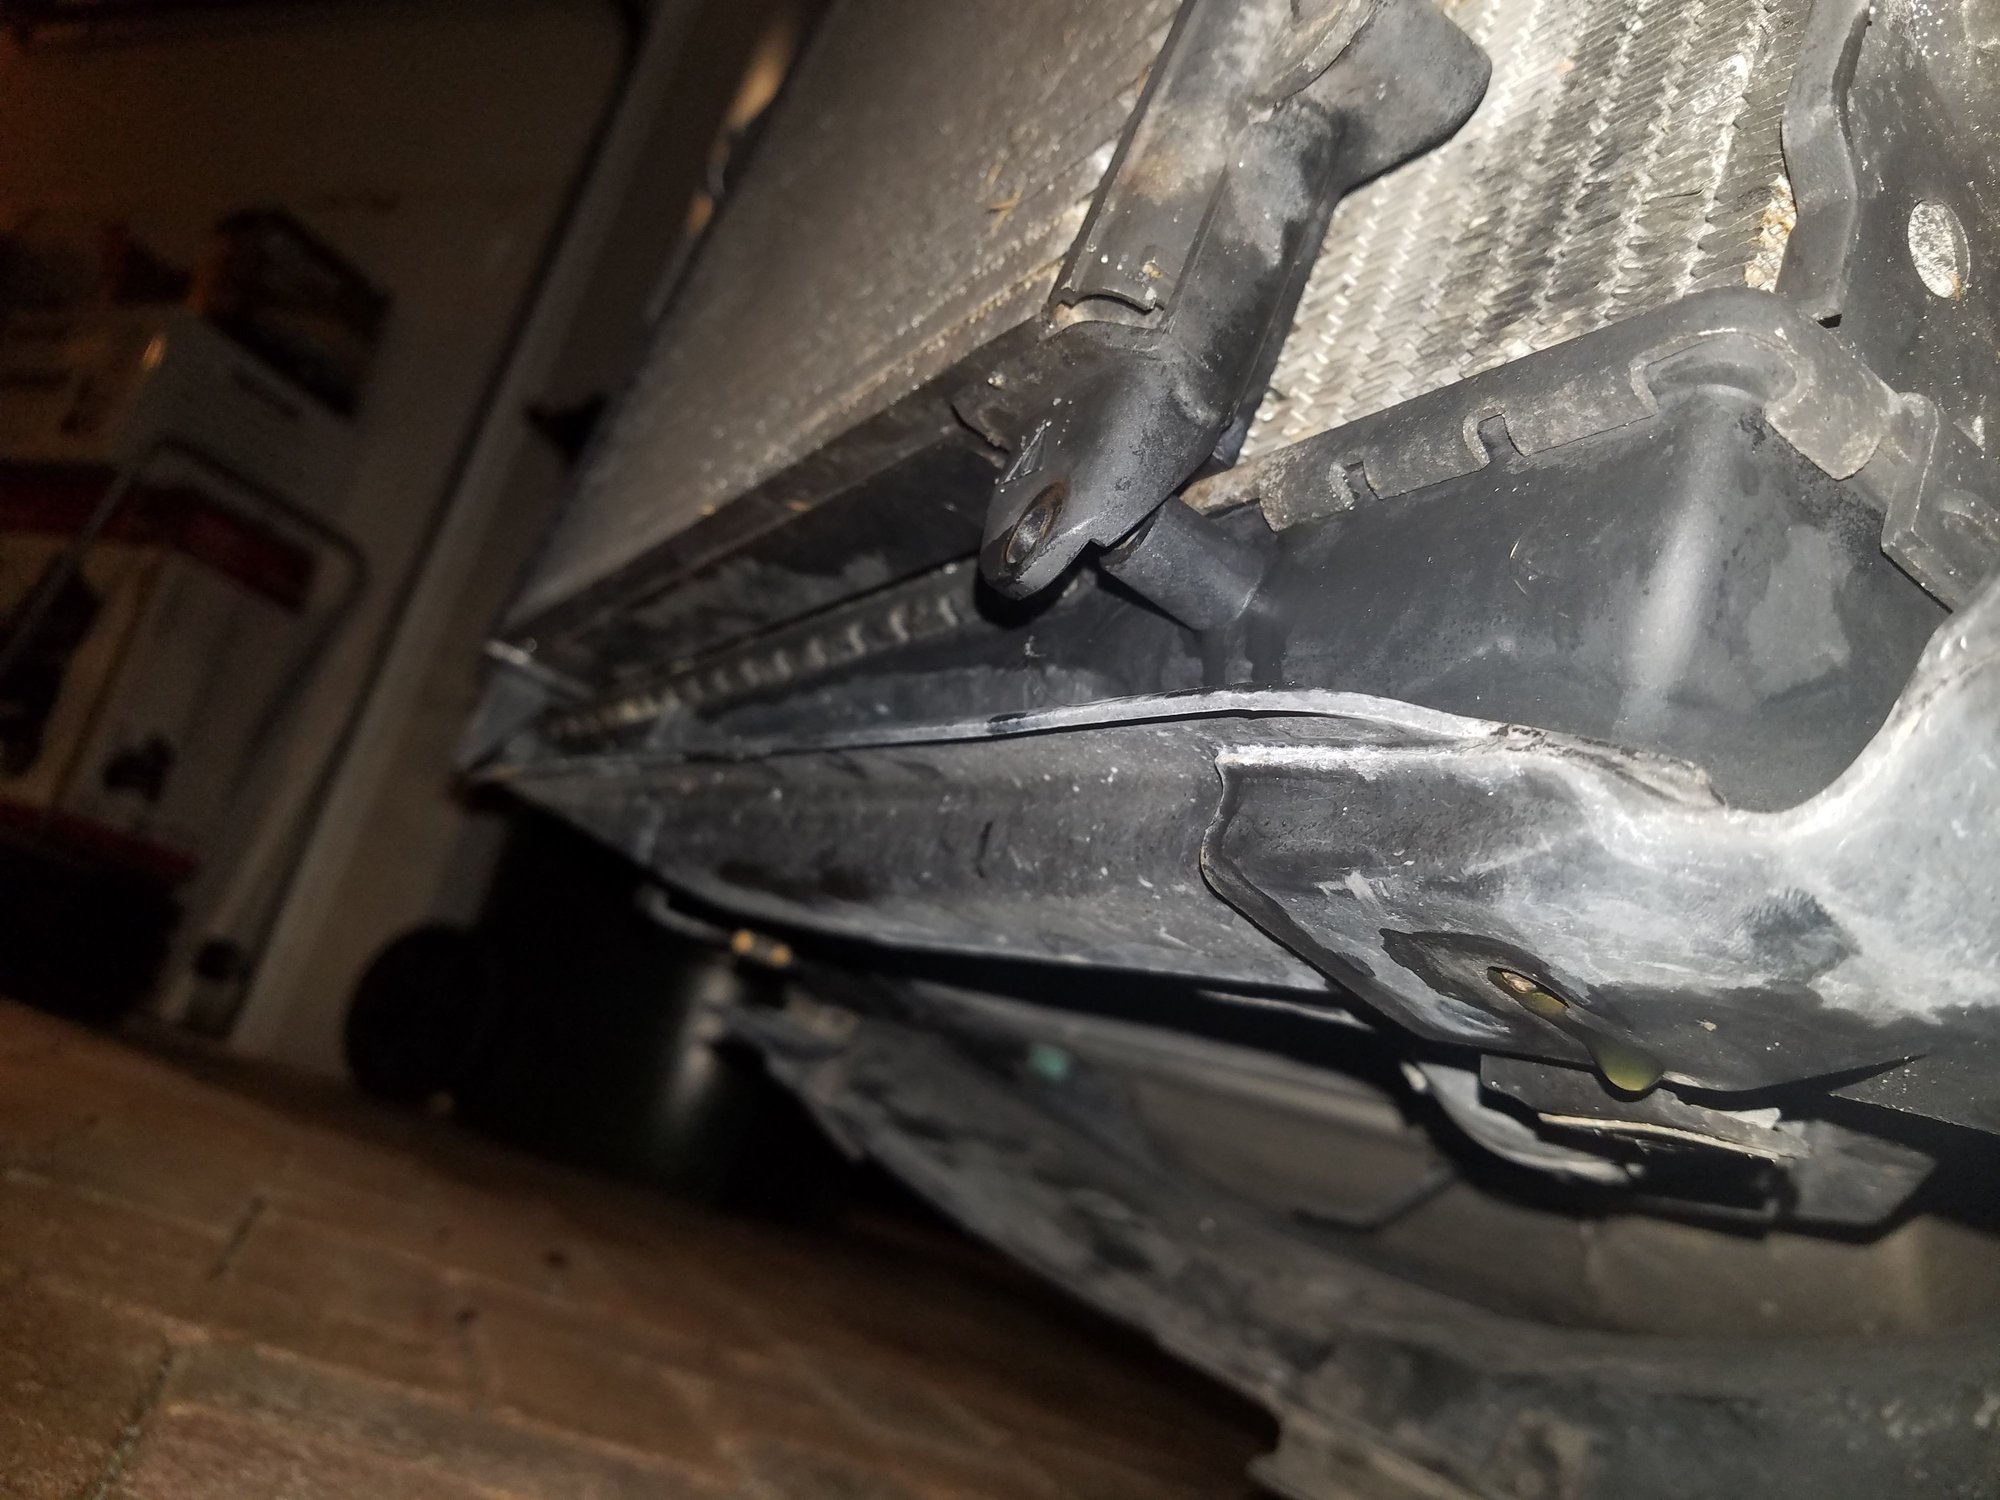
Passenger side leak
passenger side top left radiator closeup of hairline crack
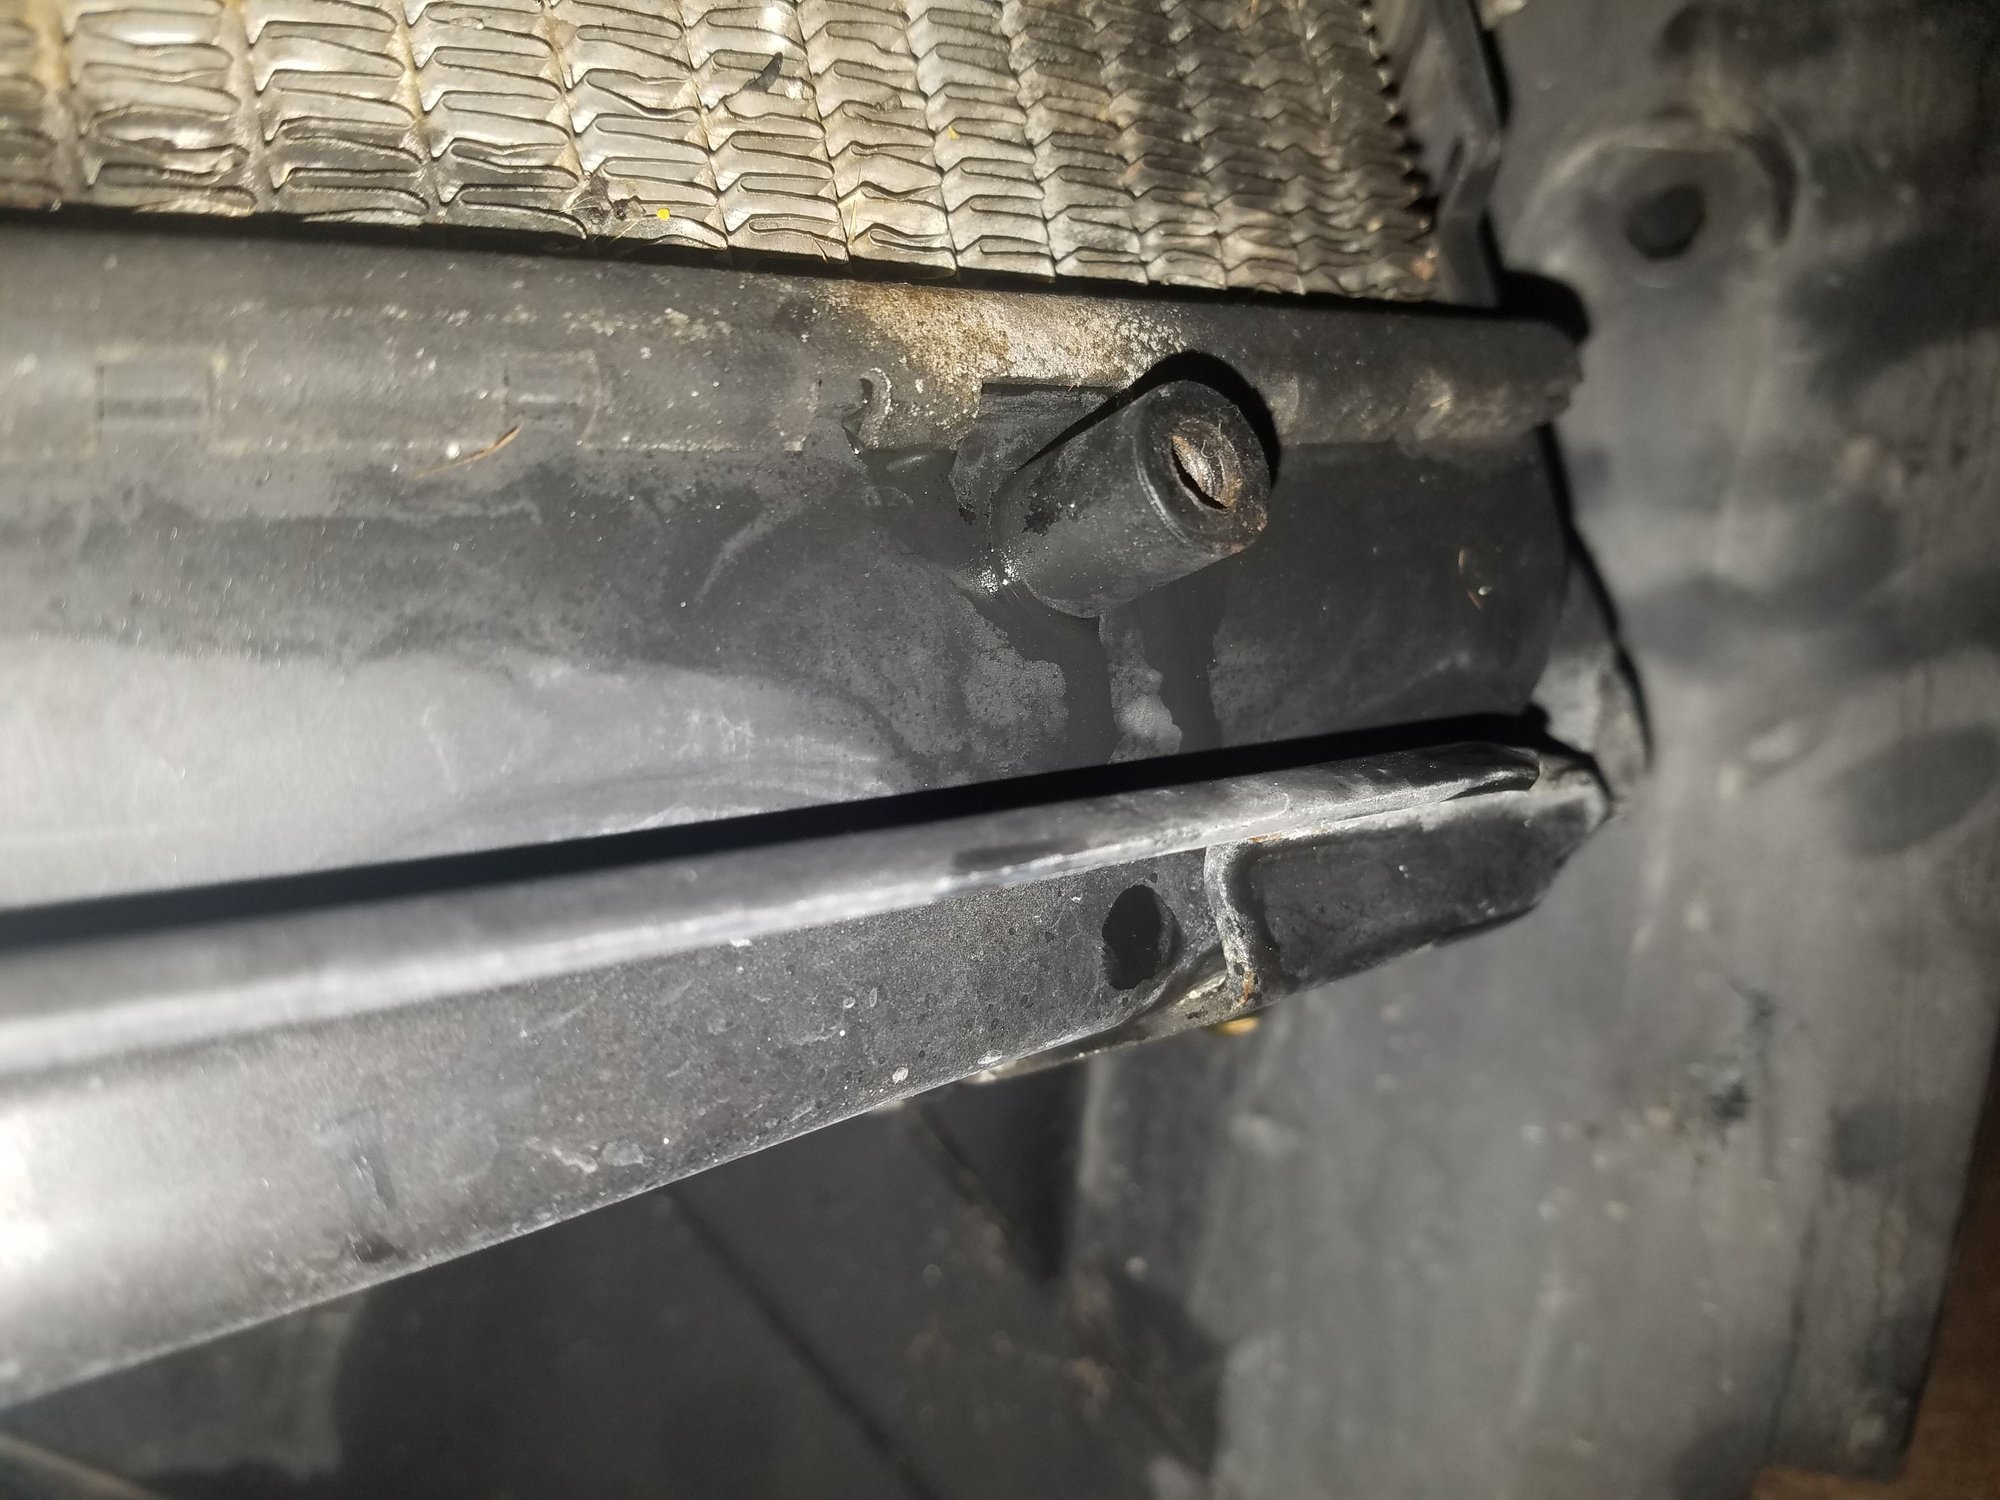
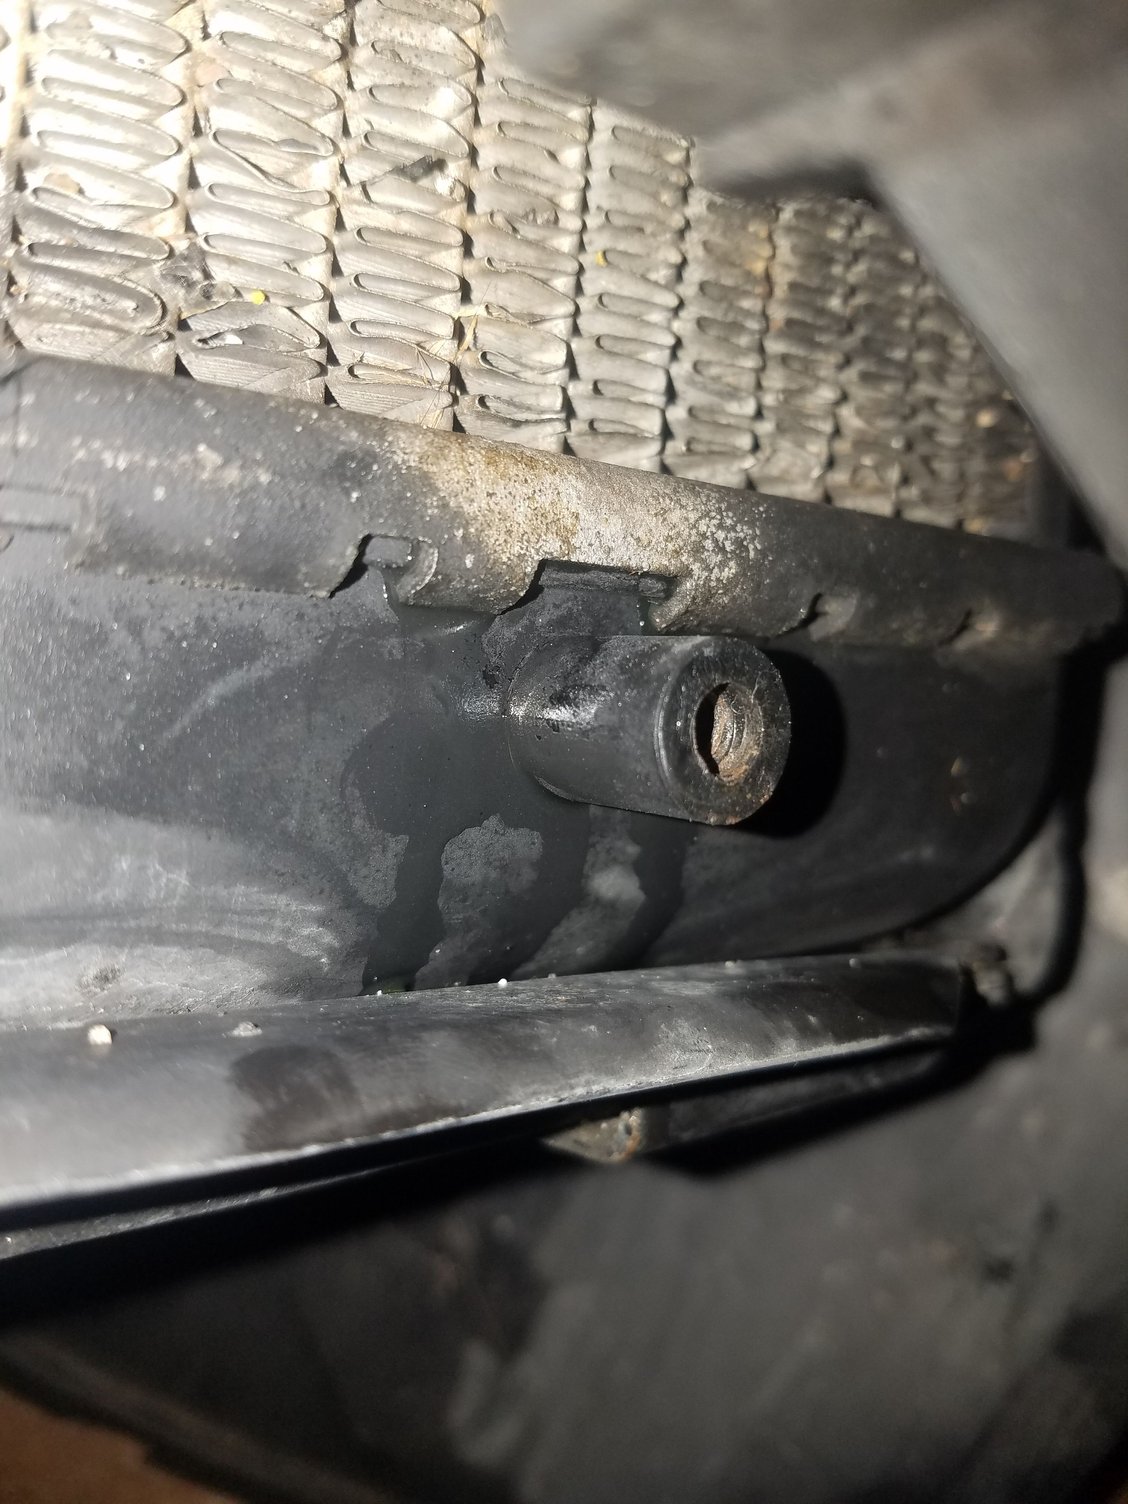
Driver side leak
driver side bottom right portion of radiator
driver side bottom right portion of radiator
driver side bottom right portion of radiator closeup of hairline crack
Unfortunately any leak of the radiator will require replacning the radiator. You really don't want to risk loosing pressure and getting the coolant to boil. For parts, you may want to check out sunset and rndeuroparts.com
Also, it's the best time to swap out the ancient green coolant with the pink coolant.
Thanks Ahsai - do you have a link to radiator removal and replacement or is this job better left for an indy? I just ordered an OEM water pump, thermostat, and coolant - do I need to replace radiator hoses as well?
I believe that the Boxster 986 and Carrera 996 have the same 2 x coolant radiators.
Genuine Porsche OEM are Behr / Hella
Fits:
Porsche 996 C2 / C4 / GT3 1997-05
Porsche 986 Boxster 1997-2004
Left: = 99610613151
Right: = 99610613251
If you want to go to a higher performance radiator (+/- 20 better efficiency) have a look at CSF who manufacture top notch stuff for competition use. They say their rads drop strait in with no mods required.
FYI, I have had really good luck with salvage yard parts. I would definitely go with new for the water pump but since the radiators seem to be an item that don't fail very often, it might be an option.
And yes it's a fairly simple DIY. Just allow plenty of time and go slow. I can't remember if you have to remove the headlights but if so, unscrew them the least amount possible to get them out. If the adjuster comes off it can be a real pain.
I believe that the Boxster 986 and Carrera 996 have the same 2 x coolant radiators.
Genuine Porsche OEM are Behr / Hella
Fits:
Porsche 996 C2 / C4 / GT3 1997-05
Porsche 986 Boxster 1997-2004
Left: = 99610613151
Right: = 99610613251
If you want to go to a higher performance radiator (+/- 20 better efficiency) have a look at CSF who manufacture top notch stuff for competition use. They say their rads drop strait in with no mods required.
thanks Stephen that's what I thought as well but am getting mixed results when searching for the replacements.
When I look up the p/N for a C4S I'm getting 996101613174 and 996101613272 - which seem to be turbo part numbers. Does the C4S share the same rad p/N as the 996TT?
Originally Posted by Slakker
FYI, I have had really good luck with salvage yard parts. I would definitely go with new for the water pump but since the radiators seem to be an item that don't fail very often, it might be an option.
And yes it's a fairly simple DIY. Just allow plenty of time and go slow. I can't remember if you have to remove the headlights but if so, unscrew them the least amount possible to get them out. If the adjuster comes off it can be a real pain.
I can get a 986 radiator for about $80, just trying to confirm it will fit a C4S, seems like 996 base is a direct fit but the C4S may share parts with the 996TT. New AKG replacements are about $400 each.
the job looks straightforward enough, I will also be replacing the WP, thermostat, idler pulleys and belt.

 11-16-2016, 11:47 PM