When you click on links to various merchants on this site and make a purchase, this can result in this site earning a commission. Affiliate programs and affiliations include, but are not limited to, the eBay Partner Network.
996 Transmission Rebuild and Pinion Bearing Replacement DIY
996 Transmission Rebuild and Pinion Bearing Replacement DIY
I have seen a few posts over the past little while about 996 owners experiencing transmission noise, described as a whine or whir, or sometimes a roar, when accelerating or decelerating. Often this is caused by a failing pinion bearing. My pinion bearing started to fail in 2016. Given that my transmission seems to be working fine other than the noise I decided to attempt to rebuild it with just replacement bearings as the cost of the bearings are ~$800.
A big challenge in taking on this job is the lack of information available. The factory manual doesn't outline how to replace the bearing, so this job was completed from research on bits of information I picked up on forums, shops that specialize in these repairs, and factory parts breakdown diagrams. I hope that this thread will at least help some people understand what the job involves that are interested in rebuilding.
One important thing I want to make clear is that this write up is to be used for information only. I cannot say for sure if my procedure is correct, but my rebuild was successful. As always, use PPE when doing any work on your vehicle and take all necessary steps to ensure your working in a safe environment.
Checking the Pinion Bearing:
An easy way I have read to check if the pinion bearing is starting to fail is to pull the drain plug from the base of the transmission, poke a finger in the drain hole, bend it toward the front of the car, and see if a thick grey substance has built up. This is the grease from the pinion bearing the leaked from the bearing and out into the transmission around the magnet. This was the case in the transmission in my 1999 996 C2, and this combined with the noise was enough for me to diagnose the pinion bearing.
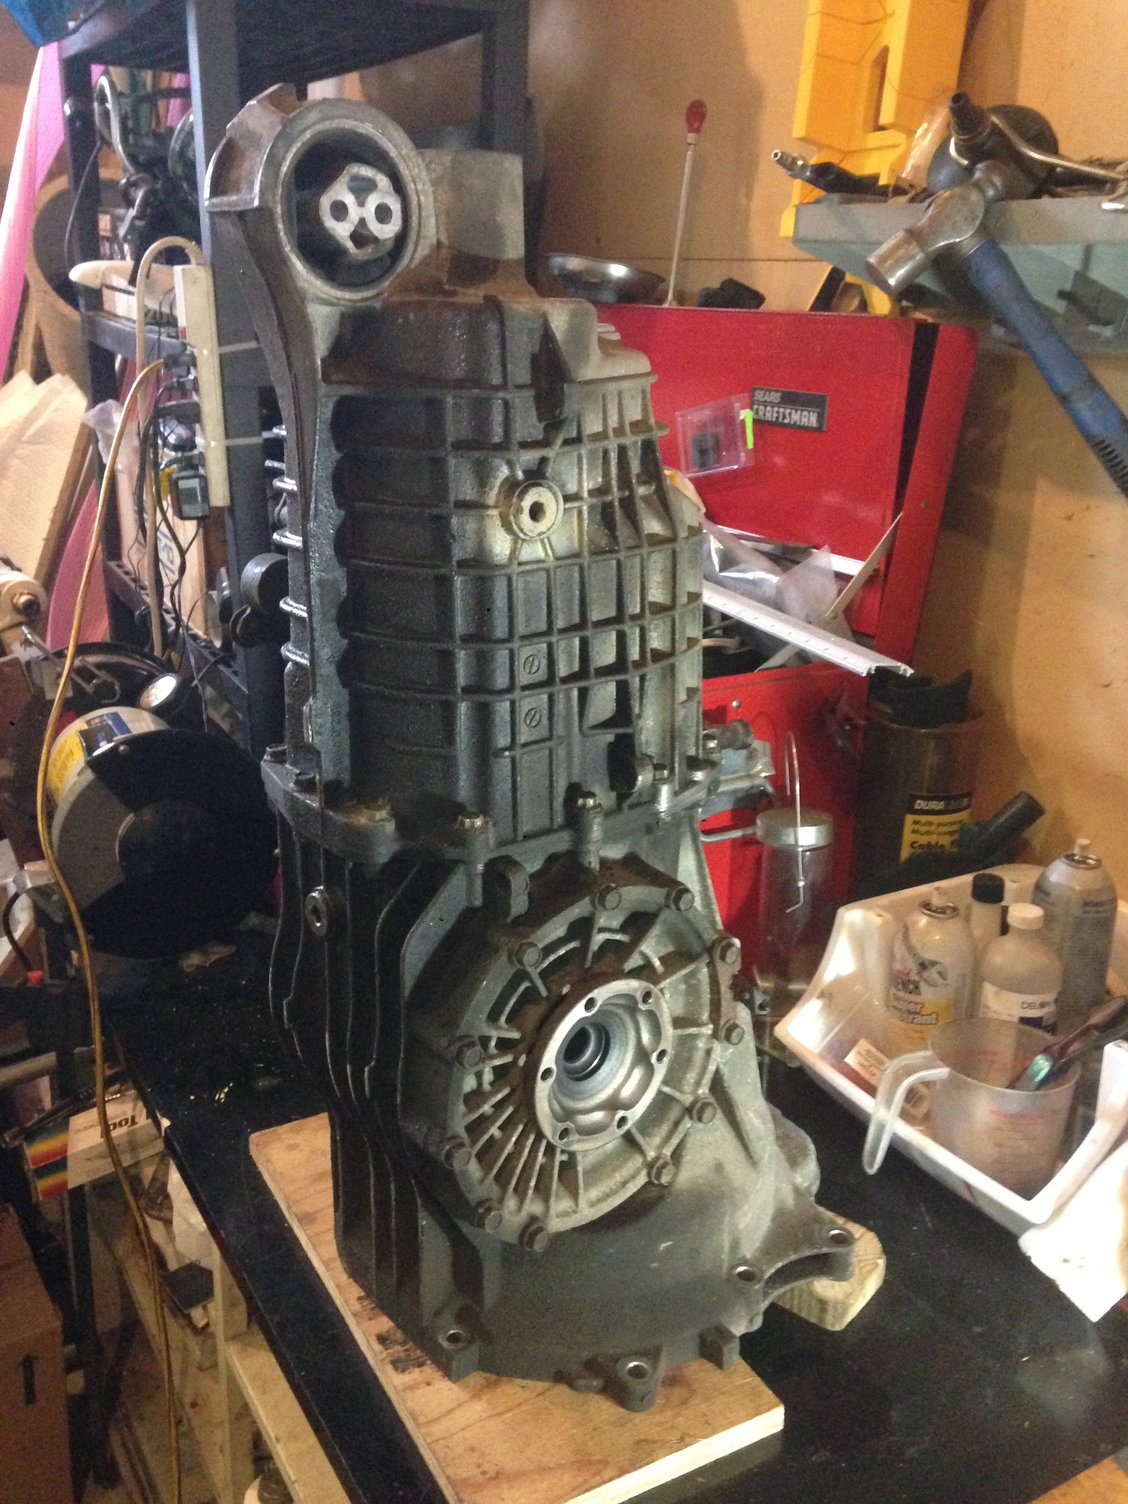
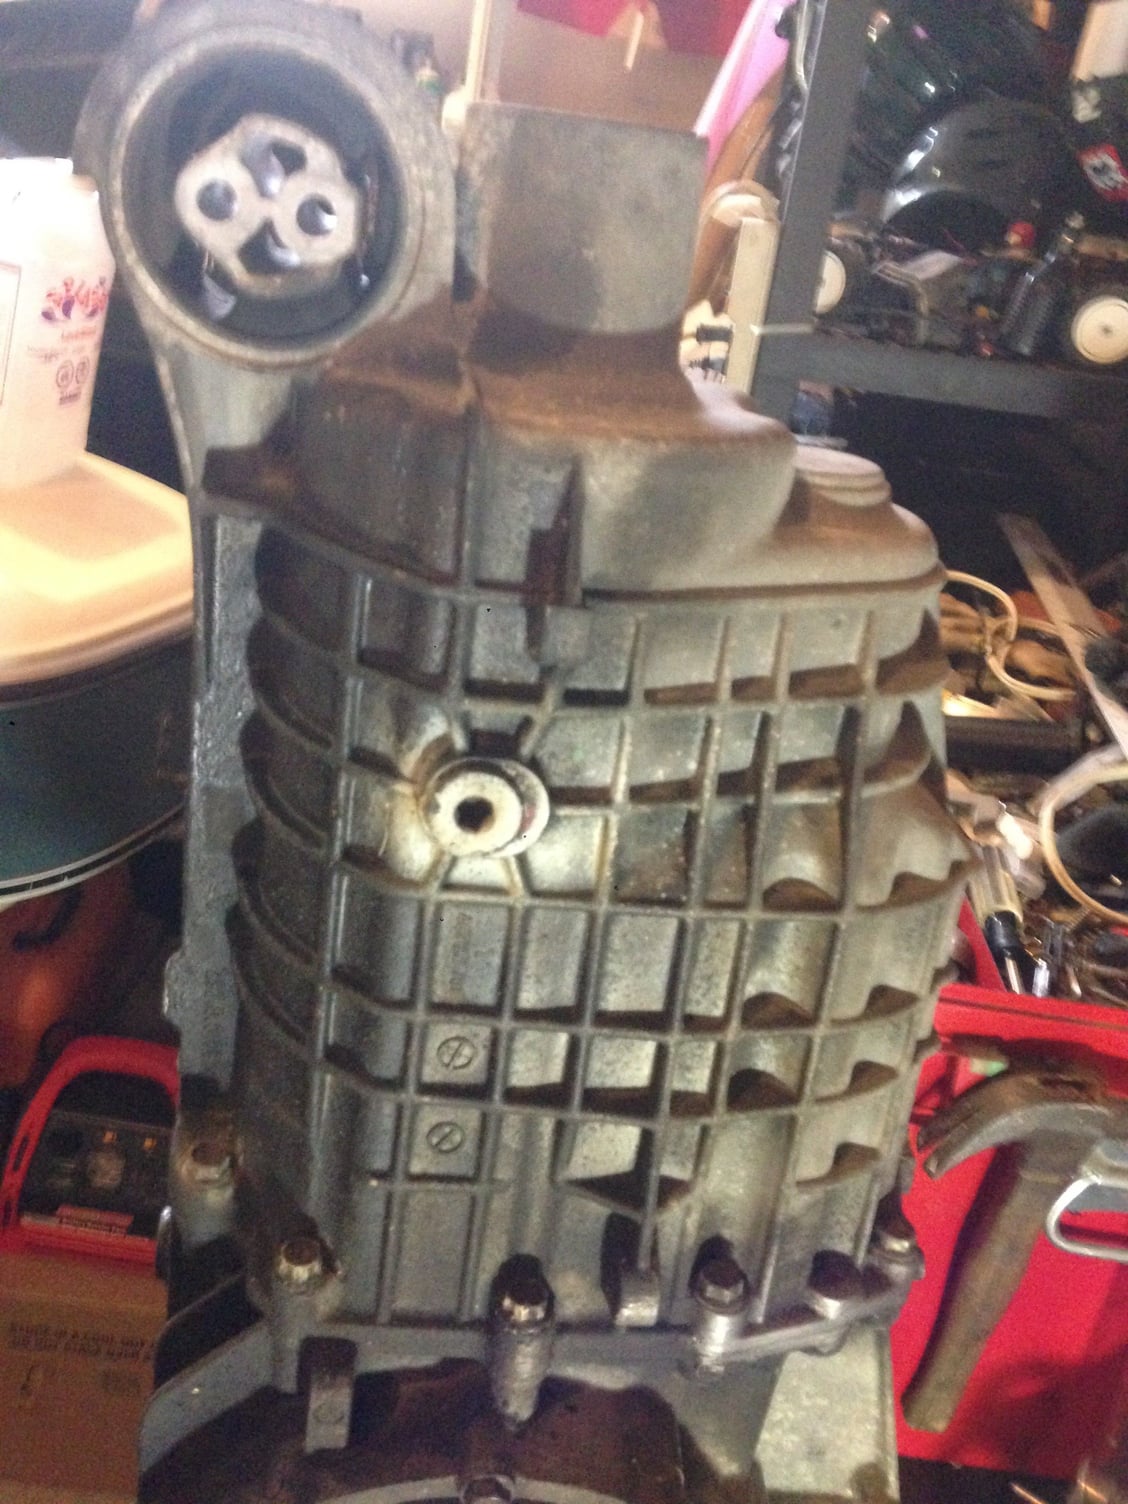
Disassembling the Transmisson:
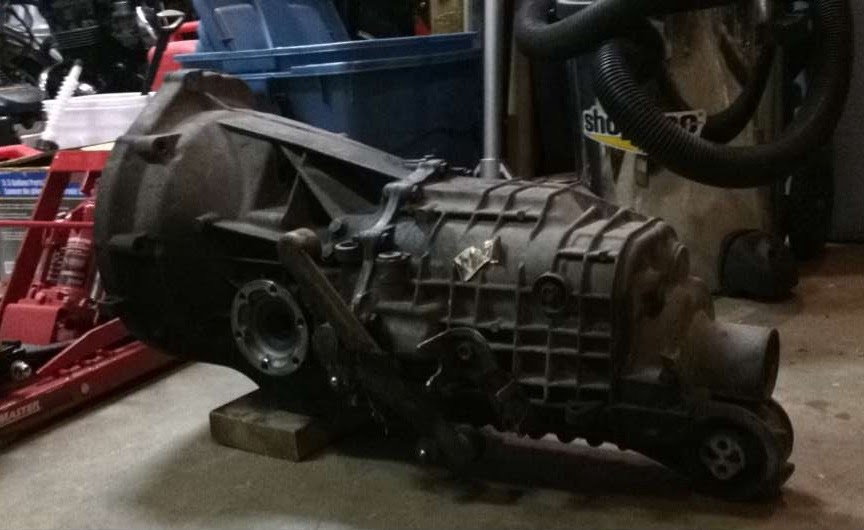
Once the transmission is removed from the vehicle, disassembly can begin. The first step is to remove the bolts holding the nose cone onto the transmission. Once these are removed the cone can come straight off.
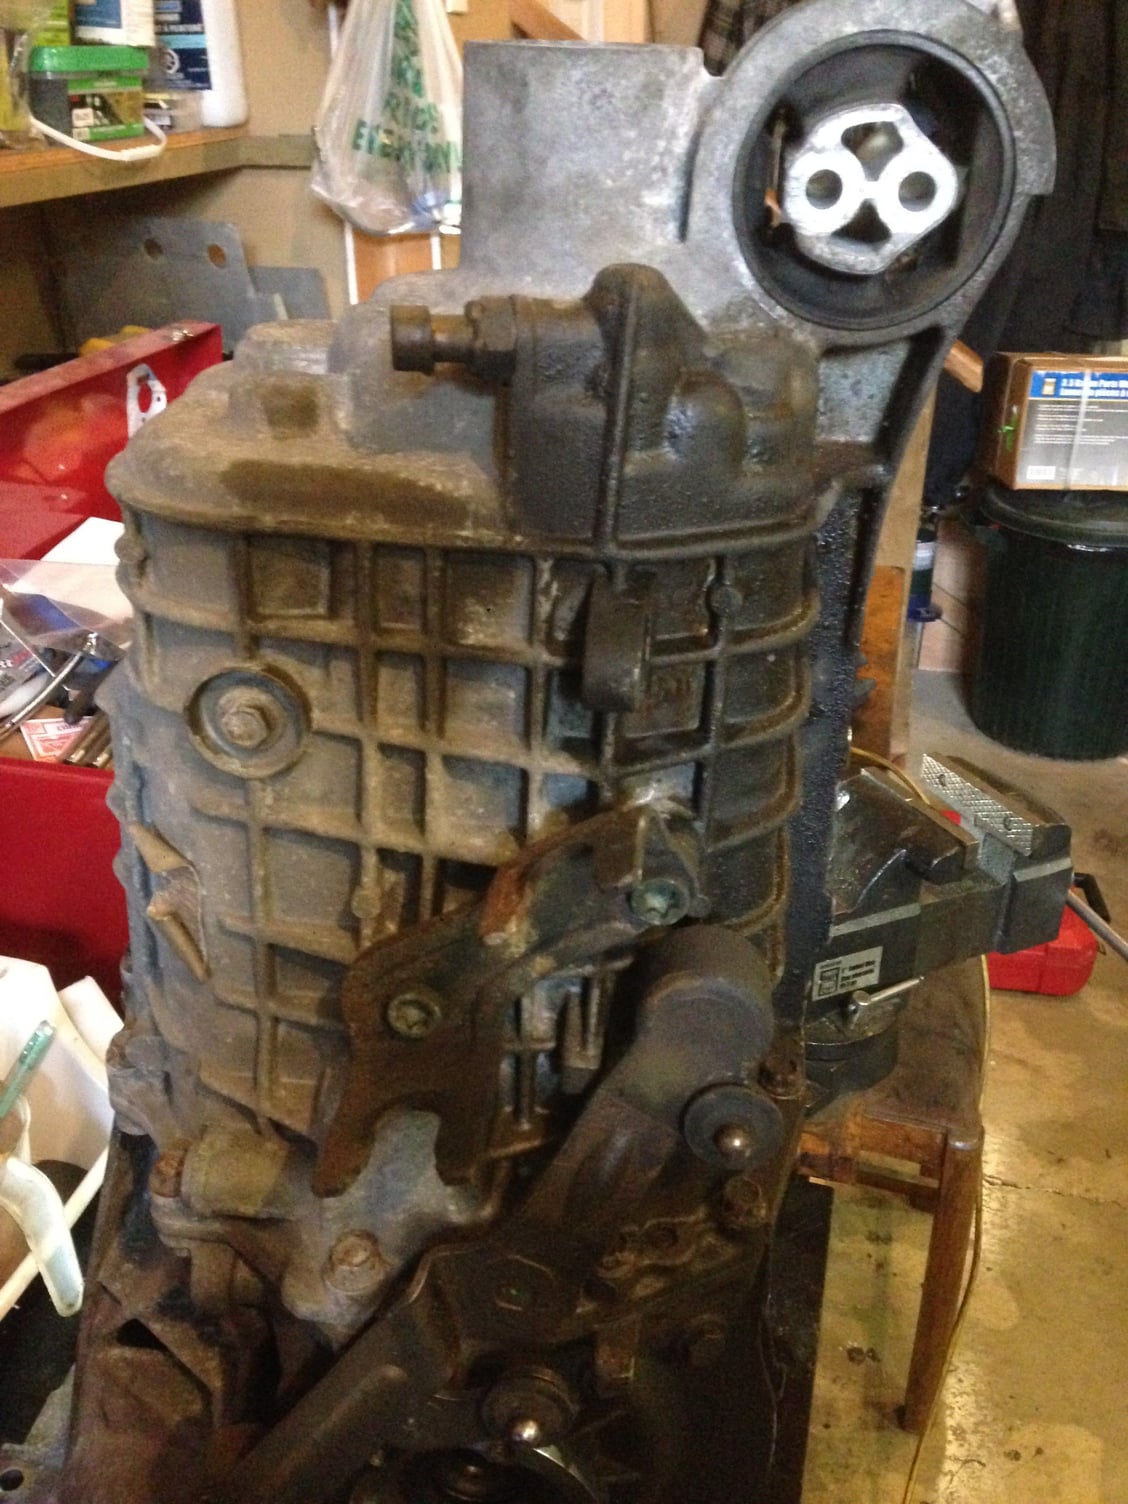
The next step is to remove the shift forks. There are a total of 5 forks, and the order does matter when removing for a couple of them so be sure to note what order they are removed. I numbered mine with painters tape as i removed them.
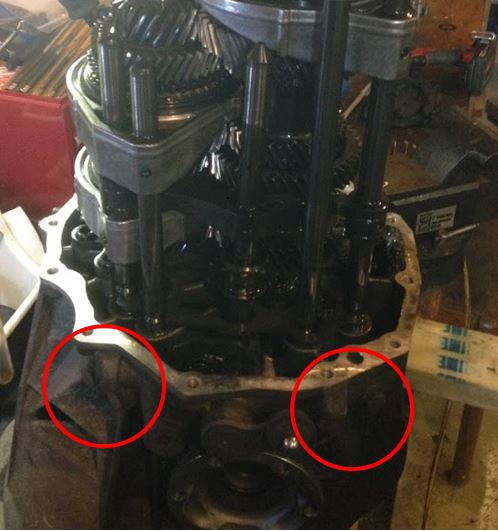
First, remove the 4 bolts on the outside of the transmission case that hole the shift rod ball and springs in place. Once each bolt is removed, remove the ball and spring, then bag and tag so you don't lose them.
The shift fork is fastened to the rod with roll pins. I used a punch to hammer out the pin from the fork. Once the pin is removed, the rod can slide up through the fork, then the fork can be removed. Be sure to tag each pin as removed for re-installation.
Take caution when removing the center fork (shortest) as there are 4 little washers that fit into a profile in the transmission case that can fall and go missing.
Now that the forks are out of the way, the gear cluster can be removed. To do this, first remove the torx bolts that fasten the base plate to the housing.
The cluster is held now just by the tight fit of the pinion bearing and Mainshaft bearing in the case. To remove this, I heated the case slowly using a propane torch (not to hit, the case is cast aluminum), then used some pry bars to carefully remove from the case.
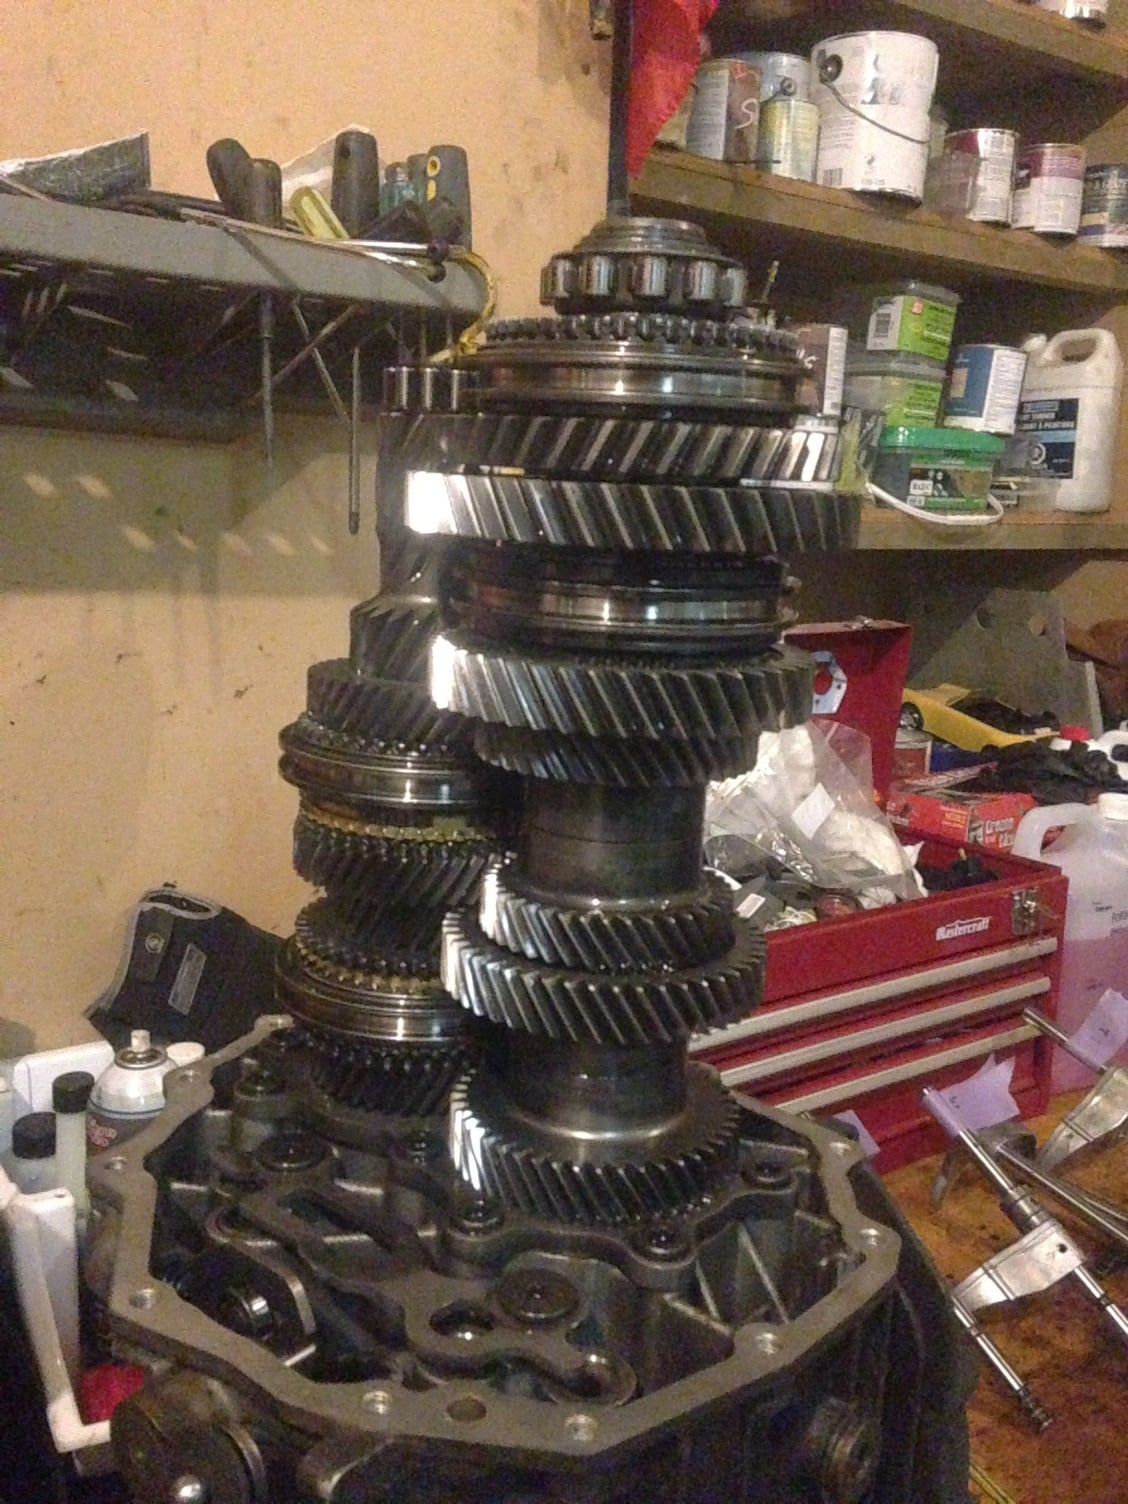
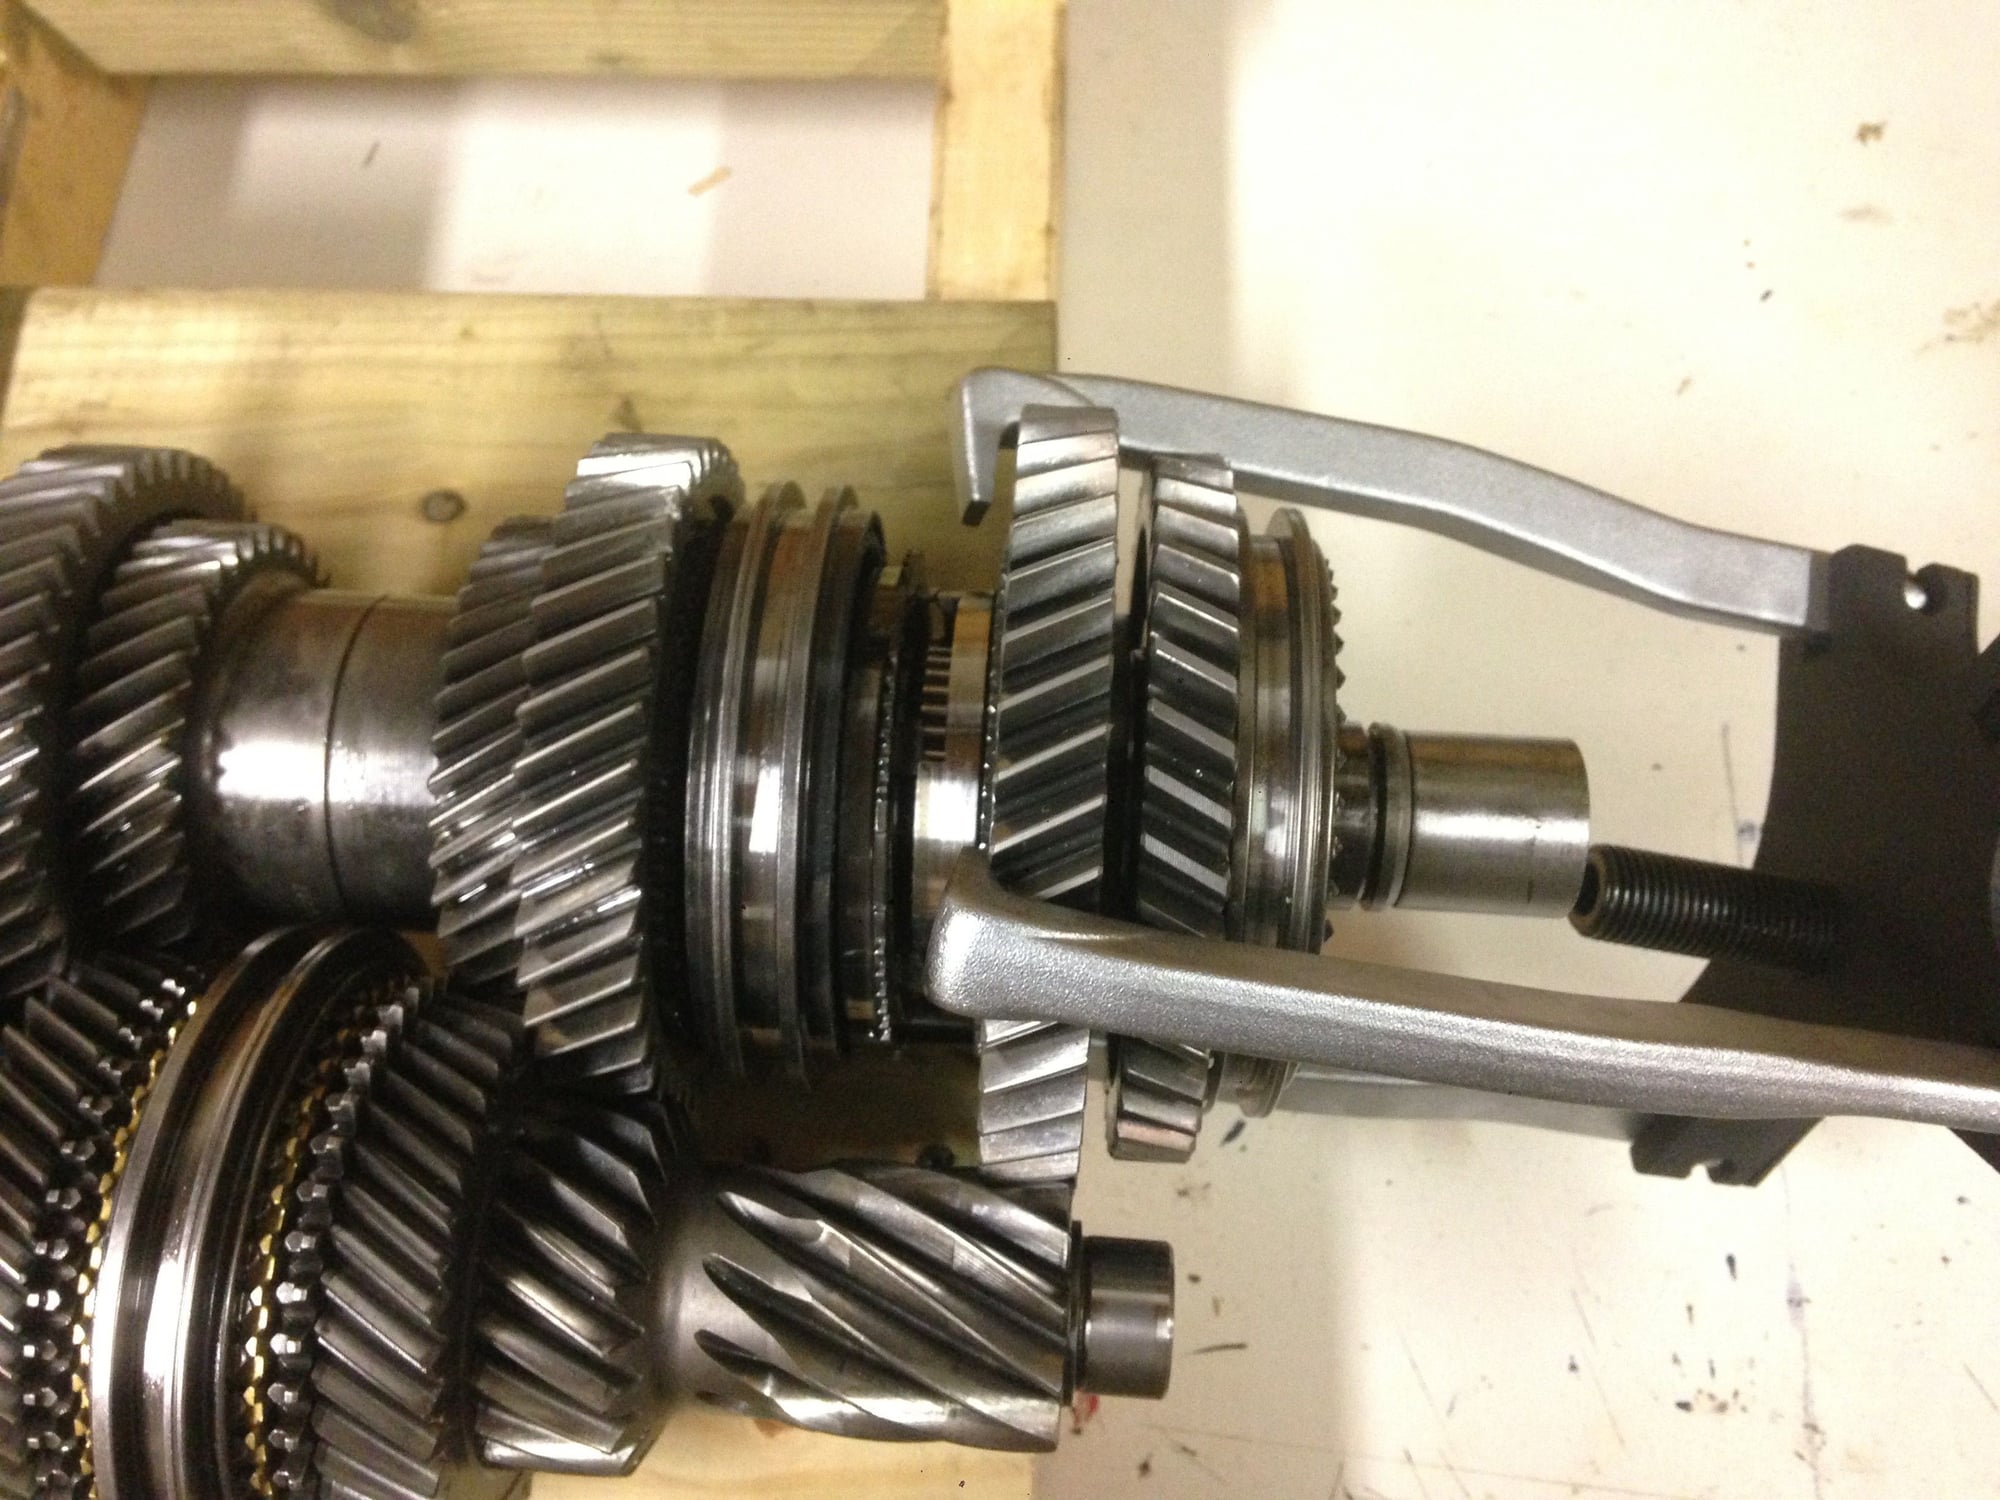
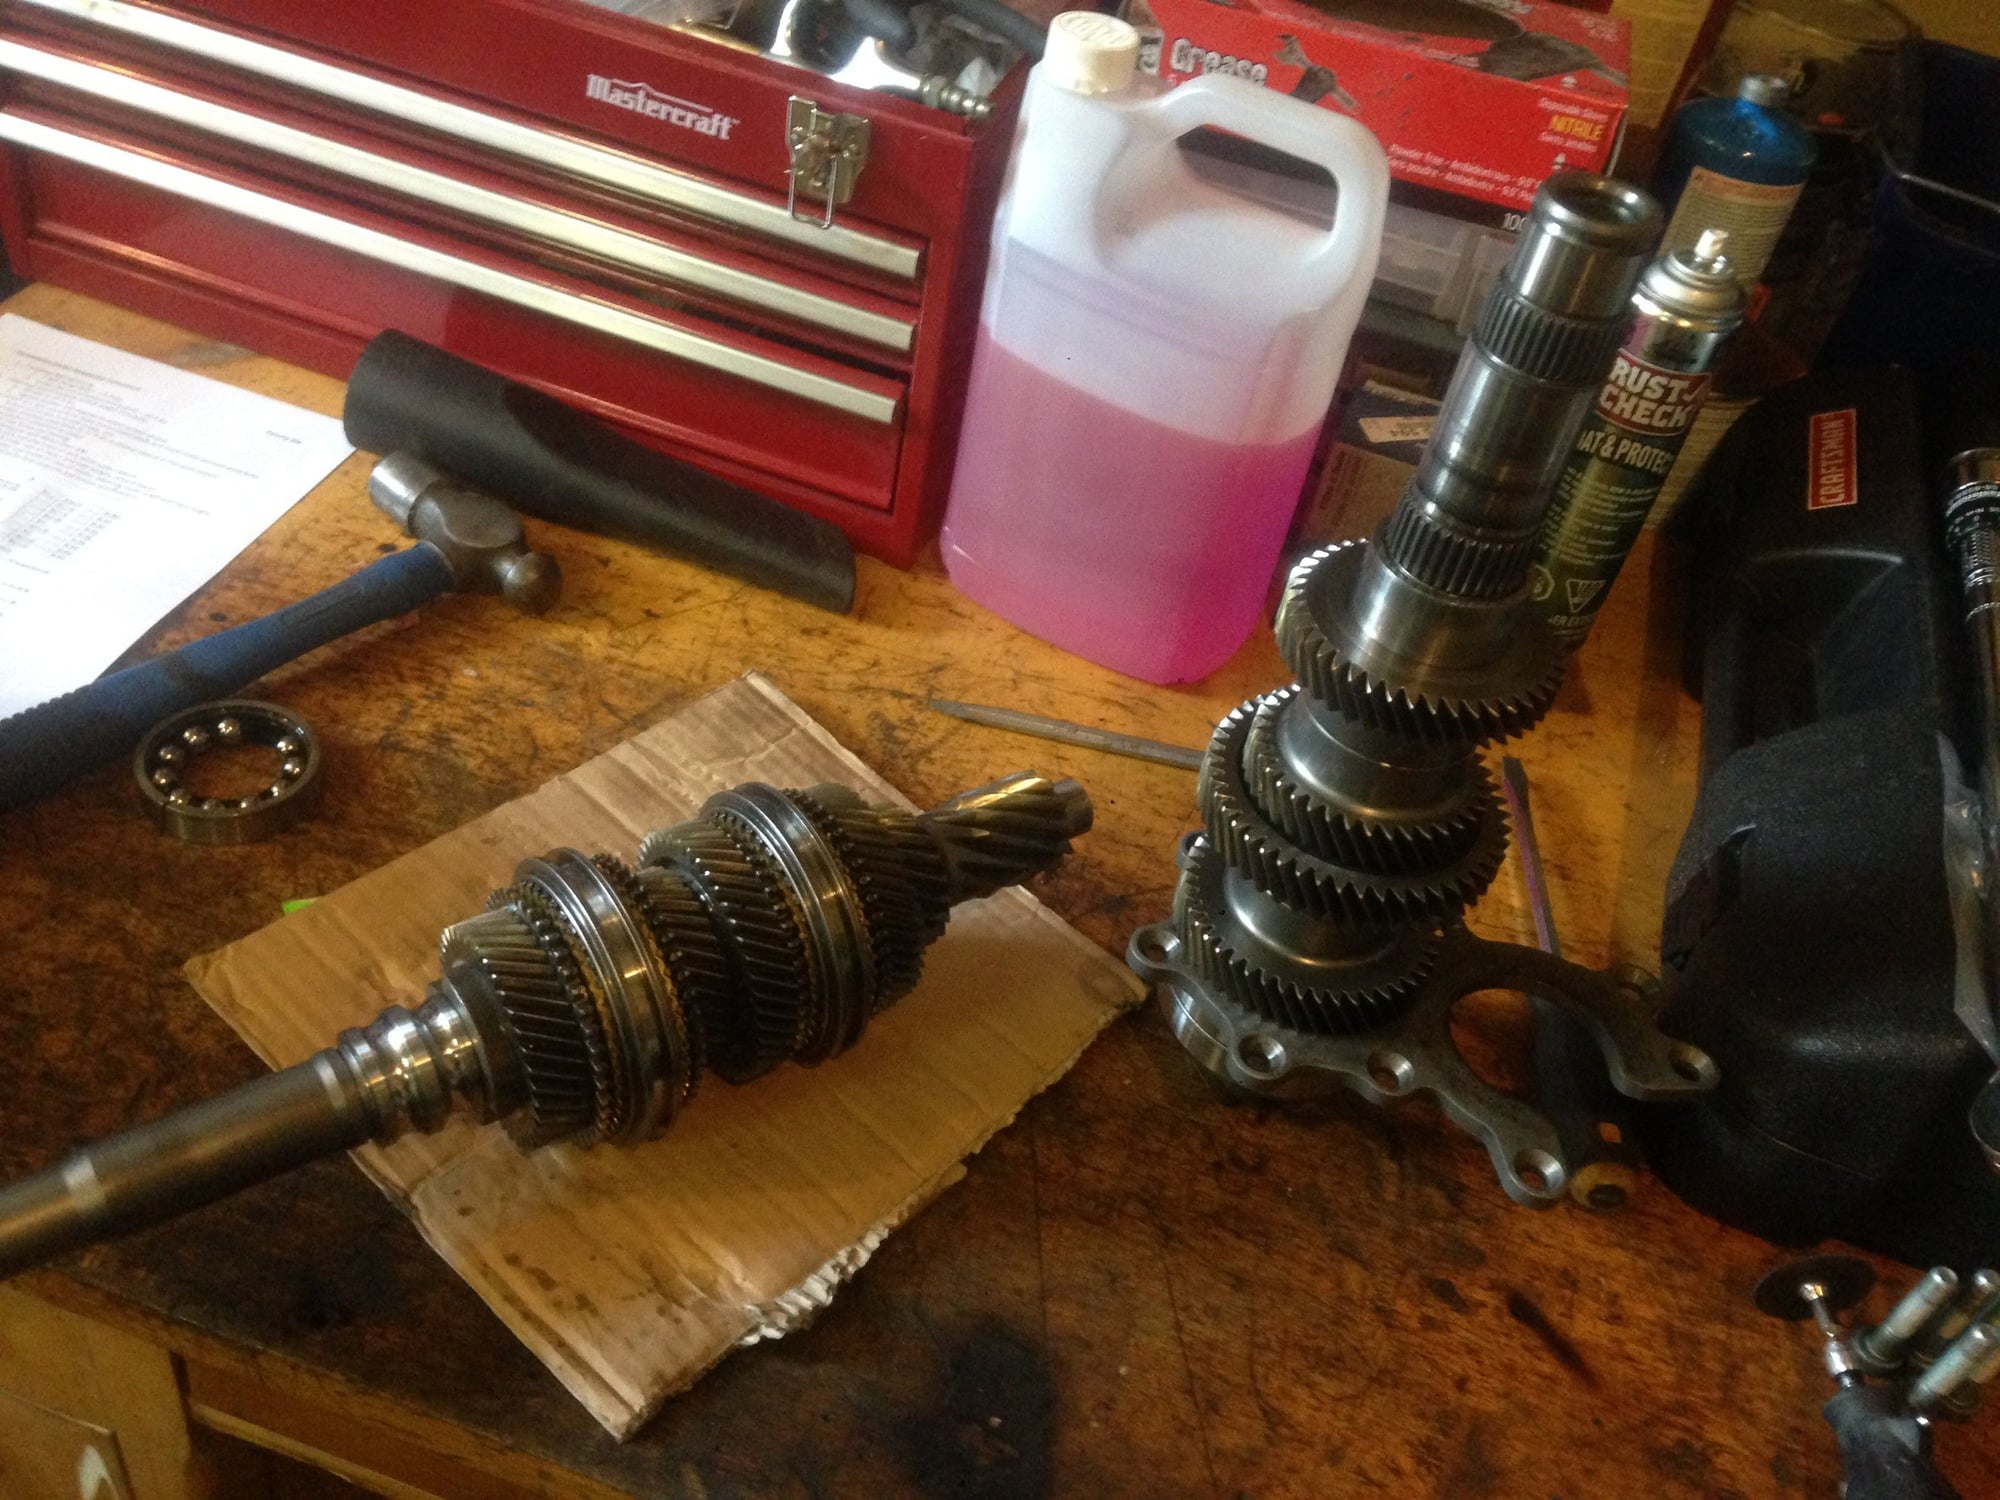
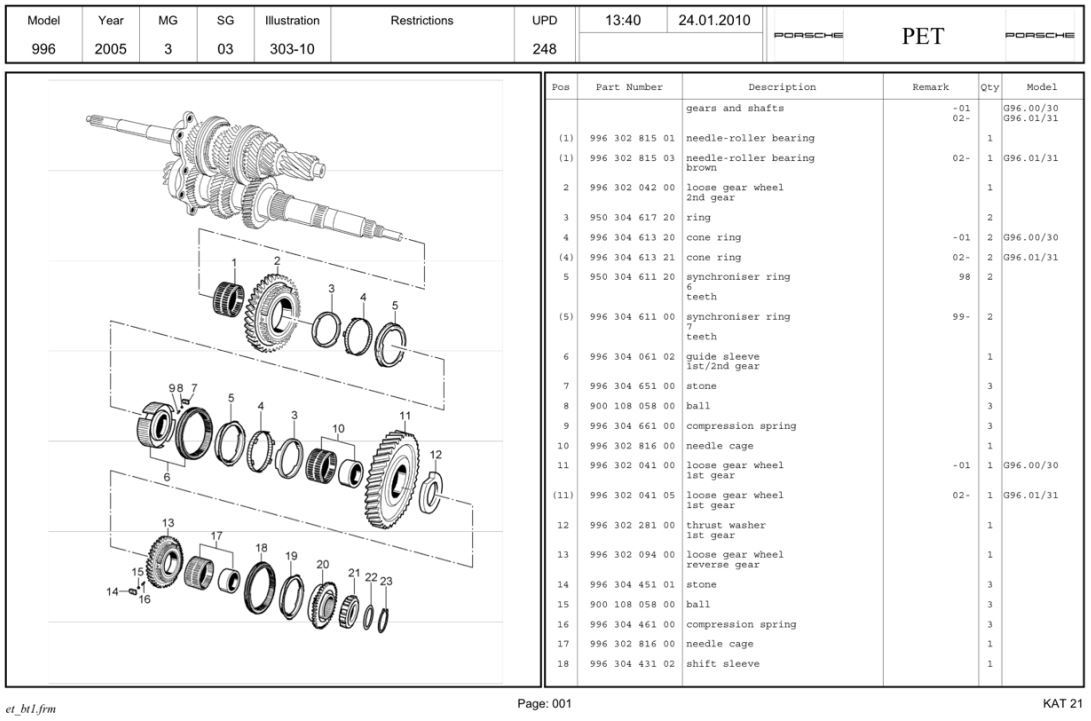
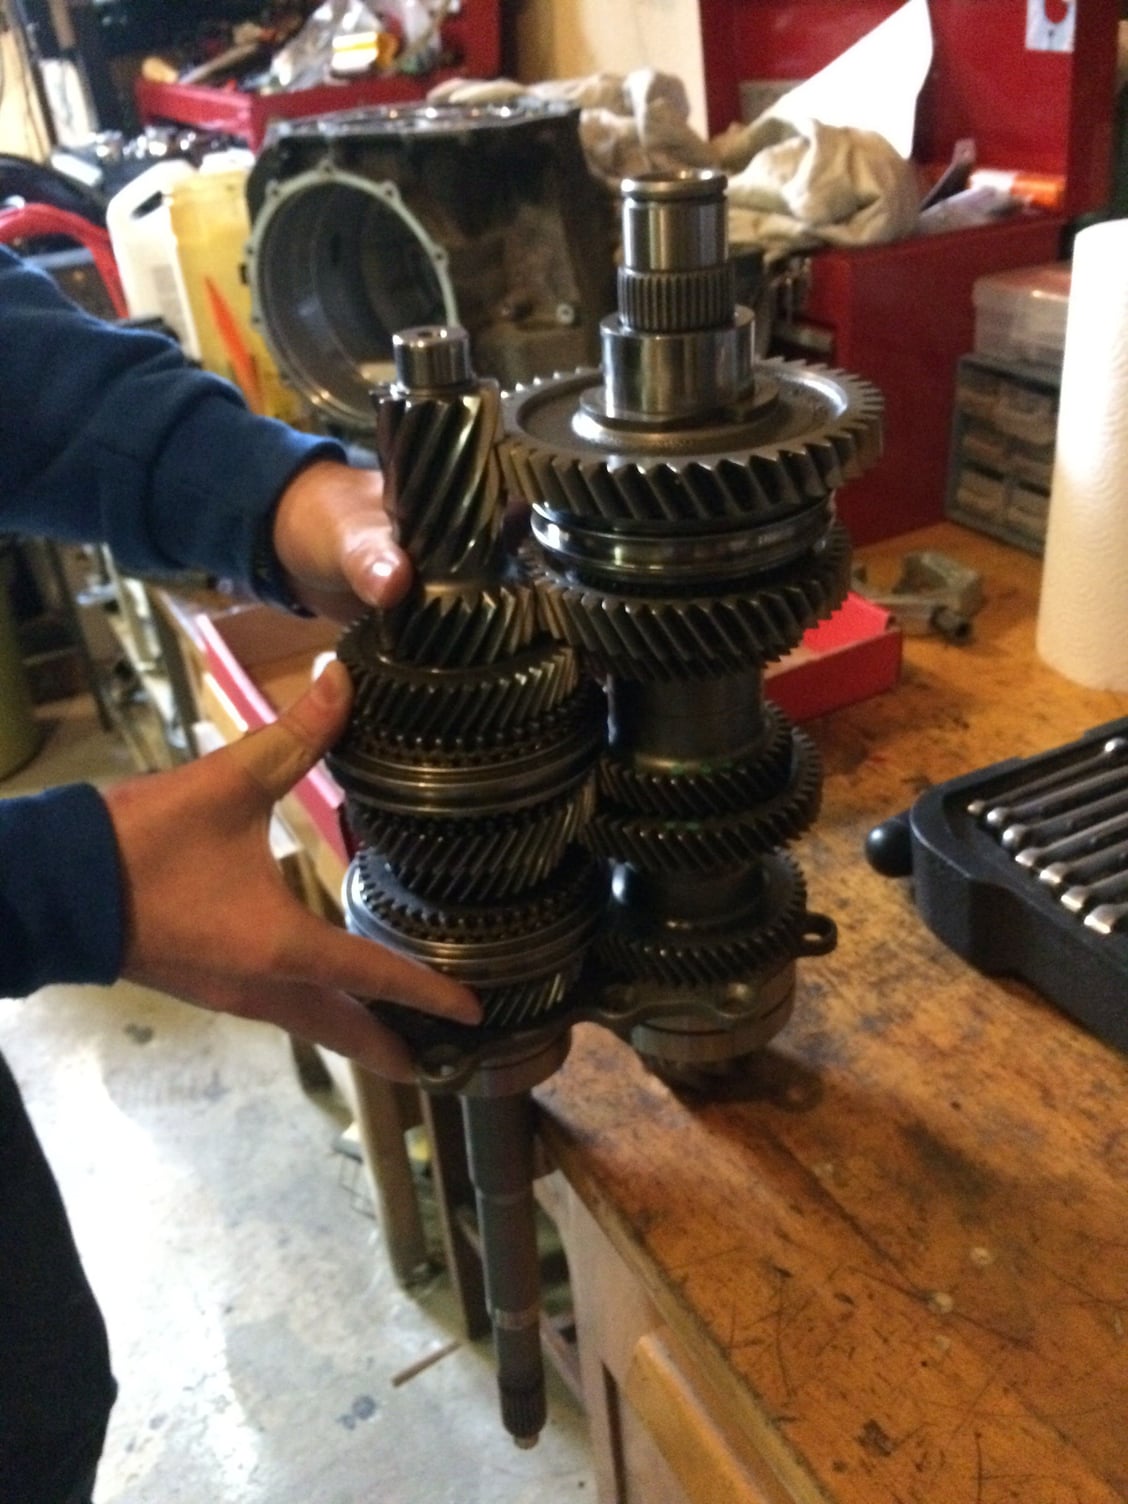
Once the cluster is removed from the case, it is time to start breaking down the gear stacks. Note that the pinion bearing is the larger of the two bearings, and all gears on the counter shaft must be removed to get to the pinion bearing.
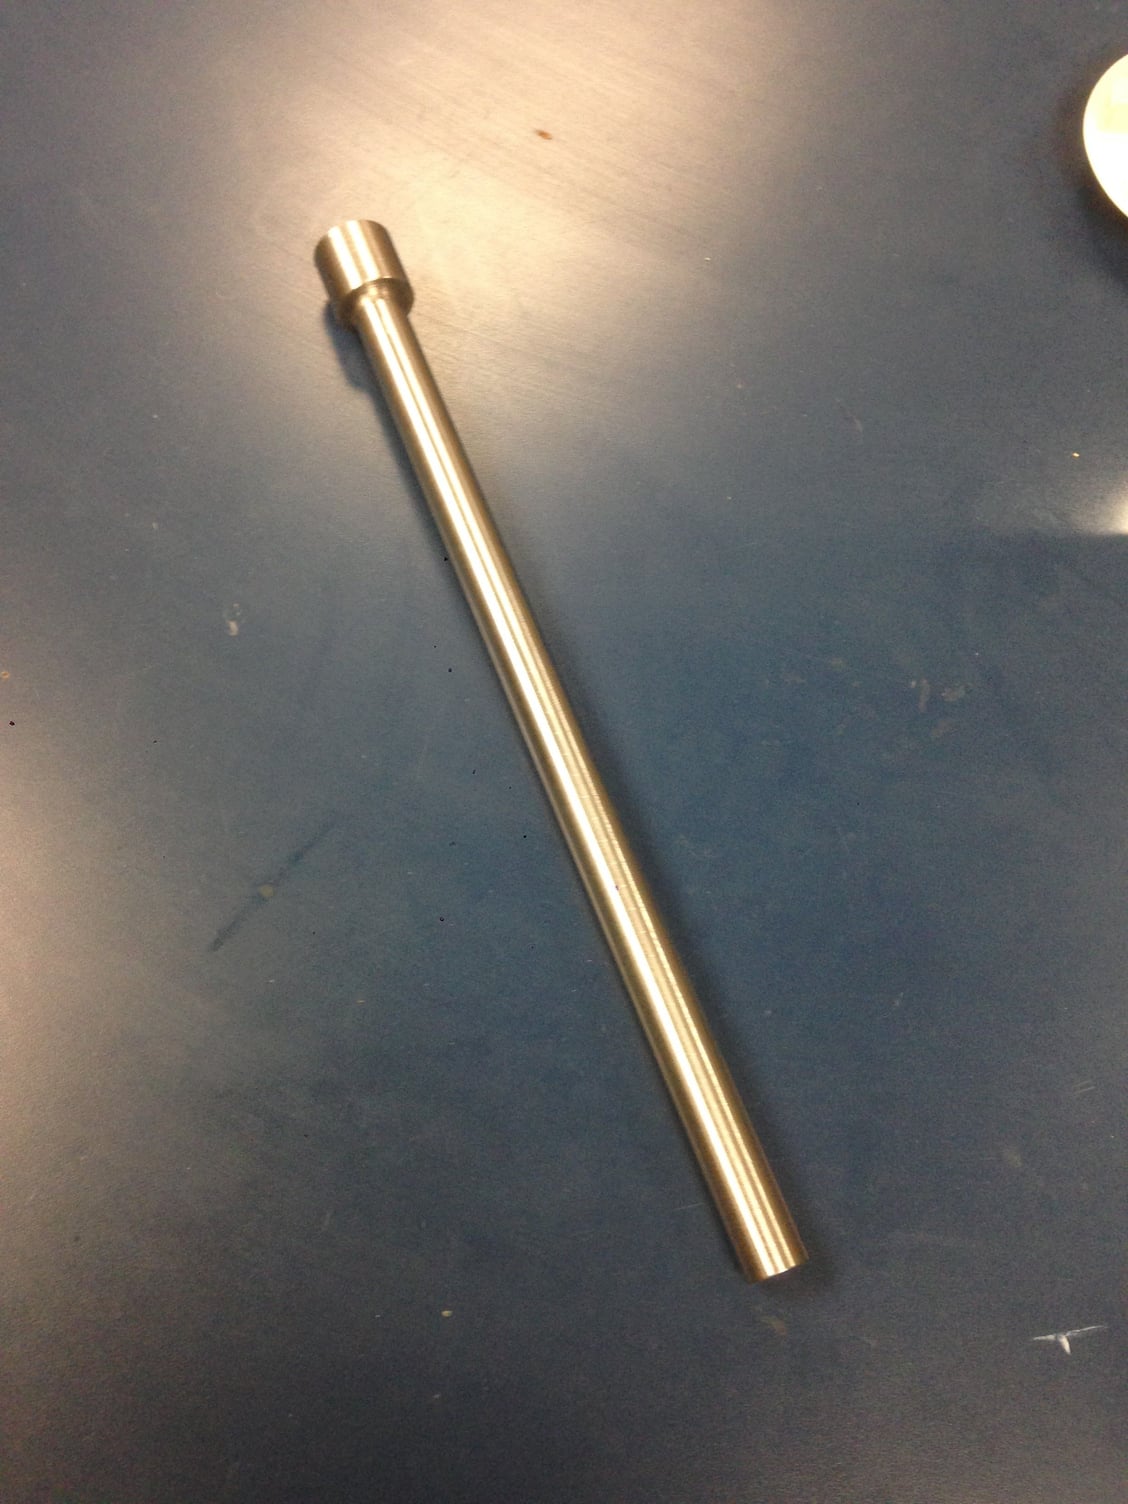
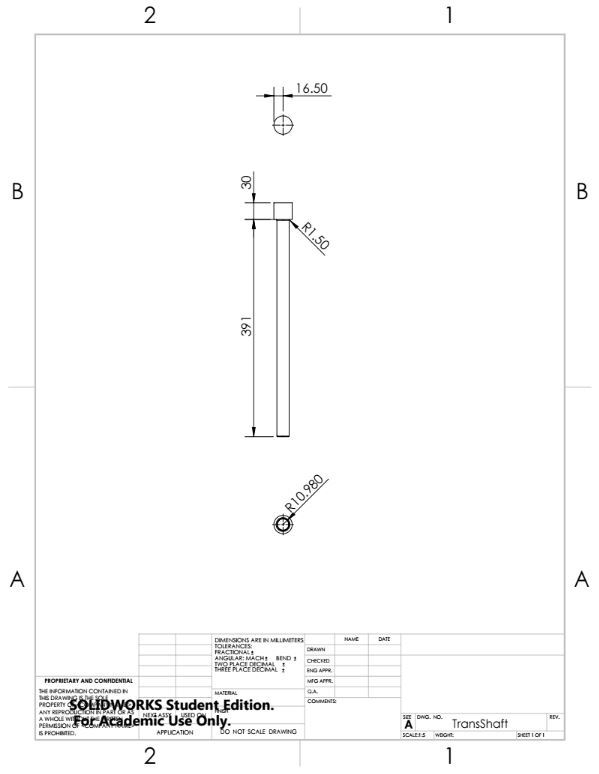
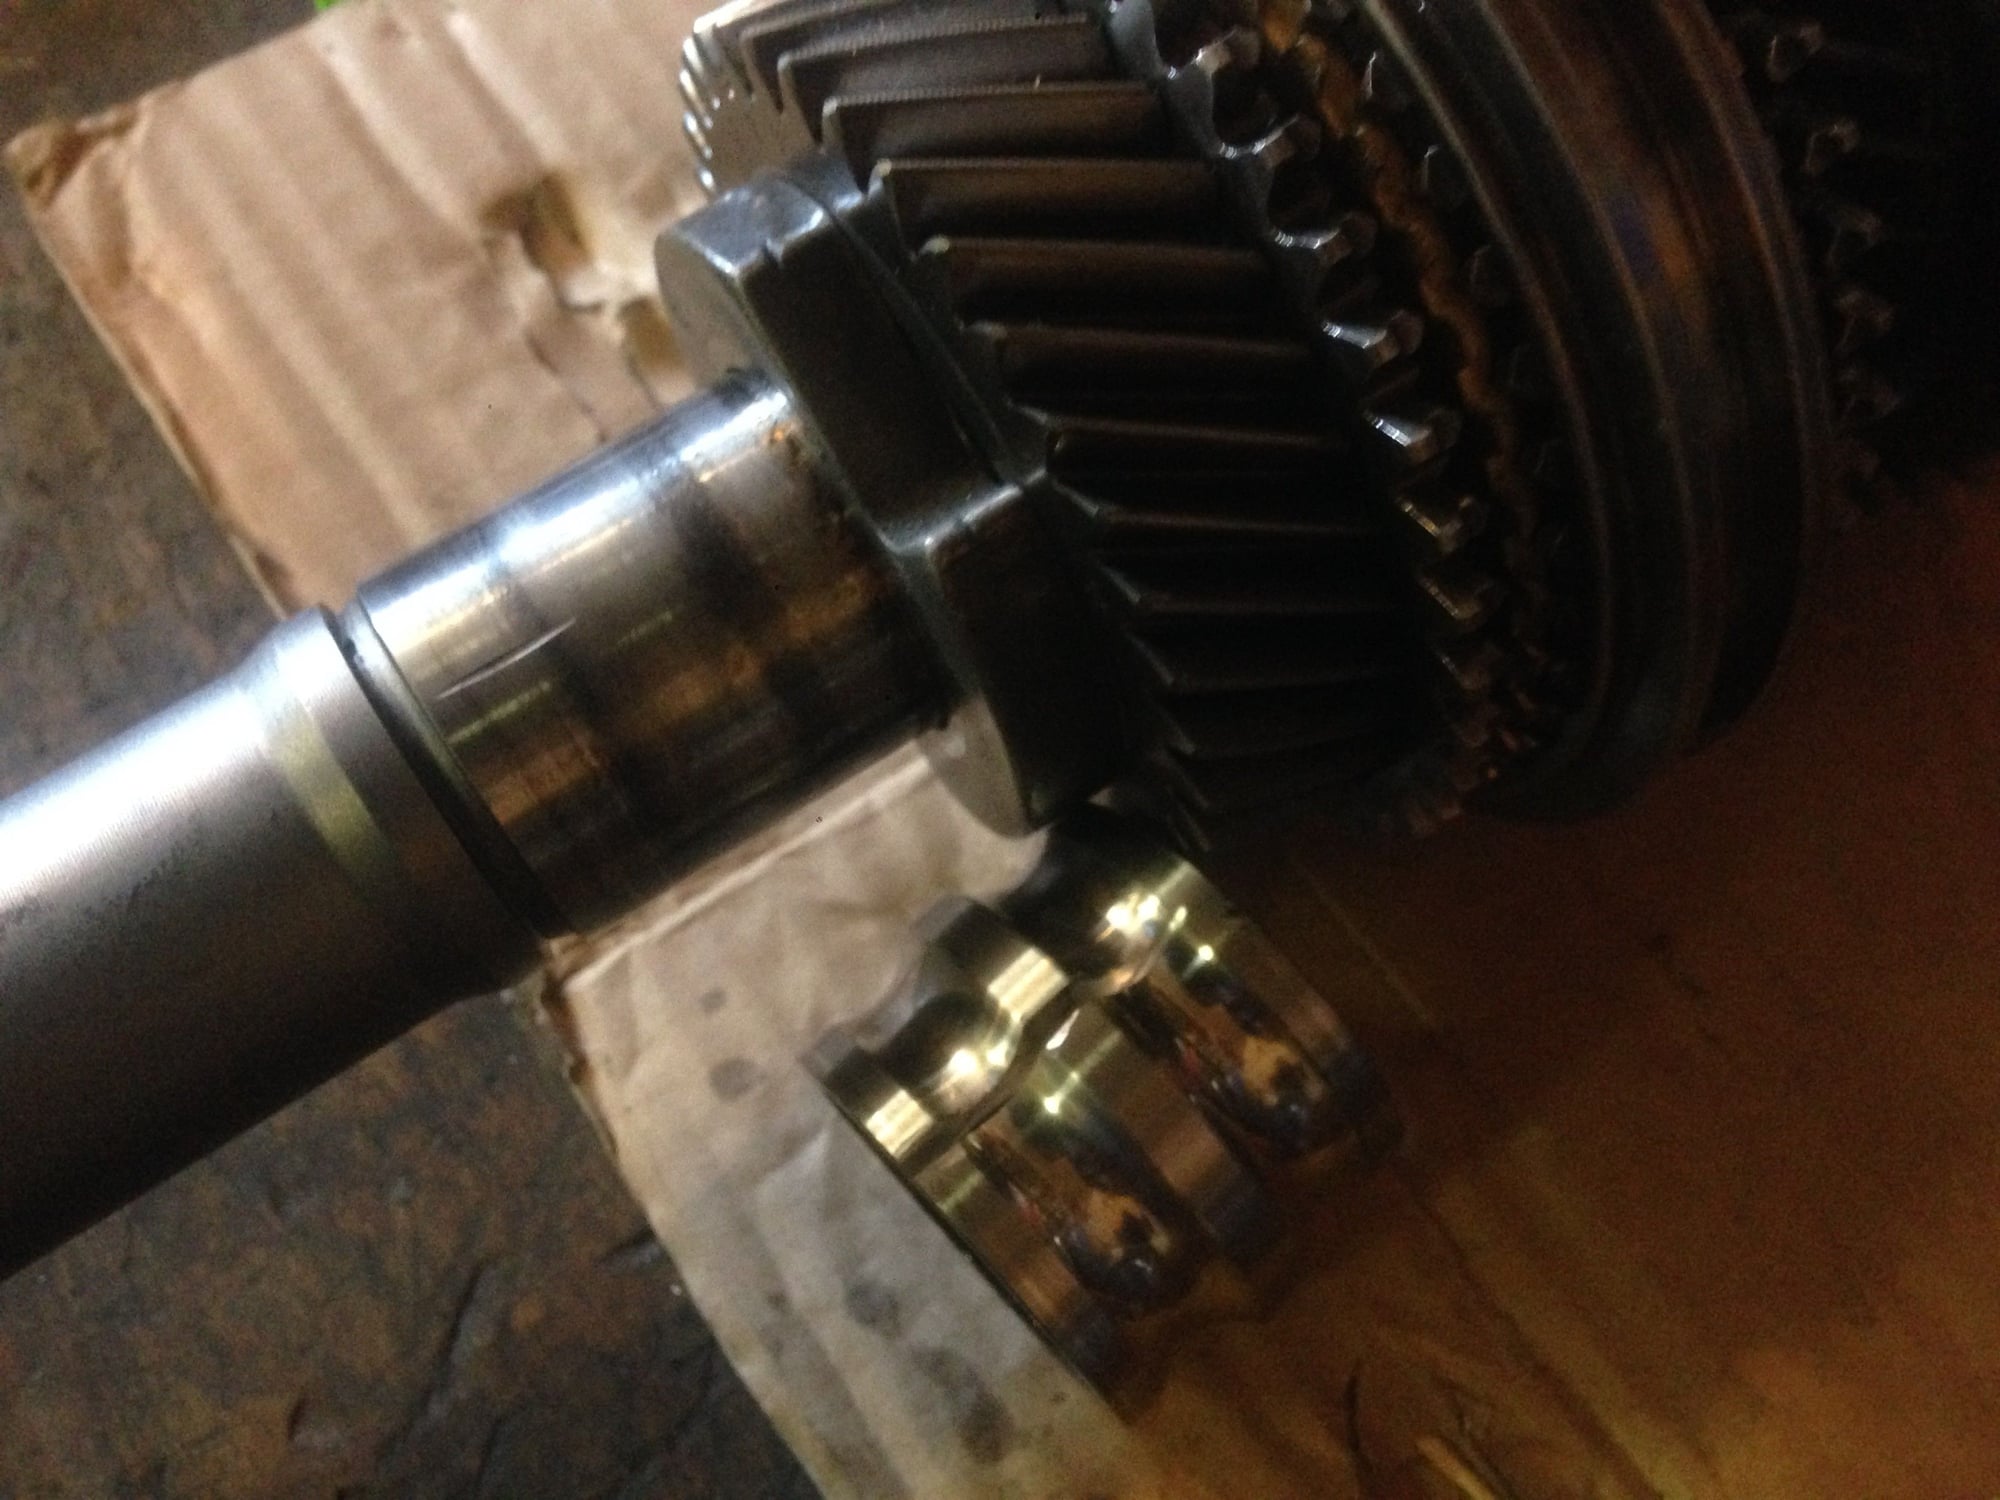
A special tool is required to start pulling gears off the shaft. The counter shaft is hollow so a conventional puller has no surface to push on. I had the tool in the photo below made up. This took serves two purposes - a surface for the puller to push on, as well as a hollow shaft support when high press forces will be needed to pull the tolerance fit gears.
I started the process by pulling reverse, first and second gear off the stack. To do this, start by removing the large circlip at the top of the stack. Then, using a large gear puller, secure legs on first gear and pull using an air or electric impact gun. I used a 1/2" electric impact gun and was able to pull the gears relatively easily. When all components are free off the shaft, stack the assembly on the bench exactly as it came off, both the order and side that goes up/down. Take a lot of pictures while taking apart. If possible, try not to separate components as they are removed.
Next, remove second gear and associated components from the stack in the same method and first and reverse. Take extra caution to try and keep these assemblies together when removing from the shaft. The first and second gear shift sleeve has 3 little ***** and spring loaded into the sleeve, if this comes apart the ***** and springs will fly everywhere and you will spend a month of Sunday's looking for them.
With the reverse, first and second gear assemblies removed, I went ahead and removed the Mainshaft bearing to be able to separate the two shafts. Because there is very little room between the bearing and the cluster plate i couldn't figure out a way to press or pull the bearing off. To remove, I cut the outer race using a dremel. All the ***** and cages can be removed, then the Mainshaft can be manuvered out of the plate to isolate the countershaft.
Then, using the dremel, I made one cut in the inner race of the mainshaft bearing to free from the mainshaft.
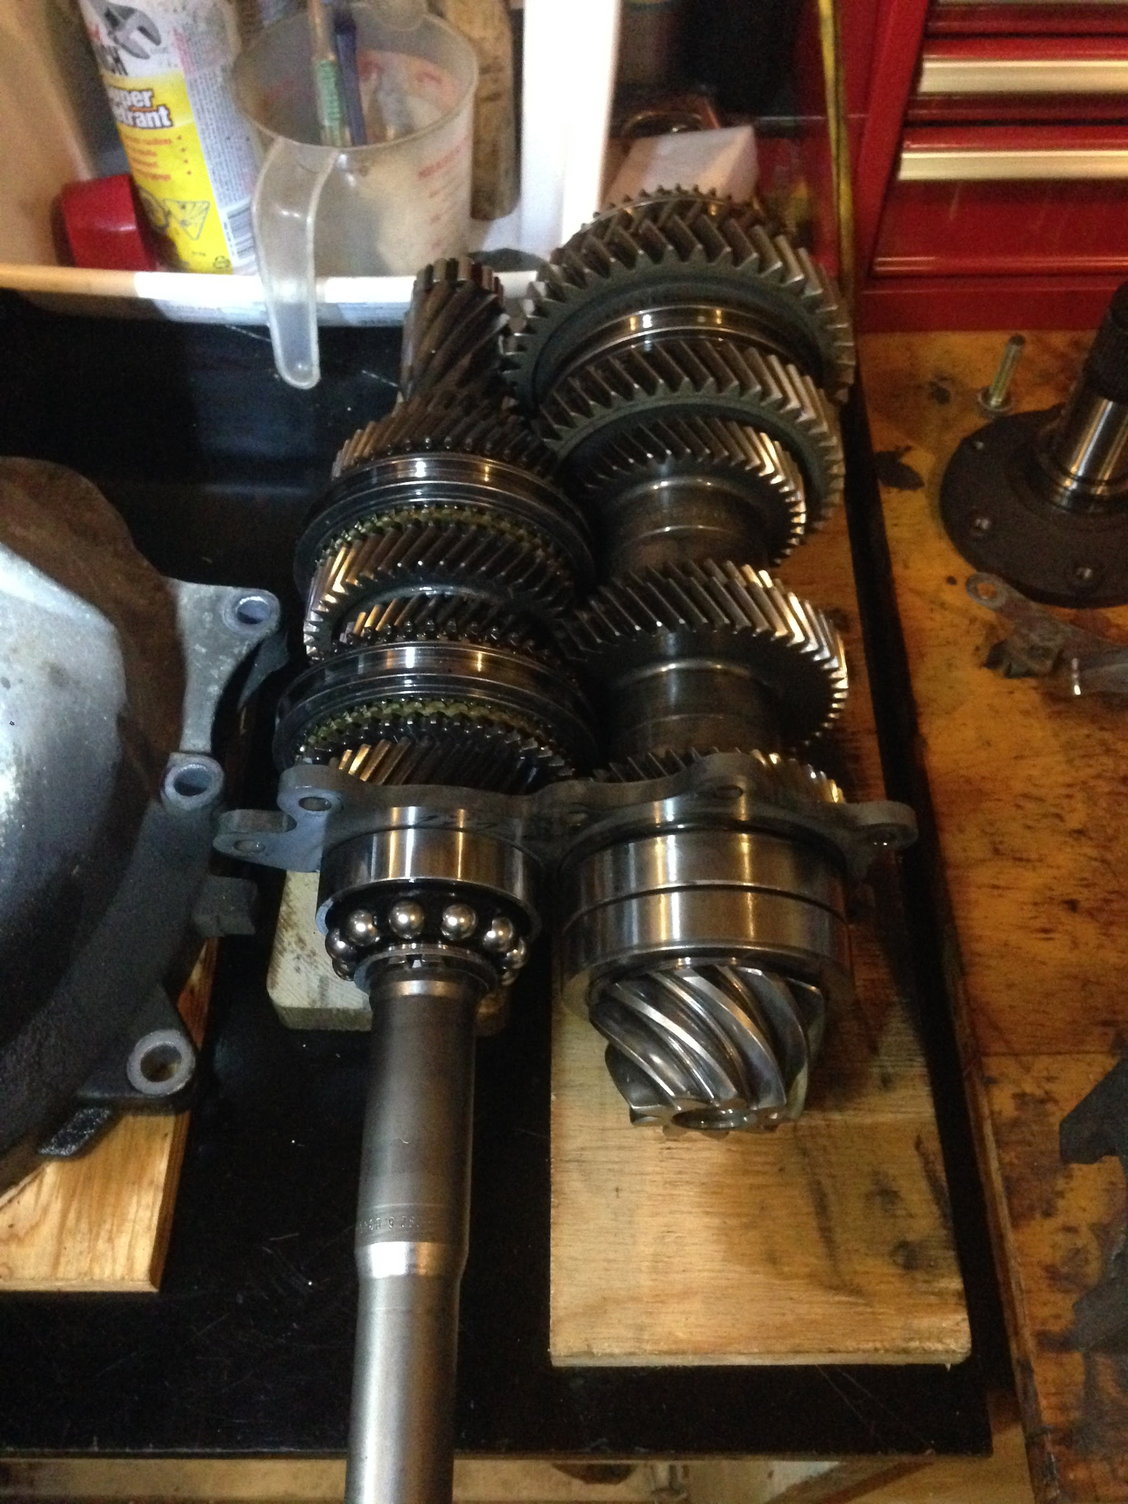
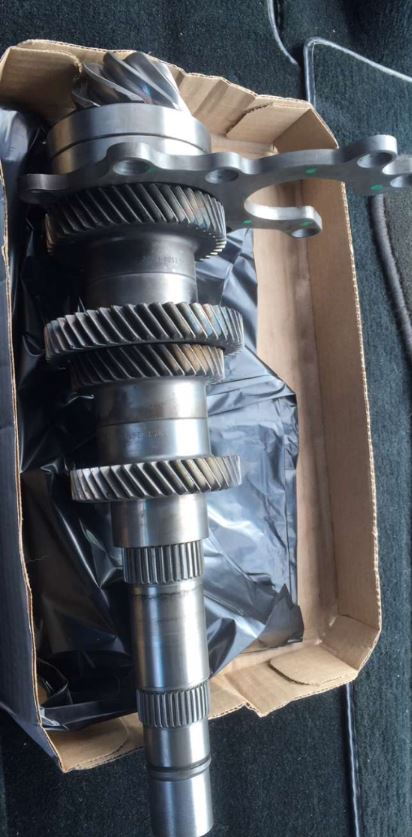
This is as far as I was able to break down the transmission myself. Gears 3-6 on this shaft take over 30 T of force to remove, so I brought it to a local automotive machine shop with the new pinion bearing. Although difficult, they were able to press the gears off, replace the bearing, then heat the gears to re shrink onto the counter shaft.
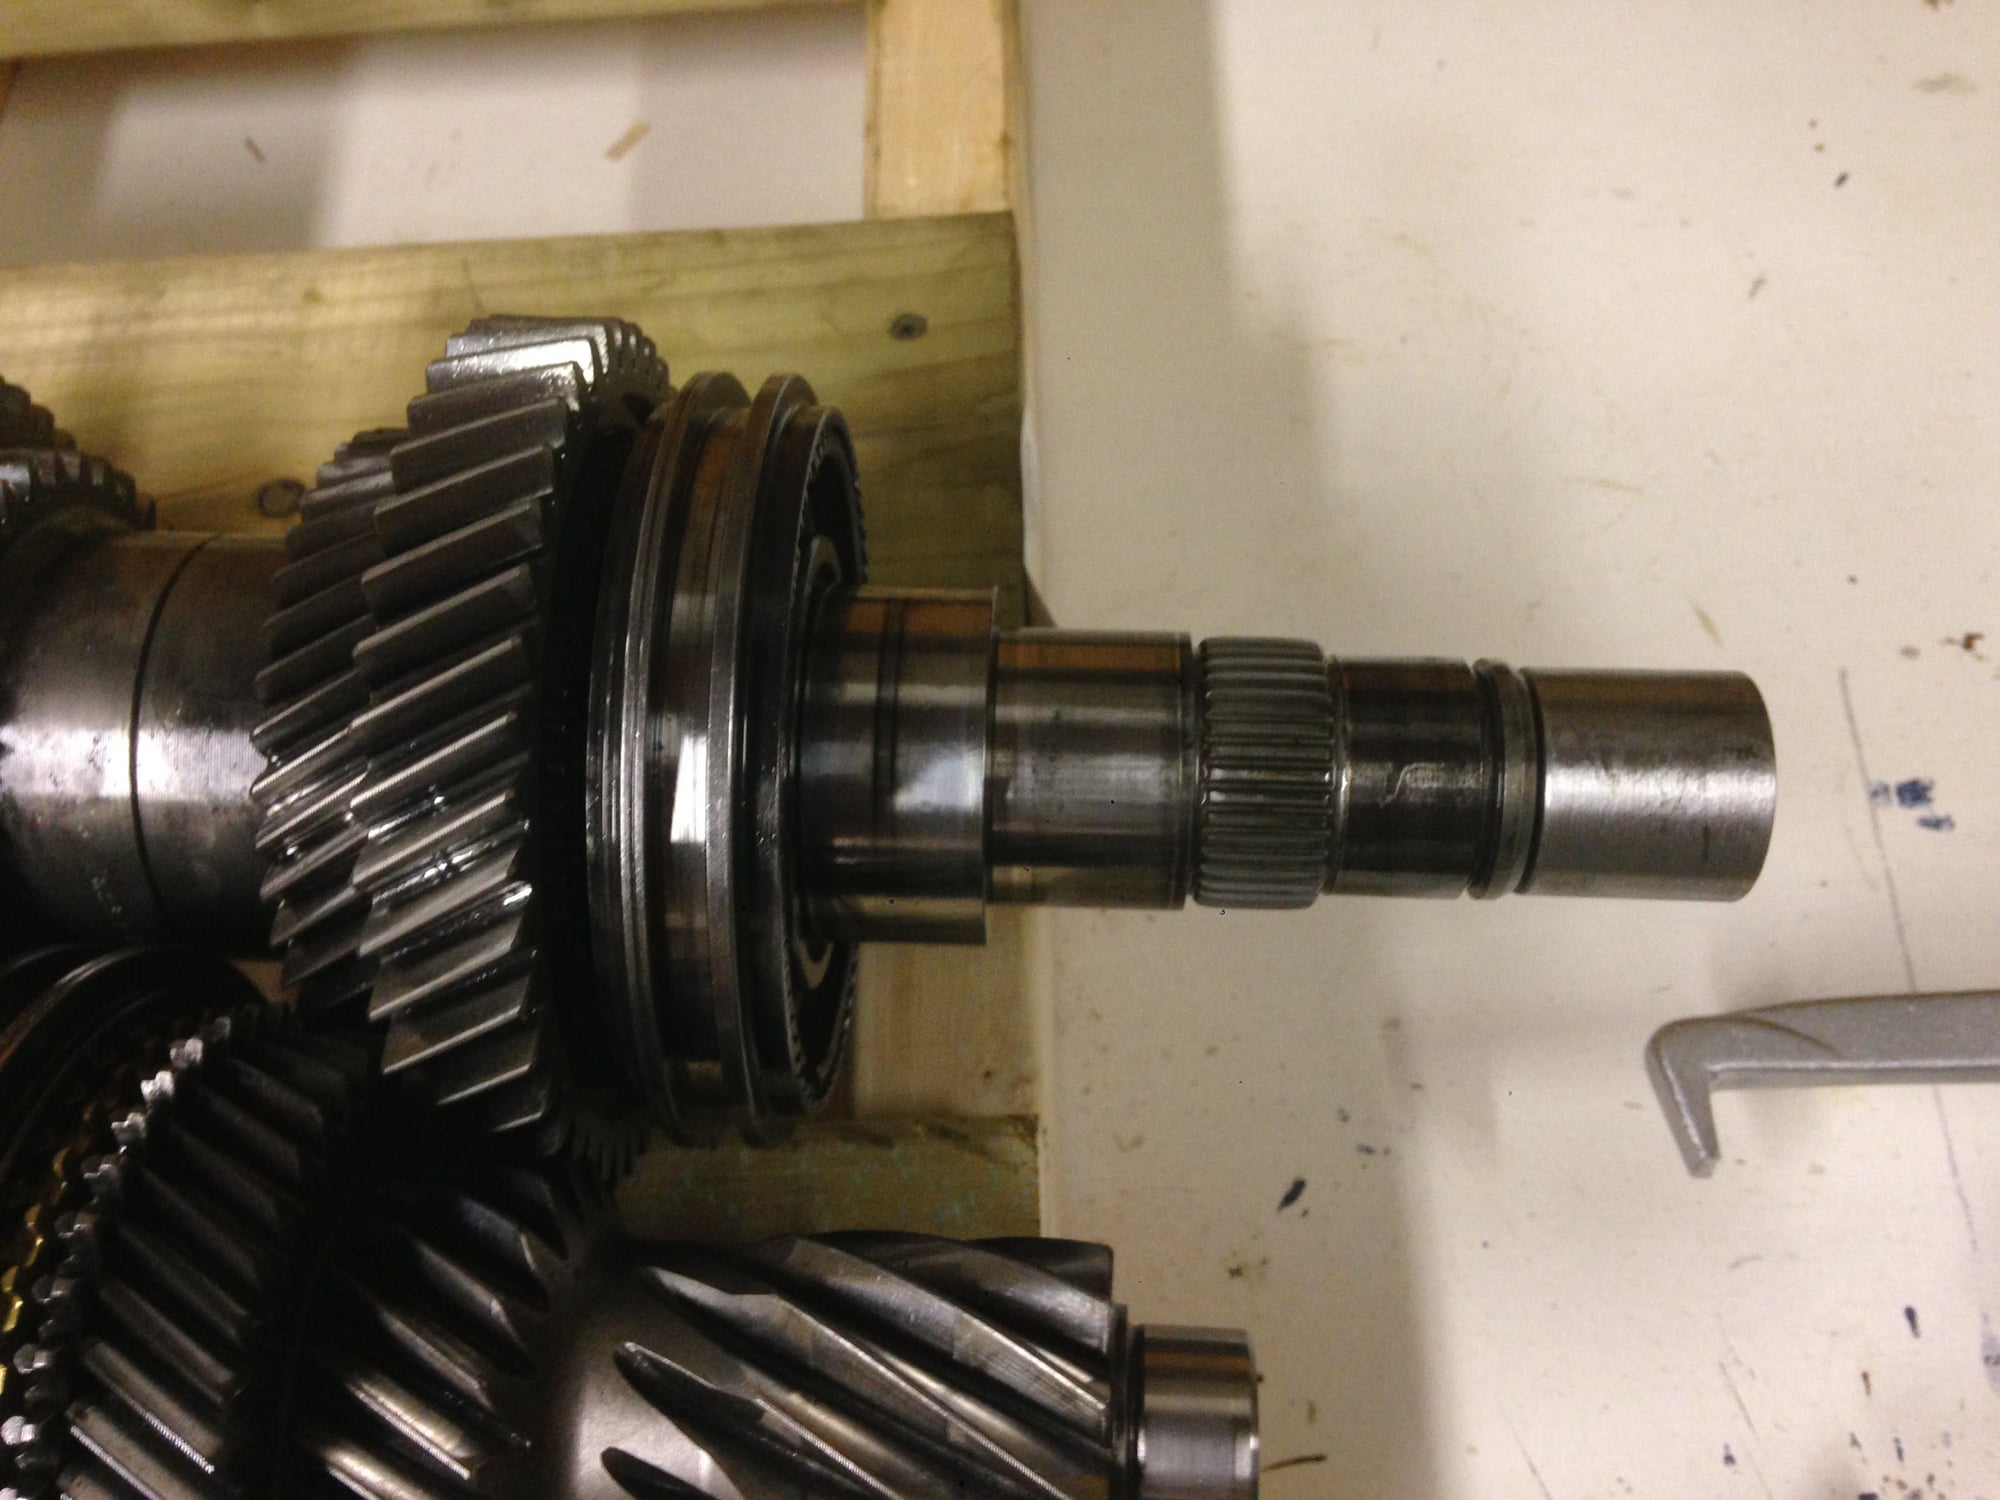
Here is the counter shaft with the new pinion bearing installed.
Re-Assembling the Transmisson:
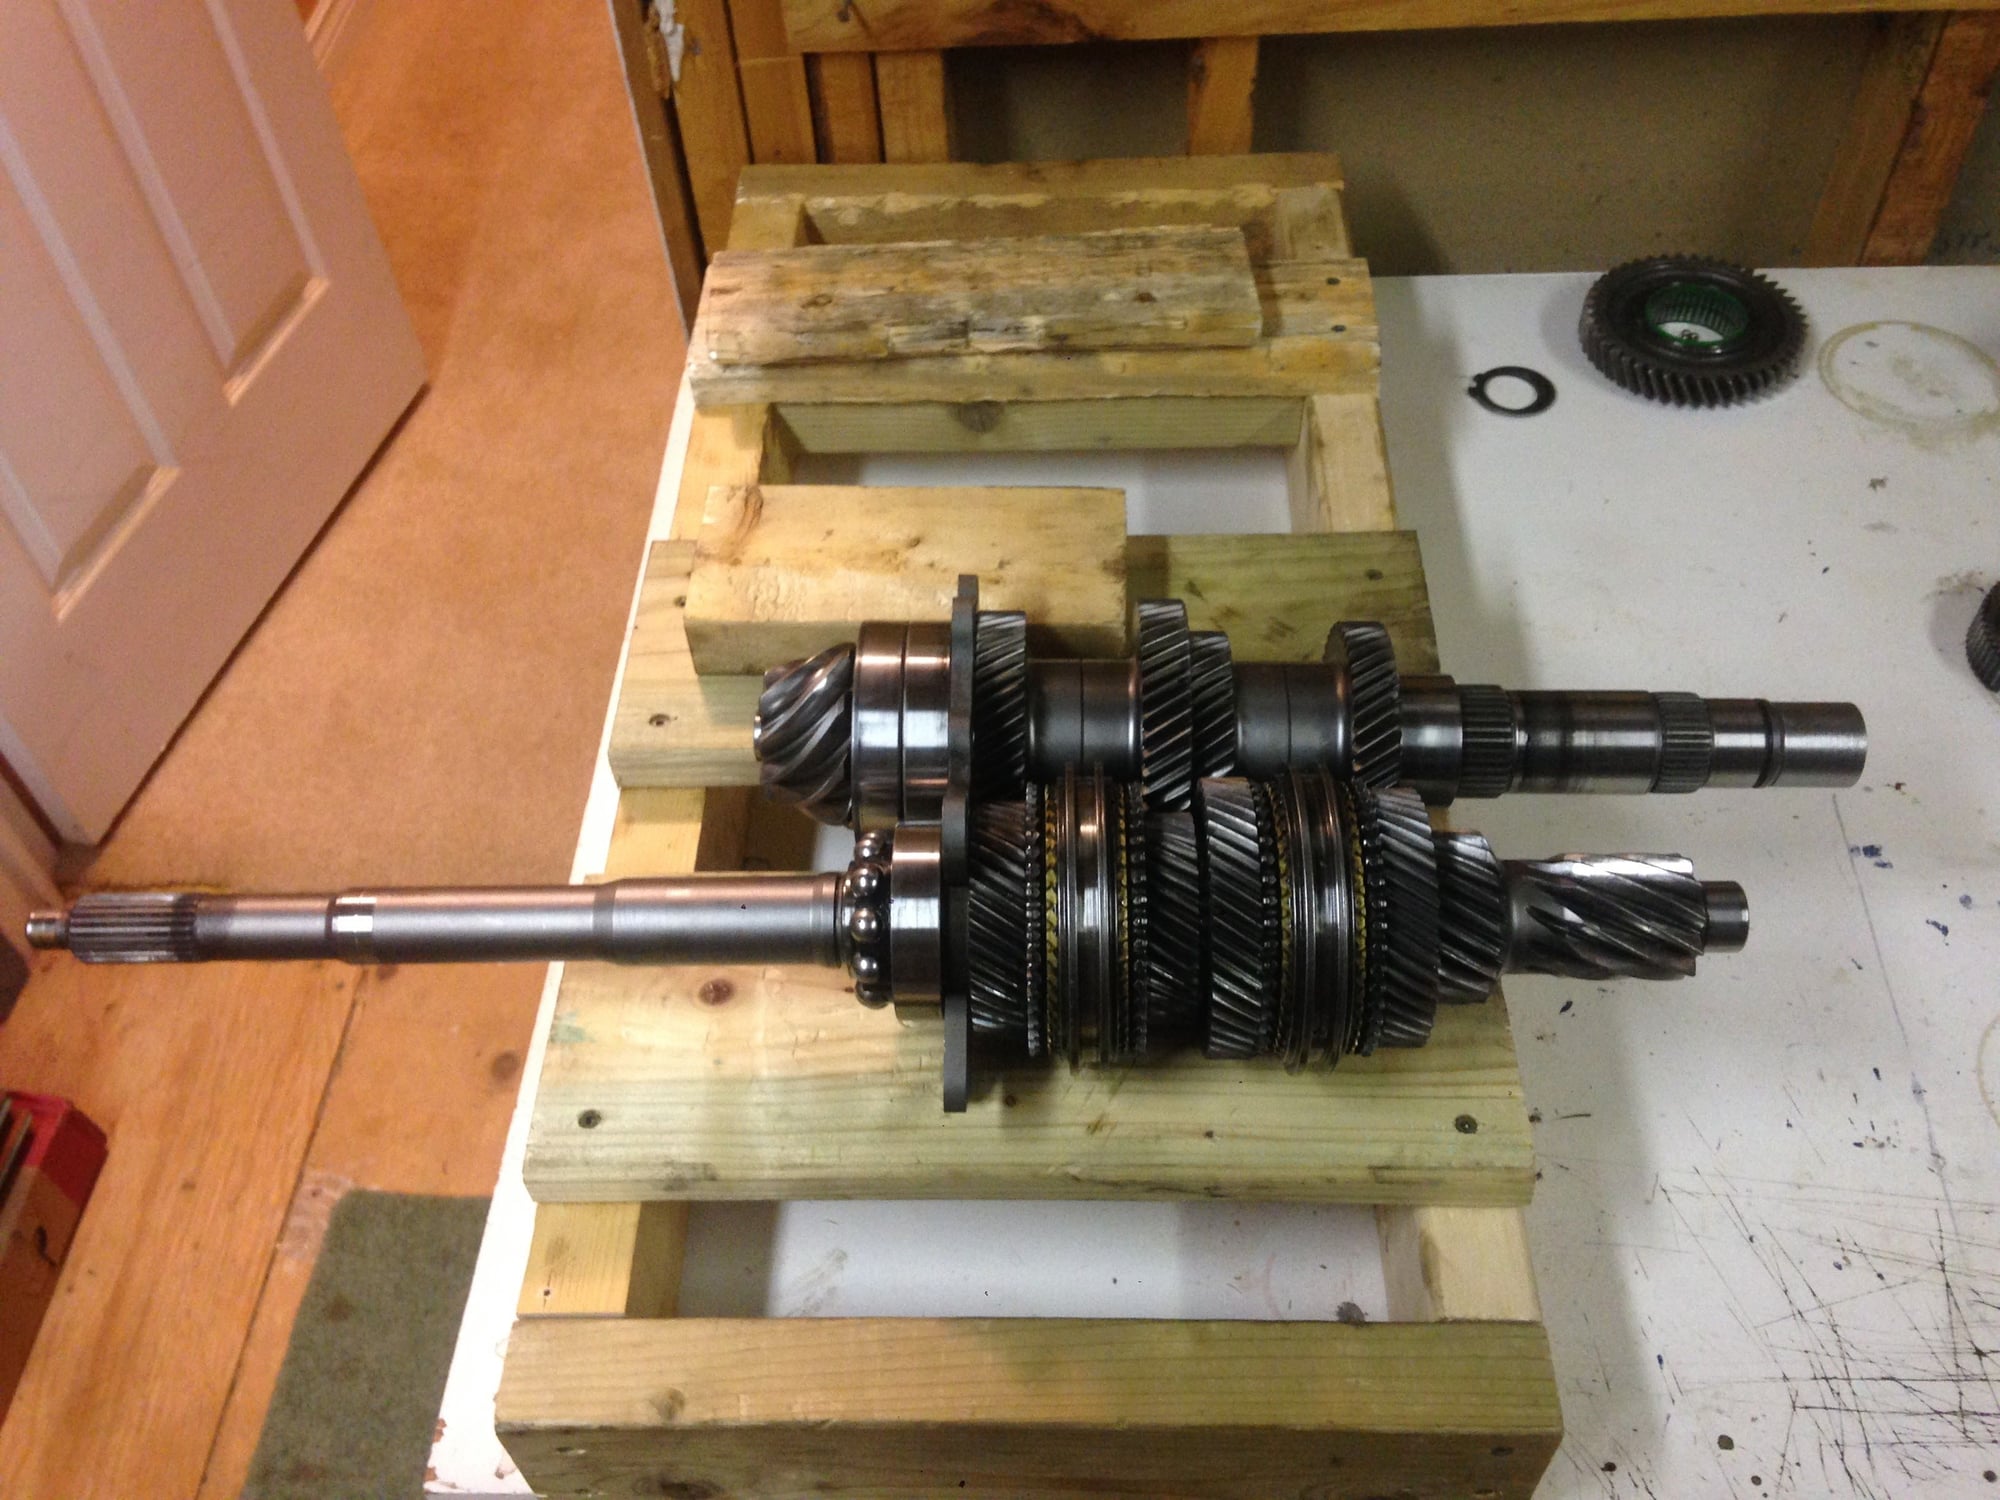
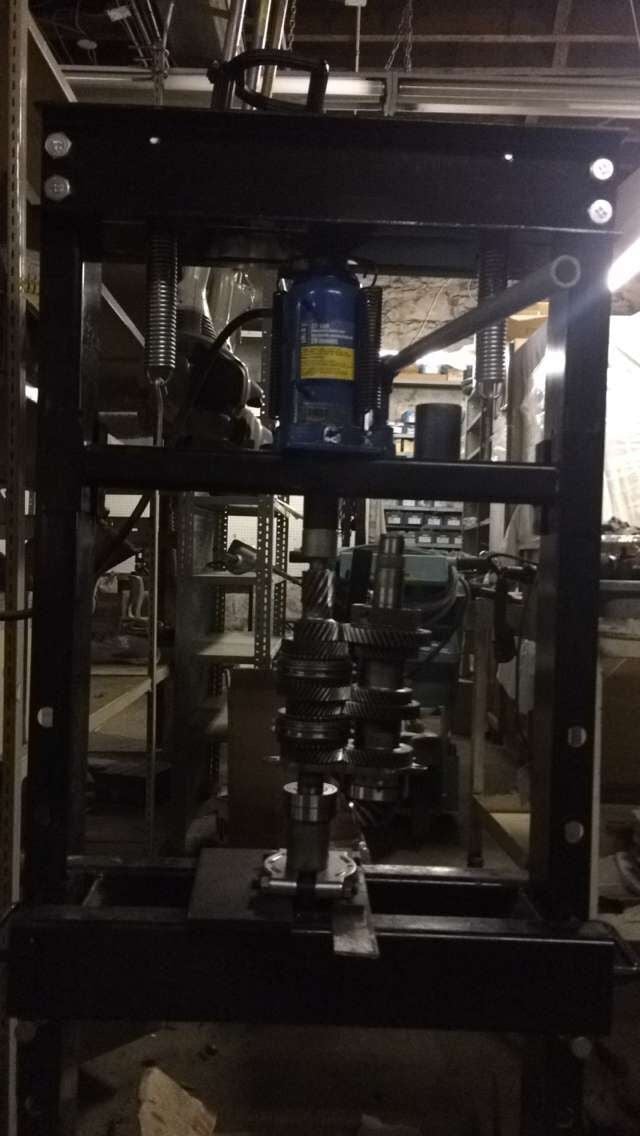
With the new pinion bearing installed, it's now time to start the rebuild. First step was to fit the countershaft and Mainshaft back together. Once fitted, the new Mainshaft bearing was greased, and pressed on using a 20 T shop press, once lined up the bearing pressed on with ease. Install the spacer and circlip in position. The two shaft assemblies are now locked together.
Now it is time to re-stack the first, second and reverse gear assemblies. The easiest way I found to do this is lay each item out on the bench in the order it came off the shaft. Be careful when taking apart the assemblies as like mentioned above the shift sleeves have the ***** and springs that fly when released. When I released the shift sleeve from the center part, I wrapped it in a rag in a clean room so when it came apart it would stay in the rag. Again, take note on not only the order, but the up/down orientation of each component.
Use the parts breakdown diagram to check to ensure the components are being stacked in the proper order and orientation.
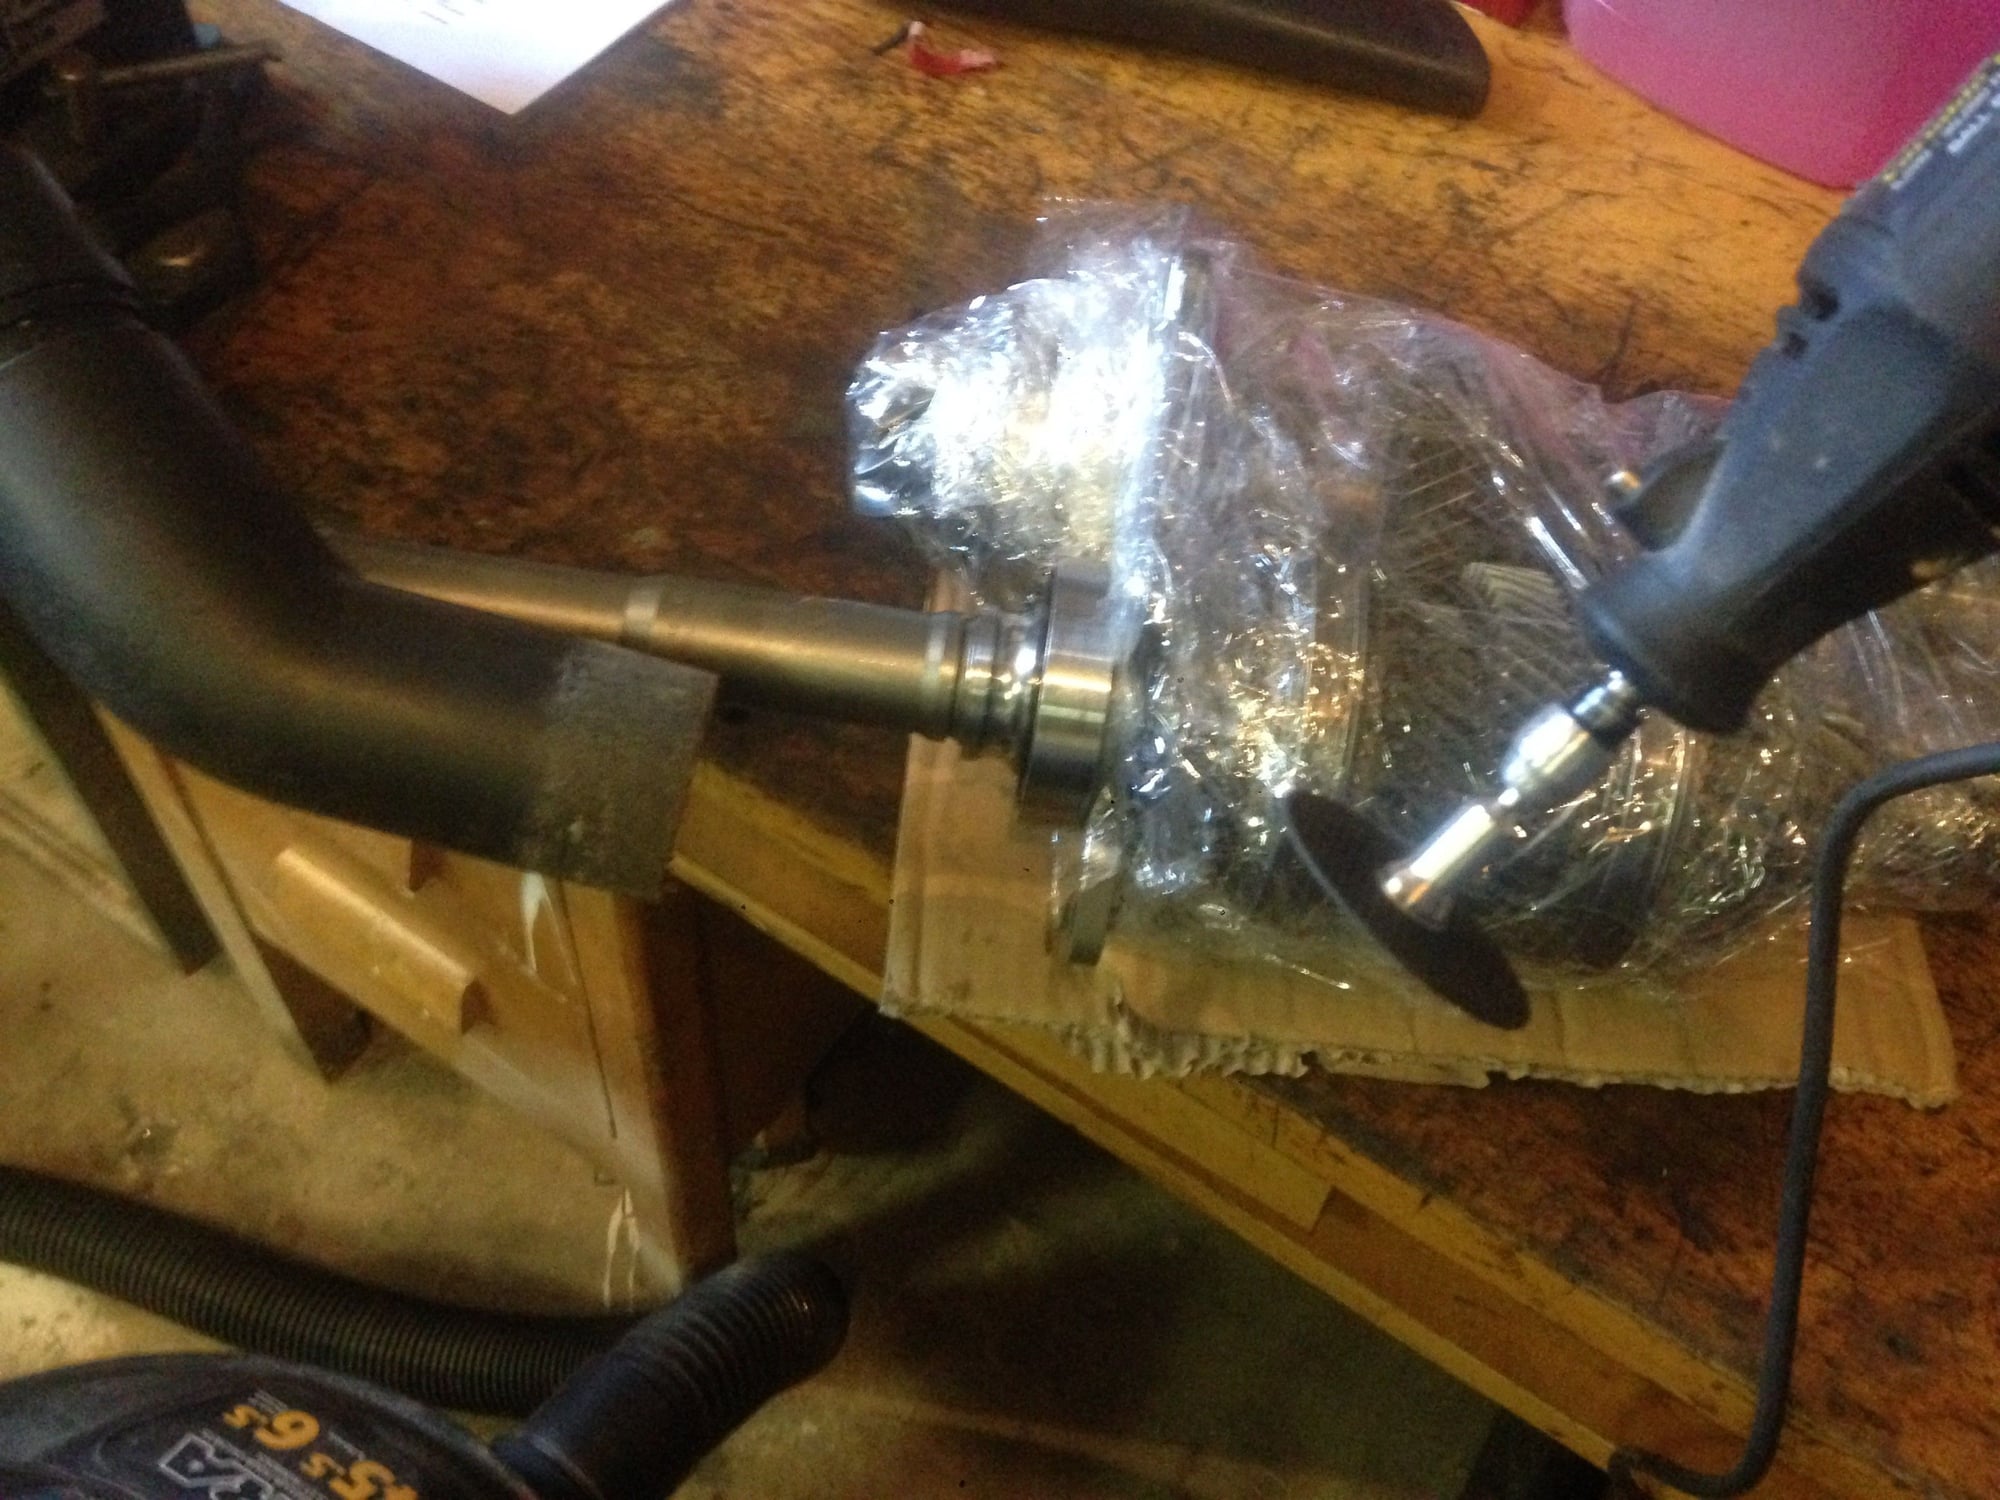
A few of the components that need to be installed such as the bearing inner races, the inner portion of the shift sleeve, spacers and end bearing are a press fit onto the shaft, but fortunately this doesn't require a press. Heating the parts in the oven at 350 F for 20 minutes expanded the components enough that they easily dropped onto the shaft in position. Once the parts are installed it's important to work quickly as once they contact they shaft they cool fast enough that after a couple of seconds it will be impossible to remove without a puller. I picked out these components and put in the oven before starting to stack so I could just take them as I needed them.
Notes on stacking:
The most difficult part of this job was loading on the ***** and springs into the second gear shift sleeve. It took over an hour as the ***** have a tendency to shoot out when attempting to load the spring to fit in position.
Once all components are installed, the top spacers and circlip should install in position.
At this point you should be able to slide the shift sleeves up and down to ensure the transmission is able to go in and out of each gear.
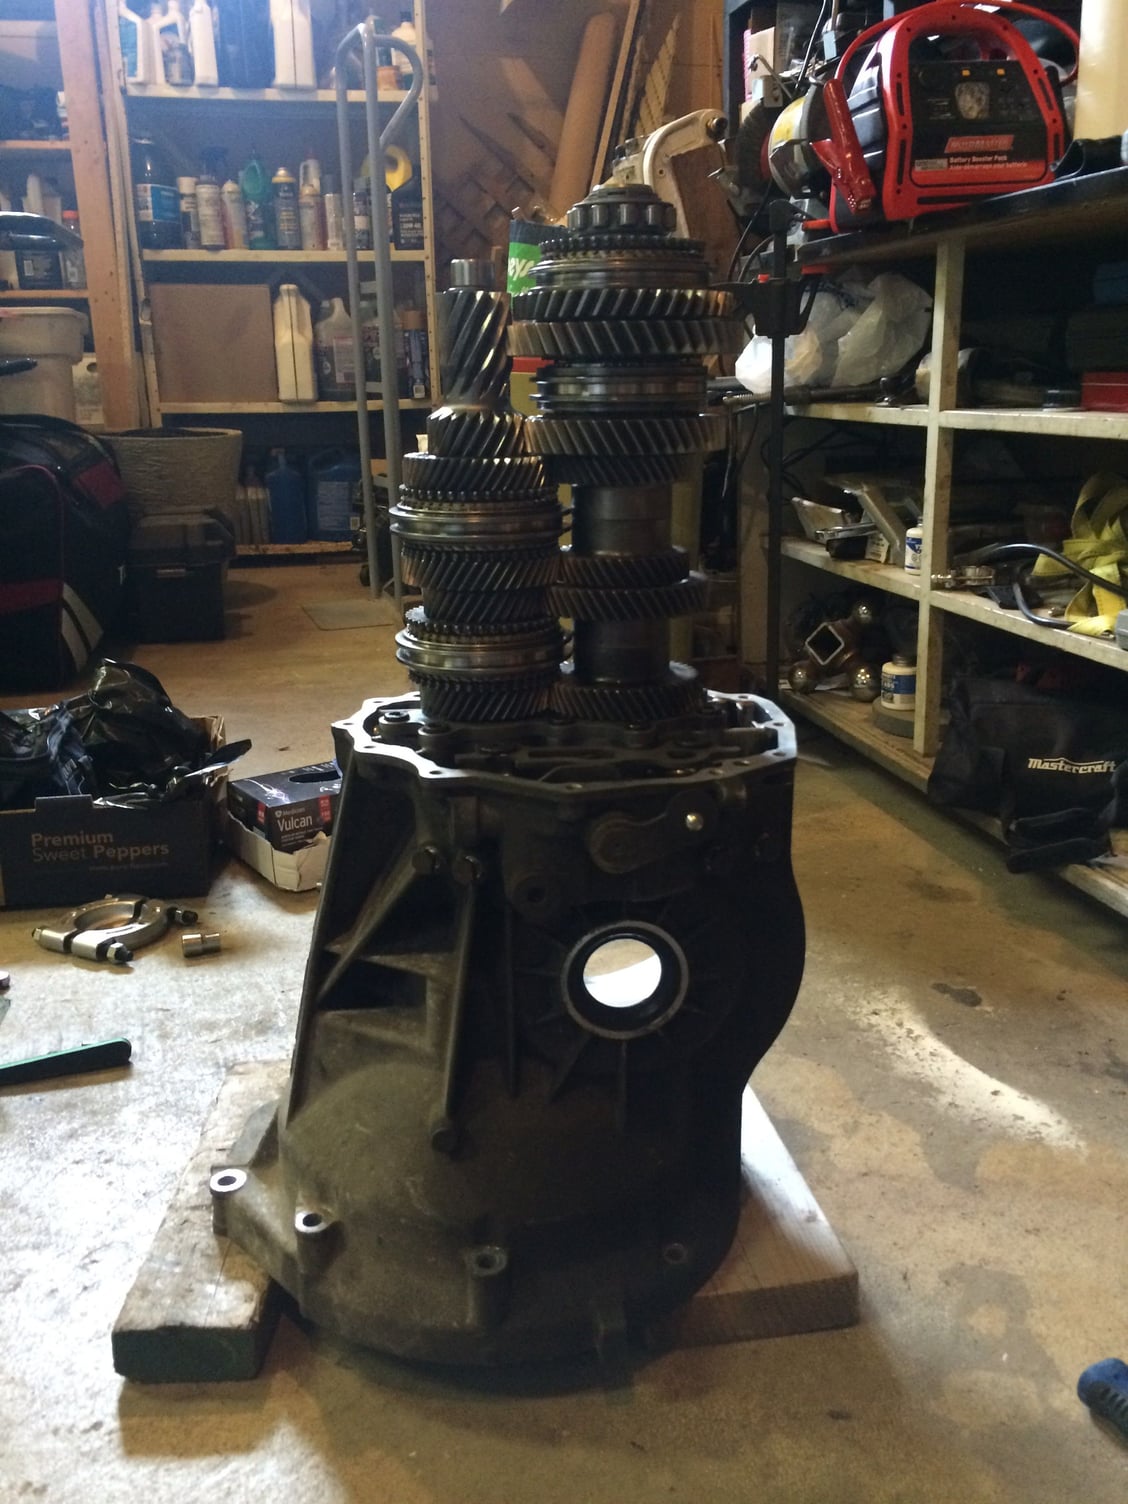
Now that the cluster is re assembled it can be installed into the transmission case. The bearings are a tight fit into the case, so I put the cluster in the freezer for a couple of hours, then heated the case with a propane torch for a few minutes before installing. It took a bit of wrestling to set in position but once it's in place enough the torx bolts holding the plate can be installed and this will fit the cluster all the way in place.
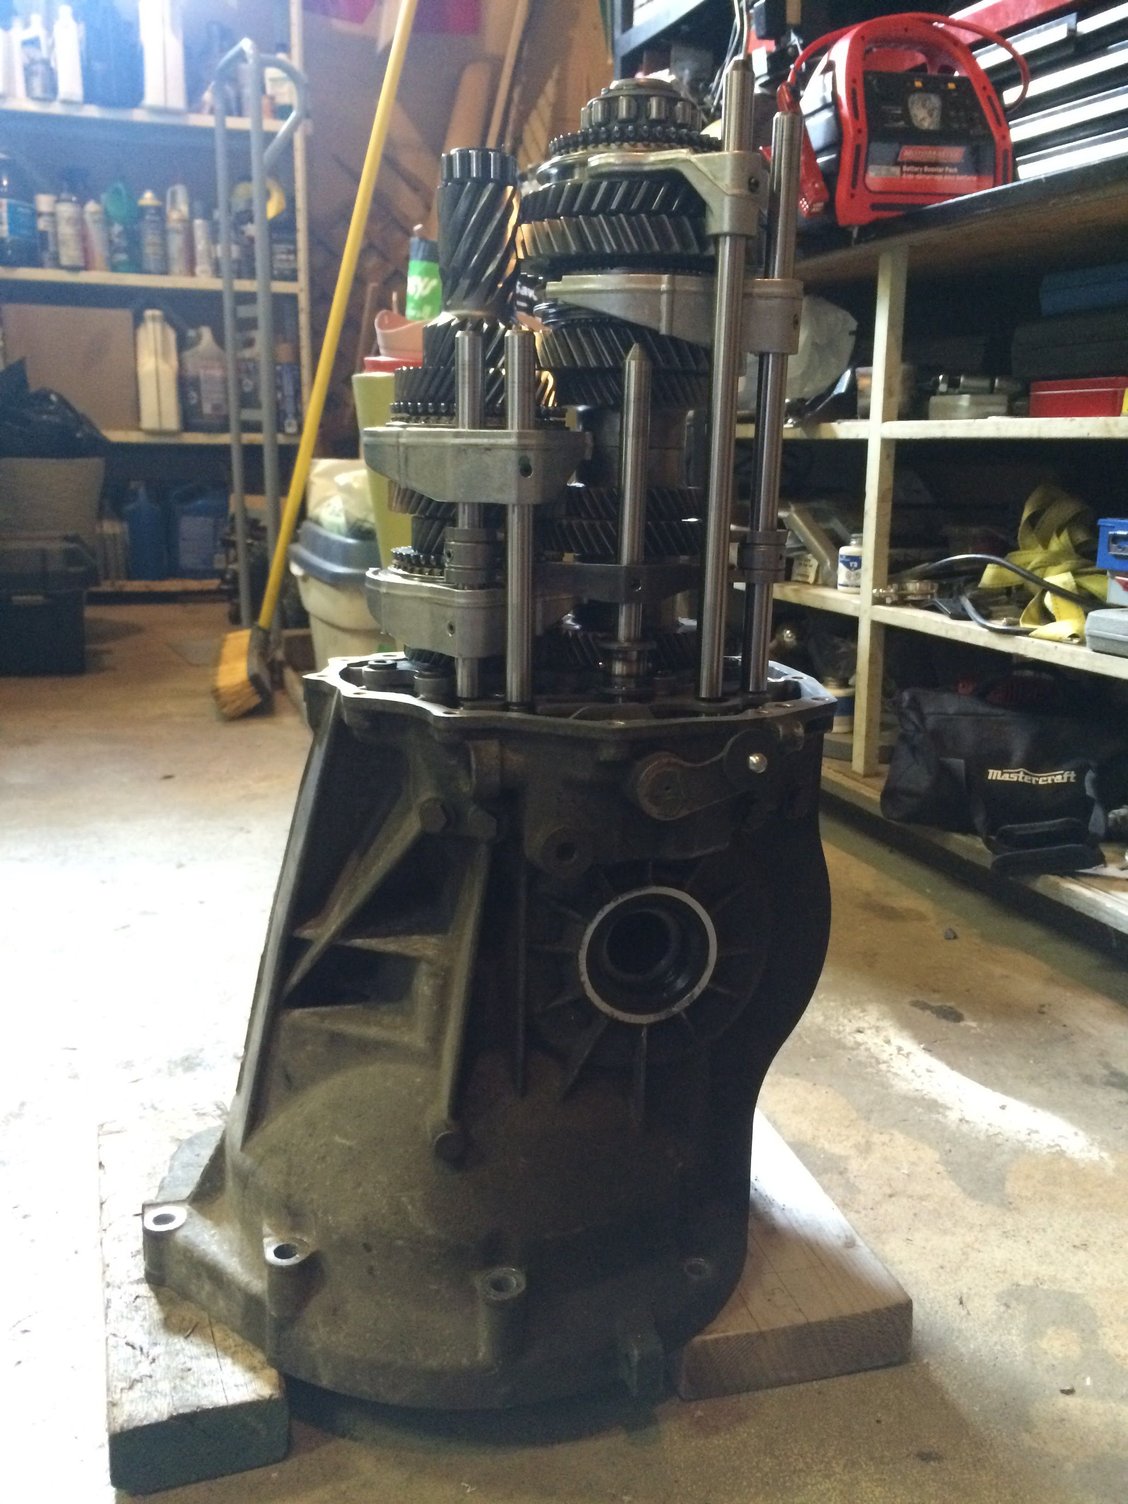
The shift rods and forks can then be installed reverse of the disassembly method. Don't forget to load the *****, springs and bolts into the transmission case after installing the rods.
The last and one of the most difficult parts is installing the nose cone. The shift rods must fit into the nose cone in the appropriate location in the case and it can be difficult to line up when the nose cone is already on over. I tied zip ties around the base of the fork to pull on while installing the nose cone to pull in the right direction when installing the case. After around 25 tries the cone was installed. Then I was able to pull the nose cone off the housing approximately 1/4" to apply RTV to seal the two pieces together. Install the nose cone bolts and torque to finish the job.
I am impressed. Earlier this year I had the same problem. I have done engine work on my car but not transmission work. I took it to my Indy and they disassembled the trans but could not get the gears off with their press. They ended up sending it to Gbox which has special tools.
Thank you Nick.
This should be copied into the DIY/Project section so it can be easily found?
It is the only gearbox dismantle/reassembly guide we have .
Here are some comments on Nick's excellent wrtie-up that may help others or answer curiosity questions:
1. "This is the grease from the pinion bearing the leaked from the bearing and out into the transmission around the magnet."
Yes, just like the IMSB this is greased-for-life sealed bearing ! The sticky finger test is shown on an old Motor Meister You Tube video. You need a very long skinny index finger for this simple but telling test.IMHO it should be a routine test every 20K after 60-80 k miles on the gearbox.
2, "A special tool is required to start pulling gears off the shaft. The counter shaft is hollow so a conventional puller has no surface to push on. I had the tool in the photo below made up. This took serves two purposes - a surface for the puller to push on, as well as a hollow shaft support when high press forces will be needed to pull the tolerance fit gears."
The dimensioned dwg is invaluable. 3_Angels used a part from an Audi front strut iirc ! If you just use a 20 ton puller w/o Nick's tool, you will buckle the shaft !
3. "I cut the outer race using a dremel. " This is beyond the point of no return ! In theory a very expensive puller like the Kukko has hooks that are both skinny enough & strong enough to pull this off. But why? If you have dental surgery skills with a Dremmel ,Nick's method is gentler and much cheaper ! You can find the specifics on the Kukko puller in my previous posts on this subject. Samstag Sales have them.You need the Slender Arm version.
4. "Gears 3-6 on this shaft take over 30 T of force to remove, so I brought it to a local automotive machine shop"
3_Angeles managed to pull this off with the Kukko.But if you don't have the experience and 'feel' for using such force on such a valuable mechanism, perhaps Nick's is the best alternative.
When we have all the comments back from Nick and with his permission, I'll convert this to a pdf with an enlarged PET diagram to help others. Hopefully Admin will put this in the "How To" section where it can become the only source of this info.For those looking for the 3_Angeles pdf, it was only up for a few weeks and then disappeared so lets make this pdf stick within the walls of Rennlist.
This is not just a home garage diy write-up. A competent transmission repair shop that had not done this gearbox before would find this a useful primer.
As always, I am not an expert, so corrections and improvements are always welcome for the benefit of others who follow.
If you want to see what the bearings look like and read some other commentary,this may be useful: https://rennlist.com/forums/996-foru...read-this.html
Last edited by Schnell Gelb; 07-26-2016 at 03:47 PM.
 07-23-2016, 07:16 PM