When you click on links to various merchants on this site and make a purchase, this can result in this site earning a commission. Affiliate programs and affiliations include, but are not limited to, the eBay Partner Network.
I apologize in advance to the community for this post, but I'm at the end of my leash having now searched and read every post I could find (everywhere on the web) on non-varioram, throttle body removal.
I'm changing out the spark plug wires in my 1995 993, it is non varioram, and I wanted to have a quick read of a diy which deals with this specific model. There are two spark plug clamps/hold downs under the throttle body, and they have to be removed to get the old ones out and the new ones in. They are not accessible as the throttle body is directly above them. So I have spent the last 3 hours searching. Frustratingly, the most referenced diy's either focus on the varioram version, or (oddly) start off showing and describing a non varioram diy, and then suddleny change to varioram in mid-article (see the Rennlist diy here - note the sneaky little switcharoo between figure 3 and figure 4: fig 3 is non varioram and fig 4 is varioram. So easy to remove all that black plastic, especially when you magically switch from a non-vario to a varioram [URL="https://rennlist.com/how-tos/a/porsche-993-how-to-replace-spark-plug-wires-377113"]).
If one does not exist, I will bite the bullet and start taking Picts and creating one.
If any of you are aware of one, please let me know before I recreate something!
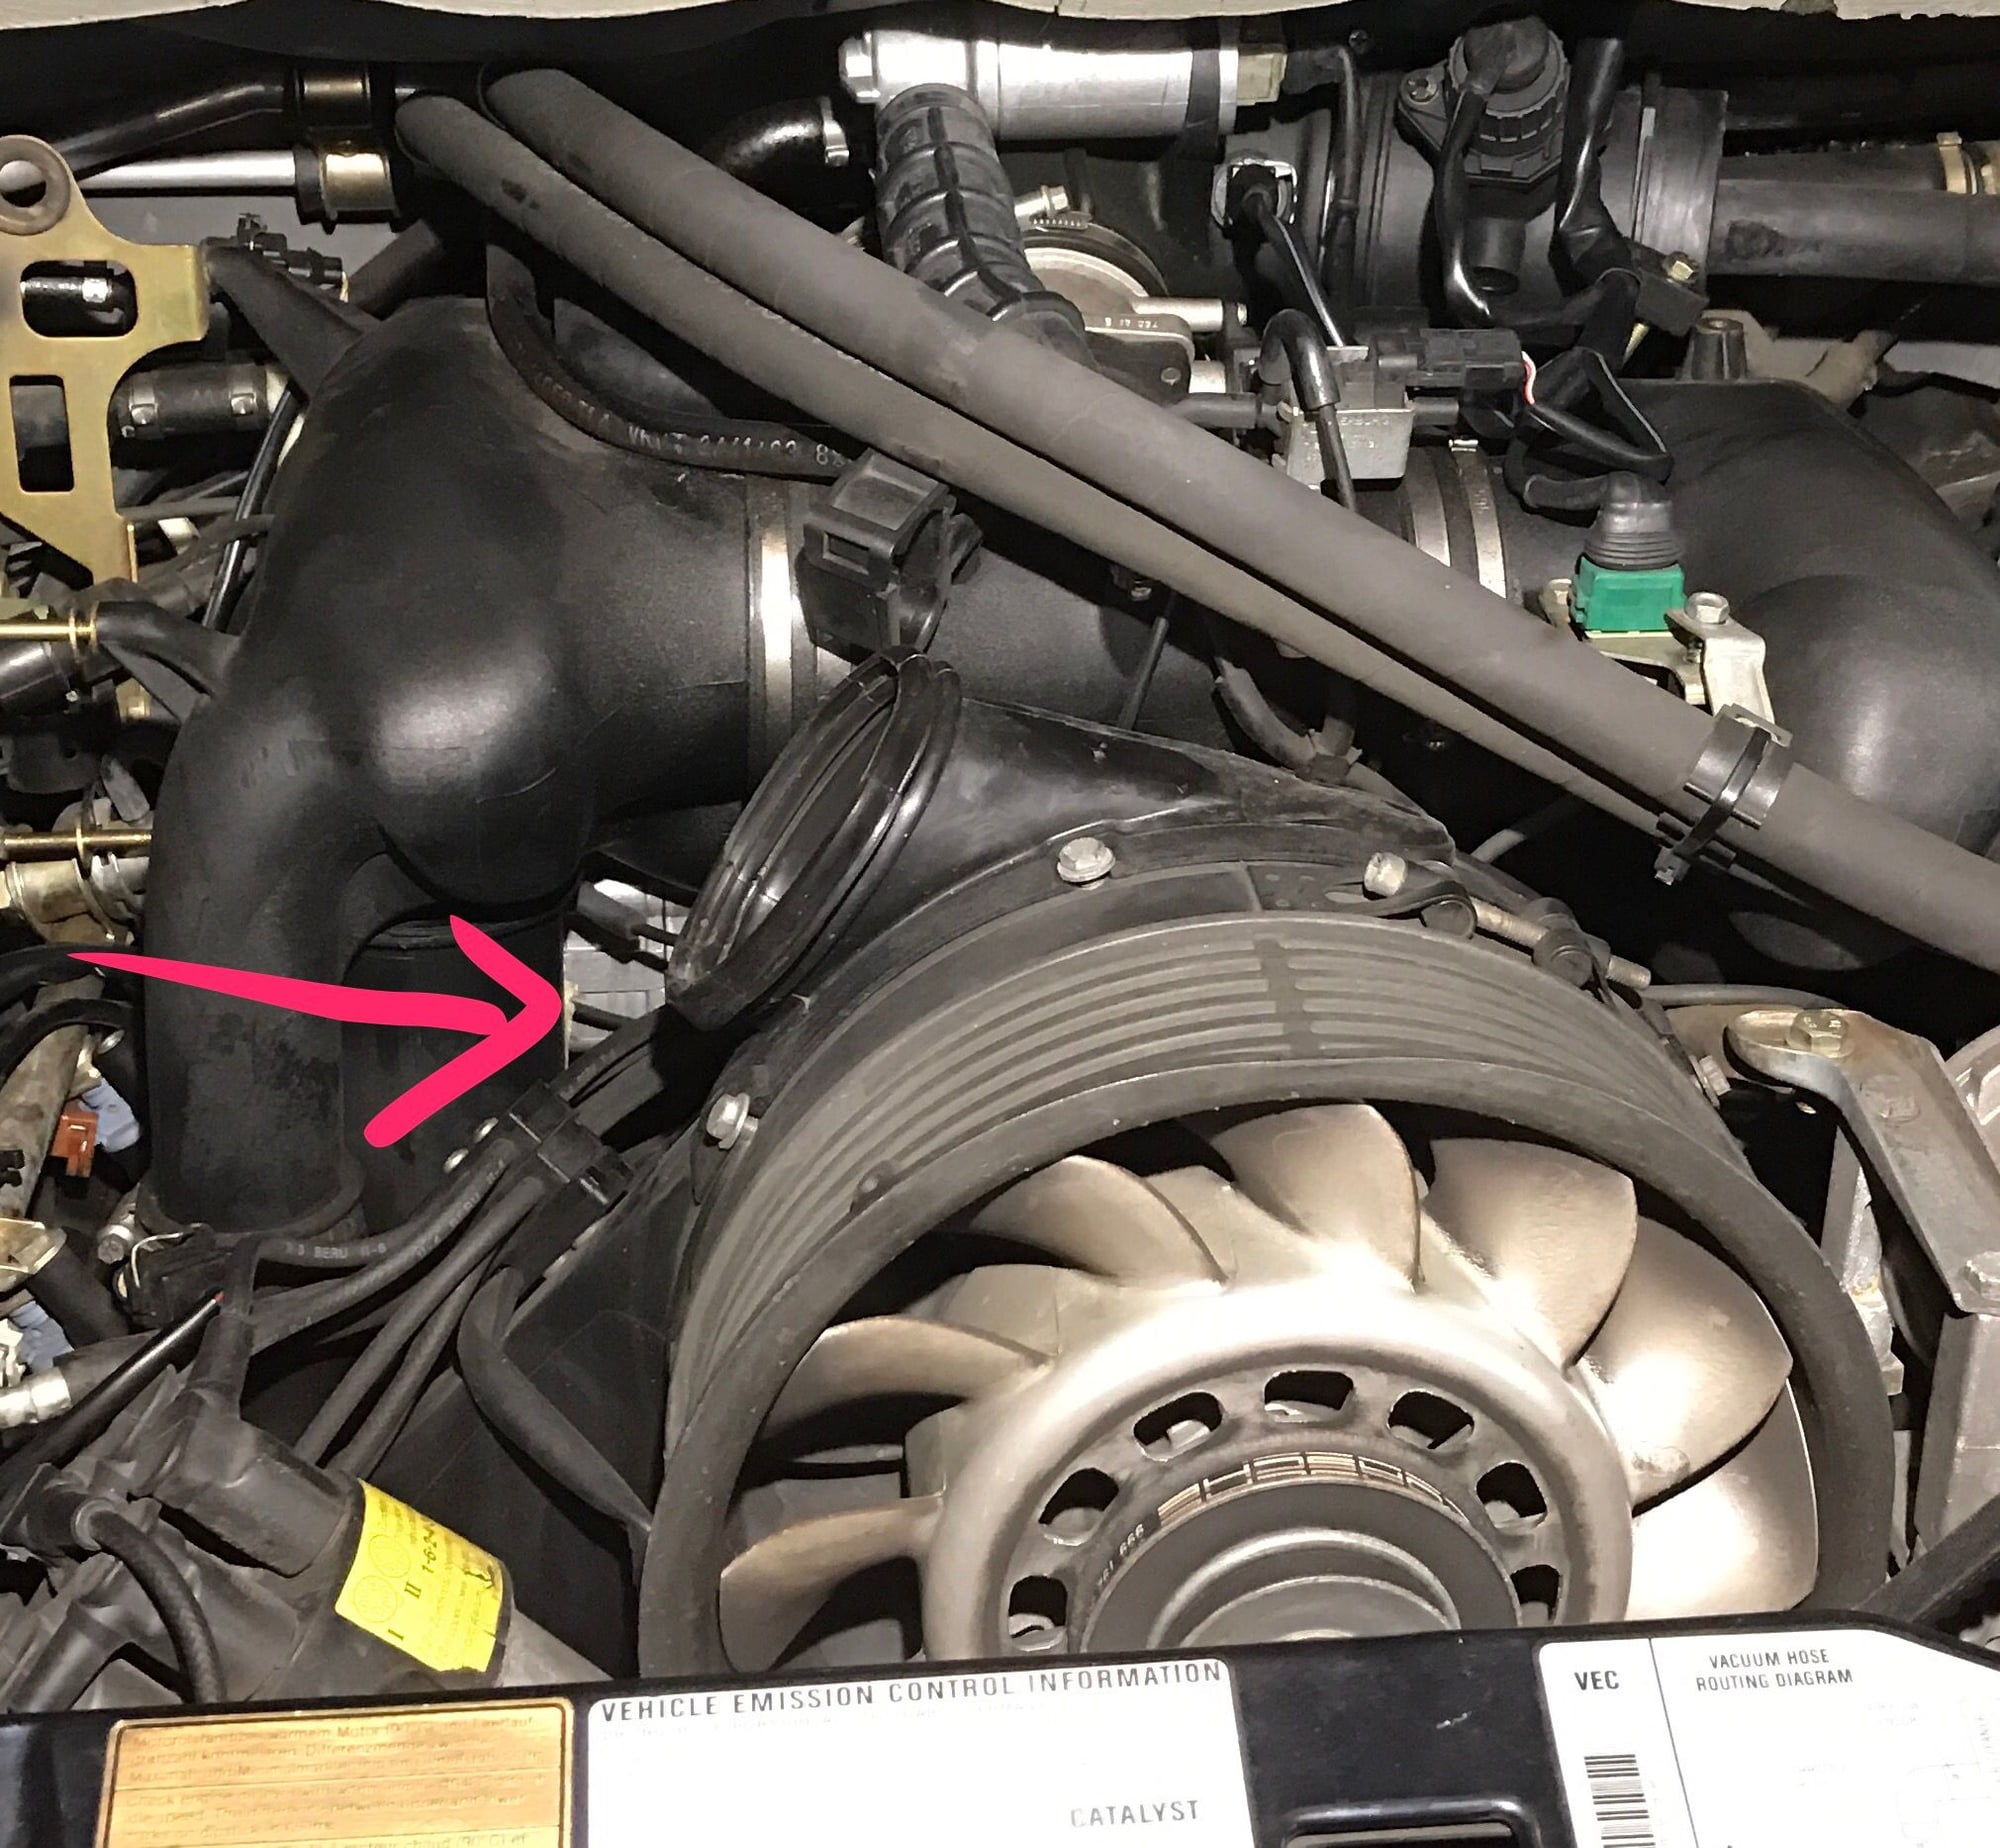
Here the plug wires are heading over to the passenger side cylinder bank - see the red arrow? They are about to go under the throttle body....
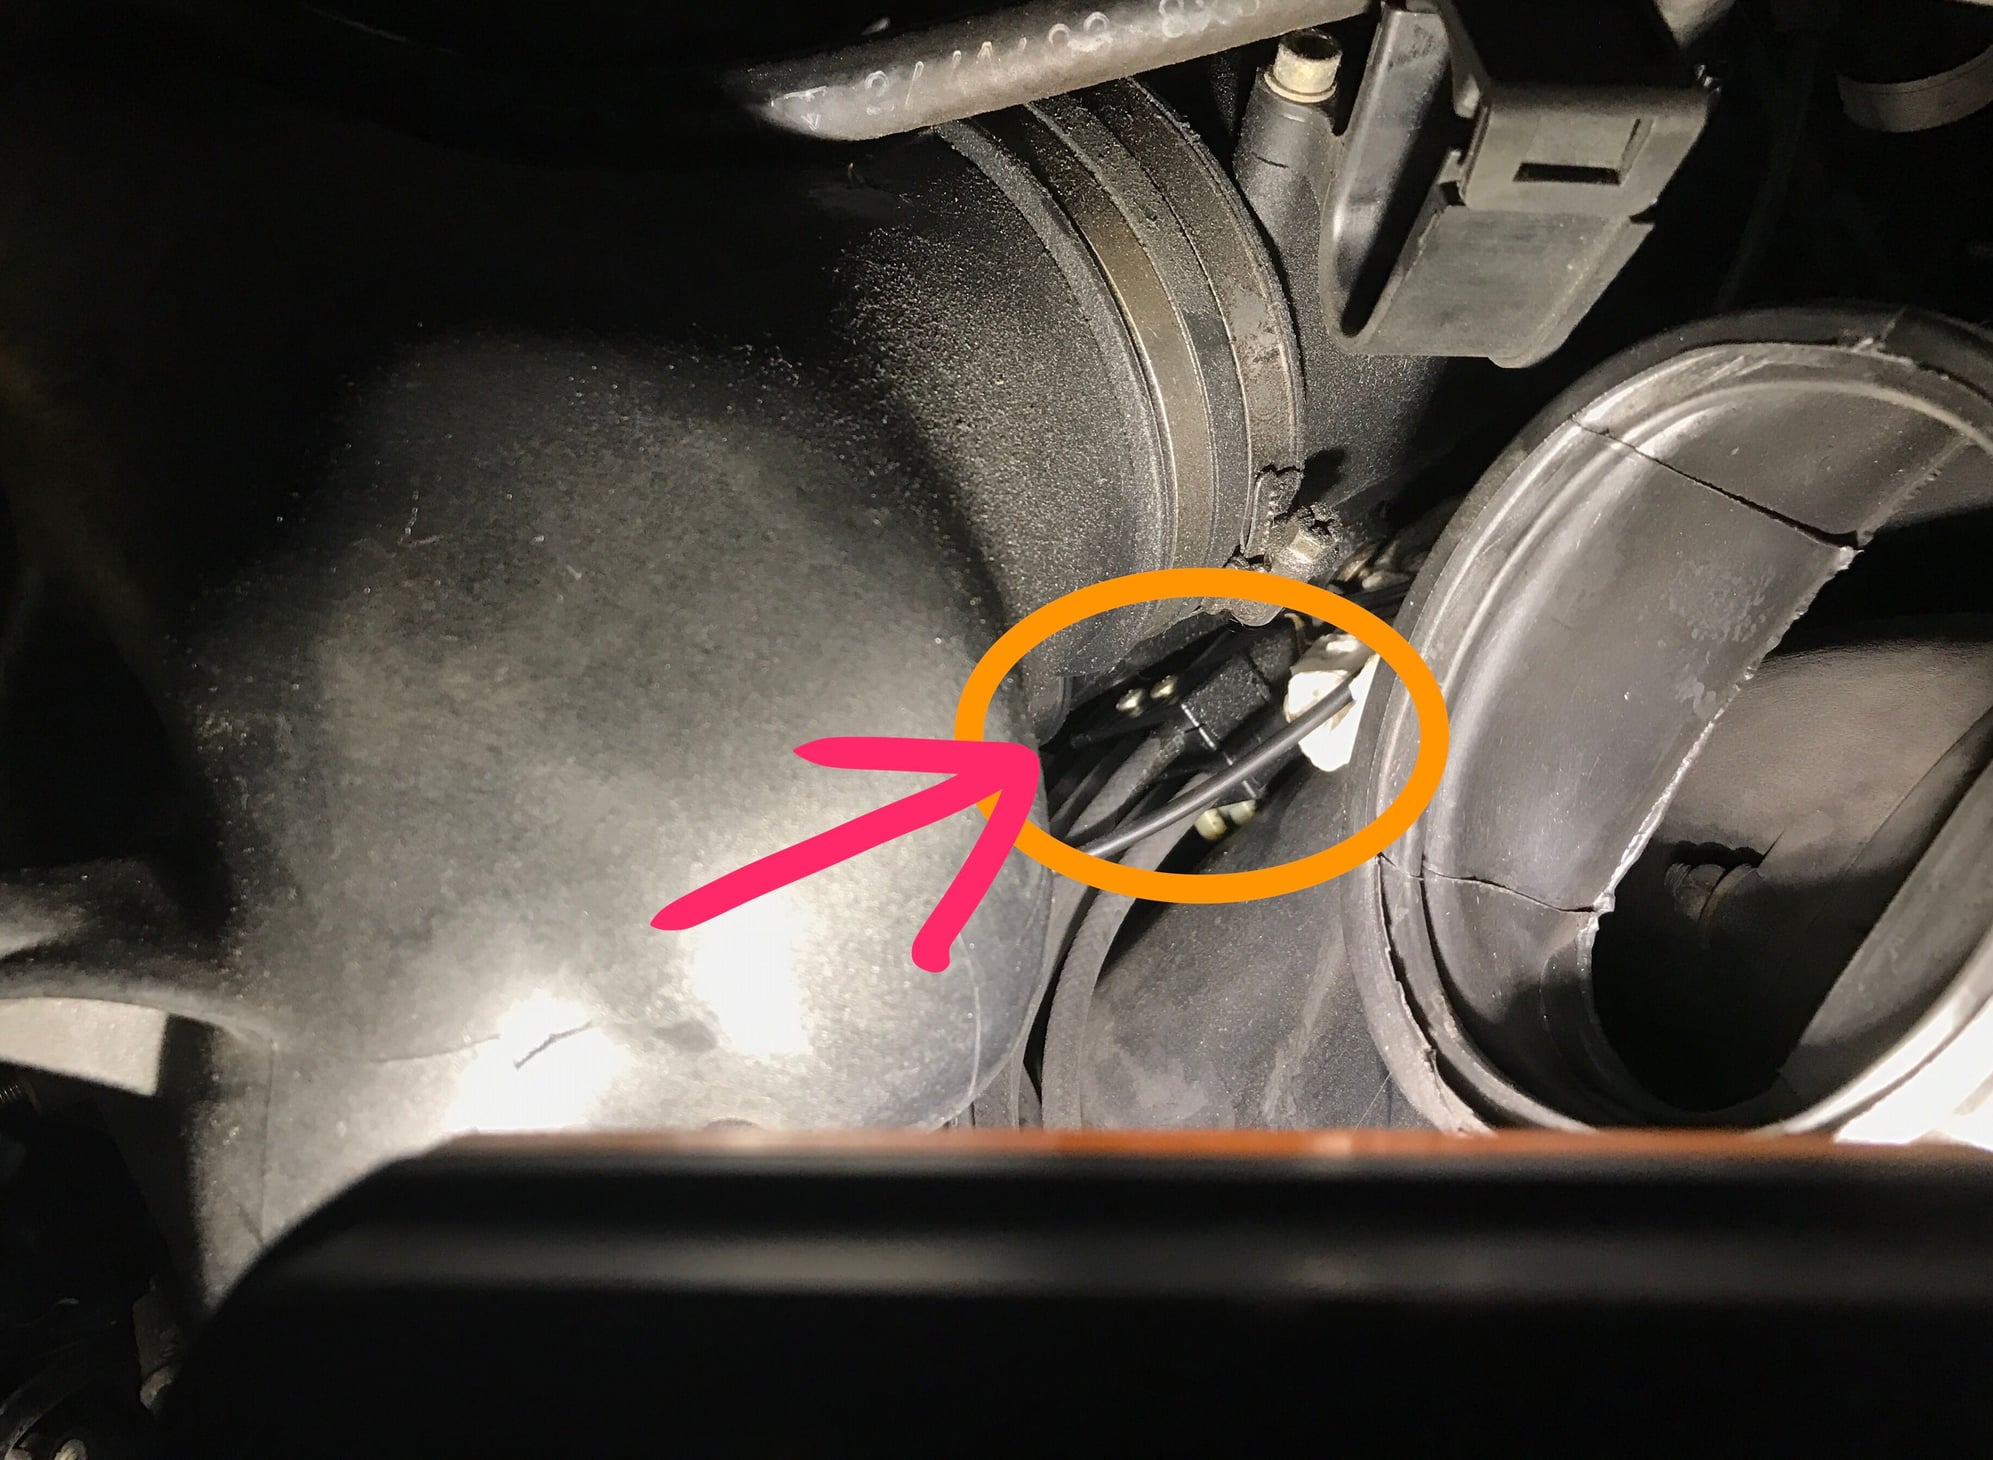
Here is a close up as the go under the throttle body. See the black plastic clamp holding the wires in place? Those screws are not accessible with the throttle body so close above them!
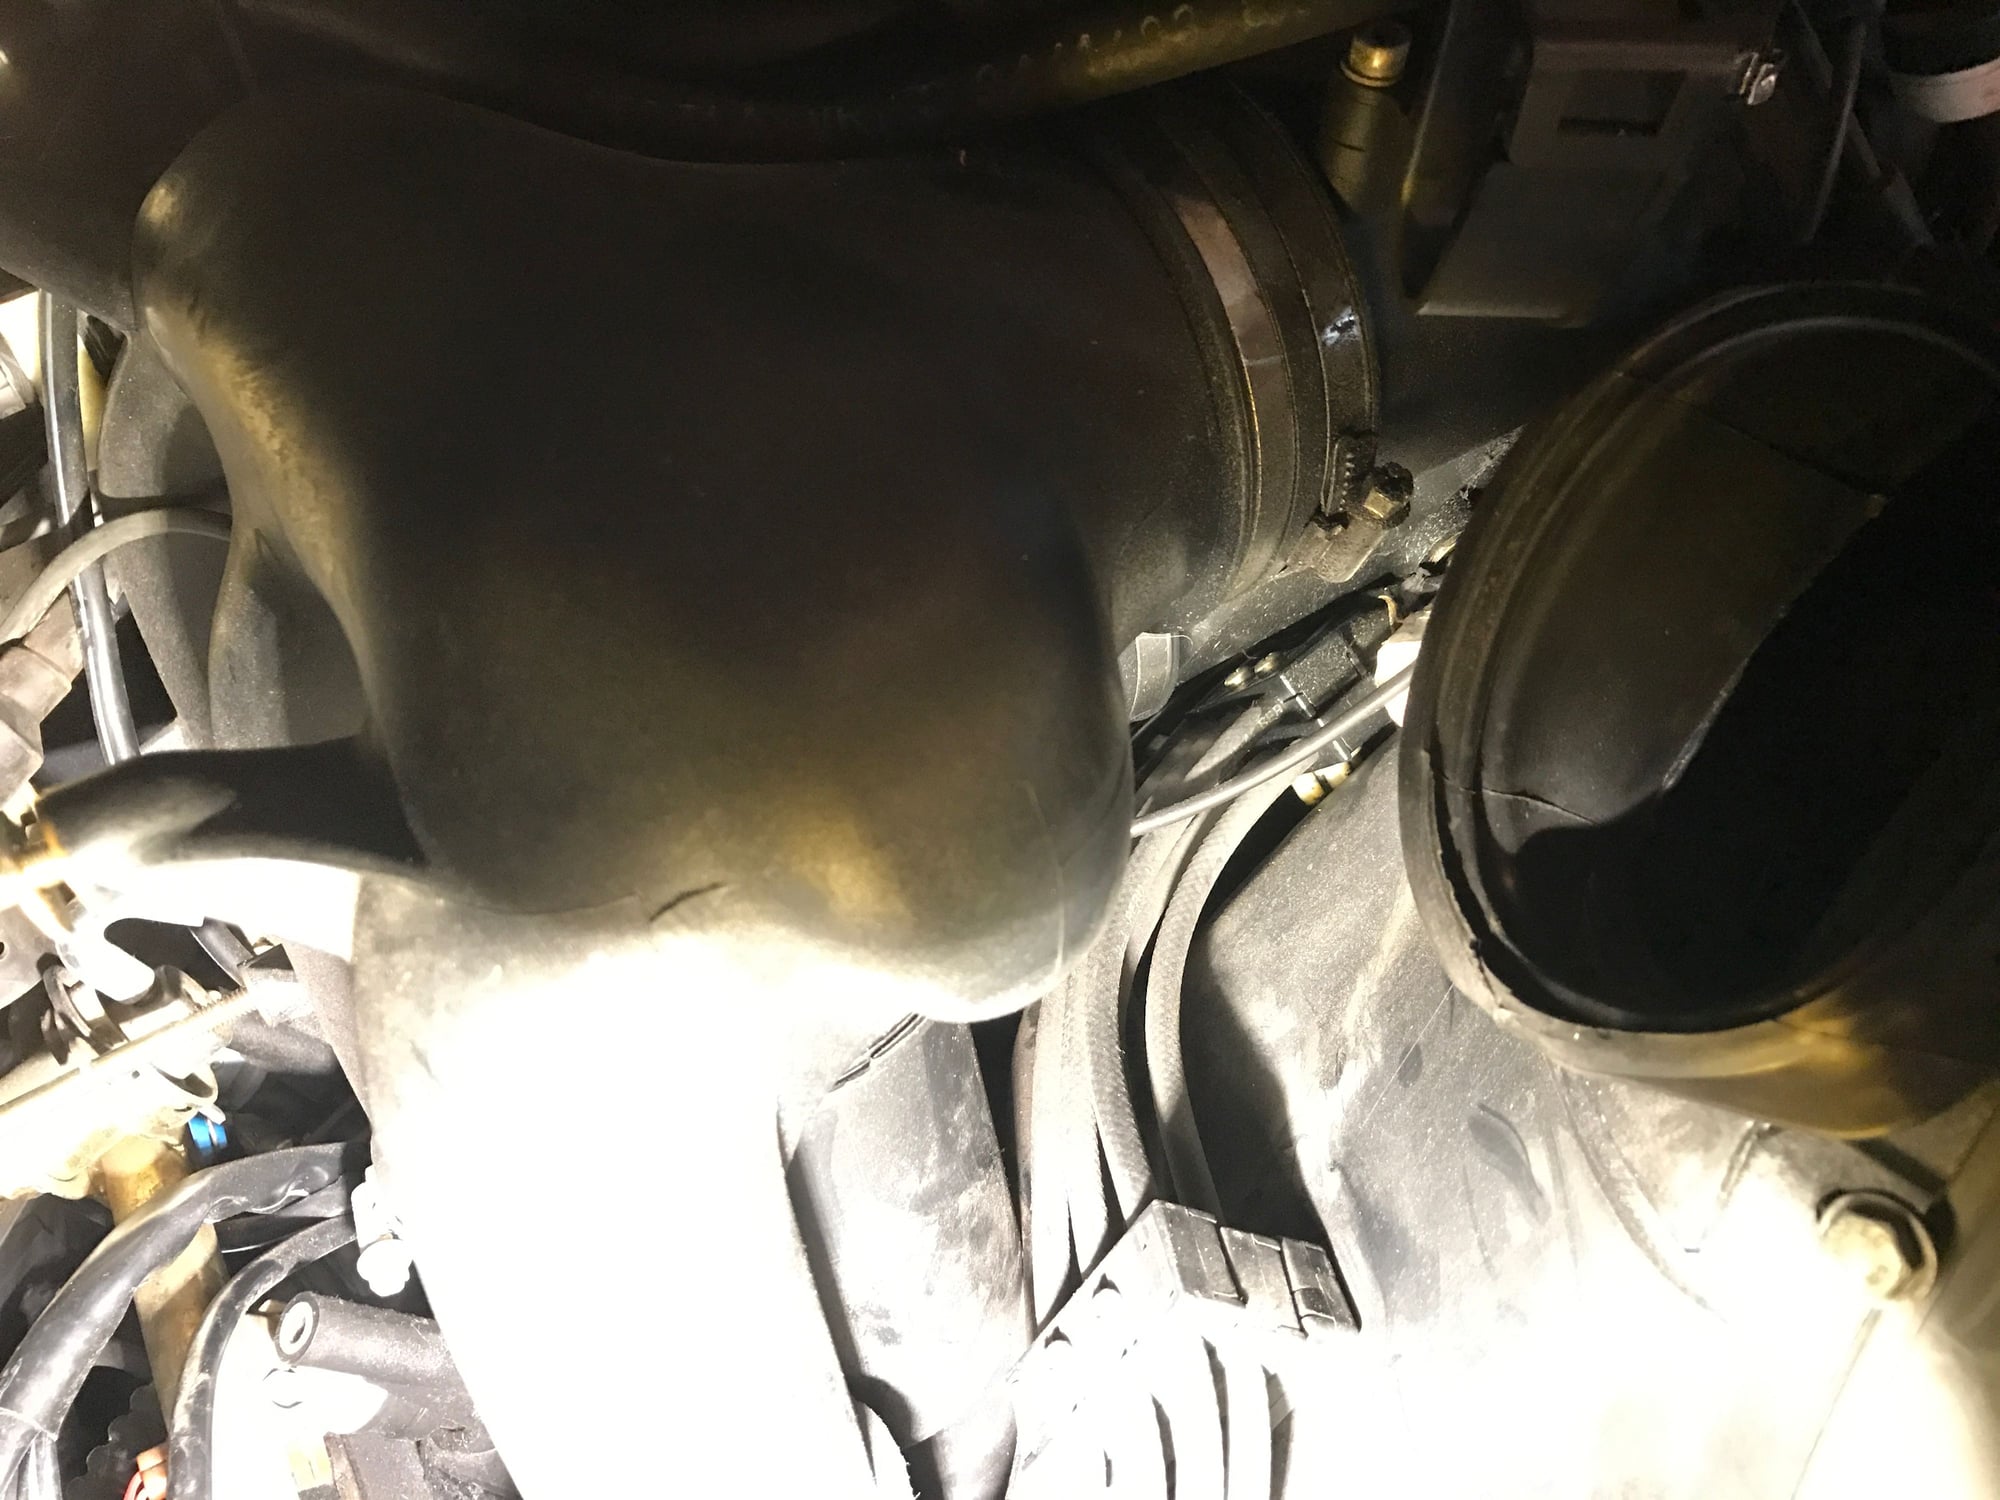
This is another shot of the same - in case it helps.
I feel your pain... those screws are about 3" long. its a pretty ridiculous design. My advice would be to remove the entire intake. trust me its easier, and will give you a boat load of room to work. I have done spark plugs both ways. It doesnt take long to pull it, or at least lift it.
It was a few years ago, but I recall the shroud immediately above the alternator having a rubber removable piece. I was able to use a small vice grip and grab the screw and back it out from inside. Once you get it most of the way out, you should be able to pop it out from inside.
a 2nd for pulling the intake
for your first time just take pictures, mark connections with blue painter's tape, keep a vacuum diagram handy and so on.
not a hard or technically difficult job and once you've done it you will realize how simple the system is and be comfortable with other projects.
plus you get to clean in there.
Yea I noticed friggin oil on the plastic body that the wire hold downs is screwed onto (via the 3 inch screws).
Where does this oil come from?
(Btw - this project started as a simple replace the lower valve covers and gaskets. That spawned my need to replace the oil cracked spark plug wires. And hell, why not replace the rear pads too?).
 02-18-2017, 05:16 PM