When you click on links to various merchants on this site and make a purchase, this can result in this site earning a commission. Affiliate programs and affiliations include, but are not limited to, the eBay Partner Network.
How did you install the top mounts on the shocks? For the front I have a socket with cut-out so I can fit an allen and socket at the same time. The rear has a different size nut, so I'm still trying to figure out how to work that.
I realized I had a problem when I pulled the old shock and couldn't get the mount off...
With the left strut assembly in place, I had to reinstall the aux fan. It's much easier than the air box.
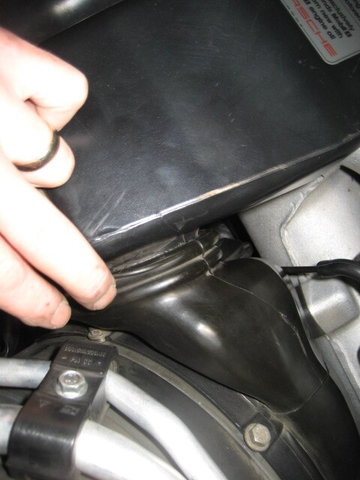
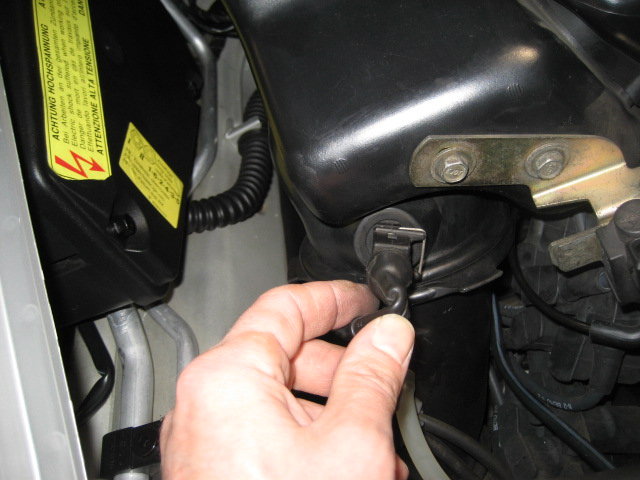
I started by setting the fan assembly roughly in place making sure to insert it into this rubber grommet. I couldn't really see it but could feel it was in place with my hand.
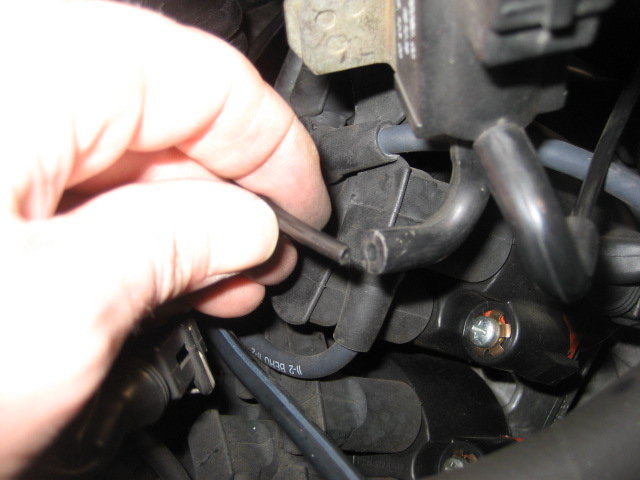
Next I just used my fingers to connect the rubber outlet and intake to their counterparts on the car. .
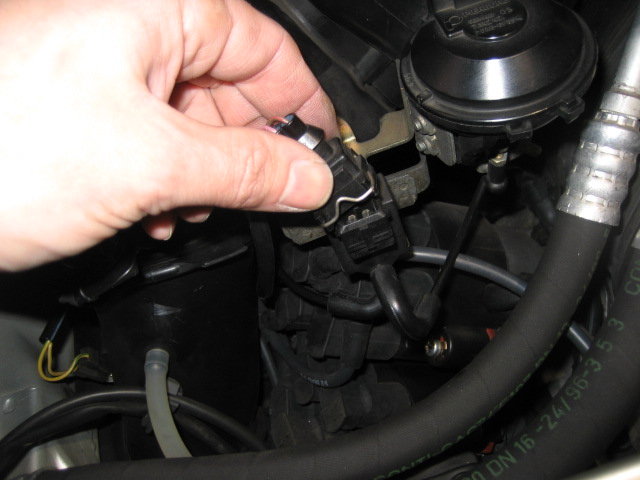
From there I connected the one vacuum line.
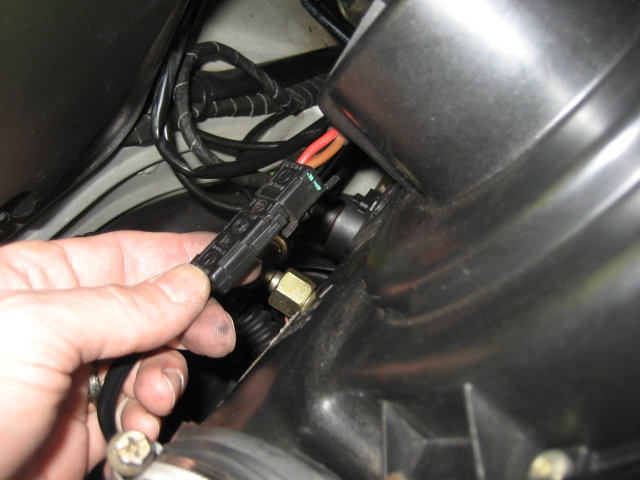
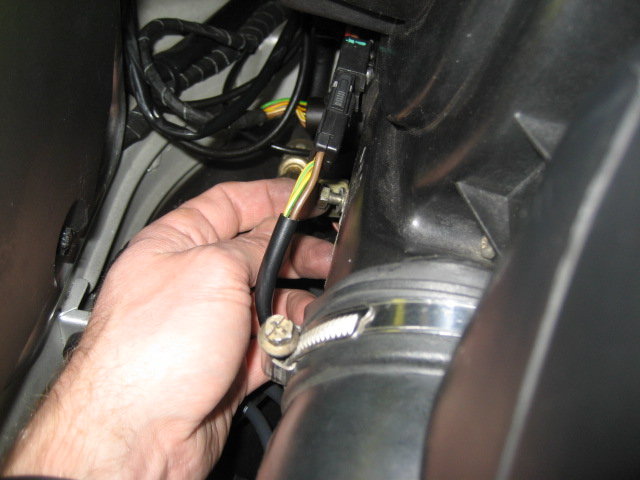
And the three electrical plugs.
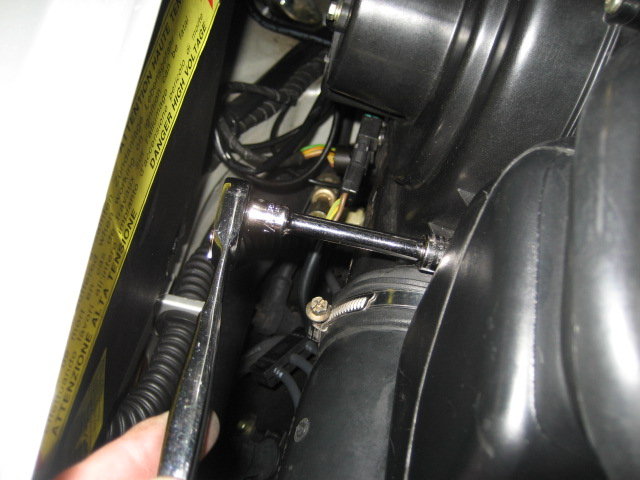
All that was left for the aux fan was to secure it with the 2 13mm screws.
The last thing I did was to adjust ride height. My goal was RS +10, or specifically 134mm front and 117mm rear when measured as specified in the workshop manual (full tank of gas, from the correct points on the car, etc). I was able to get it +/- 1mm of those numbers on my very unscientific garage floor. I decided to not get it perfect since it's going to be professionally corner balanced anyway.
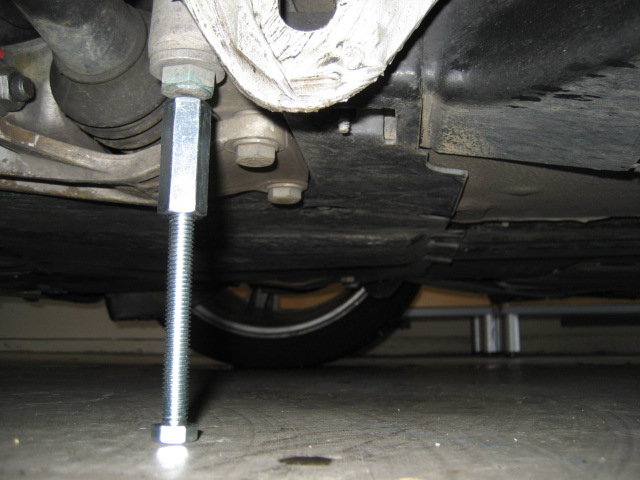
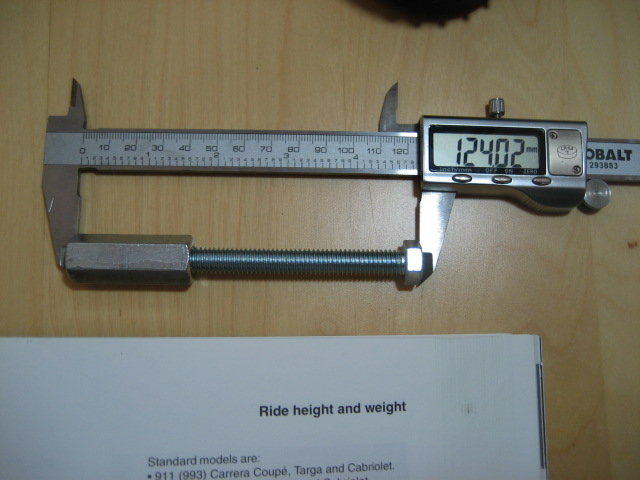
Not too many pictures here as there's not much to see. I started by using a bolt and coupling nut like an an adjustable feeler gauge to measure the height at each corner.
In this case, I was 124mm, or 10mm lower than my target height in the front.
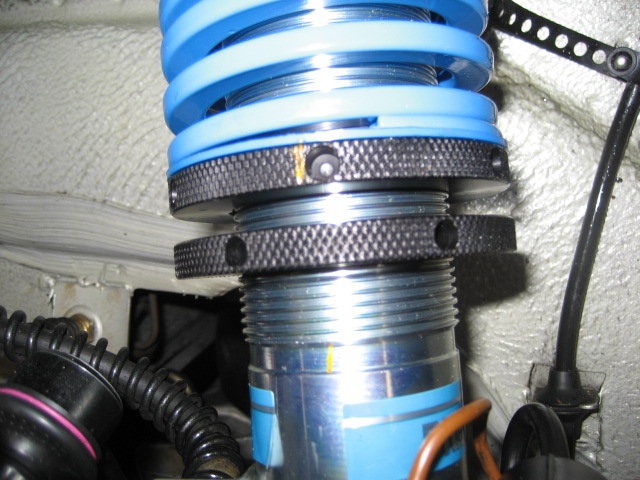
So, I used the wrenches included with the PSS10 kit to spin the spring perch up or down (depending on my measurements). You can ignore the yellow lines I put on the shock. I didn't end up using them for anything.
At this point, it was just trial and error until I got the car where I wanted it. I would use a floor jack to raise an axle at a time, remove the wheels, adjust, reinstall the wheels, lower then roll the car a bit before measuring again.
In earlier posts, I mention that I set the initial spring perches to the middle of their range as documented in the PSS10 installation instructions that come with the kit. This put me at:
Left Front - 124mm
Right Front 127mm
Left rear - 125mm
Right rear - 125mm
So, overall, I had to raise the front end roughly 10mm and lower the back 8mm to hit my target ride height.
Thanks! I looked back in the thread but didn't go far enough.
Did you end up putting torque on the allen? The socket was used to hold the nut?
Torque on the socket using a crowsfoot at 90 degrees to the head of the torque wrench. Not 100% accurate, but probably close enough given all the flexing of the allen socket anyway.
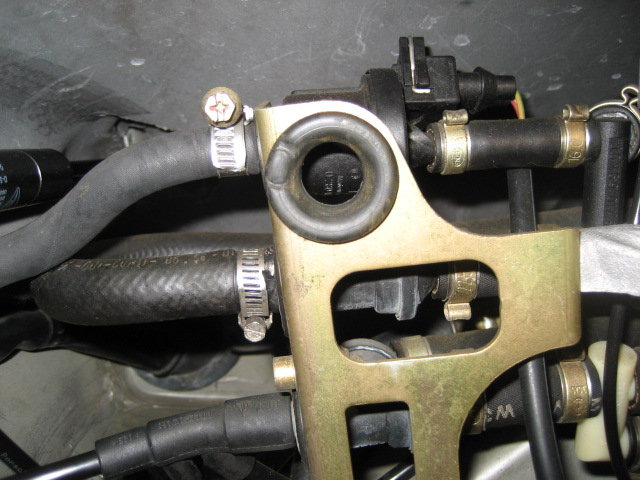
Tlaloc75 - 96434351401 is the brass colored one, not the flatter silver one.
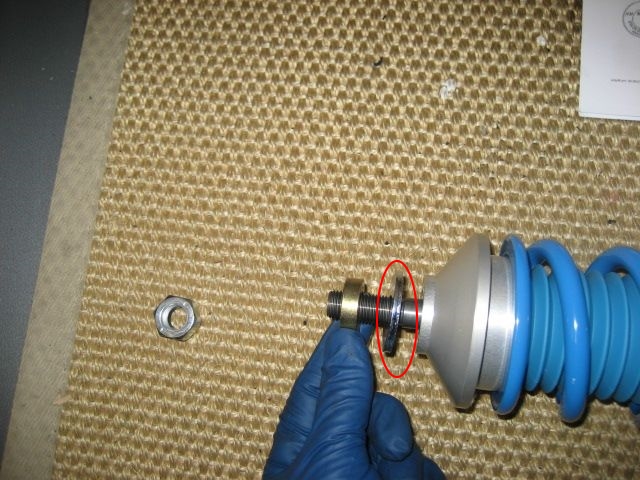
Squidge - The one you're after came in the Bilstein kit, not from Porsche. Your best bet is just getting a washer of similar dimensions. If no one here has one they can measure, you could try to contact Bilstein US (number on their web site) and talking to their tech folks. They likely have access to some of the CAD drawings and may be able to find the dimensions that way.
Thank you for posting the process with all the photographs. It's very helpful to see what the installation entails.
You had mentioned earlier in the thread that you included some complementary modifications/parts. In addition to the adjustable ARBs, what else did you change to go to RS+10 ride height?
Thanks! The third change was a front strut tower brace, but it and the ARBs (and associated drop links) didn't really have anything to do with ride height.
Thanks for the insight. I knew it was a Bilstein part from looking at their diagrams, suppose I'll have to give them a call unless someone watching the thread has one of the washers in question handy to measure.
I also hopefully have a lead on a pair from Summit via the previous owner of the PSS10s who has been great about helping find the missing pieces, but he hasn't gotten back to me about the Bilstein part number for these washers or how else they found them.
My next DE is now only about six weeks away, so I'm starting to doubt whether I can get this done by then. :/
I have a set, sitting in a box ready for install. I can pull that washer and measure for you. I don't have calipers but I can measure within a mm with a tape if that would be useful to you?
I have a set, sitting in a box ready for install. I can pull that washer and measure for you. I don't have calipers but I can measure within a mm with a tape if that would be useful to you?
Yeah, that would be great, thanks!
(Calipers are a really useful cheap tool in your collection though, great for measuring brake pads and stuff. Just sayin' )
 01-16-2017, 08:36 PM


 )
)