Time lapse stone guard install
 10-17-2016, 12:48 AM
#1
Rennlist Member
Thread Starter
I've been wanting to tackle my first full detail on the car (dawn wash, clay, polish, wax) and felt like it was the perfect opportunity to do my FDM stone guards.
I made a very satisfying time lapse gif -- enjoy:

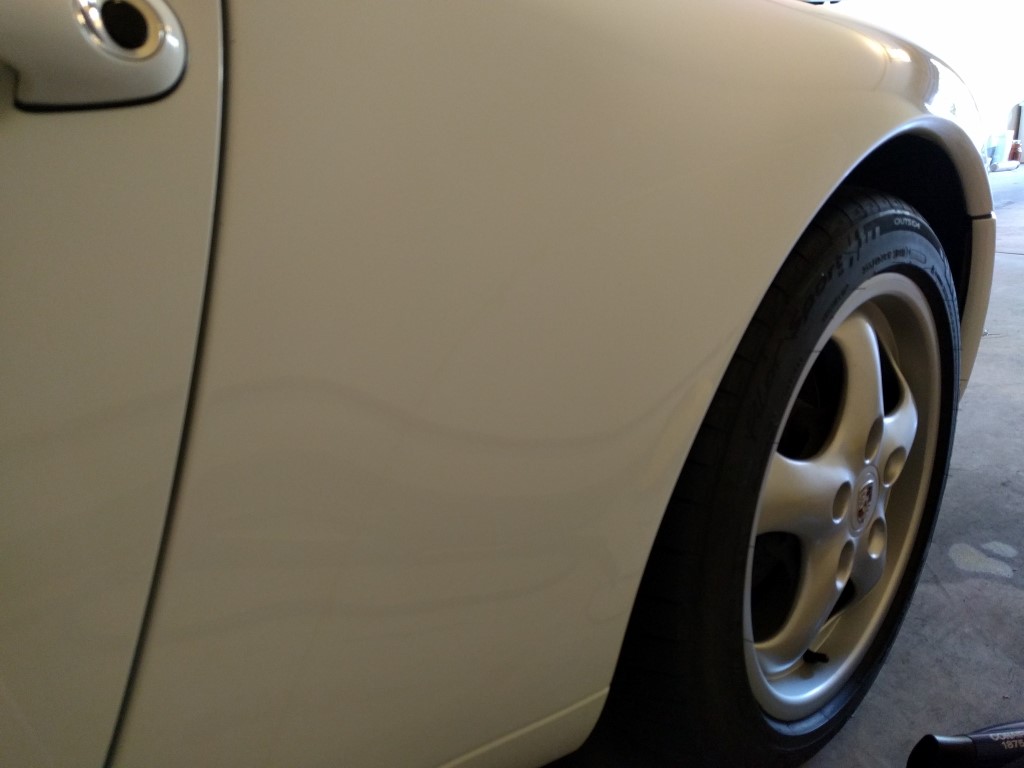
The final frame in that gif has harsh light creating a shadow on the edge of the new film, so here's a quick shot of the finished product. It looks fantastic in person -- invisible unless you know it's there.
I'll post more details on my process and some tips when I have a few more minutes!
I made a very satisfying time lapse gif -- enjoy:
The final frame in that gif has harsh light creating a shadow on the edge of the new film, so here's a quick shot of the finished product. It looks fantastic in person -- invisible unless you know it's there.
I'll post more details on my process and some tips when I have a few more minutes!

The following users liked this post:
1997hmc993 (09-30-2021)
10-17-2016, 01:20 AM
#2

The GIFs aren't working.
10-17-2016, 02:00 AM
#3
Rennlist Member
Thread Starter
Works fine for me in Chrome, including in incognito mode (doesn't have the imaged cached.) Could be your browser.
Try this otherwise: https://i.imgur.com/d6dGqHC
Try this otherwise: https://i.imgur.com/d6dGqHC
10-17-2016, 02:08 AM
#4
Rennlist Member
Thread Starter
My tools for this job were a 500w halogen light (ambient heat is good!), a pack of plastic razor blades and plastic holder, hair dryer, a steam cleaner, and 3M adhesive remover.
The steam cleaner was messy, awkward, and not particularly helpful. What worked best was the plastic razor in one hand, hair dryer in the other. Heat a horizontal section back and forth for about 30 seconds, then start on one side with the razor, biting about half the razor's width worth of material. Push with the razor and lead with the hair dryer, and the material will peel up as you go, but may leave a lot of glue residue, especially on the passenger side (due to years of heat from the oil lines.) Pulling the material in any way (stretching, 90*, pulling it across itself) was completely worthless and the material immediately tore. It had no strength left.
Once all the material is off, use the adhesive remover and the plastic razor to remove any thick glue residue. On the driver's side, this was easy. On the passenger side, it took 6-8 passes, followed by agressively scrubbing with a cloth and the remover to get the last few spots.
If you don't have a steam cleaner, don't waste your money on one to do this job. I didn't use it at all on the passenger side.
Once the area was free of residue, I clay barred the general area to remove the dirt/tan line as much as possible, polished, and then applied the new stone guard, which was extremely easy and straightforward.
Here you can see the long ribbons on the passenger side, and removing the glue.
10-17-2016, 02:20 AM
#5
Rennlist Member
Thread Starter
Bonus! Polished away the horrible fingernail scratches from behind the door handle. This made me so happy!
I used https://smile.amazon.com/gp/product/...?ie=UTF8&psc=1
I used https://smile.amazon.com/gp/product/...?ie=UTF8&psc=1
10-17-2016, 07:53 AM
#6
Drifting
FYI - I saw somewhere where you can buy film to install under the door handles as well. It may help you keep that area free of scratches. I would imagine it would be a difficult install. Unfortunately, I don't recall who sells it.
10-17-2016, 08:31 AM
#7
RL Community Team
Rennlist Member
Rennlist Member
I have never seen a painted guard before.
Trending Topics
10-17-2016, 11:56 AM
#8
Rennlist Member
Thread Starter
I think most lighter color 993s got painted guards from the factory, right? I've seen this mentioned in many places.
I had the door handle film on my BMW and hated the appearance of it. I think once I get everything waxed it won't be an issue going forward, especially considering it took me 90 seconds of polishing work to get rid of them.
I had the door handle film on my BMW and hated the appearance of it. I think once I get everything waxed it won't be an issue going forward, especially considering it took me 90 seconds of polishing work to get rid of them.
10-17-2016, 12:15 PM
#9
Rennlist Member
Mine are painted from the factory (I believe when you order replacements they come that way-at least when I looked up guards for my polar silver). Nice job on the details squidge!
10-17-2016, 11:37 PM
#10
Drifting

Originally Posted by pp000830
I have never seen a painted guard before.
10-18-2016, 12:00 AM
#12
FWIW, I had my old stone guards removed last week and replaced with Xpel Ultimate by a shop here in Denver.
Fantastic result, superior technology and you can't even see them when you're more than 10' from the car.
Total out of pocket including materials was $325.
Fantastic result, superior technology and you can't even see them when you're more than 10' from the car.
Total out of pocket including materials was $325.
10-18-2016, 12:02 PM
#13
Rennlist Member
Thread Starter
Good info on the cost comparison. I spent $107 on my 3M guards and about $20 on the plastic razor and 3M adhesive removal spray. It was about a three hour job for me, so I still saved more than I make per hour and learned how to do the job.
The Xpel Ultimate is supposed to be good stuff though, and depending on the condition of your original guards that $200 labor charge could be an excellent deal.
The Xpel Ultimate is supposed to be good stuff though, and depending on the condition of your original guards that $200 labor charge could be an excellent deal.


