When you click on links to various merchants on this site and make a purchase, this can result in this site earning a commission. Affiliate programs and affiliations include, but are not limited to, the eBay Partner Network.
I may have made a terrible mistake and packed two sides instead of a matched pair ins somebodies delivery! Contact me(I know you will!) as soon as you get them and I will send out the other side as well as send you some cash to send me back the unwanted one!
I may have made a terrible mistake and packed two sides instead of a matched pair ins somebodies delivery! Contact me(I know you will!) as soon as you get them and I will send out the other side as well as send you some cash to send me back the unwanted one!
So sorry! There were a lot of packages!
G
Looks like I'm the unlucky guy. I got two right (passenger side) plugs. ::sad trombone::
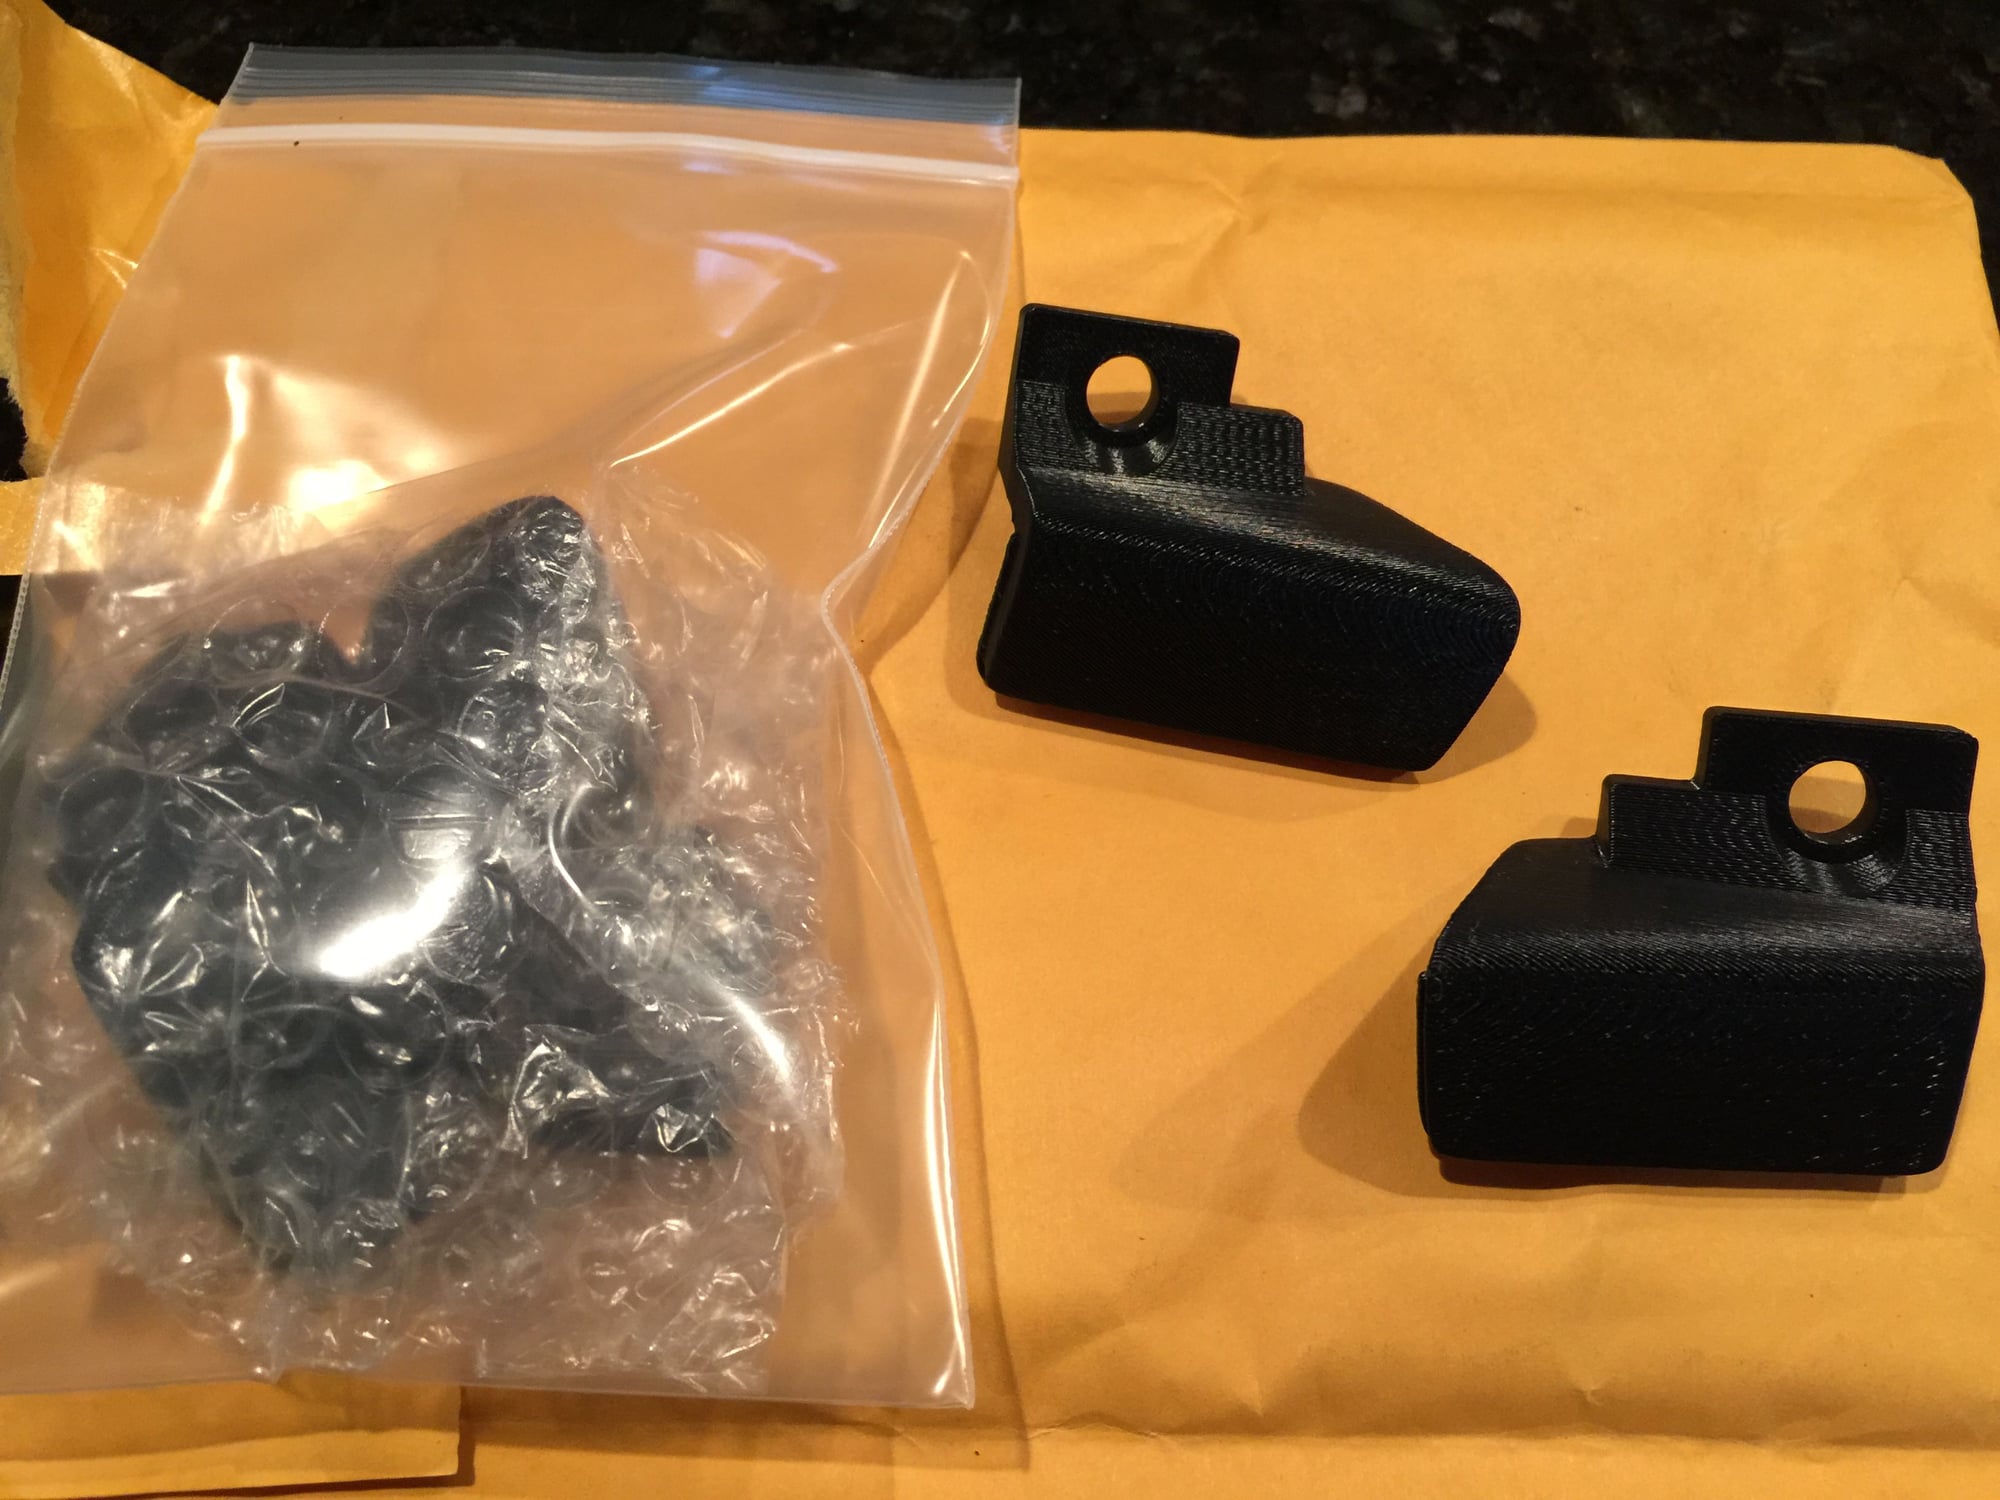
+993 Package arrived today, safely packed in bubble wrap. The bumperettes were already off as I'm re-wiring my Turbo Scoops with proper round connectors (https://rennlist.com/forums/993-foru...o-s-ducts.html) - so I had a chance to do a test fit. Even without paint these look better than the bumperettes! The fit is pretty good, although there is a distinctly sharper angle to the plugs that leaves the outside edge a bit recessed, and the inside edge protruding a bit. Still this is a great temporary fix until i get a chance do a proper respray of the bumper and either fill the holes or get a new bumper. It took all of about five minutes to sand down the inside lip so I could slide the plug in. I left the lip on the top and outside edge intact, and the plug still fits right in. here are a few photos. Thanks GMorat! Nice to know I won't be putting bumperettes back on, ever. And if anyone needs a set of short clears, let me know!
Jim
Packaged arrived safely wrapped in bubble wrap
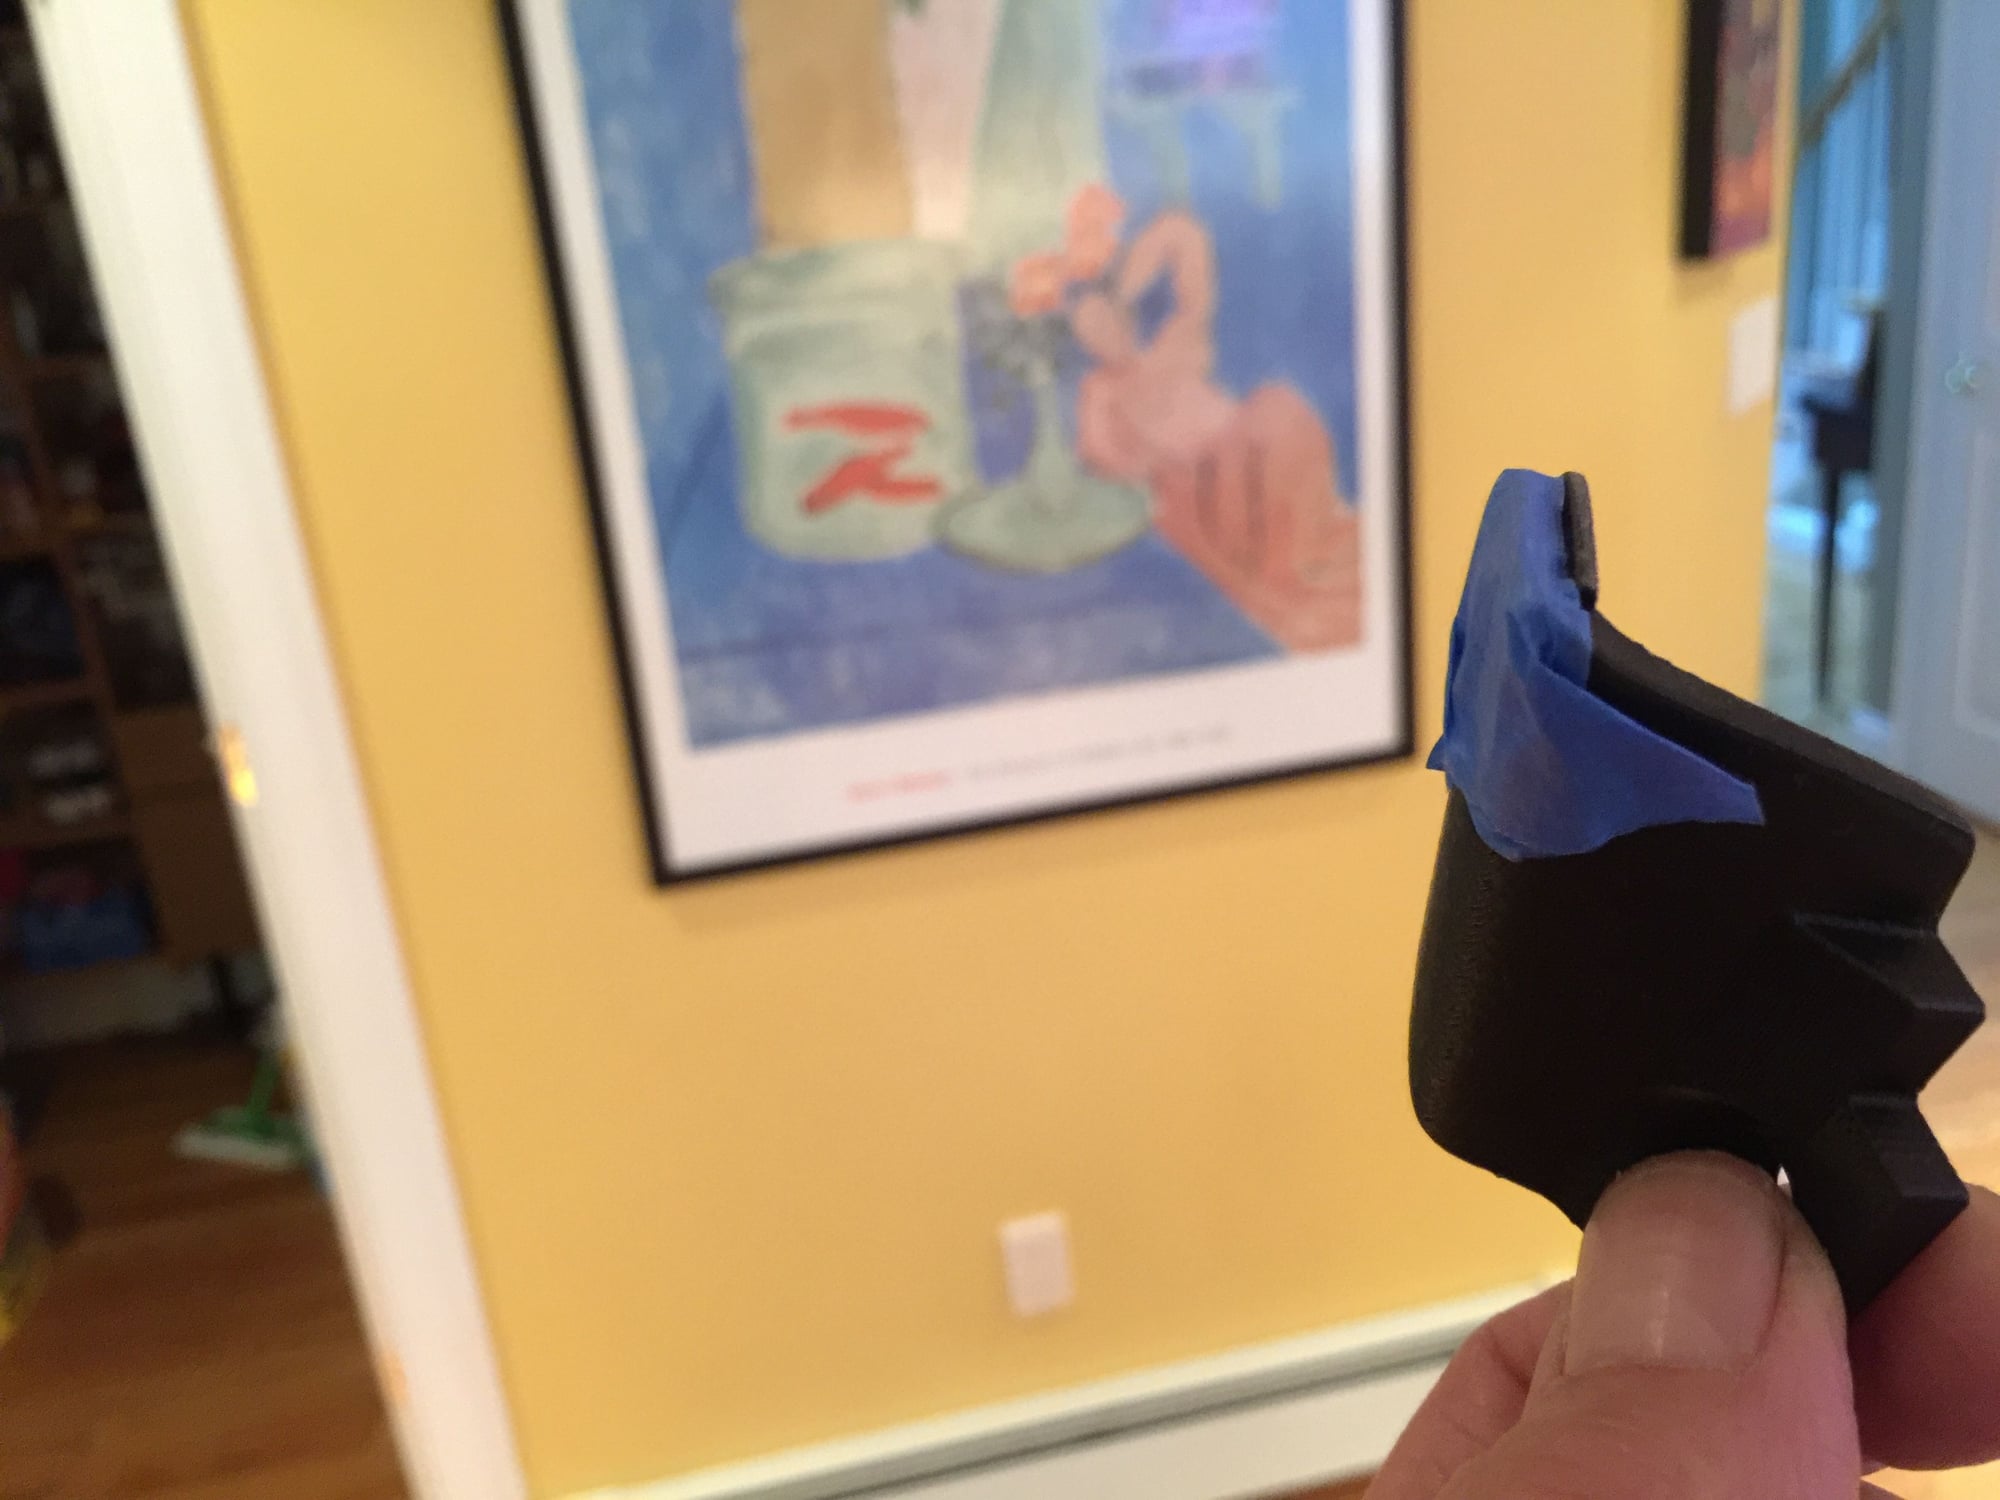
Tape up and sand inside lip
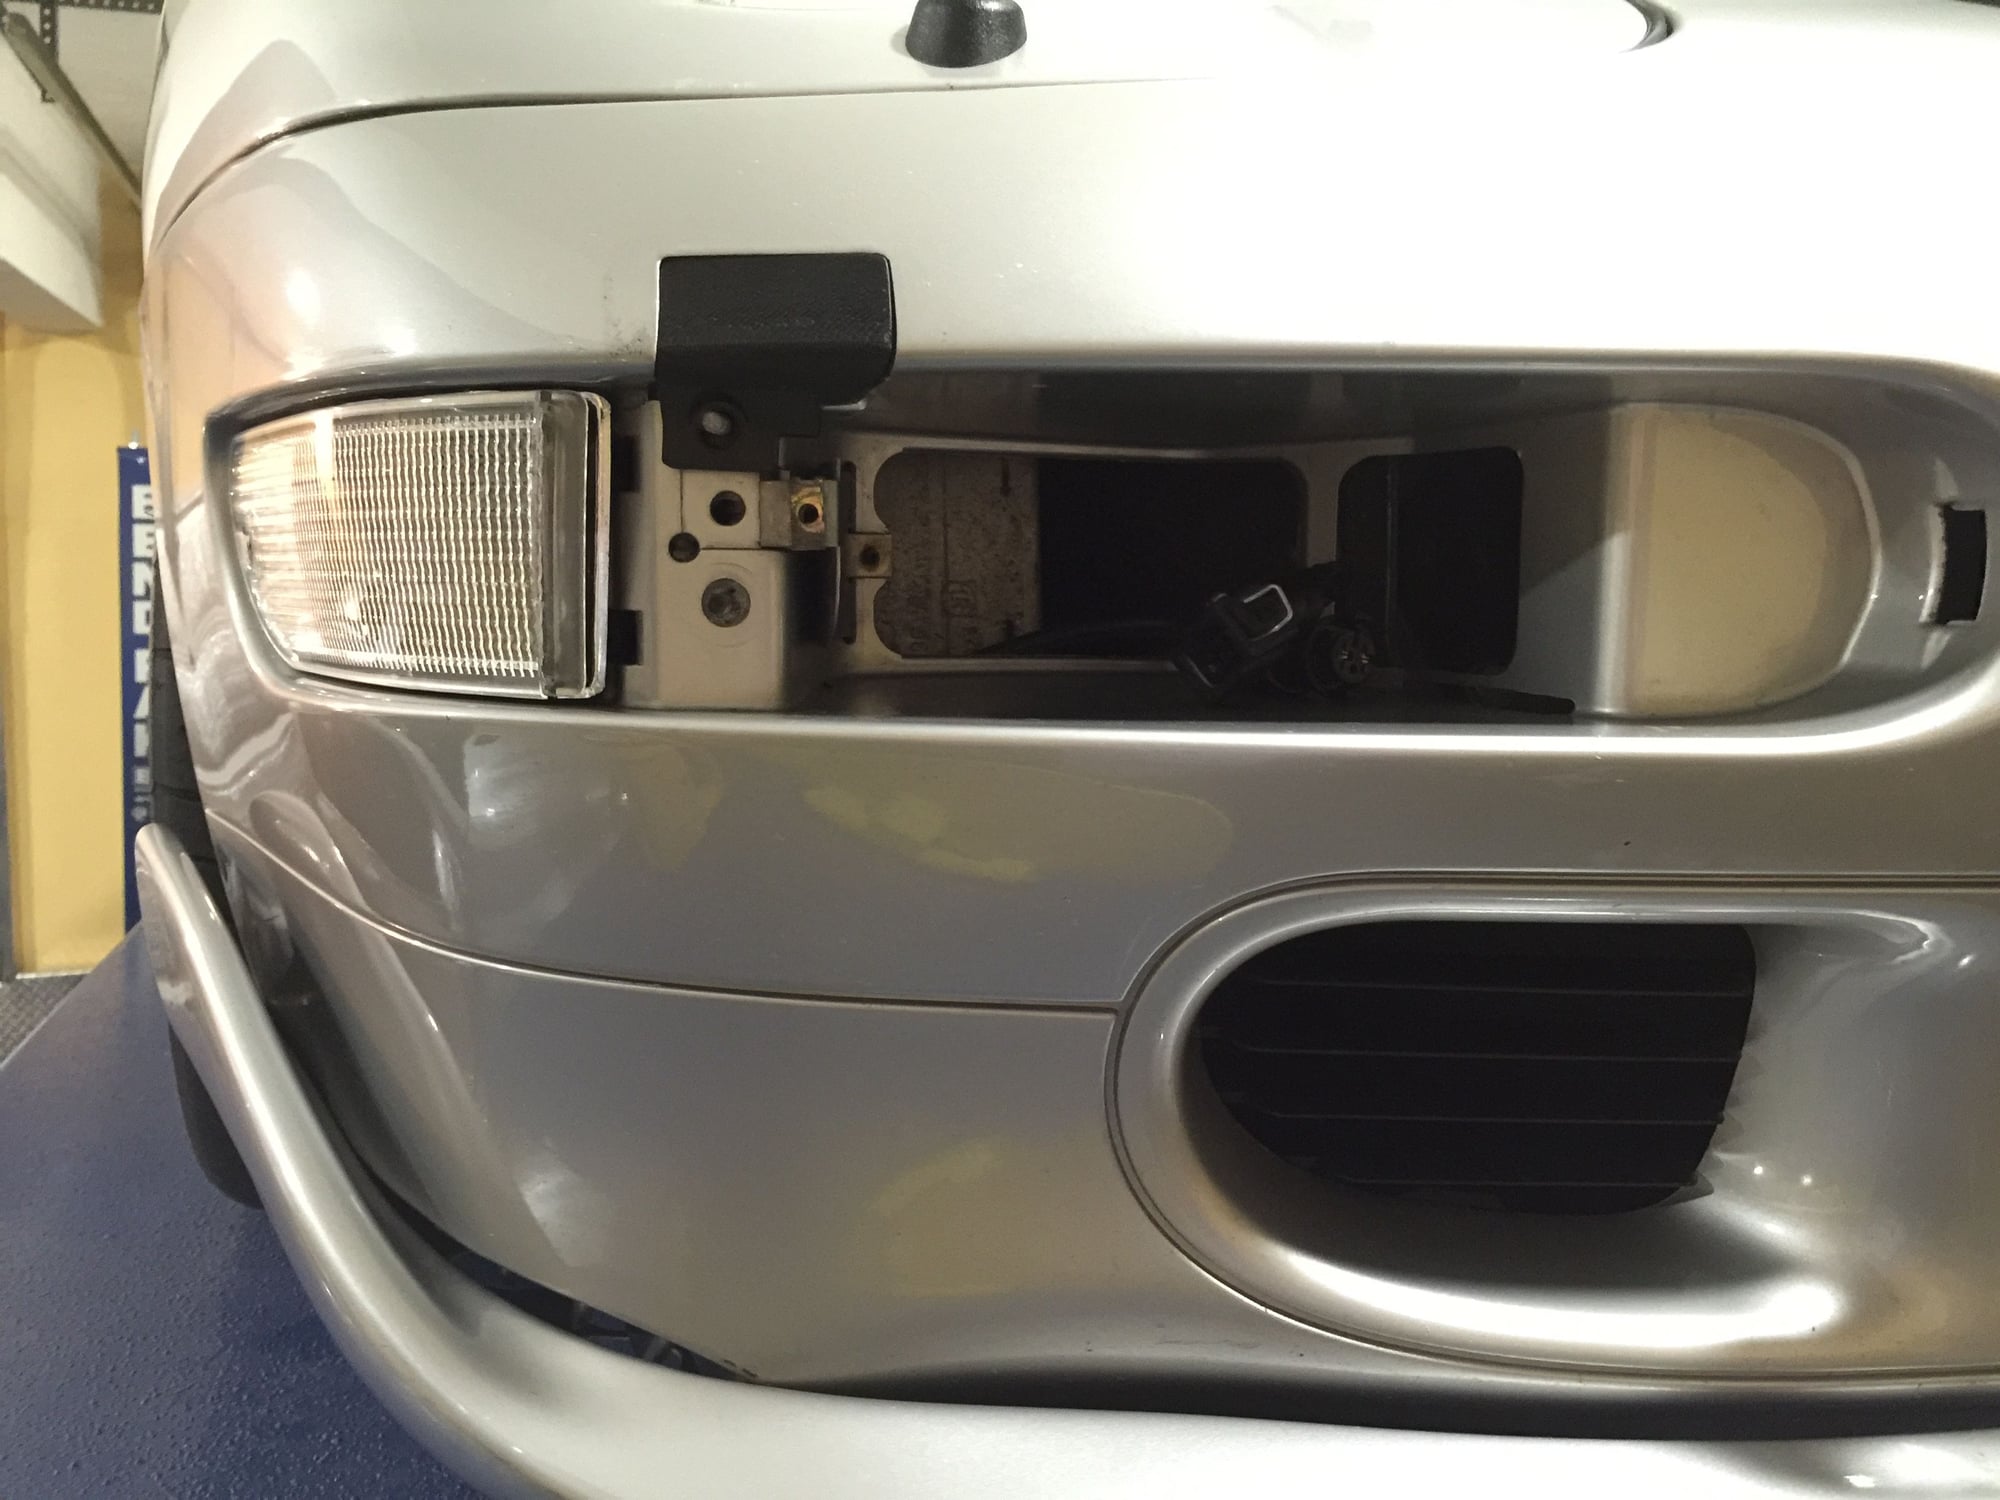
And the plug slide right in
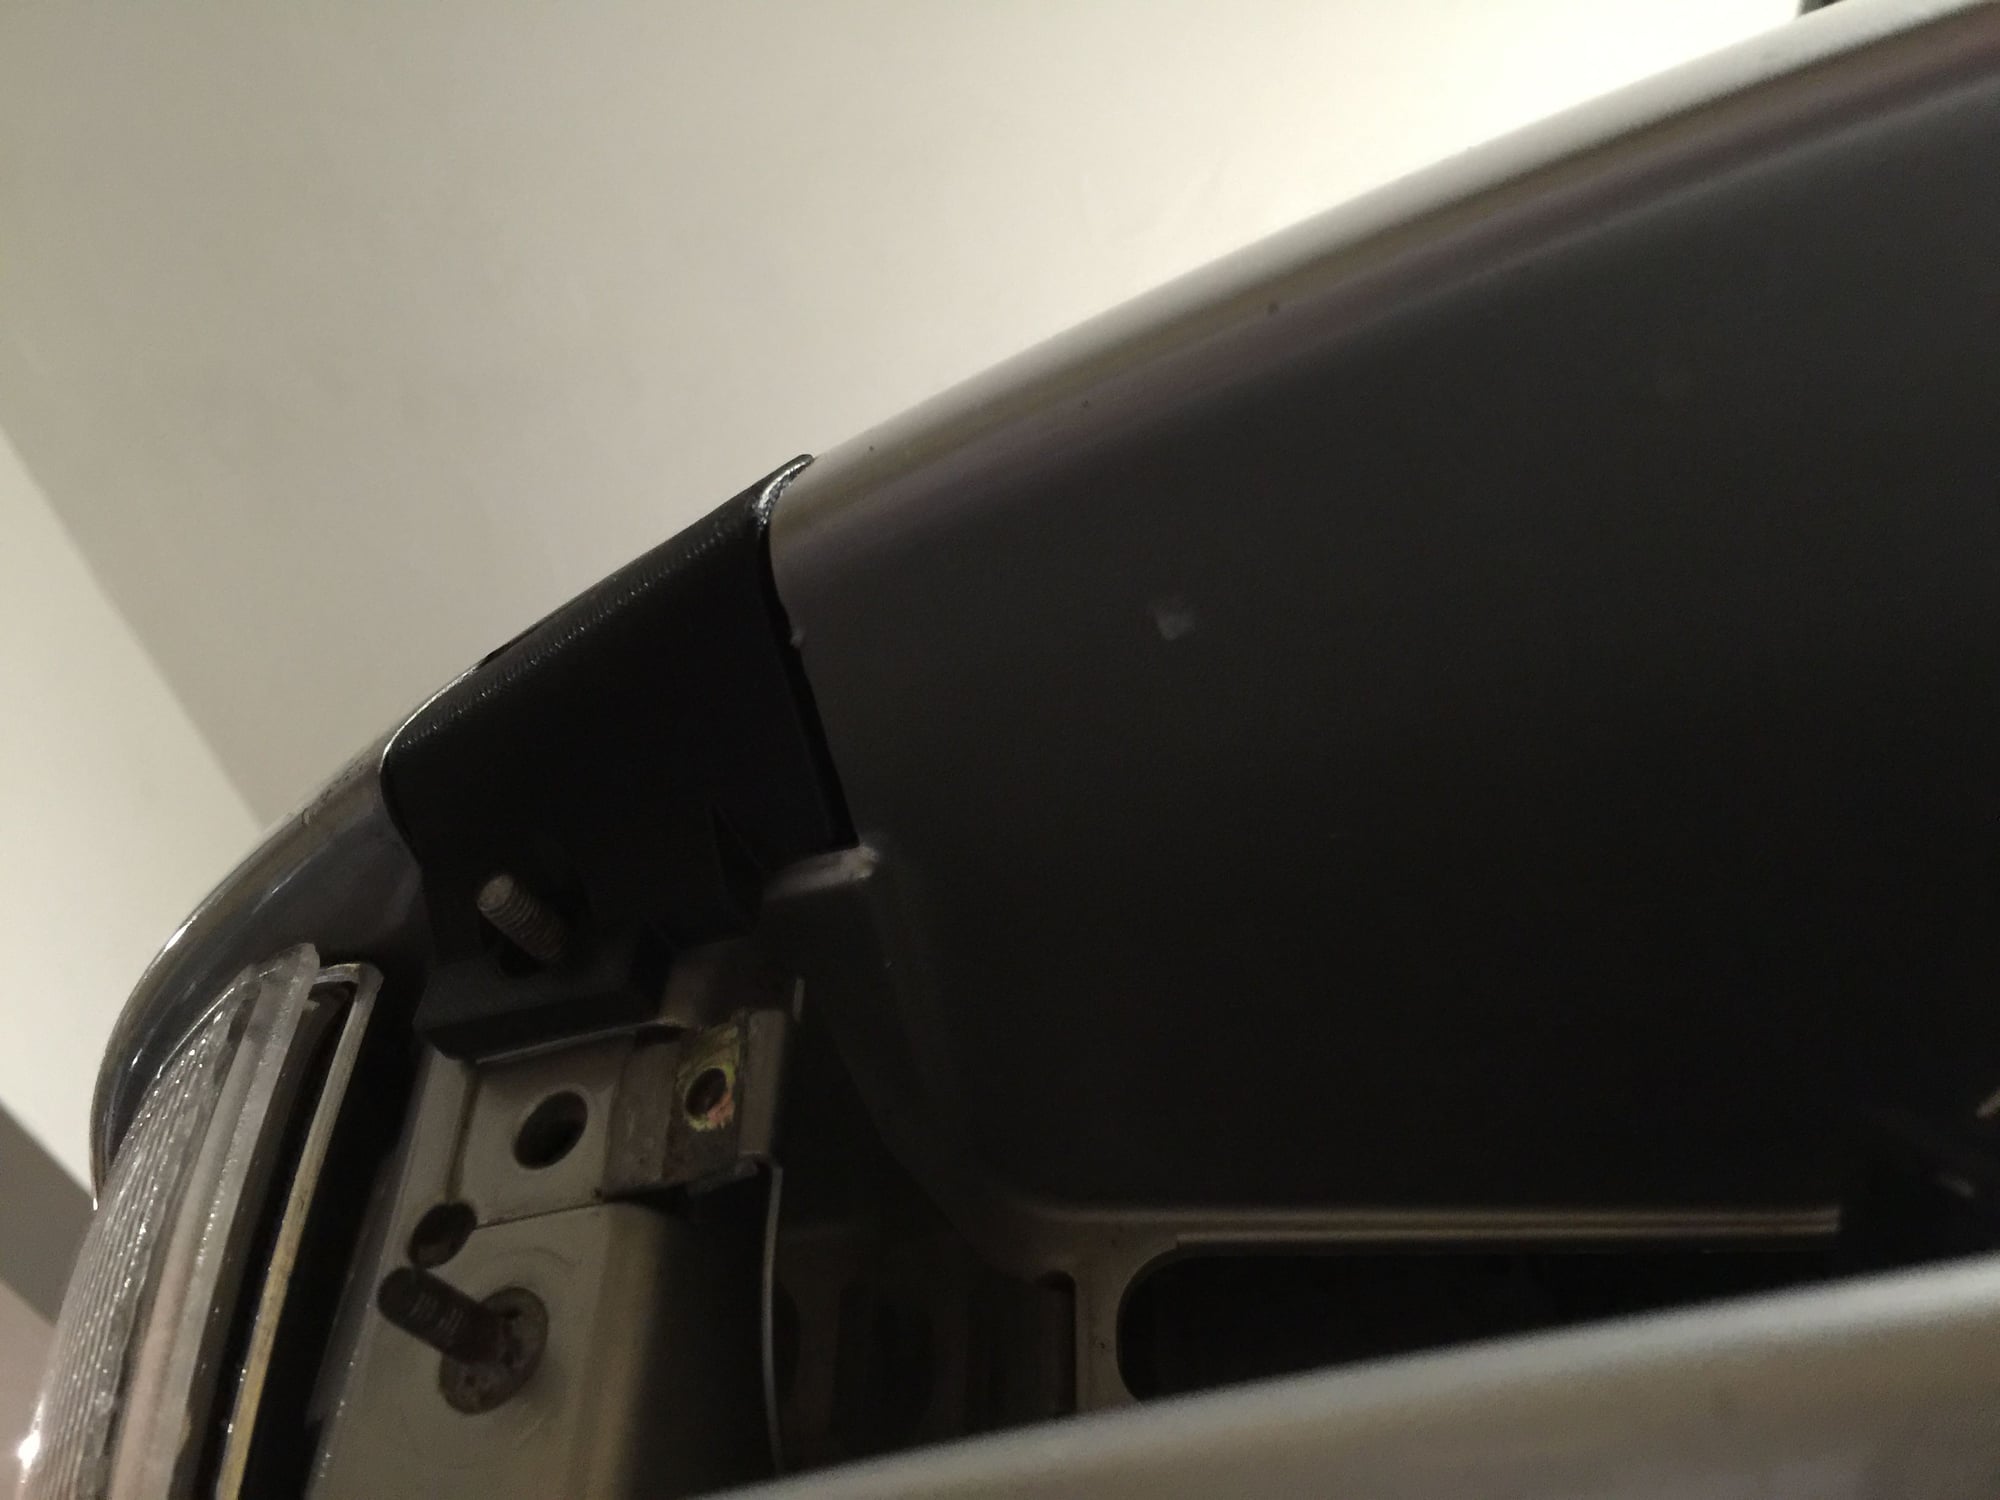
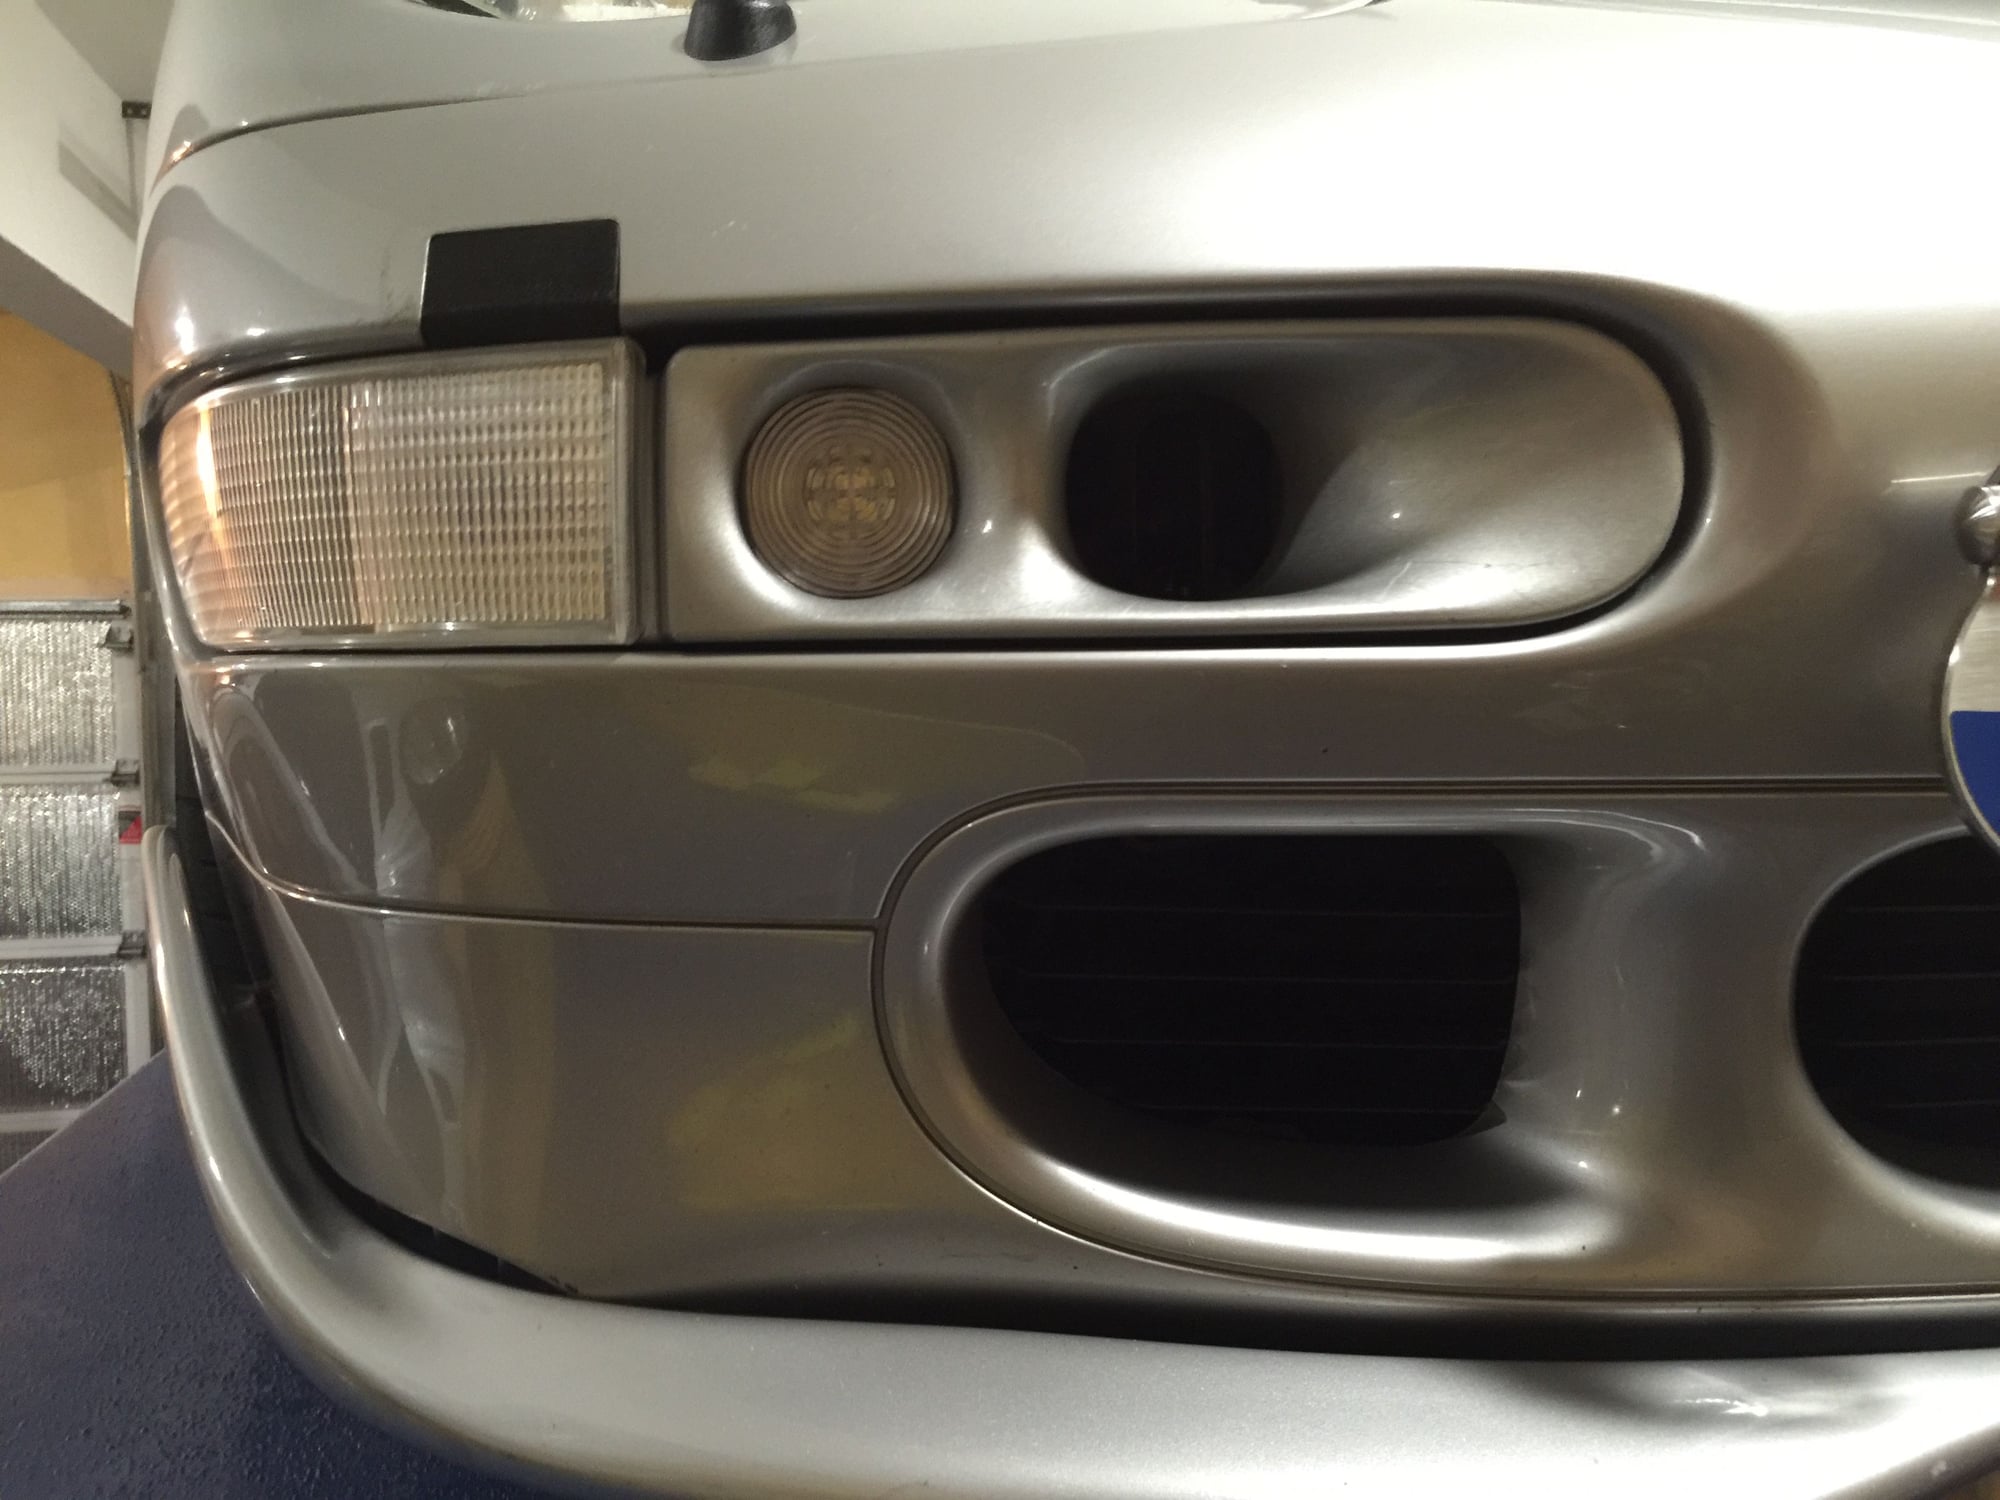
This shot hi-lights how the plug is angled just a bit too steeply, leaving the outside edge recessed and the inside edge protruding slightly - still a good temporary fix
Even without paint, these look better than the bumperettes! Thanks to Gert at Carnewal for the new euro-clears!
+993 Package arrived today, safely packed in bubble wrap. The bumperettes were already off as I'm re-wiring my Turbo Scoops with proper round connectors (https://rennlist.com/forums/993-foru...o-s-ducts.html) - so I had a chance to do a test fit. Even without paint these look better than the bumperettes! The fit is pretty good, although there is a distinctly sharper angle to the plugs that leaves the outside edge a bit recessed, and the inside edge protruding a bit. Still this is a great temporary fix until i get a chance do a proper respray of the bumper and either fill the holes or get a new bumper. It took all of about five minutes to sand down the inside lip so I could slide the plug in. I left the lip on the top and outside edge intact, and the plug still fits right in. here are a few photos. Thanks GMorat! Nice to know I won't be putting bumperettes back on, ever. And if anyone needs a set of short clears, let me know!
Jim
Packaged arrived safely wrapped in bubble wrap
Tape up and sand inside lip
And the plug slide right in
This shot hi-lights how the plug is angled just a bit too steeply, leaving the outside edge recessed and the inside edge protruding slightly - still a good temporary fix
Even without paint, these look better than the bumperettes! Thanks to Gert at Carnewal for the new euro-clears!
there is a distinctly sharper angle to the plugs that leaves the outside edge a bit recessed, and the inside edge protruding a bit.
This shot hi-lights how the plug is angled just a bit too steeply, leaving the outside edge recessed and the inside edge protruding slightly - still a good temporary fix
Have you tried putting a small shim on the left side of the connection, between the car body and the plug/insert? You could use a piece of sheet metal or something? I hope this doesn't sound too hack-ish, but it might push the left face out just slightly, and you could sand down the right side (probably will anyway I assume). Of course, you'd have to be careful not to stress the plastic out when you tighten the nut on to attach. Maybe fold the outside (far left) edge over to allow two thicknesses and support the plastic in two step rather than just one? Not sure if that's clear, and just a thought anyway...
Either way, I agree that this is a very good finish for the cost and level of involvement.
Excellent work to you, and especially to Gmorat.
Last edited by zechunique; 05-03-2016 at 12:38 PM.
Reason: edited to clarify a bit. at least I tried anyway...
I am also interested in a pair of short clears, if any other become available through this project. (Sagres74 above responded ahead of me regarding Foxman's).
Have you tried putting a small shim on the left side of the connection, between the car body and the plug/insert? You could use a piece of sheet metal or something? I hope this doesn't sound too hack-ish, but it might push the left face out just slightly, and you could sand down the right side (probably will anyway I assume). Just a thought.
Either way, I agree that this is a pretty good finish for the cost and level of involvement.
Excellent work to you, and especially to Gmorat.
Thanks, I was going to suggest a shim or to put a little bondo on the outside of the base. If it turns out to be a consistent problem, I will adjust the model so that this is incorporated into the design.


 04-29-2016, 07:33 PM