When you click on links to various merchants on this site and make a purchase, this can result in this site earning a commission. Affiliate programs and affiliations include, but are not limited to, the eBay Partner Network.
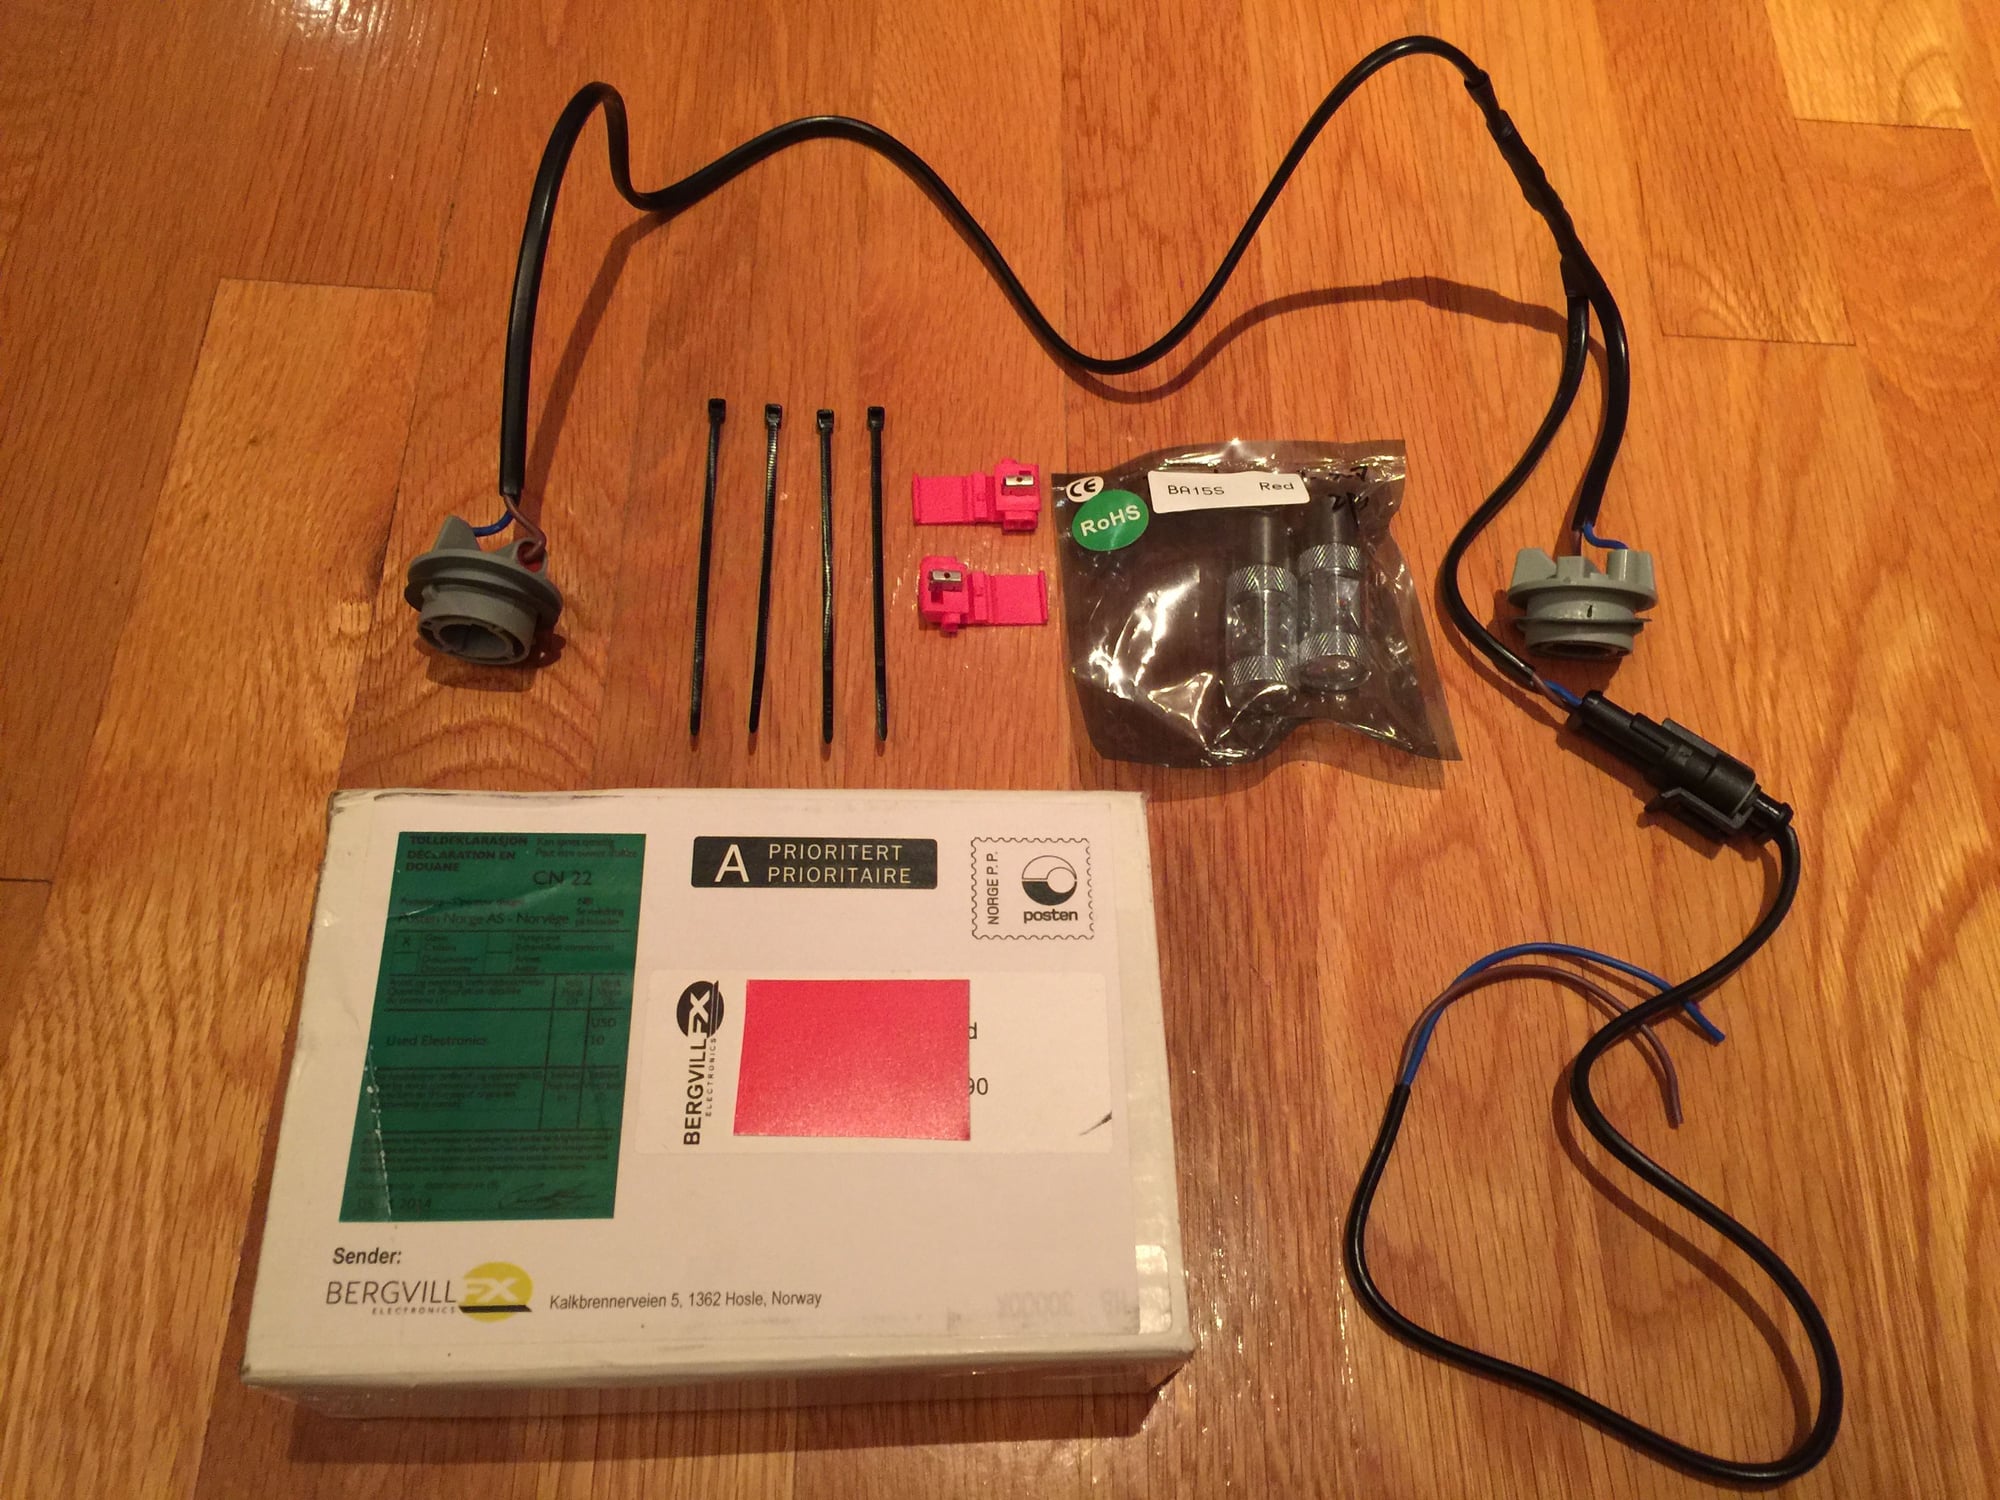
Bergvill's Rear Fog Light/Brake Light Conversion Kit Installed
This is a very straightforward install with two simple splices, but I thought it might be helpful to share a few notes and pictures for future installations of this great new safety product from Tore.
I had already converted the brake lights to Tore's LED's. The difference is remarkable. So increasing the brake lights from two LED lights to four utilizing the empty fog light sockets was compelling. All the more so since I hadn't yet installed Tore's LED reverse lights - a project I had abandoned when I discovered that the center socket screw in the center tail light assembly was stripped and wouldn't come out.
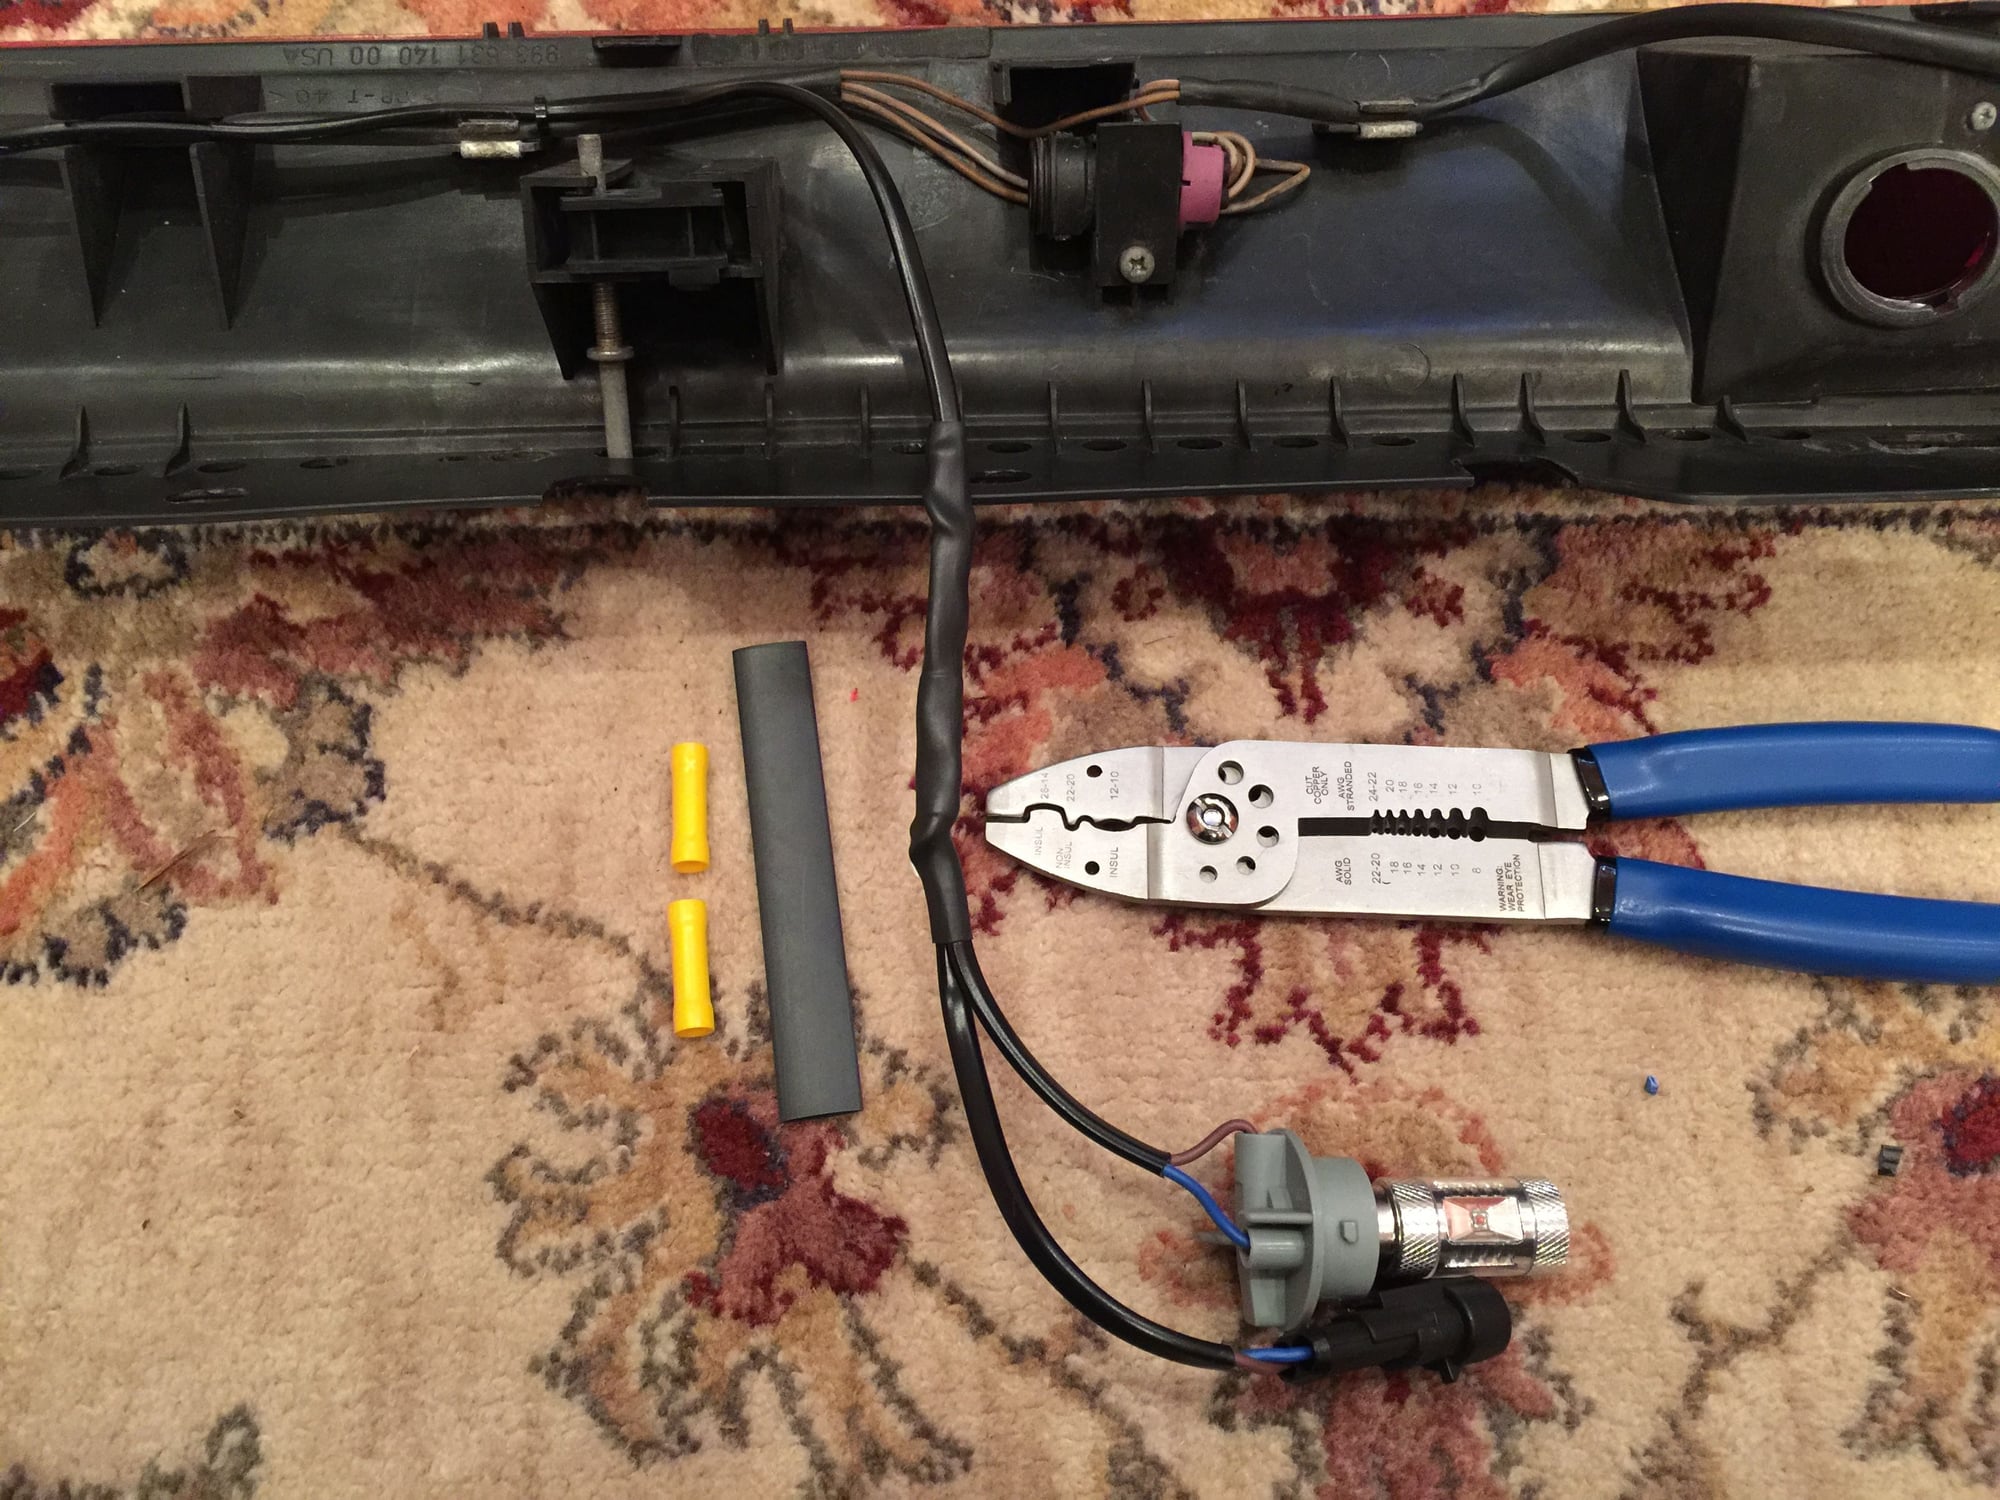
The fog light harness was thoughtfully designed with a connector similar to the connector on the reverse light harness (better, really). This continues to make it a snap to disconnect both harnesses when removing the center tail light assembly.
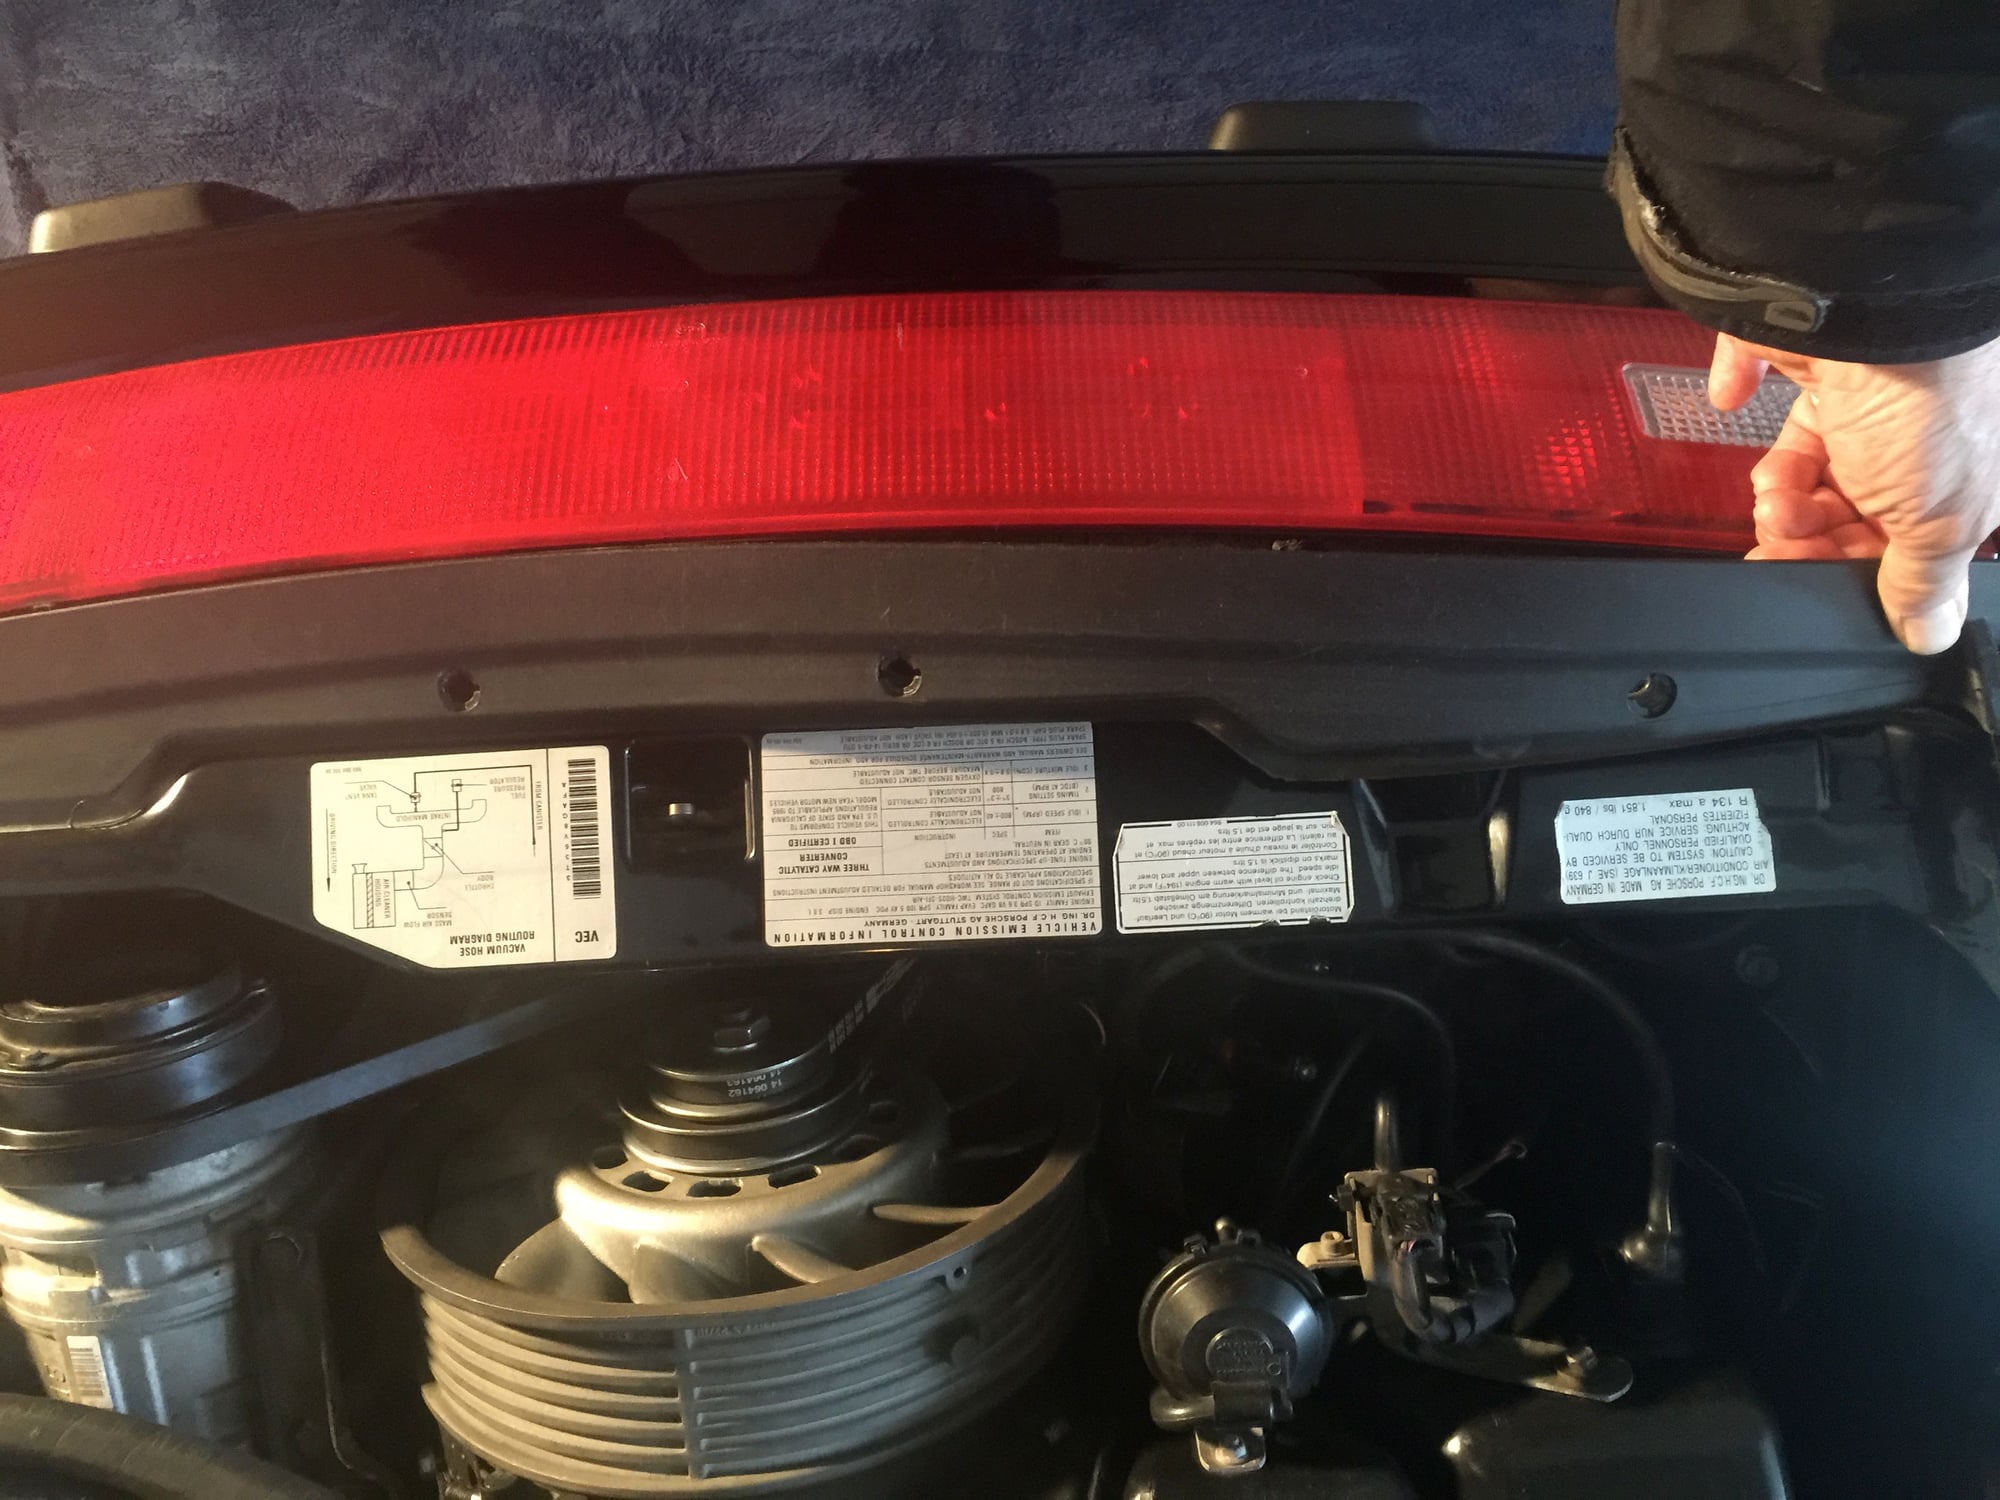
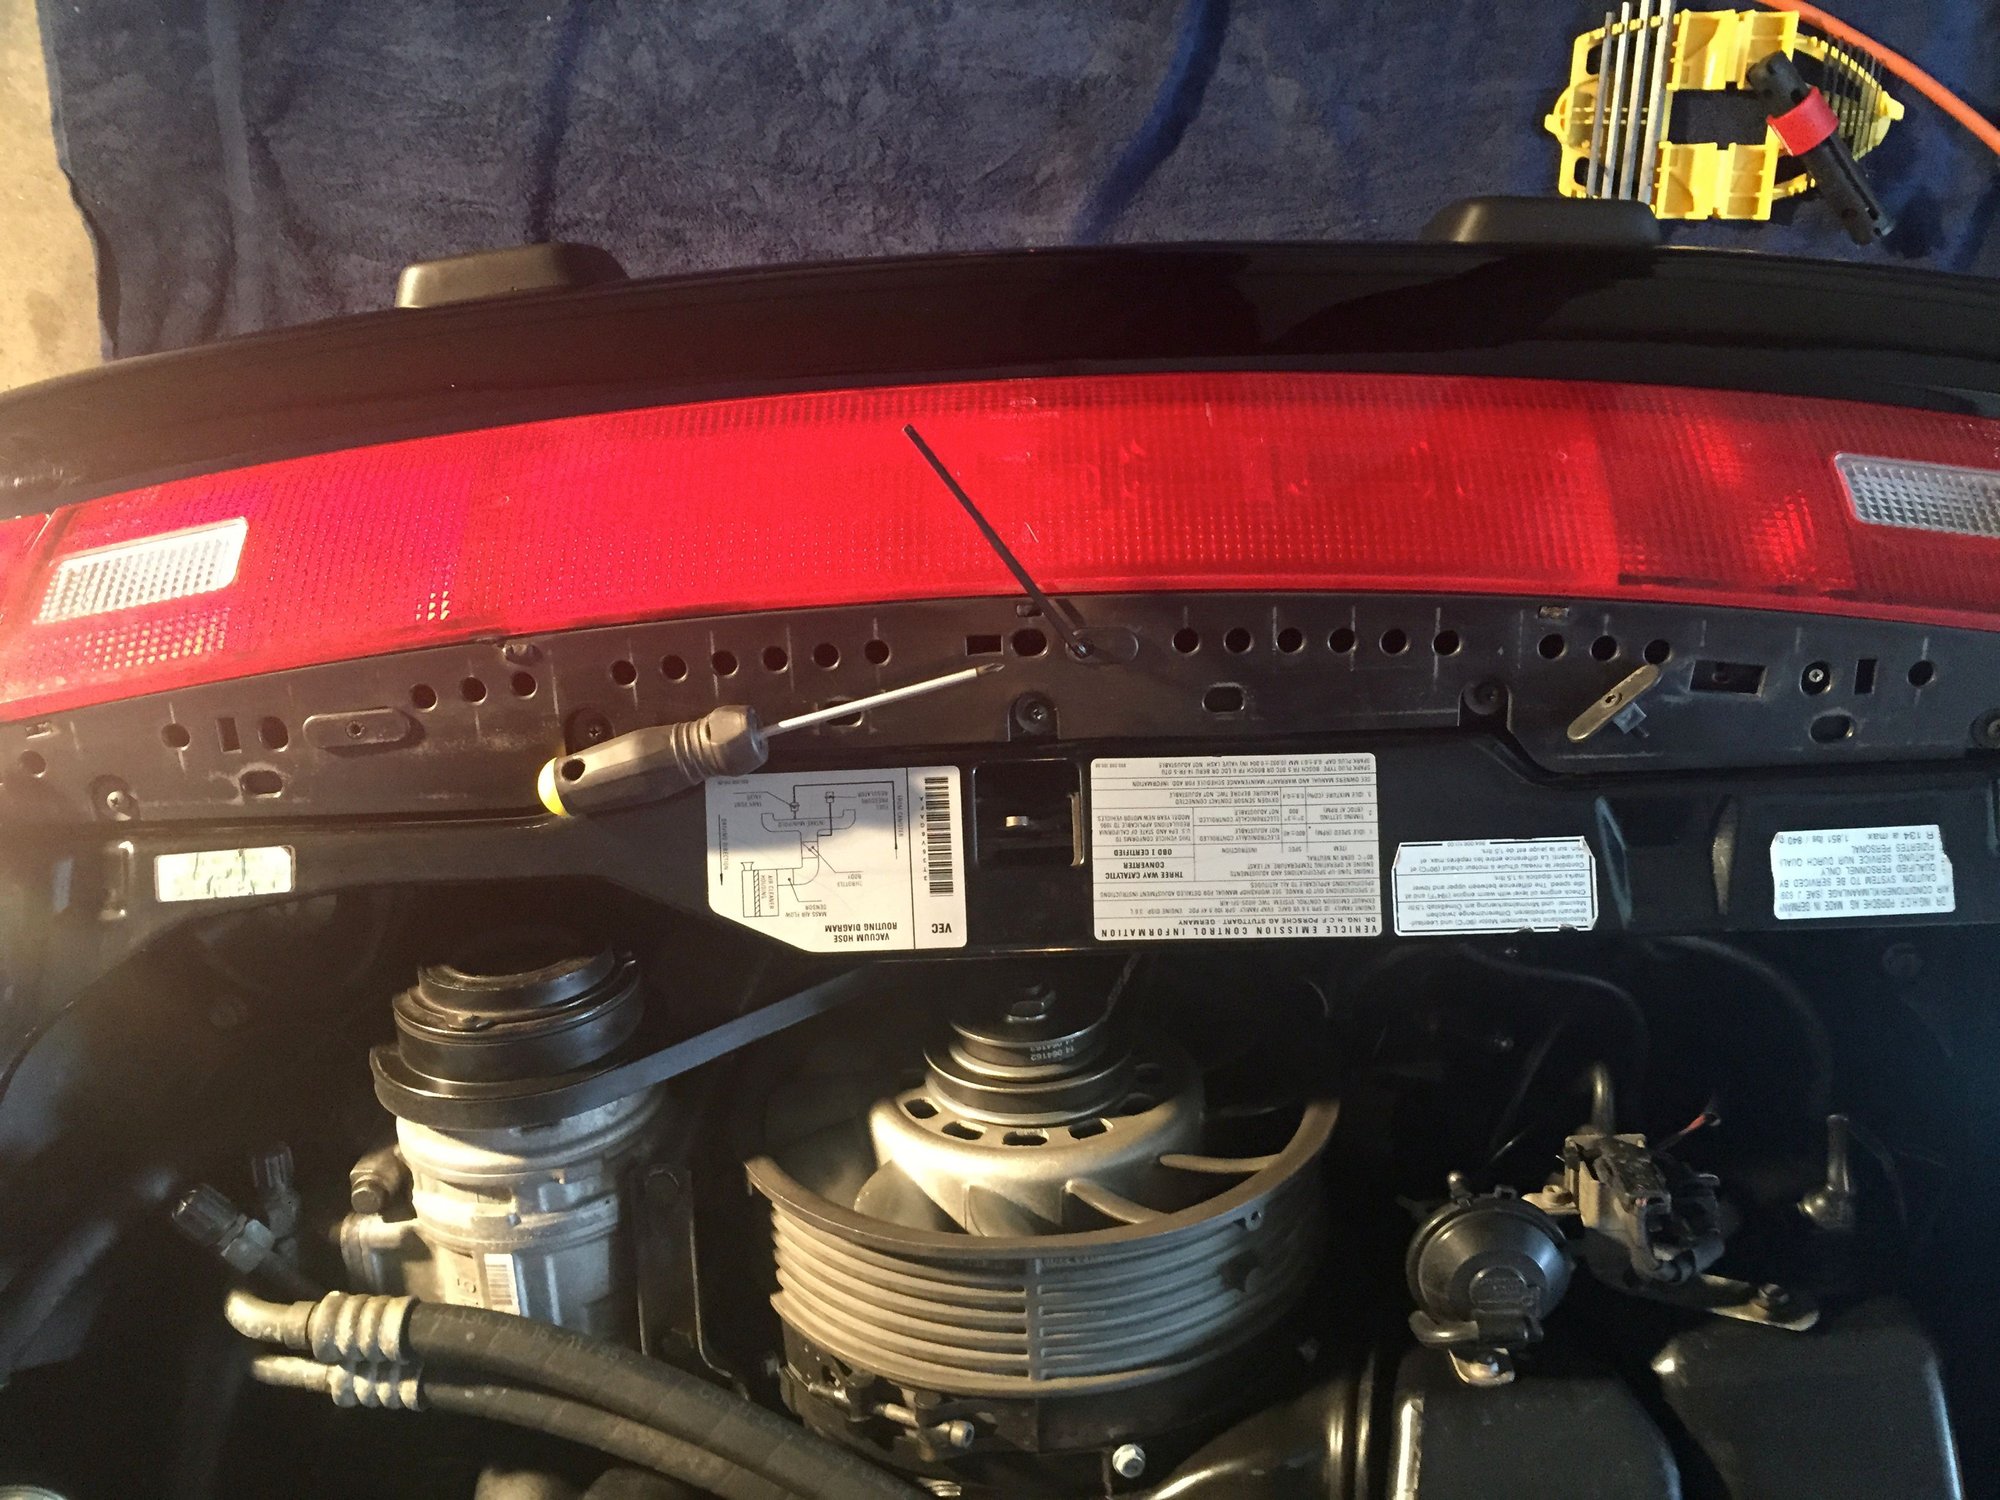
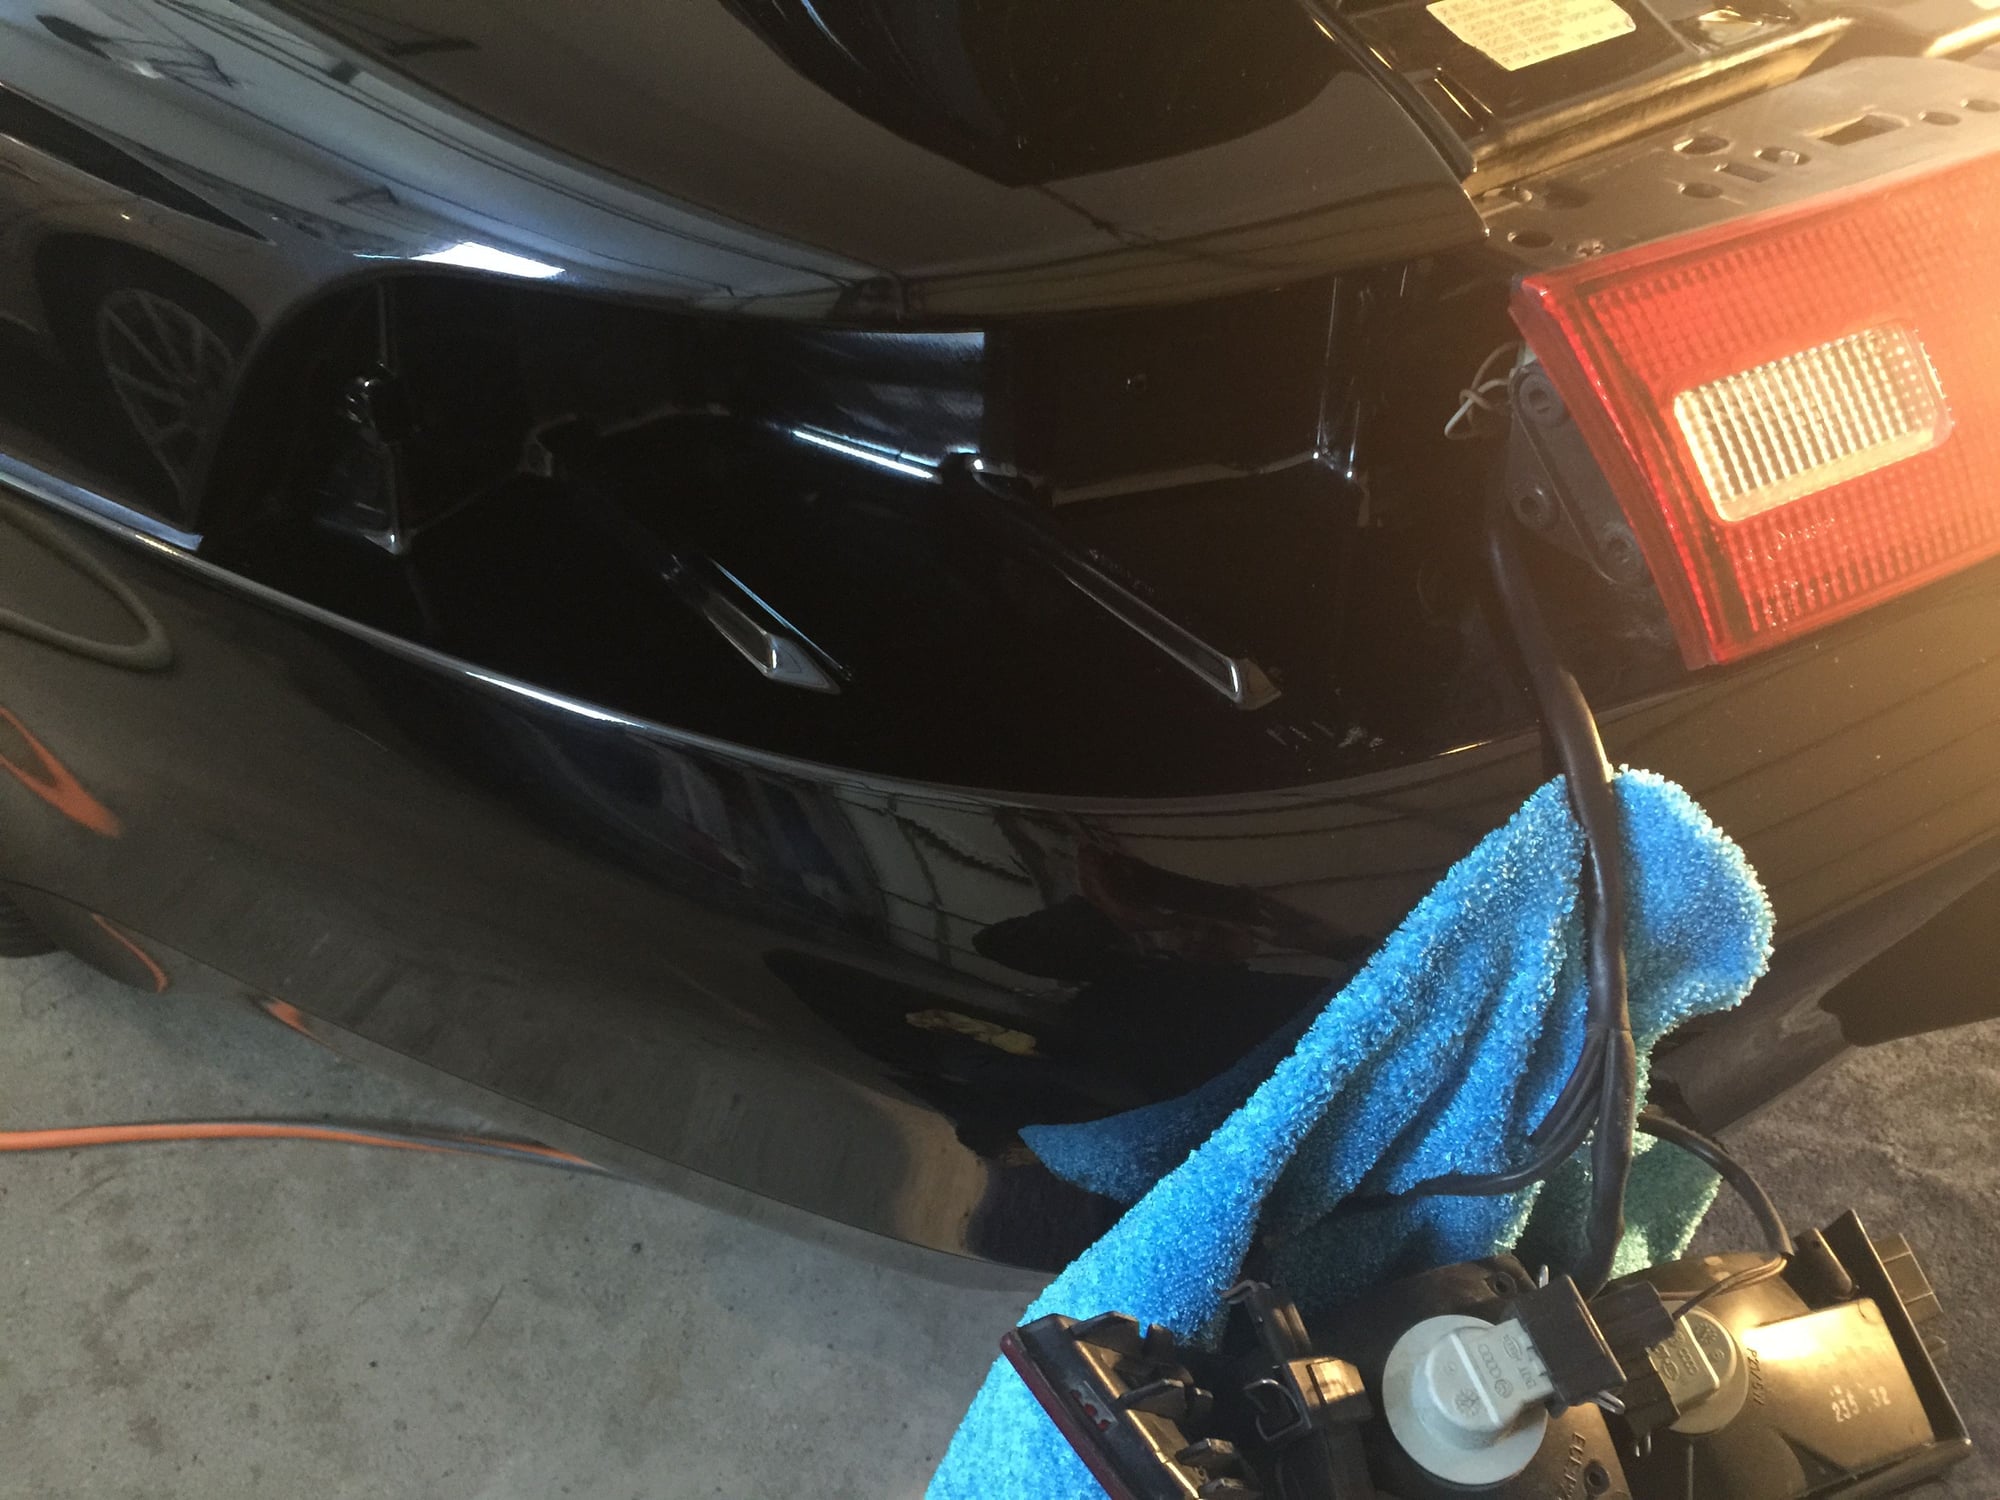
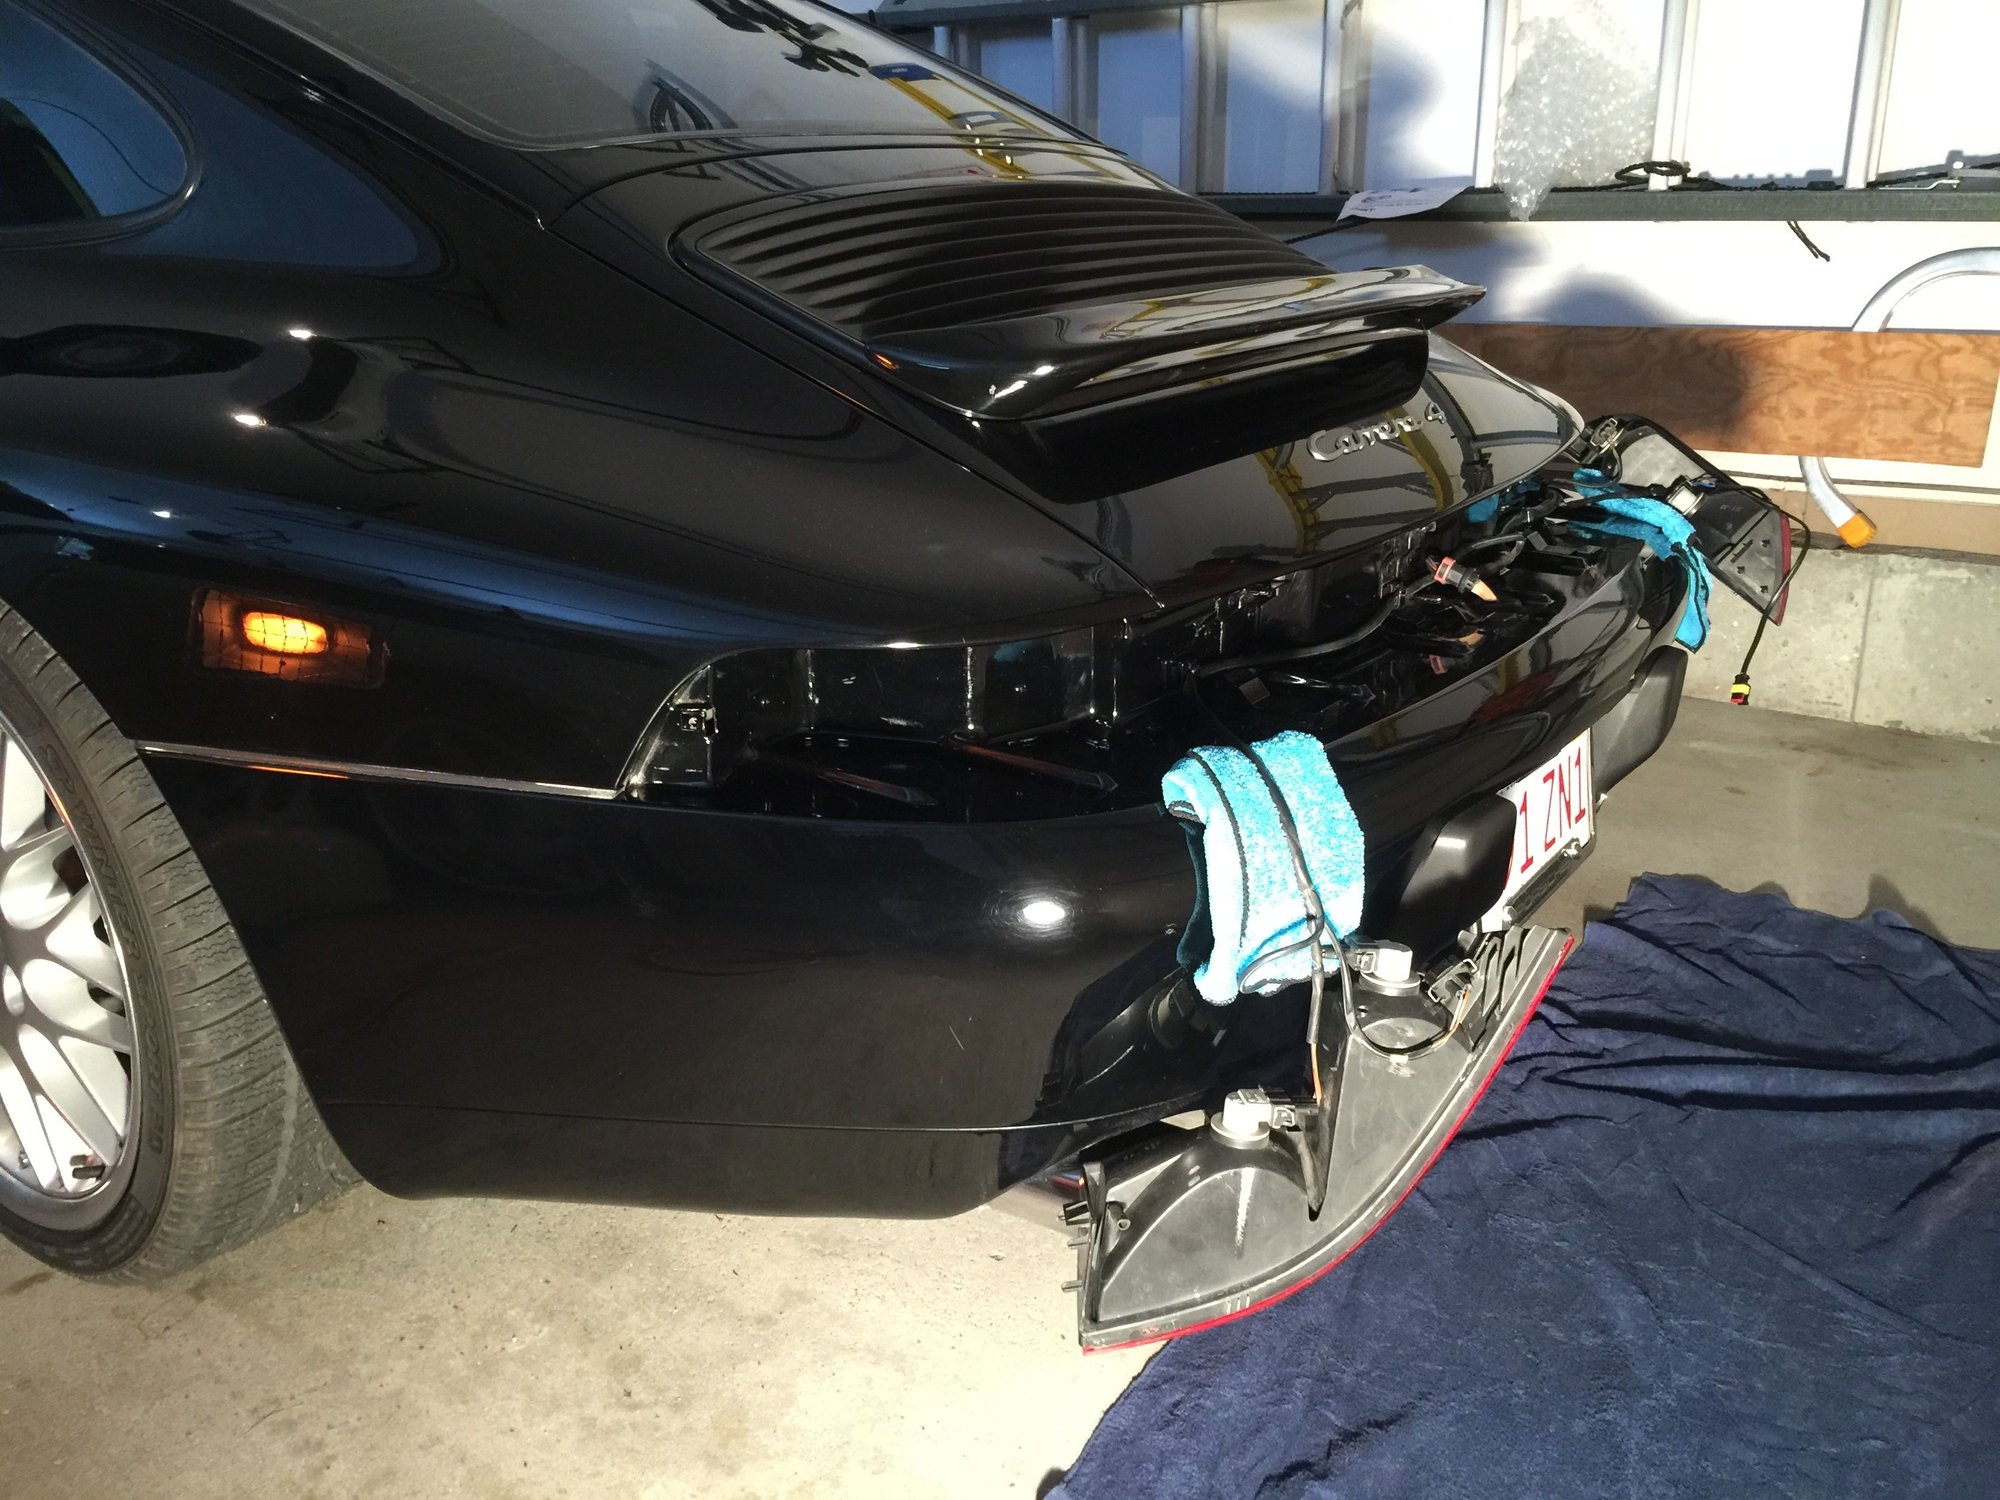
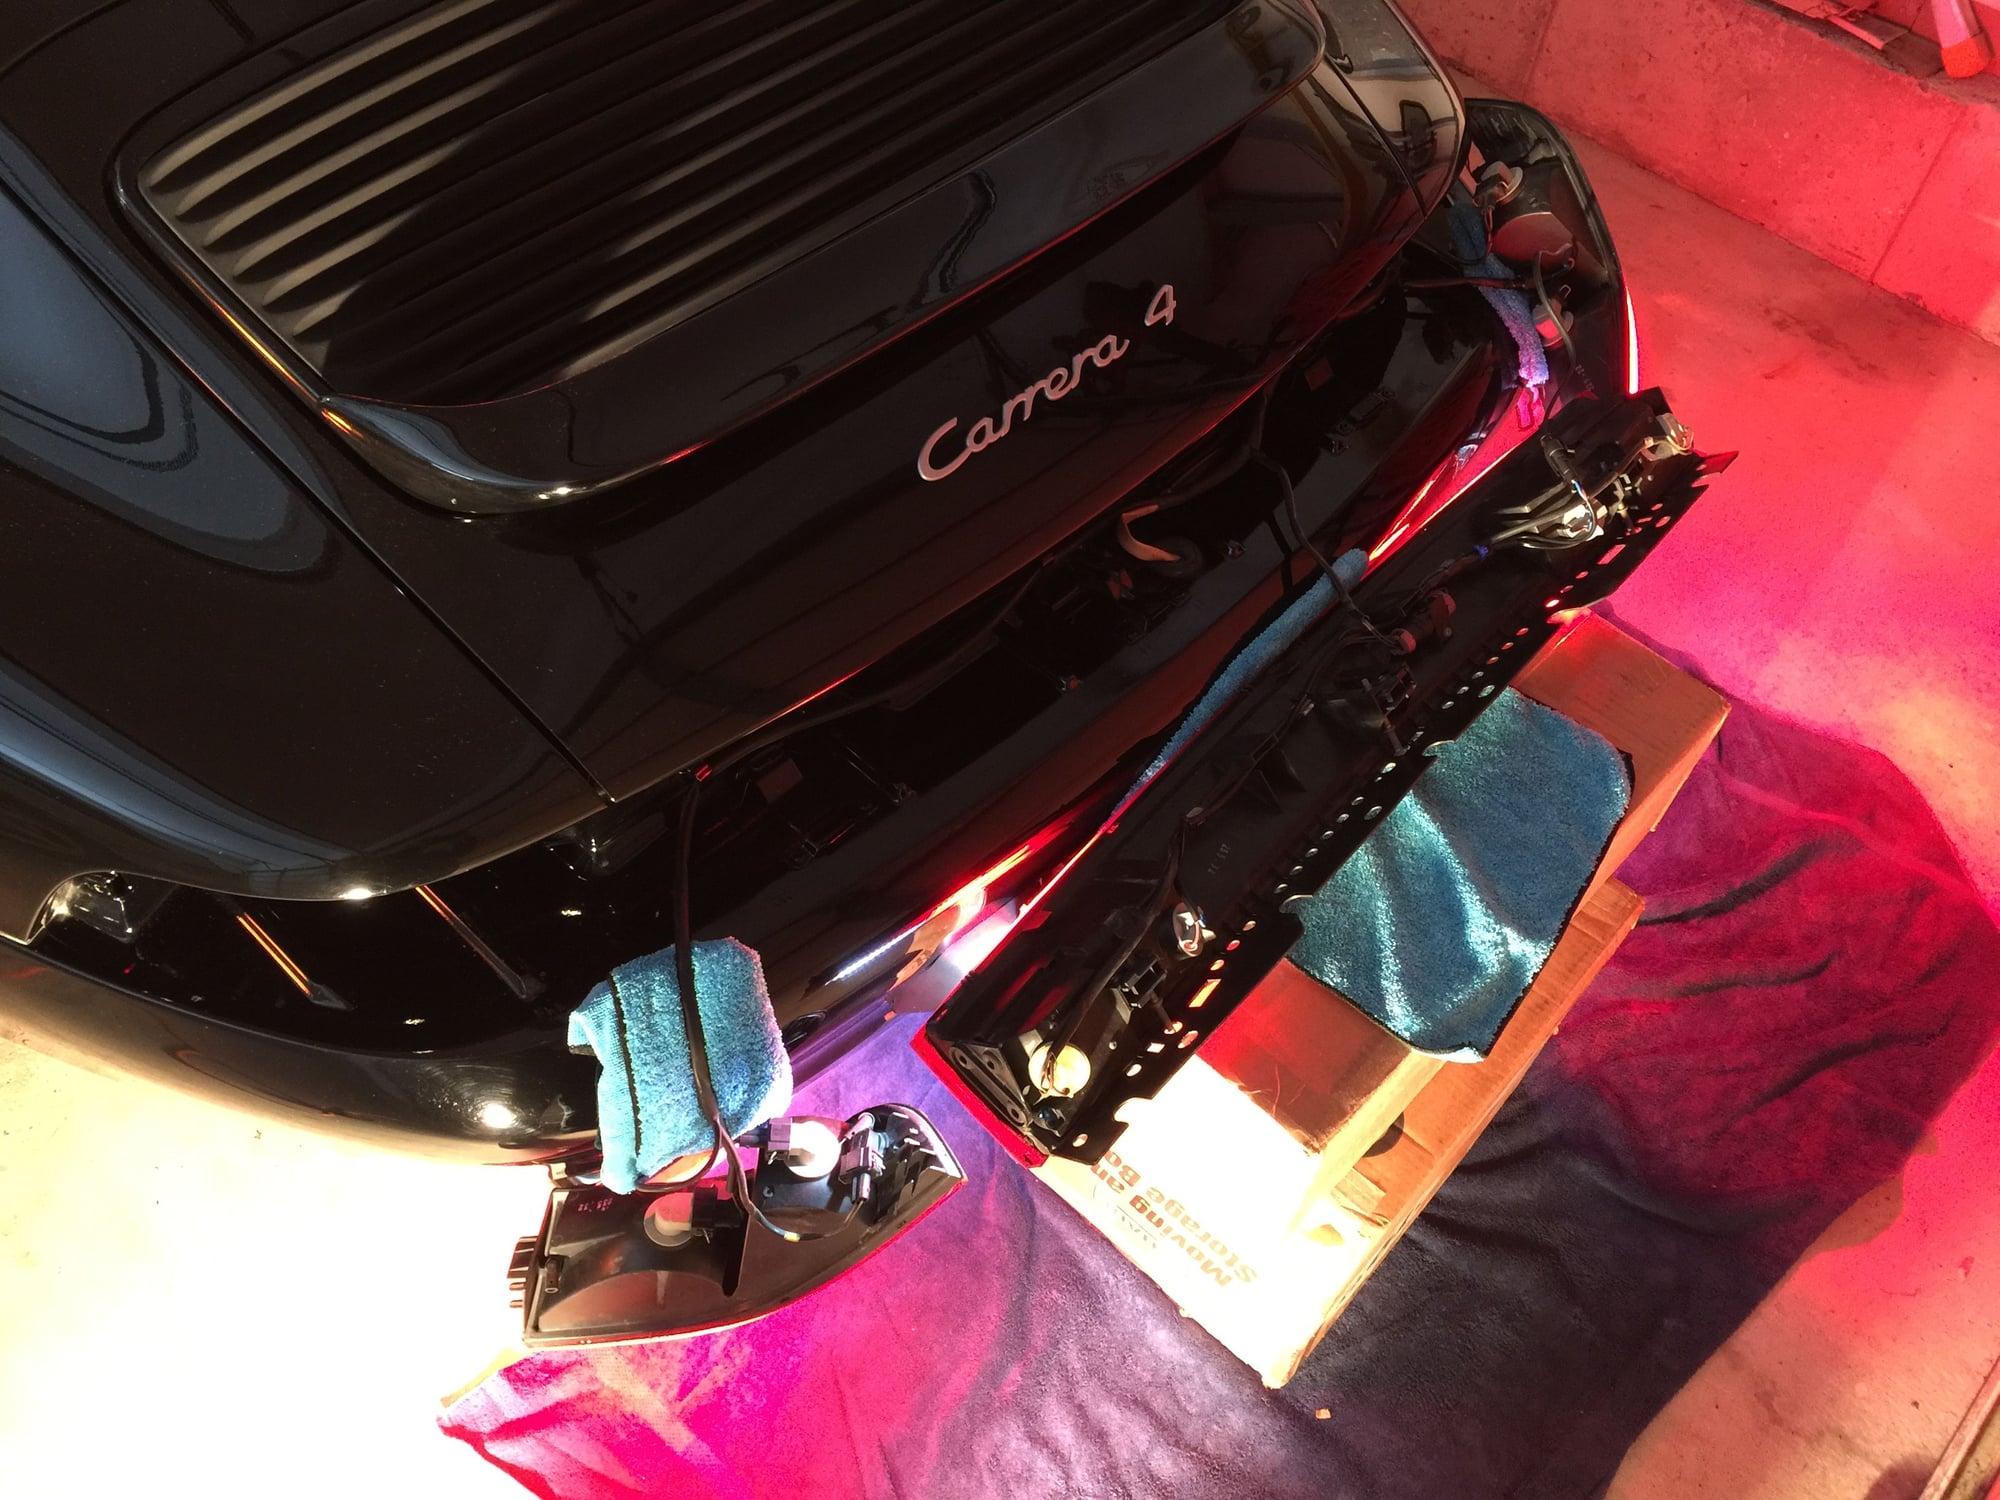
The toughest part of the installation, IMHO, is the removal of the tedious center tail light. It's not terribly difficult, but the three socket screws and three philips head screws are a bit overkill. There's also a potential to scratch the bumper during the removal process, so take your time, and keep a few cloths on hand. I also found it very helpful to place a few boxes against the rear bumperettes to create a support-stand for the center tail light. This frees your hands up for connecting the harnesses, and also helps avoid scratching the bumper. And keep a screw driver on hand so you can easily disconnect the harness when you slide the center tail light out!
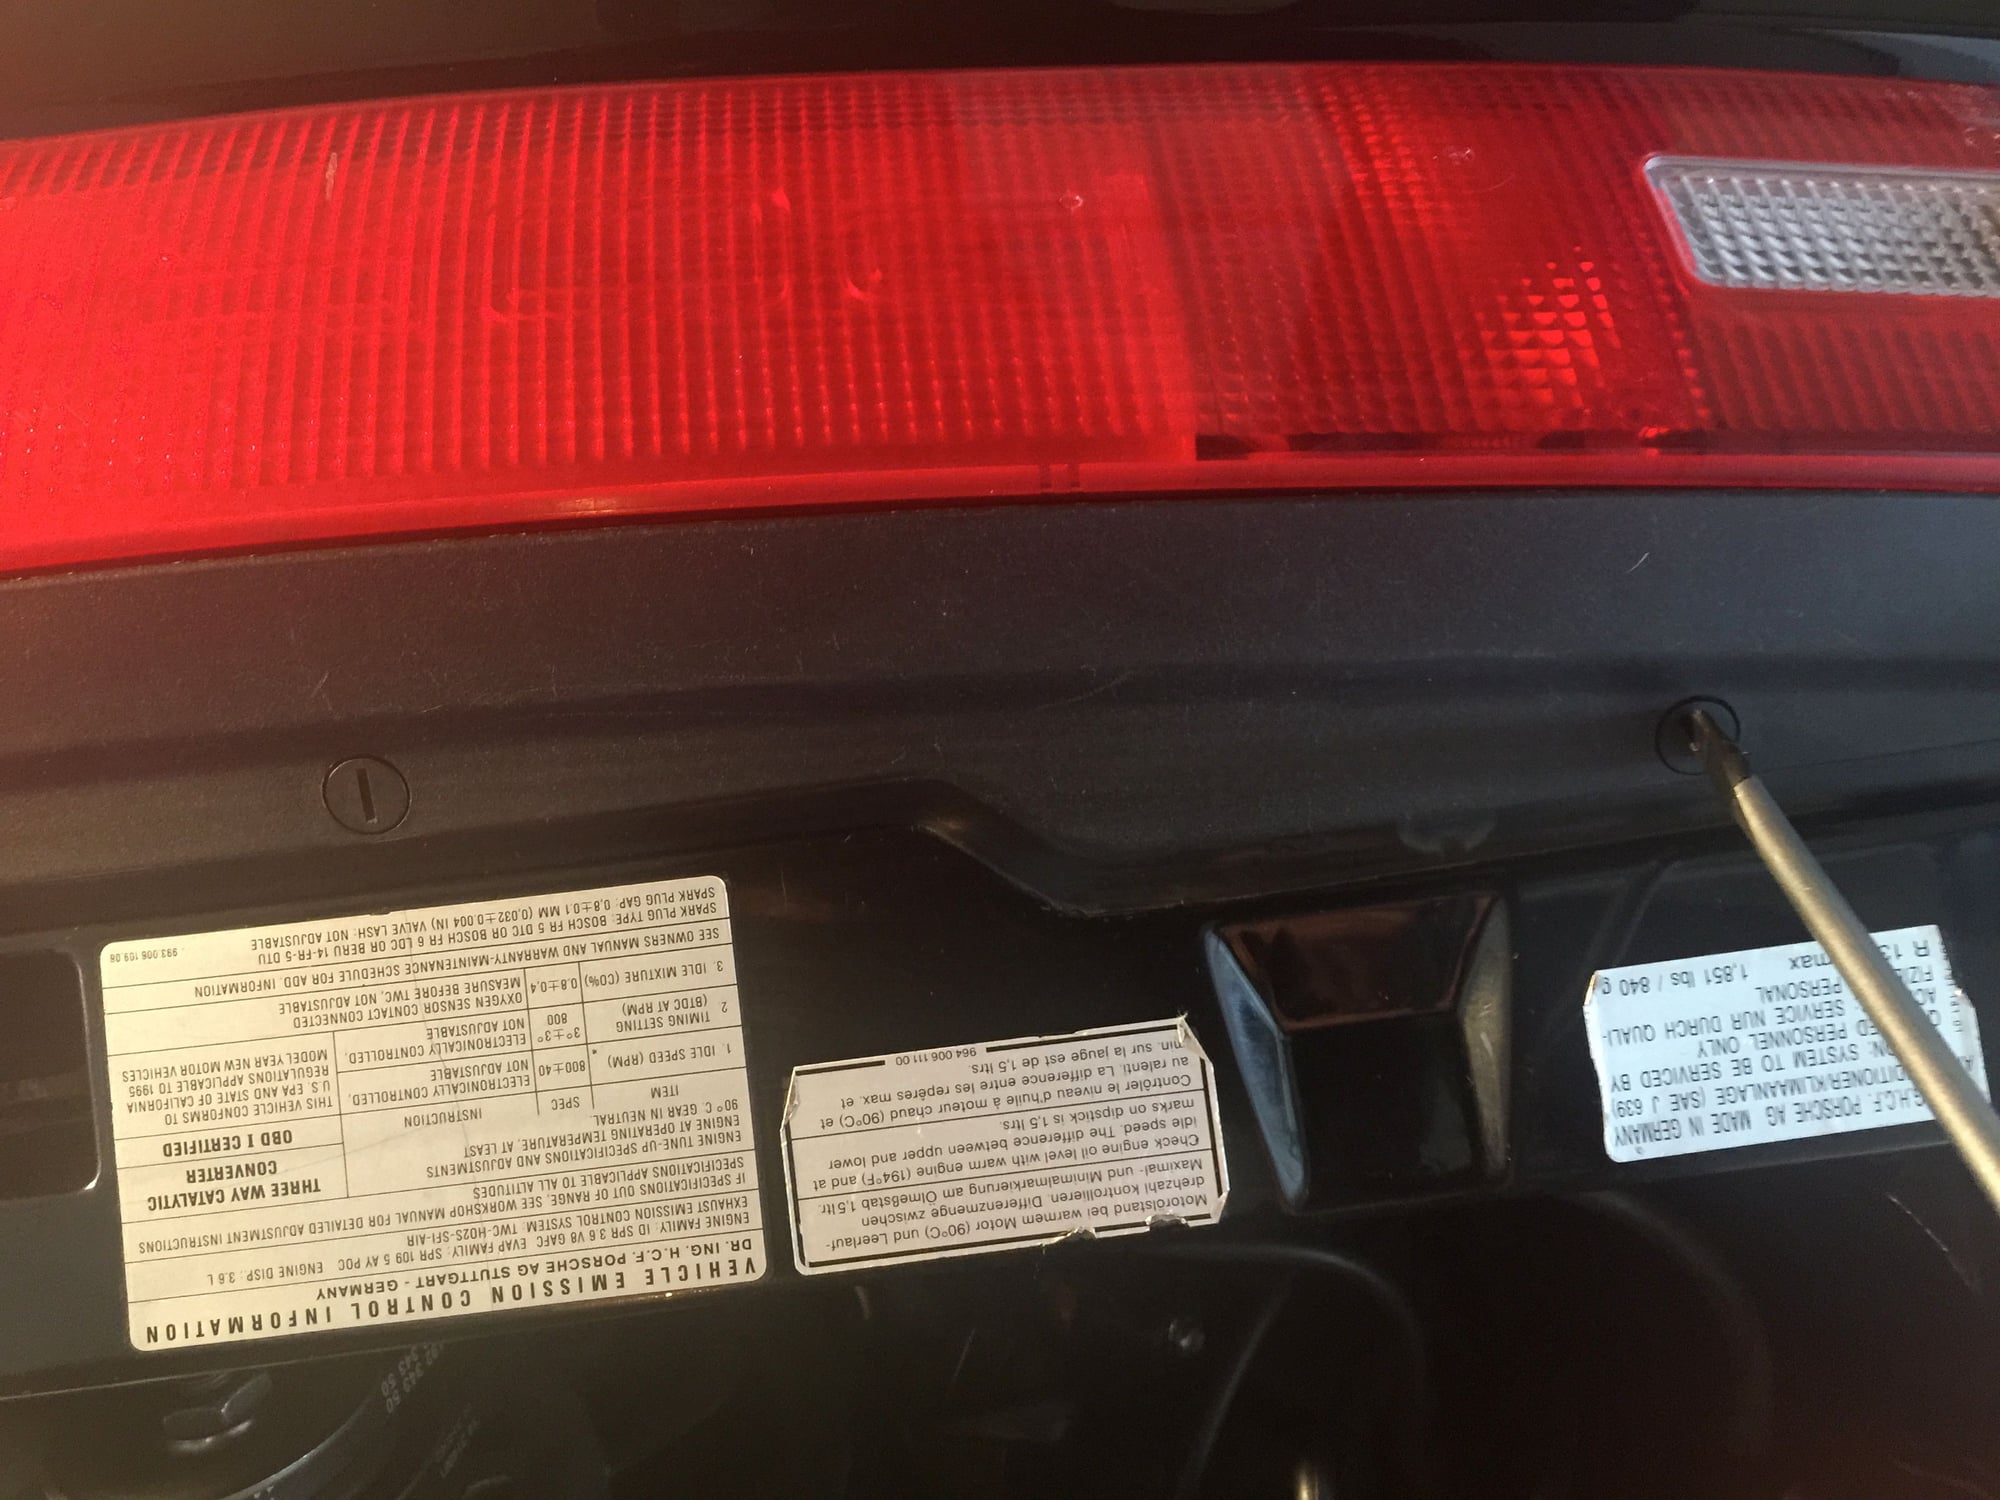
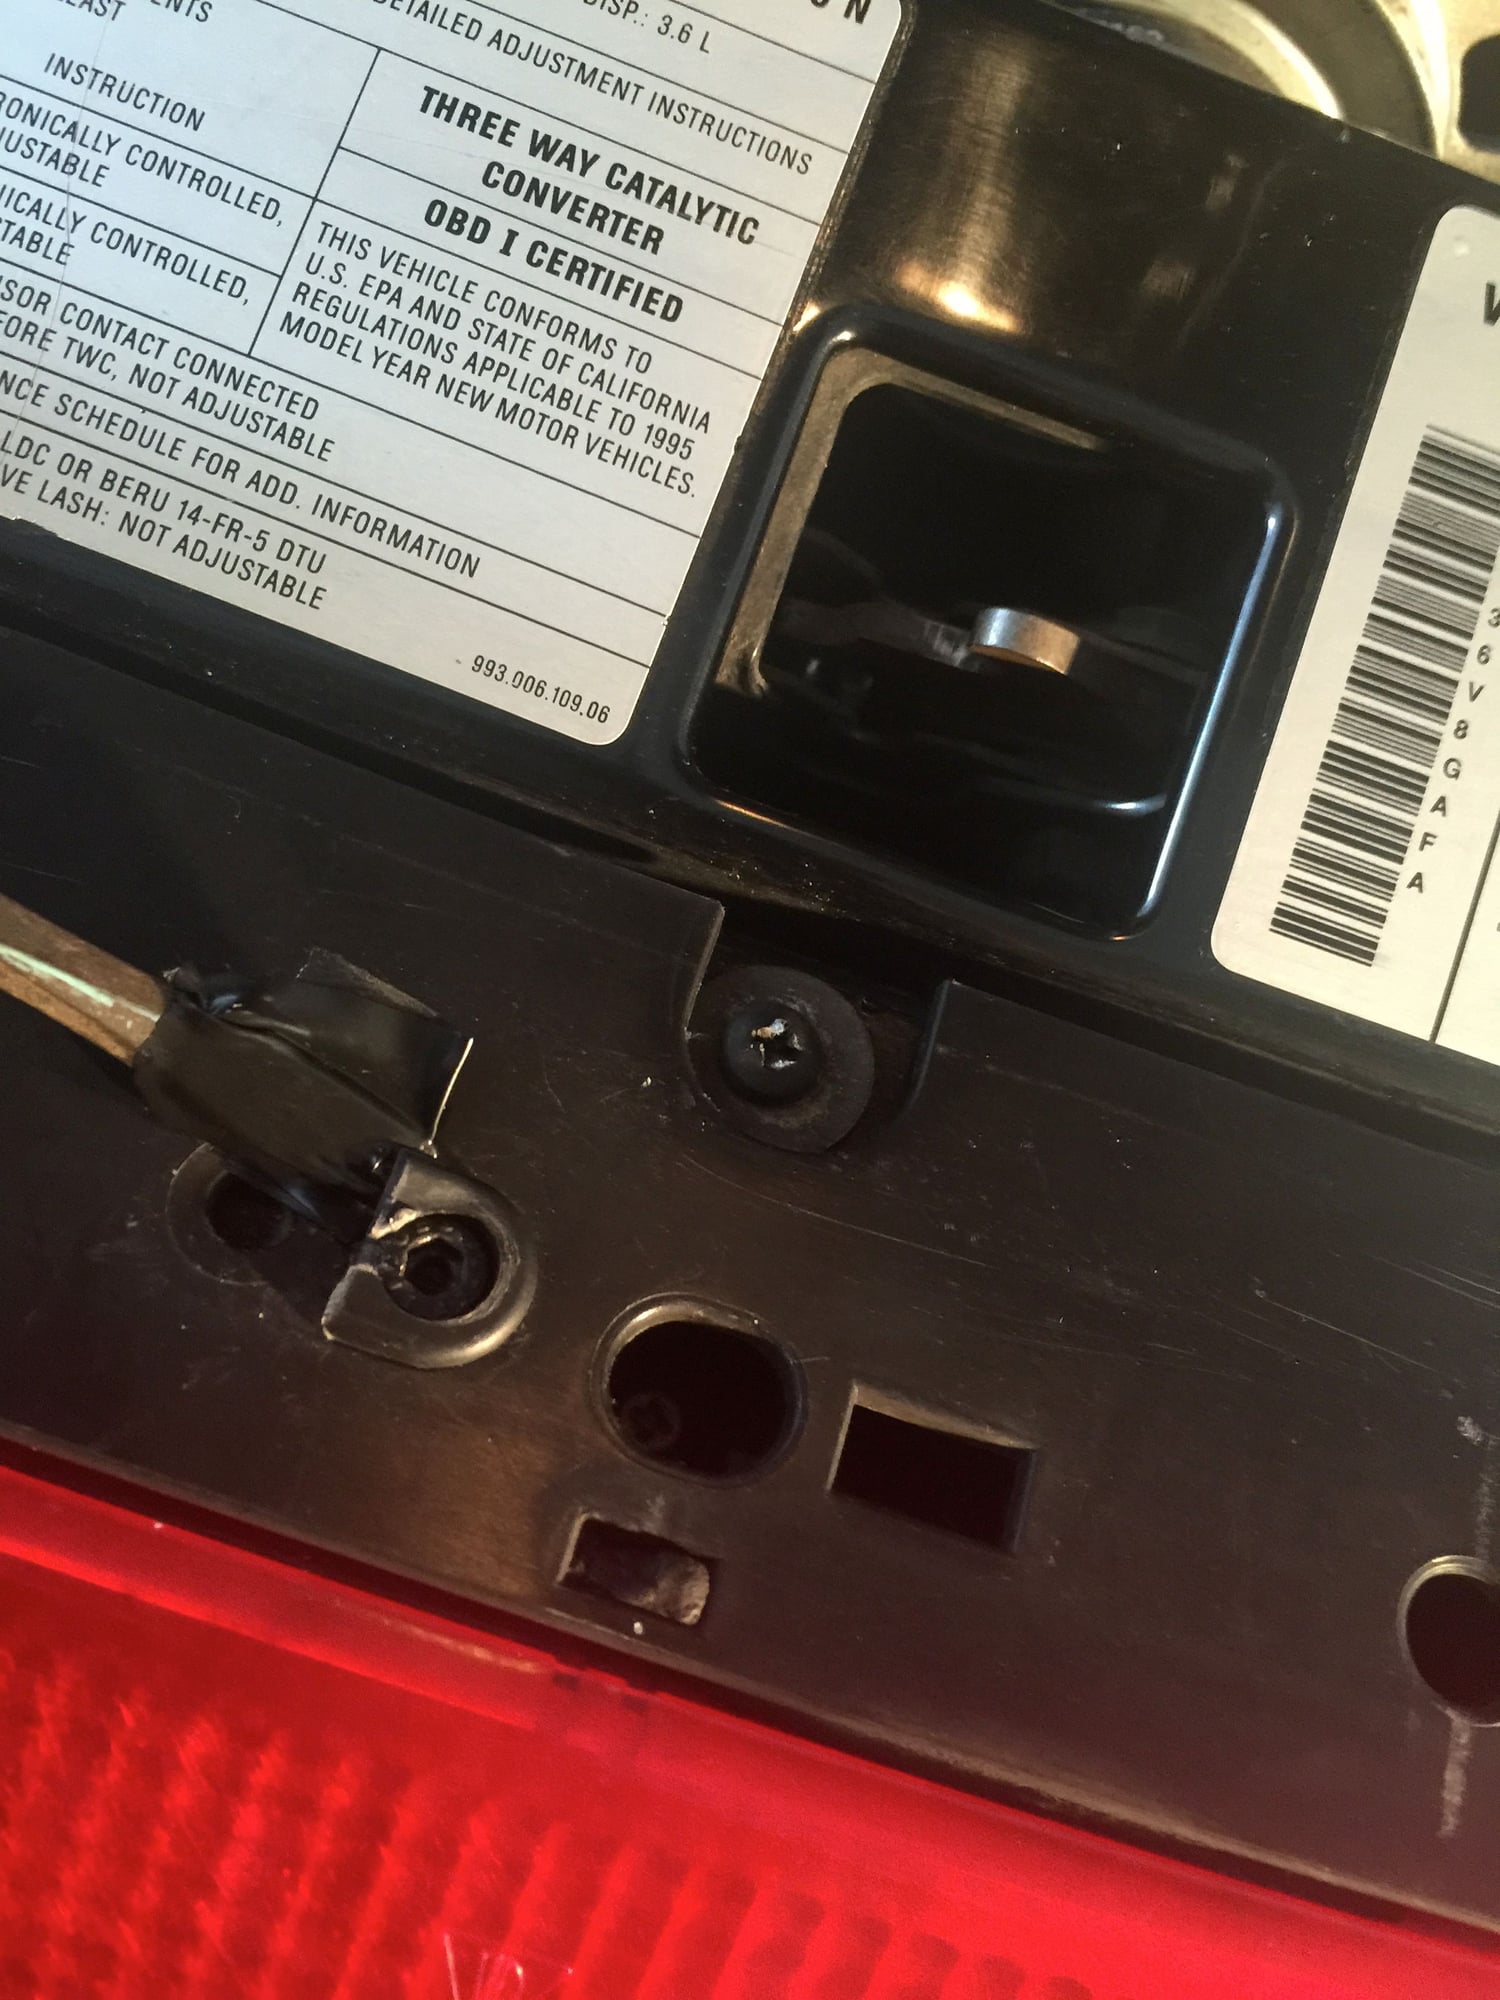
In advance of the project I purchased some "just in case" replacements for the plastic screws securing the plastic cover over the center tail light assembly (Suncoast part # 999-590-036-40-0IC). I also bought a new socket screw to replace the stripped one (Suncoast part #90011911407), and a replacement for the center plastic bushing (Suncoast part# 99363112700).
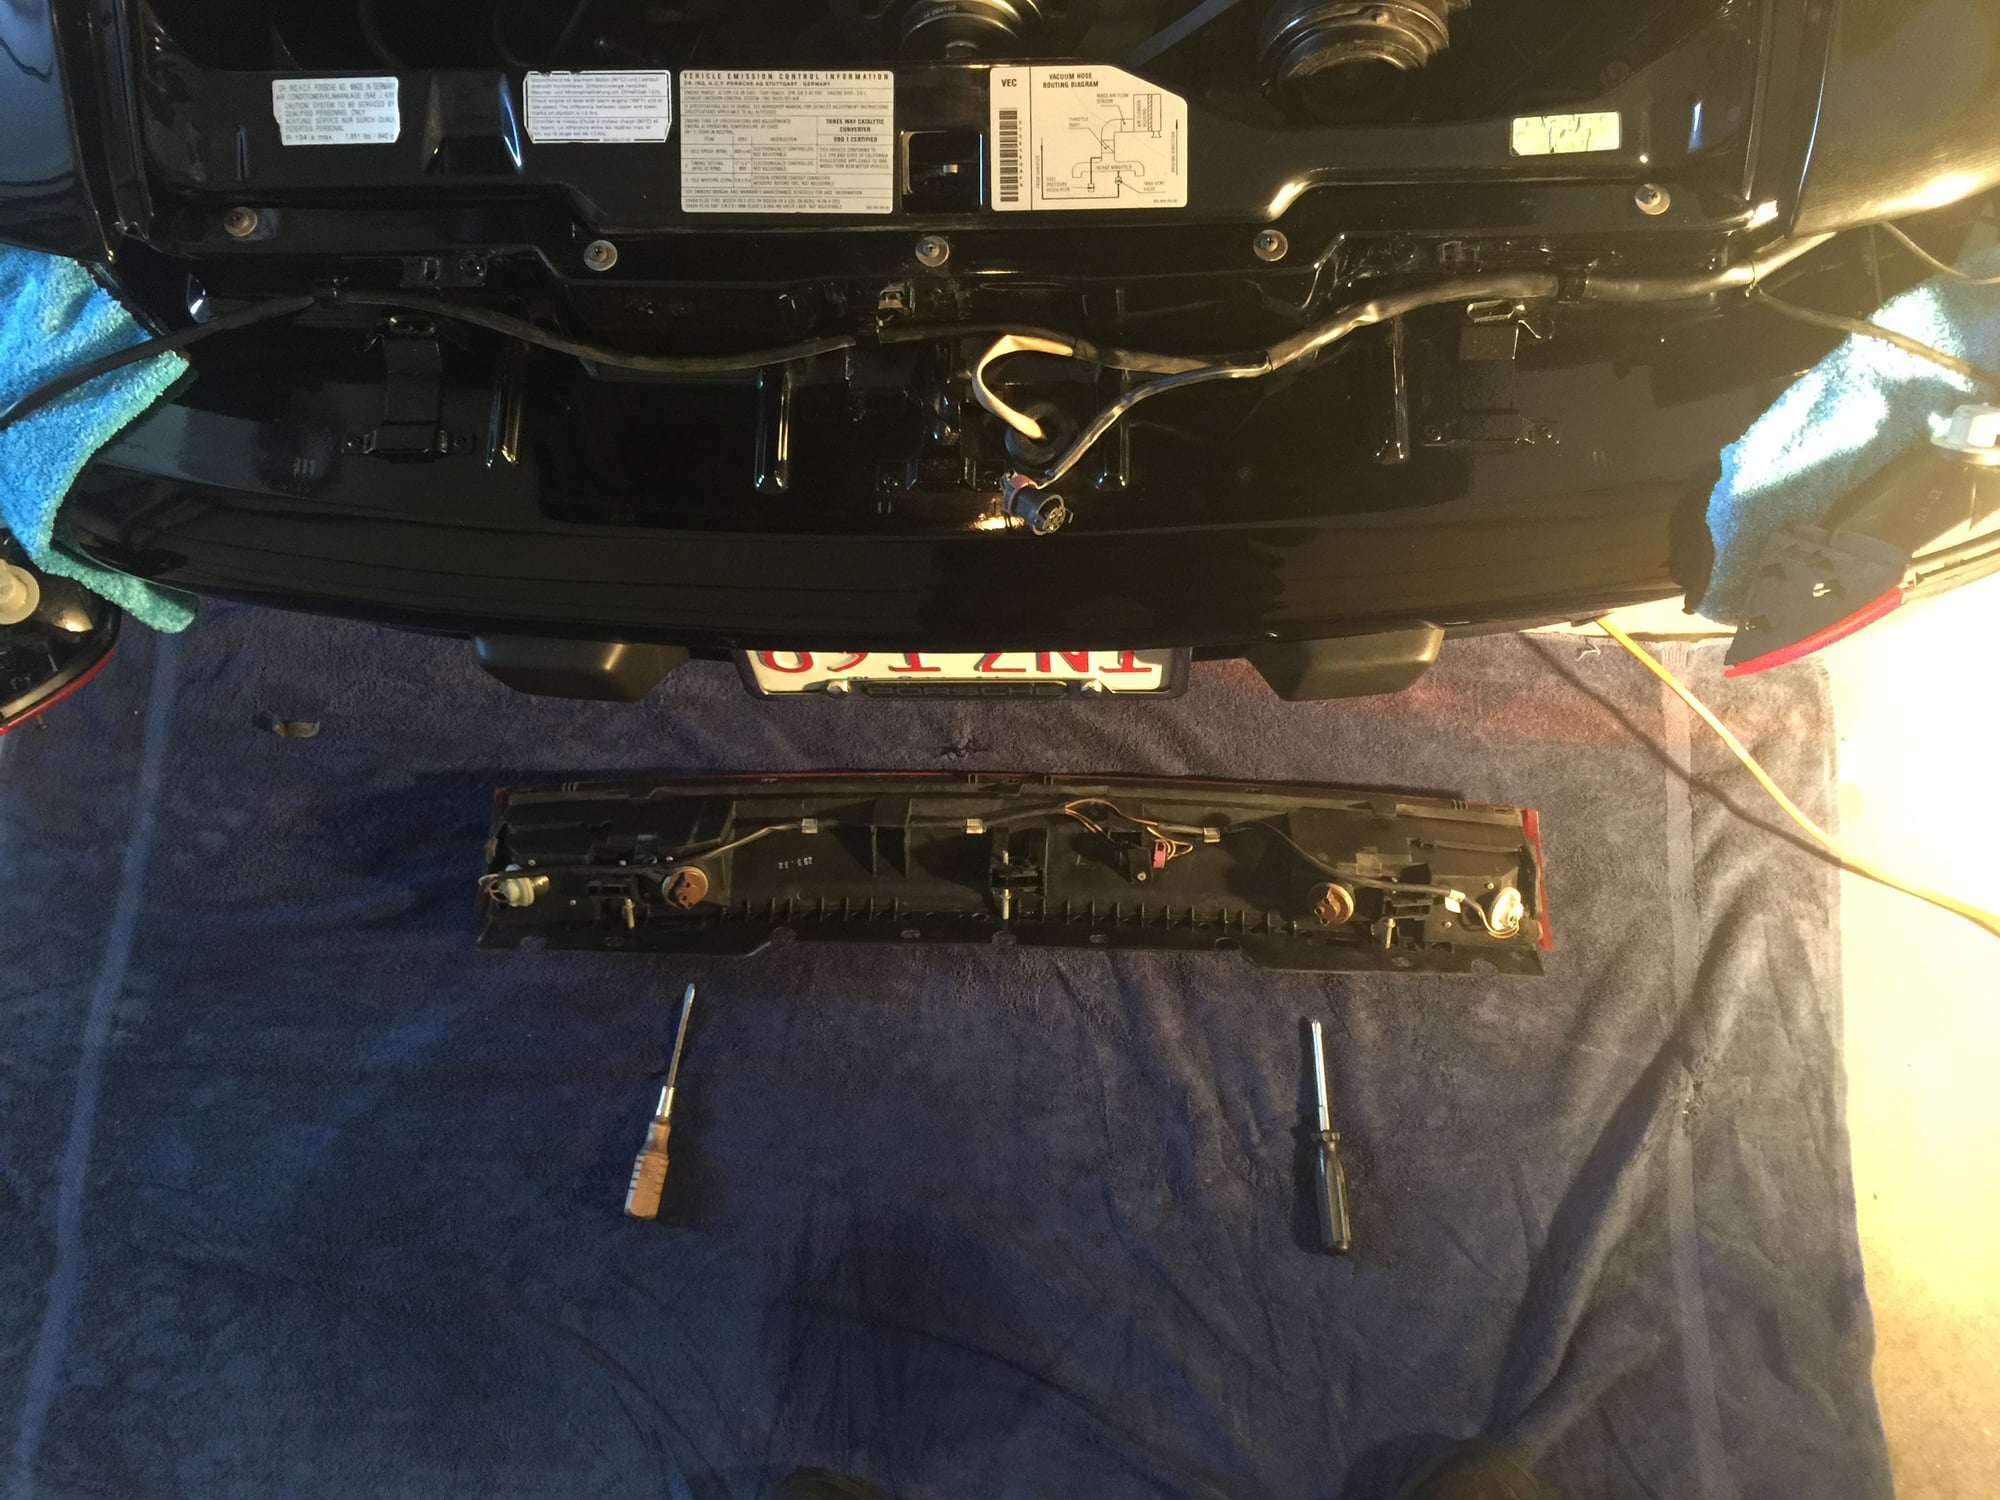
When removing the four plastic screws securing the plastic cover over the tail light assembly, I used a large screwdriver with electrical tape to help avoid gouging the screws/ Carefully rotate each screw 90 degrees counterclockwise and remove. Be sure to pull all four screws out before attempting to remove the plastic cover, as experience has taught that the screws like to pop out and hide in the engine compartment!
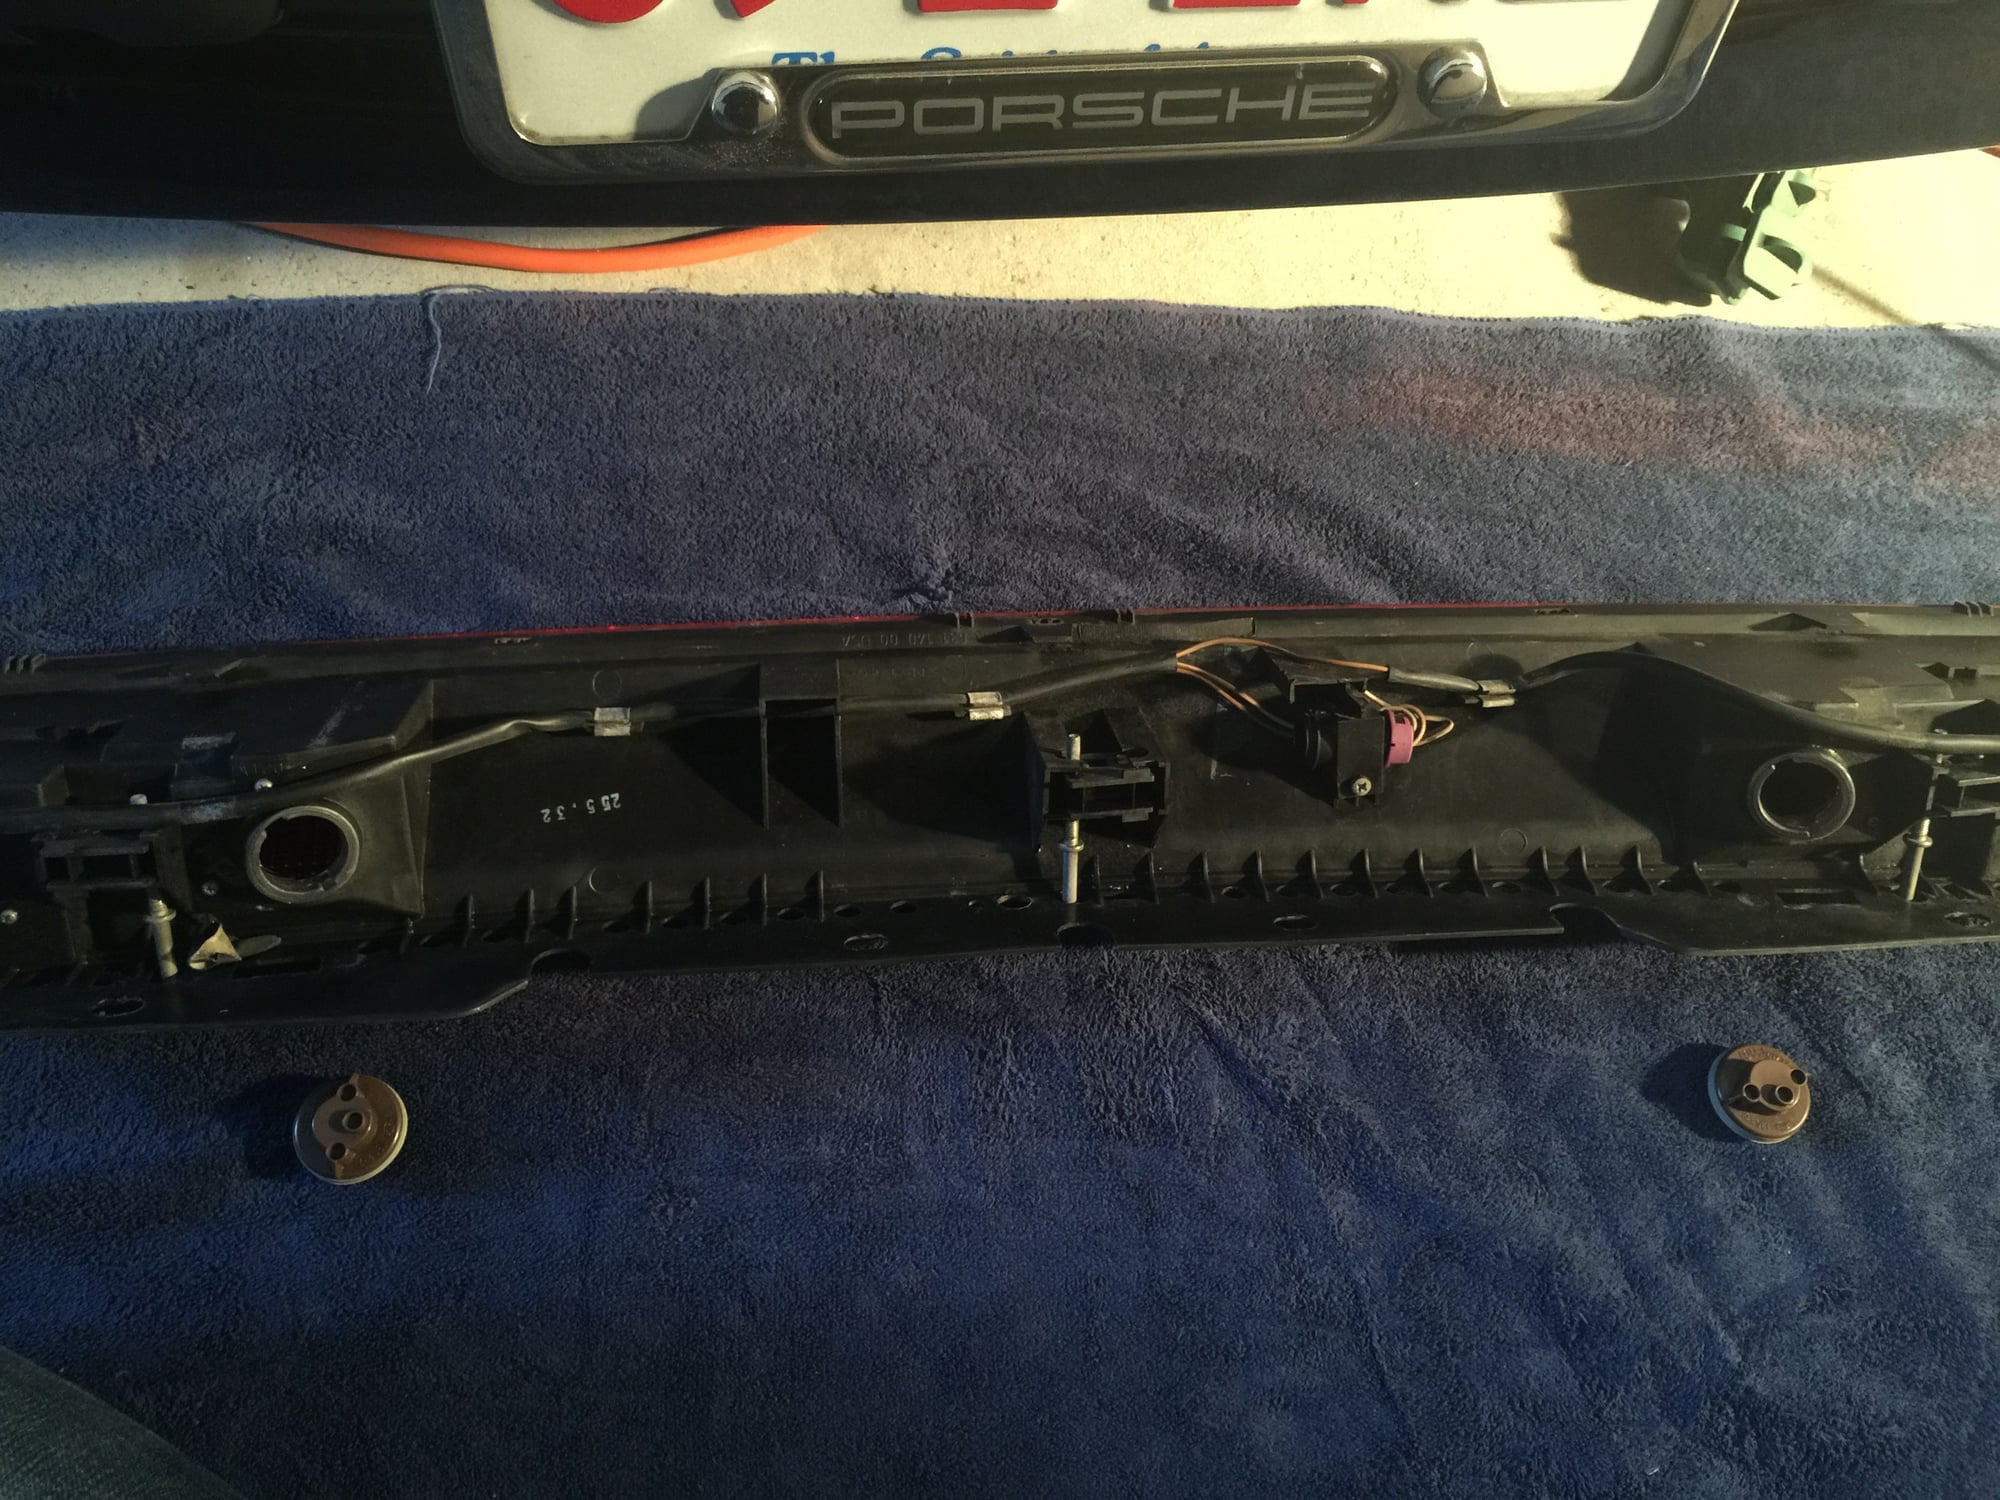
When removing the left and right rear light enclosures, simply remove the fastening screw on each unit. Keep in mind, however, that these units are also secured by several prongs that connect to the center tail light assembly. So gently slide the left and right rear enclosures out and away from the center tail light.
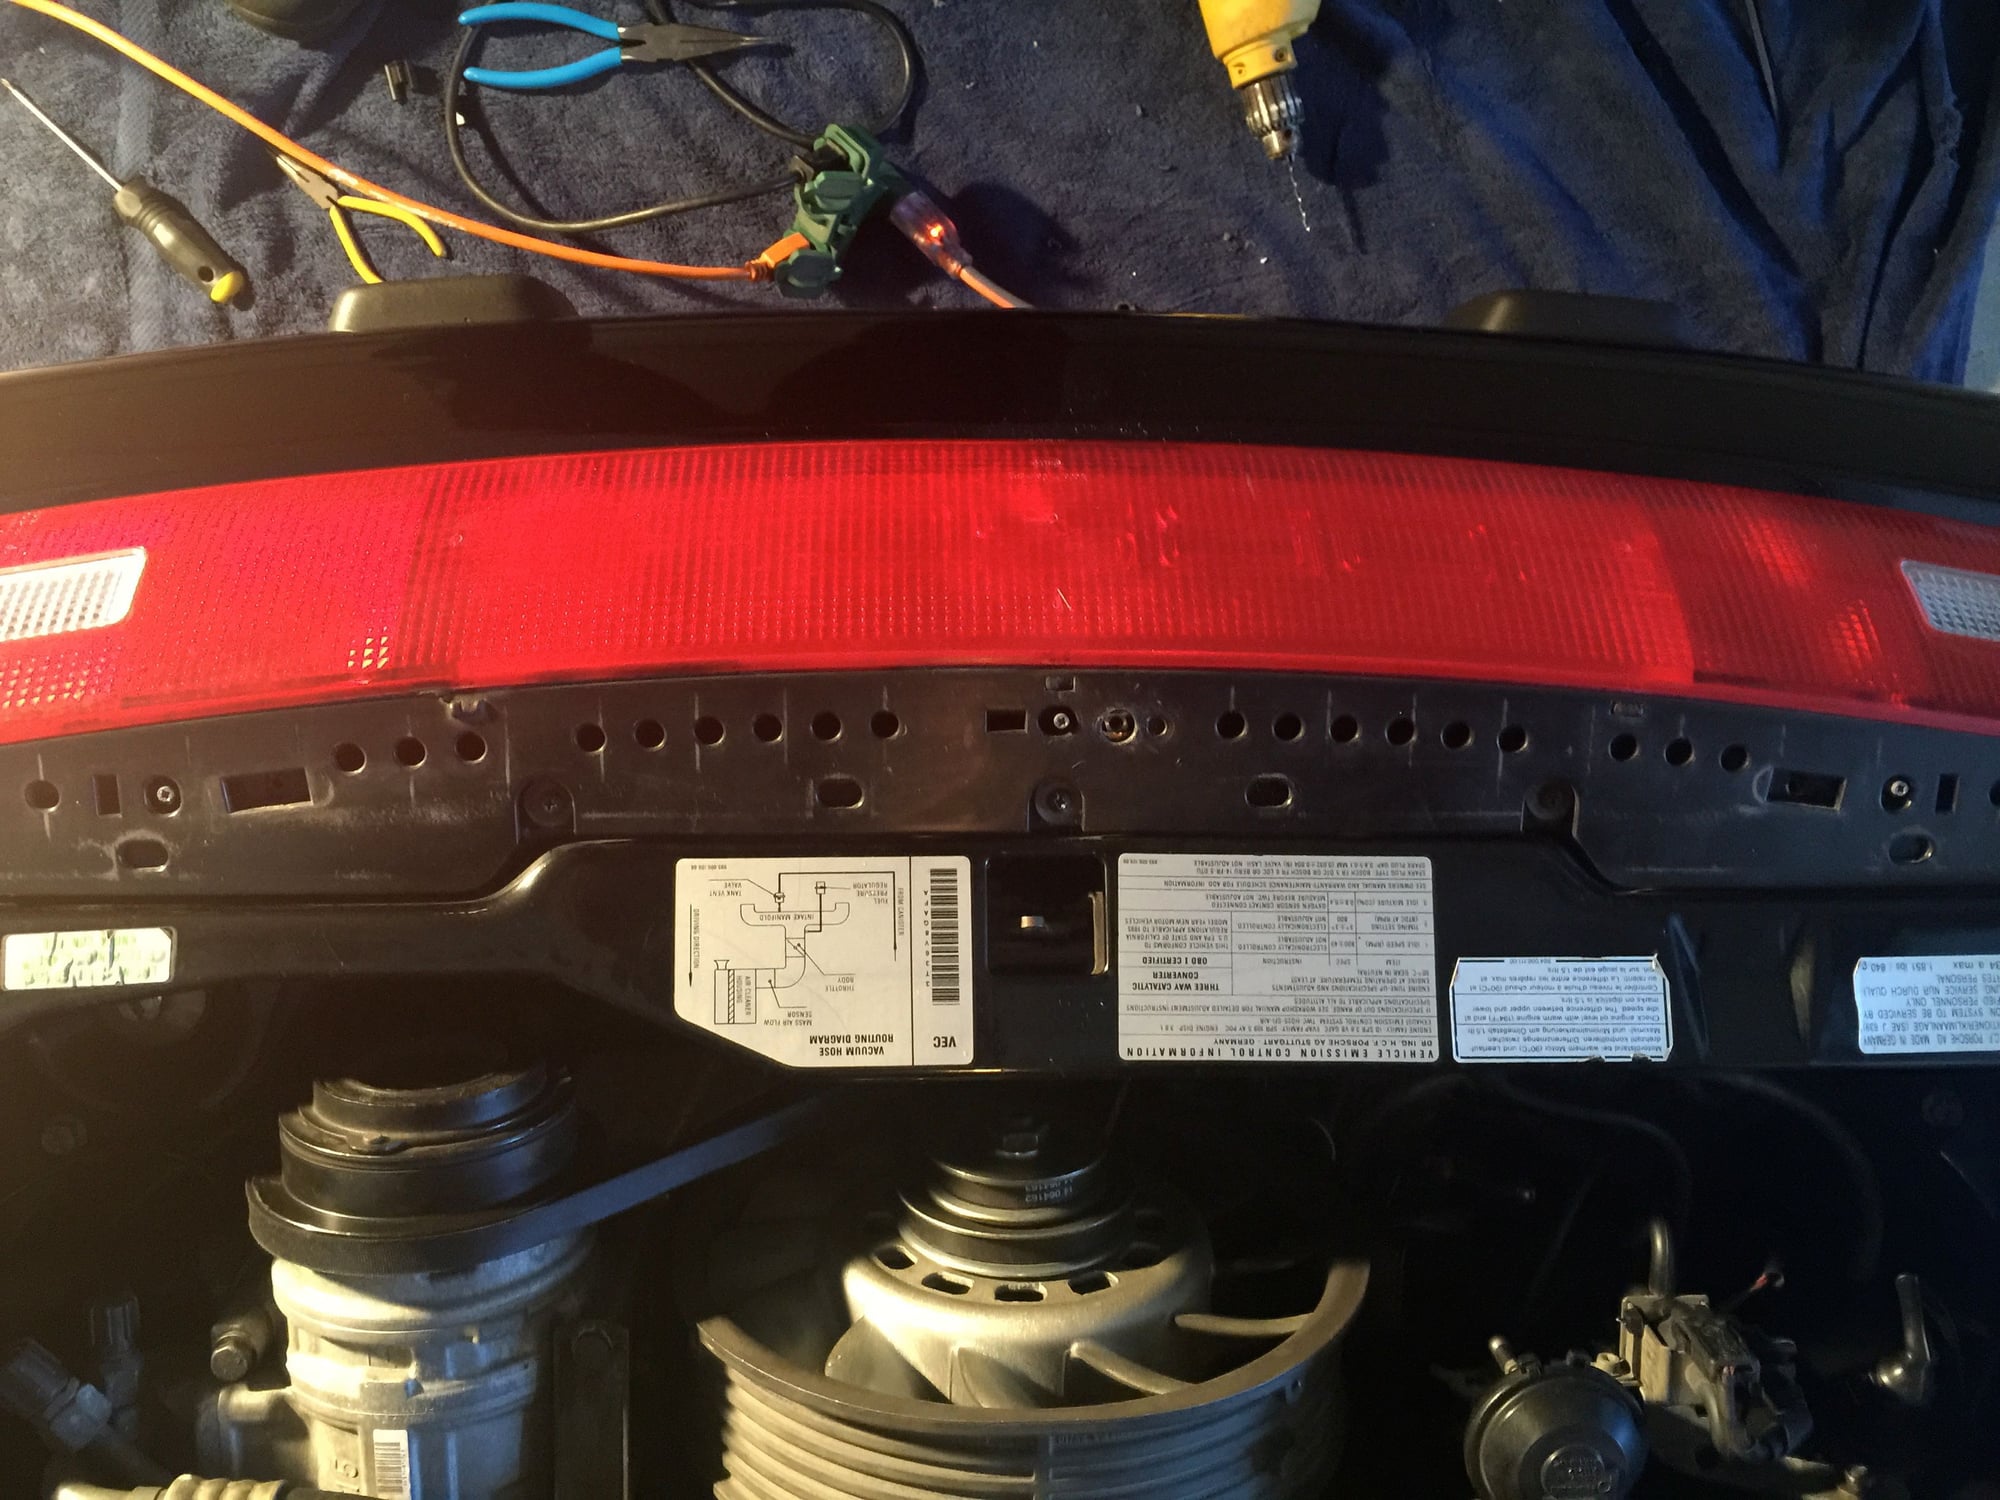
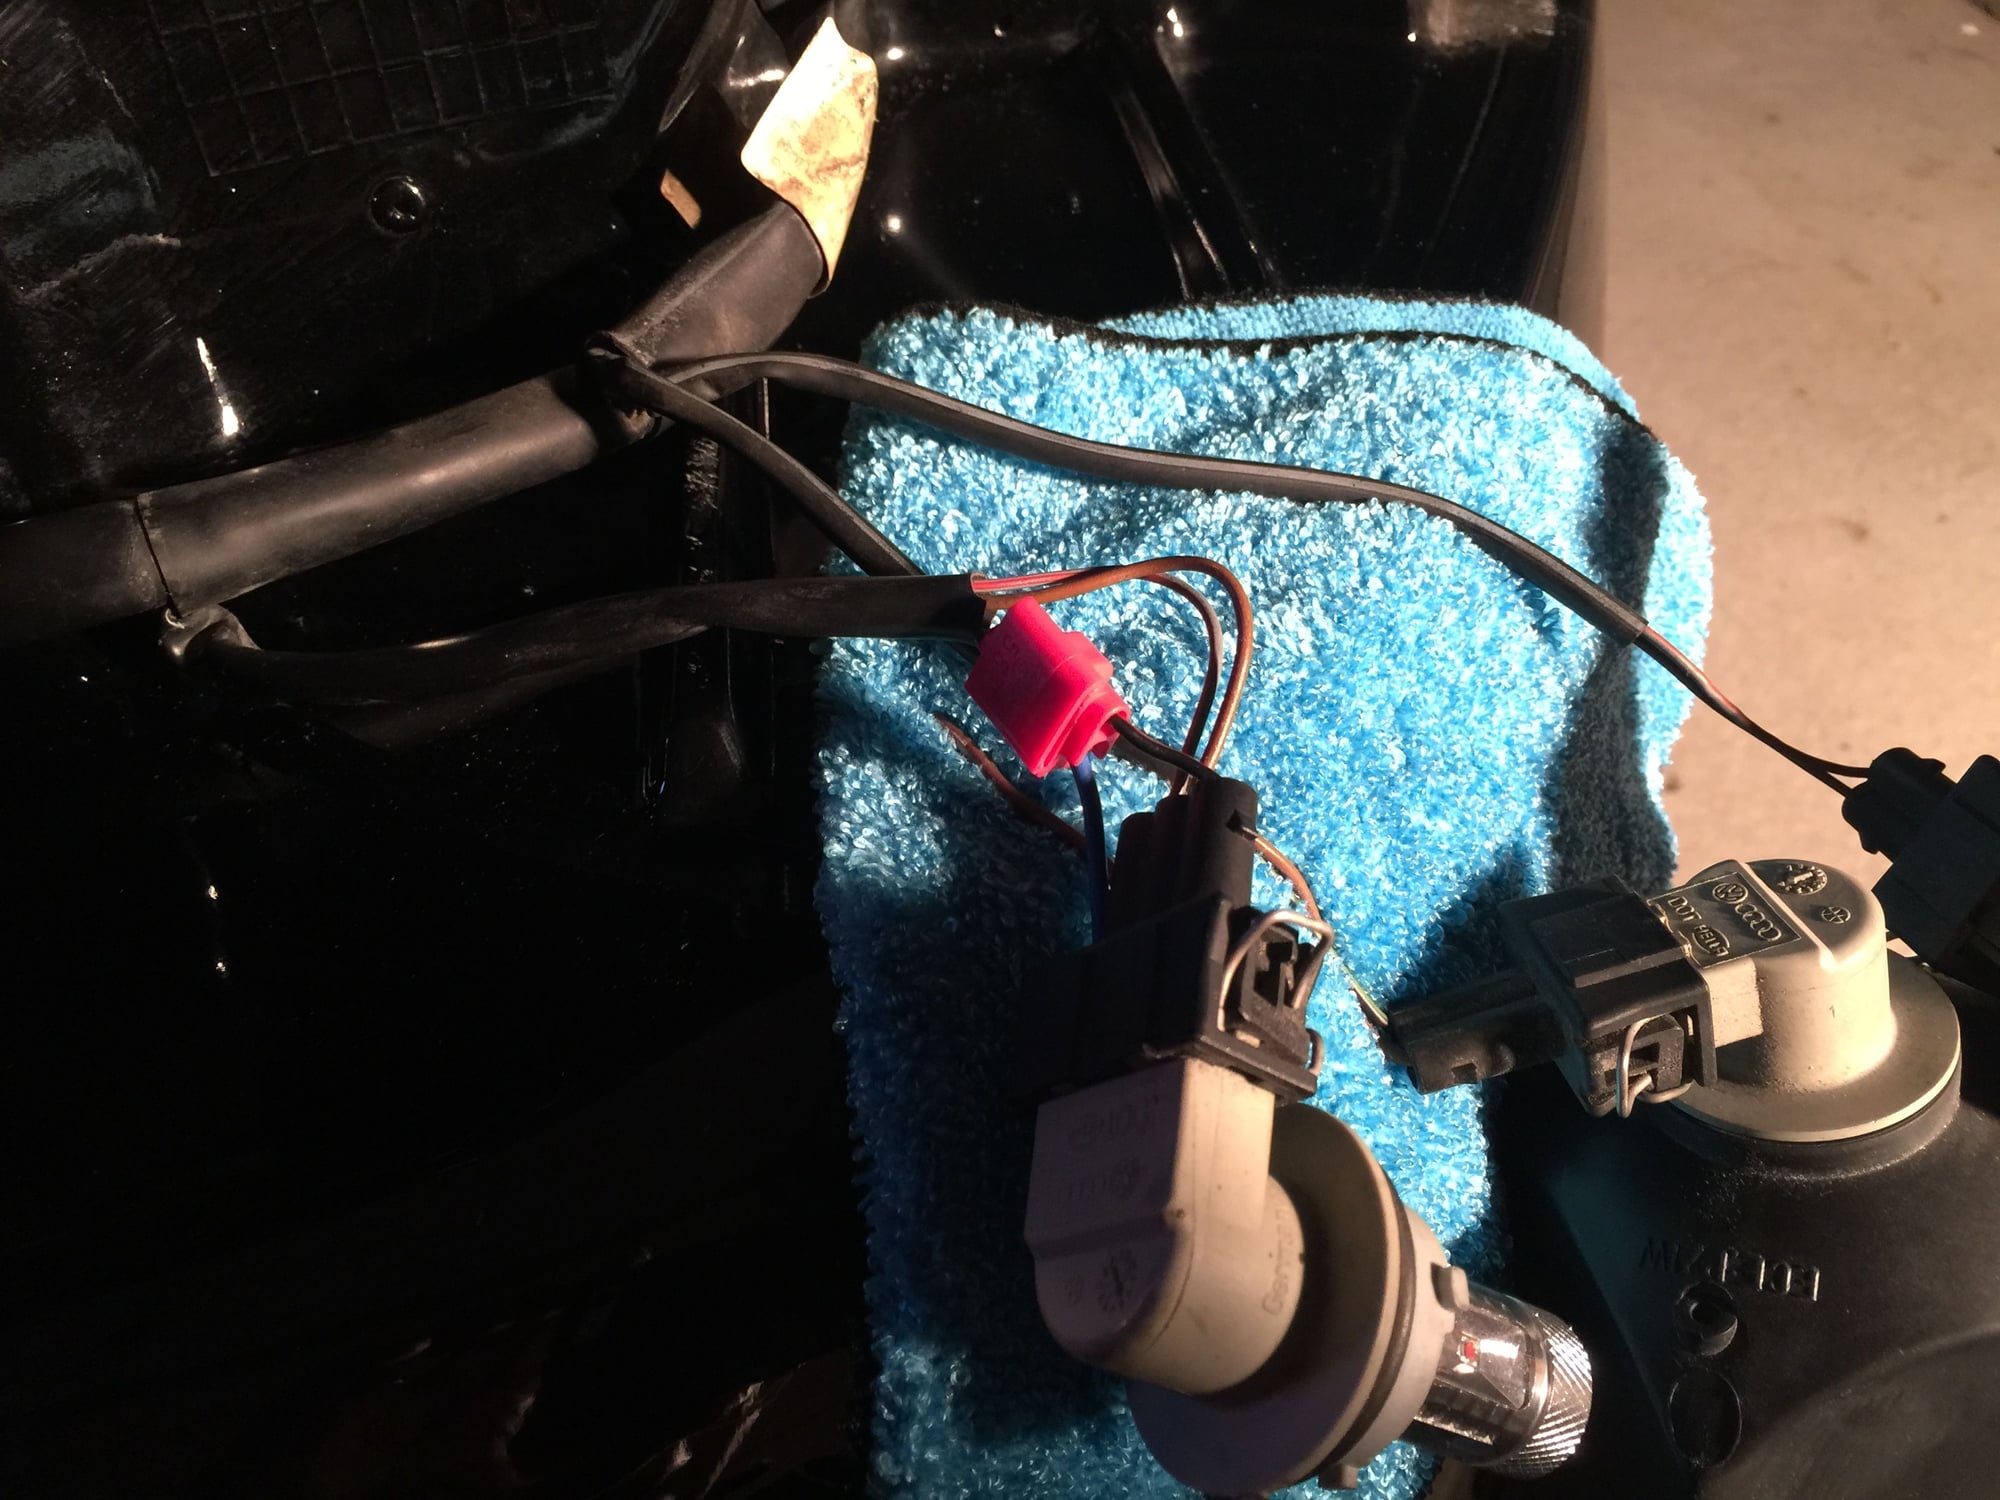
You can splice into either the left or right rear light enclosure. Just make sure you have the harness plug located on that same side.
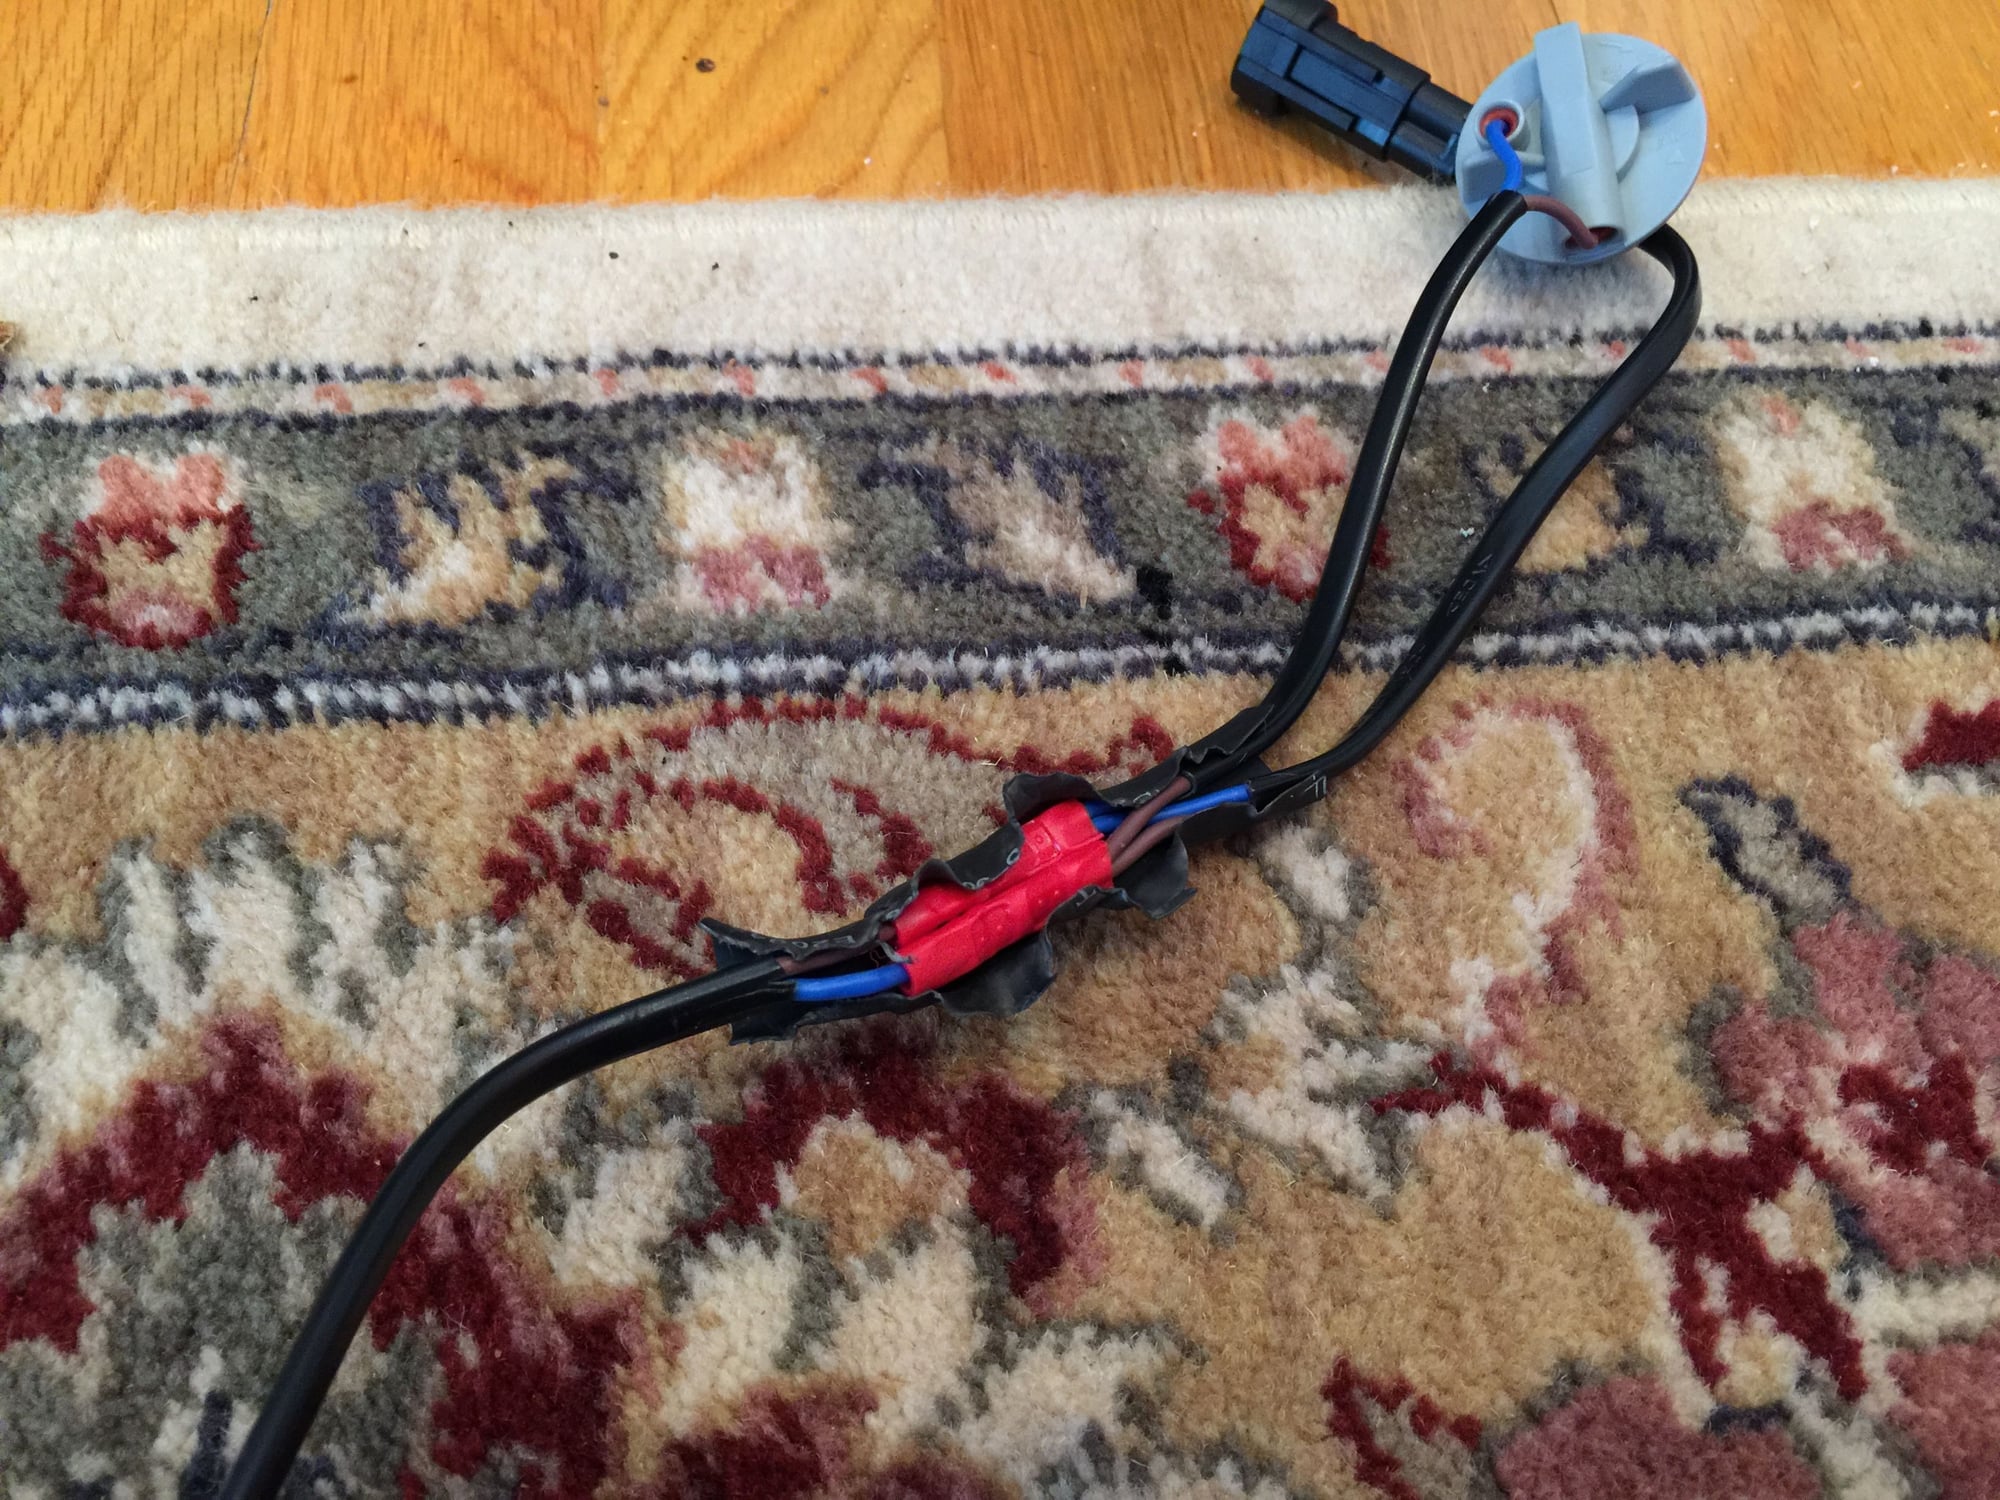
And make sure to test the lights before putting everything back together. When testing the lights I found the left lamp wasn't lit. This is typically just a matter of making sure the LED bulb has a good connection, but even after gently pulling out both the bottom and side contacts there was still no light. My two splices to the harness had to be working because the right lamp was working fine. A multimeter confirmed that the problem rested in the harness. Despite it being a weekend, Tore was incredibly responsive and offered to repair the harness himself. But I had just done two splices by the brake light, so not a big deal to do two more splices. Tore assisted by email ensuring that I used a proper crimp tool and waterproof shrink tube. It was a quick and simple fix, and Tore will be keeping a close watch on the quality control on future production of the harnesses to hopefully avoid any future repeats of this problem.
All in all this is a relatively easy install, and a vast improvement in safety for our 993's. Thanks Tore for all that you do to improve our cars!
Cheers!
Rear foglight conversion kit is here!
Remove 4 plastic screws by turning counter-clockwise 90 degrees
Carefully pull up plastic cover
Remove the 3 socket screws with allen wrench, and back out the 3 fixing screws so they are flush with top of unit
If you happen to have a stripped socket screw, rip out bushing and drill it out
Center tail light with three socket screws removed, and fixing screws backed out
Remove fastening screws from two rear light enclosures and slide out puling gently away from center tail light
Keep a cloth handy to prevent scratches from hanging lights
Have a screwdriver handy so you can disconnect the harness after sliding out the light assembly. Pry up the two snaps on the left and right side, and simply pull off the connector
Ready to install
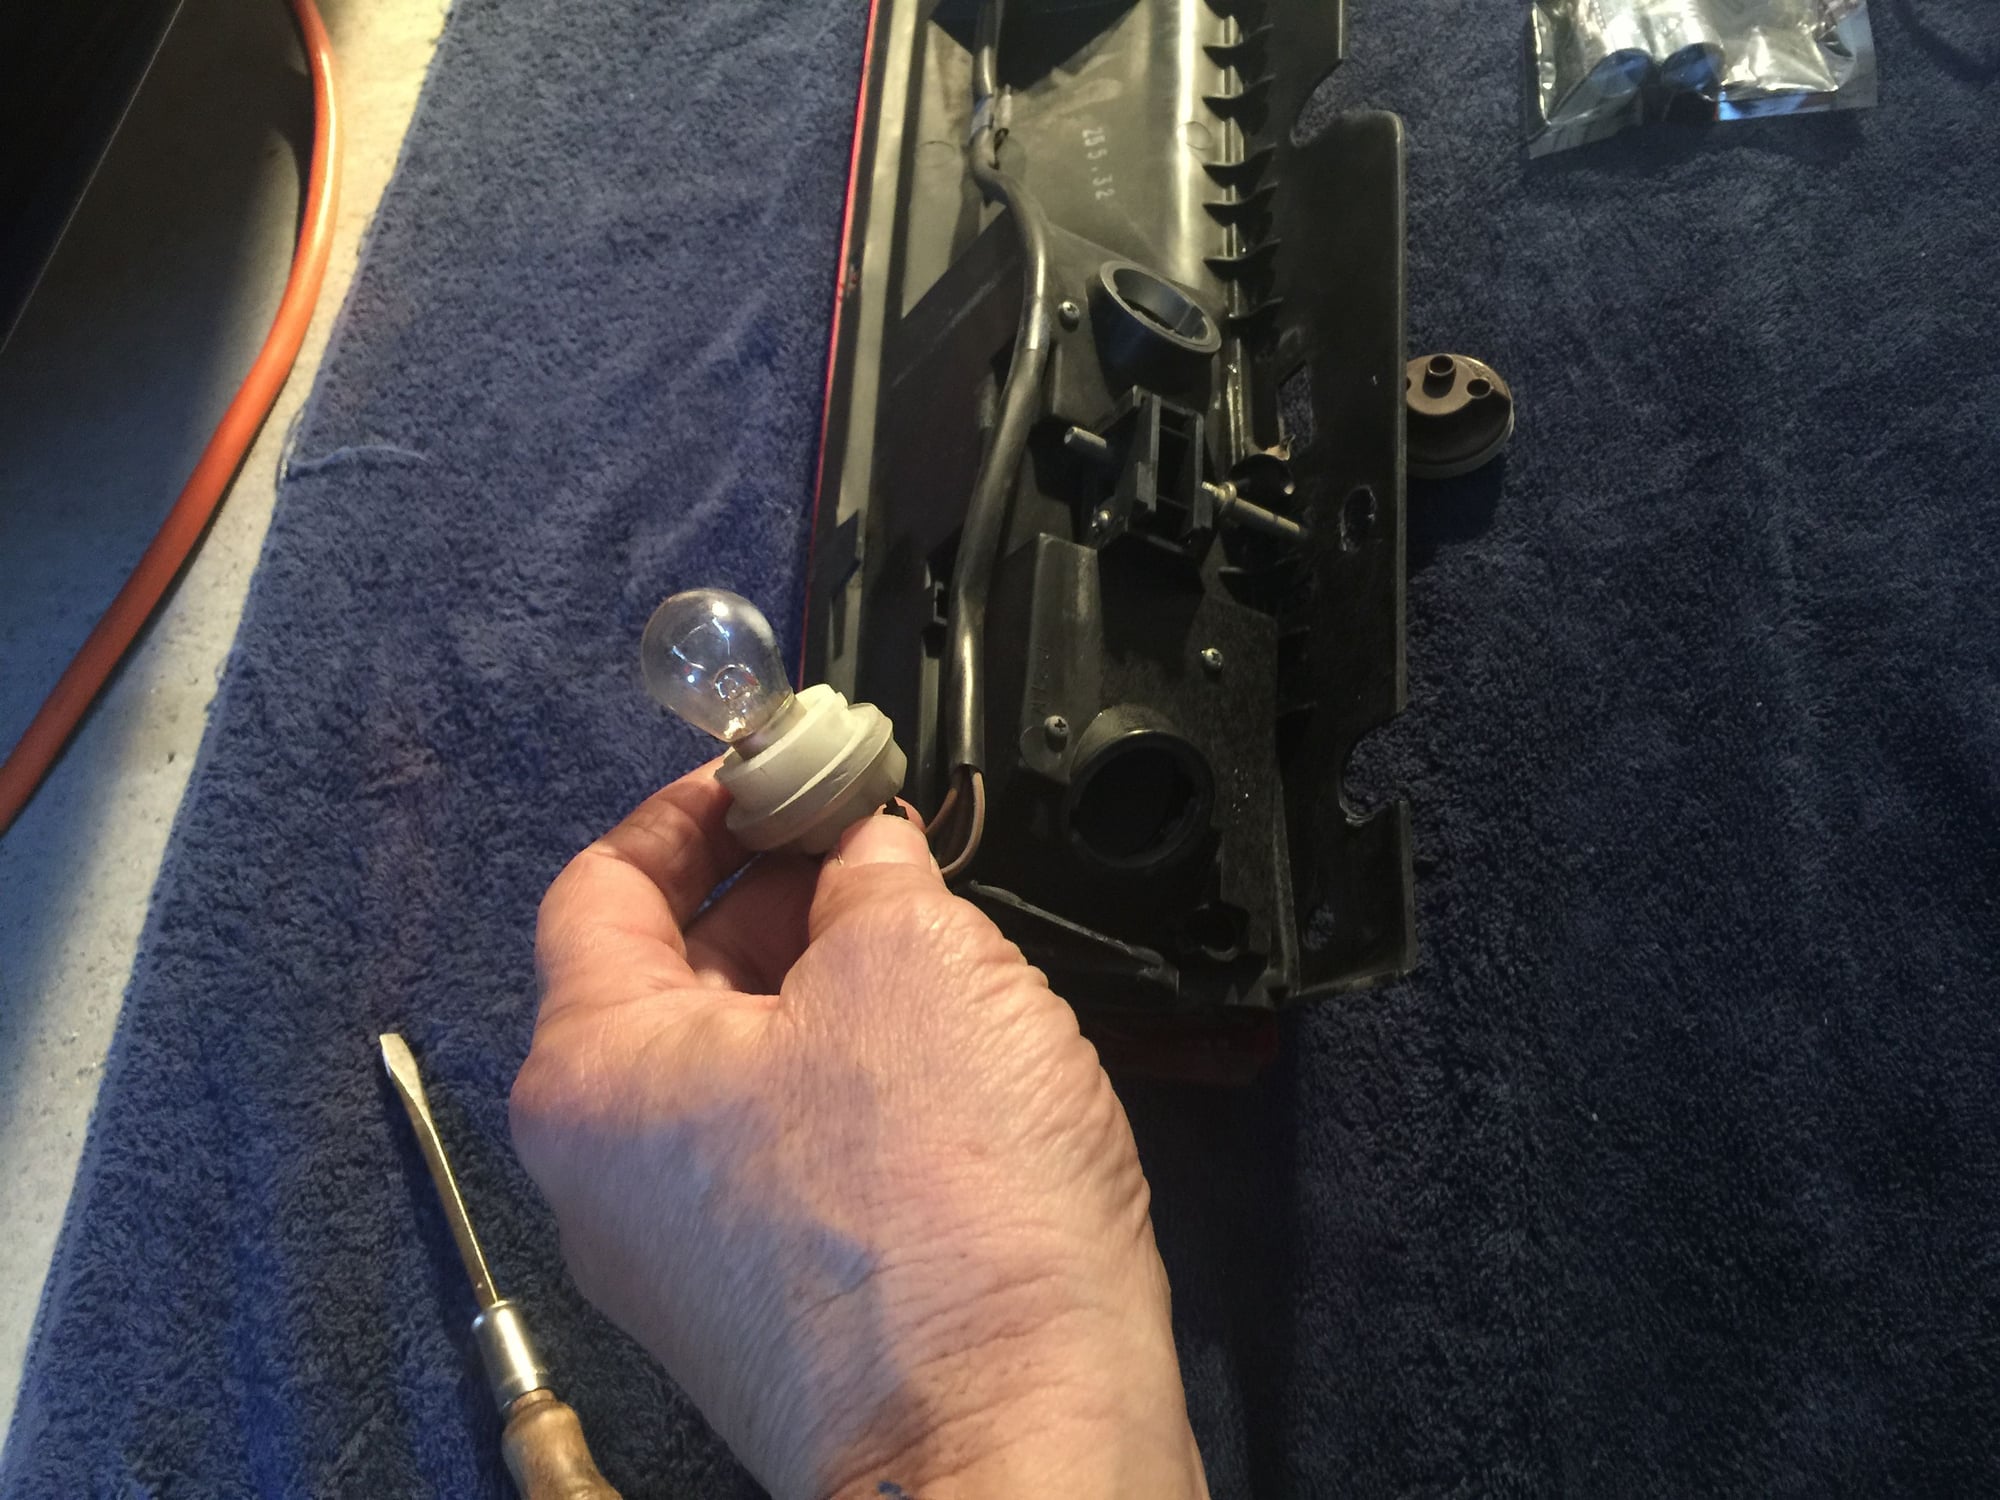
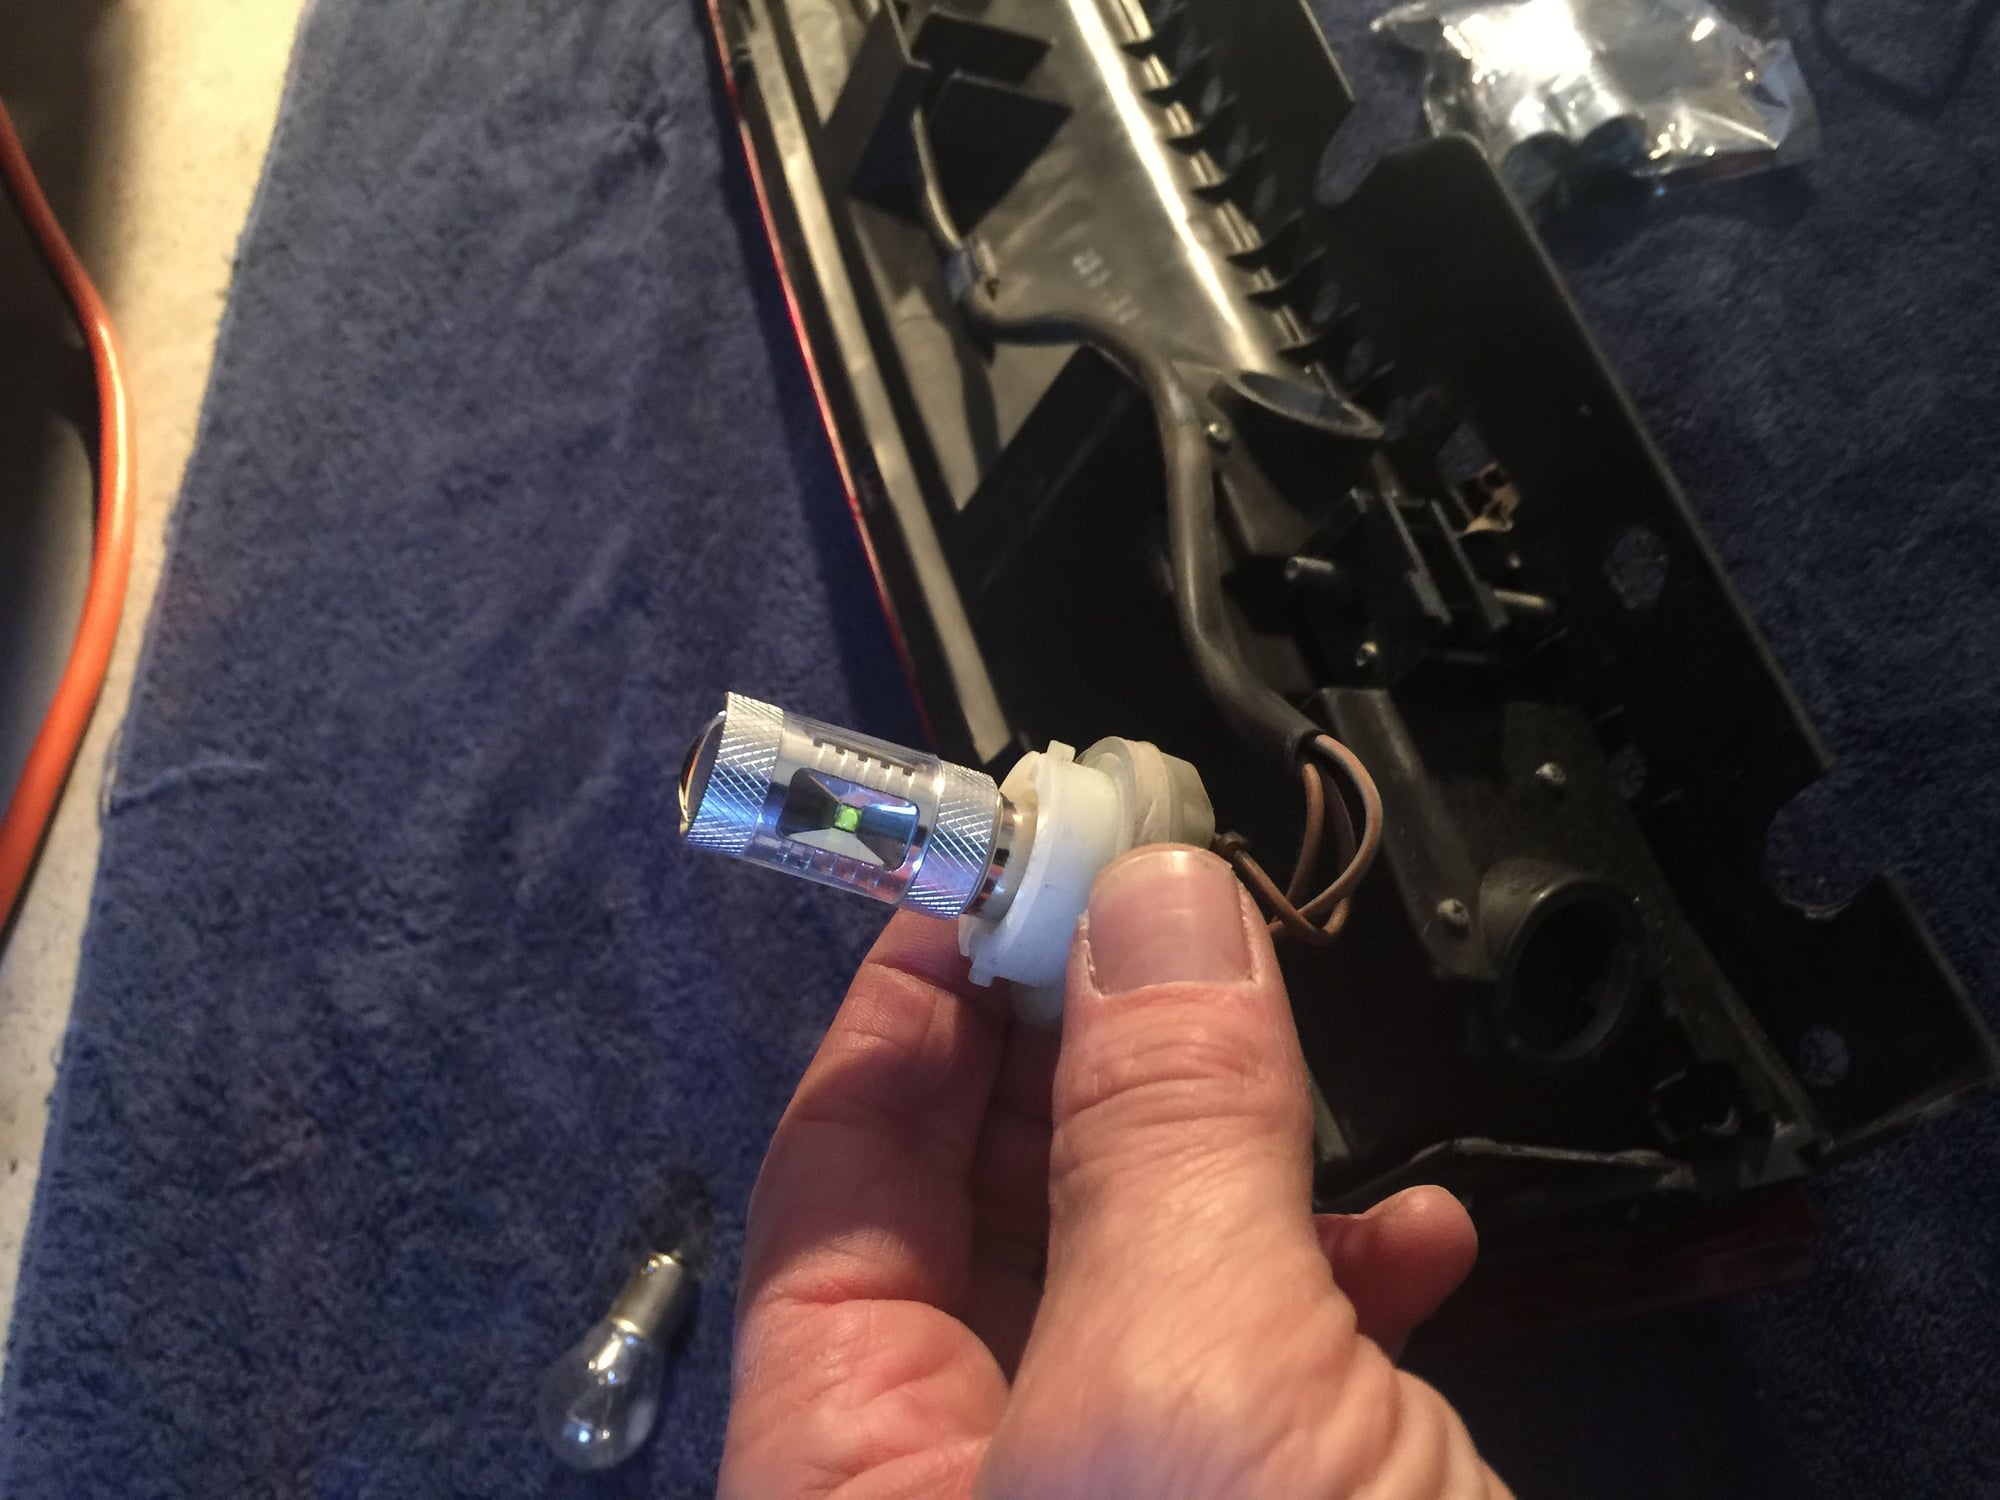
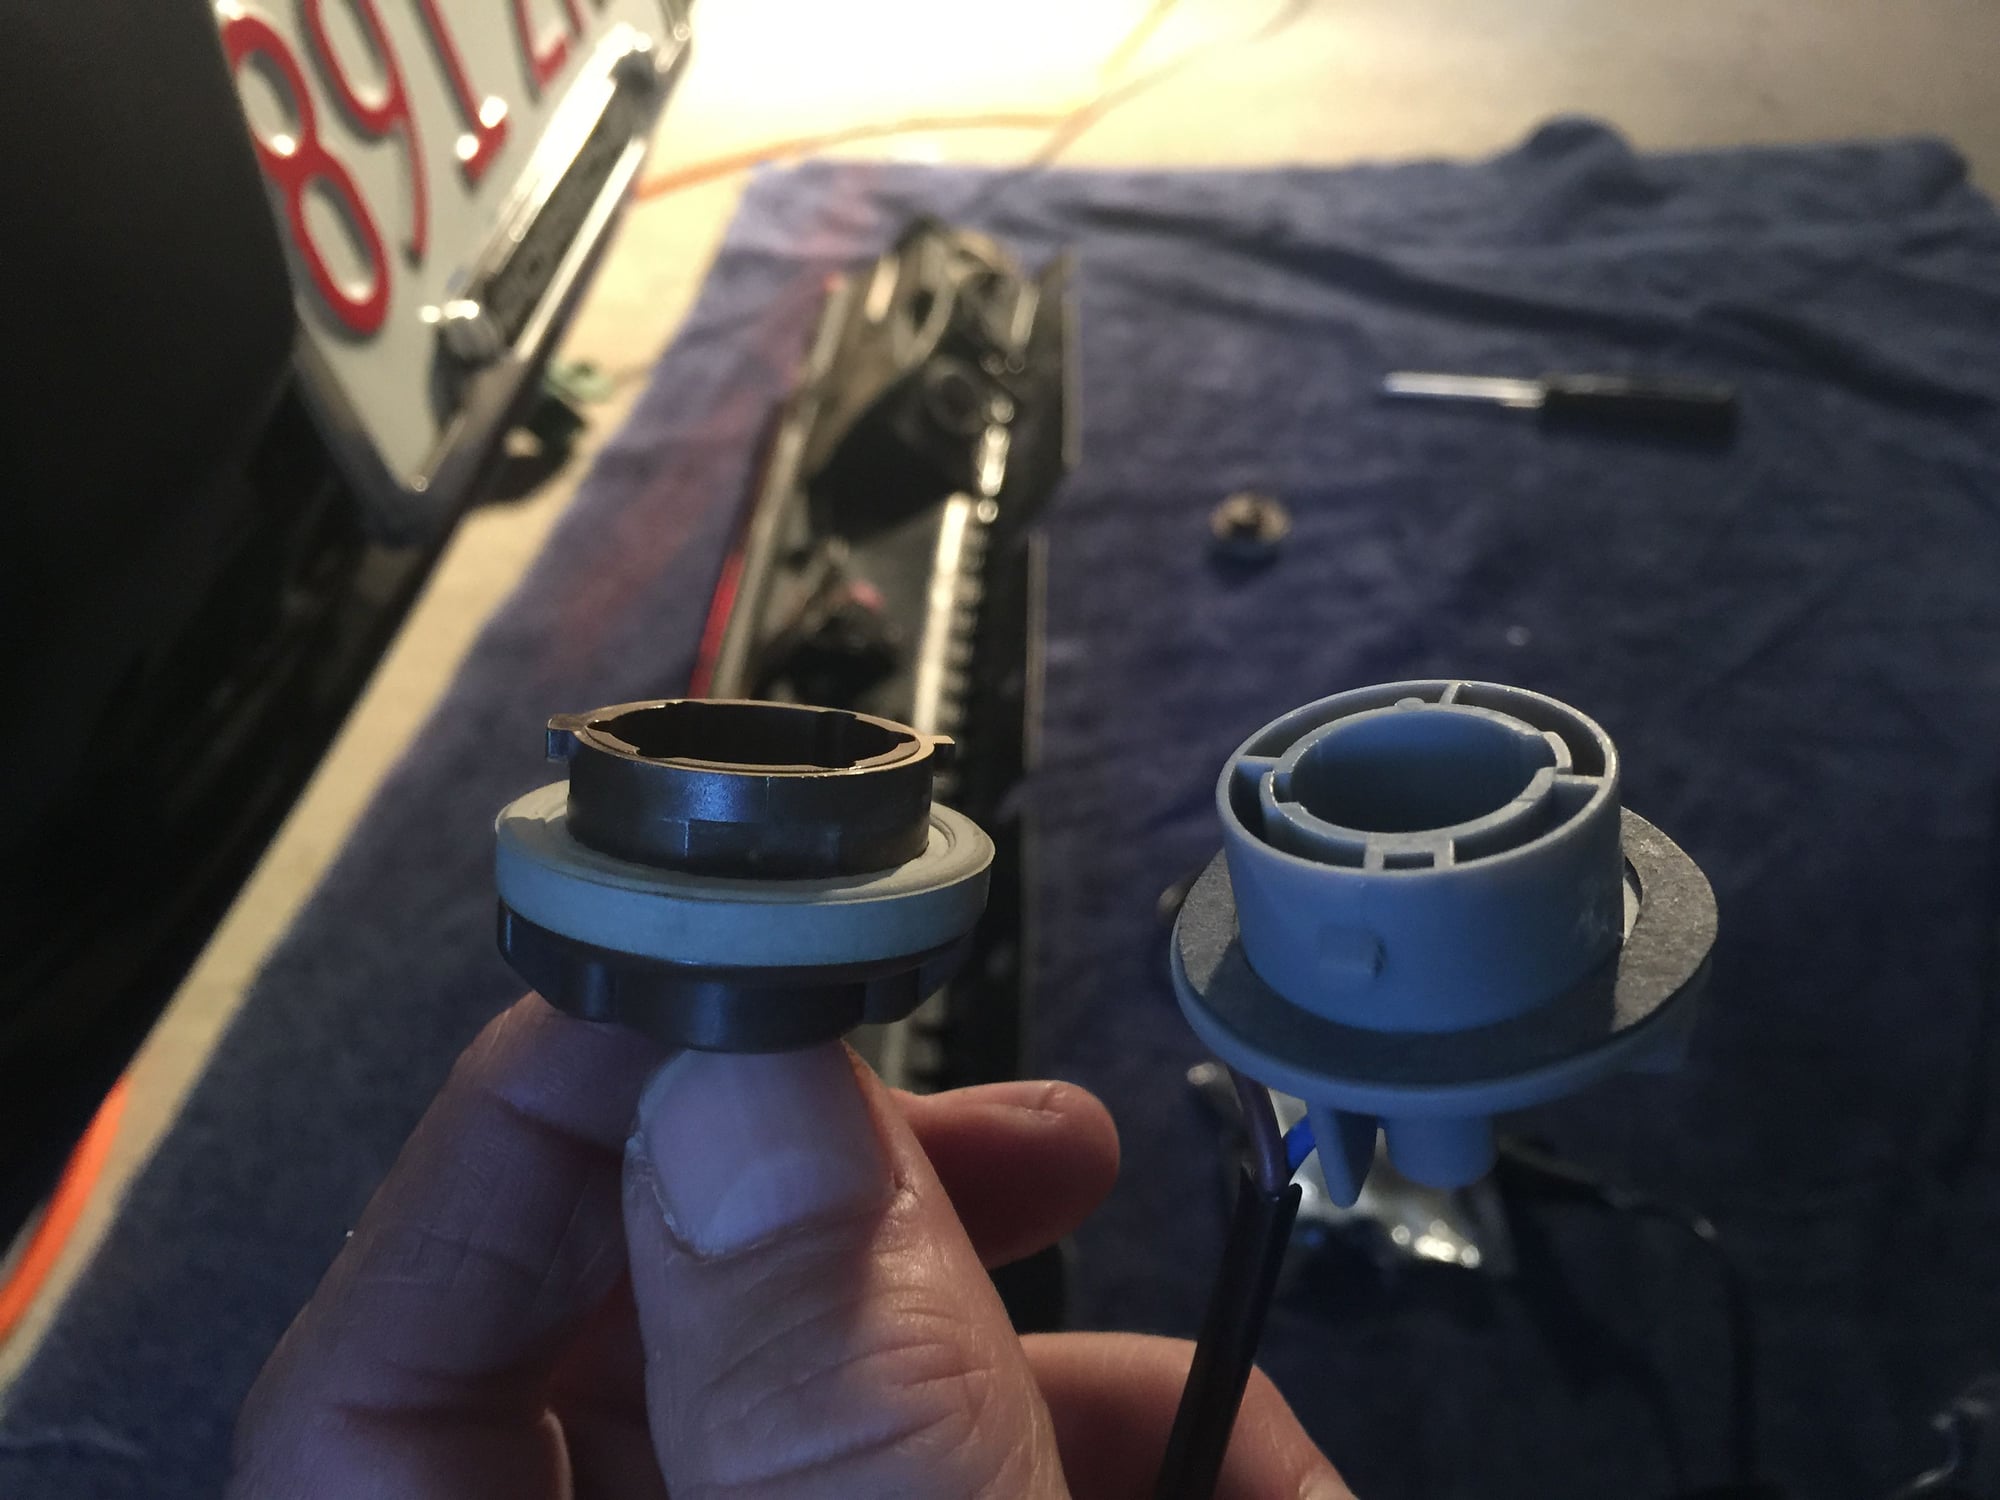
Remove the two dummy bulb holders
This is also a great time to replace the reverse lights
With Tore's LED reverse lights
Old dummy bulb holder on left, new LED brake light holder on right. Note that you do not need the thick washer from the dummy bulb holder
Dummy plugs removed
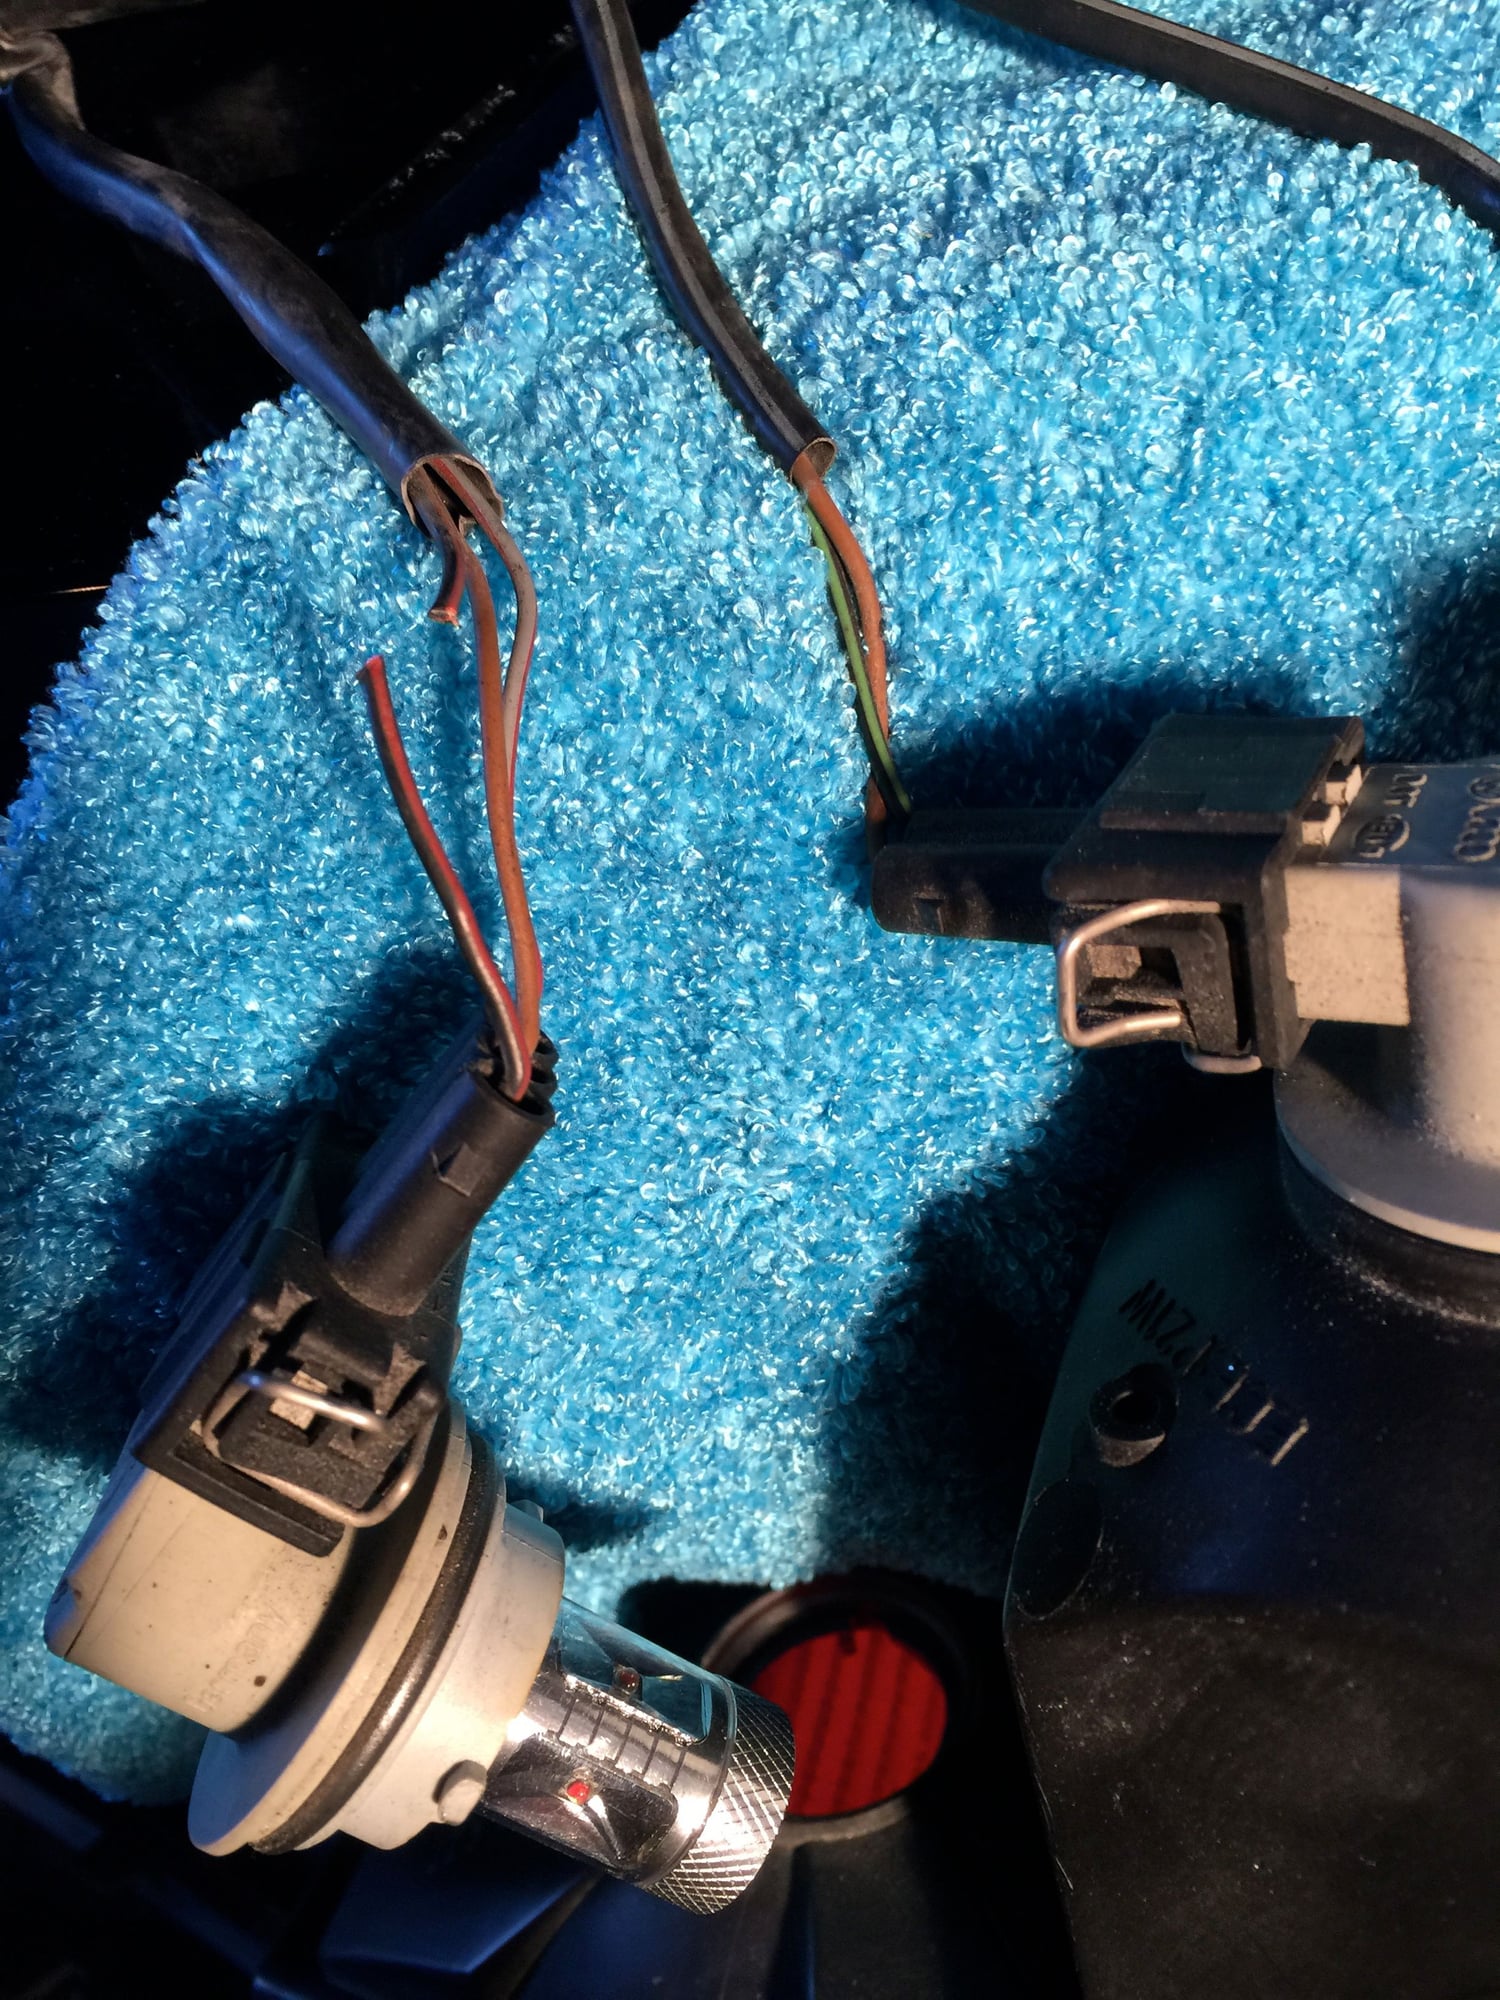
Connect T-Light kit wires to two of the three wires going into rear lamp (Blue goes to the lamp's black/red, and brown goes to brown)
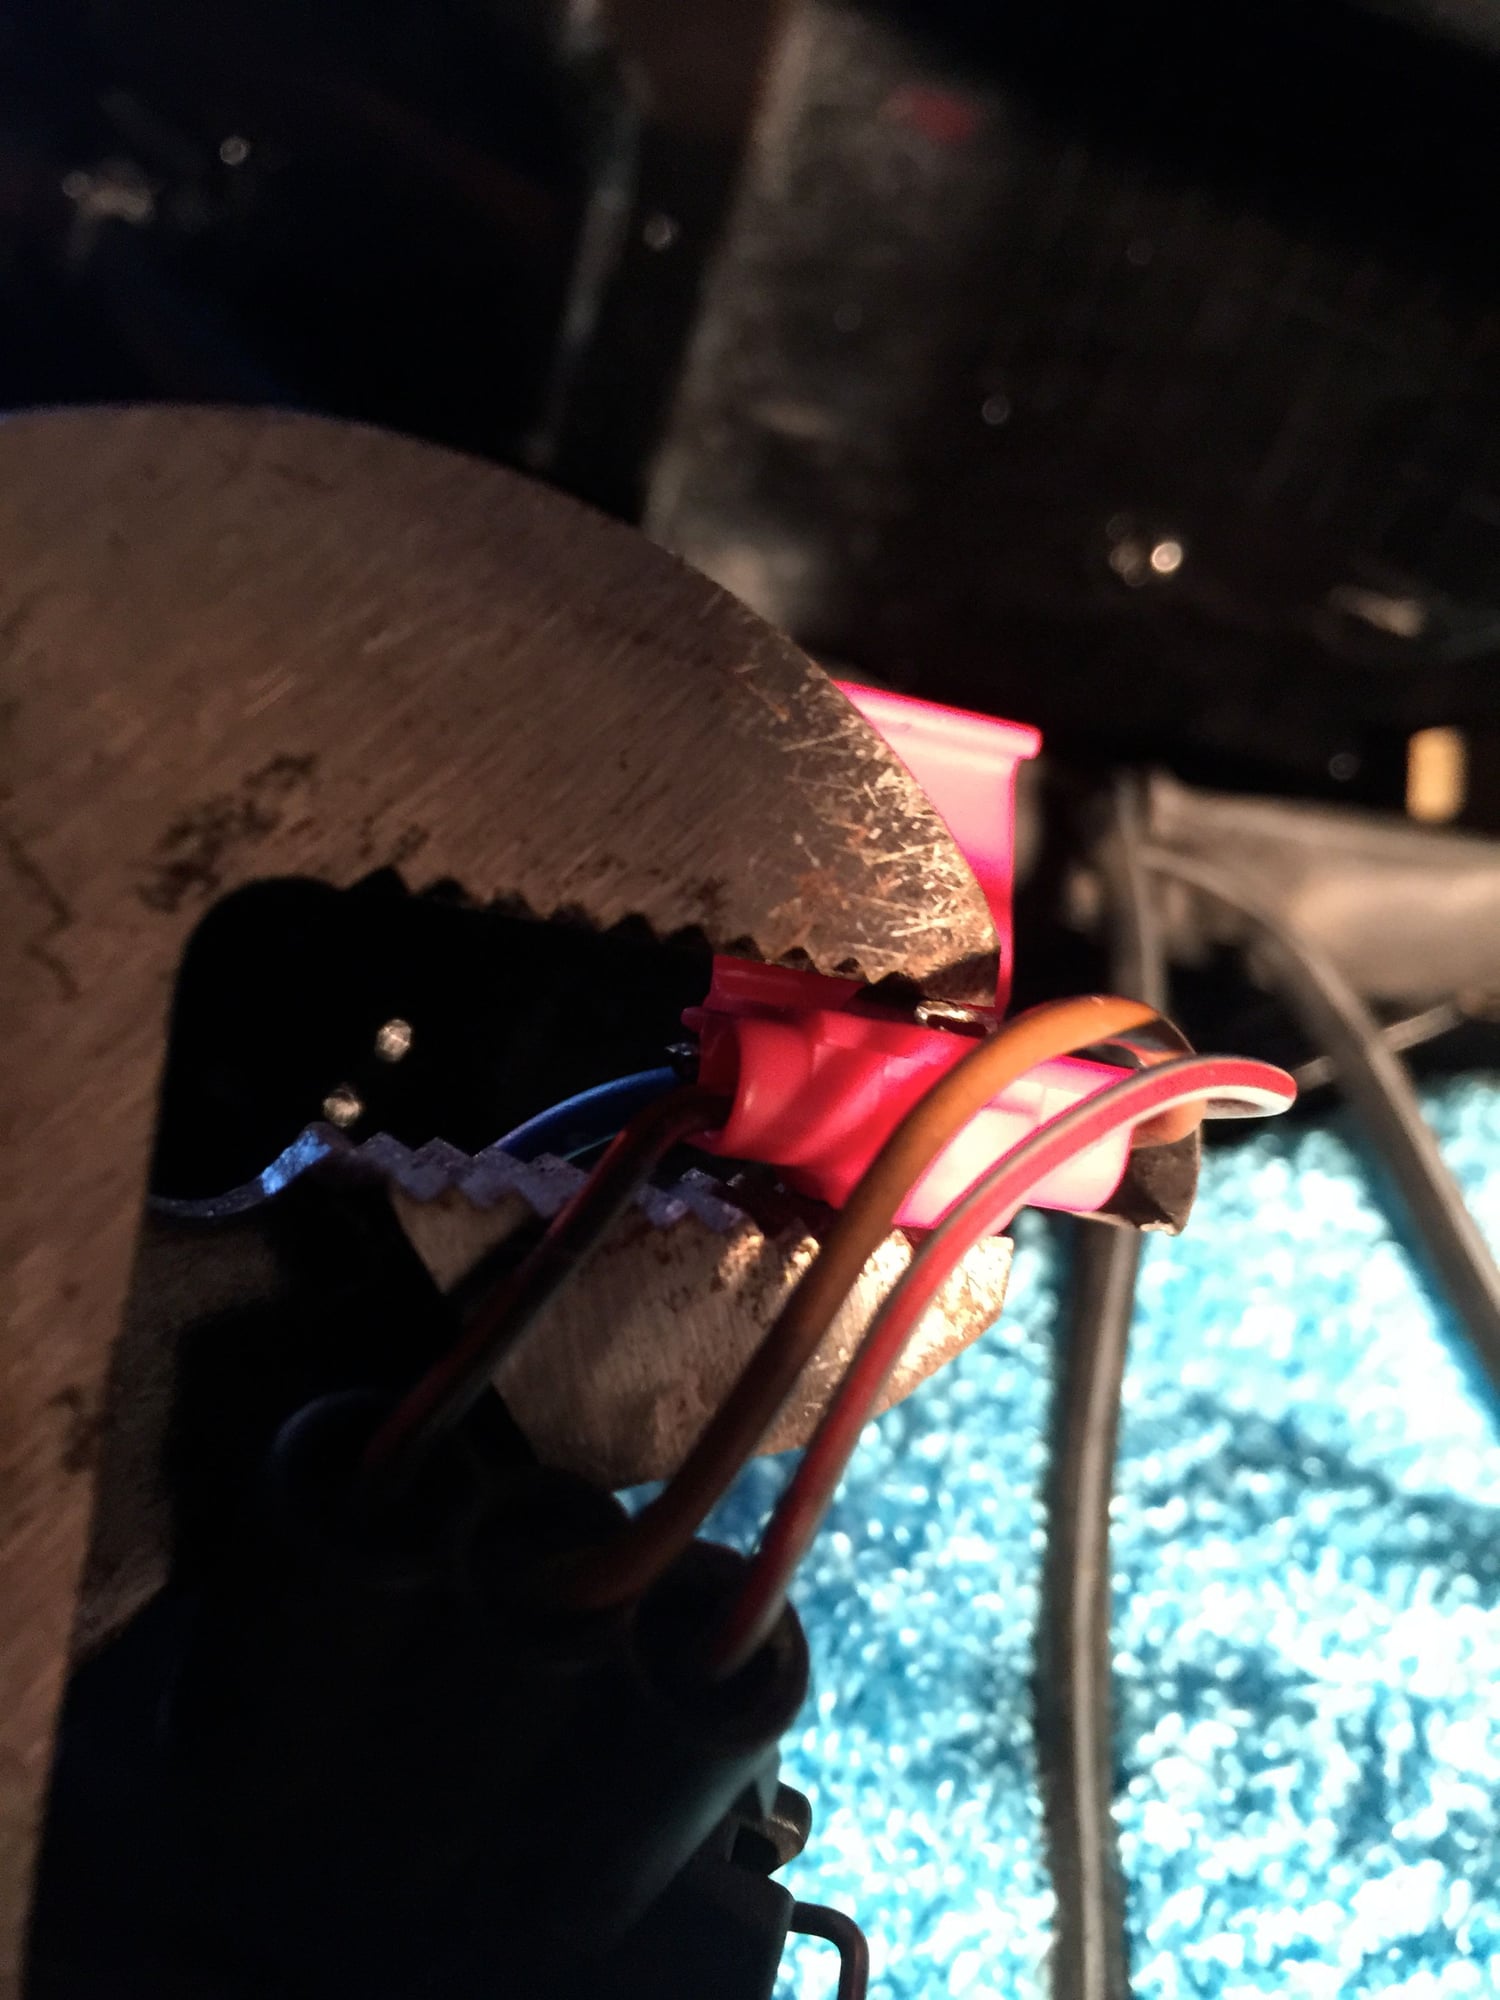
Red/black wire cut
Splicing red/black back together with blue wire. Be sure to get wires all the way in and snap SIDE of splice box closed before squeezing splice
Squeeze splice together carefully using large pliers or plumber's wrench to ensure even pinch
Snap top of splice box closed
Splice kit's brown wire to the brown wires, squeeze splice, and snap closed
When making ready to re-install it's helpful to have a place for the rear light assembly to safely rest. It makes re-connecting and re-assembling much easier.
Make sure to test lamps BEFORE reinstalling. The multimeter confirmed that my harness had a bad connection. Time for a quick re-splice of the harness lines.
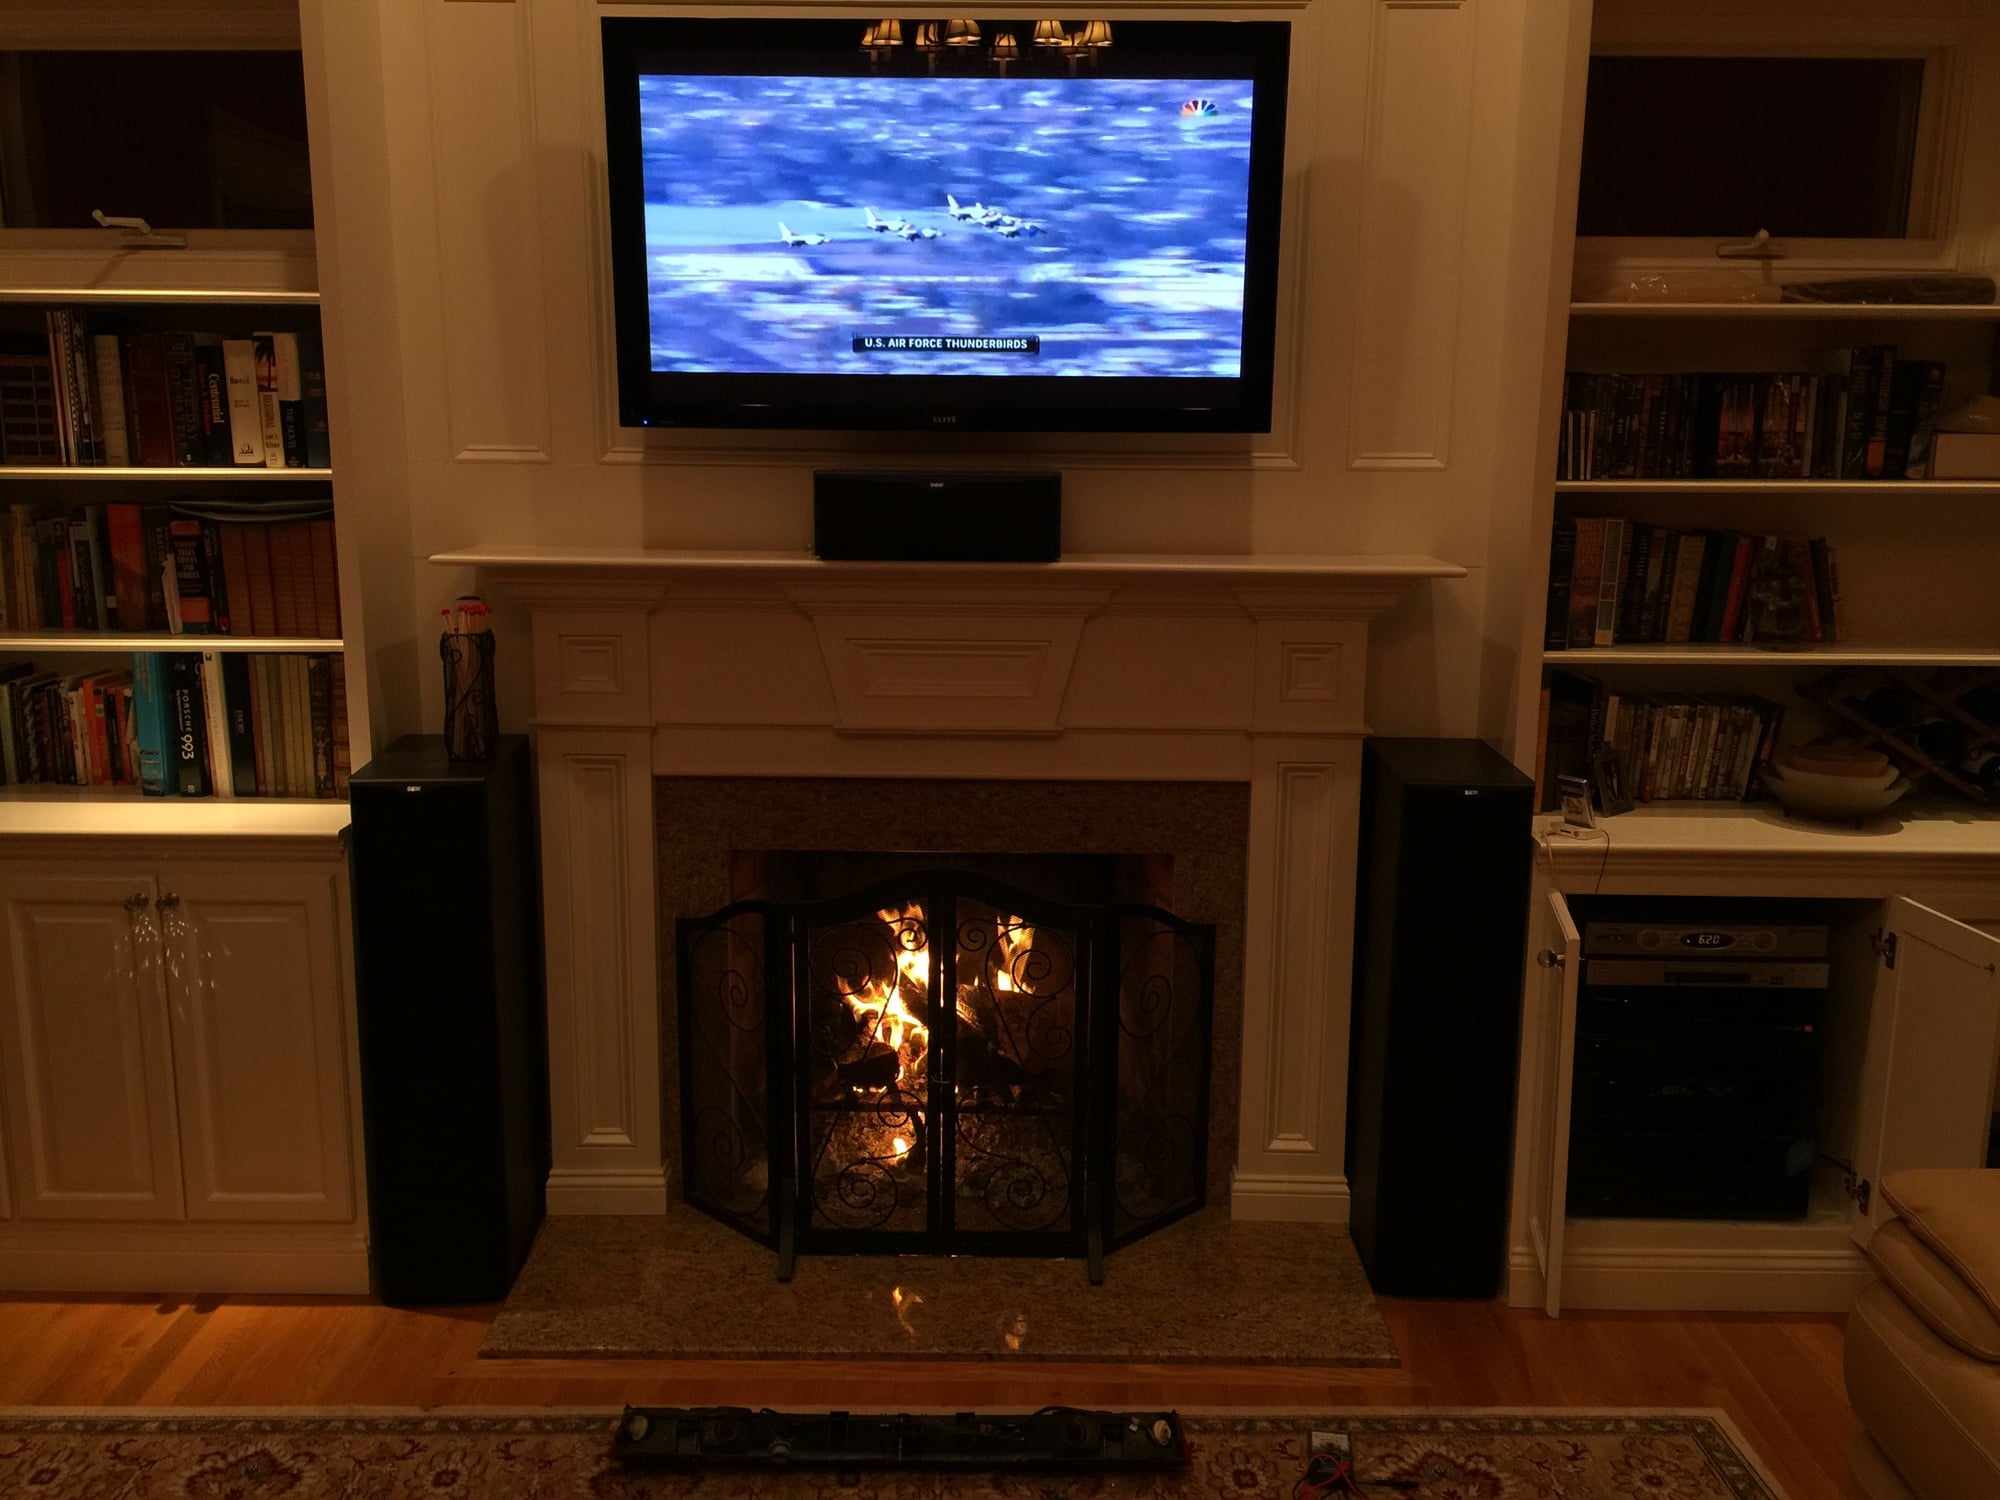
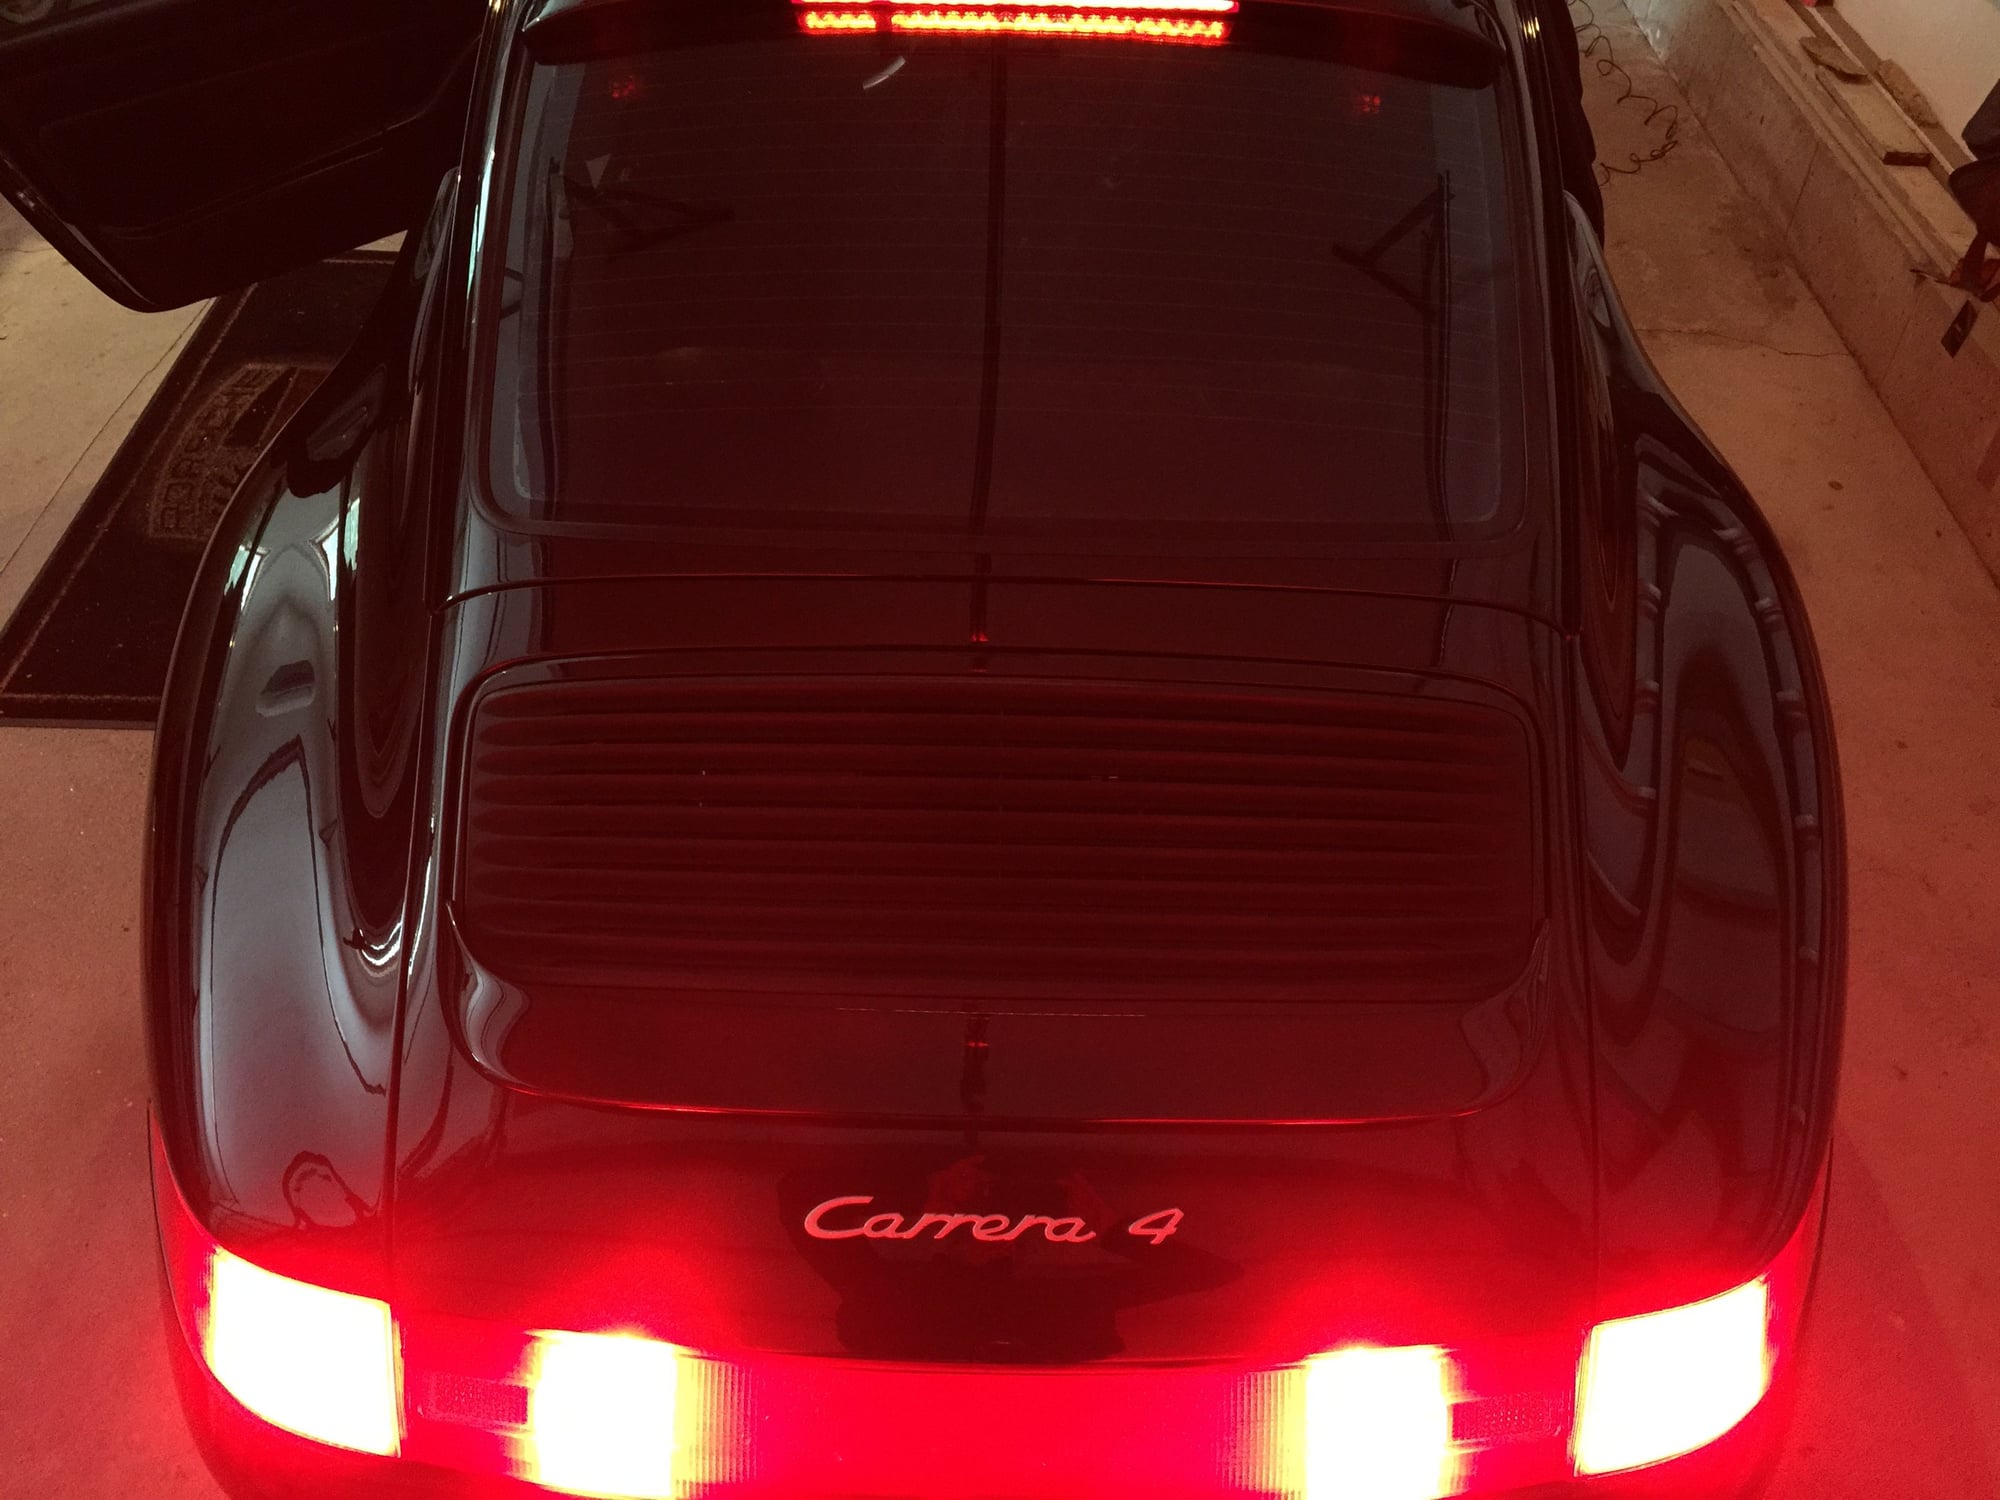
Harness all set just in time for the flyover by the Thunderbirds!
Here's the repaired harness using pictured insulated crimps and heat shrink
Nice write up & pictorial - !
I agree the LED Blinker bulb enhancement is a winner. With the LED bulbs 993s blinkers front or rear are deliberate! They're hard not to notice.
4 LED bulbs across the rear is Killer Again, thanks for the write-up.
Foxman, big thanks for the nice write-up and pictures.
You'll need an LED update of your third brake light as well, I see you are missing a bulb!
Cheers,
Tore
Foxman, big thanks for the nice write-up and pictures.
You'll need an LED update of your third brake light as well, I see you are missing a bulb!
Cheers,
Tore
Nice catch Tore! Yes, I noted the same when i took that last picture. Funny how one project leads right to the next one!
Great write-up and photos! Wish my black looked that sharp.
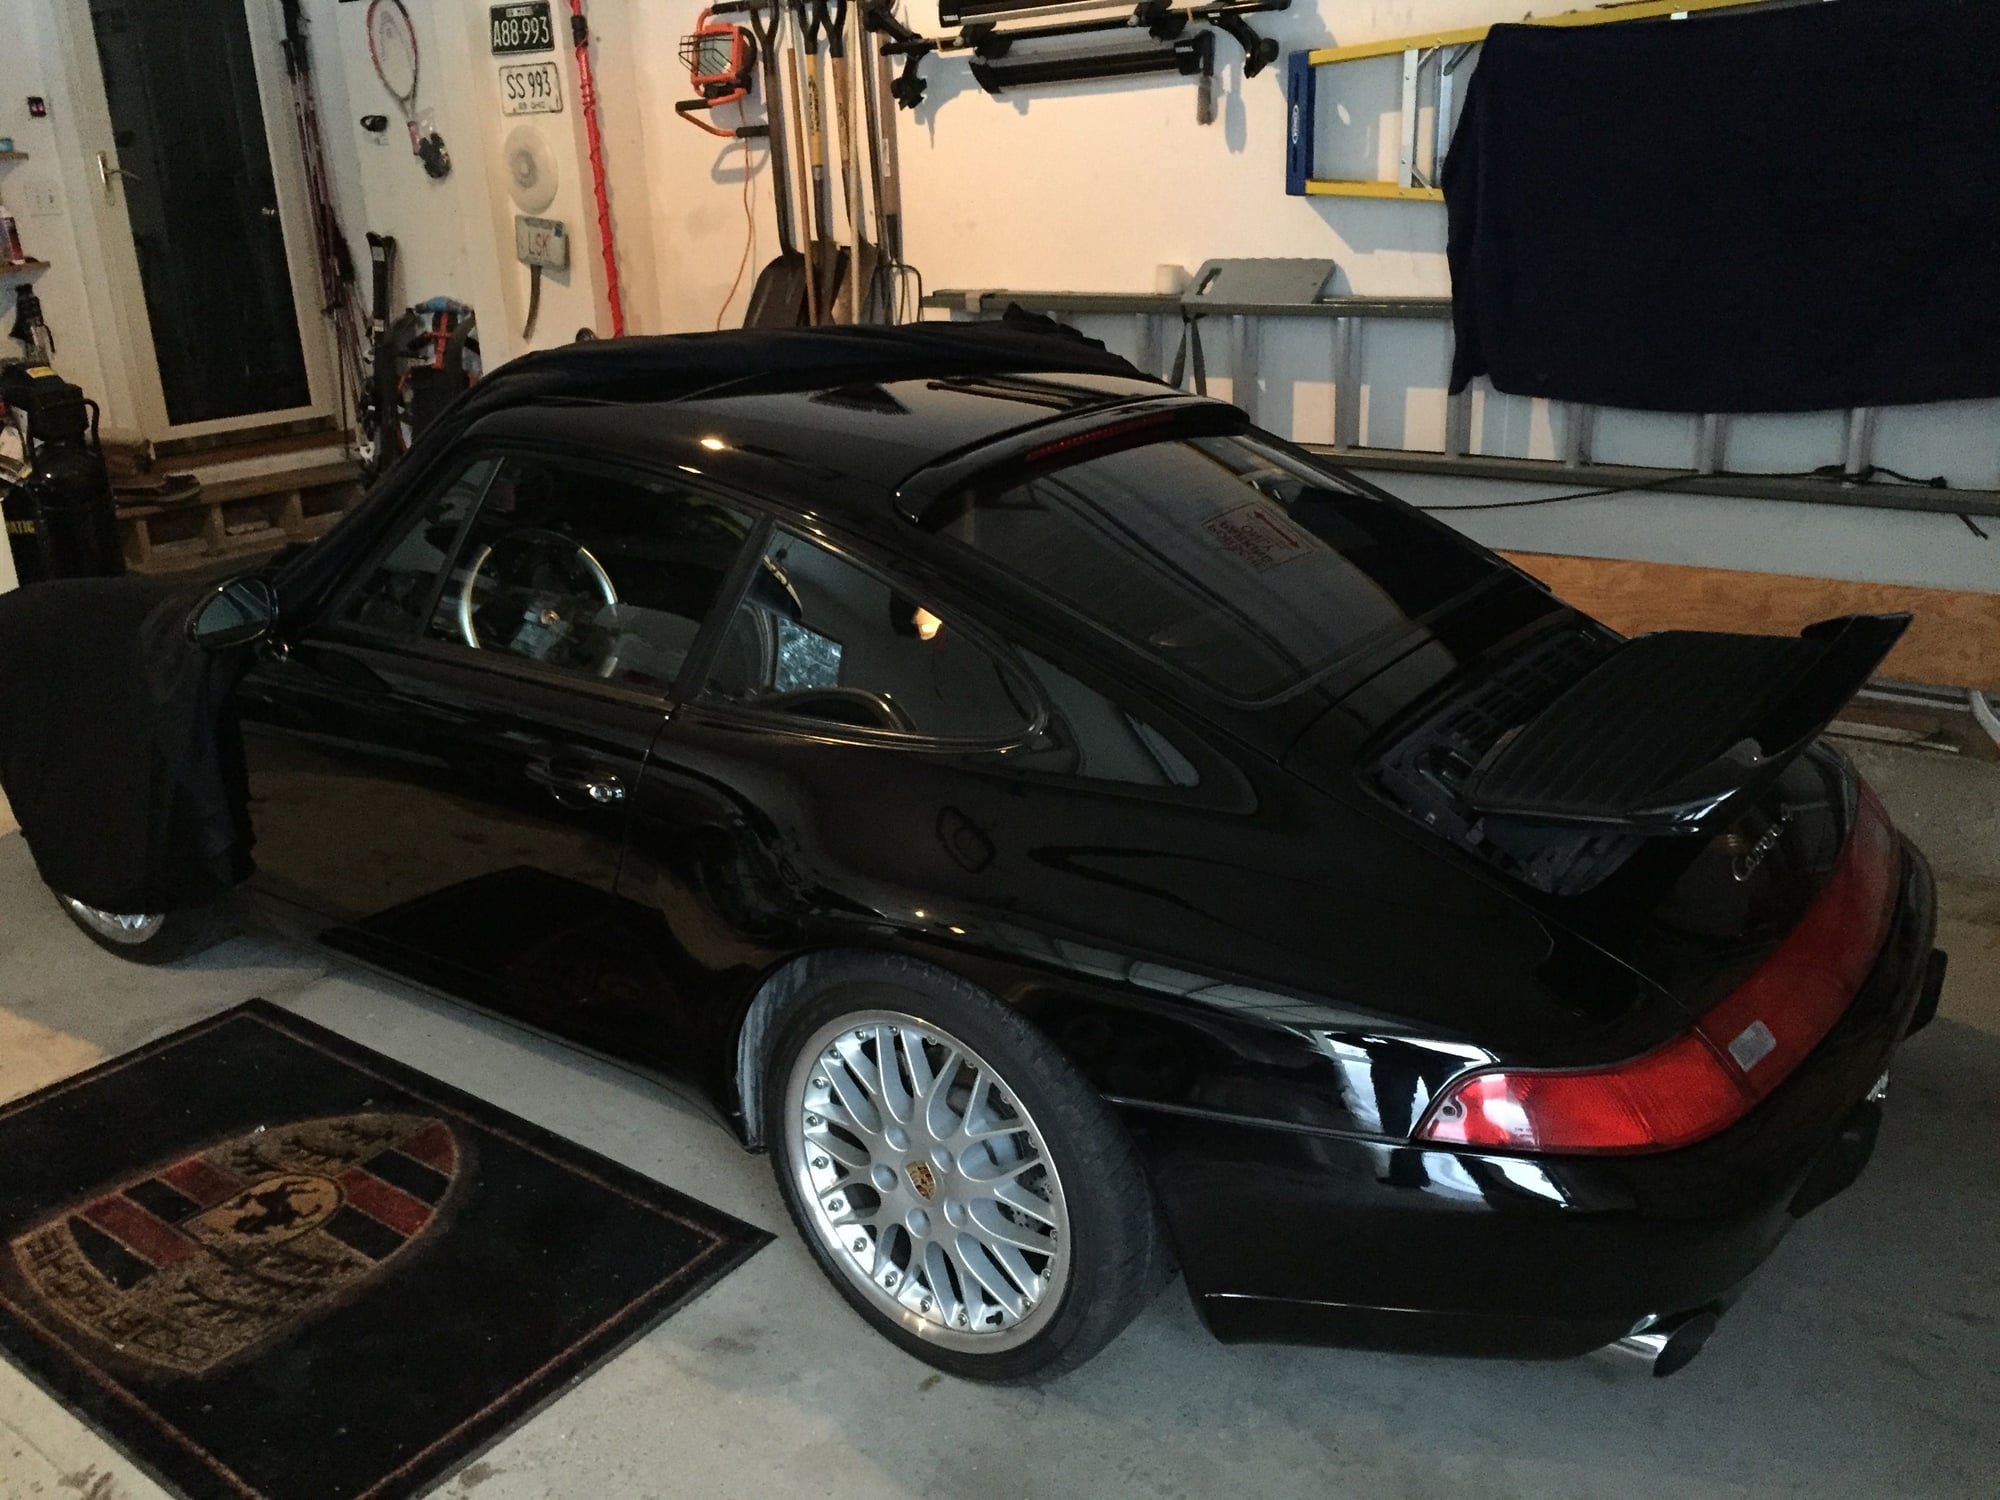
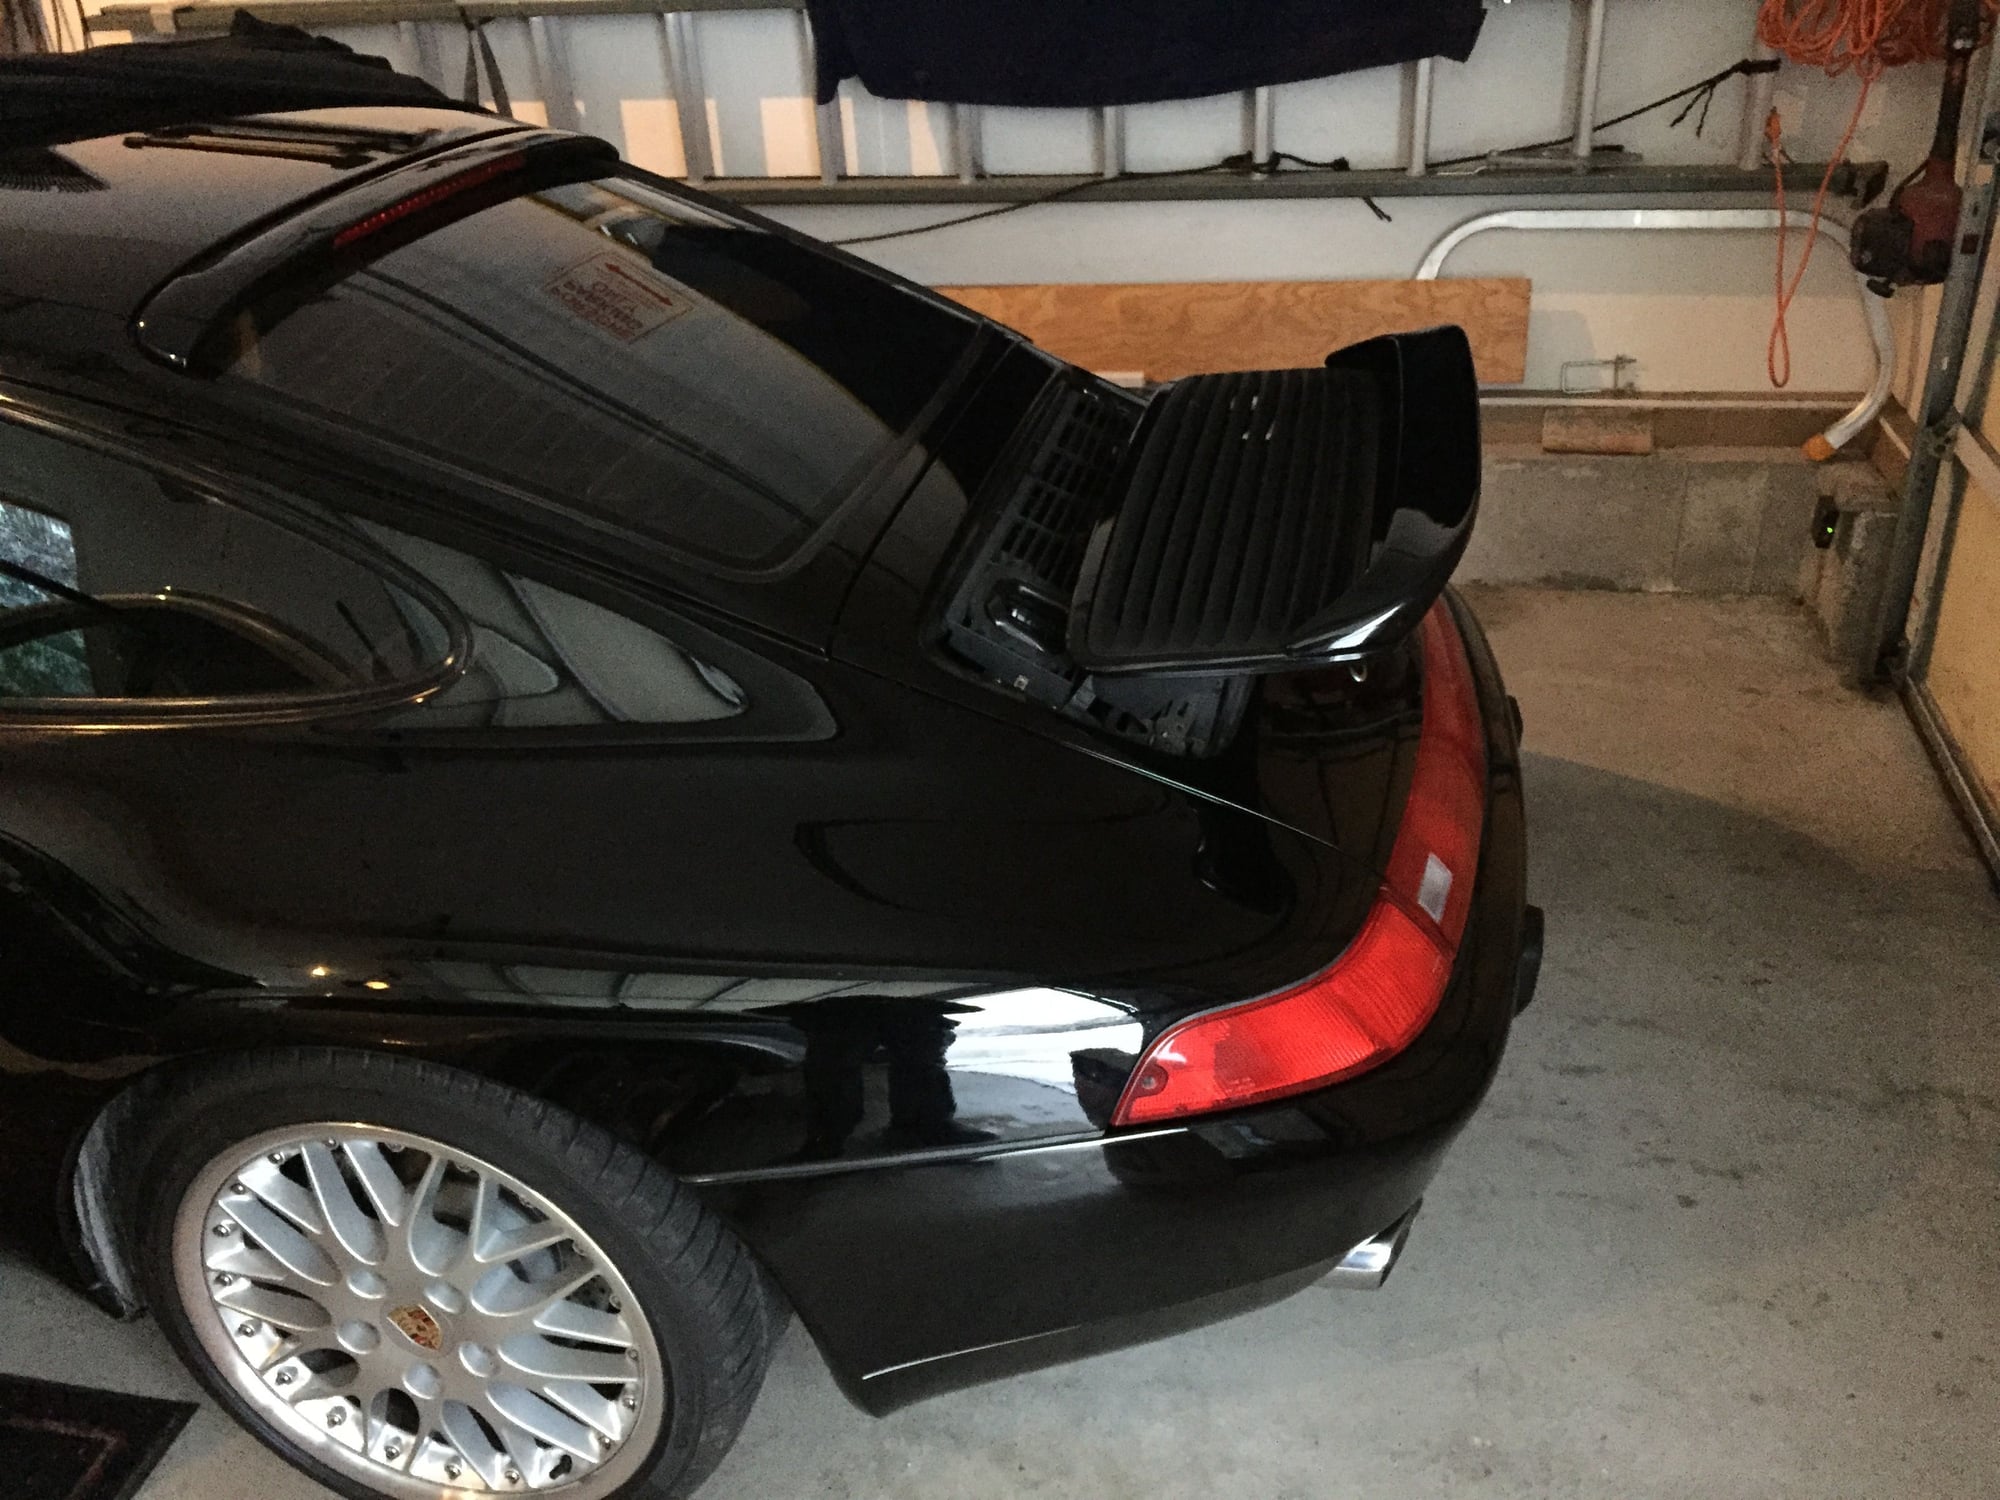
On a different note, any chance you can post a photo of your spoiler in the up position? Curious to see what it looks lie.
Thanks to all of you guys, Andreas, MESprit 87, M Schneider, Hans, EMB Pilot, PDaddy and FlatSix911, for taking the time to weigh in and comment on the post.
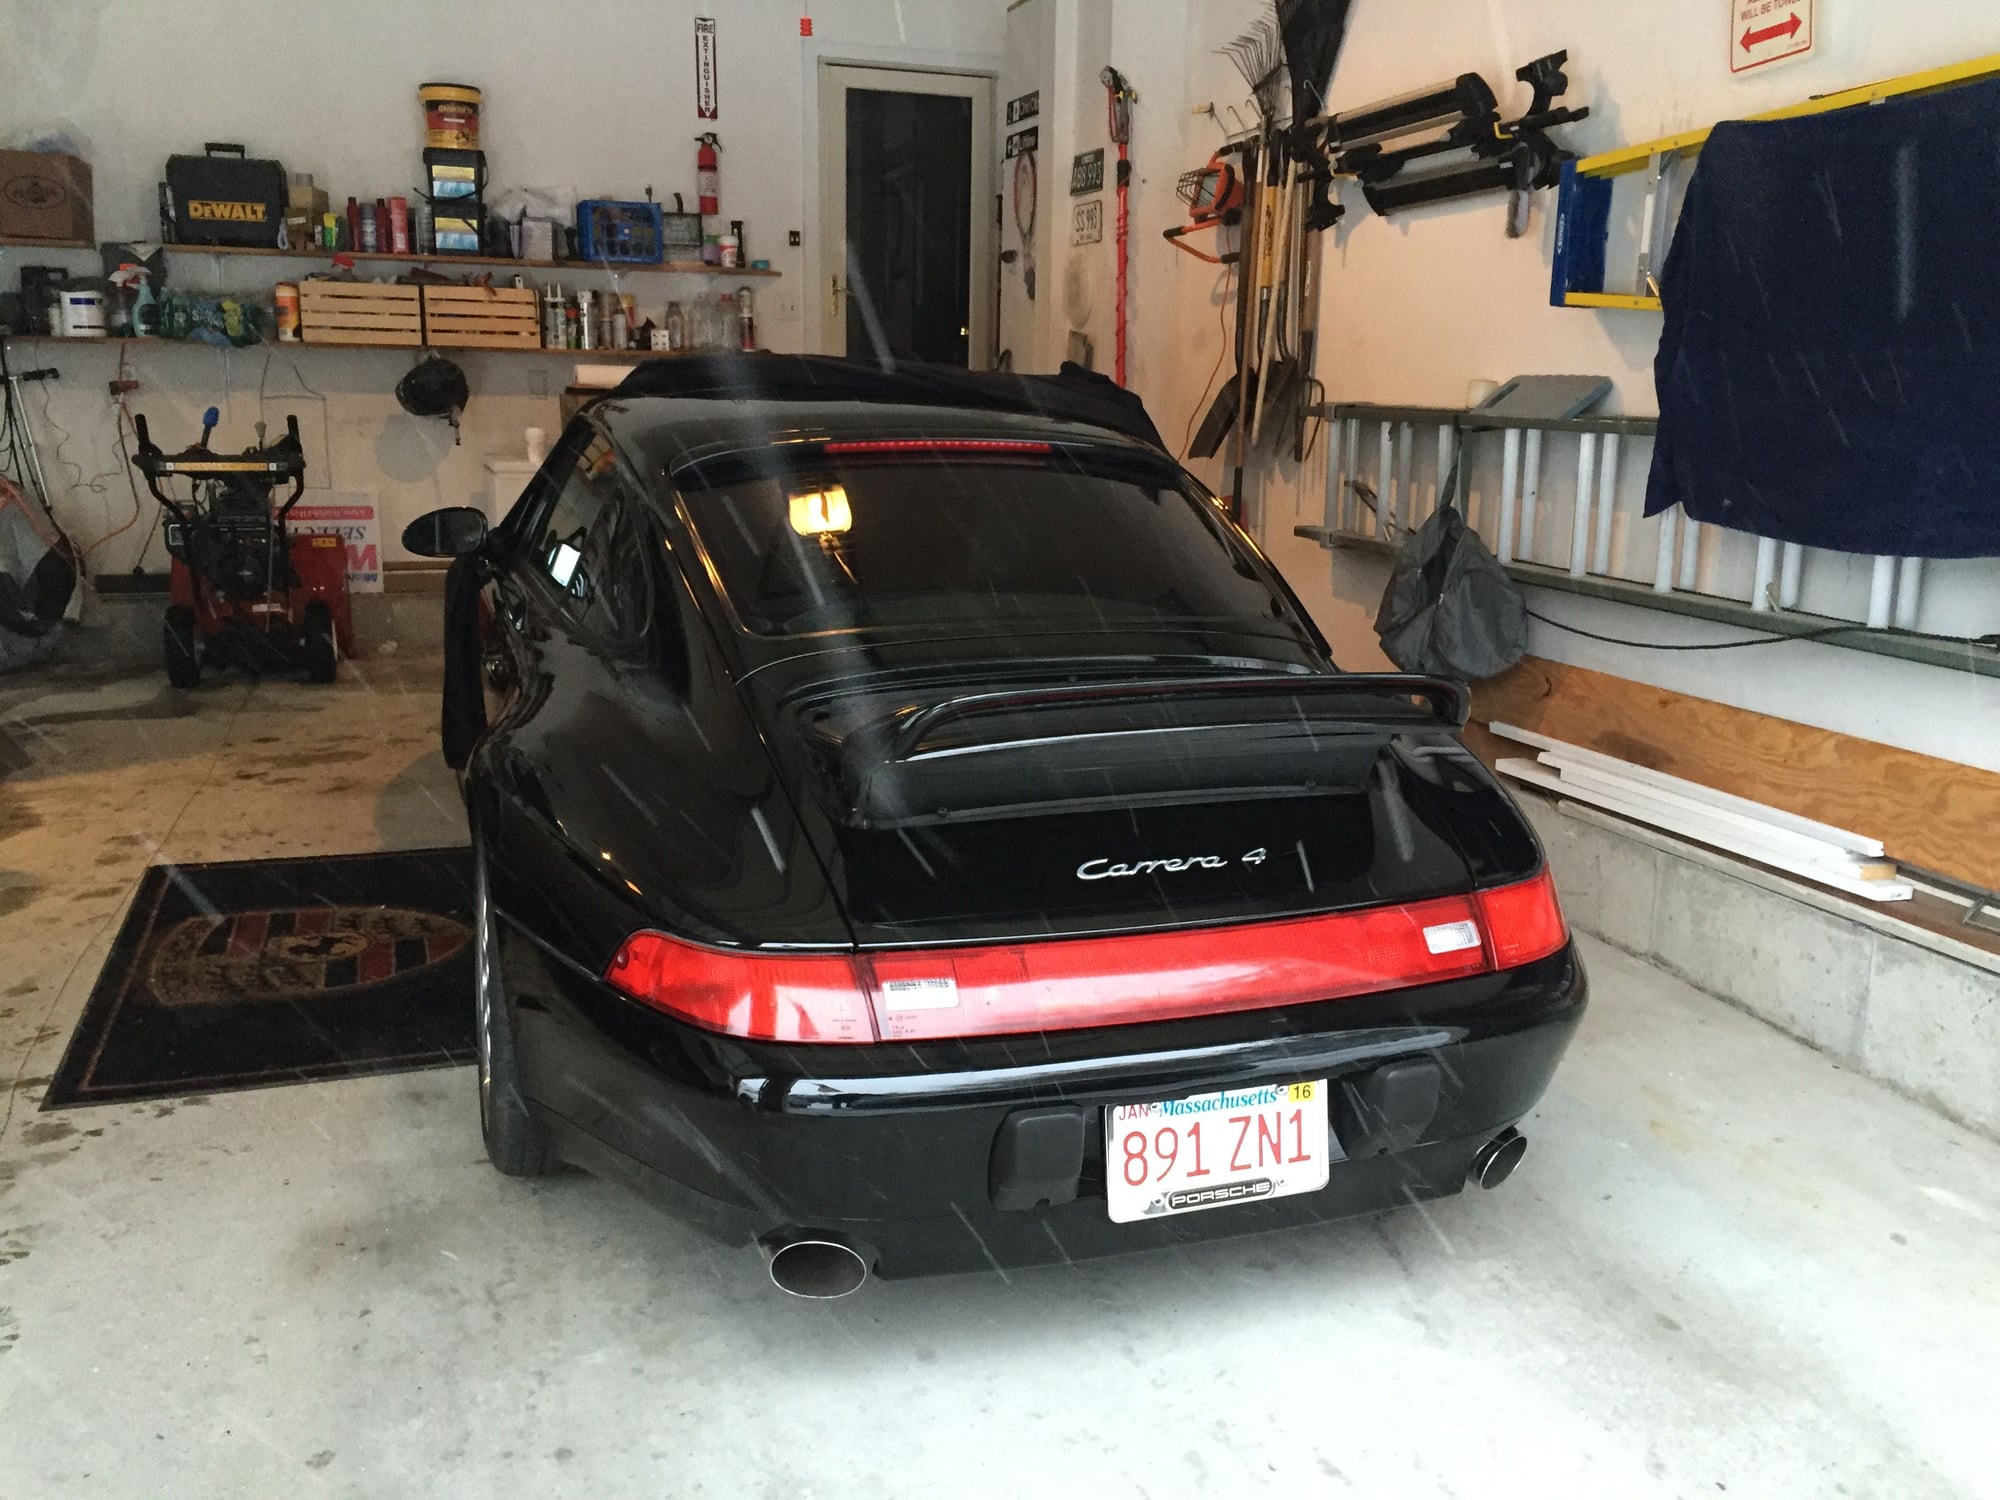
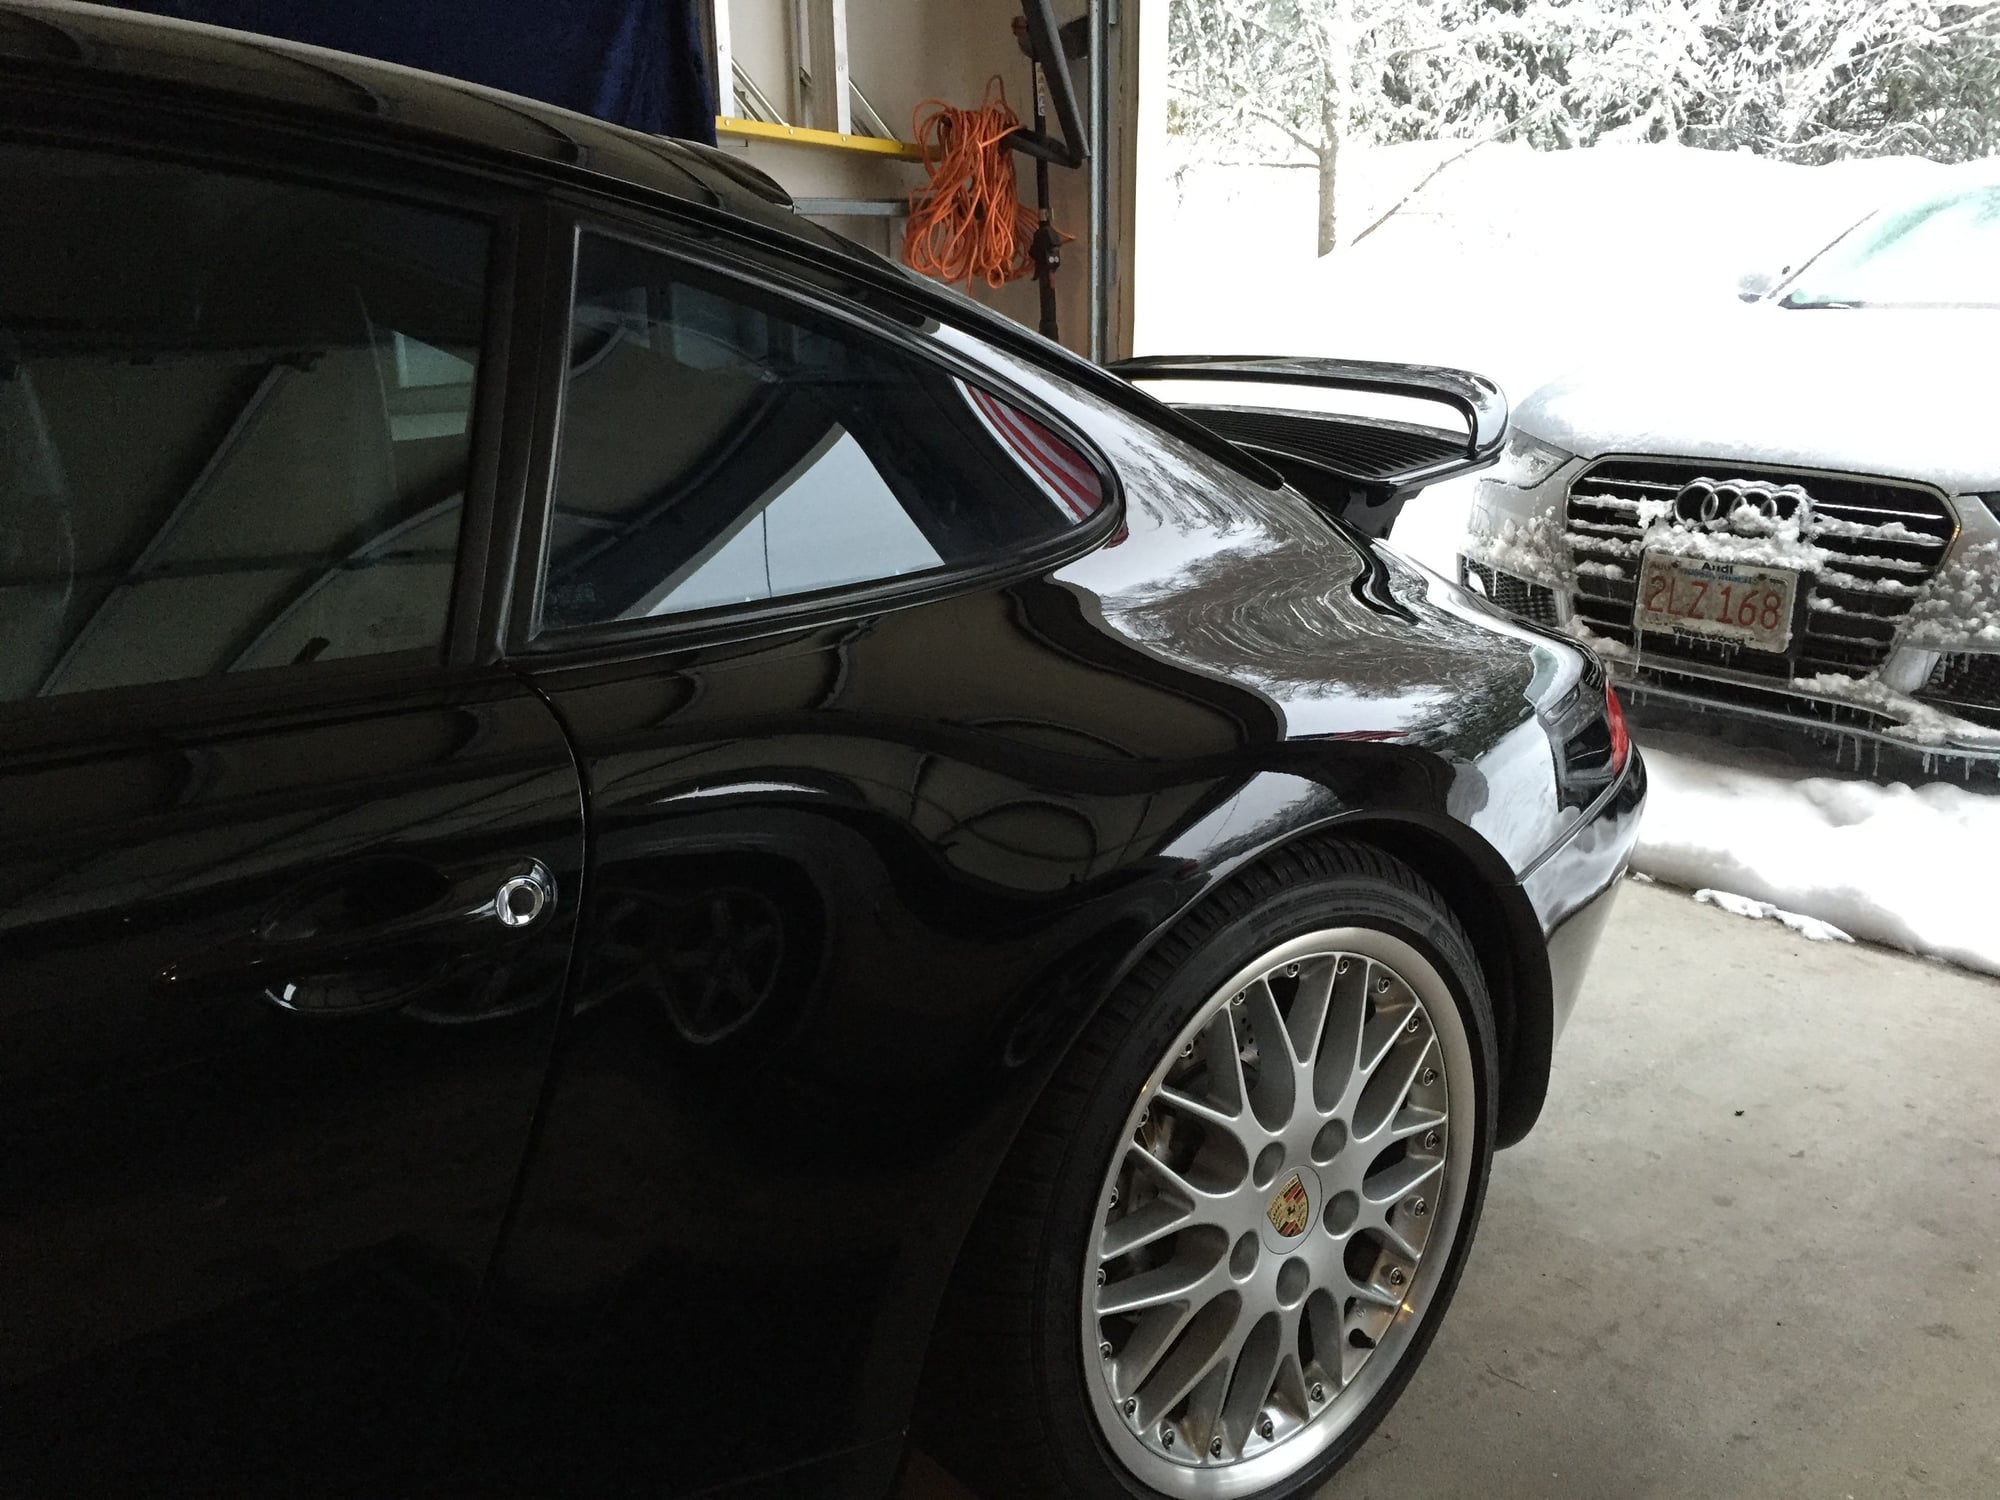
And Andreas, a big thanks again for the 993 plates - you'll see a few in the pics waiting for a more permanent location in the new garage.
Originally Posted by Sagres74
Great write-up and photos! Wish my black looked that sharp.
On a different note, any chance you can post a photo of your spoiler in the up position? Curious to see what it looks lie.
Sagres74 - Sorry for the delay posting some photos on the spoiler. I've been skiing up at Stowe the past few days and just got back. Funny, I've never before seen it in the up-position. It doesn't look half-bad. I still think i'd like to delete the spoiler and return it to the sleek stock look, but it has me thinking....
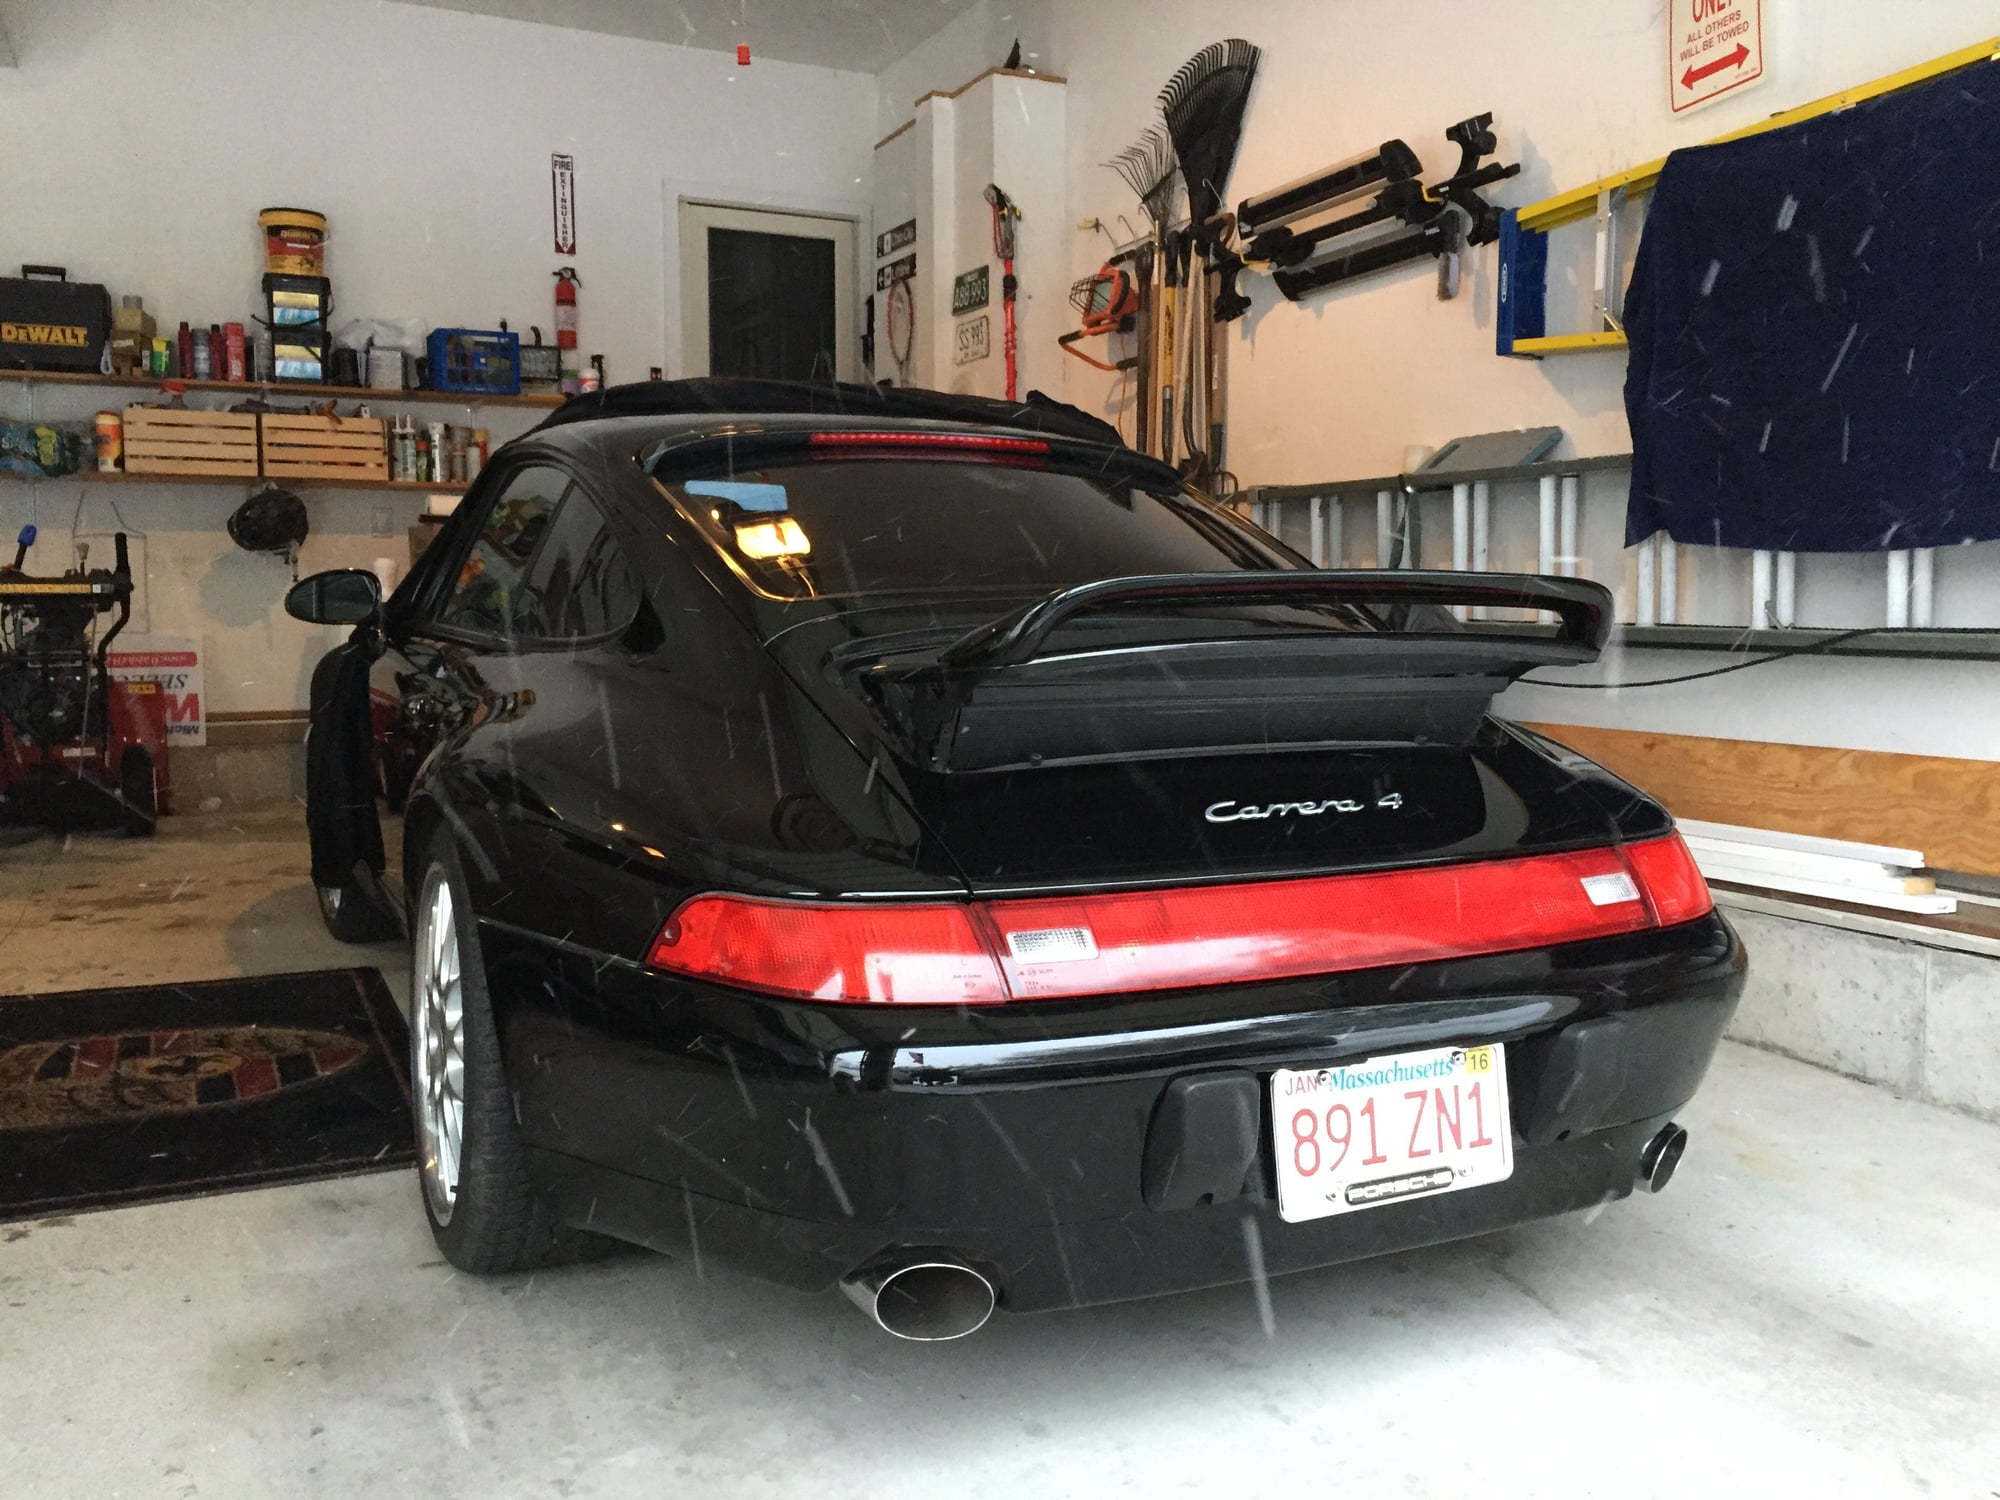
Snowing in a few of the pictures, it's been non-stop here!
 02-03-2015, 12:18 AM