When you click on links to various merchants on this site and make a purchase, this can result in this site earning a commission. Affiliate programs and affiliations include, but are not limited to, the eBay Partner Network.
hotaru, I would love to get that nose on that car you posted. Haven't been able to find a front bumper in that shape that does not require the GT2 fenders...
I was preparing to install Tore's LED bar on the third brake light on my '95 C4, but quickly hit a wall. Tore's website says "Basket handle spoiler light removal. To be described." Anyone know the best procedure here? I'm guessing I can unscrew the two 10mm bolts in the engine bay and lift the handle up to access the phillips head screws - but perhaps screws can be accessed with a short phillips head without removing the handle? And when and where do I disconnect the electrical wires? Thanks in advance,
Foxman. thanks for reminding me, I have made a new version of the manual, it is now uploaded and ready. See the product page for a download link, or use this: http://www.bergvillfx.com/files/thir..._light_kit.pdf
You will probably have to reload/refresh the browser at this address to be able to load the new version.
Cheers,
Tore
I was preparing to install Tore's LED bar on the third brake light on my '95 C4, but quickly hit a wall. Tore's website says "Basket handle spoiler light removal. To be described." Anyone know the best procedure here? I'm guessing I can unscrew the two 10mm bolts in the engine bay and lift the handle up to access the phillips head screws - but perhaps screws can be accessed with a short phillips head without removing the handle? And when and where do I disconnect the electrical wires? Thanks in advance,
With Tore updating the instructions on his site, those should guide you well through the install. As an FYI. I removed the spoiler as you suggested. That made it easy to remove the 2 Philips head screws from the underside and that releases the light assembly. You'll see when you remove the light assembly the light disconnects easily from the wiring harness and it will make it easy to do the swap on the workbench.
With Tore updating the instructions on his site, those should guide you well through the install. As an FYI. I removed the spoiler as you suggested. That made it easy to remove the 2 Philips head screws from the underside and that releases the light assembly. You'll see when you remove the light assembly the light disconnects easily from the wiring harness and it will make it easy to do the swap on the workbench.
Hope that helps...
Thanks for confirming VA993Dreamer. I will try to tackle this tomorrow and post some pics.
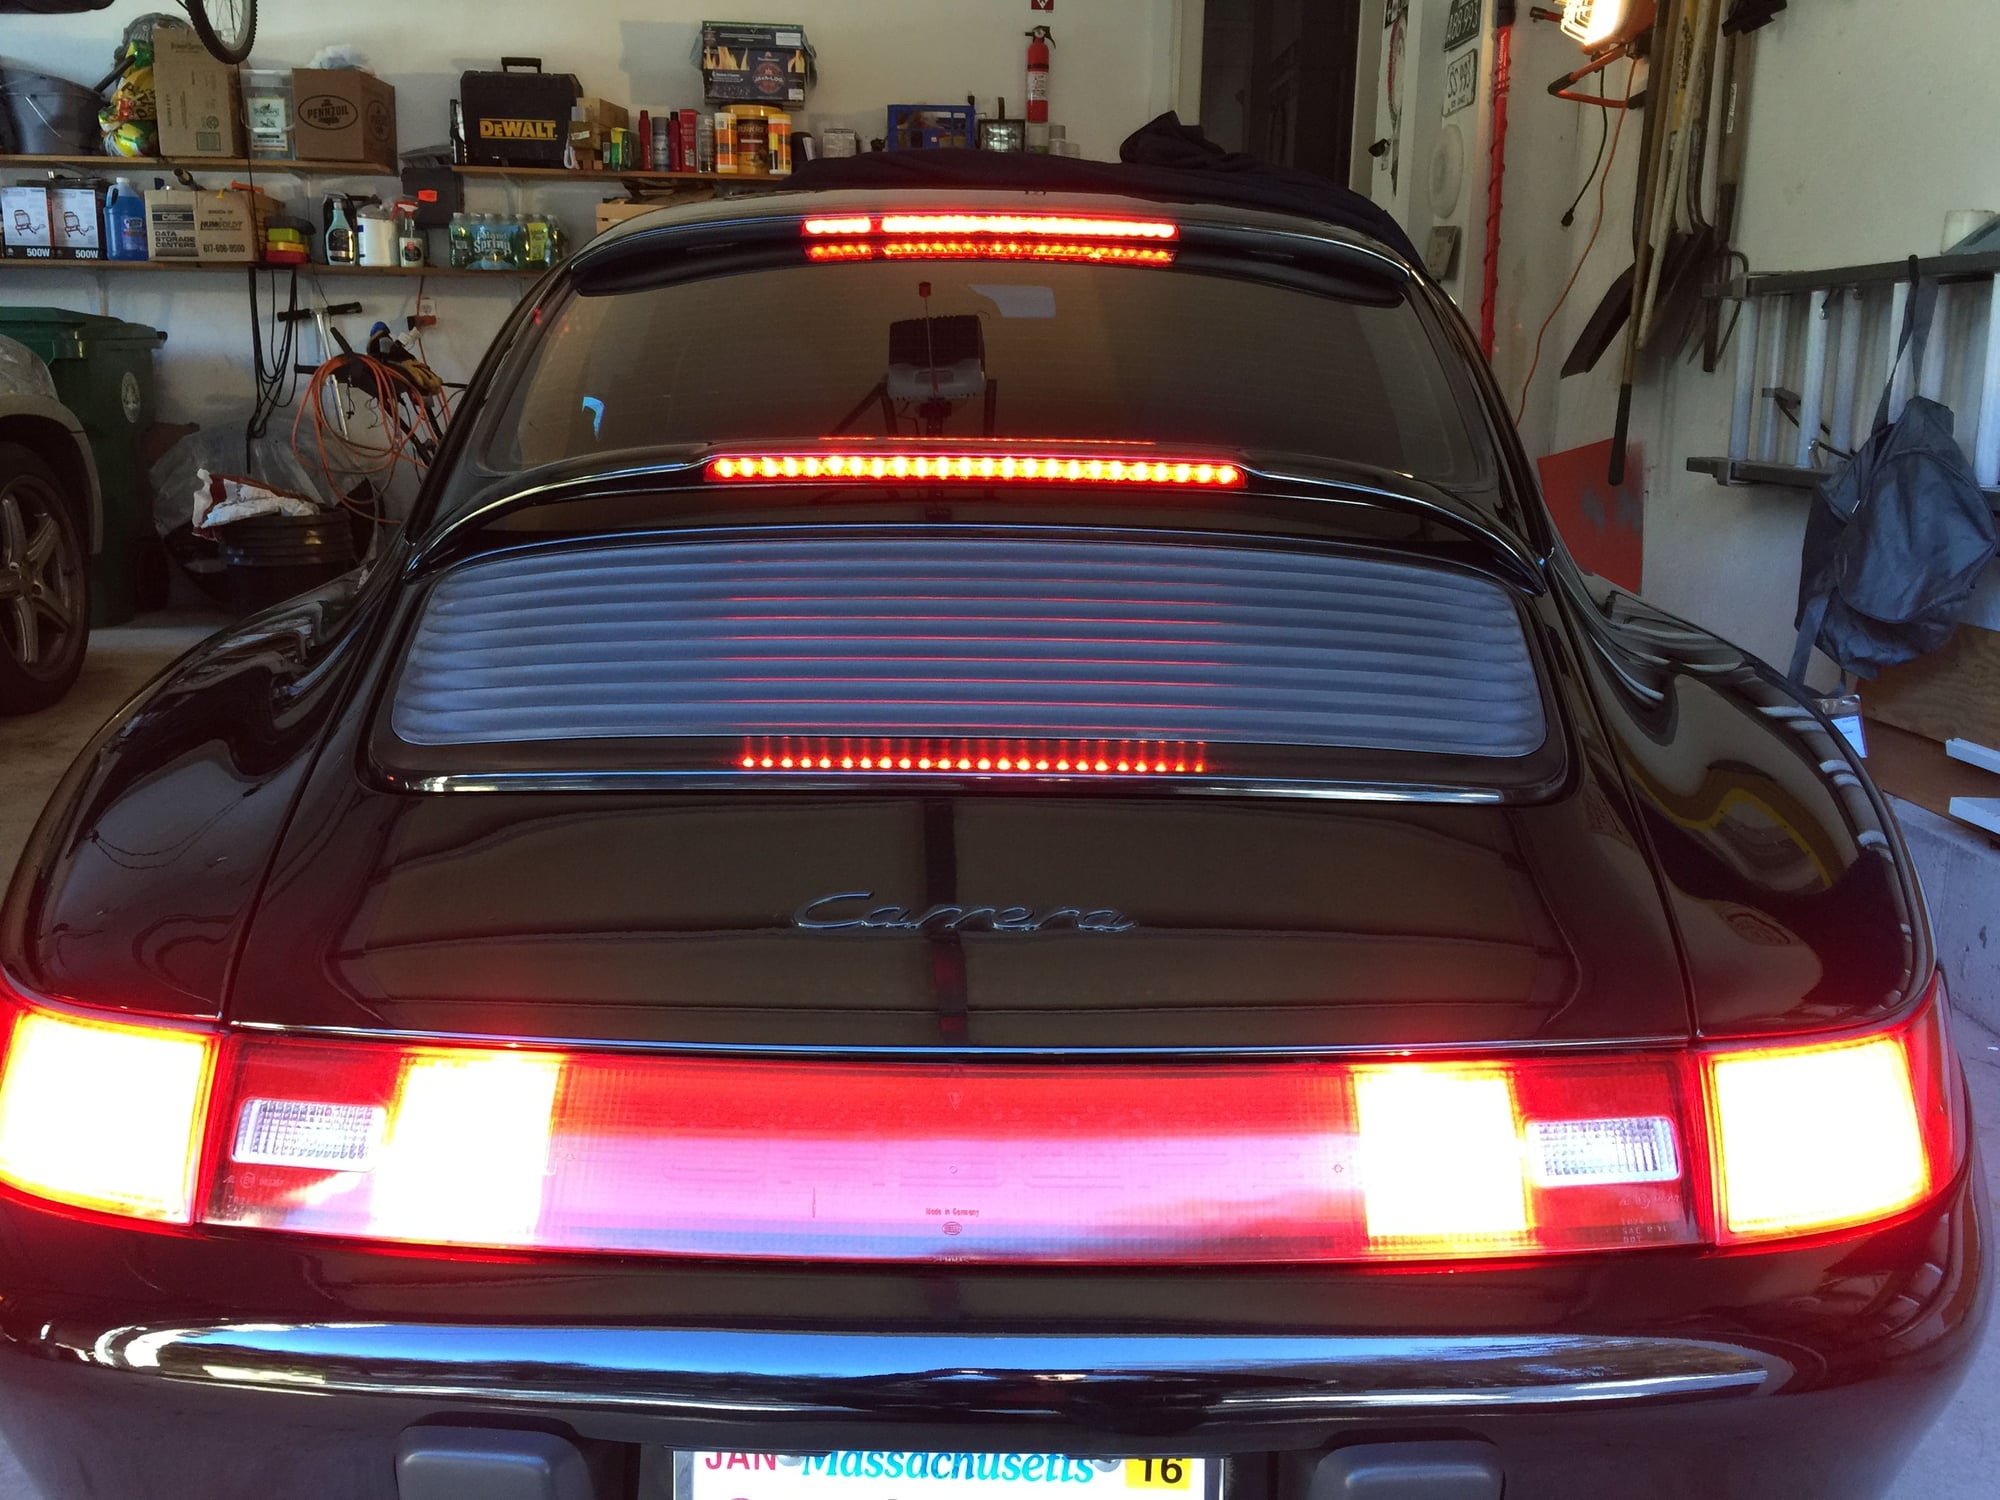
I replaced the third brake light today in my '95 basket handle with Tore's new PCB with LED's. This is another great plug and play solution from Tore. I had no problems with the single strip PCB after straightening a few bulbs, and the next generation now in production looks to be an even better product. Whether you want to convert to LED for the lower current consumption and brighter/faster lights, or simply need to replace a few burned out lights on your existing third tail light - this is a quick and easy solution.
Removal of the third light on a basket handle is pretty straightforward. Tore posted instructions on his website, but I thought I would post a few pics for others with basket handles that want to embark upon this LED replacement. In my web search I didn't find a lot of resources on removing and unplugging these basket handles. Hope this helps. I removed the whole basket handle to access the phillips head screws, but as Tore notes you can leave the basket handle on and simply access the screws with an offset ratcheting screwdriver. I like to run up hill.
The PO installed a third light above the rear windshield when he installed a wing. Now that I've found a clean '95 decklid with basket handle, this may be overkill....
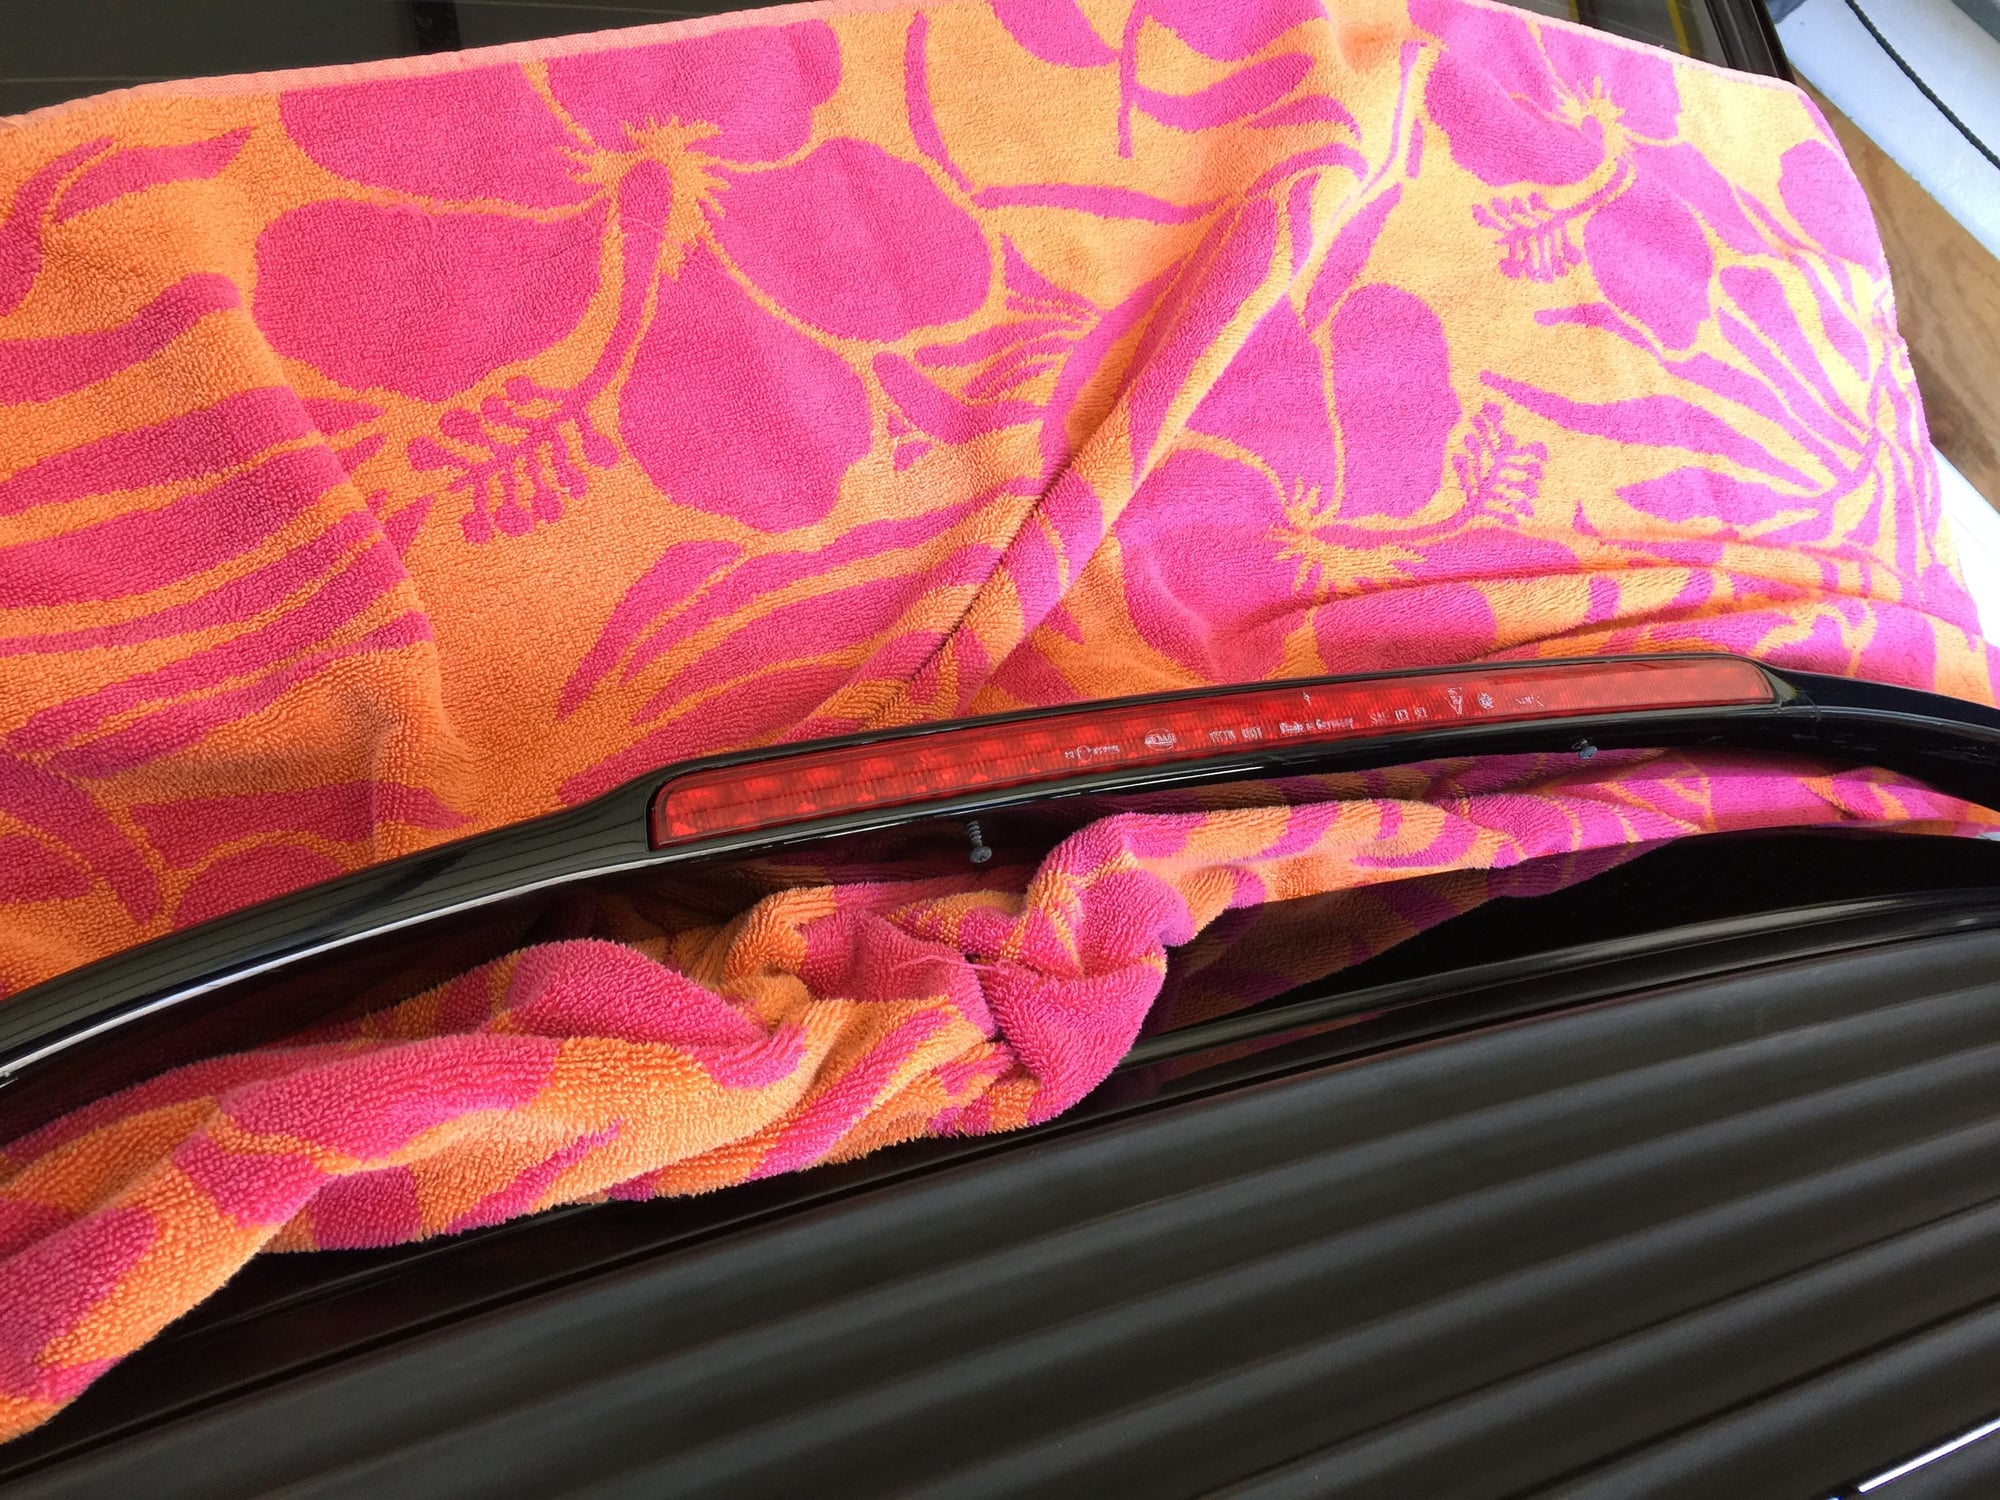
Place towels above and below decklid, and remove the two 10mm nuts securing the basket handle to decklid
Carefully lay towel bar down so you can access the two phillips head screws on underside. The wires run through the decklid on the right side, and there isn't very much slack in the line so use the towel to avoid scratches.
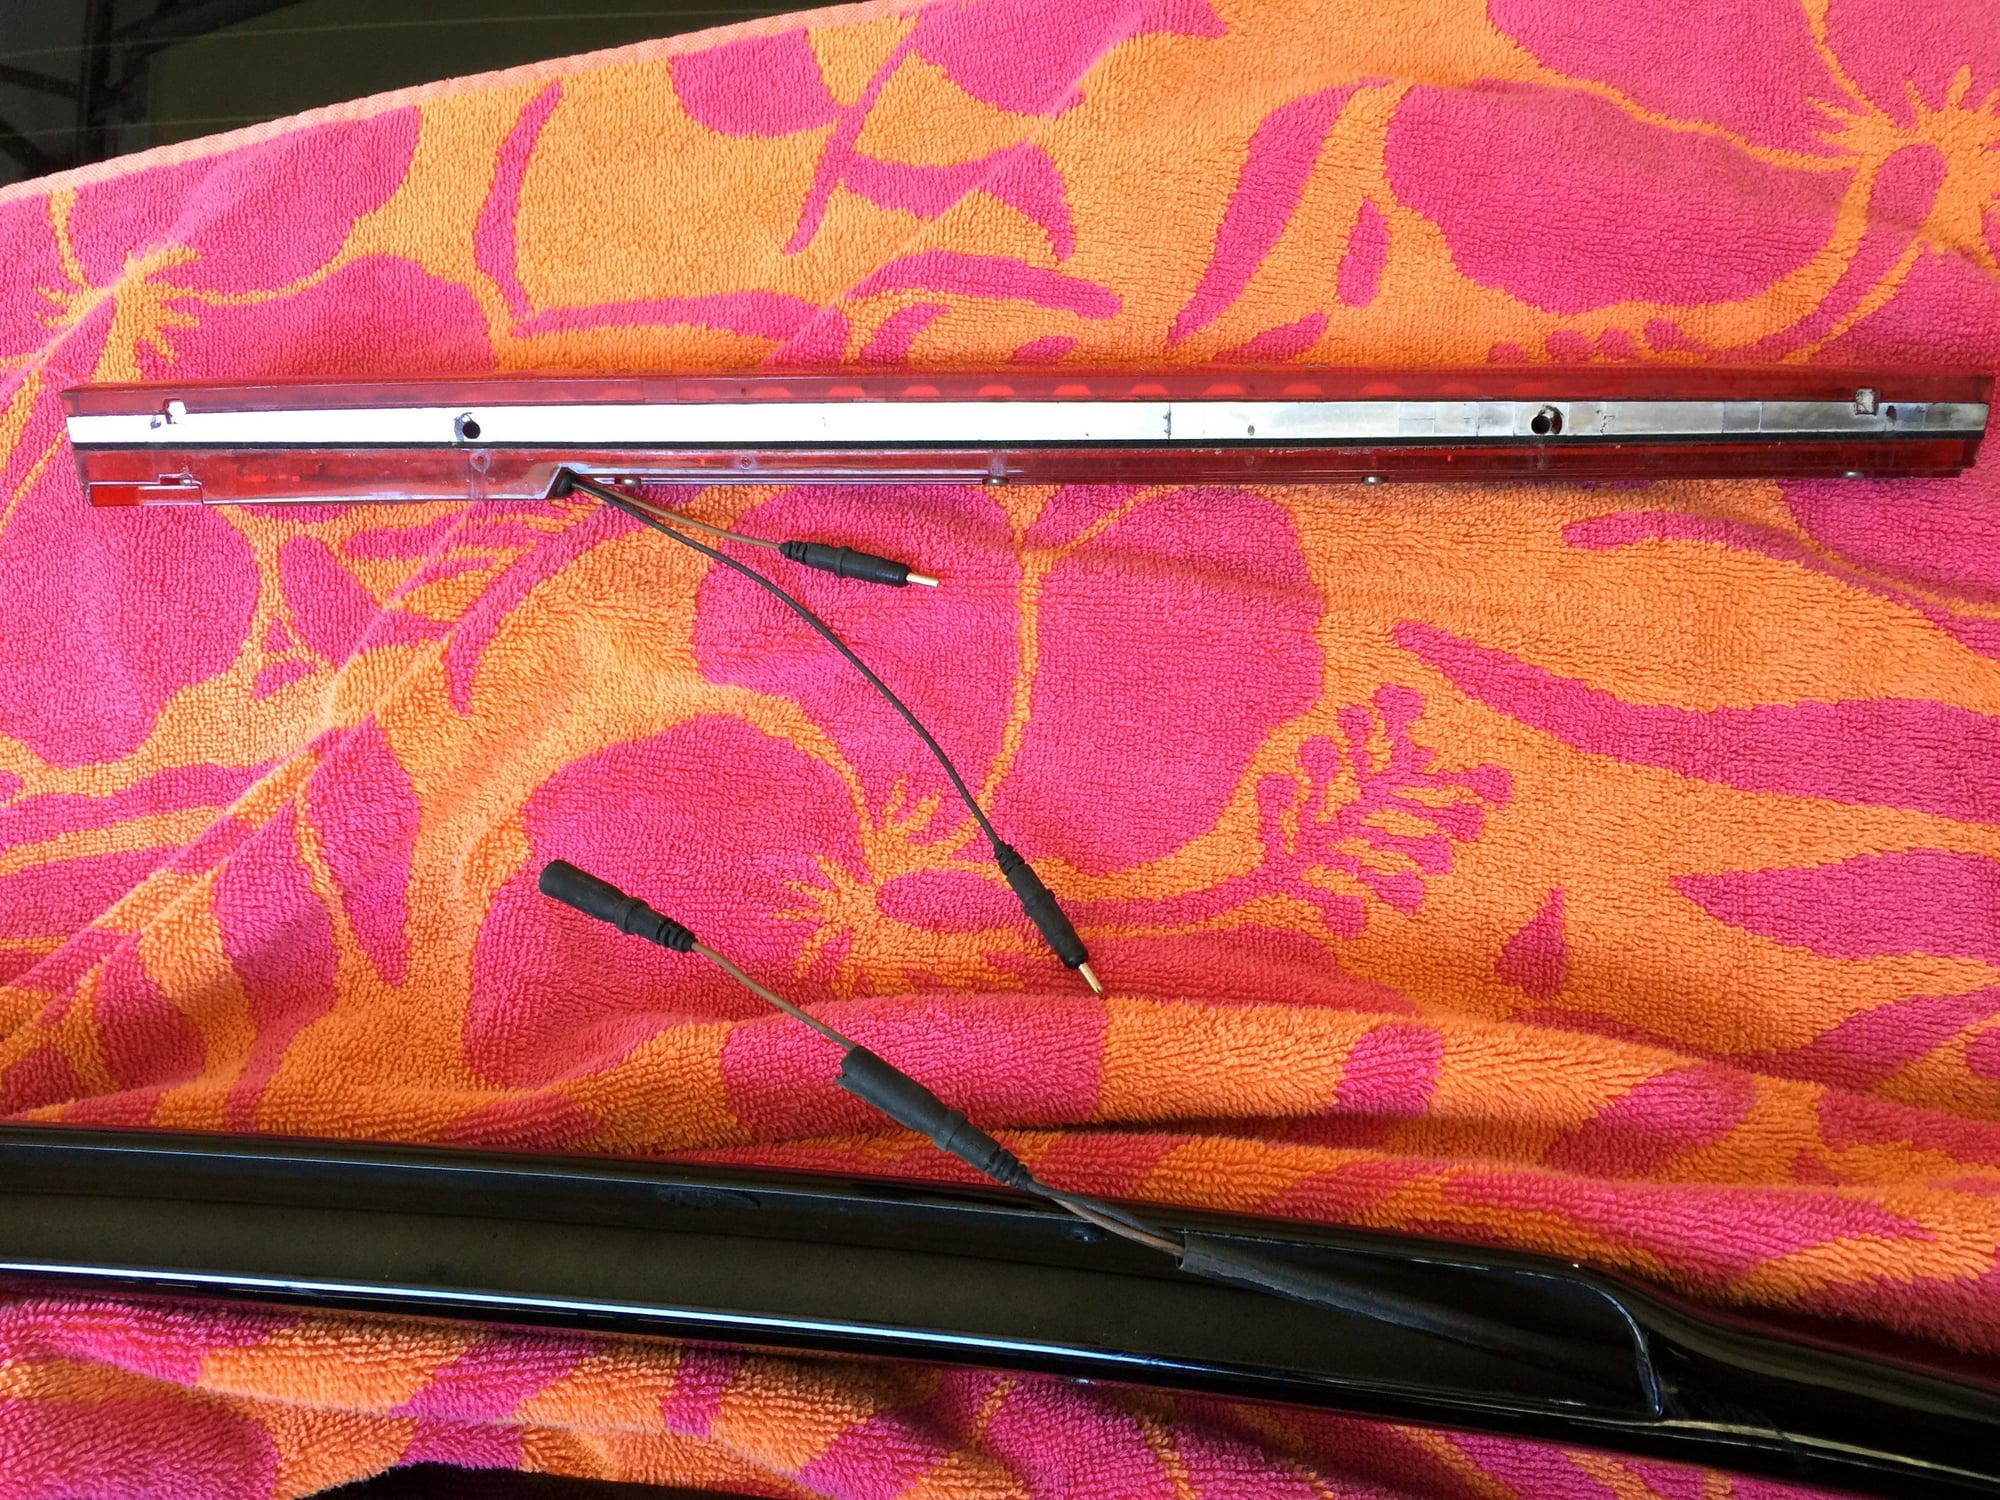
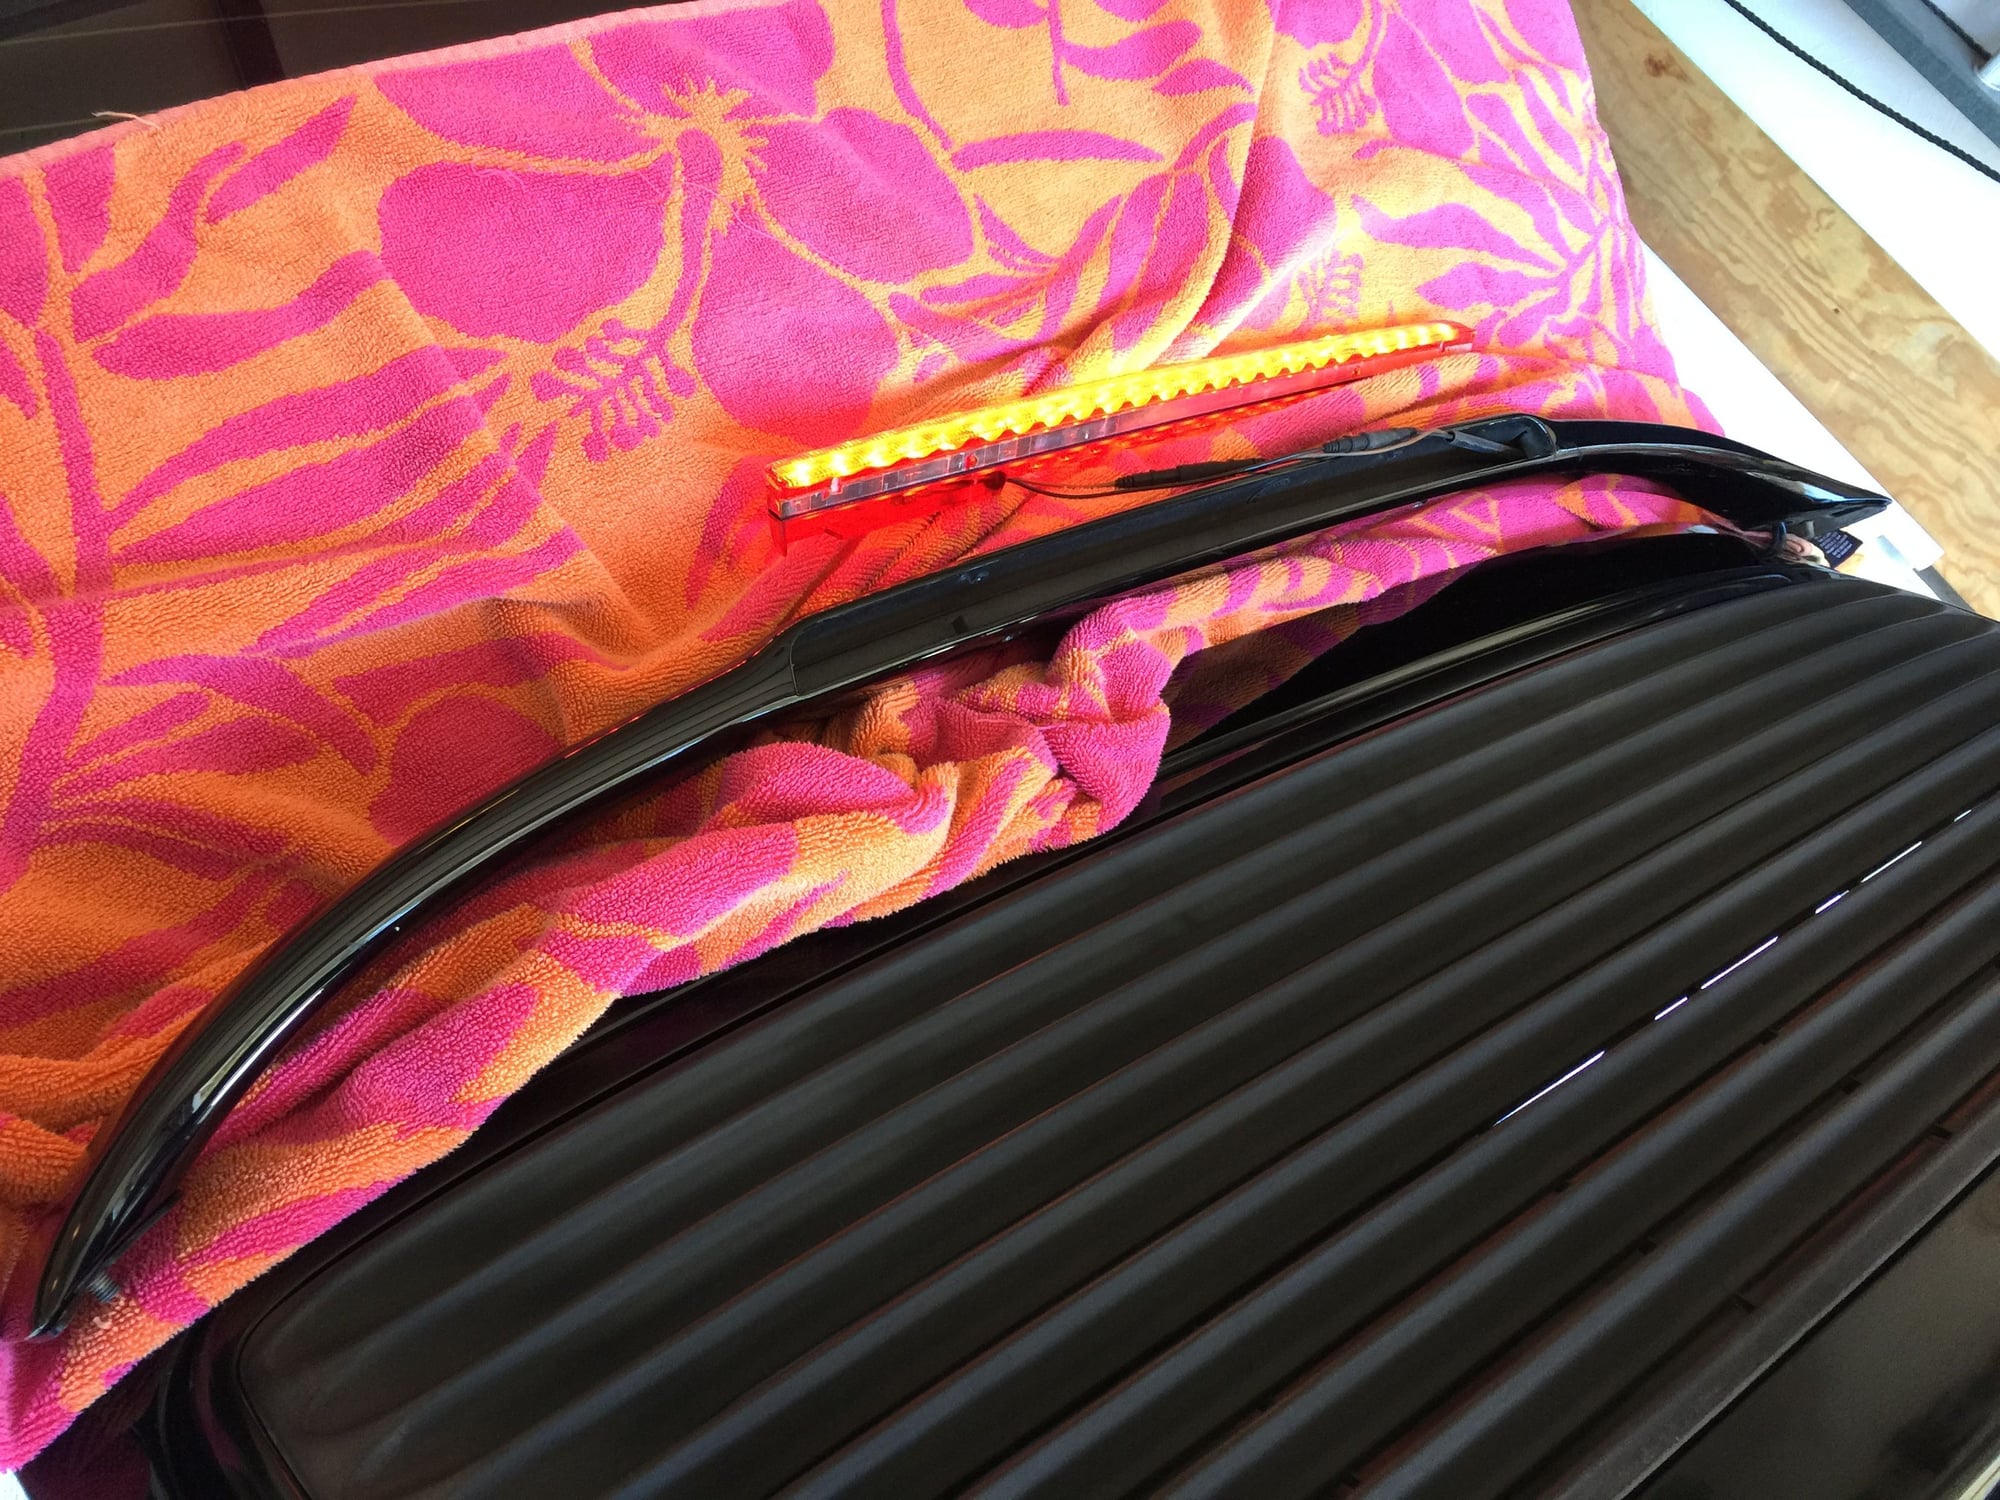
Remove the two phillips head screws under basket handle so light bar may be removed.
Pull out the light bar
Disconnect the two electrical connectors
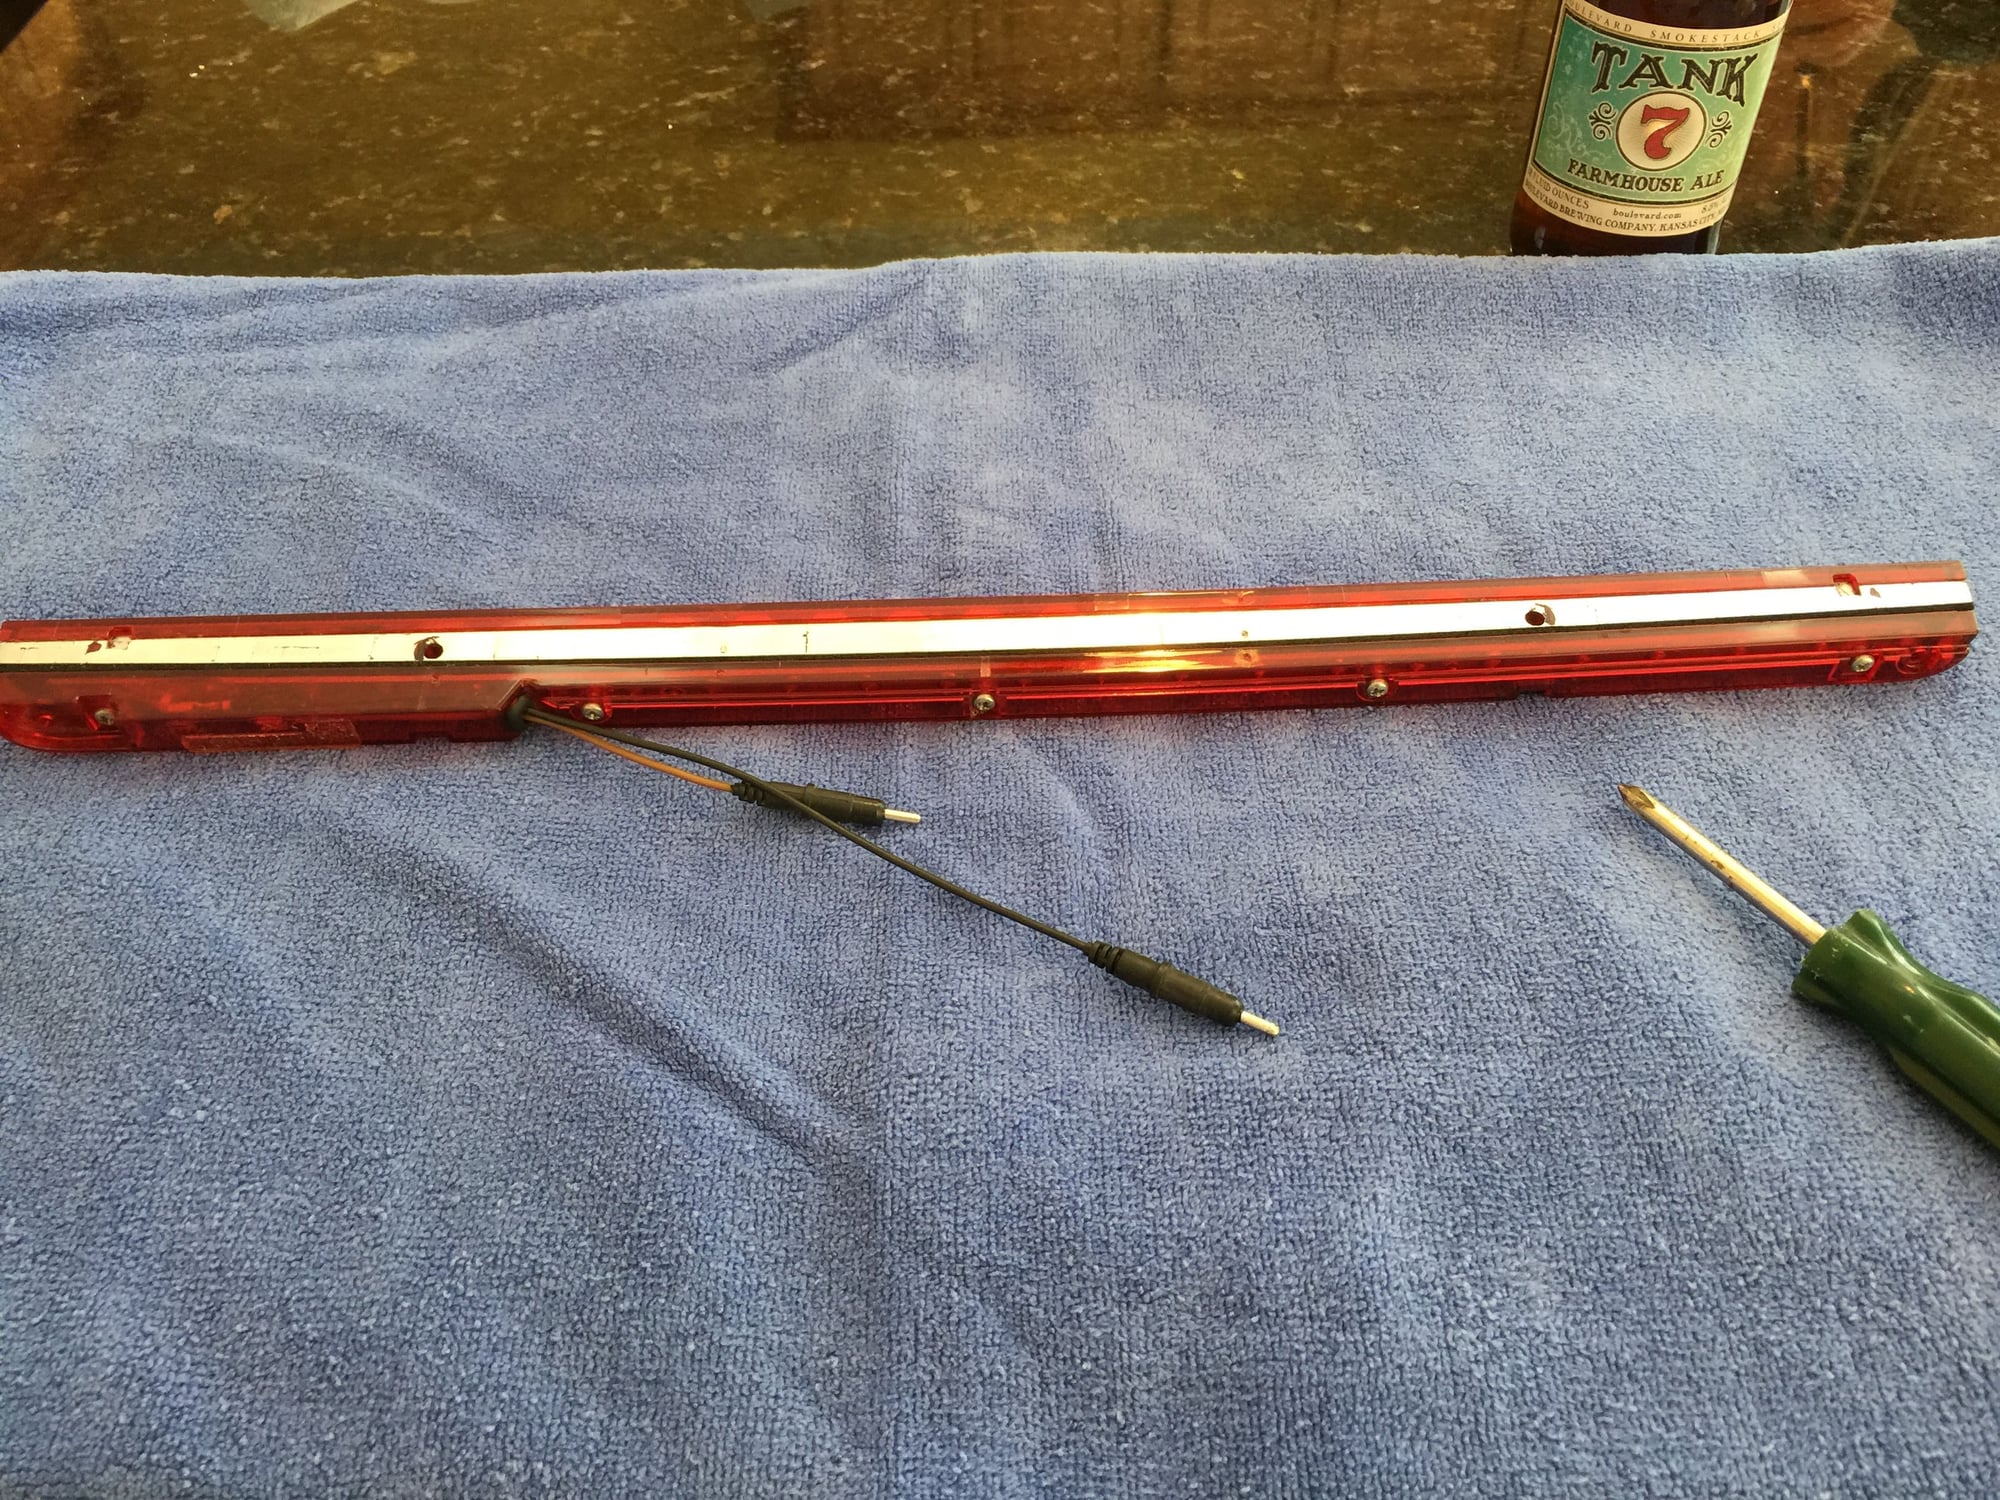
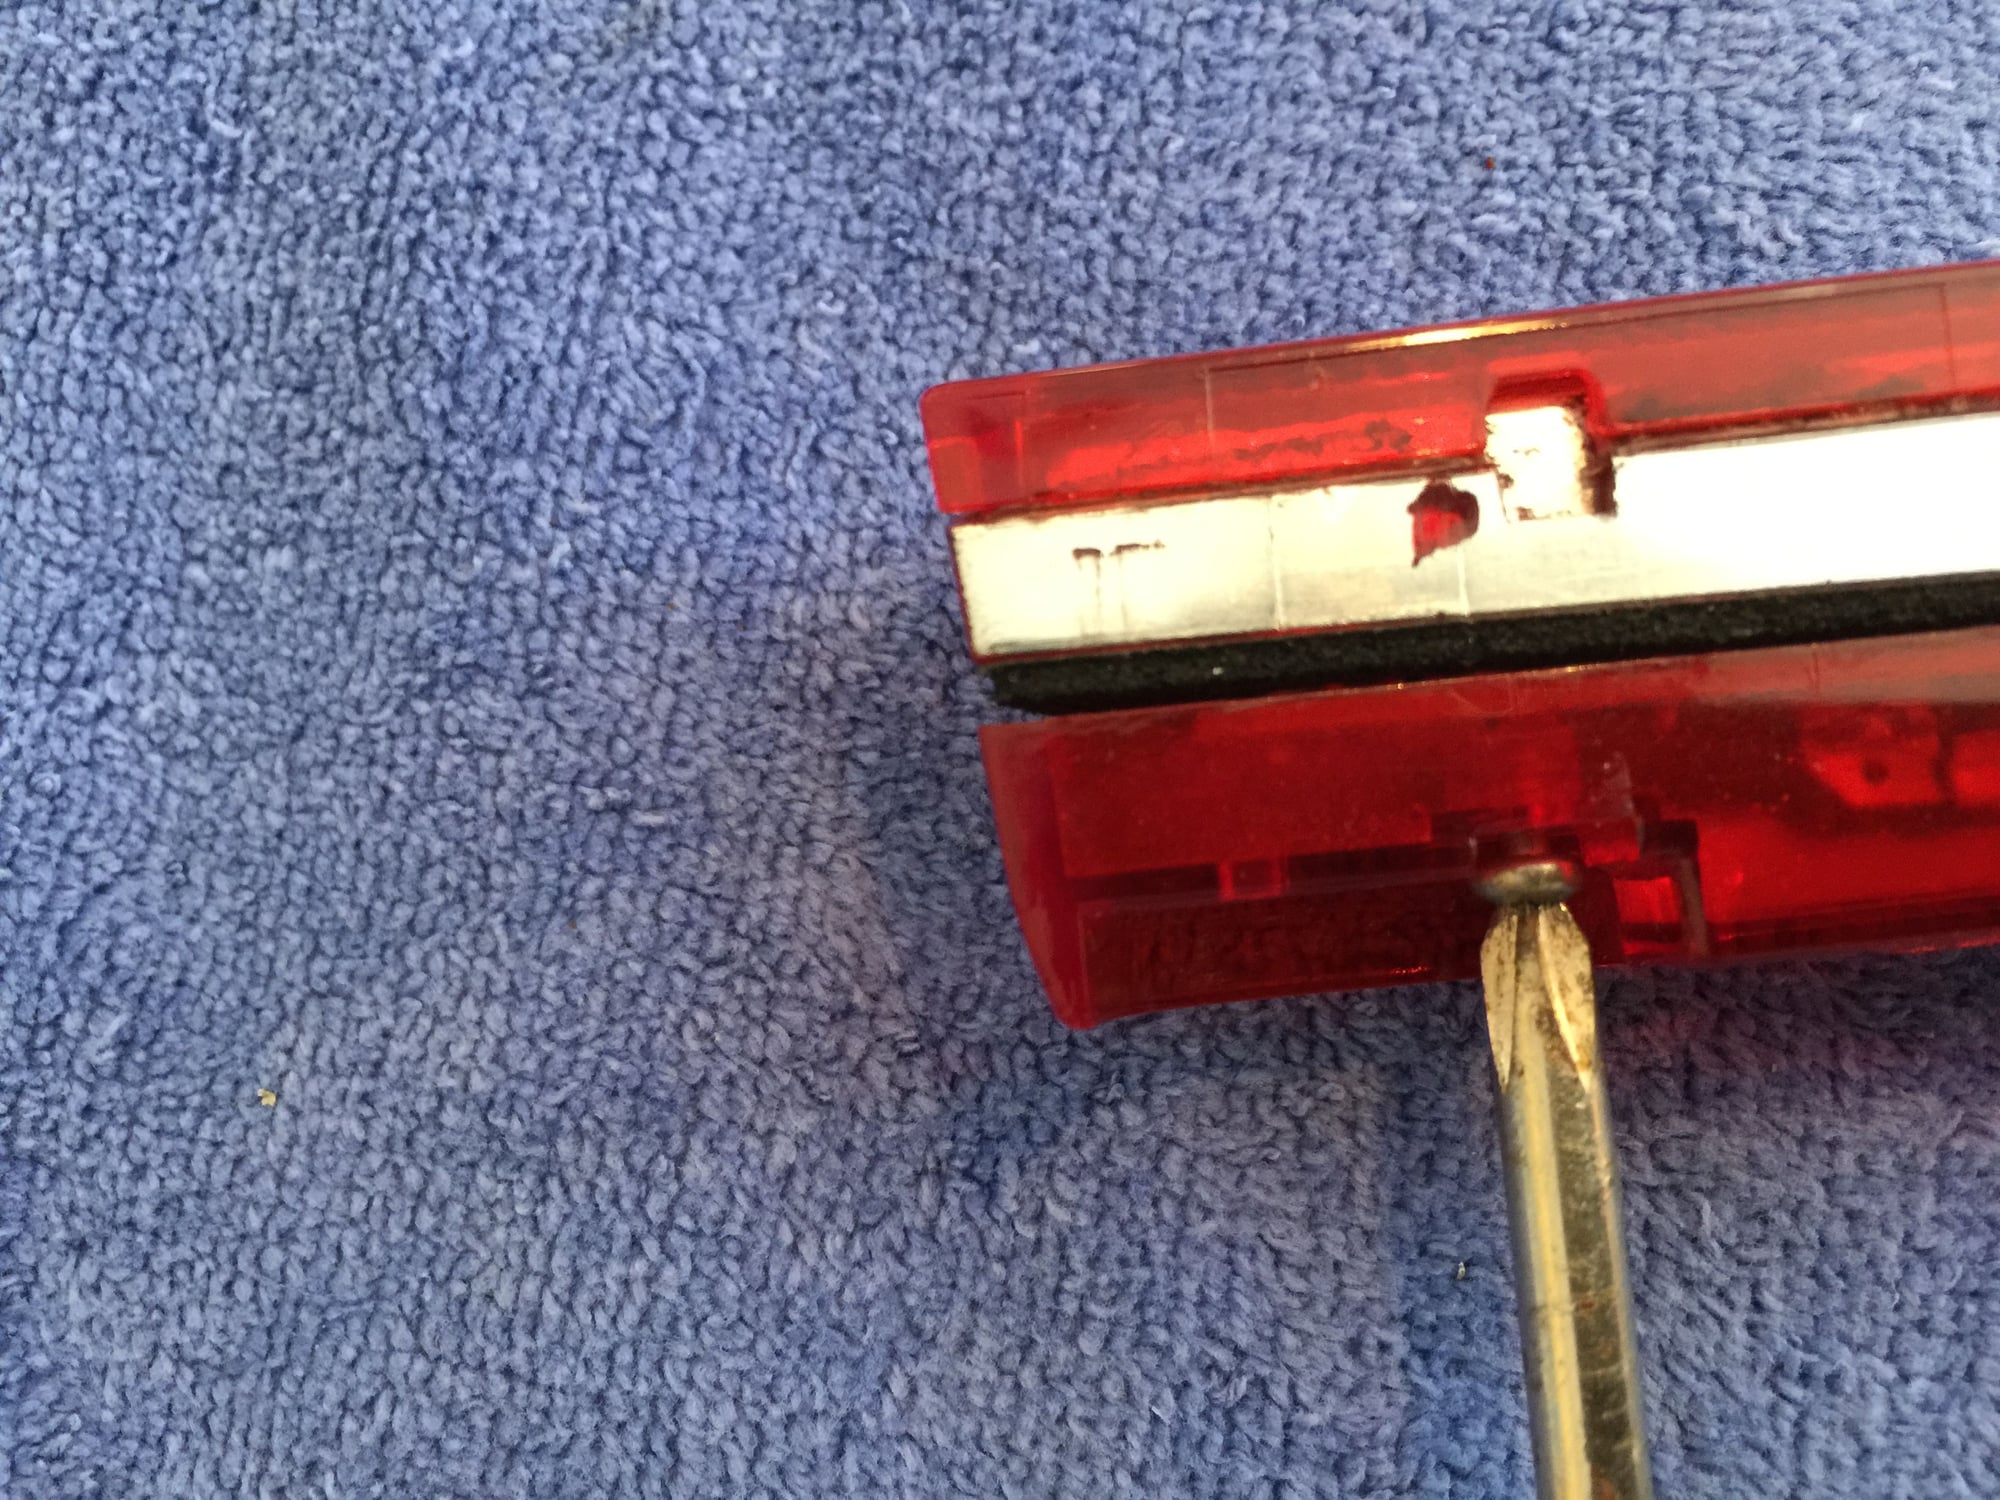
Have a beer and remove these five phillips head screws
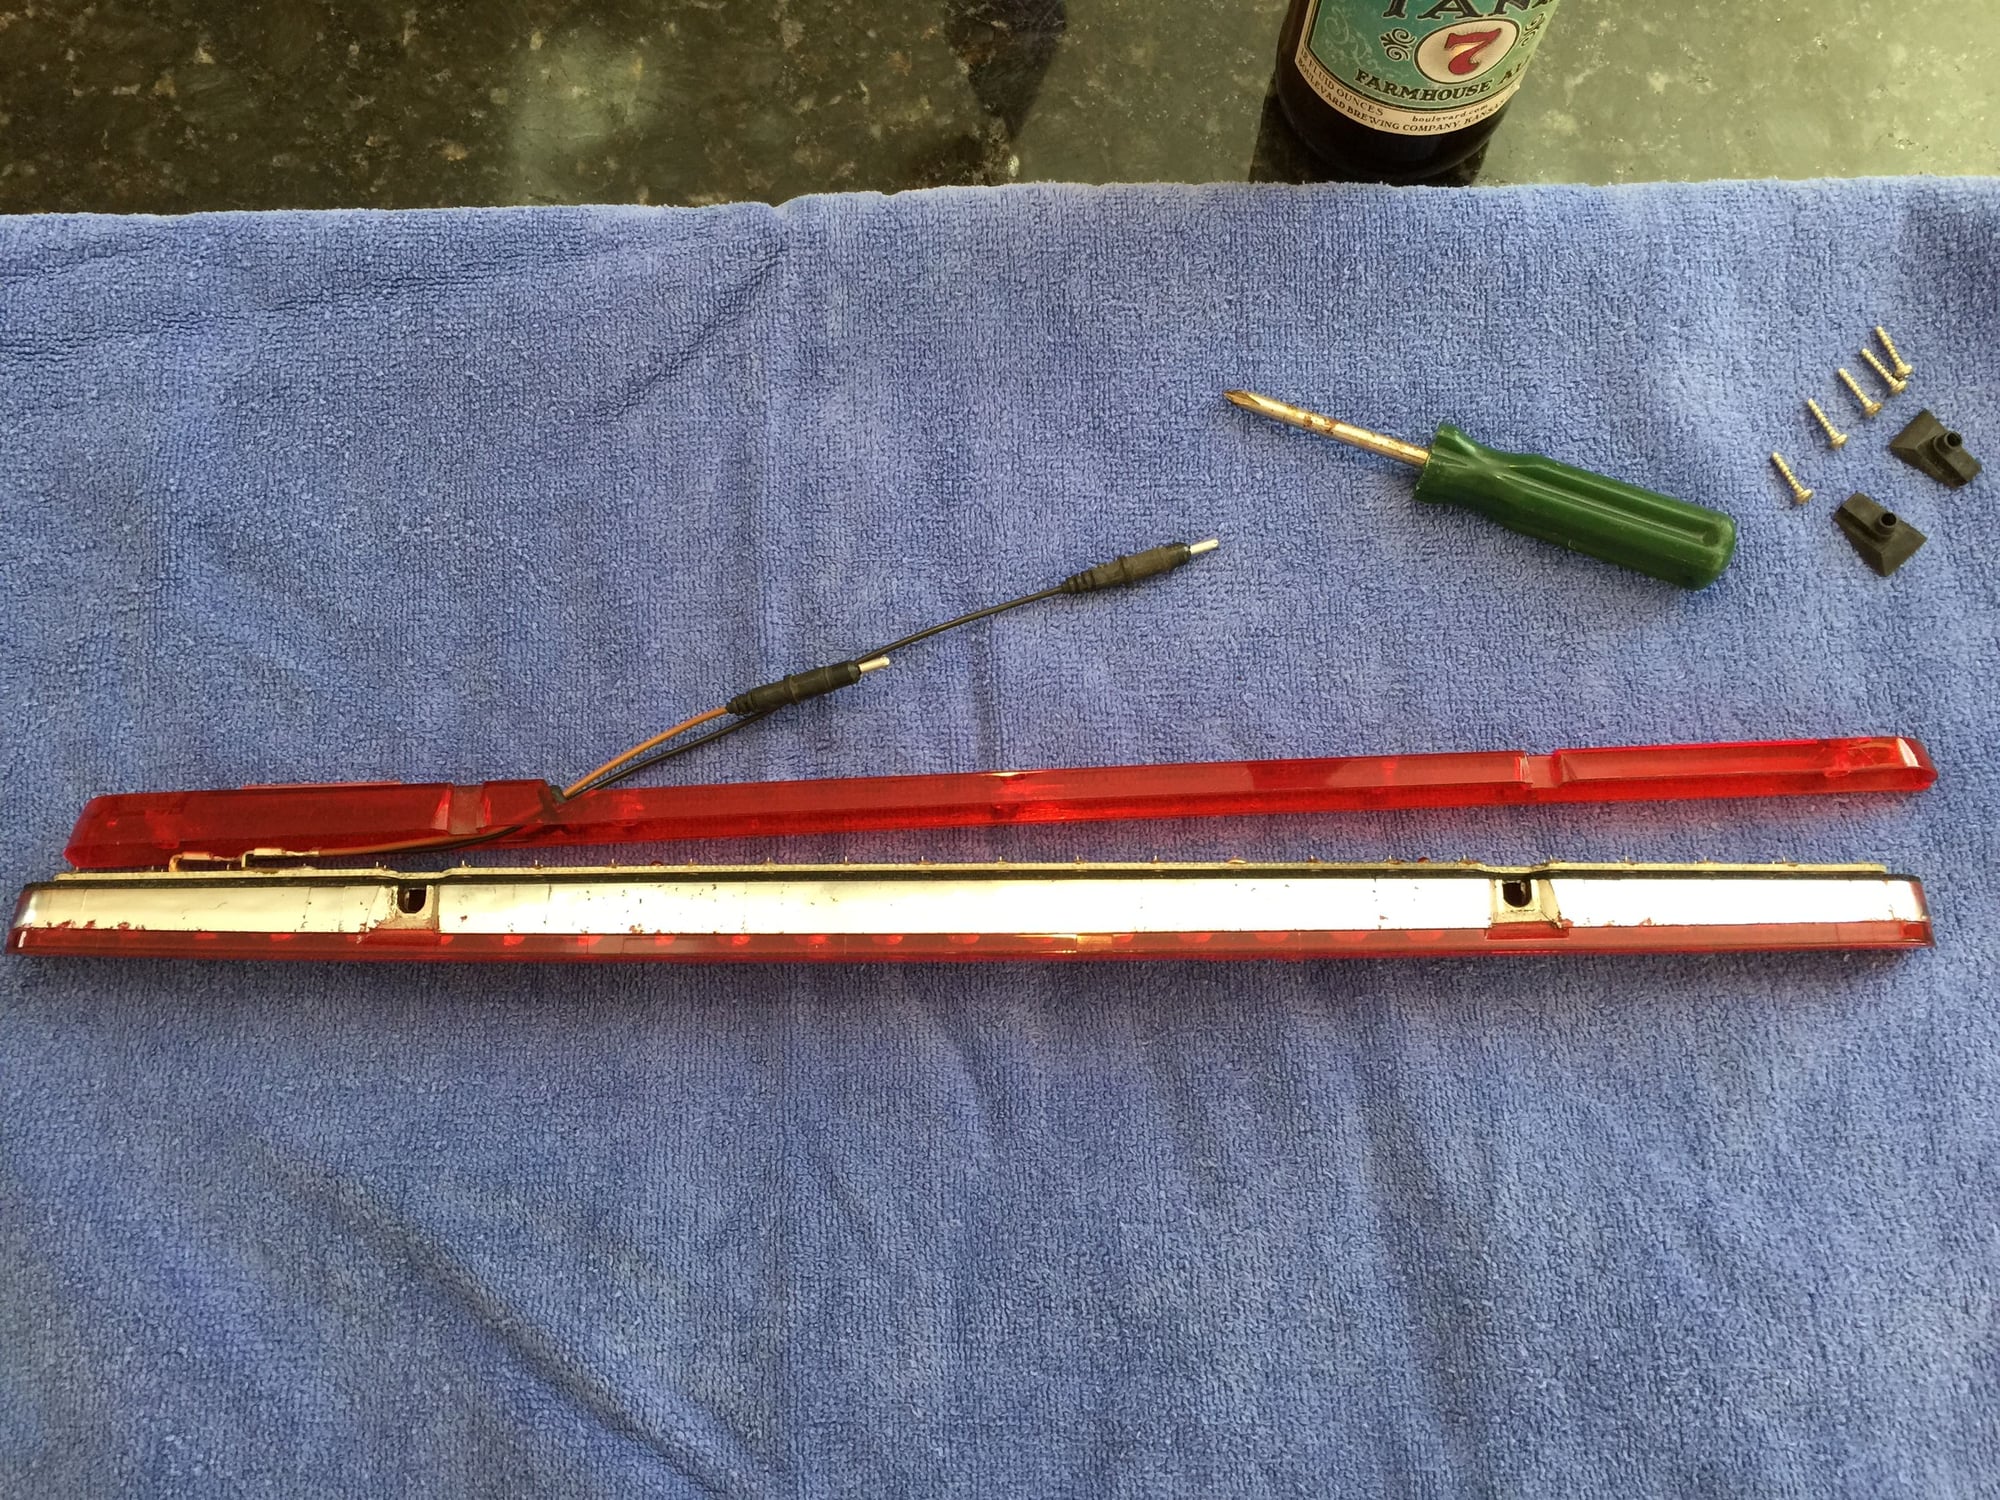
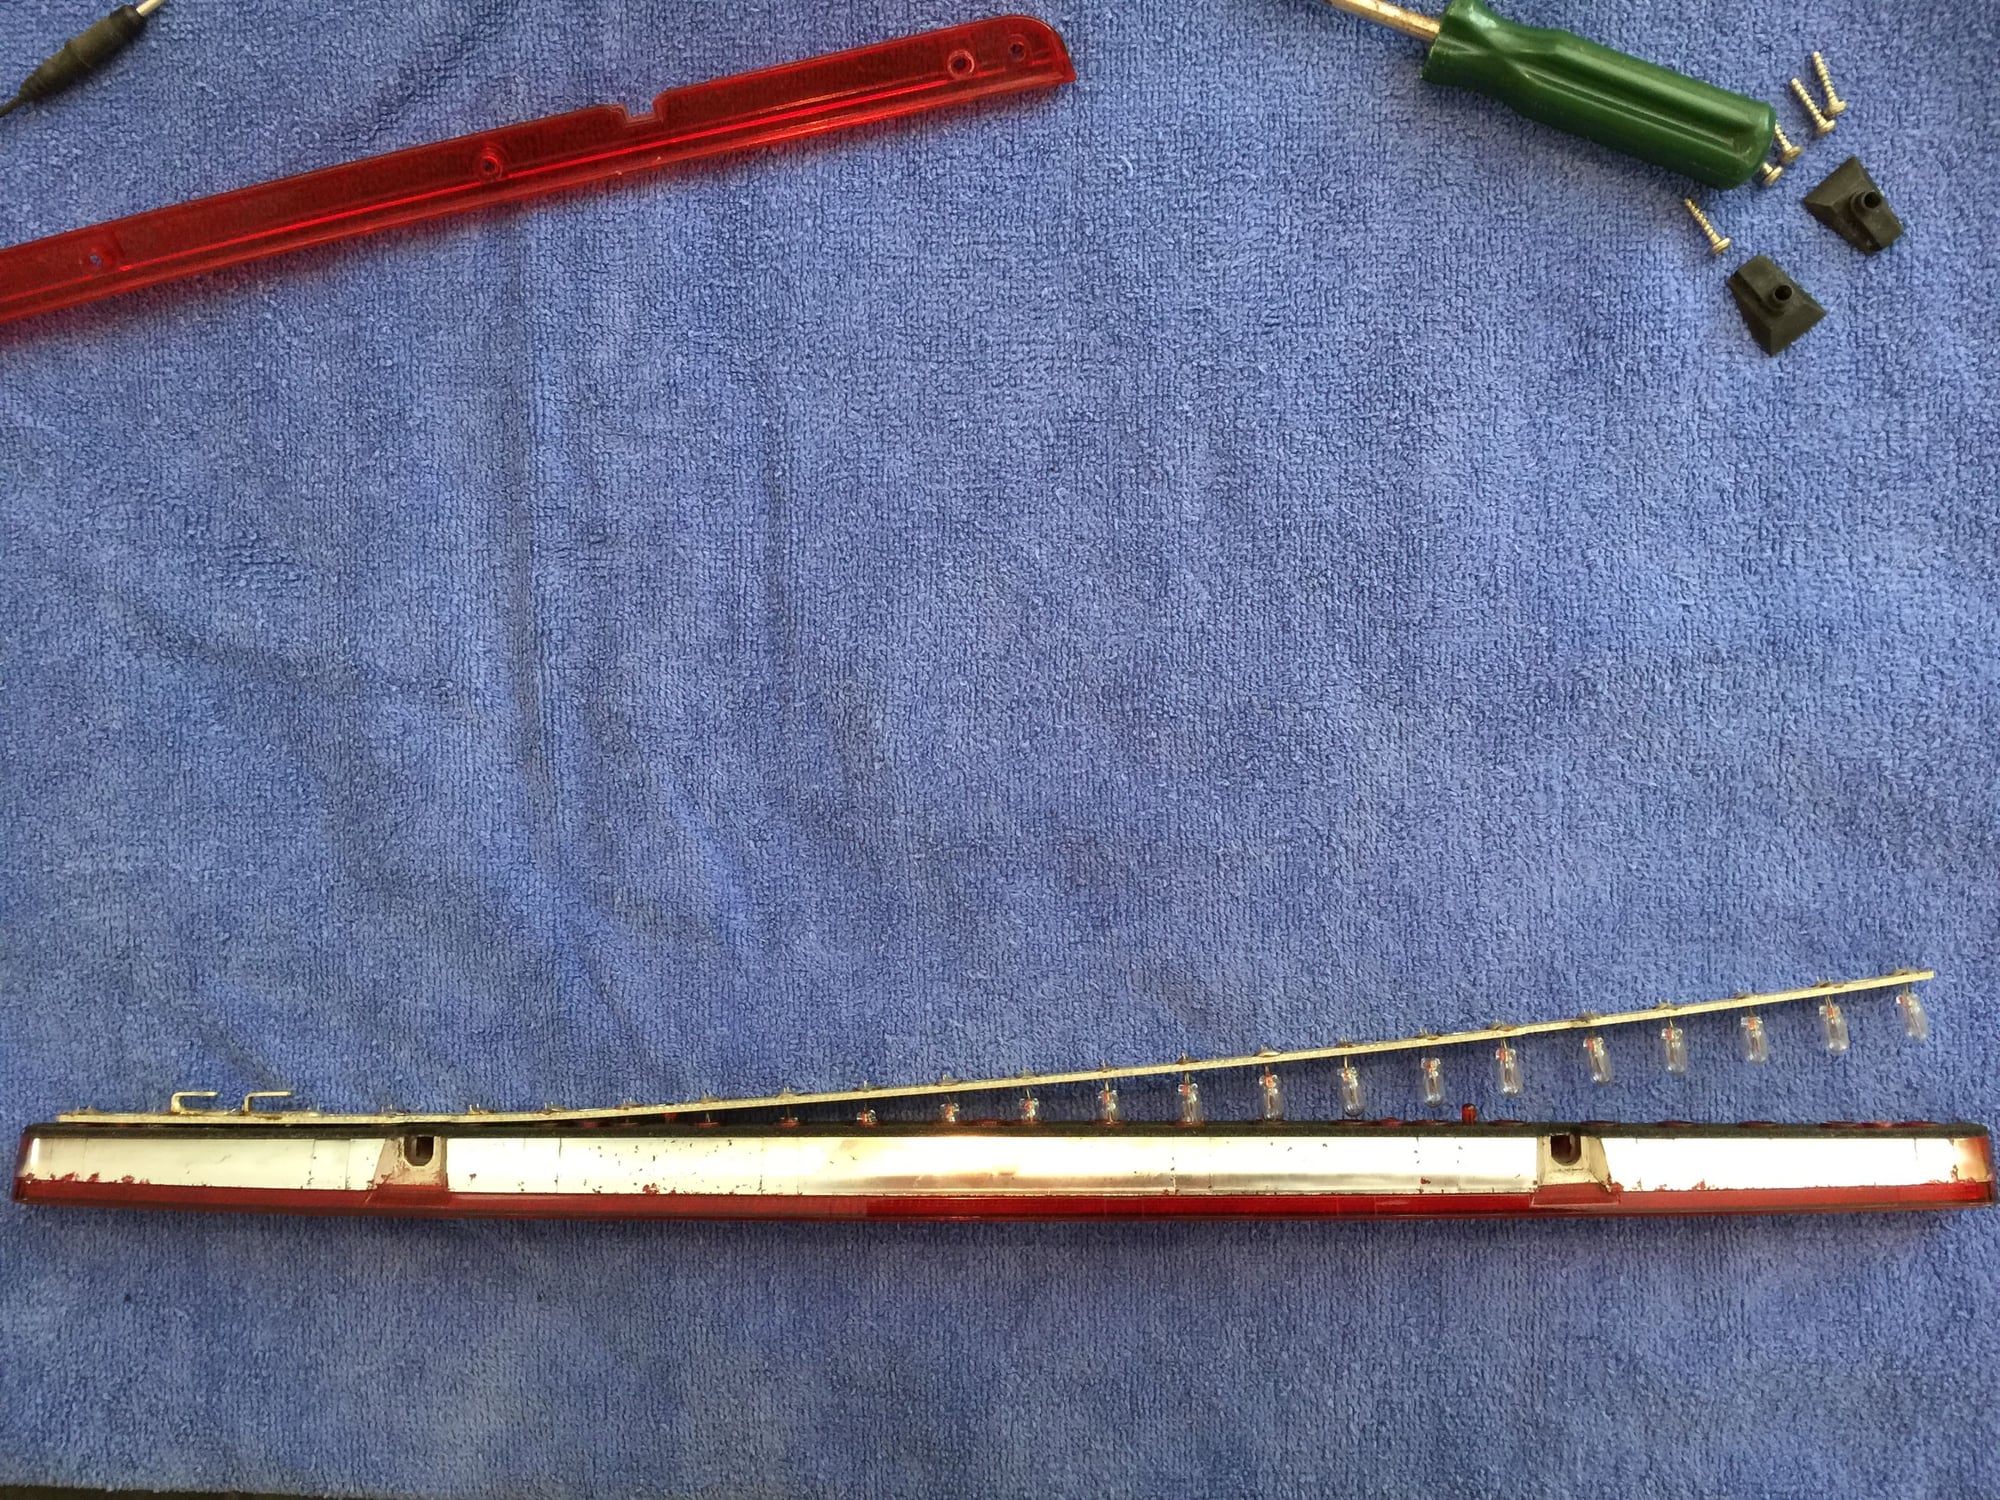
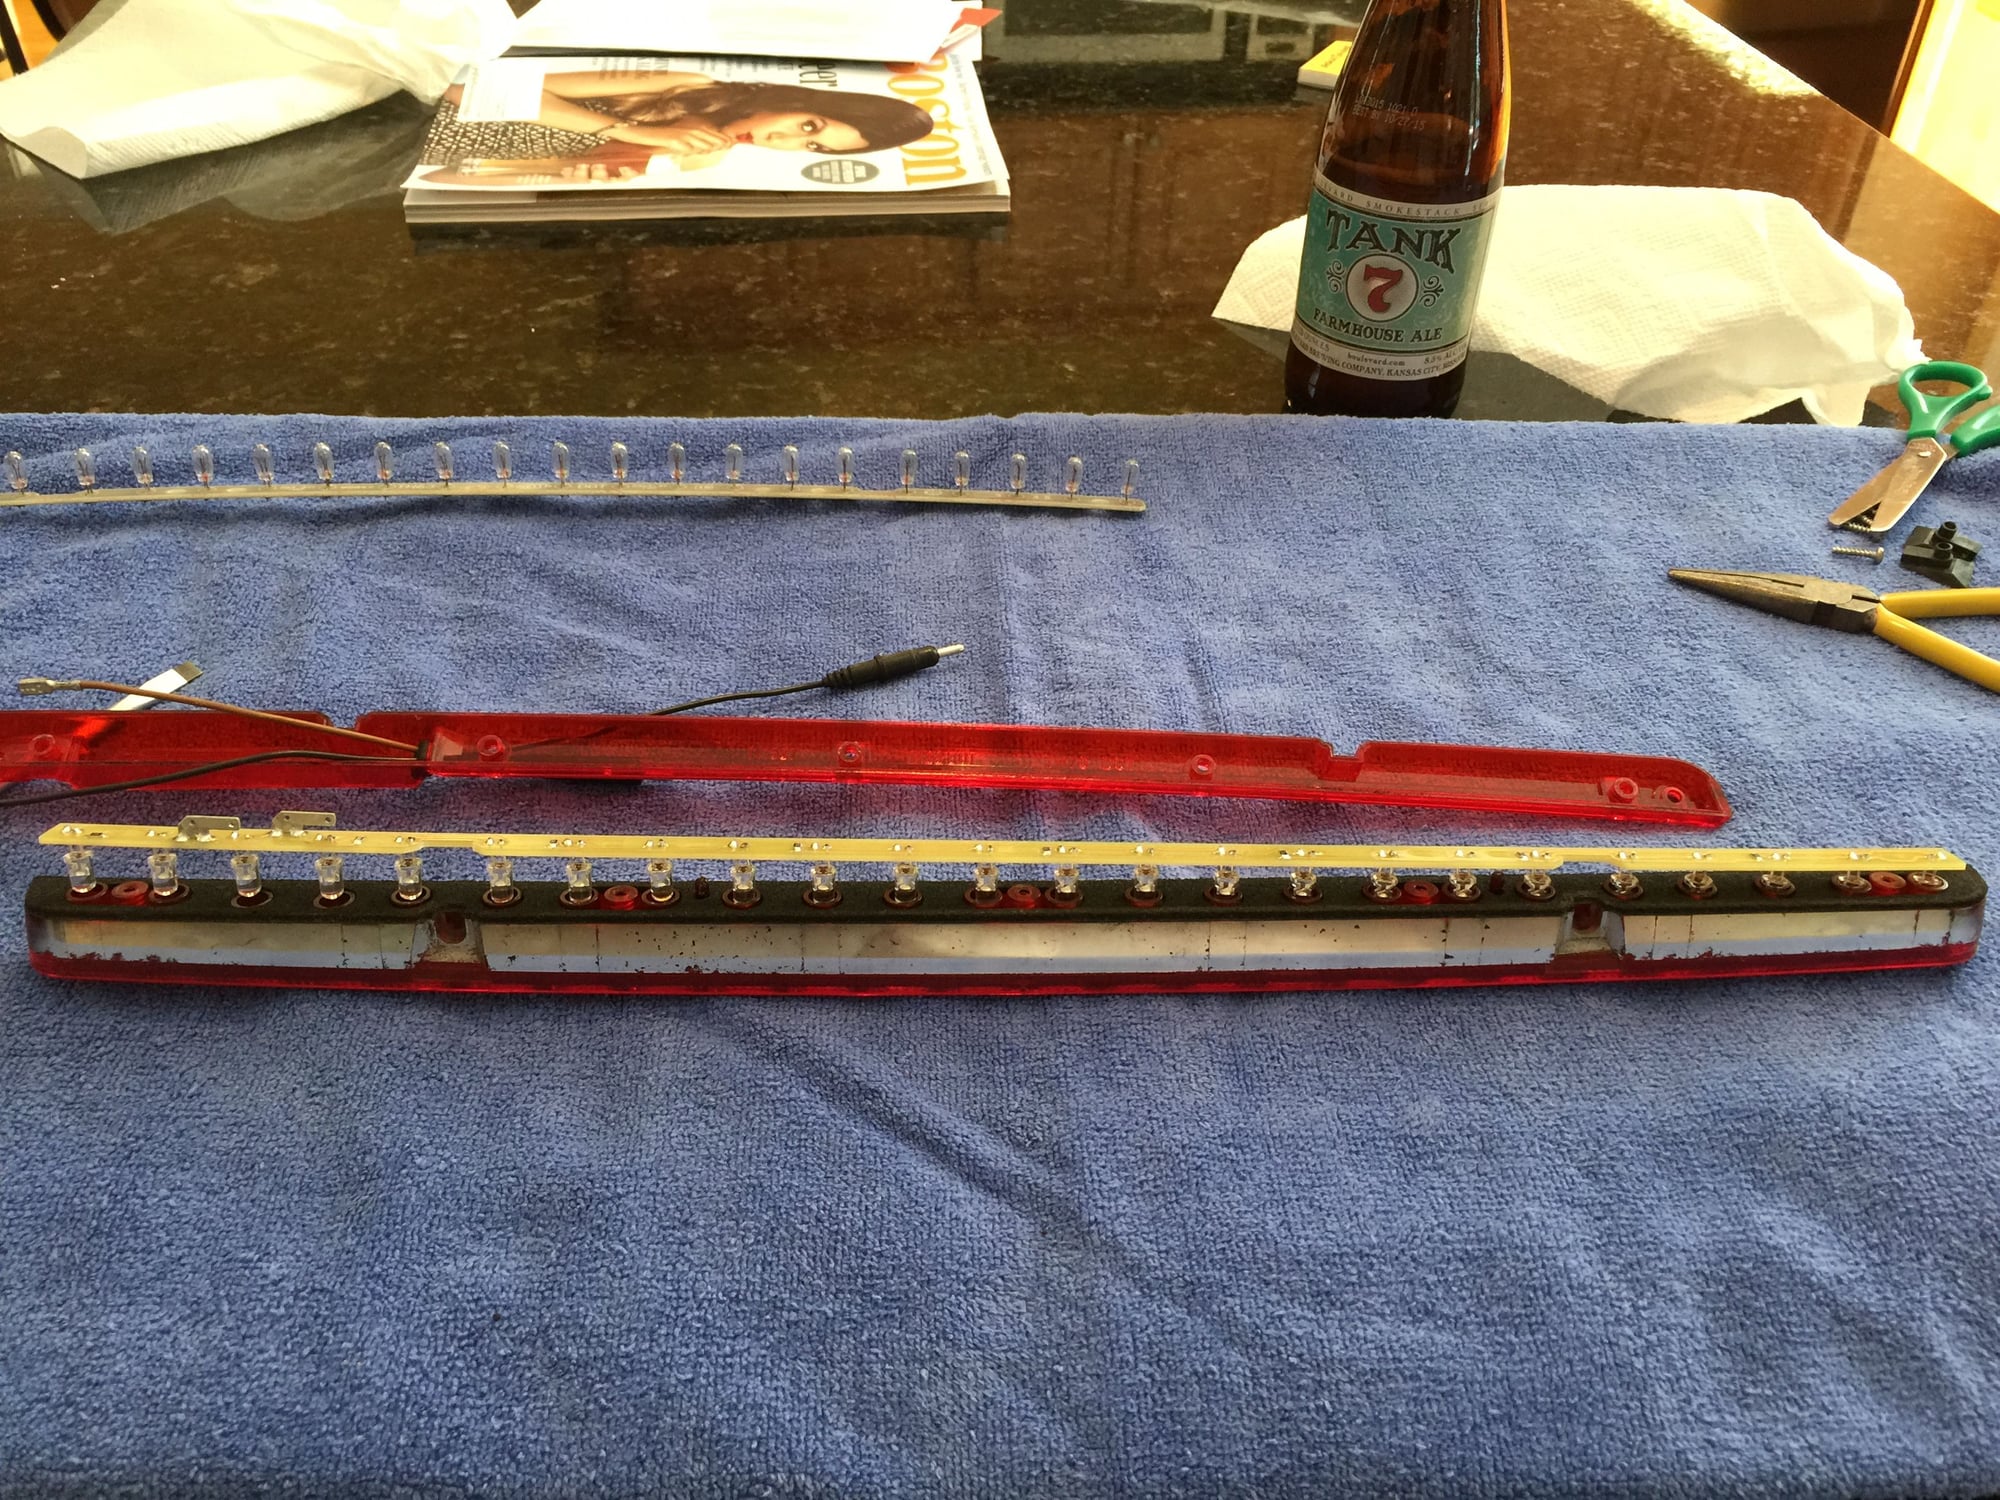
After removing five screws carefully pull two red plastic pieces apart to expose old PCB
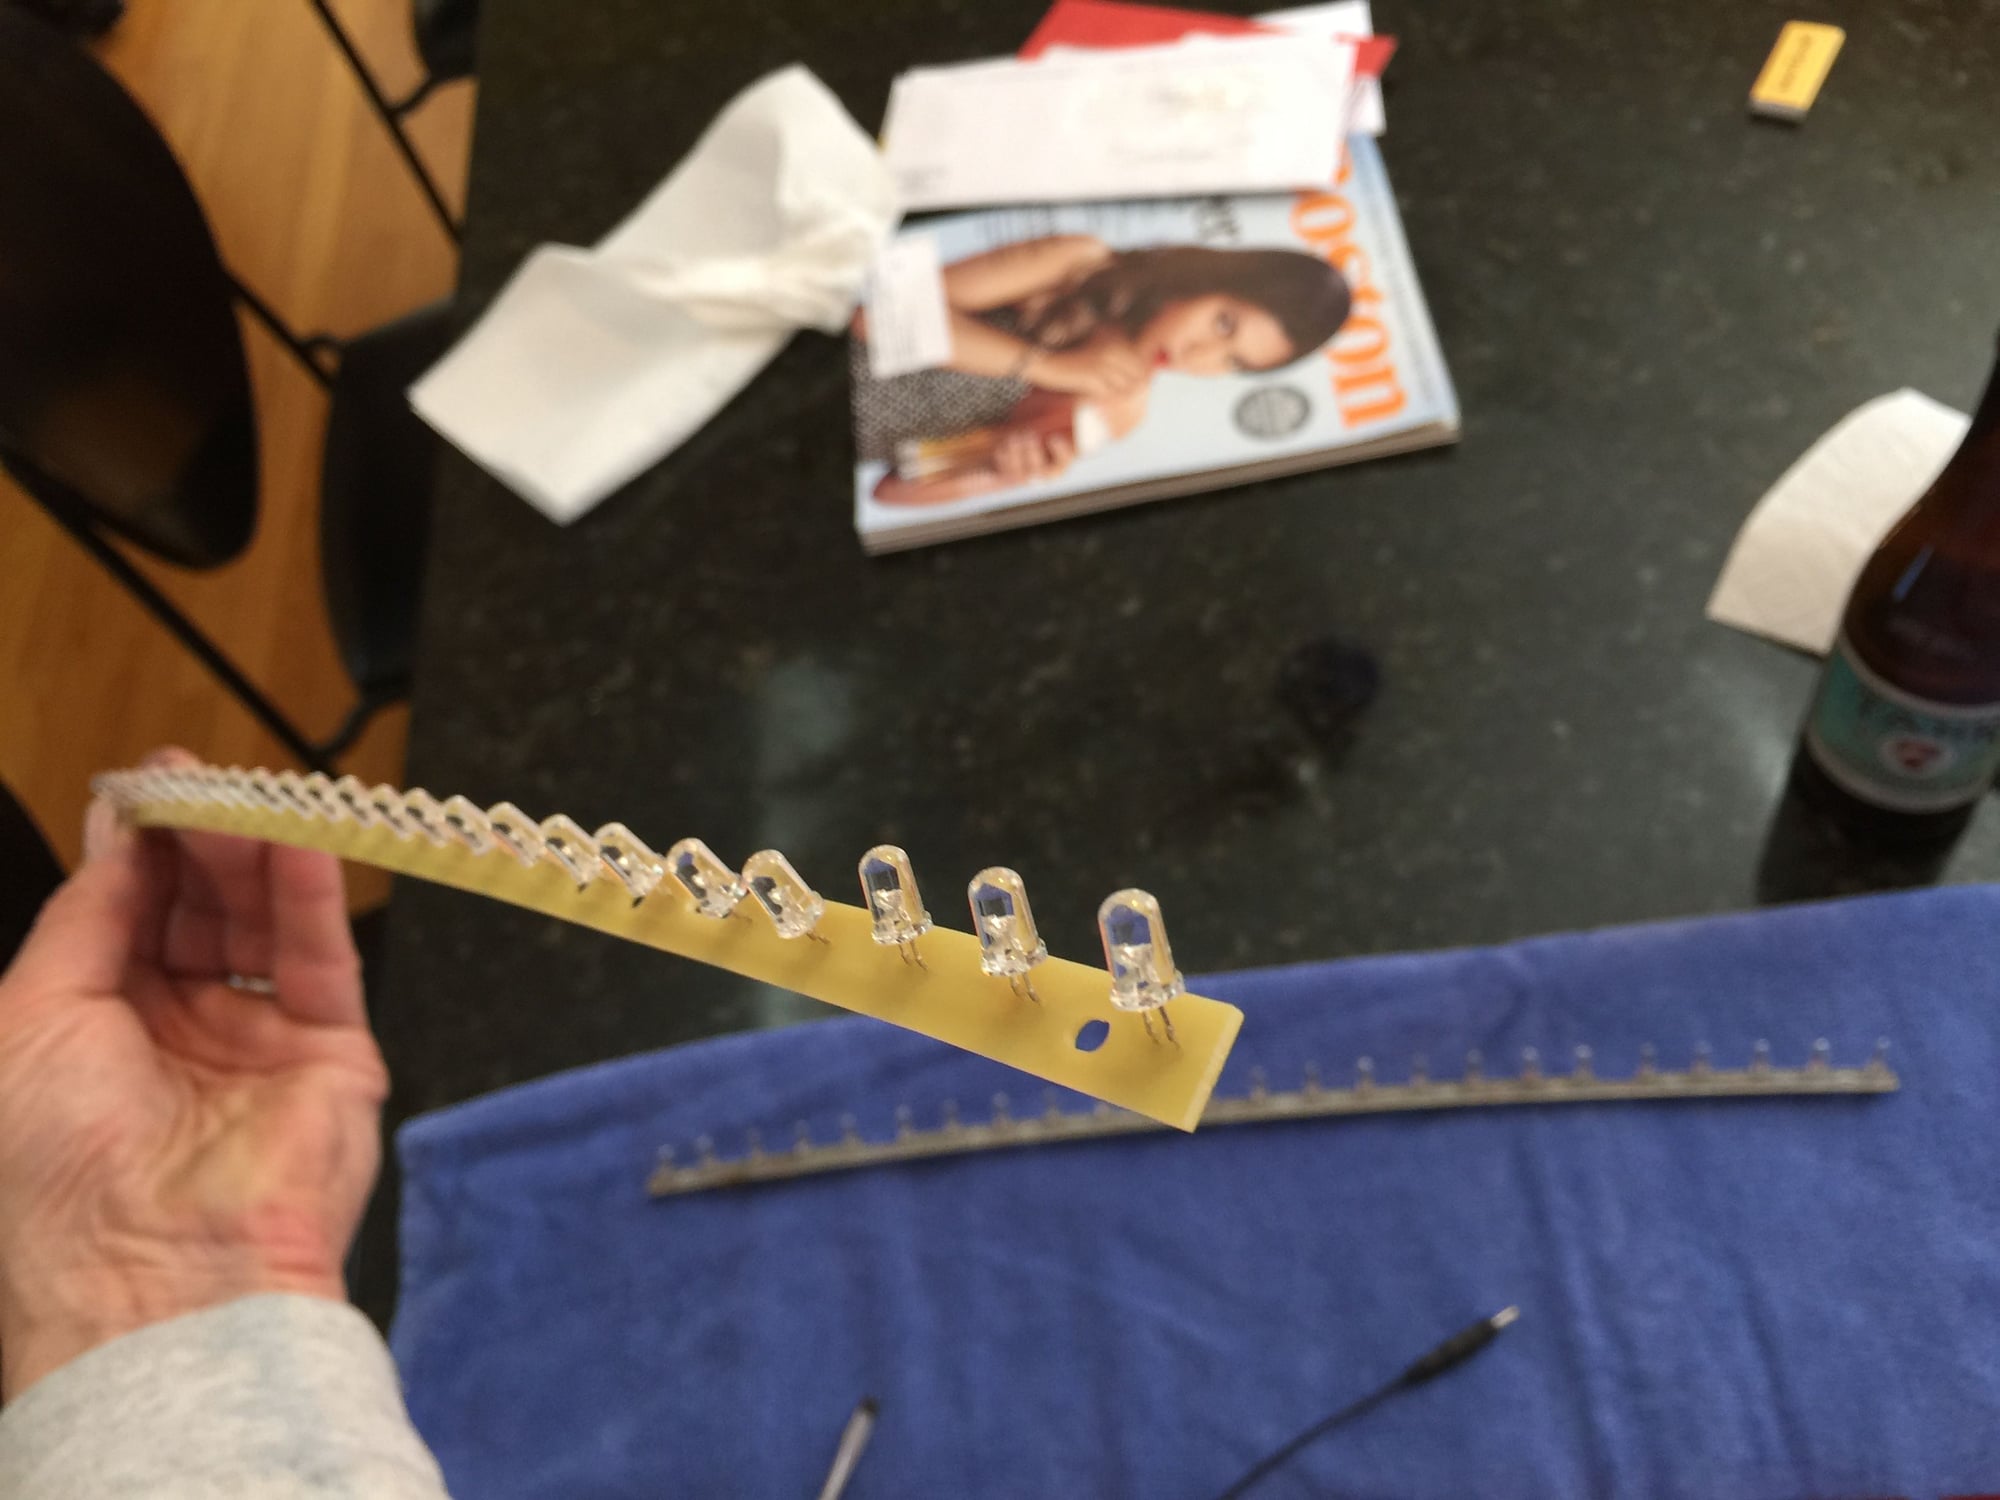
Carefully remove old PCB with bulbs
Carefully straighten out any misaligned LD bulbs on new PCB
Tore's new LED's drop right in!
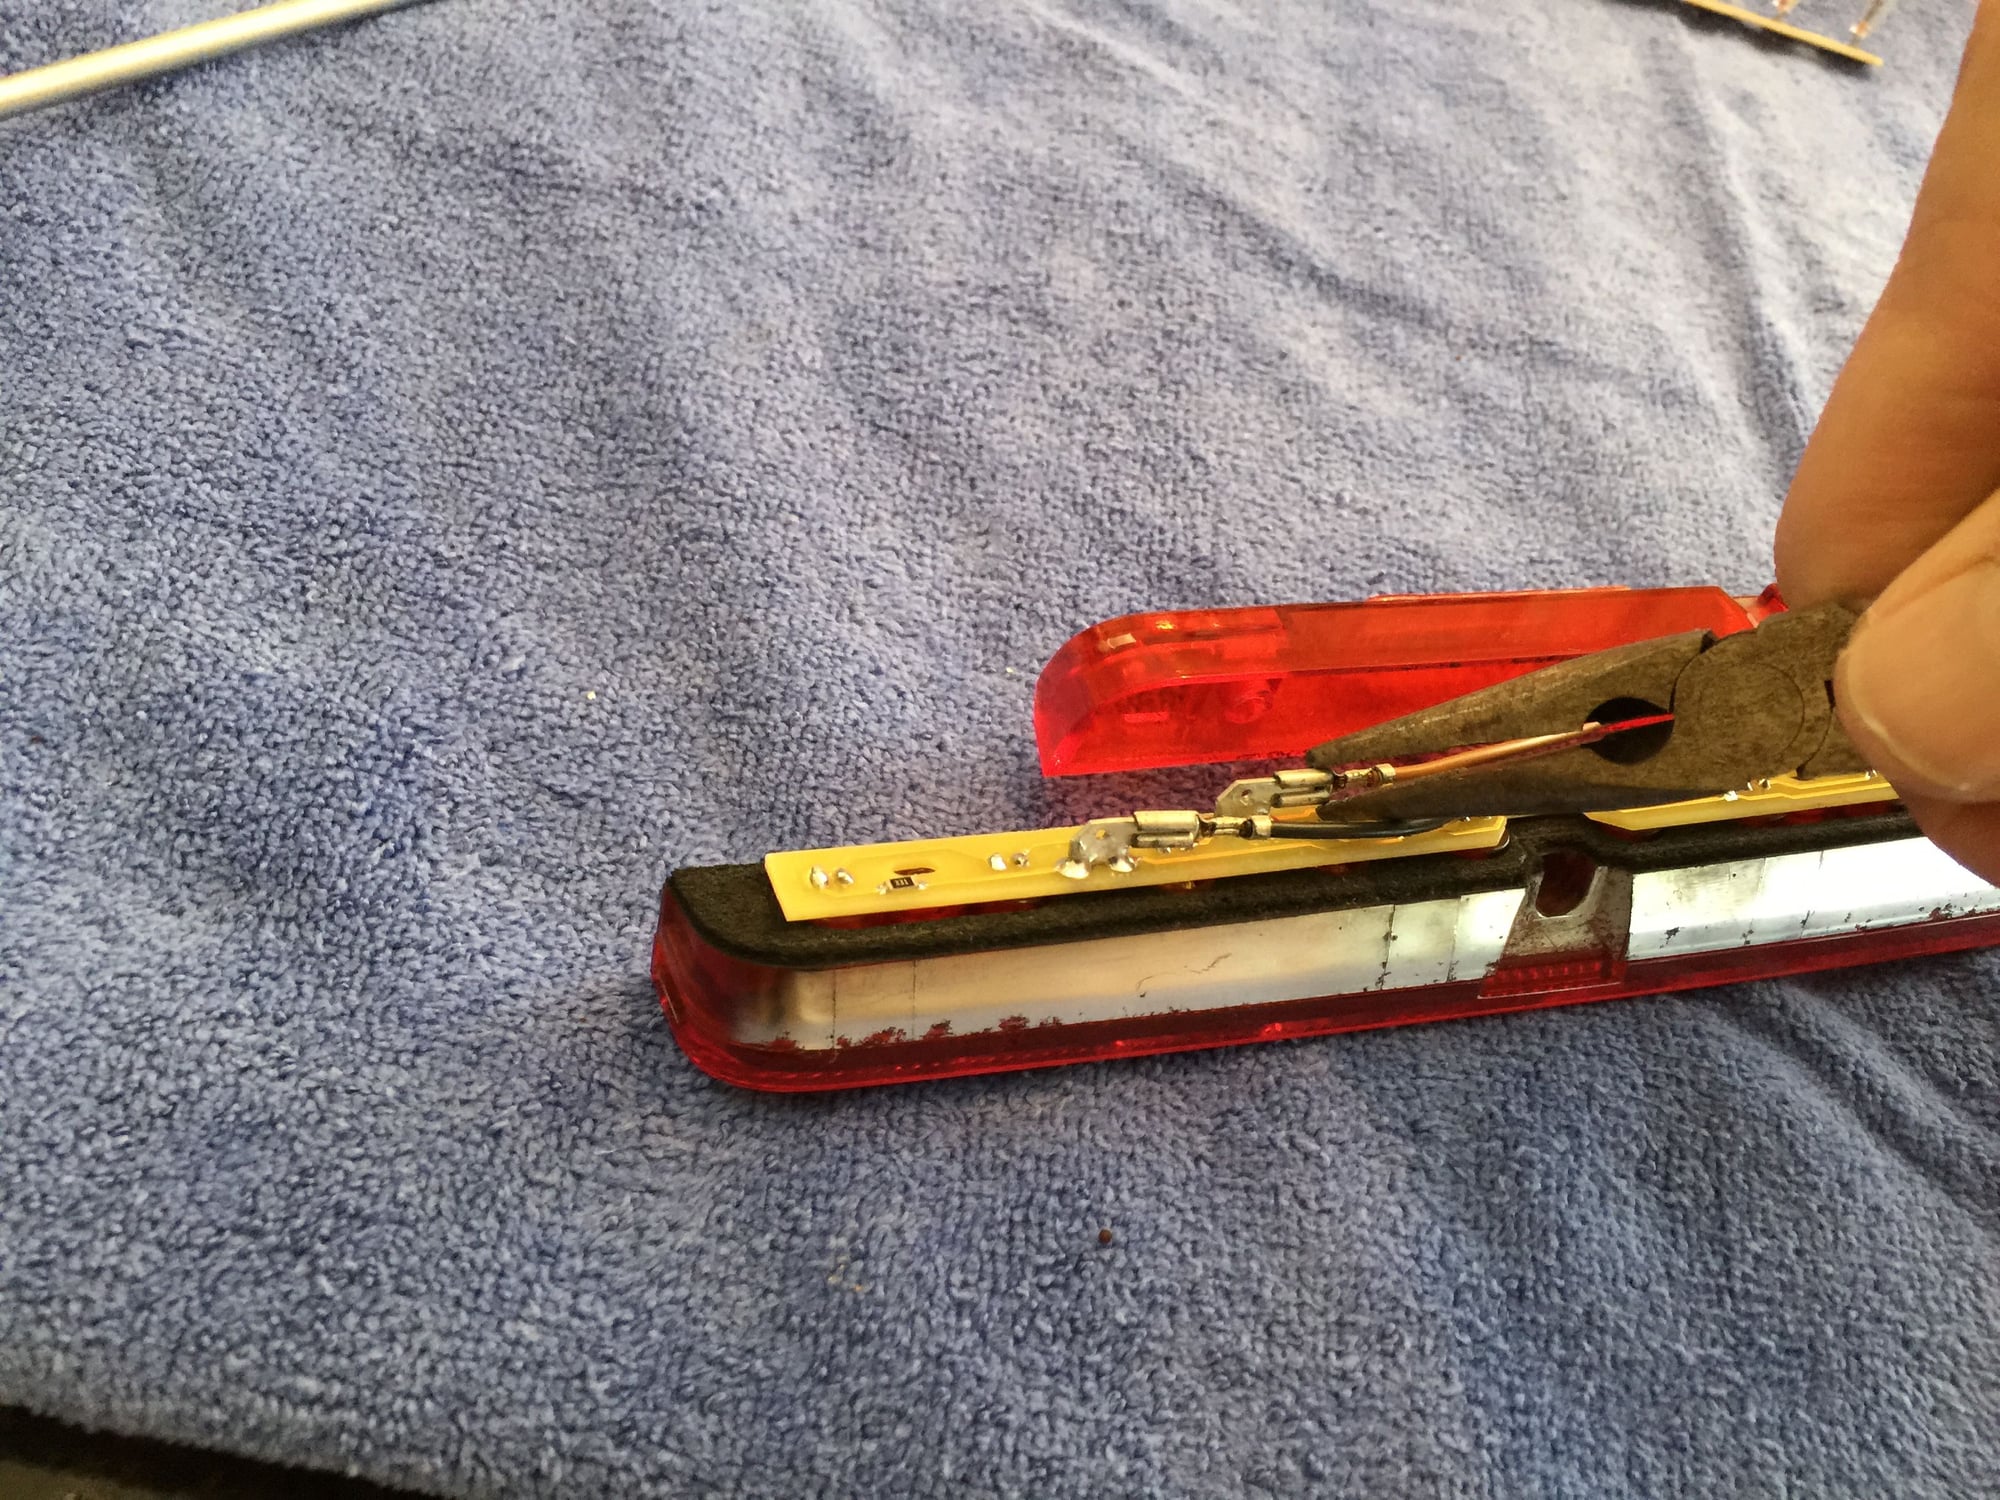
Secure the two leads (brown goes to ground) to spade connectors with a light squeeze and it's plug and play
Look from side as you replace 5 screws to MAKE SURE YOU DON'T OVERTIGHTEN
wow! i just completed installing tore's LEDs, and it's easily one of the best mods i've completed on my car. a top 10 mod for sure. after seeing the result i would have paid 2X the cost with no problem. it's just a wonderful upgrade; the same difference as going from using a candle to the incandescent bulb.
Last edited by FLYT993; 04-04-2015 at 02:23 AM.
Reason: syntax
Ok, seems I've run into a bit of a problem I could use some help with after installing the LEDs. I did the upgrade a couple weeks ago and all the lights were working fine. I took the car out today and noticed a problem with the rears:
- Neither L/R side marker is working
- Right side taillight not working
The R/L brake lights are working fine, including the CHMSL, and the reverse lights are working fine.
Here's what I've done to ID the problem:
-Checked fuses, they were fine
-Ensured contacts in bases were making contact with bulb
-Swapped bulb from L rear taillight to R rear taillight to see if I had a bad bulb on right side
I've worn gloves while installing the bulbs so there shouldn't be an issue there.
All the old lights were working fine prior to doing the LEDs.
Any suggestions?
Have you tried swapping out the flash relay? If that's not it, I'm sure Tore can help diagnose the problem.
Have you tried swapping out the flash relay? If that's not it, I'm sure Tore can help diagnose the problem.
I installed the relay the came with the kit...the rear flashers work fine, they illuminate when using the turn signals and they illuminate when locking the doors and arming the alarm.
It seems its just the L/R side marker lights and right rear taillight I can't get to light up?
Are the front side lights (in the fog housings) working? Have you checked fuses 40 and 41? Check with a voltmeter if it is power feed to the bulb sockets. If not, you might have a wiring problem, but this is very seldom seen.
Cheers,
Tore


 03-28-2015, 04:53 PM