project M003


 05-25-2014, 03:29 PM
#50
Racer
Thread Starter
Join Date: Apr 2009
Location: London
Posts: 427
Likes: 0
Received 0 Likes
on
0 Posts
A week or so has flown by. Been a bit busy and did my back in as well so haven't gotten aroudn to completely finishing. Still last weekend I did manage the last few main jobs.
Completed the rear nearside footwell and then tackled the passenger footwell.
.JPG)
Pulled the remaining carpet from the transmission tunnel. This came away pretty easy and so did the sound padding underneath. The glue here is not too treacherous.
.JPG)
I started just rolling the fluffy areas that still had sound deadening stuck to them. Rolling back and forth with my fingers which gets rid of most of it just to leave the actual glue. Then out with the Xylene to completely clean.
.JPG)
The thing is I did this the wrong way round because along each side of the tunnel are these long rectangular strips of metal. I am not certain what's going on with them but they seem to just give up more and more dirty brown coloured residue as you try and clean them and take the glue off. So really its best to do these areas first.
.JPG)
What i did with them was to scrape them over and over again. The amount of thick crud that comes off seems neverending. In fact i'm not even certain that they are still completely clean and I need to talk to my tech to understand how they will be prepped for painting.
.JPG)
.JPG)
.JPG)
Yuk ! See what I mean about doing these first !
.JPG)
Scrape the grime into a bag.
.JPG)
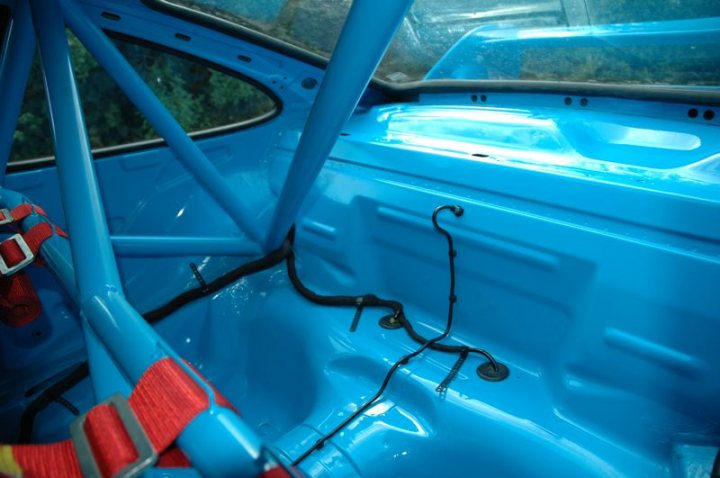
Here is the offside after completion.
So that's pretty much it. All the glue is gone. The car just needs a good vacuum and then a good polish on all areas with Xylene just to make it sparkling and to remove any small rogue stray pieces of glue that were missed. Them it will be ready to deliver to the workshop for the roof to be chopped off !
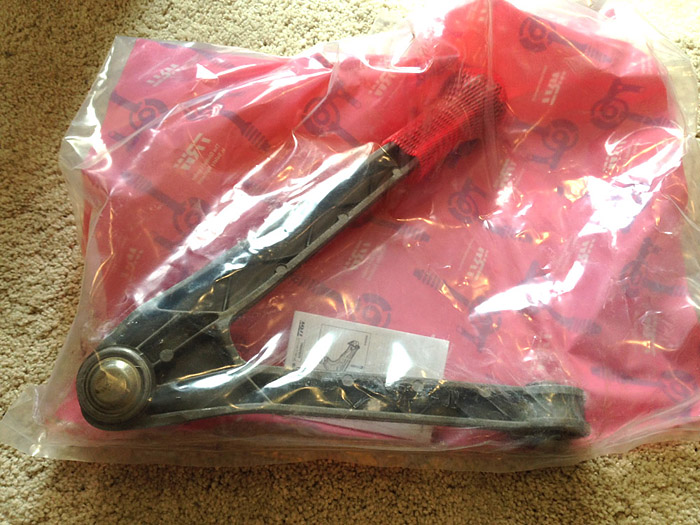
I also ordered a new offside rear A arm as the ball joint on my existing wishbone has a small bit of play in it. These are pretty cheap off ebay, the original parts straight from the manufacturer but way cheaper than what OPC charges. I have ordered an RS spec bush from elephant racing in the USA as well as my A arms are RS spec with the sport cartridge in the trailing bush.
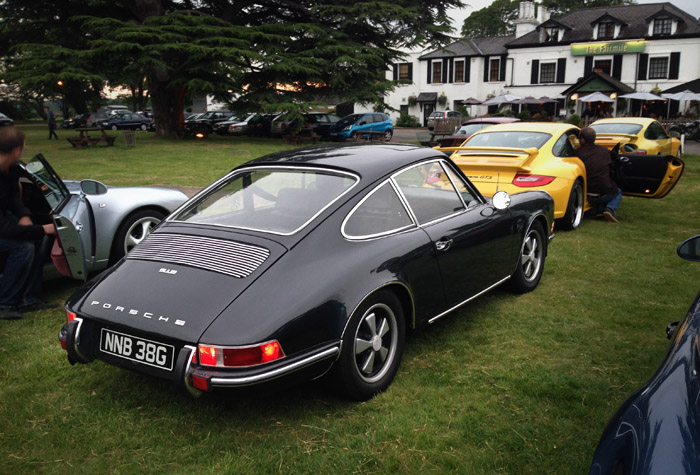
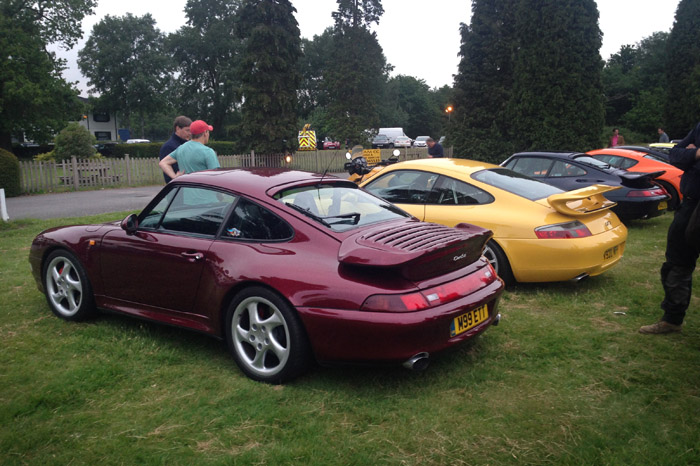
A little respite at a local Porsche meet.
Completed the rear nearside footwell and then tackled the passenger footwell.
Pulled the remaining carpet from the transmission tunnel. This came away pretty easy and so did the sound padding underneath. The glue here is not too treacherous.
I started just rolling the fluffy areas that still had sound deadening stuck to them. Rolling back and forth with my fingers which gets rid of most of it just to leave the actual glue. Then out with the Xylene to completely clean.
The thing is I did this the wrong way round because along each side of the tunnel are these long rectangular strips of metal. I am not certain what's going on with them but they seem to just give up more and more dirty brown coloured residue as you try and clean them and take the glue off. So really its best to do these areas first.
What i did with them was to scrape them over and over again. The amount of thick crud that comes off seems neverending. In fact i'm not even certain that they are still completely clean and I need to talk to my tech to understand how they will be prepped for painting.
Yuk ! See what I mean about doing these first !
Scrape the grime into a bag.
Here is the offside after completion.
So that's pretty much it. All the glue is gone. The car just needs a good vacuum and then a good polish on all areas with Xylene just to make it sparkling and to remove any small rogue stray pieces of glue that were missed. Them it will be ready to deliver to the workshop for the roof to be chopped off !
I also ordered a new offside rear A arm as the ball joint on my existing wishbone has a small bit of play in it. These are pretty cheap off ebay, the original parts straight from the manufacturer but way cheaper than what OPC charges. I have ordered an RS spec bush from elephant racing in the USA as well as my A arms are RS spec with the sport cartridge in the trailing bush.
A little respite at a local Porsche meet.
 05-28-2014, 12:52 PM
#55
Burning Brakes

i am looking forward to seeing your m003 conversion progress.
also, your website is a great resource for the 993 community. your thorough explanations have helped me many times with DIYs, so i appreciate all the effort you put into documenting everything. gorgeous car by the way, one of my favorites..
also, your website is a great resource for the 993 community. your thorough explanations have helped me many times with DIYs, so i appreciate all the effort you put into documenting everything. gorgeous car by the way, one of my favorites..
05-28-2014, 03:08 PM
#56

interesting that your car has those long tunnel sidewall strips made of metal.
on my car those long strips were heavy stiff tar paper, used a heat gun which melted the glue underneath(bad fumes) and the strips came away in chunks.
on my car those long strips were heavy stiff tar paper, used a heat gun which melted the glue underneath(bad fumes) and the strips came away in chunks.
05-29-2014, 12:47 PM
#57
Racer
Thread Starter
Join Date: Apr 2009
Location: London
Posts: 427
Likes: 0
Received 0 Likes
on
0 Posts
Hi, yes you are right, they arent metal. They are bitumen I think ... a sort of sound deadening. I got this wrong and shouldnt have bothered cleaning them at all. I was under the impression that they might be repainted but as you say, they should have just been taken off especially as teh clubsport never had them.
05-29-2014, 12:48 PM
#58
Racer
Thread Starter
Join Date: Apr 2009
Location: London
Posts: 427
Likes: 0
Received 0 Likes
on
0 Posts
i am looking forward to seeing your m003 conversion progress.
also, your website is a great resource for the 993 community. your thorough explanations have helped me many times with DIYs, so i appreciate all the effort you put into documenting everything. gorgeous car by the way, one of my favorites..
also, your website is a great resource for the 993 community. your thorough explanations have helped me many times with DIYs, so i appreciate all the effort you put into documenting everything. gorgeous car by the way, one of my favorites..
06-01-2014, 01:07 AM
#59
Former Vendor

Join Date: Aug 2011
Posts: 650
Likes: 0
Received 0 Likes
on
0 Posts
 06-01-2014, 05:11 AM
#60