
Money2536's White 991 C2S Journal
 04-25-2014, 09:30 PM
#151

 04-25-2014, 11:04 PM
#152
04-26-2014, 09:46 PM
#153
I gave it a go for about a week with the badge. The trapped dirt in the cracks is driving me crazy. Combining with the fact that I need to pull it off and redo it made me decided to yank it off again and leave it. Sorry to offend those that think it looks plain without a badge.  What can I say? I'm a plain kind of guy.


It's a good thing that my wife likes to fish. We always have tons of this on hand.


Since the badge wasn't on long, all I needed was a quick spray of this to get the last bit of residue off. I have to wash the car tomorrow, so I'll spread some Sonax Polymer Net Shield on to make sure the area under the badge it coated.


What can I say? I'm a plain kind of guy.It's a good thing that my wife likes to fish. We always have tons of this on hand.
Since the badge wasn't on long, all I needed was a quick spray of this to get the last bit of residue off. I have to wash the car tomorrow, so I'll spread some Sonax Polymer Net Shield on to make sure the area under the badge it coated.
04-26-2014, 09:59 PM
#154
Three Wheelin'
I completely understand your OCD towards your car, I'm just as bad, if not worse.
My personal opinion is to redo the lettering. It just doesn't look right without something there.
Perhaps 911?
My personal opinion is to redo the lettering. It just doesn't look right without something there.
Perhaps 911?
04-26-2014, 10:46 PM
#155
I know there are other write-ups on changing oil, but I was bored today and decided to do my own version. I'm a wanna be real man car guy, so please cut me some slack if I'm doing something substandard.
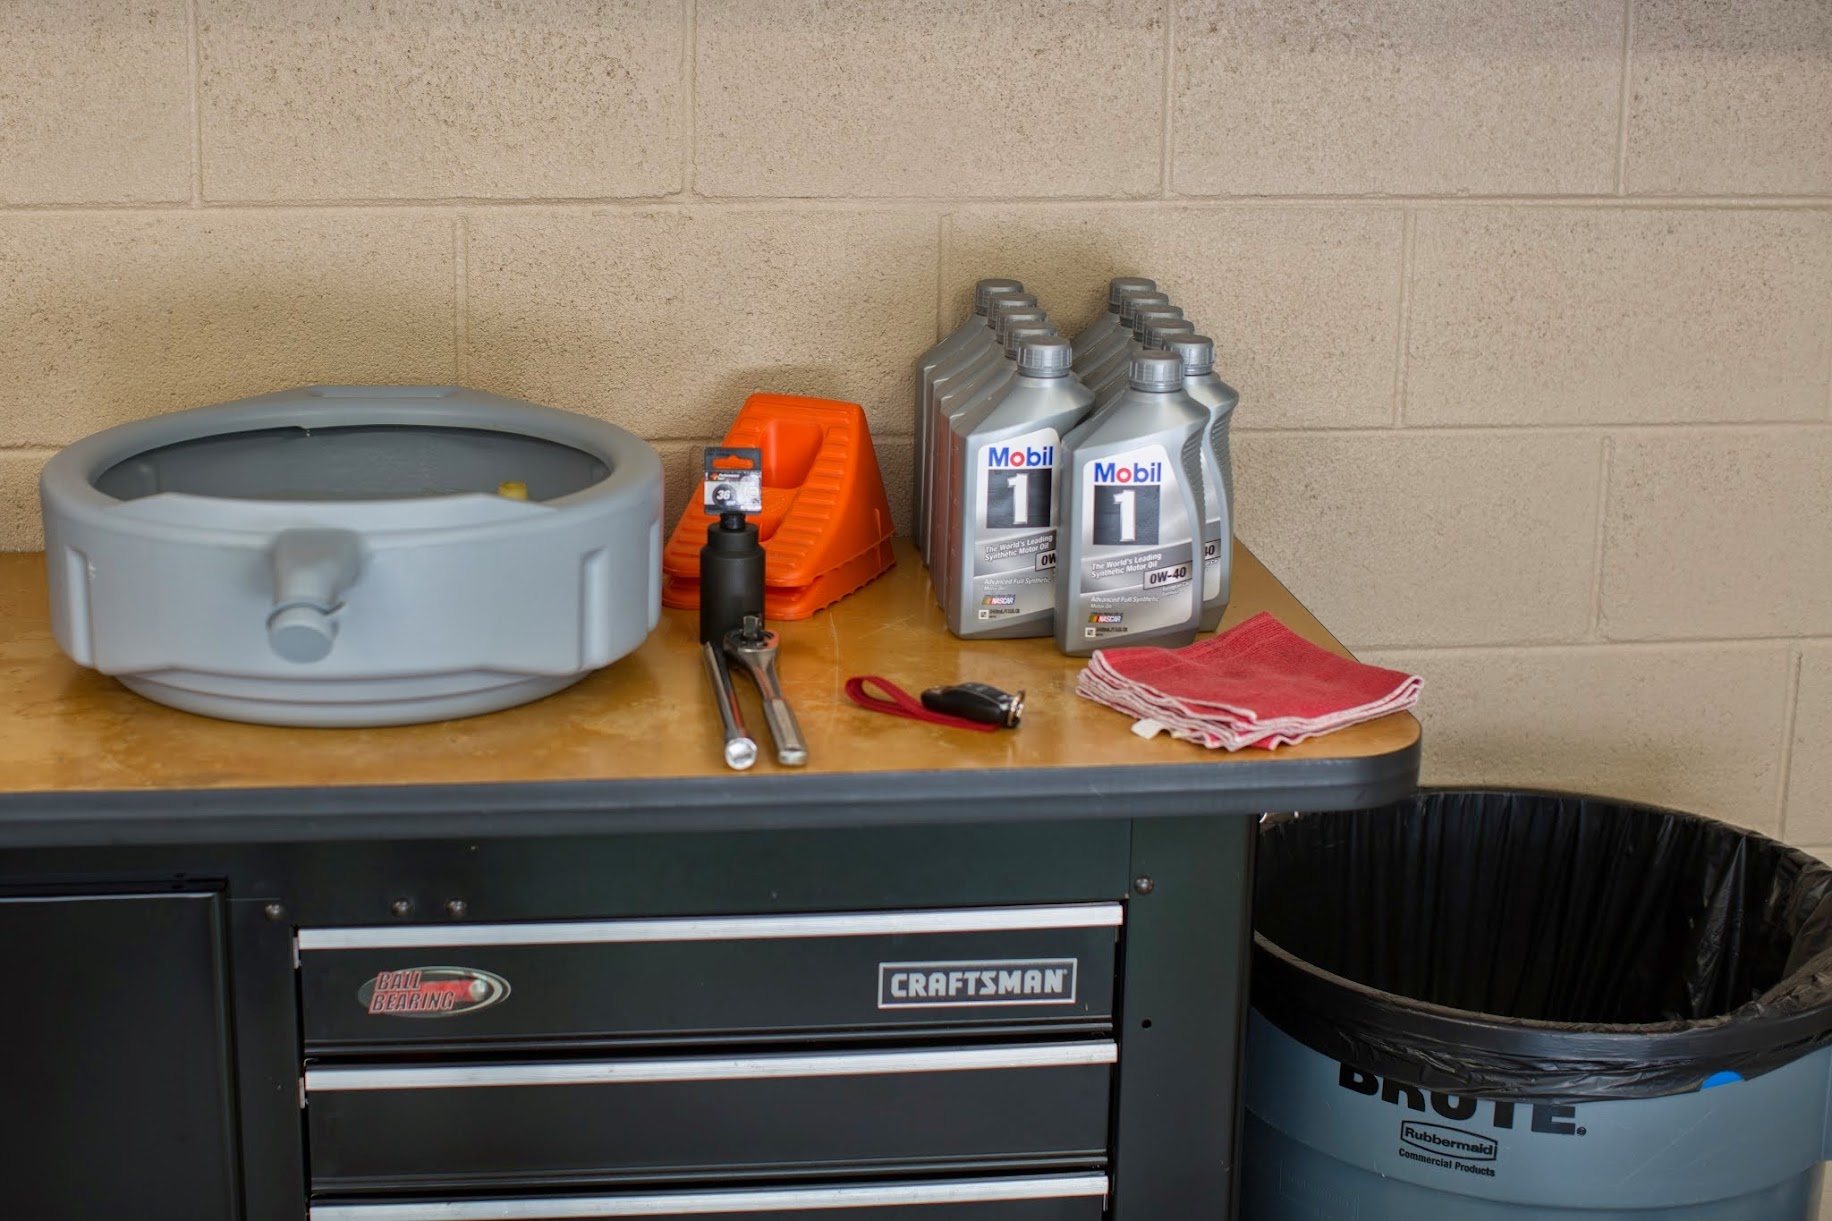
Here is my list of tools:
Drain Pan
Dirty Oil Funnel
Clean Oil Funnel
1/2" Ratchet
12" 1/2" Extension
36mm 1/2" Socket
3/8" Ratchet
3" 3/8" Extension
8mm Hex Bit 3/8" Socket
Flat Head Screw Driver
Shop Towels
Paper Towels
Floor Jack
Wheel Chocks
Rhino Ramps
Parts Needed:
9 Quarts Mobile 1 0W-40 Oil
OEM Porsche Oil Filter, Rubber Gasket, Crush Washer
Before doing anything, I let the car run and idle for about 5 minutes to bring the temperature of the oil up. Supposedly it helps the oil drain better.


I kept buying expensive aluminum jacks and the hydraulic pumps were only lasting a year or two before they blew-up. About 5 years ago I decided to go cheap from Harbor Freight. This thing is indestructible for $130. I've been meaning to buy another one as a back-up. I may get one tomorrow.
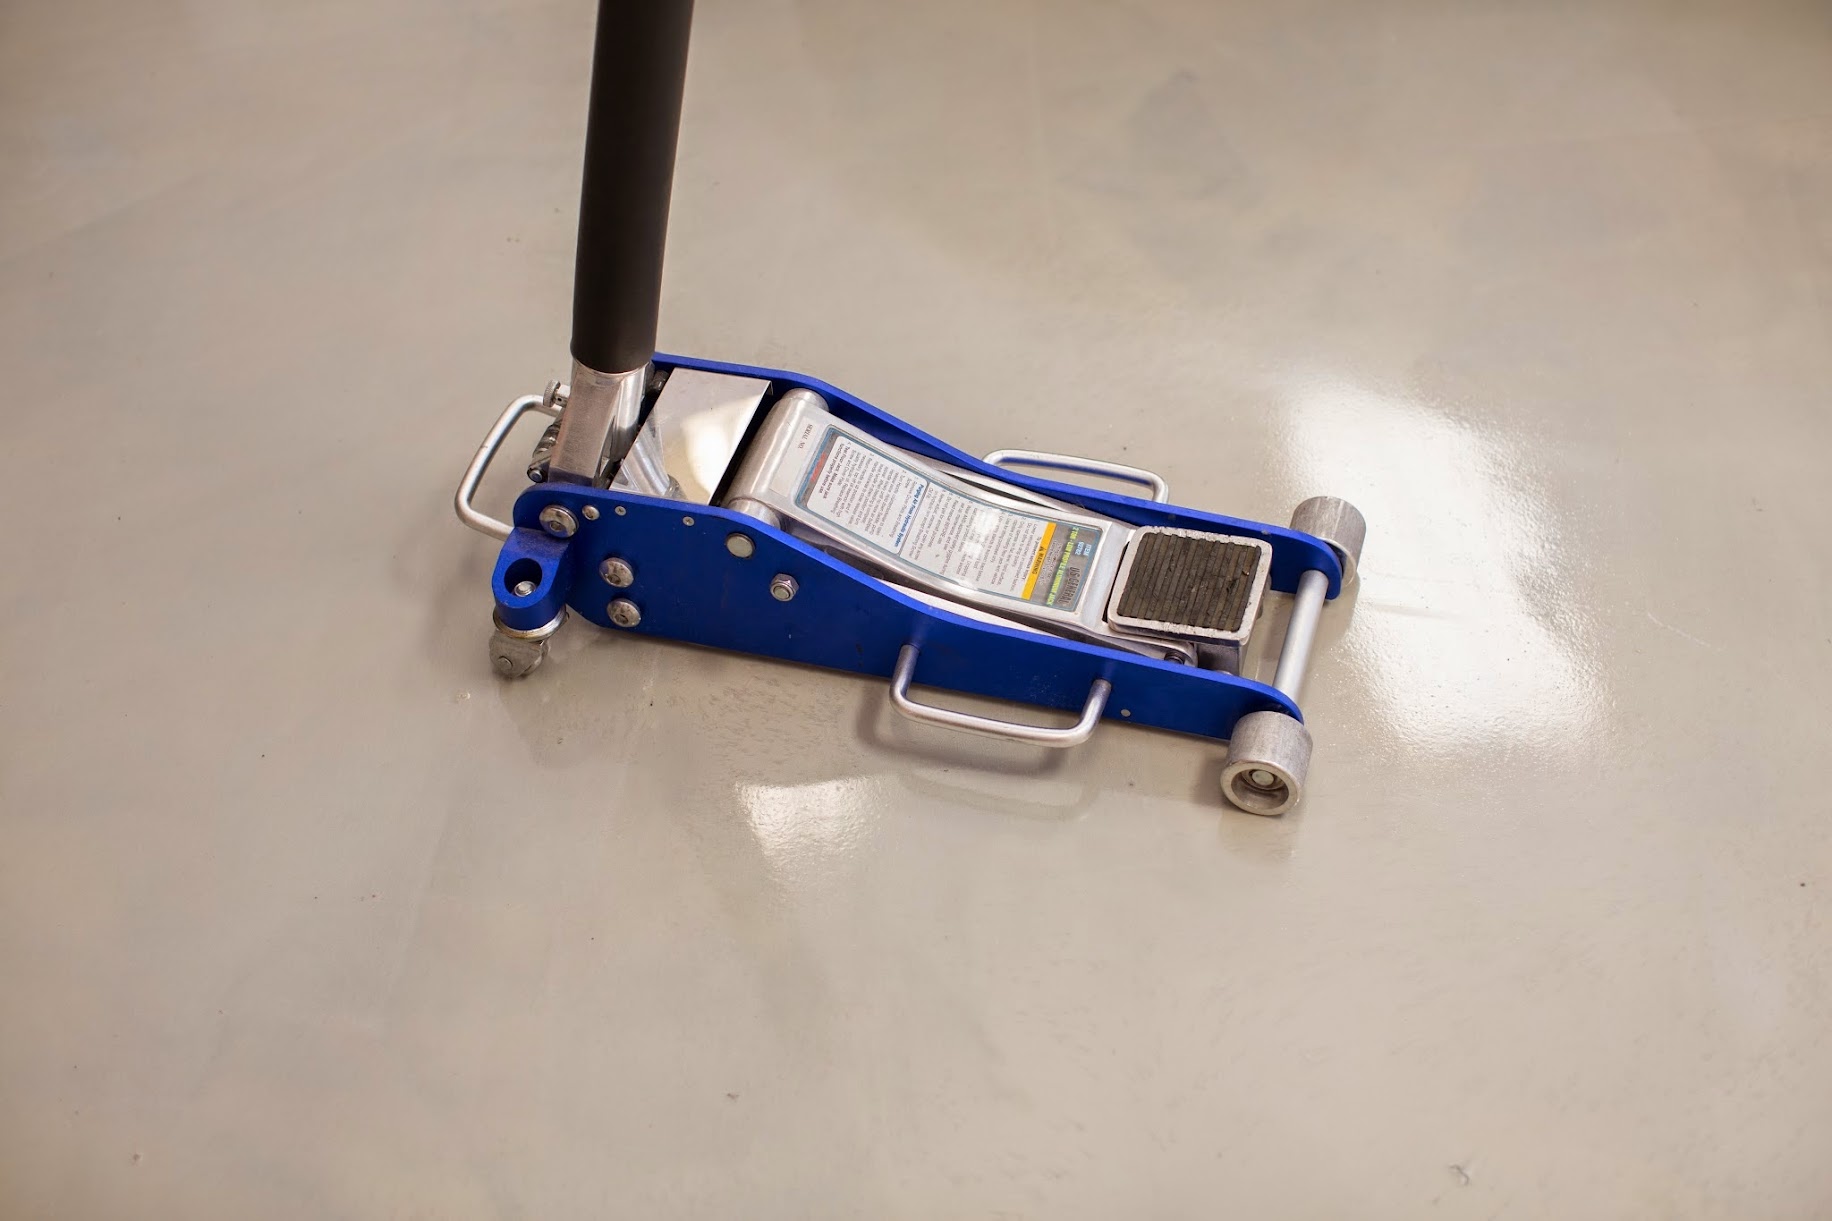
Most everything about this car is just better than any other car on the planet. I even like the jack points. It's just plain better!


I've always found it easier to just jack the car up and put the Rhino ramps under the tire. I figure less chance of error. I prefer the stability of ramps to jack stands.


I feel so much tougher and more manly when I see my car up on ramps!

Plug pulled using 8mm Hex Bit and 3/8" ratchet. I always have a few paper towels with me under the car to throw the drain bolt on after removing it.


Draining...

This thing drained forever.

Drain bolt and used crush washer. I always clean up it. Am I the only psycho that cleans each individual thread?

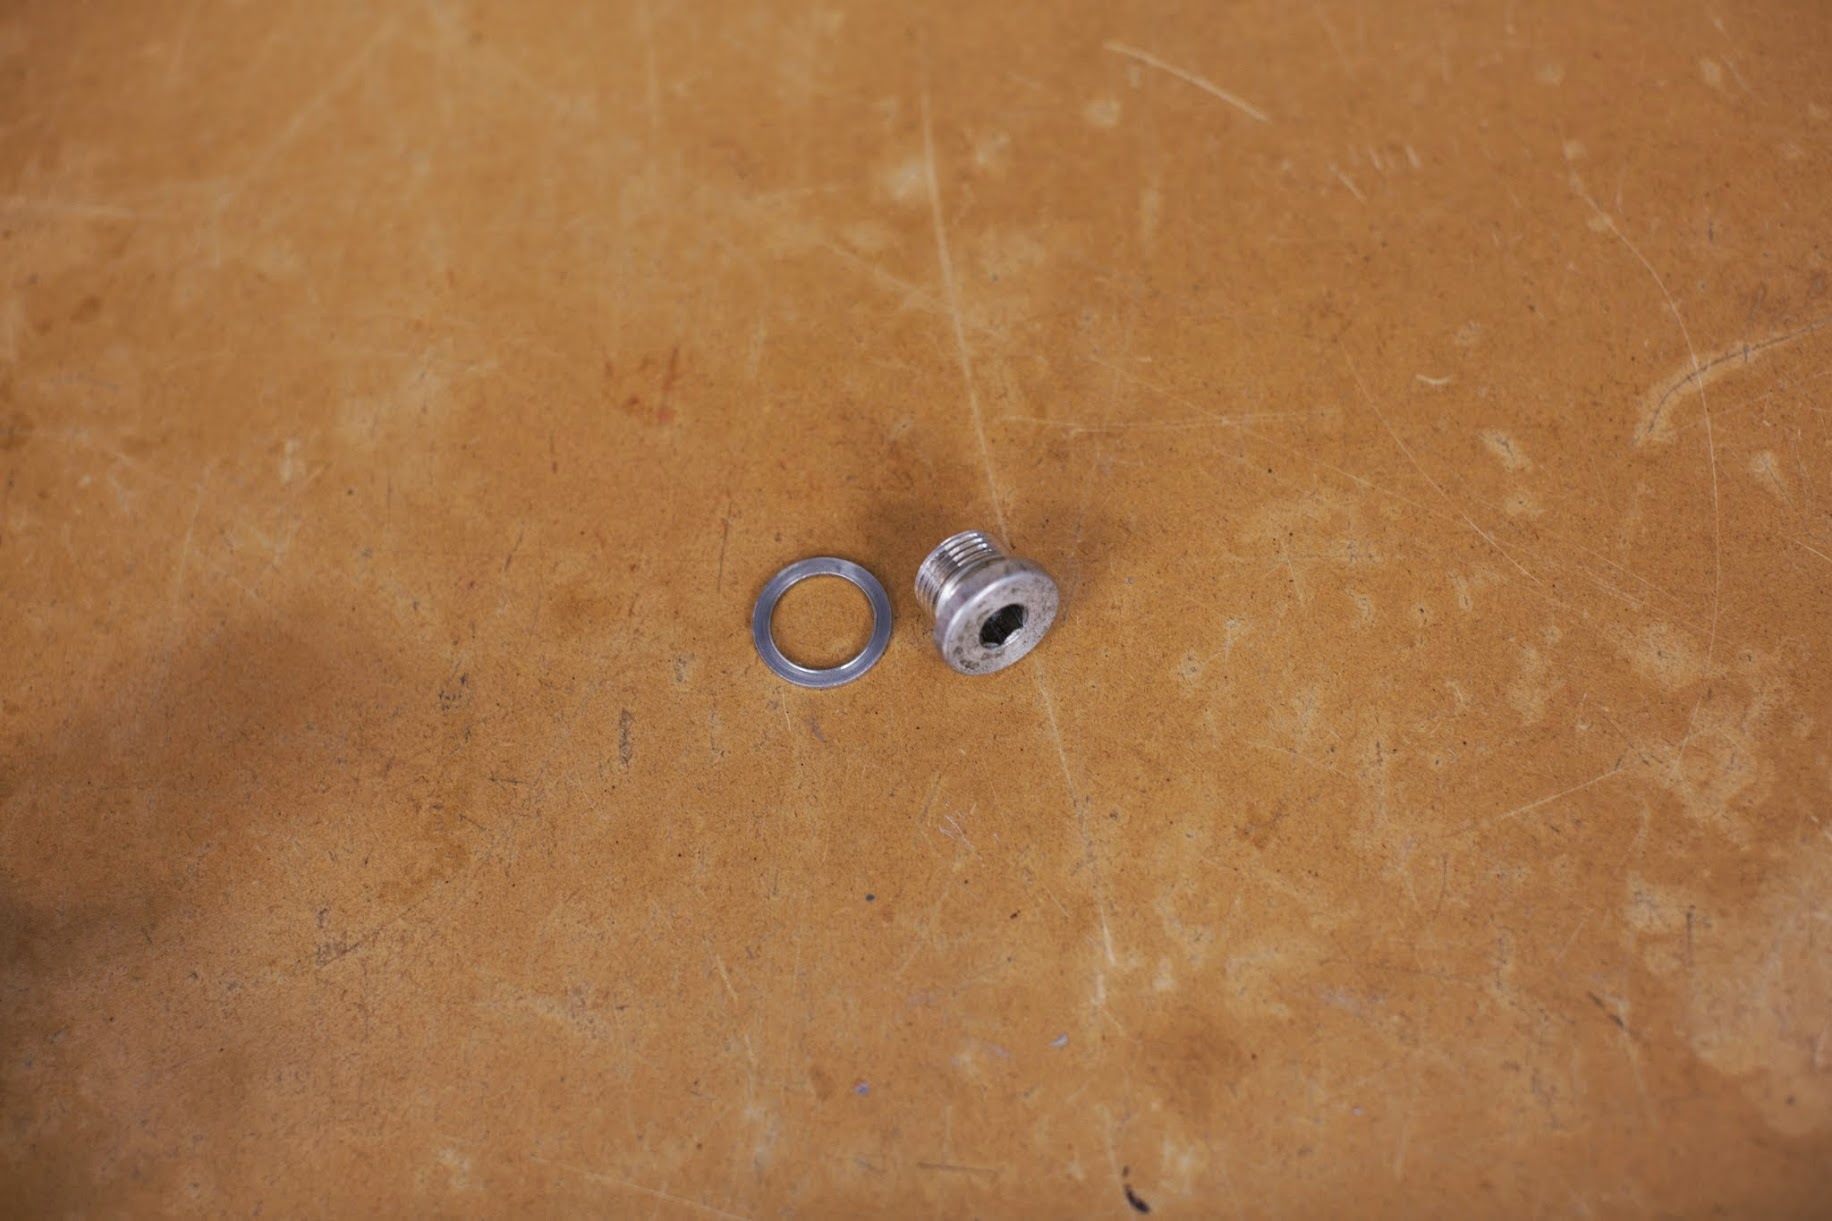
Cleaned and ready for install with new crush washer. I got the kit from Suncoast with washer, rubber gasket, and filter.

I was going to simply pull out the support bracket, but I found it easier to just pull the whole rubber piece out.


The cover pops right off. Be careful not to smack the paint on the spoiler. I put my fingers underneath on the fans while pulling the cover upward.


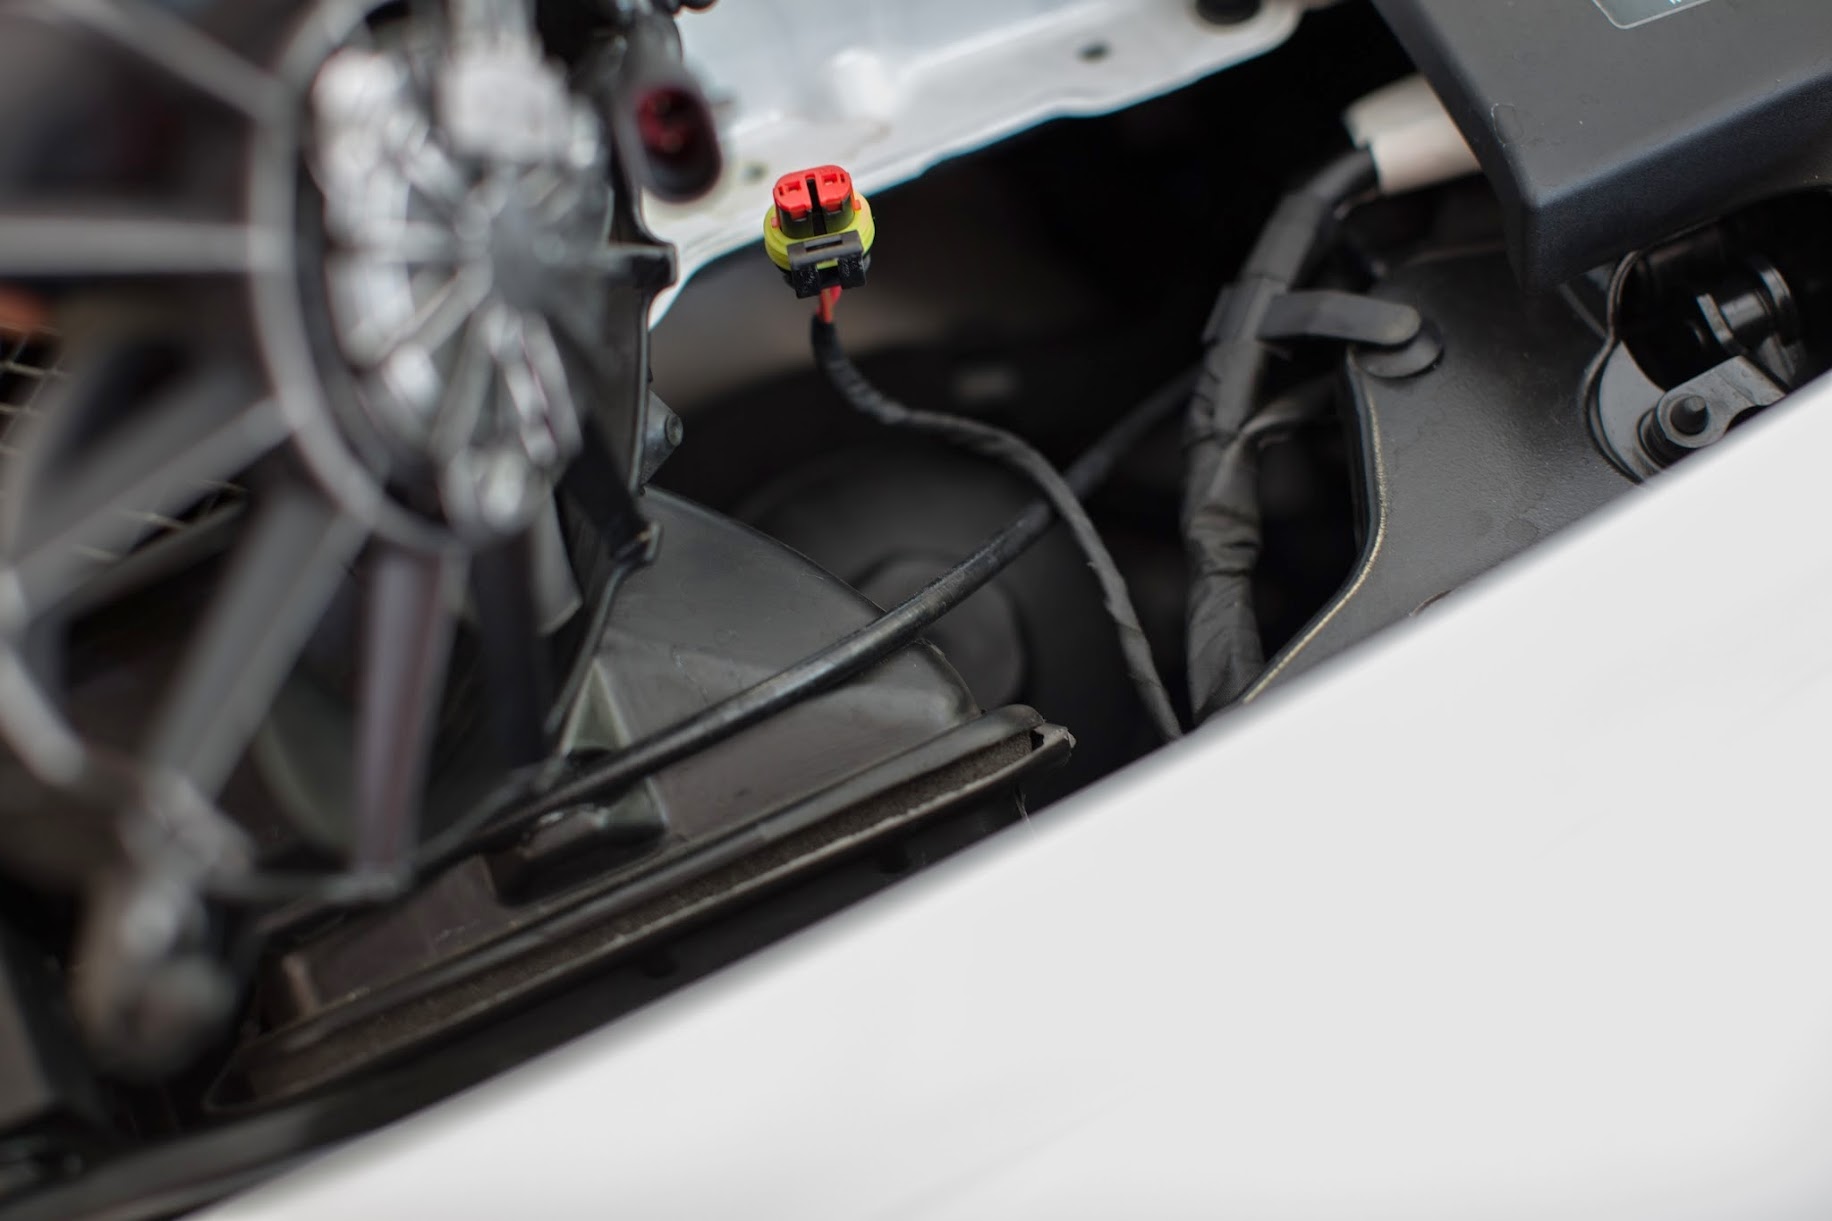
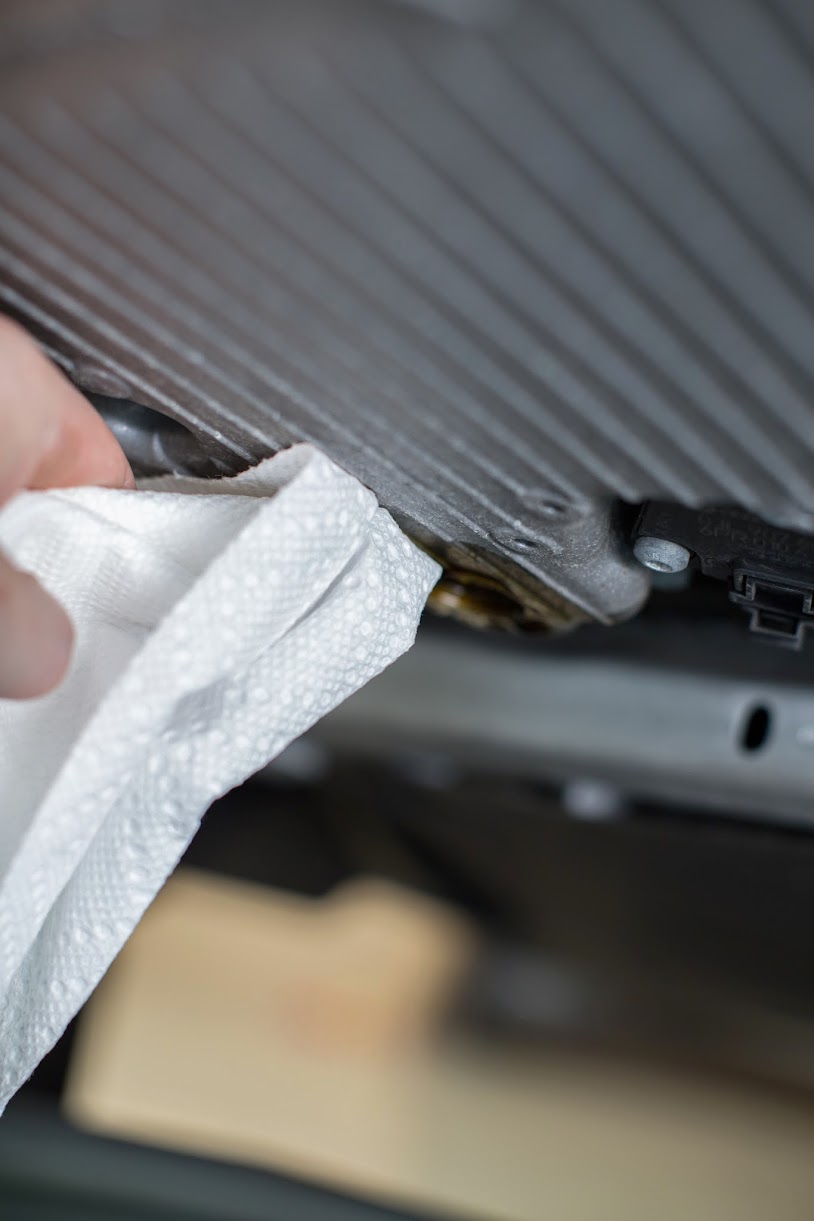
Pull the fan back and up. You only need to remove the one fan on the right to get to the filter. That dirt in the jams is unacceptable. I get than later.


Unplug the fan.

36mm socket with 12" Extension.


Righty tighty, lefty loosey.

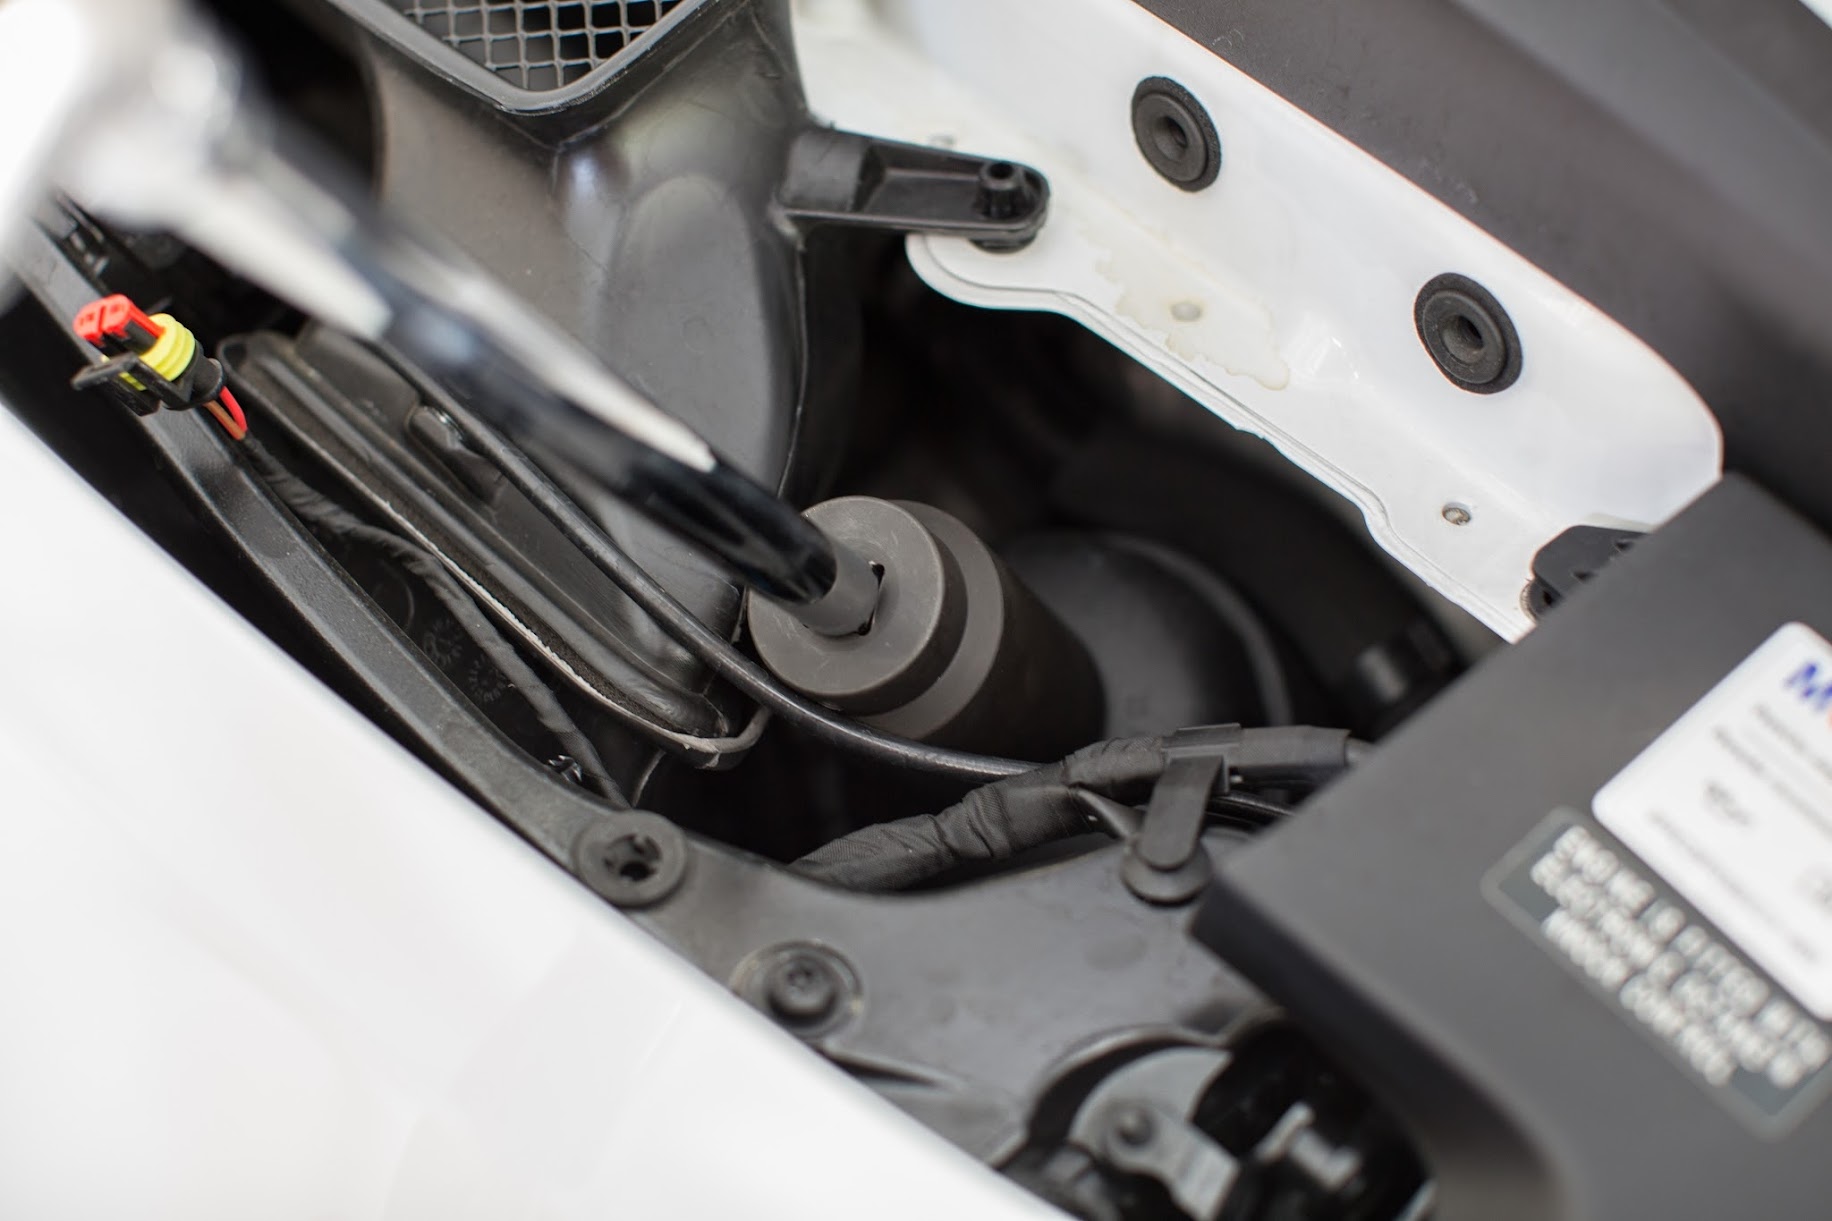
Pop the intake tube loose to allow space to get the filter cap out. Have a rag in hand as the filter cap has oil in it.

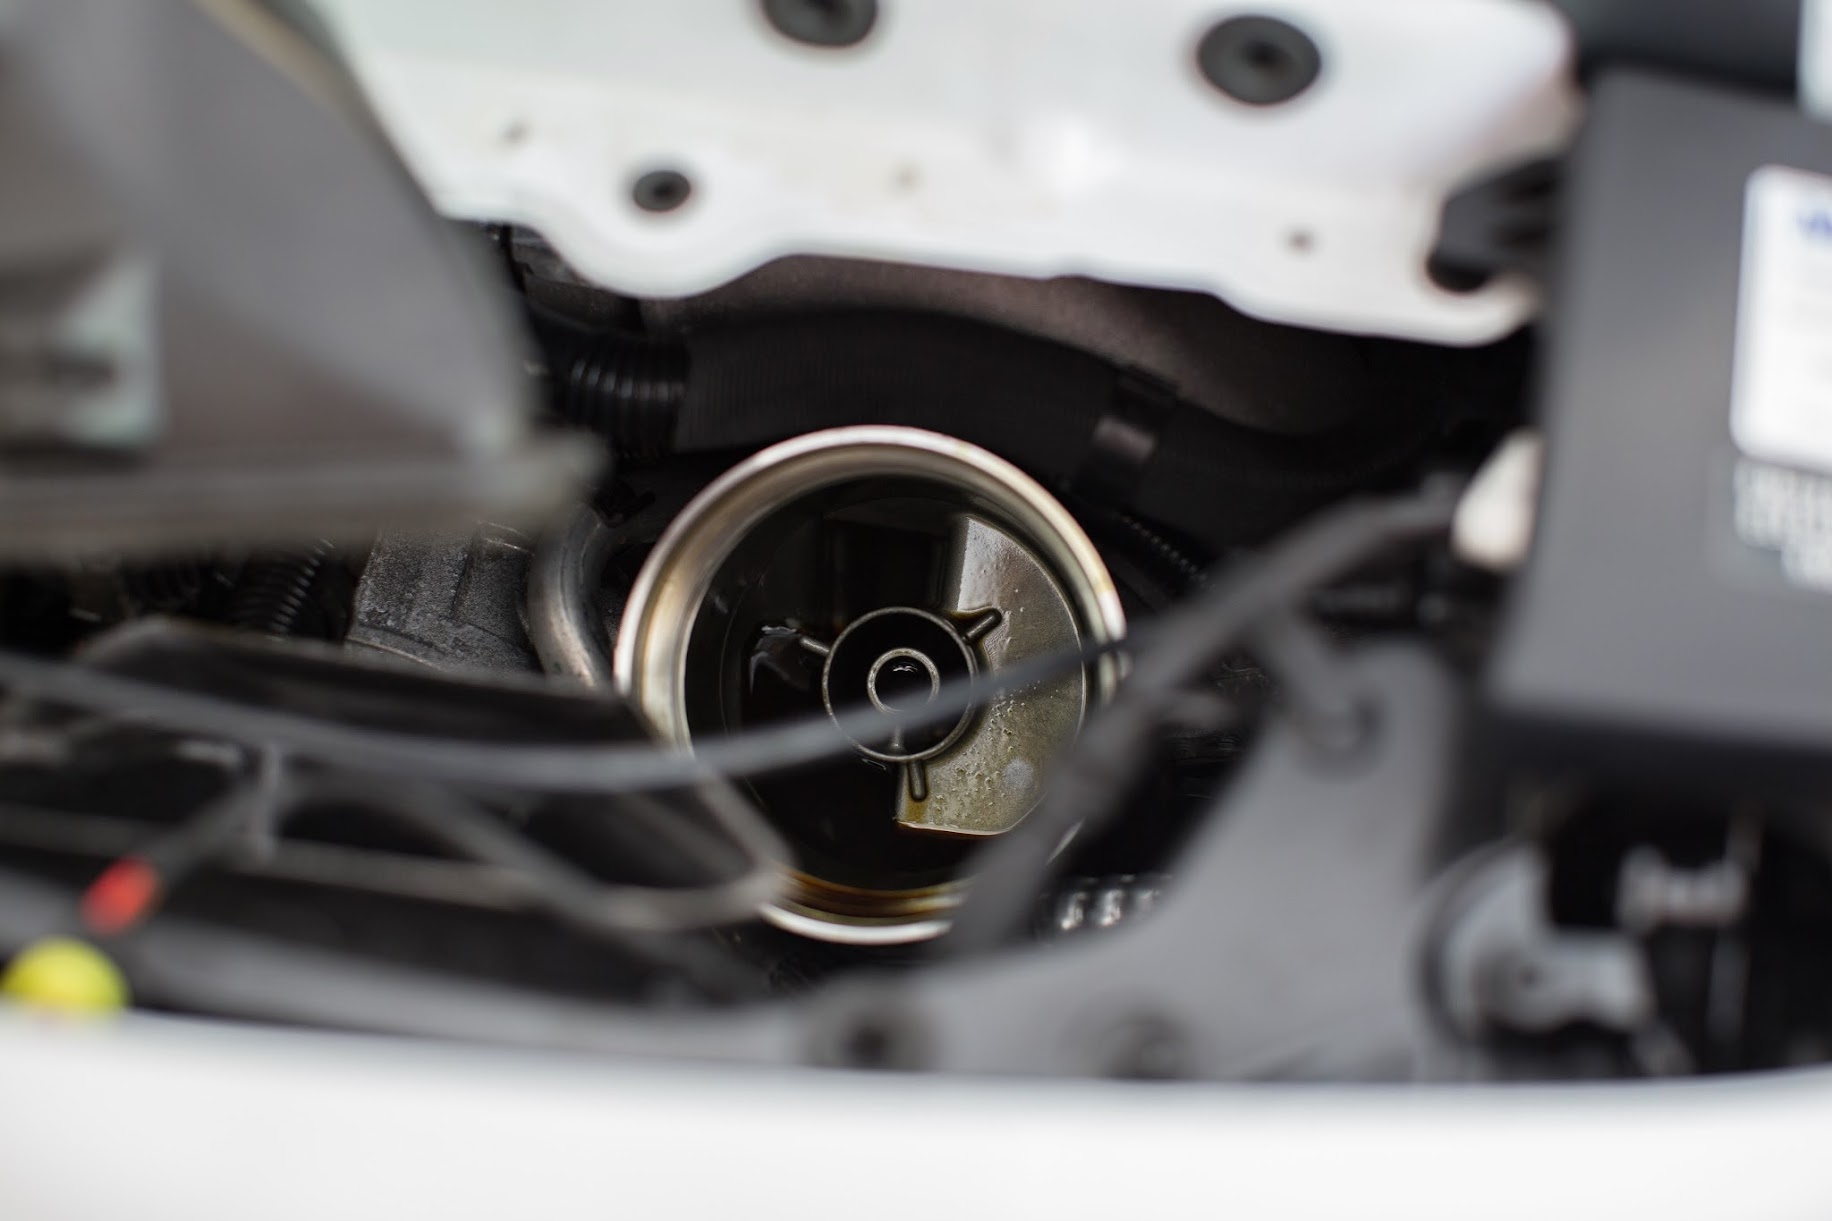
Dirty filter. It fits pretty snug. Just pull.

You know me. I love the details. Clean out the filter cap.

Pop the rubber grommet off with a small flat head. Don't mess up the plastic threads.


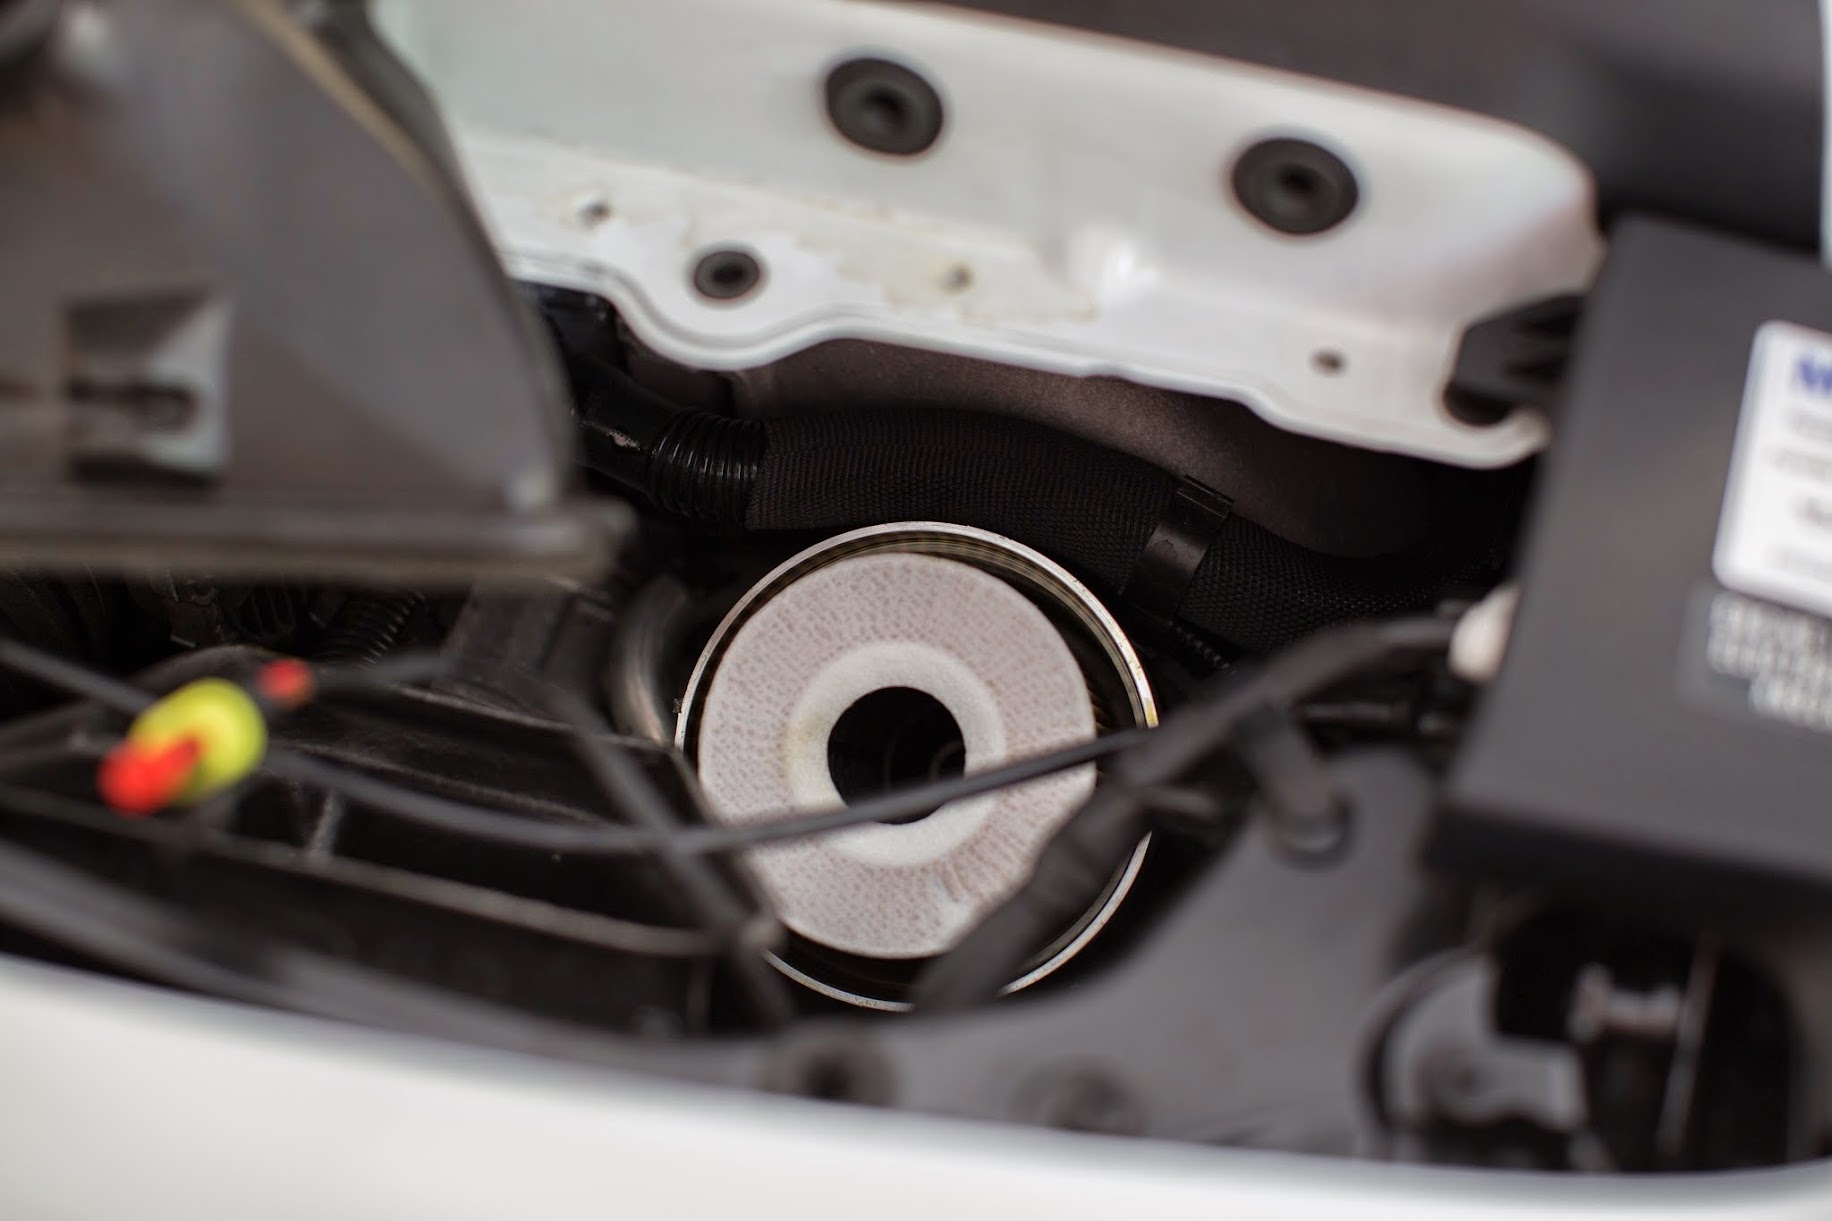
Dirty filter.


You have to really push to get the white fabric to fold into the filter. This creates a nice snug fit. Don't be afraid to push. I'm sure that it doesn't matter, but the wording on the filter goes down. Replace the cap. I have never worried about torque specs. I have a torque wrench but didn't get it out of the toolbox. I just tightened by feel.
**** tendencies...


Put the intake tube and fan back in place.


I put the rubber intake guide back in place before replacing the fan cover. Pull out the support piece, so that it's easier to get the fan cover back on.


Here is my list of tools:
Drain Pan
Dirty Oil Funnel
Clean Oil Funnel
1/2" Ratchet
12" 1/2" Extension
36mm 1/2" Socket
3/8" Ratchet
3" 3/8" Extension
8mm Hex Bit 3/8" Socket
Flat Head Screw Driver
Shop Towels
Paper Towels
Floor Jack
Wheel Chocks
Rhino Ramps
Parts Needed:
9 Quarts Mobile 1 0W-40 Oil
OEM Porsche Oil Filter, Rubber Gasket, Crush Washer
Before doing anything, I let the car run and idle for about 5 minutes to bring the temperature of the oil up. Supposedly it helps the oil drain better.
I kept buying expensive aluminum jacks and the hydraulic pumps were only lasting a year or two before they blew-up. About 5 years ago I decided to go cheap from Harbor Freight. This thing is indestructible for $130. I've been meaning to buy another one as a back-up. I may get one tomorrow.
Most everything about this car is just better than any other car on the planet. I even like the jack points. It's just plain better!
I've always found it easier to just jack the car up and put the Rhino ramps under the tire. I figure less chance of error. I prefer the stability of ramps to jack stands.
I feel so much tougher and more manly when I see my car up on ramps!
Plug pulled using 8mm Hex Bit and 3/8" ratchet. I always have a few paper towels with me under the car to throw the drain bolt on after removing it.
Draining...
This thing drained forever.
Drain bolt and used crush washer. I always clean up it. Am I the only psycho that cleans each individual thread?
Cleaned and ready for install with new crush washer. I got the kit from Suncoast with washer, rubber gasket, and filter.
I was going to simply pull out the support bracket, but I found it easier to just pull the whole rubber piece out.
The cover pops right off. Be careful not to smack the paint on the spoiler. I put my fingers underneath on the fans while pulling the cover upward.
Pull the fan back and up. You only need to remove the one fan on the right to get to the filter. That dirt in the jams is unacceptable. I get than later.
Unplug the fan.
36mm socket with 12" Extension.
Righty tighty, lefty loosey.
Pop the intake tube loose to allow space to get the filter cap out. Have a rag in hand as the filter cap has oil in it.
Dirty filter. It fits pretty snug. Just pull.
You know me. I love the details. Clean out the filter cap.
Pop the rubber grommet off with a small flat head. Don't mess up the plastic threads.
Dirty filter.
You have to really push to get the white fabric to fold into the filter. This creates a nice snug fit. Don't be afraid to push. I'm sure that it doesn't matter, but the wording on the filter goes down. Replace the cap. I have never worried about torque specs. I have a torque wrench but didn't get it out of the toolbox. I just tightened by feel.
**** tendencies...
Put the intake tube and fan back in place.
I put the rubber intake guide back in place before replacing the fan cover. Pull out the support piece, so that it's easier to get the fan cover back on.
04-26-2014, 10:46 PM
#156
Snap the cover back in place.
Replace the plastic support piece.

The oil was still draining, so I decided to do a quick interior clean-up.

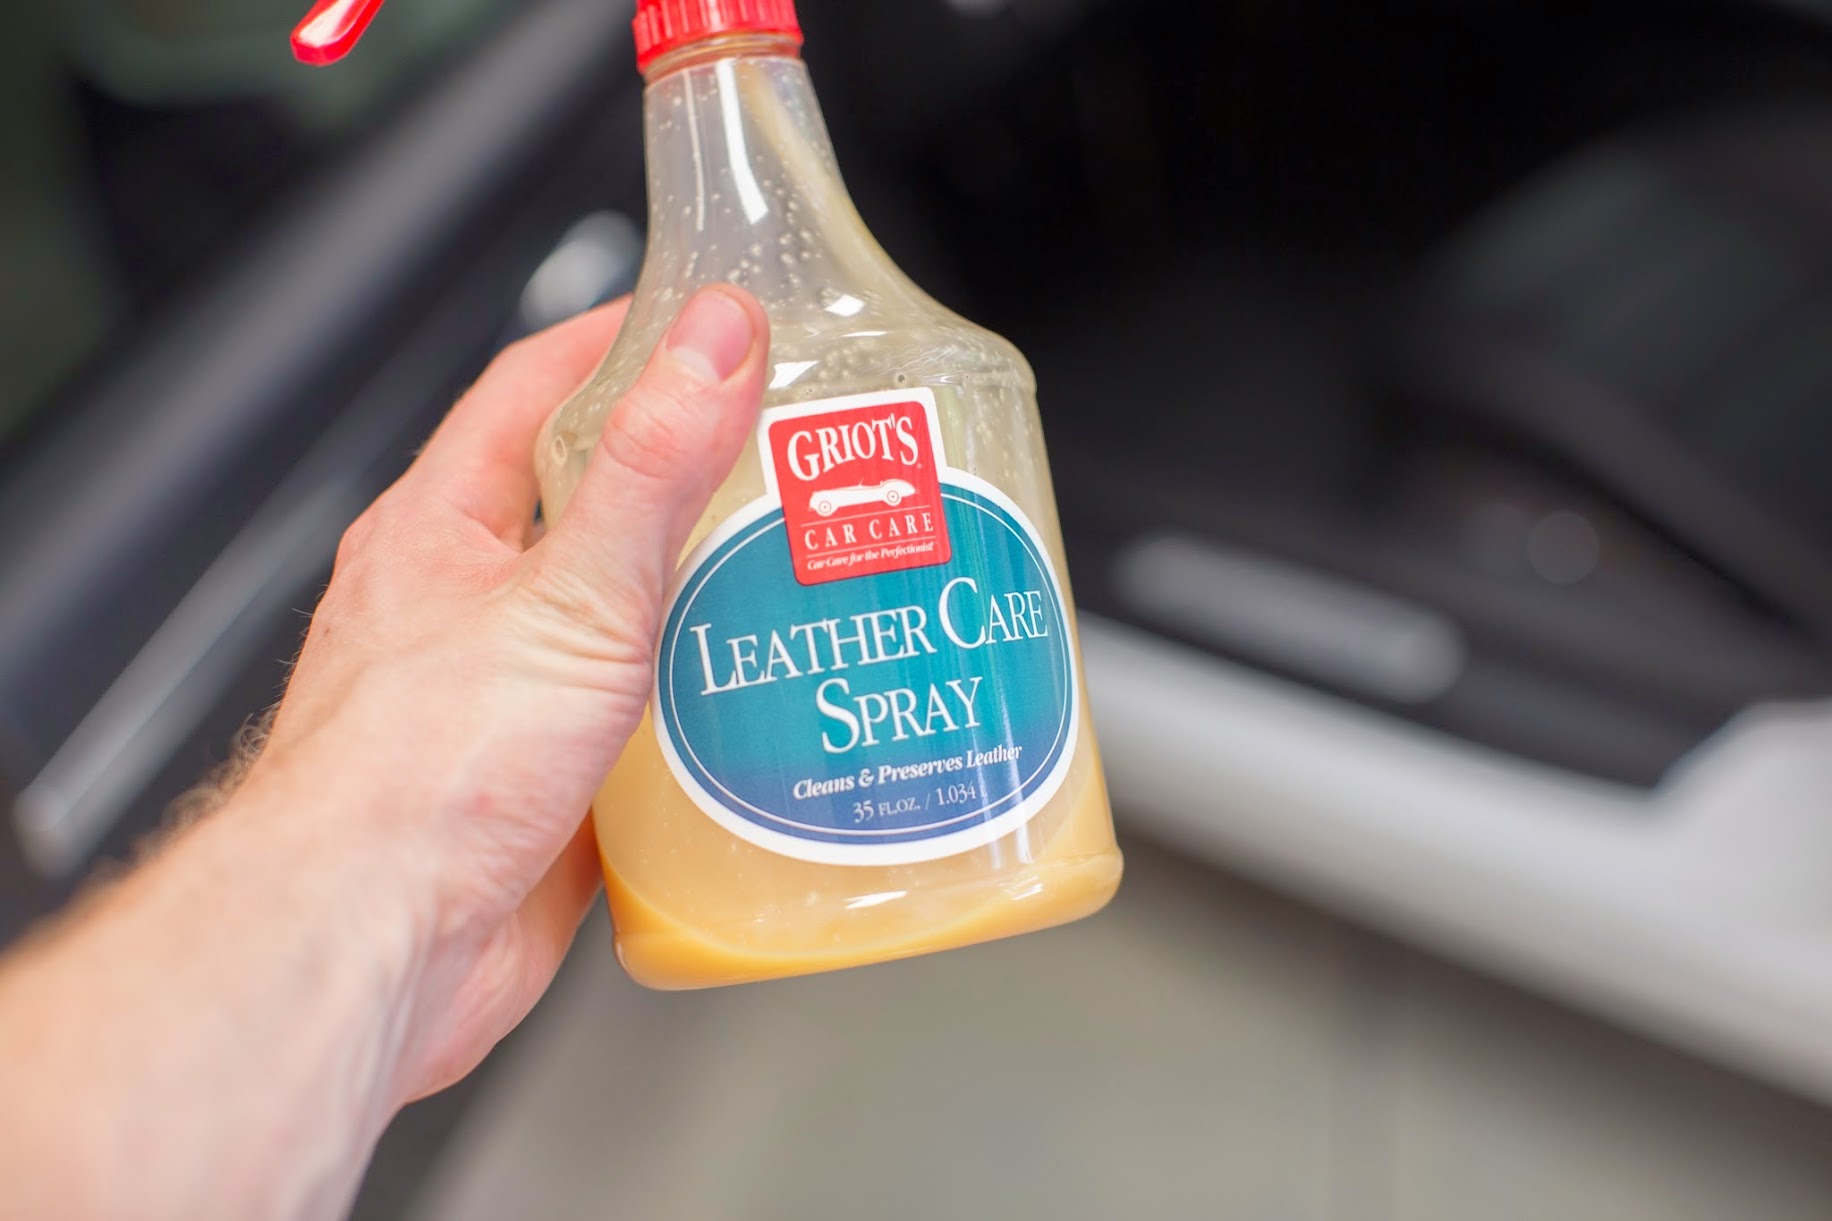
A little leather treatment.
Interior dusting.

I love this stuff. Just spray about five pumps under each seat directly onto the carpet.

Replace drain bolt with new crush washer.


Wipe off excess.

I sprayed a bit of this on the bottom of the pan to get the excess oil off after replacing the drain bolt. Notice the "real man" grease on the can.

Clean.

It's time to fill with oil. I added 8 quarts. The manual says 7.6 quarts, but I've read that's way short of what's needed.


Make sure you pour in slowly. The fill tube bends down into the engine and would very easily overflow down onto the exhaust.


Start the engine to check the level. I had to let the car run for about 10 minutes to get it up to operating temperature before I got a reading. I kept exiting the menu and coming back to it to get a reading. You don't need to turn the engine off.


Reading with 8 quarts. I'm not sure about this, but I made sure to put the cap back on the get a proper oil level. Man, I miss dipsticks, but this took much less time to get a level than my M3. The M3 took like 20 miles of driving to get a measurement

I finished by adding .9 Quarts.
Replace the plastic support piece.
The oil was still draining, so I decided to do a quick interior clean-up.
A little leather treatment.
Interior dusting.
I love this stuff. Just spray about five pumps under each seat directly onto the carpet.
Replace drain bolt with new crush washer.
Wipe off excess.
I sprayed a bit of this on the bottom of the pan to get the excess oil off after replacing the drain bolt. Notice the "real man" grease on the can.
Clean.
It's time to fill with oil. I added 8 quarts. The manual says 7.6 quarts, but I've read that's way short of what's needed.
Make sure you pour in slowly. The fill tube bends down into the engine and would very easily overflow down onto the exhaust.
Start the engine to check the level. I had to let the car run for about 10 minutes to get it up to operating temperature before I got a reading. I kept exiting the menu and coming back to it to get a reading. You don't need to turn the engine off.
Reading with 8 quarts. I'm not sure about this, but I made sure to put the cap back on the get a proper oil level. Man, I miss dipsticks, but this took much less time to get a level than my M3. The M3 took like 20 miles of driving to get a measurement
I finished by adding .9 Quarts.
04-26-2014, 11:06 PM
#157
I hear you man. I've never been so wishy washy on something so simple. I'm sure I'll try the 911 or 911 S at some point.
04-27-2014, 12:00 AM
#158
Advanced
Join Date: Jun 2009
Location: Houston, TX
Posts: 53
Likes: 0
Received 0 Likes
on
0 Posts
Nice write up. I'm curious, did you lower the car during draining to get everything you could out? With the plug where it is, I suppose it may not make a big difference.
04-27-2014, 12:07 AM
#159
I didn't. I thought about putting the front on ramps too. I figured with the plug being toward the front of the oil pan, I'm getting 99.5% of the oil out.
04-27-2014, 12:34 AM
#160
Banned

Join Date: Jan 2013
Location: Chicagoland Area
Posts: 26,142
Likes: 0
Received 5,388 Likes
on
2,509 Posts
Nice write up. But to check the oil level, the engine needs to be OFF (for about 2 minutes) on level ground and the oil hot. Ignition in the on position.
04-27-2014, 12:55 AM
#161
Instructor

Join Date: Jan 2014
Location: WY
Posts: 128
Likes: 0
Received 0 Likes
on
0 Posts
Money:
Great write up and thanks for all the pics. You answered a bunch of my questions. I think I'm ready to tackle mine now. Was the new filter Mahle, also? I'll be draining mine with the car level, as I have a service pit in my garage. Will be interesting to see if I use 8.9 qt as well.
Great write up and thanks for all the pics. You answered a bunch of my questions. I think I'm ready to tackle mine now. Was the new filter Mahle, also? I'll be draining mine with the car level, as I have a service pit in my garage. Will be interesting to see if I use 8.9 qt as well.
04-27-2014, 09:53 AM
#163
Money:
Great write up and thanks for all the pics. You answered a bunch of my questions. I think I'm ready to tackle mine now. Was the new filter Mahle, also? I'll be draining mine with the car level, as I have a service pit in my garage. Will be interesting to see if I use 8.9 qt as well.
Great write up and thanks for all the pics. You answered a bunch of my questions. I think I'm ready to tackle mine now. Was the new filter Mahle, also? I'll be draining mine with the car level, as I have a service pit in my garage. Will be interesting to see if I use 8.9 qt as well.
http://www.suncoastparts.com/product...91SENGINEmaint
If I had a service pit, I'd do it level too.
 04-27-2014, 10:03 AM
#164
Banned
Join Date: Jan 2013
Location: Chicagoland Area
Posts: 26,142
Likes: 0
Received 5,388 Likes
on
2,509 Posts
Use only OE Porsche oil filters. Especially during the warranty period. Once out of warranty if you want to experiment with OEM filters to save a couple bucks ( not worth it to me) go ahead.
04-27-2014, 10:03 AM
#165
It's pretty easy to do, but you have to have to use a little muscle. I just watched the Suncoast video. I didn't do it quite the same. I pushed the reflector pretty hard toward the back of the car while pulling out. So push and pull at the same time. For me, the metal tab at the back of the reflector popped out first. The reflectors are attached to the plastic front bumper, so you won't have to worry about bending the metal fenders. It will pops loose rather violently if you aren't careful.