When you click on links to various merchants on this site and make a purchase, this can result in this site earning a commission. Affiliate programs and affiliations include, but are not limited to, the eBay Partner Network.
I took out front and rear to dismantel the plastic parts and had them painted by a friend.
Well let me tell you - taking out the front bumper is slightly different to the 991.1 as they have changed the technical specs - so i. e. the lights are staying in and cannot be removed, different access to the plugs, but overall similar.
Removing the rear I found even easier - of course you need to know how the wing is being lifted otherwise you have no access to the screws on the back.
The true hell startet after having taking of the front bumper - for a second I thought they must be kidding. There are so many different components, cables, screw, specialist clamps etc... to be removed that it took me 4 times longer to take the plastic bits out than to remove the front bumper itself.
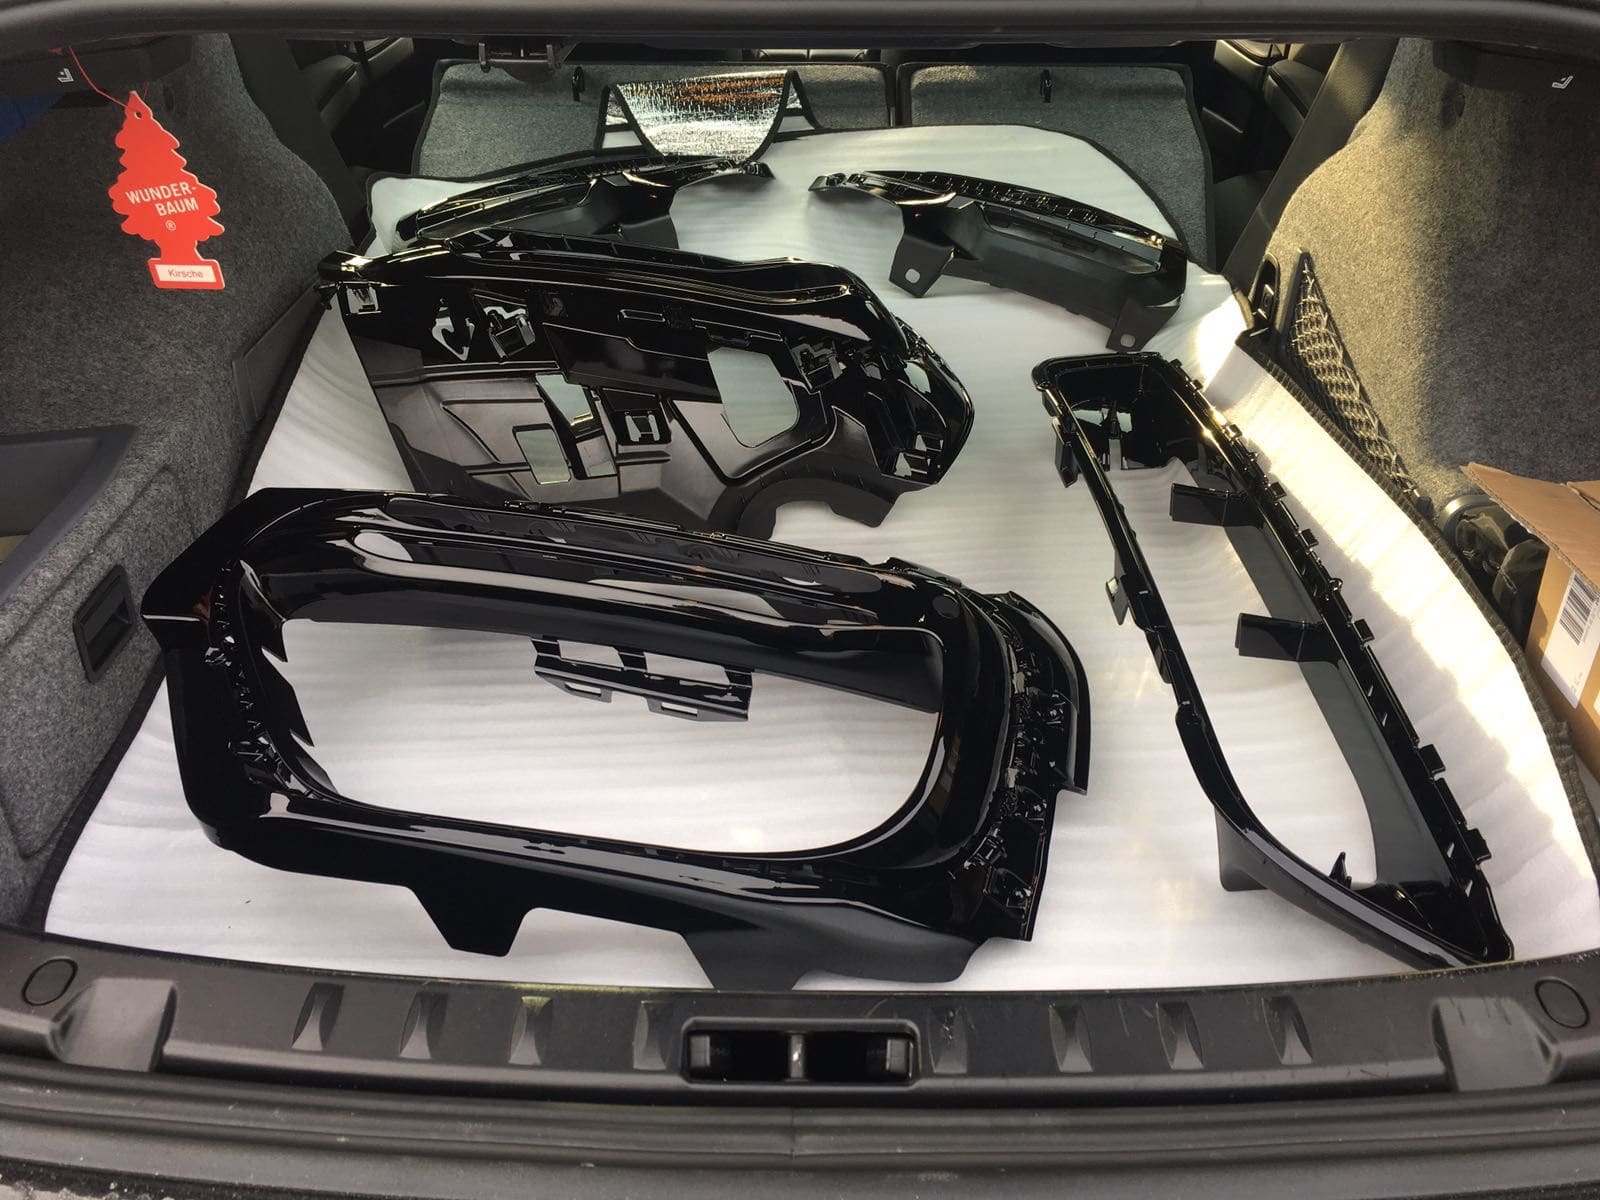
In the end I had load of individiual items to be painted...
so here is step one
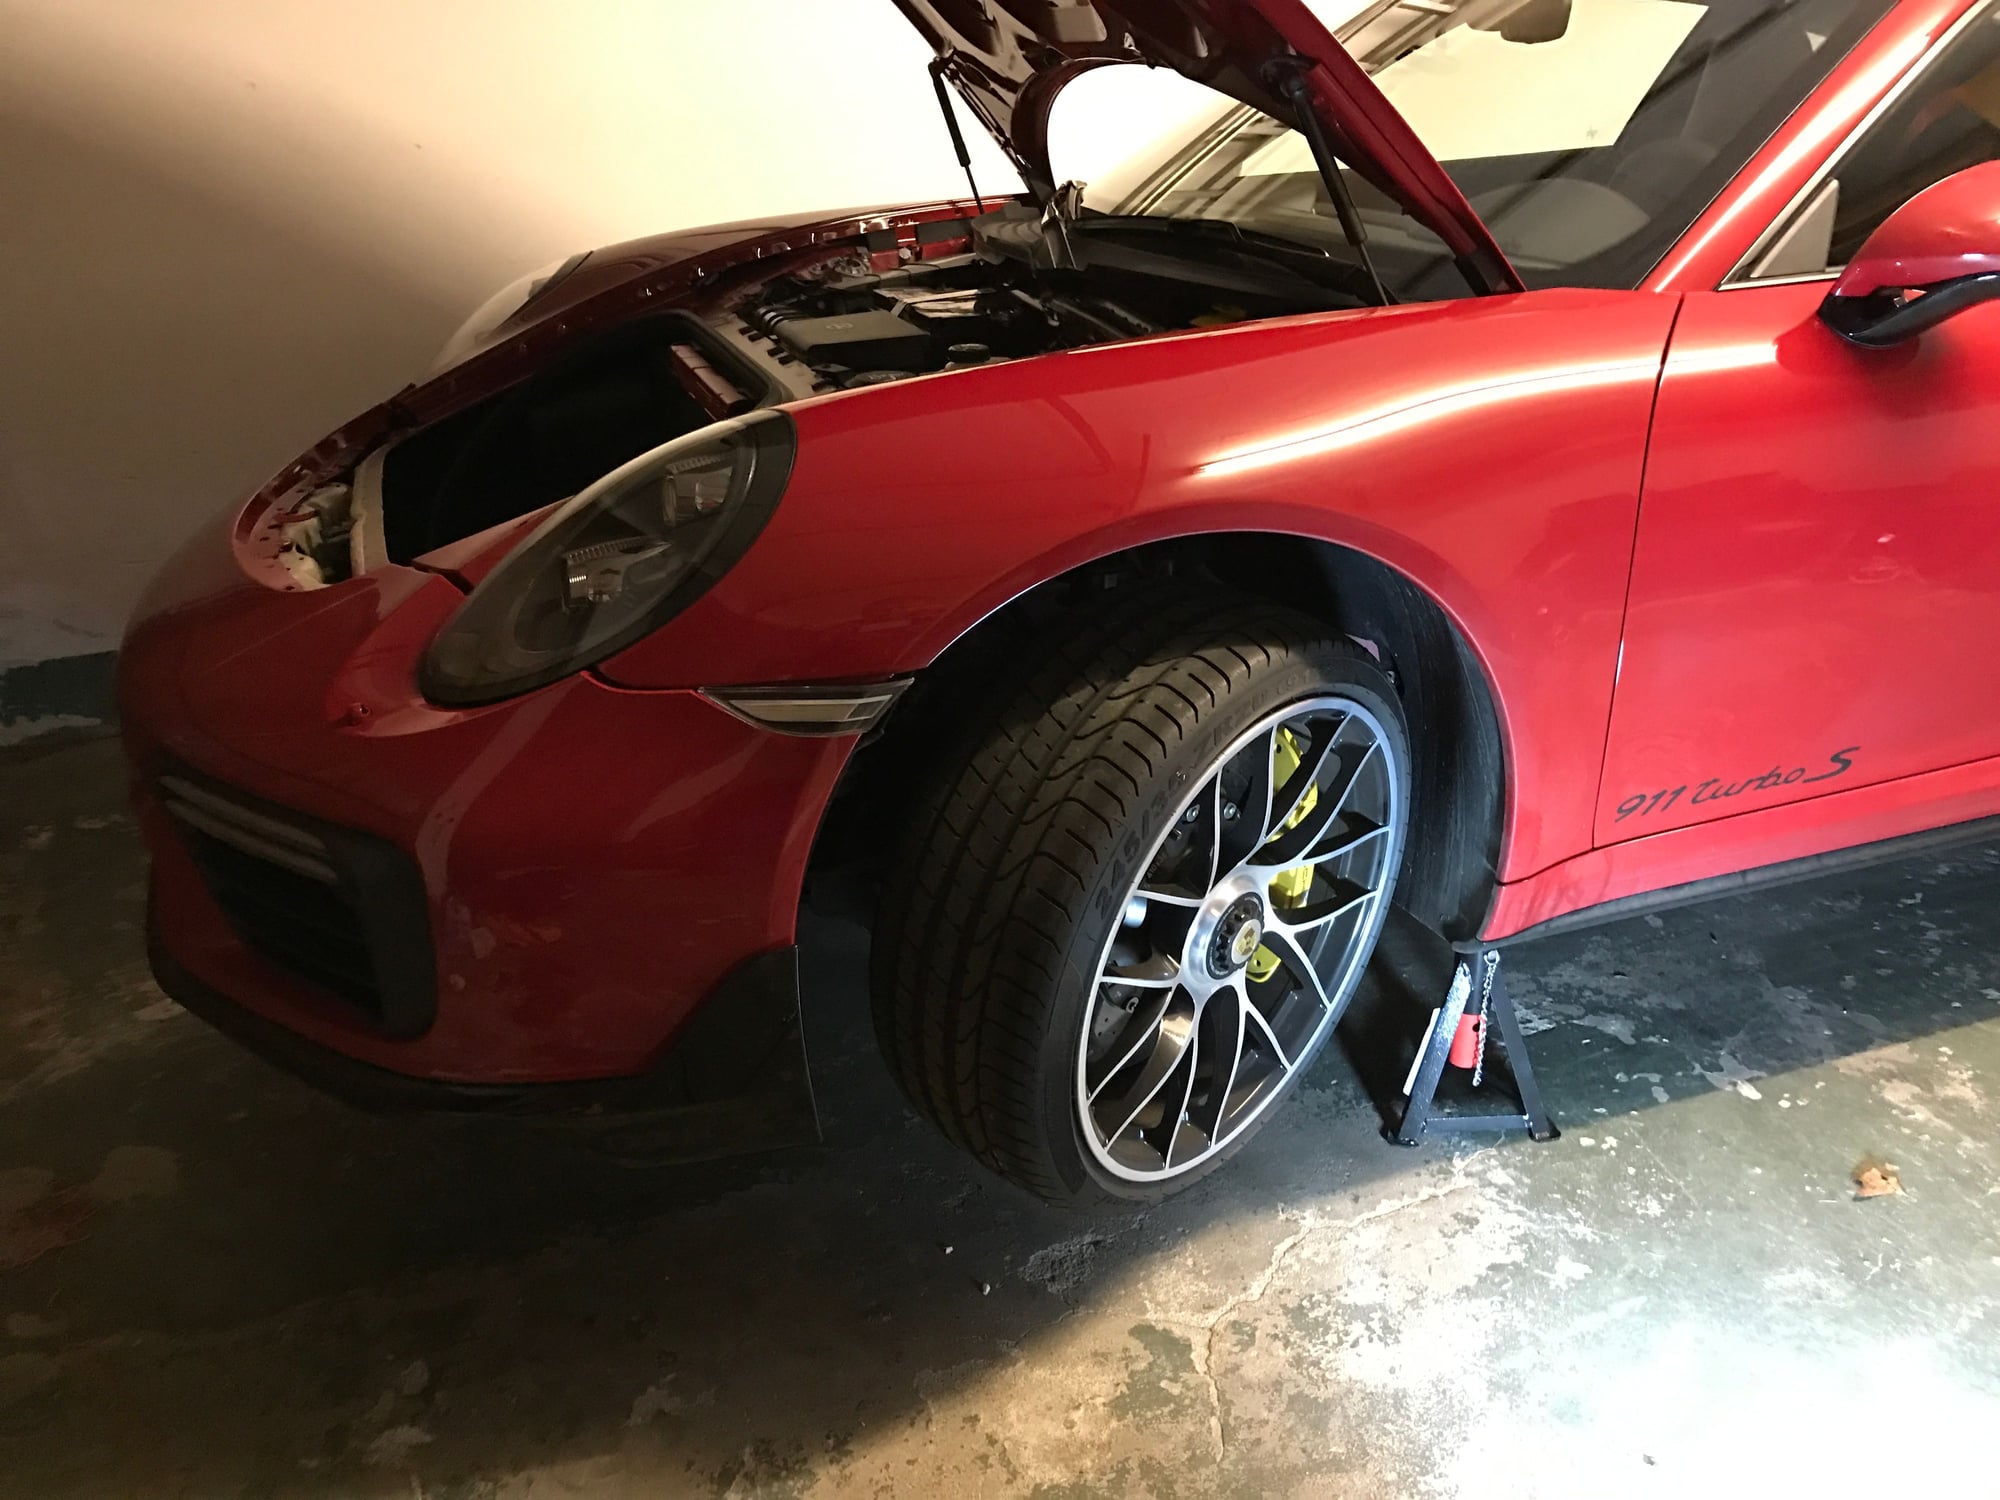
For easier access I put the car on 4 stands
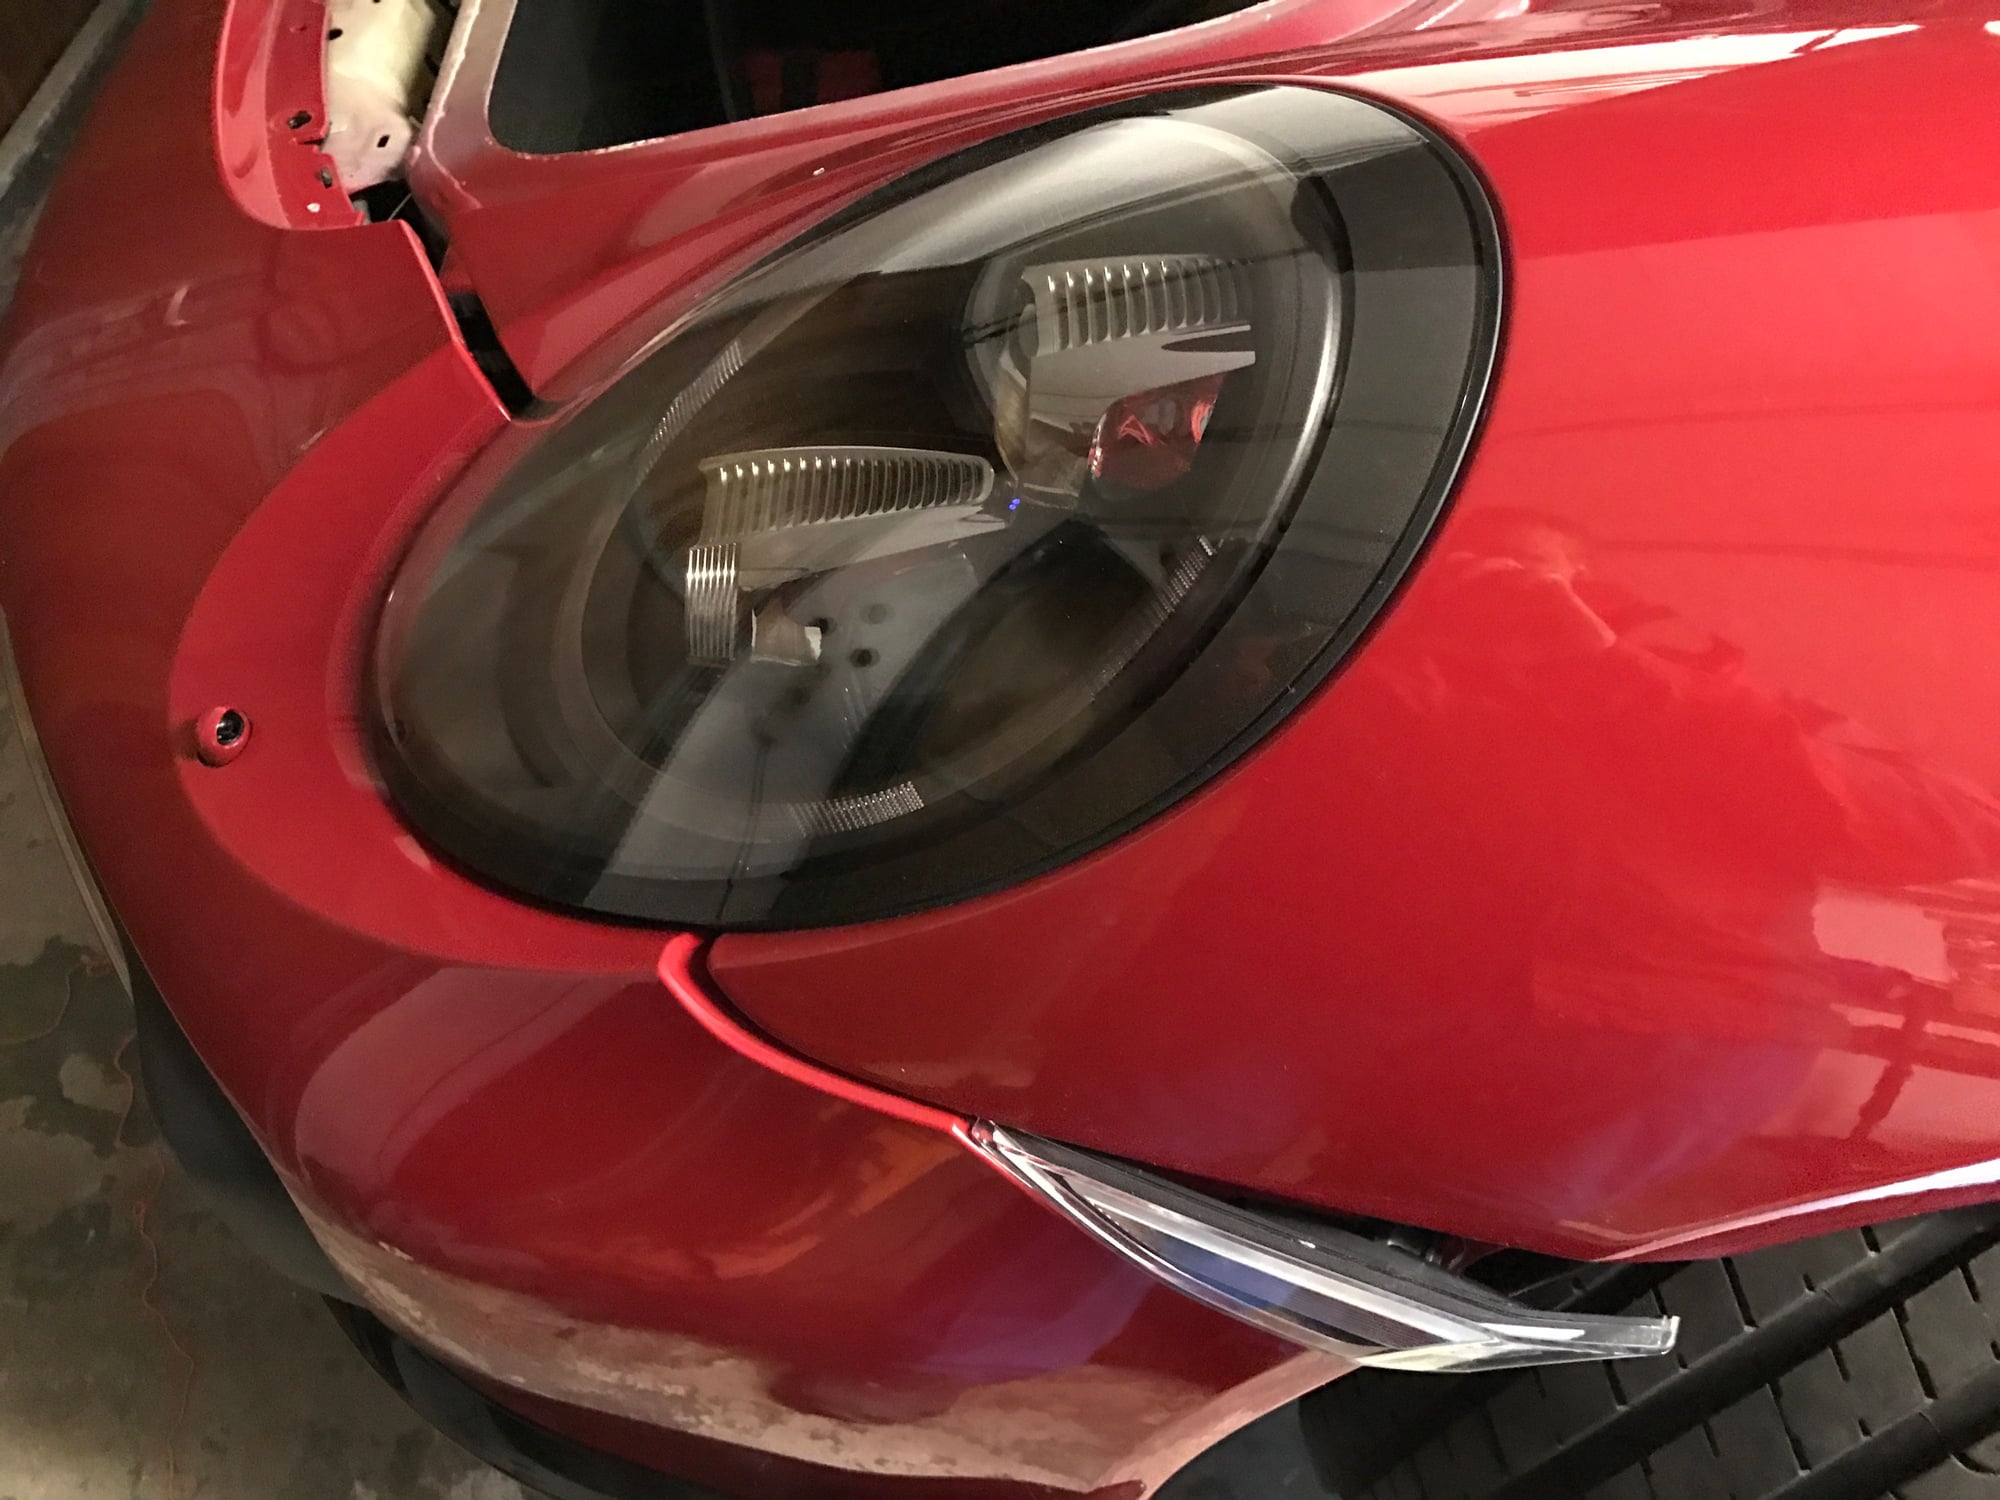
here all is already loose and you can see the lights are staying in on the 991.2
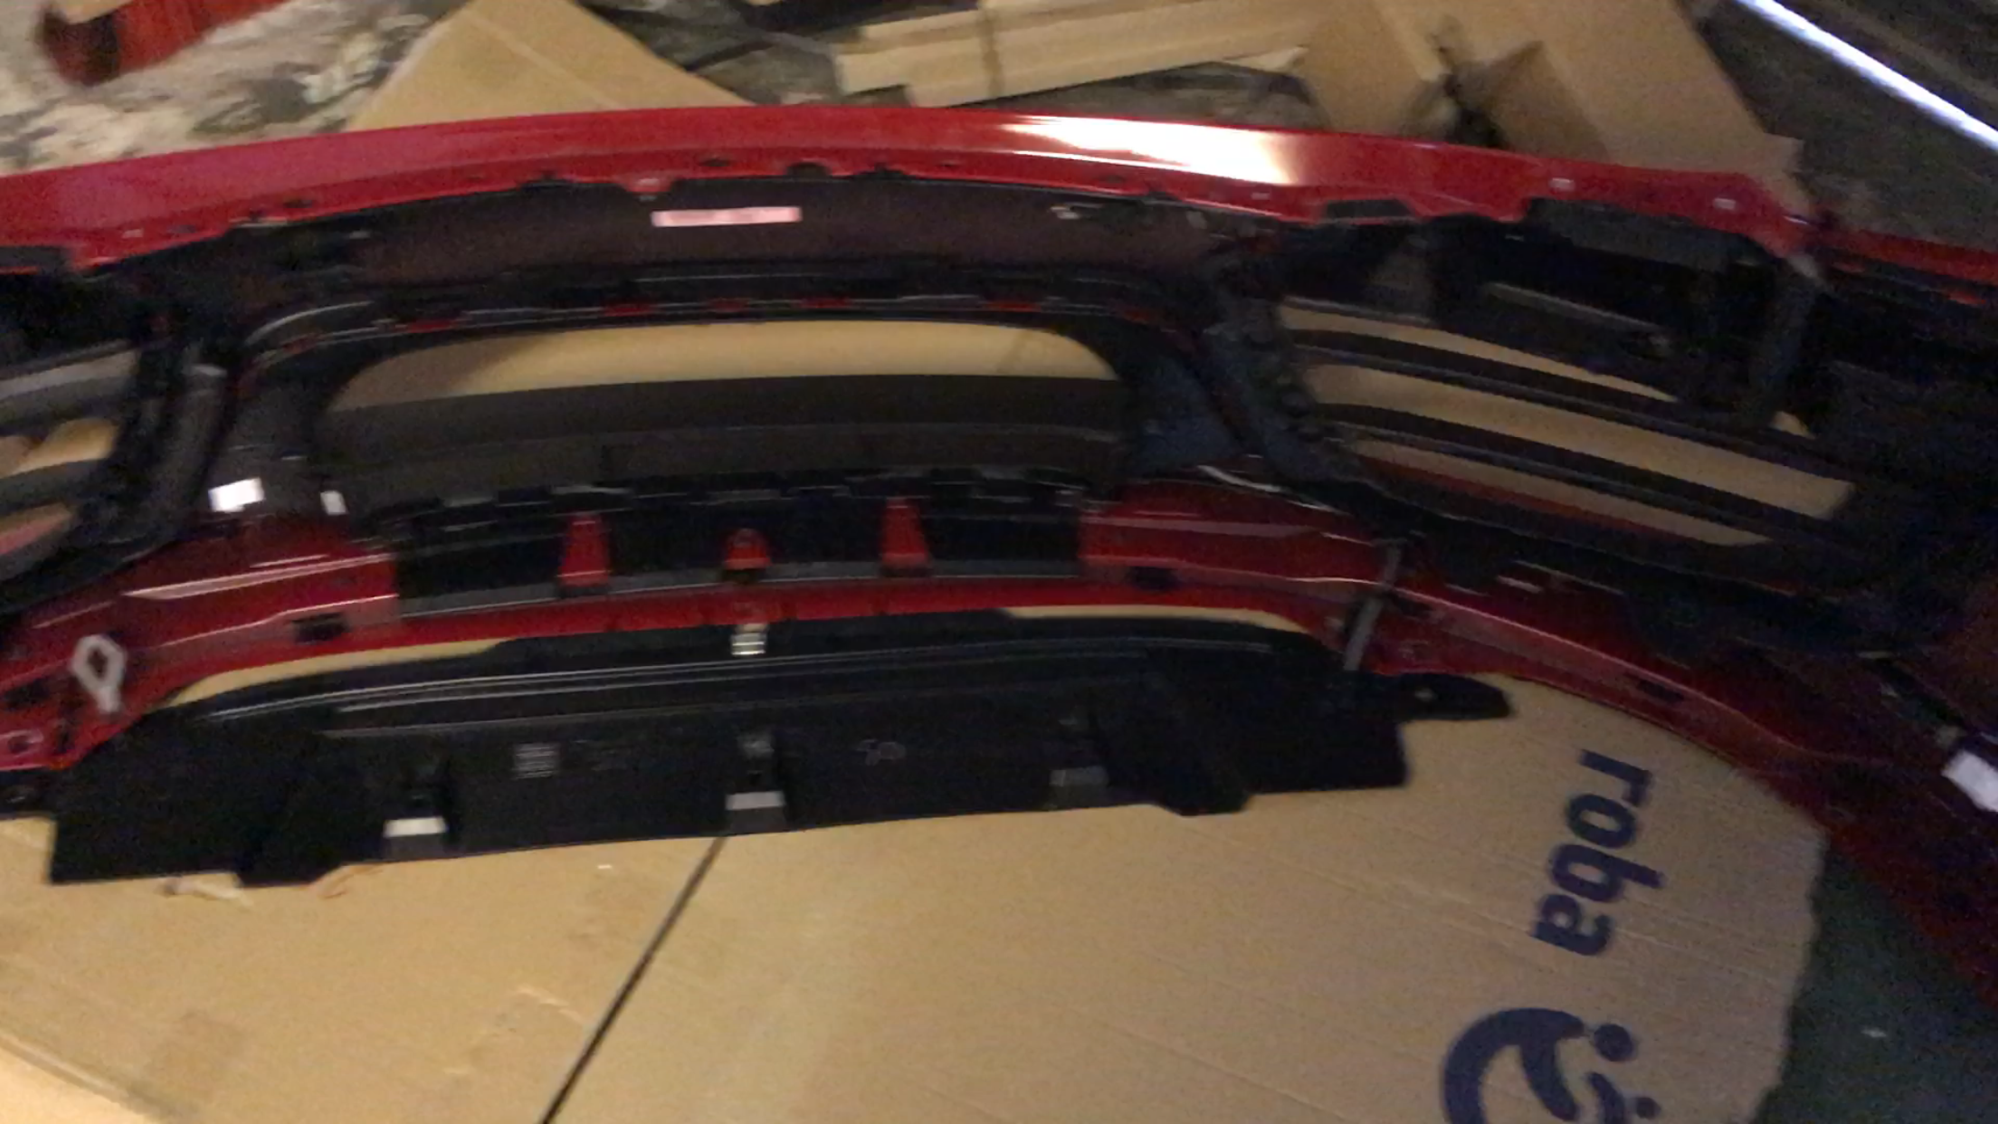
front bumper off
here it is - also on the turbo (s) you have to discconned the air wires for the active wing
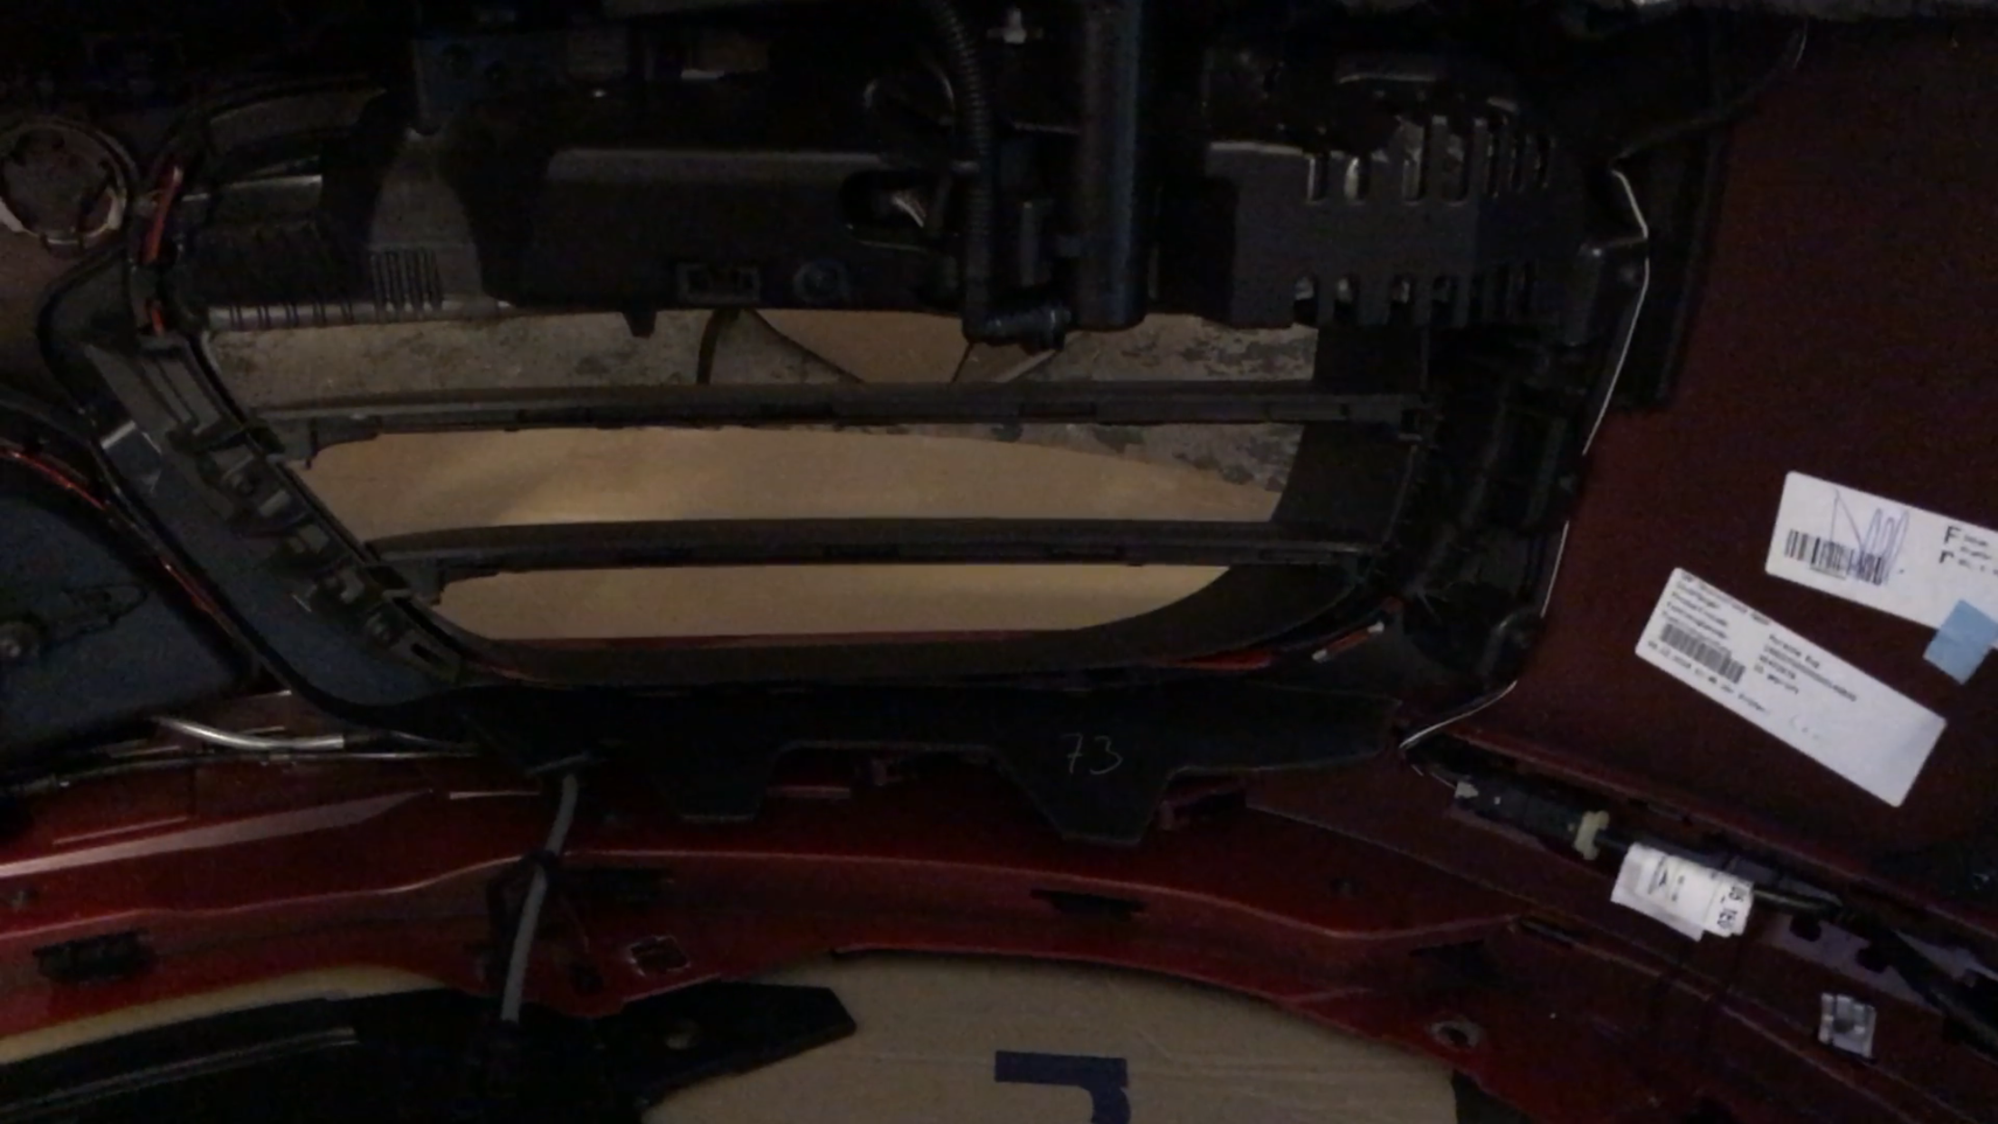
look at the mess - loads of individual itesm
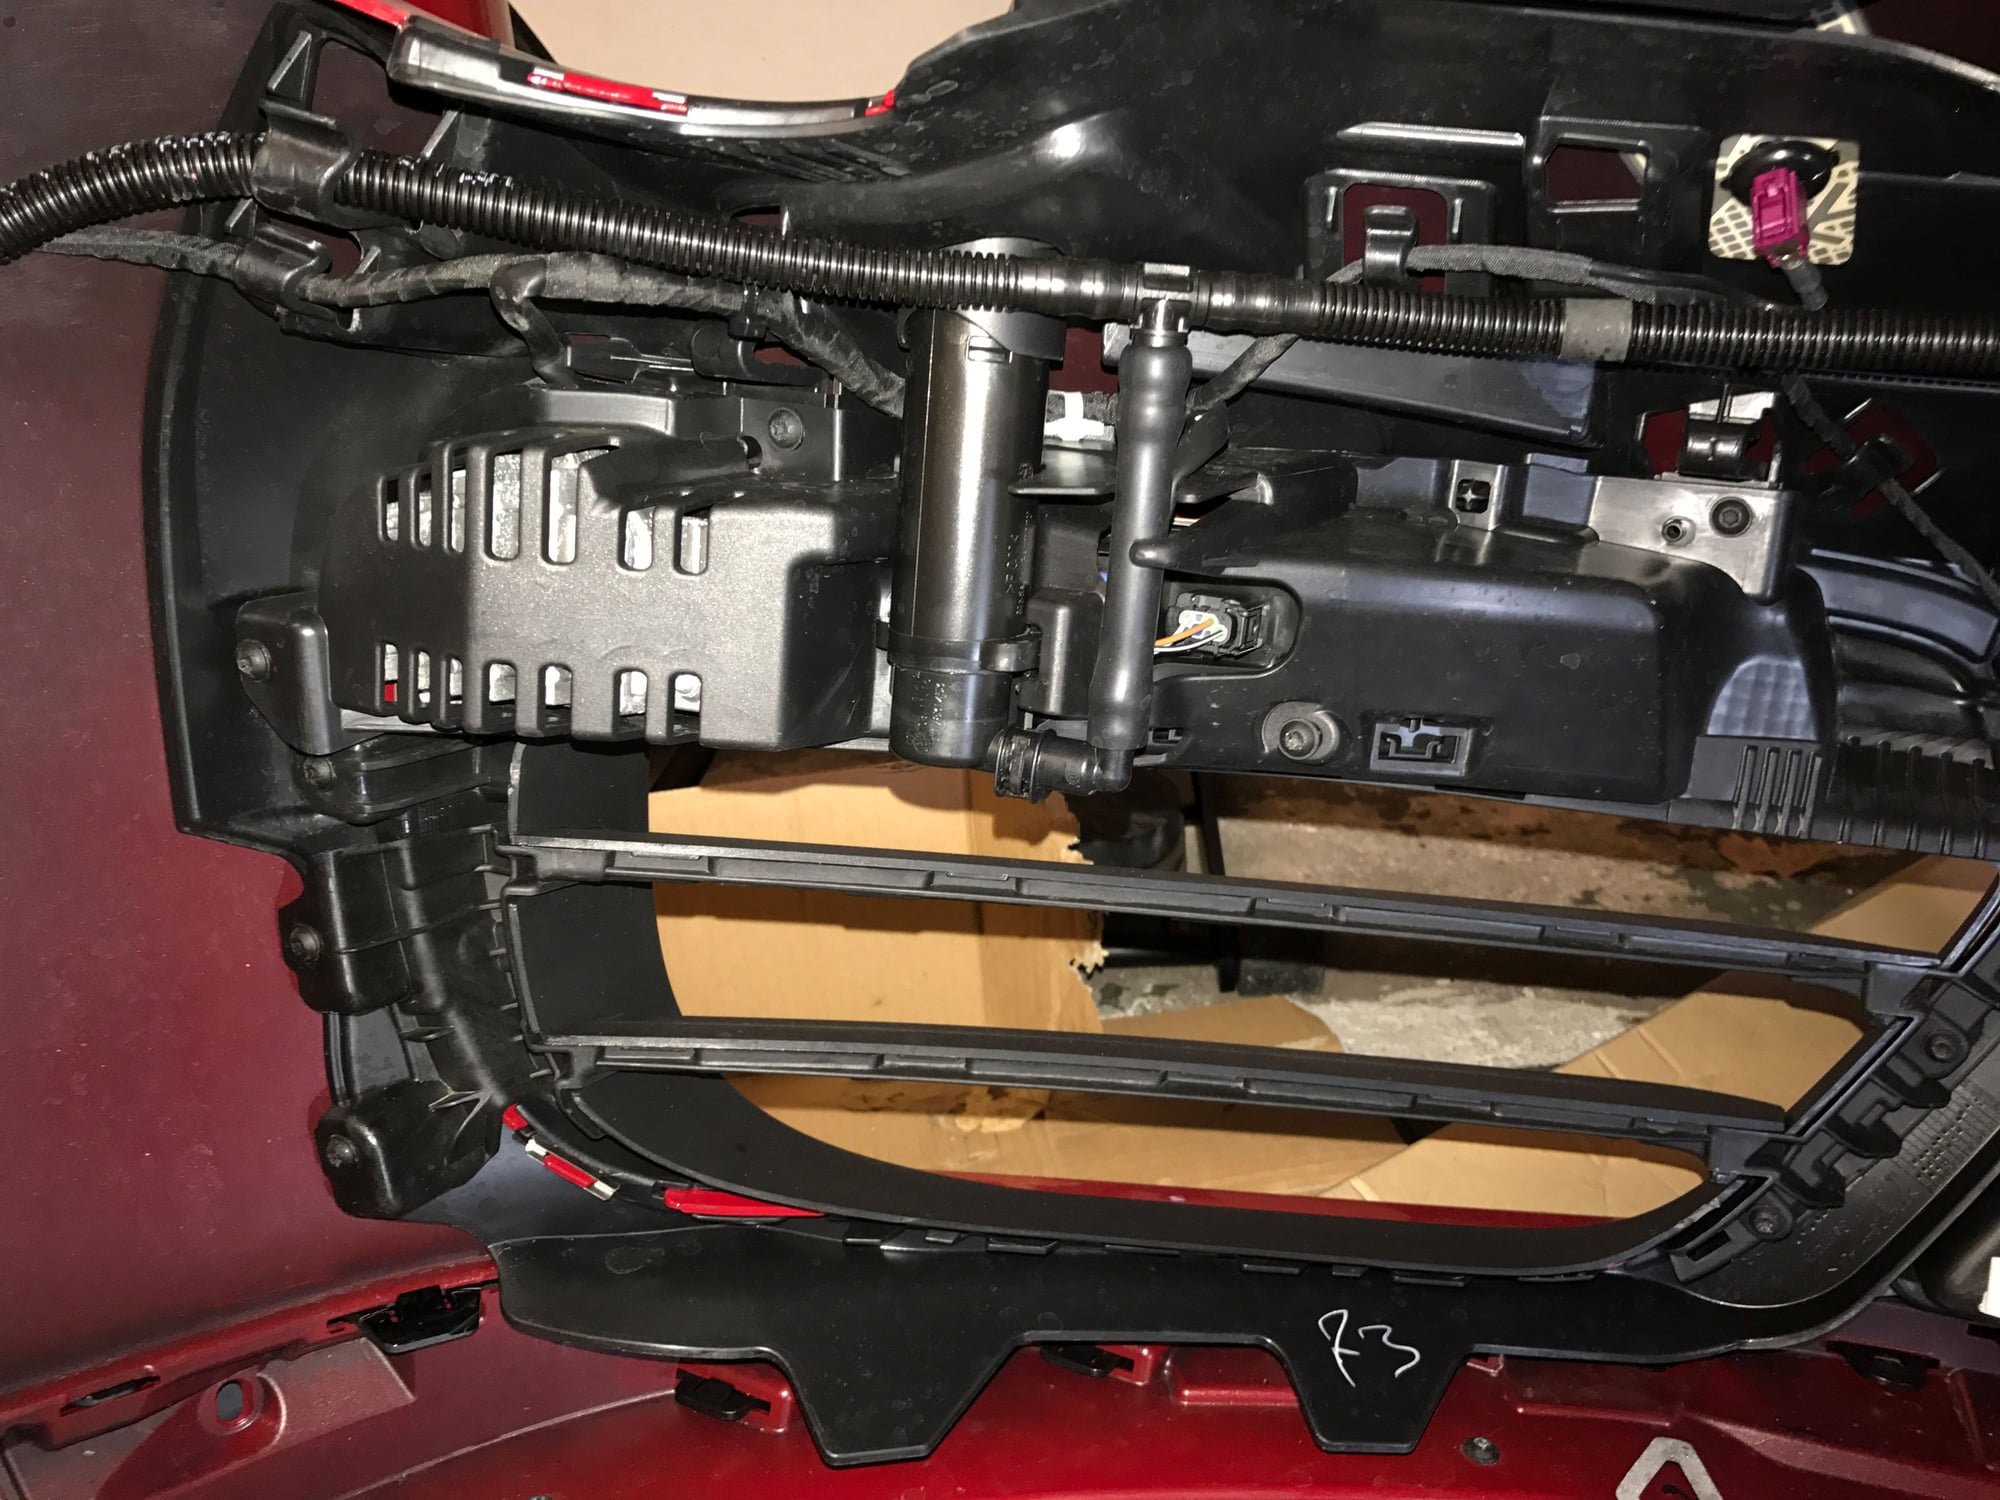
more details (cables have to come off, completely, all sensors must be disconnected, LED light needs to come off, washers off etc..
parts have been removed, but more to continue
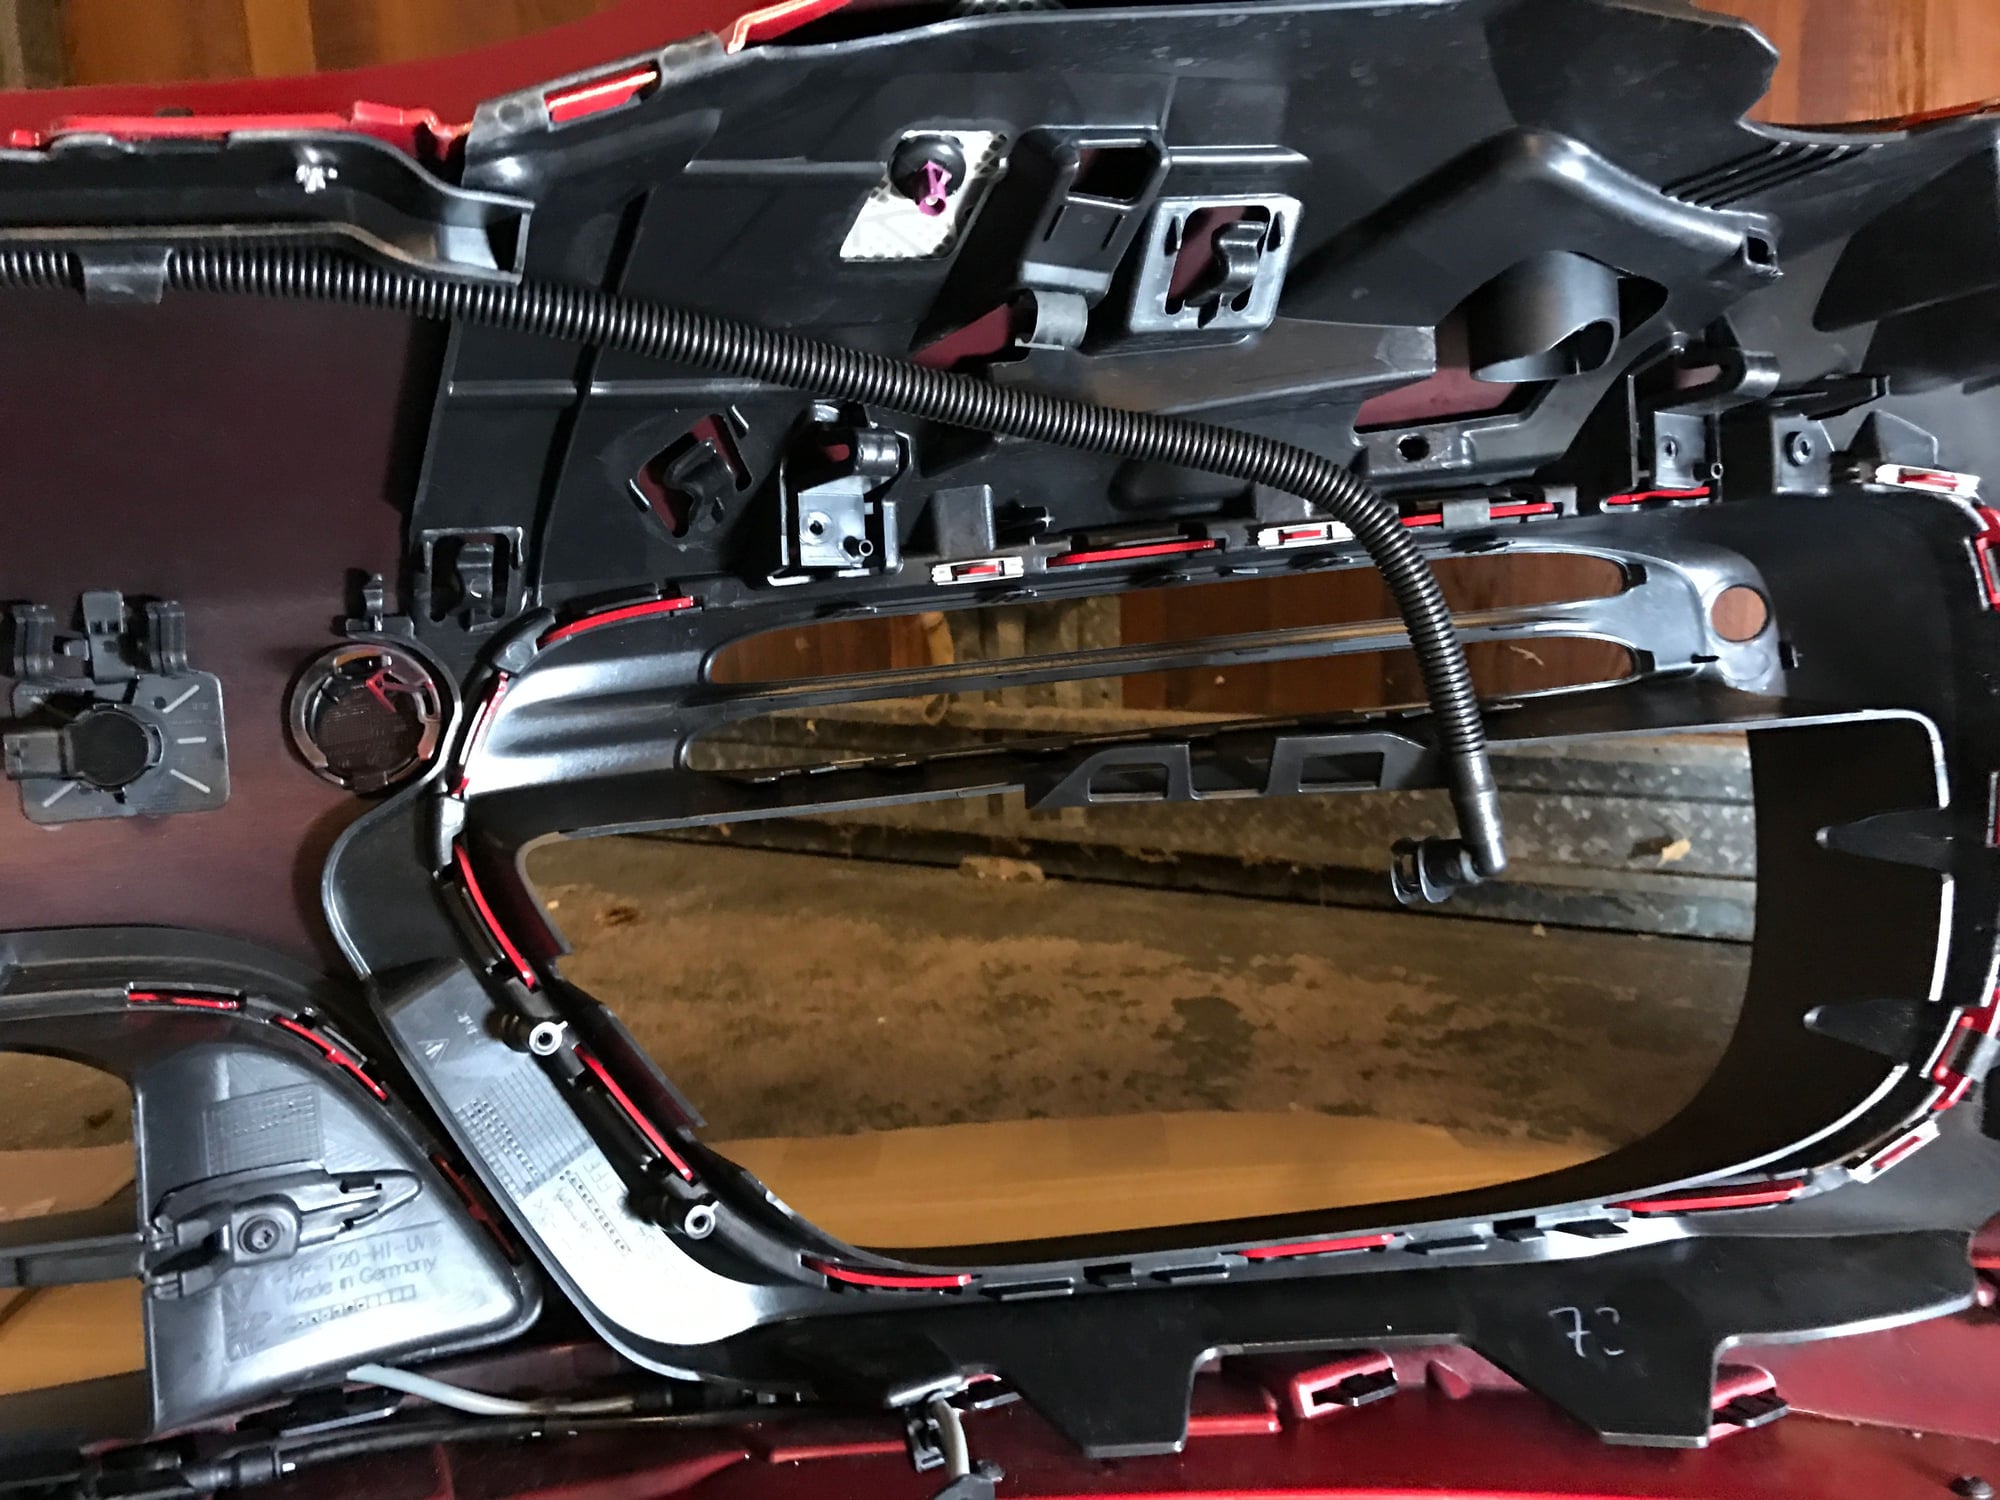
look closely on the right of the plastic, it is not just clipsed into the plastic is also fixed with addtional very nasty metal clips.
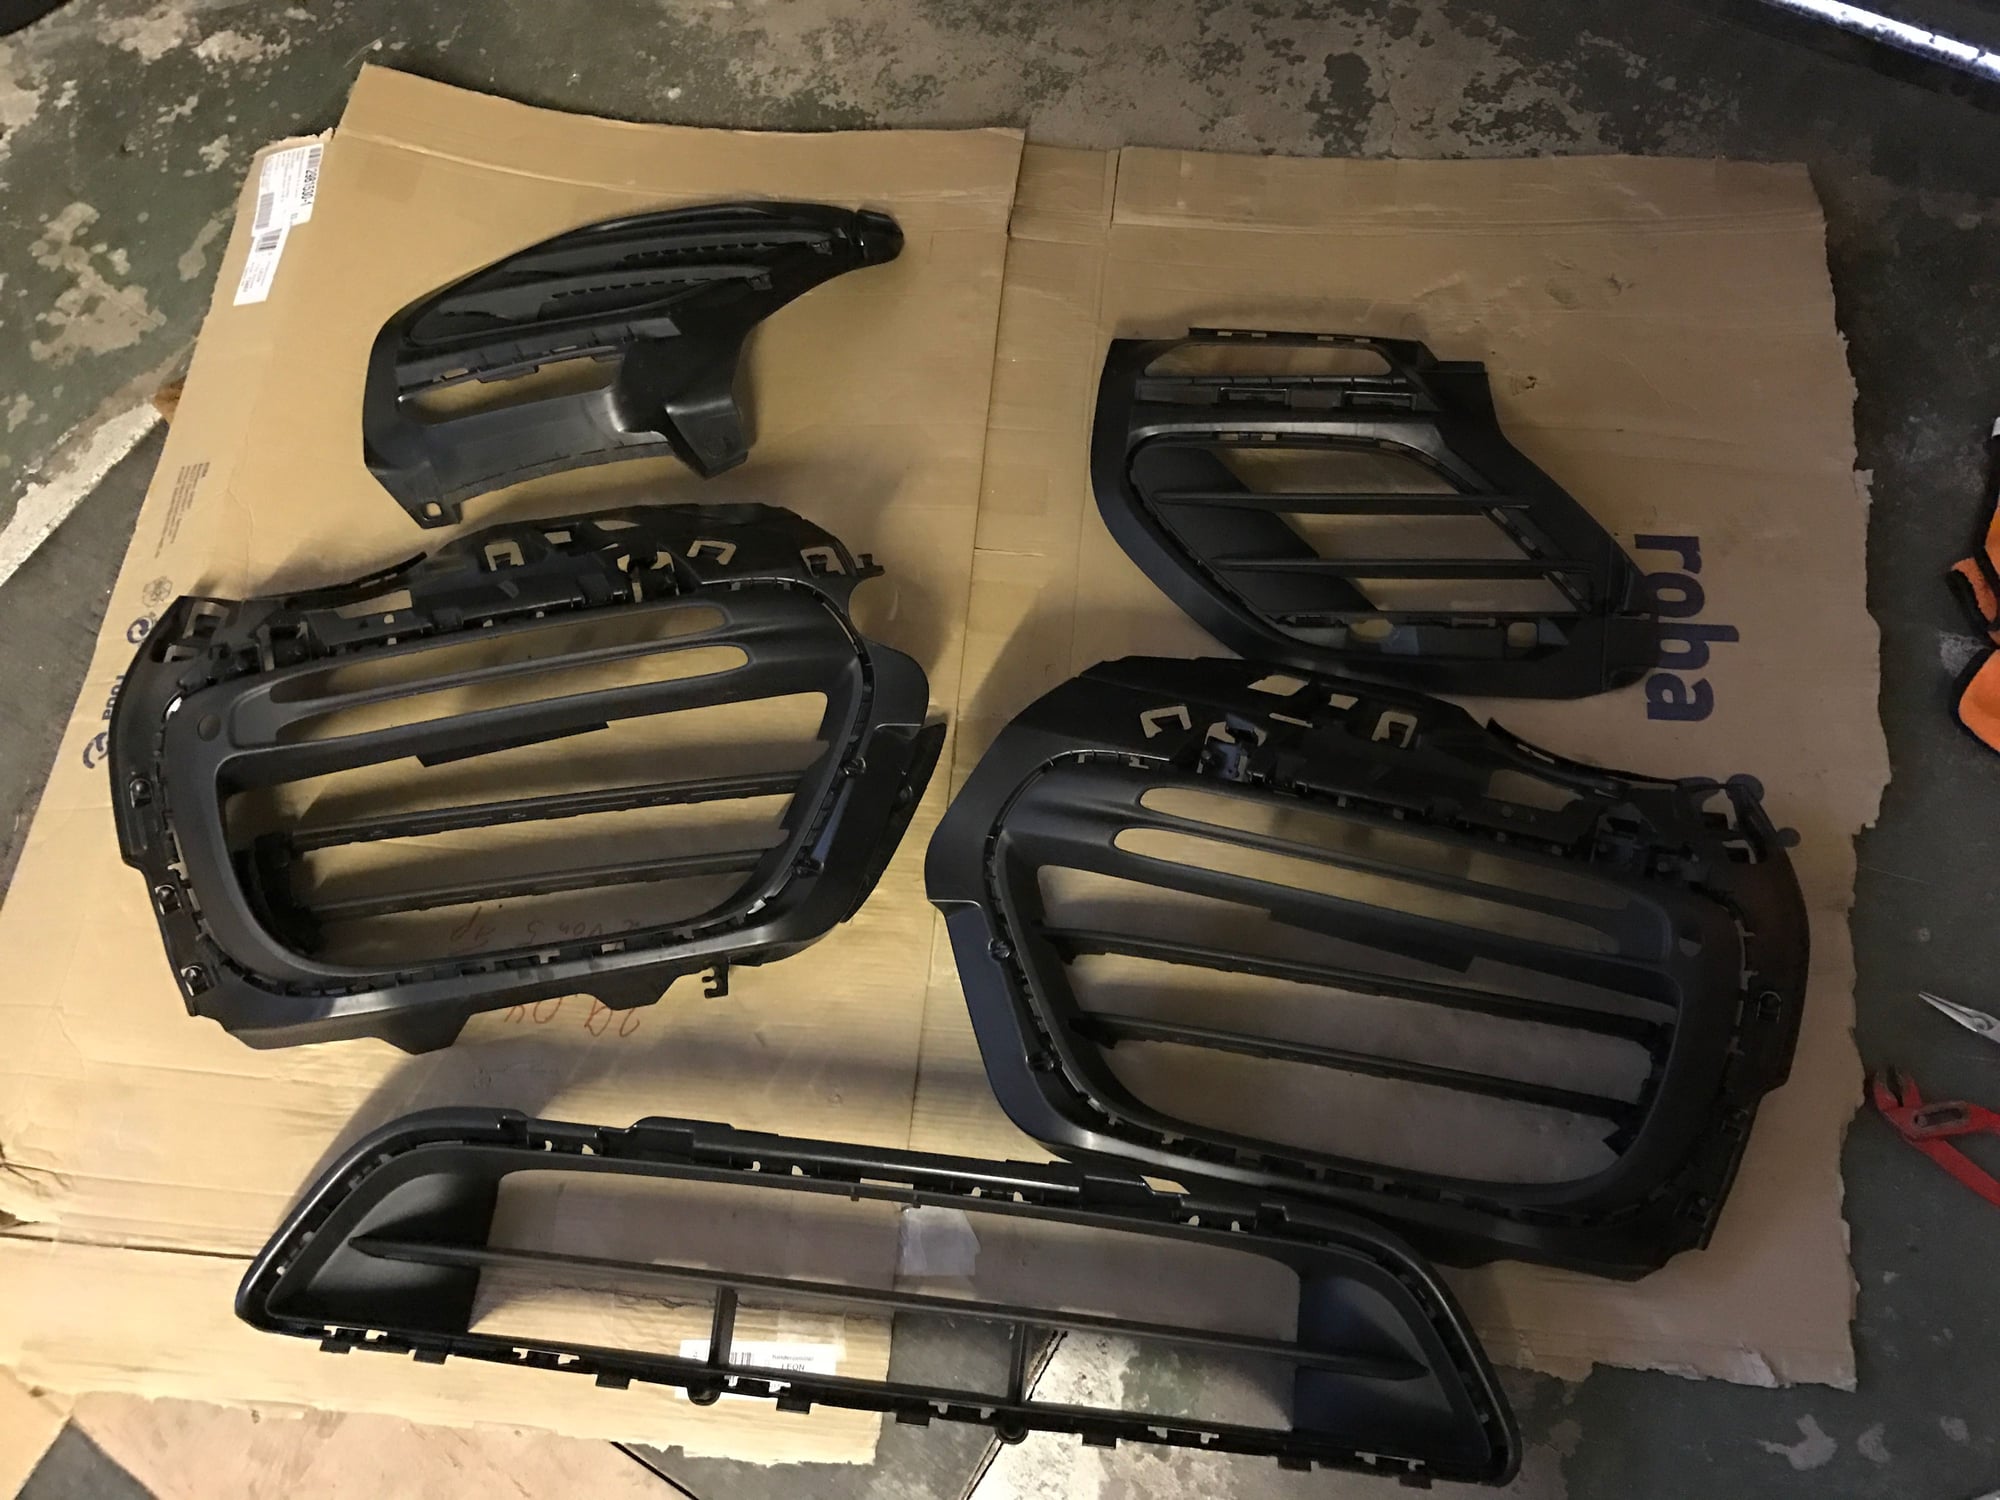
yeah - off... be aware what you see is one side only and it consinsts of 5 different parts
make sure you go to someone in love of his job. As this is a nasty business too.
Erik - friend of mine put in quite a lot of hours to do it, to be pleased with the result. A lot of manual grinding, multiple layers of paint, hard but flexible clear laquer on top.
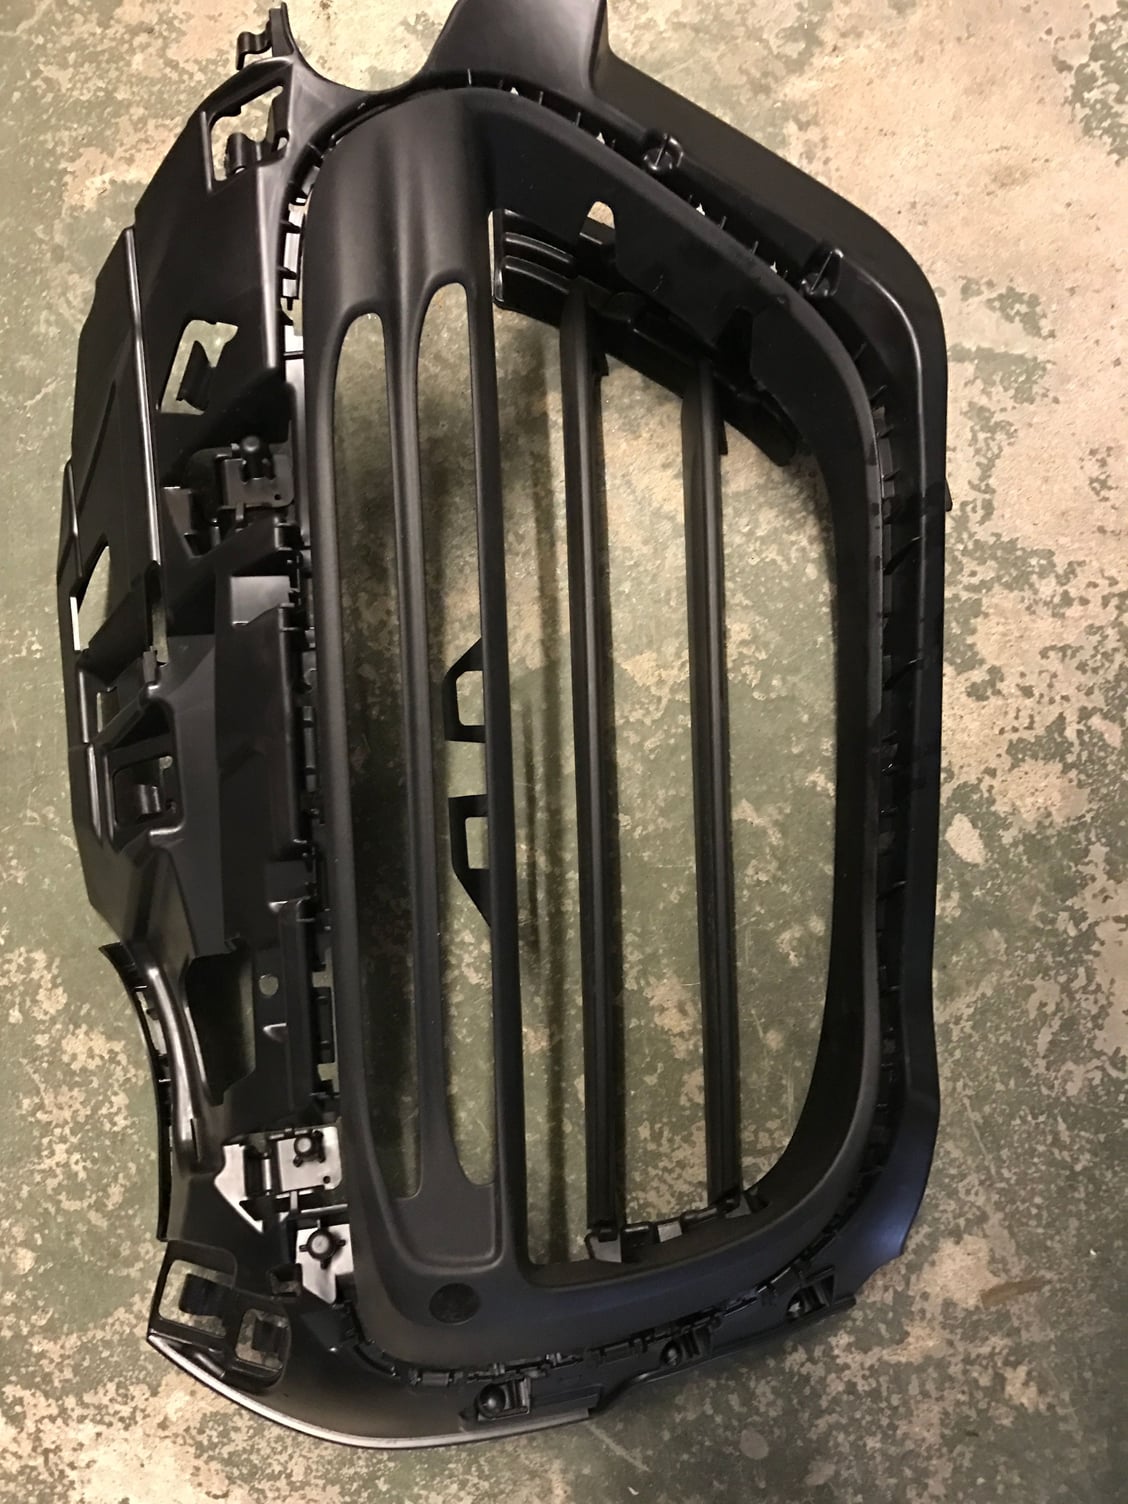
This is it before the paint job - all in matt plastic
here you can see a middle step - not as glossy as required and not yet in final stages
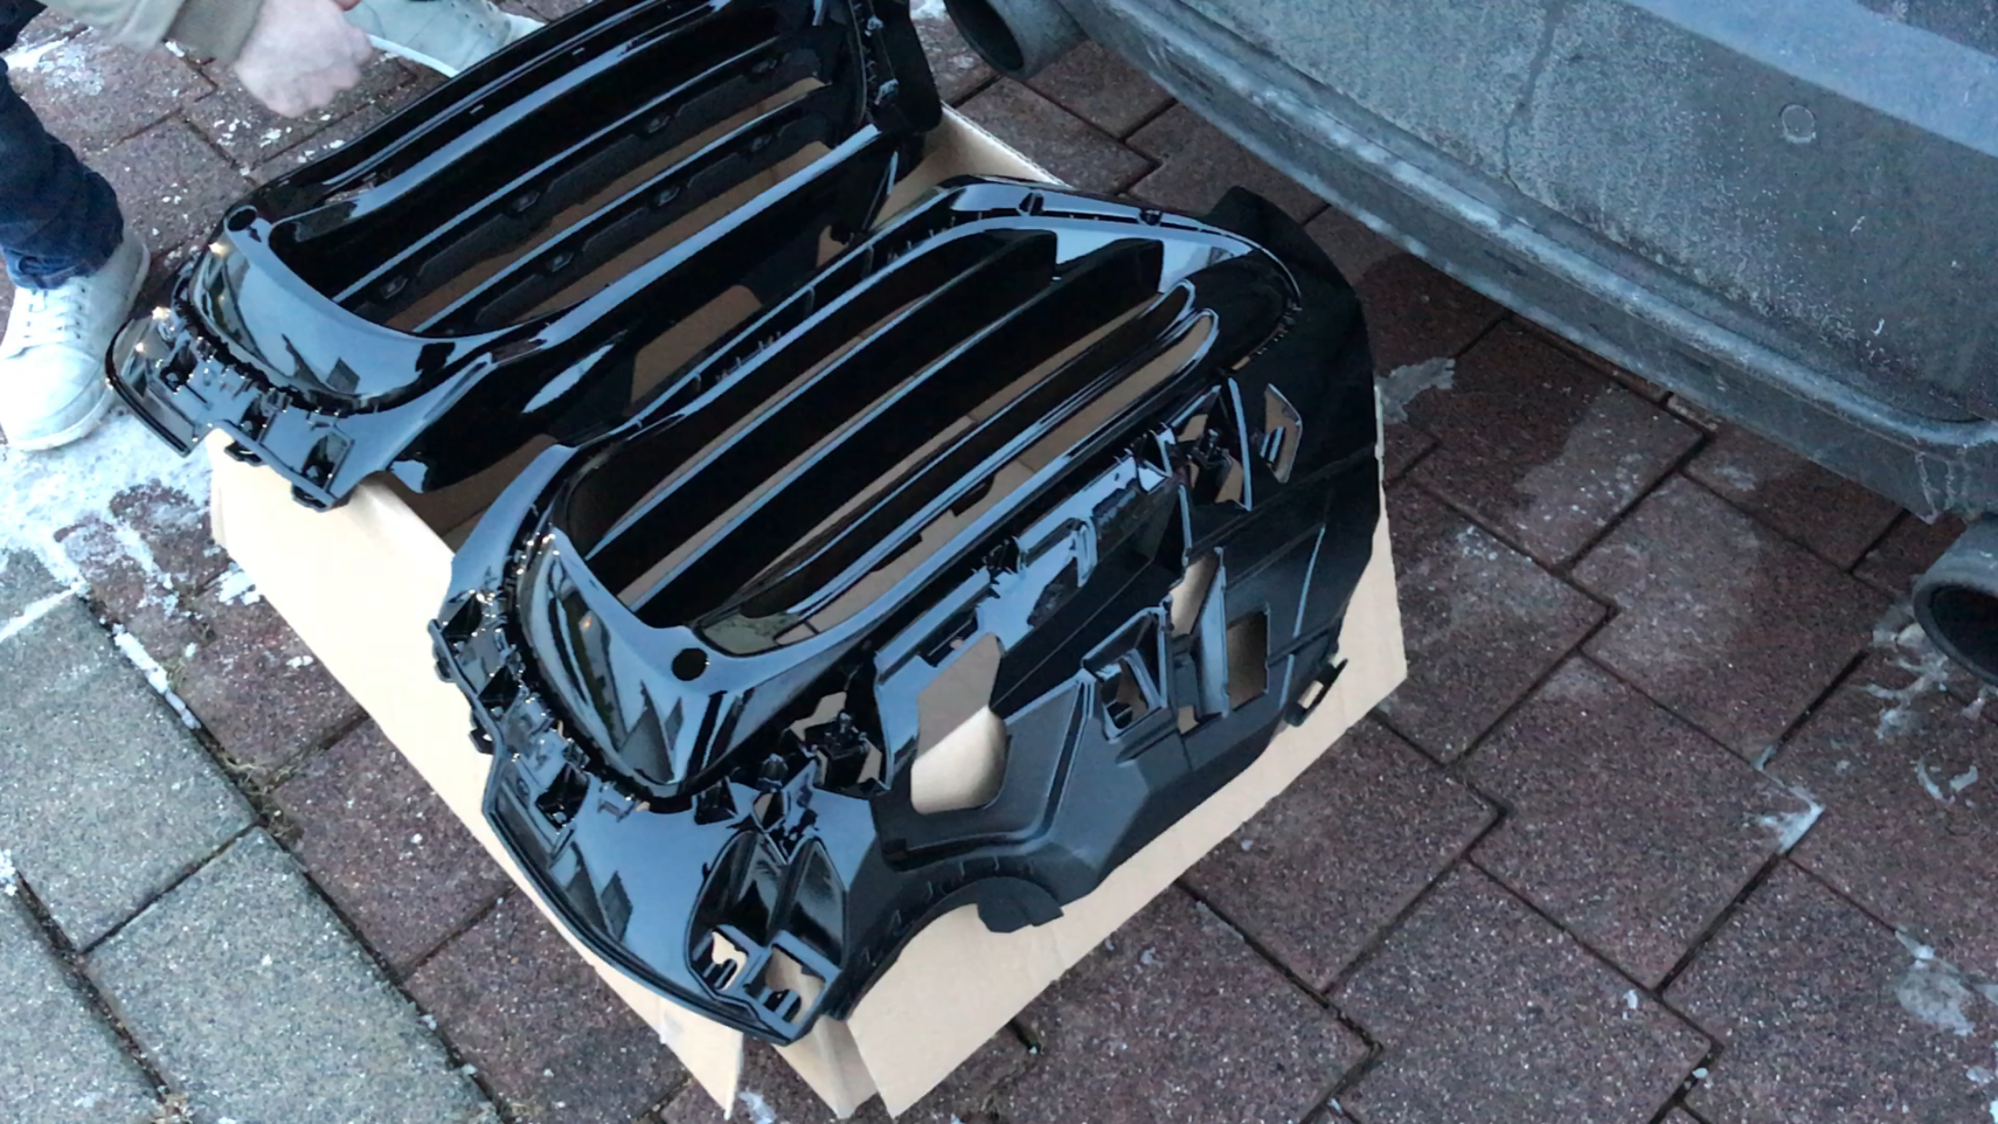
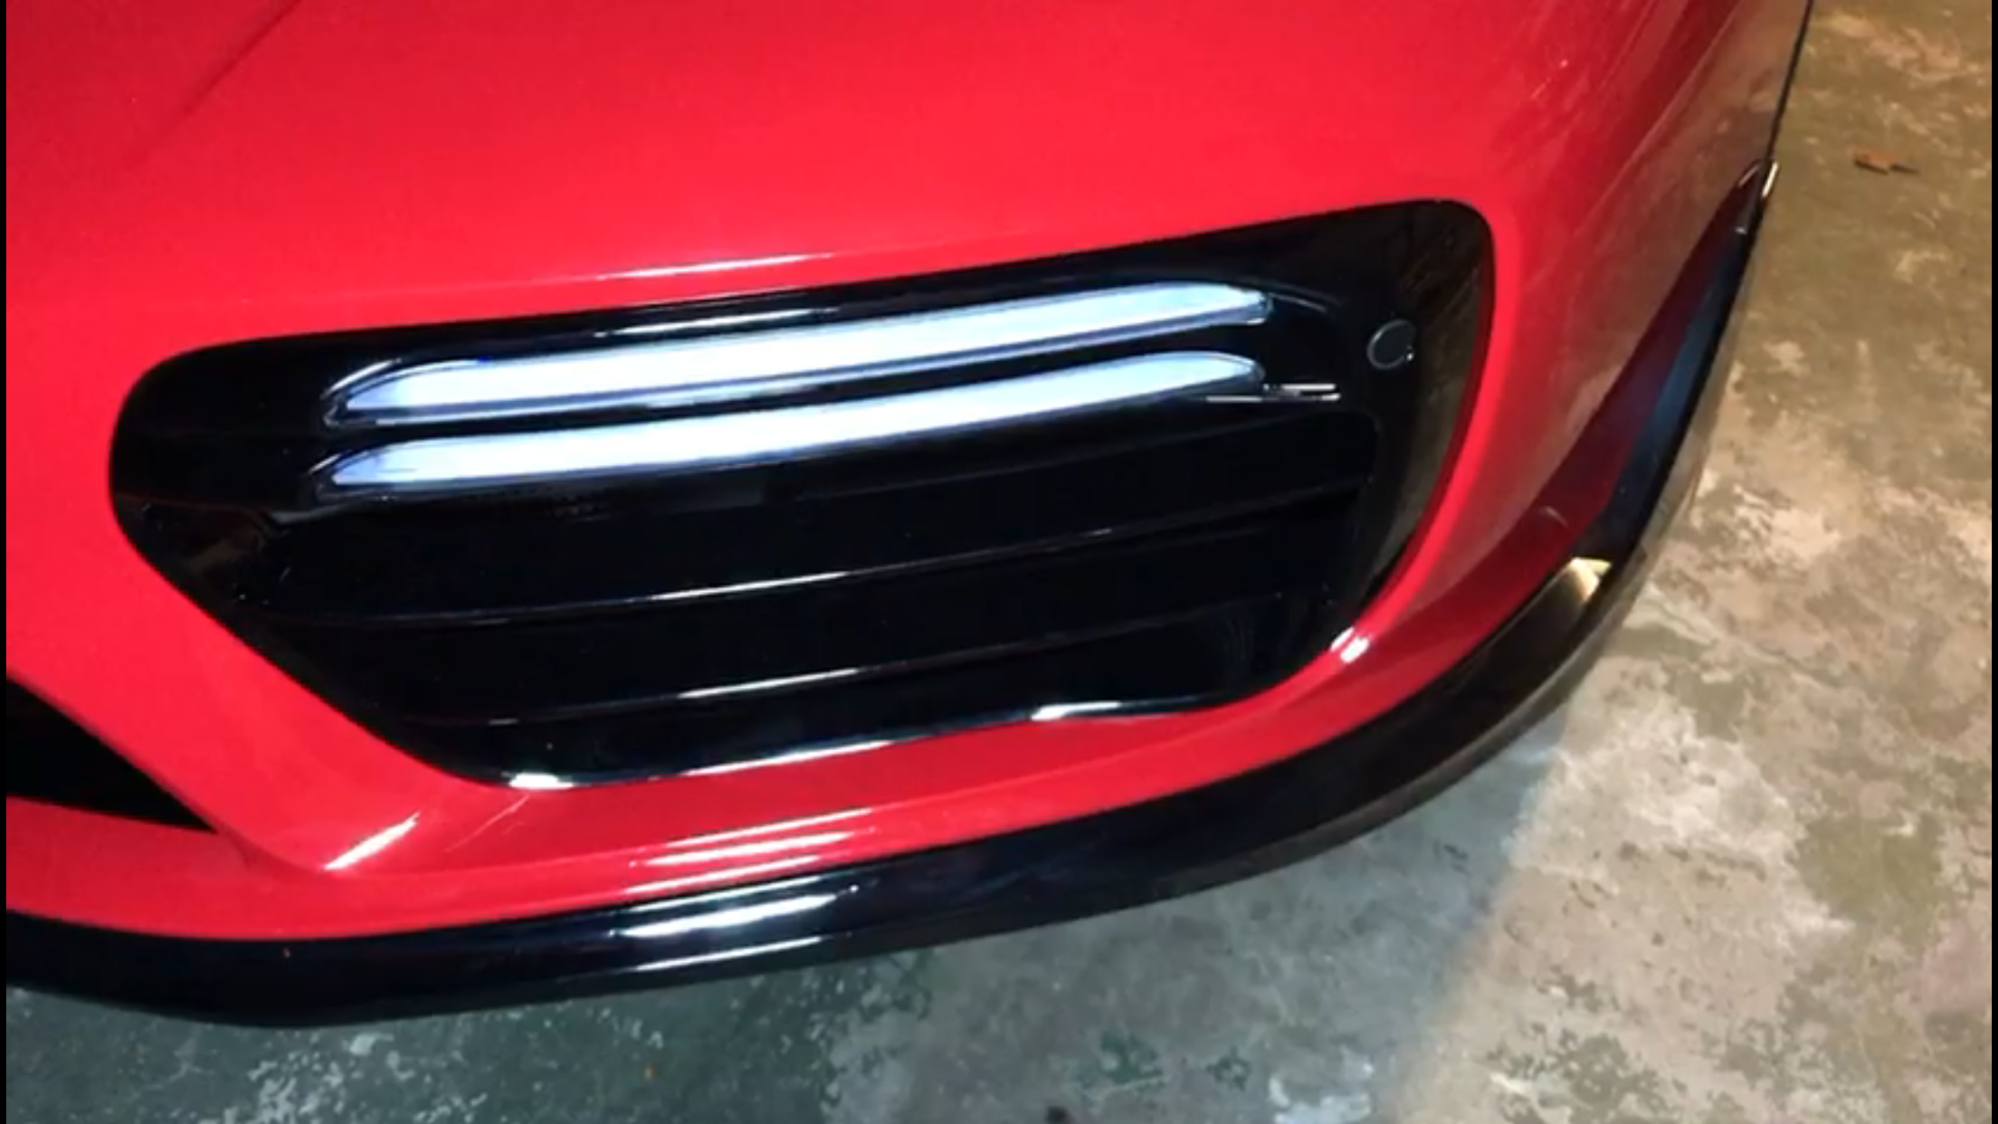
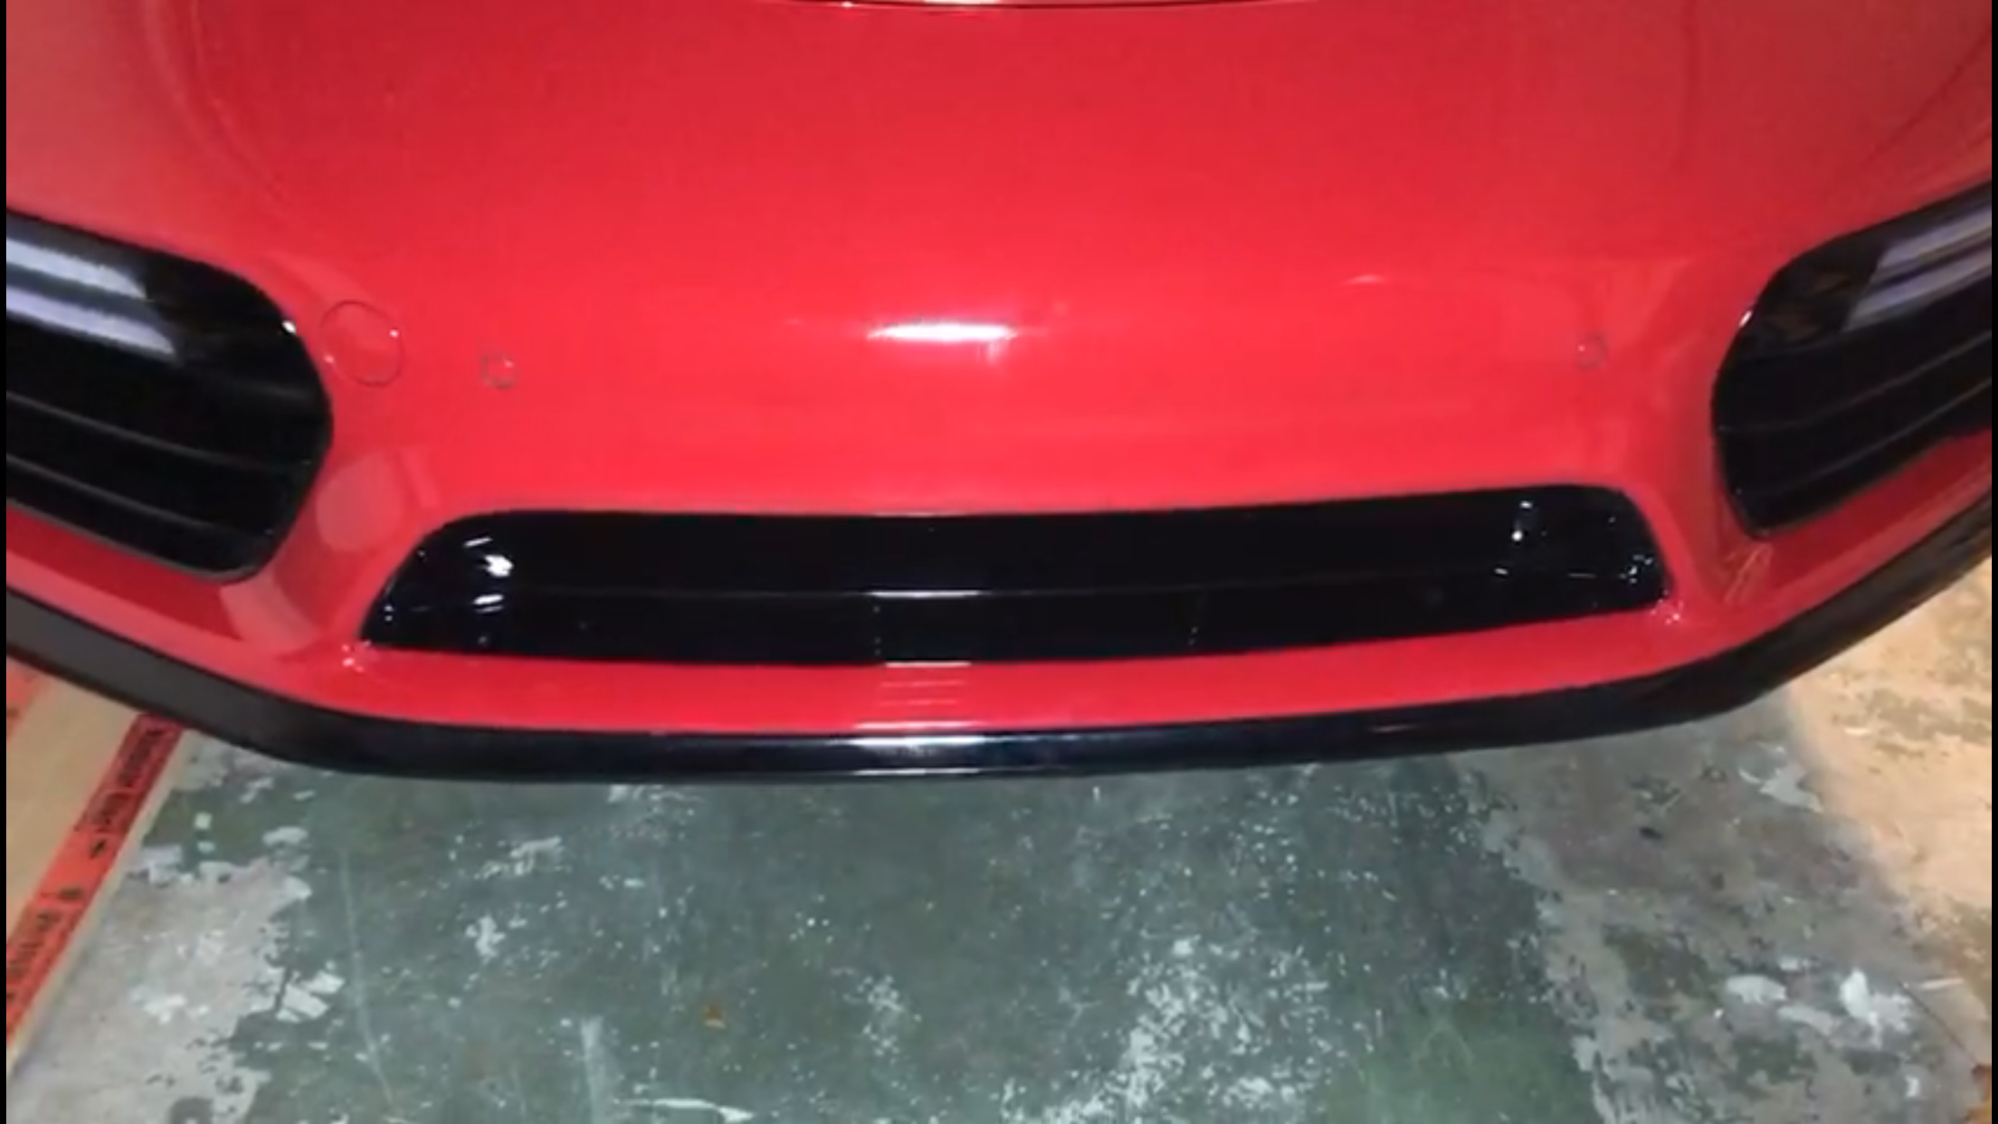
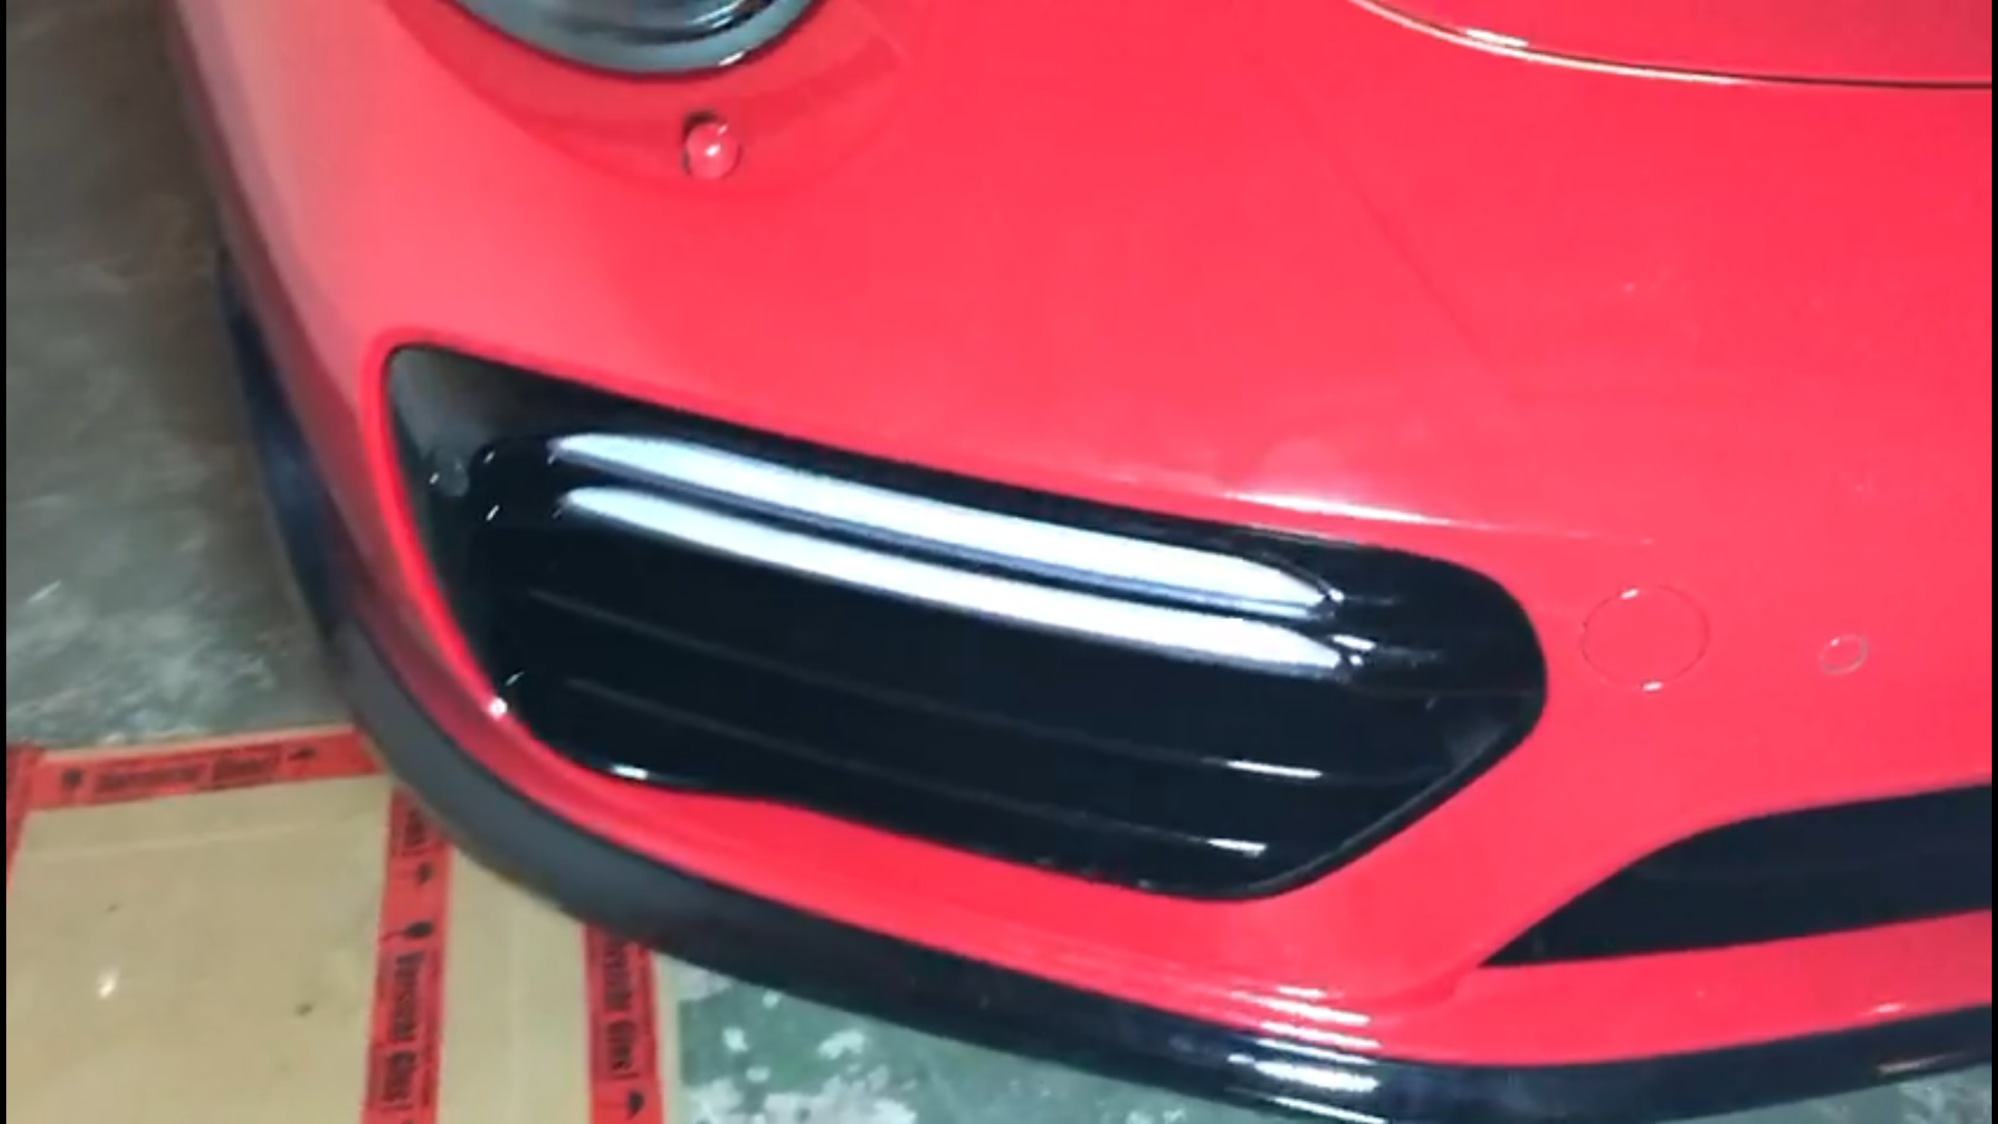
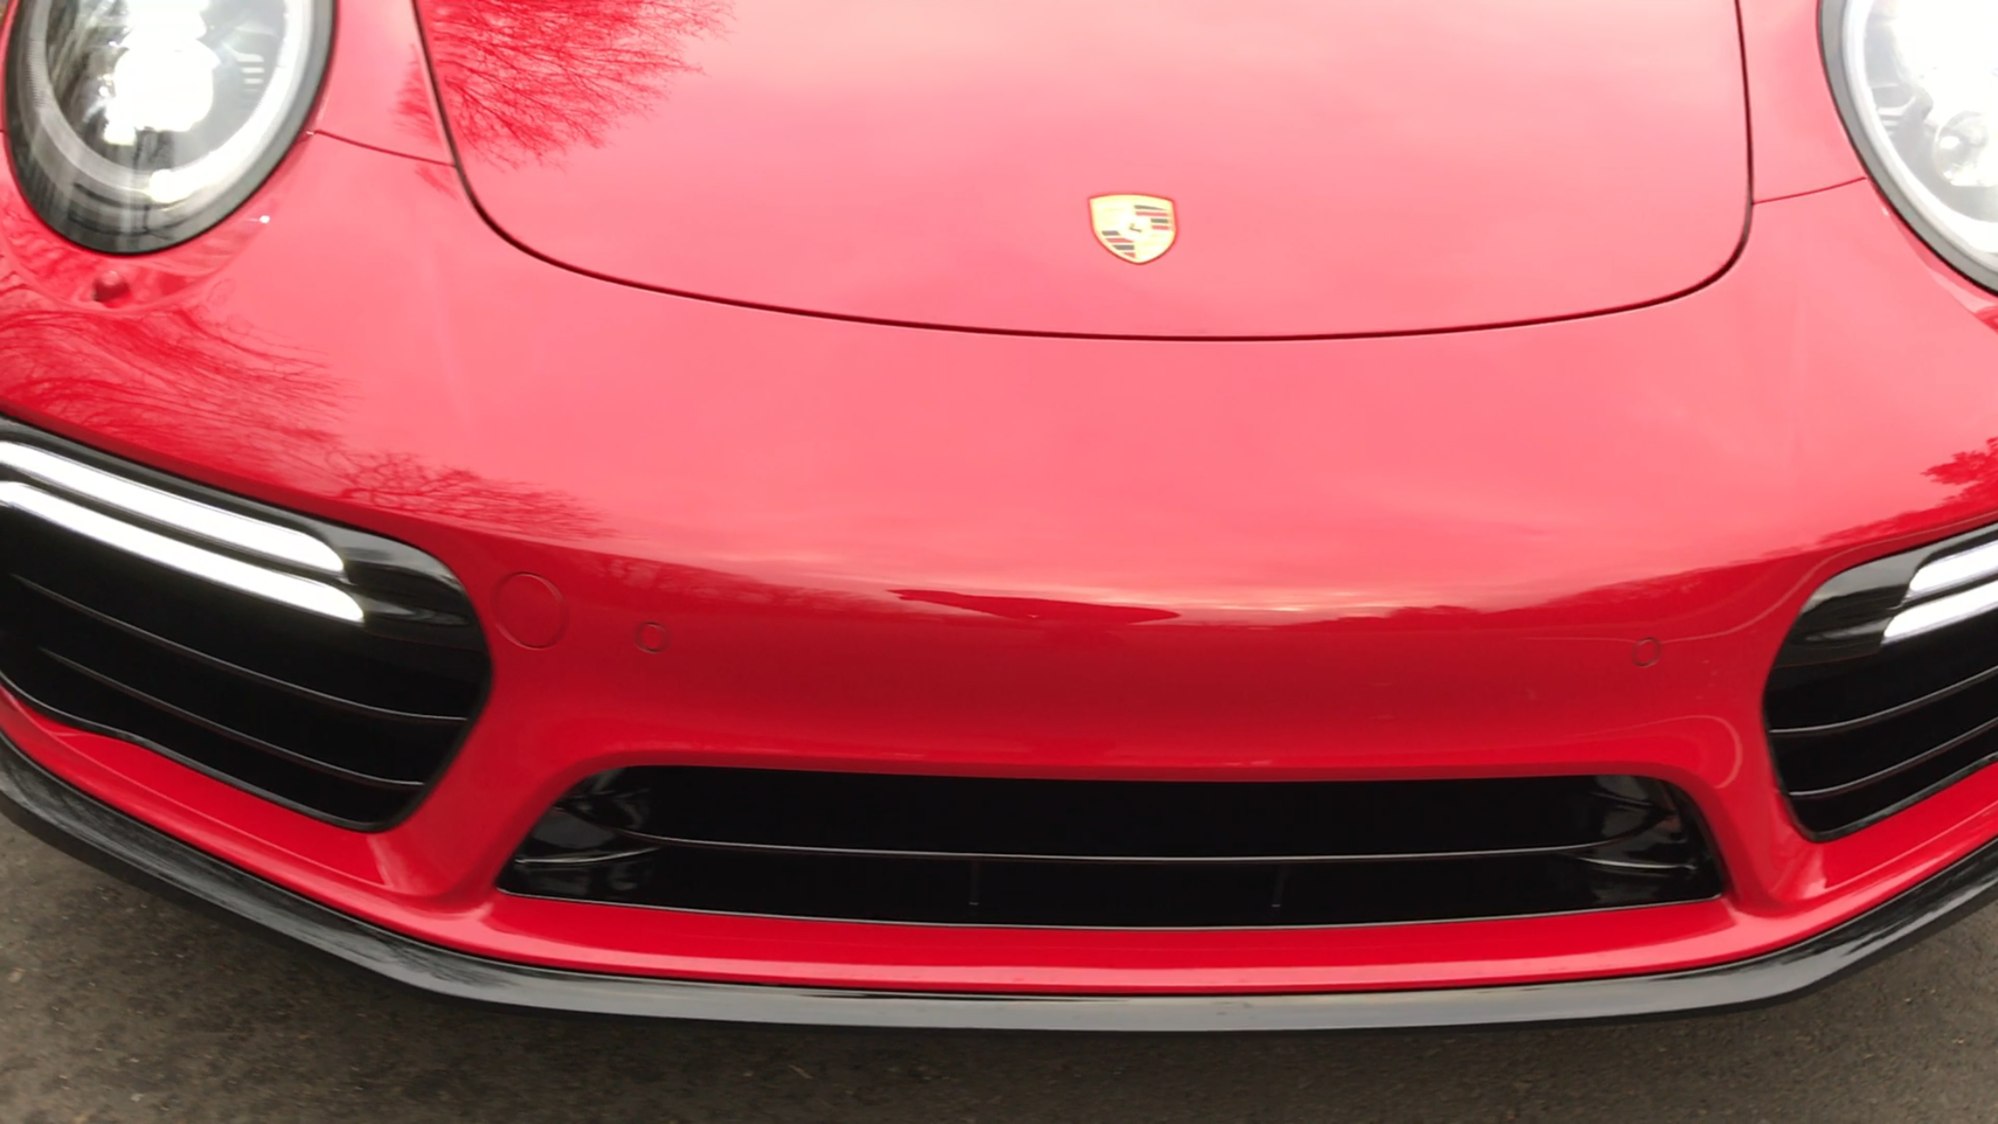
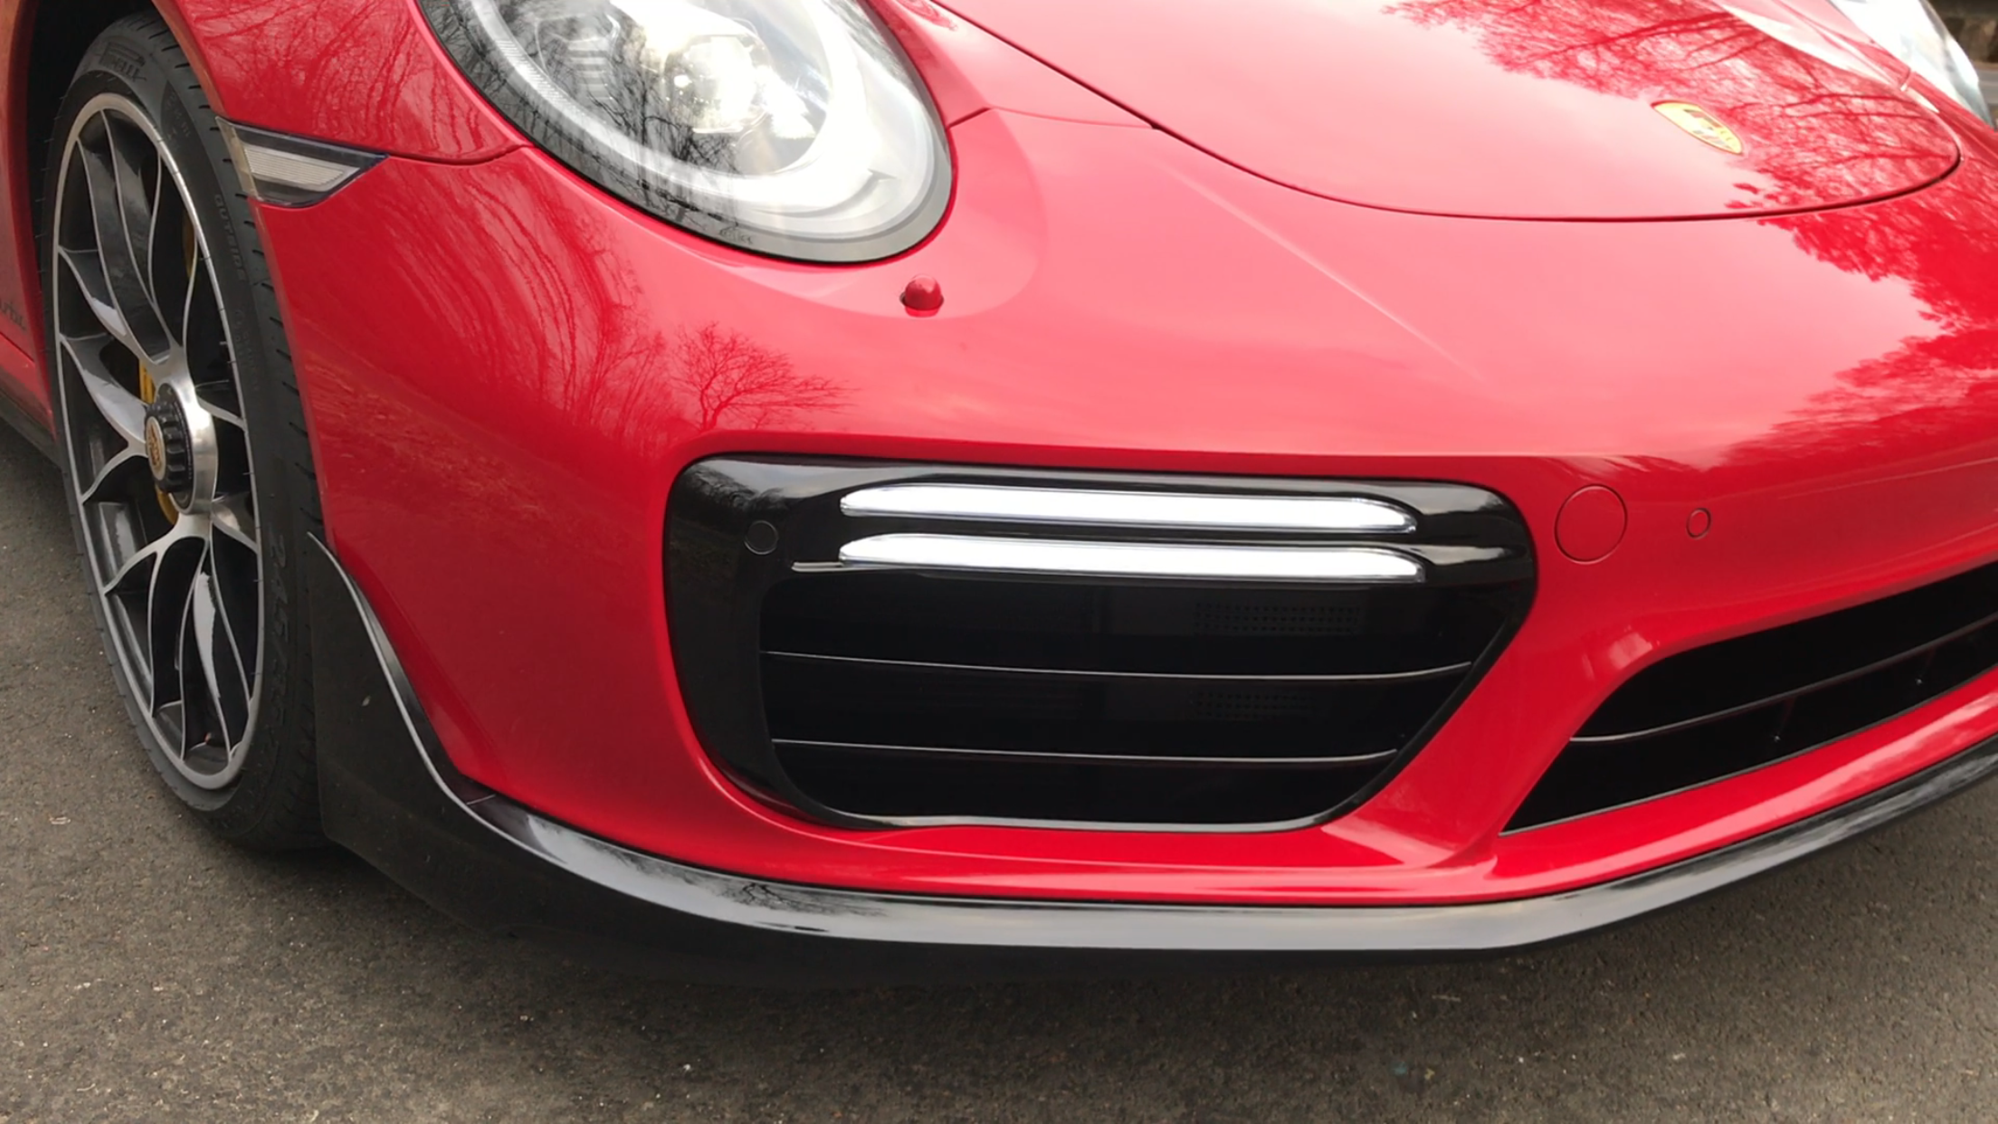
This is the final result - awesome deepth of black and great gloss, like the high gloss aerokit
I put in a night shift in order to put all together again.
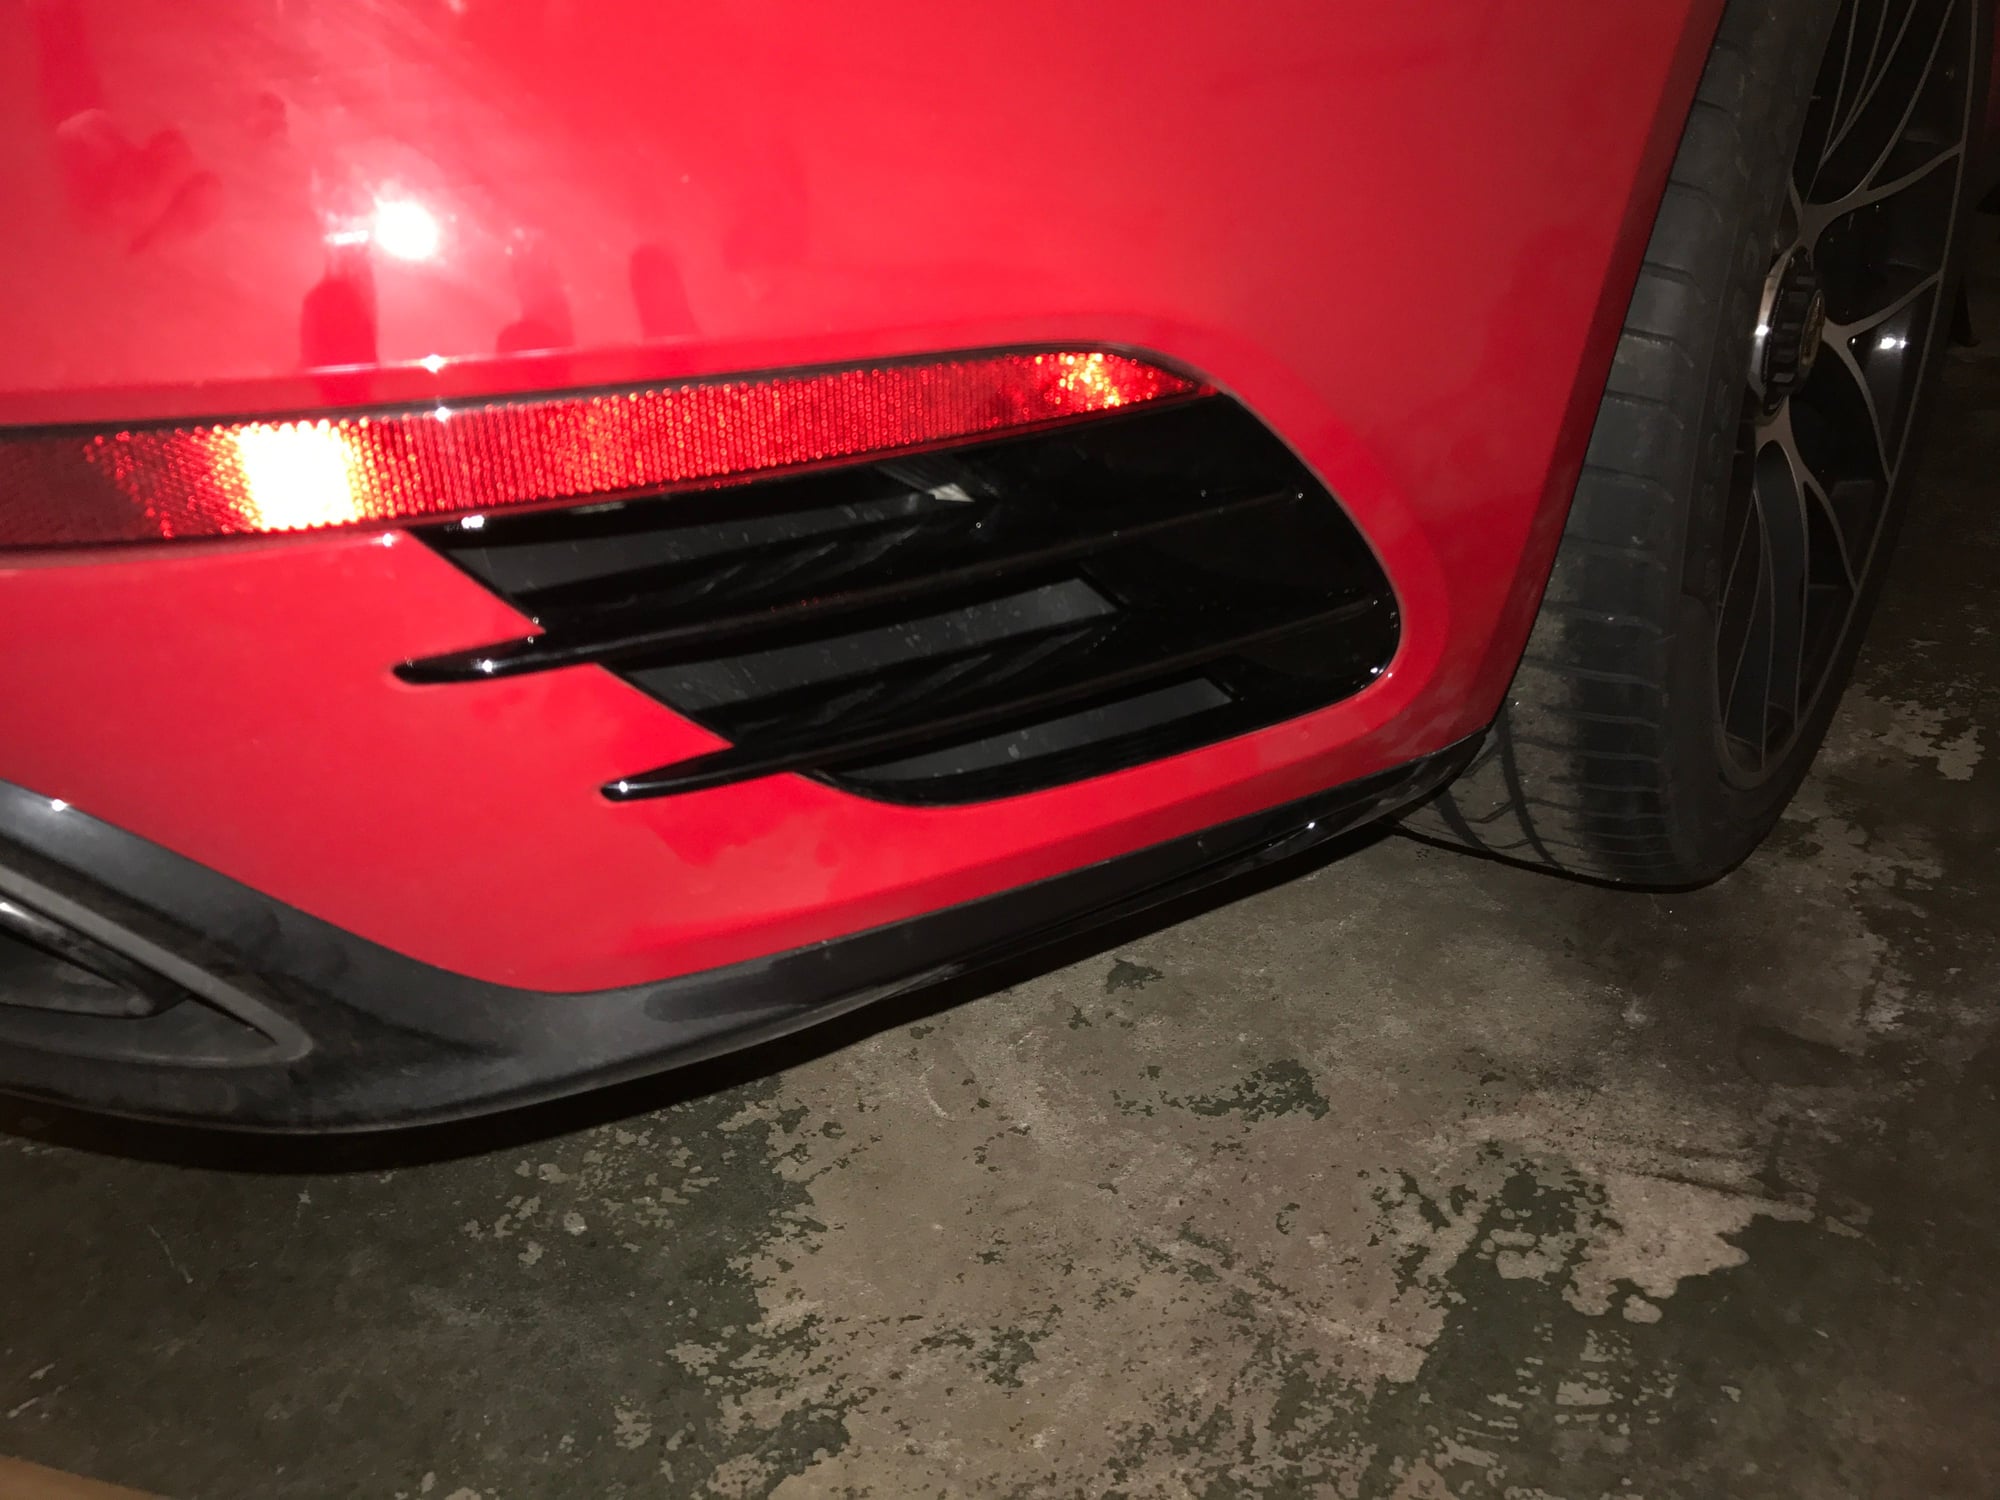
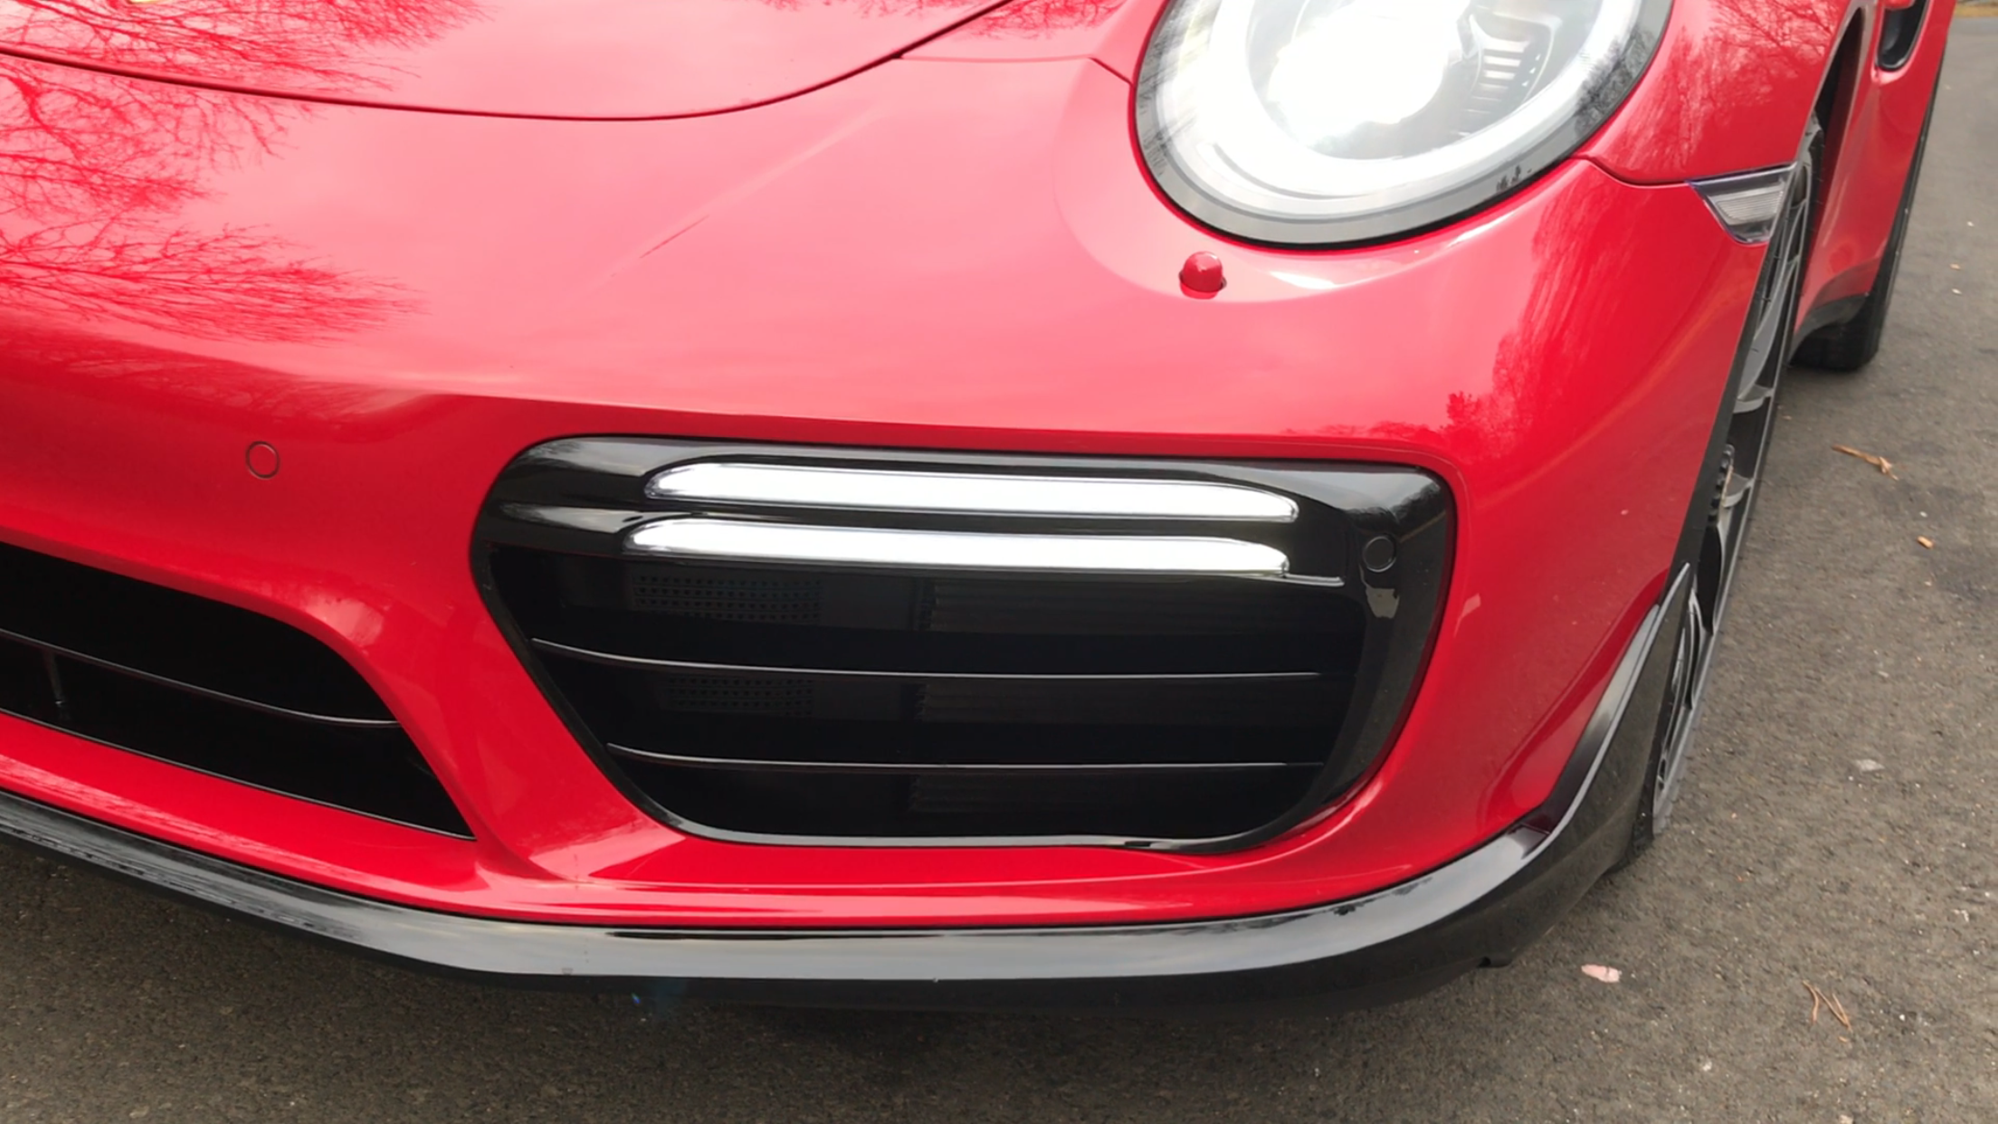
and i think it looks awesome - perfect combination.
Luckily no scratches and other nasty things... the pictures are from tonight - I dont have a daylight picture yet - but you can already see the difference :-)
-- a youtbue video is in build - but I need a little while putting it together
Rear Bumper change
Front left
Front left - close up
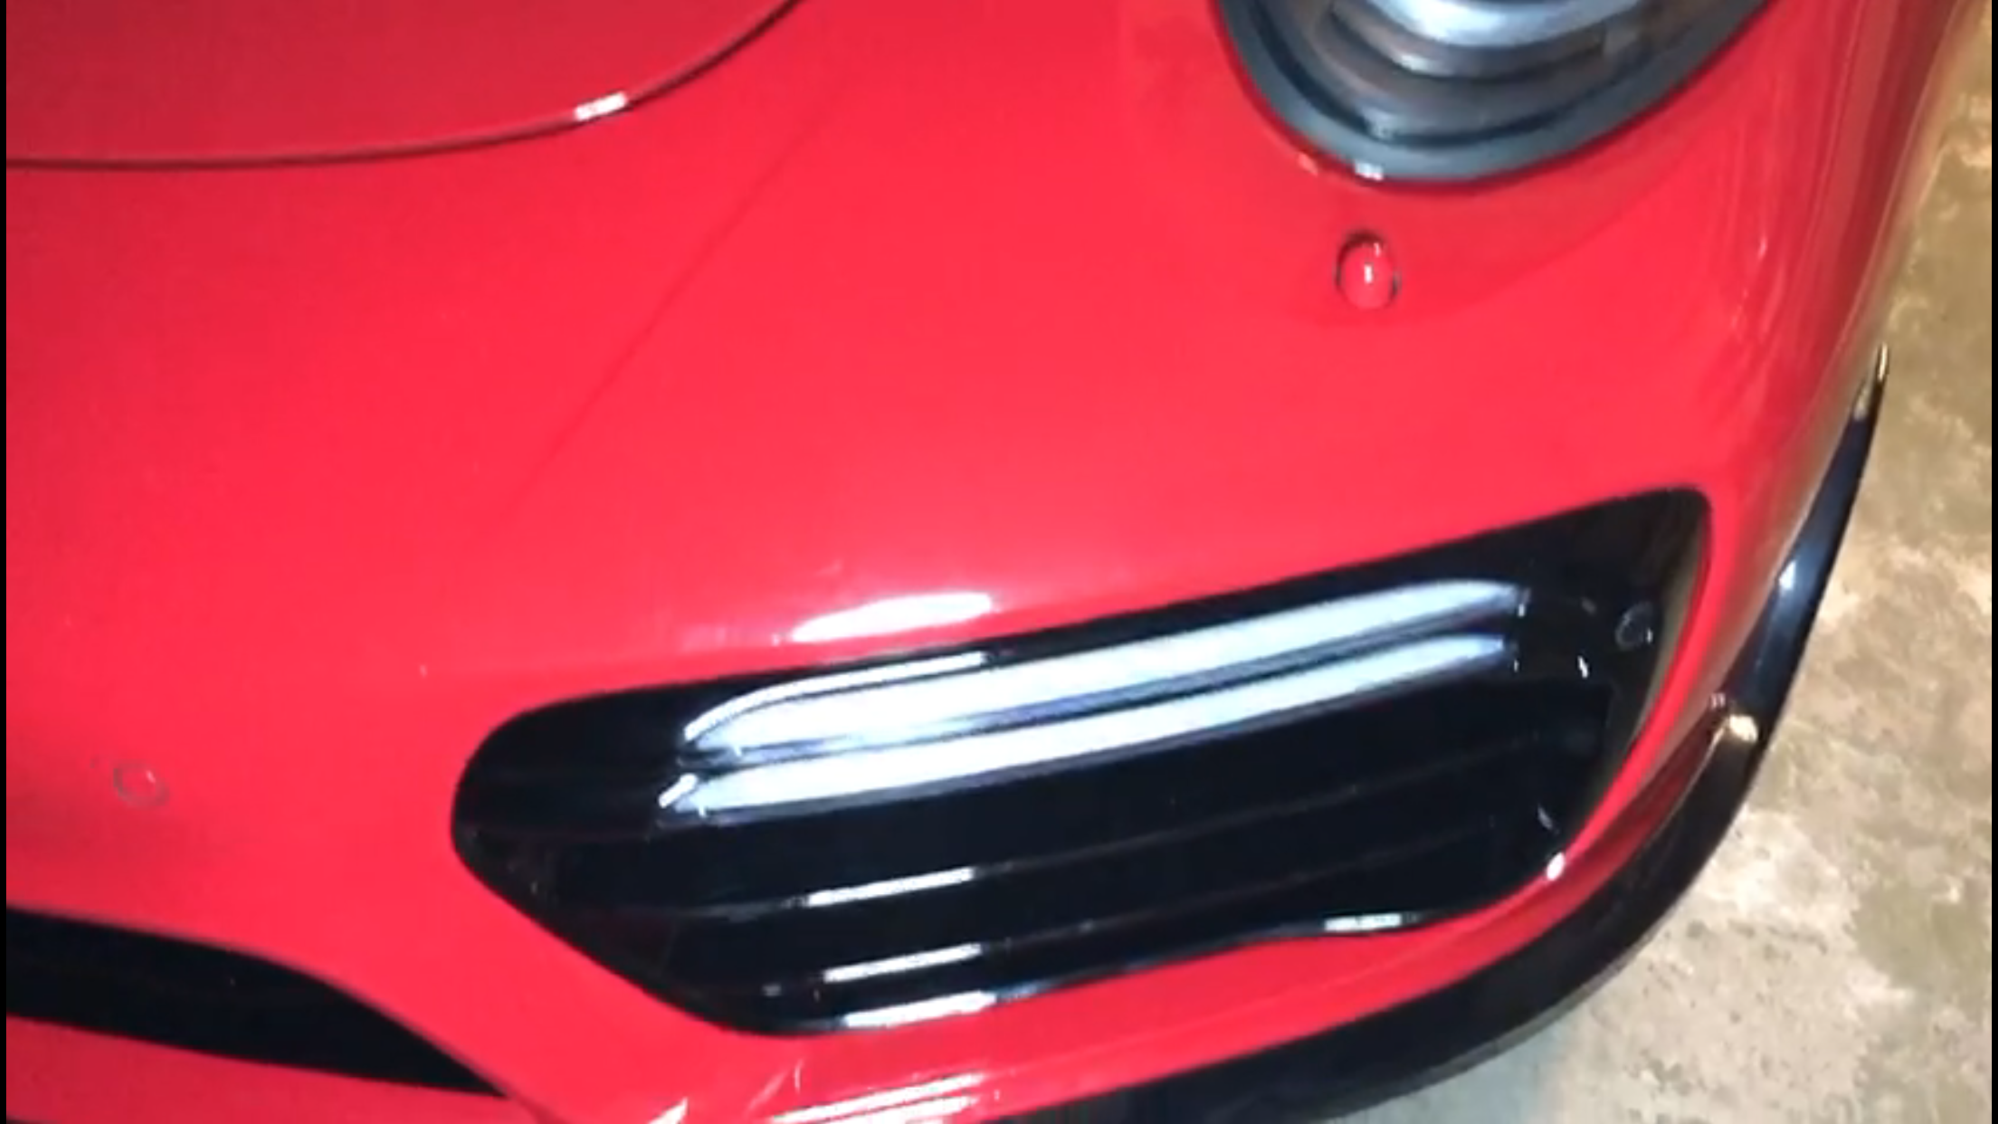
Front middle grill
Front right
I hope you enjoyed my first project
it was pretty exciting to me - as I have never done this before - let alone on a my brand new porsche 991 turbo s :-)
Next up - glass coating and a little bit of wrapping
Great thread. I saw your YouTube video the other day, then saw this post, realized it was the same car. Nice to see the mods in progress, very well documented.
Black against Carmine Red is awesome, but then I'm biased :-)
Quick pic of mine: I plan to install the black Zunsport radiator grills to black-out and protect.
I wondered why that wasn't an option from the factory- at least the large piece holding the DRLs... but with how much work it takes I'm probably just going to live with it!
Gloss black bits look great! Were you able to get carmine red stitching on the interior or did you go with guards red? If carmine do you know the color code for the stitching, for instance guards red is G1
Gloss black bits look great! Were you able to get carmine red stitching on the interior or did you go with guards red? If carmine do you know the color code for the stitching, for instance guards red is G1
no the stitching is guard red. But this is not a problem at all. I even have guard red seat belt and it works very well. Due to fact that it is different material to metal the colors are coming out slightly different anyway.
If you truly want carmine red stichtes you have to buy a GTS Modell these Stiches are Reserved for GTS cars using the GTS package.
make sure you go to someone in love of his job. As this is a nasty business too.
Erik - friend of mine put in quite a lot of hours to do it, to be pleased with the result. A lot of manual grinding, multiple layers of paint, hard but flexible clear laquer on top.
This is it before the paint job - all in matt plastic
here you can see a middle step - not as glossy as required and not yet in final stages
This is the final result - awesome deepth of black and great gloss, like the high gloss aerokit
here another shoot
Martin....how did your painter prep the plastic? Did he may any comment to the durability of the new paint finish on the plastic part? Even though my car is Basalt and not too different, it is a detail I would like corrected.
Martin....how did your painter prep the plastic? Did he may any comment to the durability of the new paint finish on the plastic part? Even though my car is Basalt and not too different, it is a detail I would like corrected.
Hi
well he had to try a few bits to have it perfect in the end.
He started with intensive cleaning, the grounding it.
we put on the first layer of true black paint - but the minimum rough surface of the plastic came trough so he decided to smoothen the surface. Which was quite some manual work.
After that, he put on multiple level of black paint - followed than with a scratch resistant clear paint to finish it
he said it will be quite resistant and i should have no problem putting it back together again - and also it will be minimum as strong as the black on the aerokit. He recons even tougher as he applied more layers and this special clear topping at the end.
needless to say - i am happy about the results but I do not have long time experience about wear just yet :-)

 01-20-2017, 12:36 PM