When you click on links to various merchants on this site and make a purchase, this can result in this site earning a commission. Affiliate programs and affiliations include, but are not limited to, the eBay Partner Network.
RajDatta's 1994 Porsche 968 Coupe Resque and Restoration Journal
Hi guys/gals, I recently was facing the dilemma of finding a way to transport my bicycle for group rides. My current daily driver is a 2004 BMW 330 Ci Convertible. I really enjoy this car but the limited space was becoming annoying all of a sudden.
Initially I thought of adding a Trailer hitch and a bike stand. The only hitch available required me to drill holes in the spare section. The thought of doing so made me cringe. Then one day, it just hit me, what about getting a 968 coupe? I know these cars well. They are famous for the amount of space they provide so why not pick a coupe up. Granted, I would need to remove the front wheel off the bike everytime, but the rest should just fit right in.
So, all of a sudden here I was, looking at 968 coupes and came across one that was actually close to my heart.
I helped a friend back from my college days find this car back in 2007. We then went ahead and sorted it to the best possible mechanical condition. The car at the time was borderline concours condition (possibly the cleanest 60k I had ever seen and I have very high standards). We did a complete front end reseal, did variocam tensioner/chain refresh, all related gaskets, timing/bs belts and roller, new clutch and a coolant flush. Unfortunately, my friend was too paranoid to drive it and eventually ended up selling it in March of 2008.
The next owner drove it as a daily driver for the next few yrs and then parked it while he relocated to the West Coast. Last yr, the previous owner moved back to MD and had the brakes and oil change done. By now the car was heavily weathered and nature had taken quite a toll on it. The paint was heavily oxidized and some of the interior was beginning to show wear.
I spoke with the owner last week, explained him my previous affiliation with the vehicle. I explained to him how the car had a special place in my heart and how I felt I would make a good candidate to resurrect it from its current state. He was a true enthusiast and agreed that he would love to see the car back to its old glory and I would be a good candidate to be able to do so. So I made the trip last Saturday and drove the car back home. It was a scary drive as the tires were dry rotted from sitting. I was constantly asking myself, what am I doing in this car? I could not believe, a car close to concours condition could look the way it did. Fortunately I made it back home safely. the trip back was very nerve wrecking.Nevertheless, I knew I could bring her back to her old glory.
I plan on spending the next few months trying to sort this car and hopefully have her back in tip top shape again. This is quite a common scenario on today's TV shows but they tend to make it look too easy and can whip a car in shape in 1-2 weeks (NOT! unless you have 10 people working on it simultaneously). I figured it might be a good opportunity for me to chronicle my resurrection of this car as I sort out all the mechanicals and cosmetics.
Stay tuned for pictures and updates..
Update: 11/11/2016
Compiled all the records and was very pleased to see the car came with excellent service history going back to April of 1995 when the car had 3k miles on it. The owner at the time was meticulous in keeping track and kept all receipts from his visit to the dealership. This was covered all the way to Sept of 2008, when my friend purchased the vehicle.
I was also able to locate emails detailing all the work that we performed when we took possession of the car.
Per receipts, I performed the following work:
8/24/2007 - approx 60,800 miles
Heater control valve
Coolant flush
Brake and clutch flush
Transmission flush
Fuel filter swap
Factory bumperettes were changed to euro turn signals
K&N air filter
9/18/2007 - approx 60,900 miles
Upper and Lower BS seals and gaskets
Crank front main seal and gasket
Cam Seal
Variocam tensioner pads and chain (All other related gaskets and seals for this job)
New timing belt, BS belt, Alternator belt and Power Steering belt, all associated rollers and tensioners
Valve cover gasket, grommets and spark plug seals
New factory spark plugs
Power steering fluid flush
1/8/2008 - approx 61,500 miles
Replaced clutch, pressure plate, TO bearing, Needle bearings and needle
At approx 63,250 miles, my friend sold it in March of 2008. He only drove it for 3k miles, in which we did quite a bit of maintenance. The next owner took possession and has records/receipts from 63.8k upto 75.4K, dated Oct 2009. At this point forward, there are no records until June 2015 at 87.3K.
Receipt covers follows:
6/1/2015 - 87,352 miles
Replace Battery
Replace front and rear rotors, pads, sensors and shims
Oil service with filter change
Update: 11/13/2016
Set the car up on stands and started taking stuff apart. Removed the fans, fan shroud, radiator, hoses etc to make working room. Removed alternator and power steering belts, removed timing and bs belt covers. Removed all the belts and roller as well as the upper and lower bs sprockets so the rear belt cover can be removed. Pulled the Cam pulley (made sure timing was locked). Removed alternator as well and alternator mounting bracket.
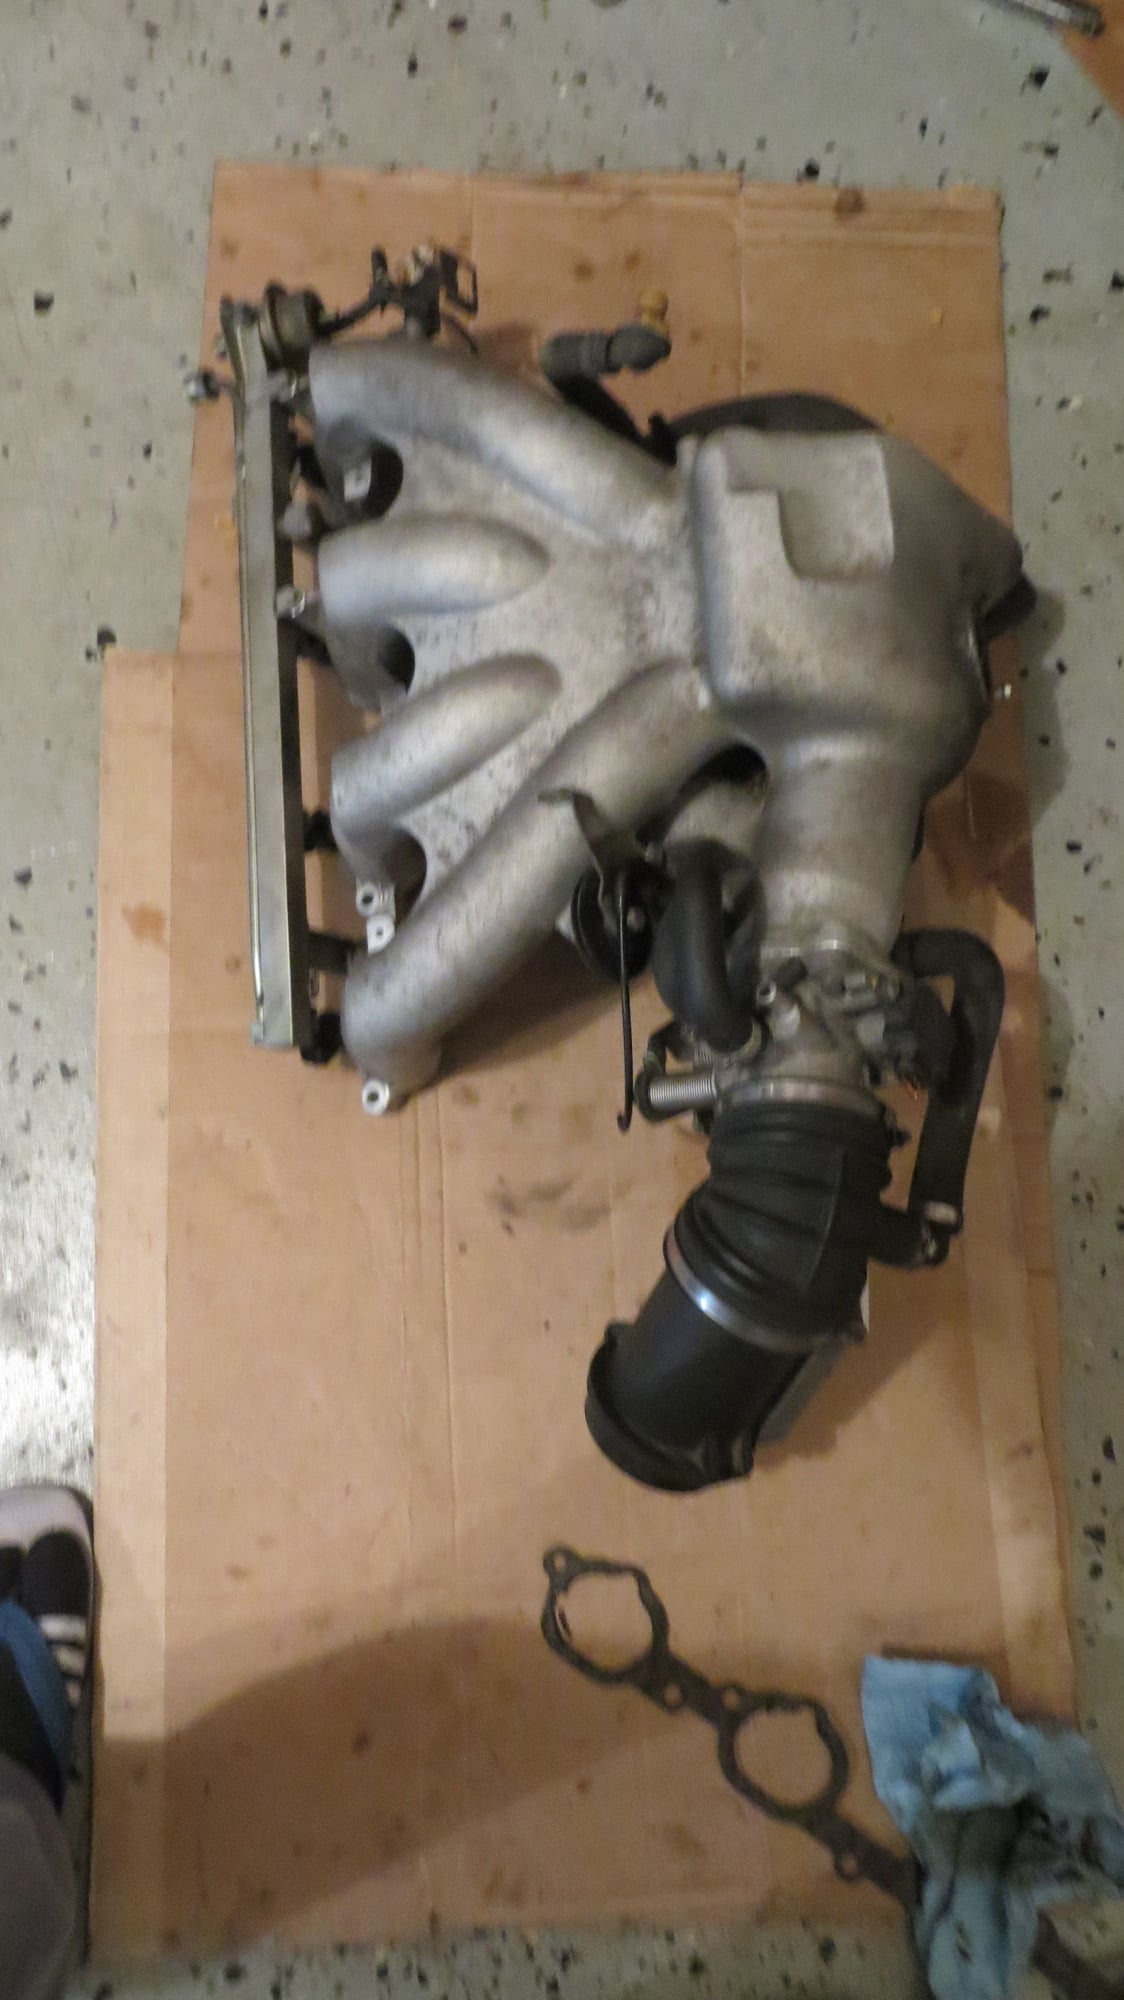
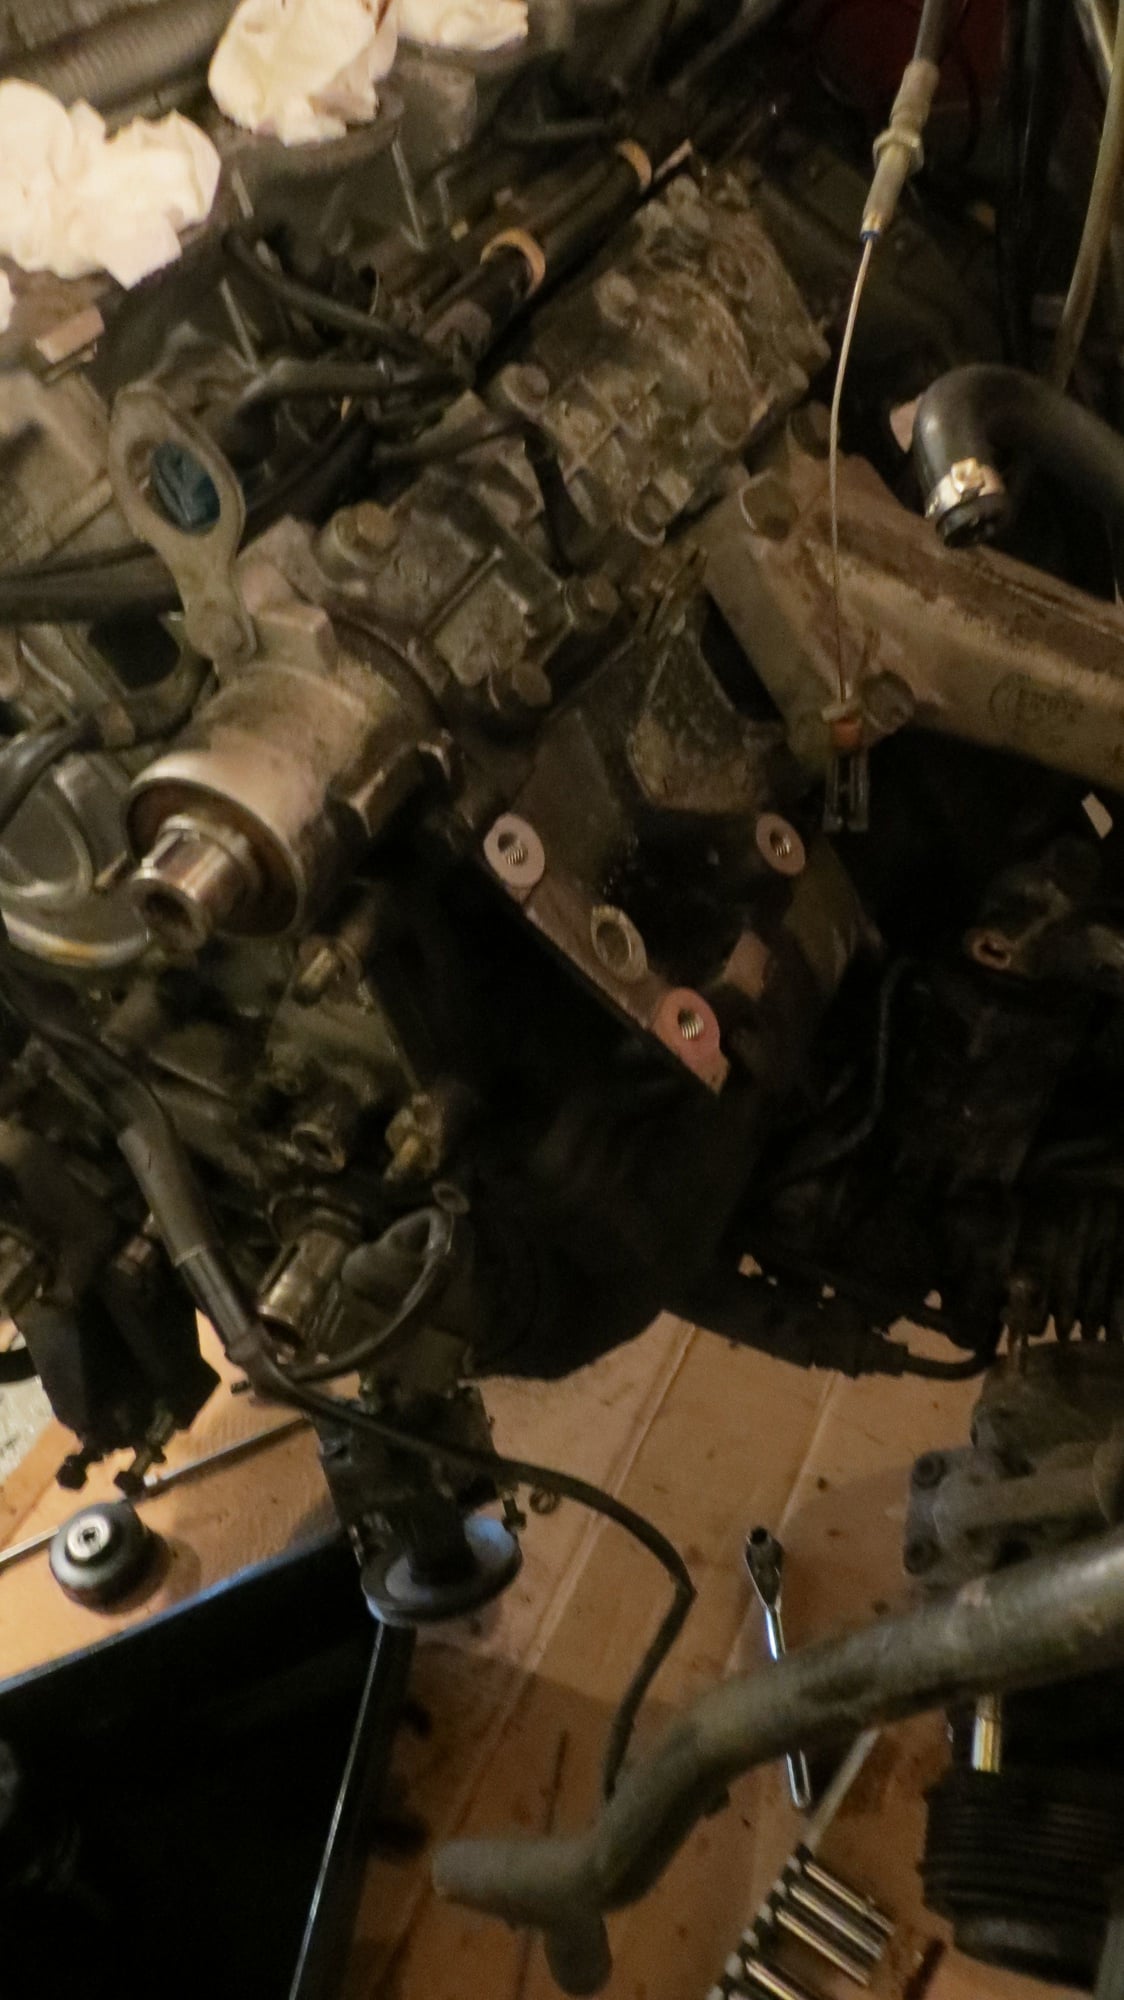
At this point I had a decision to make, do I just freshen things up or try to get everything sorted. I decided to do the latter and out came the Intake manifold. I always remove complete intake manifold as 1 piece with injector rail, throttle body etc as I have found it to save time. Removed the entire exhaust also as 1 piece from the headers back. This also helps with time because now you can remove the cat back nuts/bolts much easier. Disconnected the O2 sensor so the exhaust could be dropped. Removed air/oil seperator and found yrs of gunk and grime everything. Removed both upper and lower front BS housings. Also removed the header. At this point I was only a few nuts/bolts away from removing the head, why not!
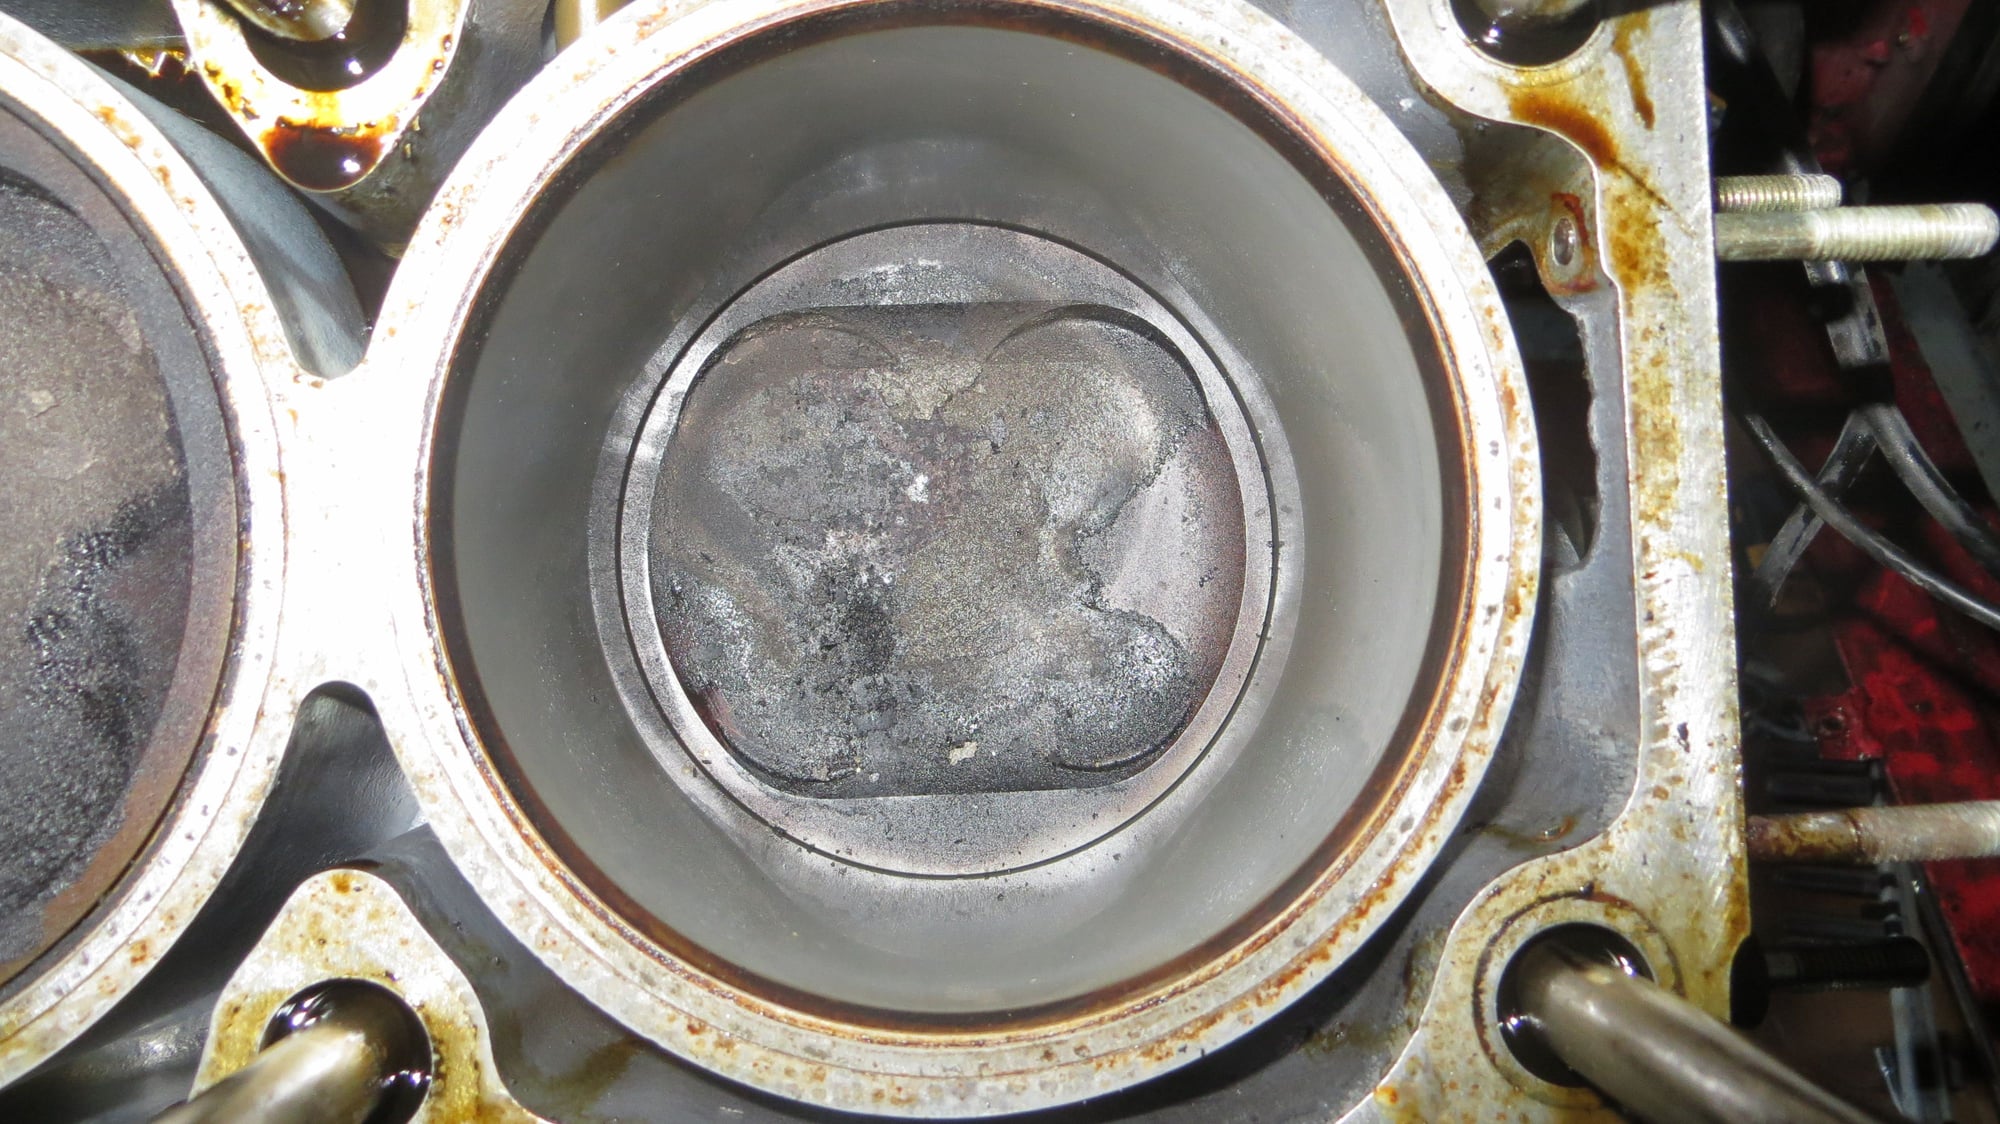
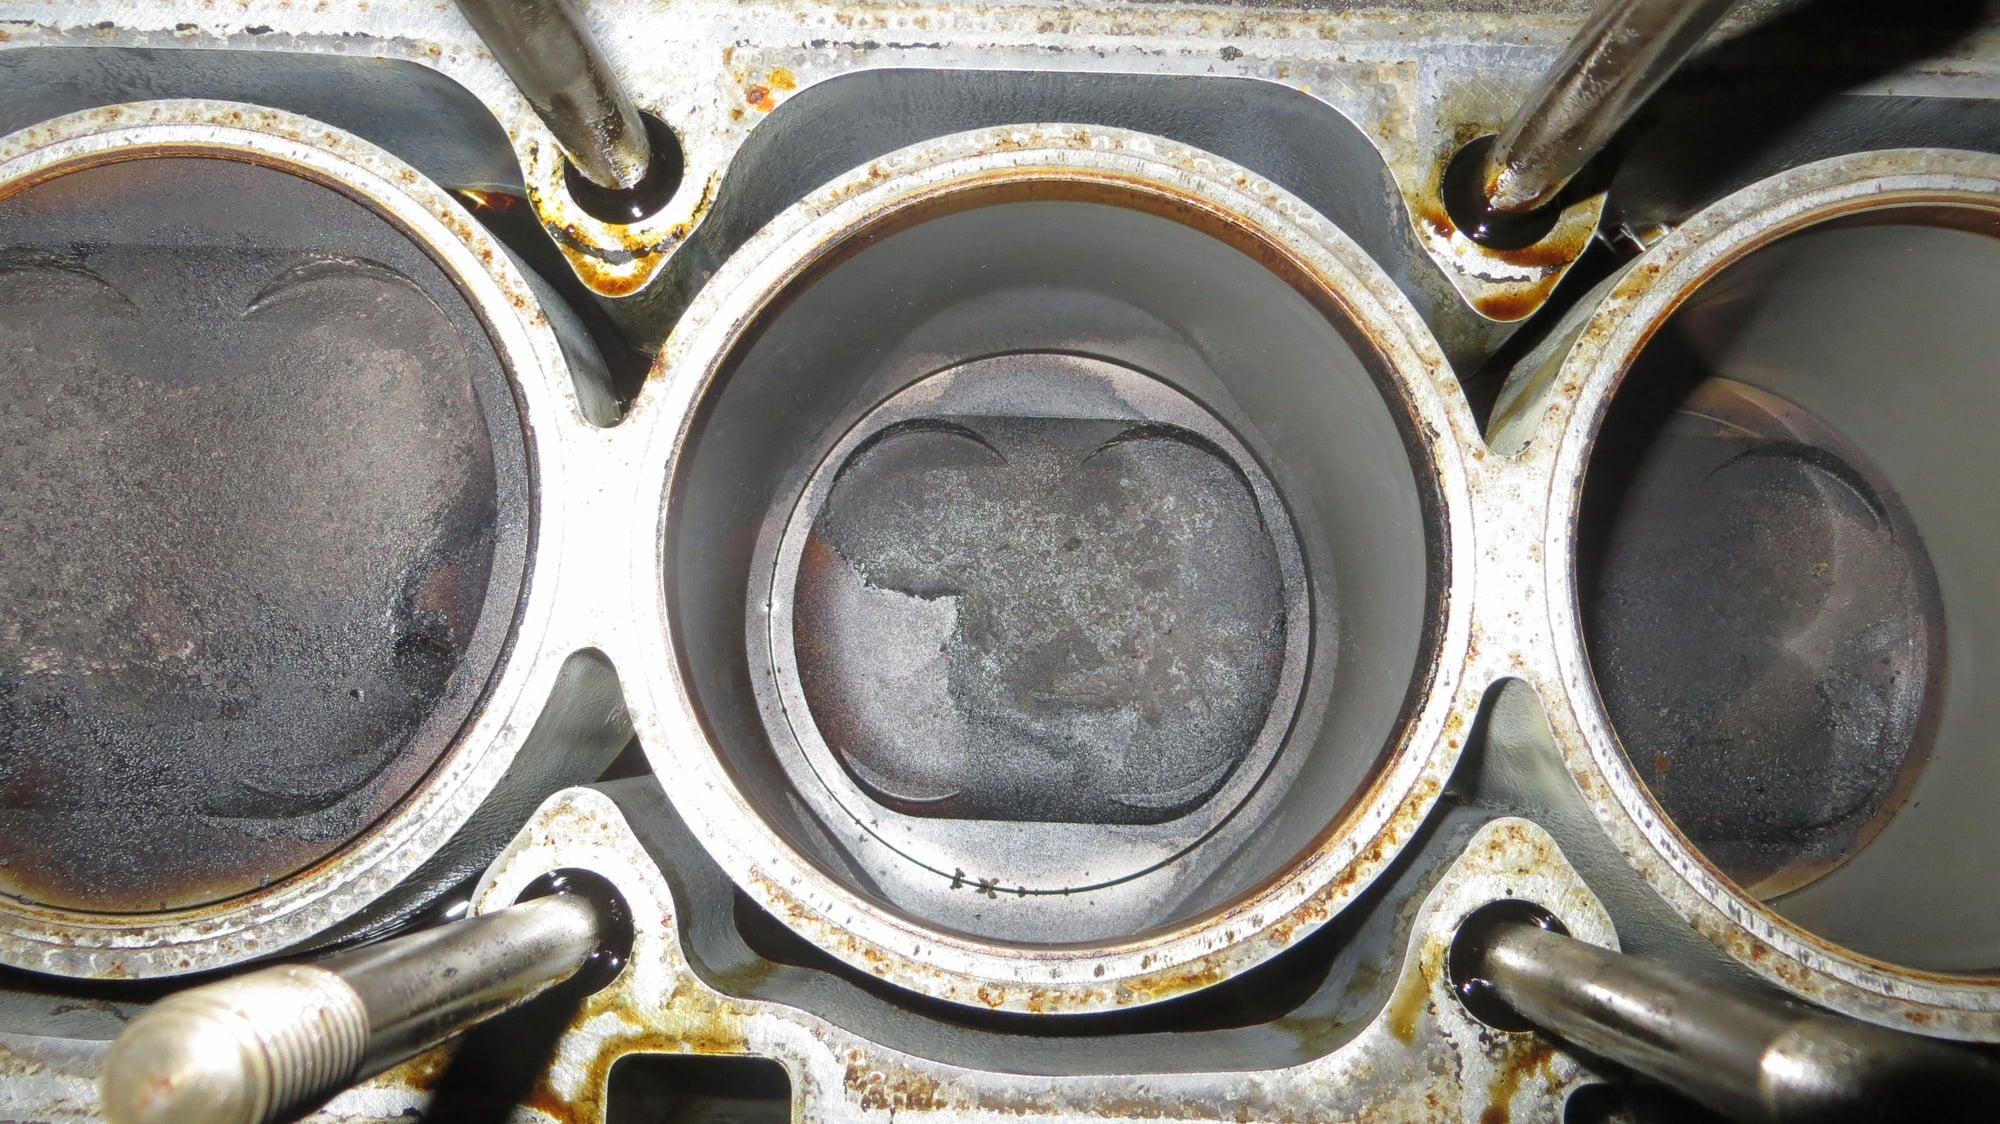
So off came the head. The bores looked absolutely perfect. The head gasket had some coolant damage so I am glad I will be tackling that.
A few pics to share.
Messy
Intake removed as 1 piece
Alternator pulley and bracket off
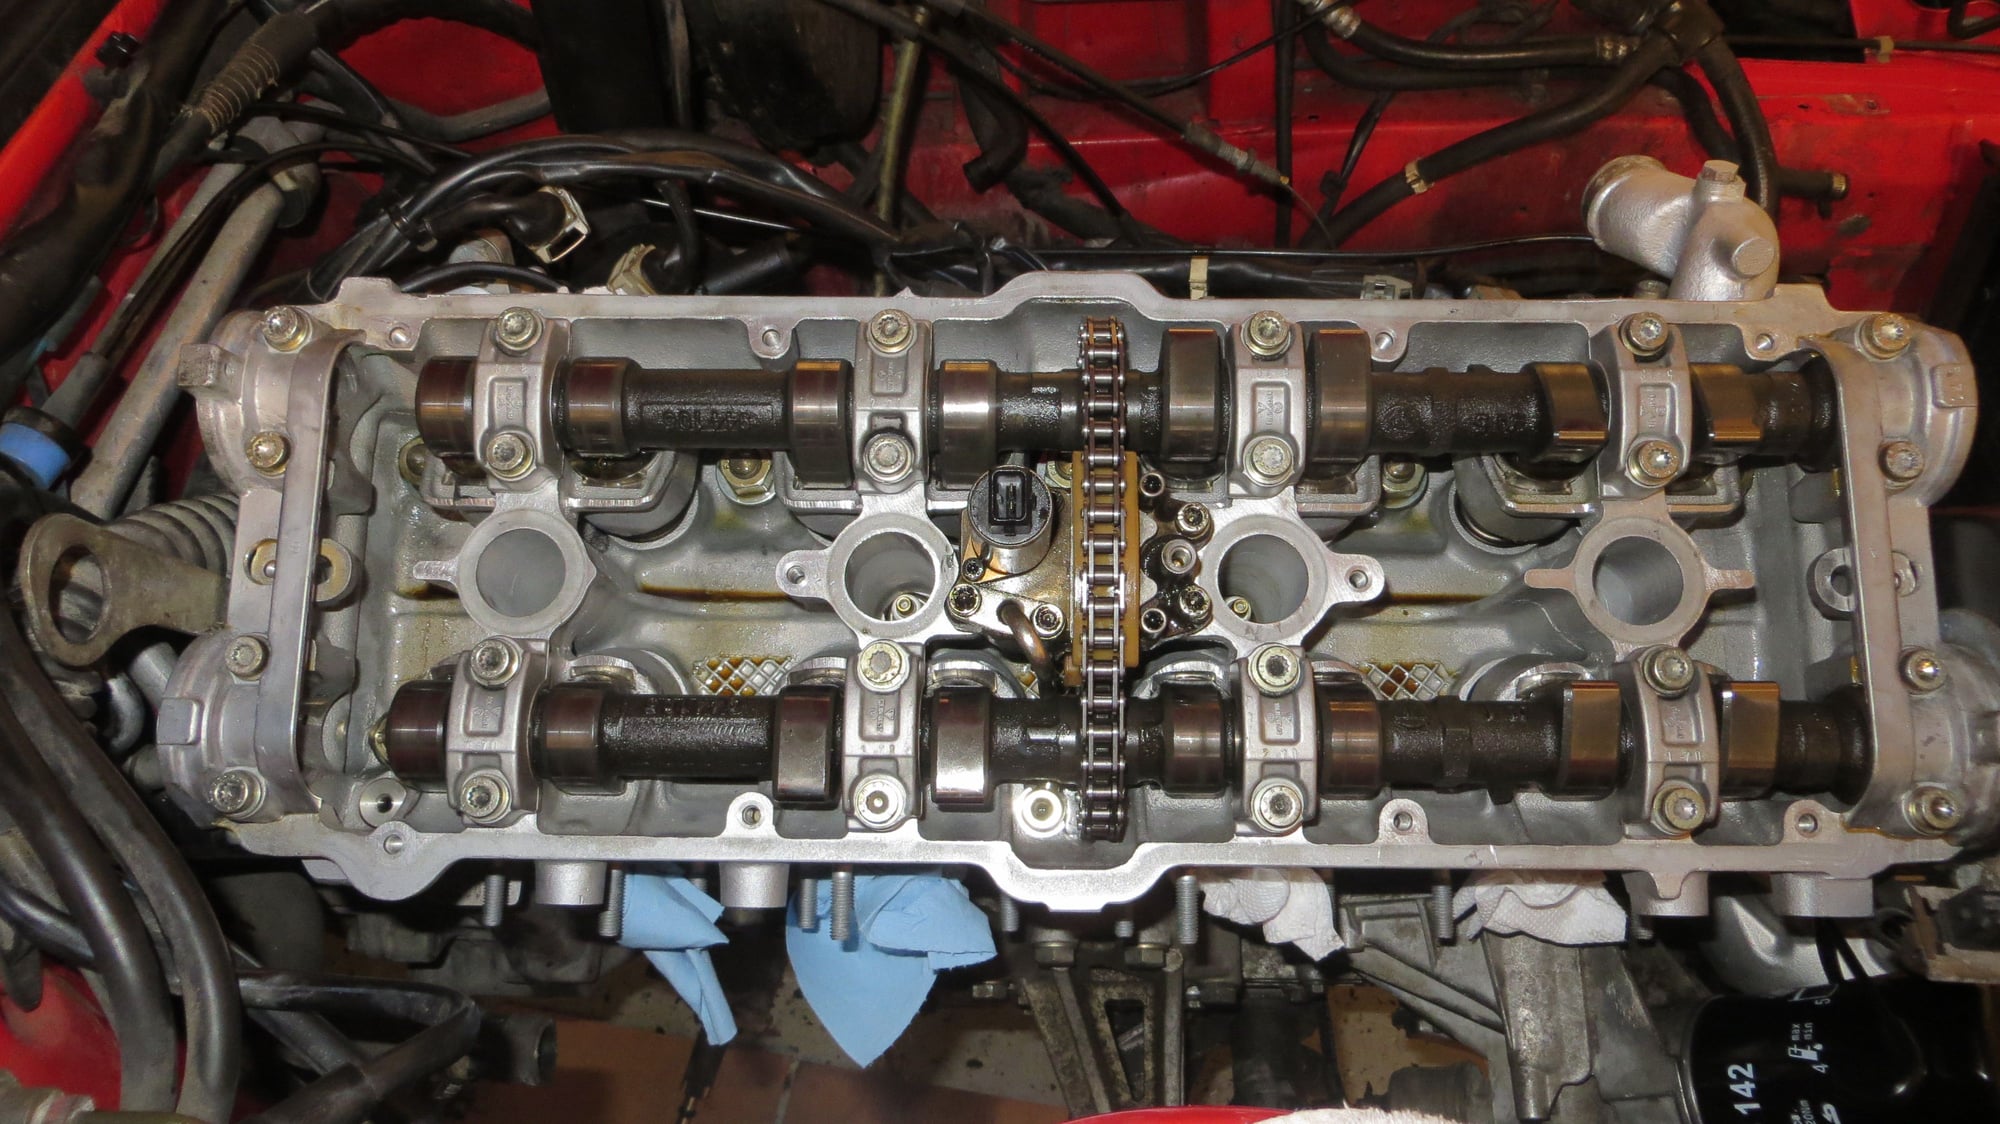
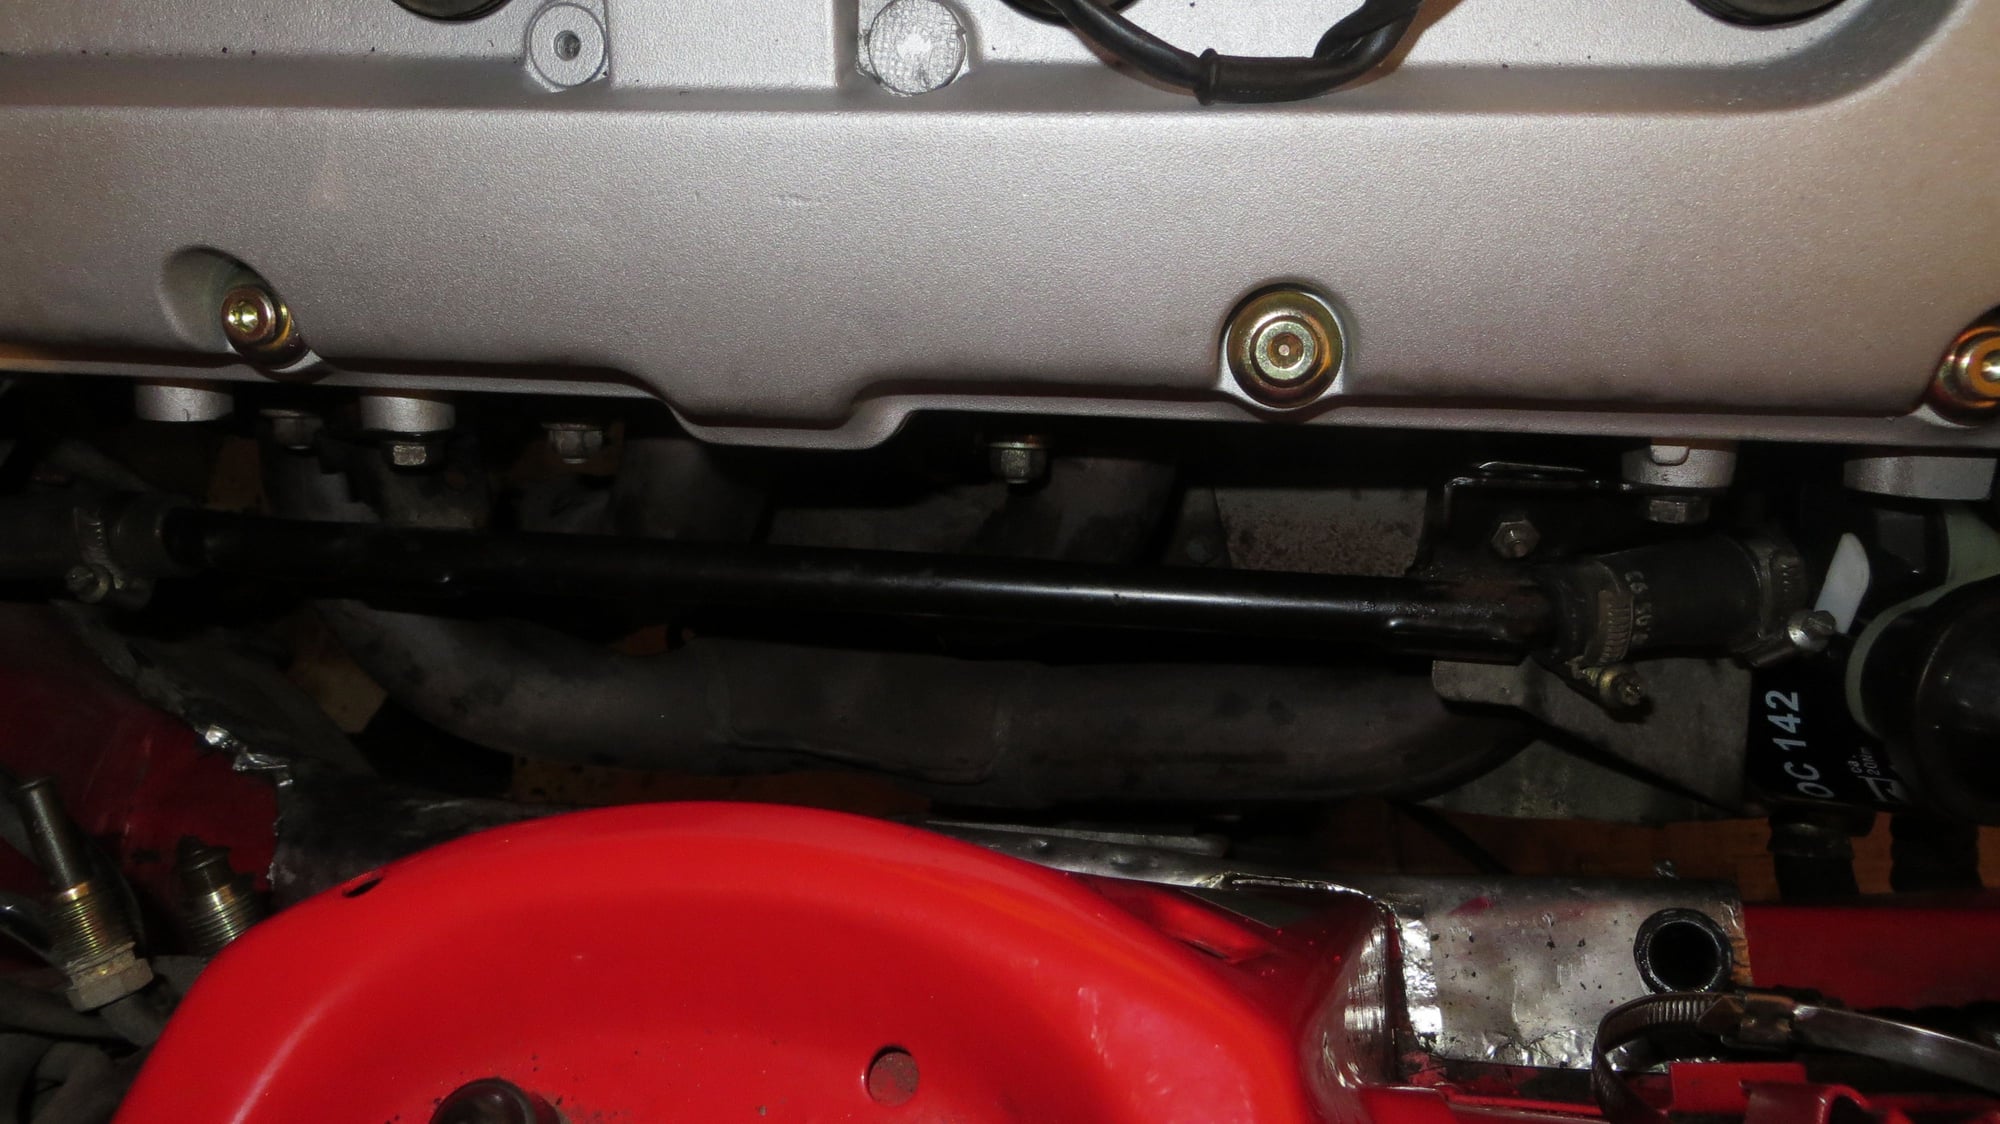
Valve cover removed
#4
#1
#3
#2
Update: 11/22/2016
Dropped the head off to get it freshened. Nothing fancy, just a refresh with new valve guides, seals and valve seats. The idea is to restore power and not get into the slippery slope of modding the car.
Parts started rolling in early to middle of last week. While waiting for the head from returning back from the shop, I went ahead and removed both upper and lower balance shaft housings. Swapped the rear seals, and installed them back on with locktite 574. Installed the front balance shaft gaskets, O'rings and housing back on. Also proceeded to install a new water pump, gasket, thermostat and seal.
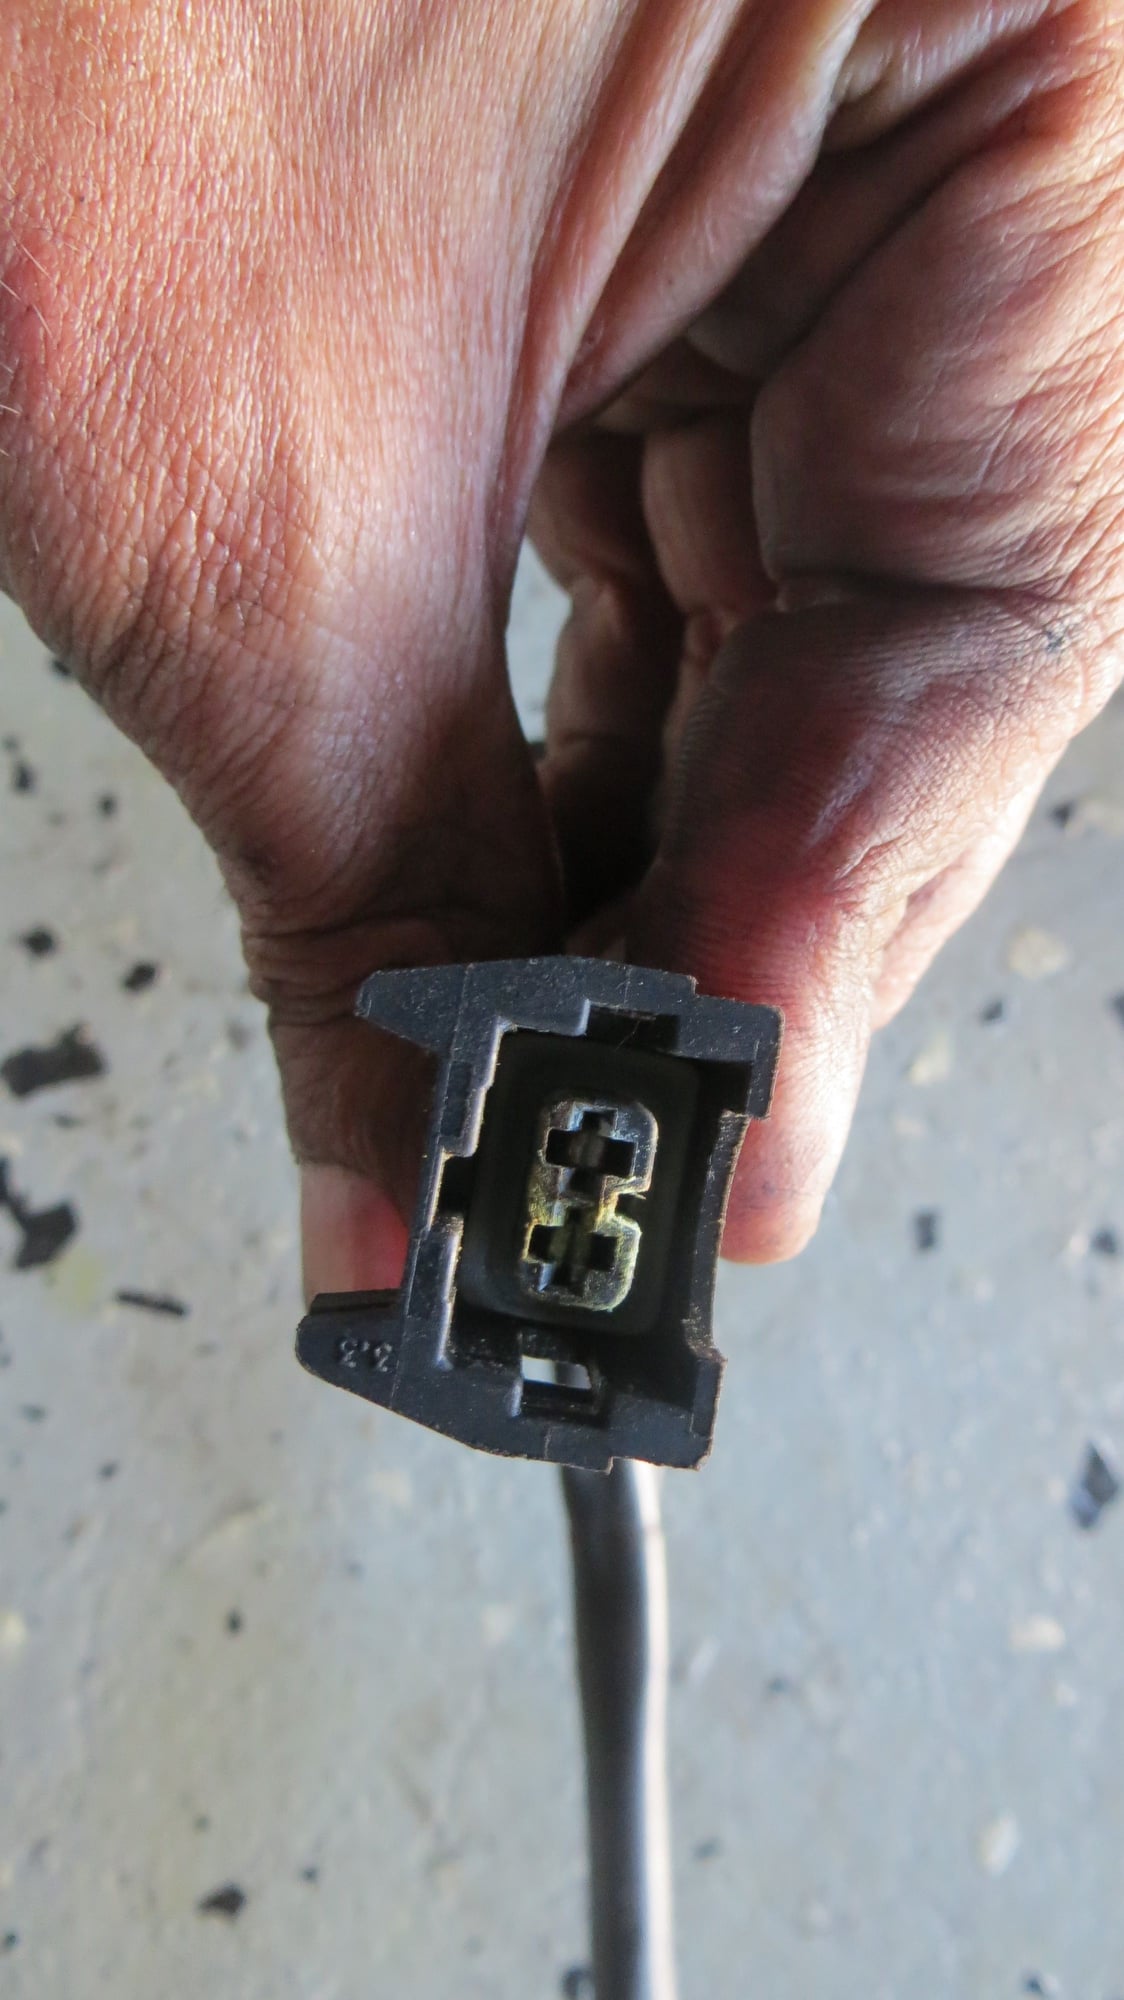
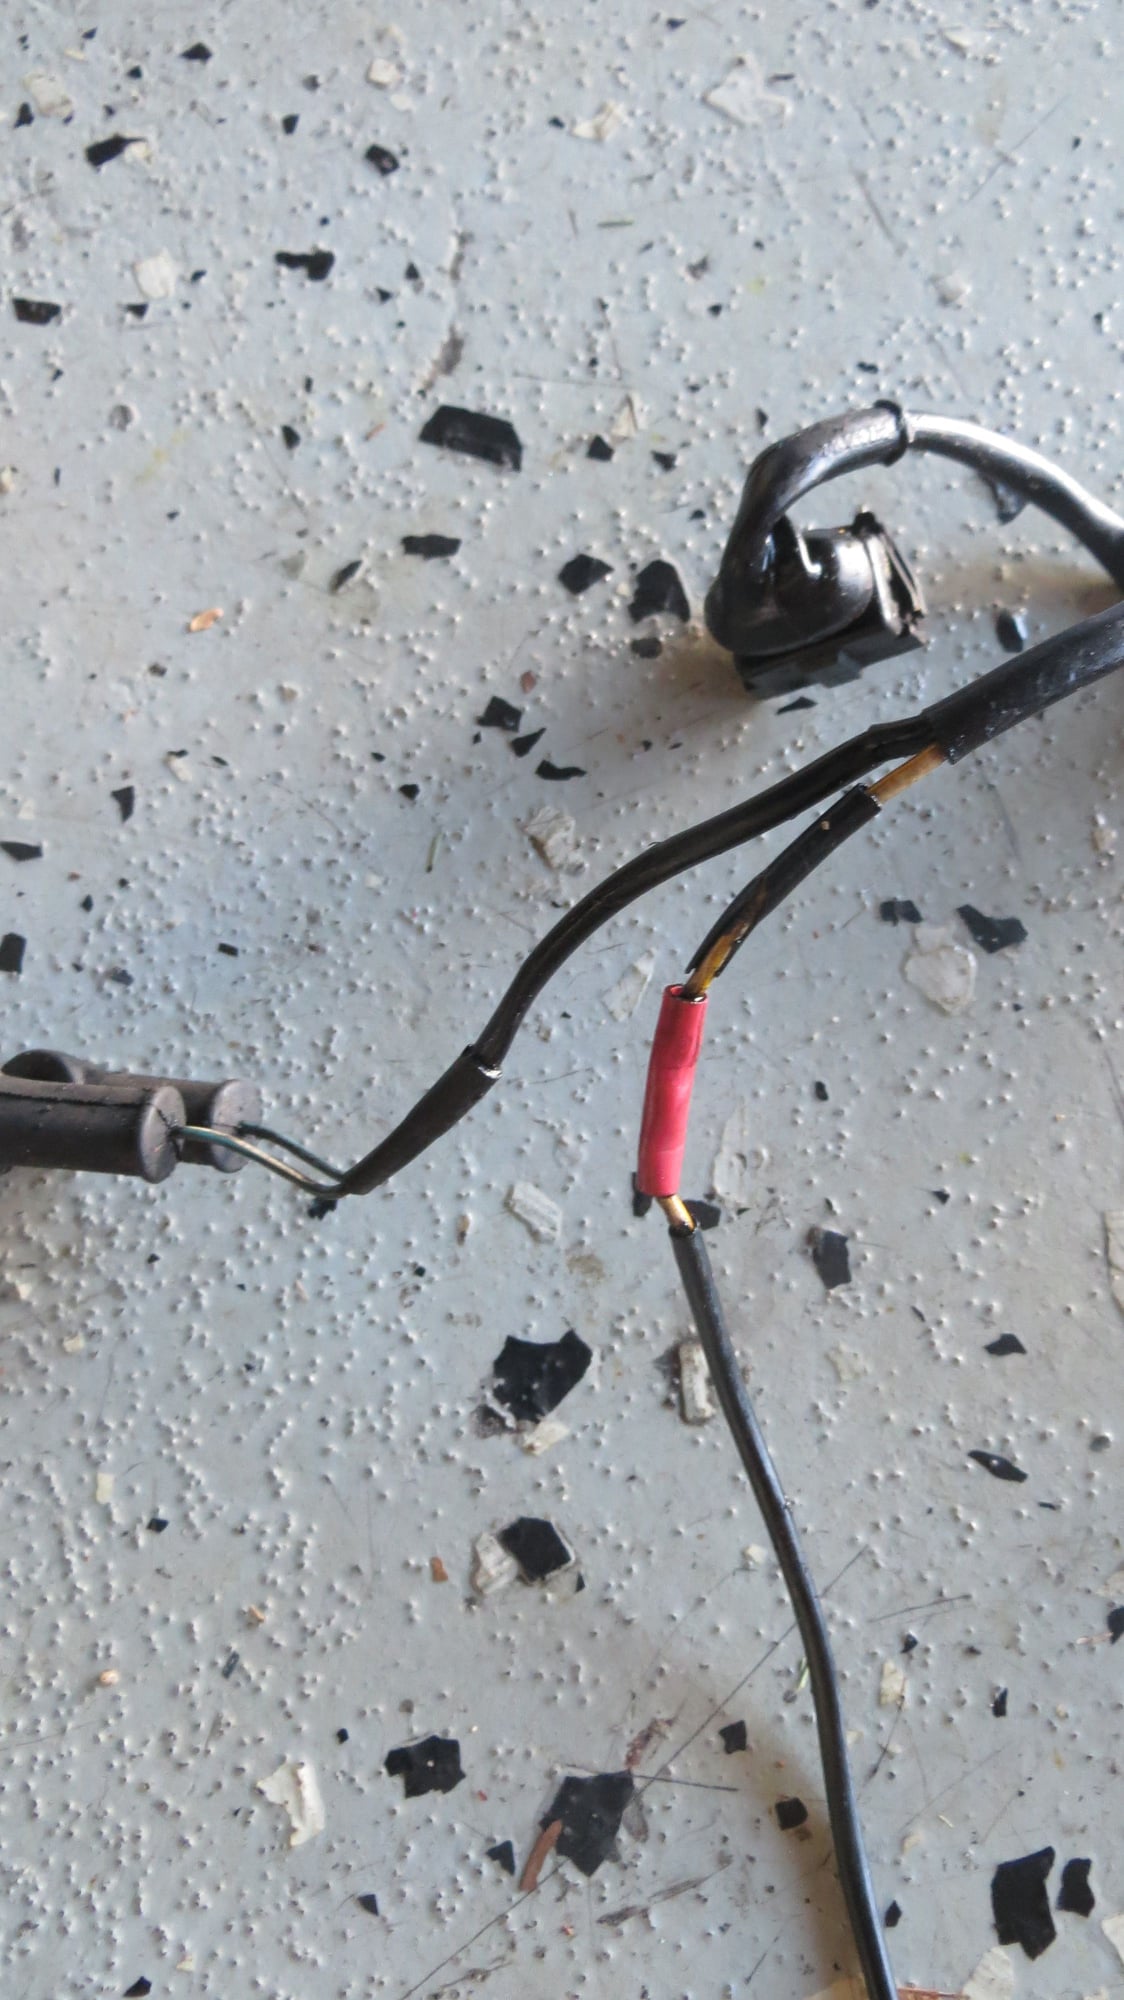
Before I installed the head back, I went on a limb and decided to swap out the engine harness. There were records back from original owner showing an issue with the oil level sender light. I also found some crimps on the section going to the sender which made me suspect on its condition. Its a good thing that I went with the swap because I found corrosion on one of the connectors for the purge valve.
Old Harness
Corrosion
Crimp to the oil level sender
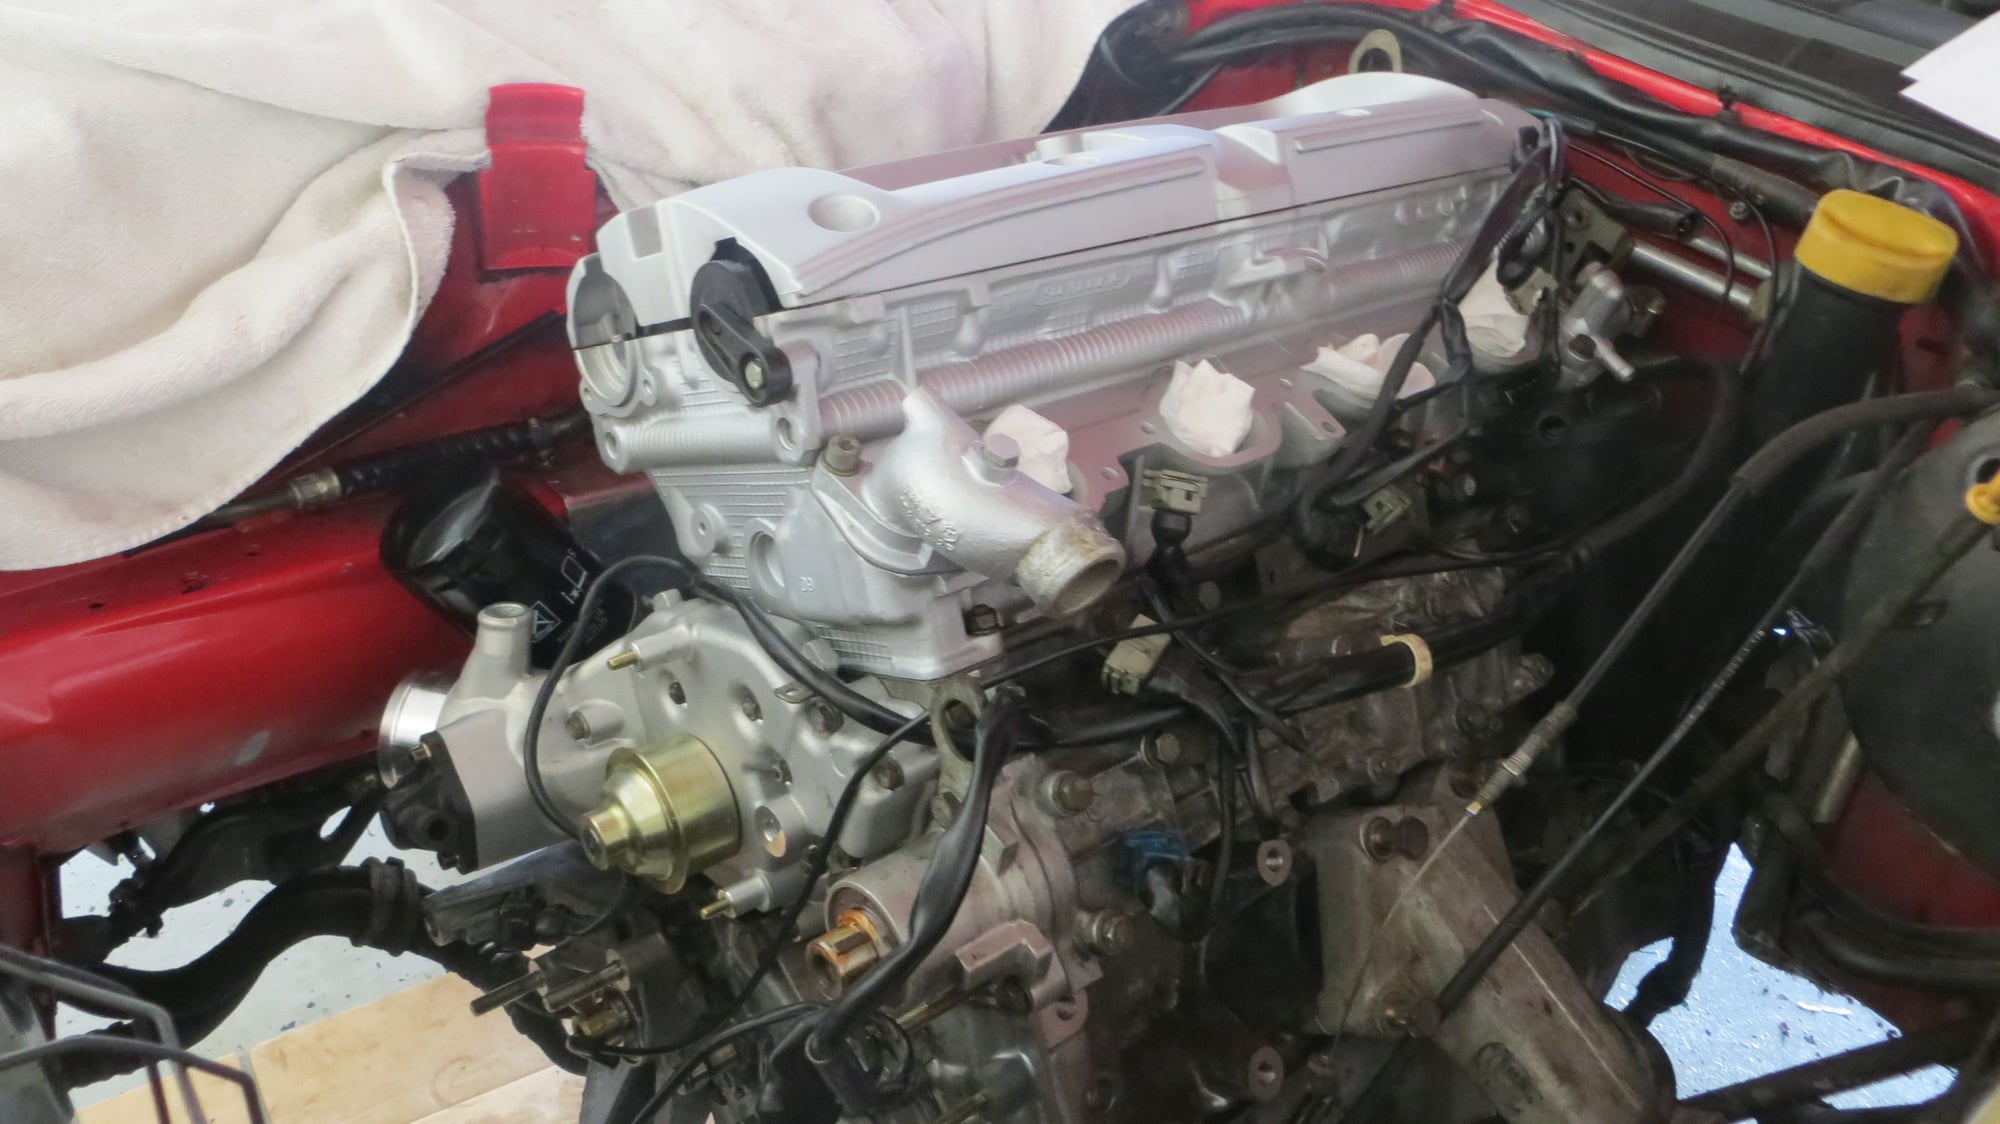
Got the head back by friday 11/18. Prepped the mating surface, cleaned it, dusted off any grime or foreign objects and installed the head.
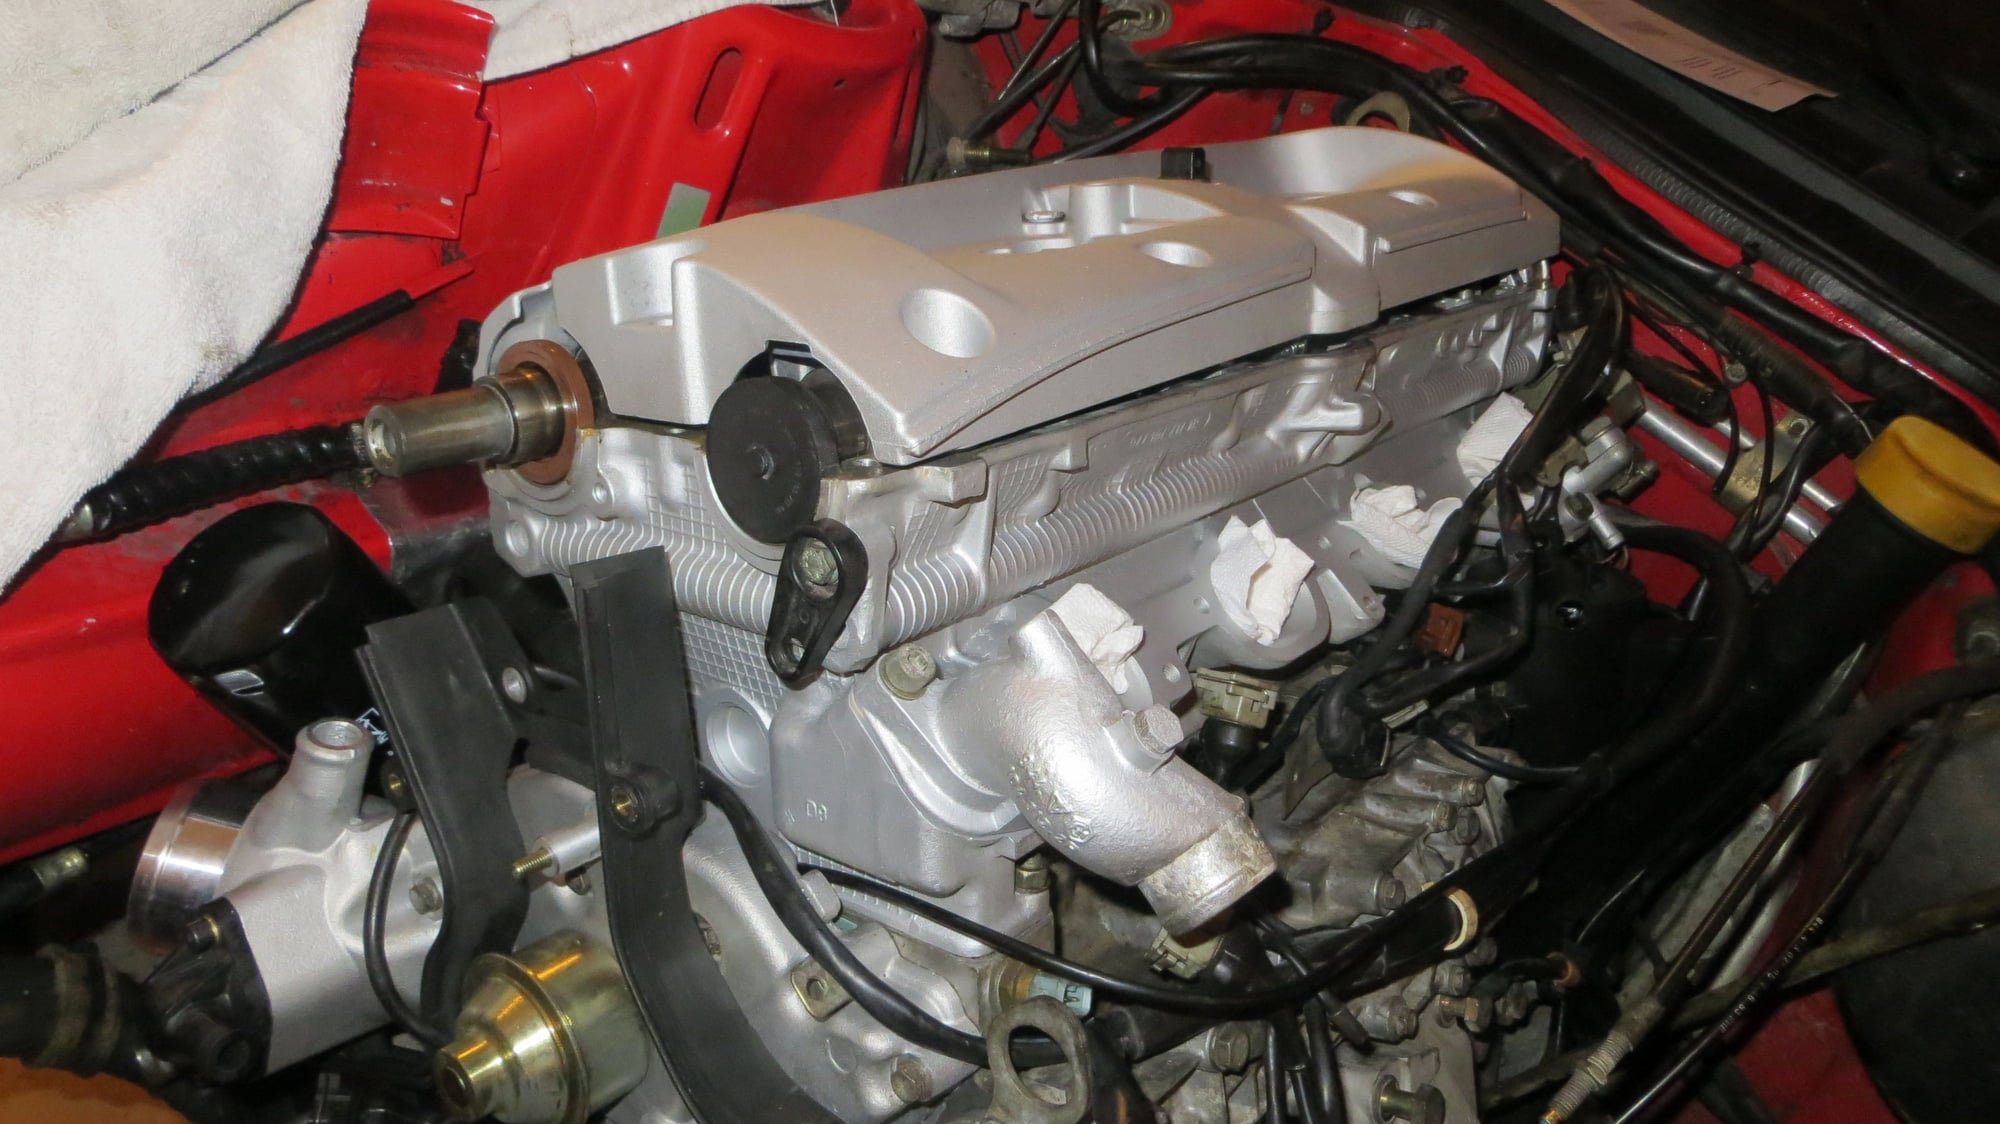
New head installed. Valve cover placed to protect from debris getting in.
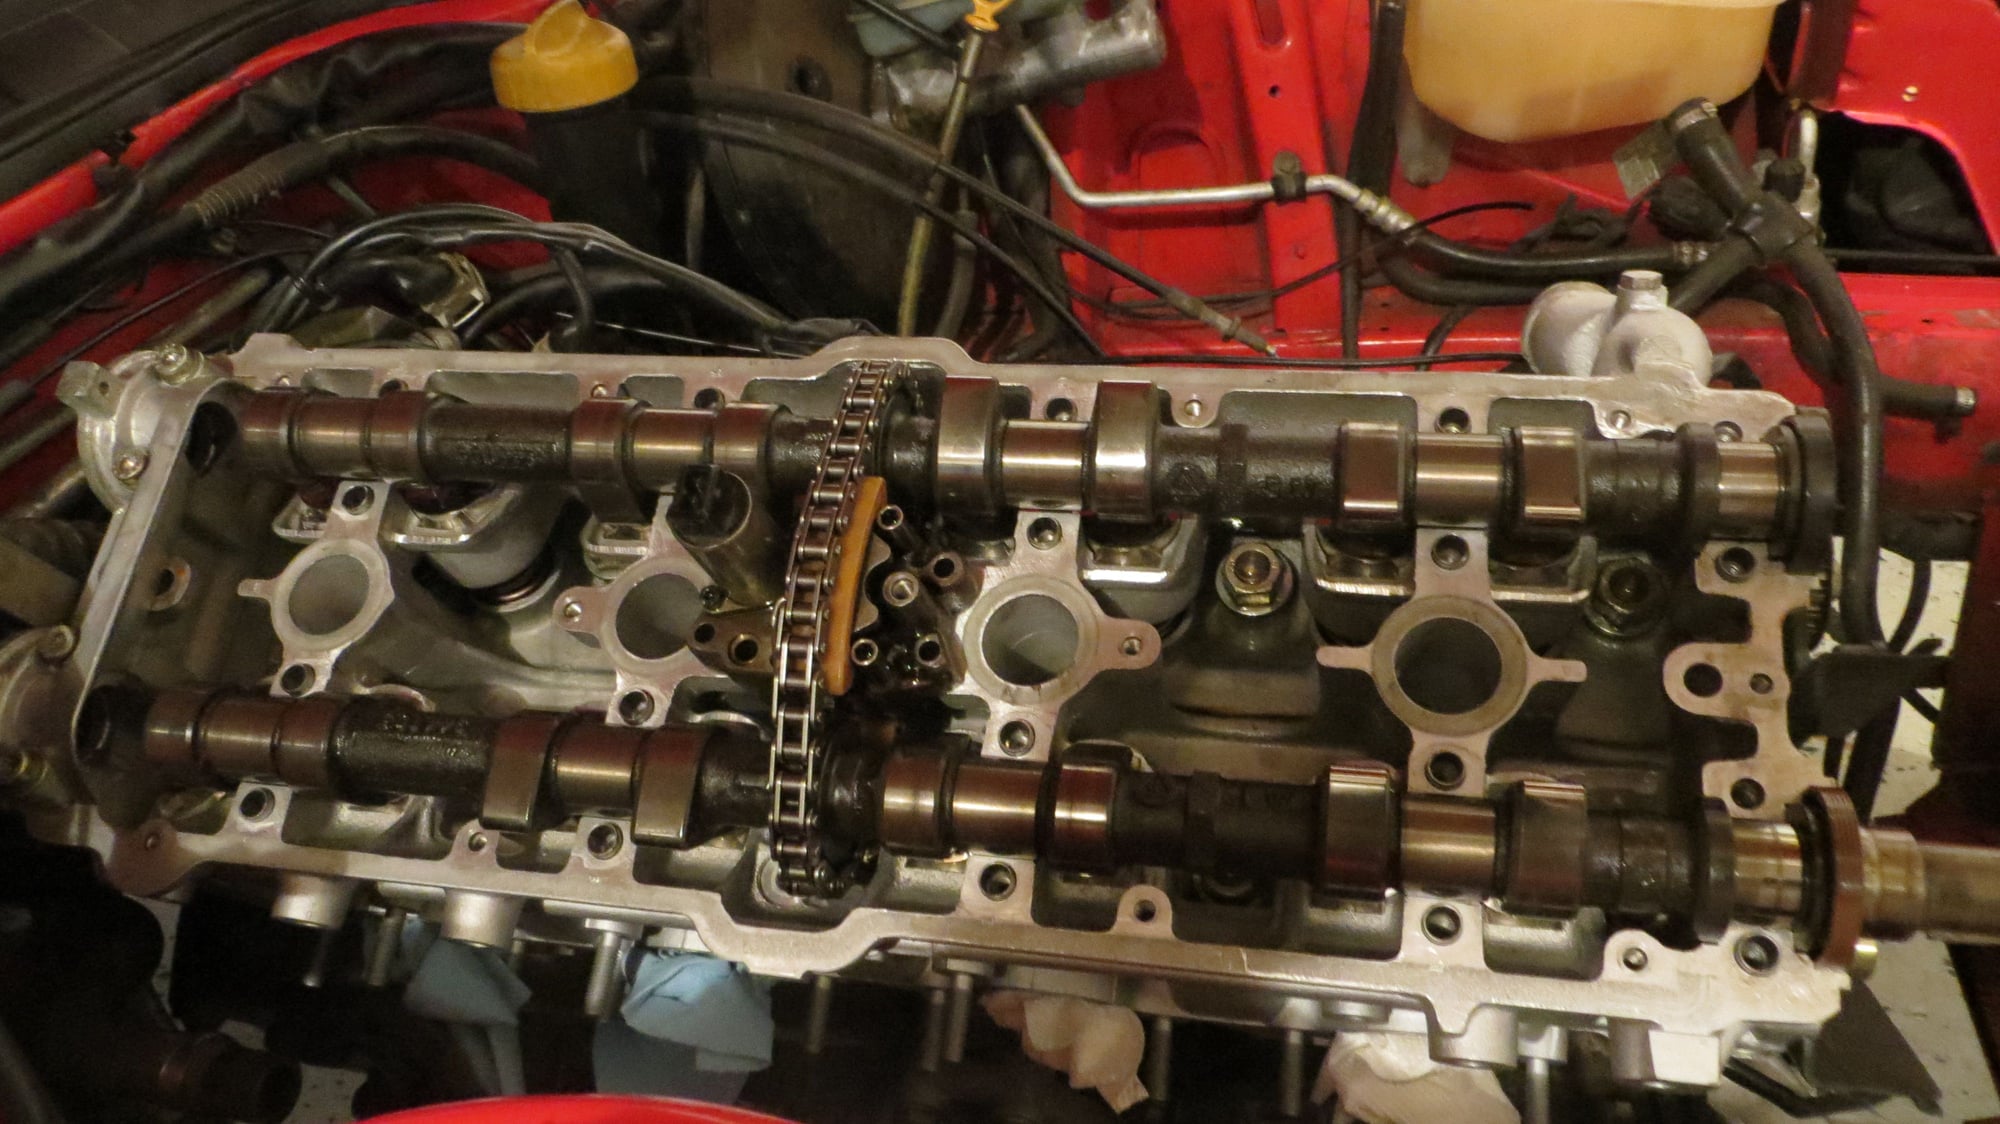
Installed cams with new variocam tensioner pads and chain even though they only had 27k miles since last swapped.
Right before bearing caps were installed.
Cams installed.
Rear Belt cover installed, Cam pulley housing installed.
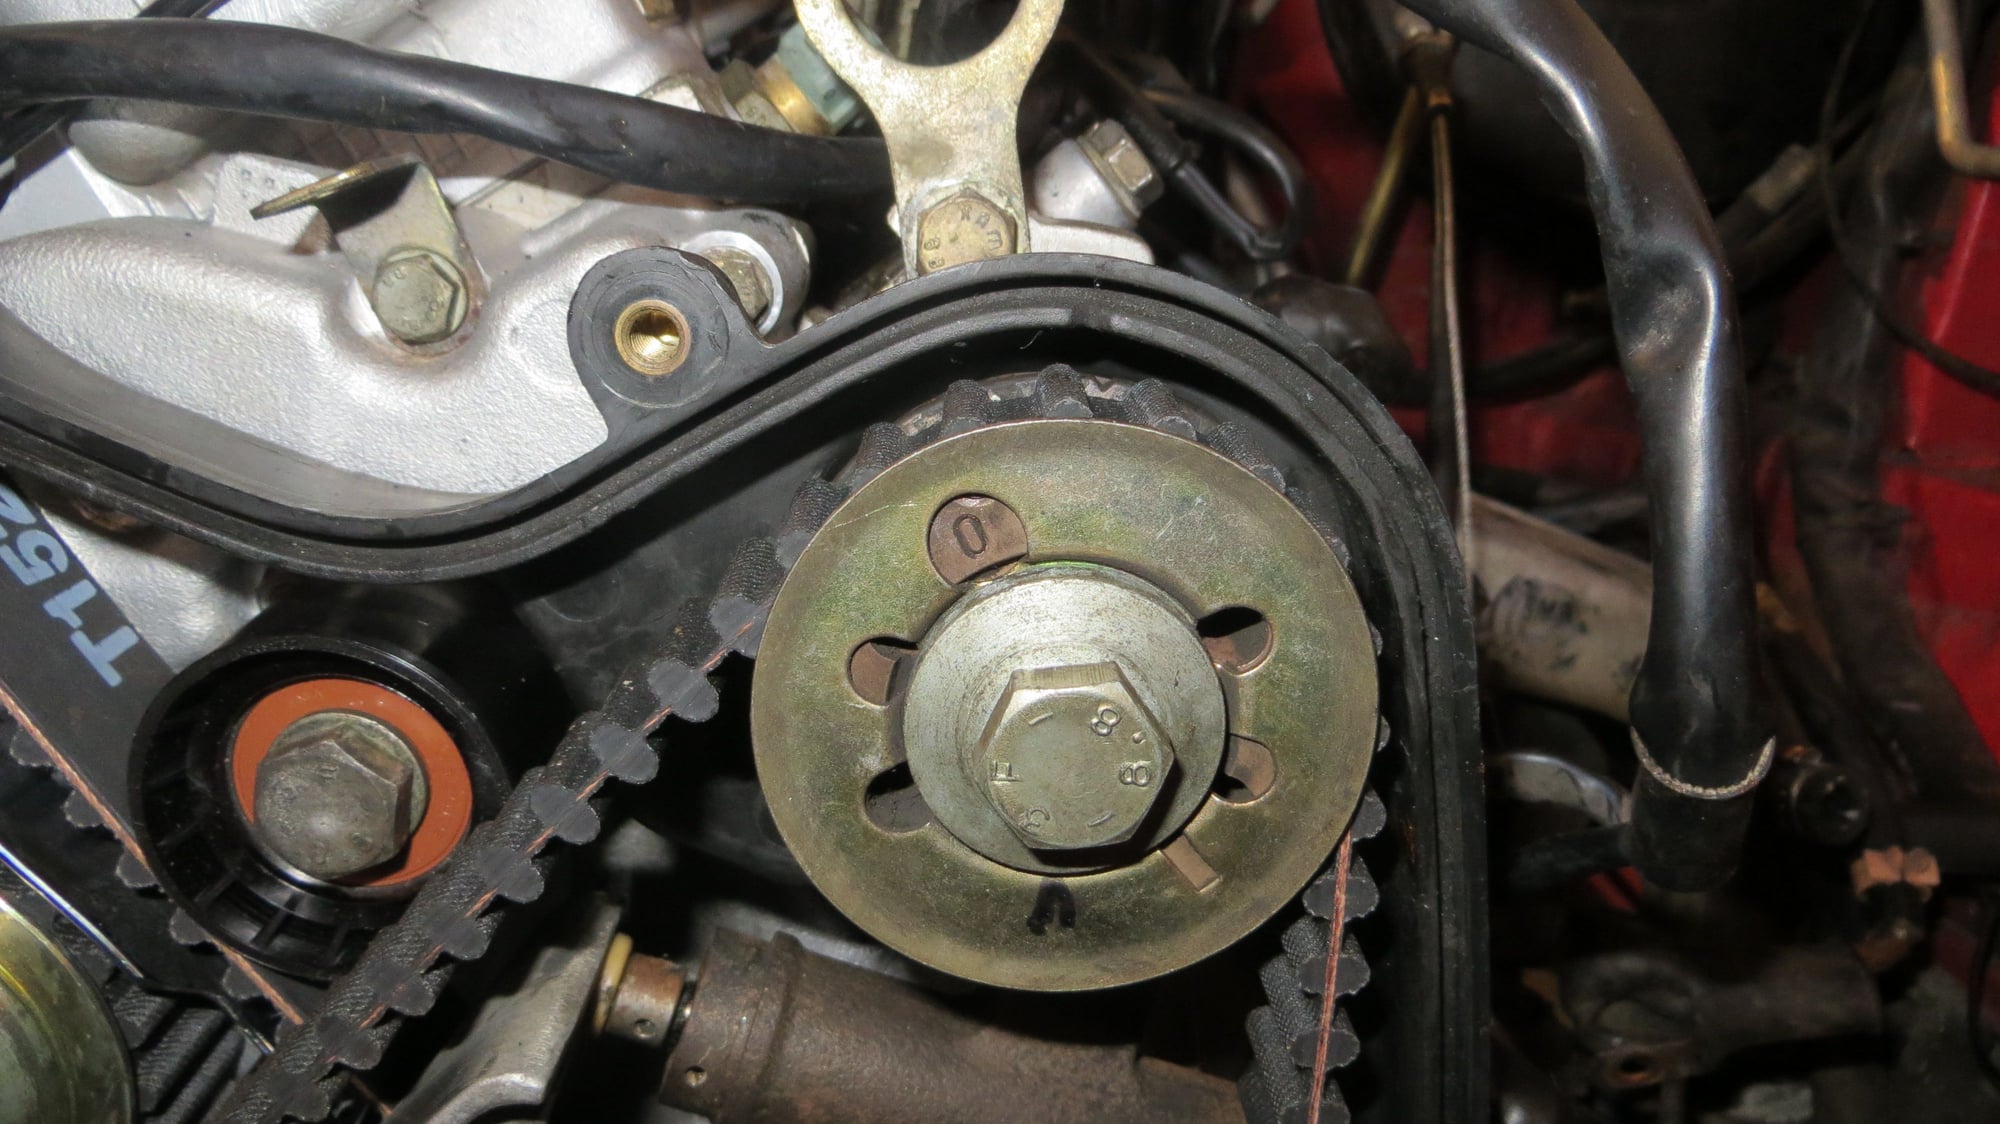
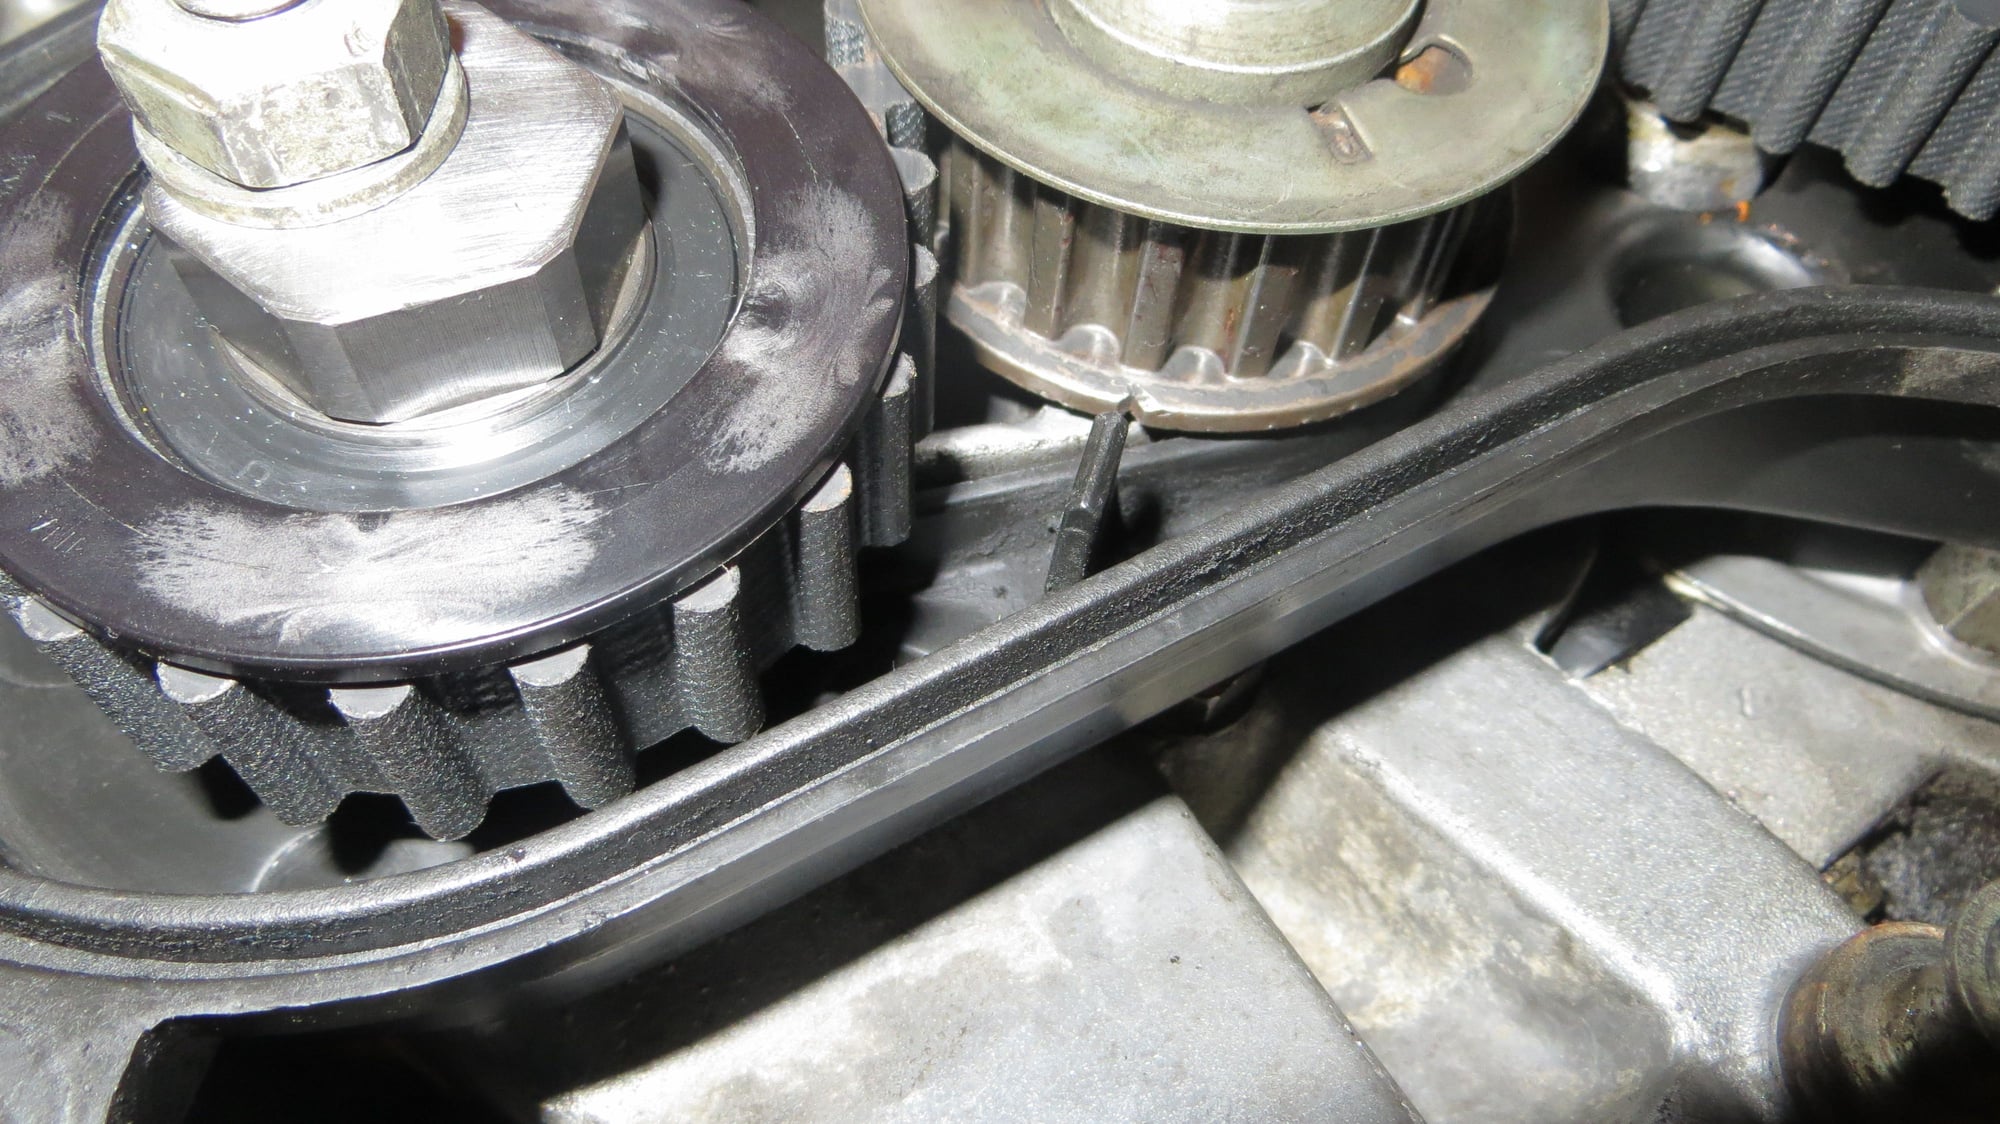
New timing belt, balance shaft belts, associated rollers and tensioners installed.
Turned the engine a few times by hand and checked all the marks to make sure everything was lined up. Notice, the valve cover was off for this operation to make sure the cam are also in proper timing. Upper BS pulley "O" Mark showing through round opening and the lower "O" Mark showing thru the rectangular opening.
Decided to use spare cam bolts that were freshly plated. New valve cover gasket, grommets and spark plug seal rings installed. New variocam seal for valve cover installed.
Front belt covers installed after final check. Installed Distributor cap and rotor.
Getting ready for the next step. New engine mounts, oil pan gasket up next. Currently just staged for the next step.
Update: 12/9/2016
Made a lot of progress over the last few weeks.
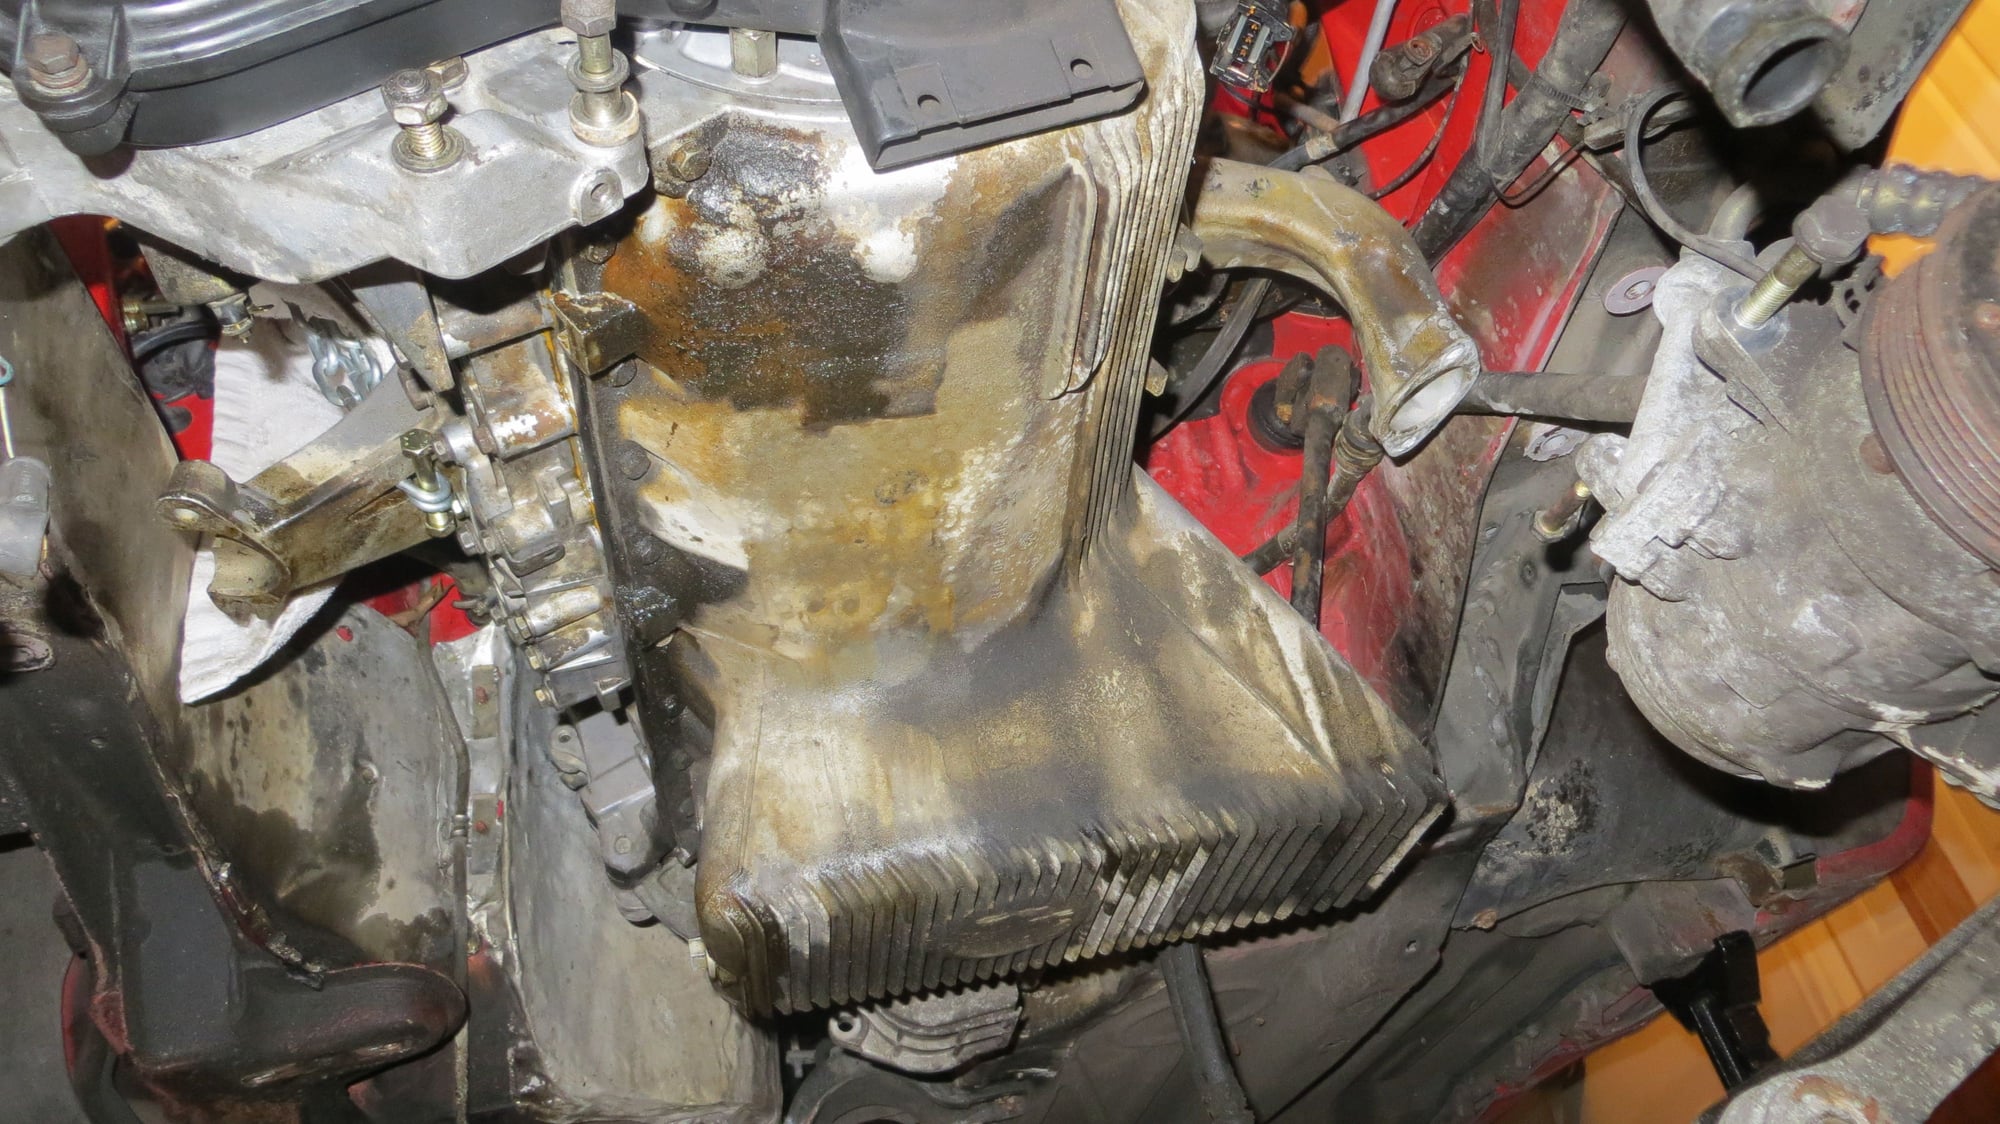
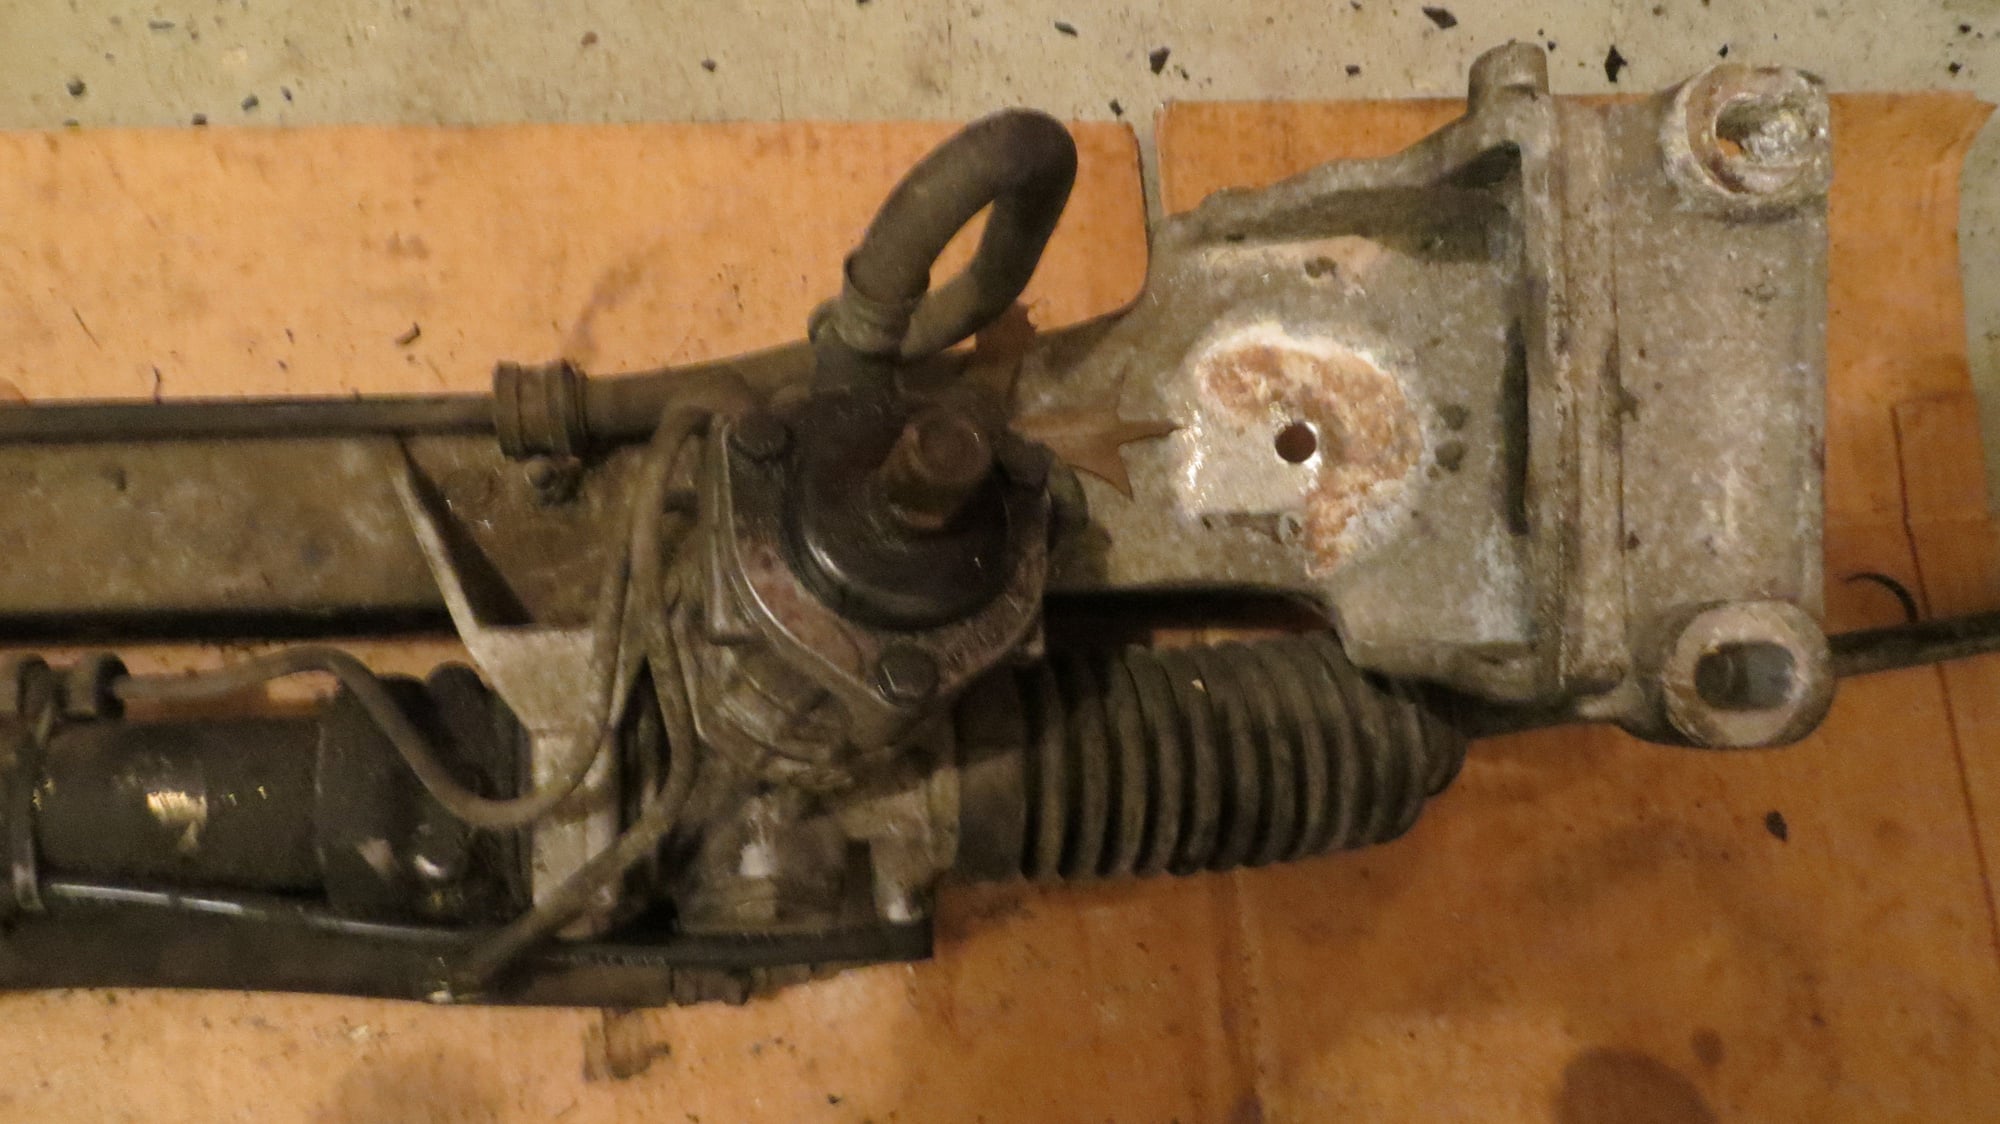
Removed the cross-member and steering rack as 1 unit. Even though this is not required to swap out teh engine mounts, I was trying to use this opportunity to get all the bits and pieces clean so I can track leaks better in the future. Also, with the car sitting for months at a time, I found a lot of leaves and dirt had found their way. The nice part about dirt and oil leaks, they love to protect your finish
Picture of engine suspended with cross-member removed.
Oil filter and cooler housing installed
In order to drop the oil pan, the oil level sender needs to be removed. With constant oil level light warning from teh get-go I knew the culprit was not the unit because it was recently replaced with same results.
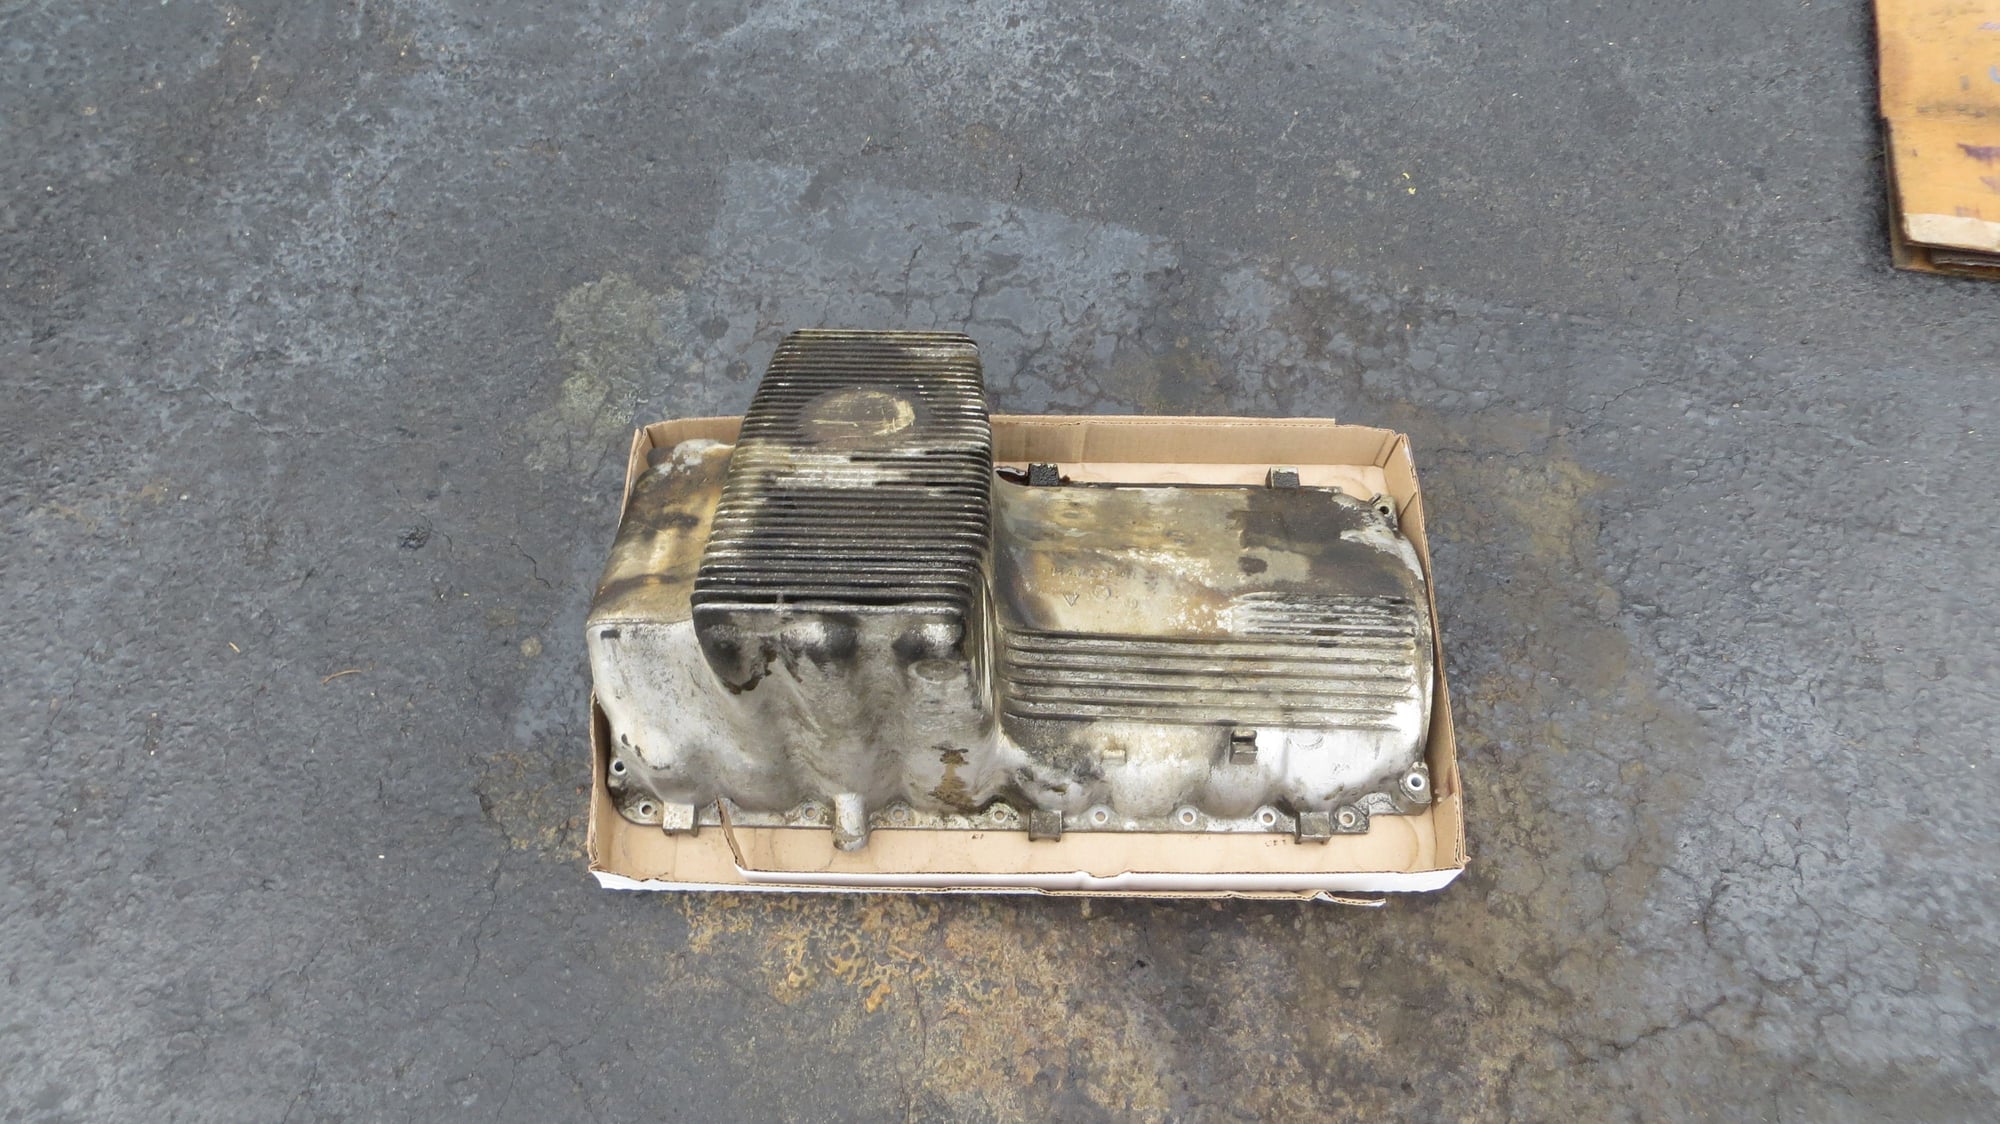
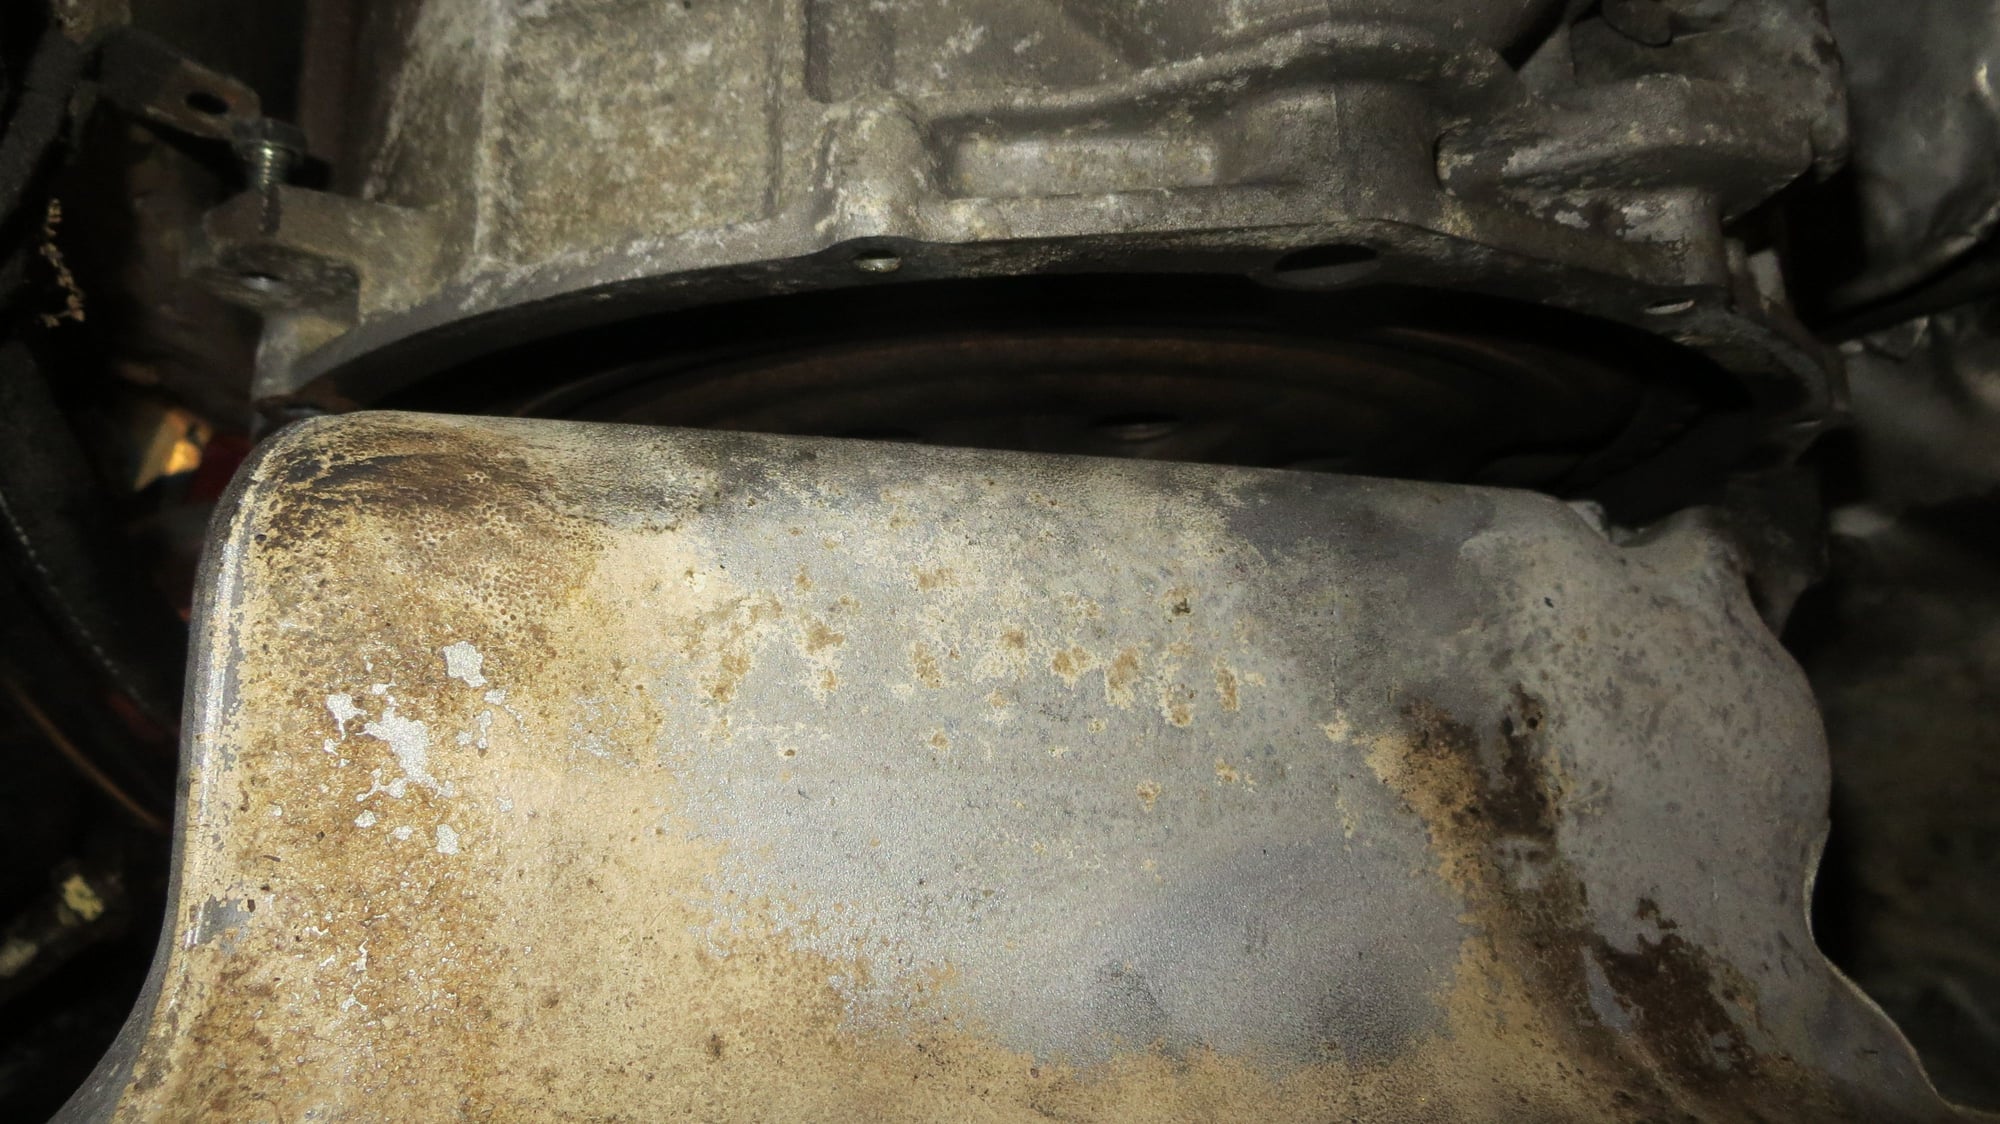
Glad I decided to do the oil pan as one can see it was leaking.
Cross-member, full of dirt and grime and leaves .
Oil pan ready for cleaning.
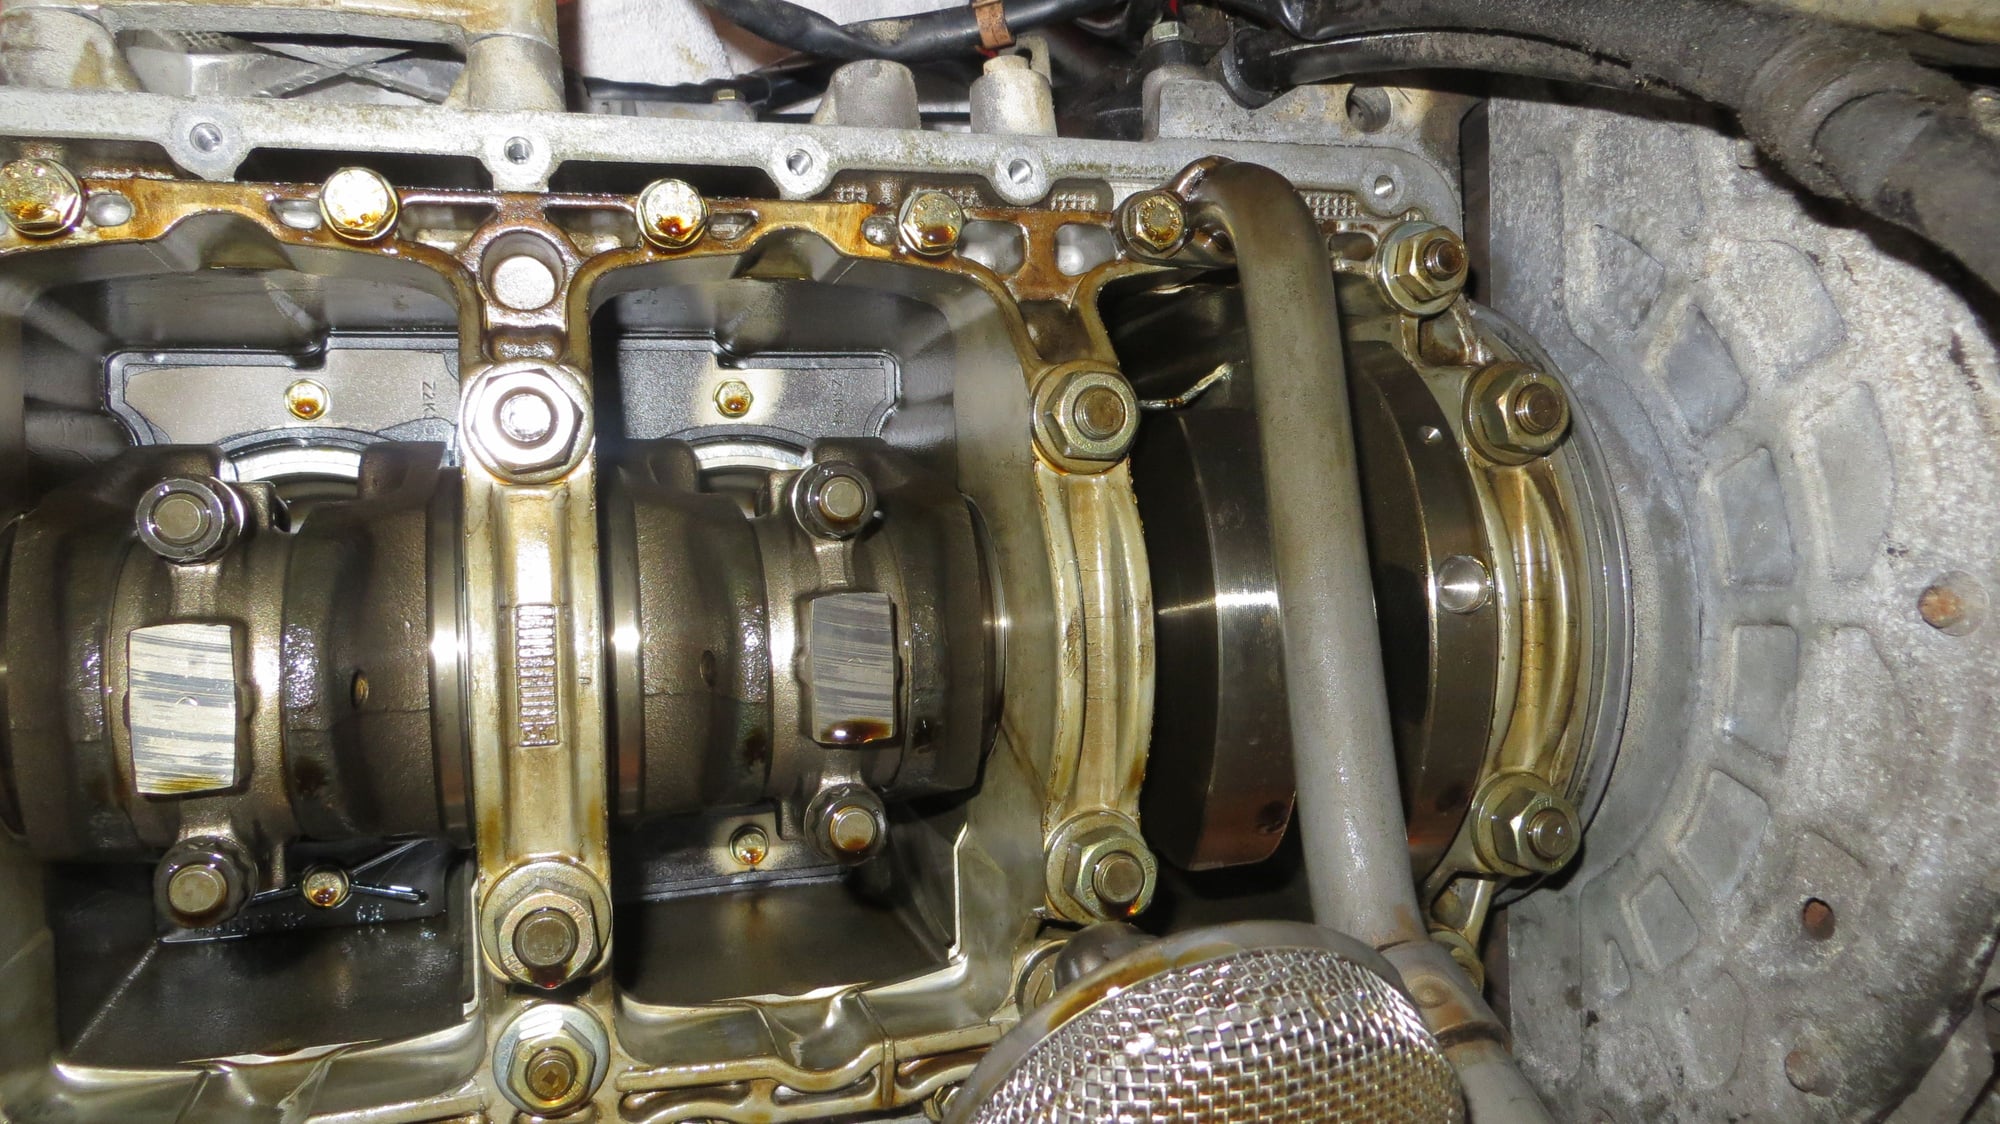
Bottom end of the engine looked amazingly clean. Checked oil pickup tube for cracks and everything looked perfect.
Removed bellhousing/flywheel cover to prep for installation.
Even though the engine mounts showed no signs of wear, they did show some fatigue. The heights between the new units vs the old unit was a few mm off.
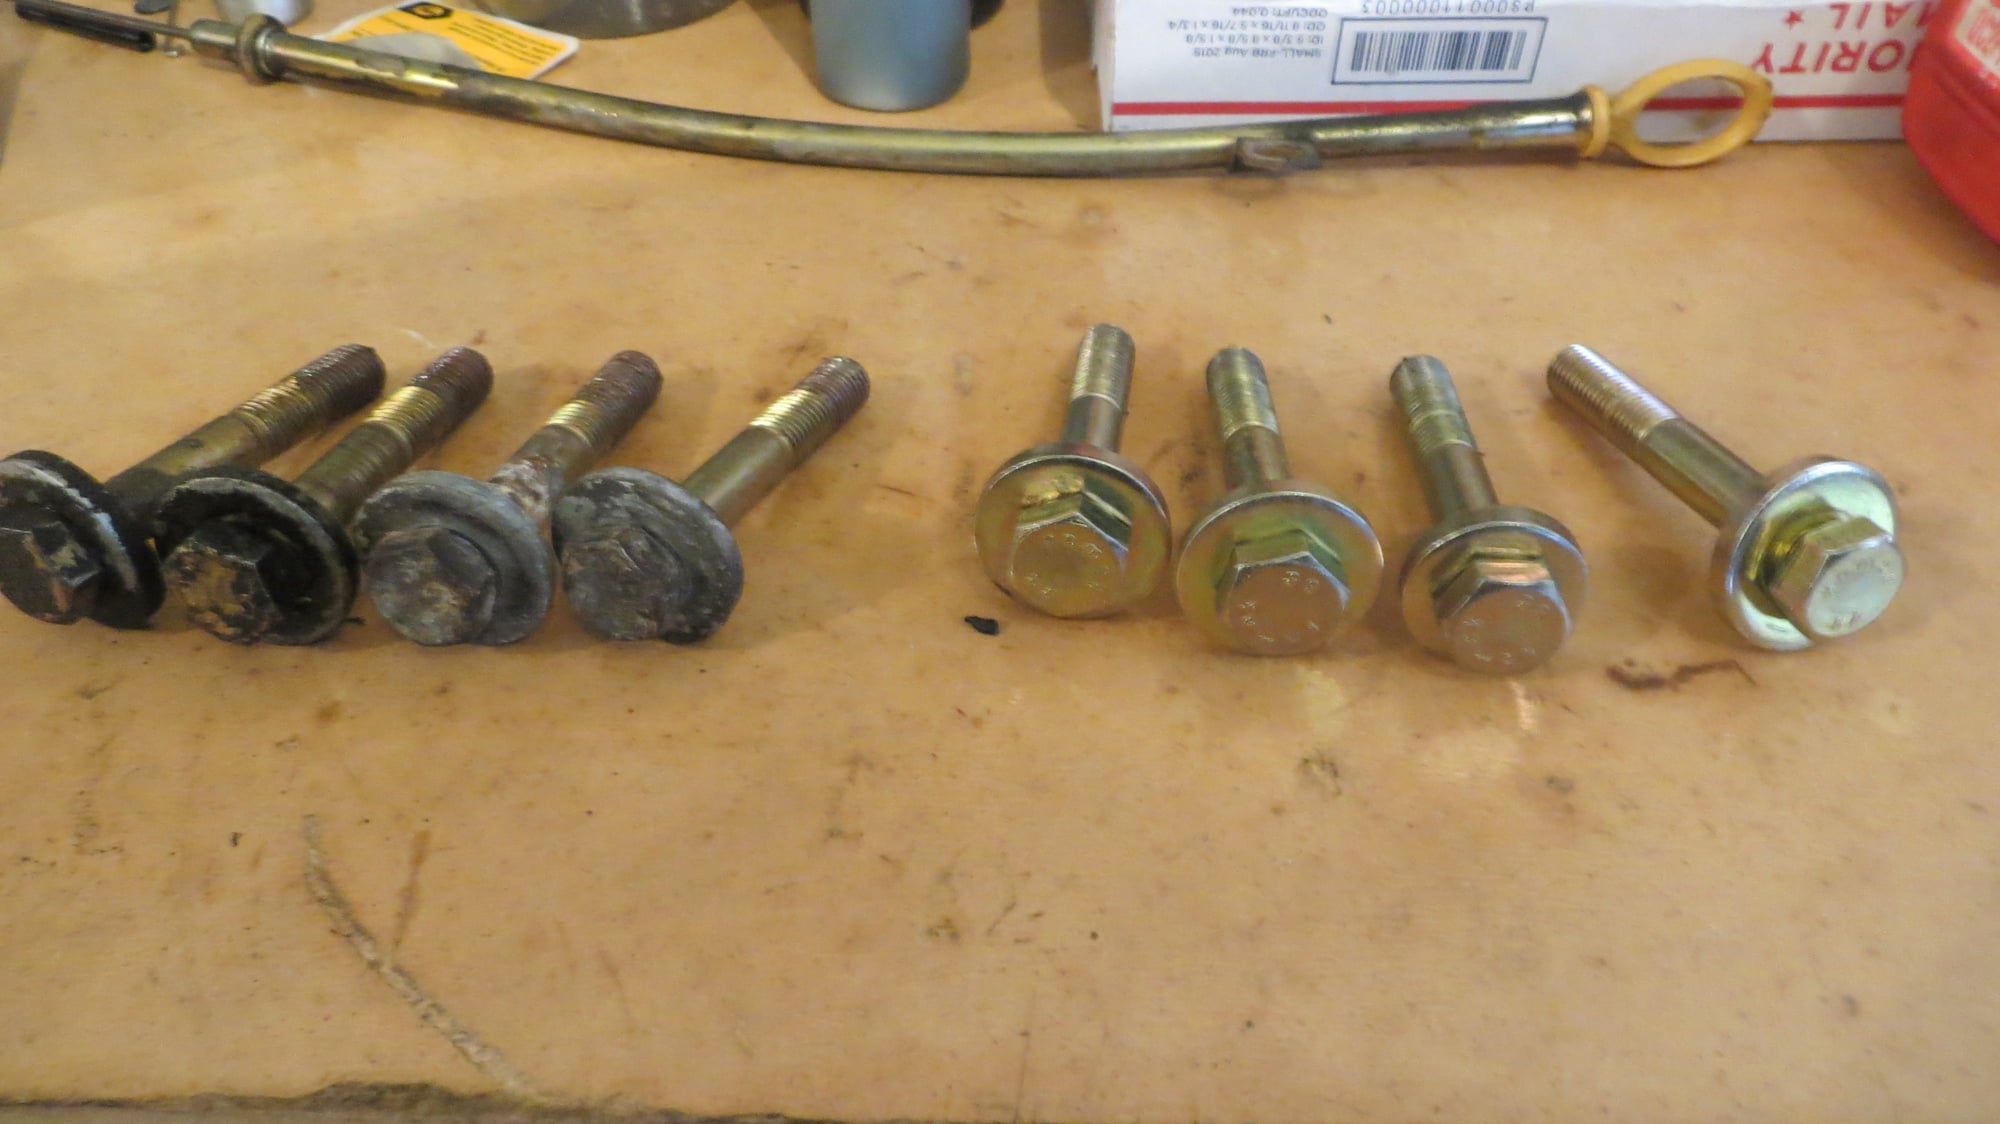
Also decided to swap out some worn looking hardware.
New mounts in place and now the engine standing on them, un-suspended from top. Steering rack connected again.
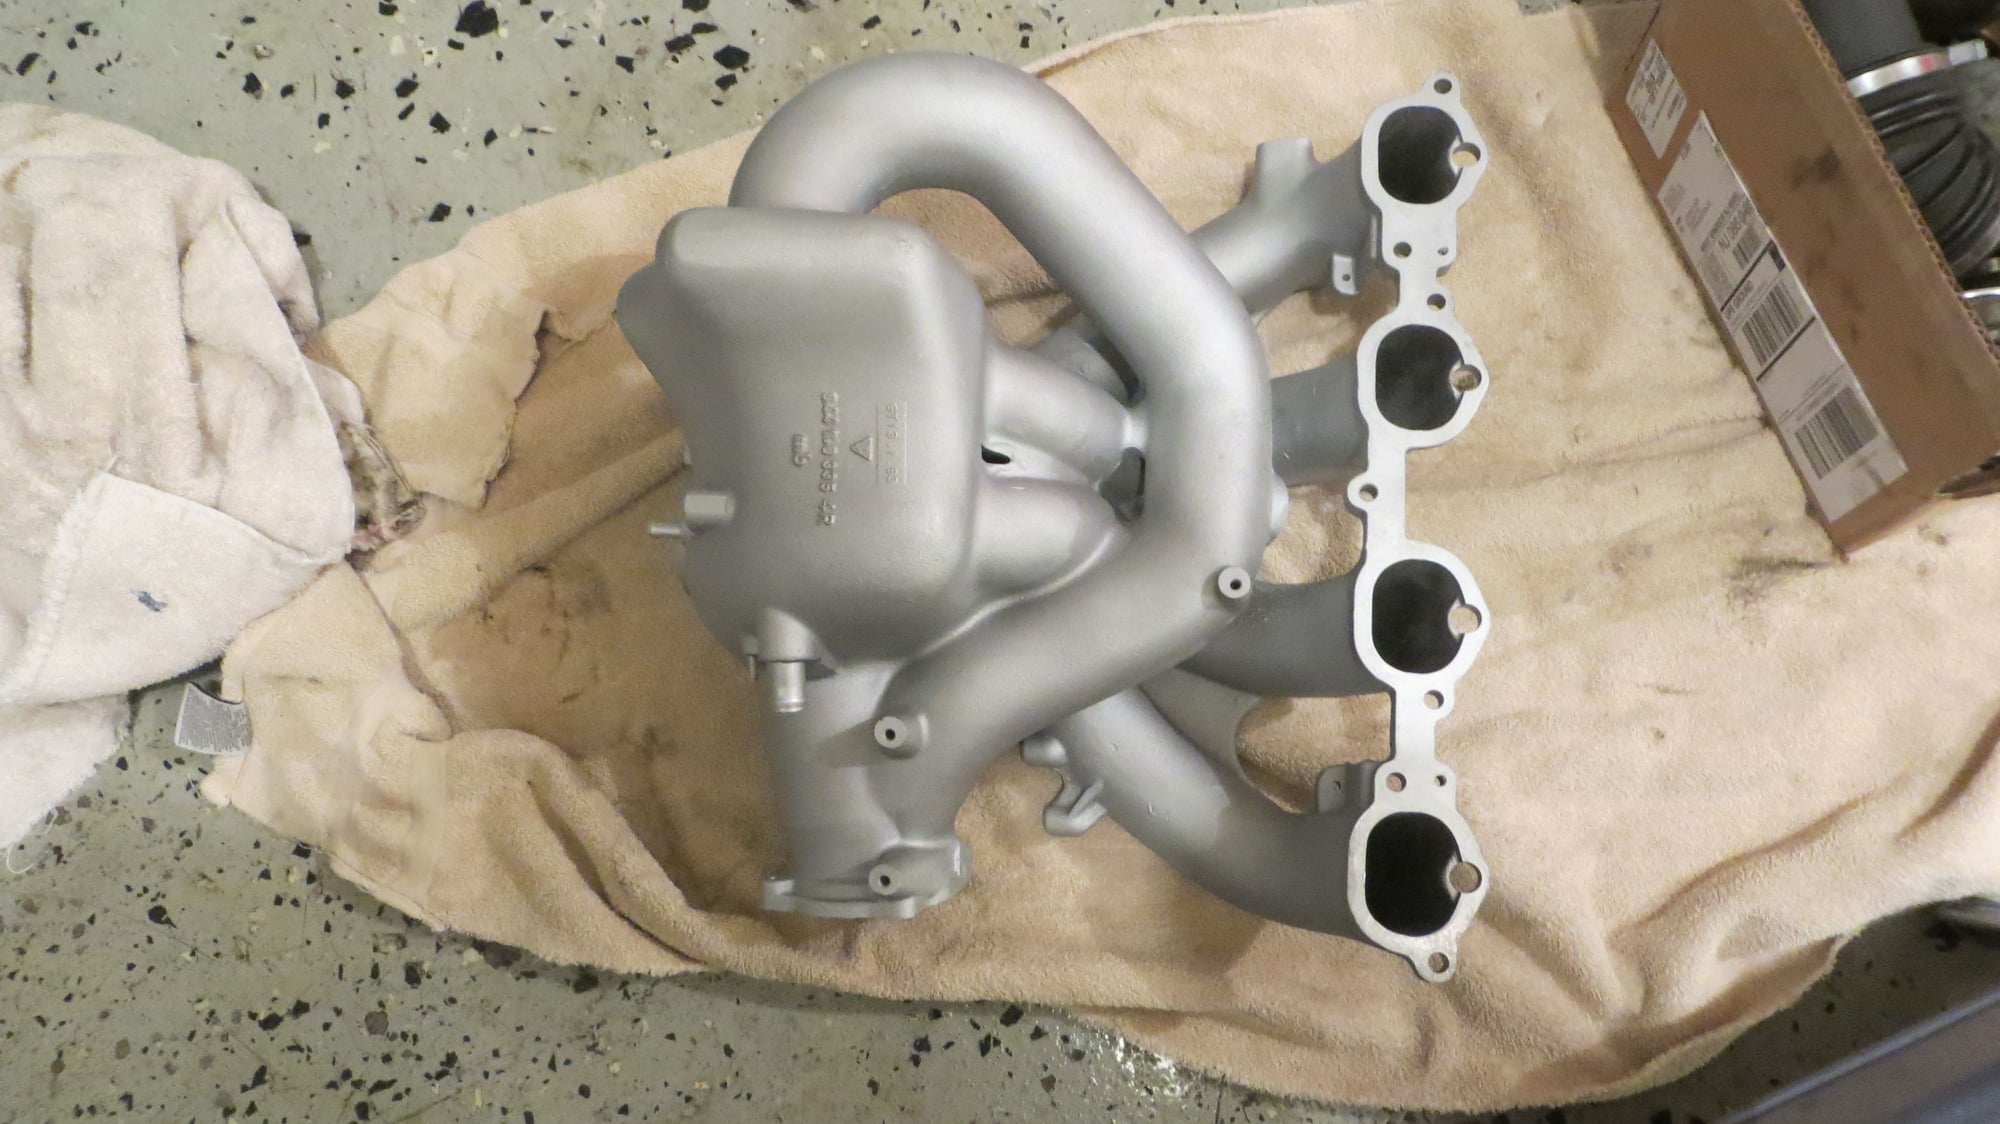
Had the intake cleaned and refinished. Prepped it for installation with all the accessories.
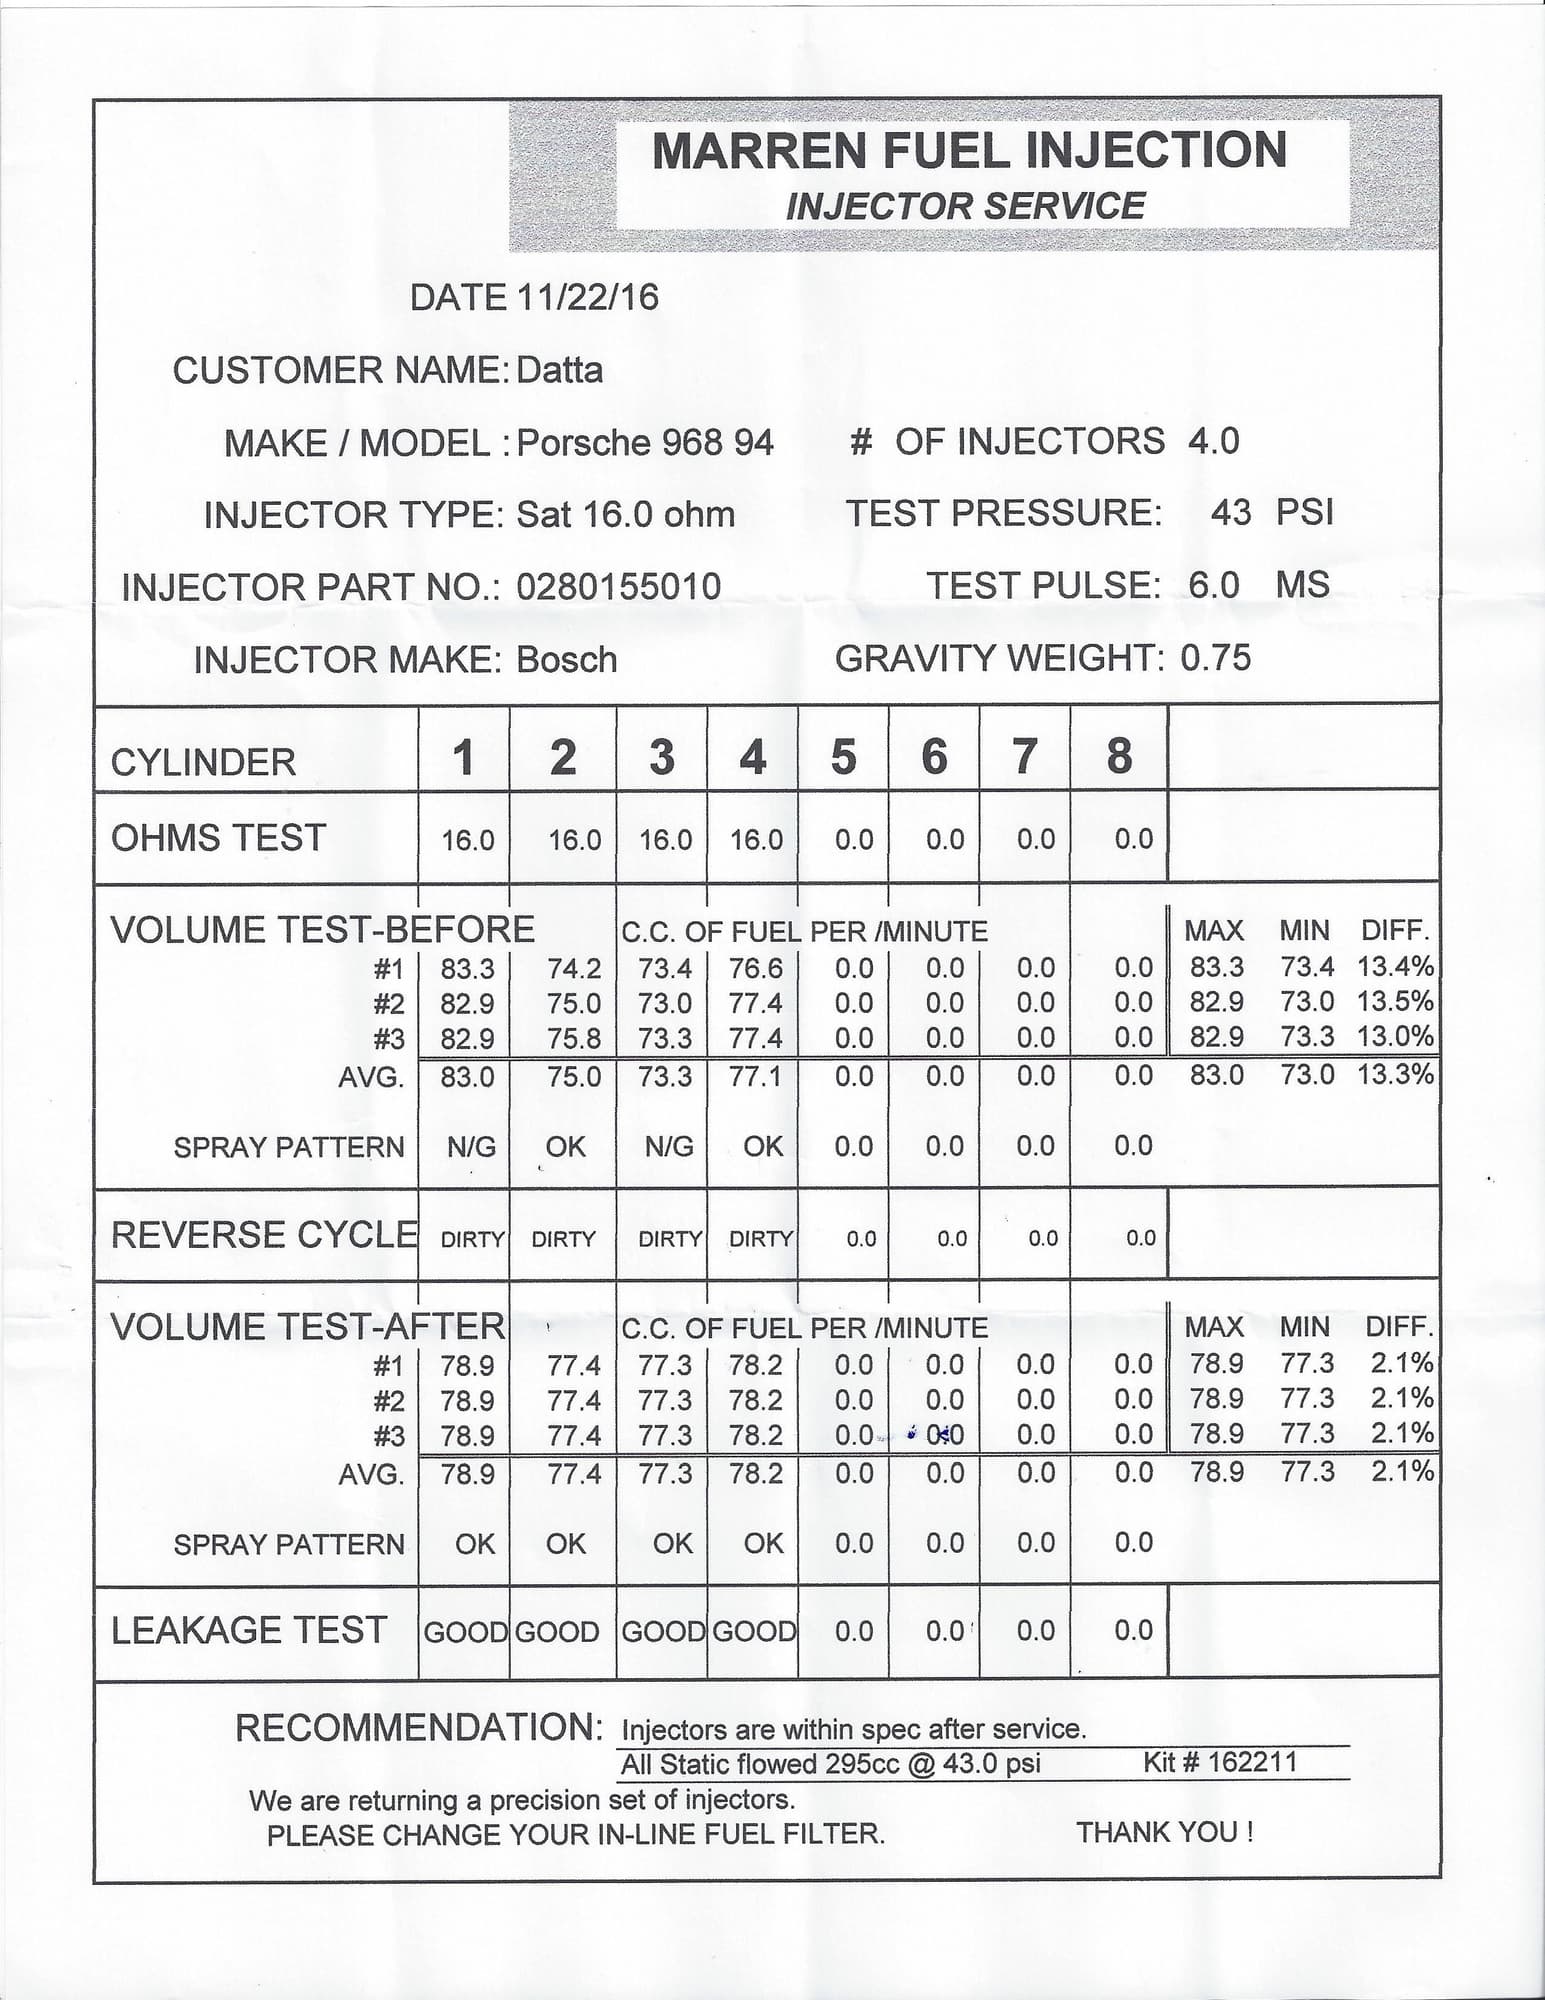
Injectors were sent for service prior to install. Interesting results. Glad that they all now flow within a few percent of each other.
Installed the headers and the heat shields back on along with the coolant hardpipe.
Now it was all coming beginning to back together.
Intake back on.
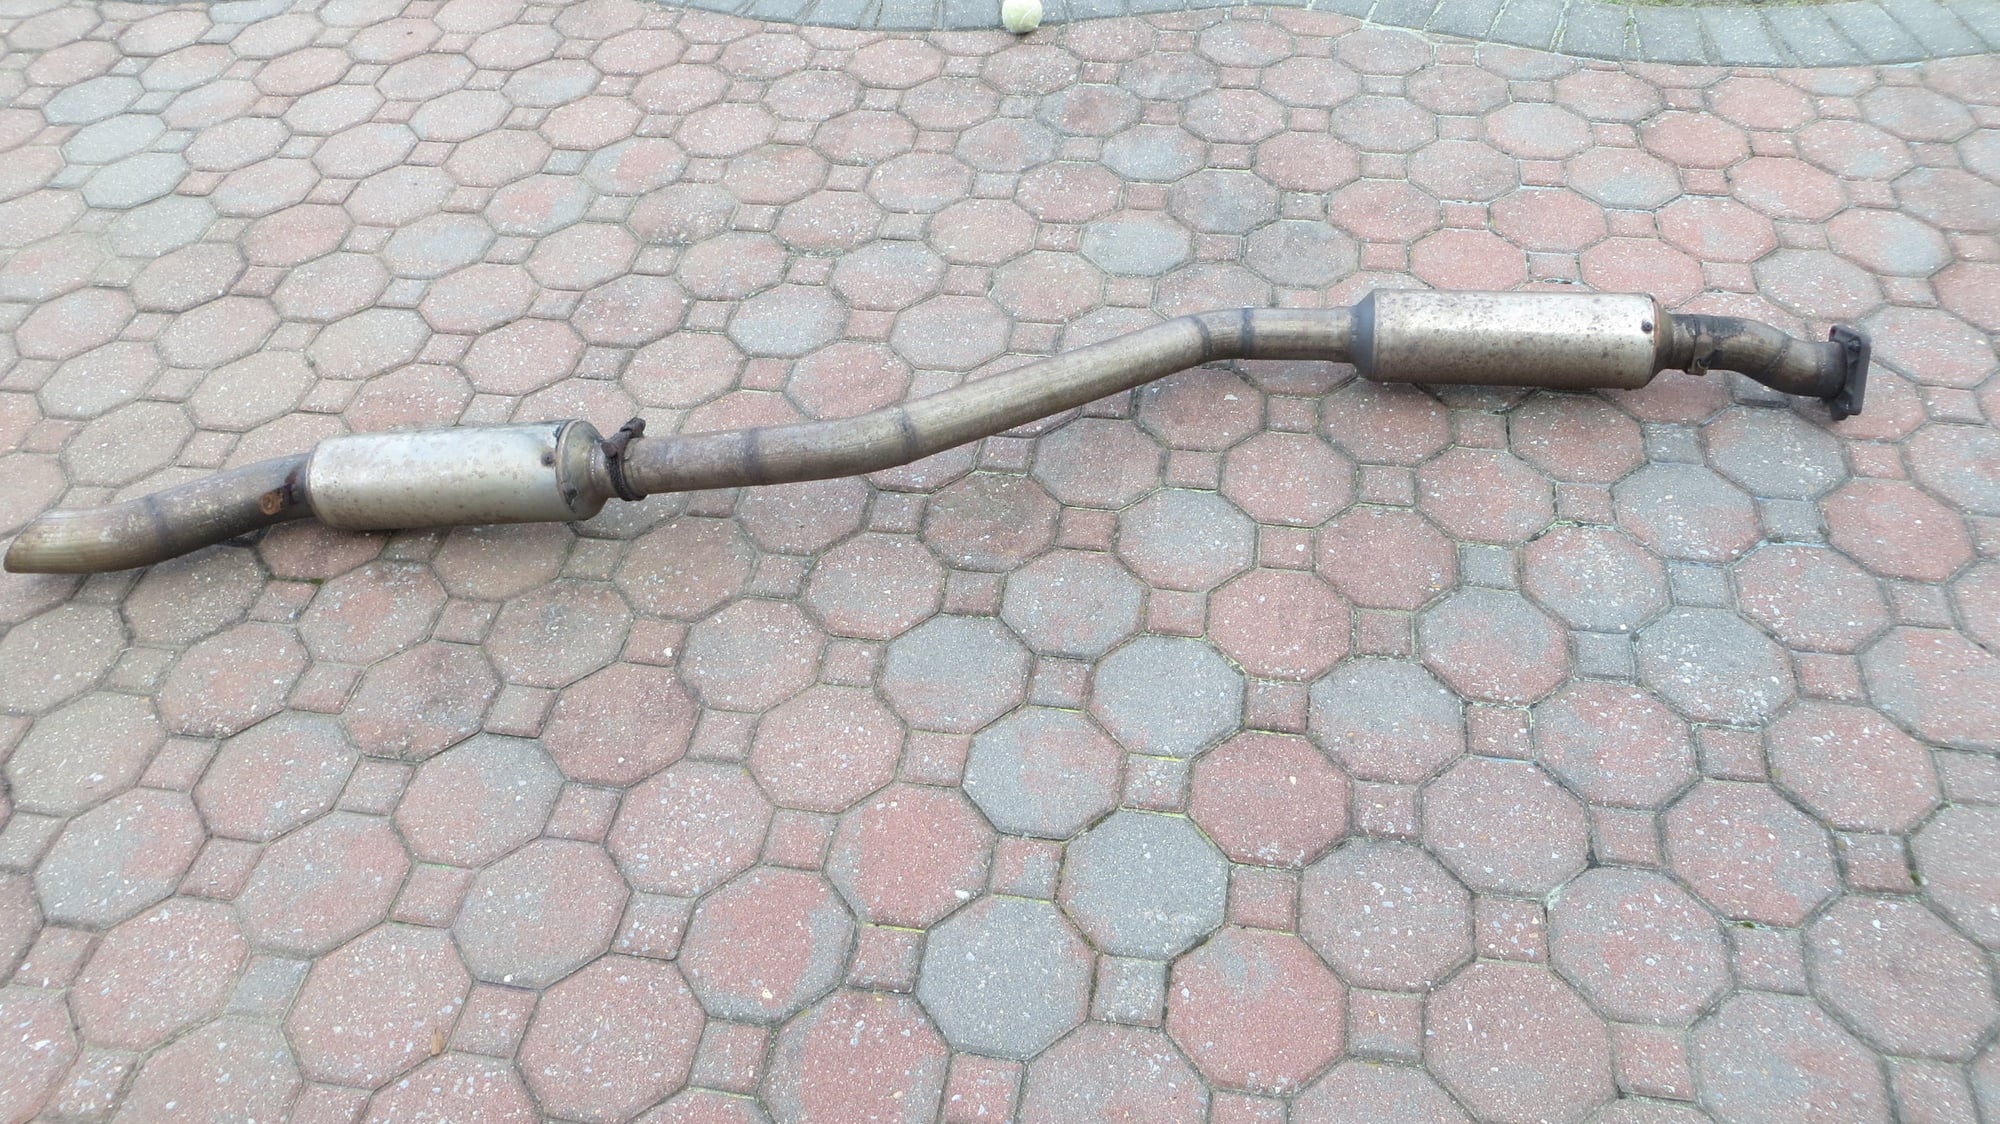
Aftermarket broadfoot racing exhaust. Decided to ditch it for stock.
Replaced cabin filters while at it.
Last Saturday, 12/3 came the big moment when I was ready to start her again. I was a bit anxious because quite a bit of work was done and there were many things that might not have gone right. Removed the coil to distributor wire and cranked the engine without spark plugs to get some oil pressure built up. After a few revolutions, decided it was time to give it a try. To my delight, the car cranked up in the 1st try and ran 100% right from the get go. It was truly a special feeling and I had a big grin. Ran it for a few, topped off coolant.
The control arms showed some play so a replacement set was ordered. The transmission had pinion bearing issues, so it was dropped and a spare transmission was installed for the time being while the pinion bearing issues were resolved. Existing control arms and other bits were put in place so it could be driven by 12/4. Installed a set of Cup2 wheels as replacements and now it was showtime. She was finally backed out of the garage on its own power.
Now that the car was running, time to look at some of the other issues.
On to the dash. The following lights were on once the car started. Oil Level Sender!! Argh
ABS System Error
Speedo not moving
Odo not moving
Temp gauge only showing Celsius
Wipers in front and rear not working
Sunroof not working
Rear hatch release from under dash not working
Changing the harness did the fix the Oil Level warning issue. So at this point the issue was the harness from the DME to Cluster, Cluster circuit board or the Guage itself. Decided to swap out with a spare cluster and saw the the Oil Level Light was Gone. YeeHaaw!! Moved all the guages over to the spare cluster and now I was in business. Once this was fixed, moved on to the rest.
Decided to start with the simple stuff. Found a 15amp fuse for the ABS pump that was blown. Also found the temp gauge fuse to be blown. Swapped both fuses, crossed my fingers and wondered, could it be this easy?
Viola!! ABS light gone, speedo and odo working. Temp gauge could now be switched to Fahrenheit.
Still need to work on the rest.
All in all, car is running great, no leaks anywhere and is pulling very well. A few more things to sort before I can concentrate on the cosmetics.
Update: 12/14/16
Now came some missing interior pieces and both the wiper motors. I must say, swapping the front motor has to be one of the biggest PITA's. One must remove the blower motor to clear the wiper arms as its not possible to remove the motor by itself. This gave me the perfect opportunity to clean out the cowl area as well. Removed both wiper arms and wipers. Warmed up the cowl cover adhesive section with a hairdryer set to full hot and gently pried off the cowl cover. Removed the fan resistors for additional space, removed the battery and undid all the Phillips screws holding the blower cover. Disconnected all attached wires and vacuum fittings and removed the cover. This was still not sufficient to clear the motor arms so off came the rest of the blower housing. Removed all six 8mm bolts and off came the blower housing. Removed the wiper motor, replaced it with a spare and tested it. Yes, we have liftoff! One more off the list. Put everything back together and now I felt comfortable driving the car in case I would get caught in a shower.
Both sun visors were off the car when I had picked it up. The drivers side visor came in a bag and the passenger side was missing. Dug up a pair of nice visors from the stash and used a pair of brand new clips that hold them in place. Installed the visors and one more issue completed.
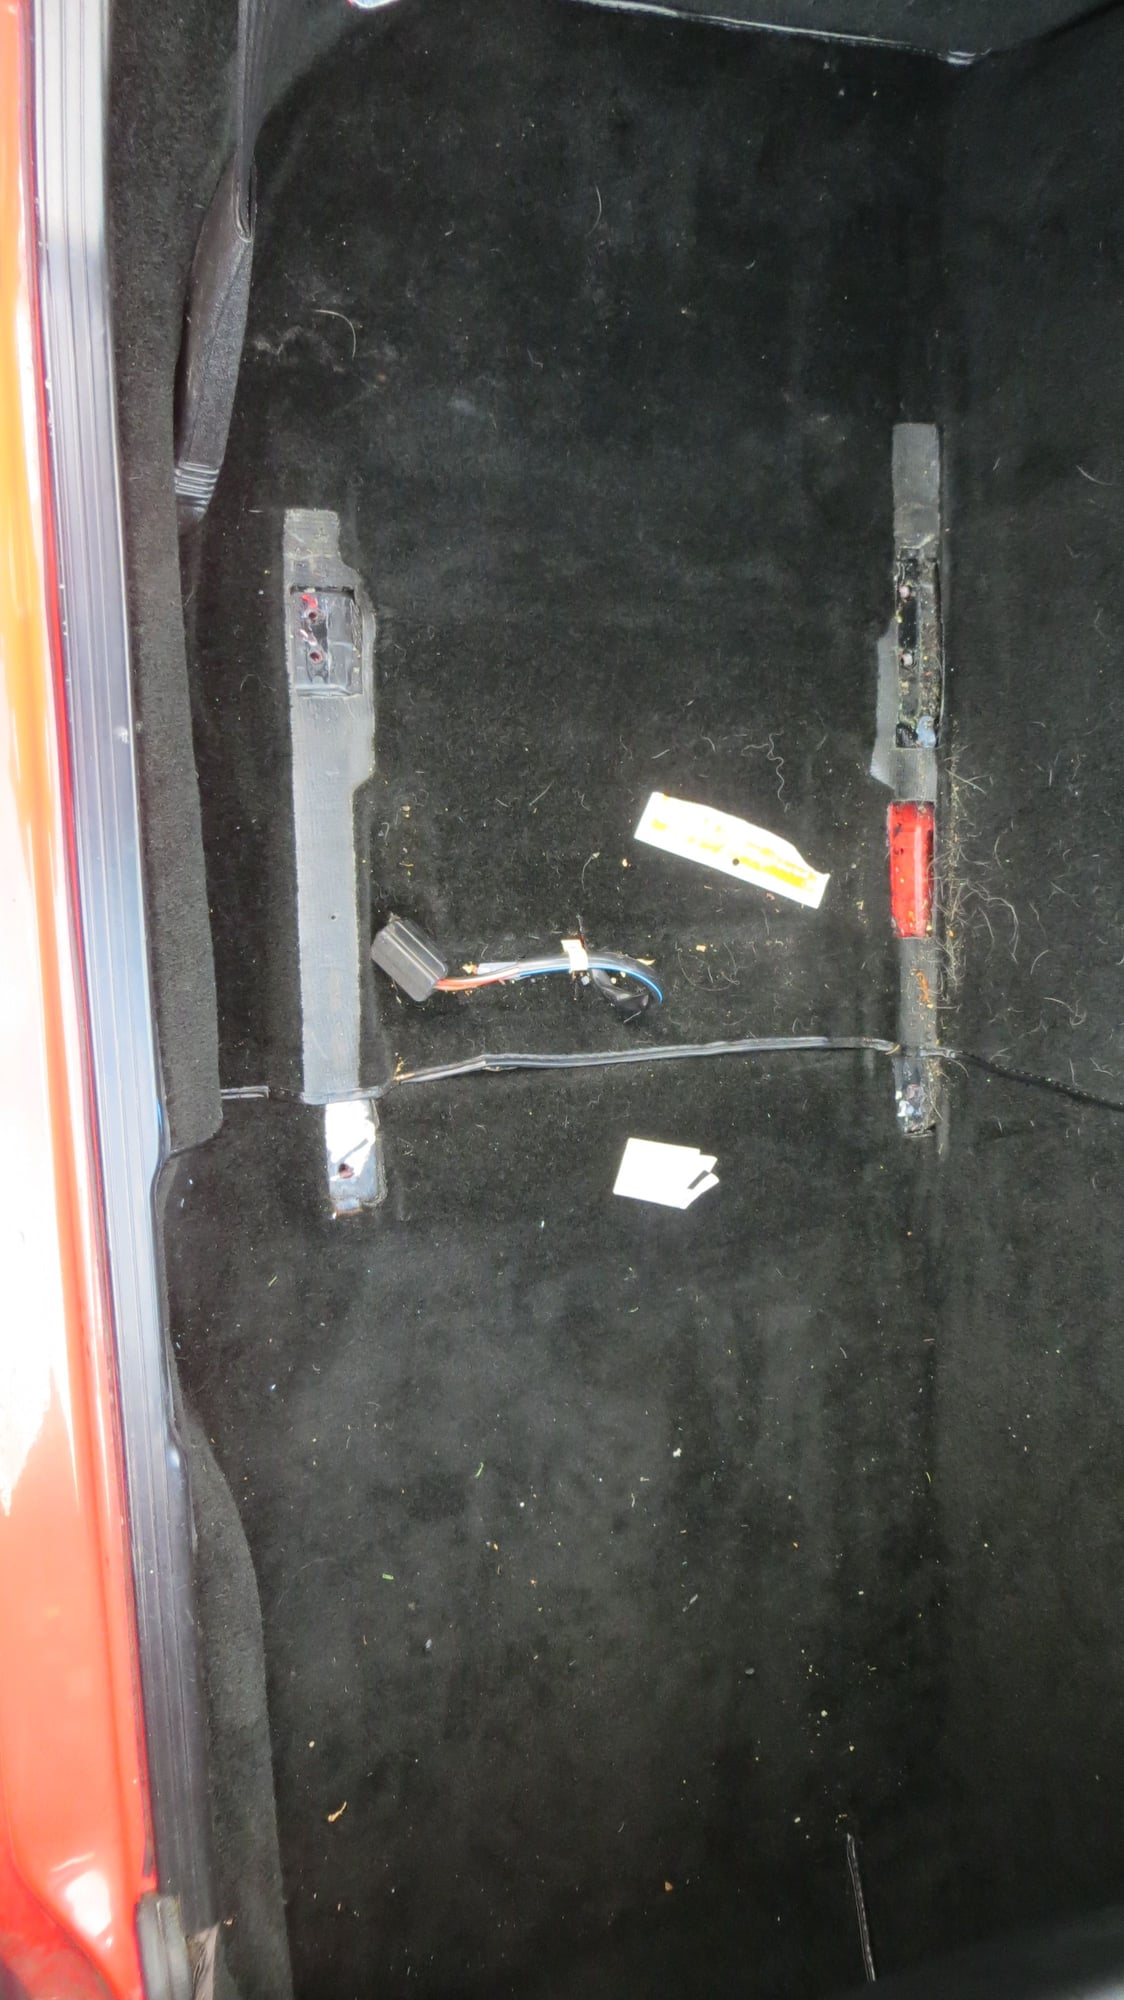
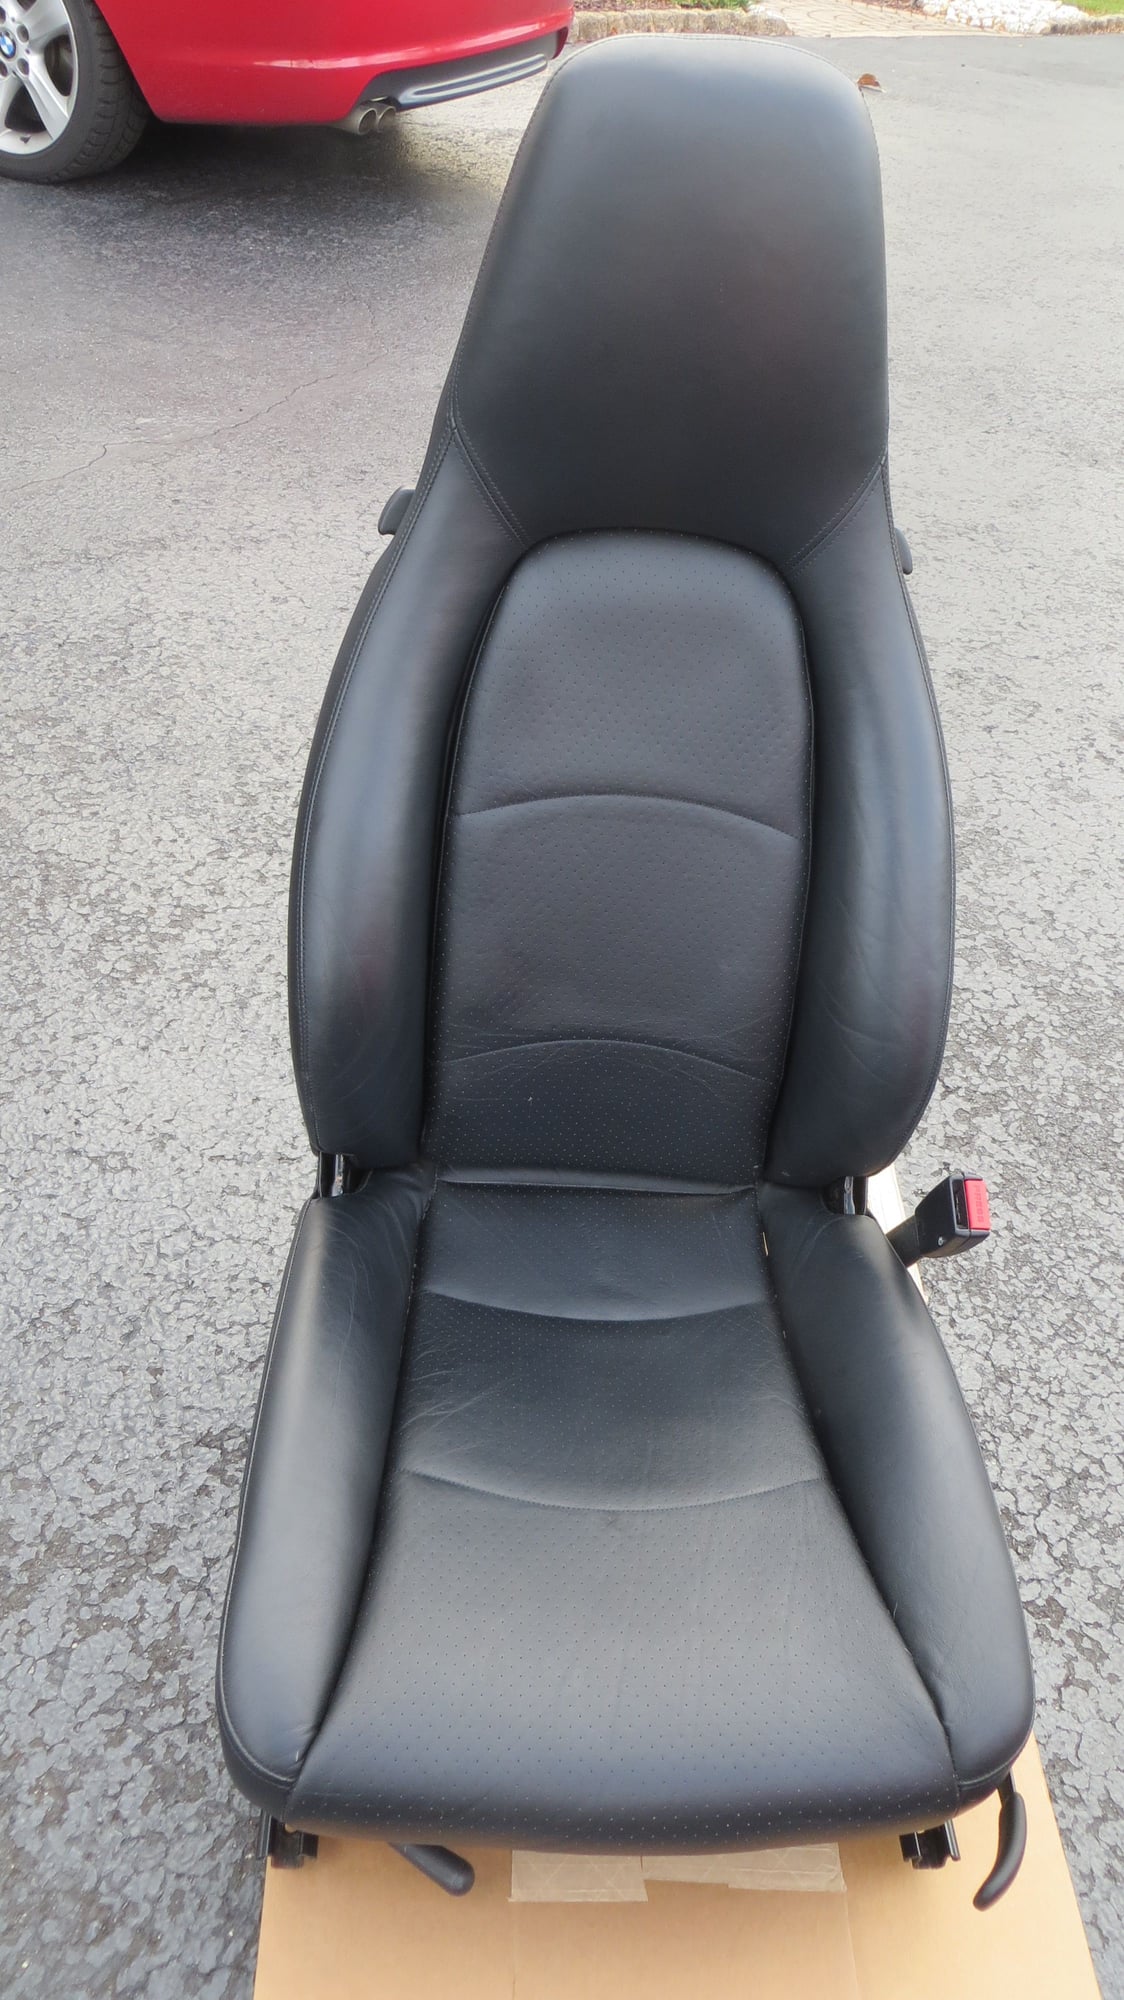
Next on list was the carpets. It was clear that the previous owner had a pet or a grandma that shed a lot of grey hair. Also, Jay's recent finding the jackpot under the seats had me wondering how rich I would get from removing the seats? So both seats were removed by removing the 6 x hex head screws. I was extremely disappointed to find less than $.25 worth of change. Why can't I be the one to hit the jackpot
After some vacuuming.
Installed floor carpets and one less things on the plate.
Late 12/11, swapped out the rear wiper motor. This has to be one of the easiest jobs ever. Took all of 10 mins and now I am down to one last item to address, the sunroof. Since its winter, I will hold off on troubleshooting that and plan to now start working on the cosmetics.
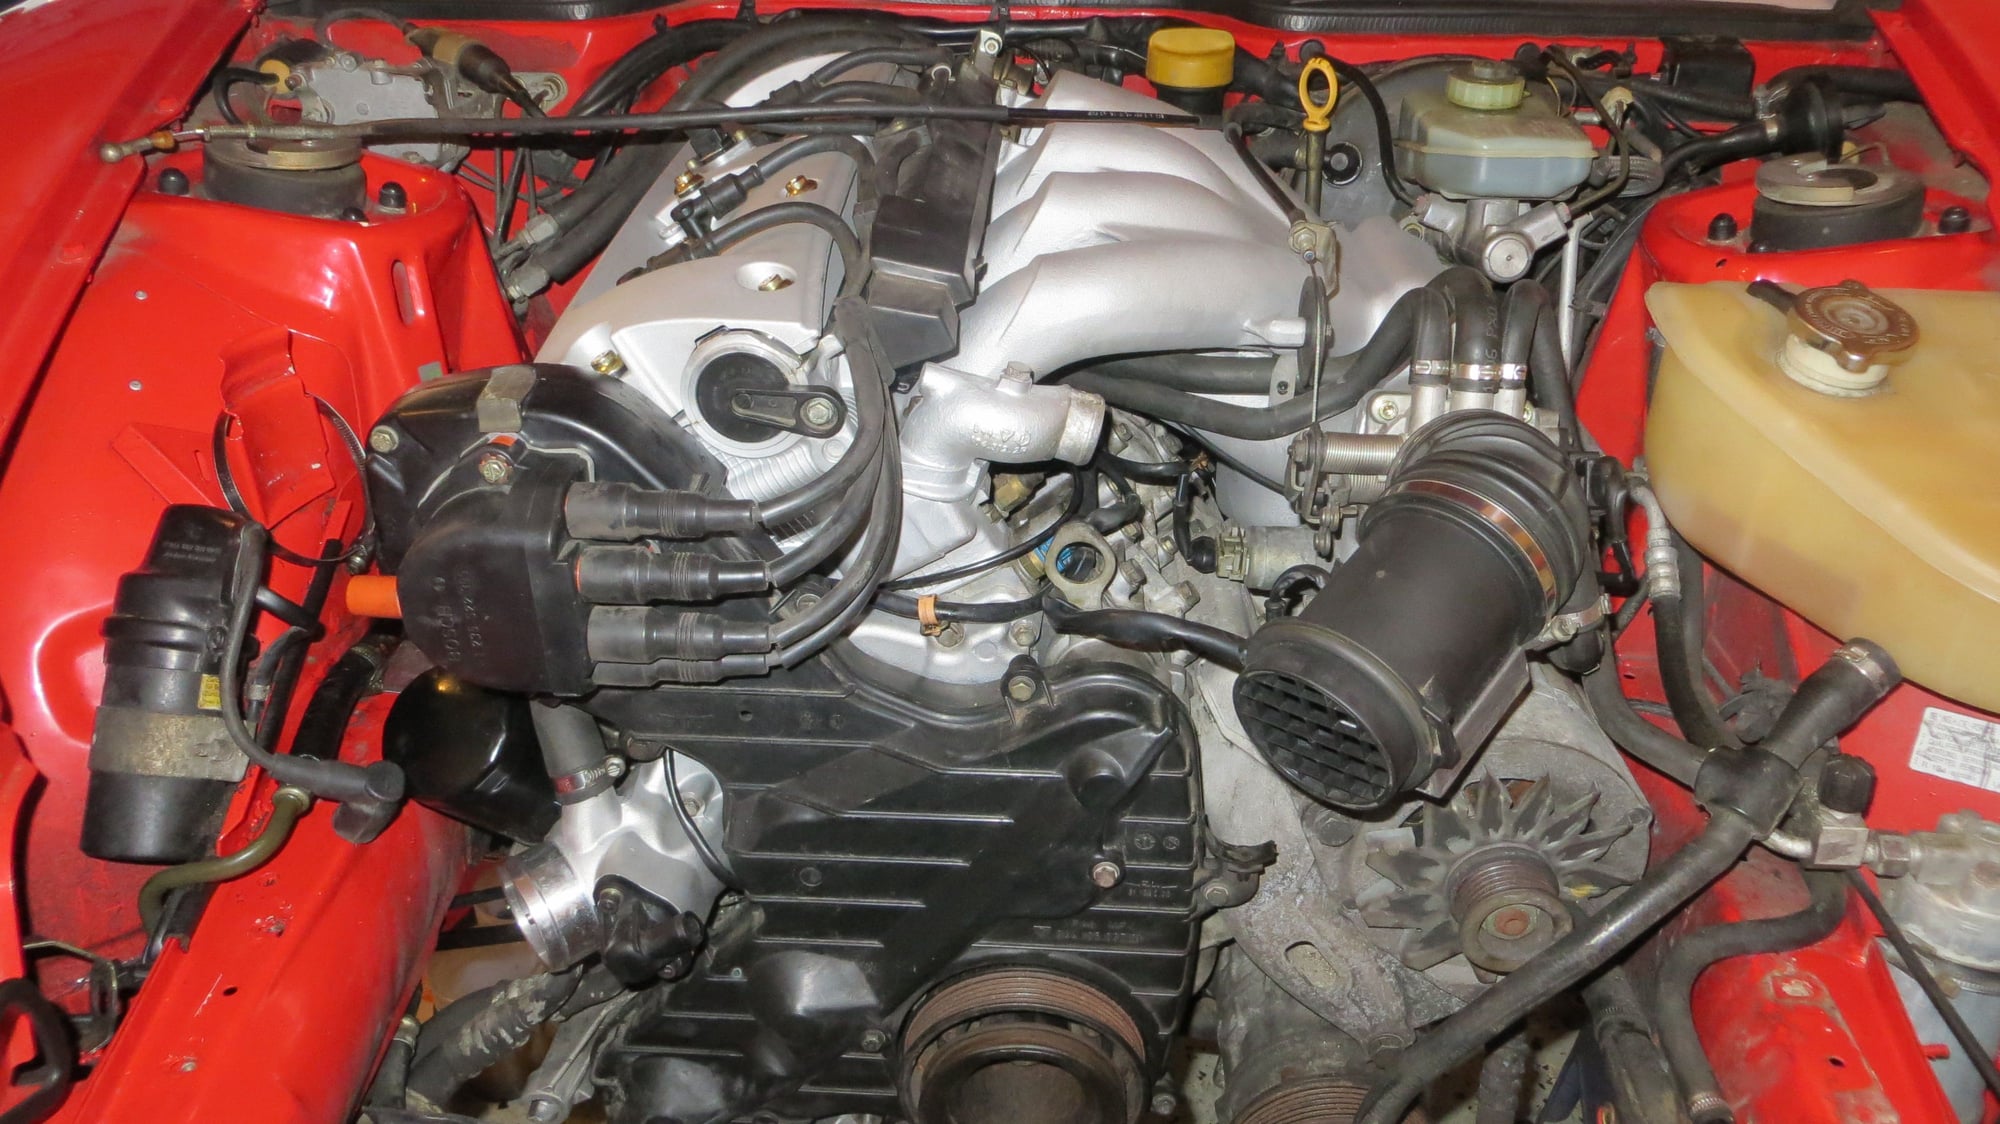
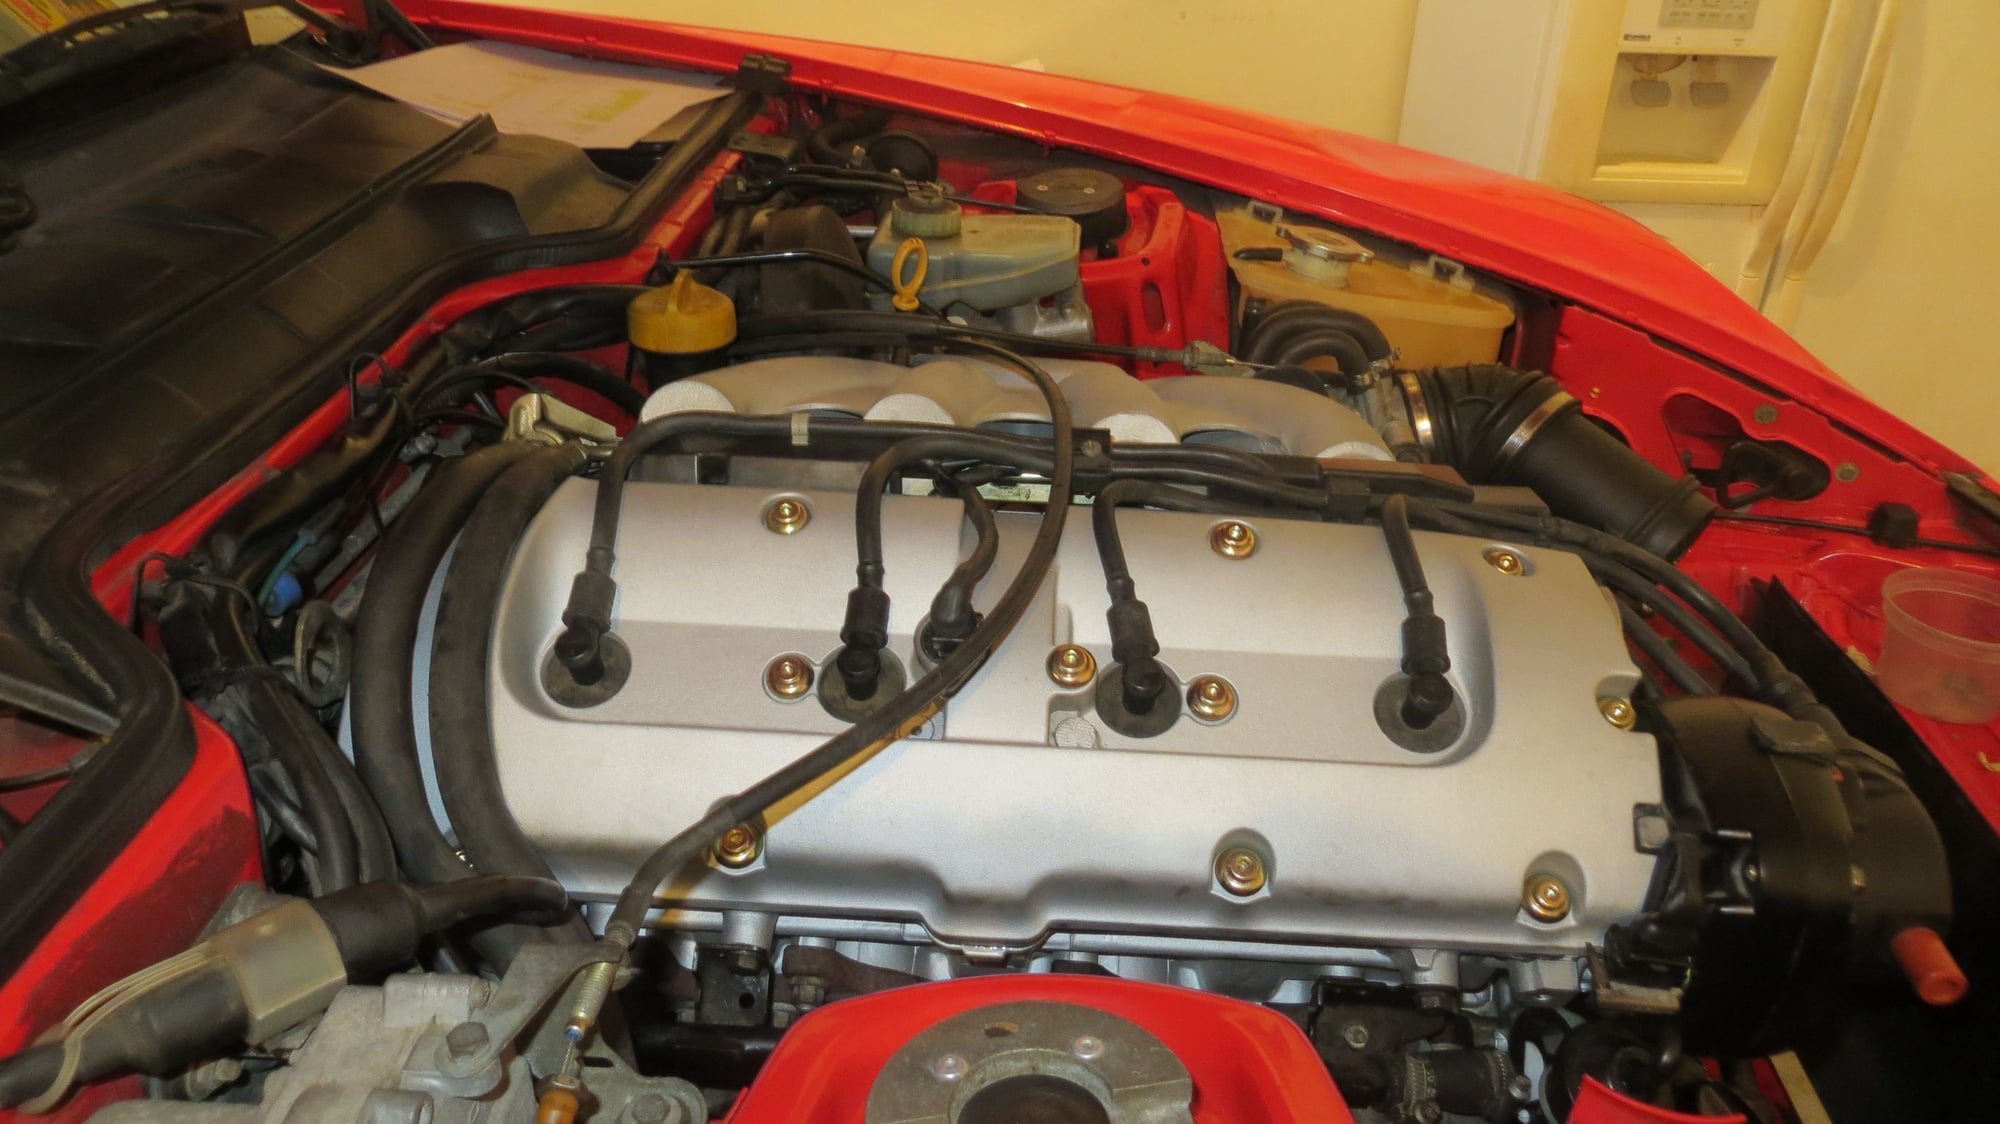
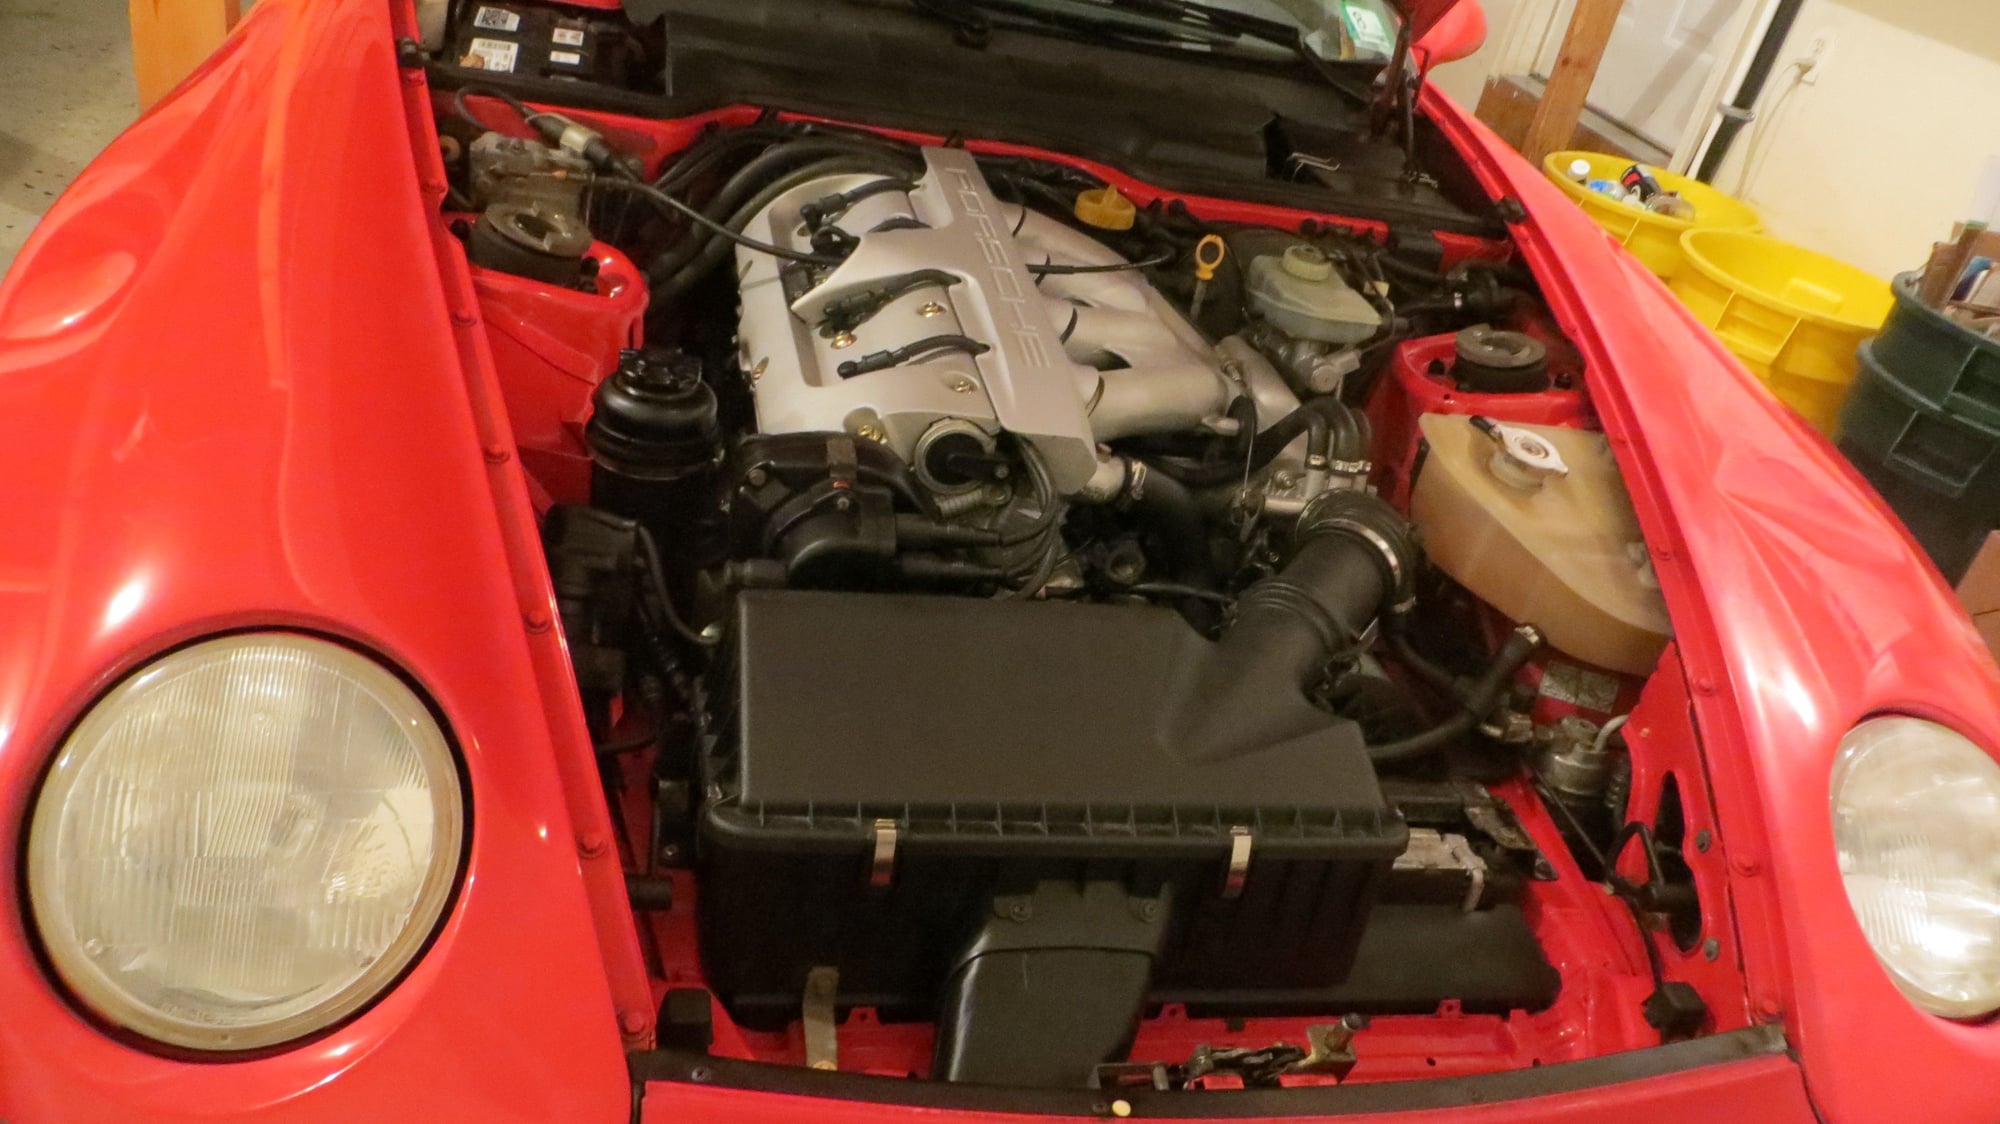
Some final shots of completed engine bay.
Update:3/19/2017
Its been a while now since I have posted on the subject. The last few months were tough with work and family but I did make some progress. Hoping to share some of the recent developments.
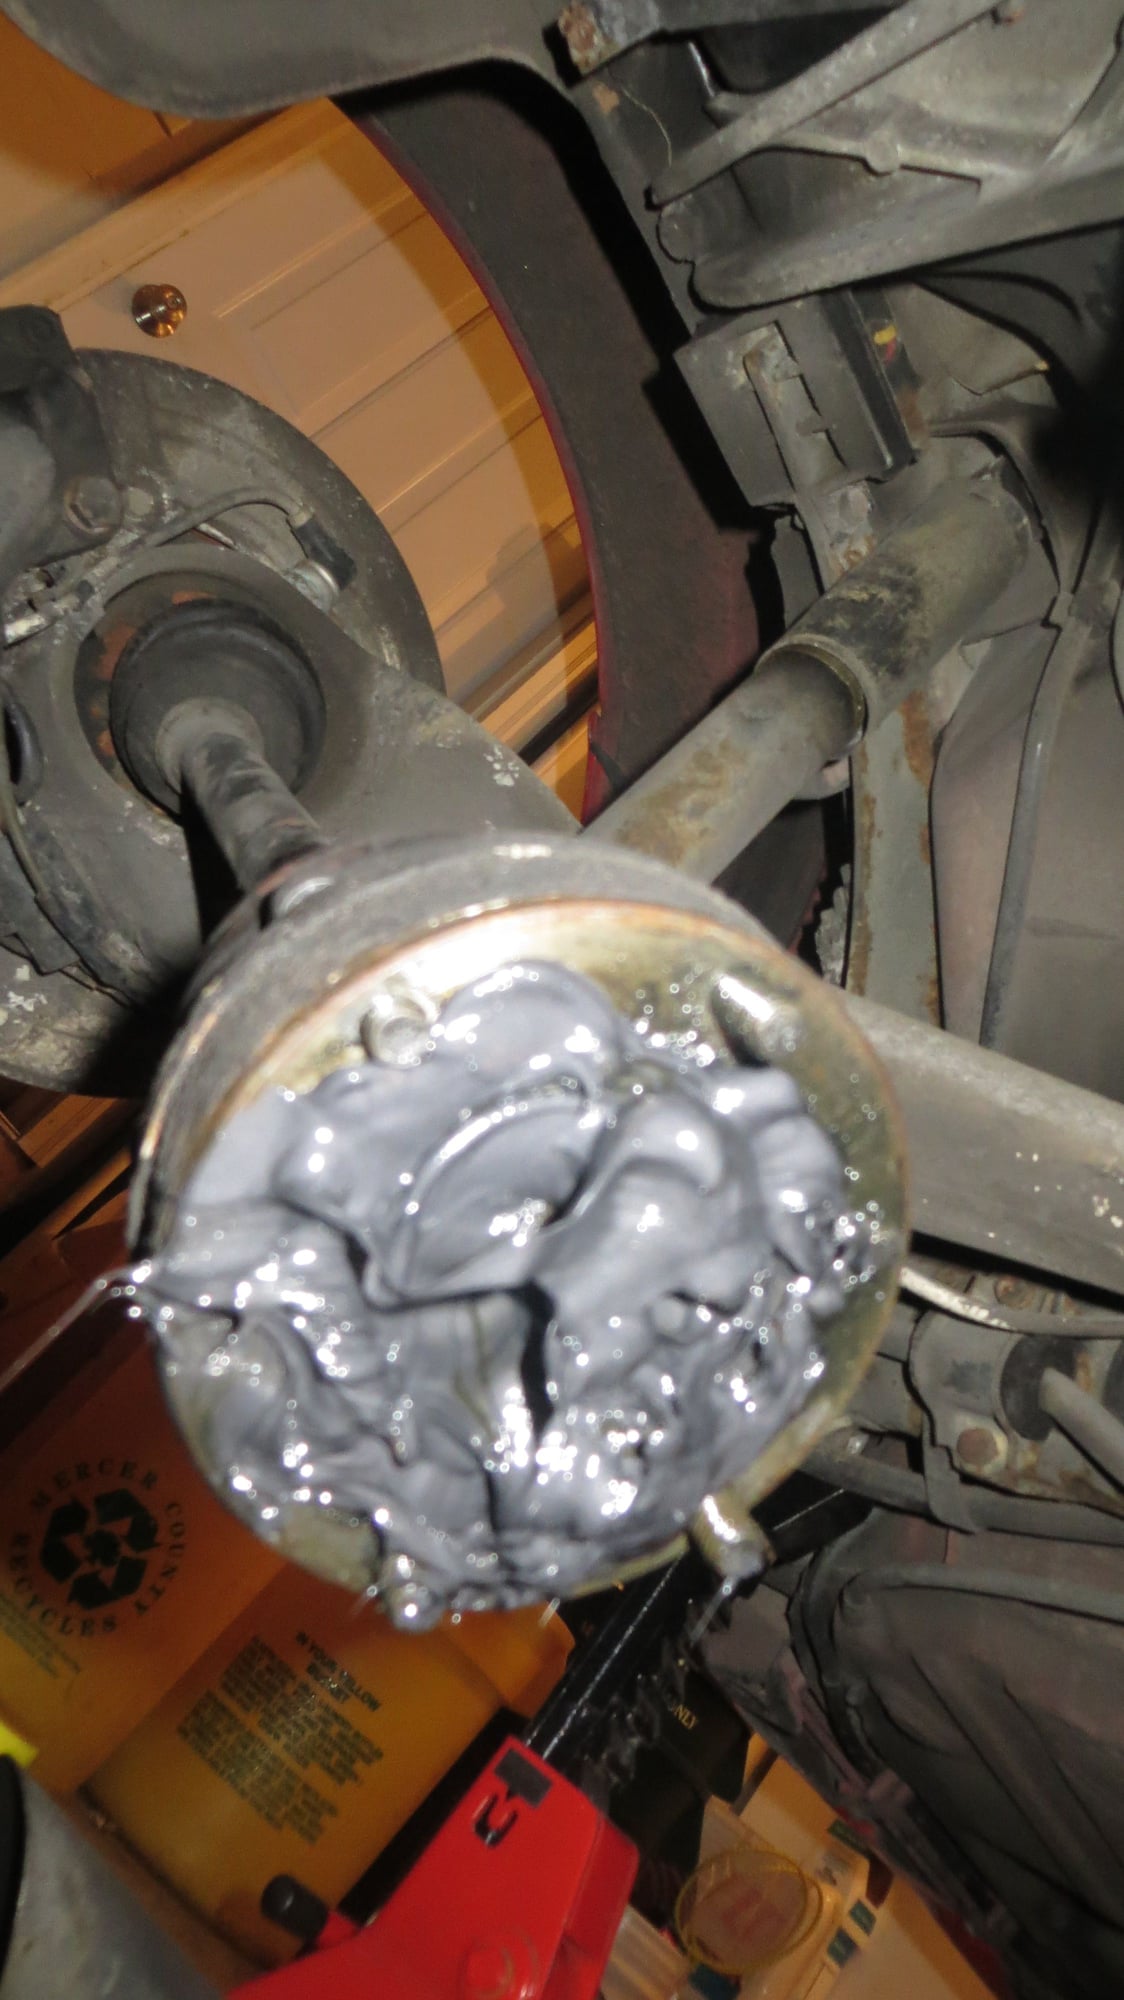
Transmission came back from rebuild, so installed it along with repacking the CV joints.
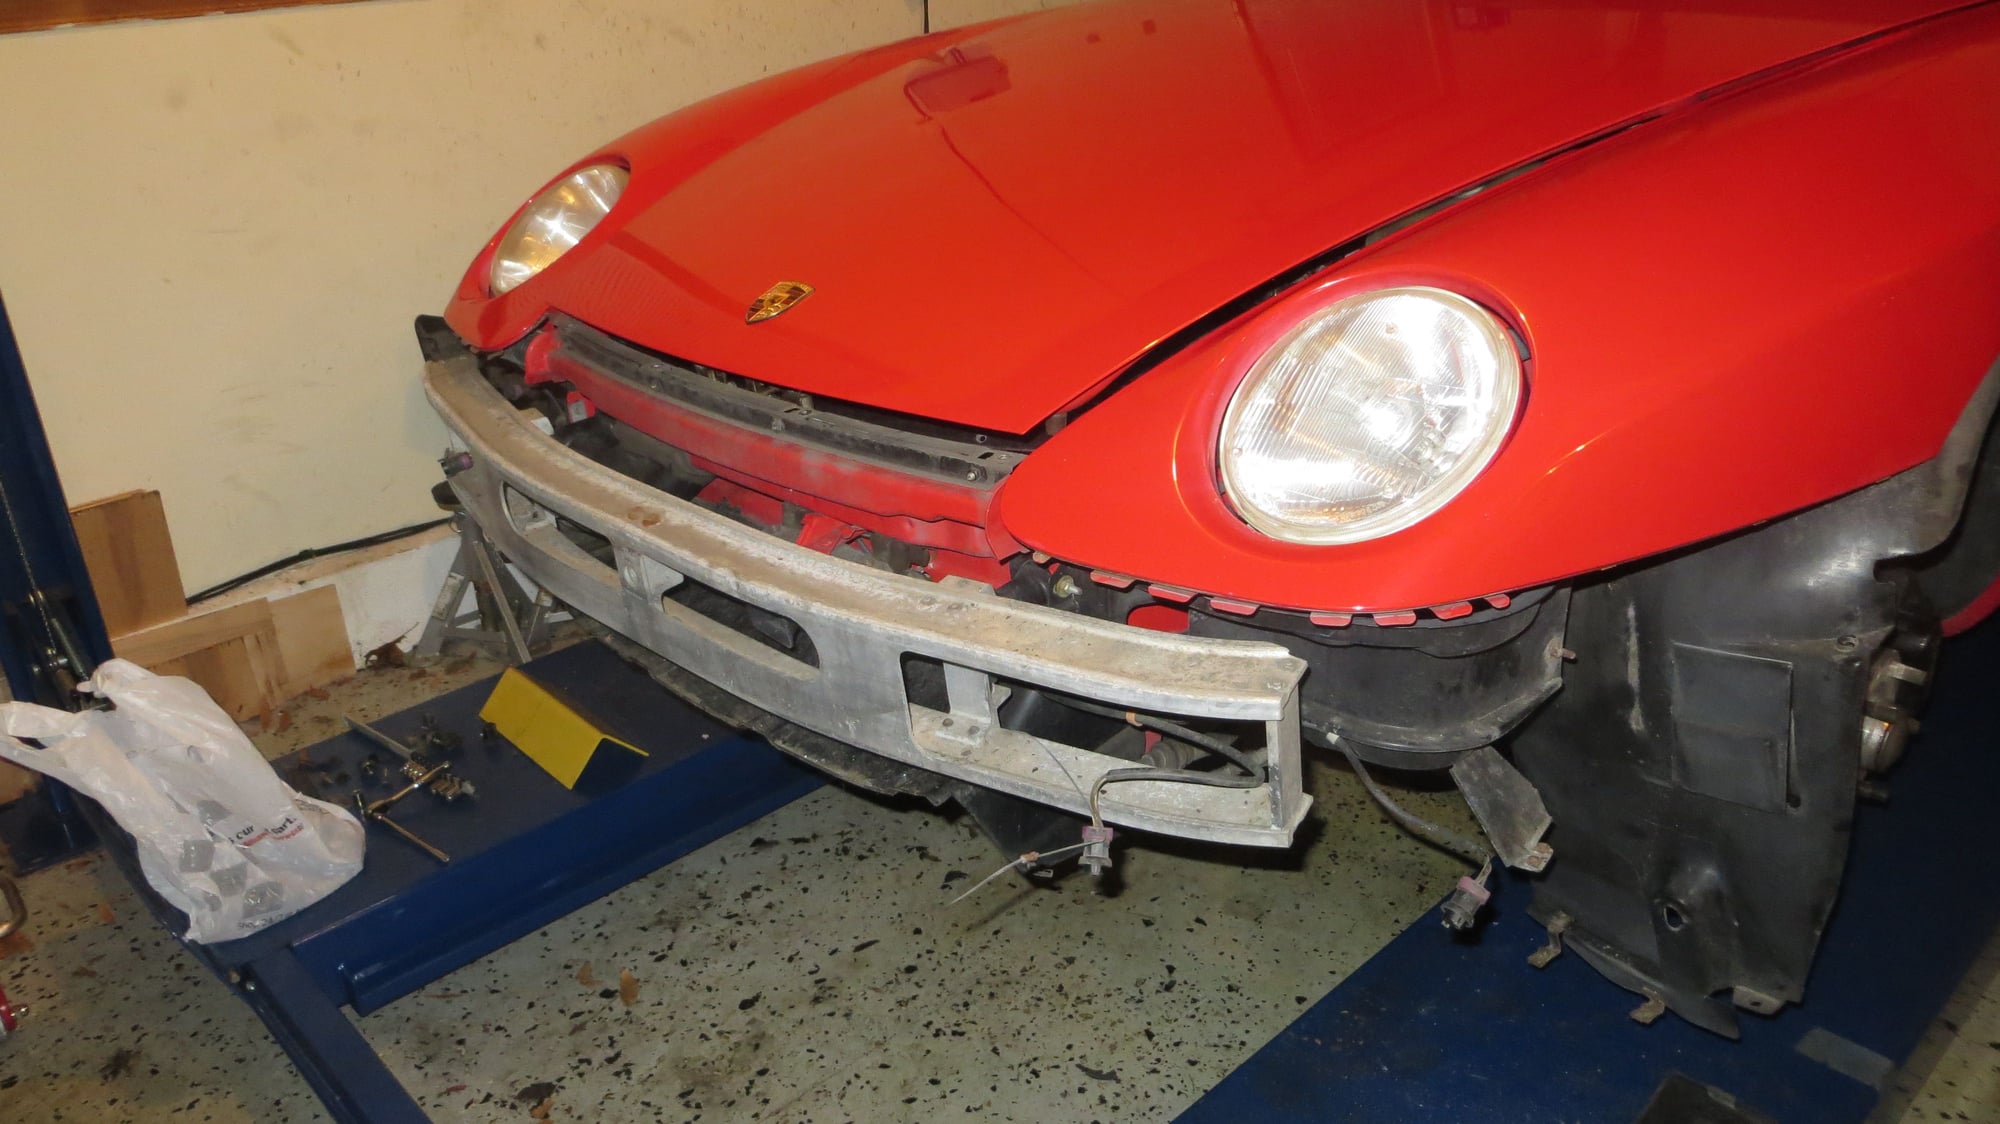
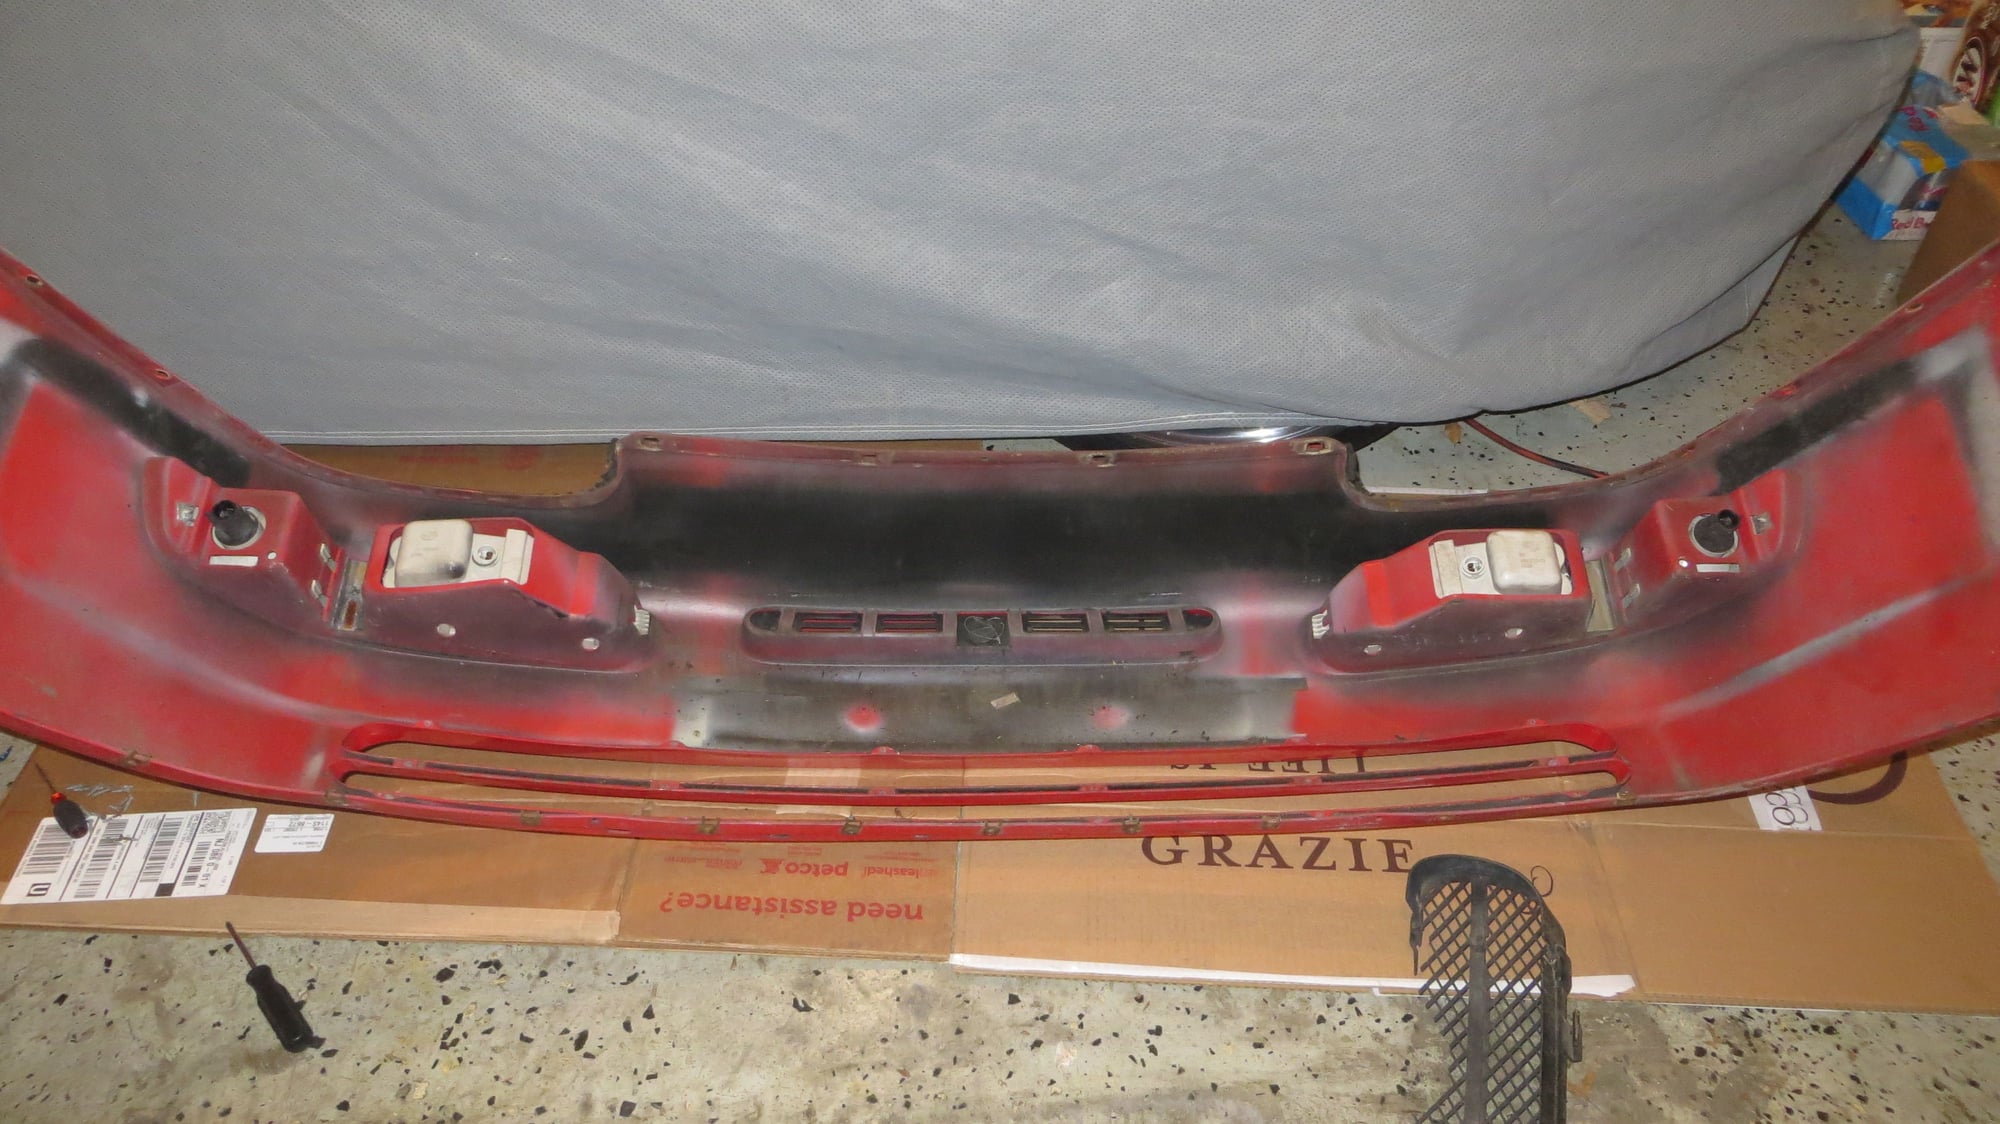
Had a PDR guy perform his magic on the fender and hood. The end product was impressive. I will save pics for a later day when its completely done and ready. Still need to get the rear bumper and trim pieces resprayed. Might also get the rockers painted as they have typical chips from road use.
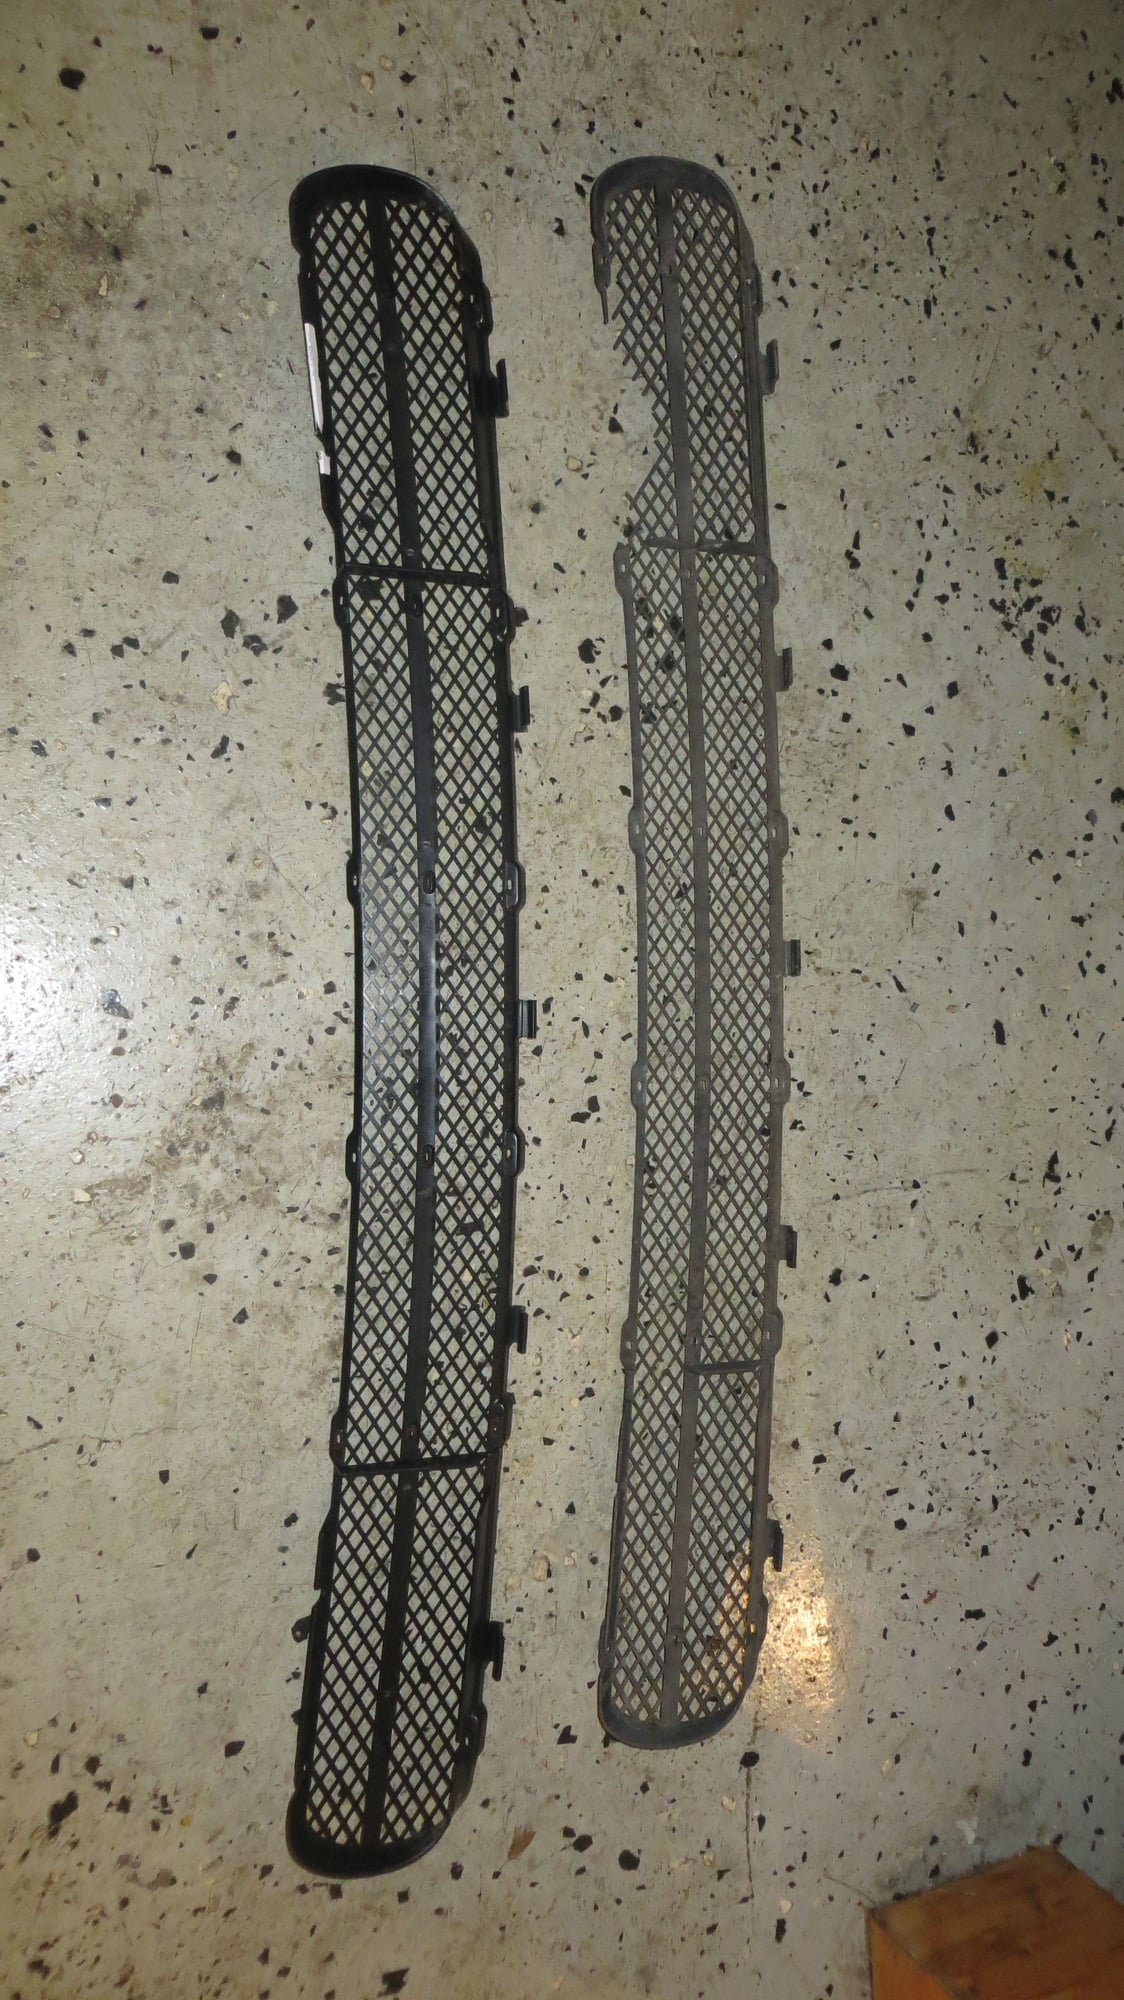
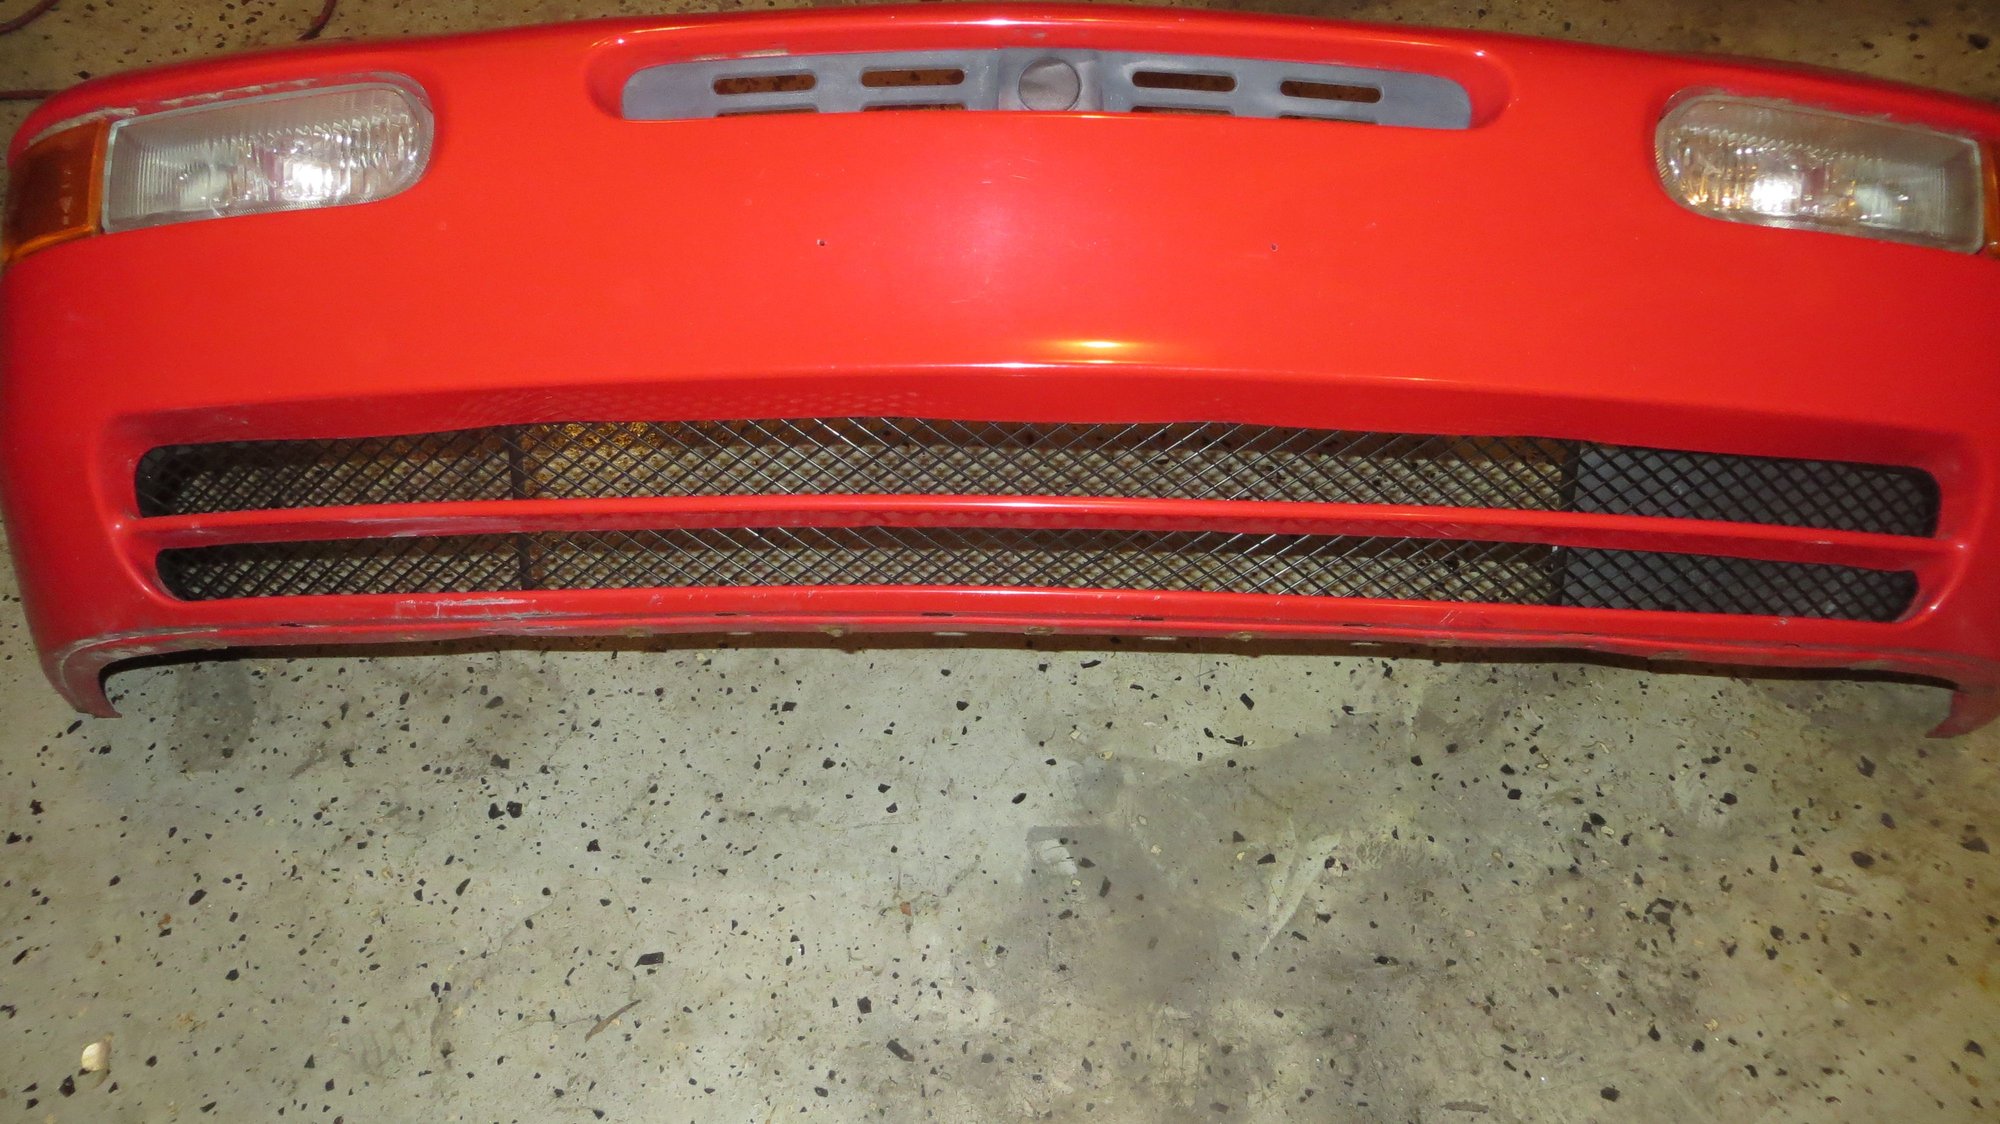
Replaced the front grill while I was at it. You can get a glimpse of the PDR work on the fender.
Also came to the conclusion that I might have to sell this car. I currently have 5 different Porsches and even though I somehow tried to justify buying this car to carry my bicycle, the truth of the matter is that I probably should purchase a wagon. That would allow me 4 doors and let me lay my bike down flat without needing much effort. I am still not done yet so I will hold off on putting it up for sale. When done, this will be a very well sorted 968.
Update: 11/11/2016
Compiled all the records and was very pleased to see the car came with excellent service history going back to April of 1995 when the car had 3k miles on it. The owner at the time was meticulous in keeping track and kept all receipts from his visit to the dealership. This was covered all the way to Sept of 2008, when my friend purchased the vehicle.
I was also able to locate emails detailing all the work that we performed when we took possession of the car.
Per receipts, I performed the following work:
8/24/2007 - approx 60,800 miles
Heater control valve
Coolant flush
Brake and clutch flush
Transmission flush
Fuel filter swap
Factory bumperettes were changed to euro turn signals
K&N air filter
9/18/2007 - approx 60,900 miles
Upper and Lower BS seals and gaskets
Crank front main seal and gasket
Cam Seal
Variocam tensioner pads and chain (All other related gaskets and seals for this job)
New timing belt, BS belt, Alternator belt and Power Steering belt, all associated rollers and tensioners
Valve cover gasket, grommets and spark plug seals
New factory spark plugs
Power steering fluid flush
1/8/2008 - approx 61,500 miles
Replaced clutch, pressure plate, TO bearing, Needle bearings and needle
At approx 63,250 miles, my friend sold it in March of 2008. He only drove it for 3k miles, in which we did quite a bit of maintenance. The next owner took possession and has records/receipts from 63.8k upto 75.4K, dated Oct 2009. At this point forward, there are no records until June 2015 at 87.3K.
Receipt covers follows:
6/1/2015 - 87,352 miles
Replace Battery
Replace front and rear rotors, pads, sensors and shims
Oil service with filter change
Update: 11/13/2016
Set the car up on stands and started taking stuff apart. Removed the fans, fan shroud, radiator, hoses etc to make working room. Removed alternator and power steering belts, removed timing and bs belt covers. Removed all the belts and roller as well as the upper and lower bs sprockets so the rear belt cover can be removed. Pulled the Cam pulley (made sure timing was locked). Removed alternator as well and alternator mounting bracket.
At this point I had a decision to make, do I just freshen things up or try to get everything sorted. I decided to do the latter and out came the Intake manifold. I always remove complete intake manifold as 1 piece with injector rail, throttle body etc as I have found it to save time. Removed the entire exhaust also as 1 piece from the headers back. This also helps with time because now you can remove the cat back nuts/bolts much easier. Disconnected the O2 sensor so the exhaust could be dropped. Removed air/oil seperator and found yrs of gunk and grime everything. Removed both upper and lower front BS housings. Also removed the header. At this point I was only a few nuts/bolts away from removing the head, why not!
So off came the head. The bores looked absolutely perfect. The head gasket had some coolant damage so I am glad I will be tackling that.
So you just can't help yourself, can you? Why not just get a bike rack that hooks to the trunk? Are you planning on getting rid of the BMW and making this your daily driver once it is up and running again?
Looks like a good car to save. Thanks for sharing and can't wait to see the progress.
So you just can't help yourself, can you? Why not just get a bike rack that hooks to the trunk? Are you planning on getting rid of the BMW and making this your daily driver once it is up and running again?
Looks like a good car to save. Thanks for sharing and can't wait to see the progress.
Daniel
Dan, if only I knew that I would be needing something to haul the bike, I would have kept the m030 coupe.
I looked into installing a bike rack hitch in the BMW convertible, but that required drilling holes in the body (don't have the heart to do it). My daughter will be 16 in 2018 so I figured I can hand her the BMW. I have taken great care of it and have driven it everywhere. Unfortunately if I were to sell it, I wouldn't get much for it as the miles are somewhat high. I might as well keep it for her and keep driving it in the meantime.
The 968 seemed like a good choice as it can haul a lot of stuff and it would be the ideal vehicle. The fact that I was able to buy a car that I had prior experience with was the icing. It's not in the best of shape right now but I know it was a stunner 8 yrs back. I figured, what better car to preserve. Plan to get it back to its original shape, fully sorted and use it when I need to take my bike for rides. This time I will remain 100% original and stock.
It would also be a perfect opportunity for me to document such an experience as plenty have asked questions about buying a car to restore. I am horrible with pics but try to take them as I go. The parts have started pouring in so a new update is in order shortly.
Now came some missing interior pieces and both the wiper motors. I must say, swapping the front motor has to be one of the biggest PITA's. One must remove the blower motor to clear the wiper arms as its not possible to remove the motor by itself. This gave me the perfect opportunity to clean out the cowl area as well. Removed both wiper arms and wipers. Warmed up the cowl cover adhesive section with a hairdryer set to full hot and gently pried off the cowl cover. Removed the fan resistors for additional space, removed the battery and undid all the Phillips screws holding the blower cover. Disconnected all attached wires and vacuum fittings and removed the cover. This was still not sufficient to clear the motor arms so off came the rest of the blower housing. Removed all six 8mm bolts and off came the blower housing. Removed the wiper motor, replaced it with a spare and tested it. Yes, we have liftoff! One more off the list. Put everything back together and now I felt comfortable driving the car in case I would get caught in a shower.
Both sun visors were off the car when I had picked it up. The drivers side visor came in a bag and the passenger side was missing. Dug up a pair of nice visors from the stash and used a pair of brand new clips that hold them in place. Installed the visors and one more issue completed.
Next on list was the carpets. It was clear that the previous owner had a pet or a grandma that shed a lot of grey hair. Also, Jay's recent finding the jackpot under the seats had me wondering how rich I would get from removing the seats? So both seats were removed by removing the 6 x hex head screws. I was extremely disappointed to find less than $.25 worth of change. Why can't I be the one to hit the jackpot
After some vacuuming.
Installed floor carpets and one less things on the plate.
Late 12/11, swapped out the rear wiper motor. This has to be one of the easiest jobs ever. Took all of 10 mins and now I am down to one last item to address, the sunroof. Since its winter, I will hold off on troubleshooting that and plan to now start working on the cosmetics.
Some final shots of completed engine bay.
Total hours spent: 55
I have spent approx 100 miles on the car and she is performing flawlessly.
 11-07-2016, 12:18 PM