Notices
964 Forum 1989-1994
Sponsored by:
Sponsored by:

Teardown begins. Suspension madness...

Thread Tools
 
Search this Thread
 
Old 08-20-2016, 09:58 AM
  #916  
Goughary
Race Car
Thread Starter
 
Goughary's Avatar
 
Join Date: Oct 2010
Location: fairfield, CT
Posts: 4,821
Likes: 0
Received 395 Likes on 262 Posts
Default

Yeah nick, the spacer I made was 15mm already. But there is an indent where it sits and then the bolt heads on the top hat come down a bit, so I need another 10mm....

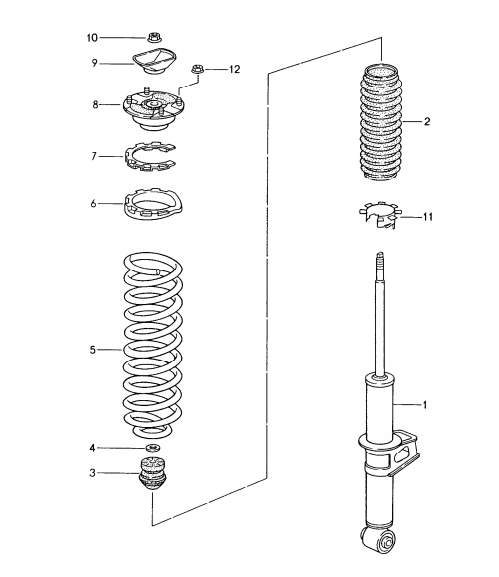
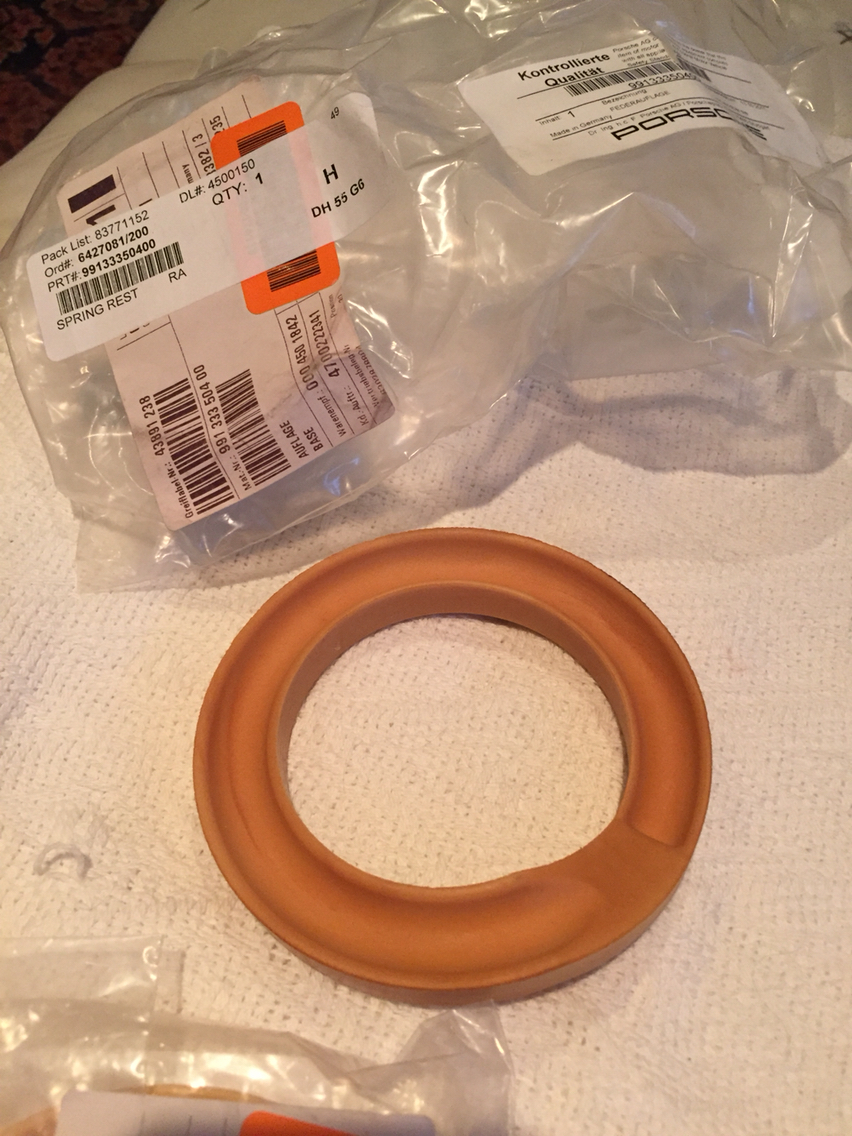
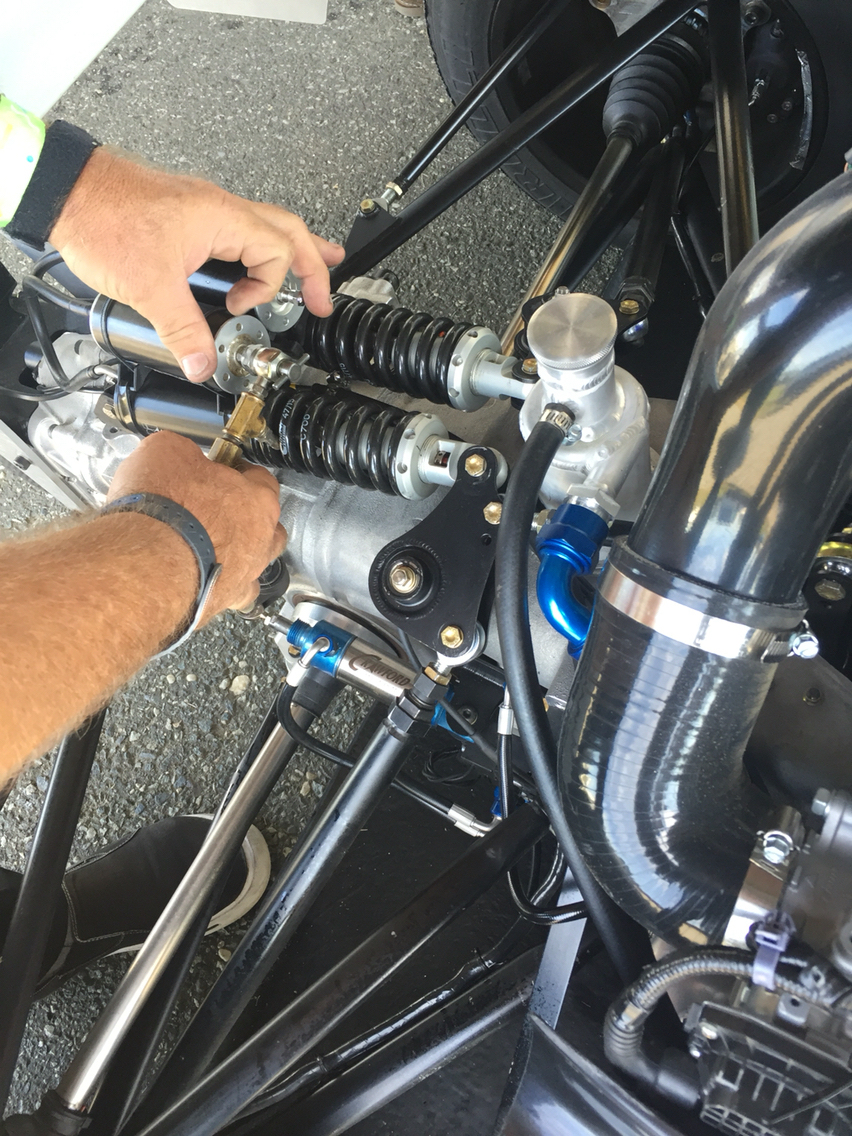
And then there is the issue of the upper perch we are using, which is a stock 993 part. The springs sit metal on metal on the perch? But that's not a tight fit. Is this the way Porsche intended for the 993 perch? Or am I missing something? It's the first time I have tried to resolve this issue in this manner, and rennline as usual, has no idea, since they don't do any test fitment....
Old 08-20-2016, 10:39 AM
  #917  
Spyerx
Rennlist Member
 
Spyerx's Avatar
 
Join Date: Mar 2012
Location: SoCal
Posts: 16,485
Received 1,730 Likes on 1,058 Posts
Default

Can you post some more pictures of the assembled unit. Spring, perch, top mount, spacers, where it is rubbing, etc?
Old 08-20-2016, 11:29 AM
  #918  
HalV
Rennlist Member
 
HalV's Avatar
 
Join Date: Jun 2008
Location: MN
Posts: 771
Received 14 Likes on 12 Posts
Default

Here's what PET has for the 993 rear (non RS).

It's hard for me to see from your picture if you have all the pieces located above the spring. In addition, if I look at the Rennline instructions, it looks like you might need the "optional" lower flat bushing.
Old 08-20-2016, 04:29 PM
  #919  
Goughary
Race Car
Thread Starter
 
Goughary's Avatar
 
Join Date: Oct 2010
Location: fairfield, CT
Posts: 4,821
Likes: 0
Received 395 Likes on 262 Posts
Default

In the rennline instructions - see the one labeled "shock hat"- that's the 993 part they sold us to go w their monoball top hat. Rather than being conical or a "witches hat", it's flat. So it needs a bigger spacer than the one I made. I'll post pics if I get some while its apart. This would be significantly easier if we were dealing with 2.5 Id springs like on a standard coilover. But since we are mating an oem diameter spring to the monoball, it's just fiddly since no one just makes a kit that works...strange cuz you'd think rennline would just make it simpler...but then not many people make the jump to make this kind of upgrade without doing higher end and more adjustable setups...funny thing is - for road use, this setup is ideal. And a lot less expensive than moving up the ladder ....
Old 08-20-2016, 08:46 PM
  #920  
Goughary
Race Car
Thread Starter
 
Goughary's Avatar
 
Join Date: Oct 2010
Location: fairfield, CT
Posts: 4,821
Likes: 0
Received 395 Likes on 262 Posts
Default

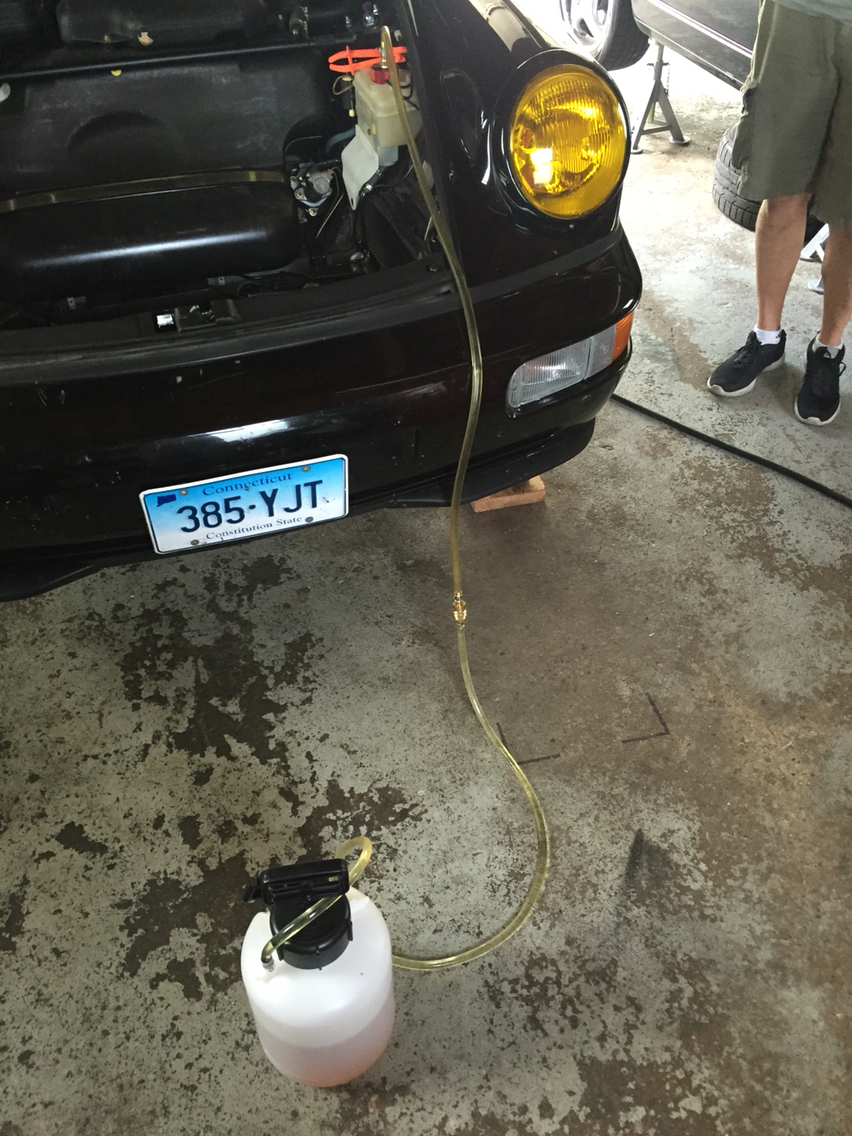
Had to re-bleed my car today...there was a ton of air in there...interestingly enough, the one thing I wanted to bleed the most was the clutch, and I completely forgot to bleed the clutch as I rushed through the brakes, pressure booster, PDAS solenoid, and the diff locks...but tomorrow am ill toss the bleeder on the car and whip that out...

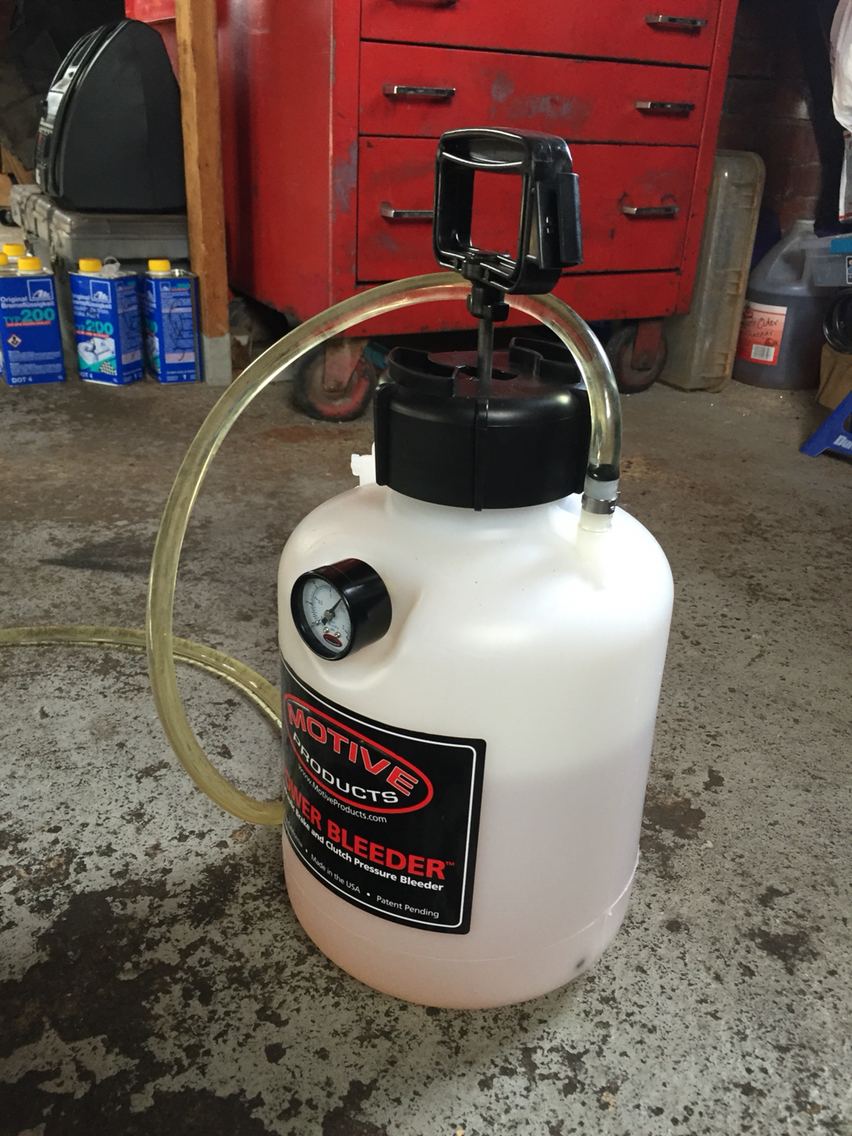
So here's the deal. A couple years ago I went to pelican at the behest of my buddies here on rennlist and bought the be all end all of bleeders. The motive power bleeder with the super duper billet alluminum cap and all the goodies. Longer hose etc. but to bleed a c4 fully, I have to refill it a couple times while bleeding. And that's not only a pita, but everytime you glug glug glug a can of fluid into it, you introduce air into the brake fluid. And then you have to either wait for the bubbles to come to the surface of just be super careful adding the fluid.

Solution...go to motives website and buy a 1.5 gallon power bleeder. With a quick release so now I can swap my hose to the little one for c2 bleeding and to the big one for c4 bleeding . Add the right amount of fluid once and done...

Name:  photo544.jpg
Views: 795
Size:  1.07 MB

Name:  photo48.jpg
Views: 781
Size:  1.09 MB
Old 08-20-2016, 08:49 PM
  #921  
Goughary
Race Car
Thread Starter
 
Goughary's Avatar
 
Join Date: Oct 2010
Location: fairfield, CT
Posts: 4,821
Likes: 0
Received 395 Likes on 262 Posts
Default

On the rear strut issue. I found these in my bag of tricks. Isolators from a 991...these will get rid of the spring noise and then I'll just make a larger spacer and we should be good in the hood...the spacer I made was 15mm. So I'll go 25mm and see how that goes. Should be just what the dr ordered...

Name:  photo565.jpg
Views: 938
Size:  1,003.2 KB
Old 08-24-2016, 03:29 PM
  #922  
Goughary
Race Car
Thread Starter
 
Goughary's Avatar
 
Join Date: Oct 2010
Location: fairfield, CT
Posts: 4,821
Likes: 0
Received 395 Likes on 262 Posts
Default

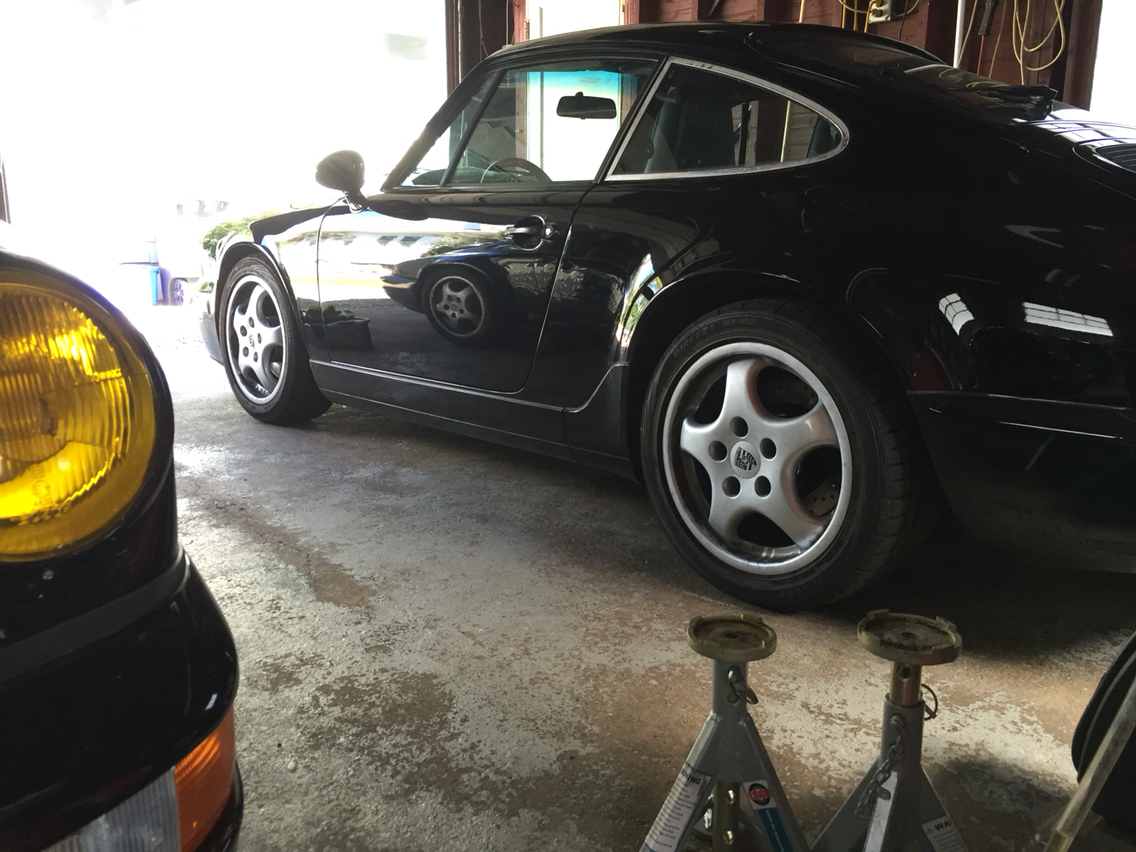
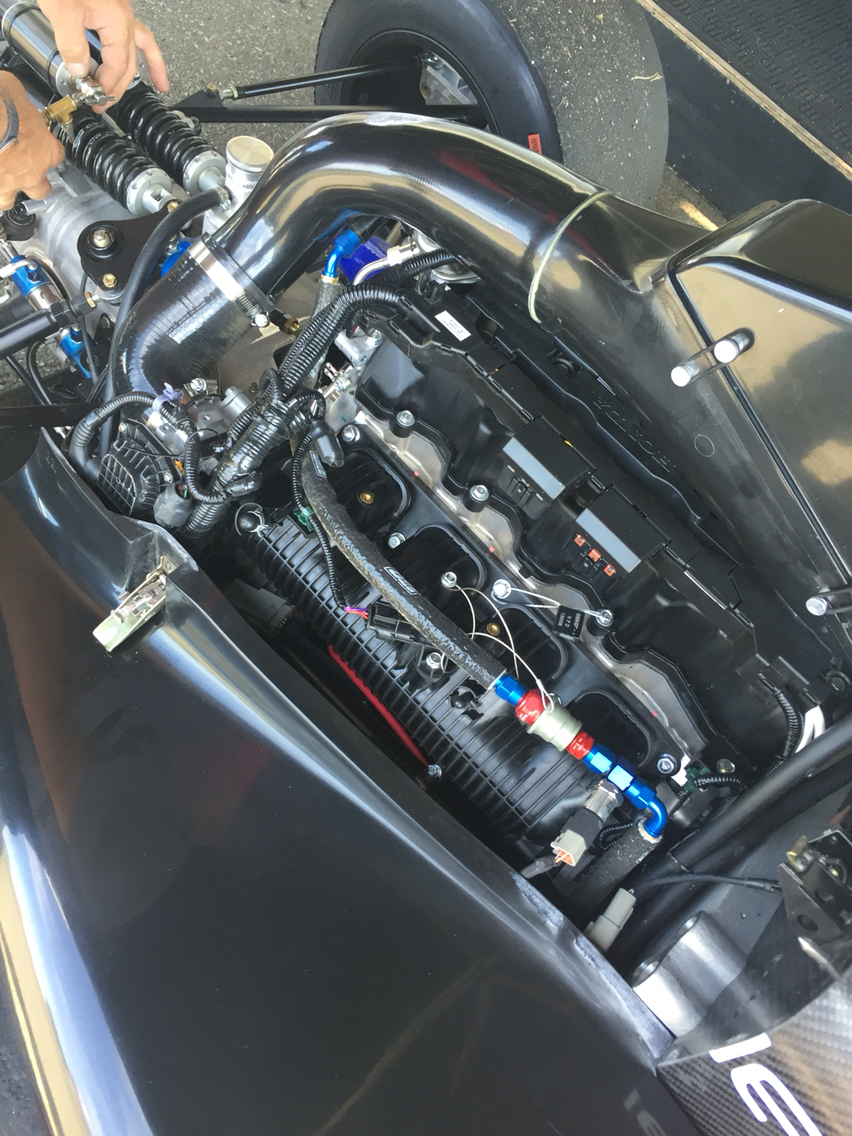
Finally on the ground- noise found. The monoball top hats were missing a spacer - the shop screwed up. No biggie...she's on the ground and ready for ride height to be set and alignment. Car 5 getting there...

Name:  photo988.jpg
Views: 800
Size:  952.0 KB
Old 08-26-2016, 10:00 AM
  #923  
Goughary
Race Car
Thread Starter
 
Goughary's Avatar
 
Join Date: Oct 2010
Location: fairfield, CT
Posts: 4,821
Likes: 0
Received 395 Likes on 262 Posts
Default

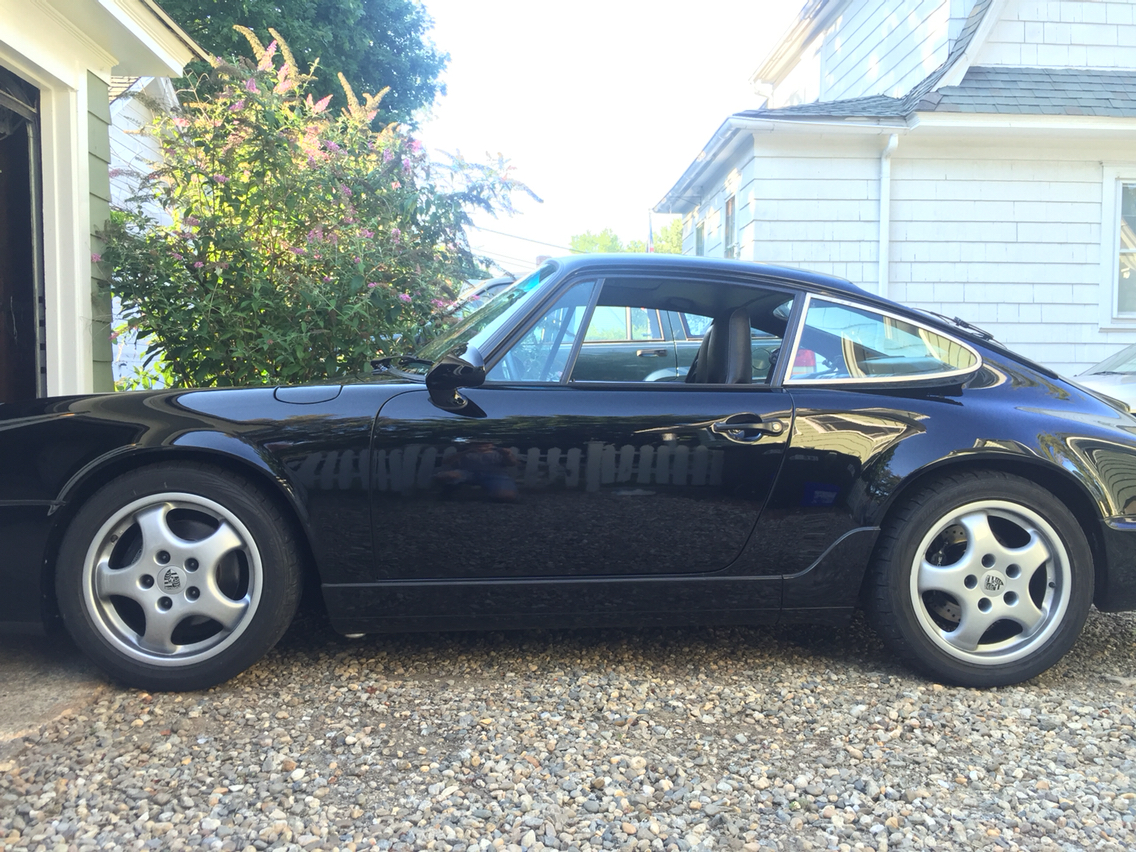
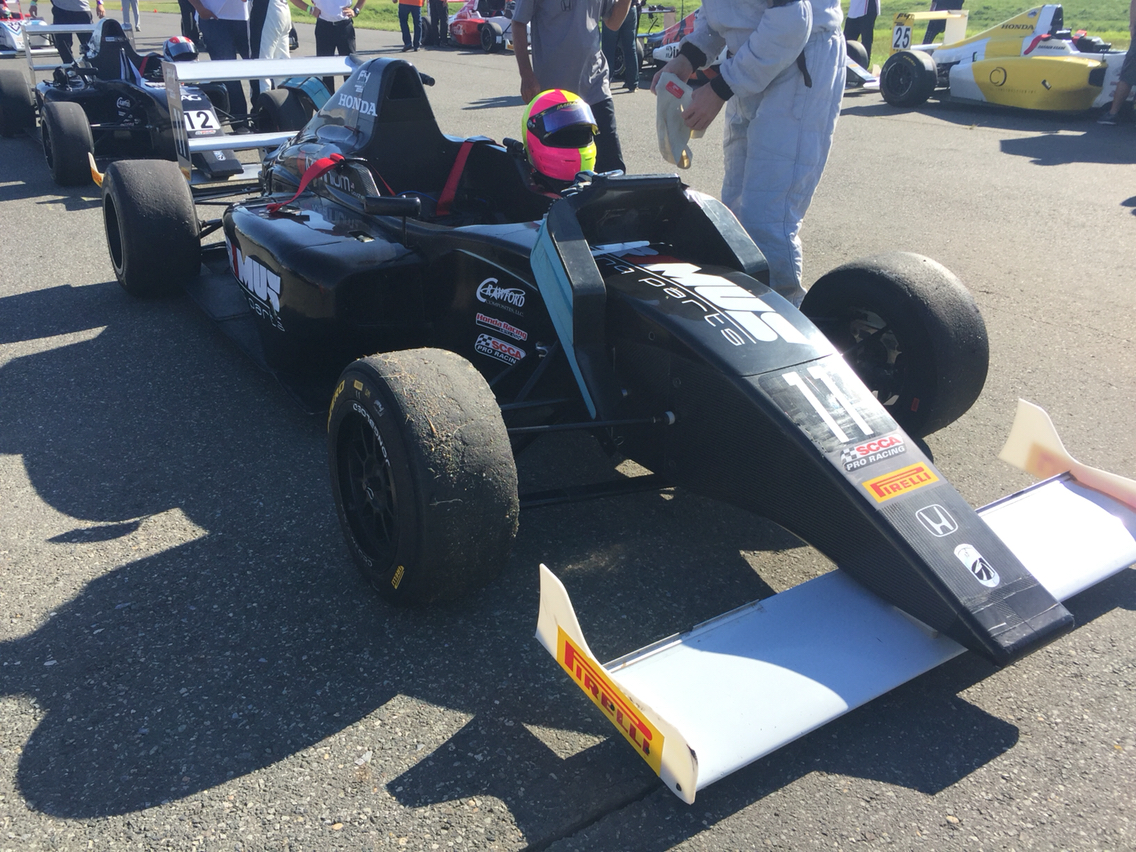
Off to butzigear for alignment this morning. Of the original group, this is the last car....very exciting stuff. Not done yet, but getting close. This alignment basically closes the suspension project and I move on to some details and finishing - like pop-out rear qtr Windows, etc...

Name:  photo27.jpg
Views: 756
Size:  1.10 MB

Name:  photo600.jpg
Views: 732
Size:  1.06 MB
Old 08-27-2016, 01:27 AM
  #924  
Goughary
Race Car
Thread Starter
 
Goughary's Avatar
 
Join Date: Oct 2010
Location: fairfield, CT
Posts: 4,821
Likes: 0
Received 395 Likes on 262 Posts
Default

Alignement done. Car is beyond fantastic .

I set the ride height slightly high since the springs will settle. Alignment and ride height will be tweaked later...

Name:  photo326.jpg
Views: 735
Size:  1.22 MB
Old 08-27-2016, 01:29 AM
  #925  
Goughary
Race Car
Thread Starter
 
Goughary's Avatar
 
Join Date: Oct 2010
Location: fairfield, CT
Posts: 4,821
Likes: 0
Received 395 Likes on 262 Posts
Default

And then on to the seat motor. Front motor wasn't working so I rebuilt the seat switch

Name:  photo758.jpg
Views: 693
Size:  992.6 KBName:  photo651.jpg
Views: 692
Size:  973.0 KBName:  photo139.jpg
Views: 704
Size:  1.17 MBName:  photo192.jpg
Views: 698
Size:  939.7 KBName:  photo403.jpg
Views: 704
Size:  918.2 KBName:  photo613.jpg
Views: 695
Size:  1.03 MBName:  photo300.jpg
Views: 697
Size:  905.7 KBName:  photo743.jpg
Views: 698
Size:  1.09 MB

But turned out the motor had been unplugged...lol...so all good now!
Old 08-27-2016, 01:32 AM
  #926  
Goughary
Race Car
Thread Starter
 
Goughary's Avatar
 
Join Date: Oct 2010
Location: fairfield, CT
Posts: 4,821
Likes: 0
Received 395 Likes on 262 Posts
Default

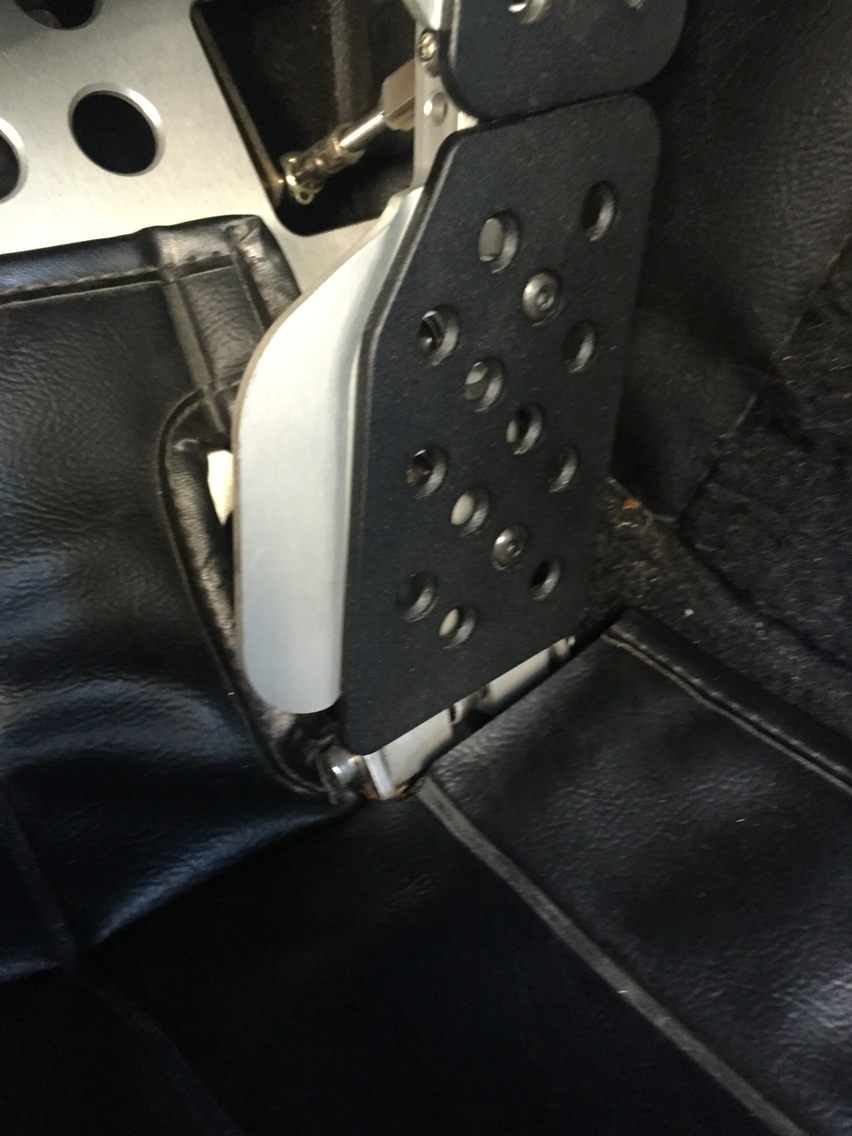
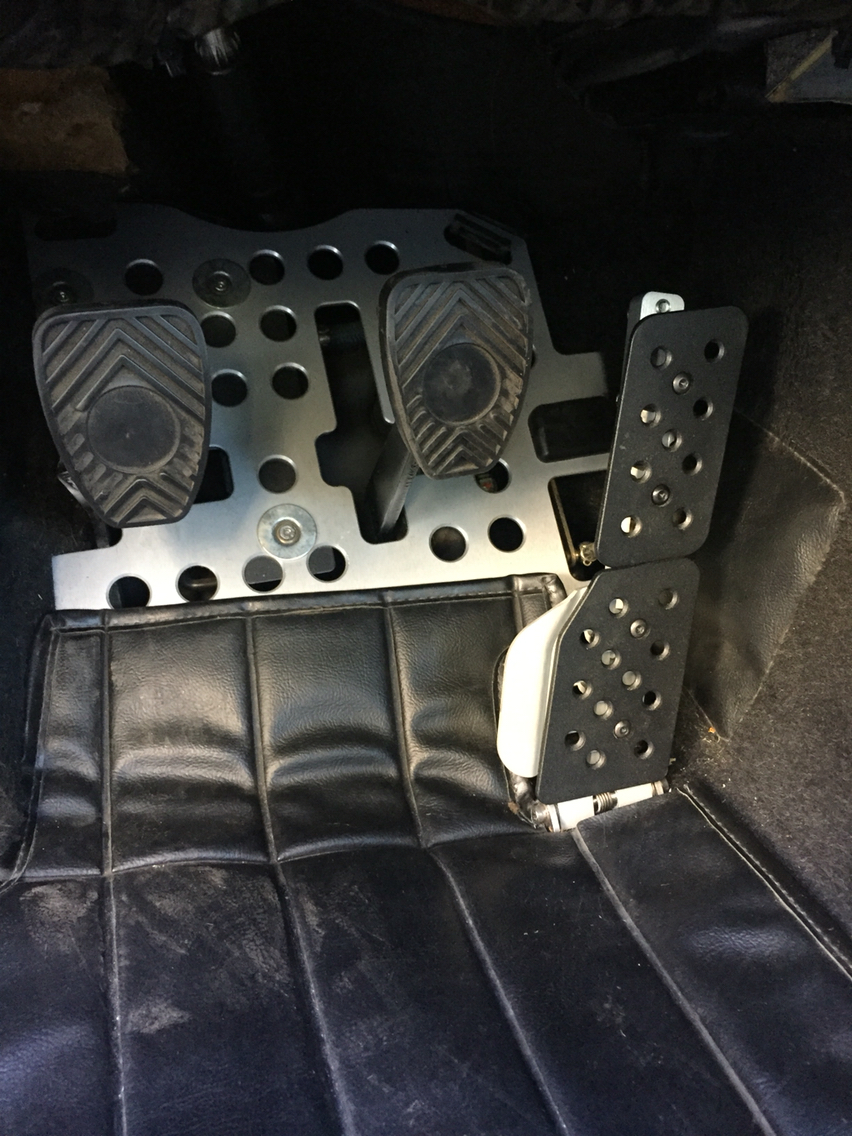
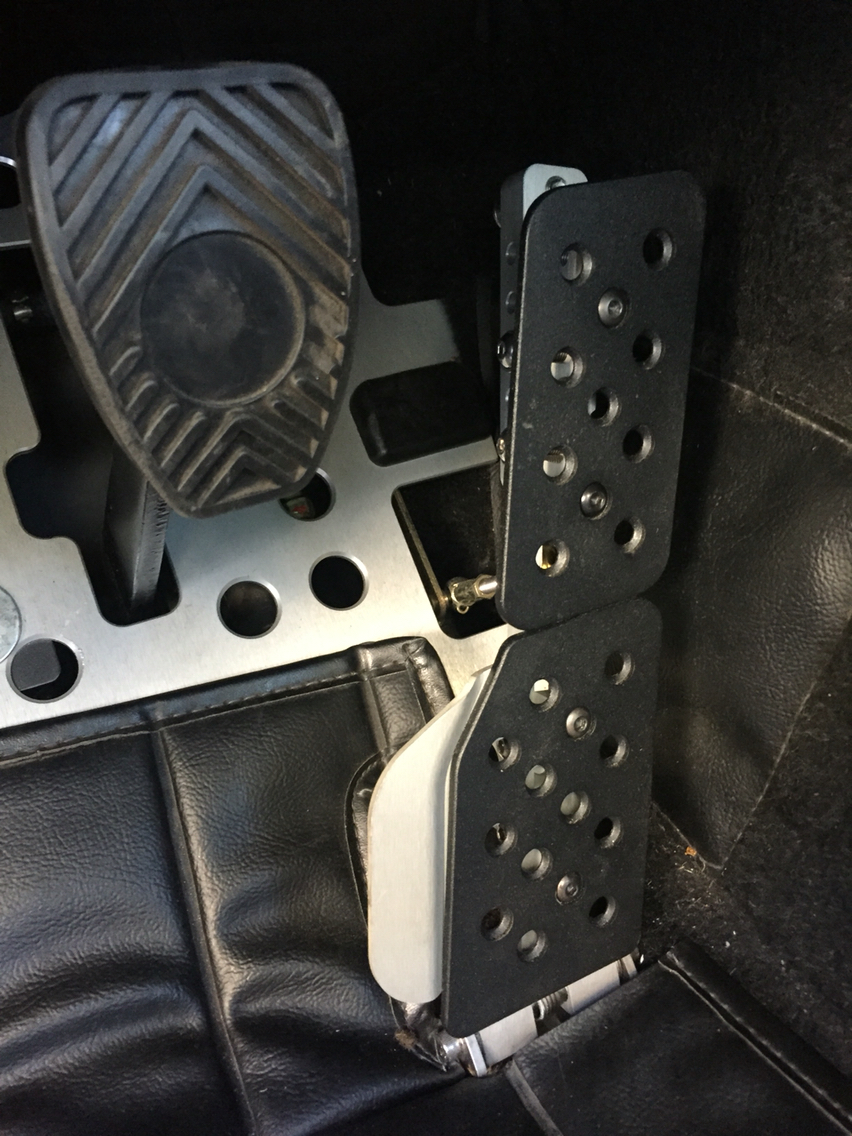
The rennline pedal needed to be adjusted - I had set it like mine. But the pedal in a c2 is harder and higher than a c4...so the pedal needed to come back a bit toward the top and I took out the upper extension as I do with all of them. Now heal and toe is completely natural in this car...

Name:  photo254.jpg
Views: 723
Size:  929.3 KBName:  photo189.jpg
Views: 708
Size:  1,021.5 KBName:  photo816.jpg
Views: 715
Size:  1,007.2 KB
Old 08-28-2016, 12:33 PM
  #927  
Goughary
Race Car
Thread Starter
 
Goughary's Avatar
 
Join Date: Oct 2010
Location: fairfield, CT
Posts: 4,821
Likes: 0
Received 395 Likes on 262 Posts
Default

Respit from Porsche's and only spectating....but we won yesterday. Today, so far not so much...but it's a fun day at NJ Motorsports park anyway...

Name:  photo963.jpg
Views: 673
Size:  1.16 MBName:  photo742.jpg
Views: 663
Size:  866.2 KBName:  photo394.jpg
Views: 672
Size:  895.8 KBName:  photo912.jpg
Views: 674
Size:  1.13 MBName:  photo819.jpg
Views: 670
Size:  1.11 MB
Old 09-05-2016, 02:19 PM
  #928  
raffsracing
Advanced
 
raffsracing's Avatar
 
Join Date: Jun 2015
Posts: 53
Likes: 0
Received 0 Likes on 0 Posts
Default suspension madness

Wow that was a very informative build thread. Wish i had found it before i started my project. Almost finished now.
Attached Images        
Old 09-05-2016, 04:07 PM
  #929  
Goughary
Race Car
Thread Starter
 
Goughary's Avatar
 
Join Date: Oct 2010
Location: fairfield, CT
Posts: 4,821
Likes: 0
Received 395 Likes on 262 Posts
Default

Wow that looks fantastic! Great job...

Now stick a dbfd sticker in your window and take the plunge! Just say "no" to garage queens! Lol...

Really great stuff. Would love to see more...

Reminds me - I've been travelling so much that I forgot to post the Windows... Here they come
Old 09-05-2016, 04:10 PM
  #930  
Goughary
Race Car
Thread Starter
 
Goughary's Avatar
 
Join Date: Oct 2010
Location: fairfield, CT
Posts: 4,821
Likes: 0
Received 395 Likes on 262 Posts
Default

Terrible pictures sorry, but the rear qtr windows were sanded, primed and then shot with semi gloss black to match the oem trim...pics are of the primer stage.

These will get built and installed next week. And then I'll need to drill and mount the correct lower window trim and the pinch welt...and done!

Name:  photo55.jpg
Views: 543
Size:  1,008.6 KBName:  photo604.jpg
Views: 571
Size:  1.12 MBName:  photo368.jpg
Views: 549
Size:  1.14 MB


Quick Reply: Teardown begins. Suspension madness...


All times are GMT -3. The time now is 02:03 AM.