When you click on links to various merchants on this site and make a purchase, this can result in this site earning a commission. Affiliate programs and affiliations include, but are not limited to, the eBay Partner Network.
First I'd like to thank Rob Goughary for what you are about to see. For making the suggestion that I didn't have to continue driving my car in the state she was in and challenging me to Make Awesome Happen.
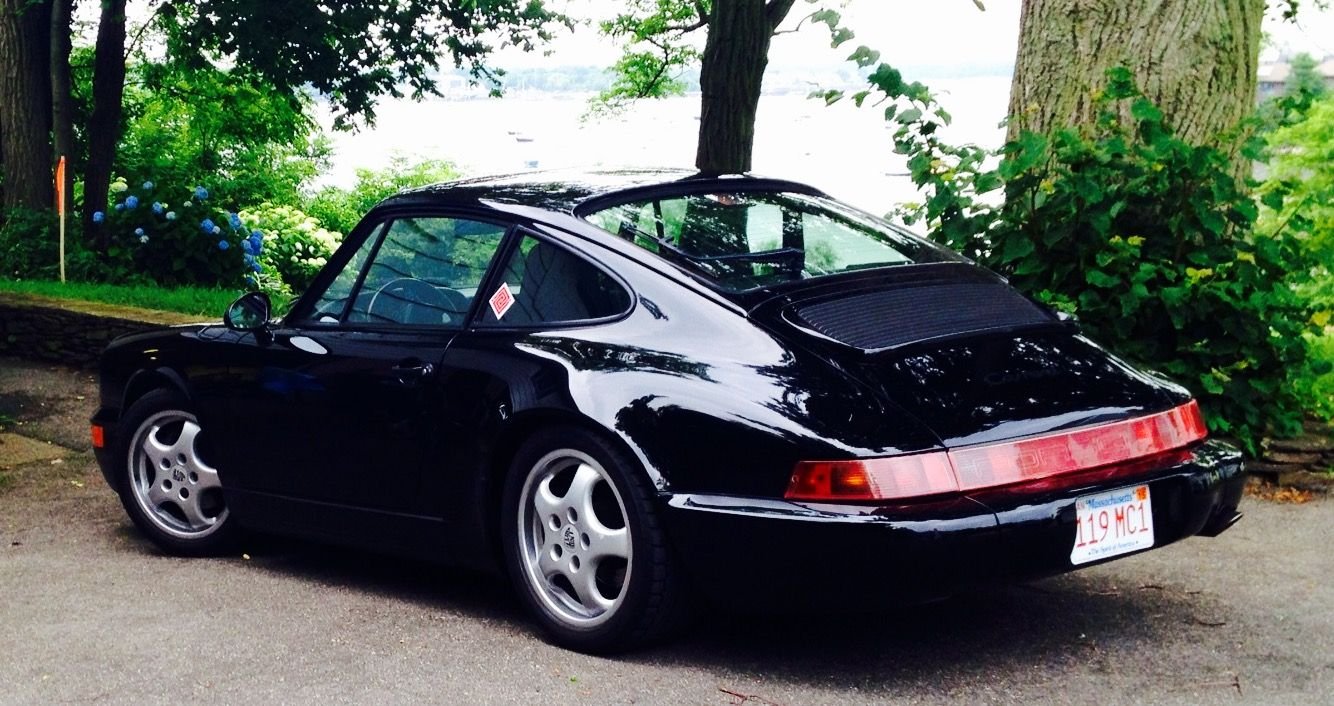
Now meet Aja... (after the 1977 Steely Dan album.) Or whatever new name Dr. Rob comes up with. I'm sure this will be one of many posts over the next few weeks on Aja's progress. Here's how I found her. 92 C2
All of the changes I've made are all reversible...
Added this face
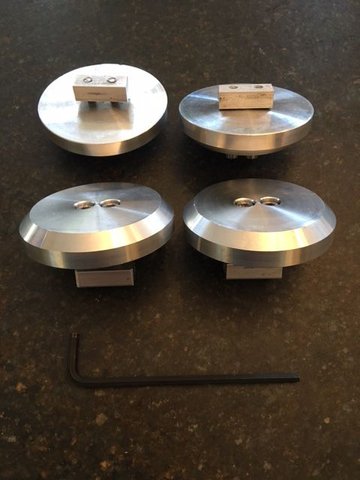
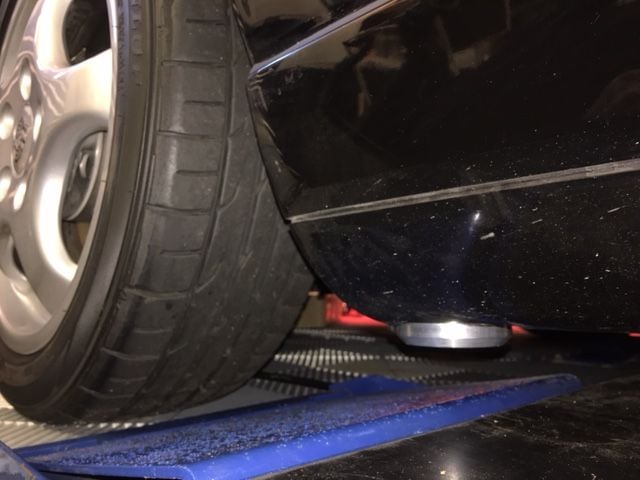
These are great for easy lifting
Low profile pucks help out.
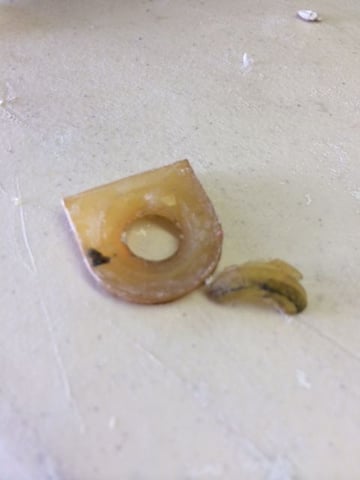
Here's What Rob has asked me to add for a while... While dealing with a pair of used Recaro comfort seats I had to make a few parts out of Hot Glue... Yes even hot glue-gun glue can be made into almost any small Nylon part with some hard clay as a negative mold and patience. Here are the photos they're self explanatory.
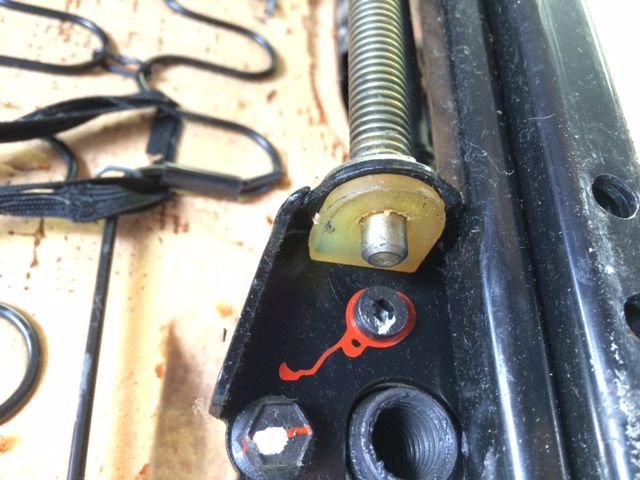
Threaded motorized rail end bushing.
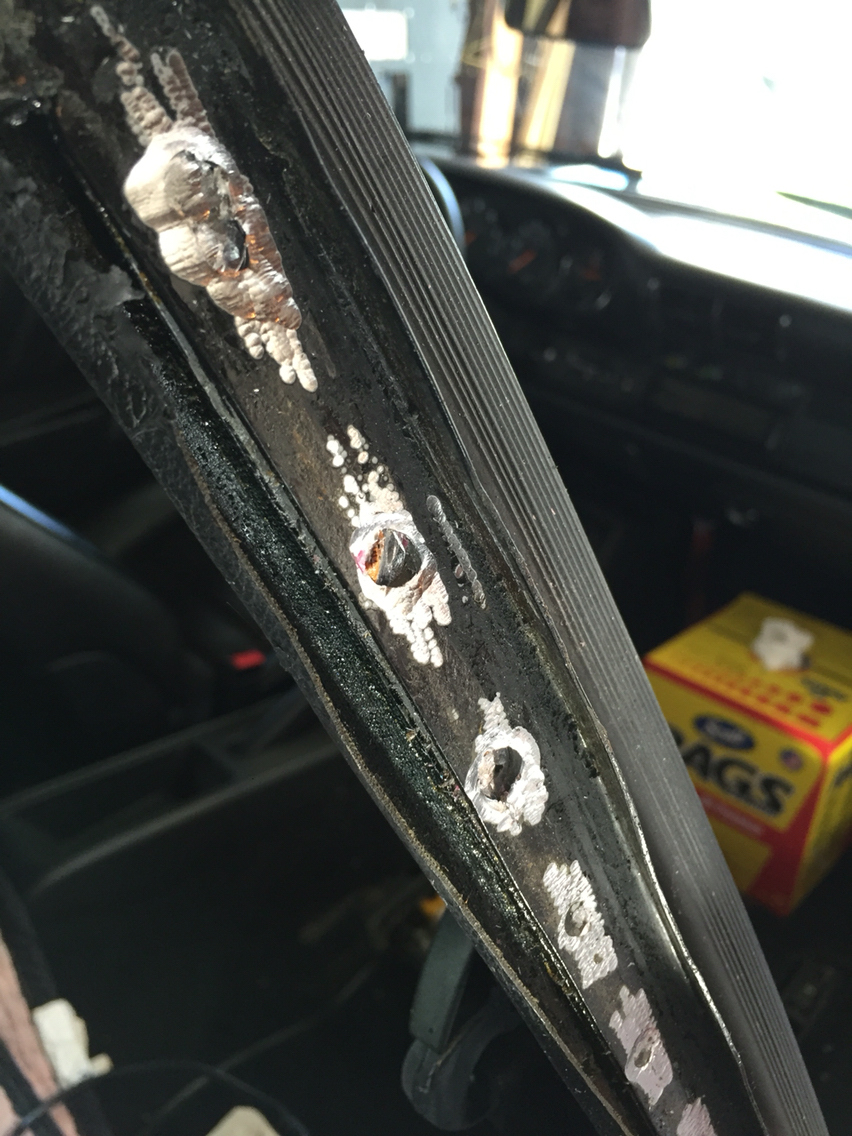
The cracked one. Essentially a flat washer with a hollow nipple and a 1/4 thick groove to hold it on the threaded rod end. On a Sunday there are no Recaro part stores open. So make one!
A little rough.. but it worked beautifully and the seat's threaded rod was solidly in place.
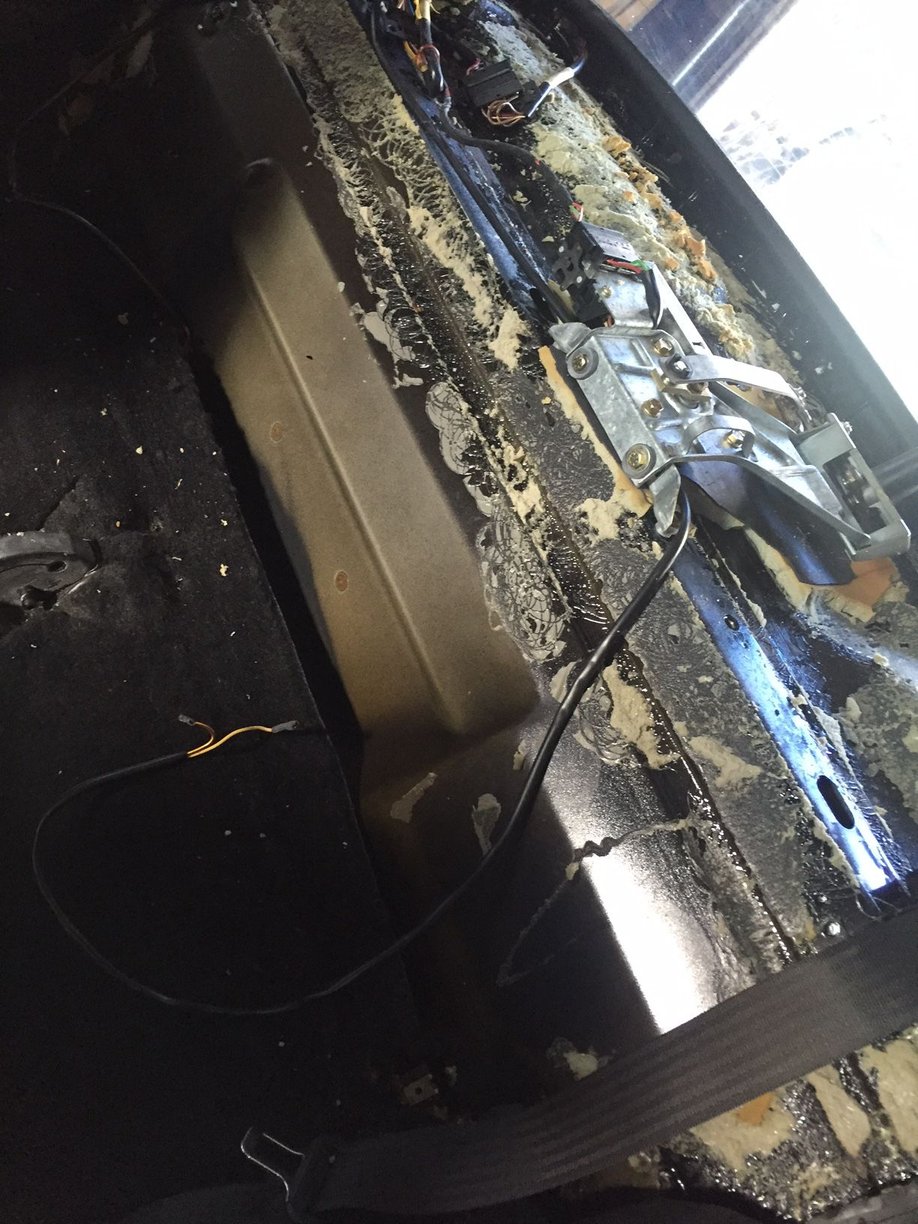
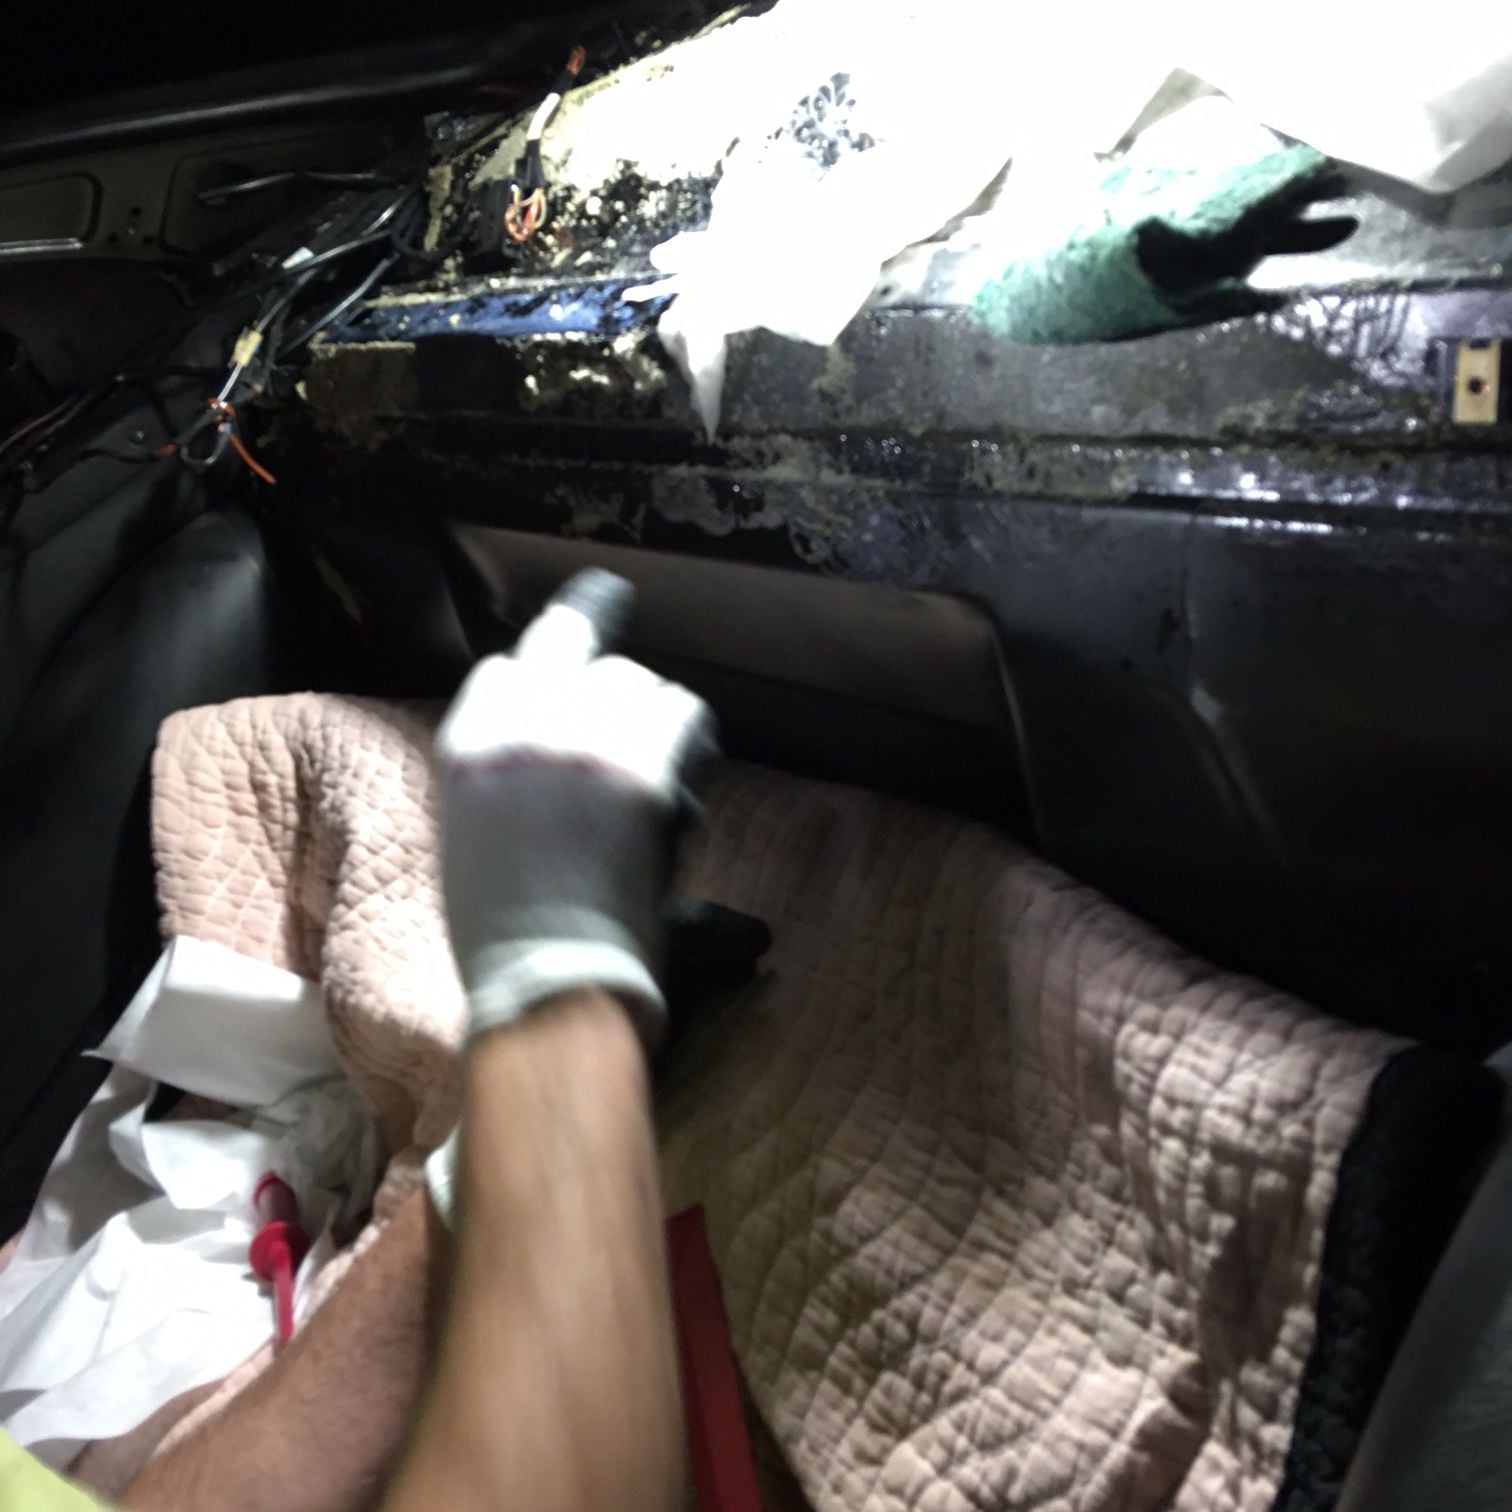
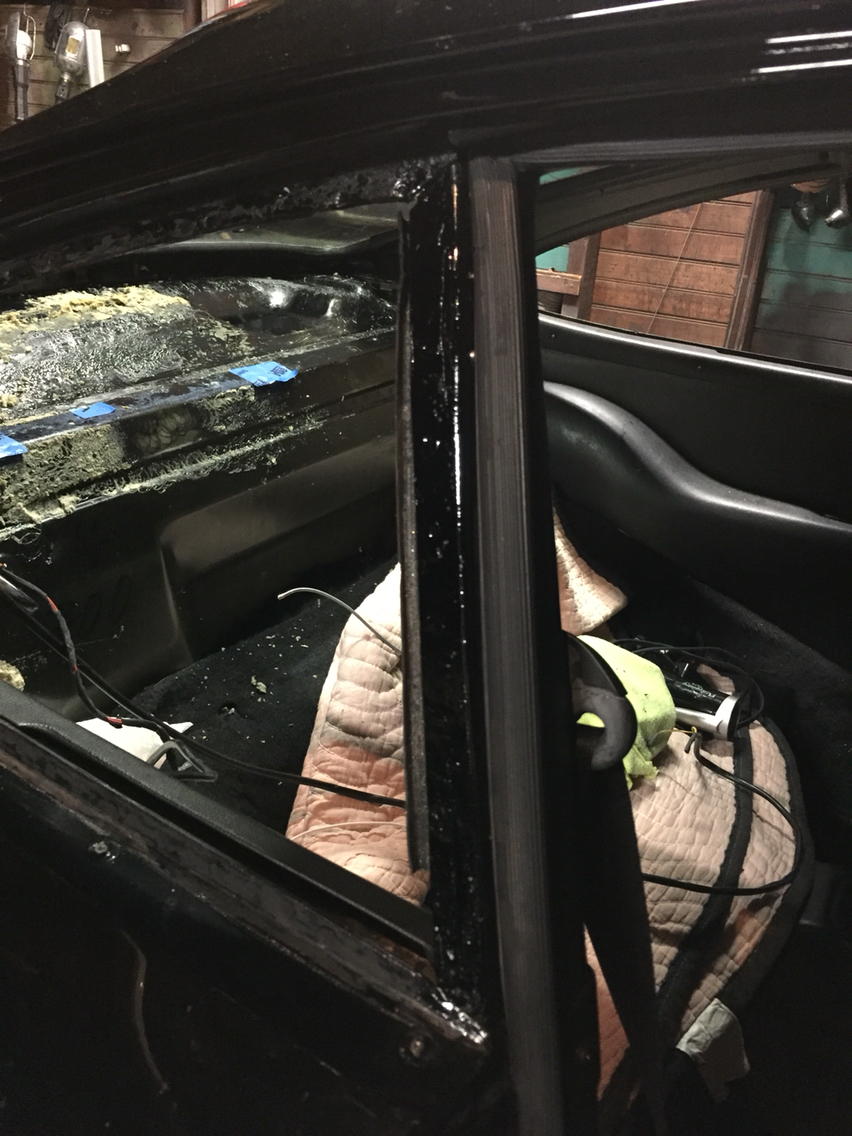
Last weekend. After hours of scraping "23 year old Gorilla Glue" out of the back of Aja's rear deck...
Before Rob sent me into the CAVE
and still going...
We are adding a little Dynamat or a thinner lighter version later to the rear firewall.
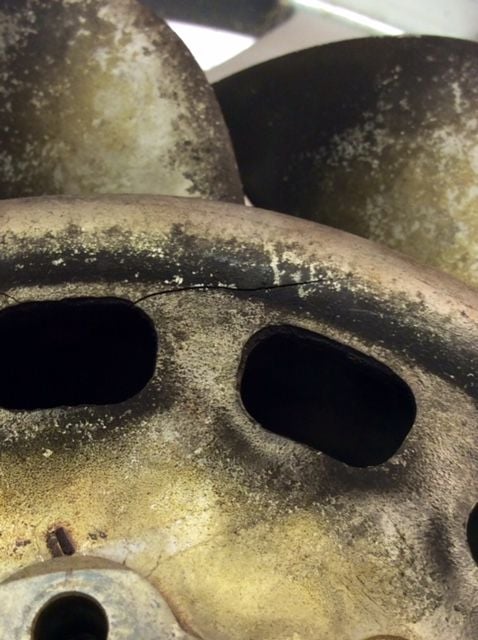
Here are some things to be careful of in any PPI 13 BALANCING HOLES? All that missing magnesium was bound to crack Thankfully I found these cracks before they became engine shrapnel.<br/>
I got her 3 years ago and have slowly made a few select reversible changes as you'll see.
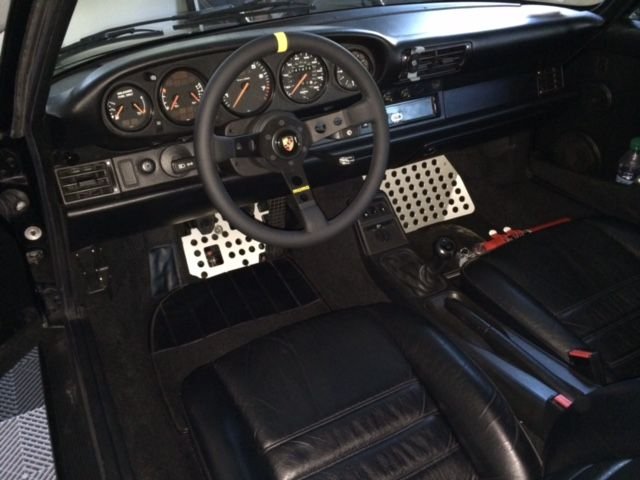
MOMO for knee room prior to Rob moving seats back. Rennline floor boards for now with Aluminum Track mats going in after removing sound deadening.
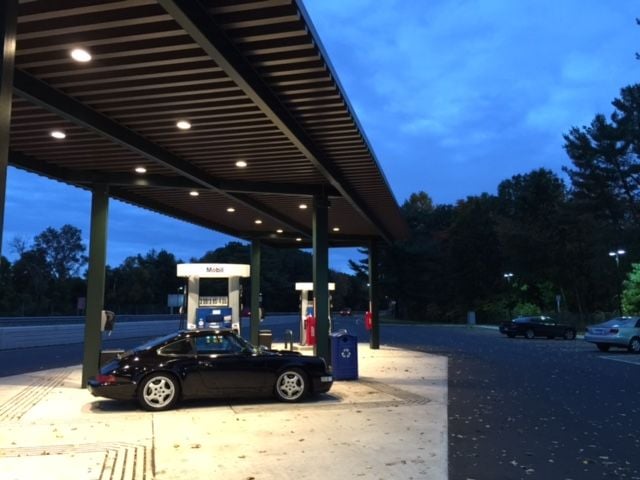
Cant wait till POP OUT's are in & suspension madness resumes! On my way to C&C in New Canaan last year. Merritt Parkway rest stop Southbound...
Last edited by HEDR; 04-25-2016 at 06:18 PM.
Reason: wrong title
So looks like we are heading out for upholstery and a new headliner on Monday. So it's crunch time. Glue on the rear deck has to go. And I have to glue/seal the drain tube in the sunroof that had separated. New seats are ready to go.
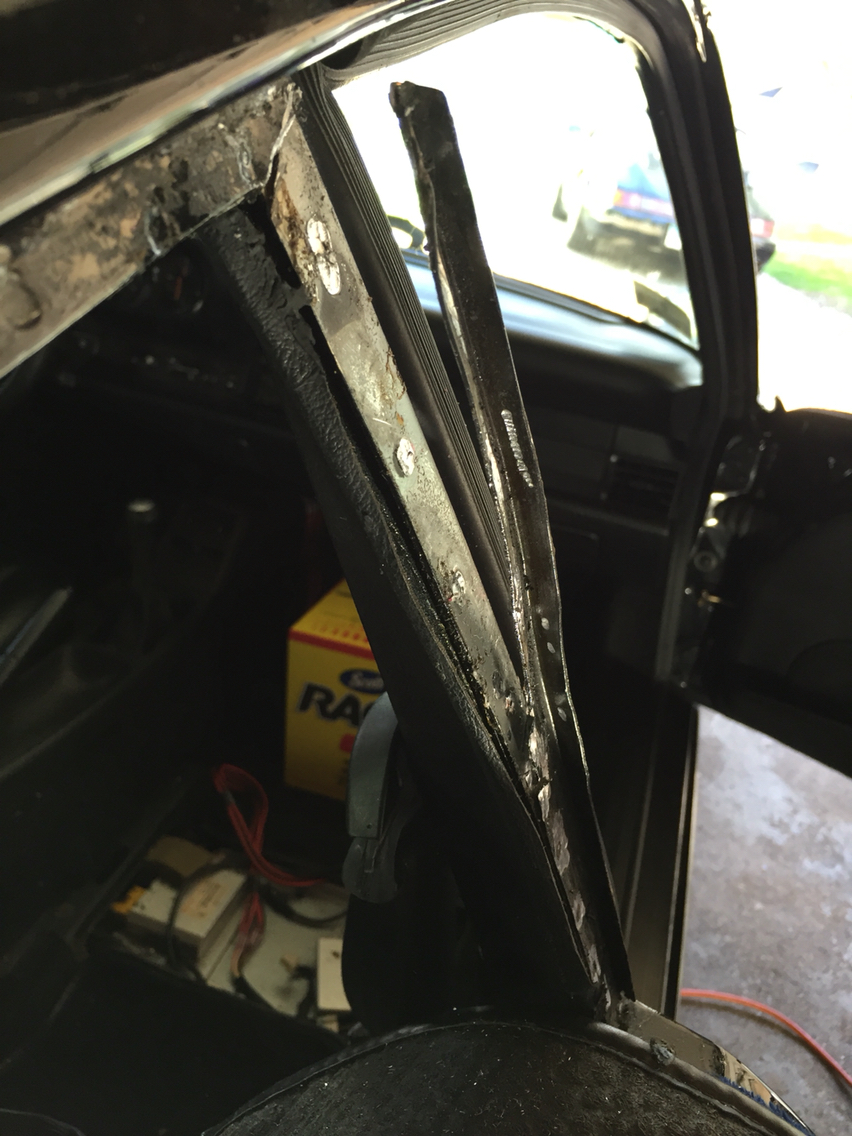
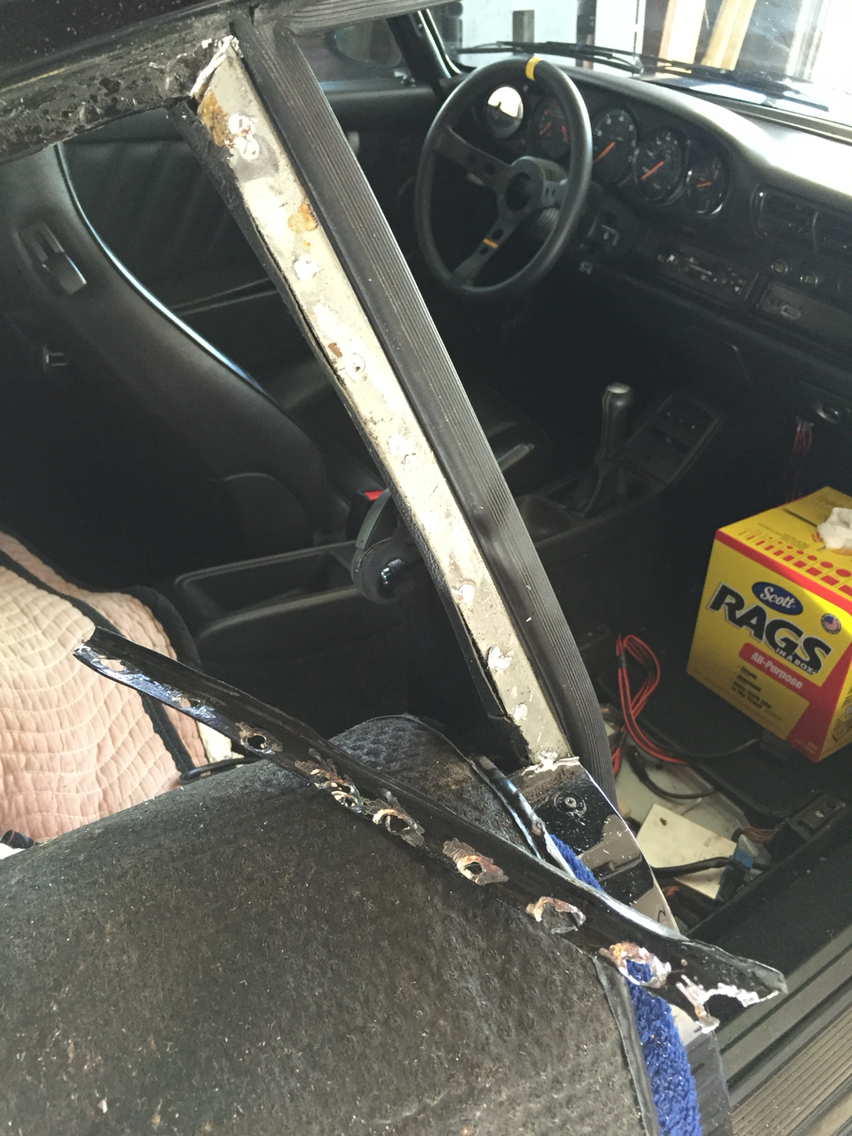
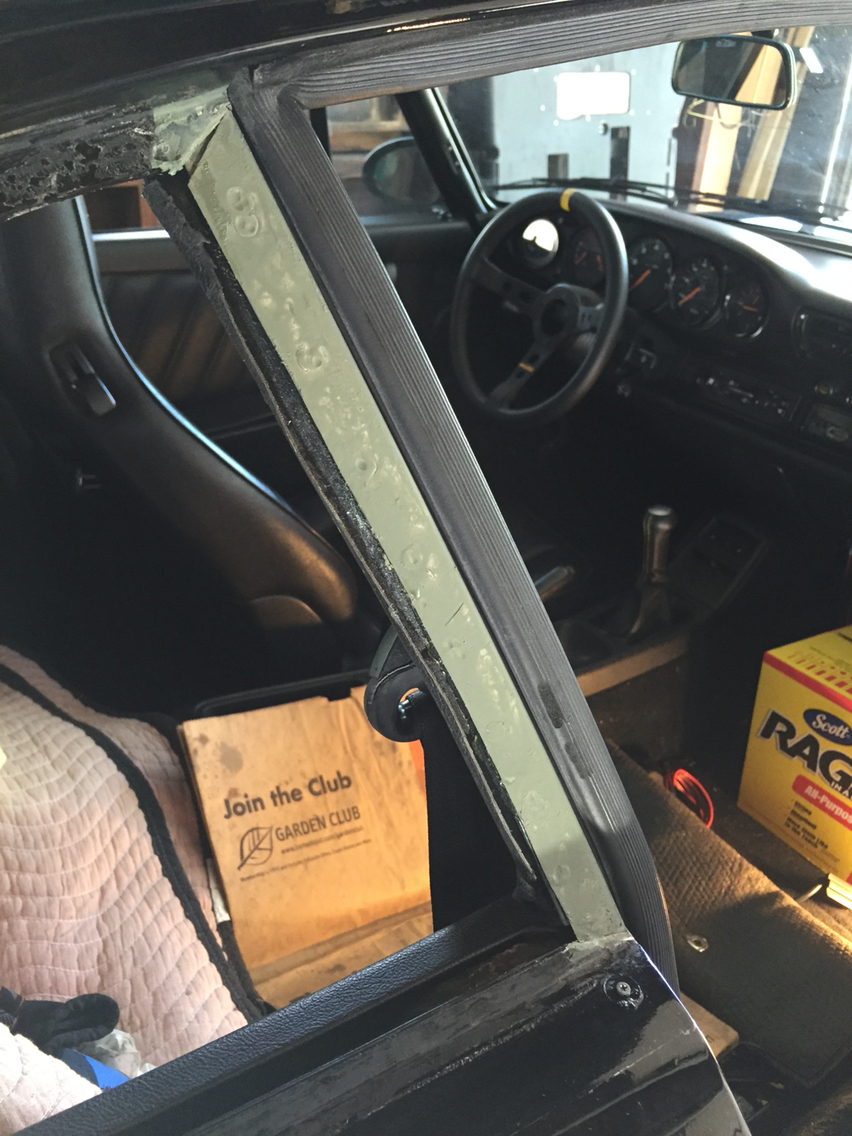
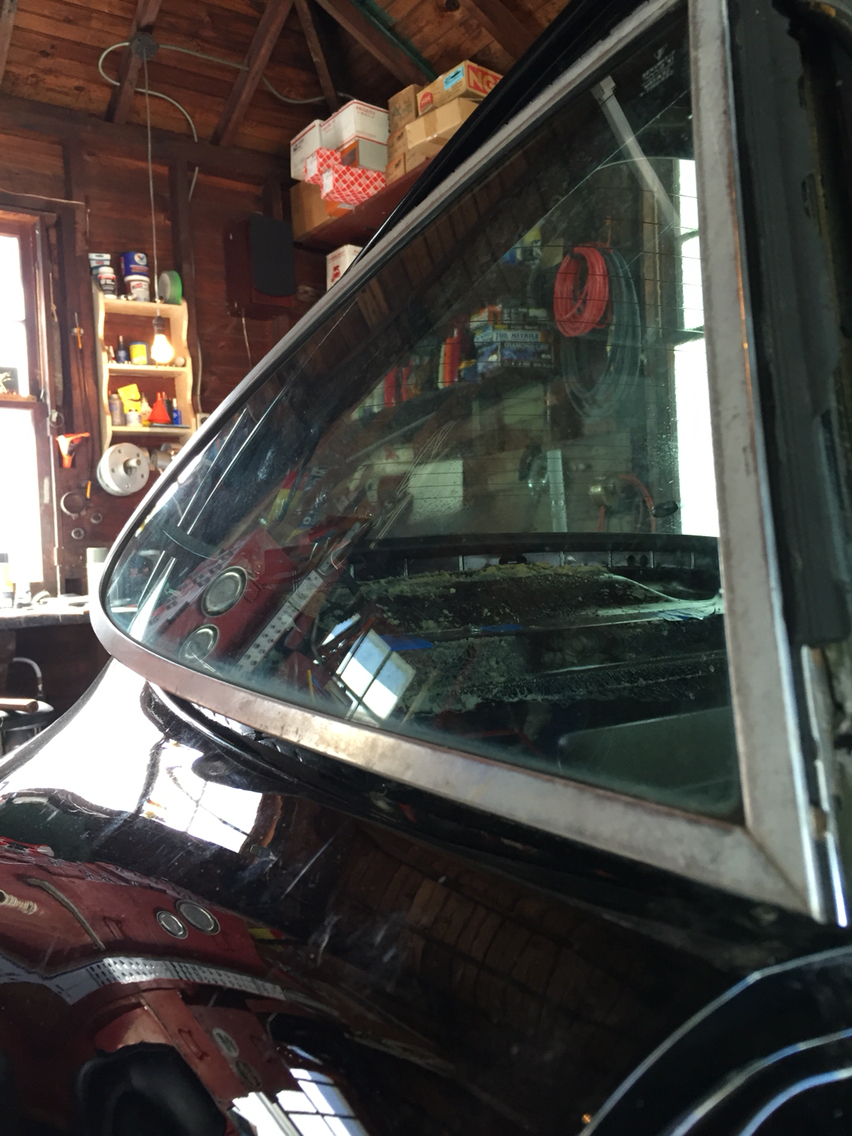
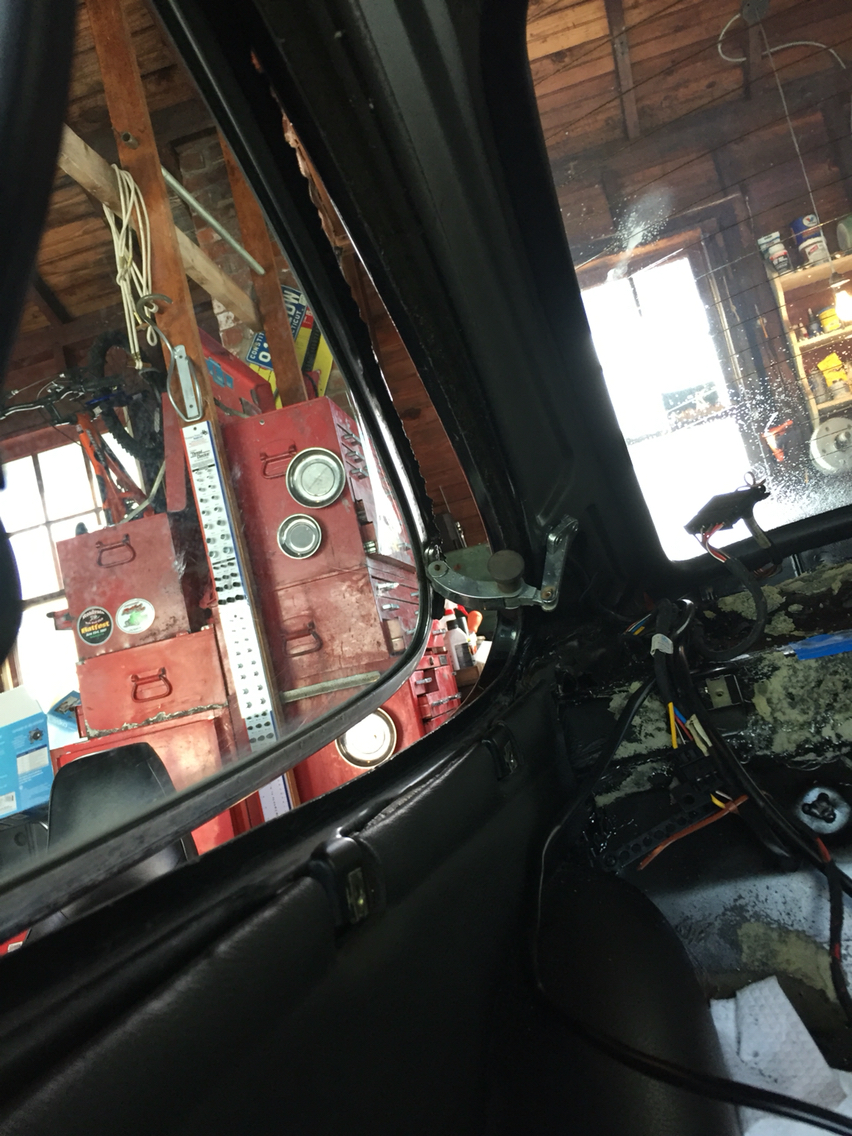
Today was the other rear quarter window. Cutting the slots, installing the Jack nuts and drilling and tapping the holes for the hinges. You have to be correct within 1mm when you cut the slots for the hinges. And there is no welding if you get it wrong. At least, not with my welder. Way too aggressive. So if anyone reading this makes the attempt...take your time and start cutting in the center between the two holes, and work your way out. Less likely to get in trouble...
This side was much easier. Only took a few hours really. Of course, the headliner is out and the area is apart. When I do mine, things will be very different as my headliner is not coming out. So not sure how easy that will be yet...
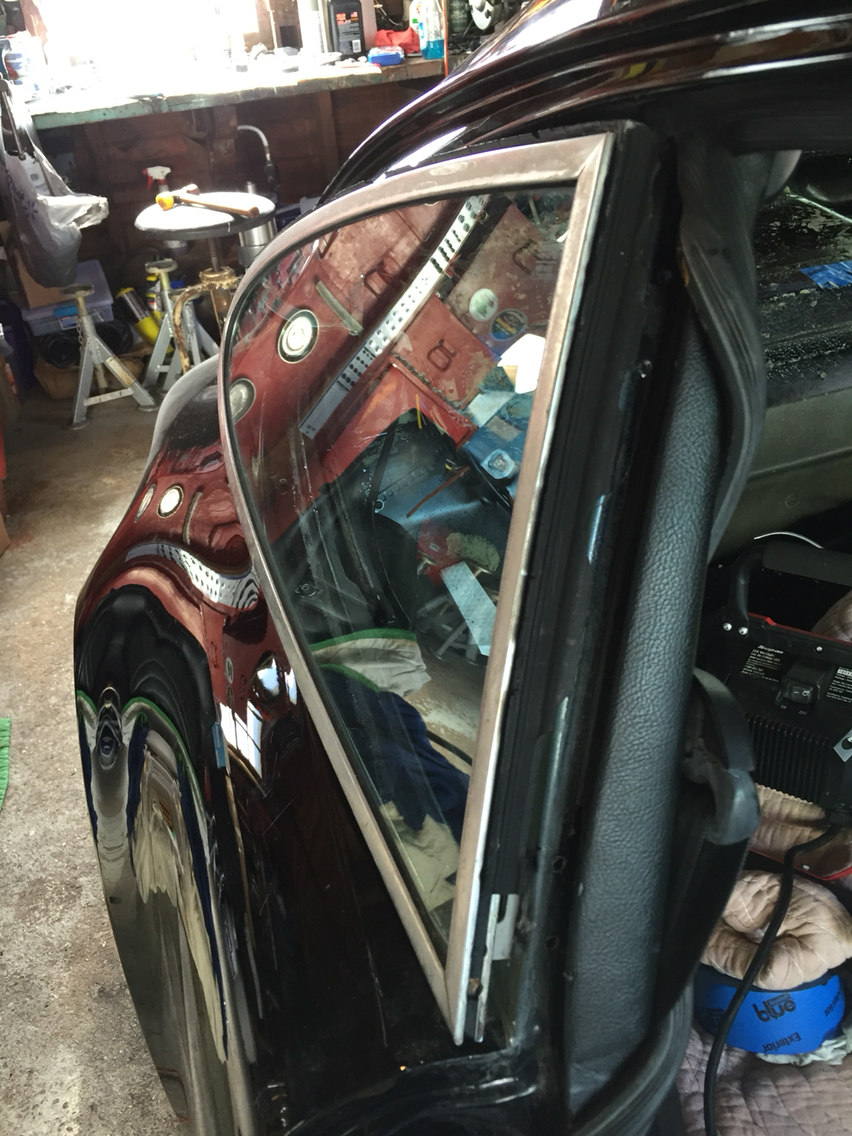
It's from an earlier car - even though popout windows were never available on the 964, the important parts are all the same size and with some cutting/drilling/tapping will fit!
And the holes for the mounting bracket are still on the chassis!
Kinda...this conversion is MUCH easier on the eighties cars...but the basics are still there and ready to go.
Trick is getting Windows. Porsche is out at the moment of oem black Windows, so you have to source older Windows and convert them. Porsche will do a production run at some pin ton the future. Although to my mind, they have an opportunity they are missing right now, since they are opening Porsche classic shops in the states and this would be a widely done conversion if they simply made it easy to get the work done.
Our issue on the 964, was that there was/is little to no information on how to do it to our cars. So we just had to start cutting and figure it out.
I hope the pics help. I know I've been less detailed lately in my posts. But I'm on the "way overwhelmed" side of life at the moment and don't have the hours to write that I used to have.
Those pop-outs are a brilliant idea.
One thing to consider, though: I have had them on several cars, and to keep them water-tight is NOT easy. New seals and careful adjustment are very important.
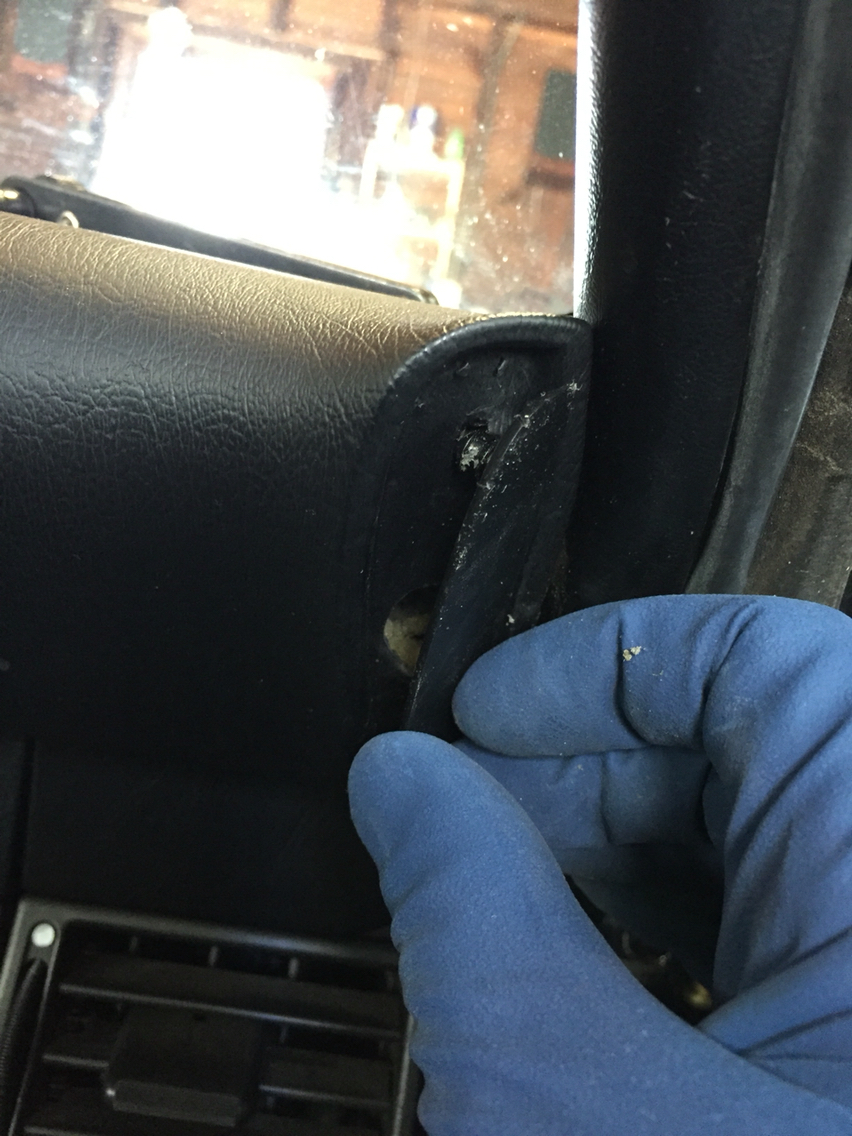
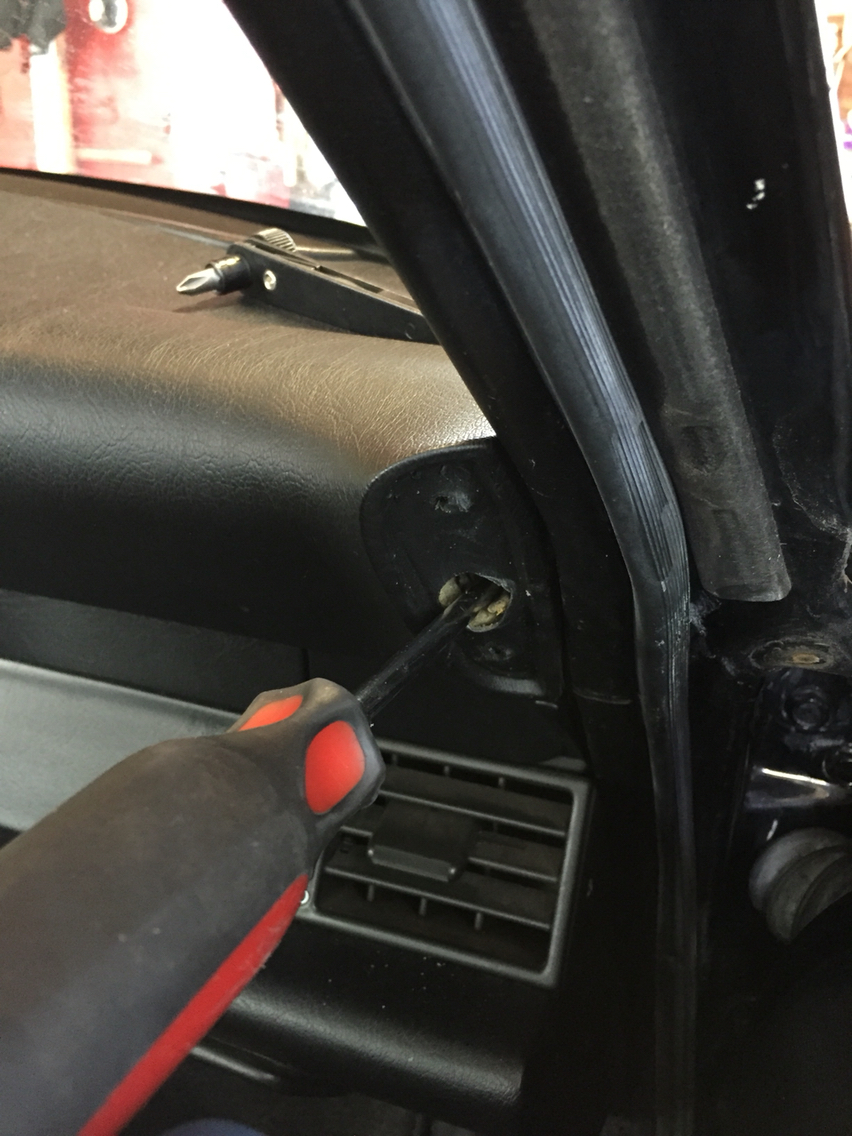
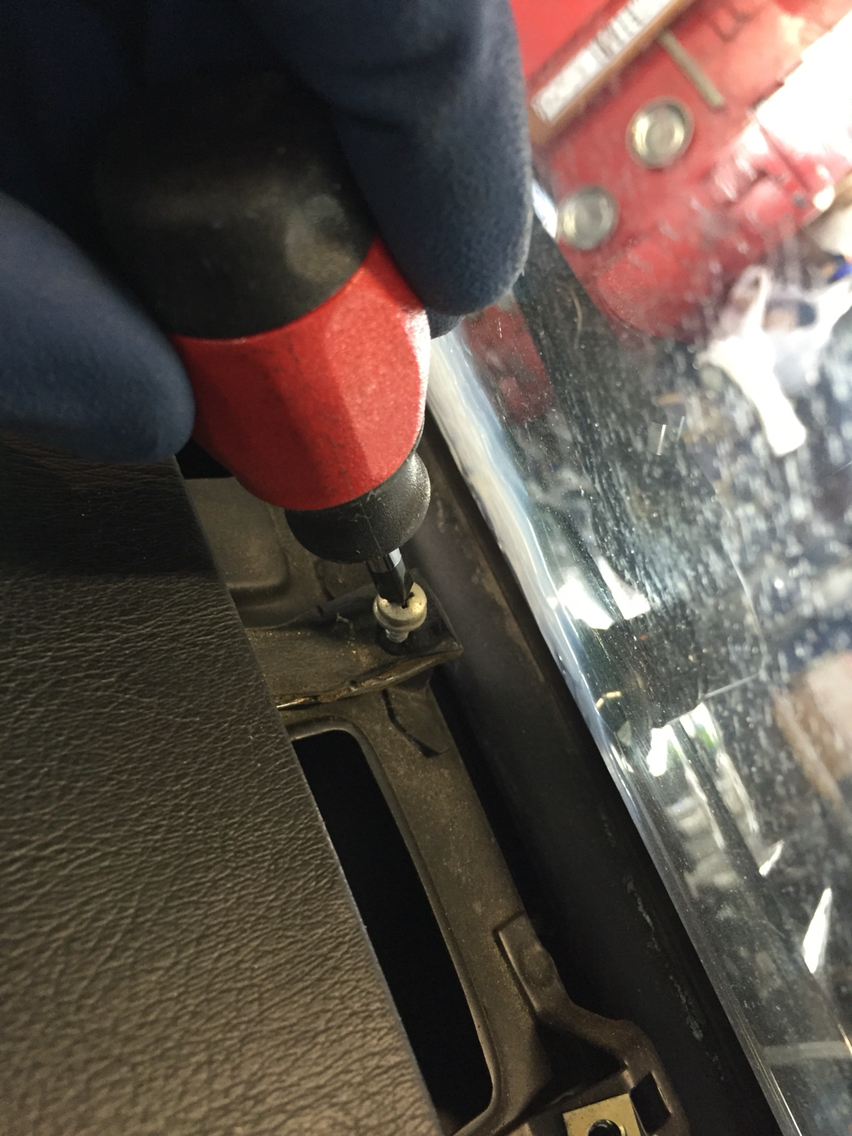
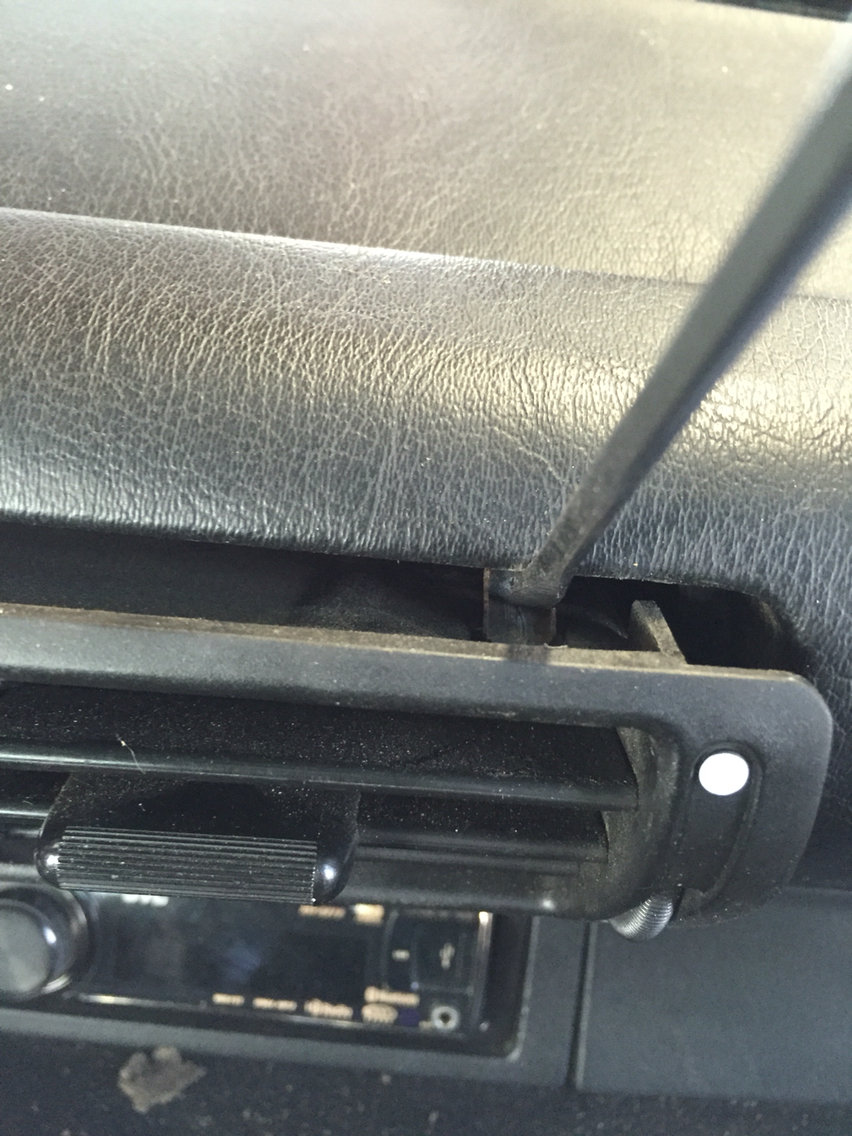
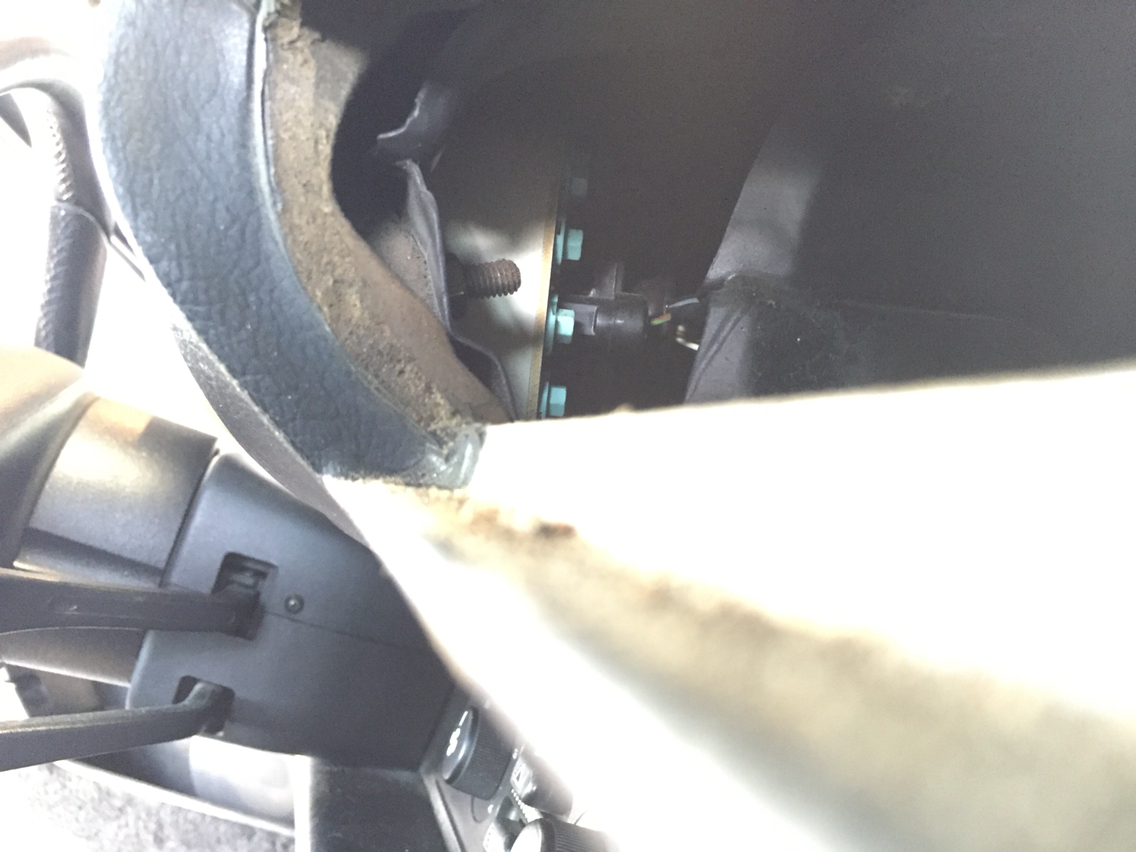
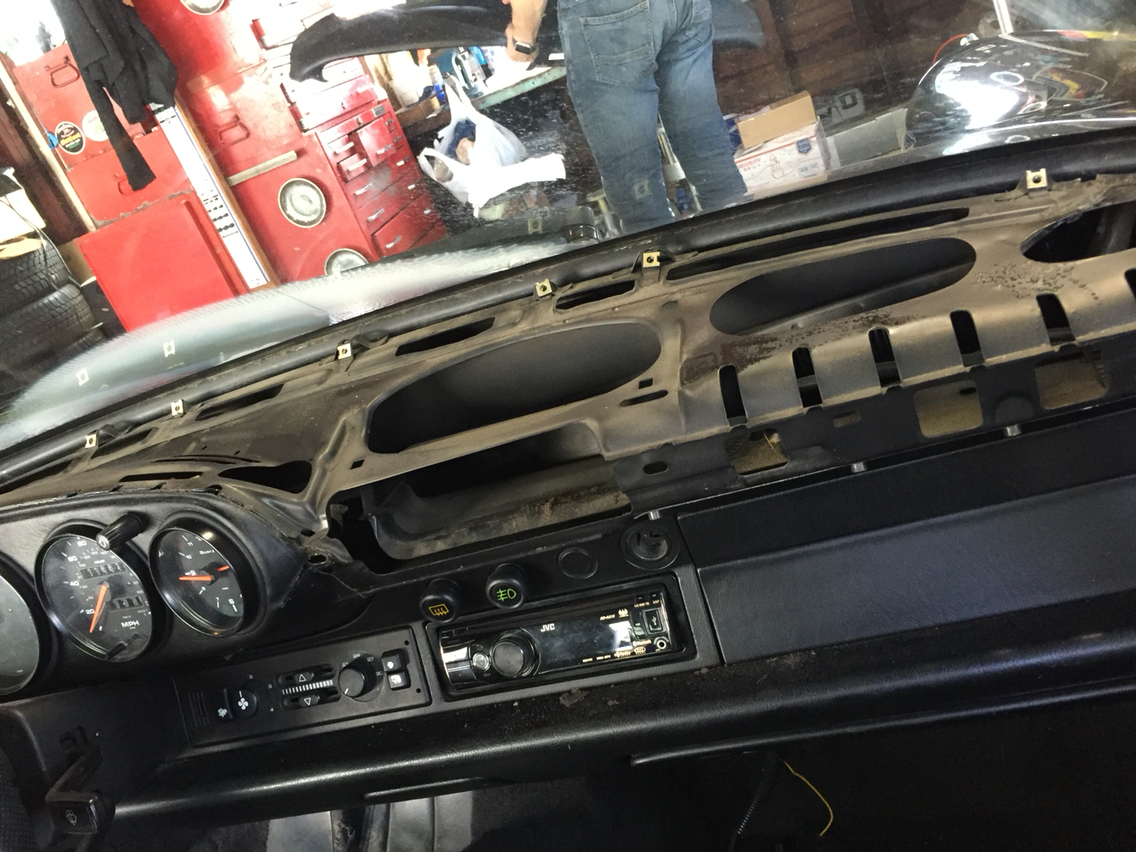
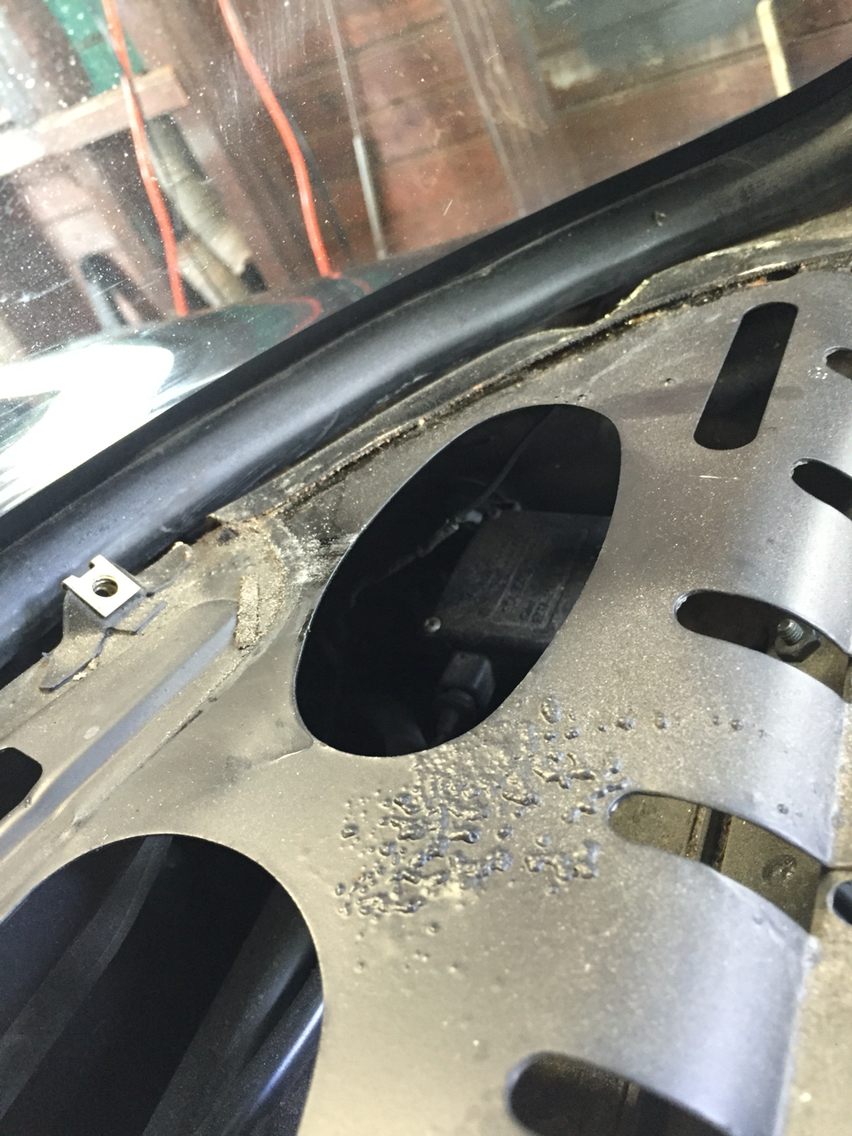
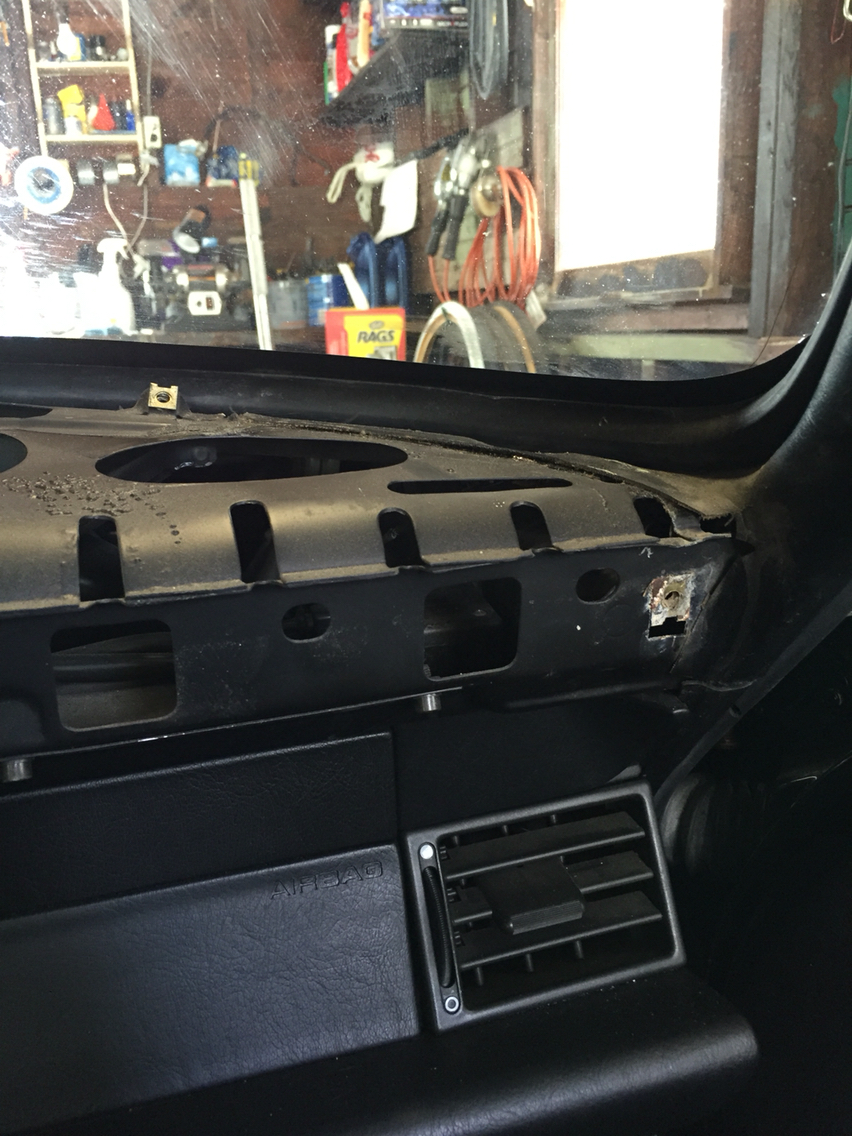
more to come - fyi - the front window does not have to come out to remove the dash cap - not sure why people keep telling me that. we did it today. pics later.
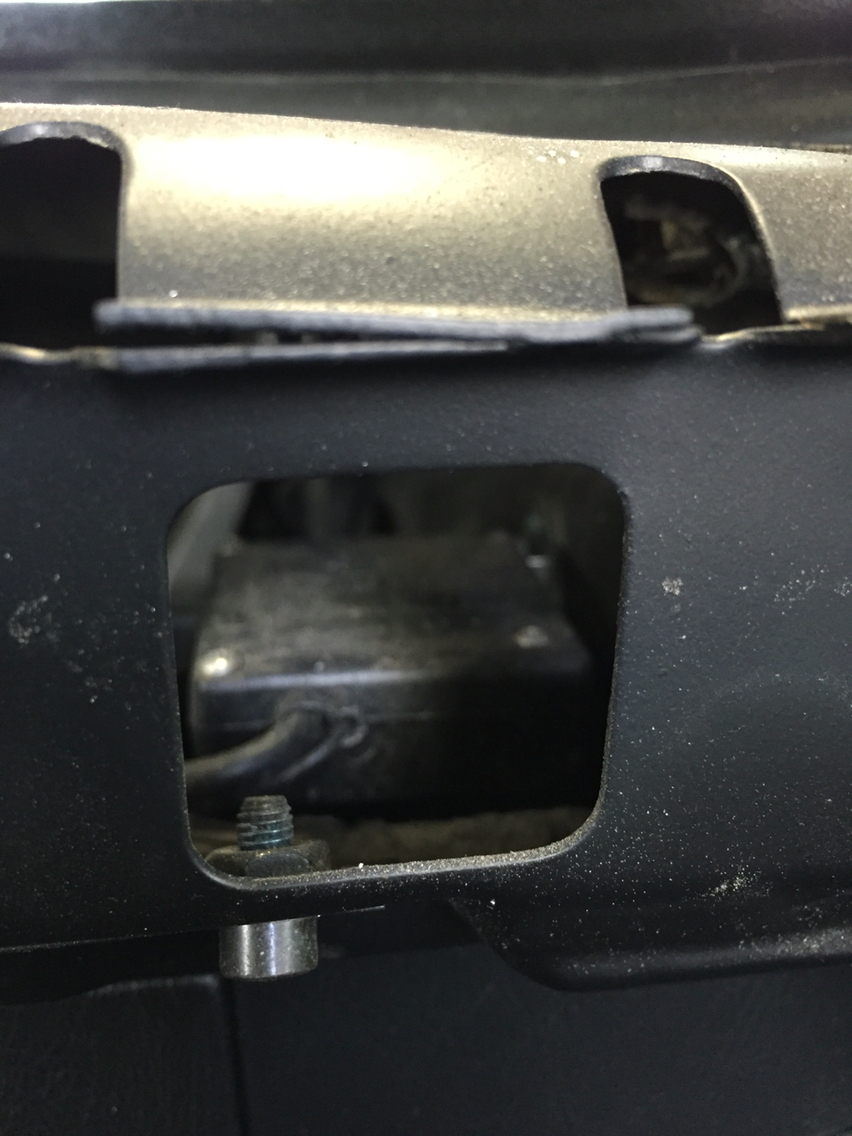
and then for swapping the antenna booster. It's on the far right hand under the window. You'll need some long 1/4 drive extensions and a deep well 10mm socket. Get ready to drop the nut. So a long magnet isn't a bad idea just in case.

 04-25-2016, 06:15 PM