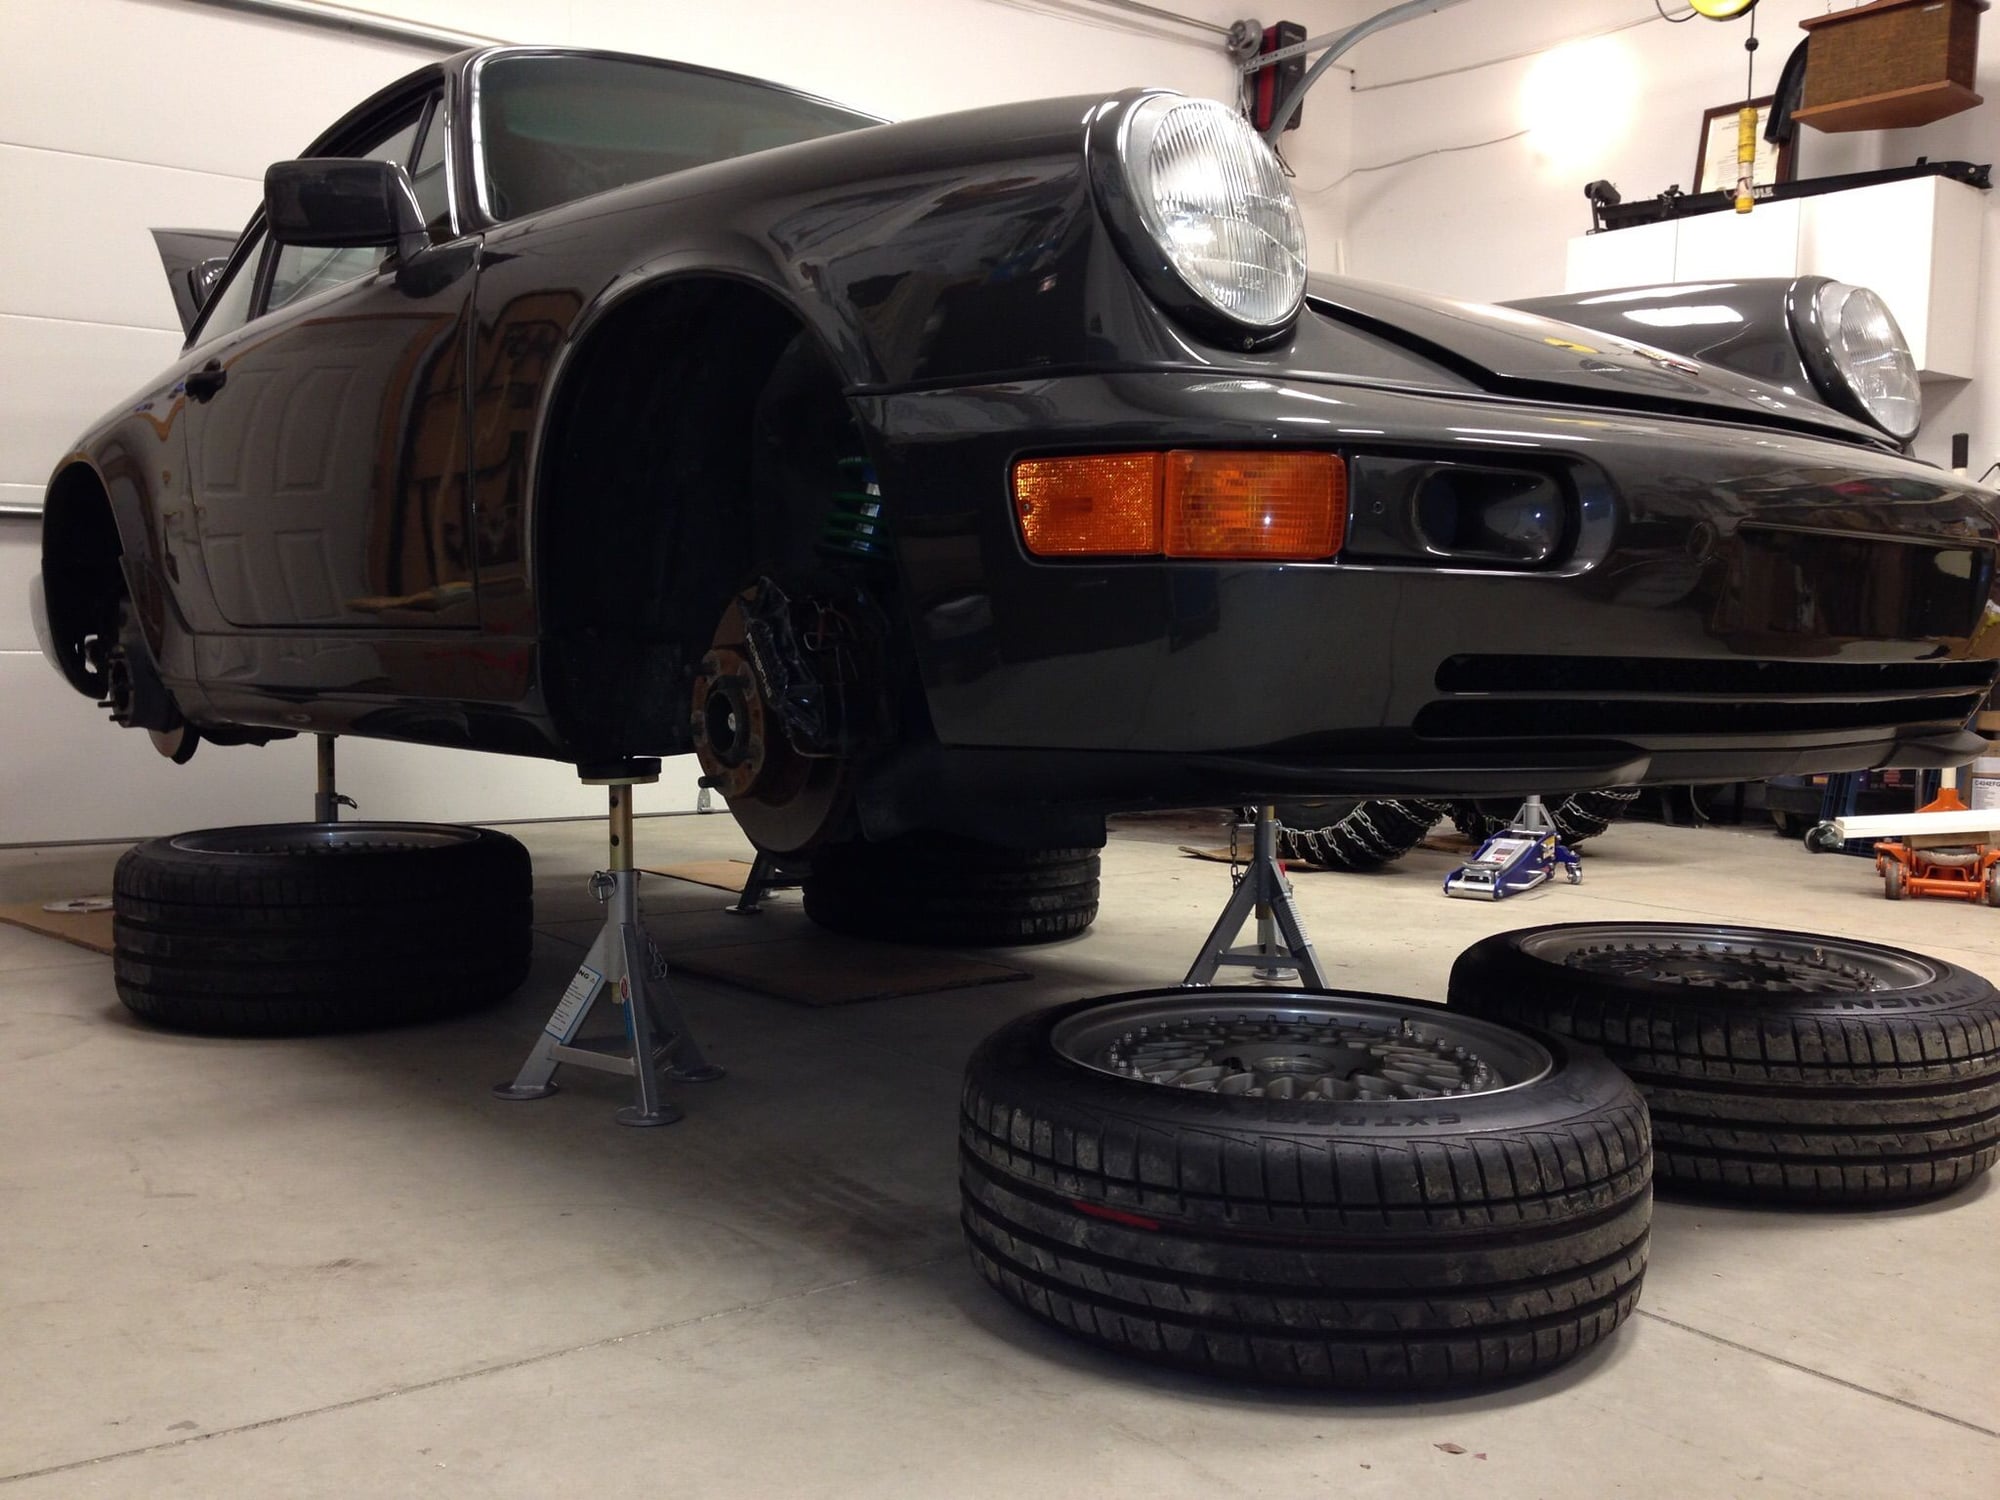
Teardown begins. Suspension madness...
#16
Race Car
Thread Starter
Word to the wise...crack the bolts that bolt the axle to the differential before removing the wheel carrier.
Hold the axle from rotating by wedging a wooden hammer handle between the lugs. And crack the bolts loose one at a time.
Or, if you hadn't yet taken off the rotor and caliper, a screw driver through the caliper into the cooling slot of the rotor will keep the axle from rotating while you crack them, but it's fiddly to get in there. Not much room.
I use a six inch long 3/8 drive Allen socket to break the bolts loose. Easier to get past the cv boots with a long Allen.
#23
Nordschleife Master
I'm guessing you removed the longitudinal members to be able to easily swap the front swaybar w/o bothering with space confine between the tub and the front differential?
On the C2, you can fish the swaybar through fairly easily once you remove the front strut and hubs from one side. No need to remove the longitudinal members.
On the C2, you can fish the swaybar through fairly easily once you remove the front strut and hubs from one side. No need to remove the longitudinal members.
#24
Race Car
Thread Starter
Originally Posted by C4inLA
Greats pics, good stuff! What spring/struct combo is that?
The struts are bilstein hd
Does anyone have any info on h&r black springs? Or maybe they are another brand? He didn't buy them. They were on the car when we picked it up from trissl.
#25
Race Car
Thread Starter
Yeah Vandit. There is a lot of corrosion on this car. Lived in Alaska for a bit. So apart from ease, it's time to offer the old aluminum a bit of tlc.
We did a quick once over with the soda blaster today...
And then after the bushings go in, final hit on the arms and then satin clear...
We did a quick once over with the soda blaster today...
And then after the bushings go in, final hit on the arms and then satin clear...
#27
Race Car
Thread Starter
So then while mike was blasting the front wheel carriers and the control arms, I took the swaybar clamps, that are badly corroded, and dumped them in a bucket of apple cider vinegar. 24-48 hours and they will be rust free and look like new.
Onto the rear end. The original scope of this project for the rear was spring plate bushings, trailing arm bushings, top hats, wheel bearings and sway bars. And then cv boots. We hit a snag on the trailing arms...
The wheel bearings are toast. So that is a good call to get done, but I can't press in a bearing while its on the car. I've never done it and don't want to blow it. But, the ebrake cable holder that is screwed into the trailing arm is completely fused to the arm. And I can't get it out without destroying stuff. His trailing arm bushings are fine, and an upgrade to an elephant bush there is only a marginal gain over stock, and would be virtually un-noticeable under most driving conditions. So we decided to skip the trailing arm bushings for this round. And he will have a shop swap the wheelbearing when the car goes in for alignment after all is done.
#28
Race Car
Thread Starter
And then I broke the driver side springplate bolt loose with a stubby 12mm impact socket.
But the passenger side requires an even stubbier stubby...so I bought this set at pelican, and a 1" crowfoot to re-torque...
But the passenger side requires an even stubbier stubby...so I bought this set at pelican, and a 1" crowfoot to re-torque...
#29
Race Car
Thread Starter
Btw - for anyone thinking of reprinting their own brake calipers...don't rattle can them. These red calipers on this car can't be touched with brake fluid or brake cleaner. Both strip the paint. Total pita...


