When you click on links to various merchants on this site and make a purchase, this can result in this site earning a commission. Affiliate programs and affiliations include, but are not limited to, the eBay Partner Network.
New HID headlights installed - singer style, pictures and review
As some of you may have already seen, I have just finished installing my 'singer style' HID headlights. I thought I would share my install, some pictures and thoughts on the product.
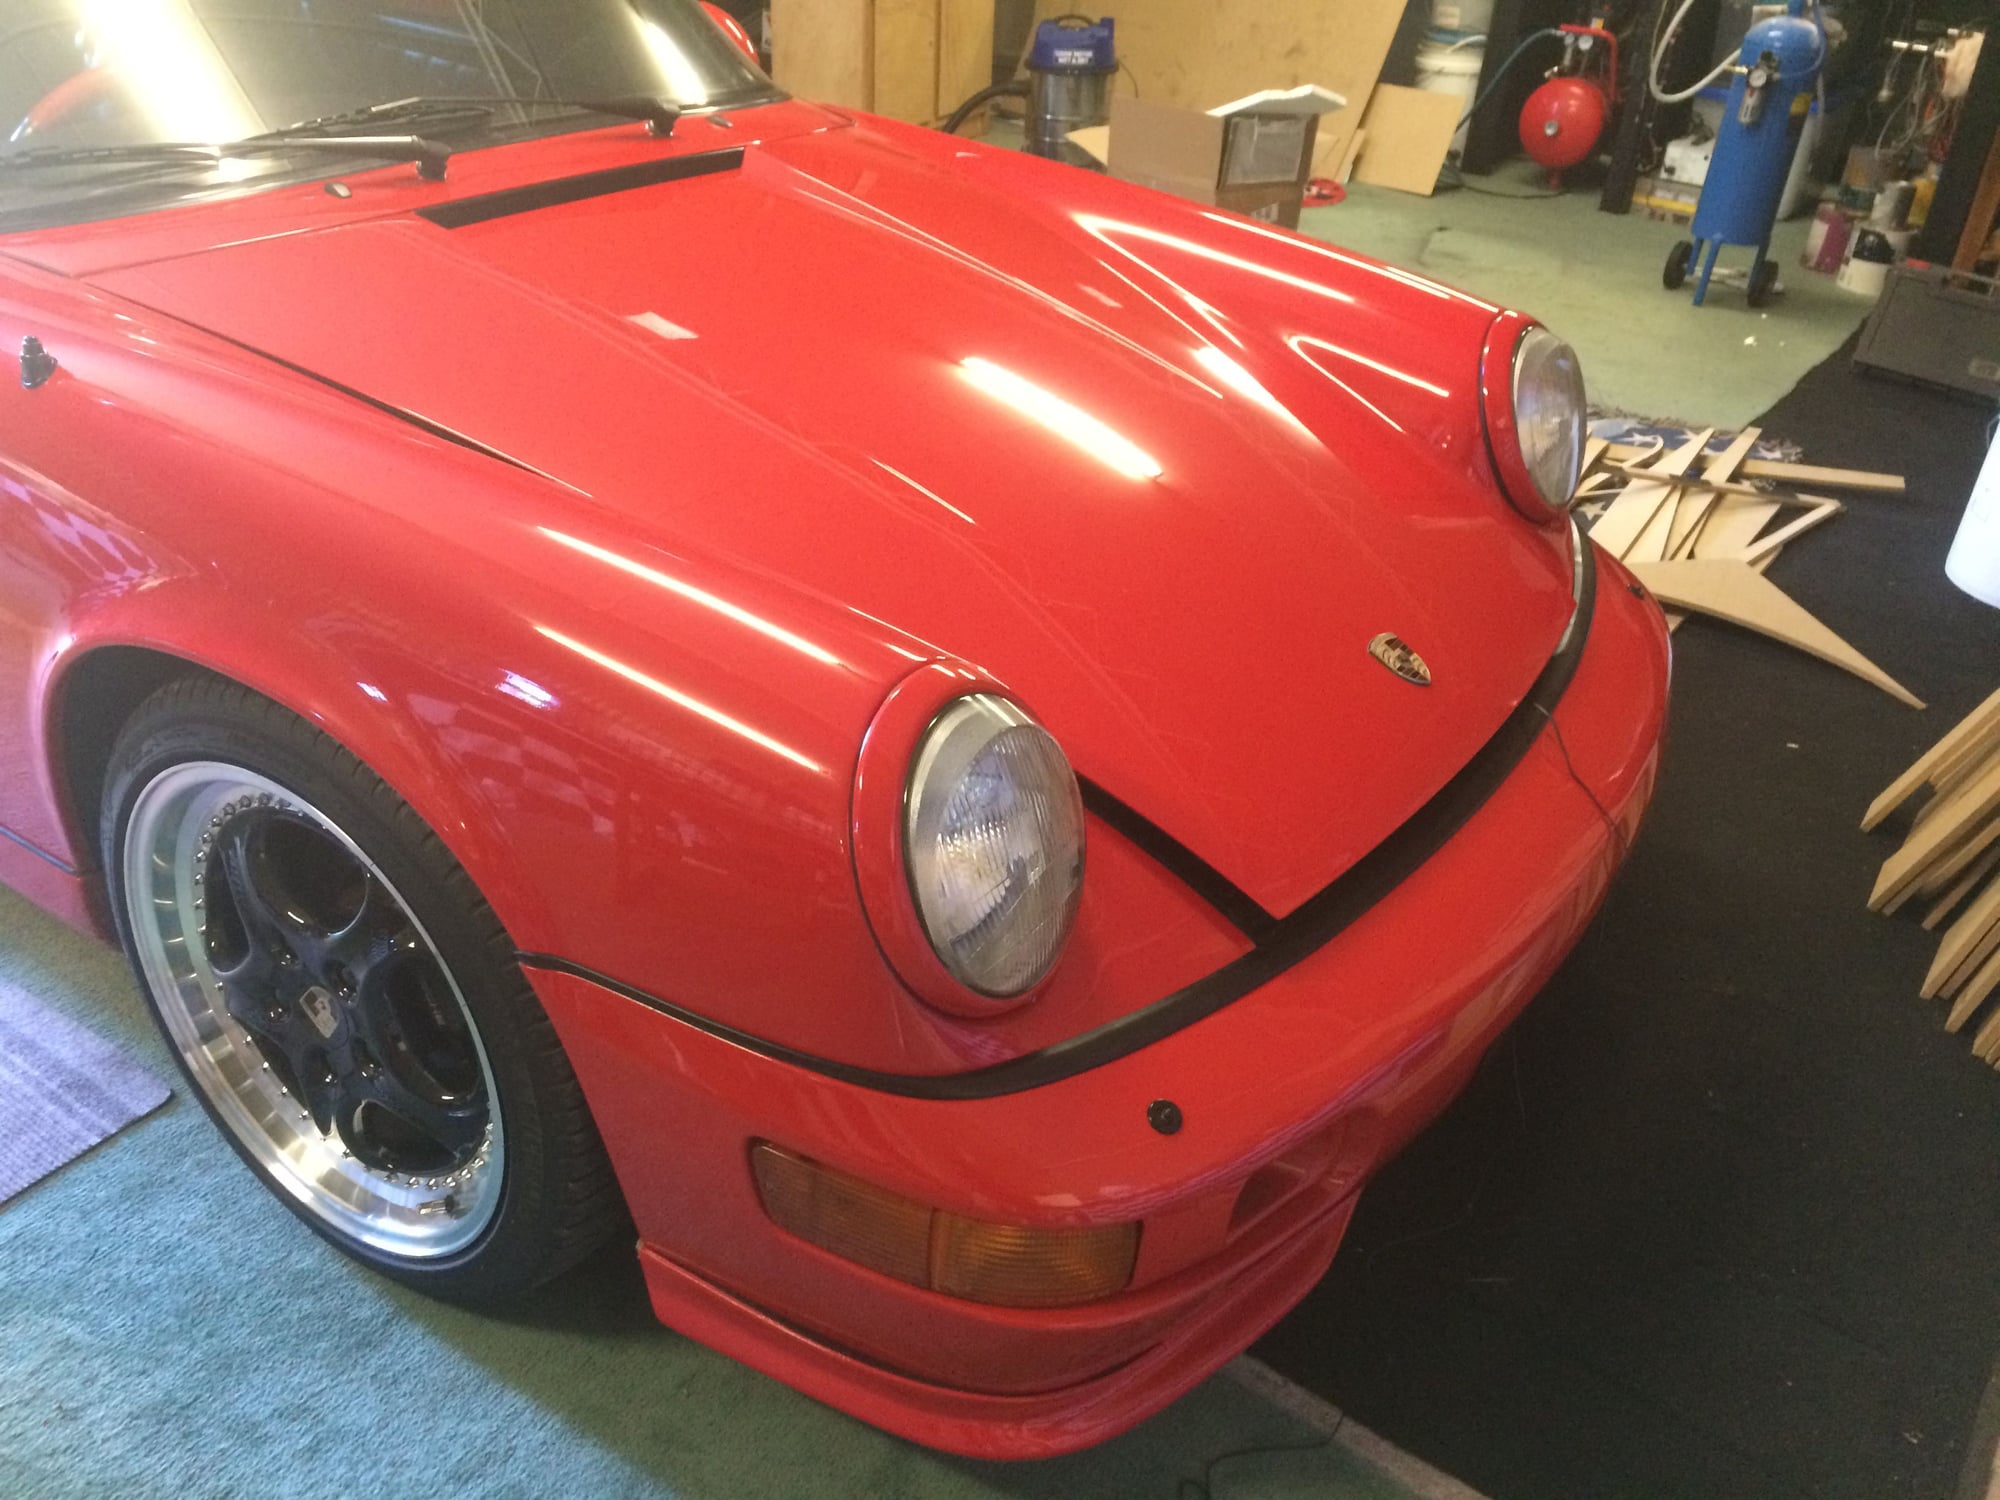
So, this is the before shot - standard H4 Headlights !
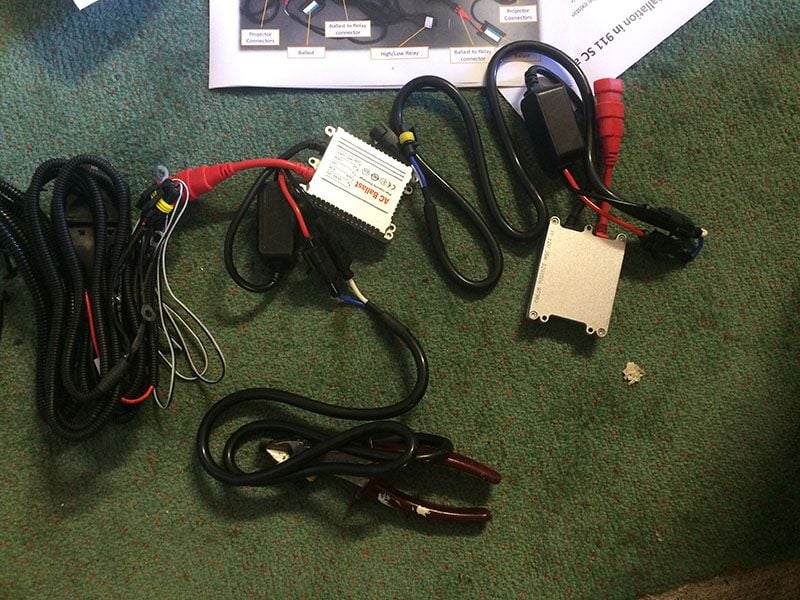
This is the HID part of the kit. As you can see, it is very similar to most HID kits offered. It can look a little overwhelming, but once you read the instructions, it is simple enough.
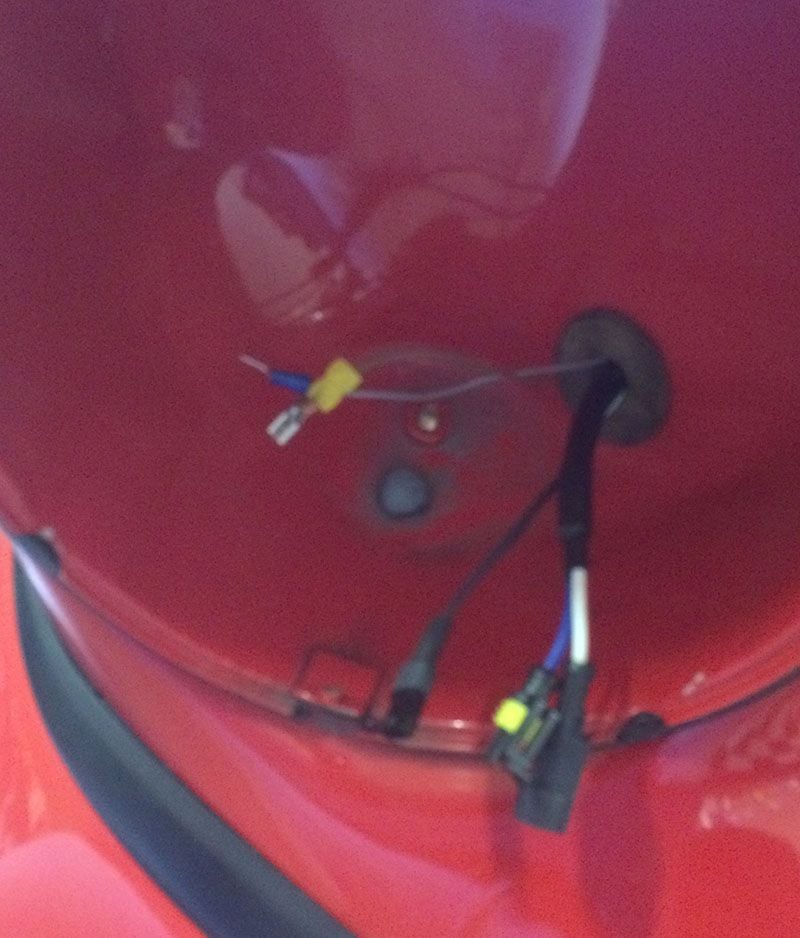
Essentially, one part of the loom plugs into your existing three-pin headlight connector, you then run three wires into your headlight bucket, install two ballasts, connect two ground wires and one positive wire and you're done !!
I left my battery connected during the install, but taped off the hood light so my battery wouldn't go flat !!
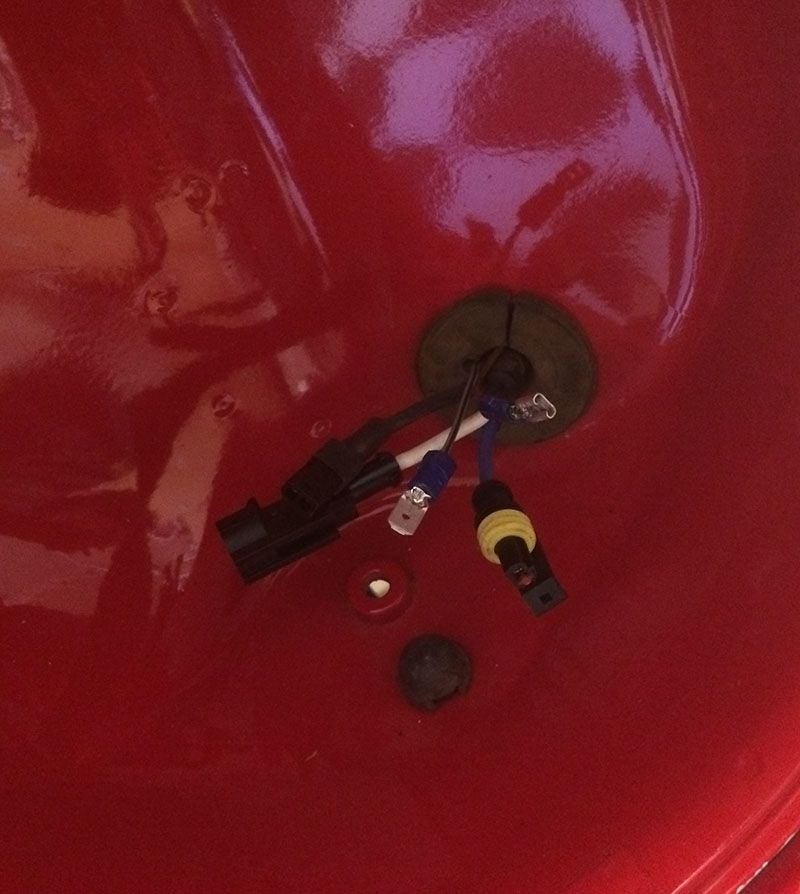
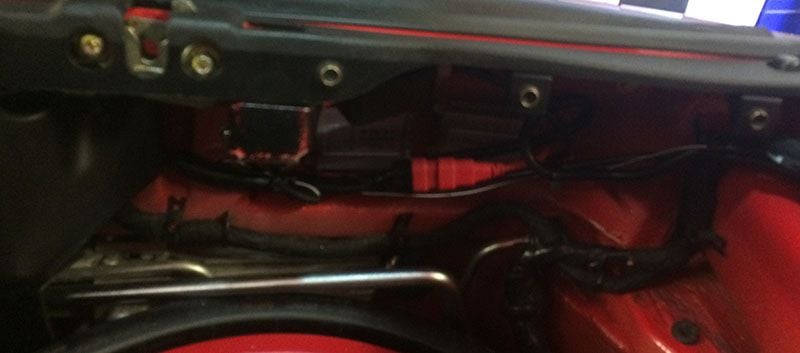
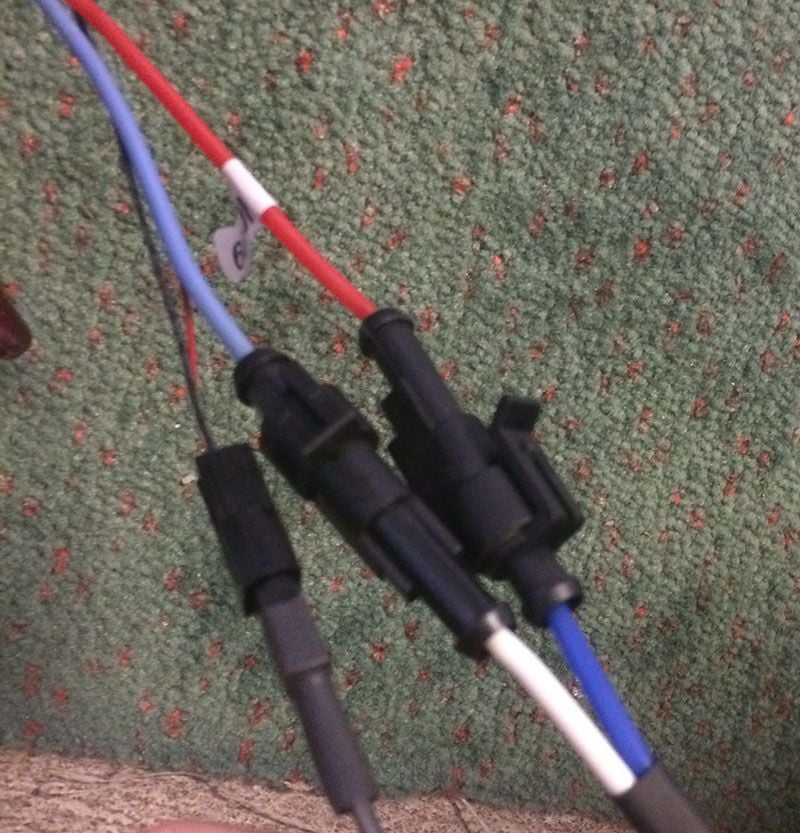
When I did my test 'dry run' connecting everything on the ground first - these are the three wires (same for each side) that have to be routed into the headlight bucket.
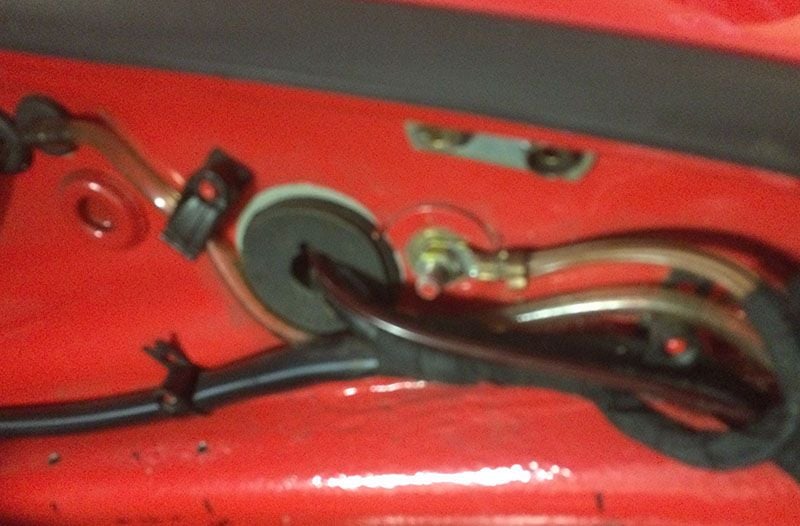
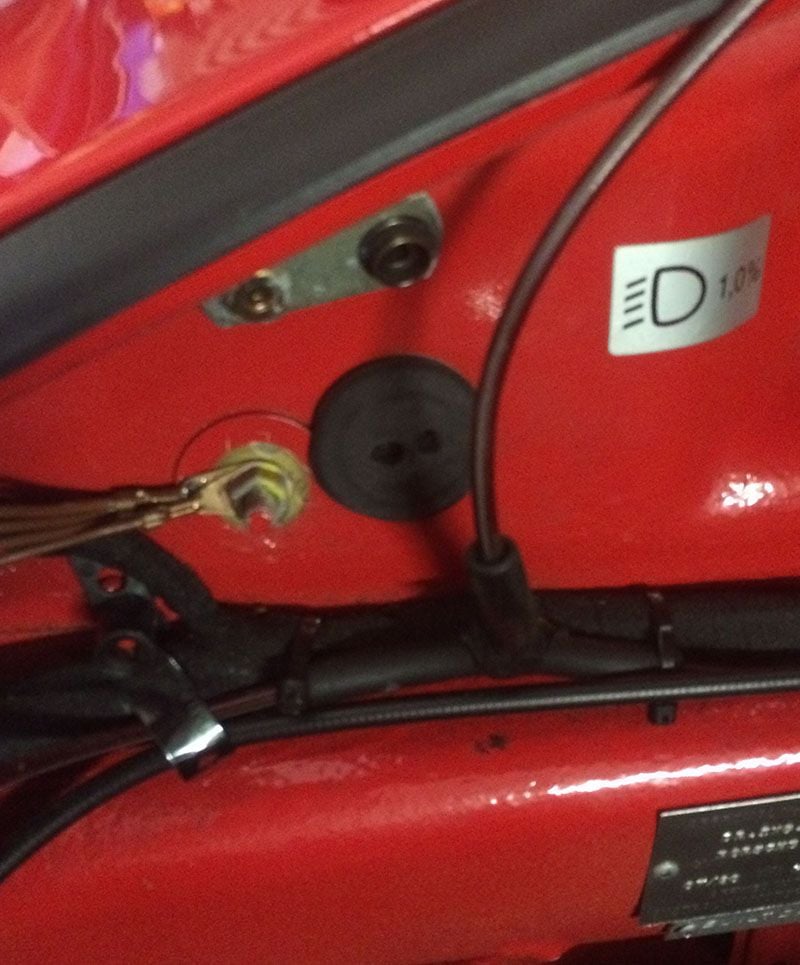
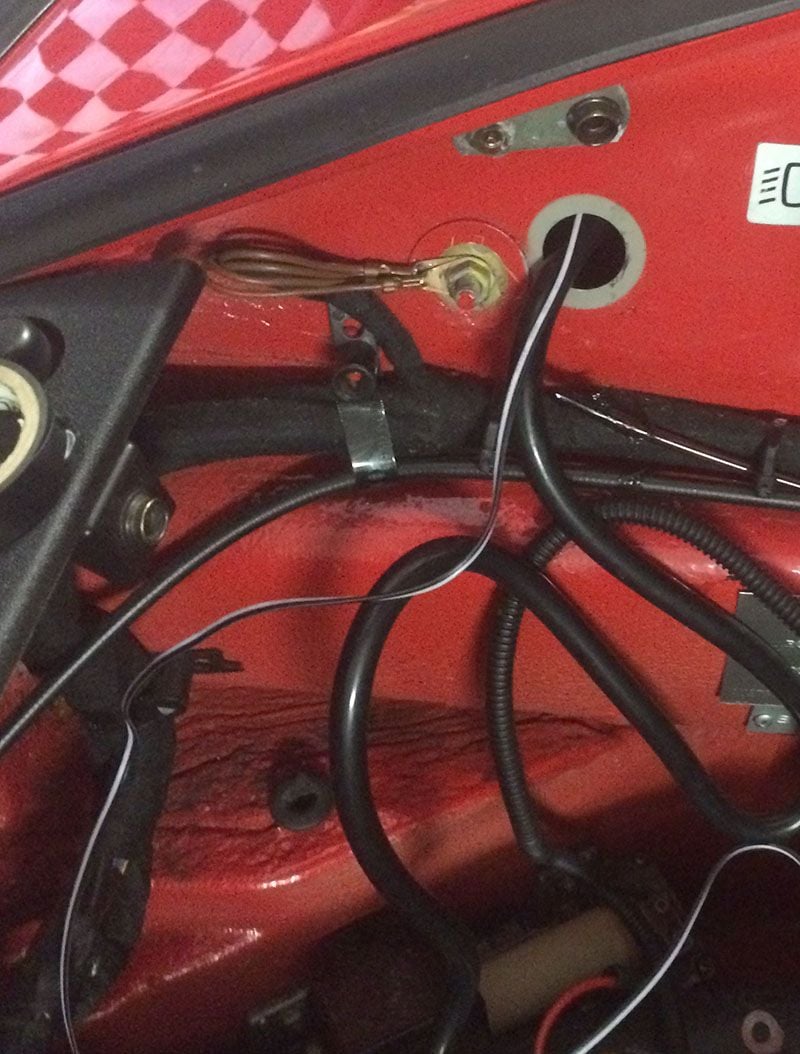
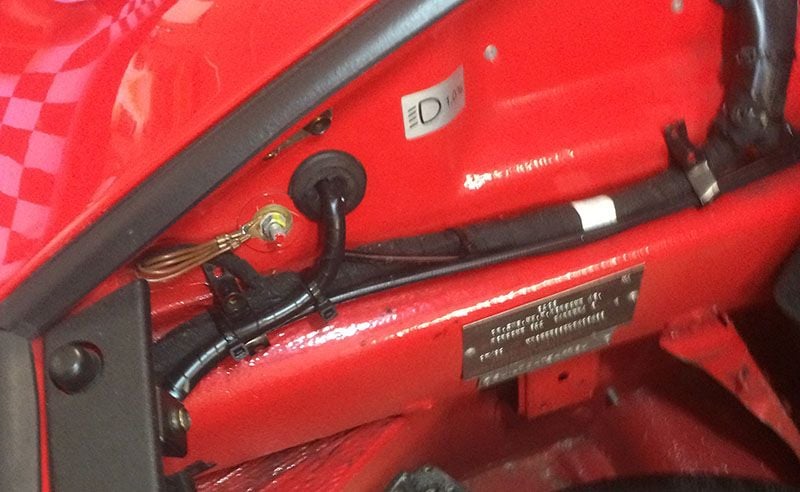
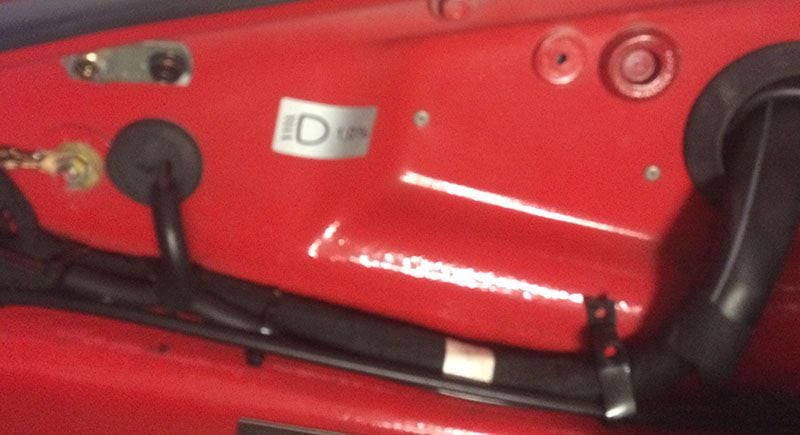
As my car is RHD, the instructions were a tad confusing due to the wiring being on the other side of the car (i think !). First thing to do was to identify where and how to run the three wires to the headlight. This is the right hand side (drivers in Australia) wiring. I will be using the existing grommet (that the vacuum auto-leveler tube runs through)
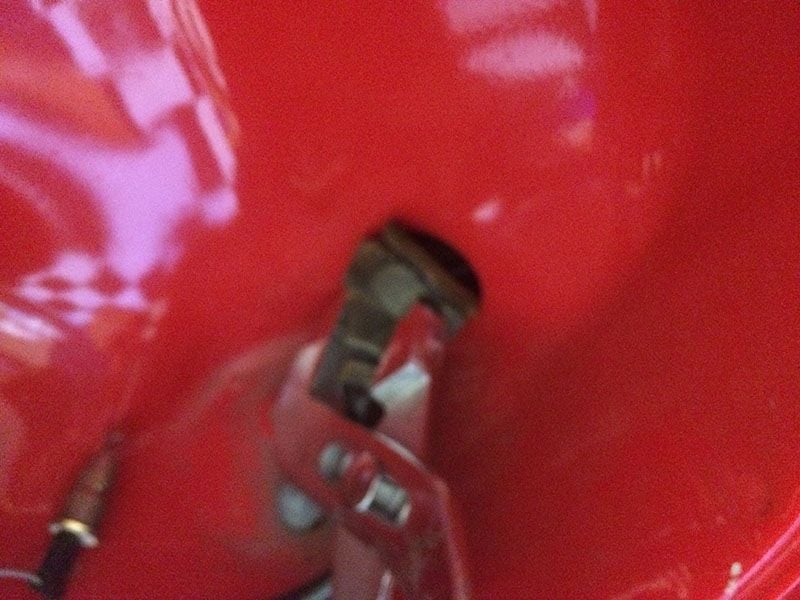
A blurry picture (sorry ) of how I remove the grommet - just get some multi grips and squeeze/pull them out ! Once you have the grommet out, simply use a sharp knife and split the grommet to get the wires out. Keep the grommet as you will use it later.
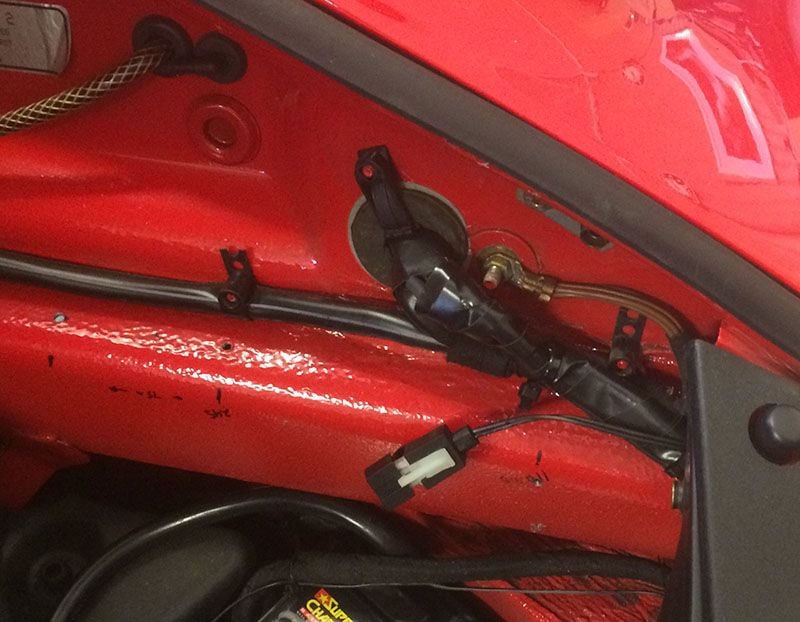
This tube gets pulled completely out and removed (which runs the auto leveling system - and yes, you lose this feature). Be sure to block off the remaining pipe that leads back into the car (i just used some silastic) so there is no chance of a vacuum leak.
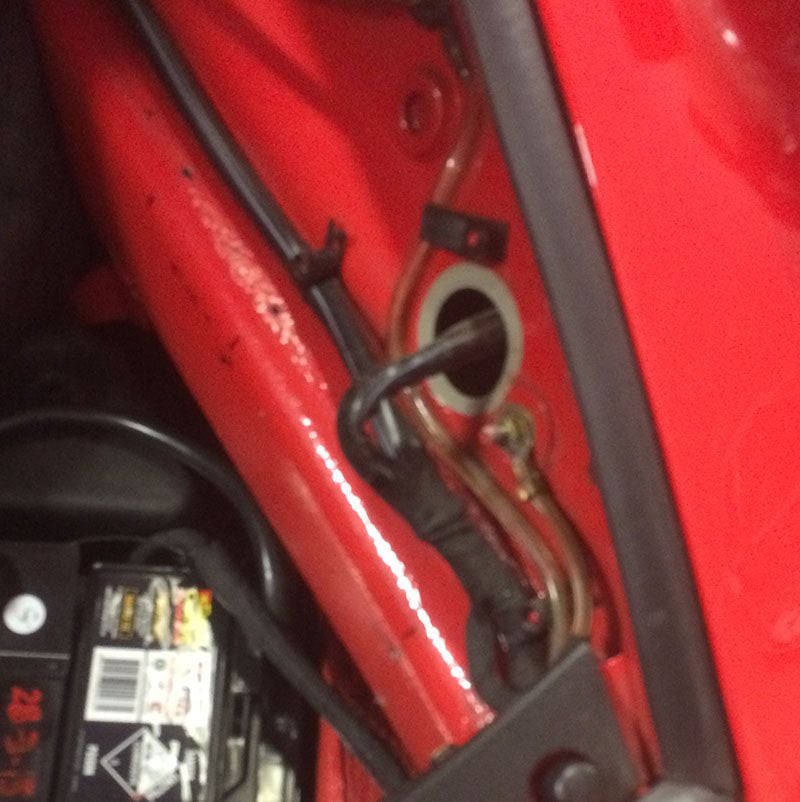
This is the left hand side (passenger Australia) wiring. I will be going through this grommet .
and removed. And yes, I took the opportunity to remove the redundant battery breather tube too !
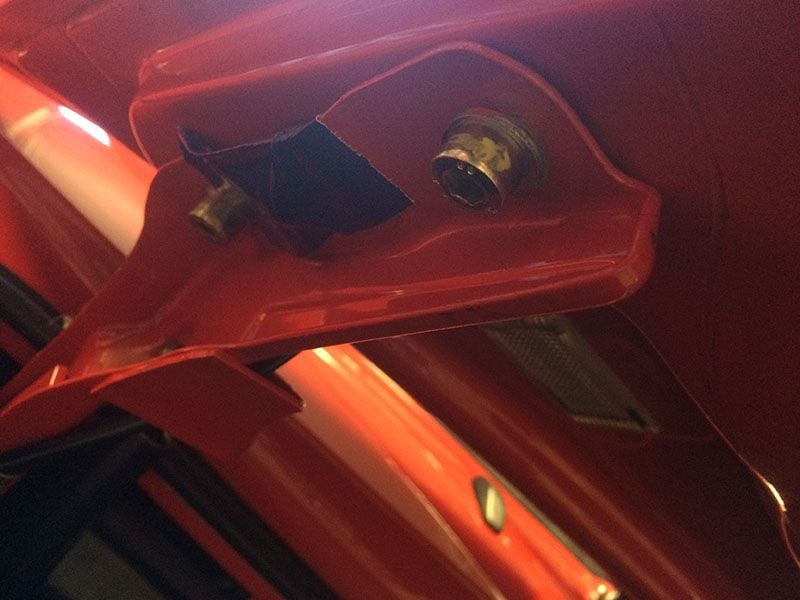
This is the side that I decided that I should plug the three prong connector too. To enable this, I had to push the connector back through the headlight bucket. Of course, to get to it, I had to jack up the car, remove the front wheel and the inner guard liner - which made the job very easy.
This picture shows the connector joined up and from here, I then taped it up some more and then put it up in the space above the air-conditioning tubes and cable tied it out of the way. A tad fiddly, but easy enough. I then routed the other three wires required for this side of the headlight through the same hole and again, cable tied them up out of the way.
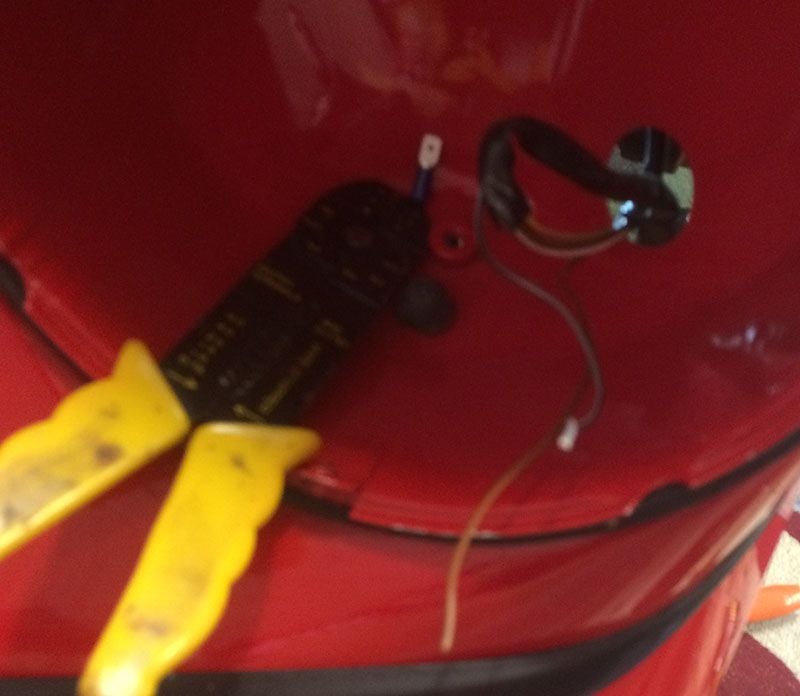
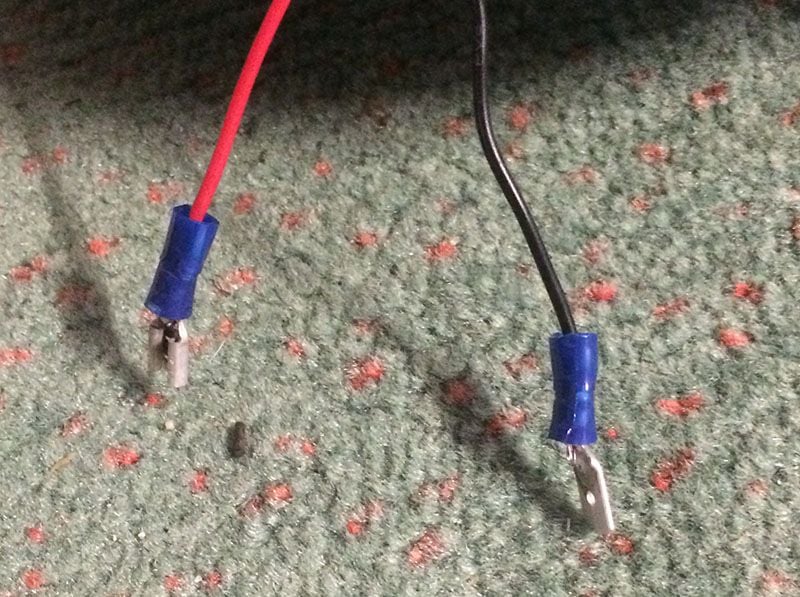
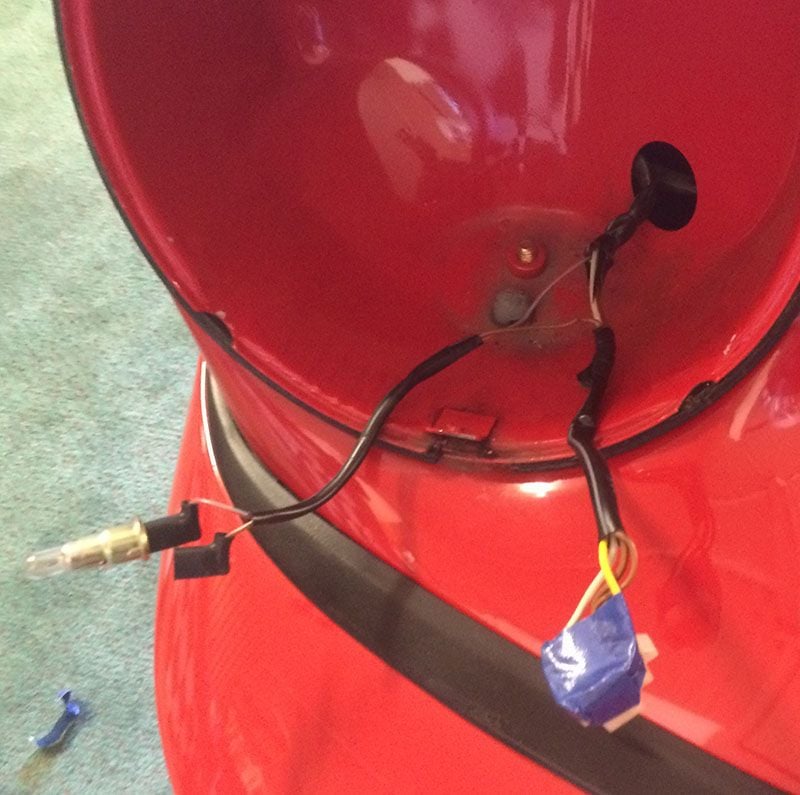
The new headlights have an 'angel eye' (no idea why it is called that) - essentially parking lights ! These need to be connected to the existing wiring. I simply split the loom in the headlight bucket, pulled out the brown and red/white wire, noting which was positive/neg and cut the ends off (that would usually press fit on to the back of the H4 headlight parking lights). I then crimped new connectors on them and did the same on the back of the new headlights (as they are only provided as bare end red and black wires).
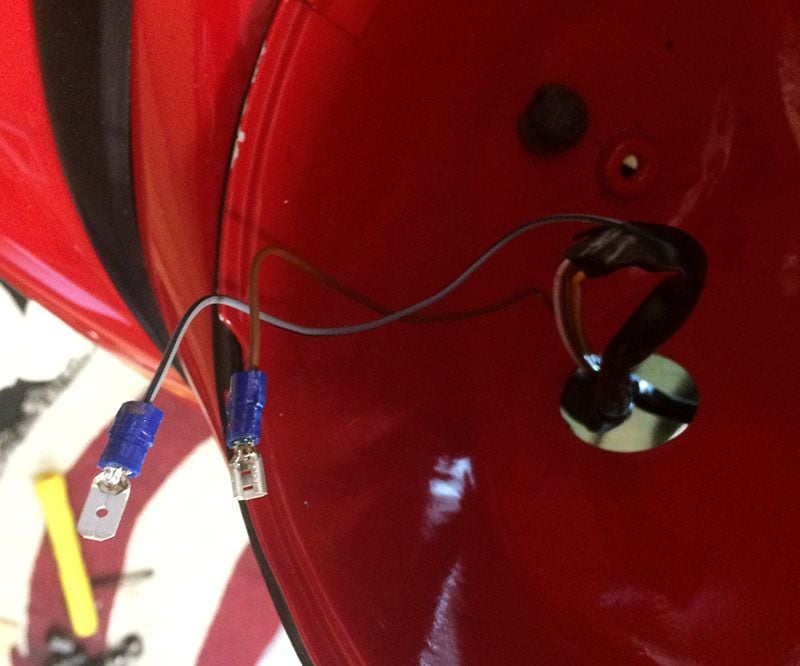
Now we put the split grommet from previously, back in the bucket with the new three wires pulled through, along with the two wires for the 'angel eyes'. It will go back pretty easily. If you want to, you could also put some black silastic on the grommet where it was split, but I found that it went back in pretty firmly.
Now, before I got carried away and mounted all the ballasts, relay and other wiring - of course, I had to test it out first !! SUCCESS !
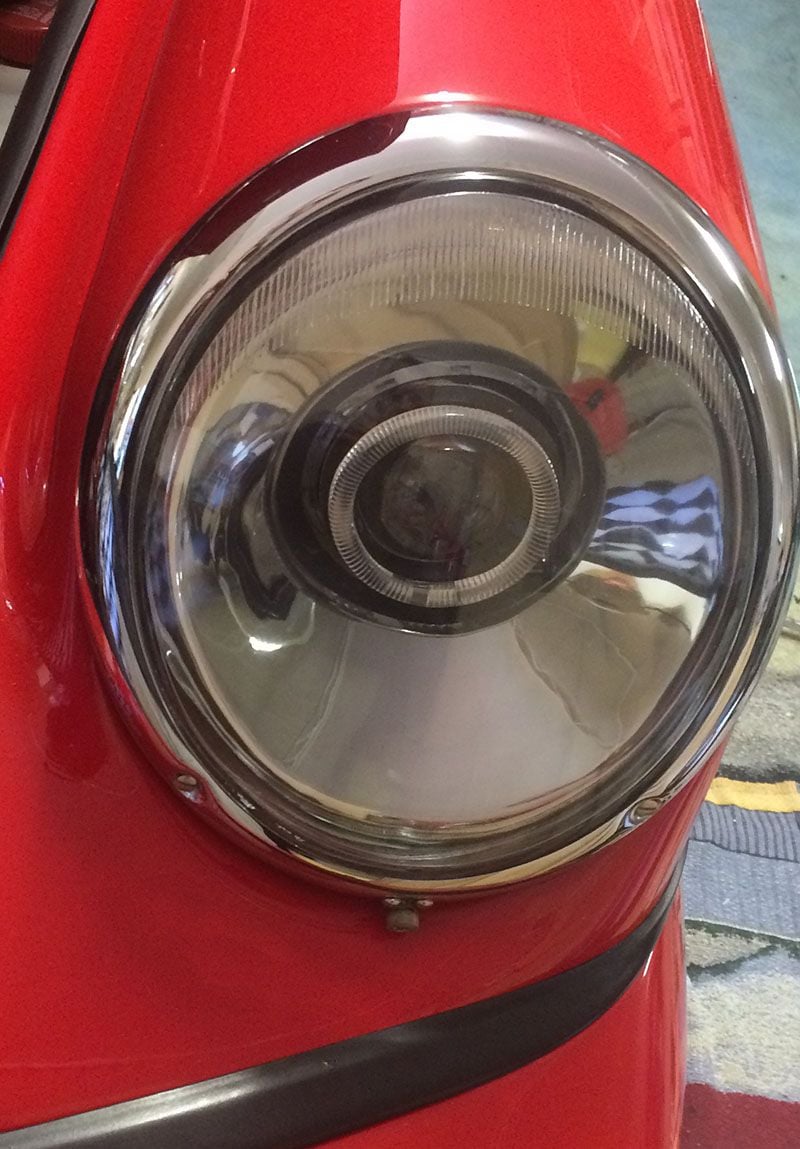
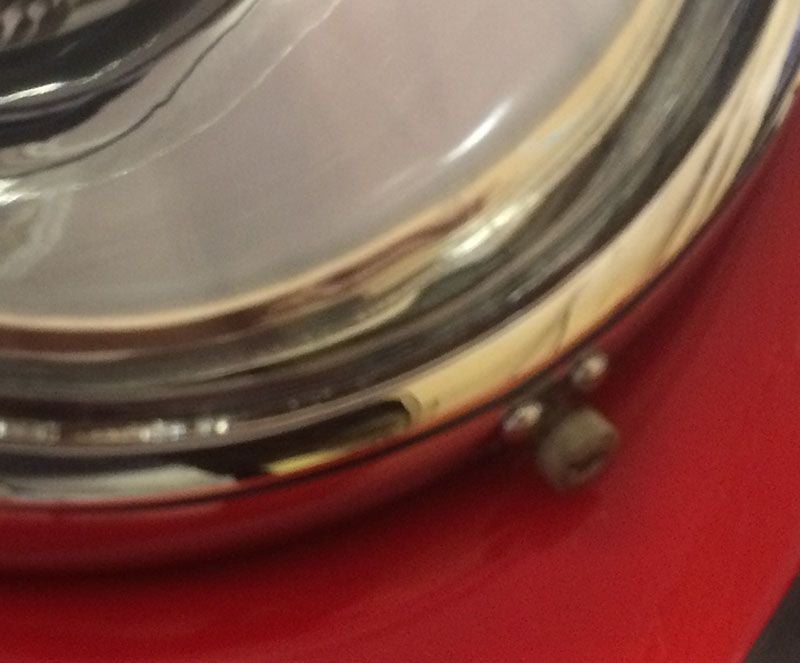
A note about fitment. The H4 are a pain to fit at any times as I am sure most of you know. Essentially (for those that don't know), there is a lip at the top of the headlight bucket that the headlight sits in. You need to then push down pretty hard to seat this headlight into and on that lip as you line up the single hole at the bottom to put the screw through. This takes a few goes at getting right. Each time I did it - I pulled on the top of the light (to make sure it would not fall out on the road on the first bump !!) and it would come out - so I would start again. I got it about the third time ! A note on the screw at the bottom. The original H4 uses two screws. One large one that holds the whole assembly in and then one smaller one that screws into the large one that holds the headlight trim on. The new lights only require the first larger screw to hold them on. I used this as the photo shows, but it looks like crap and I very quickly made a quick trip to the hardware store to find some nice chrome metal thread screws (not pictured) which set it off nicely.
now, on to the other side !!
The only difference here, is that you do NOT use the three pin connector. So, I simply taped it up, and pushed it back through the headlight bucket hole (so that is is basically not used and hanging out the back of the bucket... somewhere !). I guess I could have taken off the right hand front wheel, removed the inner liner and tidied it up a bit, but couldn't see the point at this stage. I managed to poke the three wires through the guard and pick them up at the back of the bucket through the hole fairly easily.
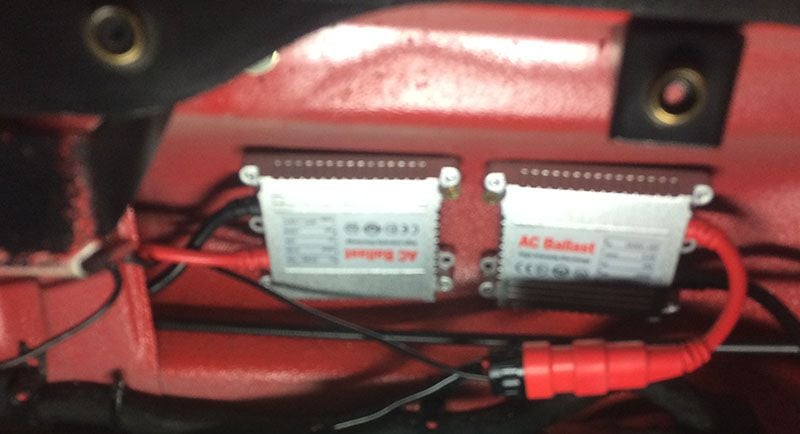
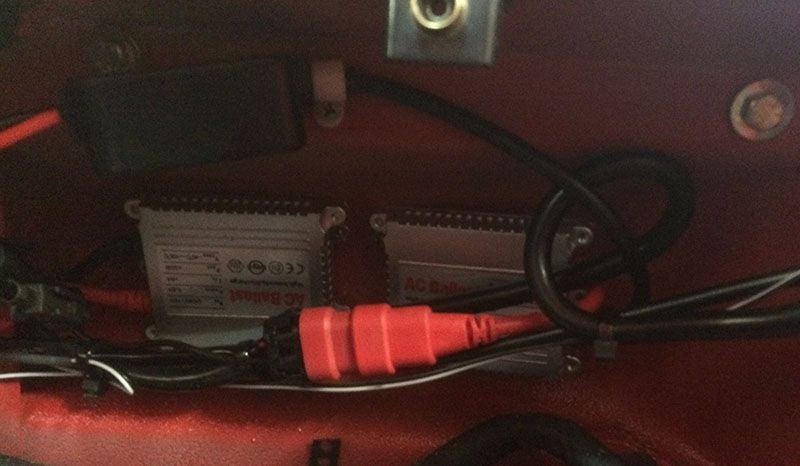
Now to mount the two ballast. The instructions say to use double sided tape, but I have never had much luck with that stuff, so decided to drill a hole and screw them in - just one screw will hold them easily. I choose to mount them up under the bonnet front lip - they fit in that space very nicely.
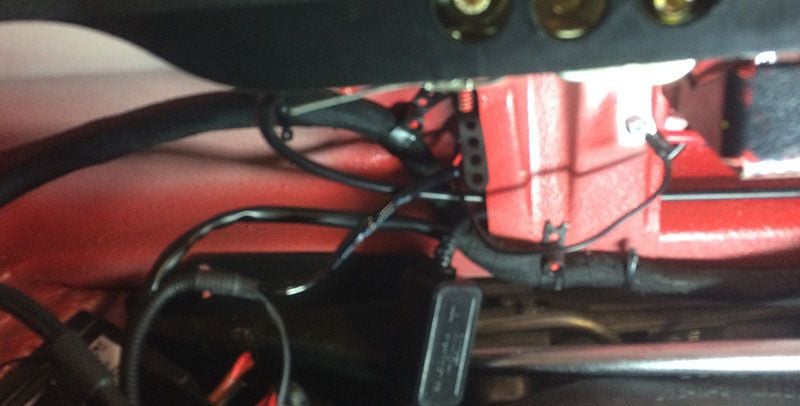
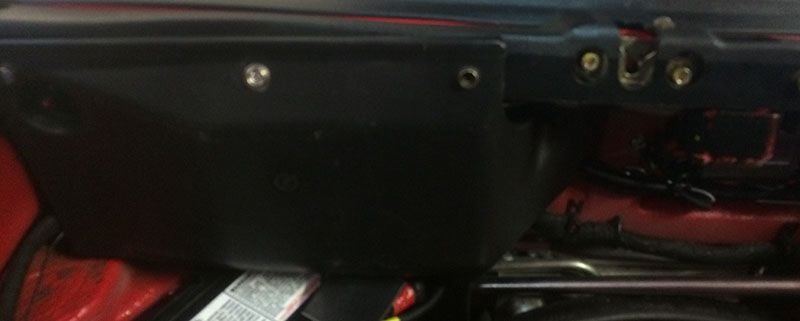
Just above the battery, on the front under lip of the bonnet is a black plastic piece - not sure why it is there or what it does - just seems like a 'neatness' cover of sorts. Anyhow, two screws hold it in - so I took that out so I could install the relay and hide the wiring behind it.
left hand wiring finished (cable tied up etc), right hand side and the two ballast.
The underlip of the front bonnet once everything is put back again. Pretty neat !!
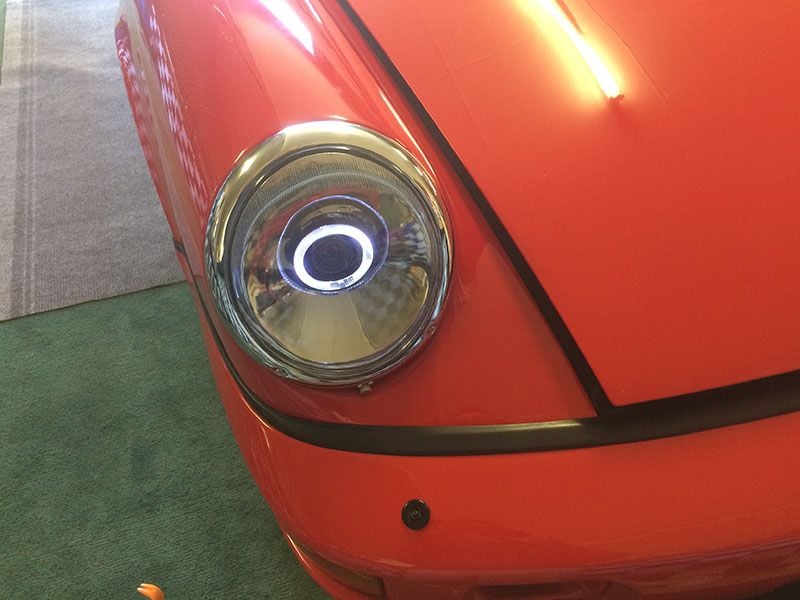
Right hand 'angel eye' tested.
headlights test.
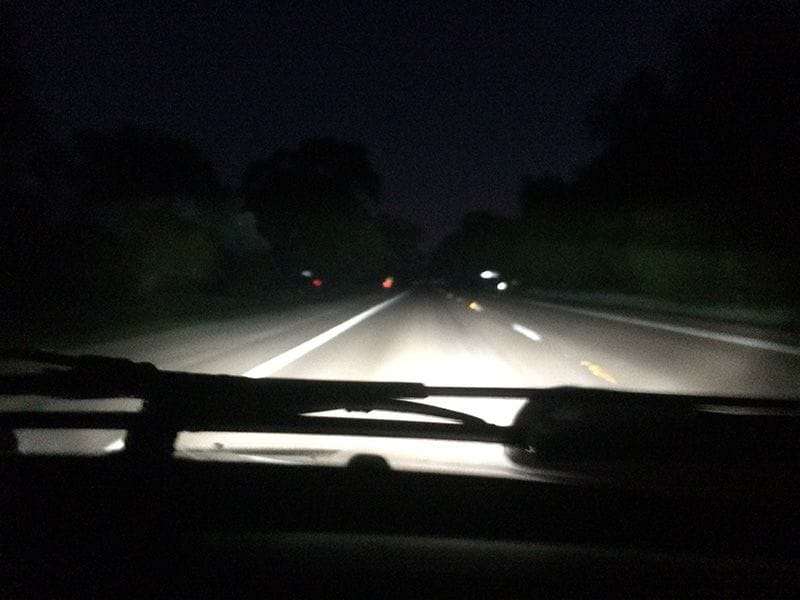
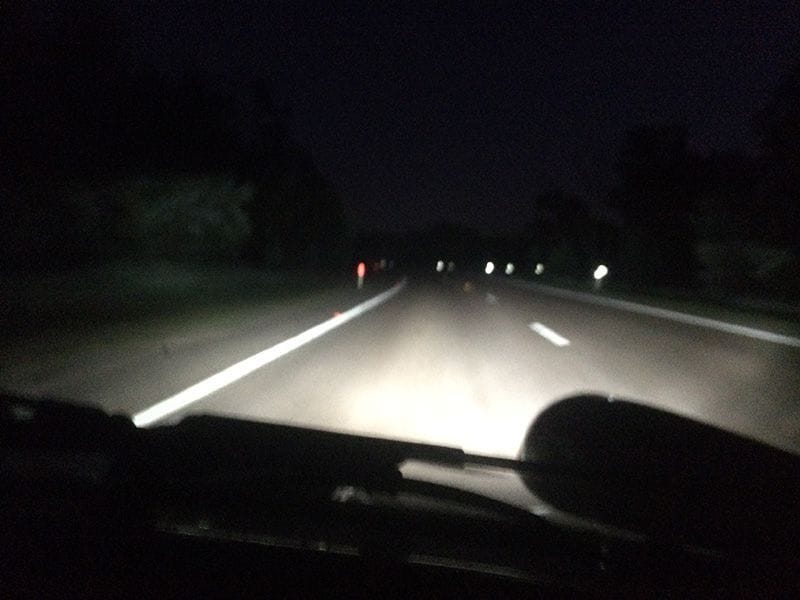
So, all in all, about a two hour job. Pretty easy to do and the results were amazing. I cannot believe how nice it is to drive at night now - it's like a new car!
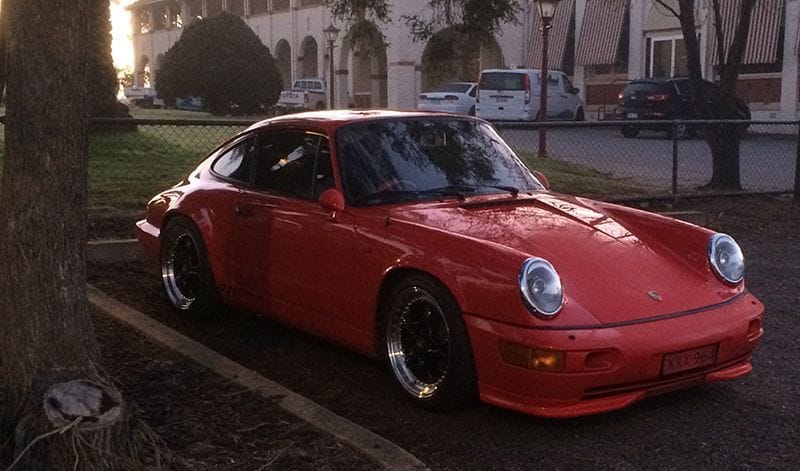
As for the 'look' of the lights - I realise not everyone will like them. They are available also in 'fluted' lenses for those that don't like clear ones. I deliberated a lot about this, but ended up going for the clear ones.
The physical installation was simple enough. They were a 'tight' fit but once I got the knack of how to push down onto the lip to install, it was easy enough too. The original holding screw definitely needs to be replaced as mentioned.
The lights have two adjustments (up/down - side/side) which is very simple to adjust.
The price was good - they sell for $800 USD and for that price, he shipped them to my CA address (he lives in Canada).
The documentation is adequate and easy to follow.
The customer service was excellent - very friendly and even in a different timezone was prompt and to the point. All pre-sales questions were answered in a timely fashion too.
I am not sure that protocol permits me to link to him, however I am NOT affiliated in any way and I am sure you all know how to search this forum to find him easy enough. Please PM me if this evades you as I am happy to recommend this product.
Nice work! Im keen to see more of the angel eye unit before install (3" version???) and how its secured to the car (using original mounting poonts?) and how the silver reflector goes over it ala Singer!?
Looks neat and I already have a 3" kit to do exactly this, but I assumed I had to fabricate a mount for my lights 919 styleee which I havent had time to do...now im thinking it all goes in ok or maybe not?..
can't really help you with this one - as the lights come completely pre-assembled as one unit that you just bolt in place of the old H4 units.

 08-31-2015, 05:10 AM
 ) of how I remove the grommet - just get some multi grips and squeeze/pull them out ! Once you have the grommet out, simply use a sharp knife and split the grommet to get the wires out. Keep the grommet as you will use it later.