When you click on links to various merchants on this site and make a purchase, this can result in this site earning a commission. Affiliate programs and affiliations include, but are not limited to, the eBay Partner Network.
Powder coated the alternator fan and housing. That housing took quite a long time to sand blast. Fan was pretty easy.
Pretty happy with the results. They look brand new now.
Waiting on a new voltage regulator to arrive, so I can button everything back up.
Next up are the intake manifolds. May polish them. It's that or black like the fan and housing. Polish looks great, but it requires a lot of maintenance.
Looks great! Nice work. I wanted to do mine as well but when I had the parts off, I was so F'ing eager to get my car back on the road, I couldn't stand the delay to powder coat.
Definitely share some pics when done, it'll look great.
Have you thought about powdercoating your a/c compressor? I've seen a few cars with it and it looks good.
Next up are the intake manifolds. May polish them. It's that or black like the fan and housing. Polish looks great, but it requires a lot of maintenance.
No longer term experience with THIS just yet but I have had good luck with their other products.
Very cool. For removal, did you have to use any special tools? I've seen some DIY's that seem to suggest you don't need any special tools to pull out the fan...
I have a great working fan, but also have a powdercoated one and new hub that I'm looking to install at some point.
Very cool. For removal, did you have to use any special tools? I've seen some DIY's that seem to suggest you don't need any special tools to pull out the fan...
I have a great working fan, but also have a powdercoated one and new hub that I'm looking to install at some point.
Mine didn't. The fan and hub came right off without much effort. It may be because I had an RS Hub installed.
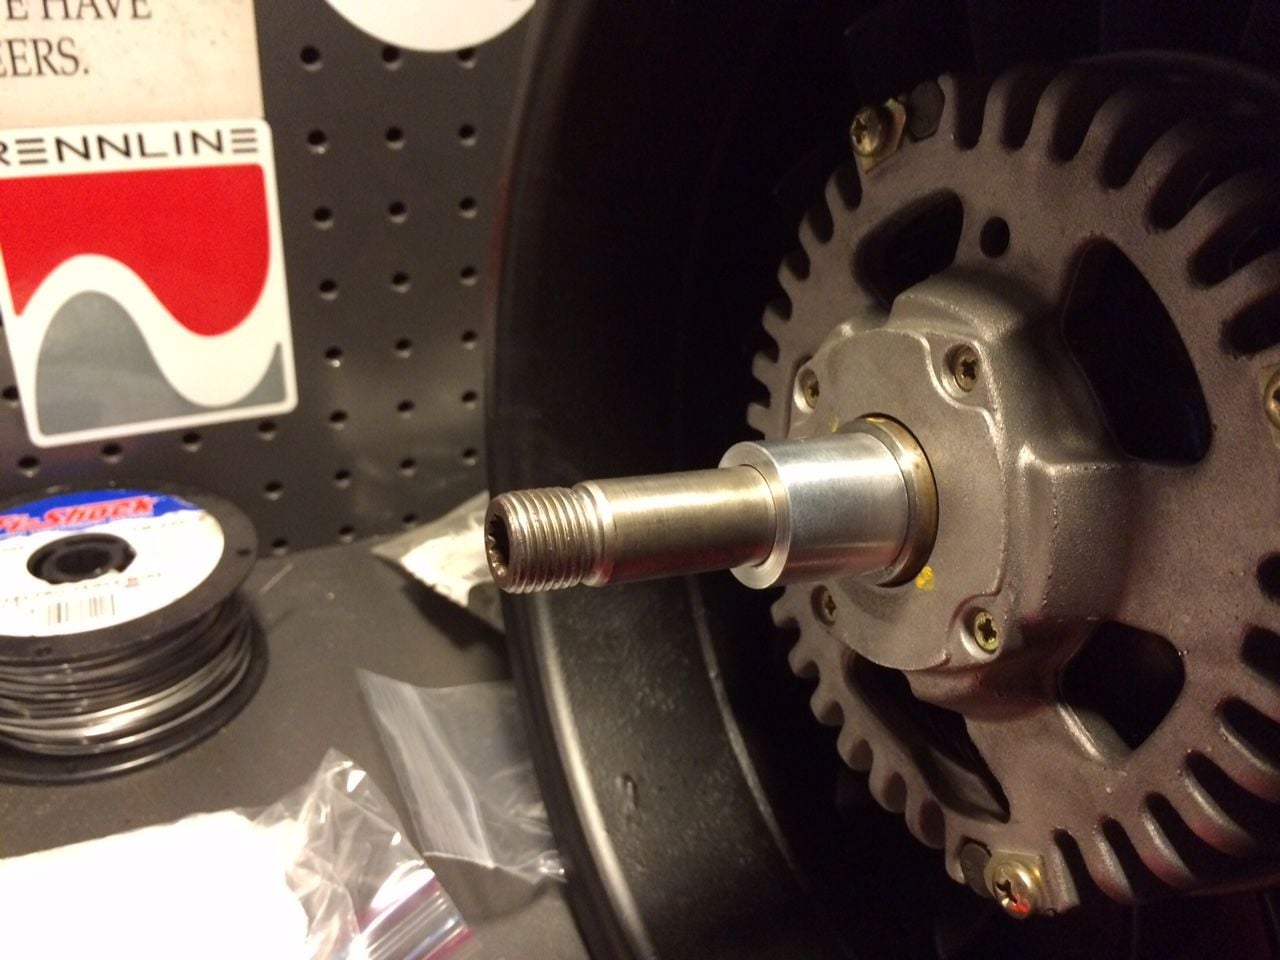
The new hub I got, had to be pressed in. But I'll tell you a little trick to avoid using a shop press.
Put the hub in a plastic bag and freeze it overnight, then get a three long bolts (make sure you use washers) and bolt it in. It will keep it centered with the holes when it finally meets the fan. Just tighten each bolt a little at time to keep things even. I also recommend a little anti-seize where the hub meets the fan. Takes a little longer than a press but works pretty well.
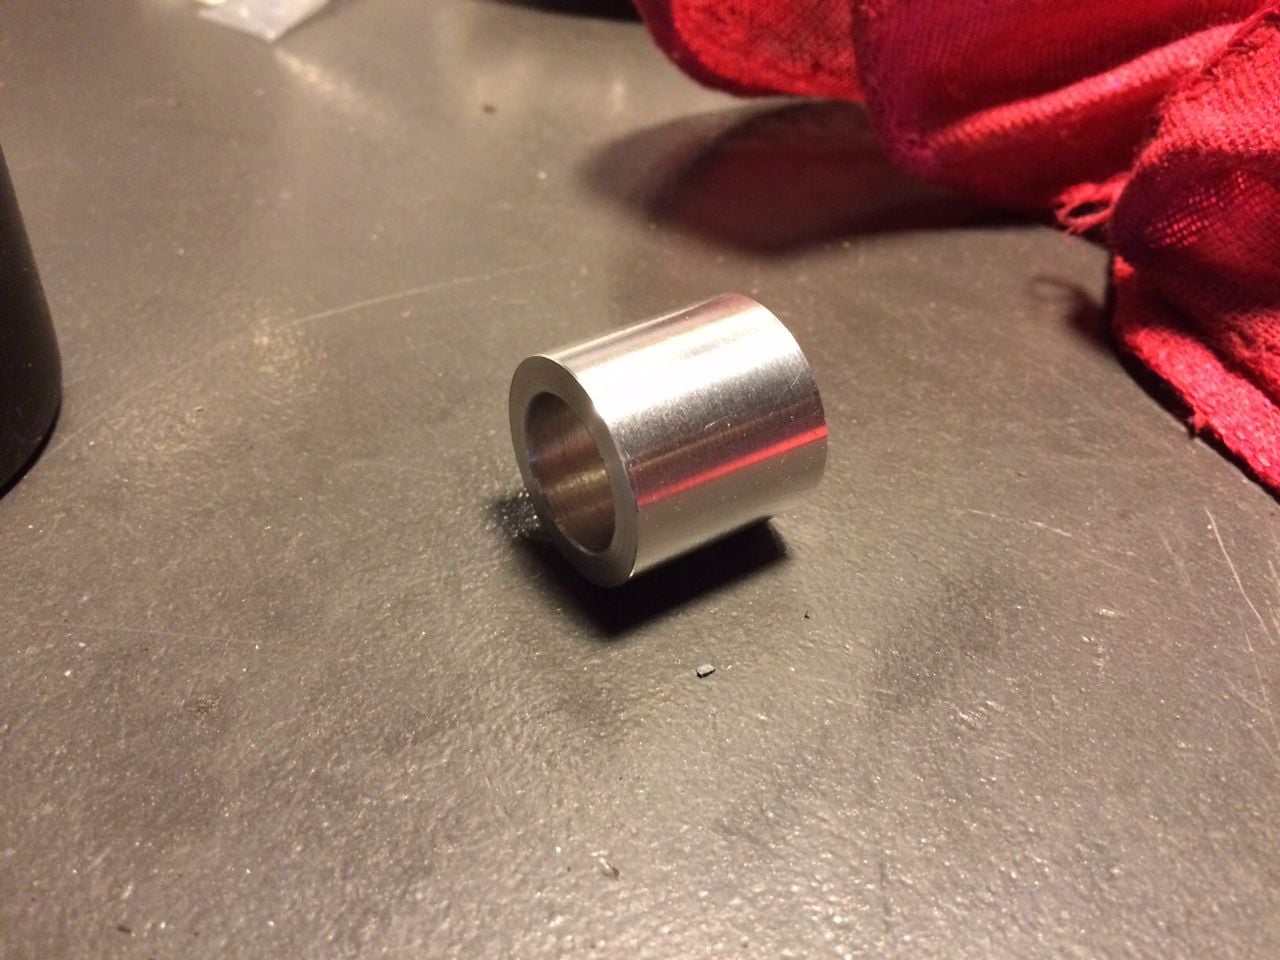
There you go:
I still have a machine the hub boss in a lathe, so I can finish up. It's the only part that I'm missing and I'm not gonna pay $35 for a spacer. Probably going to make three or four billet ones. Then I'll have some spares for when they wear.
Finally got a chance to make a new boss and button her back up. I was gonna do red, but I'm really like this black / black color scheme. Next up is that nasty looking sound padding.
I just powder coated my fan too- keeping these Mg fans covered with paint seems to be the key to longevity.
I was lucky with the installation of the bearing- no press or long bolts needed. I simply put the bearing in the freezer all day and then put my fan in the oven at 285 degrees for 15 minutes. Popped both out of their respective places and the bearing slid right in!

 05-23-2015, 01:11 PM