When you click on links to various merchants on this site and make a purchase, this can result in this site earning a commission. Affiliate programs and affiliations include, but are not limited to, the eBay Partner Network.
Hasn't happened yet. Been tied up last couple weeks with interviewing for a new gig and flying back and forth from NY.
That said, maybe you guys can help me with the issue I ran into as I was scoping out removal of the soft top. The instructions from D.Moris say to keep your top in the closed position for removal; however, mine is broken in the retracted position. Will it still be possible to remove even though it's basically stuck in the down position?
I believe that the instruction referring to "CLOSED POSITION" is the position that your top is in at the present if by down position you mean that the top is re-tracked to the rear.
The top needs to be down to make removal easier. This is the best way to be able to grab the whole top and pull it out of the car. There are 3 points across the back - center, left and right with 2 nuts on each that you have to undo - plus allen screws at "B" pillars and I believe a few anchor screws on the outside. Also have to pull pins from drive gear box arms, each side. But once all is unbolted/unscrewed - make sure all is disconnected and the top is free. Then - slide the seats as far forward as possible and stand in the center of the car and grab the top in the center from the underside and lift. You can pick up the full top. It really helps if you have a helper but I removed my top by myself so I know it can be done. HAve a place near the car ready to set the top down and material handy to fasten the top together so it does not open and then wrap it in protective material and plastic for storage. It is a bit of a hand full.
Ok guys, what is everyone talking about? I don't see nuts anywhere - I already unhitched the top from the mechanism, but there isn't any obvious connection points. Before I unscrew all the latches on the outside wanted to check in and see where I'm going wrong...
Ok made some progress. The D.Moris instruction guide is more or less useless. There's faux leather underneath the canvas that has one or two screws (driver side had 2, passenger side, that I'm working on now, seems to only have 1).
Eventually I need to get to the joint where the top swivels, which was really my only guide in this process. Slowly deconstructing that area to see when I can finally get to it.
I think you need to remove the nuts for cover on the back canvas and then lift that up to reveal nuts to remove the back. I forget. Removed mine off my wrecked cab. Got $3k for whole top
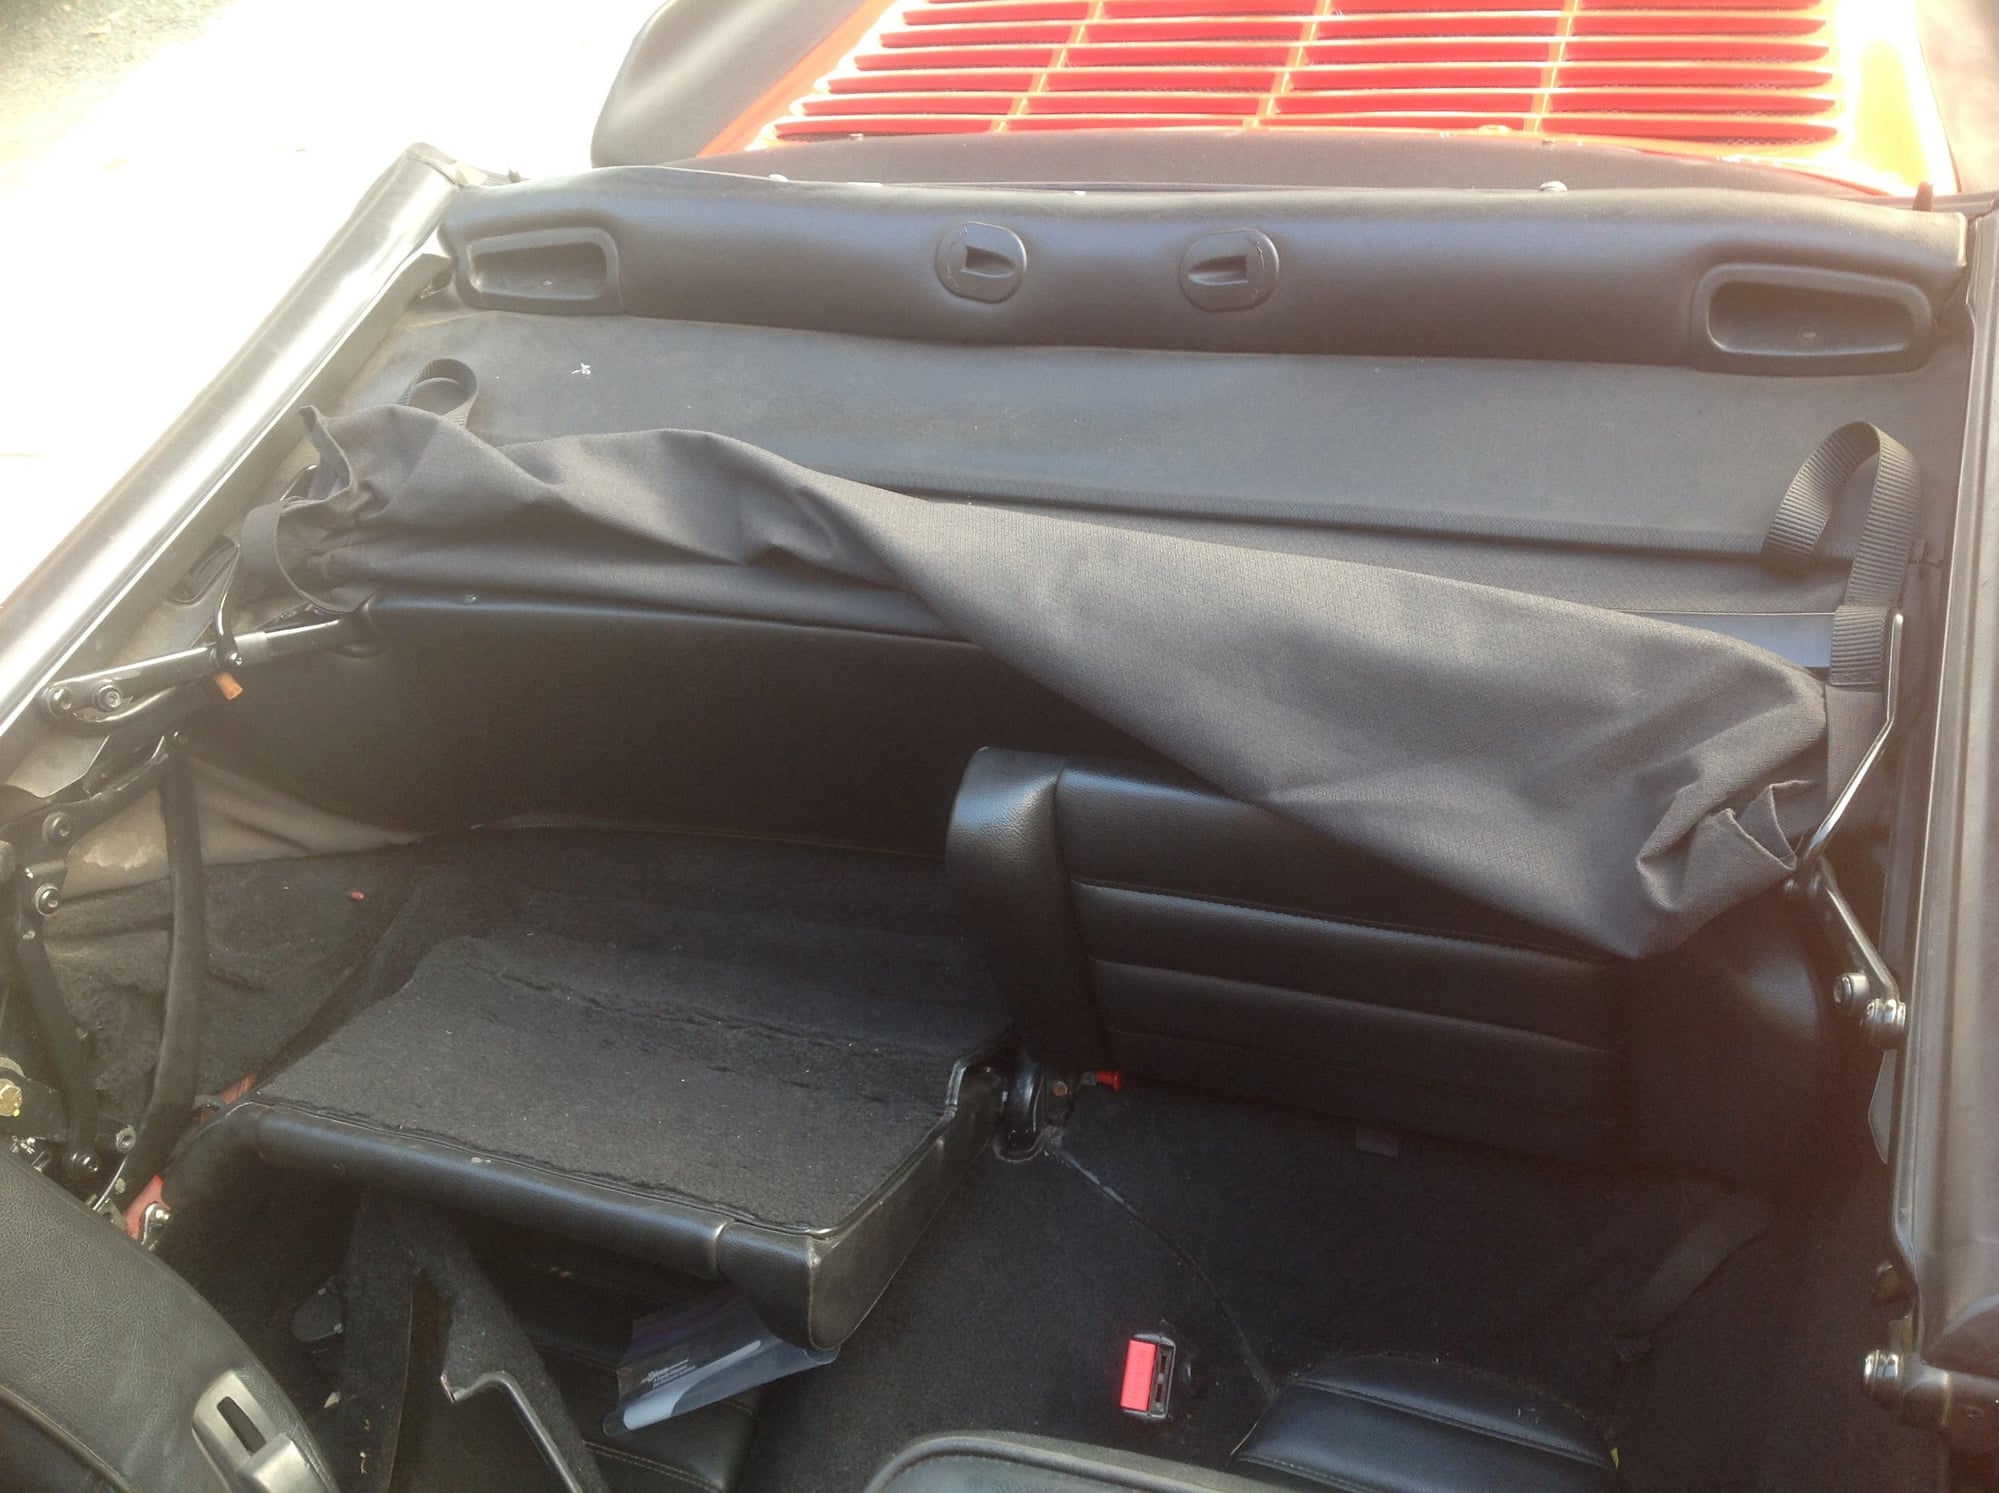
Ok - here are some pictures to show you what areas the bolts and nuts are located.
First you have a picture of the "B" pillar area - looking down - you only see 2 - but there are 3 allen bolts on yours. Then you see a center bolt about half way back on the side - from the outside my fingers are pointing at this bolt that has a nut on it - this is the tightening mechanism for the top. The there is a pic with the top off to give you an idea of waht you are after - followed by a pic of the rear window are where you can see the left of 3 double nuted anchor points - one in the center and then another on the right.
Hope this helps
Yes, looks good - check for the nut that goes on the stud that was in my picture. I think you just need to undo that and the tightening mechanism should slide of. The horizontal bolt you see is for puting tension around base of top


 09-17-2014, 12:41 PM