
Bitter-Sweet Beginning
 01-30-2015, 01:35 PM
#166
Rennlist Member
Thread Starter
Thanks!
Andrew
 03-08-2015, 11:52 PM
#168
Rennlist Member
Thread Starter
Weather has improved recently and Im back on the project.
Im about to remove the crank pulley and cam pulleys. I know most are using a special tools to remove those. I can order them and do it by the book or I can plug my impact and do it in 5 seconds.
What am I risking by doing it with an impact wrench?
Thanks!
Andrew
Im about to remove the crank pulley and cam pulleys. I know most are using a special tools to remove those. I can order them and do it by the book or I can plug my impact and do it in 5 seconds.
What am I risking by doing it with an impact wrench?
Thanks!
Andrew
03-22-2015, 11:12 PM
#169
Rennlist Member
Thread Starter
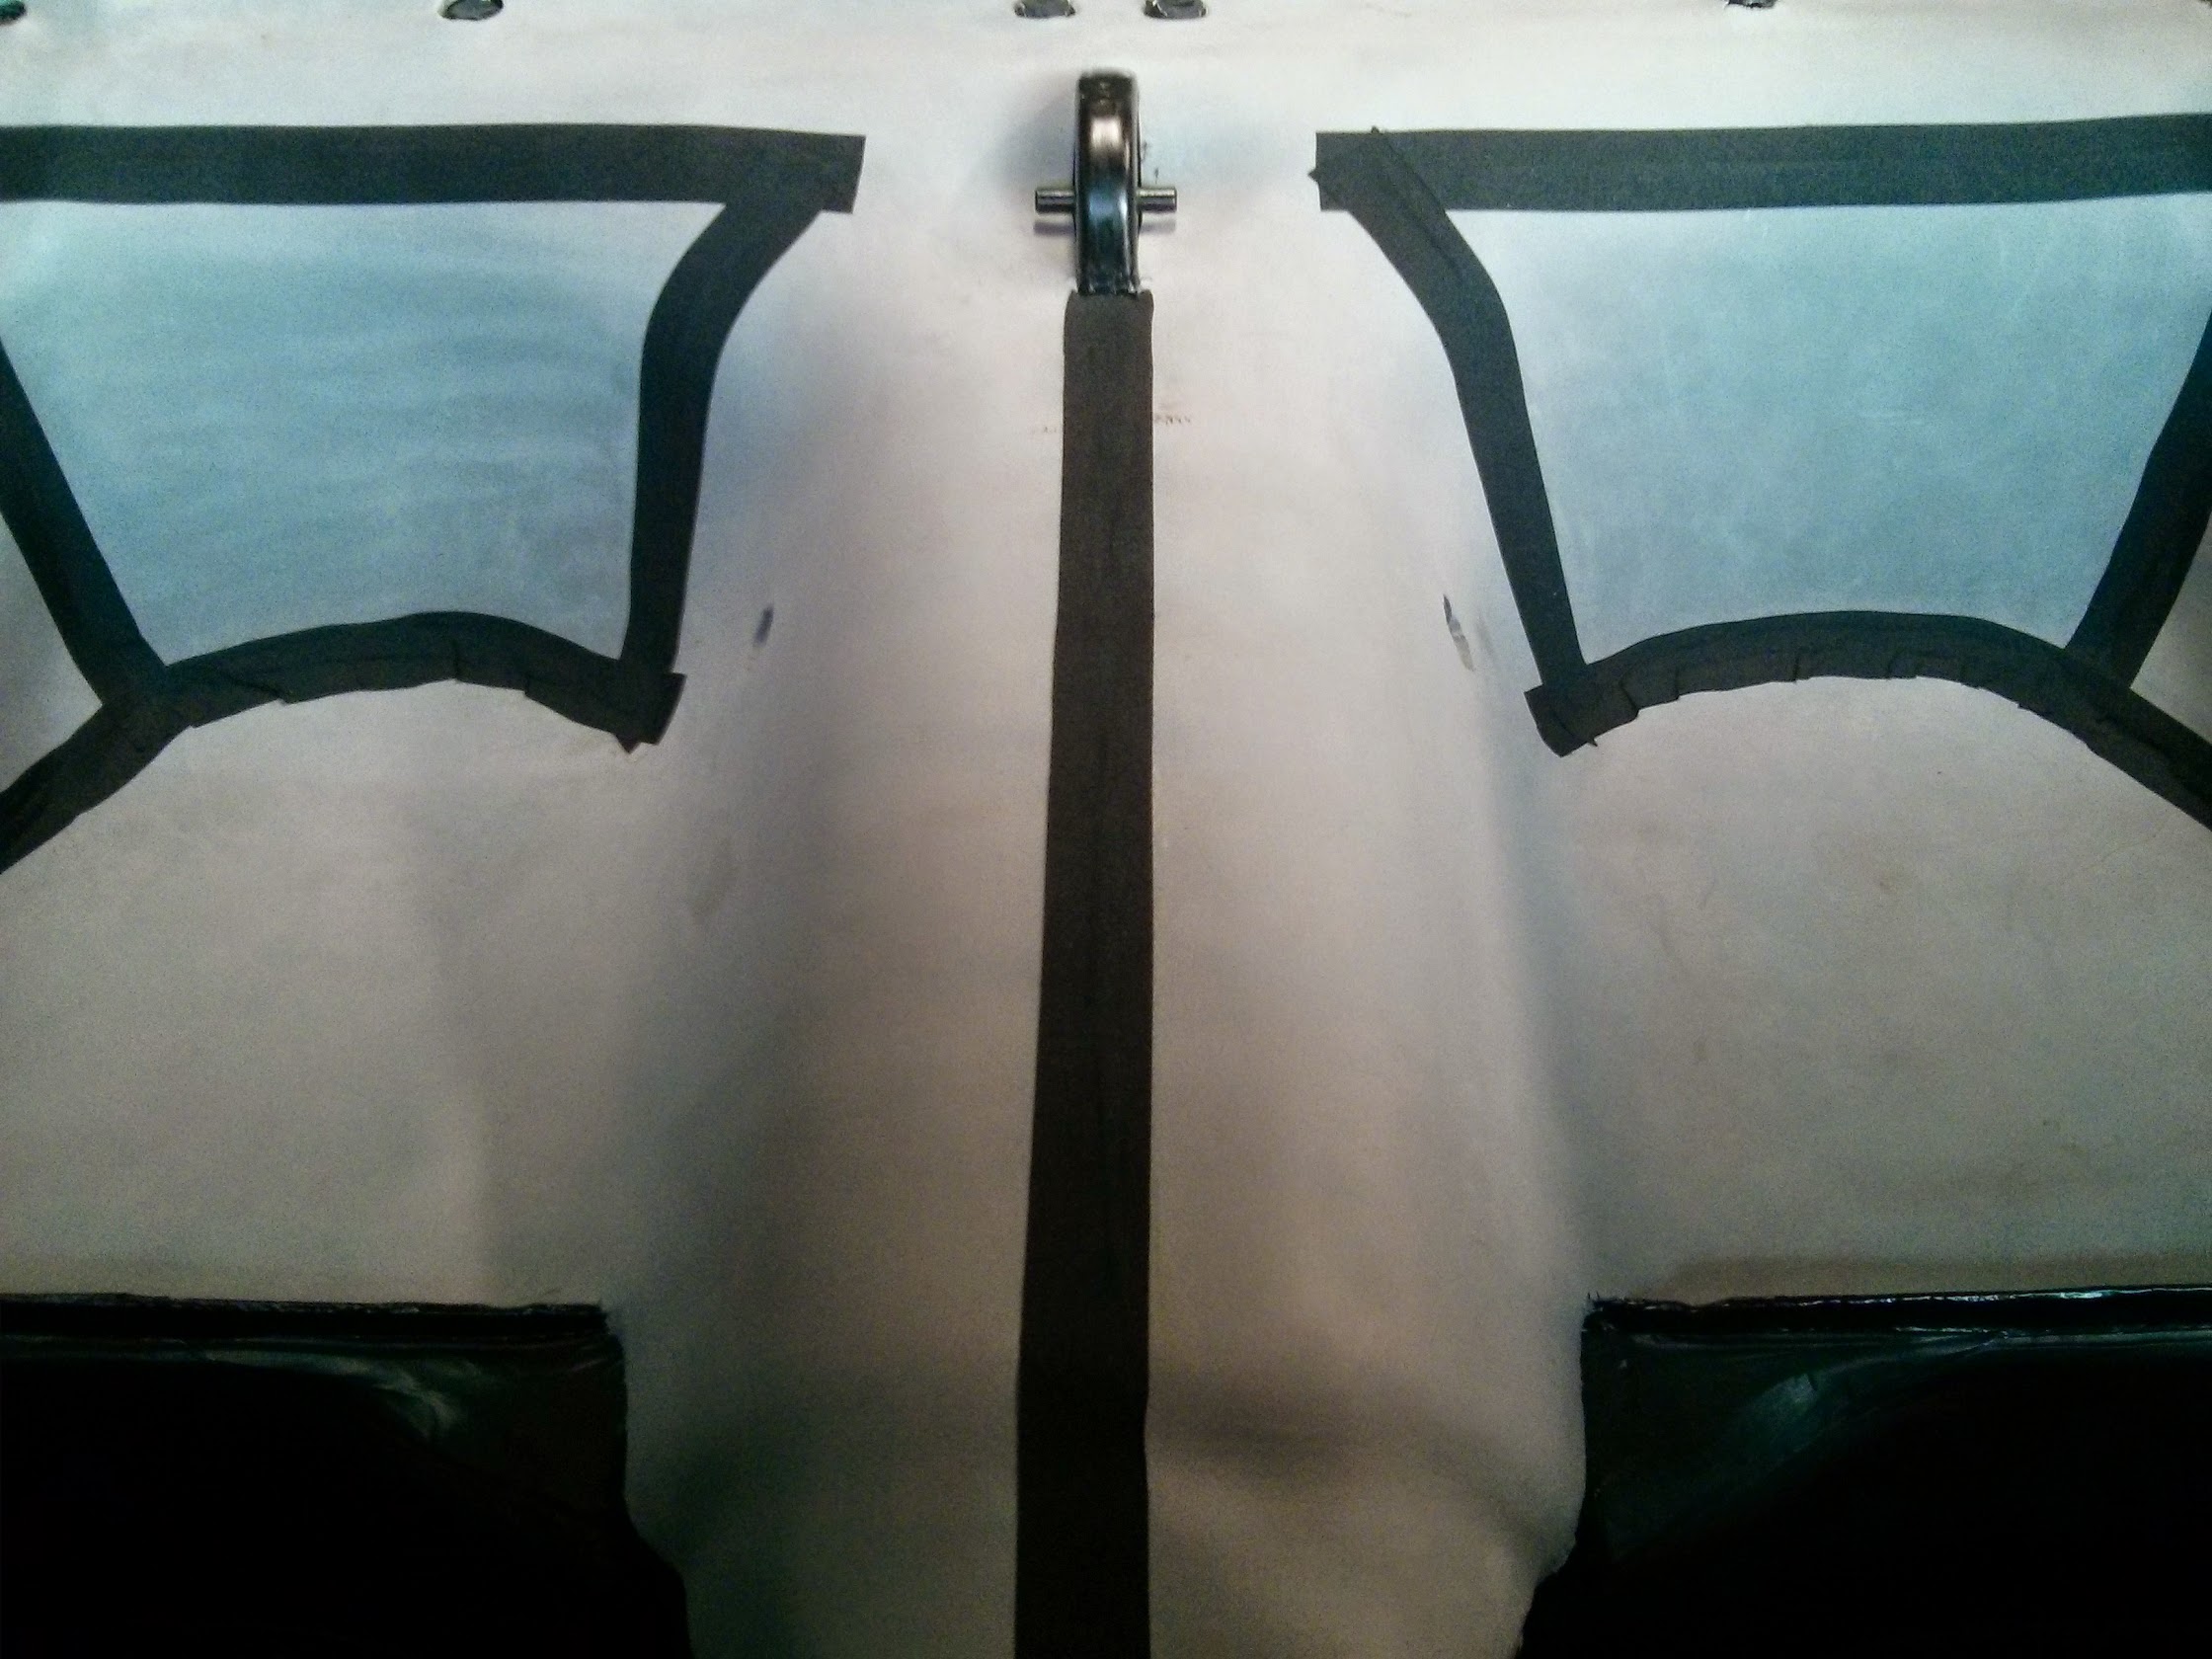
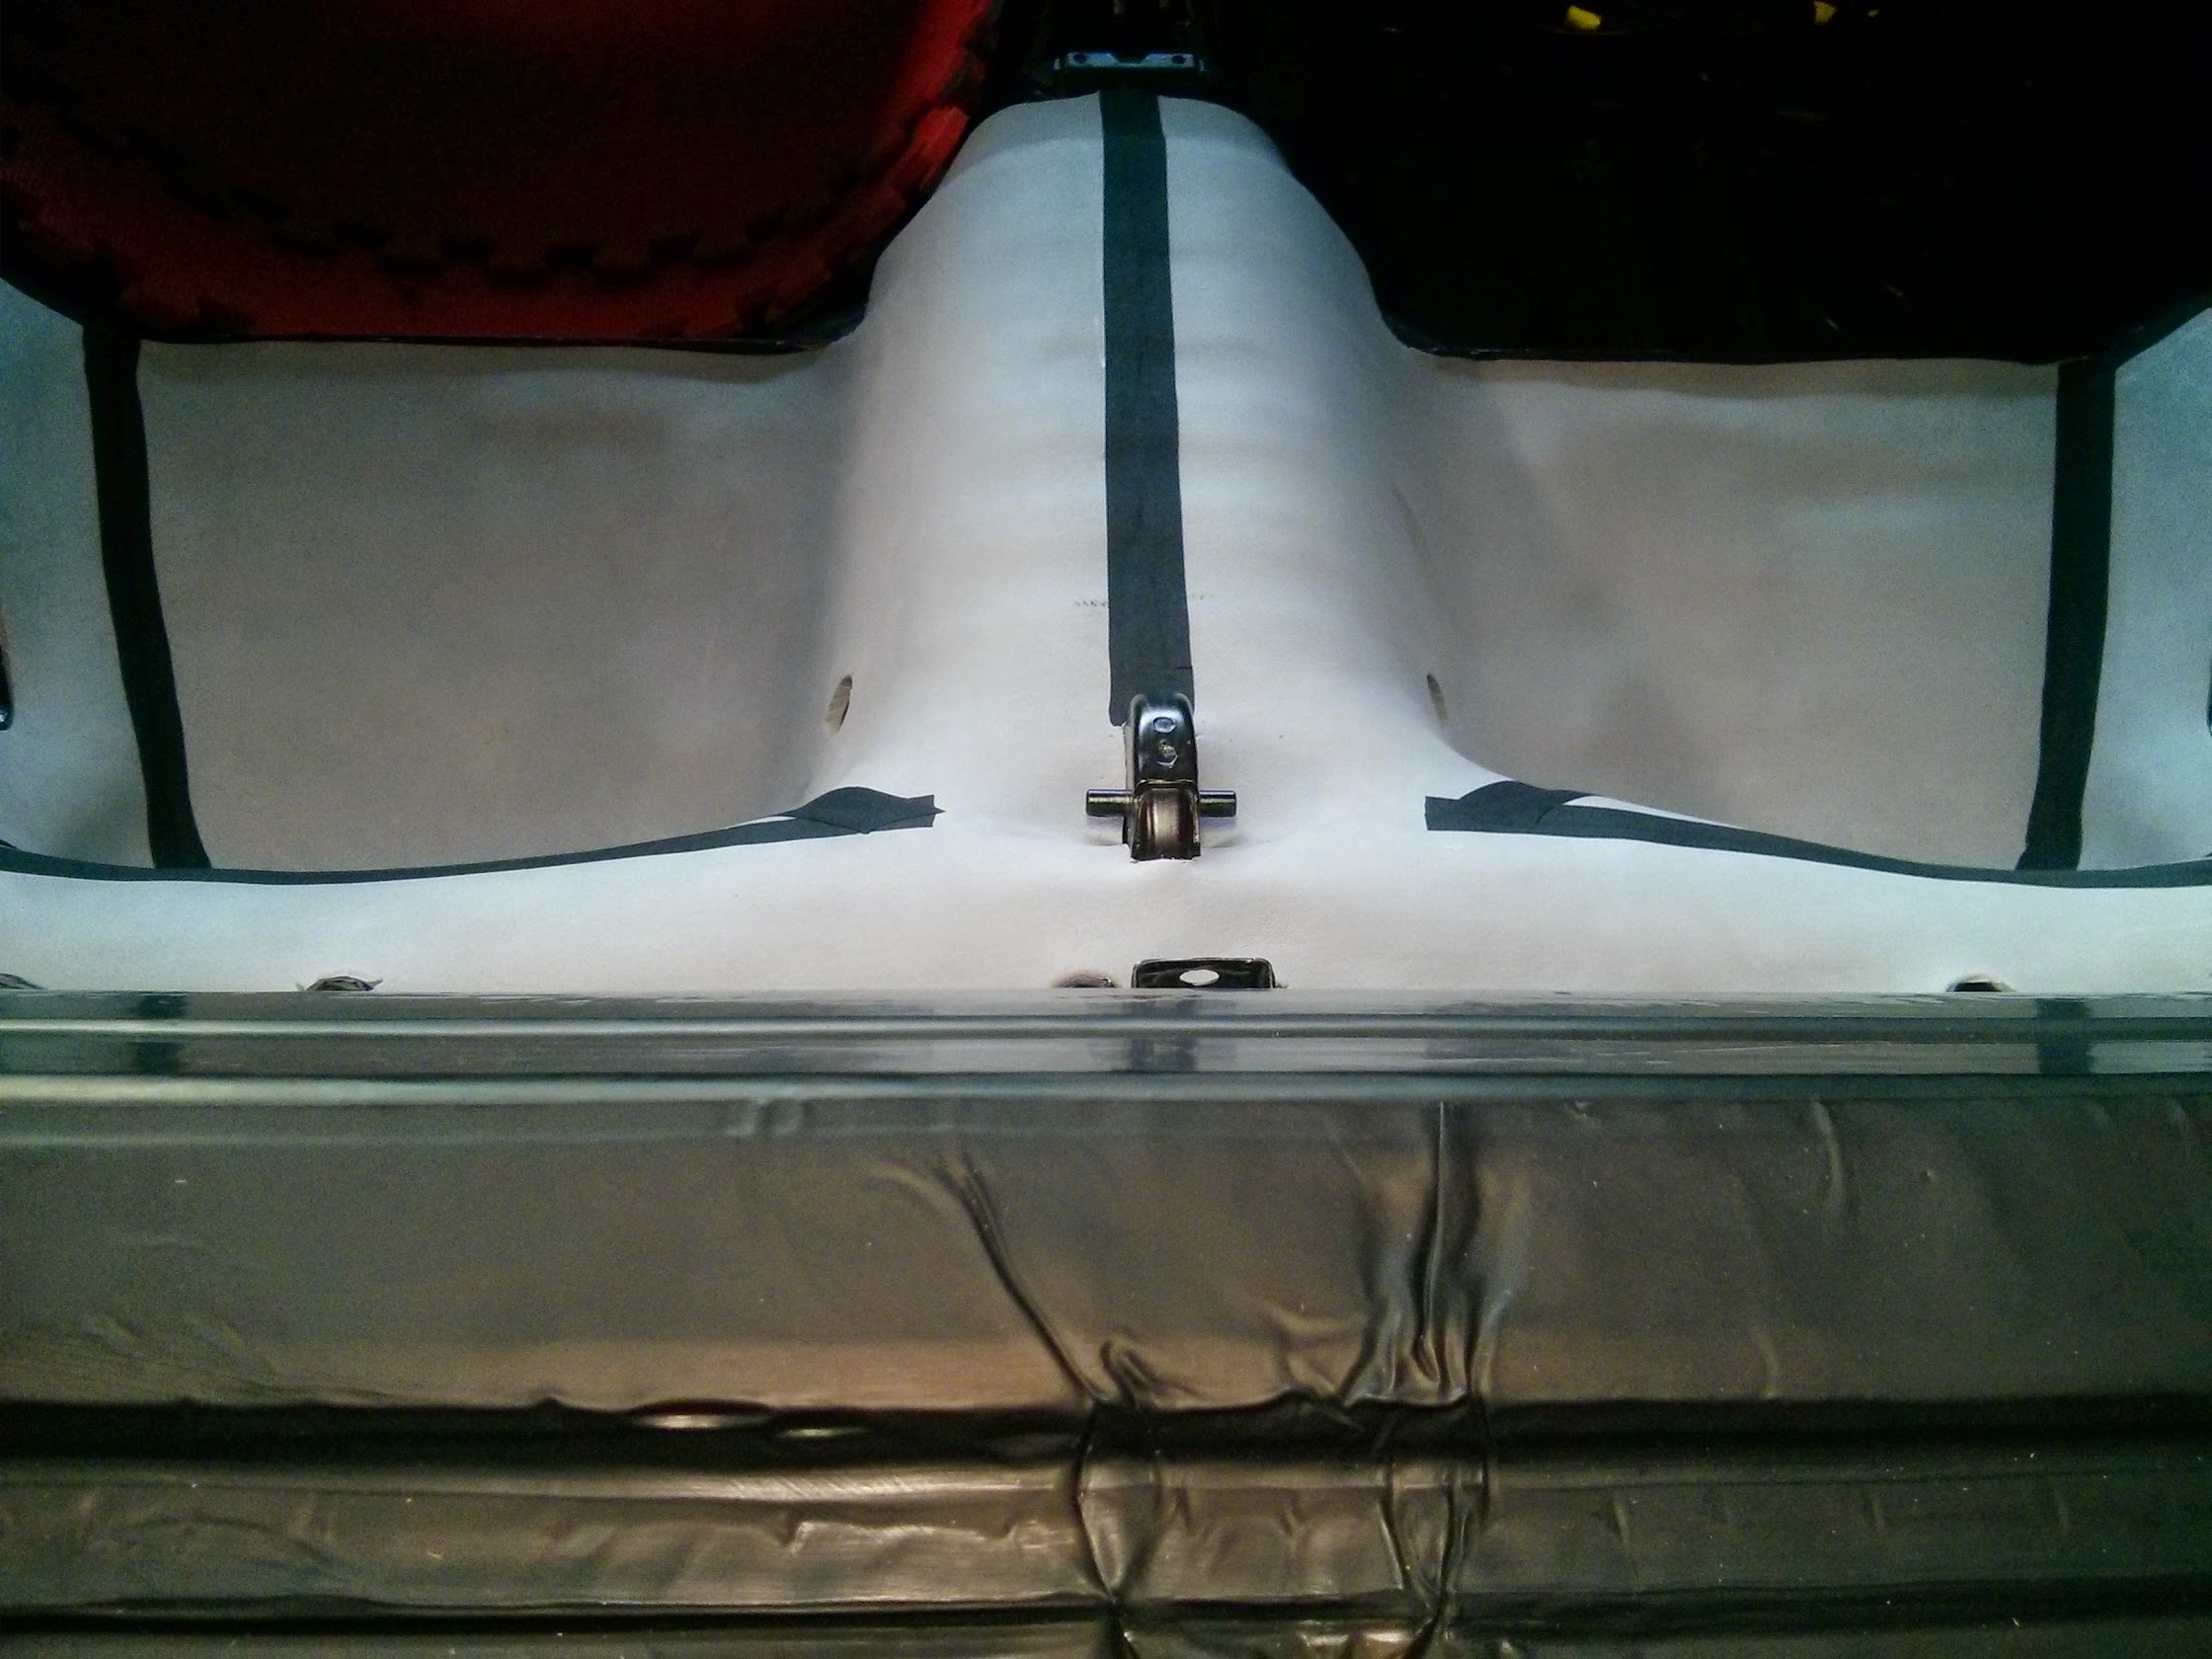
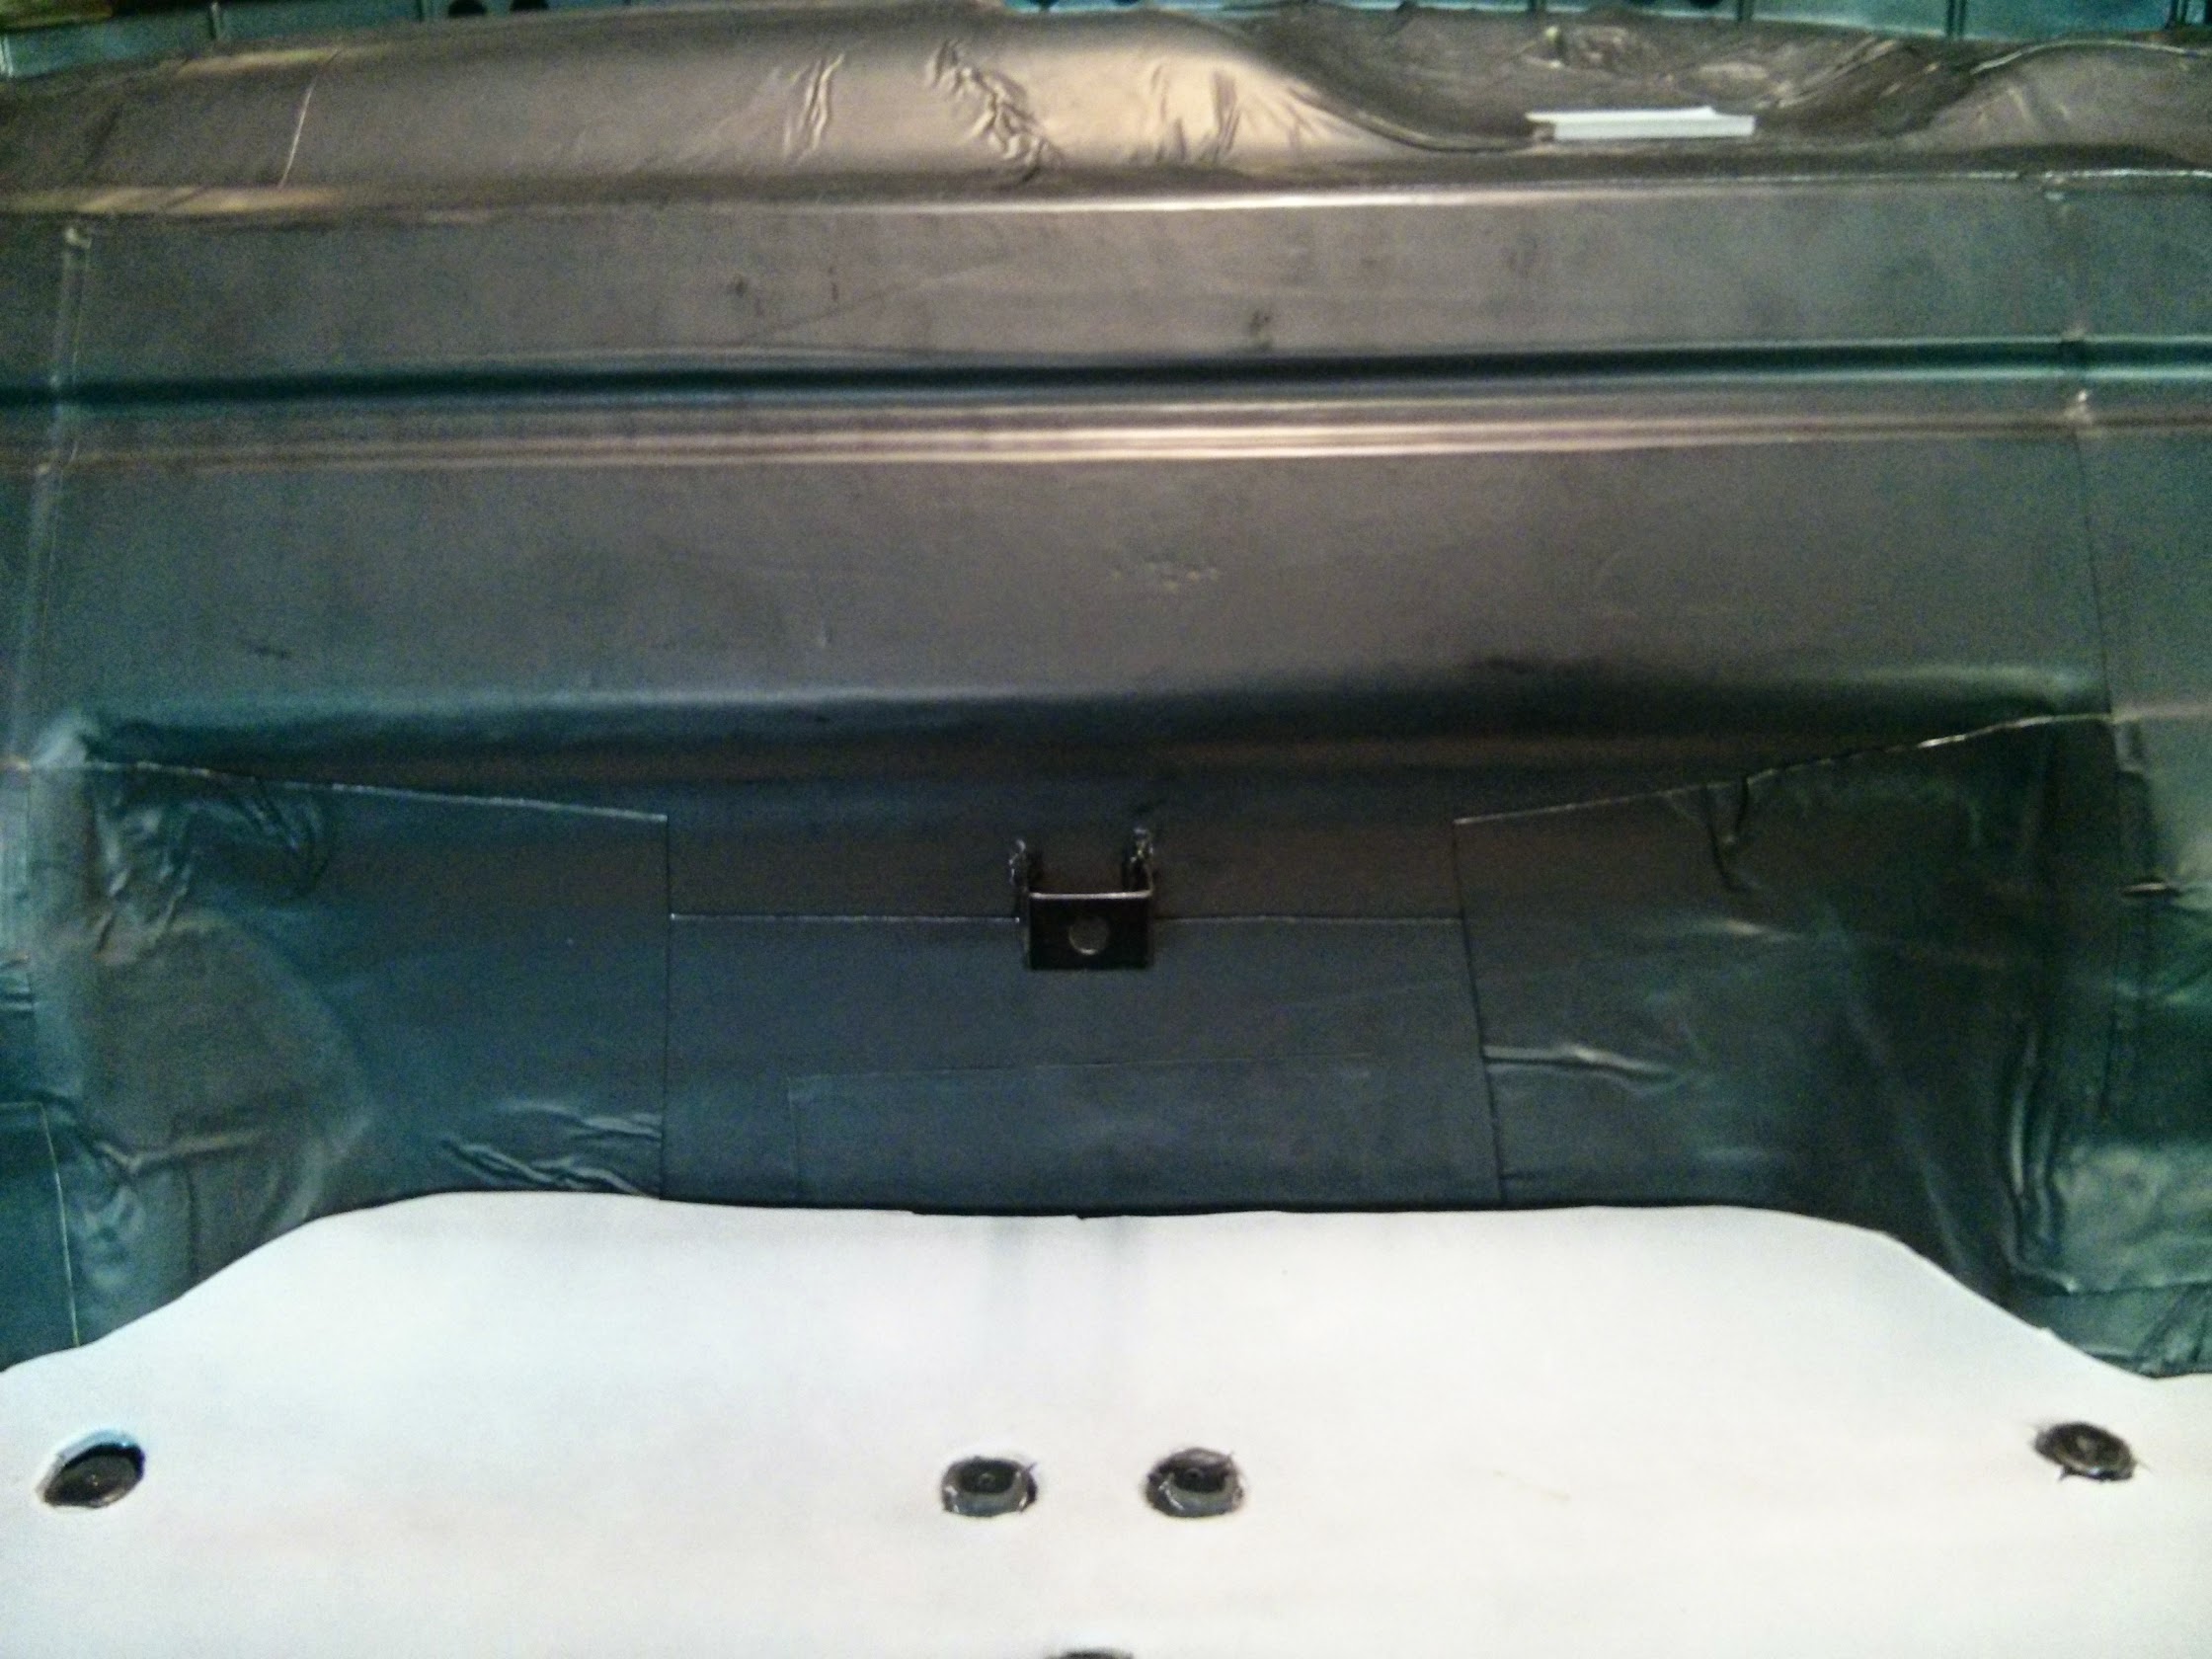
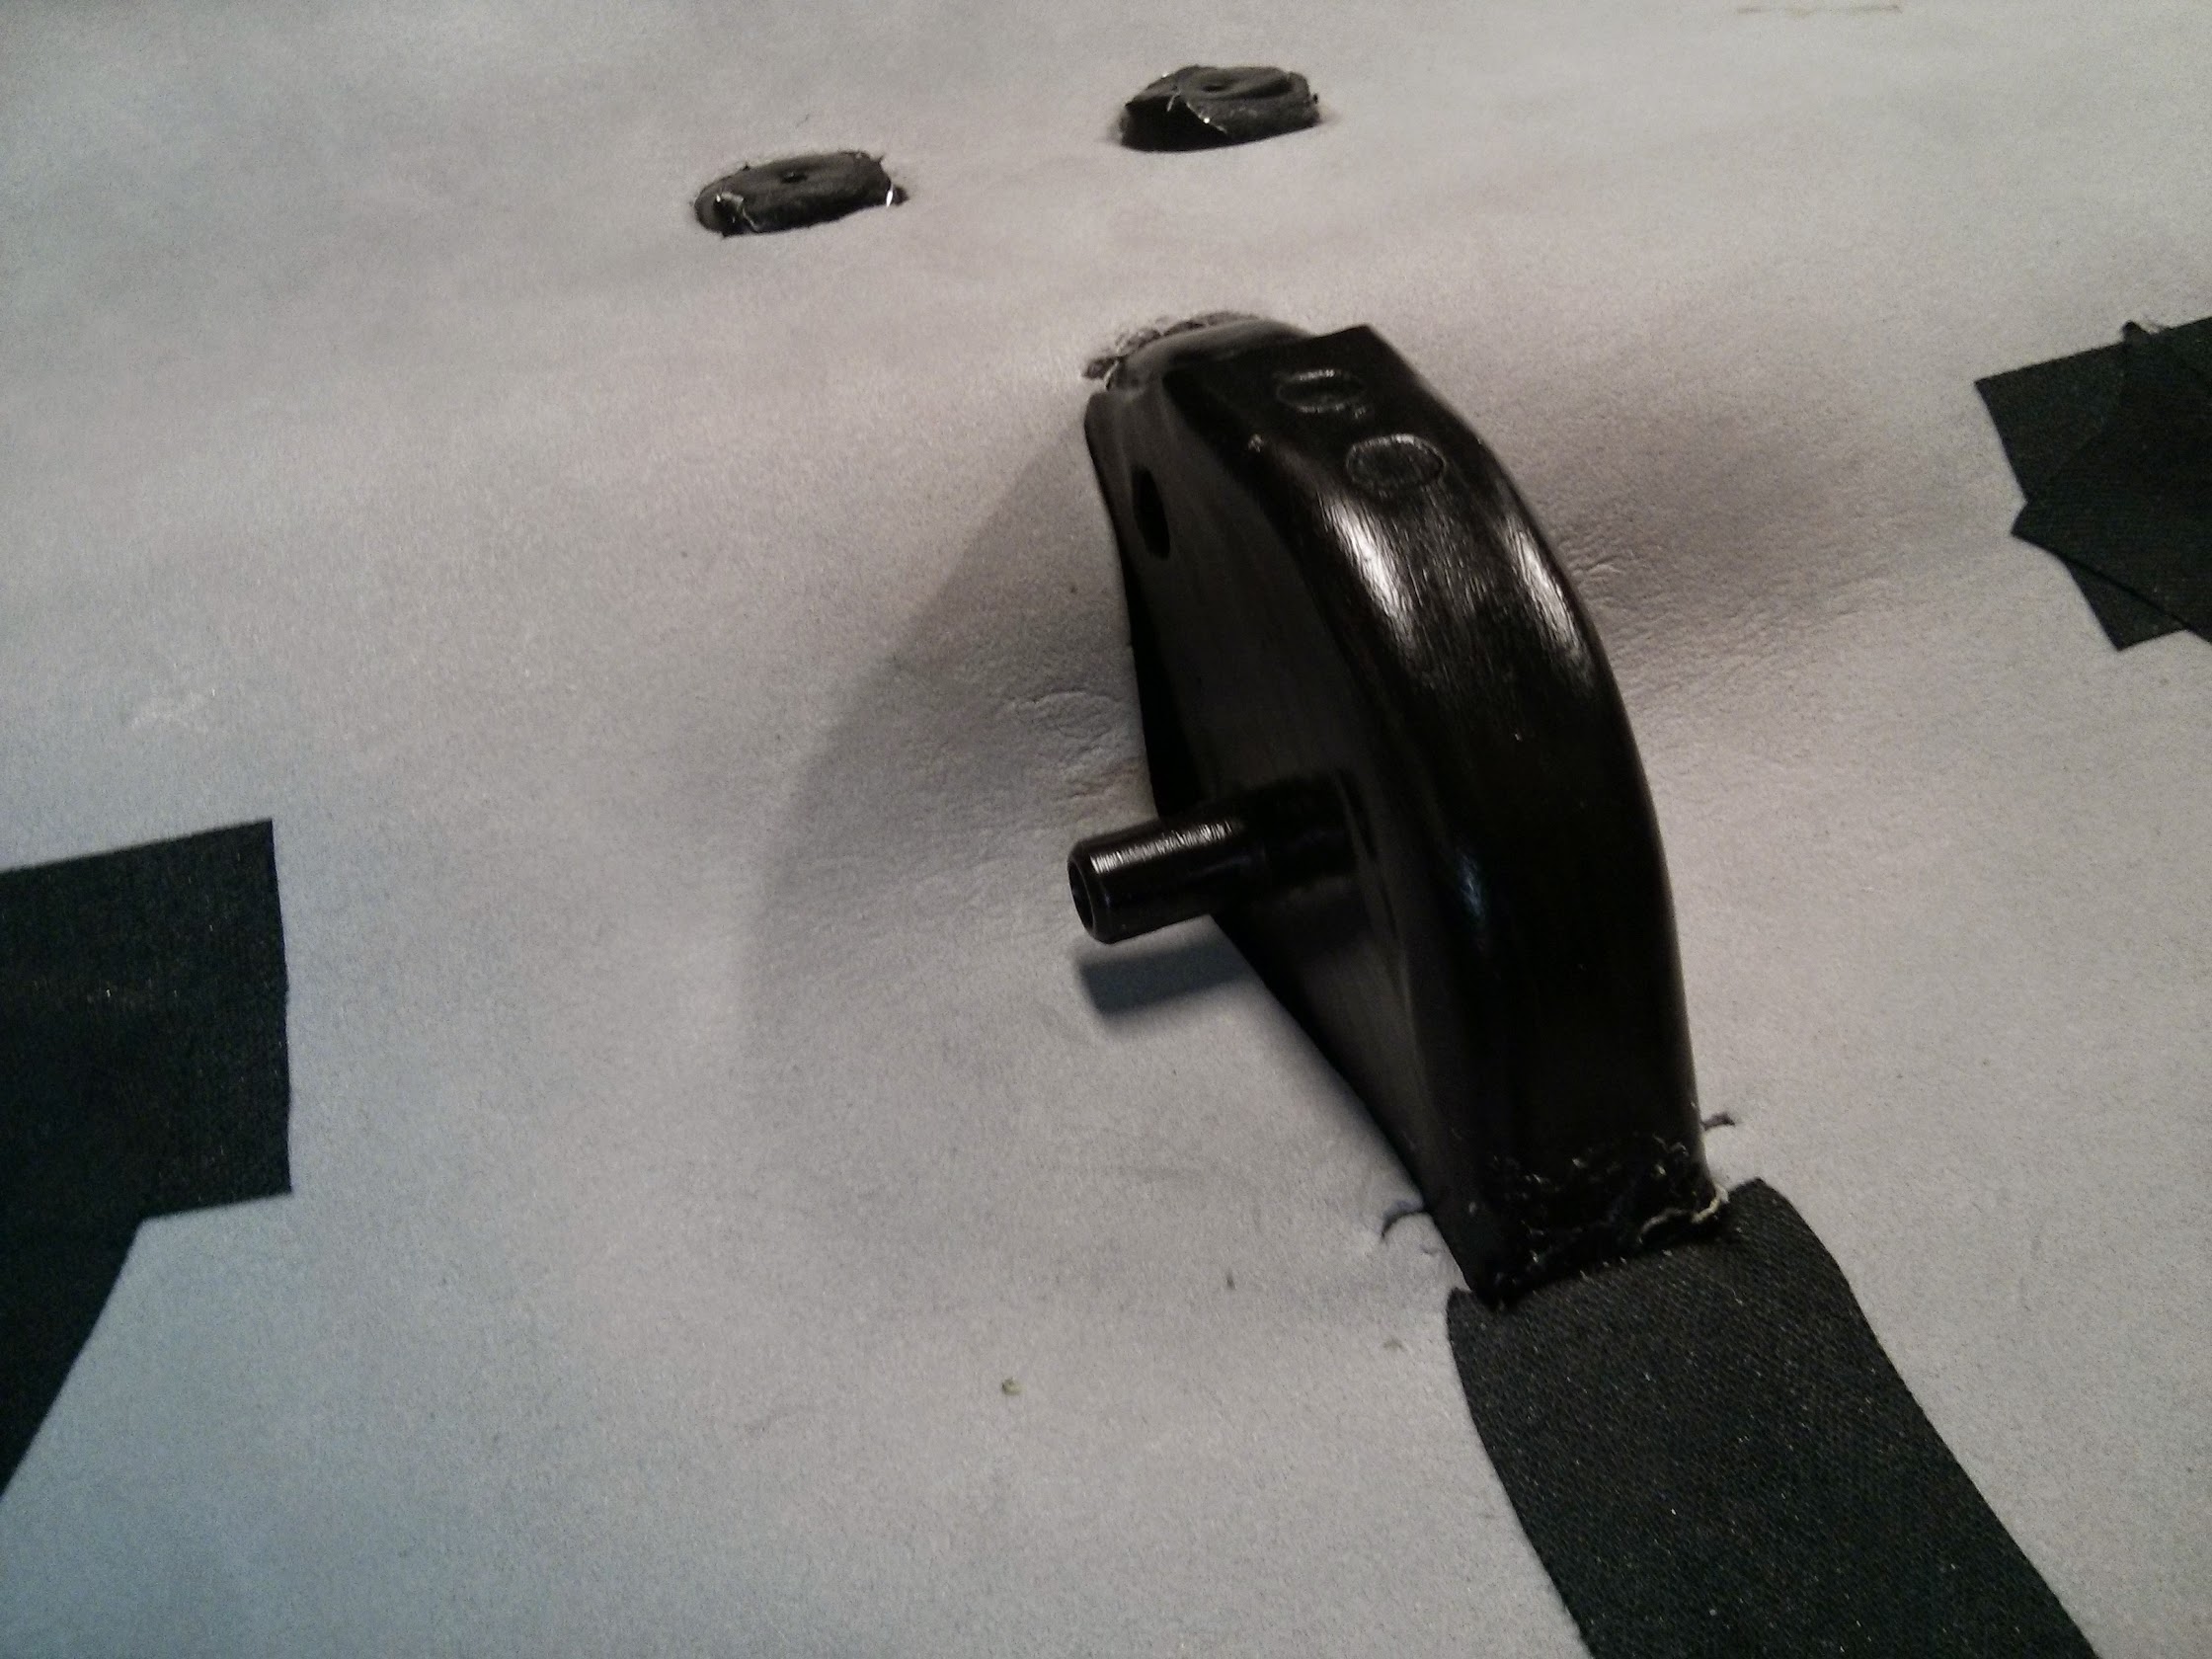
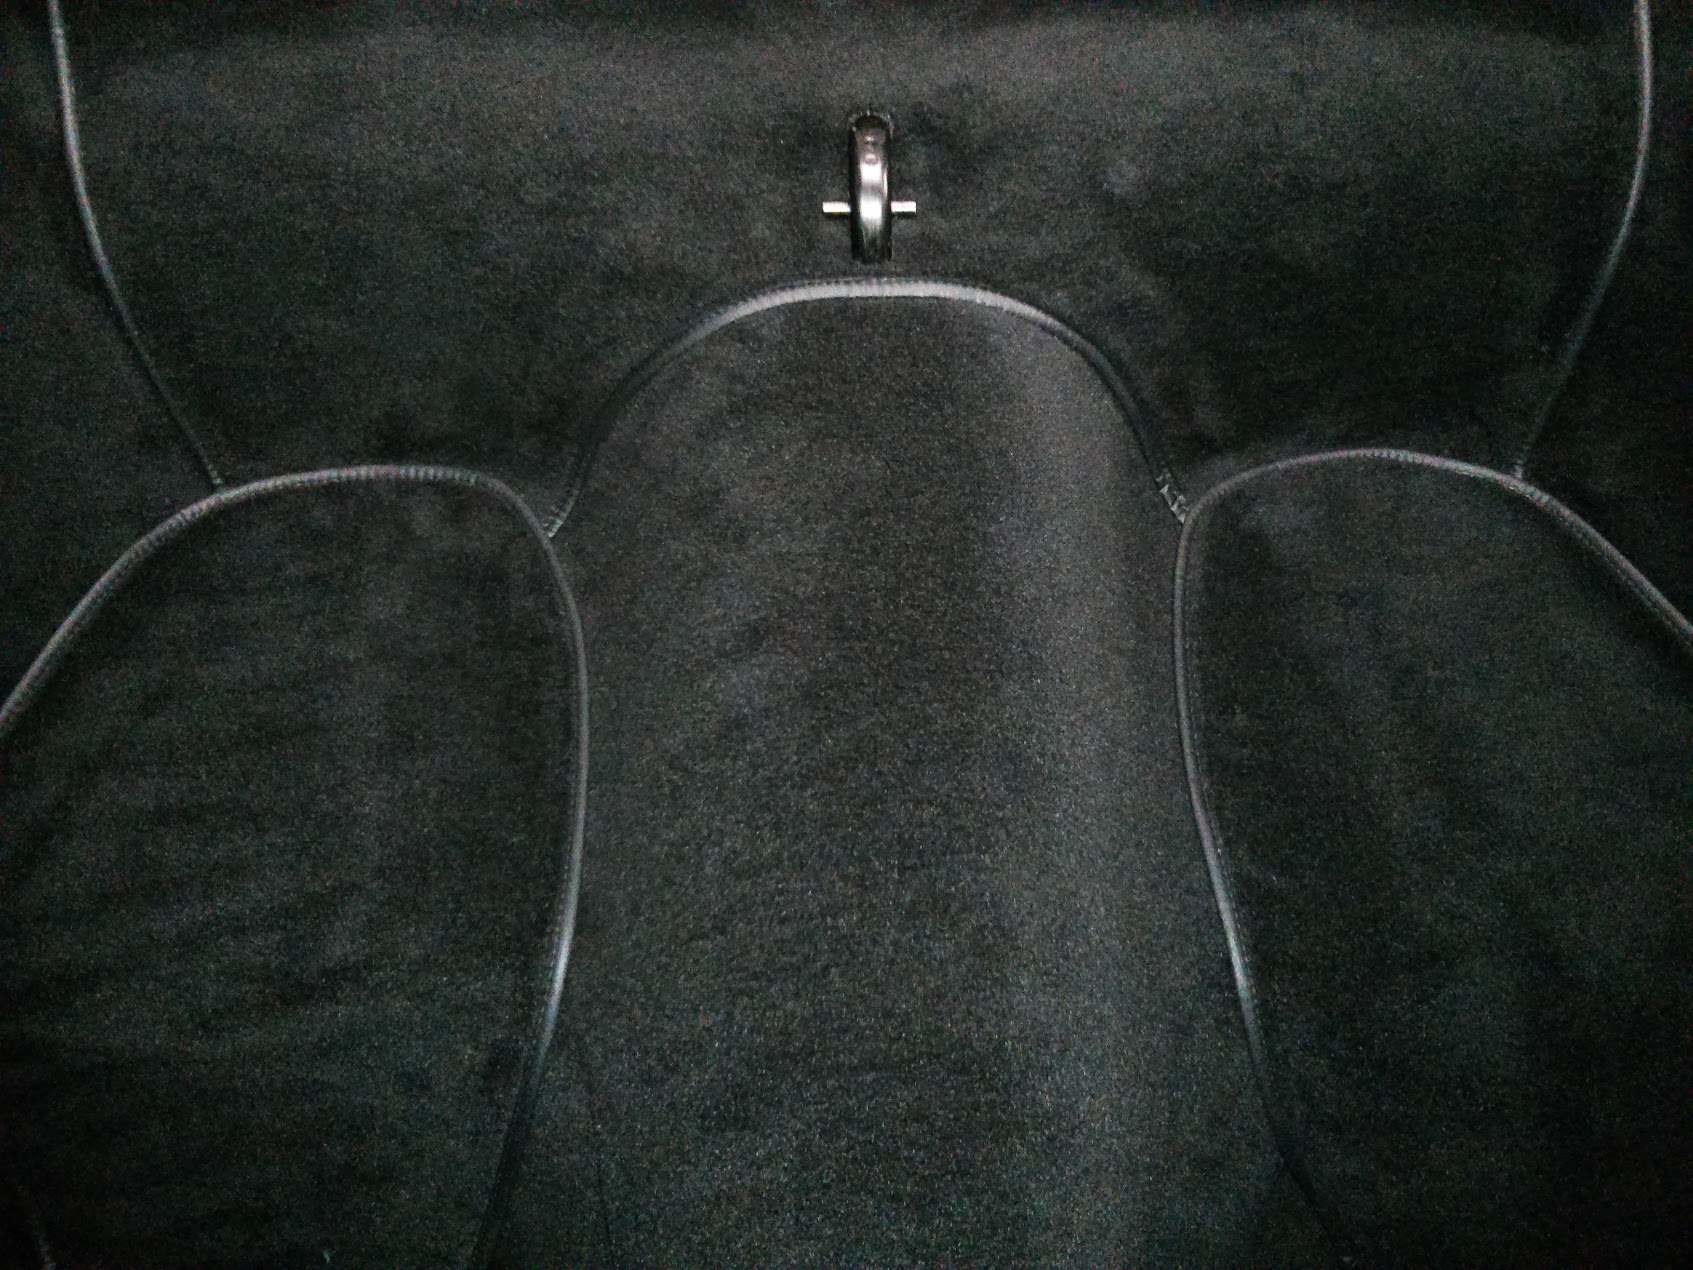
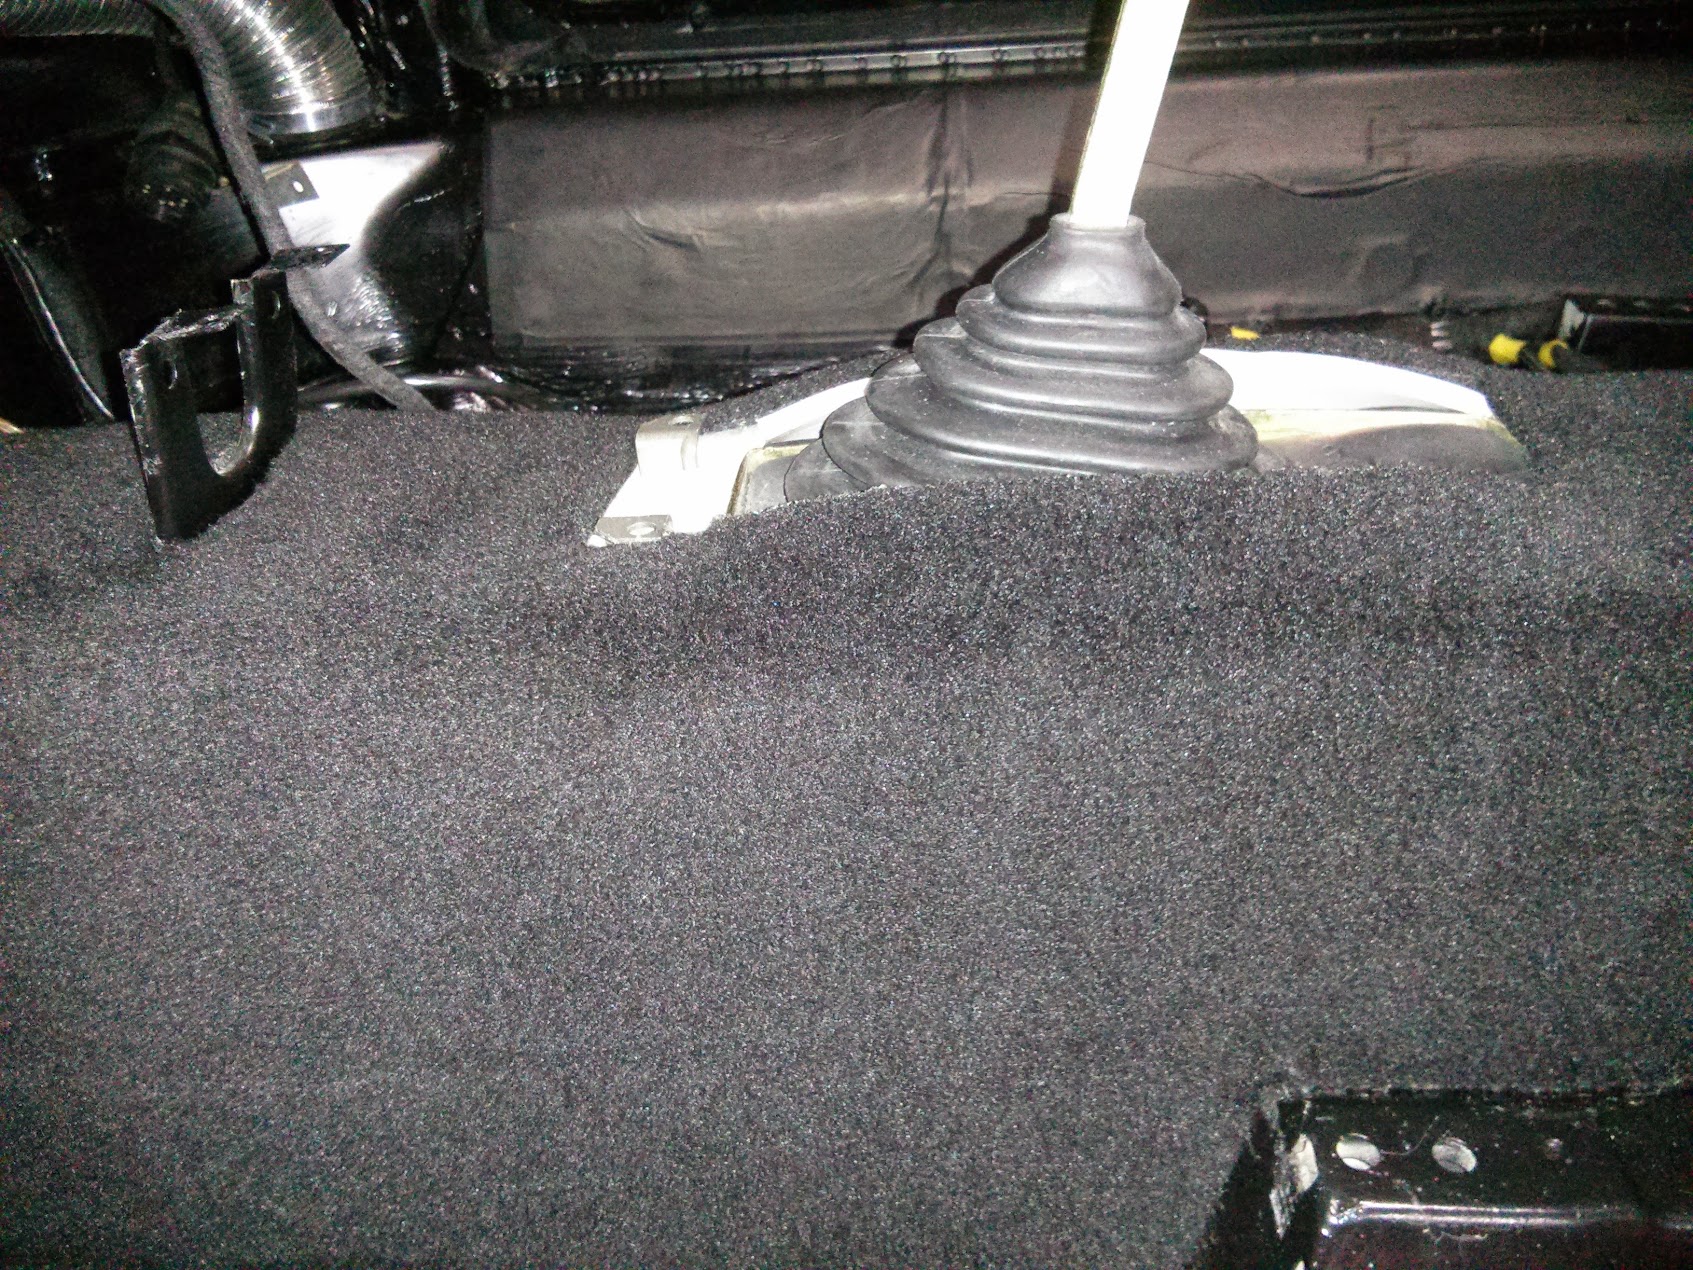
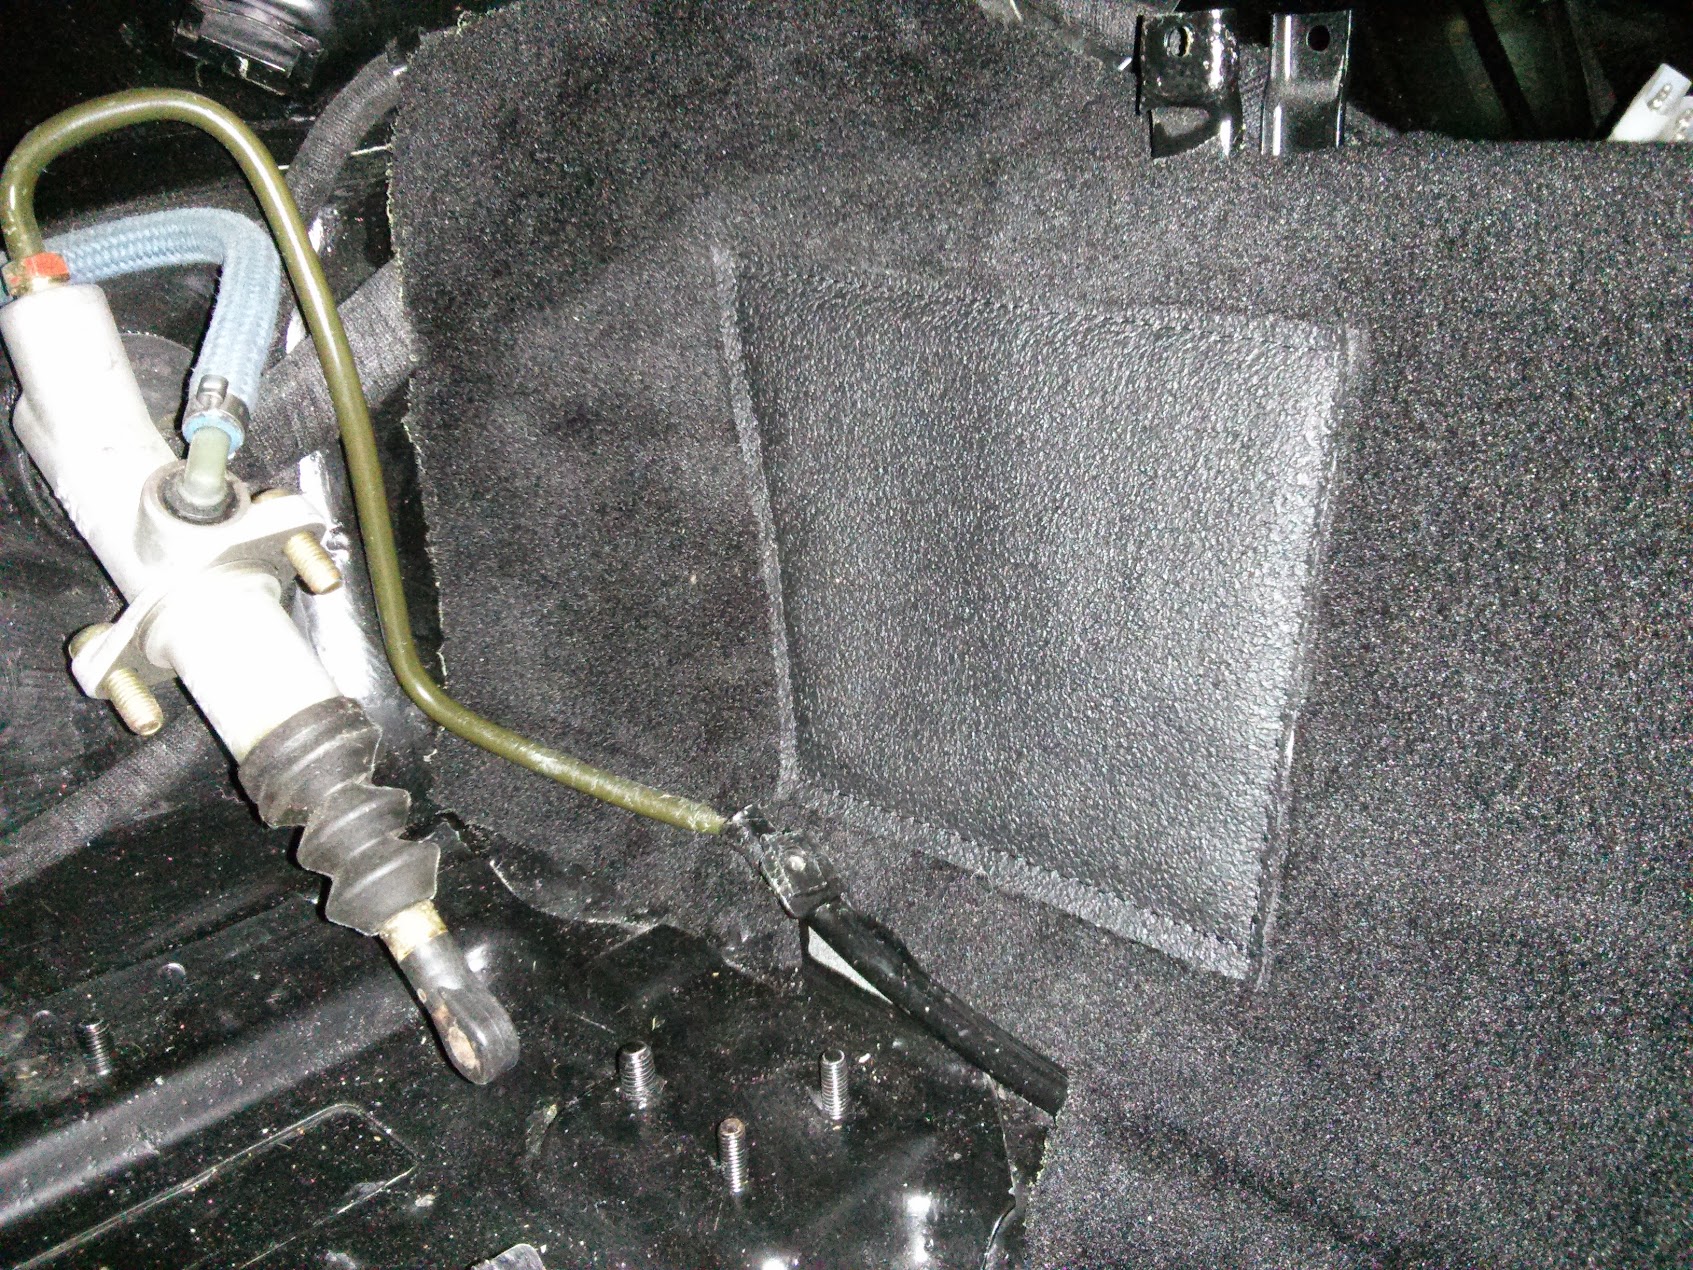
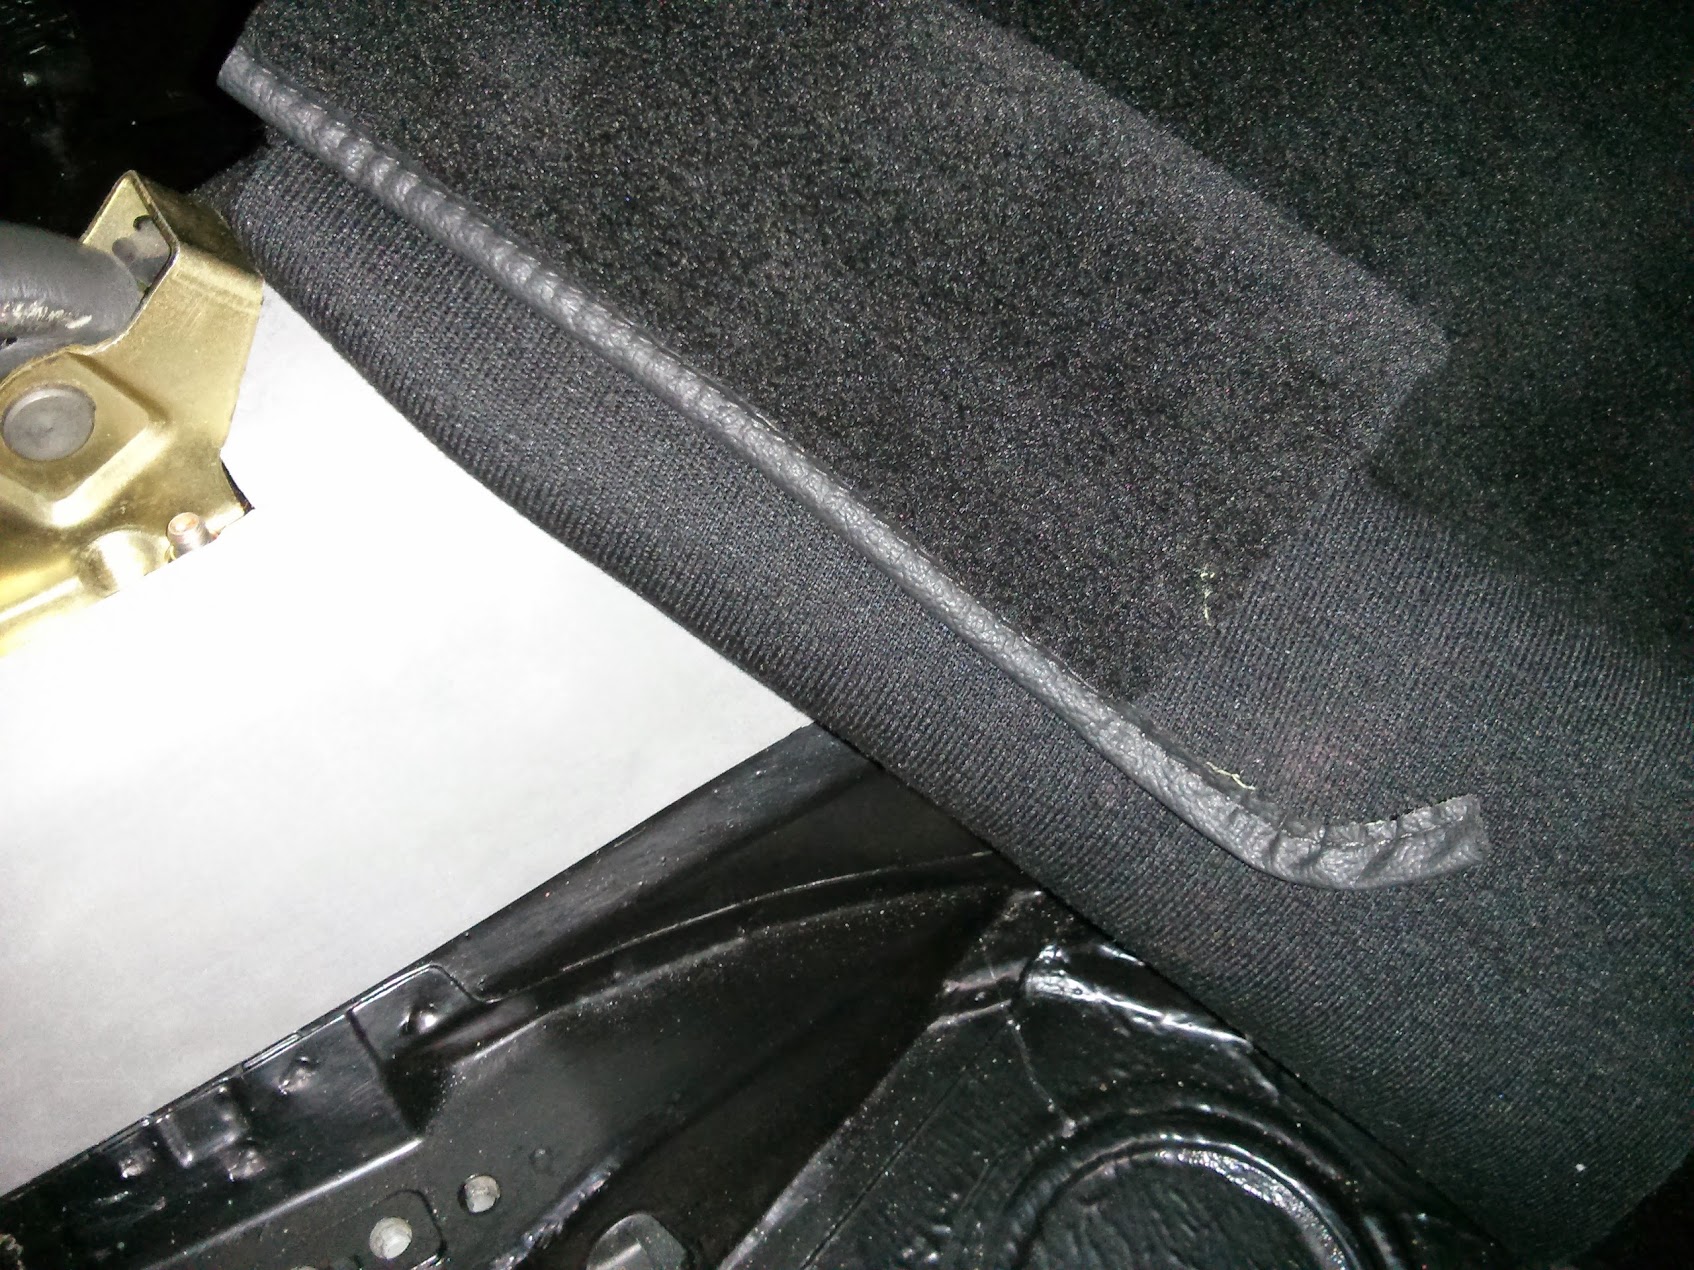
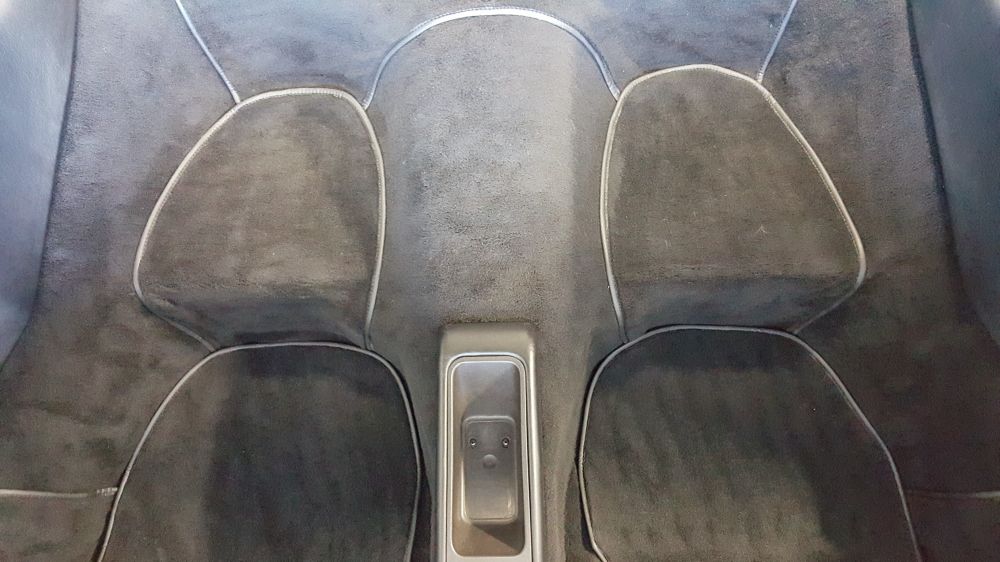
Did some interior work for a change. In preparation for carpet work I put in a sound+heat insulation in the rear and cc foam to smooth everything up. Then, tapered and taped all outside edges to smooth the transition from foam to metal under the carpet. Still need to do the rear shelf. Got 1.5in cc foam as well for those tricky deep indents in the tub.

Thanks!
Andrew
Thanks!
Andrew
 09-17-2015, 03:06 AM
#171
Rennlist Member
Thread Starter
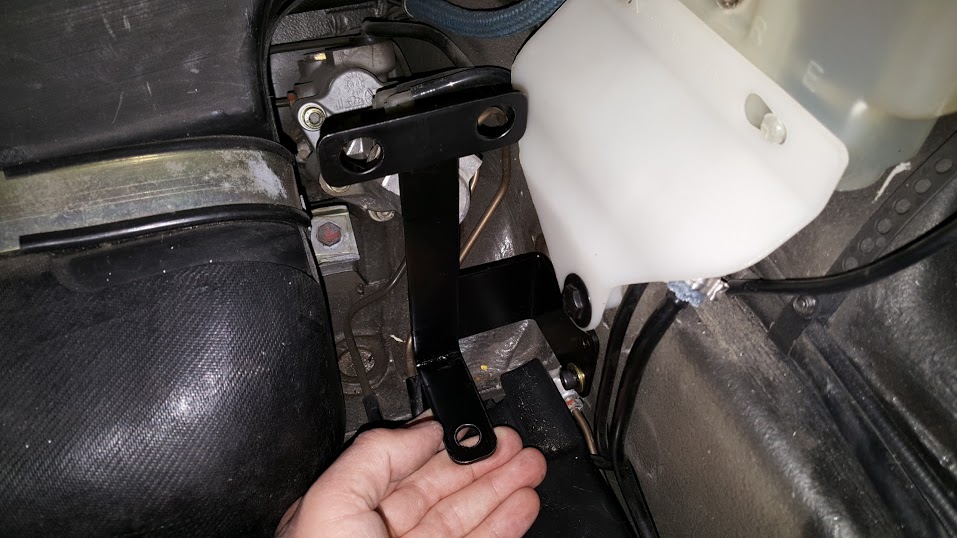
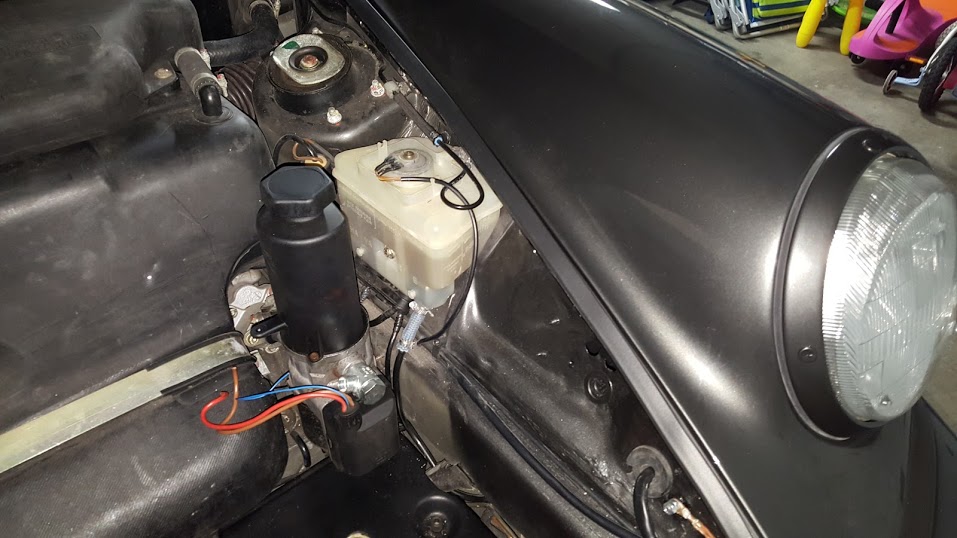
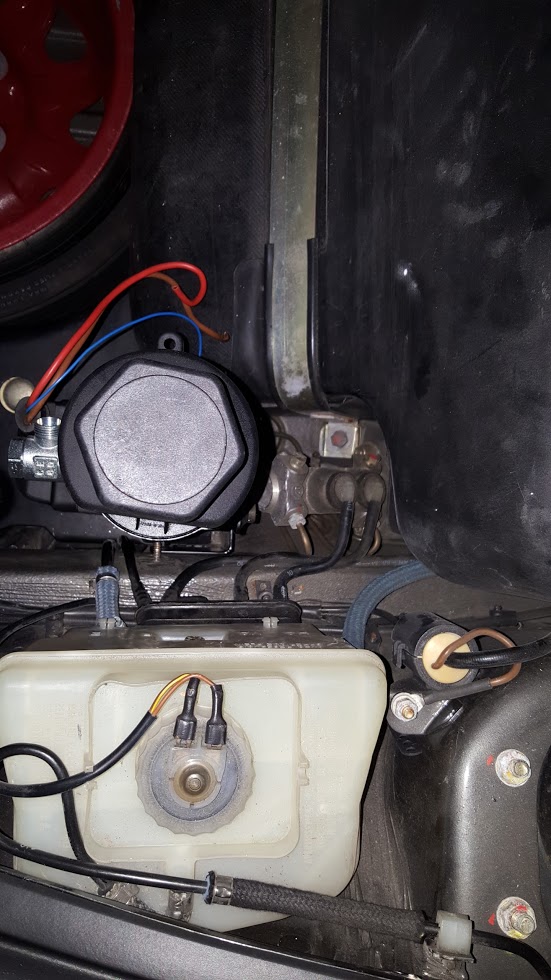
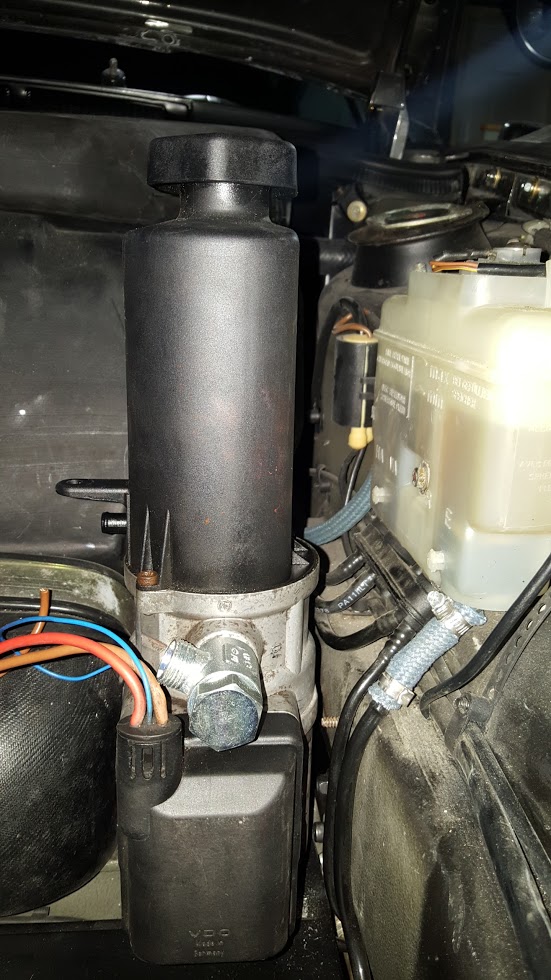
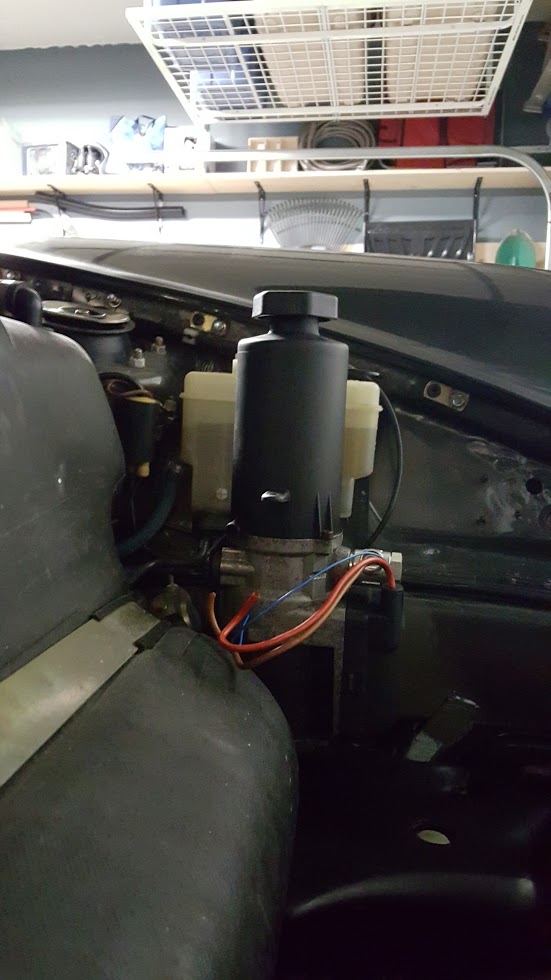
Quick photo update that I though was worth the post. following in robt964 footsteps I have acquired a electric driven PS pump and made-up a bracket. The pump mounts on the opposite side of the frunk due to LHD. There seems to be less space but once I measured everything It looked doable. 2 bracket templates later and it is finally in! Yes, the lid closes with an inch to spare.
Thanks!
Andrew
Thanks!
Andrew
Last edited by 964Andrew; 09-25-2015 at 09:50 PM. Reason: photo sizes
09-19-2015, 01:40 AM
#173
Rennlist Member
Thread Starter
Quick progress update in chronological order. Some things like the seat-belts and interior trim are changing... again.
Out with the old, in with the... never mind it will change again.
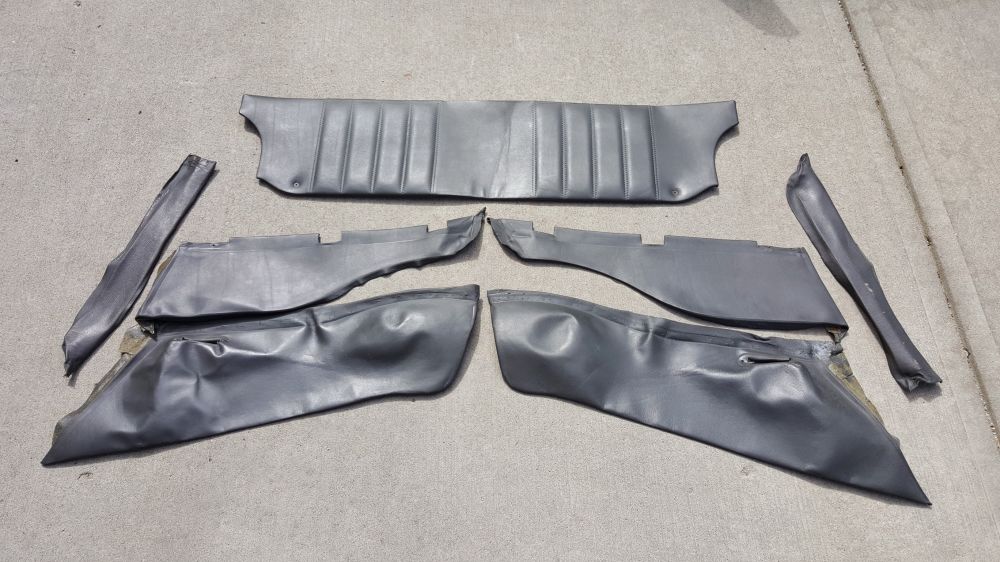

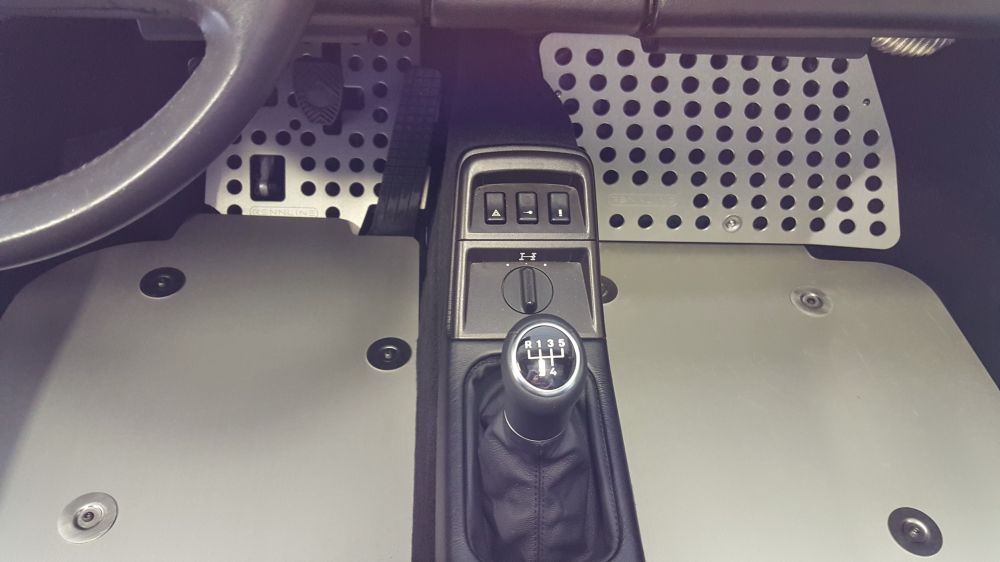
Originally I made some of the floorboards from plywood and with the kind help of robt964 mounted with large conical washers. But then, I got these as a birthday present.
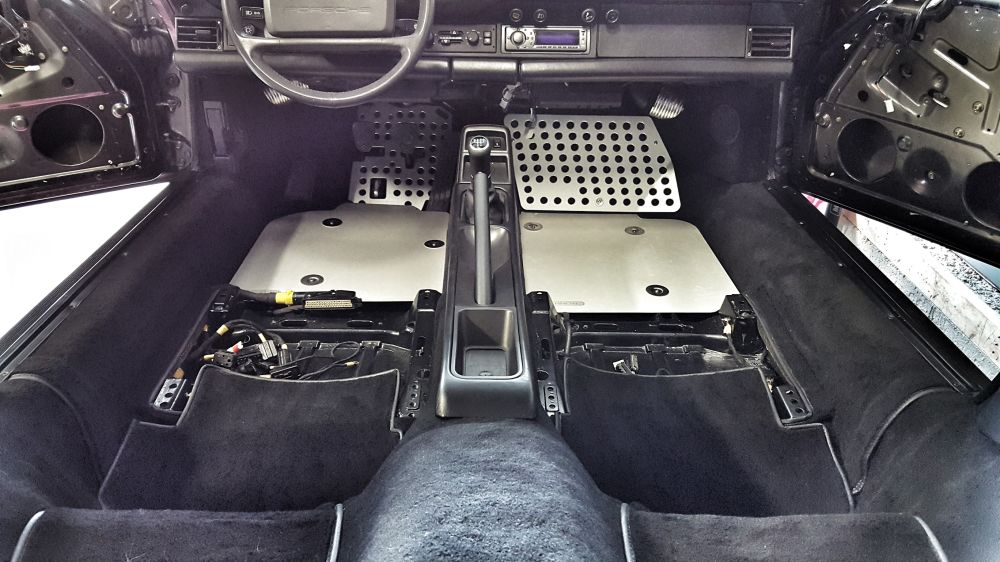
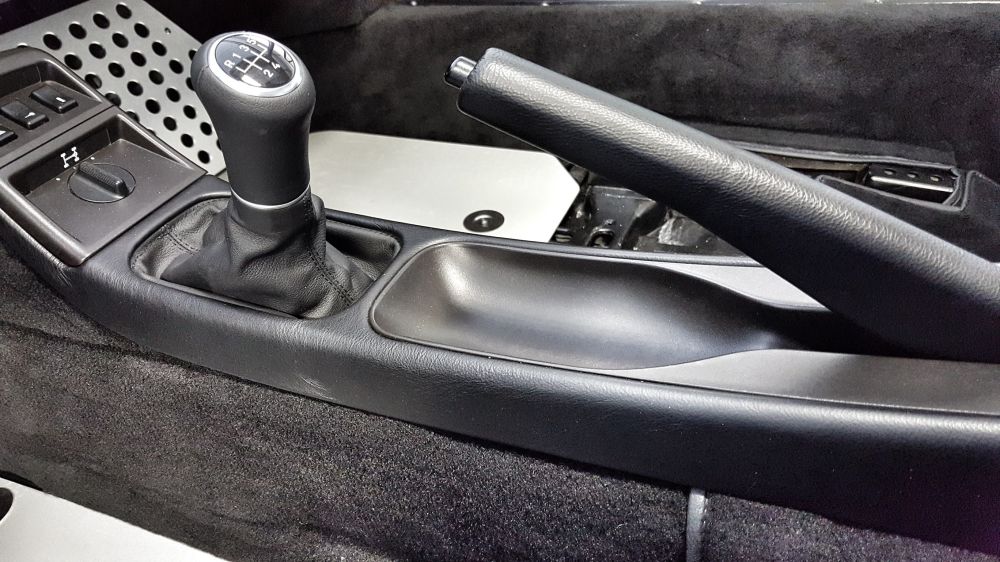
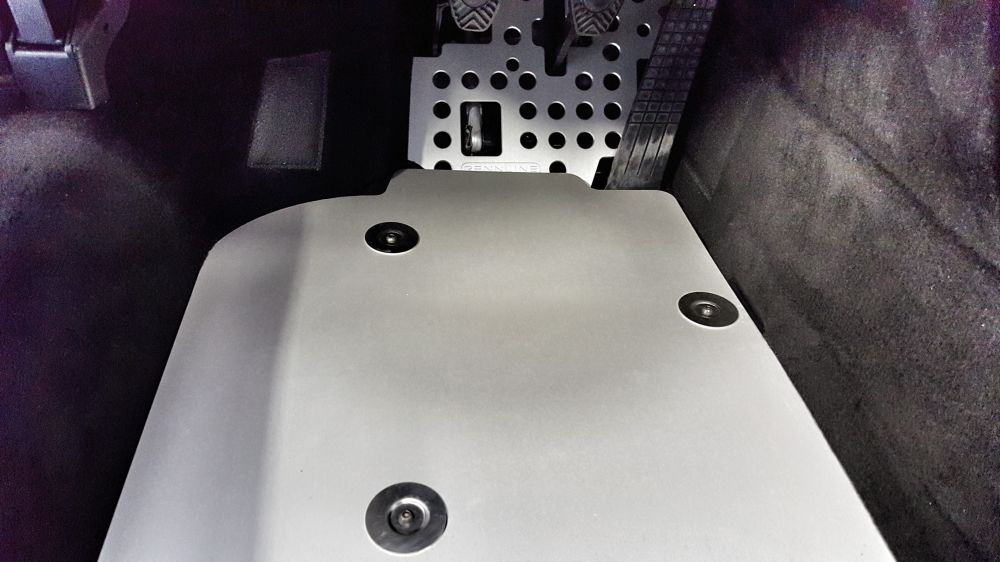
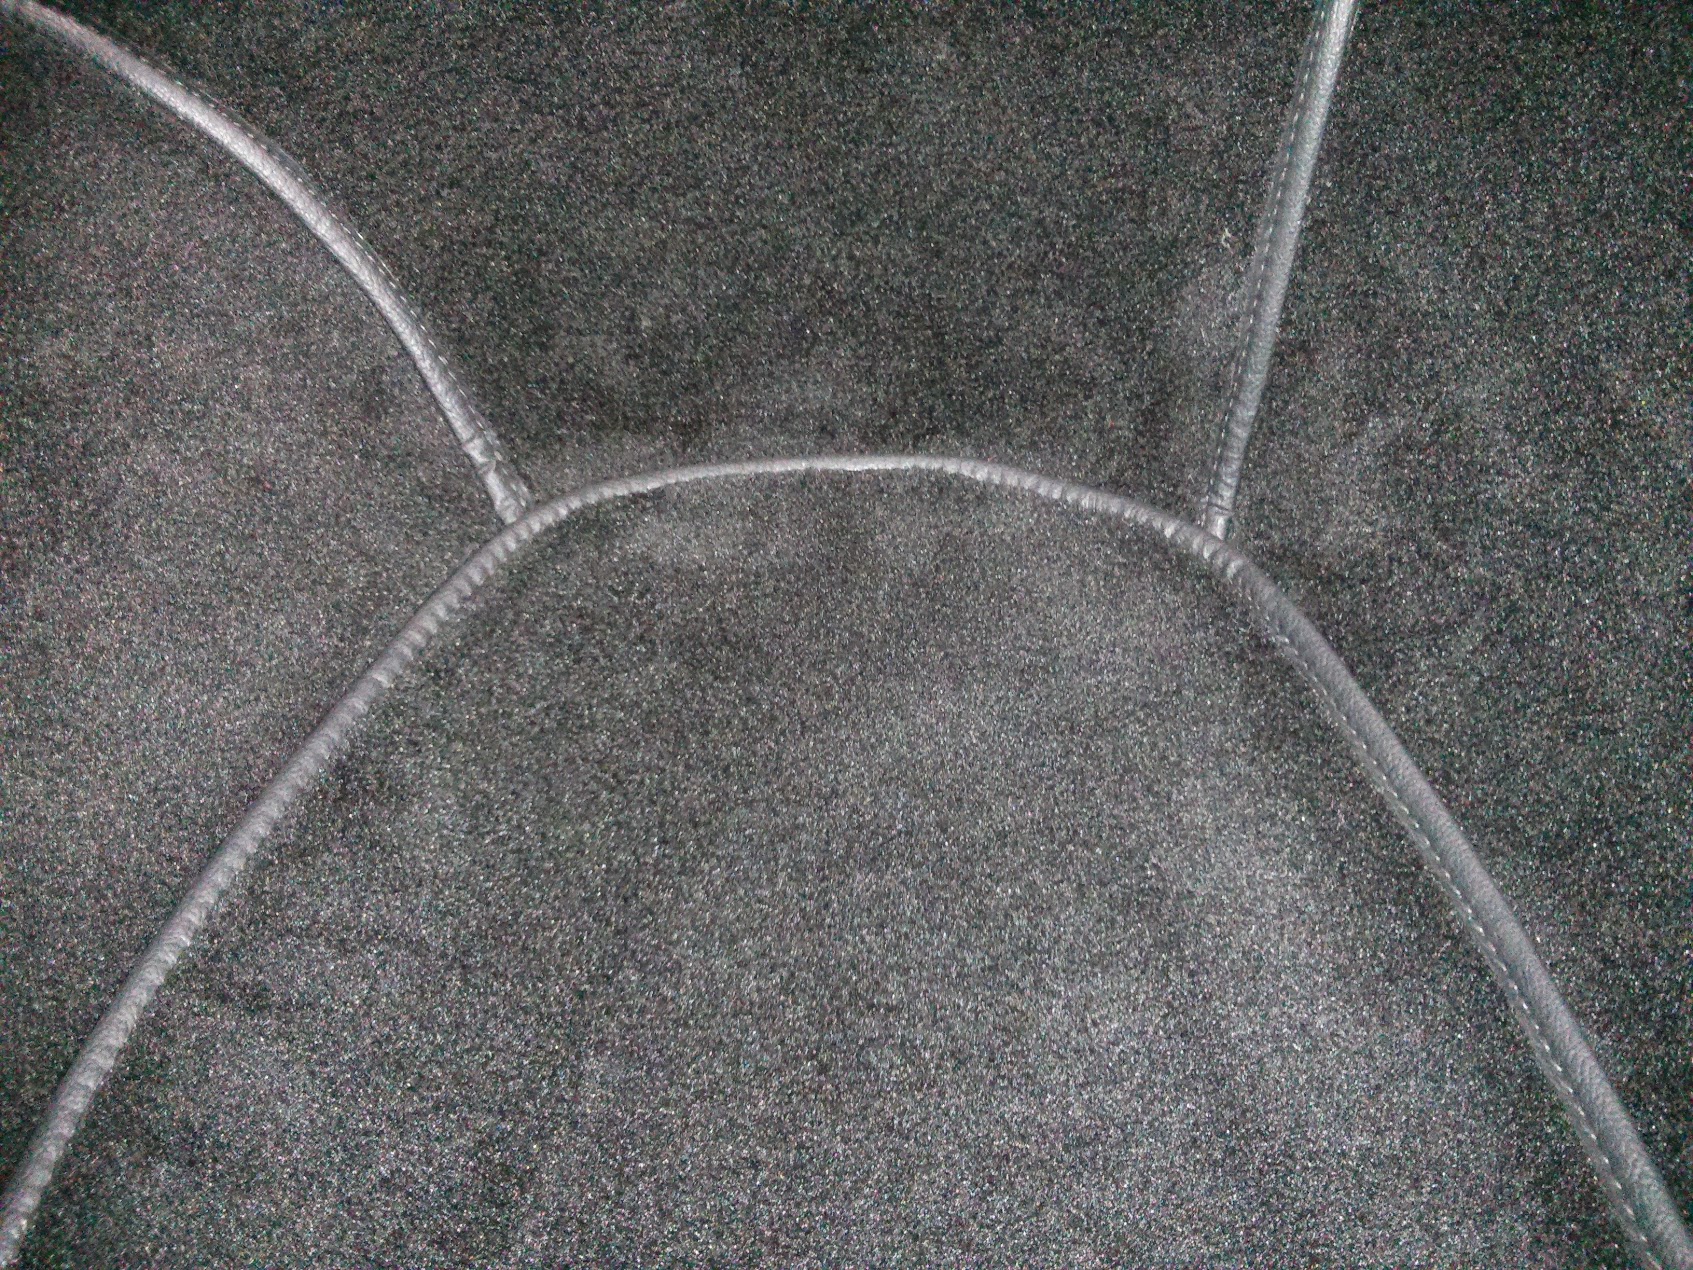
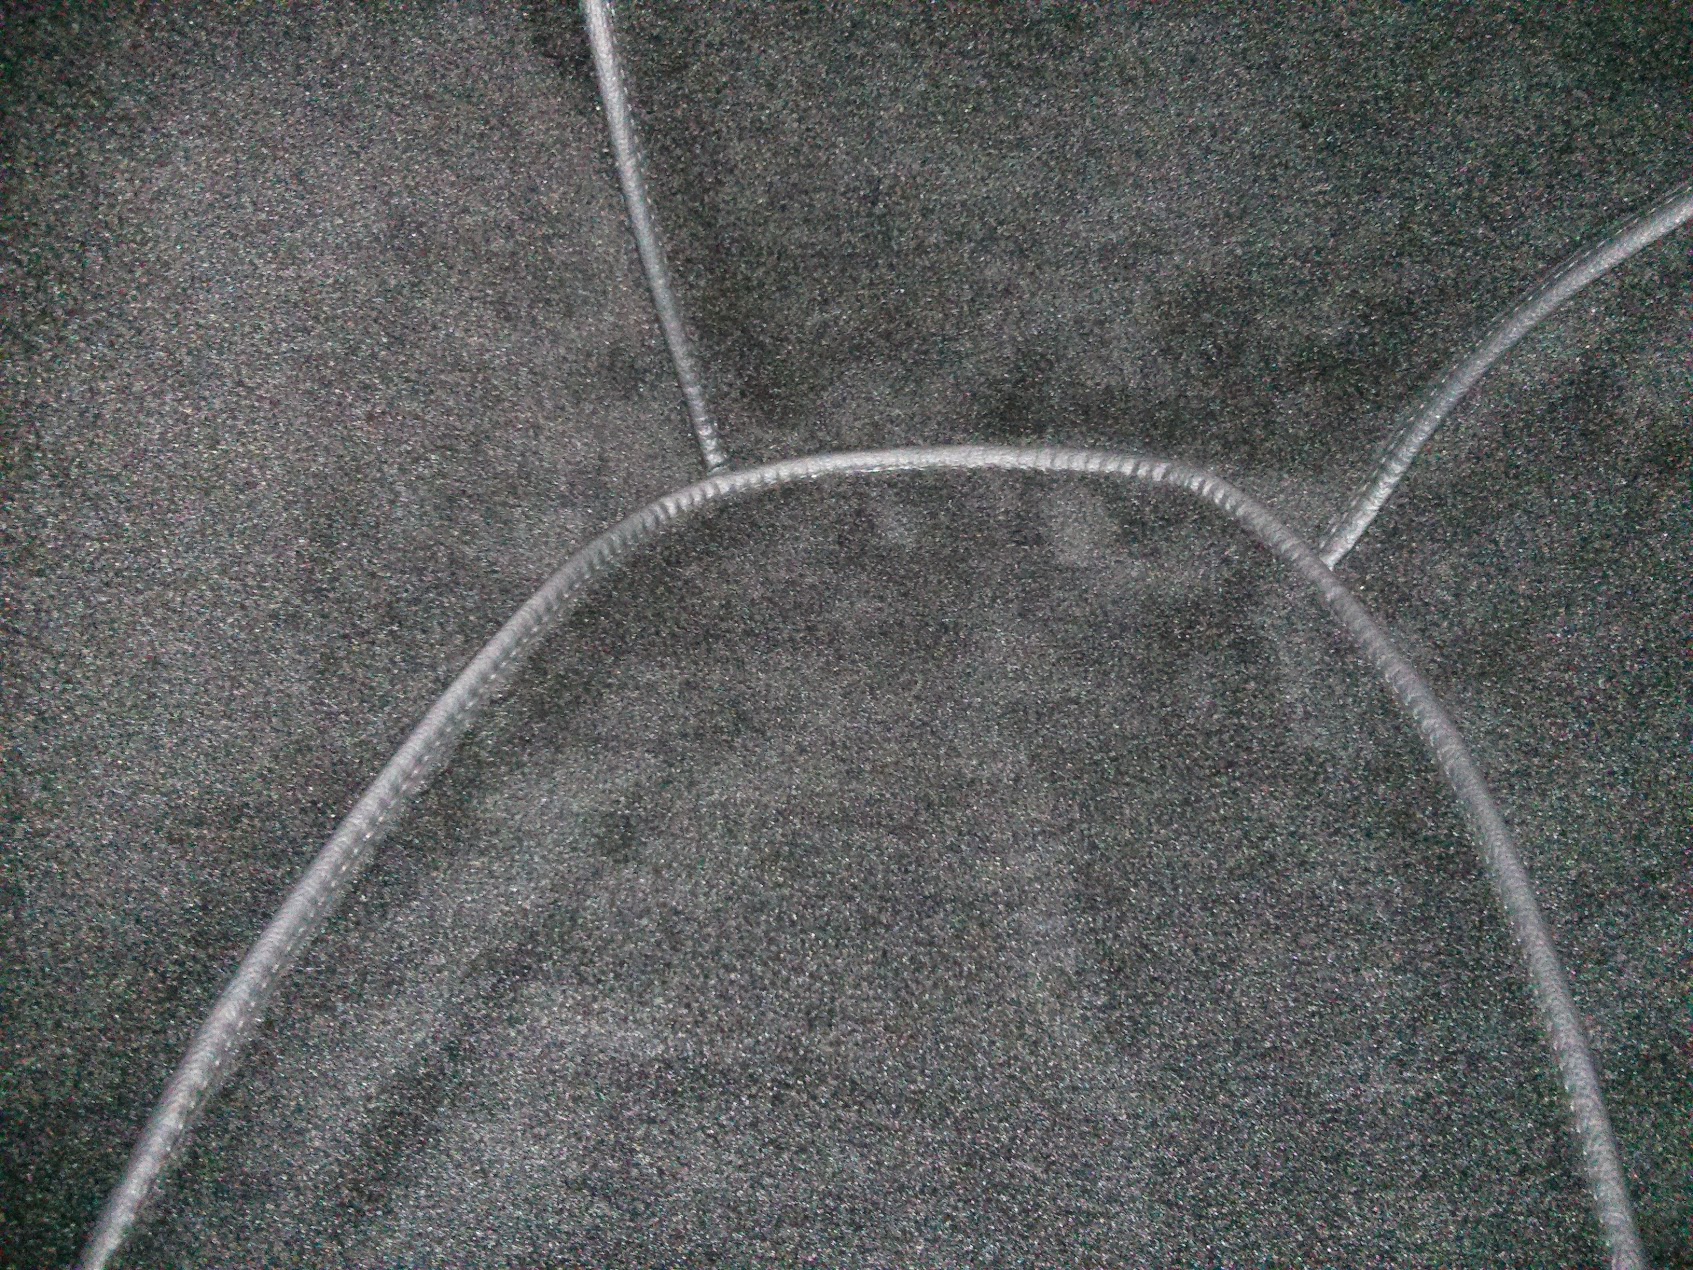
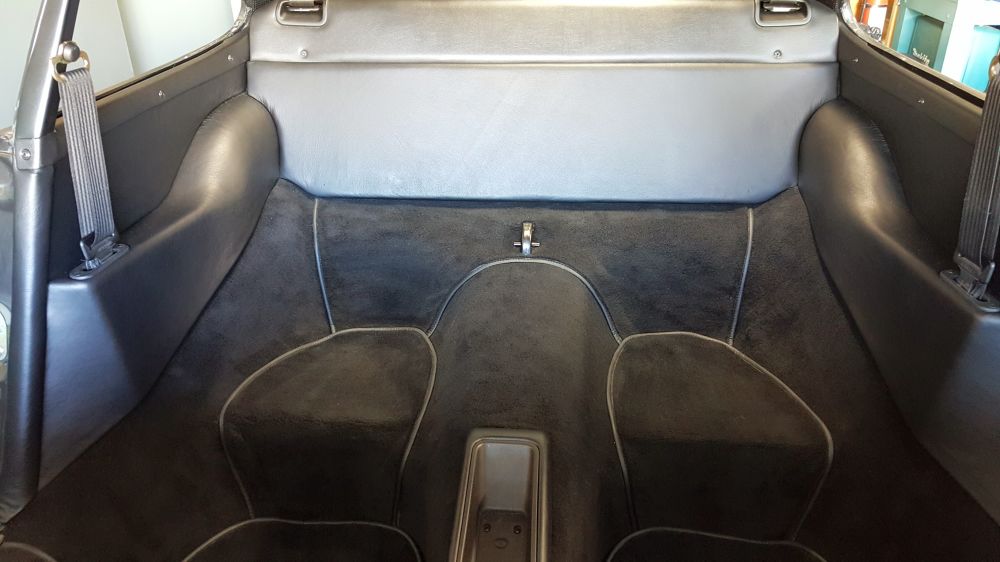
I'm very happy with the carpet work I did, the fit and shape is very close to OEM.
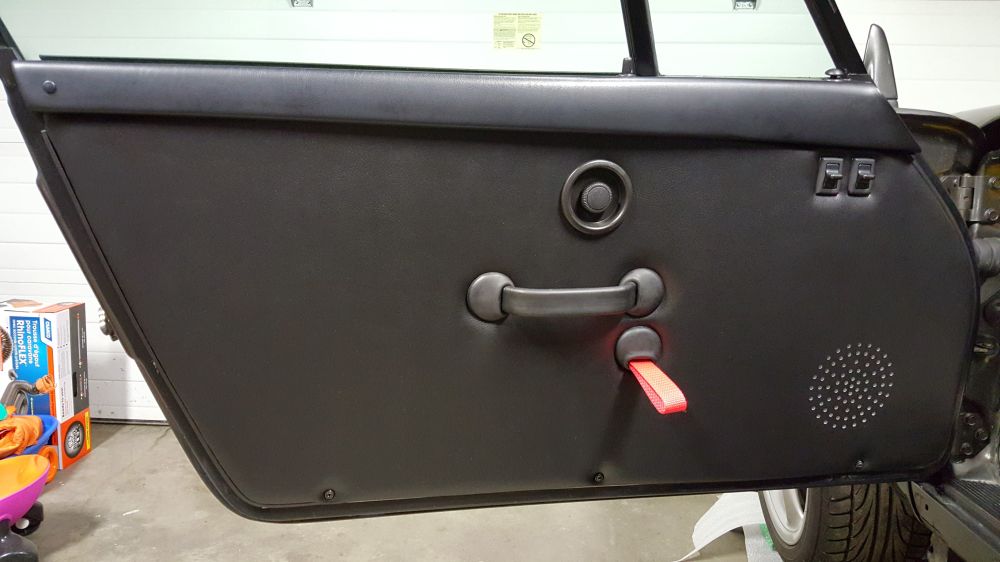
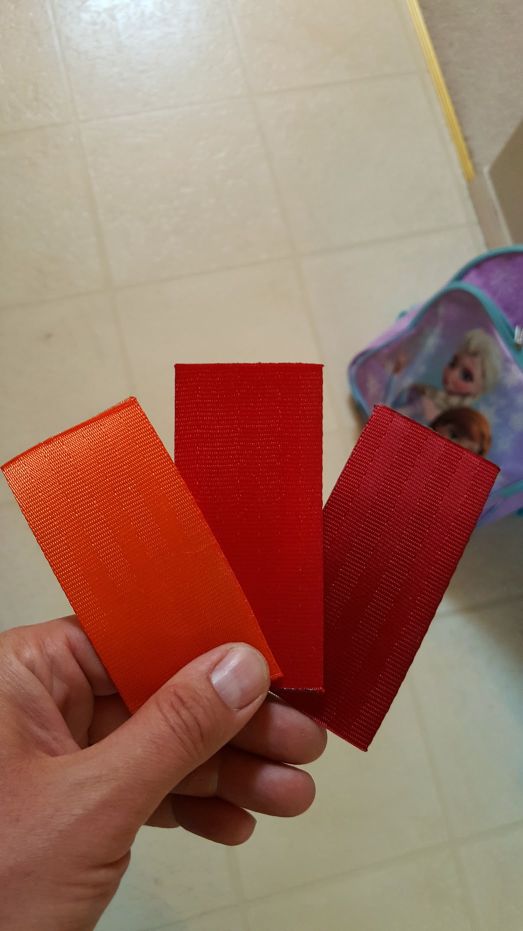
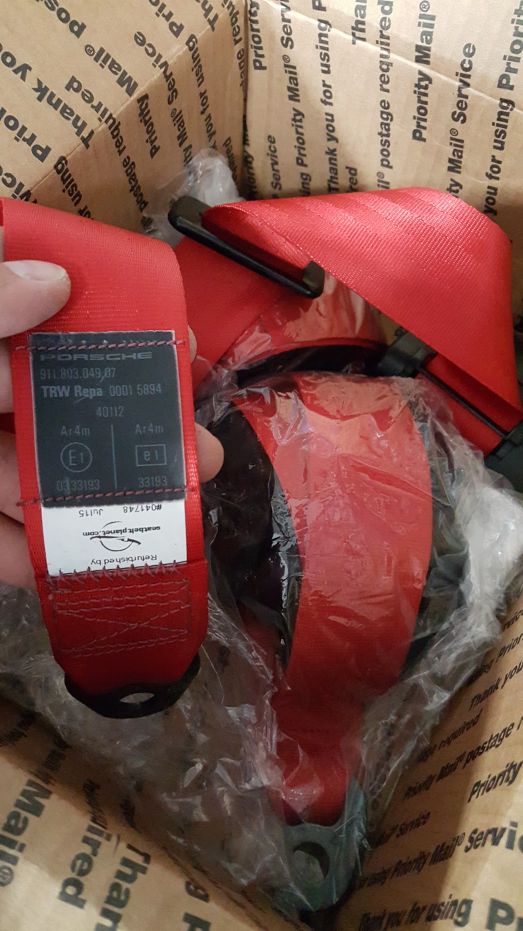
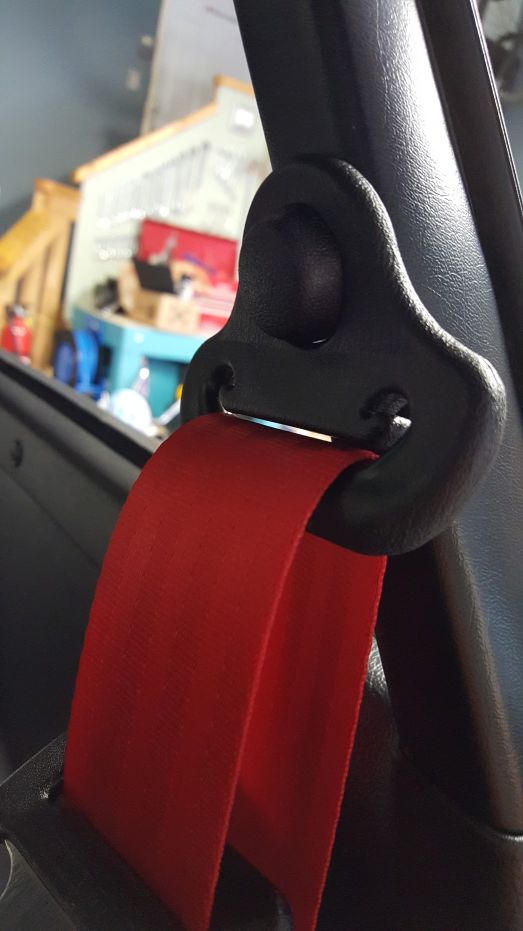
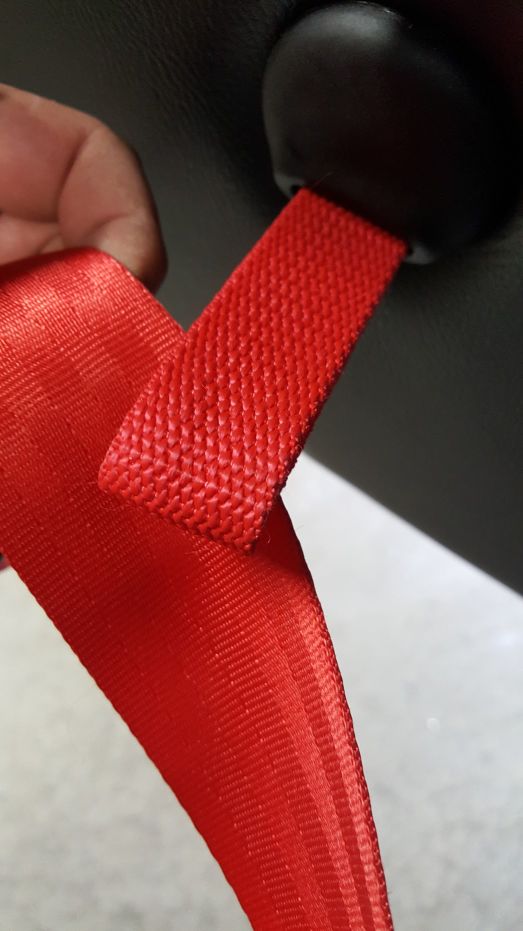
RS door cards. Soon after I decided to send out the seat-belts for re-webbing to match the red strap.
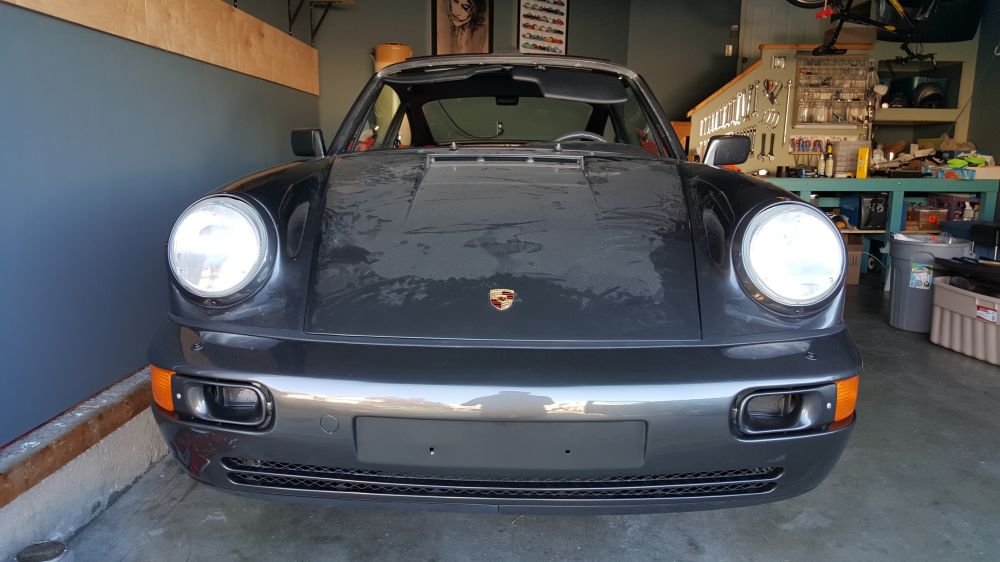
Decided to put the wing on. Forgot to shave 3rd brake light. Will 3d print the plugs and paint to match the lid. Im hoping it will look somewhat acceptable.
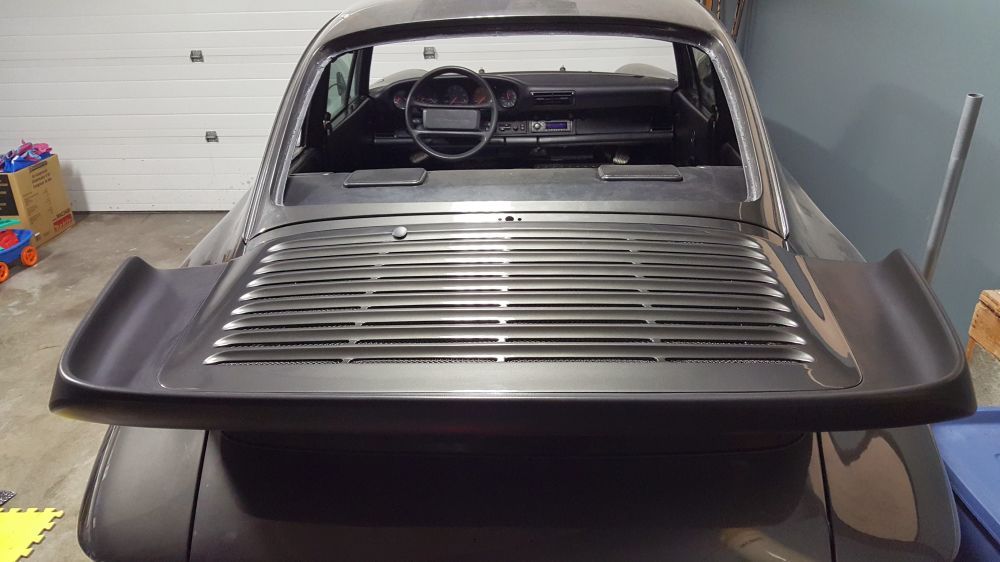
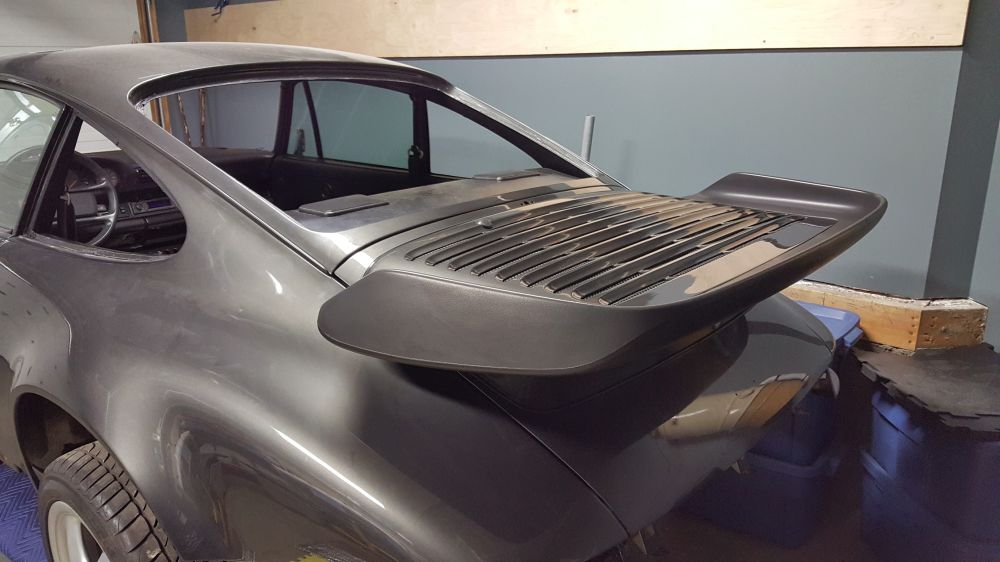
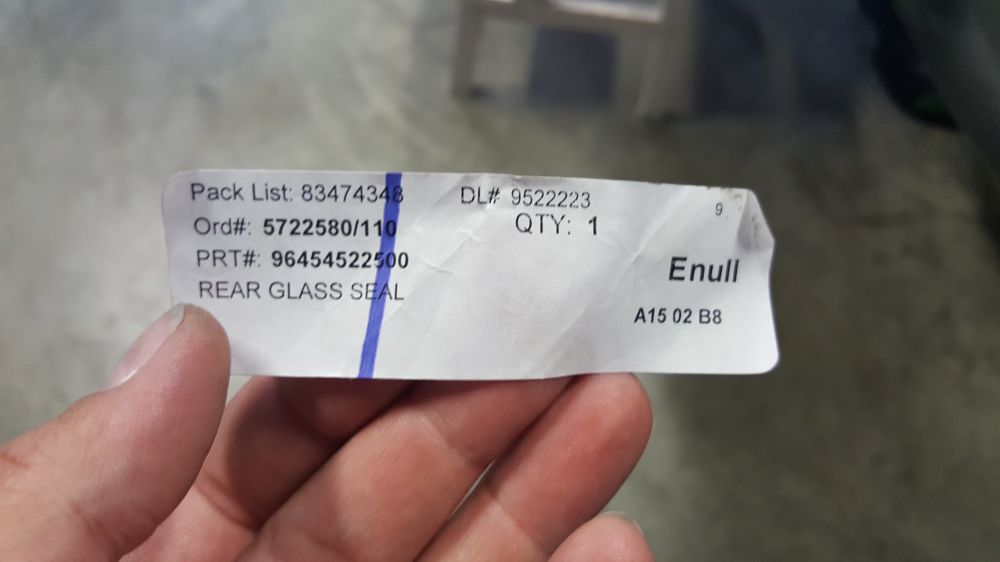
New seal and rear window is in. Sealed, fitted... all by the book. Not a hard thing to do by yourself at all.

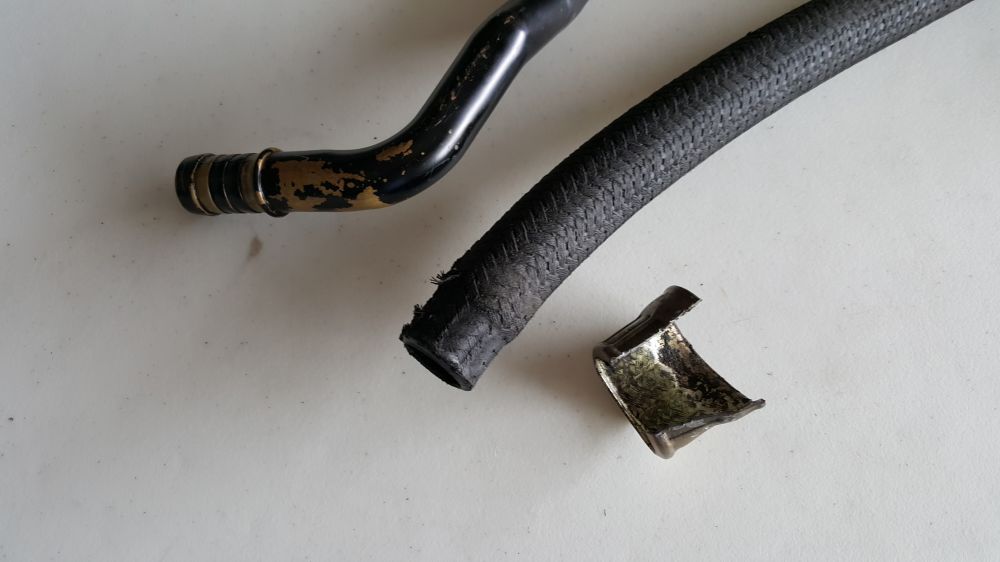
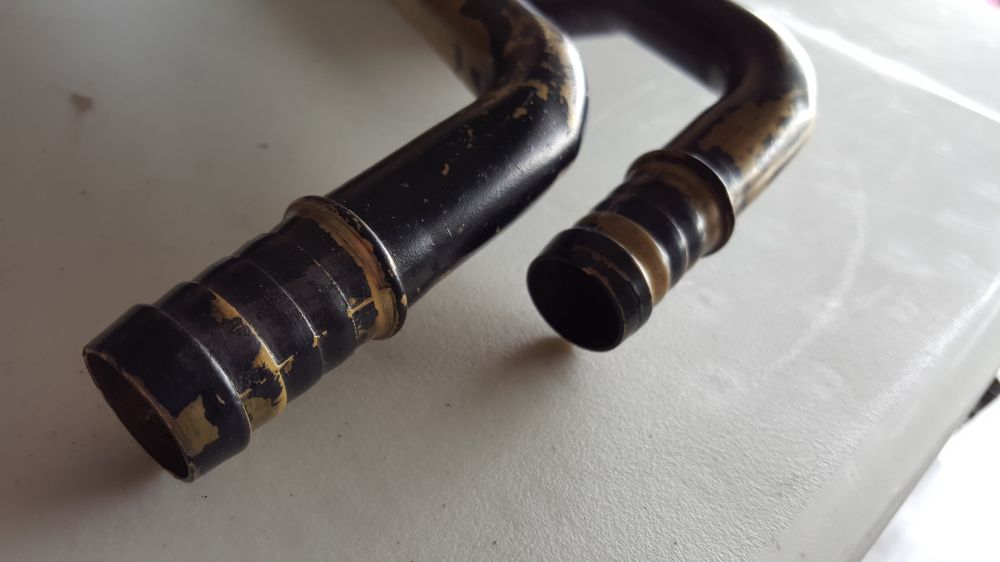
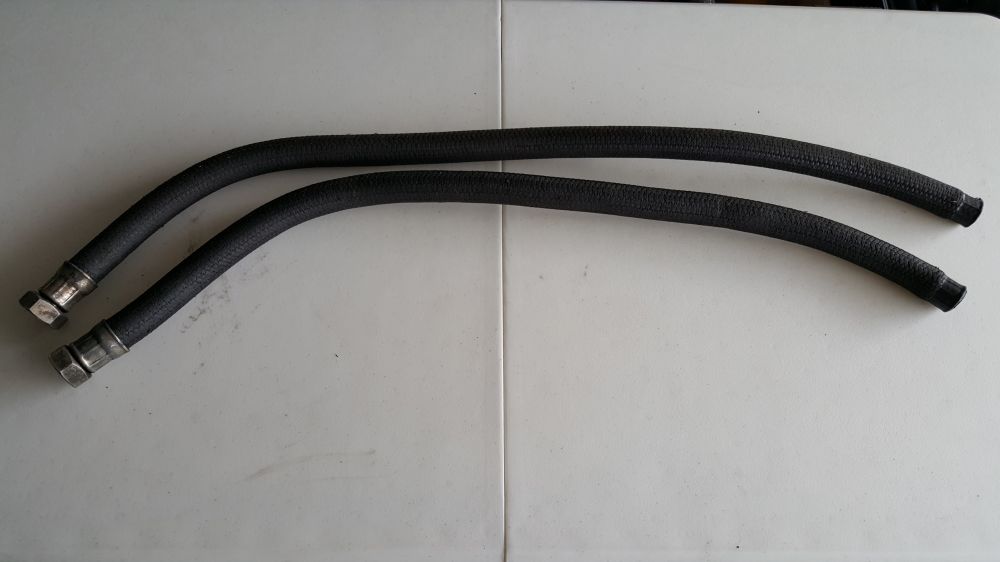
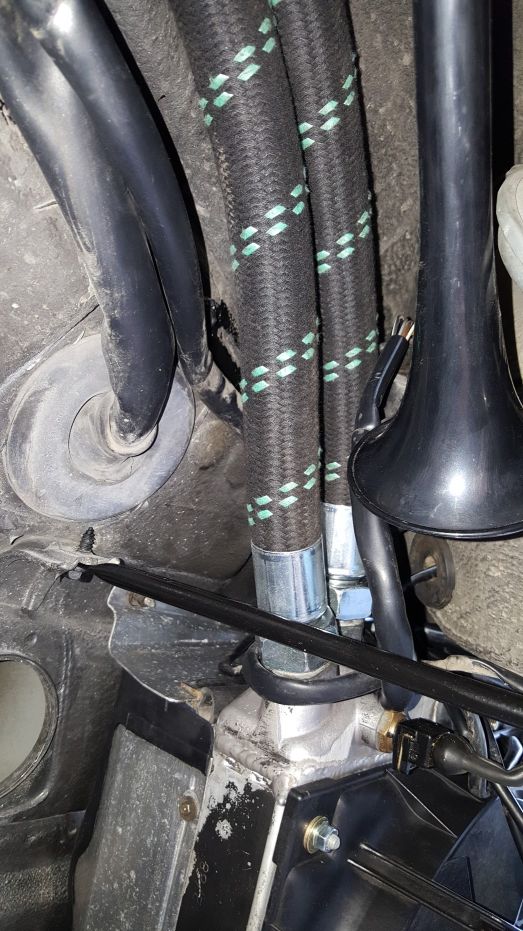
Front oil lines rebuild.


Patched up fender liners.
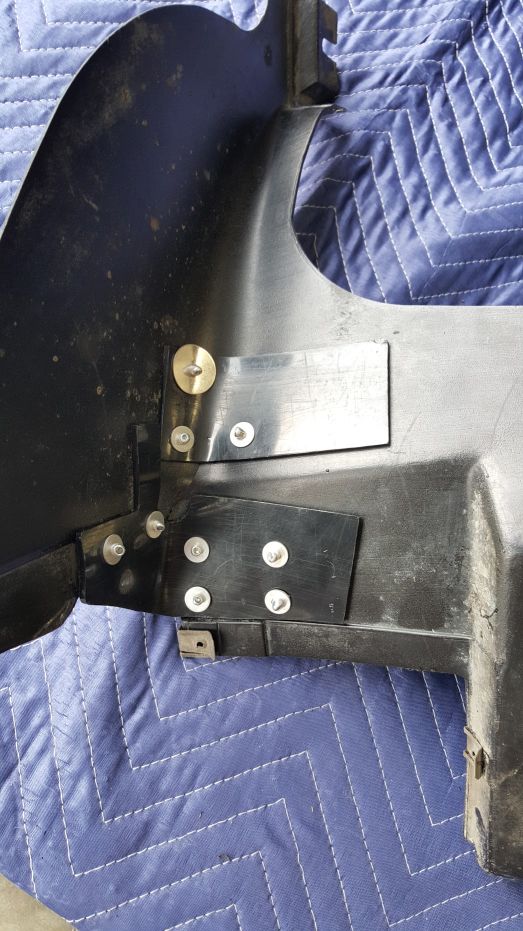
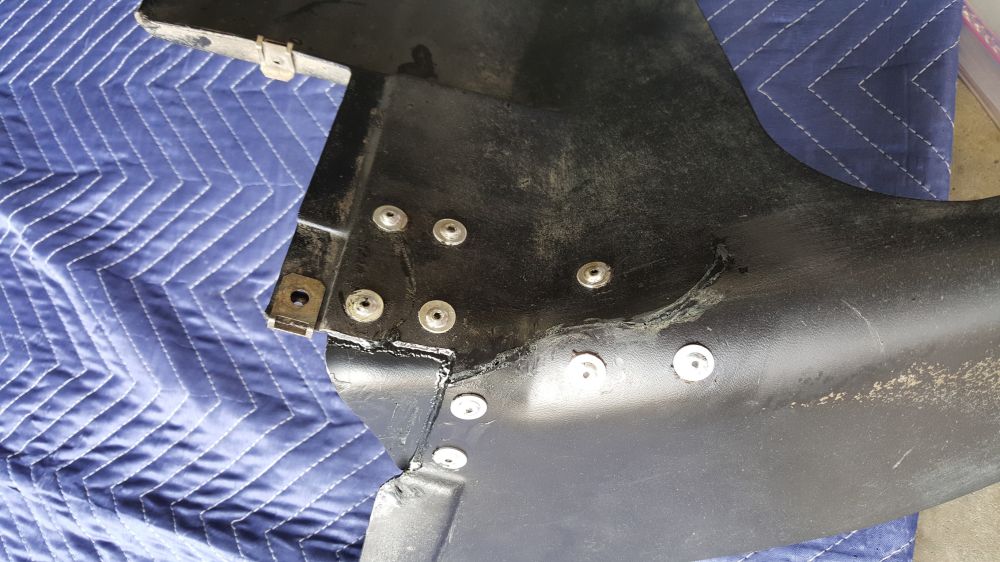
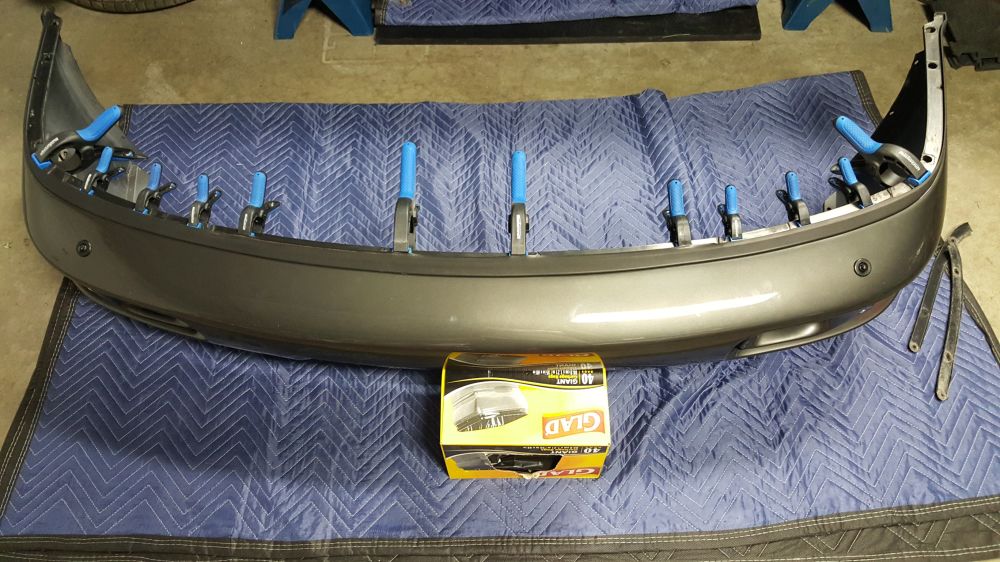
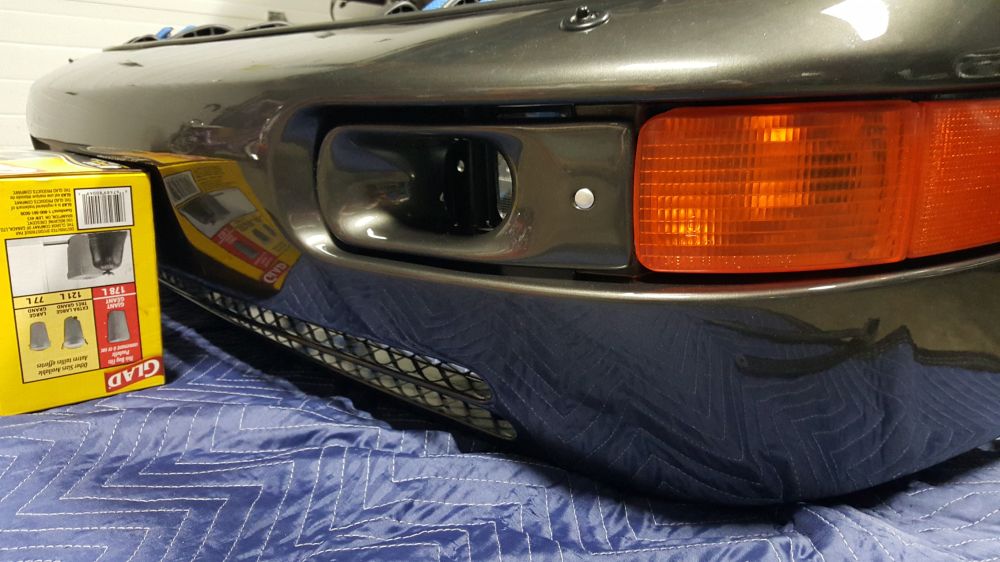
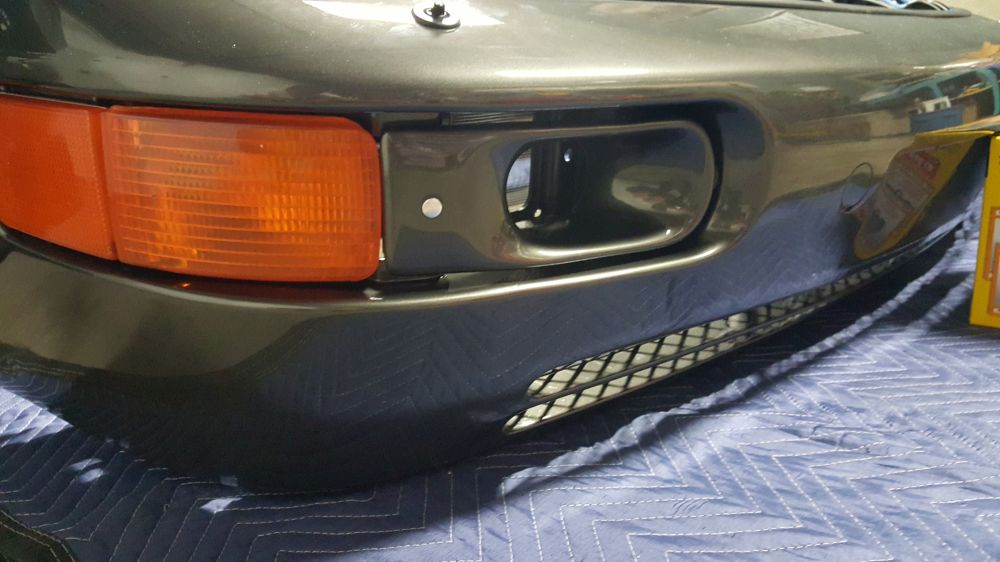
Front bumper work and air ducts with homemade mesh.


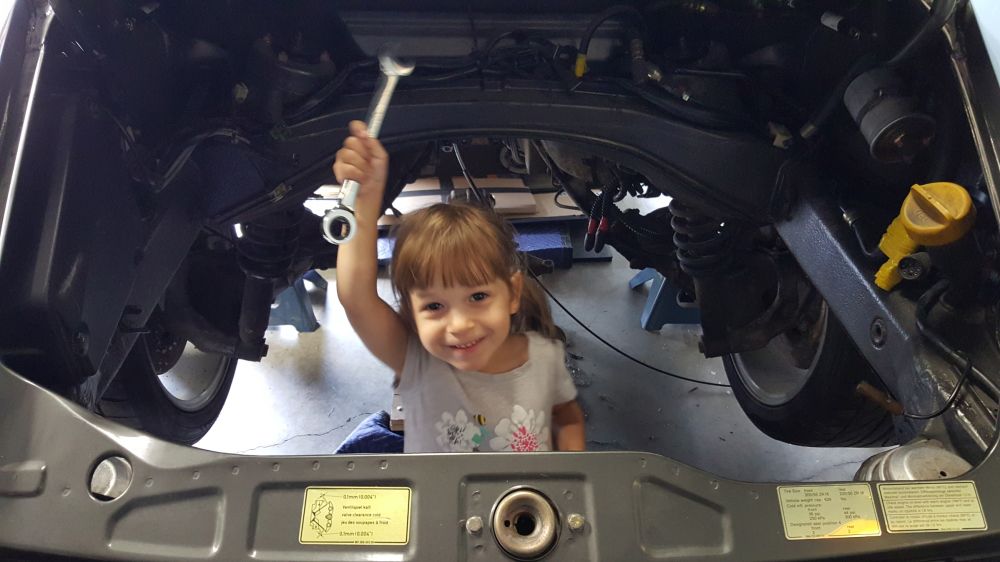
Little helper hard at work.
Thanks!
Andrew
Out with the old, in with the... never mind it will change again.
Originally I made some of the floorboards from plywood and with the kind help of robt964 mounted with large conical washers. But then, I got these as a birthday present.
I'm very happy with the carpet work I did, the fit and shape is very close to OEM.
RS door cards. Soon after I decided to send out the seat-belts for re-webbing to match the red strap.
Decided to put the wing on. Forgot to shave 3rd brake light. Will 3d print the plugs and paint to match the lid. Im hoping it will look somewhat acceptable.
New seal and rear window is in. Sealed, fitted... all by the book. Not a hard thing to do by yourself at all.
Front oil lines rebuild.
Patched up fender liners.
Front bumper work and air ducts with homemade mesh.
Little helper hard at work.
Thanks!
Andrew
Last edited by 964Andrew; 09-25-2015 at 10:02 PM. Reason: photo sizes
 10-02-2015, 11:01 PM
#176
Rennlist Member
Thread Starter
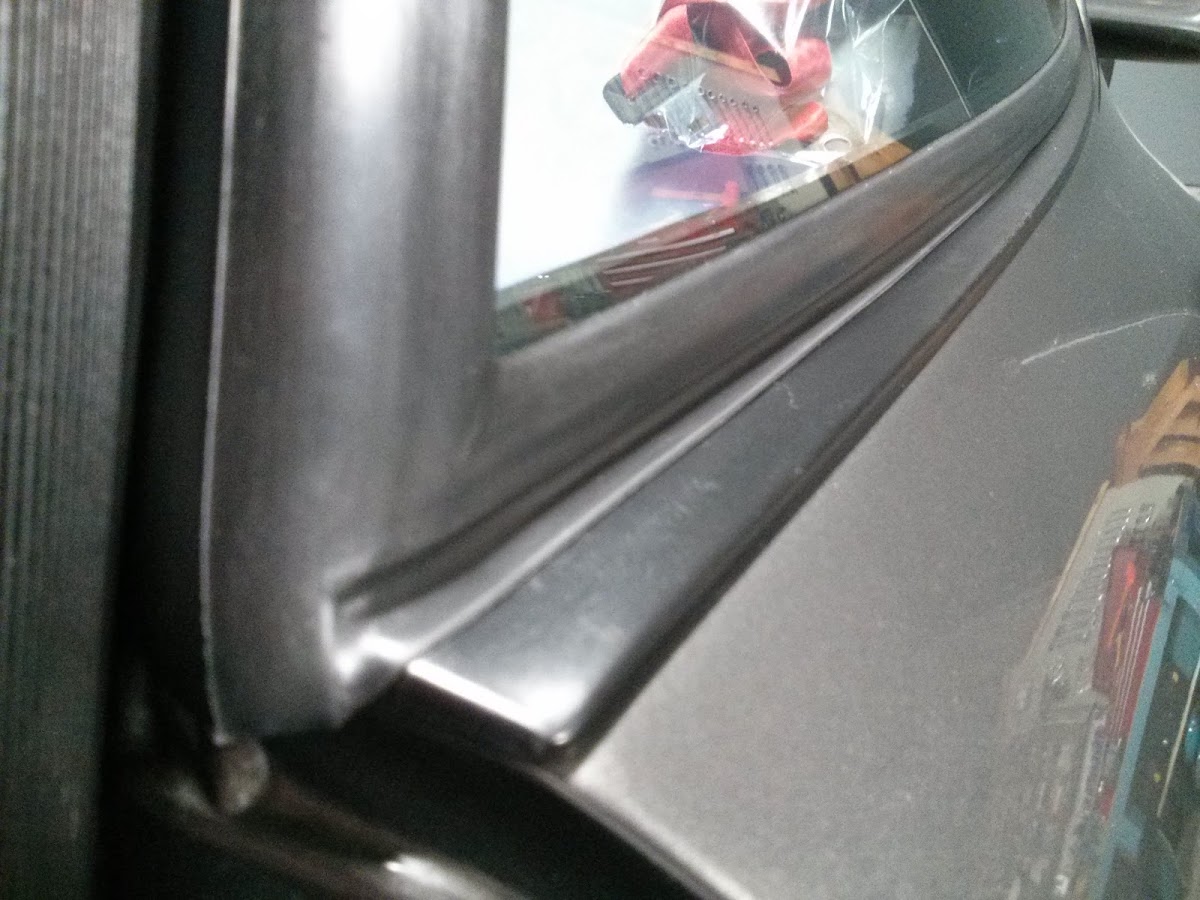
Fitted in 993 quarter seals over 964 glass
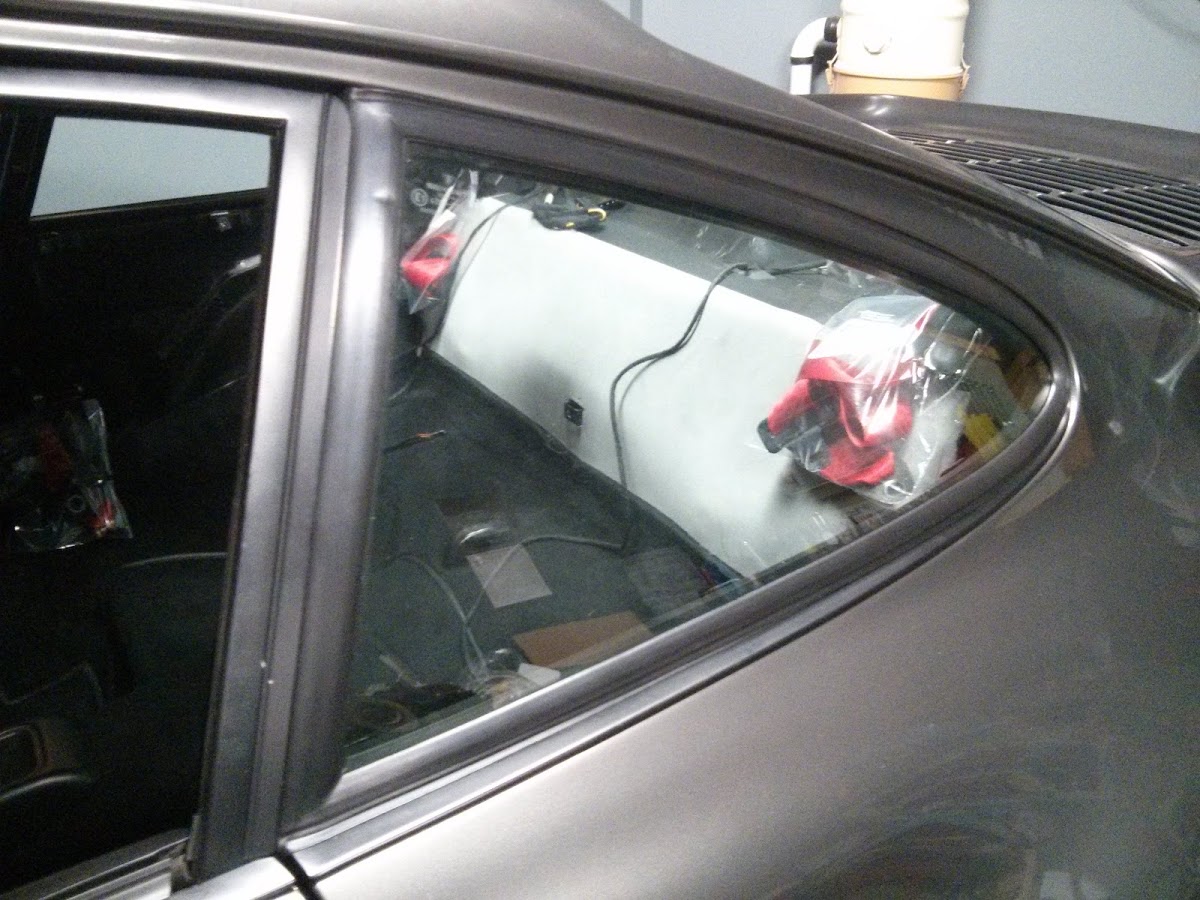
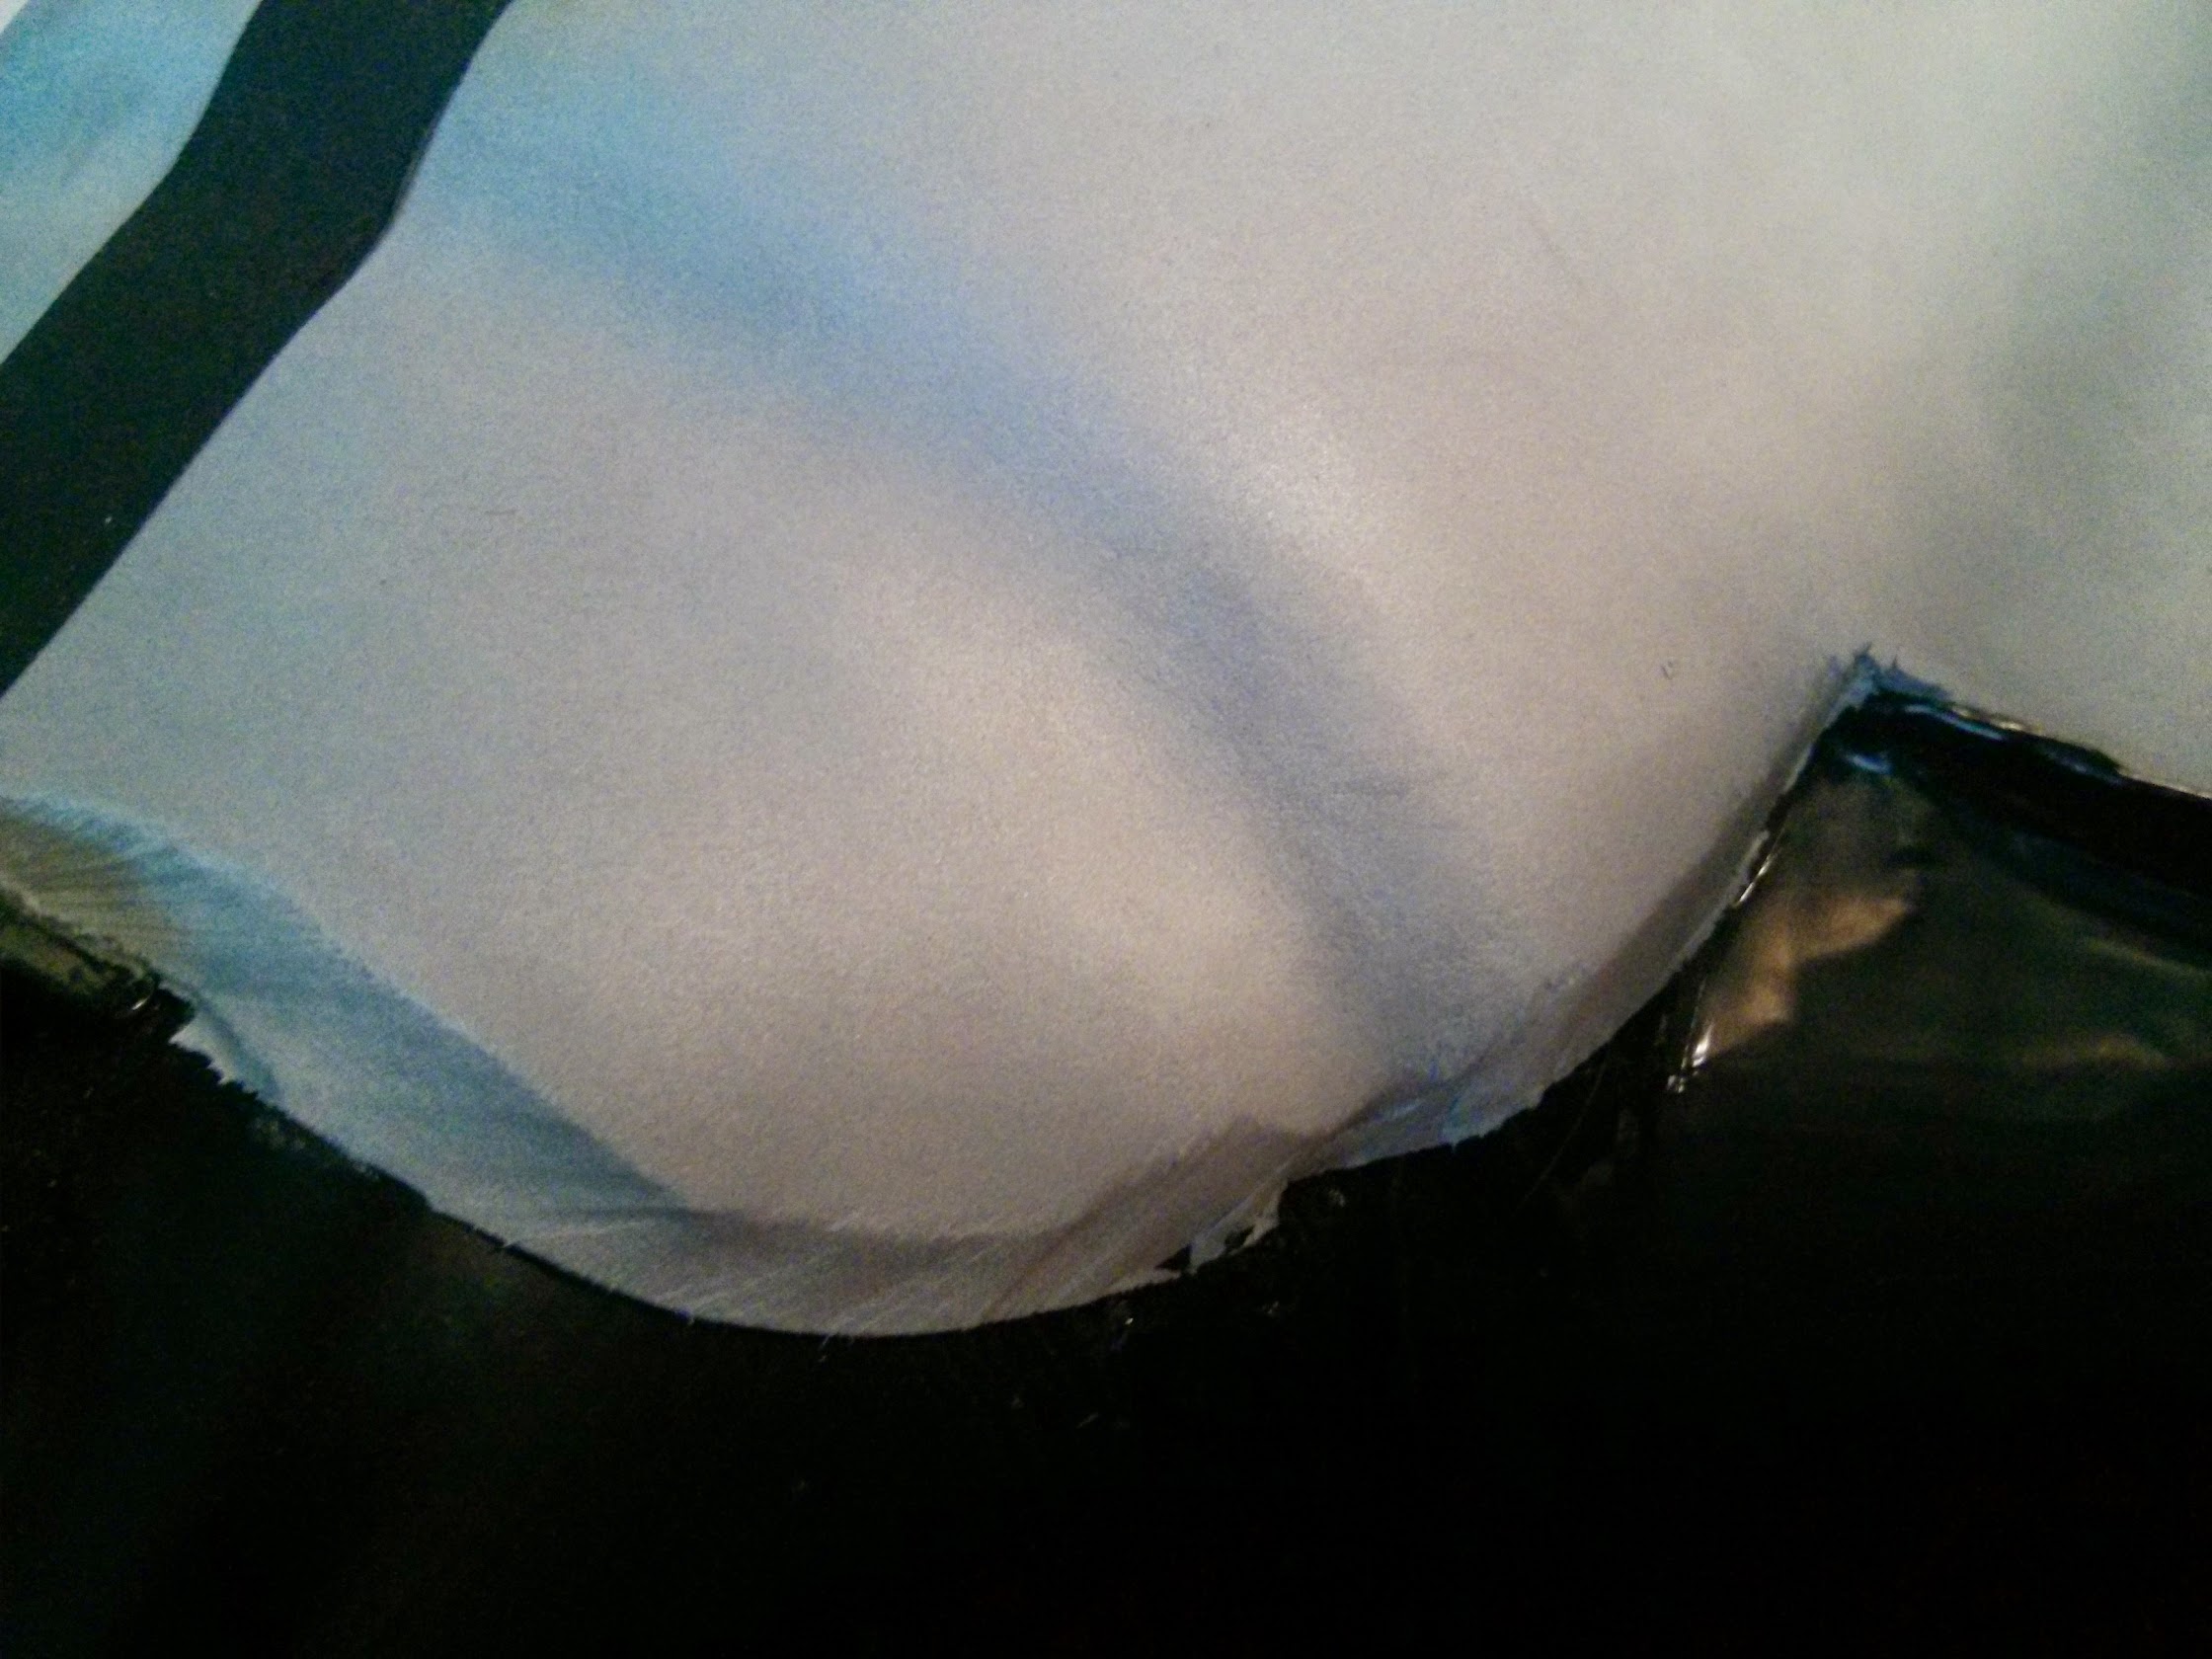
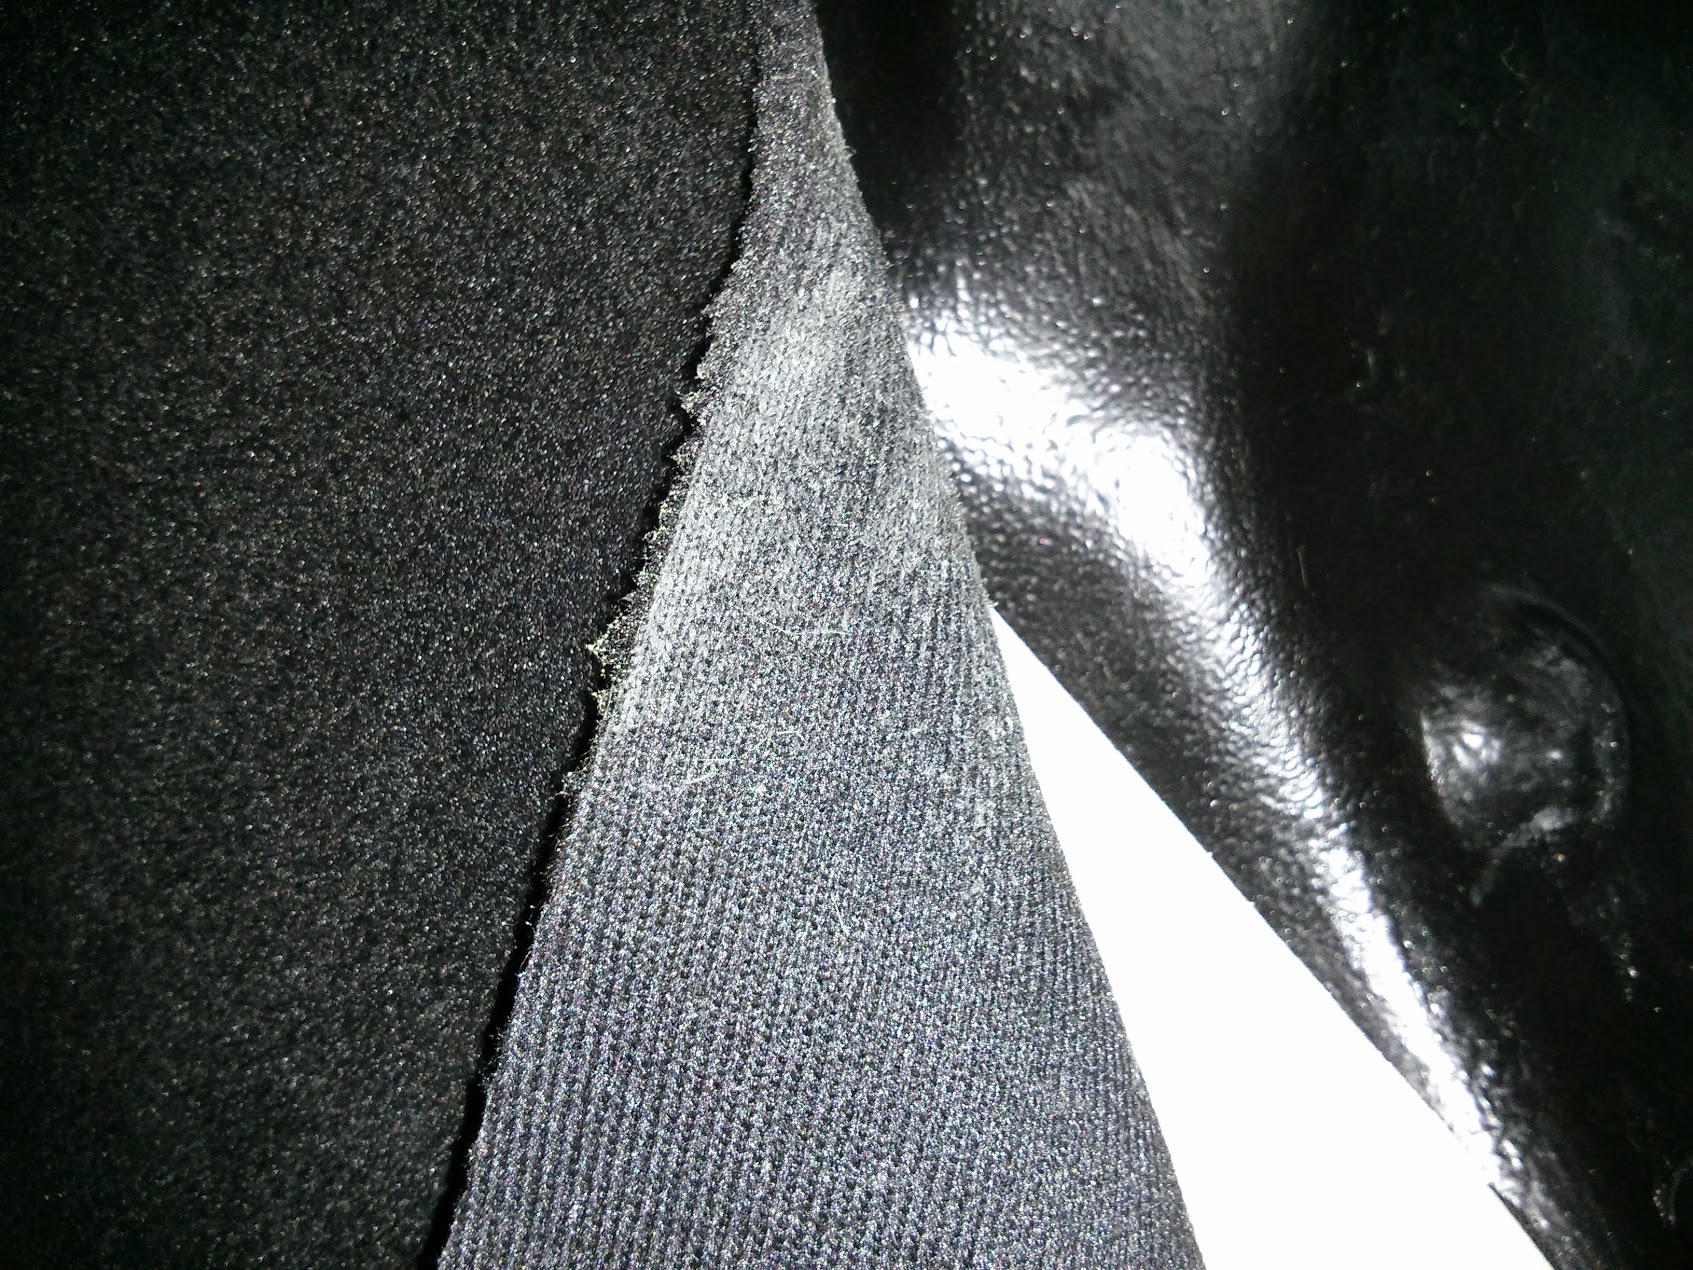
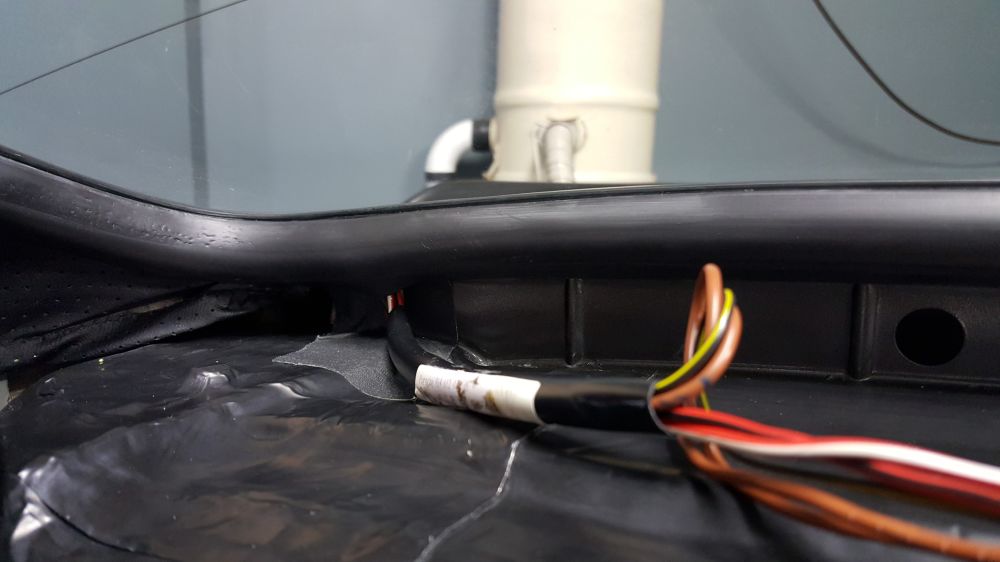
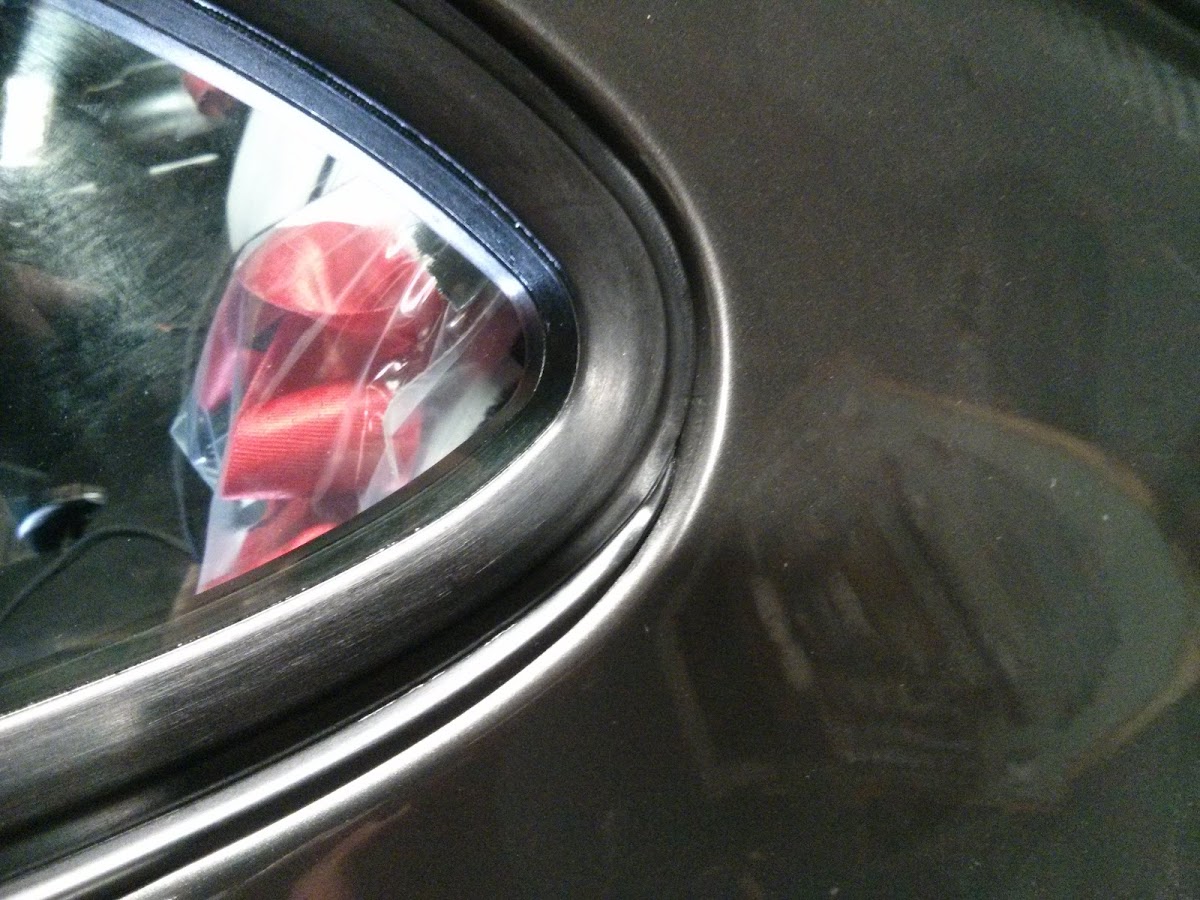
Started with the "B" pillar edge as there is a lip to go under. Continued with the bottom edge and went around with my assembly cord. After the seal was over and tight the "B" pillar and the top edge would look great from outside but the bottom would be bulged and uneven (Sorry no photo). I could not figure out why it wasn't sitting properly until I realized the inner seal lip wasn't flush with the bottom edge due to the trim piece being offset enough to catch the seal lip and not let it align flush with the body.
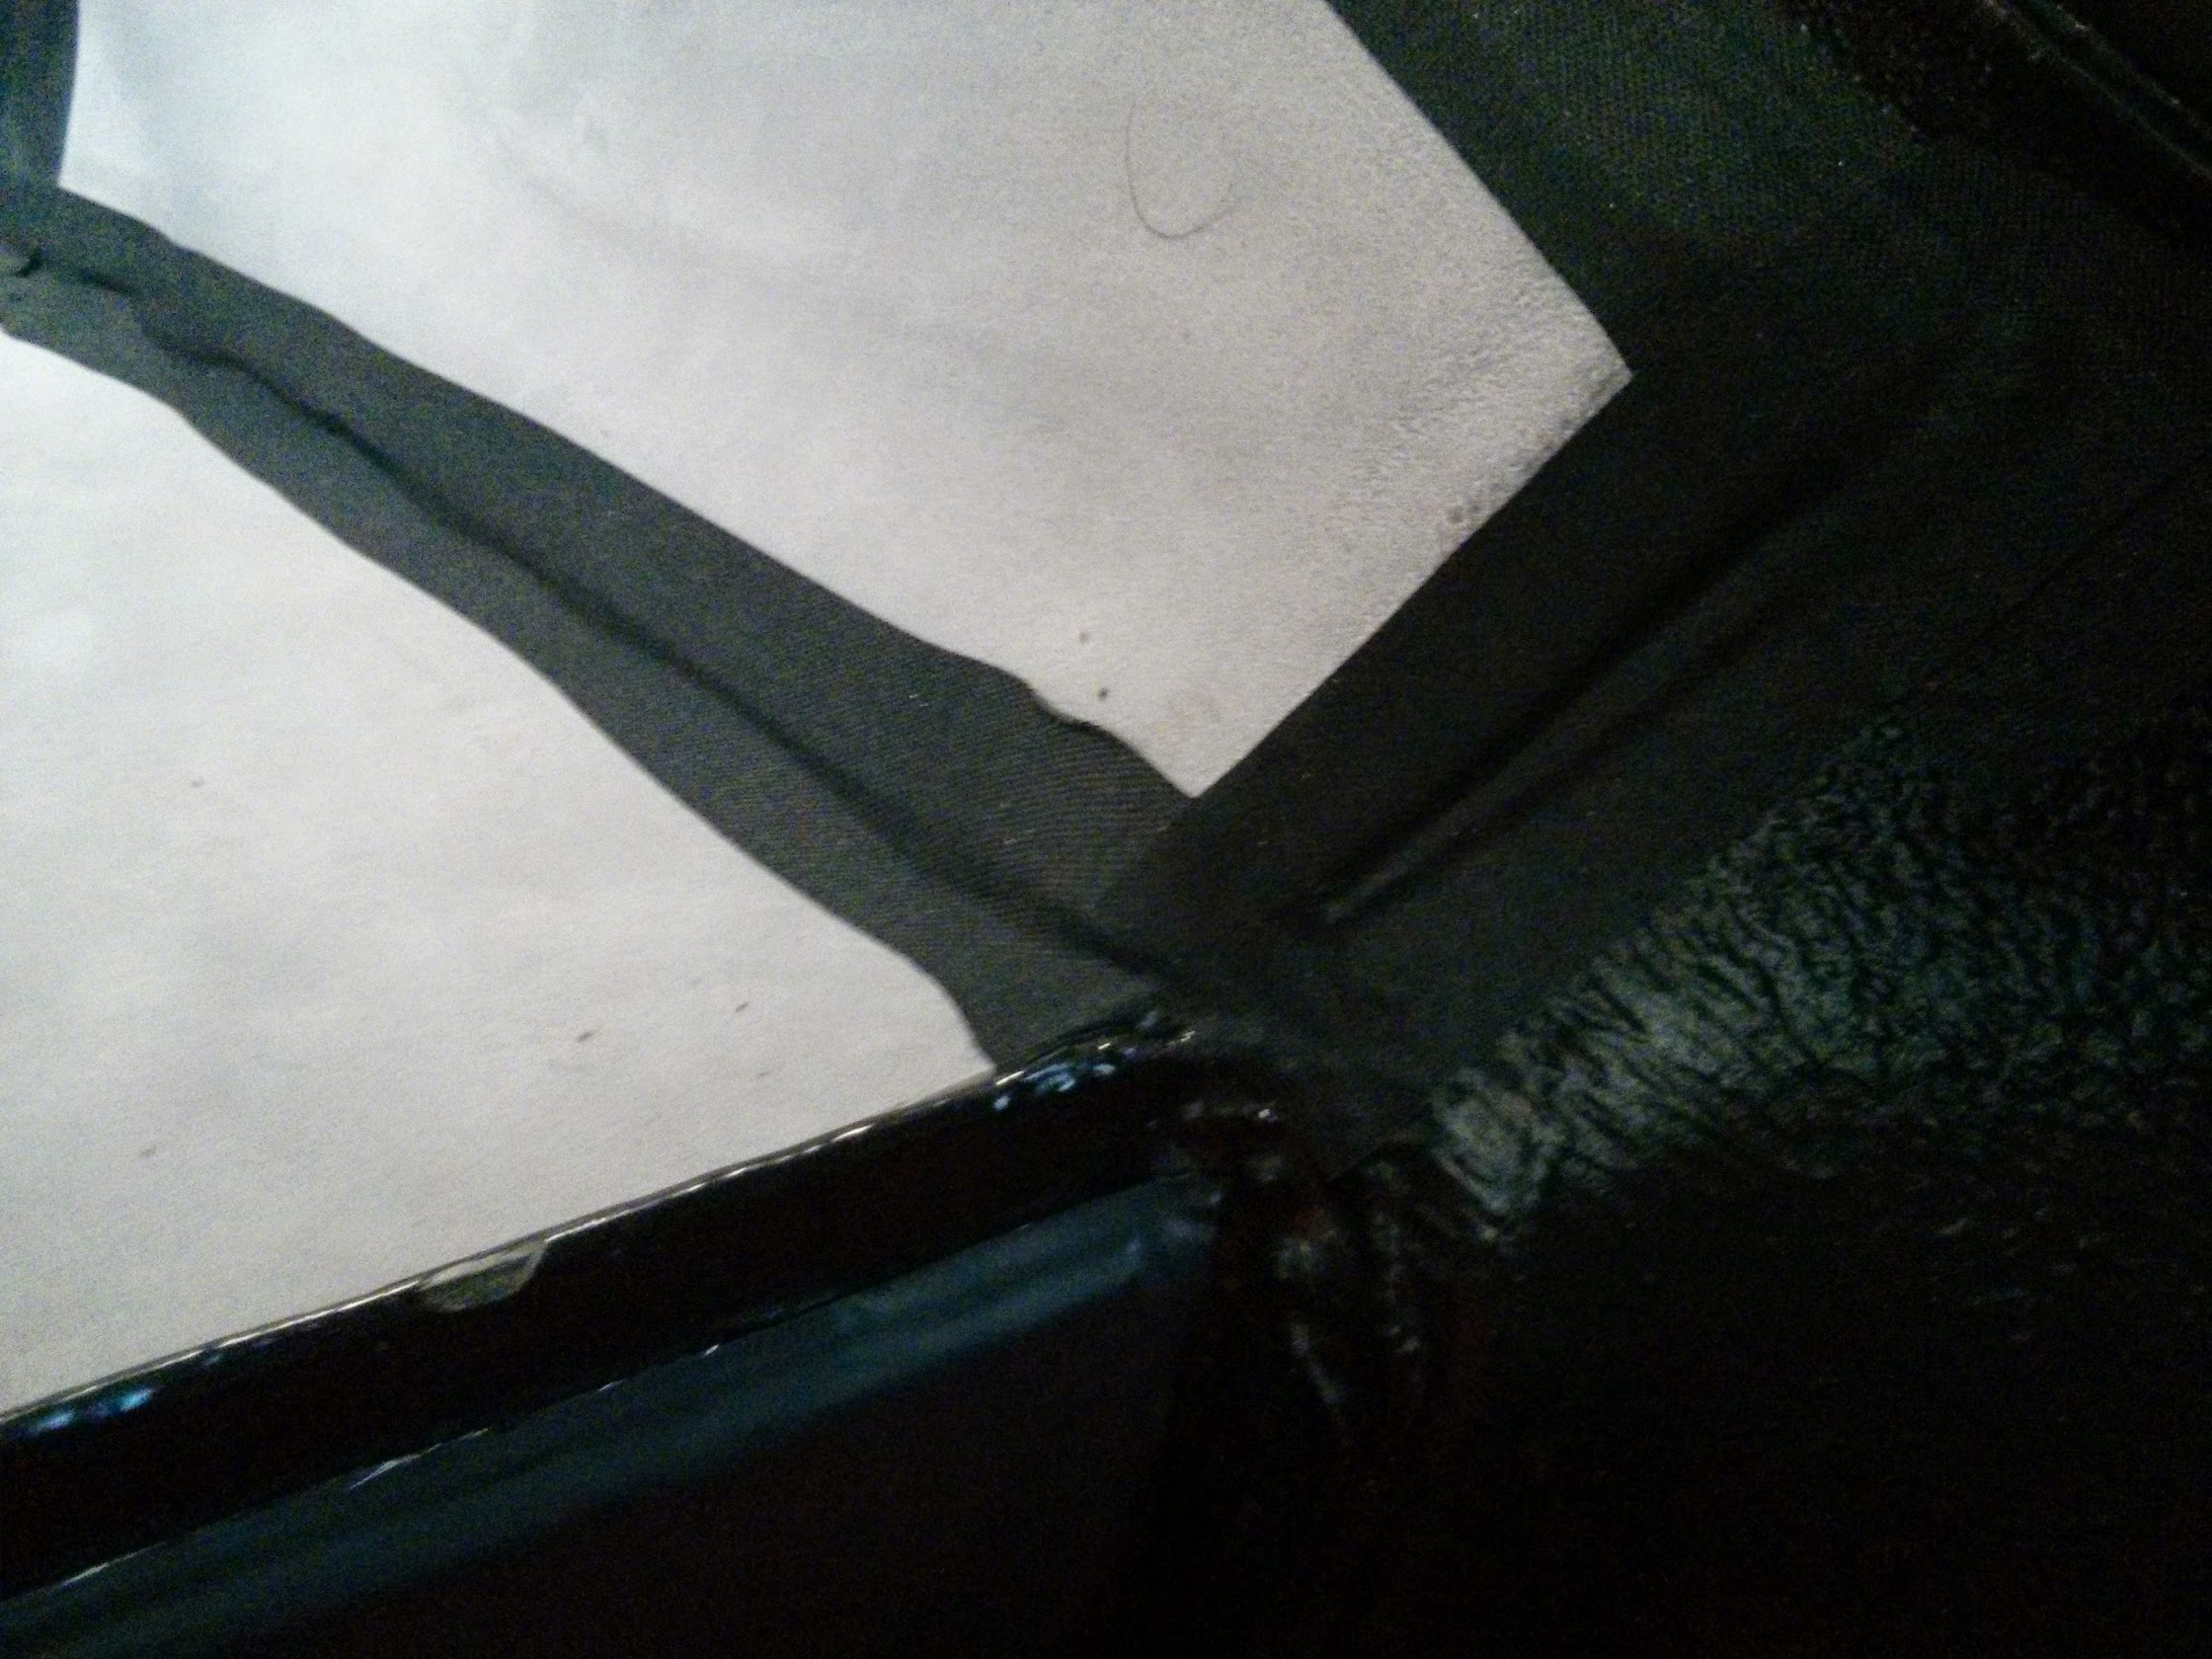
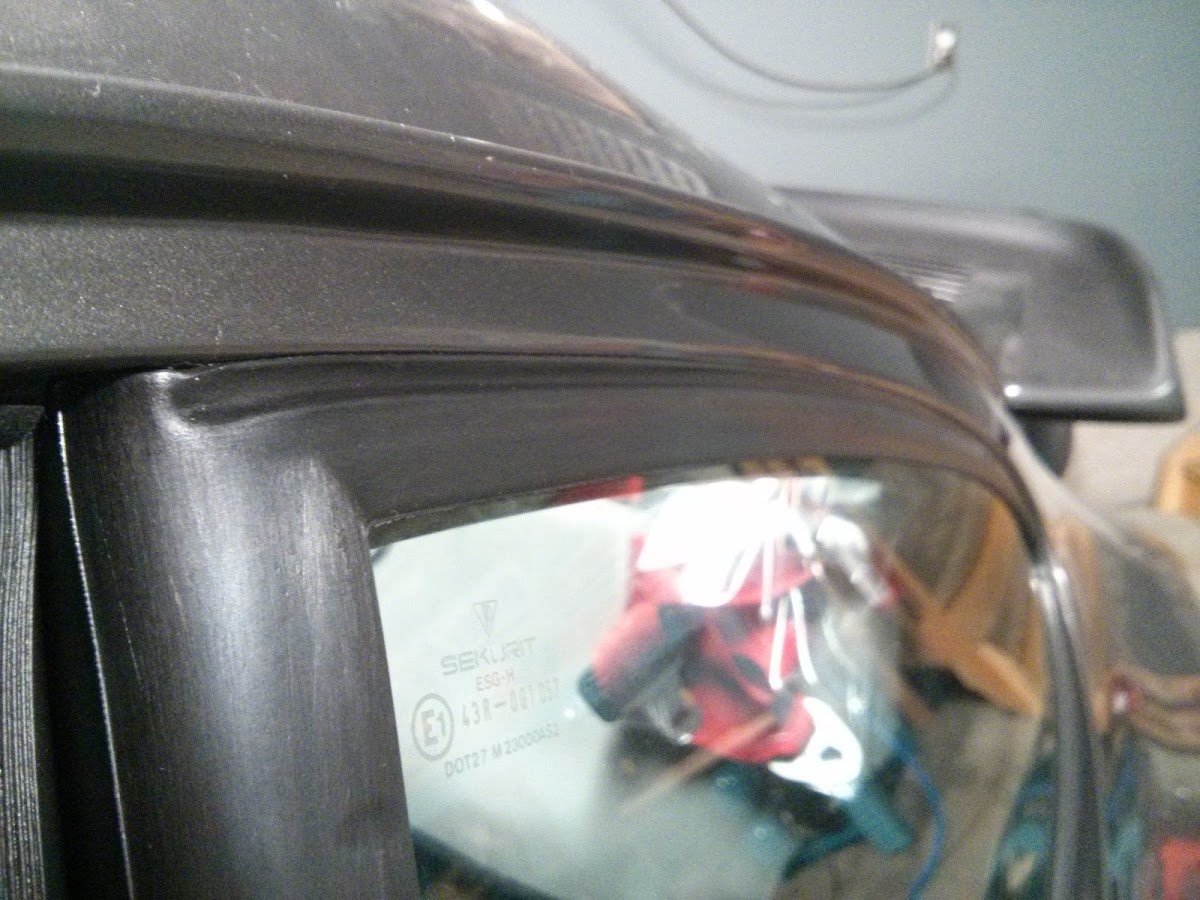
Below is a photo of what the seal lip should look like inside to allow for proper alignment.

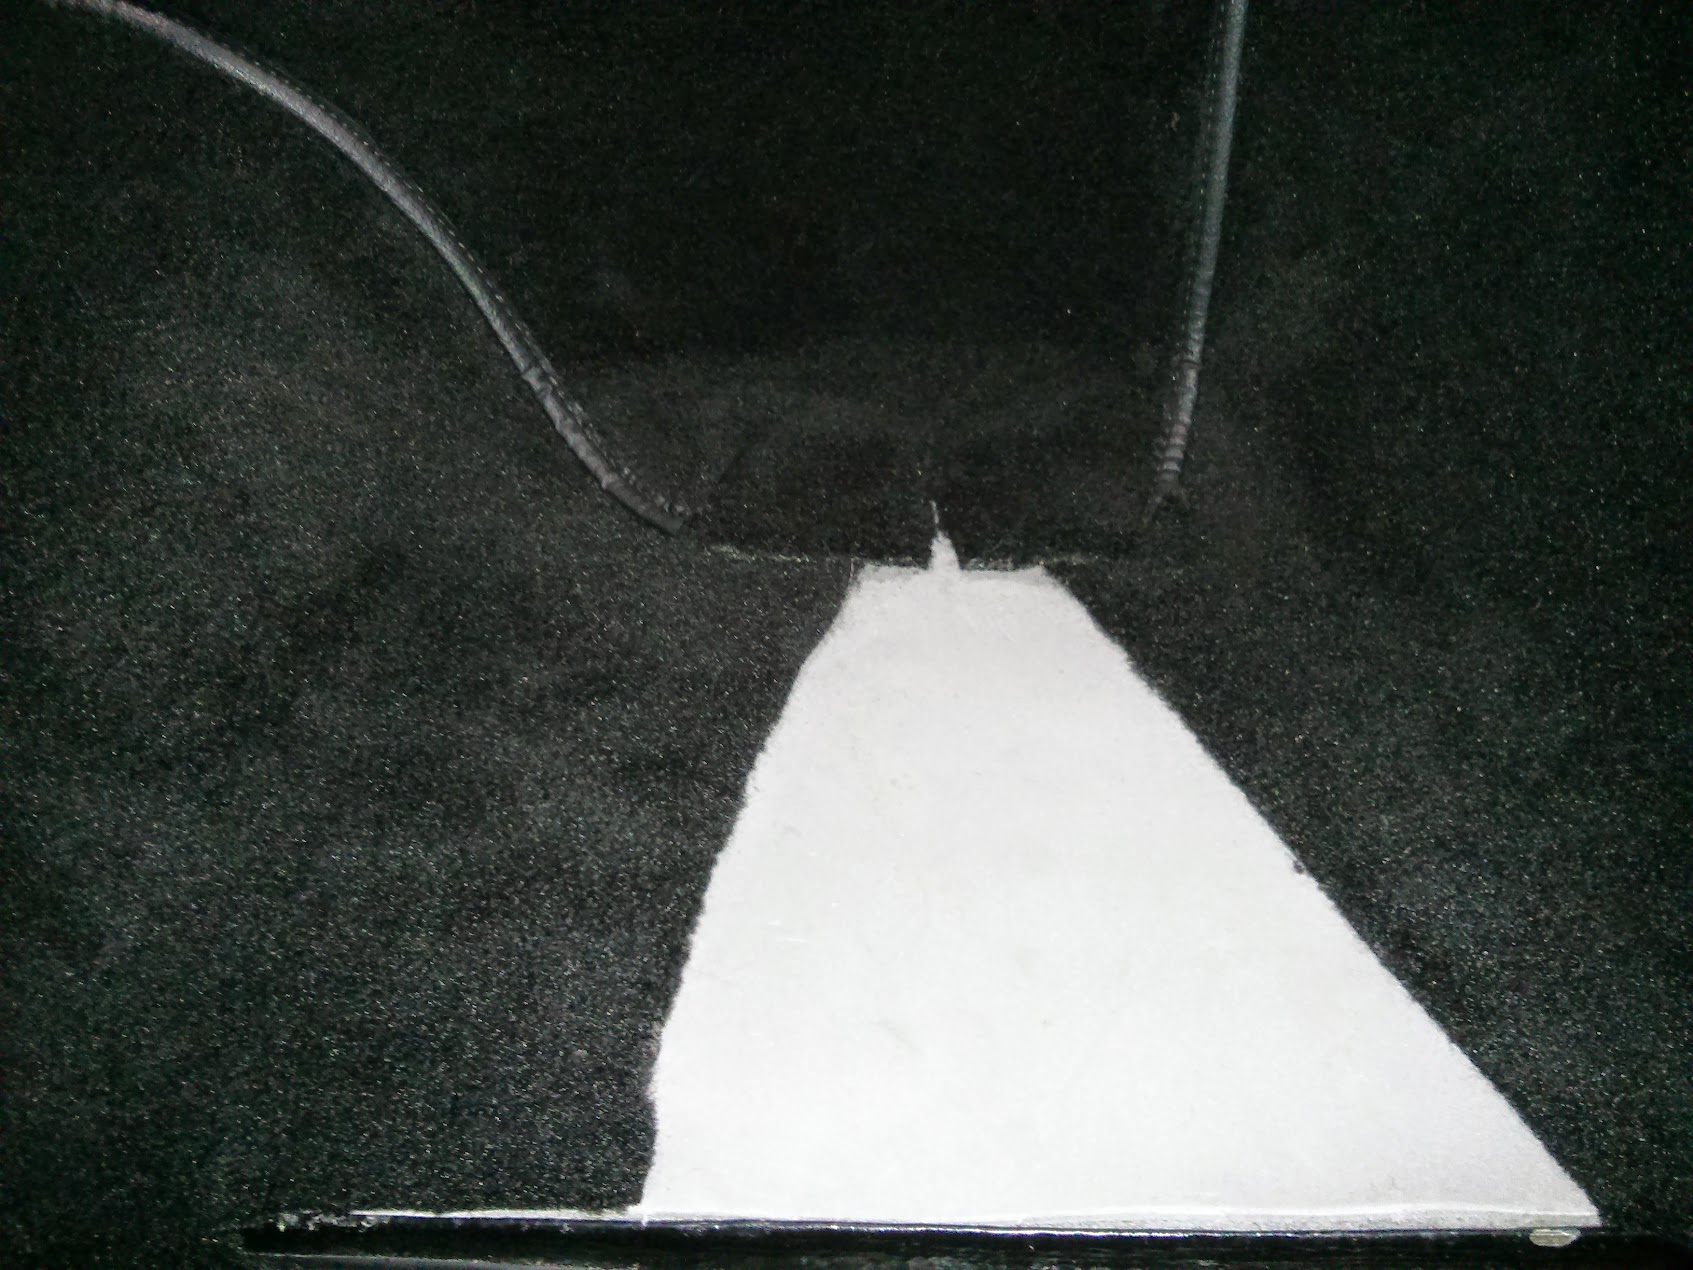
And below is what it looks like at each corner.
Thanks!
Andrew
Started with the "B" pillar edge as there is a lip to go under. Continued with the bottom edge and went around with my assembly cord. After the seal was over and tight the "B" pillar and the top edge would look great from outside but the bottom would be bulged and uneven (Sorry no photo). I could not figure out why it wasn't sitting properly until I realized the inner seal lip wasn't flush with the bottom edge due to the trim piece being offset enough to catch the seal lip and not let it align flush with the body.
Below is a photo of what the seal lip should look like inside to allow for proper alignment.
And below is what it looks like at each corner.
Thanks!
Andrew
10-05-2015, 02:49 PM
#180
Rennlist Member
Thread Starter
Quick question:
How to trigger "ON" oil cooler fan from a fuse box (removing other fuze than oil cooler)?
I remember reading somewhere of that method,
Thanks!
Andrew
How to trigger "ON" oil cooler fan from a fuse box (removing other fuze than oil cooler)?
I remember reading somewhere of that method,
Thanks!
Andrew