

making red ones even faster....
 05-24-2013, 01:28 PM
#1
Pro
Thread Starter
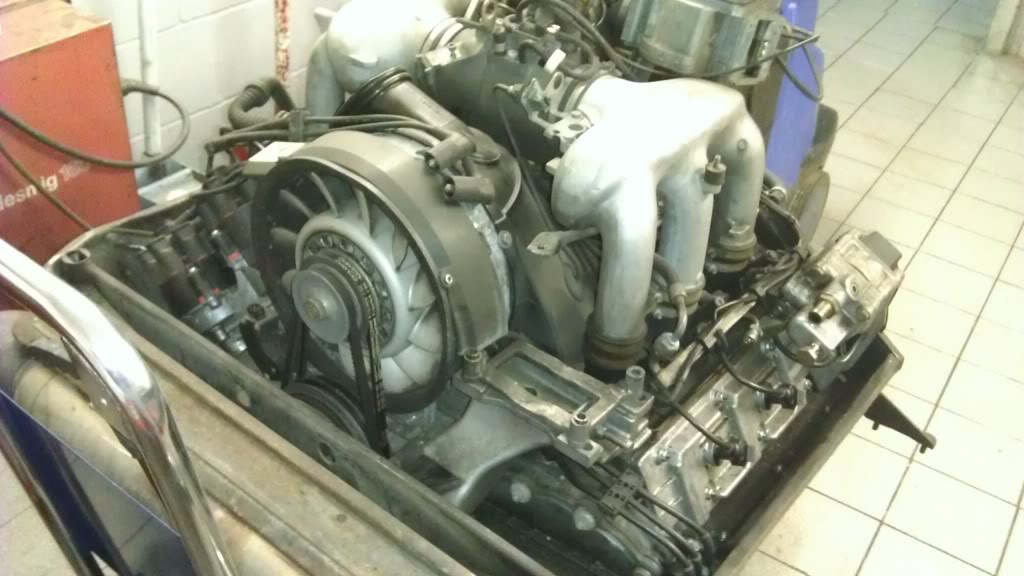
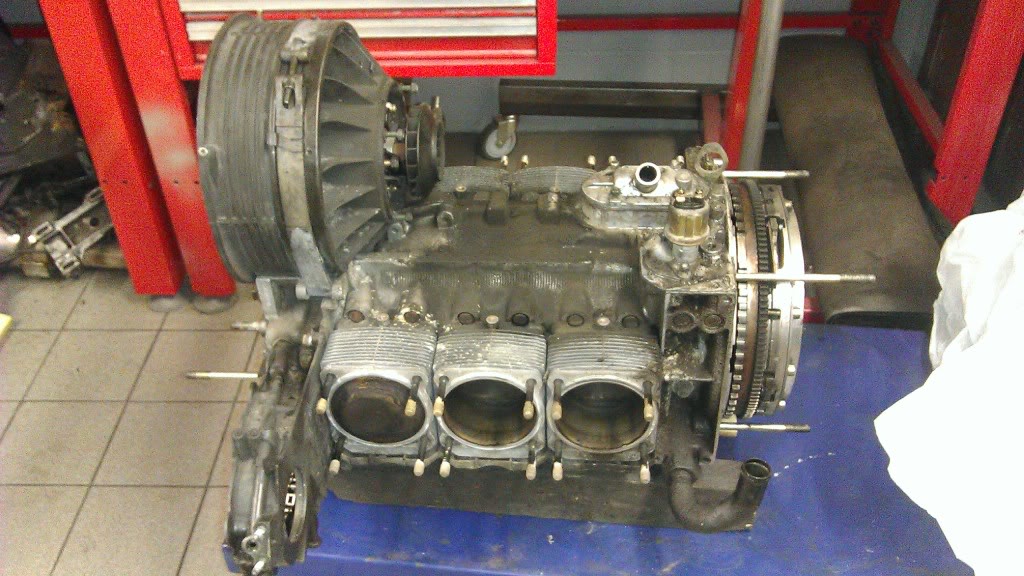
Hi guys this is long over due to start sharing but better late than never! I wanted somewhere to put all the pictures ive got of my car and to build some sort of record of all the work done to my car. A lot of the pics ill put up were ones I couldnt find when doing my own research so hopefully this will help others in some way. My car came off the road for winter and thought id get it serviced and well, you can guess the rest! First the motor came out for a clean
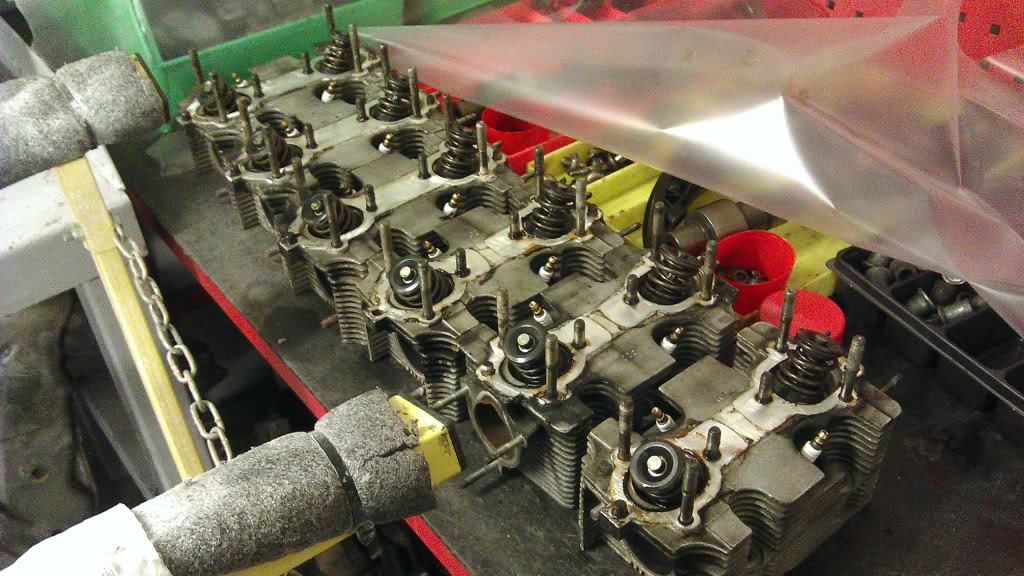
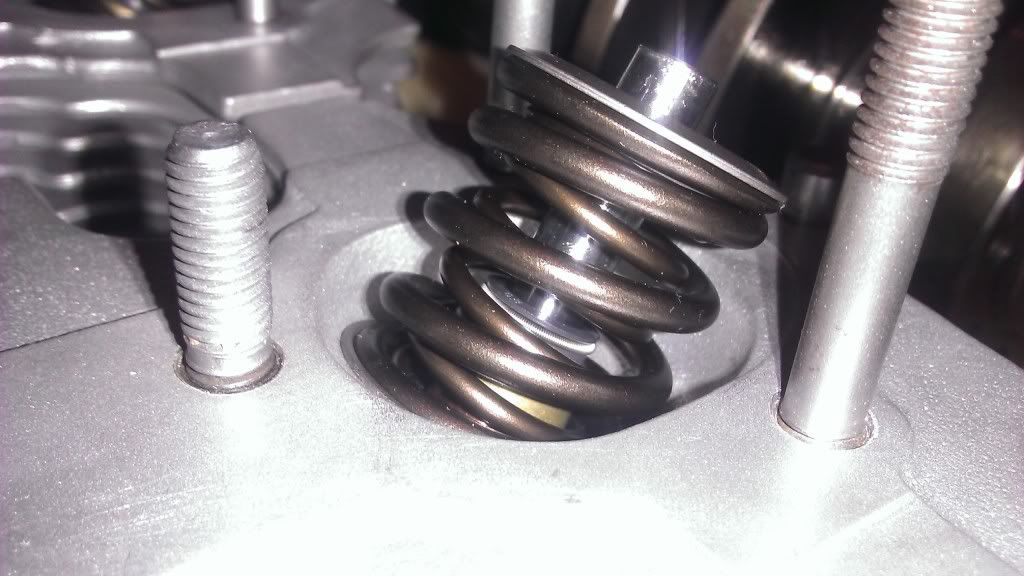
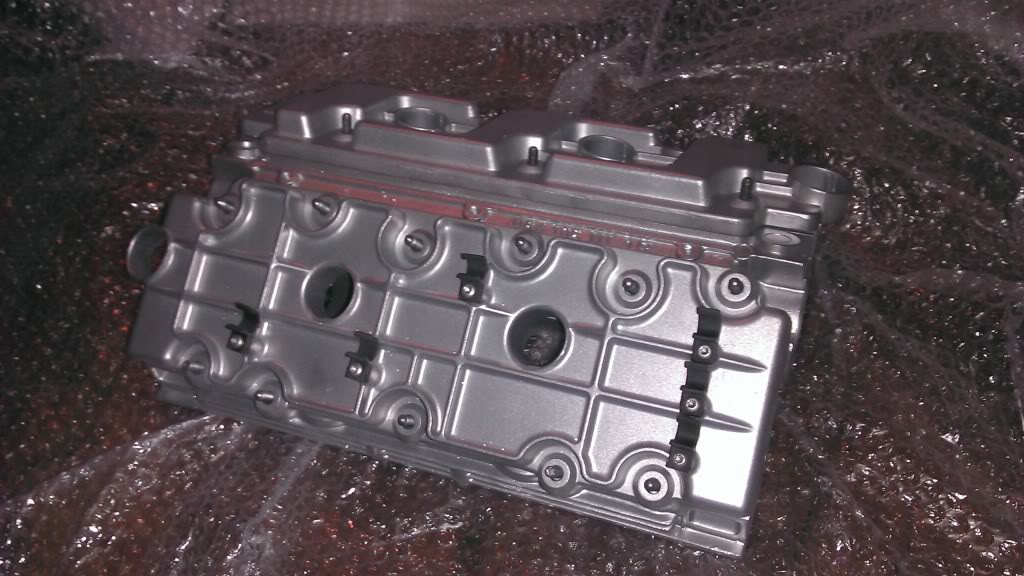
Then I thought maybe id just rebuild the heads, im quite pally with russel at blr engineering as he used to do my mx race bike heads for me, so I knew hed do a good job and if he says it needs something then it does. The heads werent bad I just cant help myself! So off went the heads for vapour blasting, new nucleus guides and a high rev spring kit with ti retaners. Oh and a light prt job on the intakes, just blending in to the seat really.
And after!
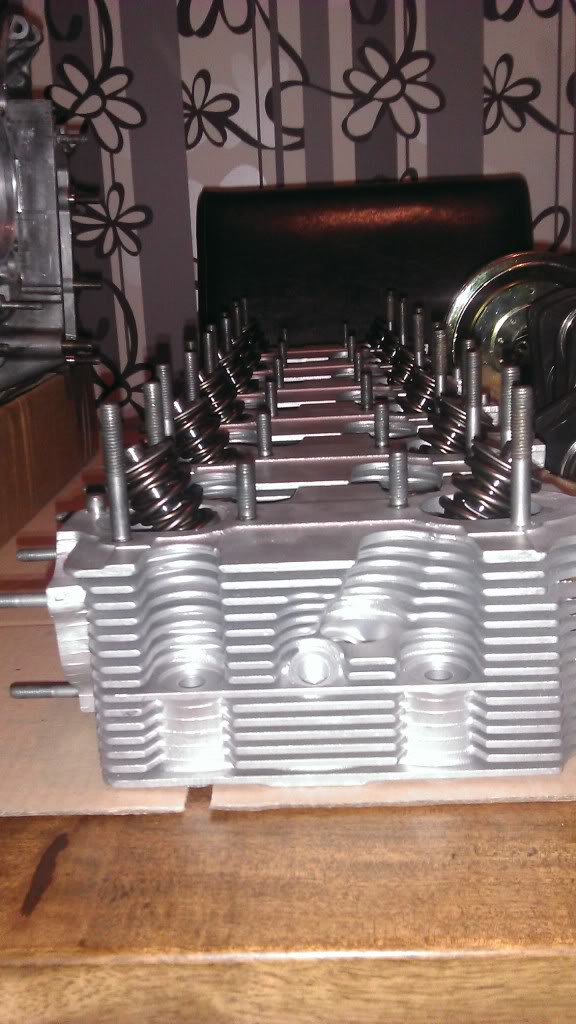
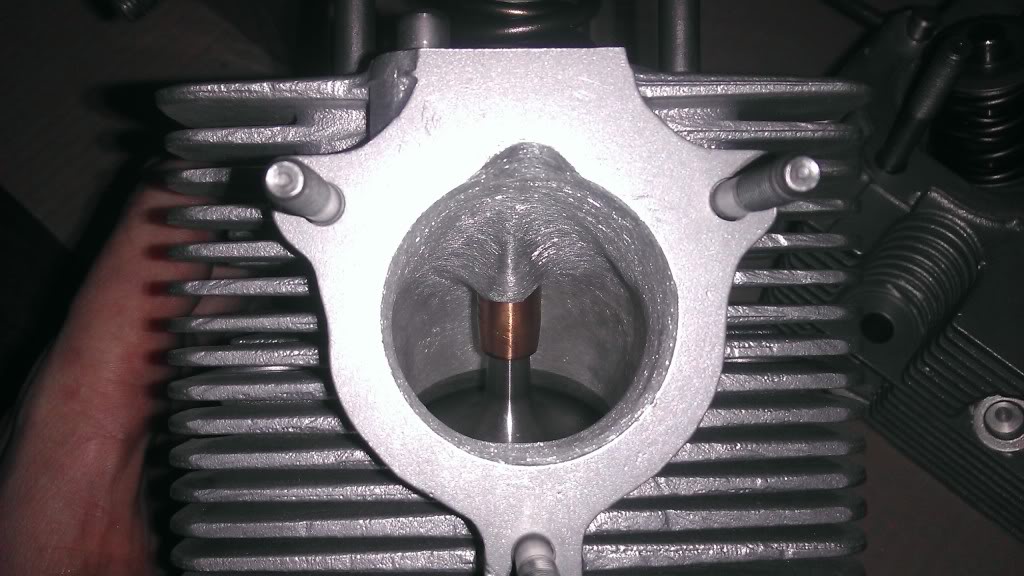
Whilst the surgery was underway russel found a measurable amount of wear on the valve stems so in went a new set of valves. Oops.
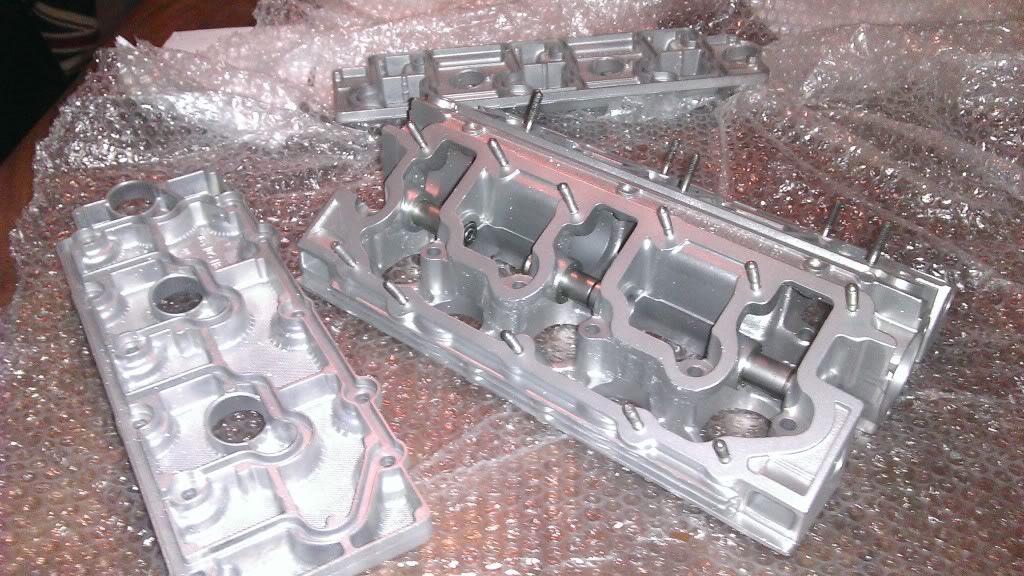
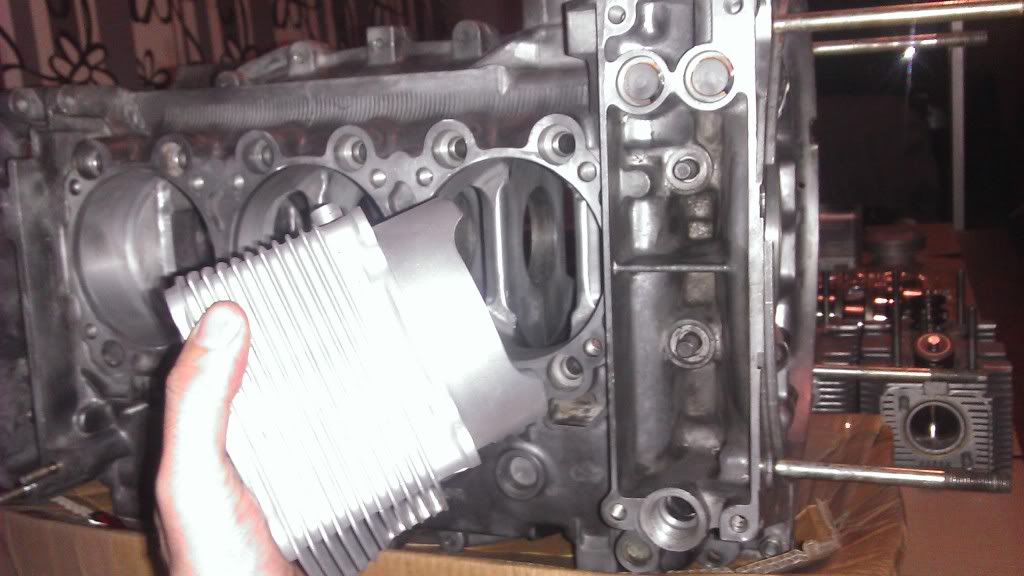
I also sent the cam carriers and barrells and pistons for vapour blasting, now this is impressive, they werent that bad any way but check this out!
Before shots,
This was where the slope got really slippery! Well I got all these shiny bits back and well it j6st made the cases look even more dirty!
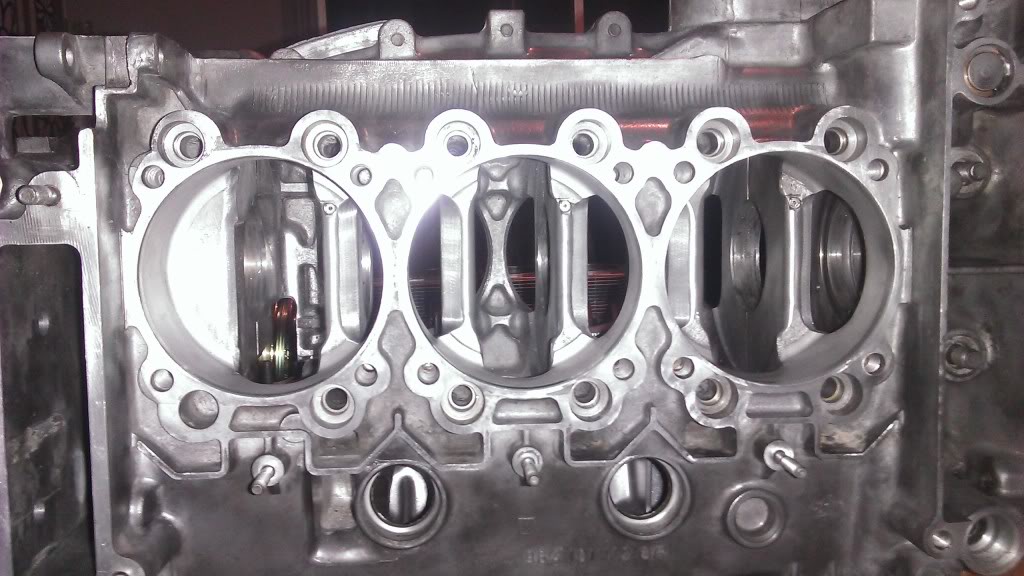
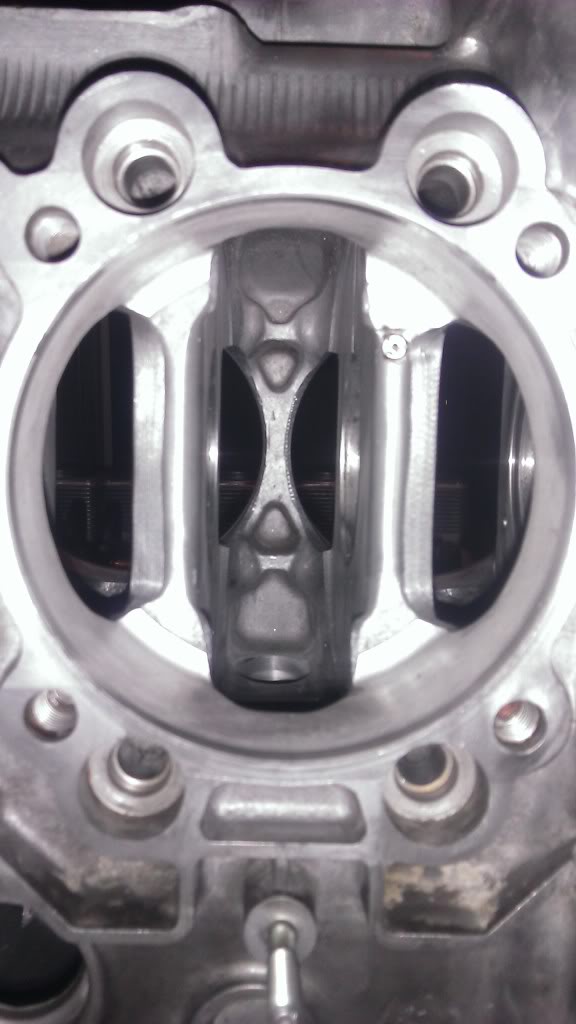
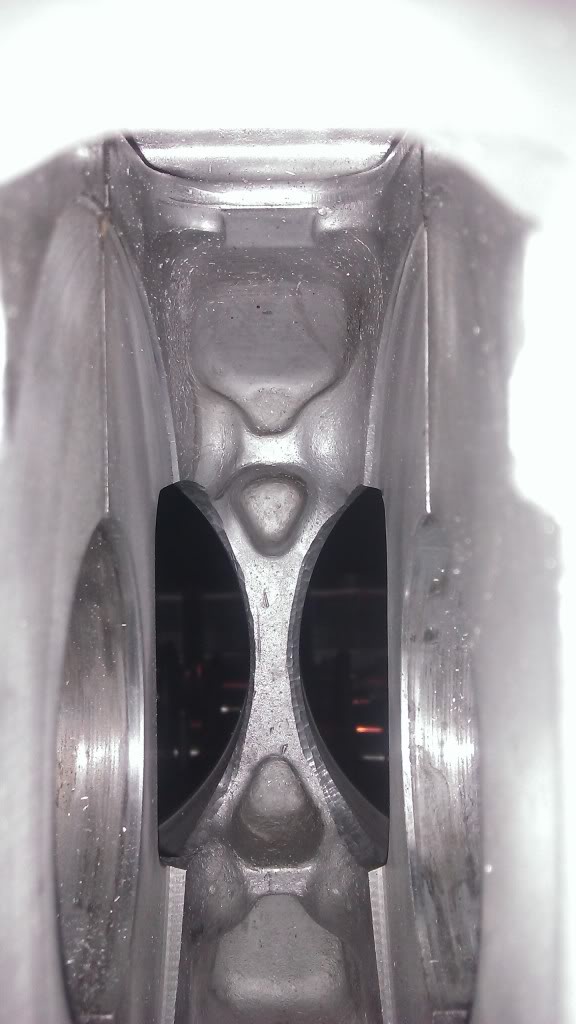
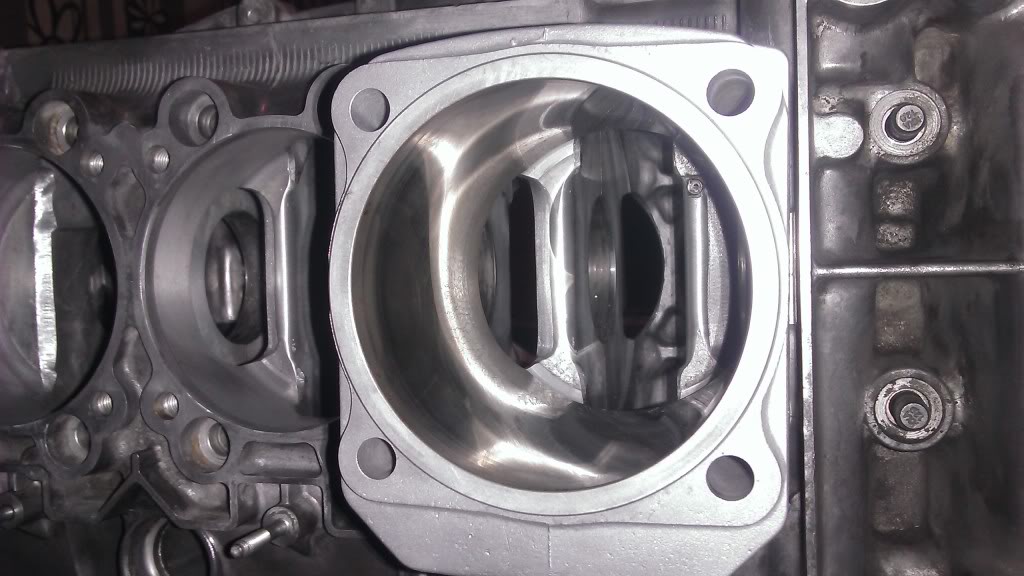
So apart they came, many moons ago I was told that one of the best mods you can do to the bottom end is boat tailing of the cases and mooning of the cylinders. After a lot of research I found pretty much nothing, then frank mentioned something in his black betty build which lead me to call nick fulljames at redtek. He quoted a ridiclously cheap price to do the job so off the bits went. I saw franks car there and even got to see franks engine before he did!
I thought id get these up on here because people dont normally get to take many pictres of ths process. Hope you enjoy!

Ill post some more later, loads more to come. The slope gets steaper, more cliff like!
Then I thought maybe id just rebuild the heads, im quite pally with russel at blr engineering as he used to do my mx race bike heads for me, so I knew hed do a good job and if he says it needs something then it does. The heads werent bad I just cant help myself! So off went the heads for vapour blasting, new nucleus guides and a high rev spring kit with ti retaners. Oh and a light prt job on the intakes, just blending in to the seat really.
And after!
Whilst the surgery was underway russel found a measurable amount of wear on the valve stems so in went a new set of valves. Oops.
I also sent the cam carriers and barrells and pistons for vapour blasting, now this is impressive, they werent that bad any way but check this out!
Before shots,
This was where the slope got really slippery! Well I got all these shiny bits back and well it j6st made the cases look even more dirty!
So apart they came, many moons ago I was told that one of the best mods you can do to the bottom end is boat tailing of the cases and mooning of the cylinders. After a lot of research I found pretty much nothing, then frank mentioned something in his black betty build which lead me to call nick fulljames at redtek. He quoted a ridiclously cheap price to do the job so off the bits went. I saw franks car there and even got to see franks engine before he did!
I thought id get these up on here because people dont normally get to take many pictres of ths process. Hope you enjoy!
Ill post some more later, loads more to come. The slope gets steaper, more cliff like!
 05-24-2013, 06:27 PM
#3
Rennlist Member
Join Date: Nov 2010
Location: North Yorkshire, England
Posts: 855
Likes: 0
Received 16 Likes
on
14 Posts
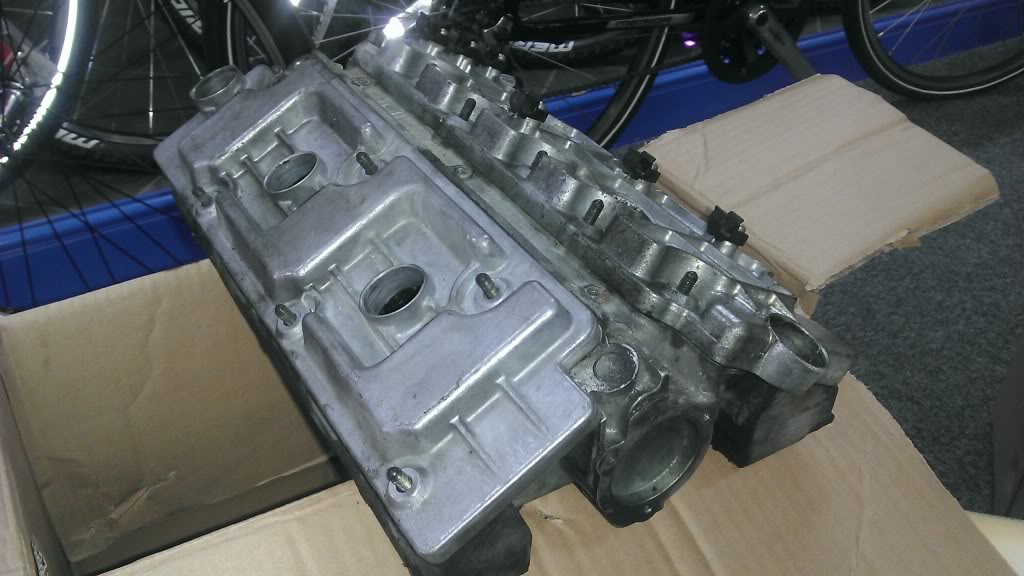
 Nice pics!
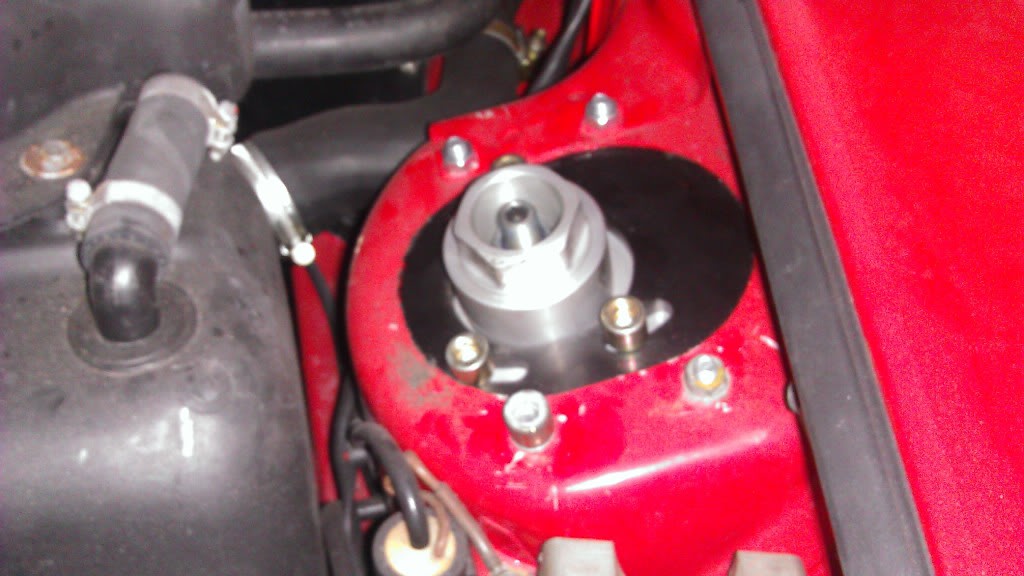
I'm well acquainted with the slippery slope coz here's one of mine part done, also currently at Redtek. It was also there during the latter stages of Frank's build.

Good luck with your project,
Paul
Last edited by Paul284pt; 05-24-2013 at 06:29 PM. Reason: punctuation

 05-25-2013, 02:44 PM
#7
Pro
Thread Starter
Ok, here goes. Furthr down the slope! While I was gettin the cases sorted I thought id get a few other bits done with nick, first up crank, flywheel and pulleys balanced as a unit.
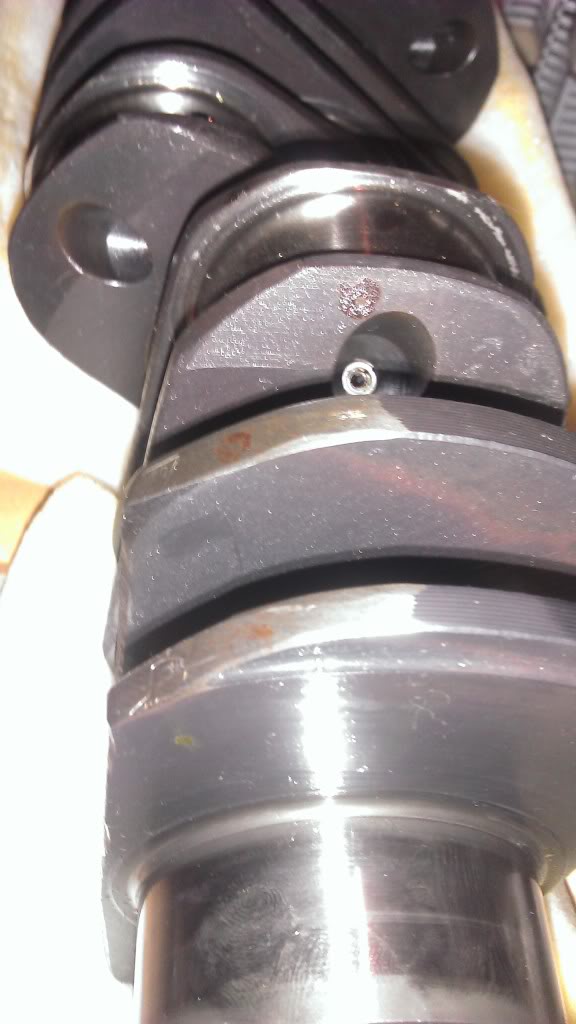
You can see here where the weight was taken to balance the assemnly. As a bit o a plug for nick I had the balance checked again after I had the flywheel re surfaced and was told it was the best balanced crank he had ever seen, absolutely perfect! This I took as a big complement to nick and his crew as mike who checked it does nothing but build group b 6r4 motors and the like for a livng and they have to be beyond perfect!
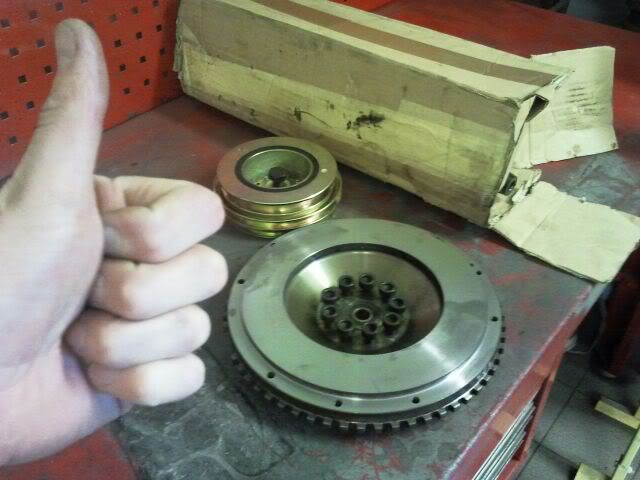
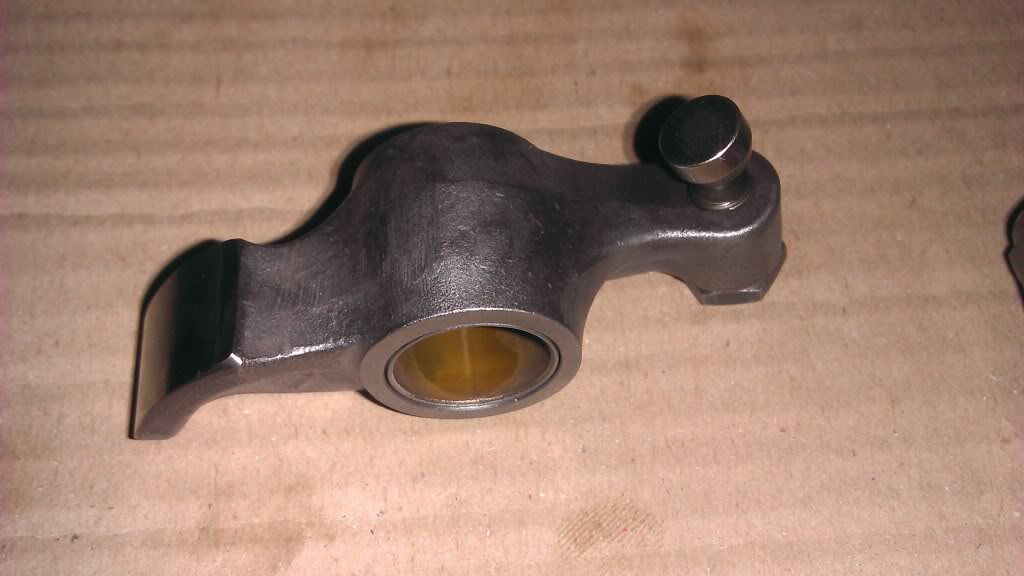
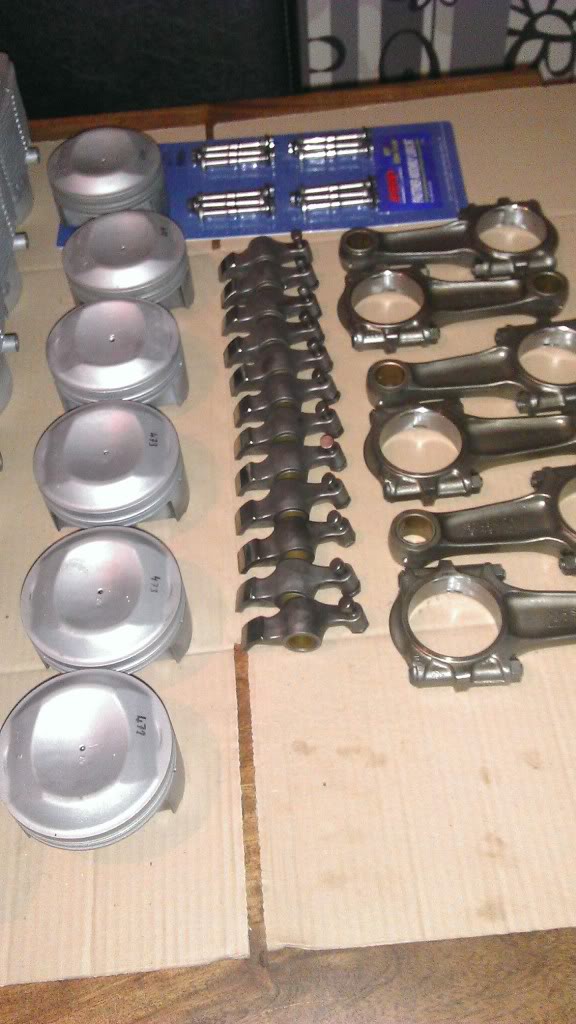
Here we have my resurfaced rs flywheel, the clutch in the car has only done 4000 steady miles so this will be reused. Next up was shot peening the rockers, not sure whether I really needed to do this but what the hell! The rods were honed and the pistons all matched in weight, one odd thing we did find was that every piston was exactly the same weight except one which was way out, porsche quote a 9gram tolerance from heaviest to lightest of the setand i think this was more like 10!, luckily nick had a new one that was only a couple of gramms out s this was machined dwn to the same weight and used instead.
You can see here where the weight was taken to balance the assemnly. As a bit o a plug for nick I had the balance checked again after I had the flywheel re surfaced and was told it was the best balanced crank he had ever seen, absolutely perfect! This I took as a big complement to nick and his crew as mike who checked it does nothing but build group b 6r4 motors and the like for a livng and they have to be beyond perfect!
Here we have my resurfaced rs flywheel, the clutch in the car has only done 4000 steady miles so this will be reused. Next up was shot peening the rockers, not sure whether I really needed to do this but what the hell! The rods were honed and the pistons all matched in weight, one odd thing we did find was that every piston was exactly the same weight except one which was way out, porsche quote a 9gram tolerance from heaviest to lightest of the setand i think this was more like 10!, luckily nick had a new one that was only a couple of gramms out s this was machined dwn to the same weight and used instead.
Trending Topics
05-25-2013, 03:25 PM
#8
Pro
Thread Starter
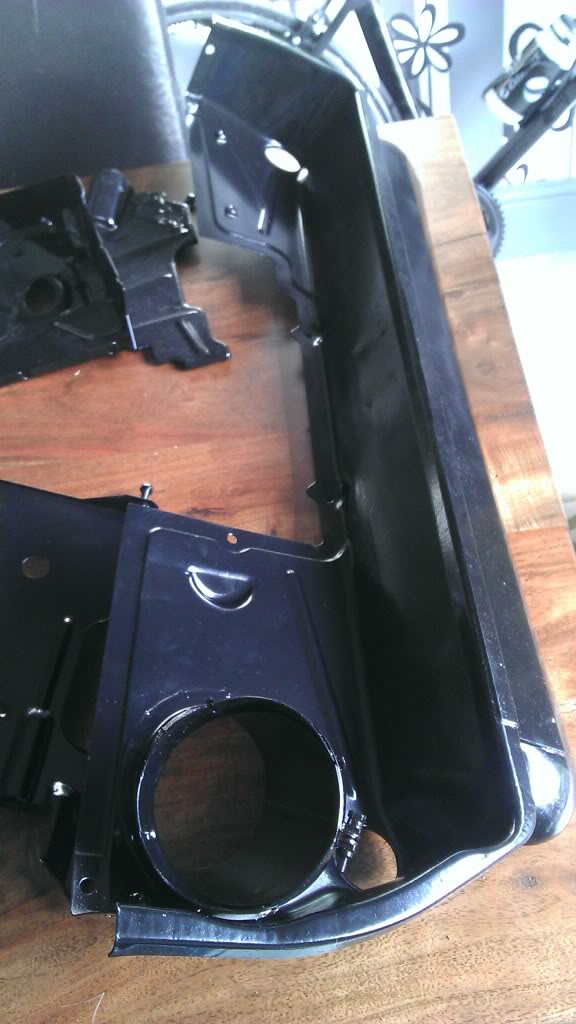
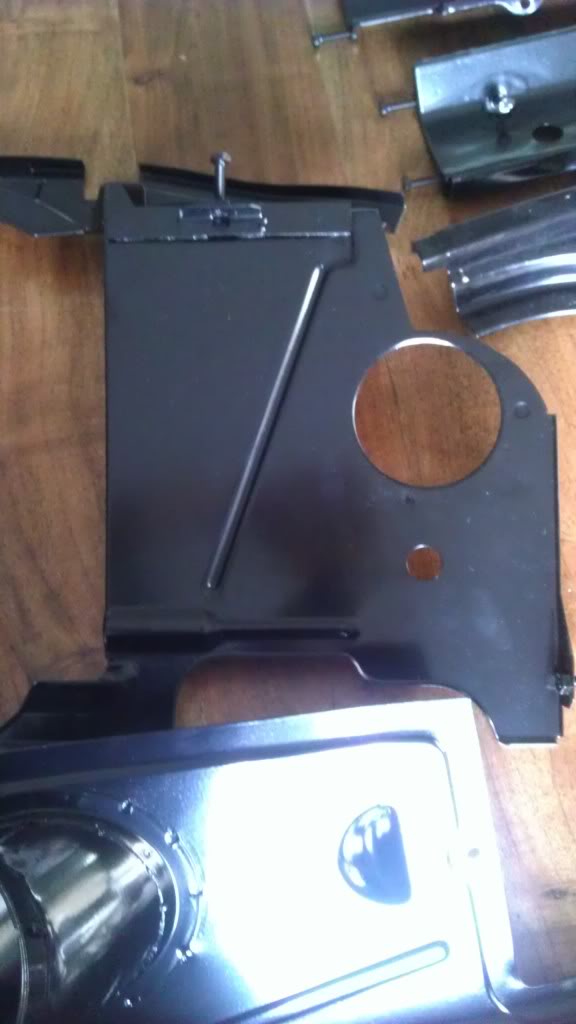
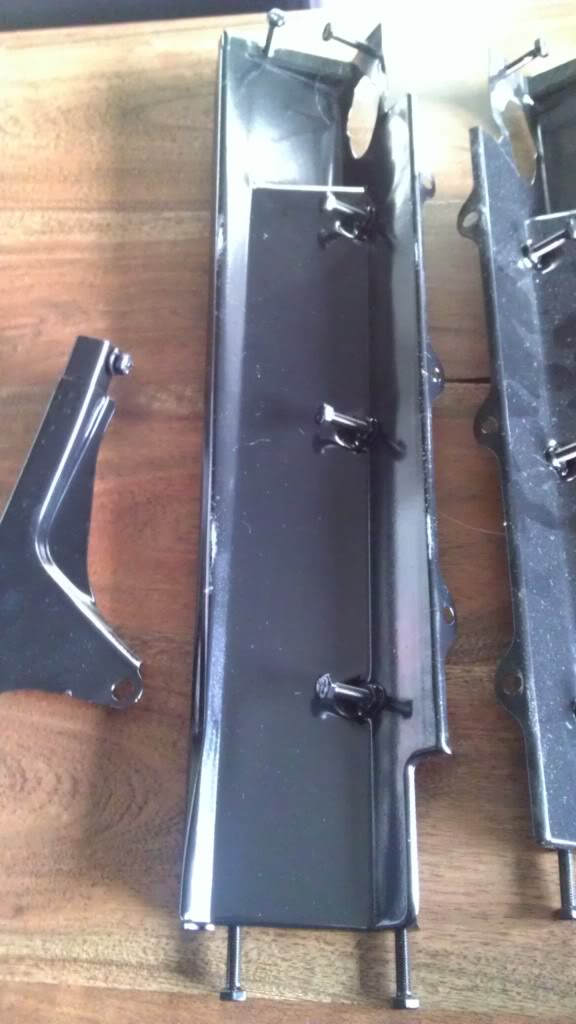
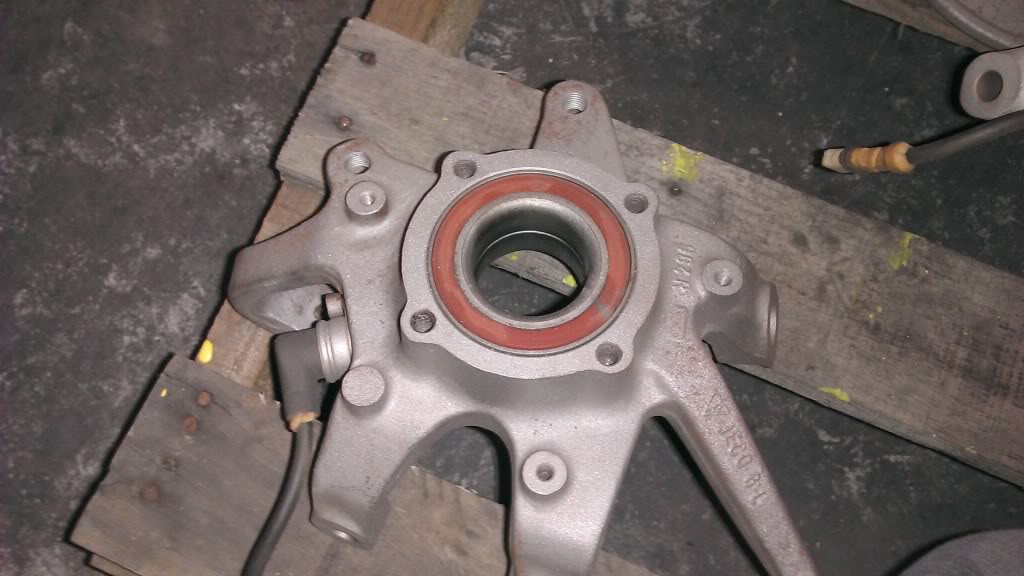
While all these bits were away I thought it was time to hit the powder coaters, off went all the engine tins and front hubs for blasting. Im still amazed at how good the tin ware was, dont think ive seen many rebuilds where none needed replacing. A testament to the cars previous owners plus its a singapore car and im guessing they dont use salt on the rads like we do! Since the car came over here in 2001 its only done 3.5k a year and by the lack of rust it must have been on sunny days!
Next up came a job that ill be paying smeone else to do next time, thats right 20 year old porsche way ott carpet glue! The hair still hasnt grown back on my knees, note to self, dont wear shorts!
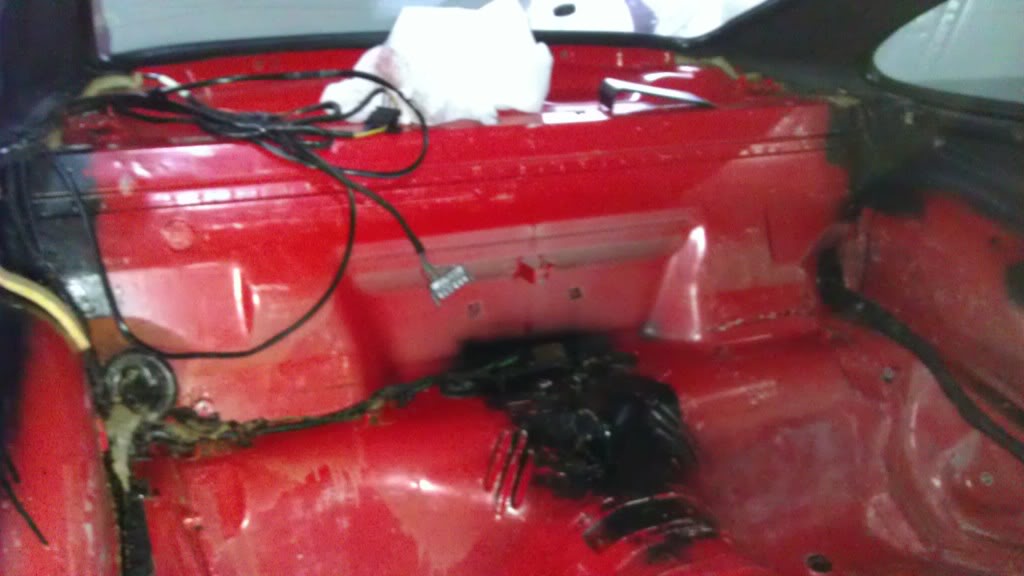
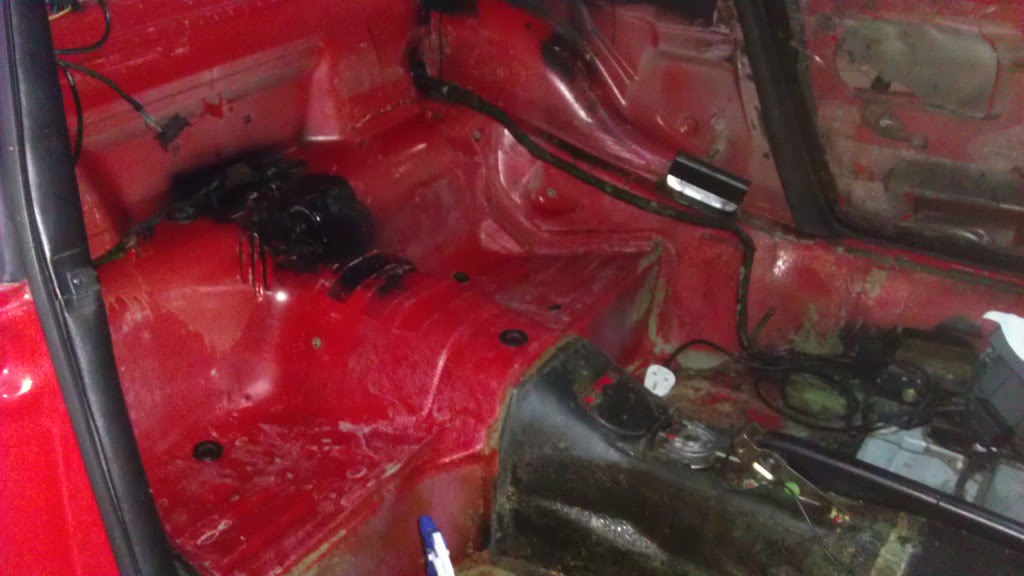
Next up came a job that ill be paying smeone else to do next time, thats right 20 year old porsche way ott carpet glue! The hair still hasnt grown back on my knees, note to self, dont wear shorts!
 05-27-2013, 10:38 AM
#13
Pro
Thread Starter
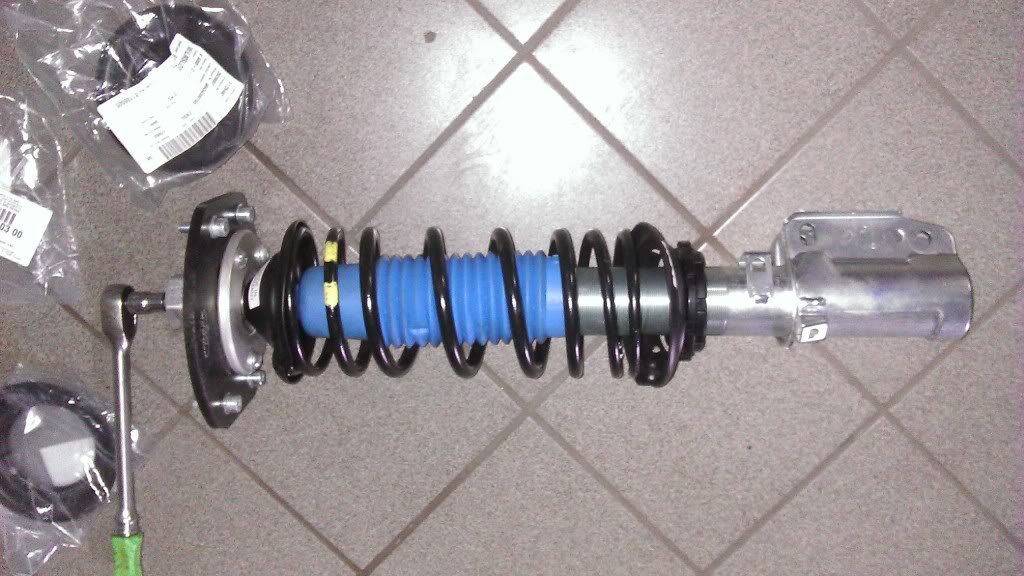
An unexpected slot at the painters came up so it was all hands on deck getting the car rolling, so in went new wheel bearings, fvd top mounts and cup spec bilstiens with genuine rs springs. Youll have to forgive how messy it looks but these are an old set of lower arms, when it comes back from the paint shop my rs arms with new ball joints and track rod ends will be fitted and the 965 turbo discs skimmed to clean them up (theyre only 2k old but dont keep a very good finish when not in use)
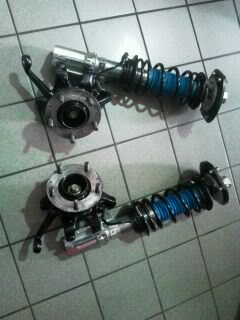

The plan with the car is to do some serious track days along with plenty of touring/hooning aroundso hadnt planned on doing paint yet, just get the car 100% mechanically and make it a tidy place to sit but I had an itch that I couldnt help but scratch so........
I ordered this from fenn lane motorsport
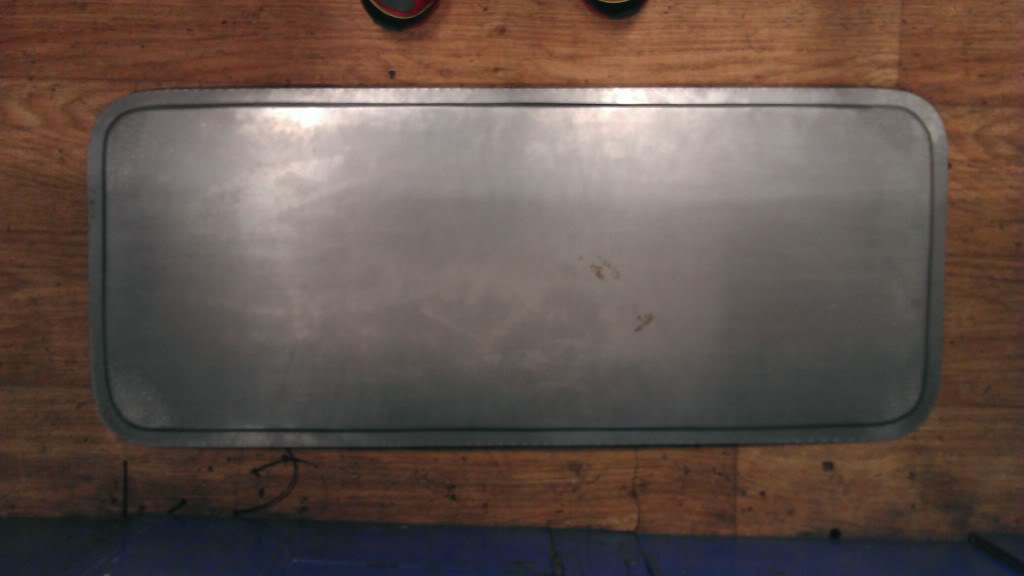
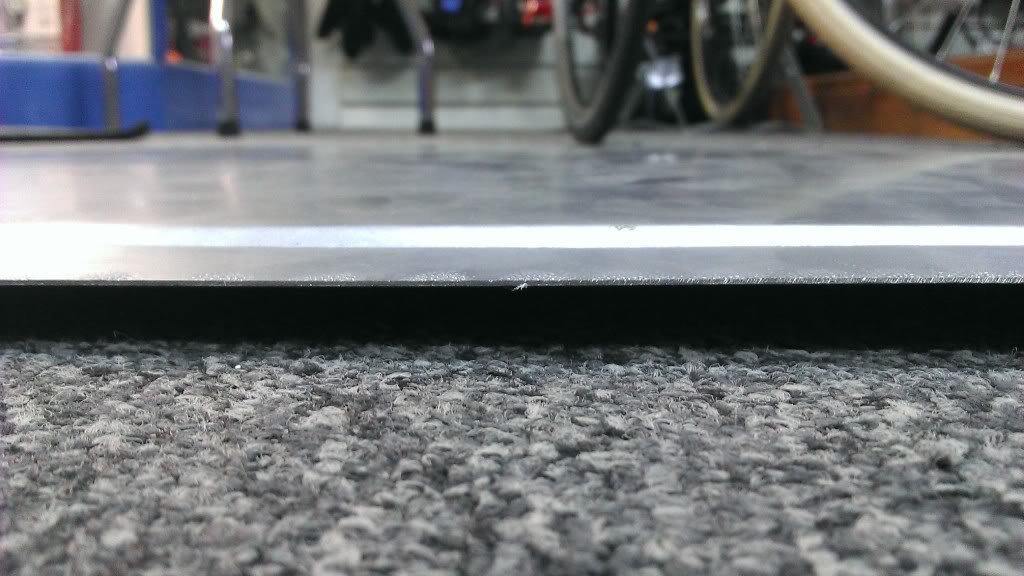
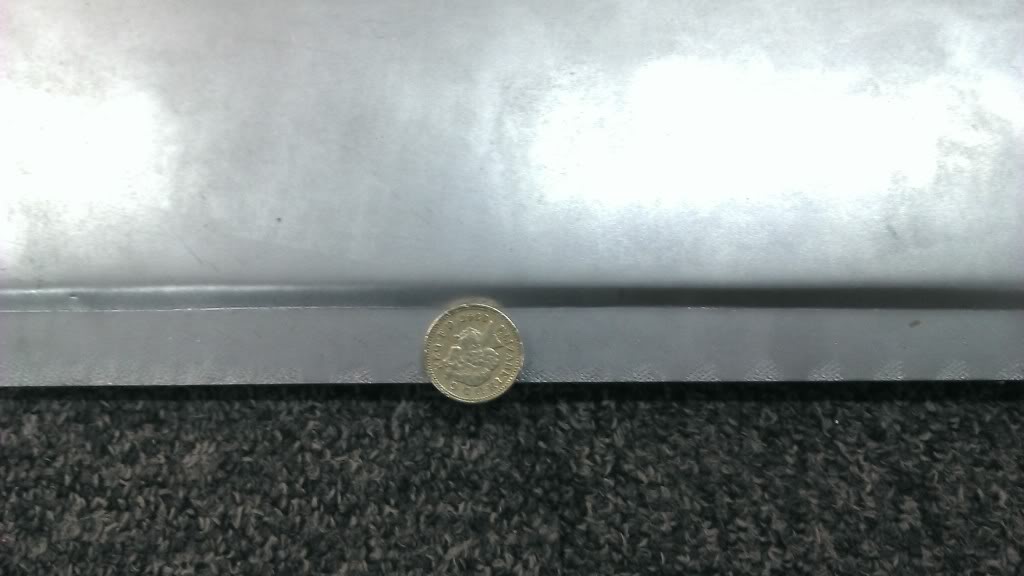
Id seen a few pictures of how much crap there is to come out from under the roof skin and had seriously considered ptting a whole roof skin on but having seen how well these panels can be fitted and with how little filler is actually needed as long as its fitted correctly I dicided it was a corner I was willing to cut!
The plan with the car is to do some serious track days along with plenty of touring/hooning aroundso hadnt planned on doing paint yet, just get the car 100% mechanically and make it a tidy place to sit but I had an itch that I couldnt help but scratch so........
I ordered this from fenn lane motorsport
Id seen a few pictures of how much crap there is to come out from under the roof skin and had seriously considered ptting a whole roof skin on but having seen how well these panels can be fitted and with how little filler is actually needed as long as its fitted correctly I dicided it was a corner I was willing to cut!
05-27-2013, 11:21 AM
#14
Pro
Thread Starter
For the panel to be fitted the glass had to come out the car, now at this pint its about time I got back to the day job so the car has taken up permanent home at 911sport in horncastle. The main mechanic there is a good friend of mine from way back and the whole crew work great as a team and I know will move the project on in a speedy and professional manner! Thats if I can keep them away from the boxster race car that theyre supporting this year, its payin off as im sure theyre leading the championship after five rounds with four 2nds and a fifth.
Now im sure everyone with an old porsche really relishes the day that the front or rear screen comes ut, not! I got a message from steve at 911 sport saying they were getting started so off I went armed with a camera to see how bad thing were!
This is where I start to feel really lucky with this car......
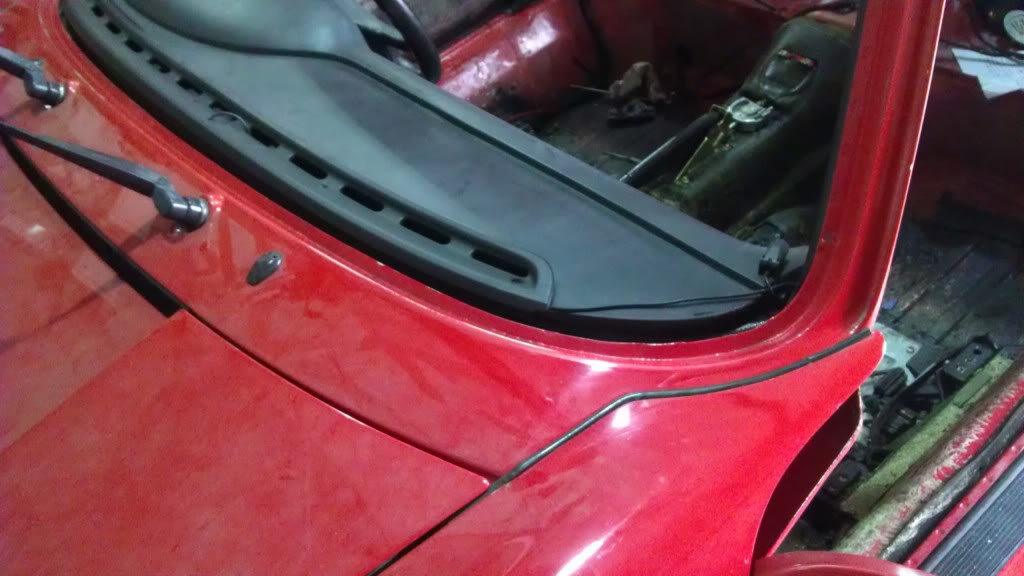
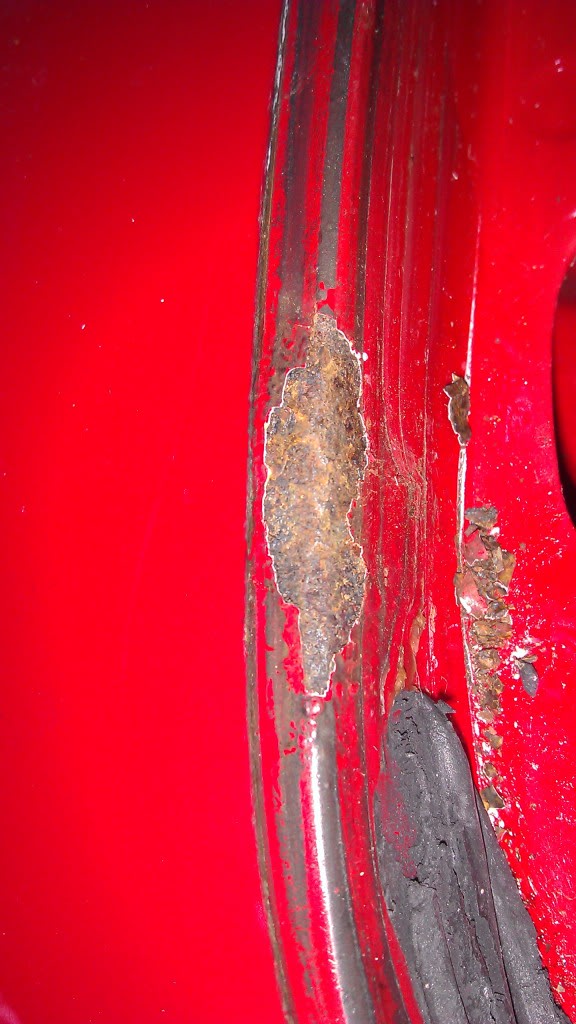
This bit coming up is the first bit of rust ive found on the body at all, ive been keeping an eye on this bit for a year or two, you could just see a lump under the screen rubber. The painter popped by to see what hes let himself in for and couldnt believe his luck! He said its the best scuttle on an ar cooled 911 hes ever seen, a very happy day, away goes the check book!
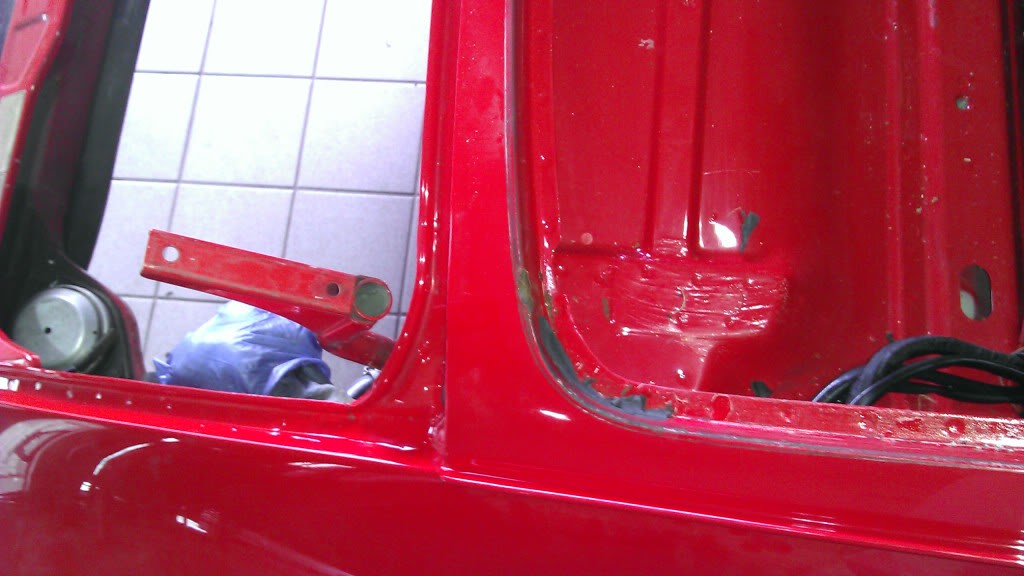
The plan here s to fit the panel, take both the screen surrounds back to bare metal juat to be 100% sure and then return the car in primer. This will give ample time for the filler to settle and to make sure its perfect before any paint goes on the car
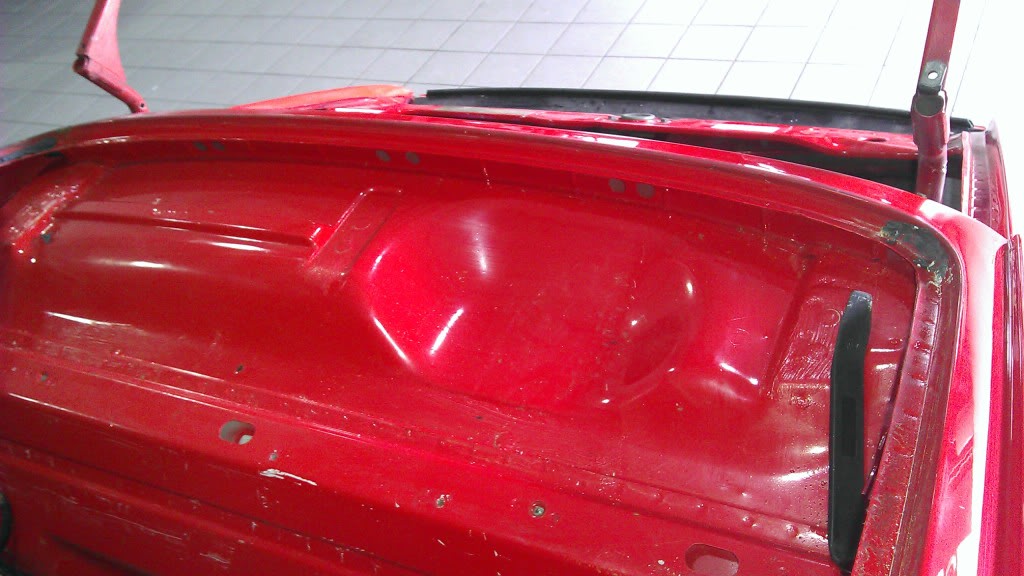
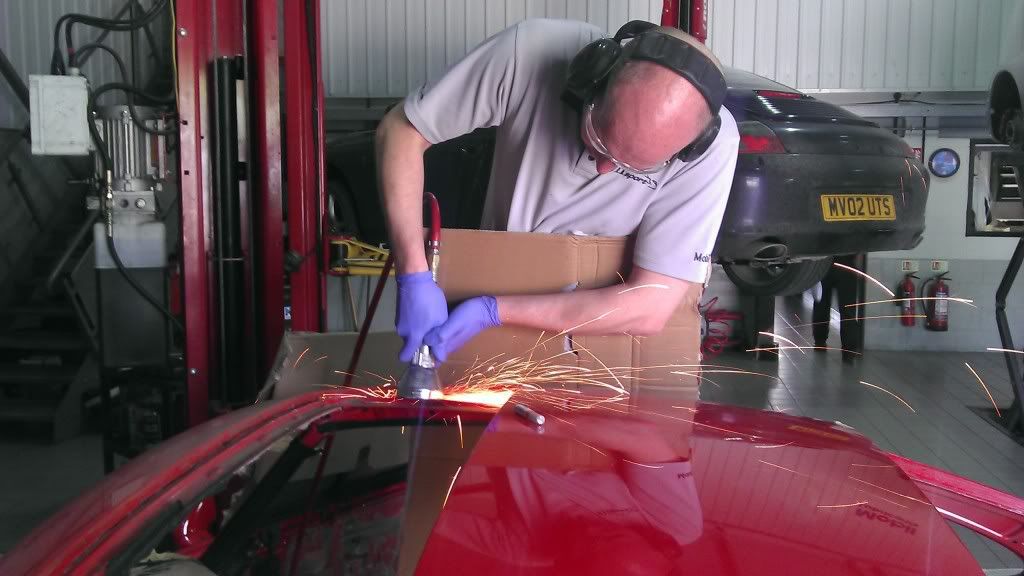
Next step, get this lot out. Now ive probably gone way past the point of no return already but this fert like the moment when the disc cutter came out the tool box!
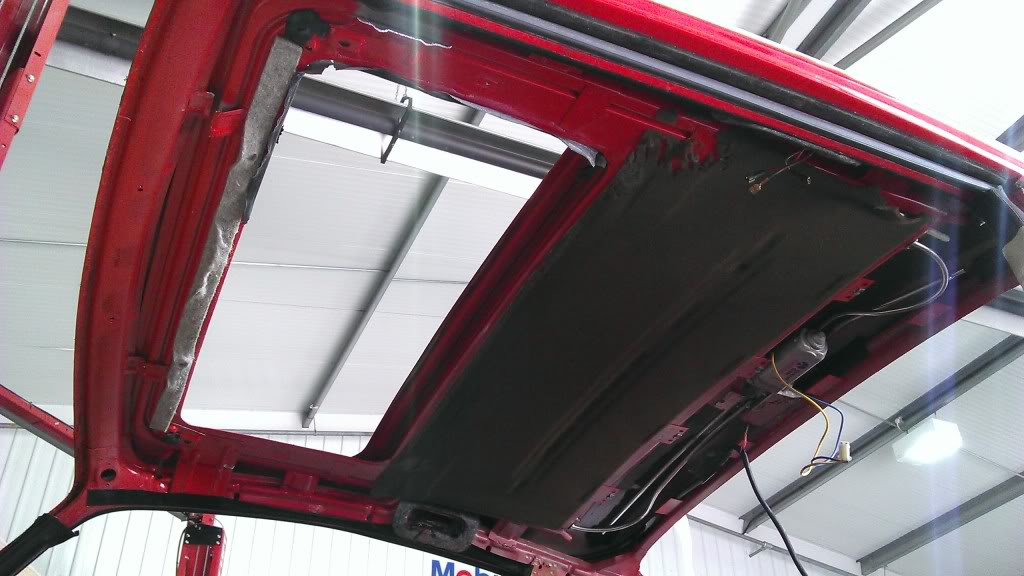
Once it was all out we saw what was probably a much easier way to do this, cut all the tabs holding the tray and mechanism above the doors left and right and then just grind all the dollied over edge around the sunroof hole off and then it just peels of the inside of the sunroof skin along with the roof support behind the sunroof
If you ever do this yourself just remember that the fenn lane panel is deliberately too big to allow the sunroof mechanism to be cut out from above the car! Loads easier!
Now im sure everyone with an old porsche really relishes the day that the front or rear screen comes ut, not! I got a message from steve at 911 sport saying they were getting started so off I went armed with a camera to see how bad thing were!
This is where I start to feel really lucky with this car......
This bit coming up is the first bit of rust ive found on the body at all, ive been keeping an eye on this bit for a year or two, you could just see a lump under the screen rubber. The painter popped by to see what hes let himself in for and couldnt believe his luck! He said its the best scuttle on an ar cooled 911 hes ever seen, a very happy day, away goes the check book!
The plan here s to fit the panel, take both the screen surrounds back to bare metal juat to be 100% sure and then return the car in primer. This will give ample time for the filler to settle and to make sure its perfect before any paint goes on the car
Next step, get this lot out. Now ive probably gone way past the point of no return already but this fert like the moment when the disc cutter came out the tool box!
Once it was all out we saw what was probably a much easier way to do this, cut all the tabs holding the tray and mechanism above the doors left and right and then just grind all the dollied over edge around the sunroof hole off and then it just peels of the inside of the sunroof skin along with the roof support behind the sunroof
If you ever do this yourself just remember that the fenn lane panel is deliberately too big to allow the sunroof mechanism to be cut out from above the car! Loads easier!
