When you click on links to various merchants on this site and make a purchase, this can result in this site earning a commission. Affiliate programs and affiliations include, but are not limited to, the eBay Partner Network.
Thanks for the advice. I bought these as ungapped and did them all manually, verifying the whole way including before final installation to the pistons. I set the top 2 compression rings to about 0.016" and the oil rings to about 0.030" on my ring grinder. I didn't gap the oil scraper spring (the accordian looking piece that goes between the 2 oil rail rings). That does happen to be the hold-up, but I got advice on this forum that it isn't meant to be gapped since it's designed to compress due to its design/shape.
Running under the assumption pistons and bores are appropriately sized, and nothing is damaged.
Check pistons fit in bores without rings
Check piston passed through ring compressor
Check rings in bore, and validate correct gap
Check rings in ring compressor that they do not bind at tightest point.
Be careful not to scratch bores with the rings, or bend/break any rings. And don't force anything.
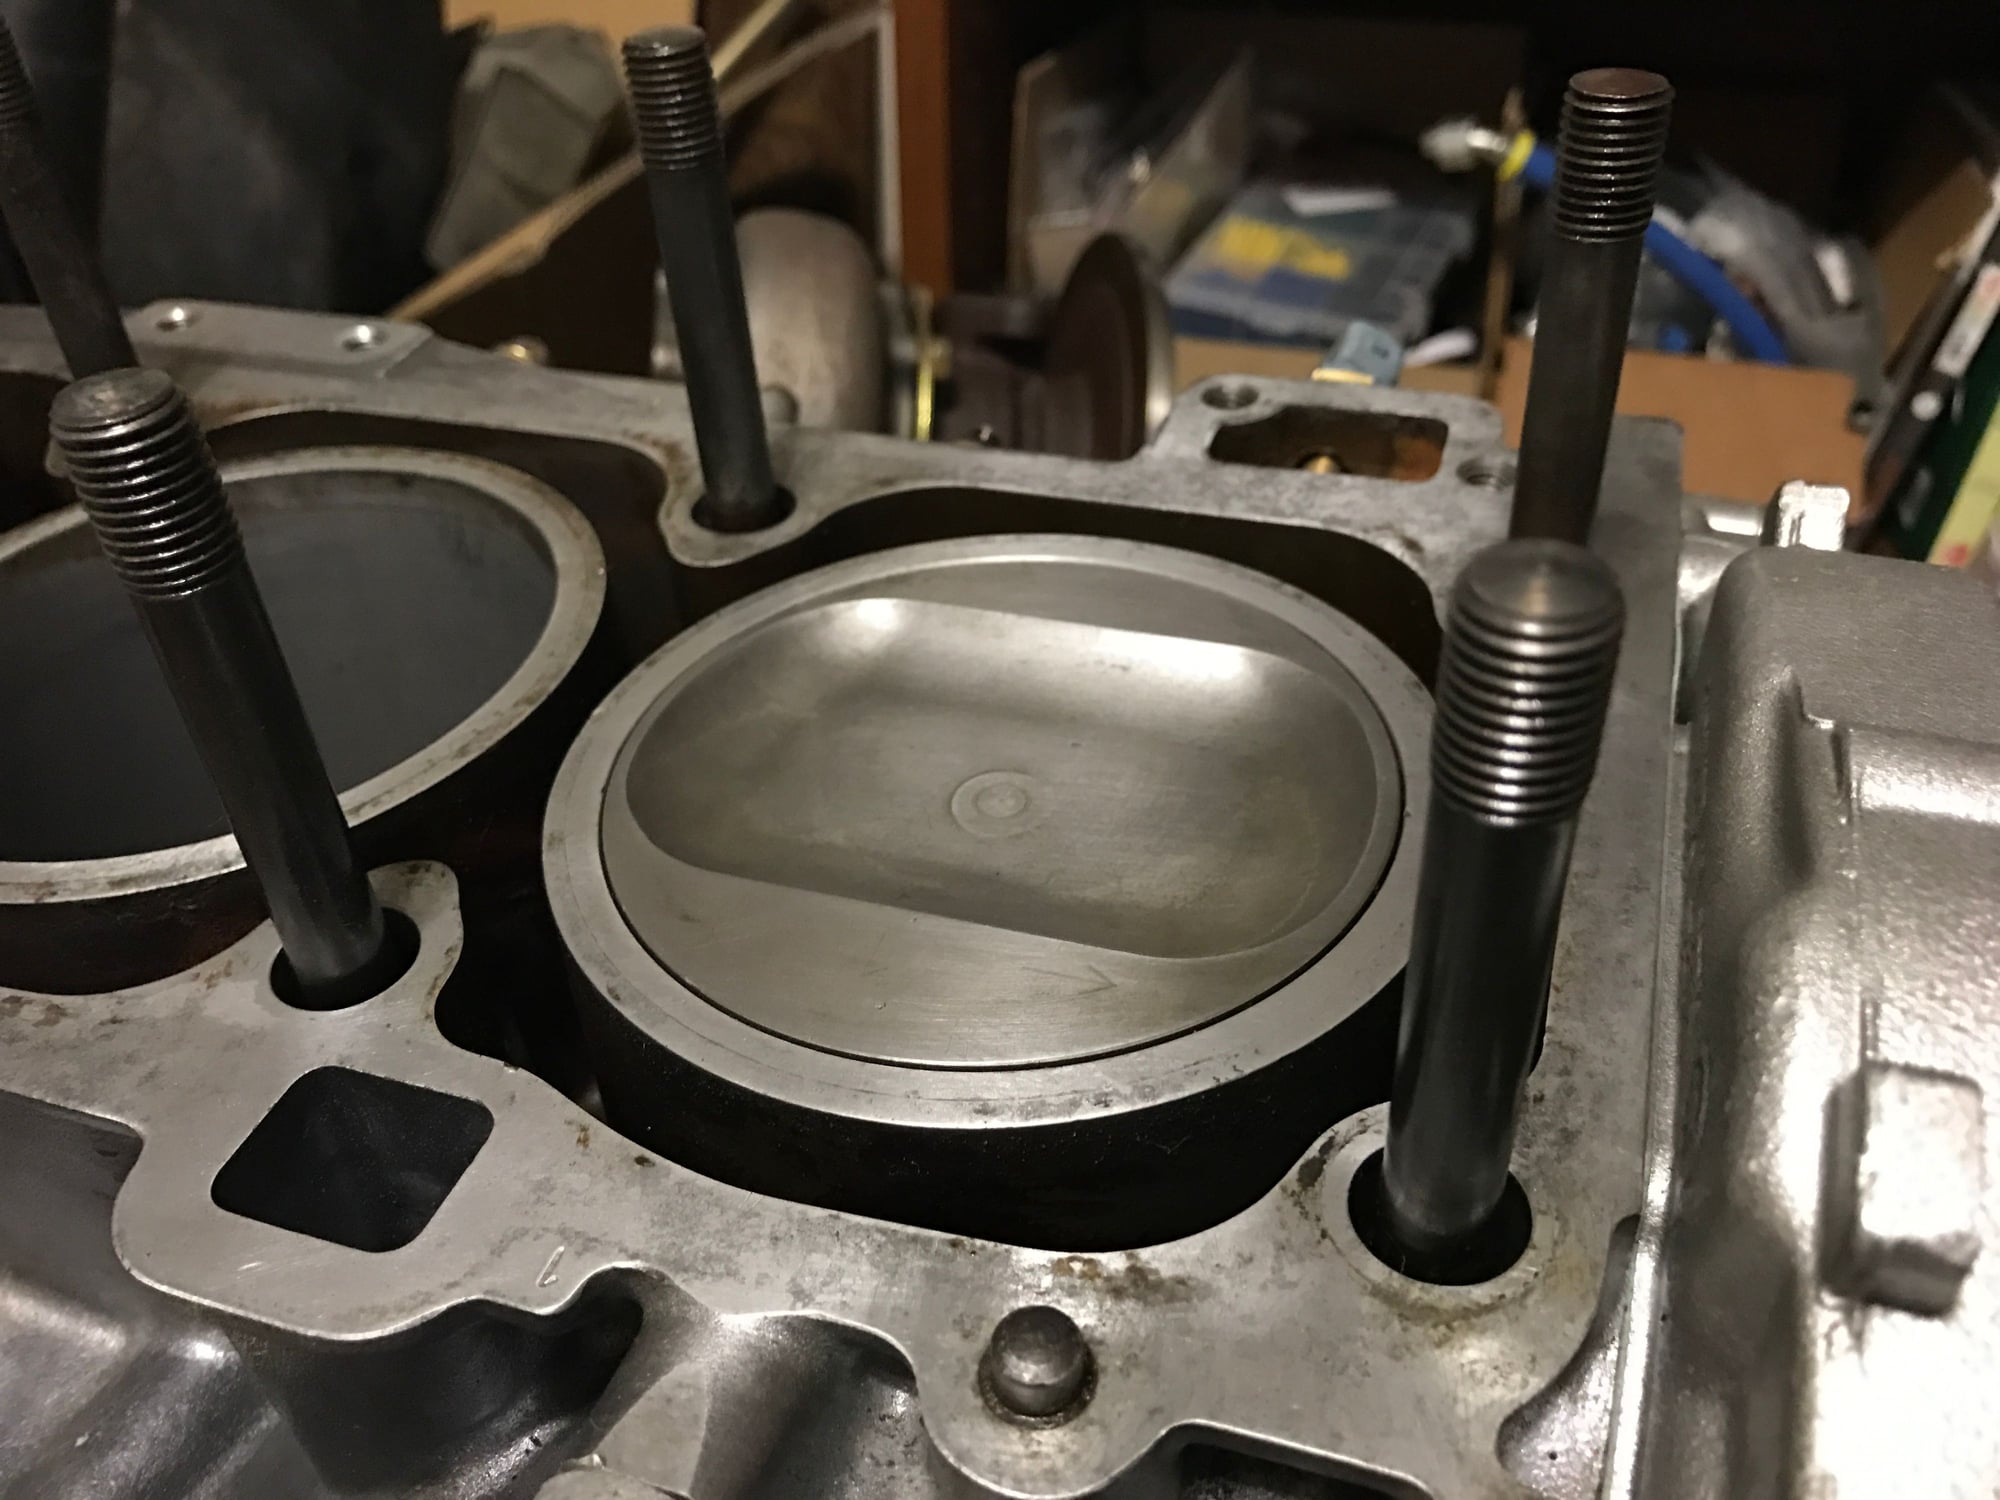
Piston is smooth as glass in the bore (no rings on, just oiled)
I gapped the rings by hand, all of them, and have checked gaps in the same bore using a high quality feeler gauge...at least 5 times per ring. They're on the money and none are damaged in any way.
The piston, with rings on, will slide through the compressor just fine when I do it outside of the block. The rings don't hang up on anything and compress as they are supposed to until the piston pops out the bottom.
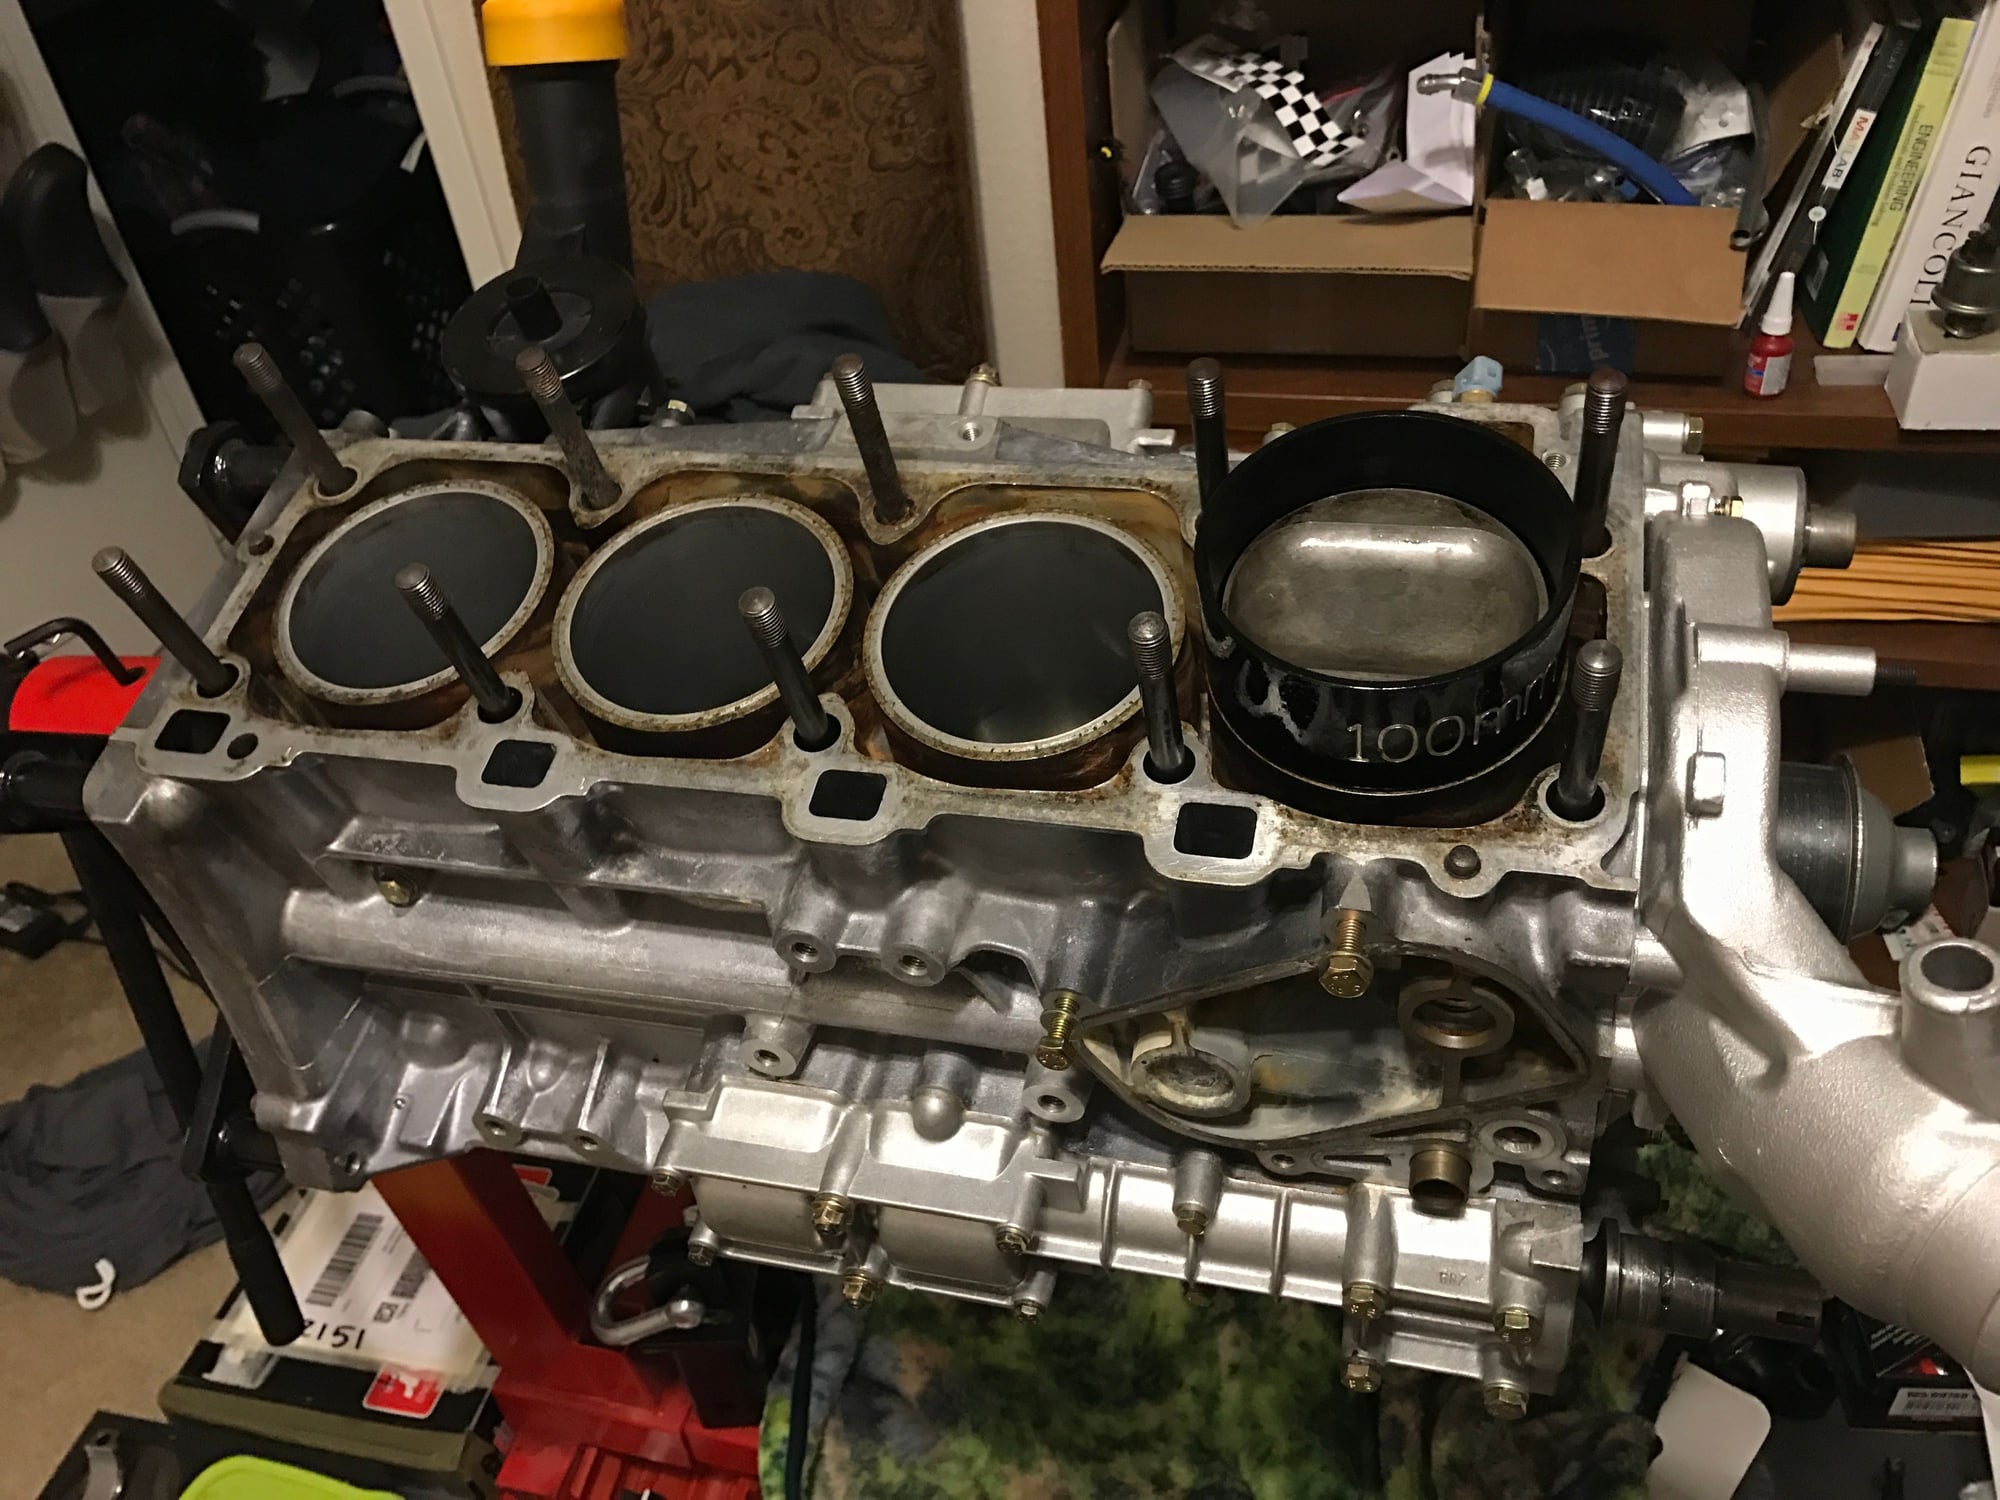
Really getting fed up and thinking about trying a different compressor - maybe I just need to bring them in a few thousands more. The tool is of course static, so the tightest diameter it can ever make the rings conform to is exactly 100mm.
Hummm,
Any chance the you have a tapper out on the ring tool sleeve. Maybe its letting the ring unload just before the top of the engine cylinder bore. is it all the pistons and bores? or just that one?
Maybe you just need a bigger hammer. WAAAPP WAAAP..... Haha just kidding.
do you still have the lip that develops at the top of all the cylinders? That might be a snag as well. If there still is any carbon buildup that is caked on, I could see that reducing the diameter of the cylinder.
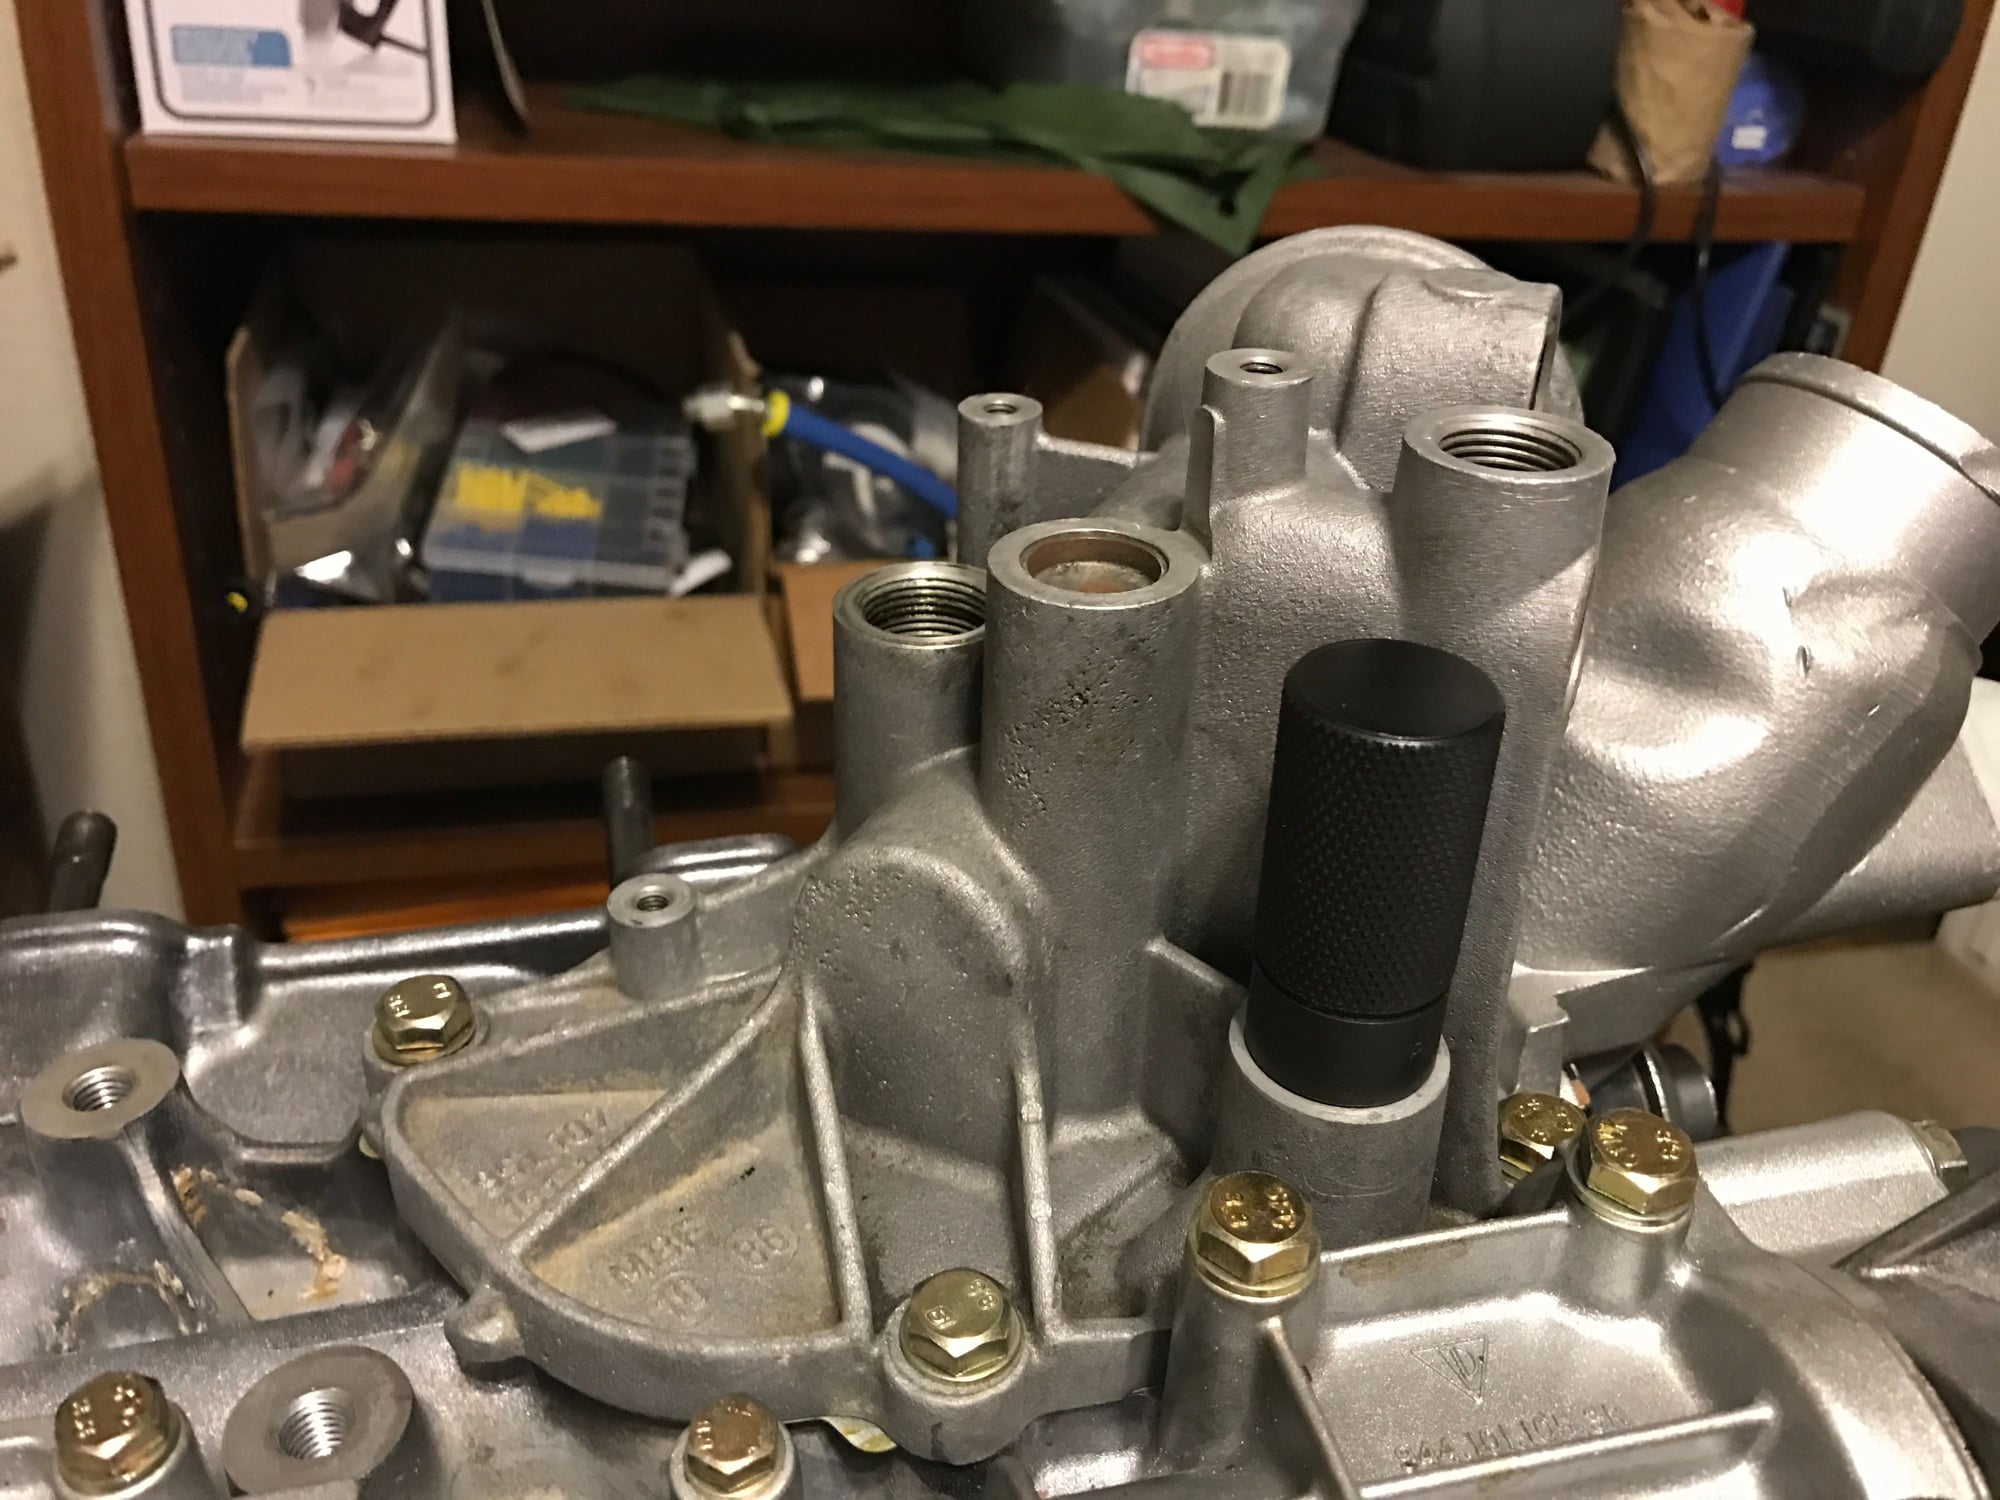
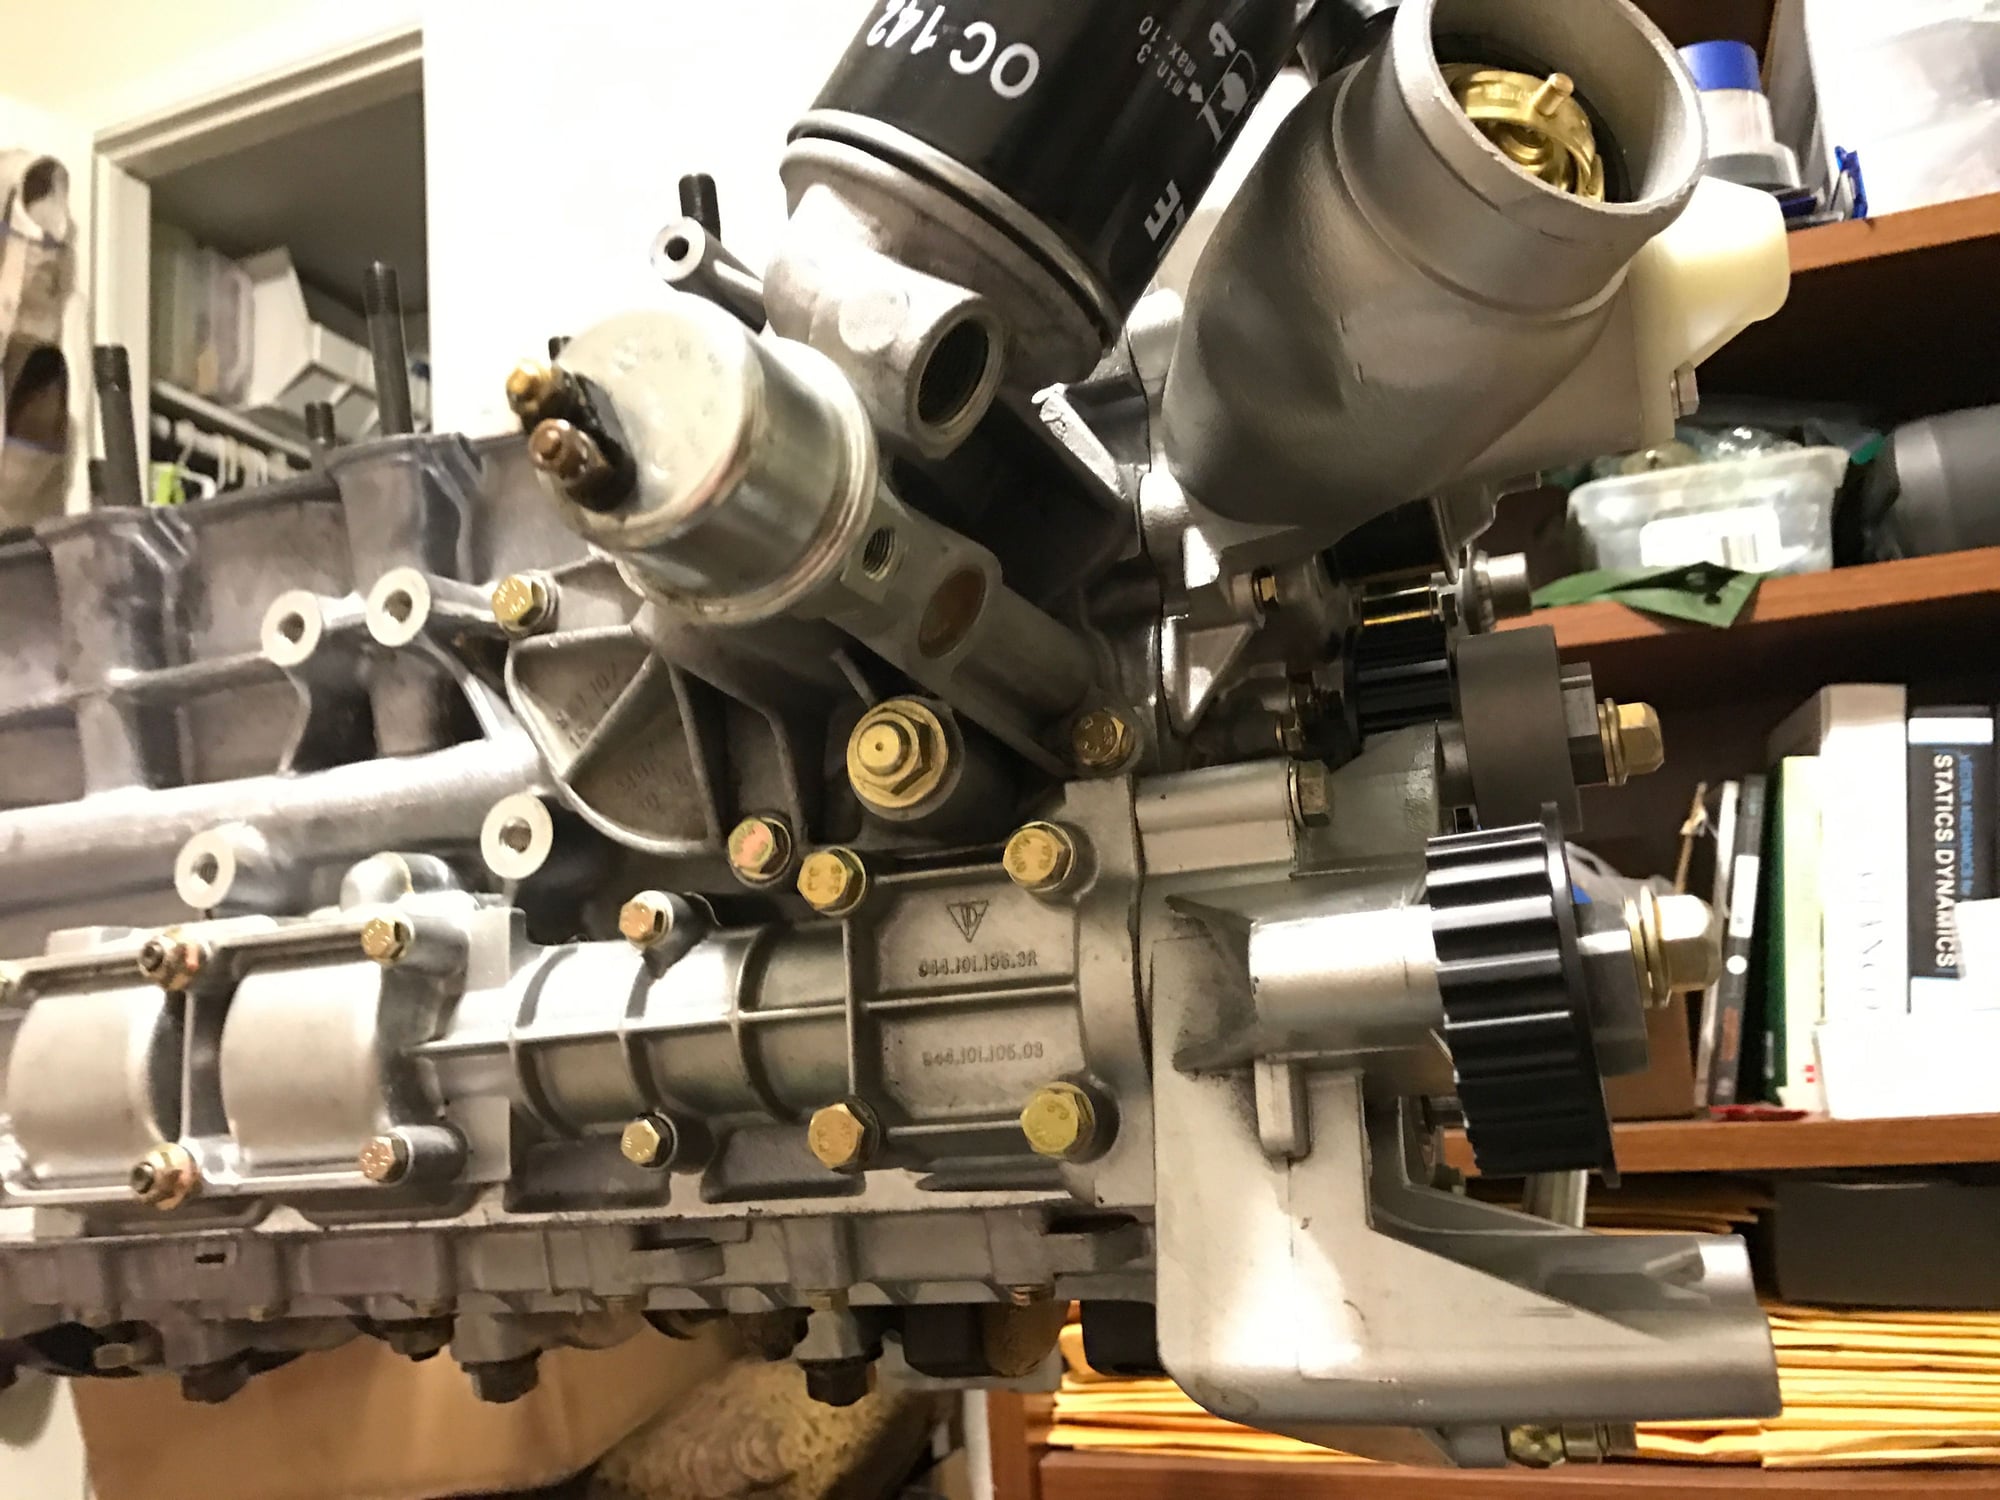
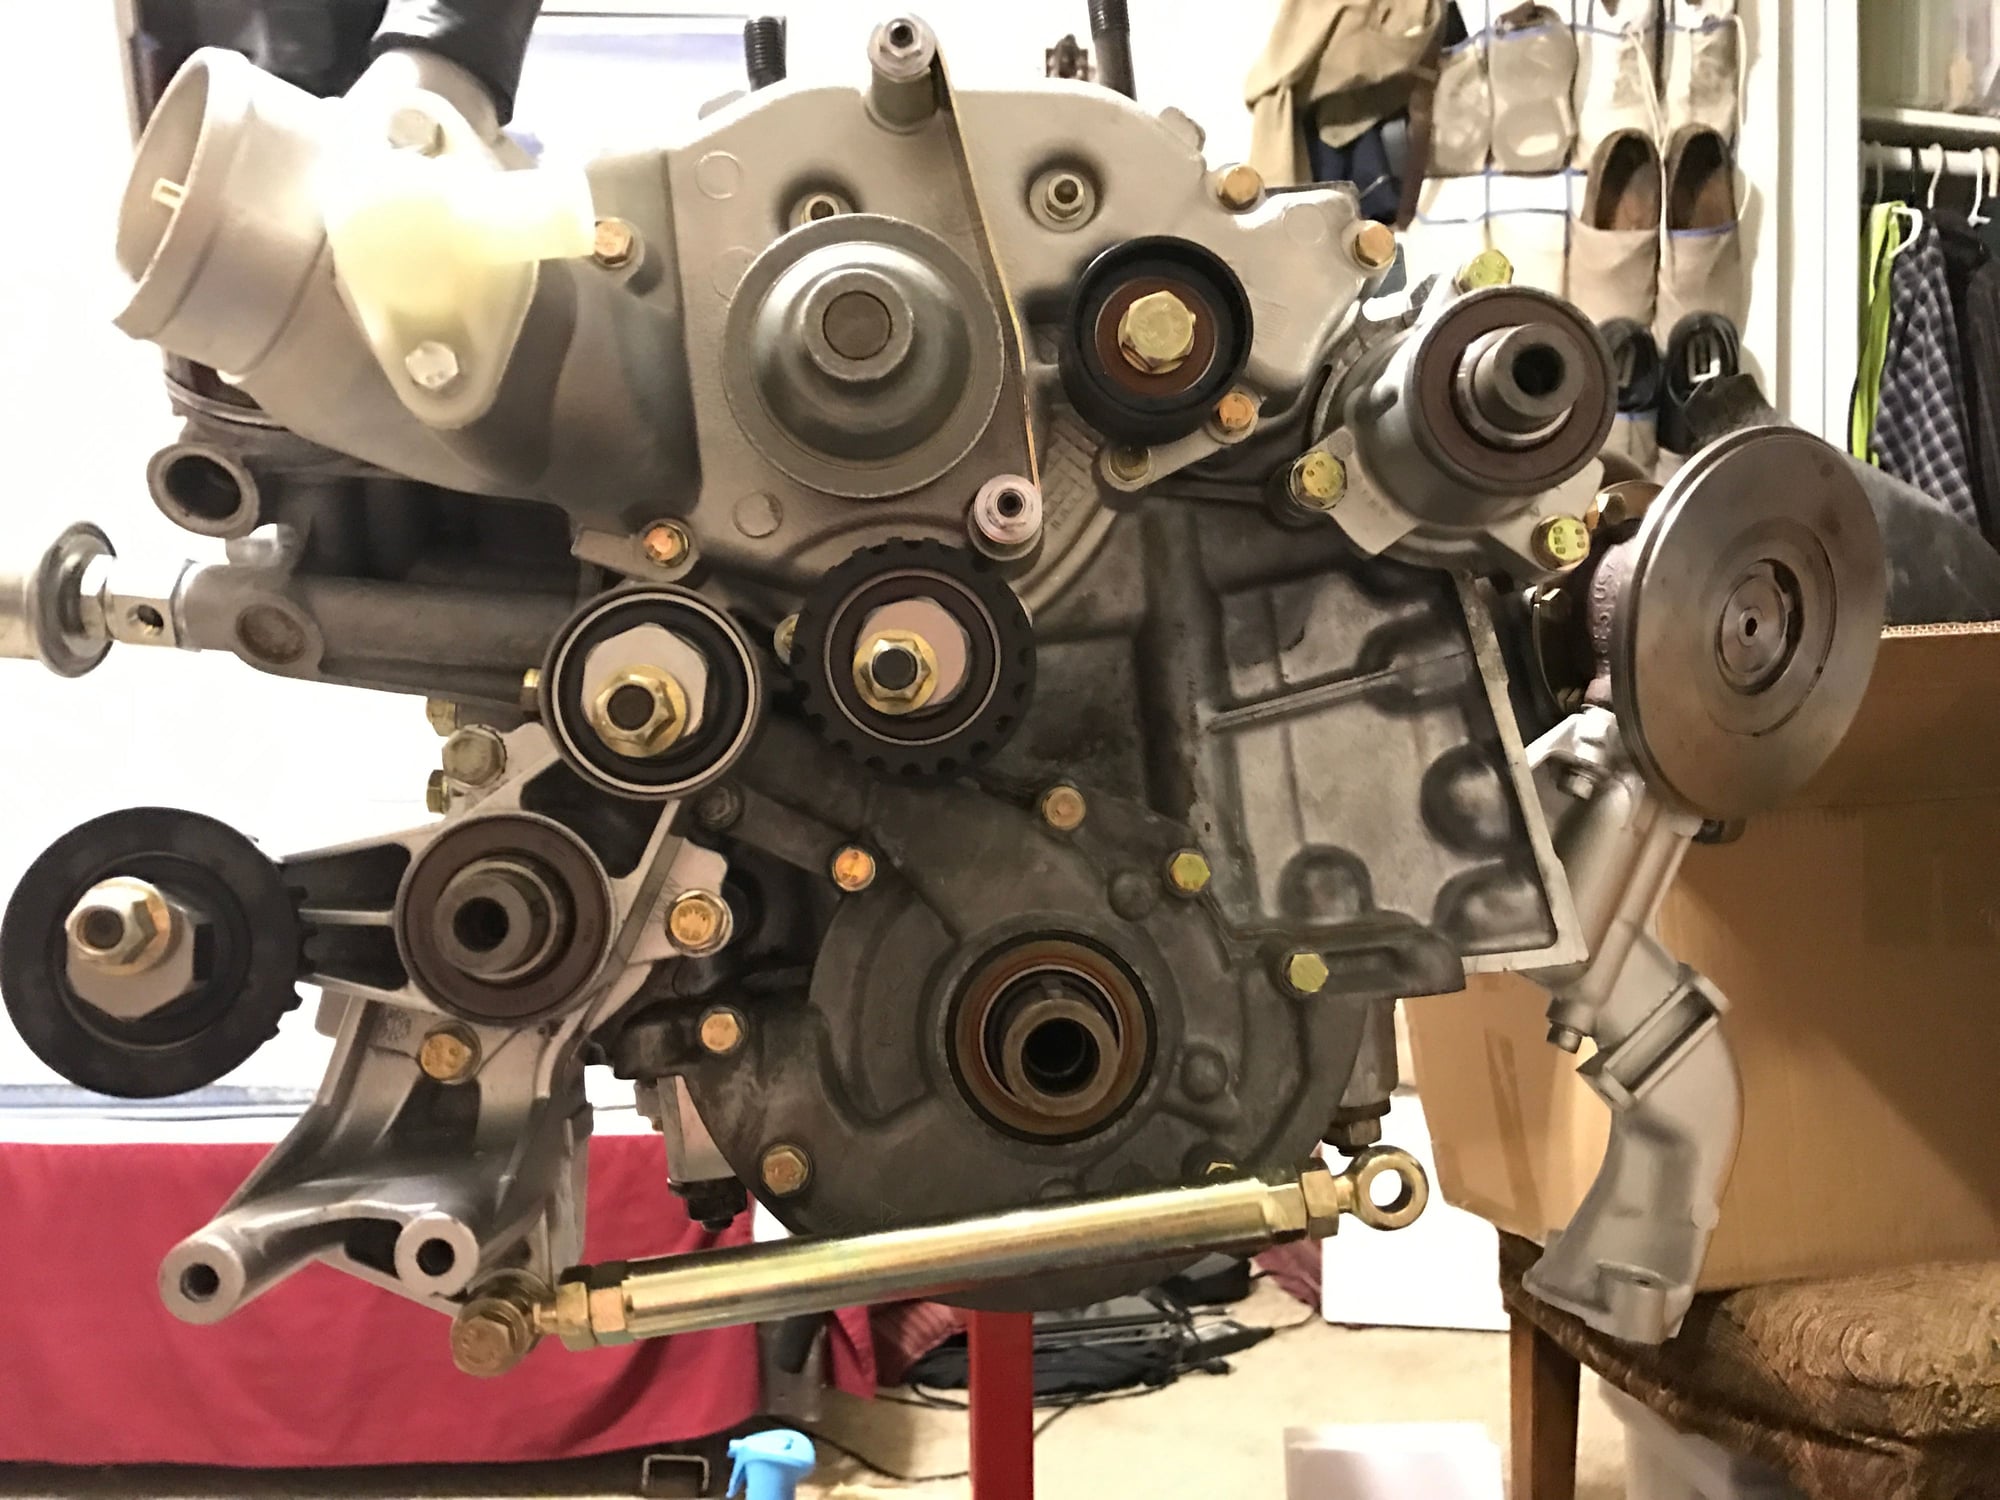
This happened today...many more parts to follow! I had to have them redo the front engine cogs because they weren't properly prepped. Not a big deal. It looks nice but more importantly it'll STILL look nice for many years because these parts won't corrode well. Basically everything that's steel and I can't readily buy (e.g. nuts and bolts) are getting the treatment. I found a great local place that does this for a very reasonable price.
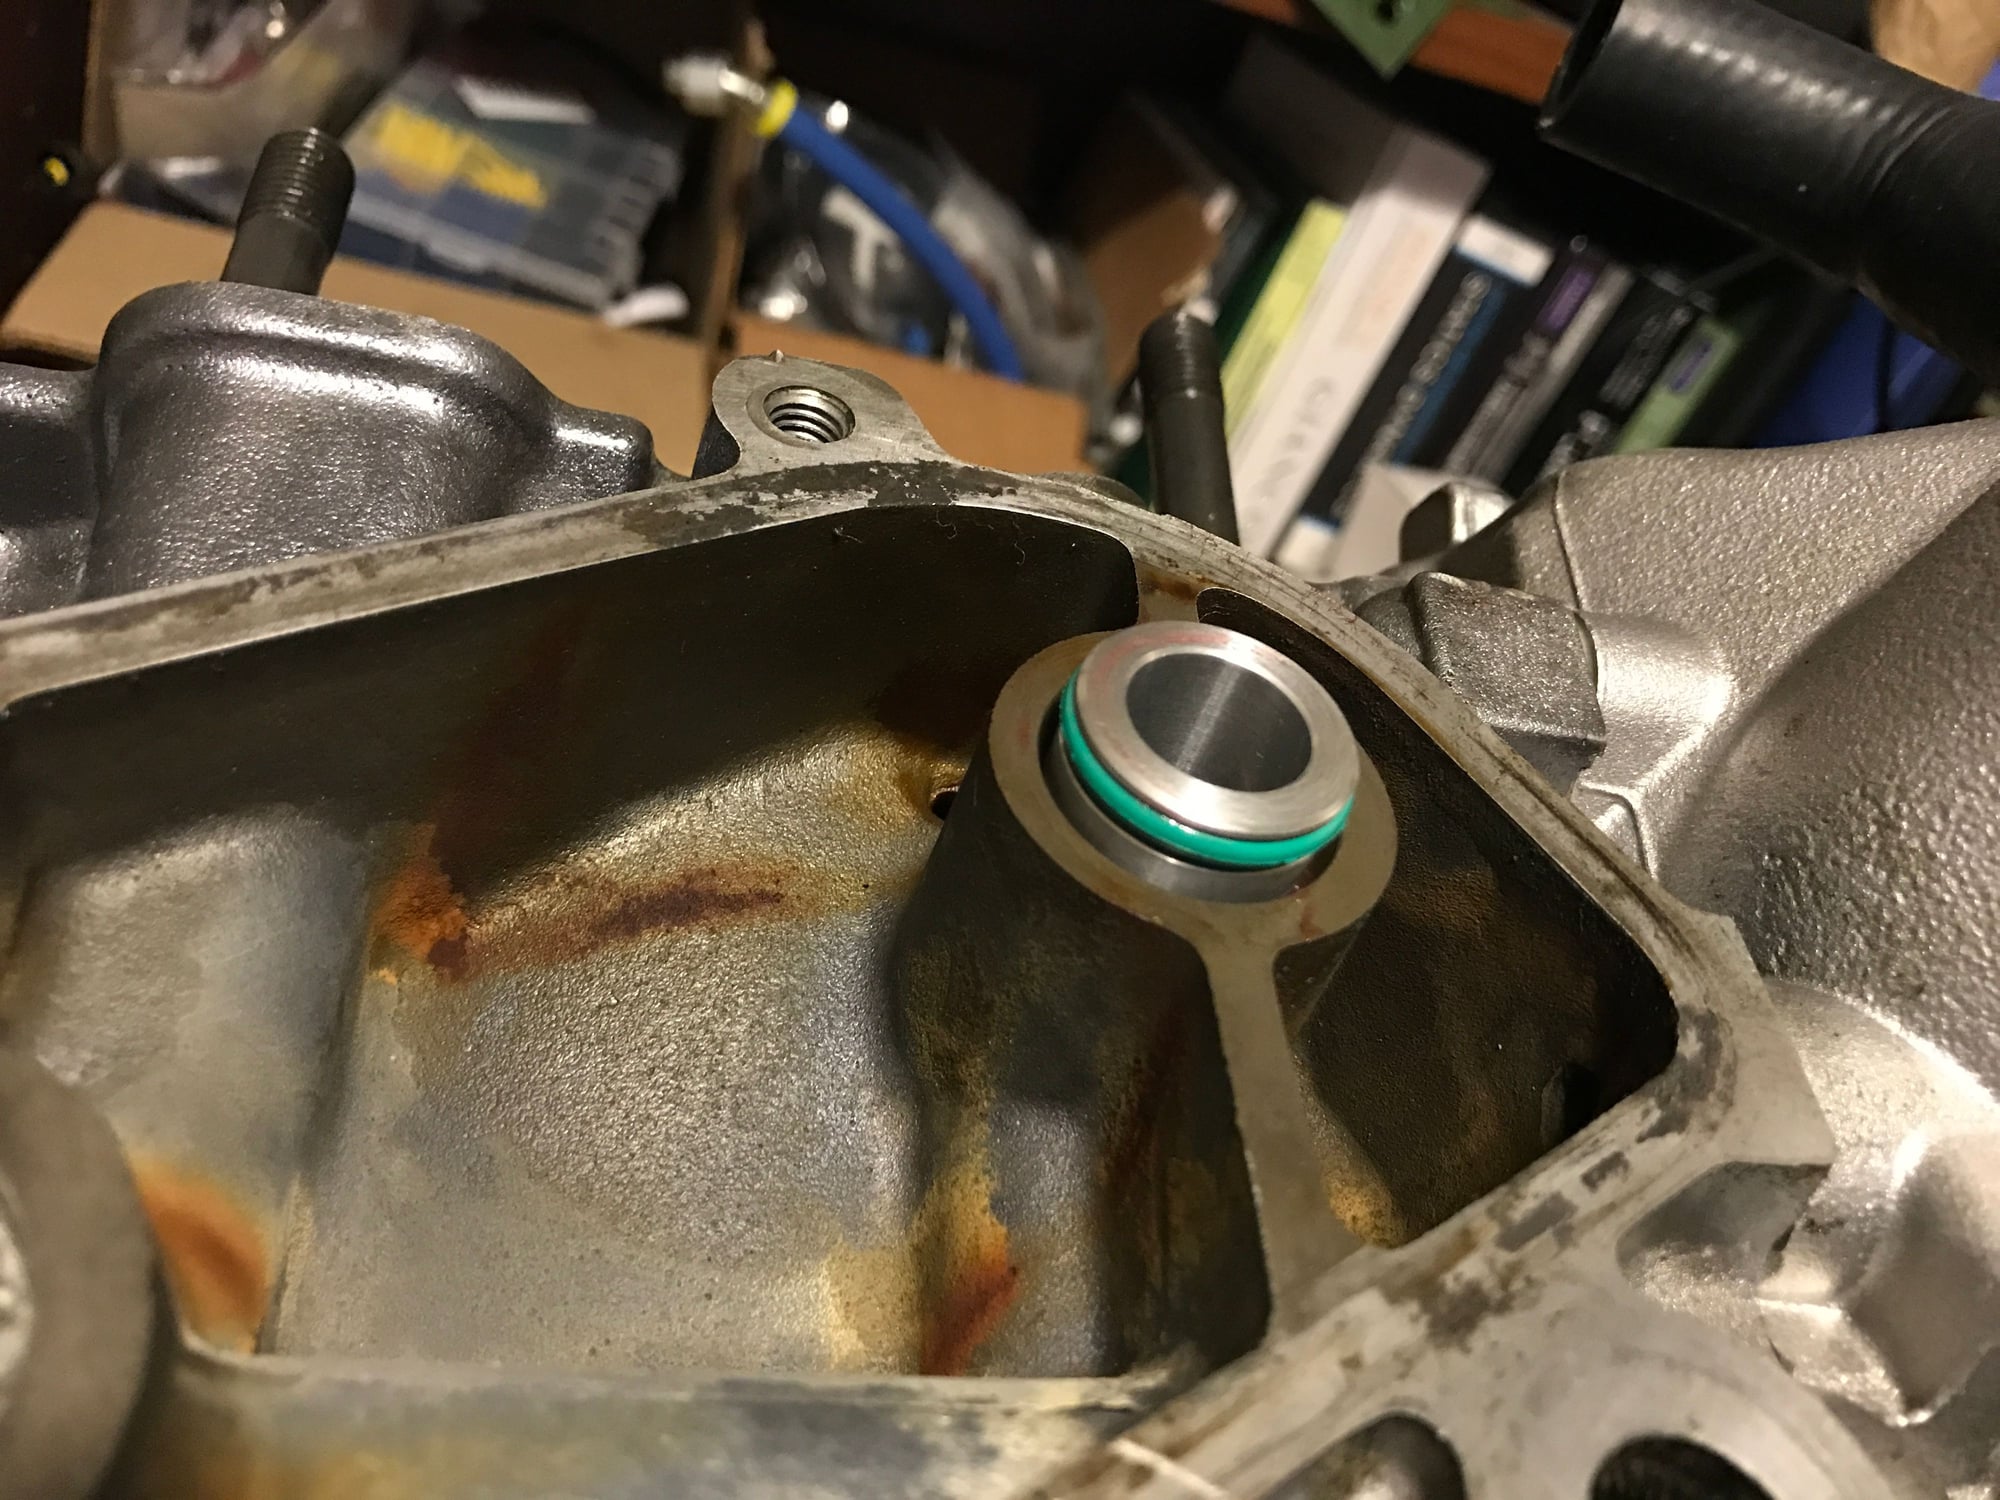
Test fit the LR oil pressure adapter, so I can run a small line over to the turbo versus my nonexistent balance shaft oil feed. Oil filter is just there so I don't lose it in my apartment...
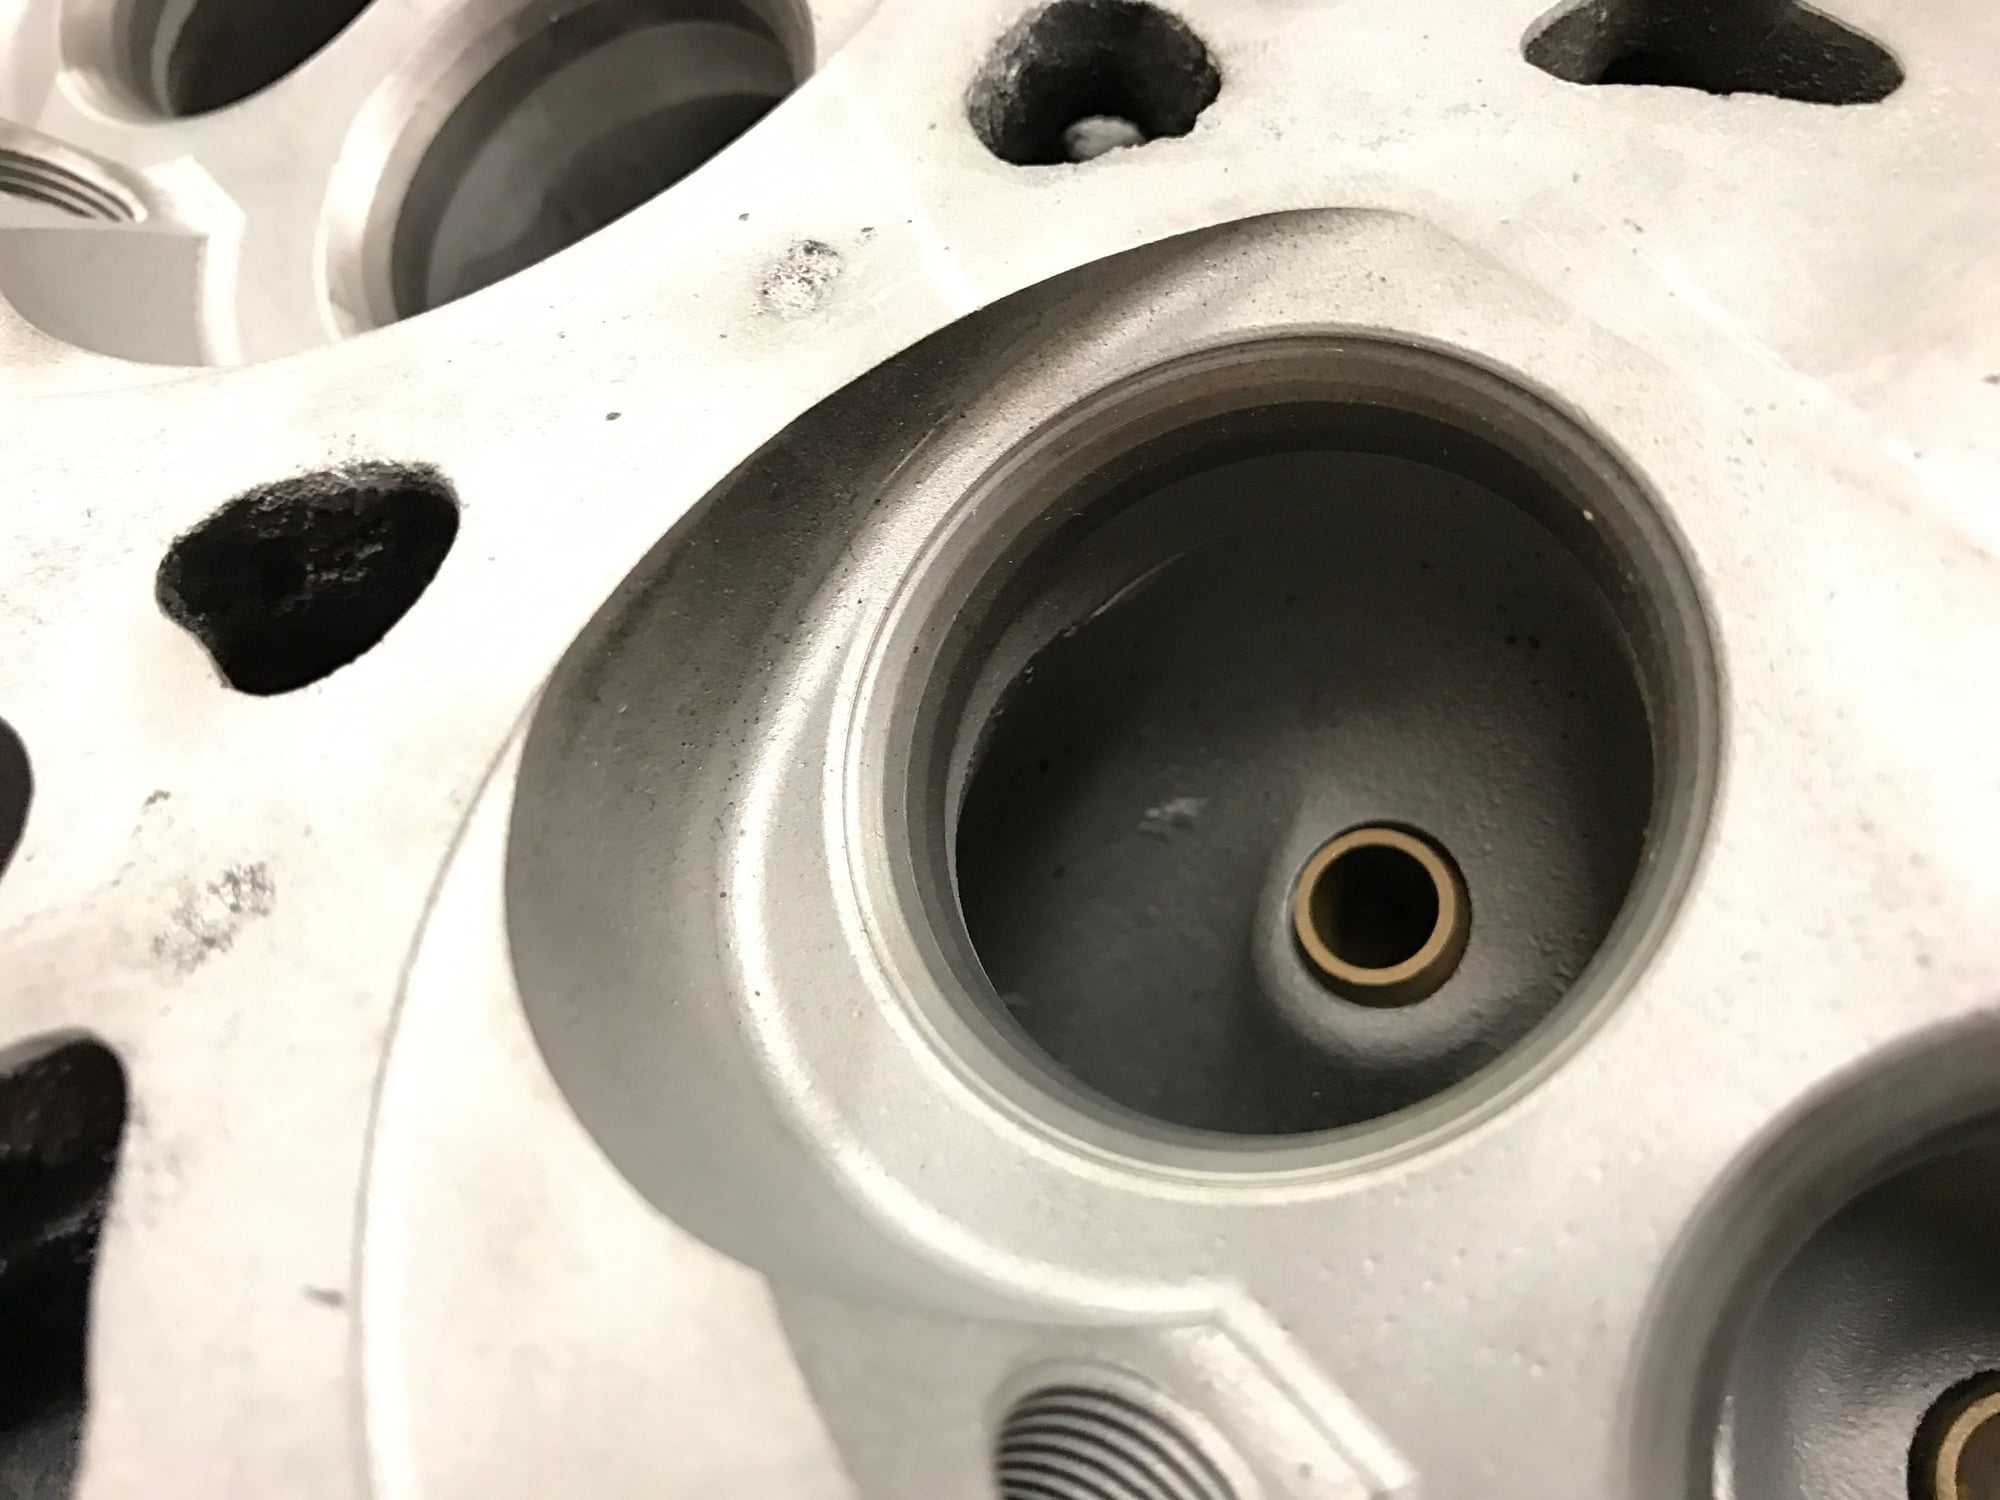
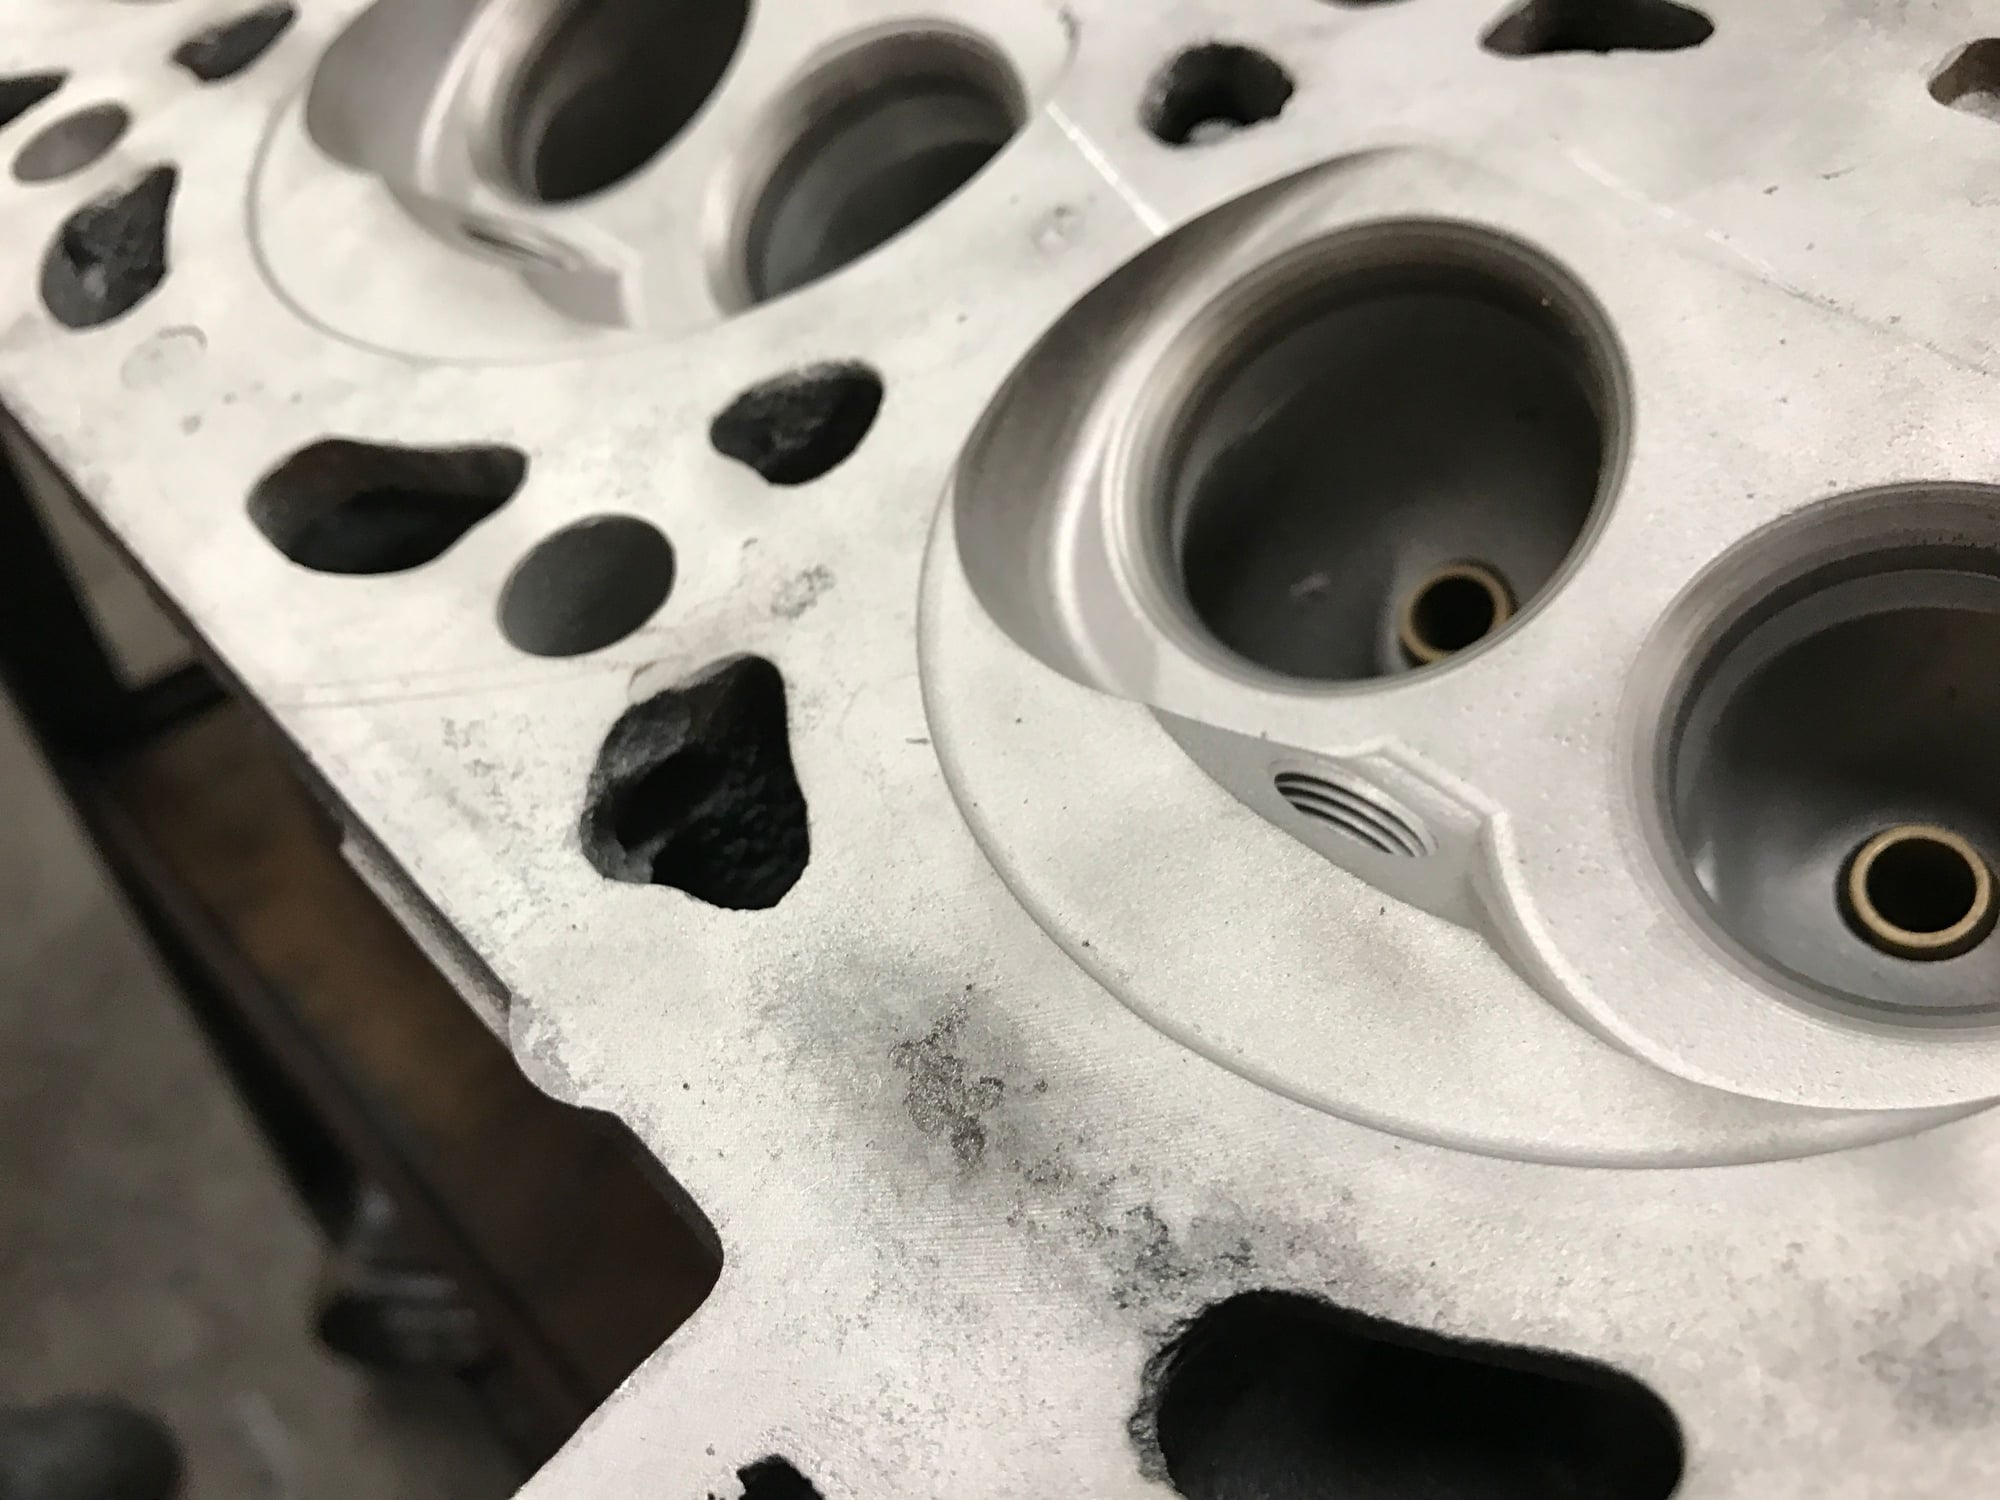
Last 2 pictures show the head, as it sits with my machinist. 5-angle valve job (I think?) that I had no idea was there until it was cleaned up. A PO must have had it done to the 82-built NA that this head came off of. I have him swapping in my 951 exhaust valves and all valve springs.
One question - there is obvious aluminum pitting on the head deck. I was going to have it welded, but this would add months to the completion because he has a huge backlog. Is this amount of pitting ok? I don't want it to get worse as the coolant seeps into the pits under the gasket and becomes acidic.
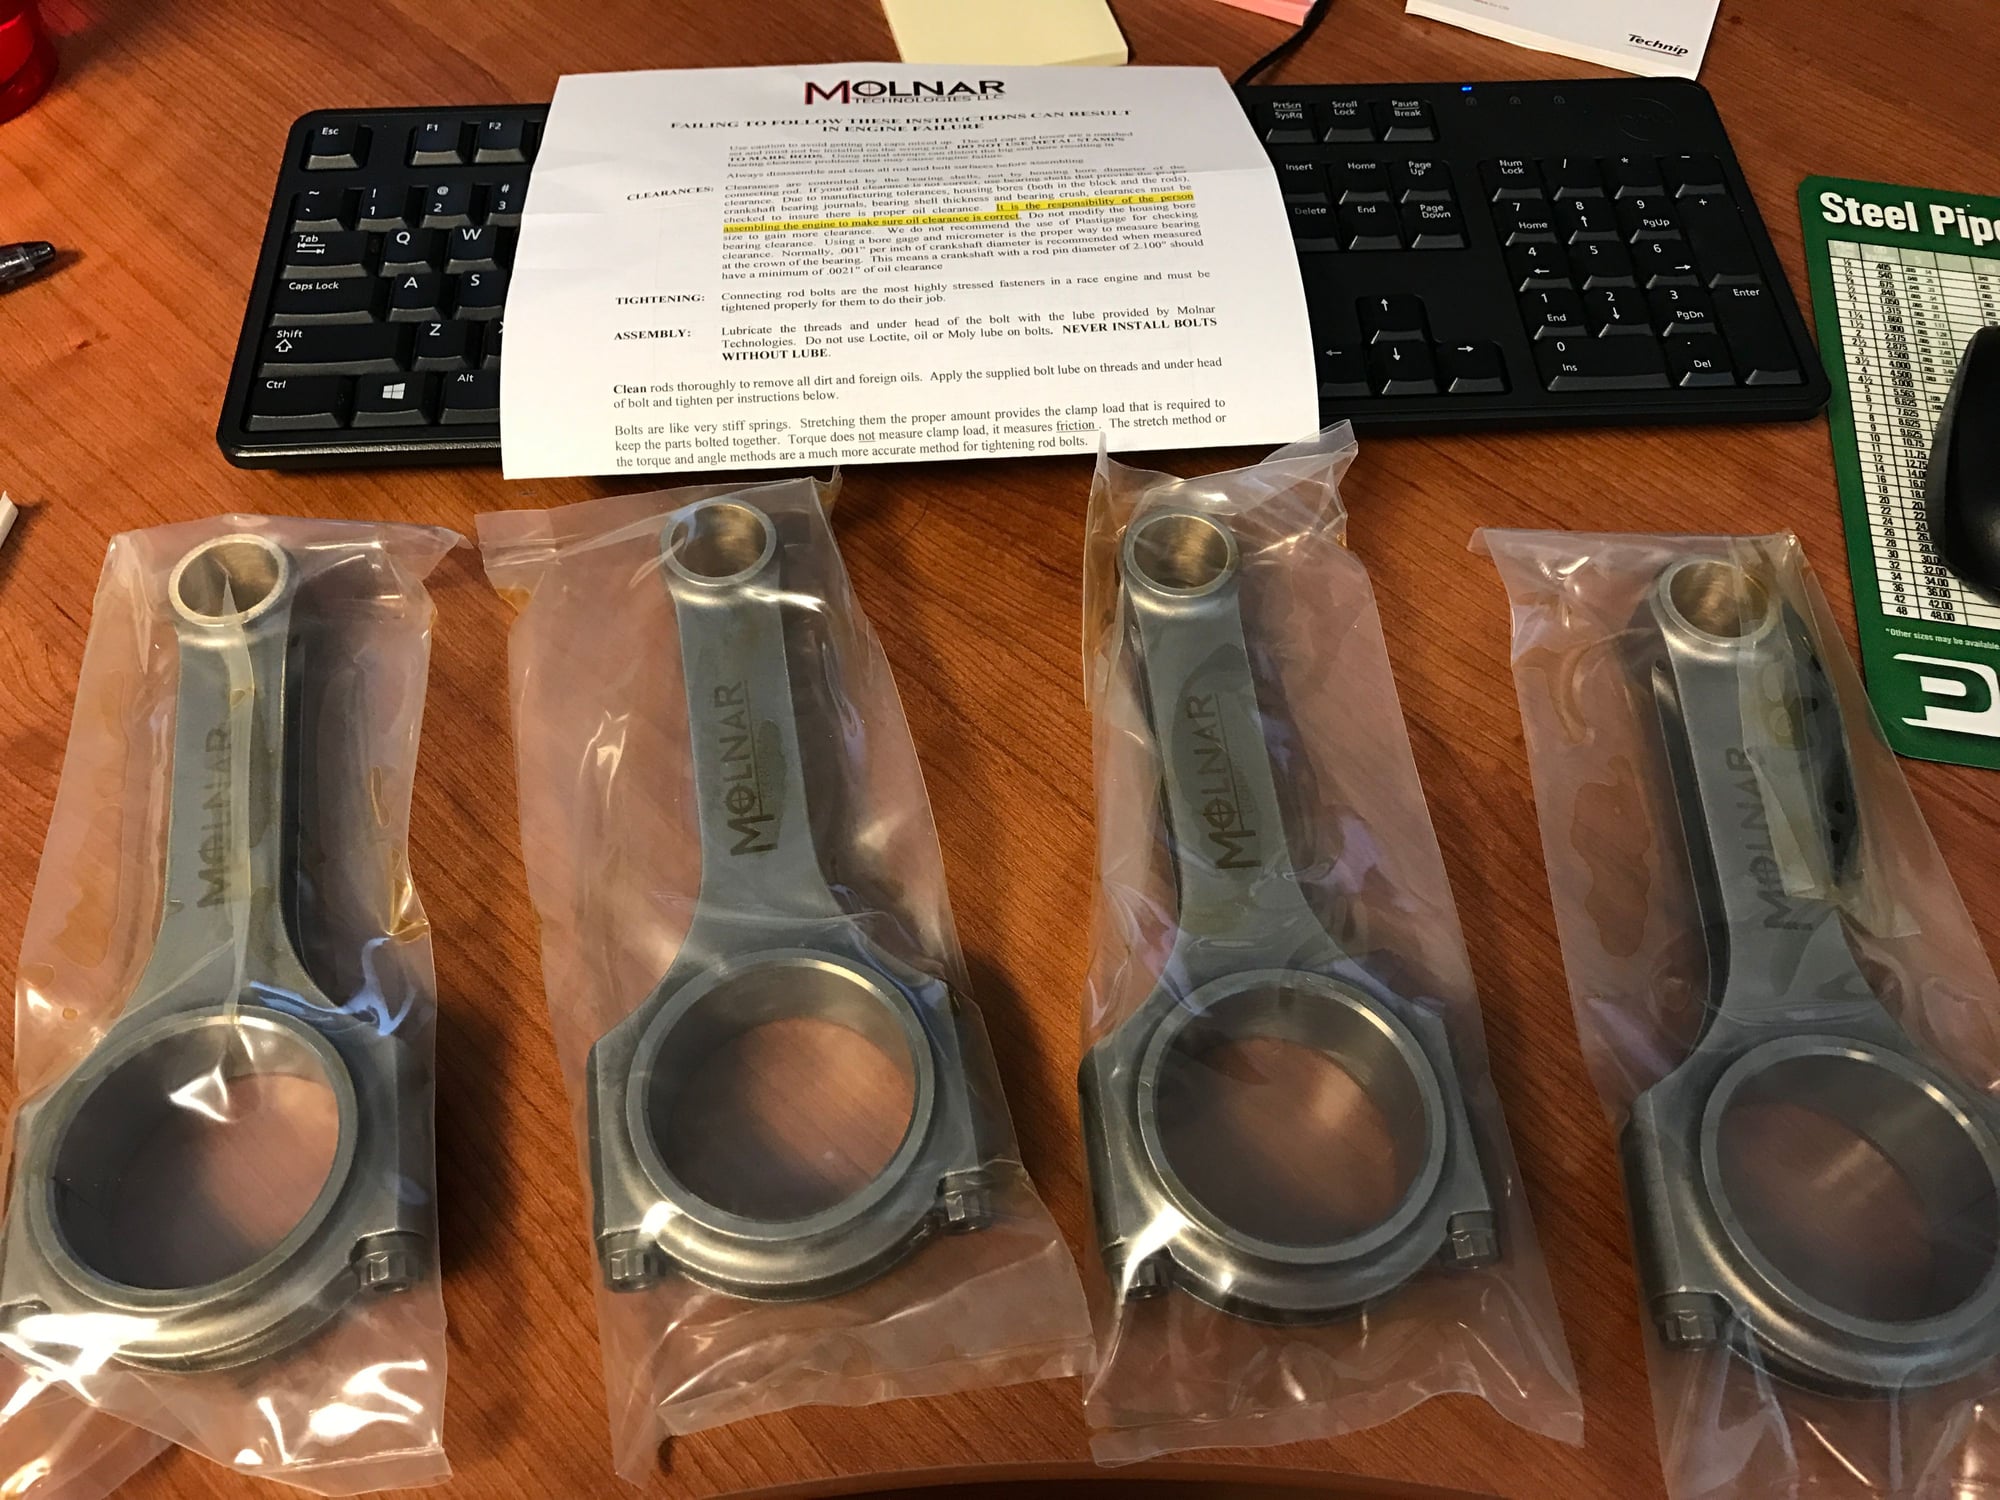
After a few setbacks with assembly, I decided to go with Molnar rods. They come with ARP hardware and will accept stock rod bearings. Now, I just need to find 2 good 951 pistons. I tore apart the bottom and upon better inspection than last time, 2 have more wear than I want to deal with after this much investment.
Engine bay is also coming along, next step is to paint it.

 01-10-2017, 09:54 PM