When you click on links to various merchants on this site and make a purchase, this can result in this site earning a commission. Affiliate programs and affiliations include, but are not limited to, the eBay Partner Network.
Interesting. Thanks for taking the time and effort to post this up Kevin.
Makes me wonder if there might be a way to bench-test this seal before putting the engine back in..
Maybe fill with correct amount of oil and pressurize (somehow ?!?) and observe?
Last edited by Daniel5691; 01-12-2017 at 12:03 AM.
Interesting. Thanks for taking the time and effort to post this up Kevin.
Makes me wonder if there might be a way to bench-test this seal before putting the engine back in..
Maybe fill with correct amount of oil and pressurize (somehow ?!?) and observe?
Semi-retired, as of Feb 1, 2023.
The days of free technical advice are over.
Free consultations will no longer be available.
Will still be in the shop, isolated and exclusively working on project cars, developmental work and products, engines and transmissions.
Have fun with your 928's people!
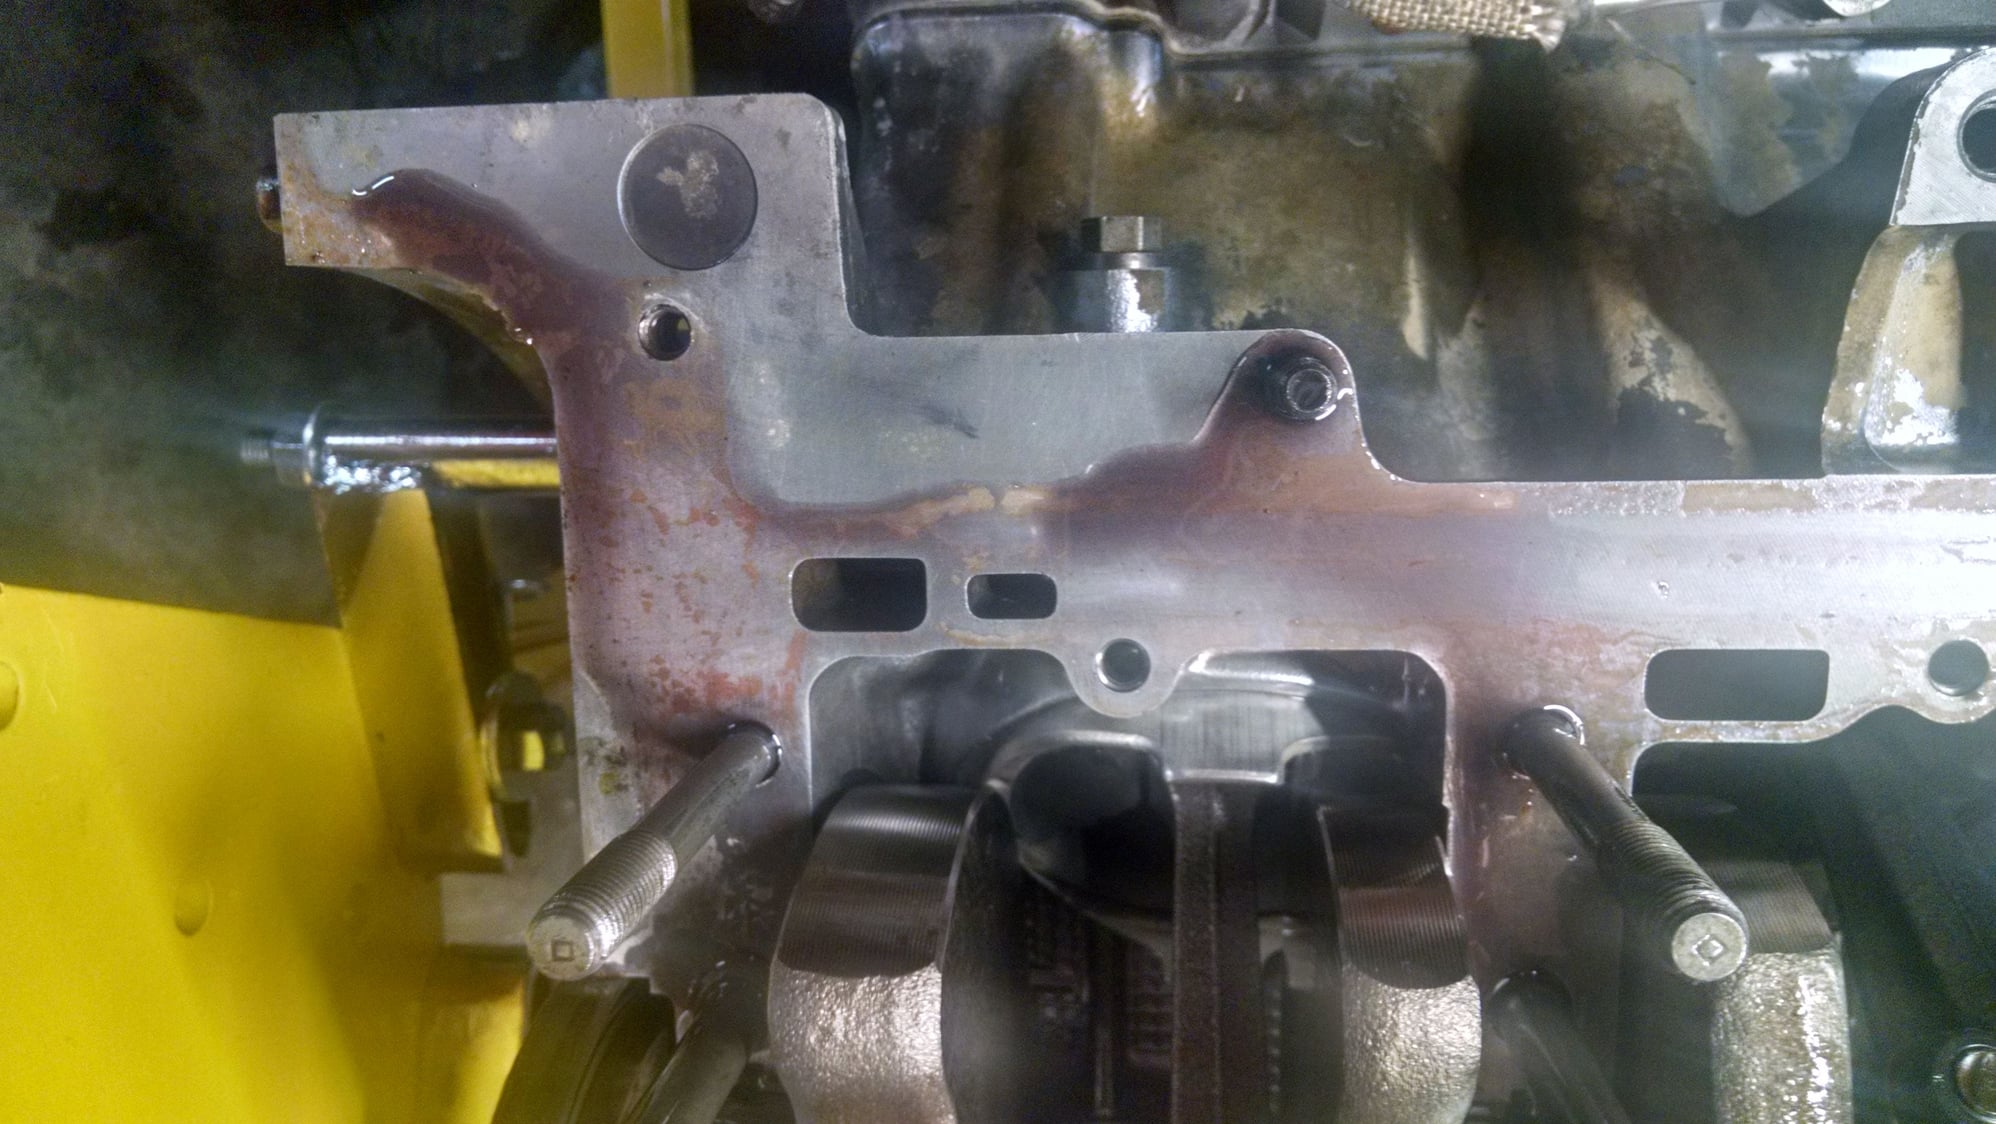
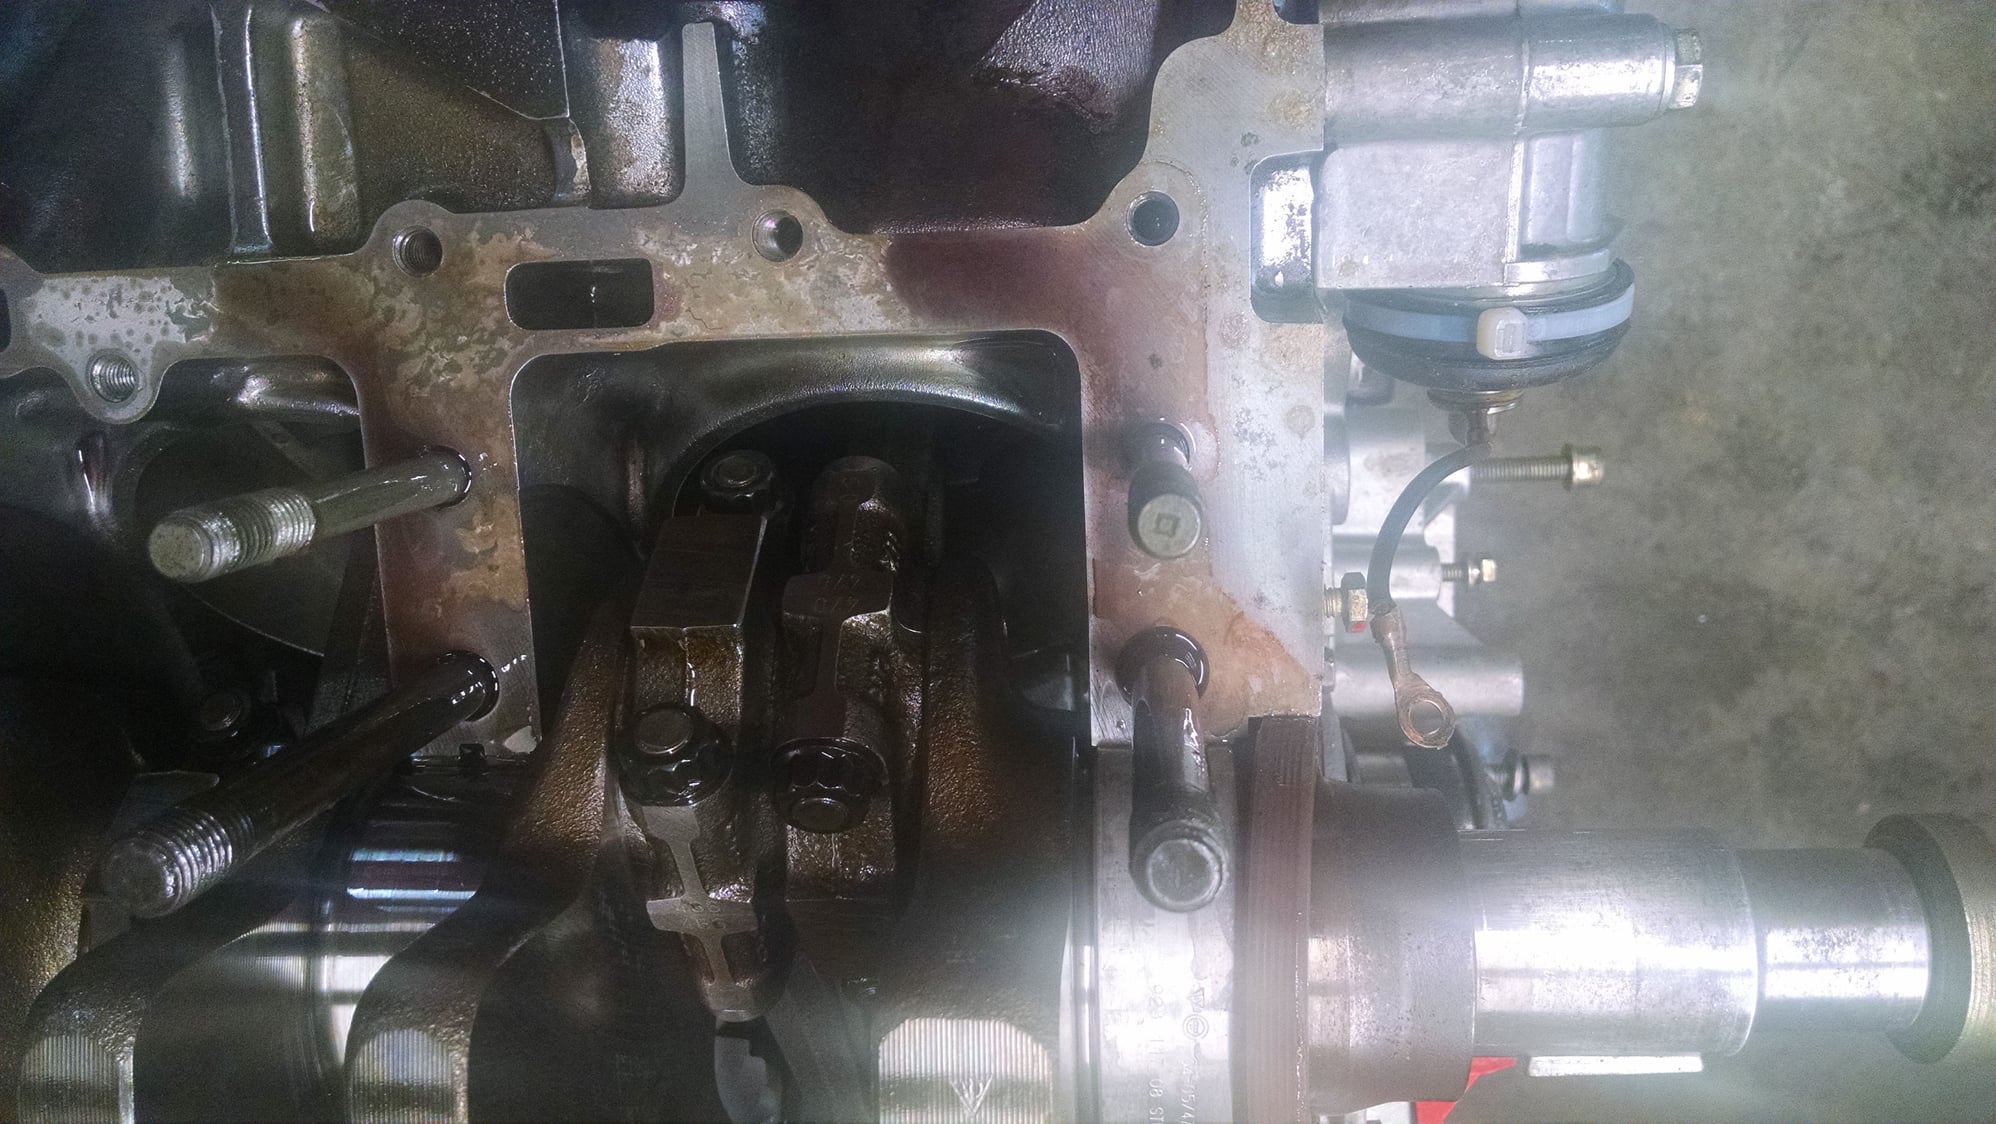
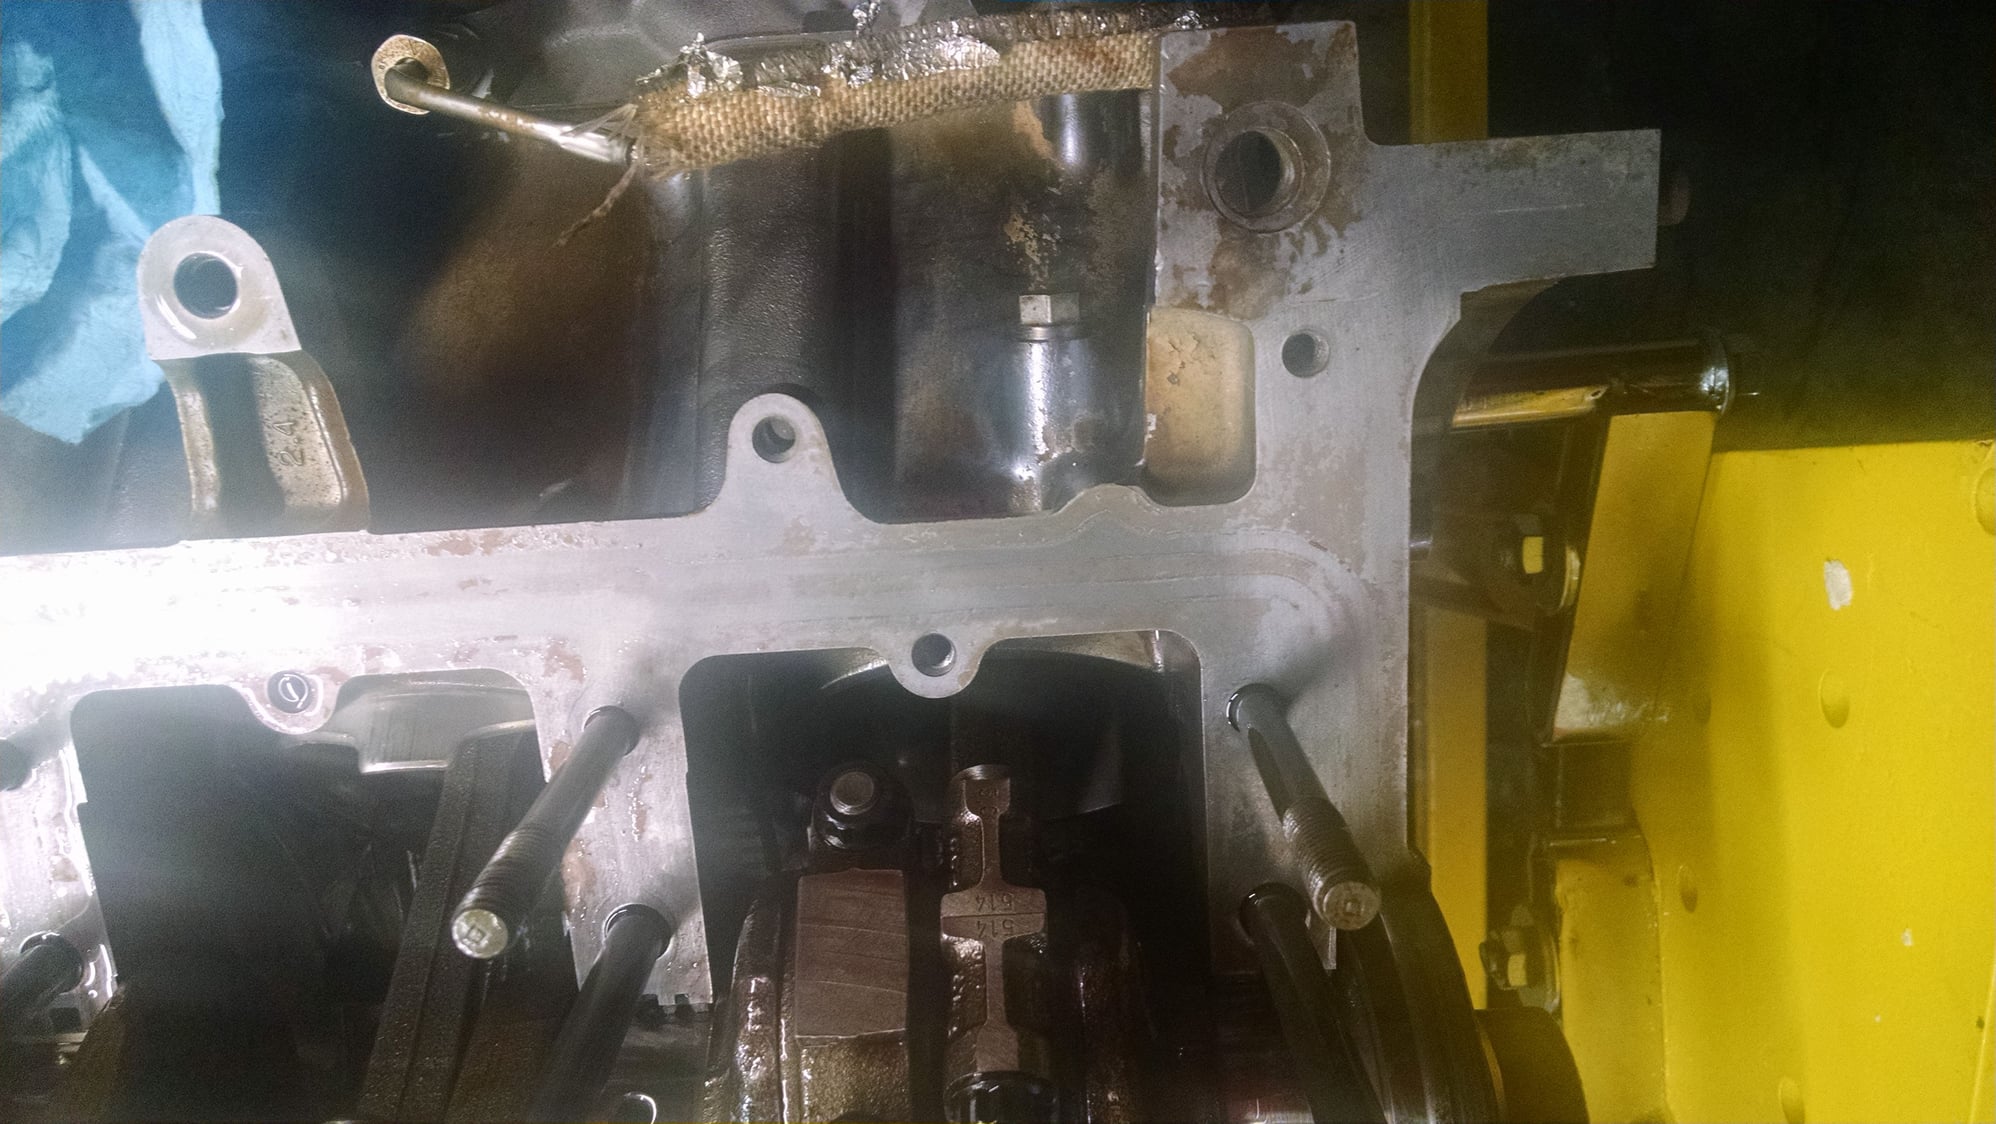
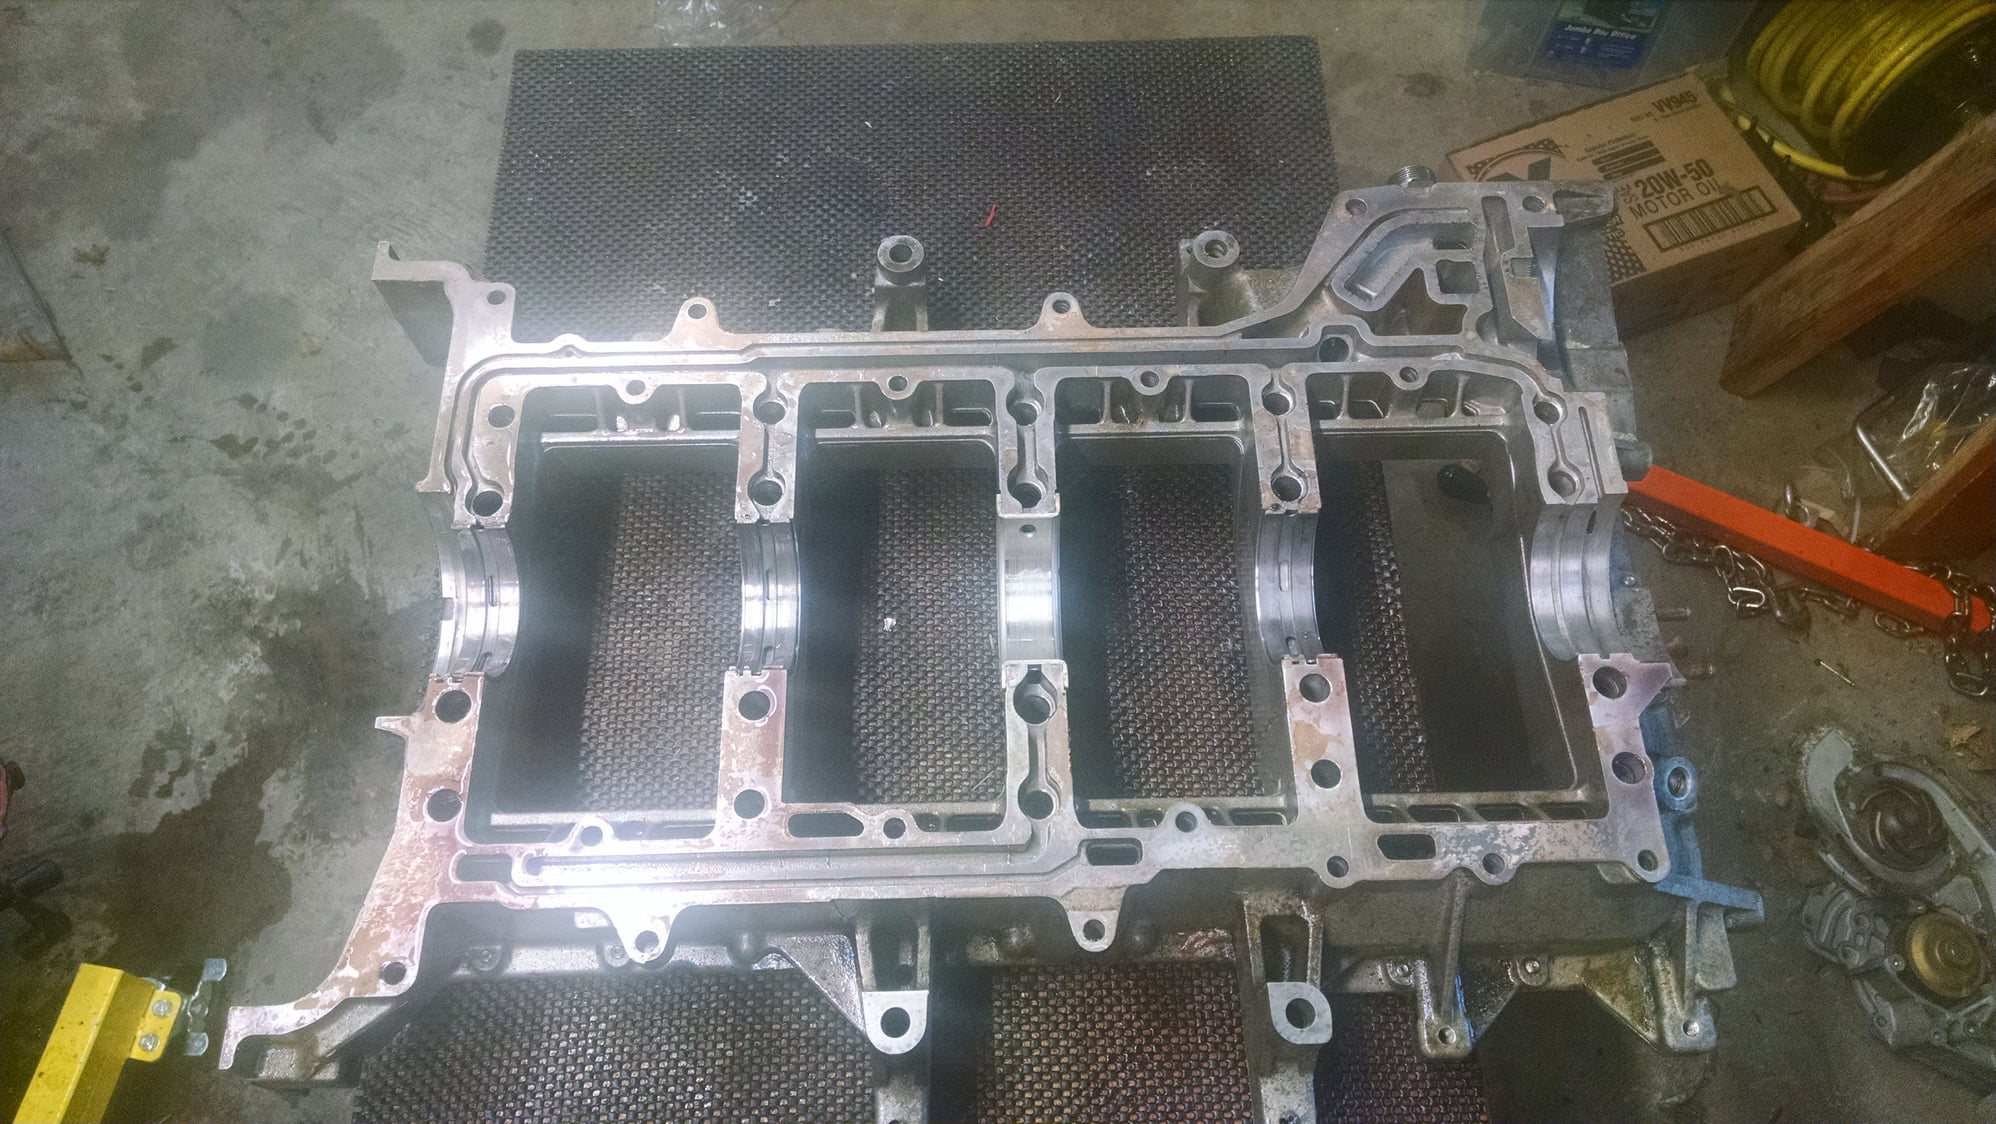
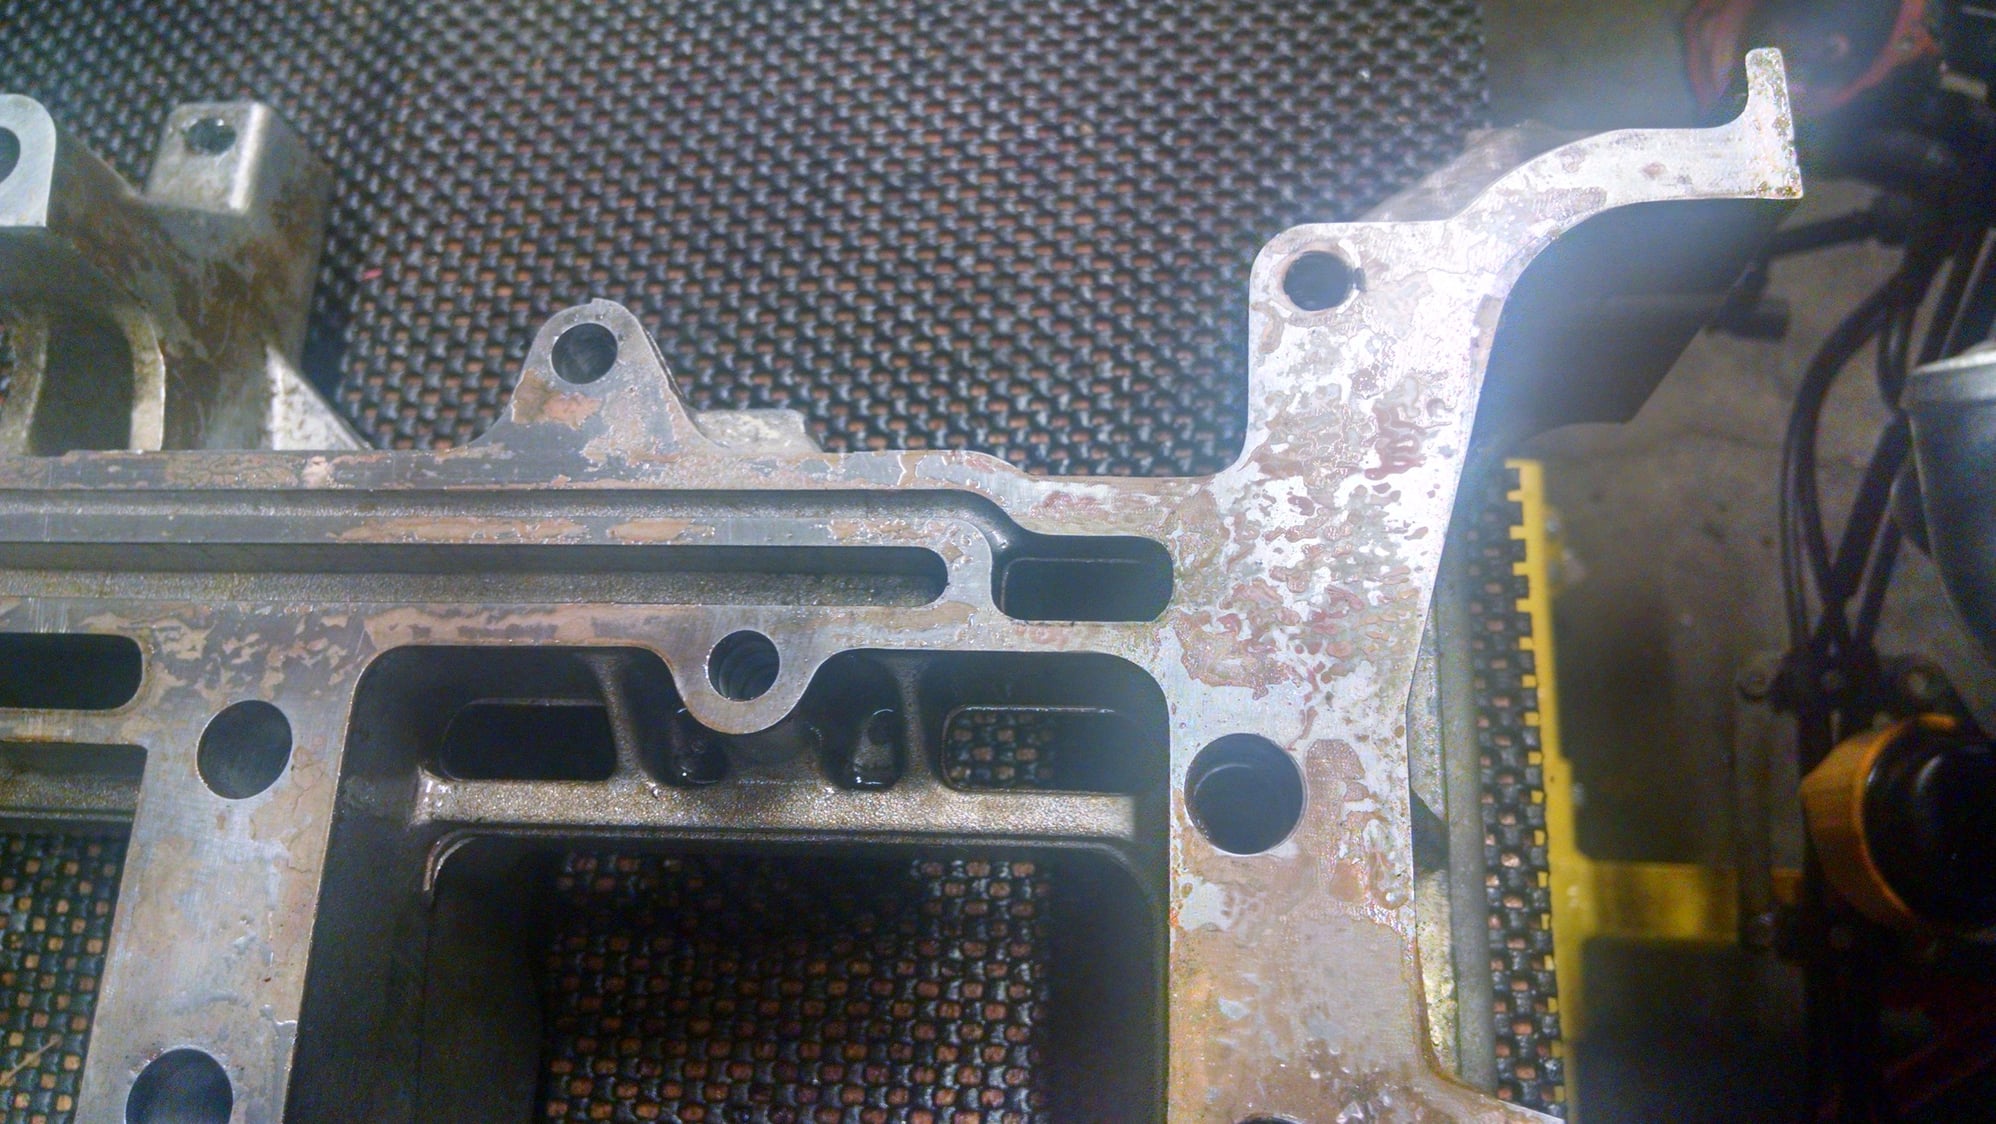
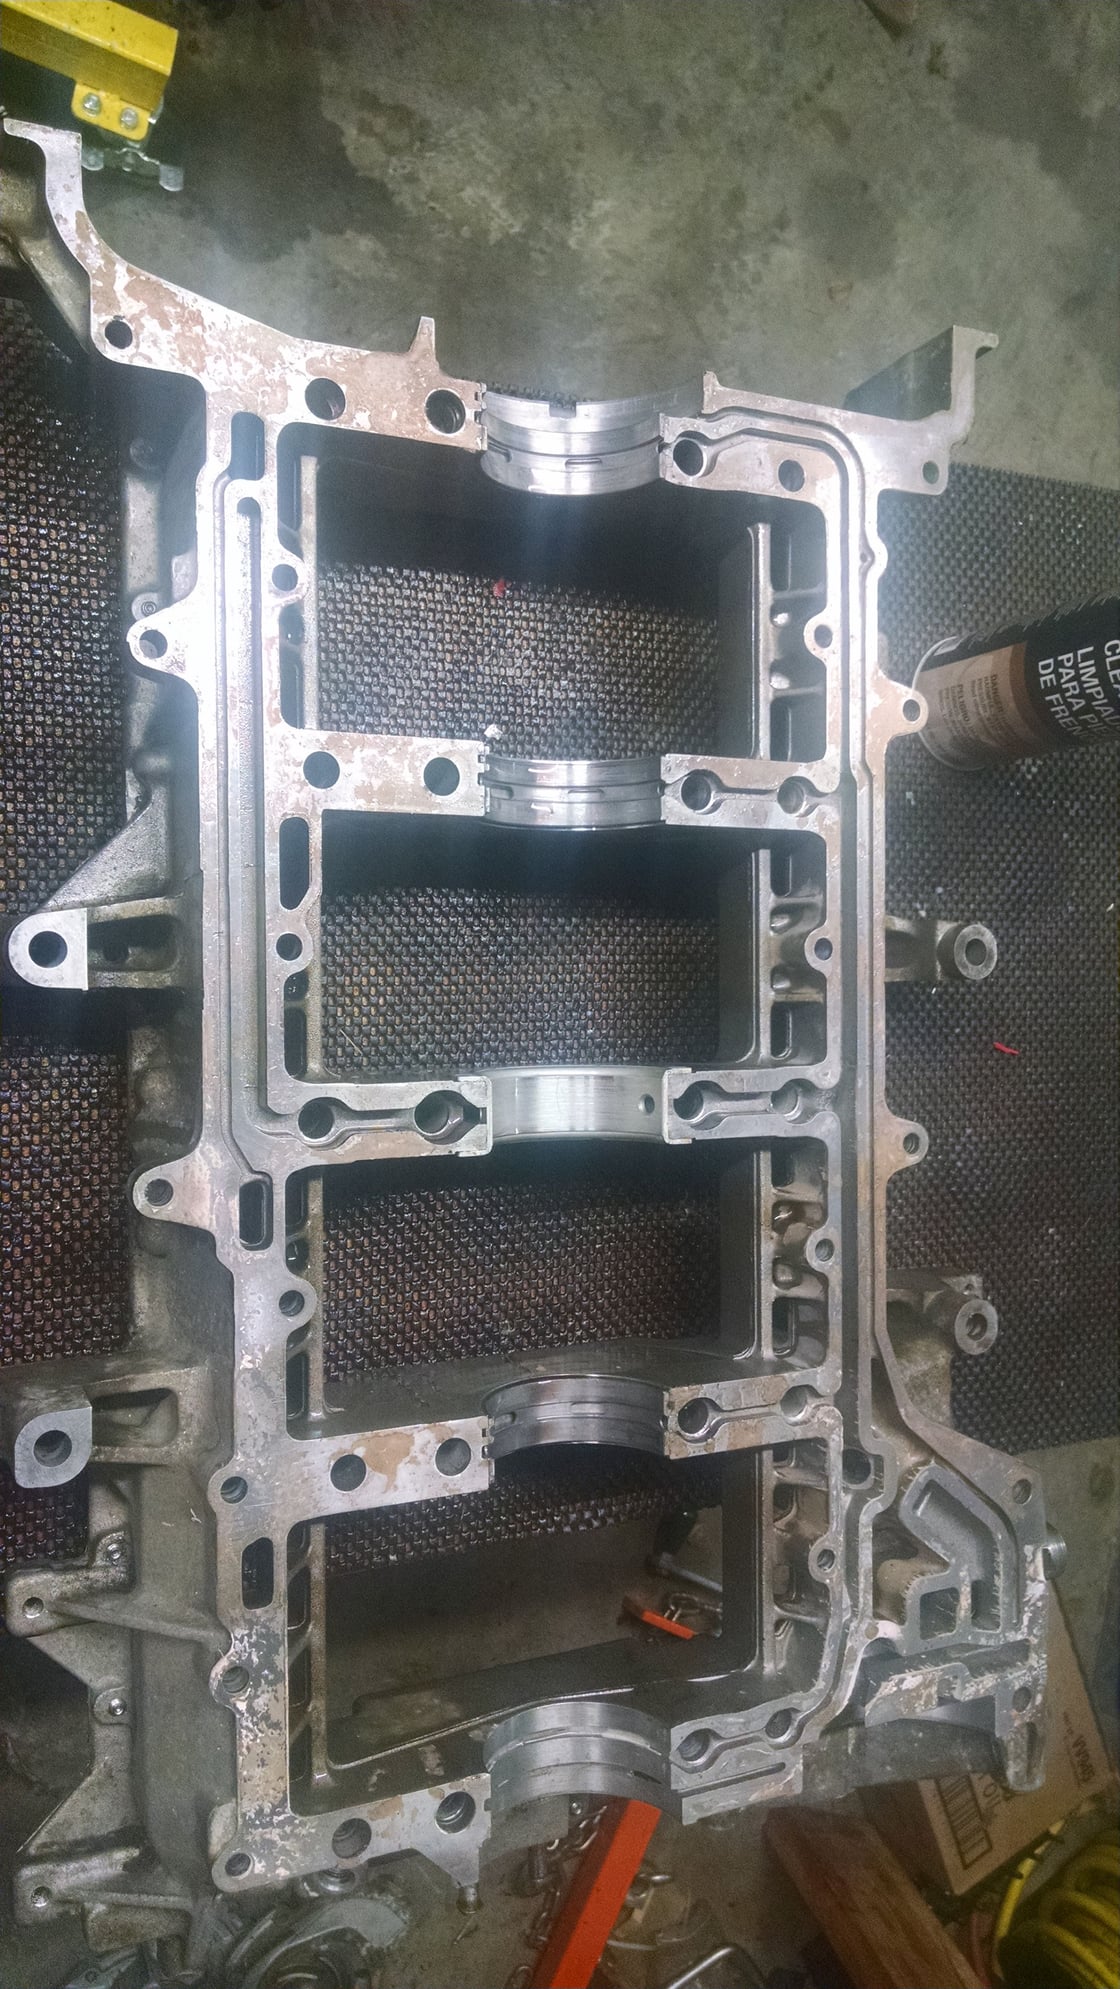
What residue I see is that in some areas looks like the pattern of the roller I used to apply the sealant. In others I see an absence of sealant that corresponds to the mating surfaces. The latter is what I expected to see all over. Hard to remember what I did a year ago but I am wondering if the sealant began to set up before I torqued down the cradle.
At the end of this I just want avoid making the same mistake again.
At the end of this I just want avoid making the same mistake again.
-Kevin
Get the Loctite from an industrial supply house like McMaster Carr. Even our higher-volume 928 suppliers can't match their throughput. I had doubled up on an order, and the expiration date for the McMaster stuff was almost a year later than what I got from one of our guys.
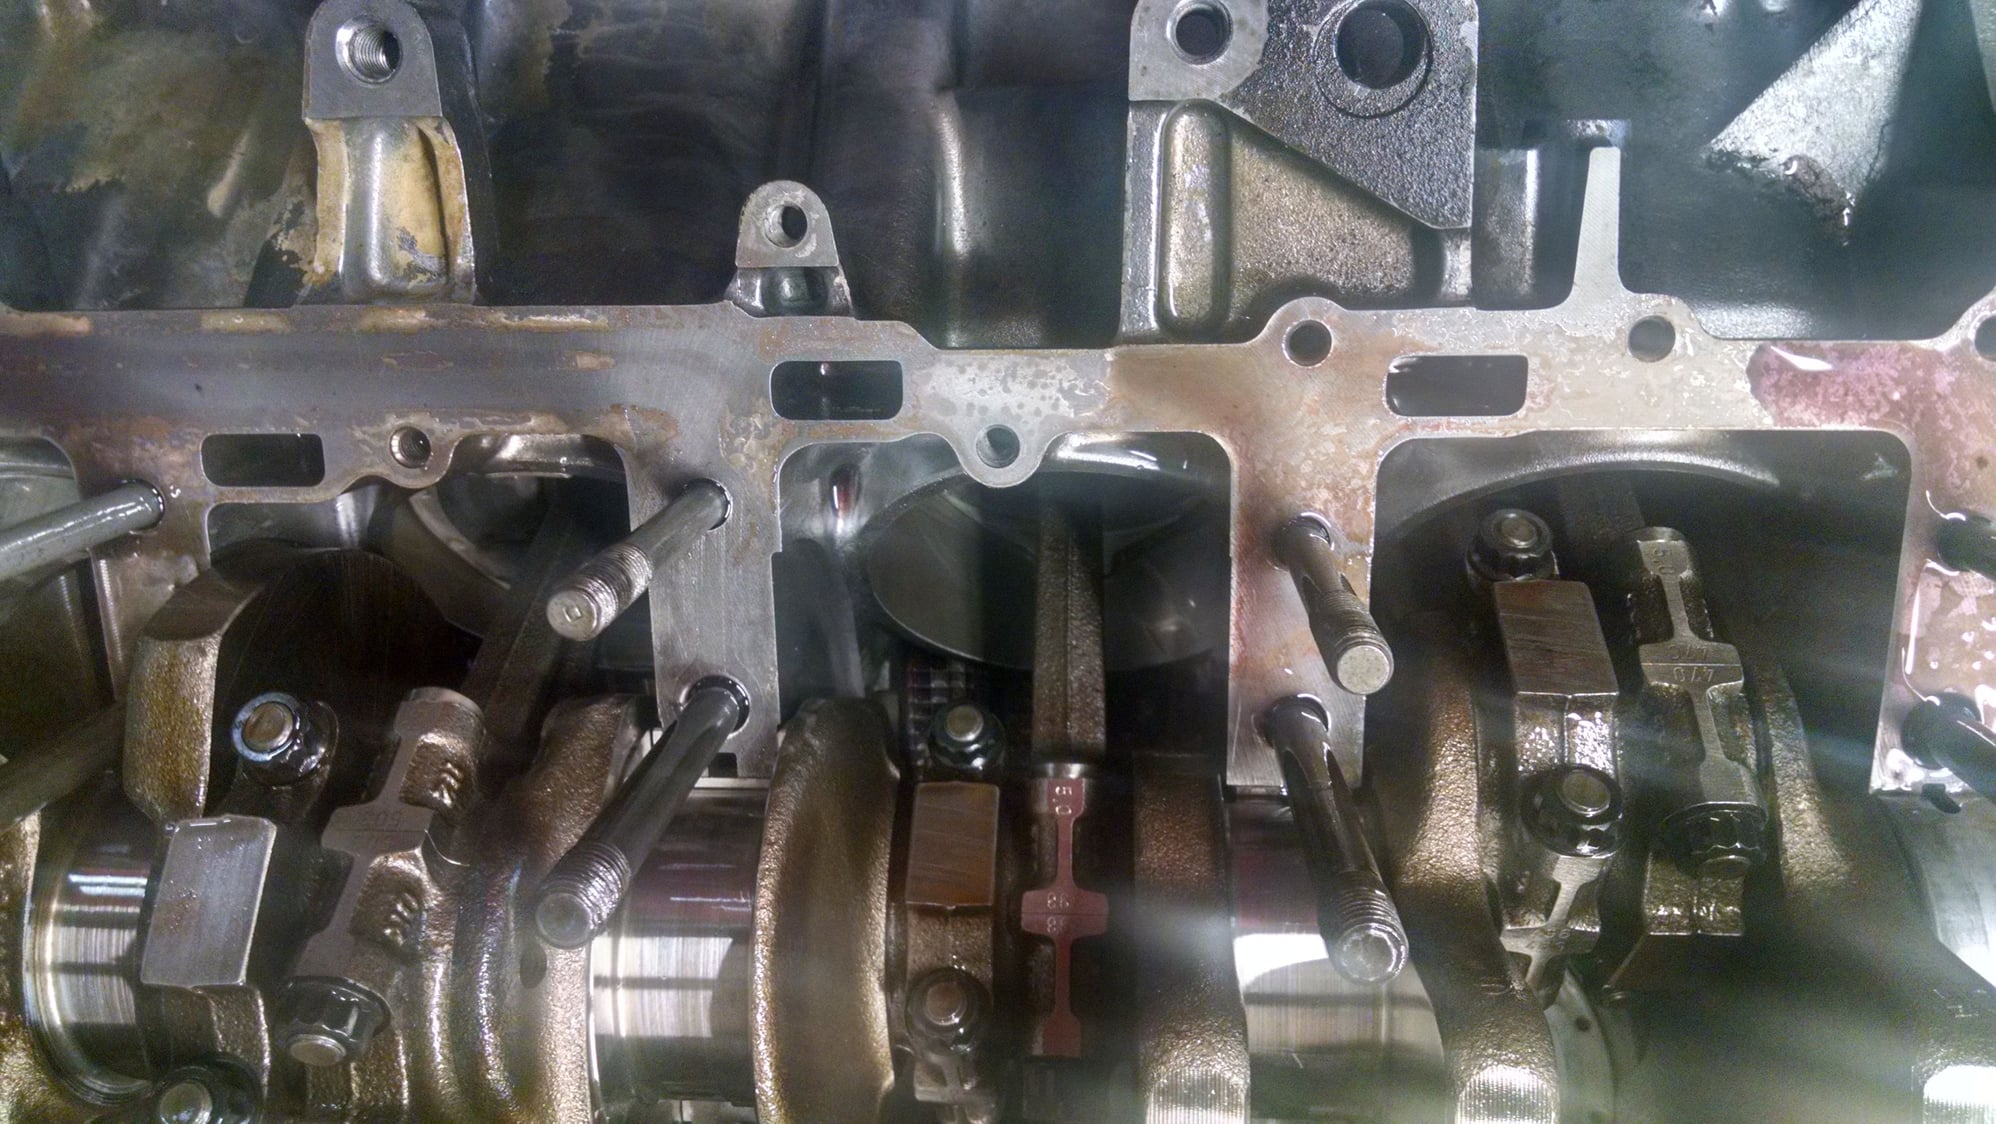
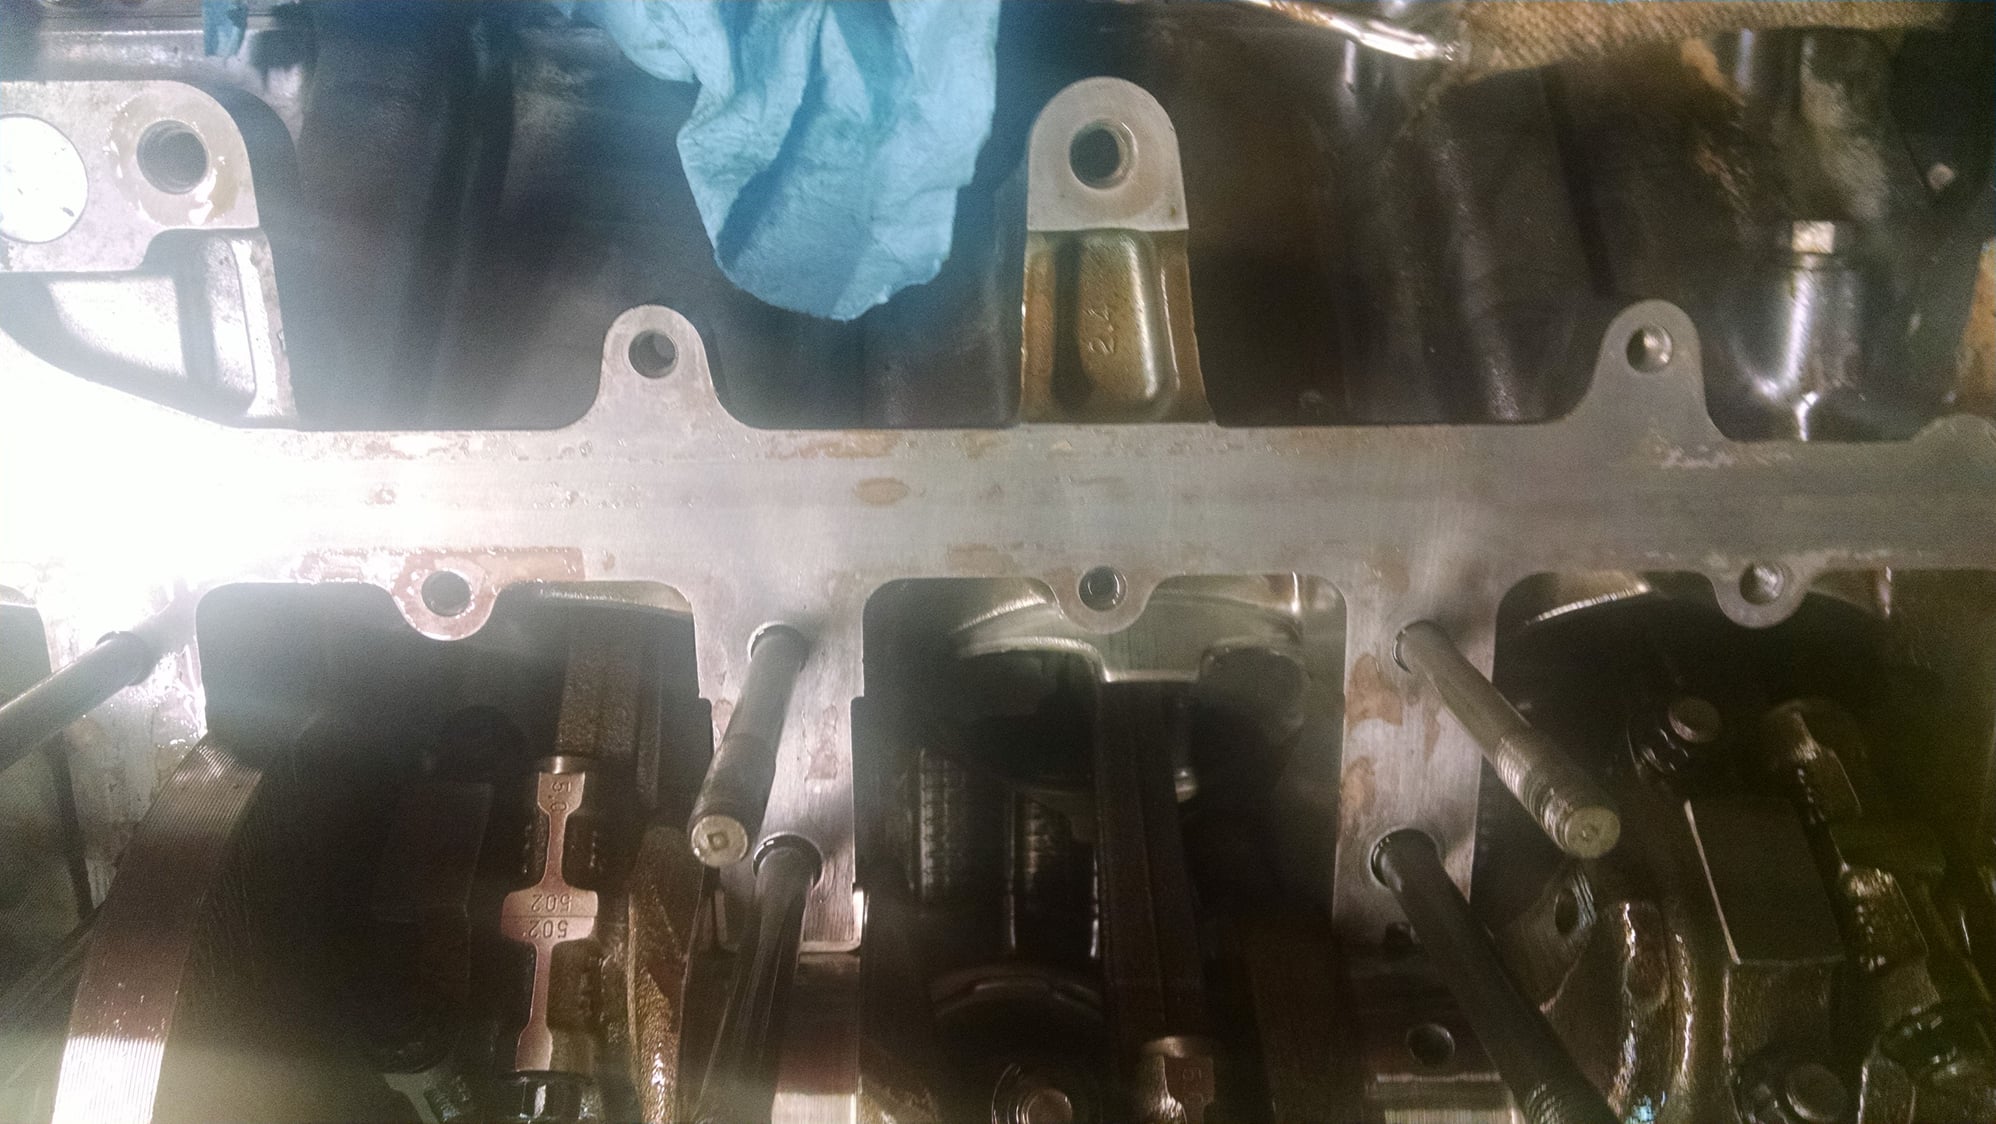
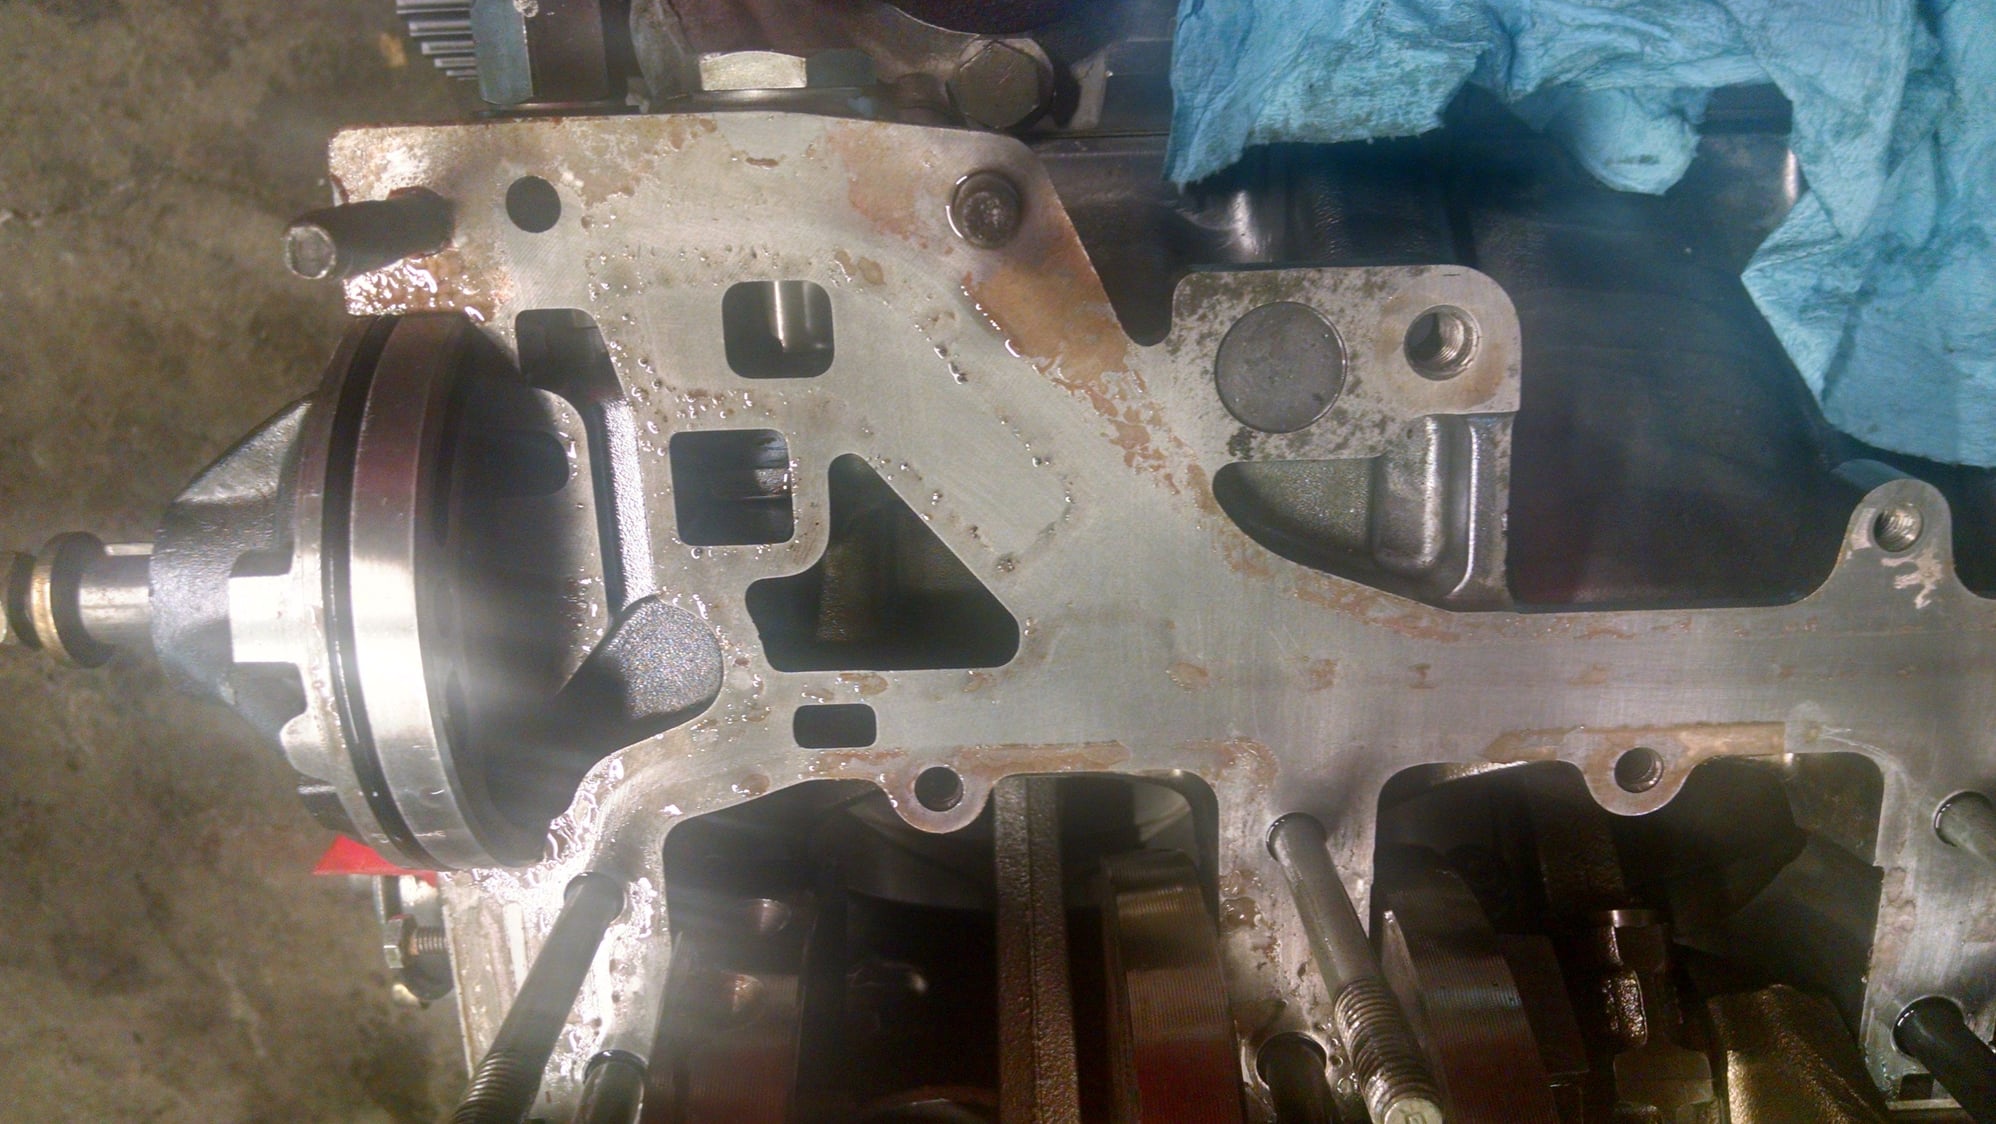
When things go right, the layer of Loctite that remains between the two halves of the block will almost be invisible....extremely thin. There will be a thicker layer along the perimeter, where the two pieces of metal don't actually touch, but it needs to have squeezed out everywhere else.
Your layer of Loctite is certainly too thick, which means there wasn't a good squeeze.
Only a few choices, which I discussed previously:
Never remove the old Loctite with anything but a razor blade, acting like a scraper, held perpendicular to the surface.
Never, never , never touch aluminum surfaces with one of those "Rotary Scotch-Brite pads....regardless of which one looks like it will work! I don't care what your buddy the "professional mechanic" does when working on a Toyota at his shop! Never try to use any power tool!!!
Any tiny "ding" that the razor blade hits needs to be gently filed flat. Throw that razor blade away, when you hit one of these and get a new one. Never buy .009" razor blades! Only .011 blades. The .009" ones chip and scratch too easy.
Old Loctite (has to be really old....way past the date with the "toothpaste" style tube. I have found the shelf life to be much shorter with the "accordion style" tube. (I will not buy it, in this style tube.)
Layer applied too thick. Go to Home Depot paint department. Buy their super short nap roller with the plastic handle. Comes with a clear top and a plastic tray. If you don't know the one, I can take a picture. Squeeze out about 1/3 of the tube onto a piece of plastic. Roll until the roller is fully packed with Loctite. You may need to use 1/2 tube the first time you load the roller. When you apply it to the cradle (only the cradle) it should look thin....with little tiny bumps from the roller nap.
Install the cradle...but don't push the two parts together until you have started all the 12mm and 10mm hardware. (It will not start to cure until there is a lack of air, so use that to your advantage.)
You should have all of the hardware and all of the tools ready to go. I use a low power Snap-on 1/4" air ratchet to run all the 12mm and 10mm nuts on...as quickly as possible (this tool does about 16ft.lbs.) Start with the 10-12mm nuts in a criss-cross pattern and then doing the 12-10mm nuts. Forget about the torque....run them on. Now run the 8mm hardare in with the same tool....all of it....including the ground strap. If you watch the edges of the cradle, you should see the Loctite squeeze, first with the big hardware and then a bit more with the 8mm hardware. Now go back and torque the 12mm and 10mm hardware to full torque, through the stages. Finally, torque the 8mm hardware.
When you are done, you should be able to wipe off the excess Loctite all the way around the outside, leaving no residue. If there is a pink radius of hardened Loctite and you followed my proceedure, the Locktite was bad and you need to do it again.
Immediately remove the oil pump housing and clean up the Loctite that squeezed out, inside the oil pump cavity.
^^^^ Thanks Greg. Great write up. I printed it off for my second attempt. I used that roller in the first attempt, but I used the supplied tray. I'll use a flat plastic surface this time. I have milwaukee right angle electric ratchet. I think it torques to 12-14 ft lbs. I'll double check that. I also have an air ratchet (HF)
I've cleaned the upper block surface and started the cradle. You mention filing the surface flat if the razor hits a hits a ding. What about tiny surface scratches? Will the Loctite sealant fill them?
The loctite on the cradle is more challenging to remove - do folks ever use gasket remover to soften the sealant before using a razor?
The loctite I have is in the squeeze tube and the date stamped into the bottom edge is 05/18. I've kept it in a drawer since I bought it.
This was a confidence builder. Thanks.
Use your air ratchet to do the 12mm and 10mm hardware.....that first "stage" isn't very critical...they are just trying to get a squeeze, also. Use the electric one to do the 8mm stuff.
I've never found anything that will remove Loctite 574, other than mechanical means. And if there is such a thing, you probably need a full Haz Mat suit to use it.
I find getting around all the studs on the upper half to be the tough part. The wide flat surfaces of the cradle should be easier. Use the razor blade perpendicular to the surface to remove the last little bit. Use the razor blade the "normal way" to get off the thick stuff.
Your Loctite will be fine. Sounds like you've got the correct roller. Perhaps you just moved too slow.....it happens.
Yes, scratches get filled....even pretty deep ones. Small surface scratches are not an issue.
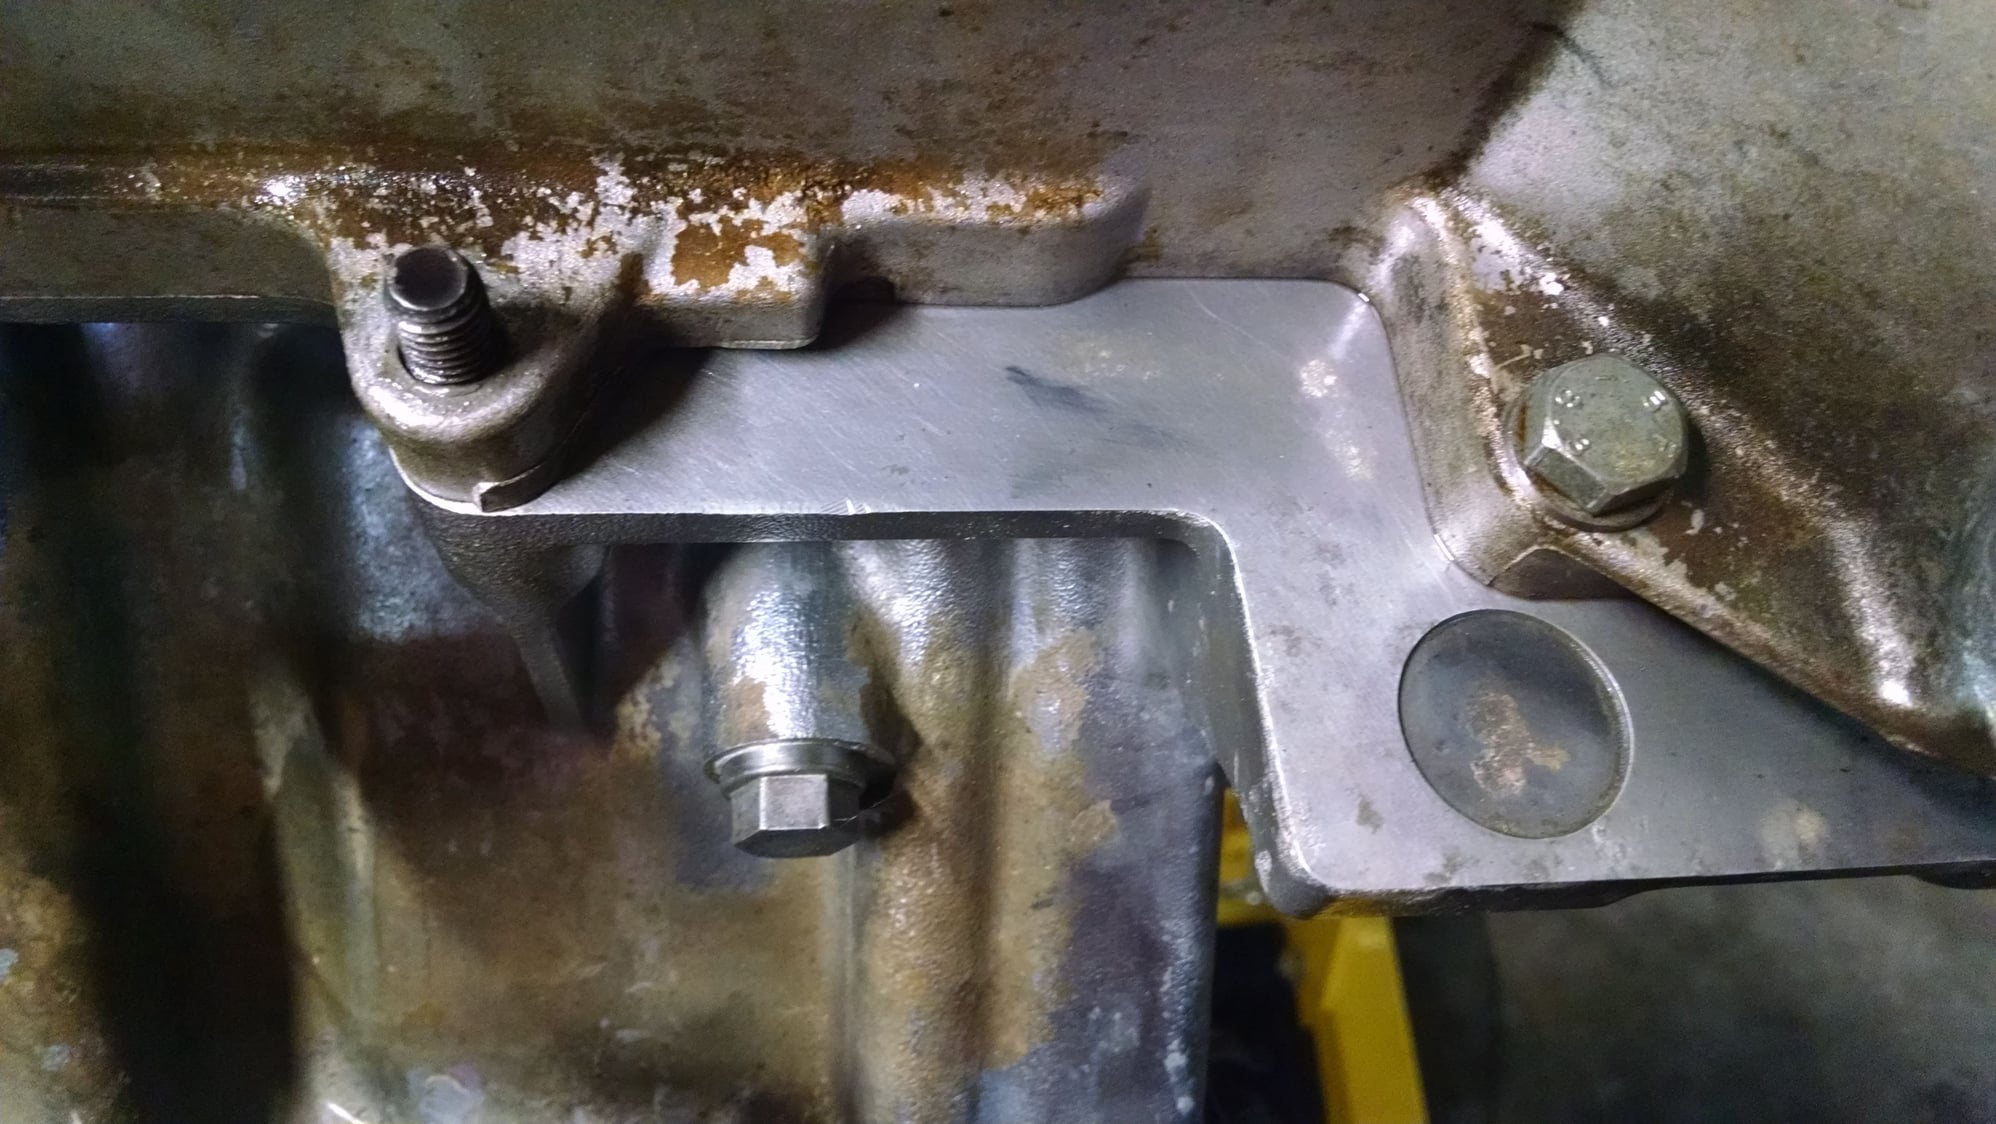
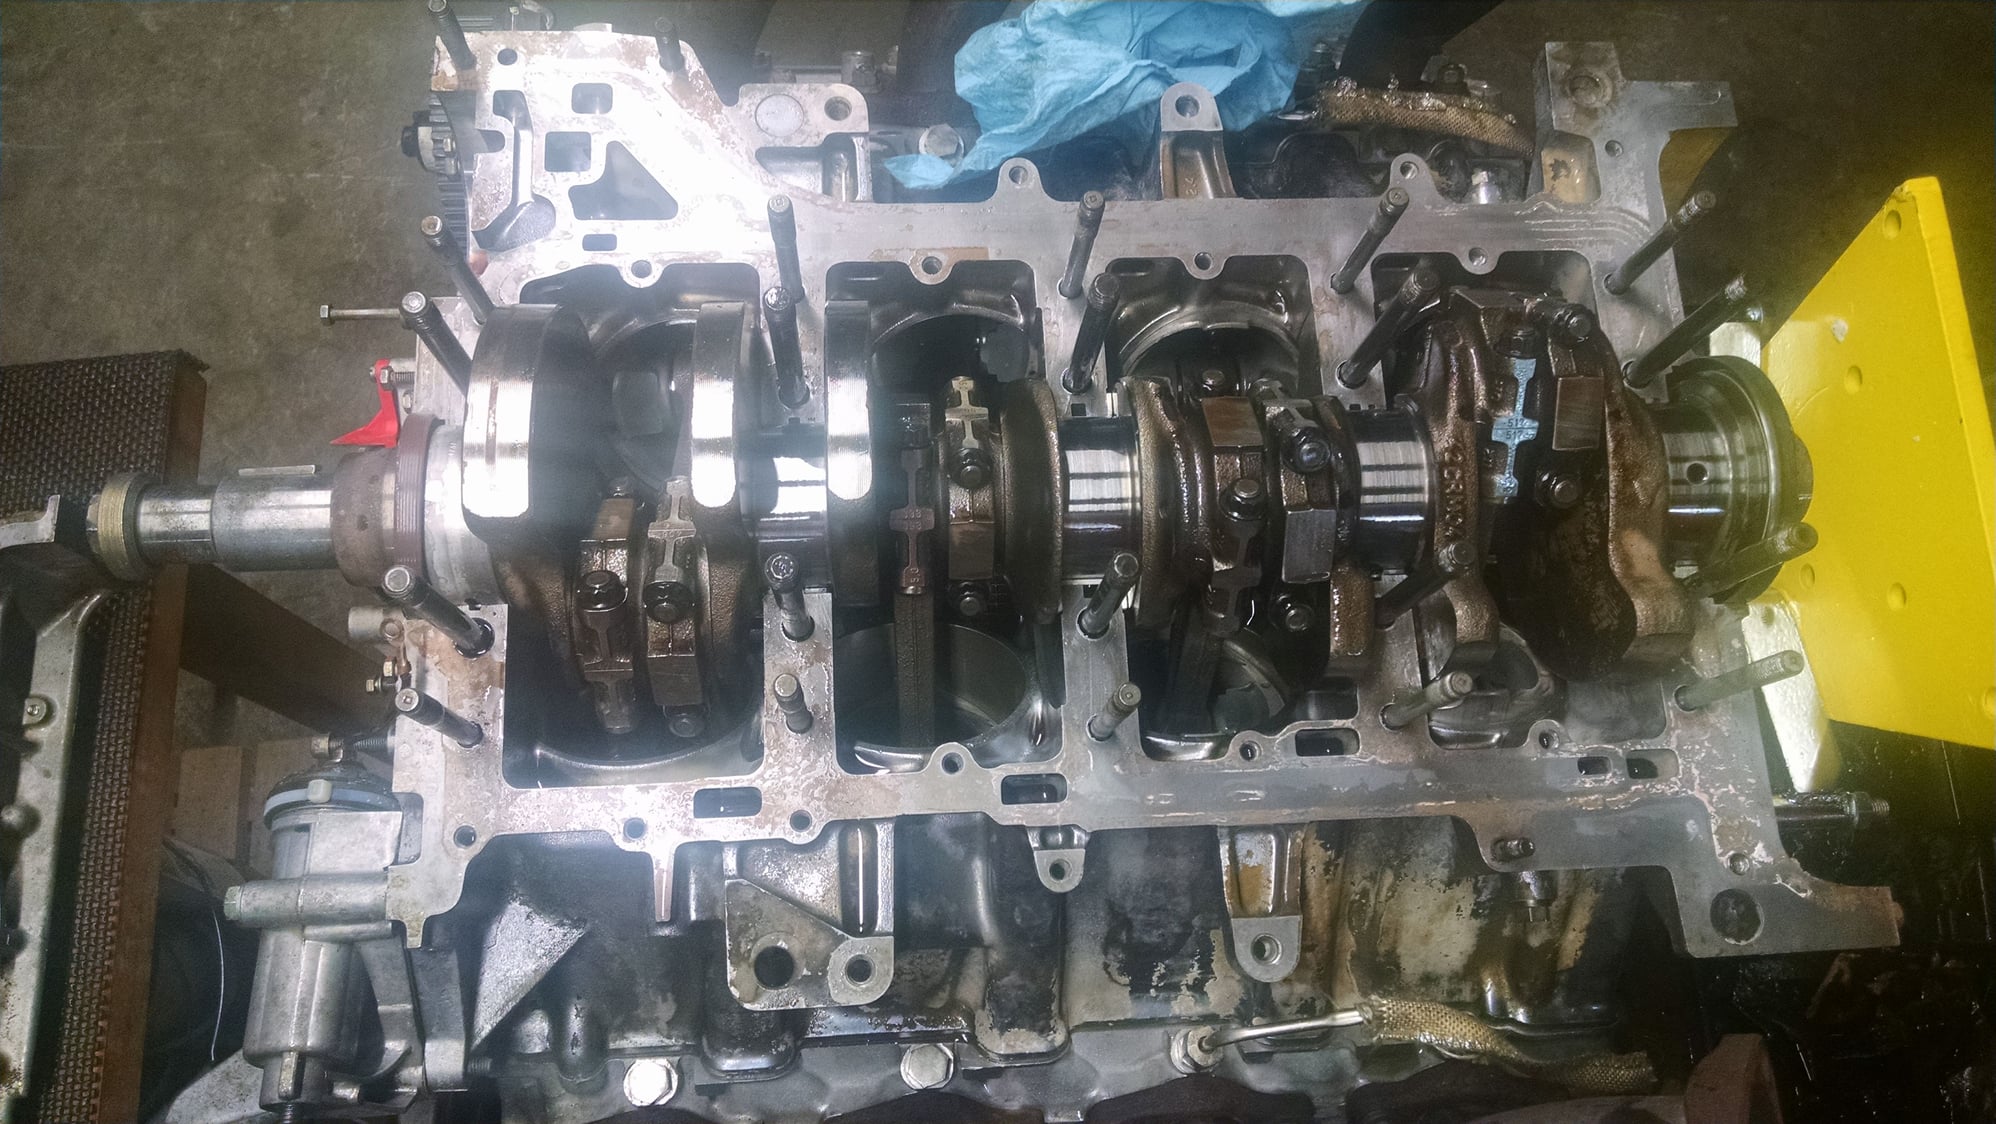
I'd be tempted to mate the two pieces dry and using a strip of paper 1" or so wide, pull test see if you can determine if you are possibly high-siding on the starter stud mod or?
Seems odd to me that the failure is right where you made your mod.
Kevin-
I've got no technical suggestions for you, but based on my understanding of this thread, you built up the motor essentially entirely from parts, installed it, and then found out it was not right and had to tear it back down to split block again?
You have my honest and sincere sympathy.
I would be throwing up blood and you would have to take away my shoe laces and boots to prevent me from hanging myself.

 01-11-2017, 11:47 PM