When you click on links to various merchants on this site and make a purchase, this can result in this site earning a commission. Affiliate programs and affiliations include, but are not limited to, the eBay Partner Network.
Same stuff, it just needs to say it is good to 650F and it should be fine. 944 guys have done this a lot with their cars too, so it is well tested
Also, putting silicone behind the plates will seal out water, you just need to make sure the surface is properly prepped and that there is no existing corrosion left.
They do this in the restaurant industry to seal tools and such from food particles. Or so they can charge 50% more as it is NSF certified
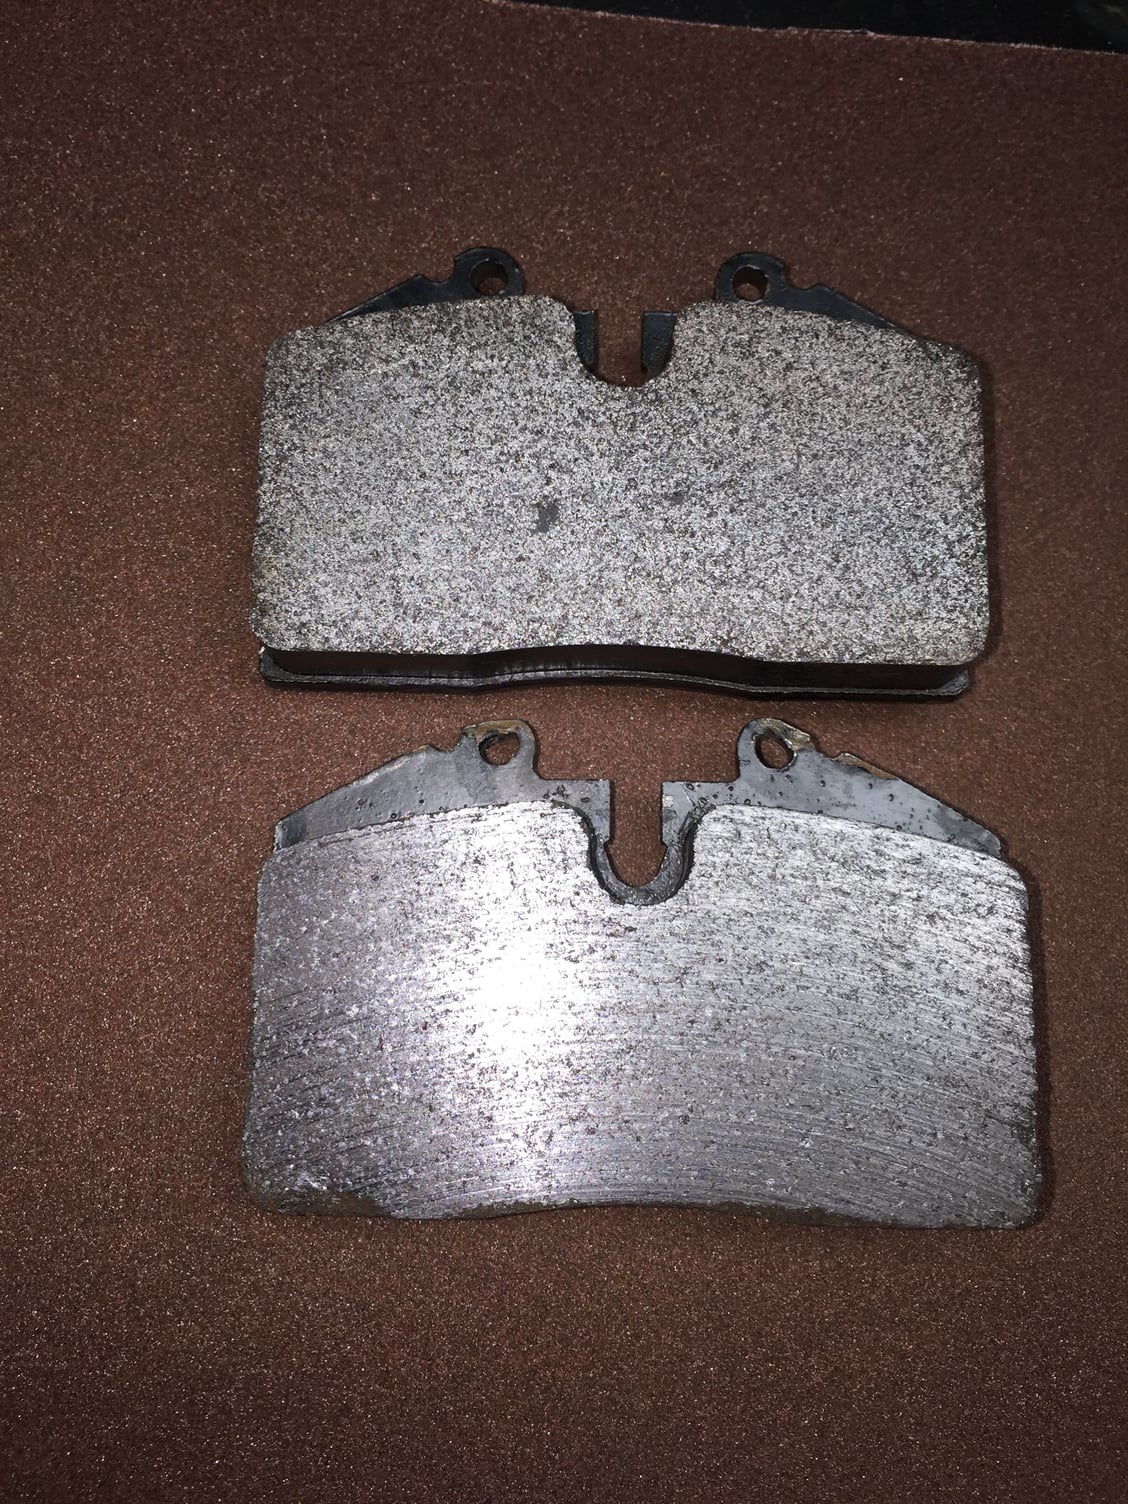
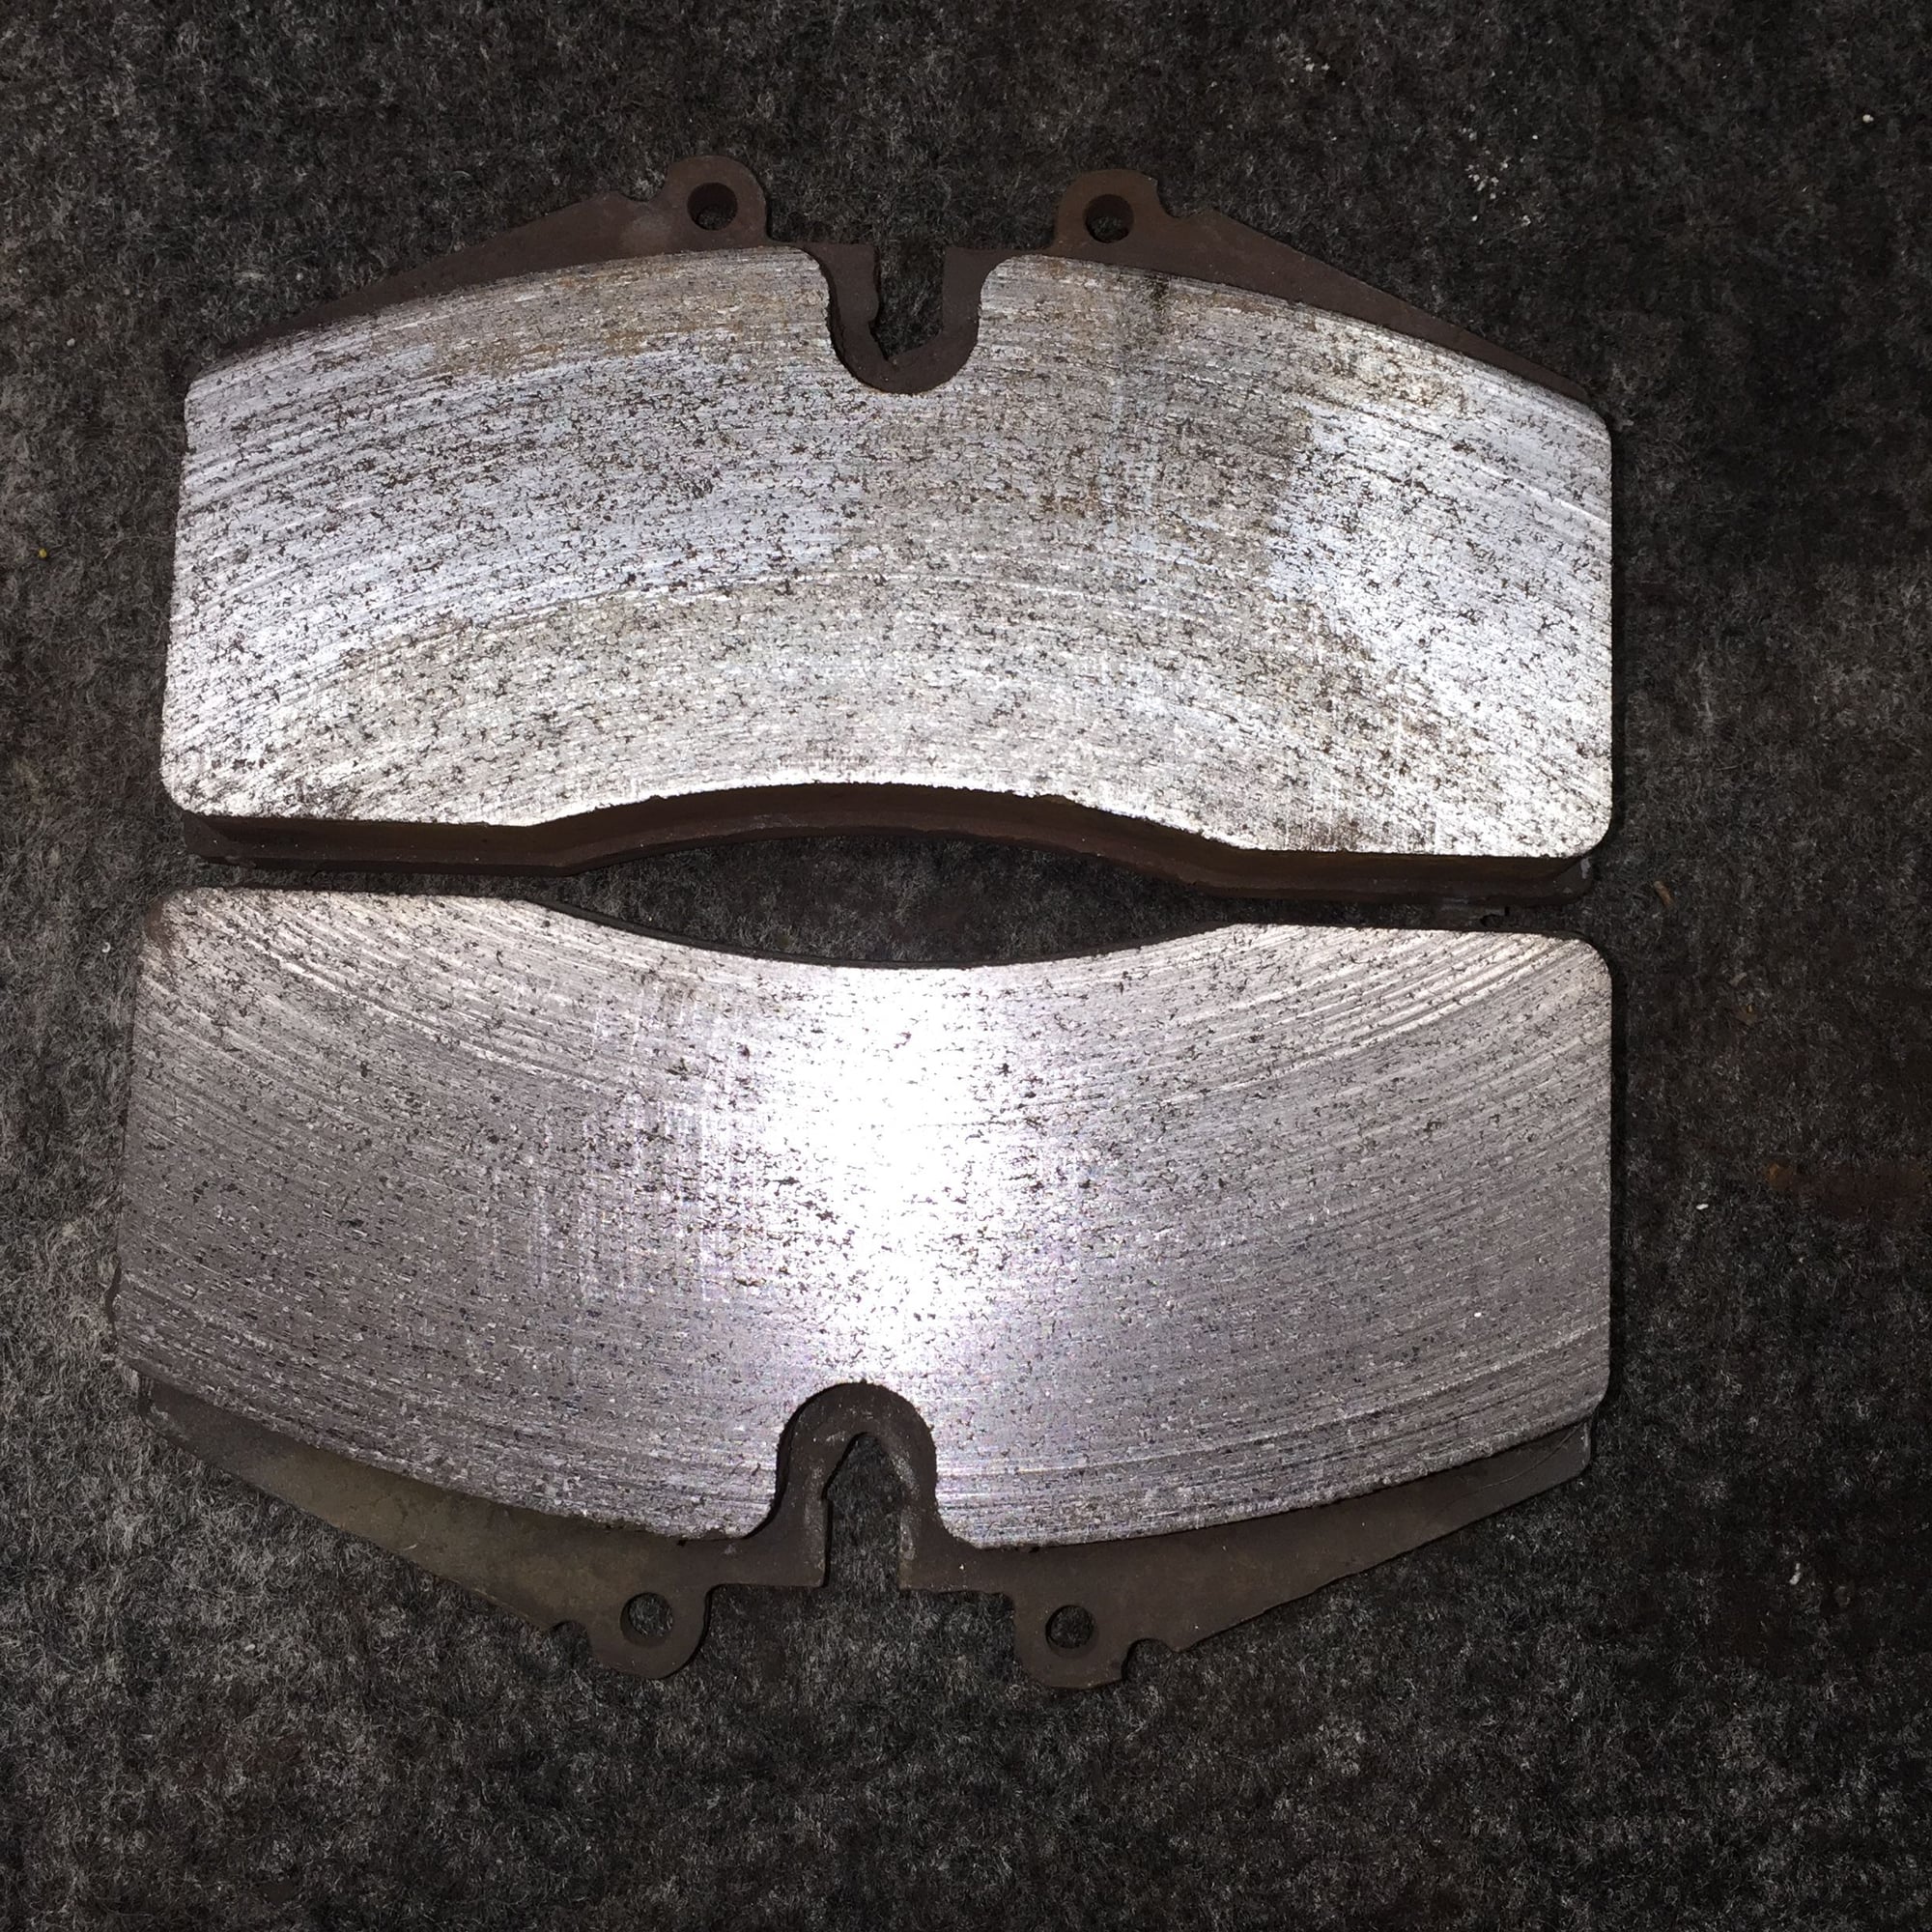
I took Bill Ball's advice and sanded the passenger's side rear brake pads on 100 grit paper on a flat surface. They cleaned up well.
Top pad has been sanded, bottom has not.
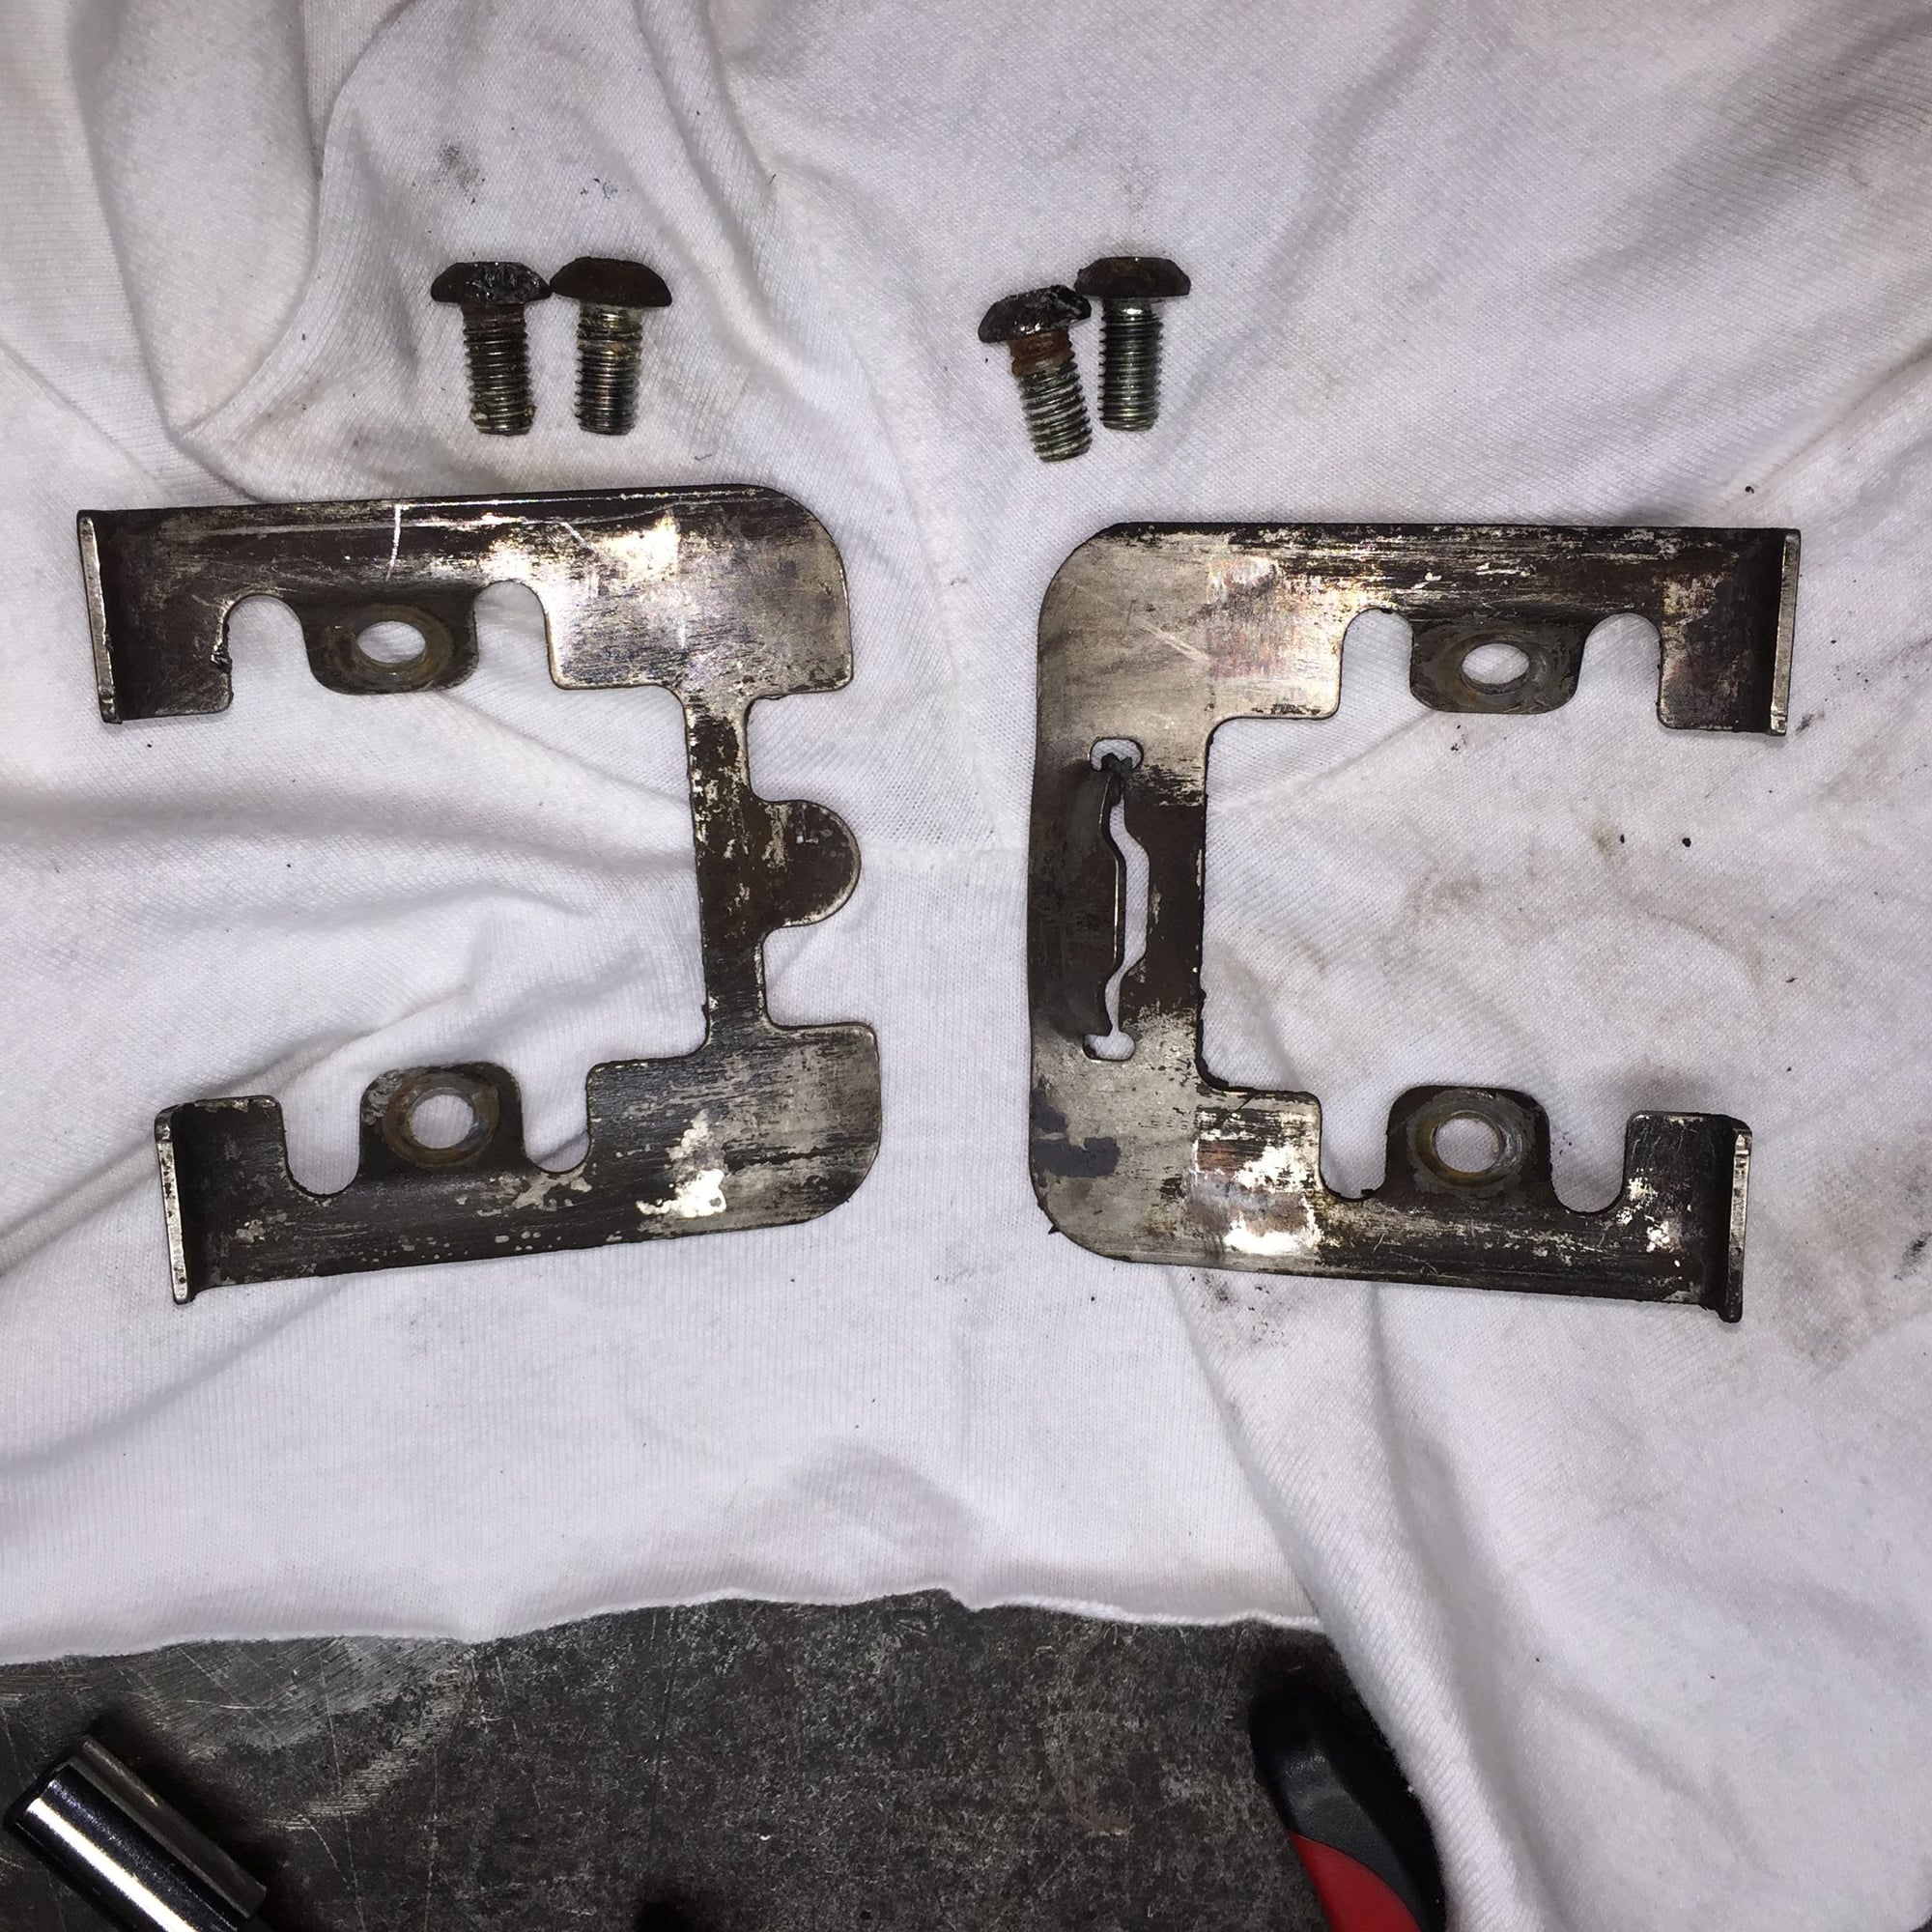
I remembered to bring in my M6 x 1.0 thread chaser. All four spring plate screw holes are clear of all the old thread locker.
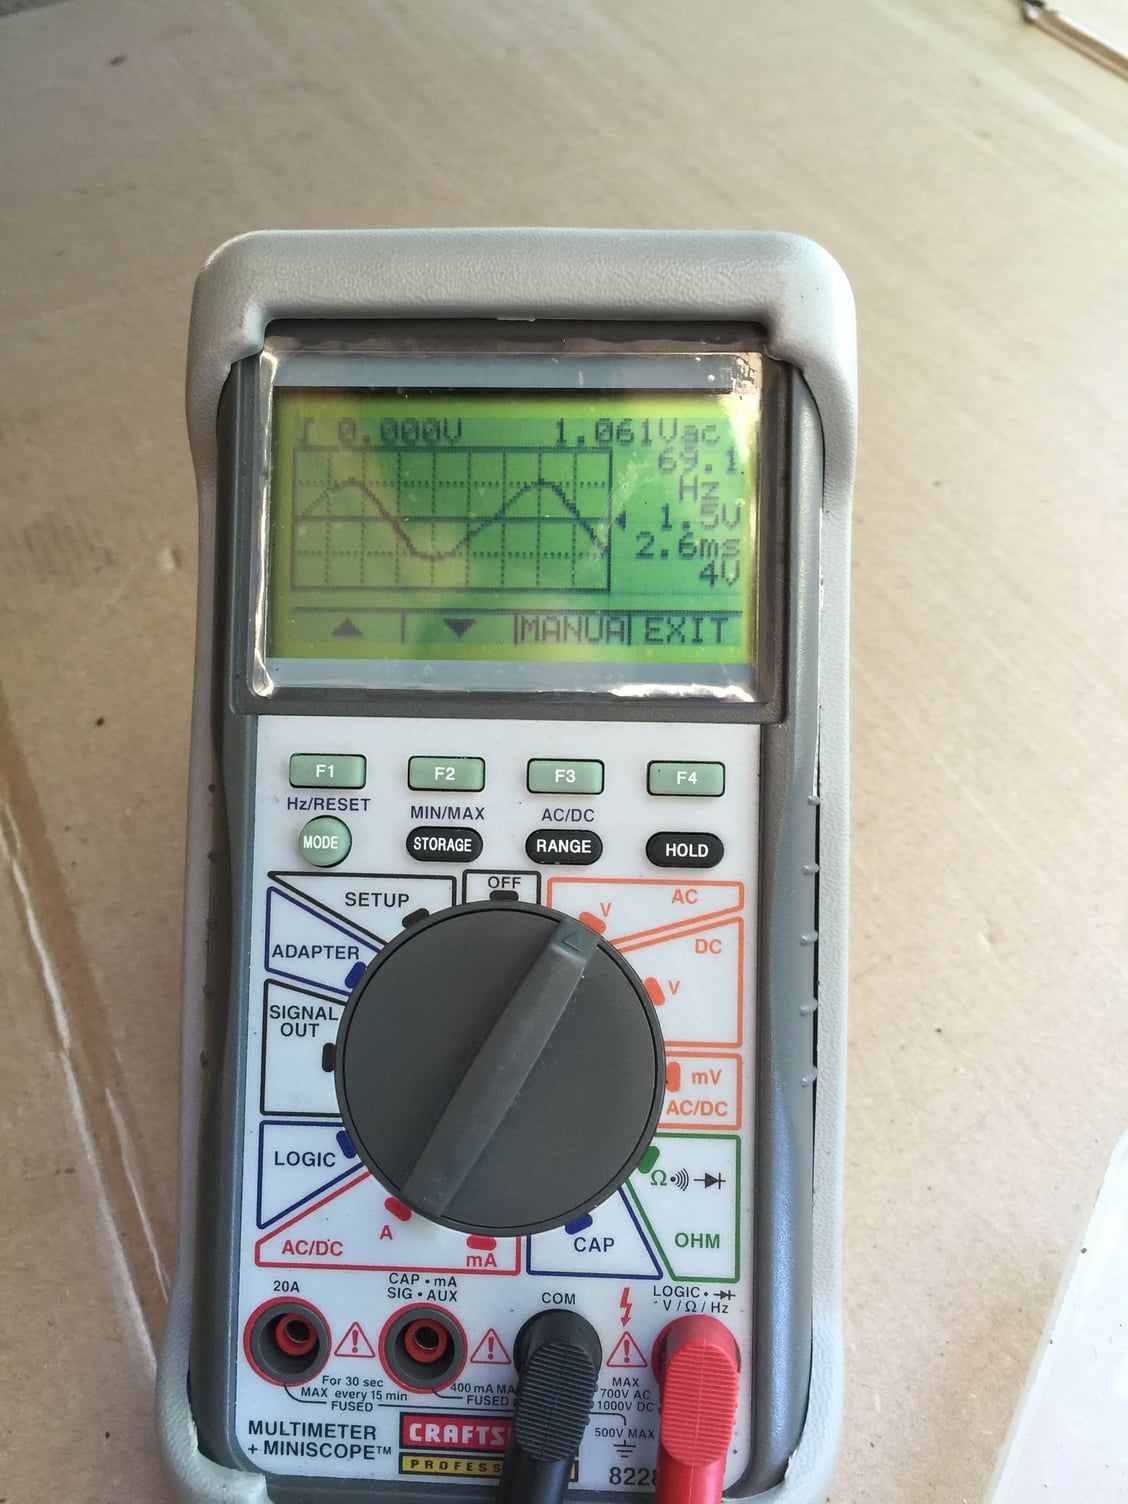
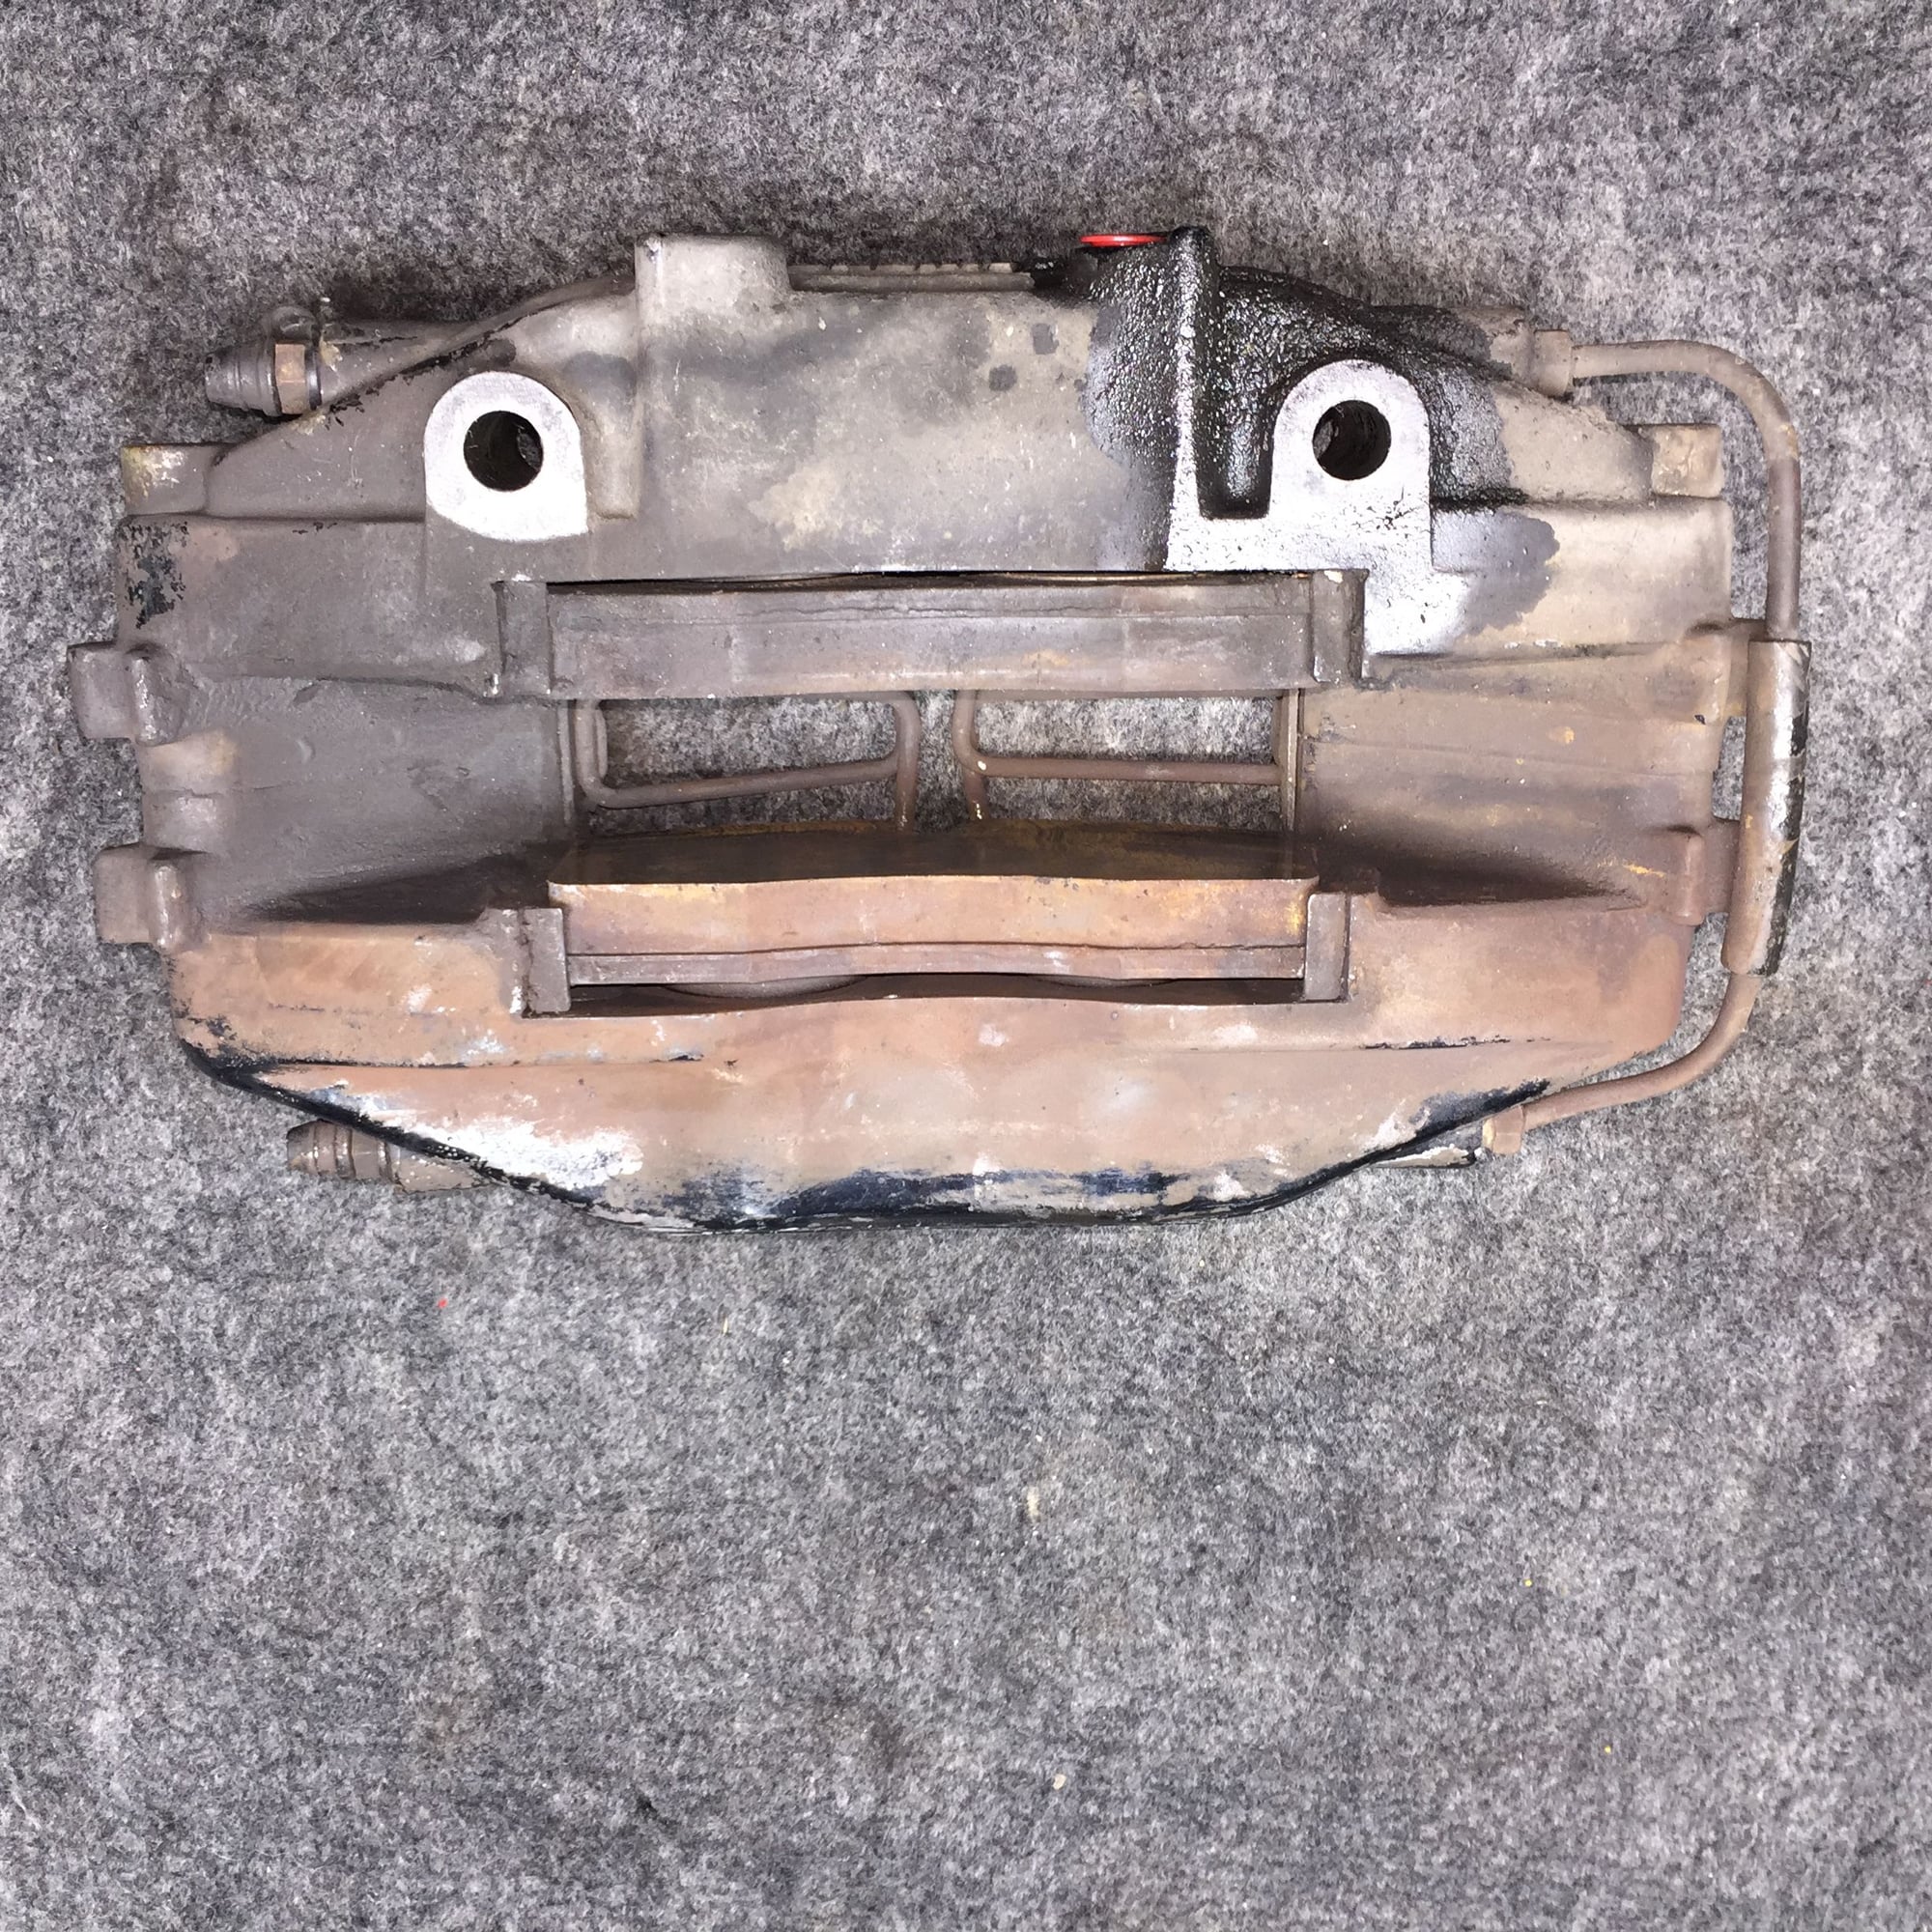
Front calipers and rotors are off now. No horror stories were uncovered. I tested both front ABS sensors with the rotors spinning. I saw a peak of around 1.7 VAC on both. I was able to get a photo of the pattern on my miniscope. More importantly, I removed both sensors WITHOUT damaging them.
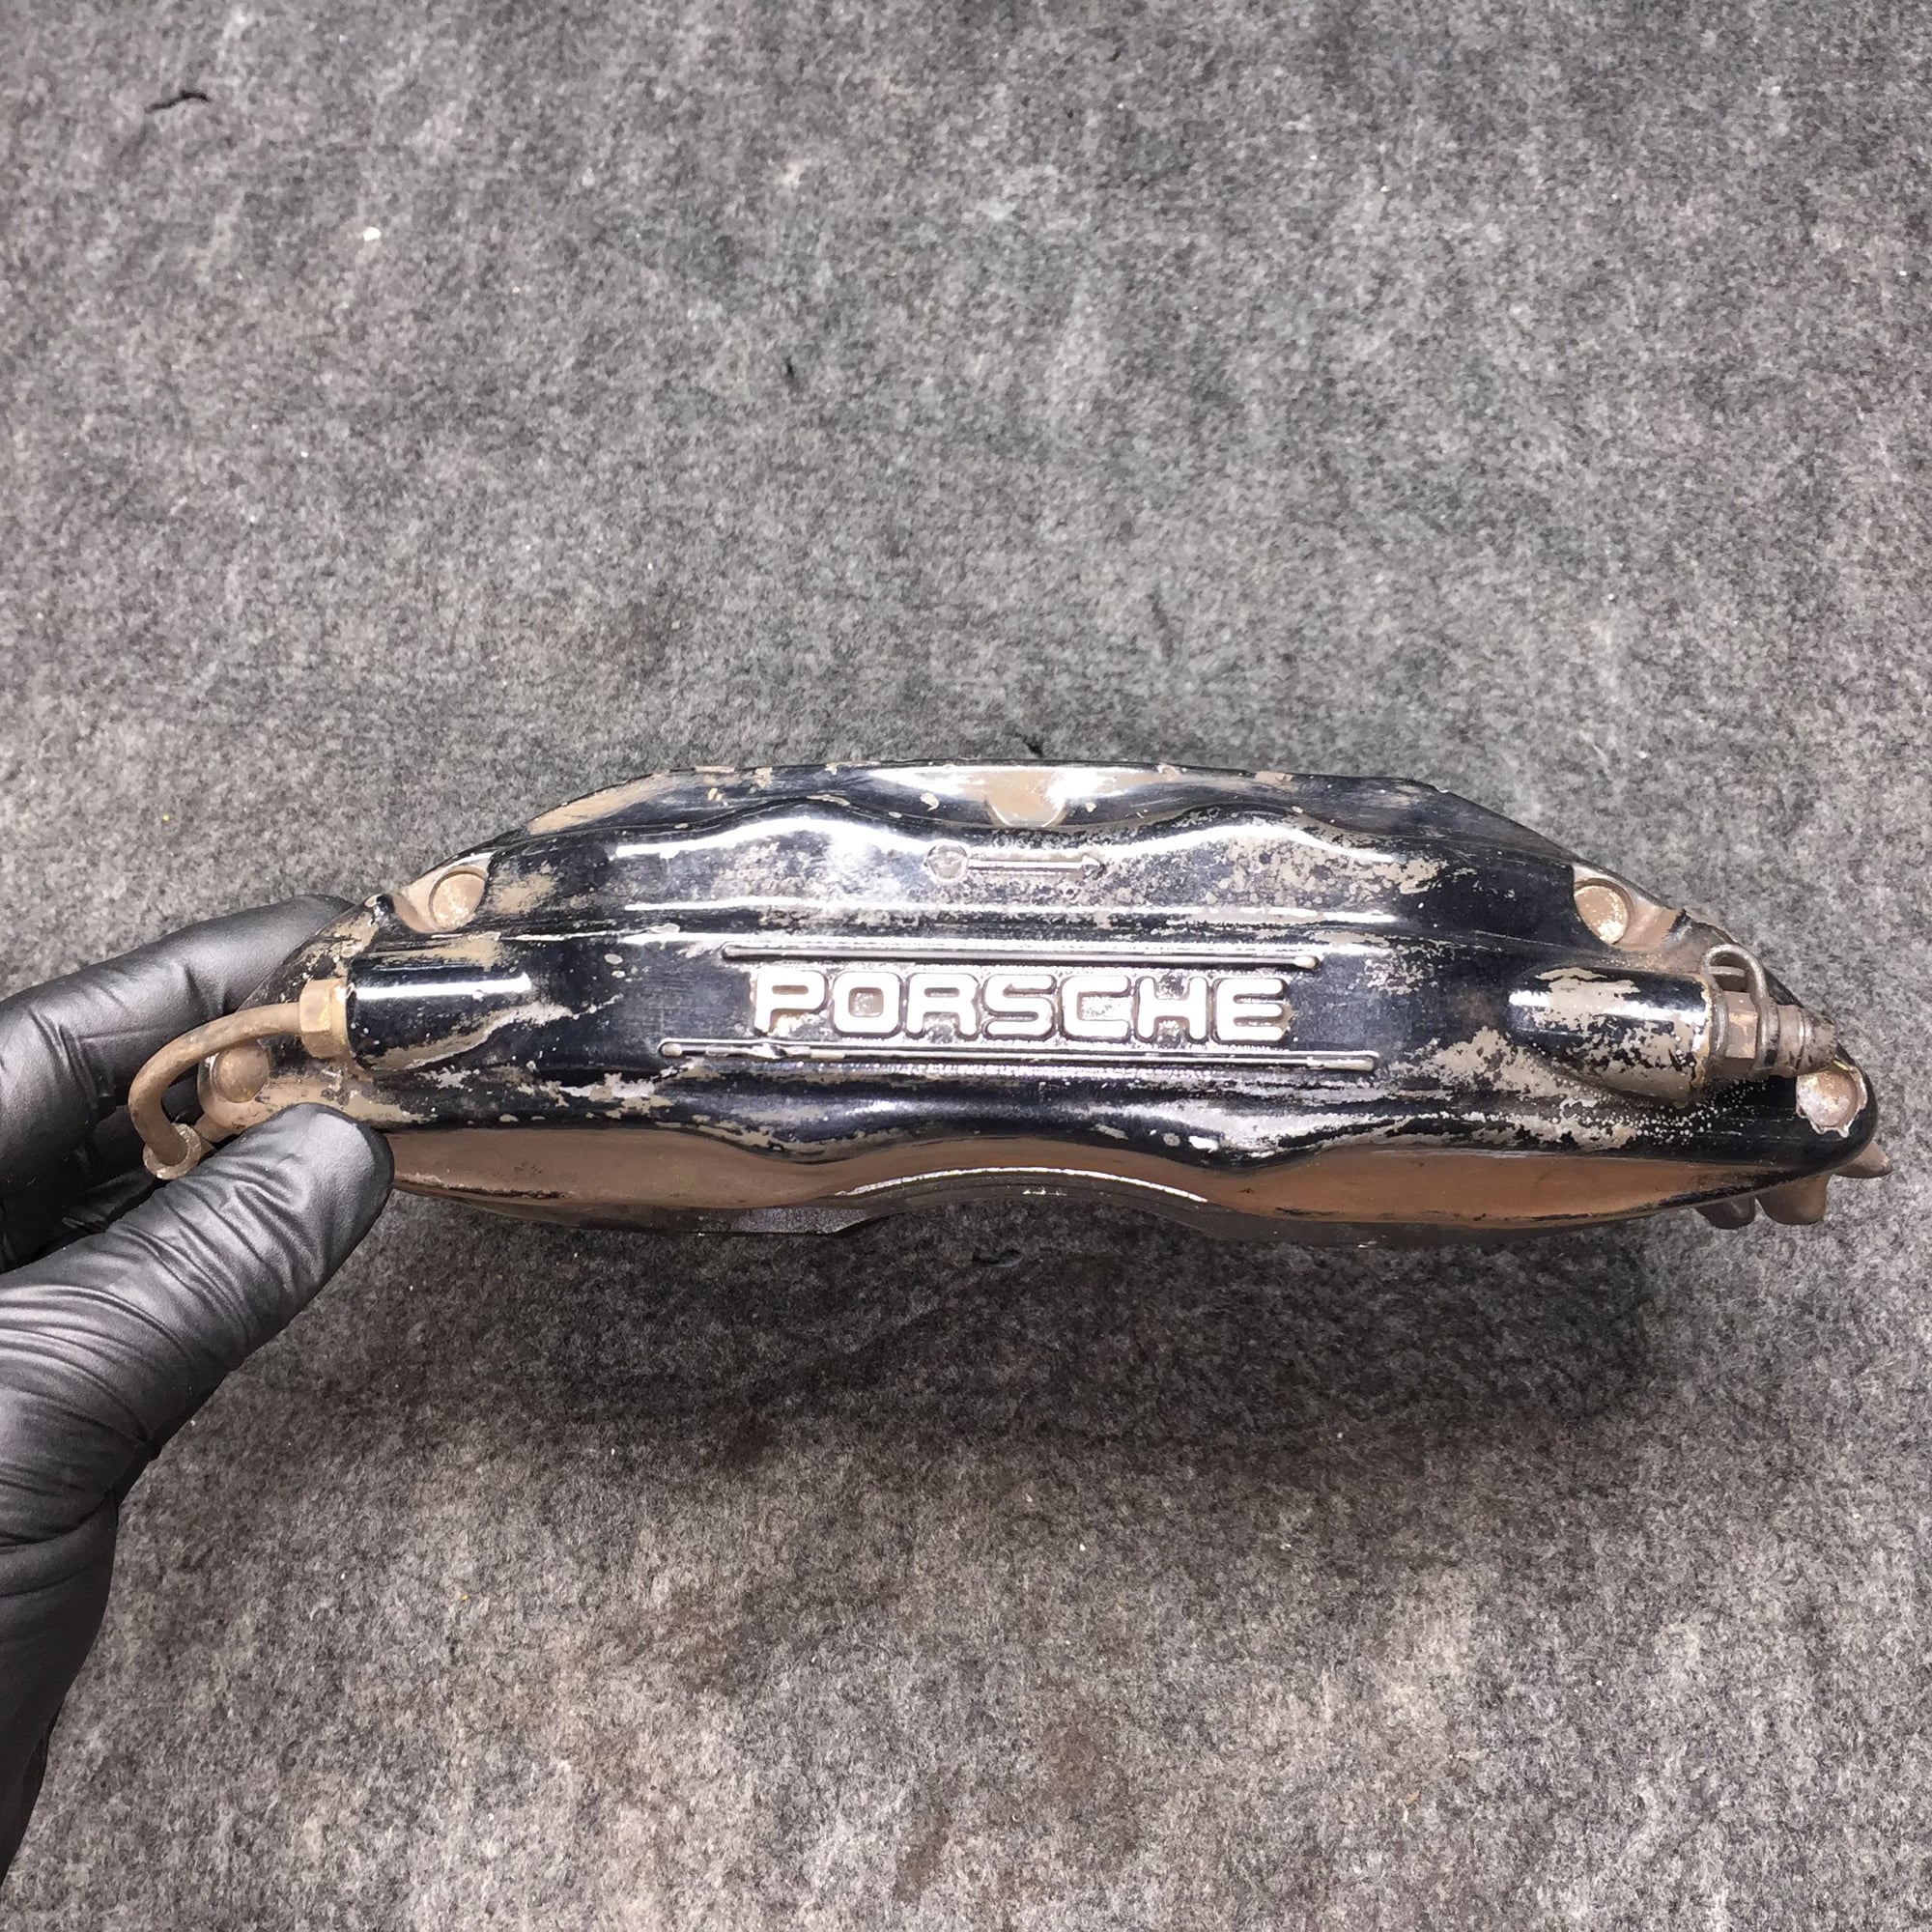
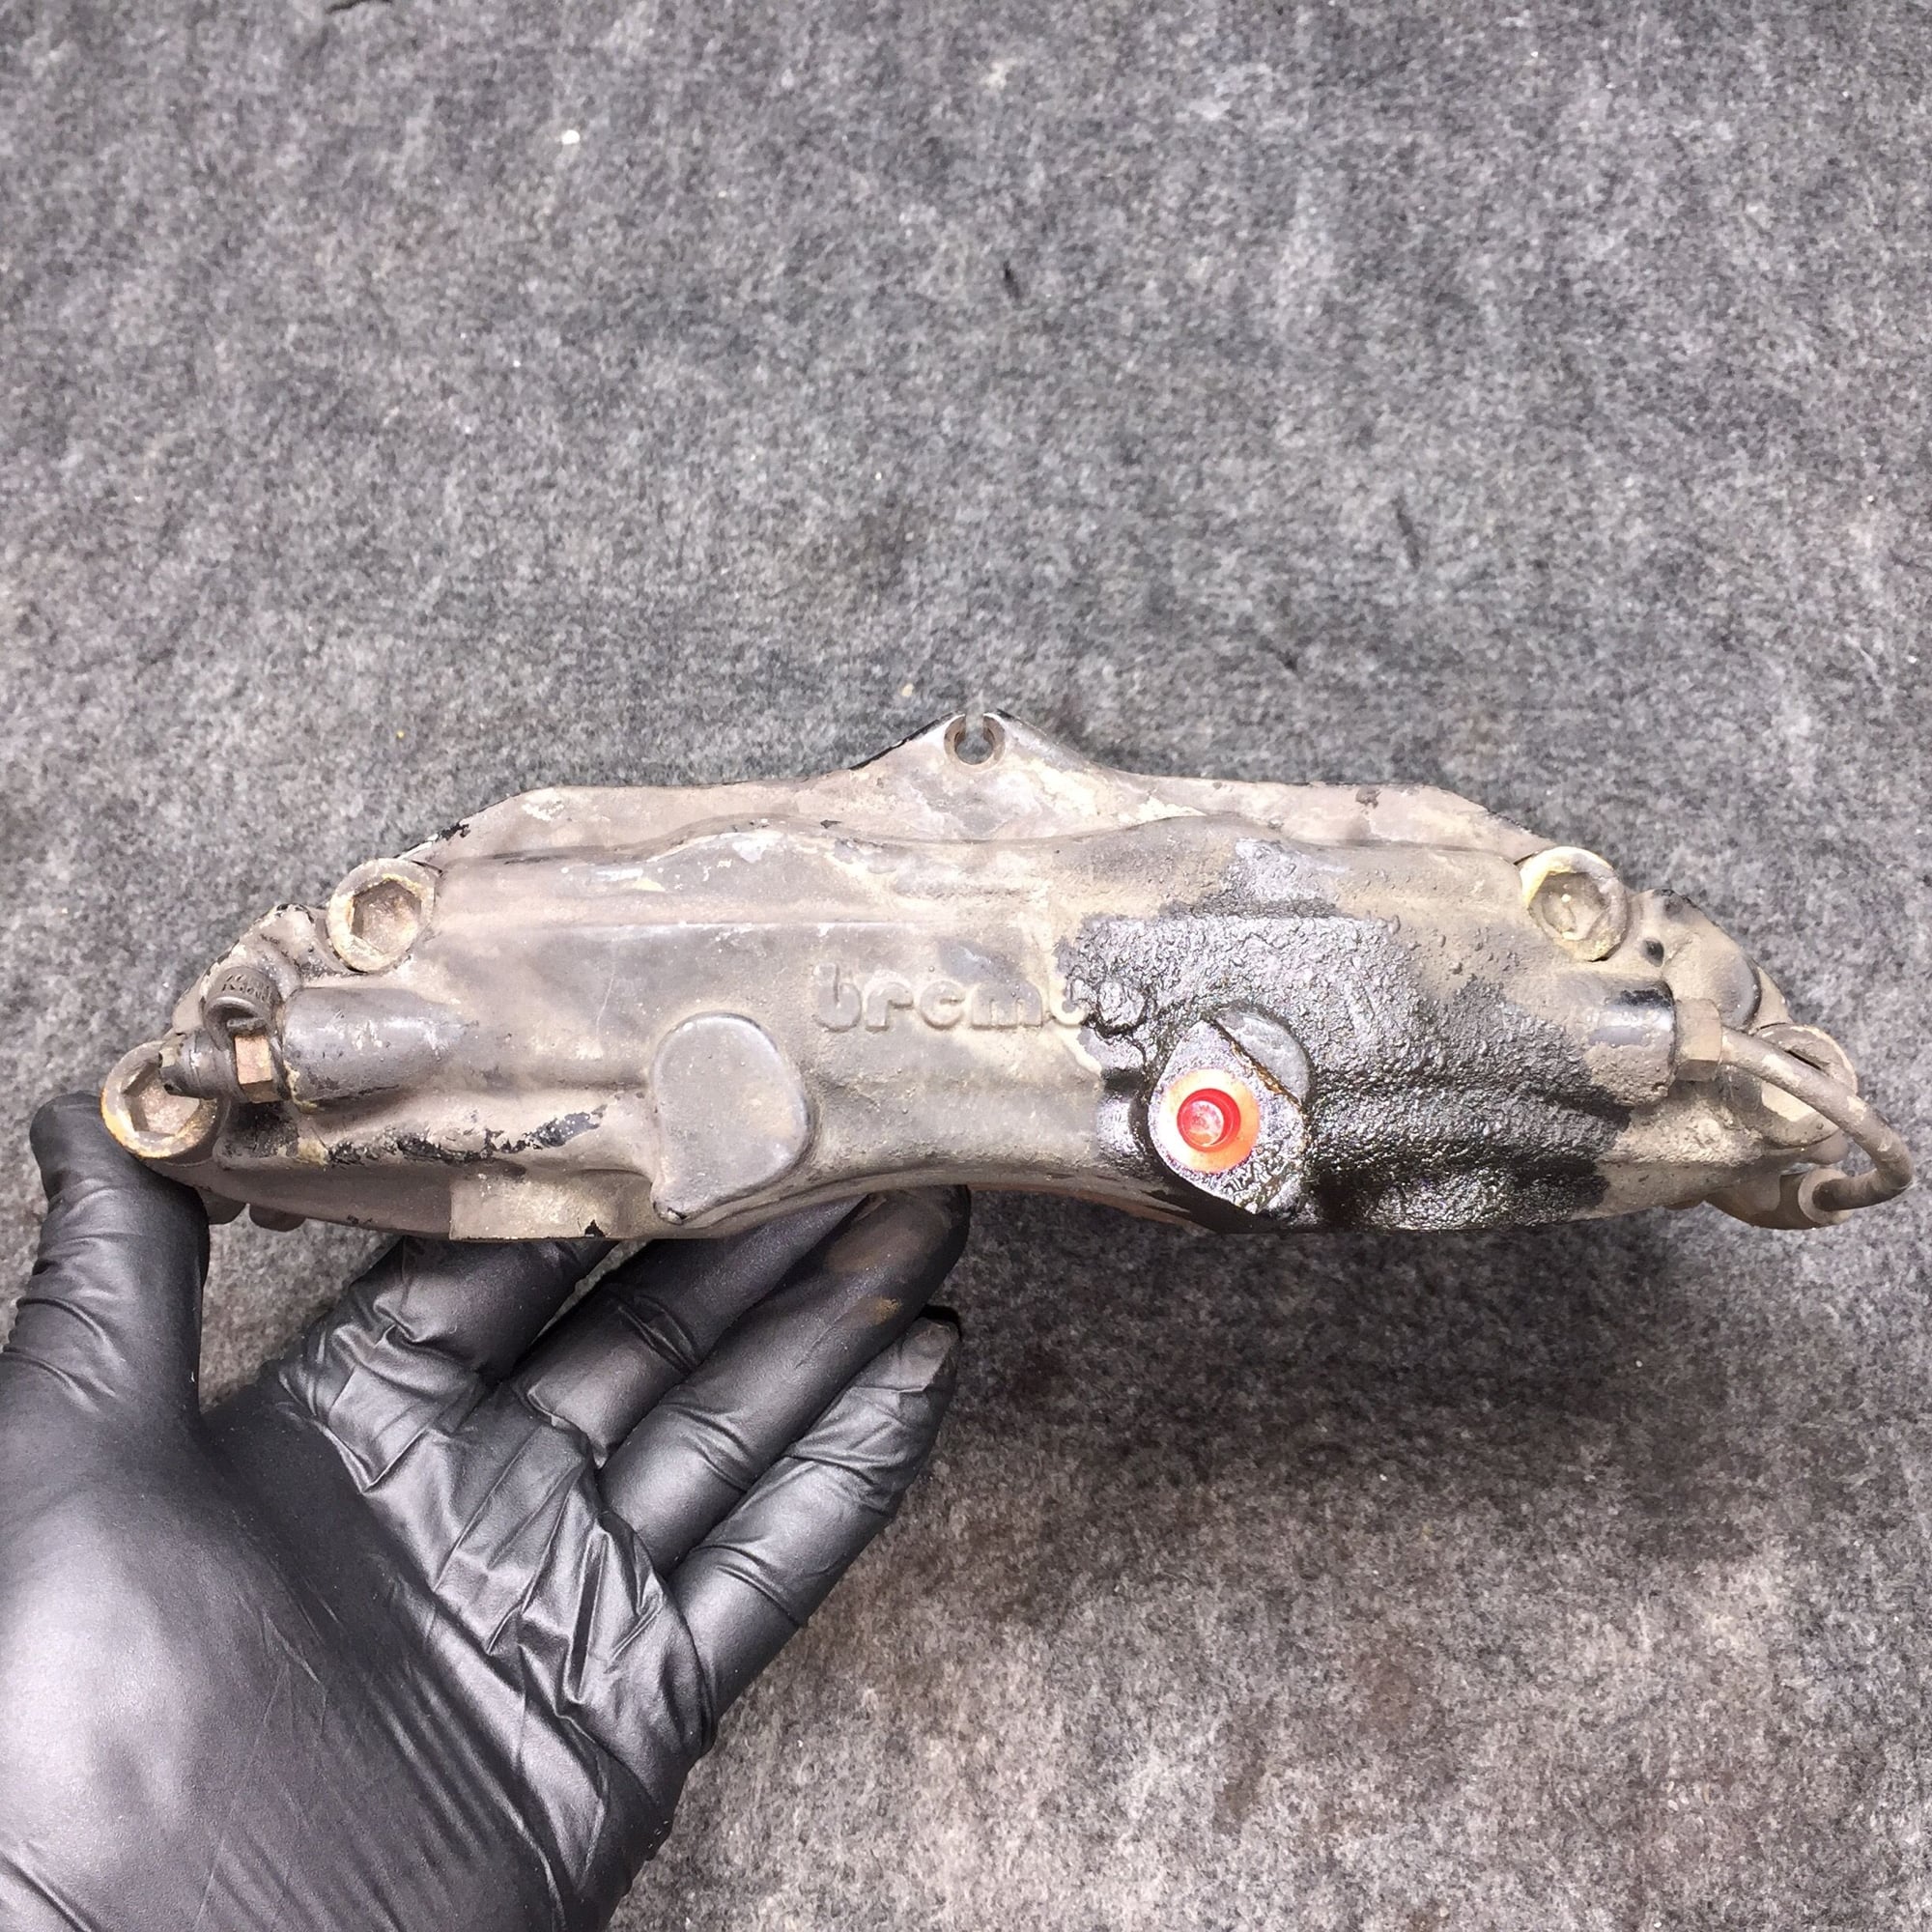
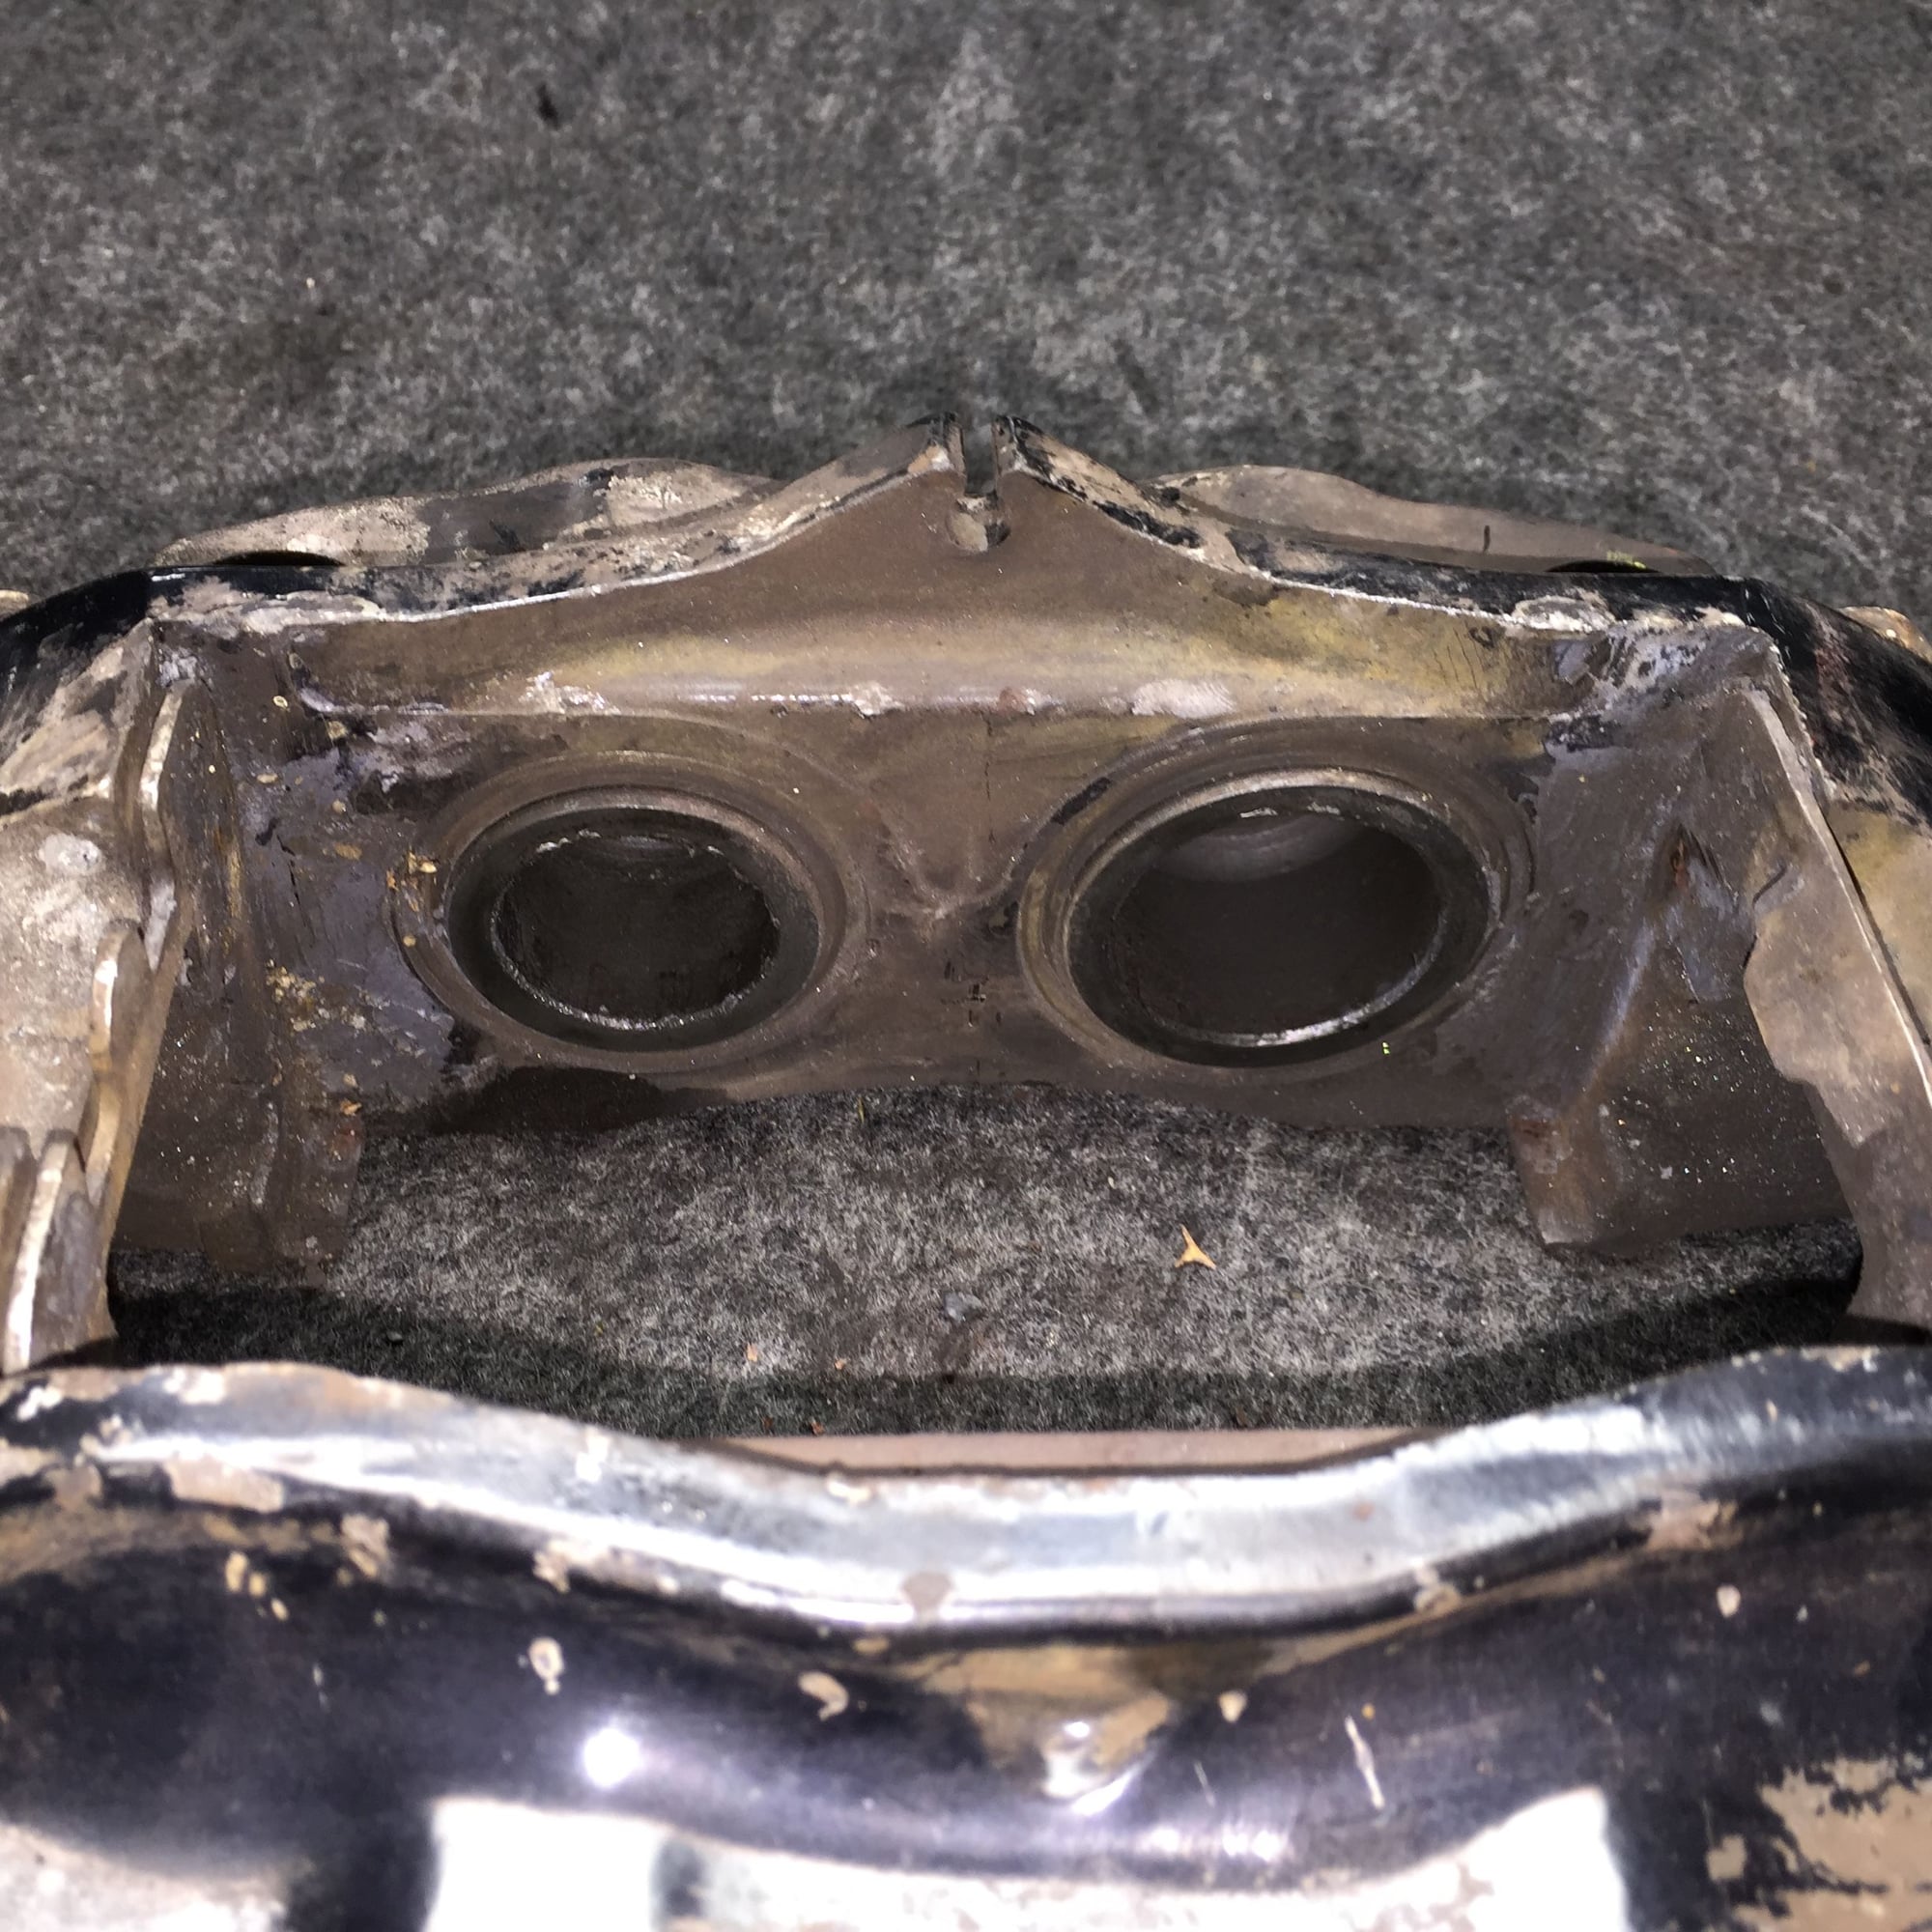
Thursday night, I got some work done on the passenger's side front caliper. It was cruddy and crusty like the rear, however the pads seemed to be wearing evenly. I saw no evidence of leakage from any of the four pistons.
I spent some time scrubbing on the caliper, but noticed it was not cleaning up as fast as the rear did. Don't know if this is because the front calipers are subject to more road grime. I will keep at it with my toothbrush and mineral spirits.
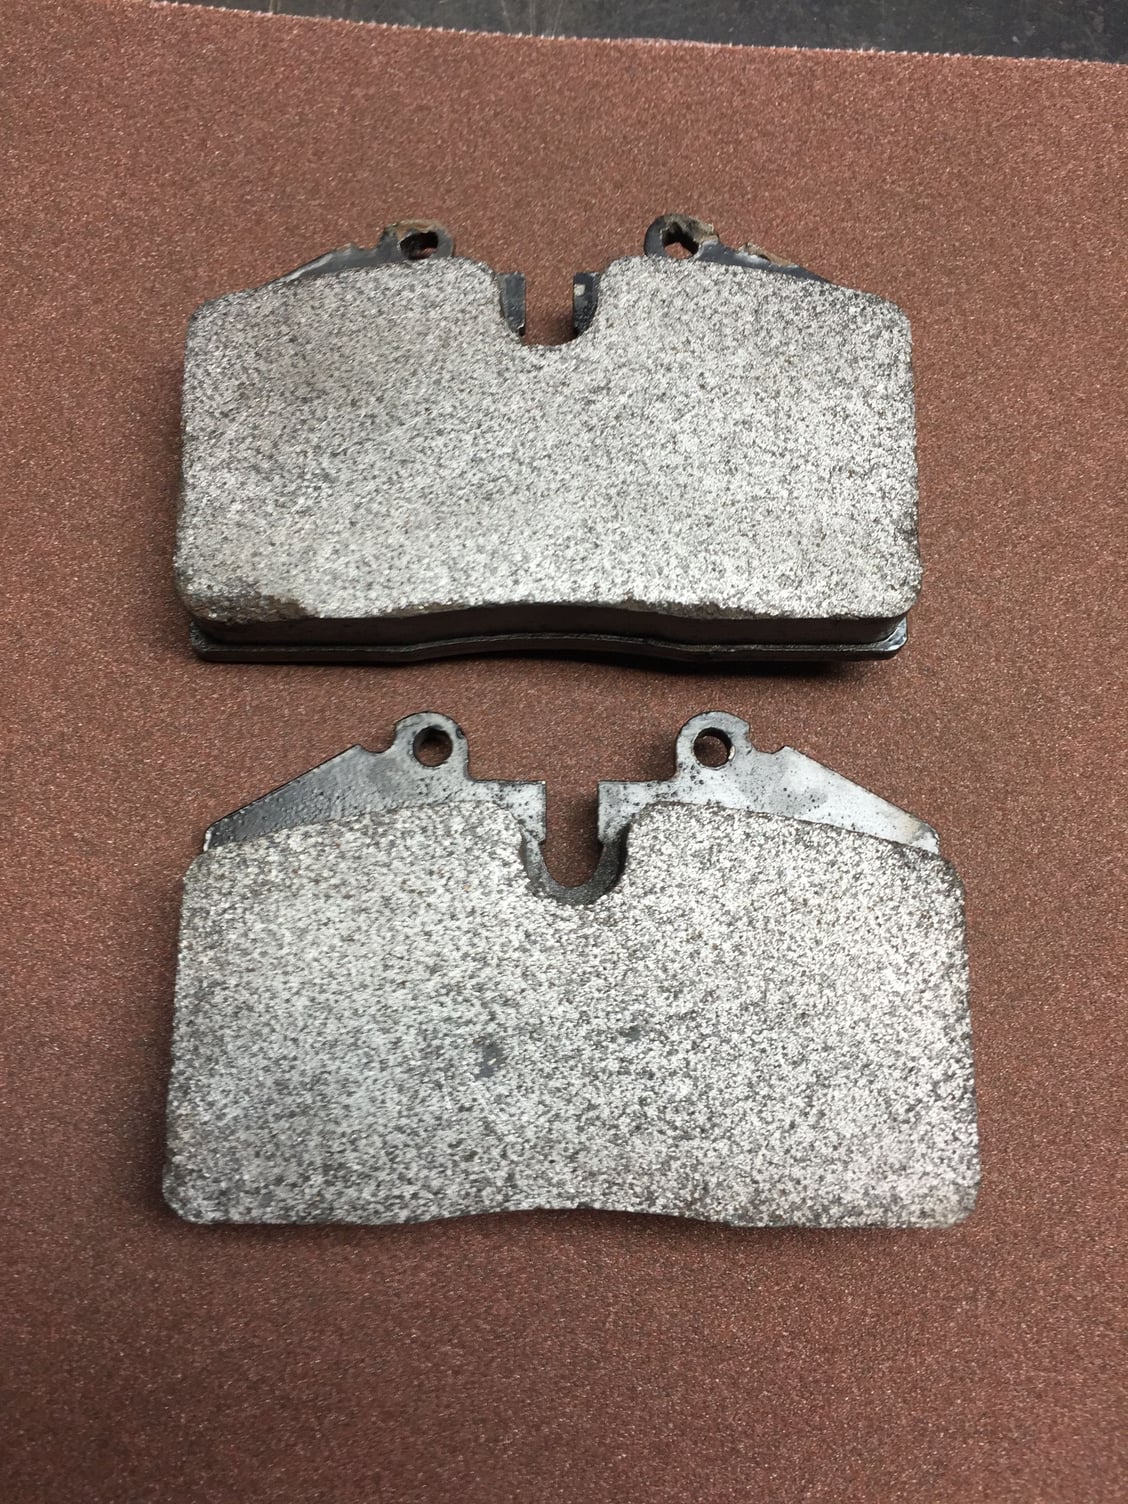
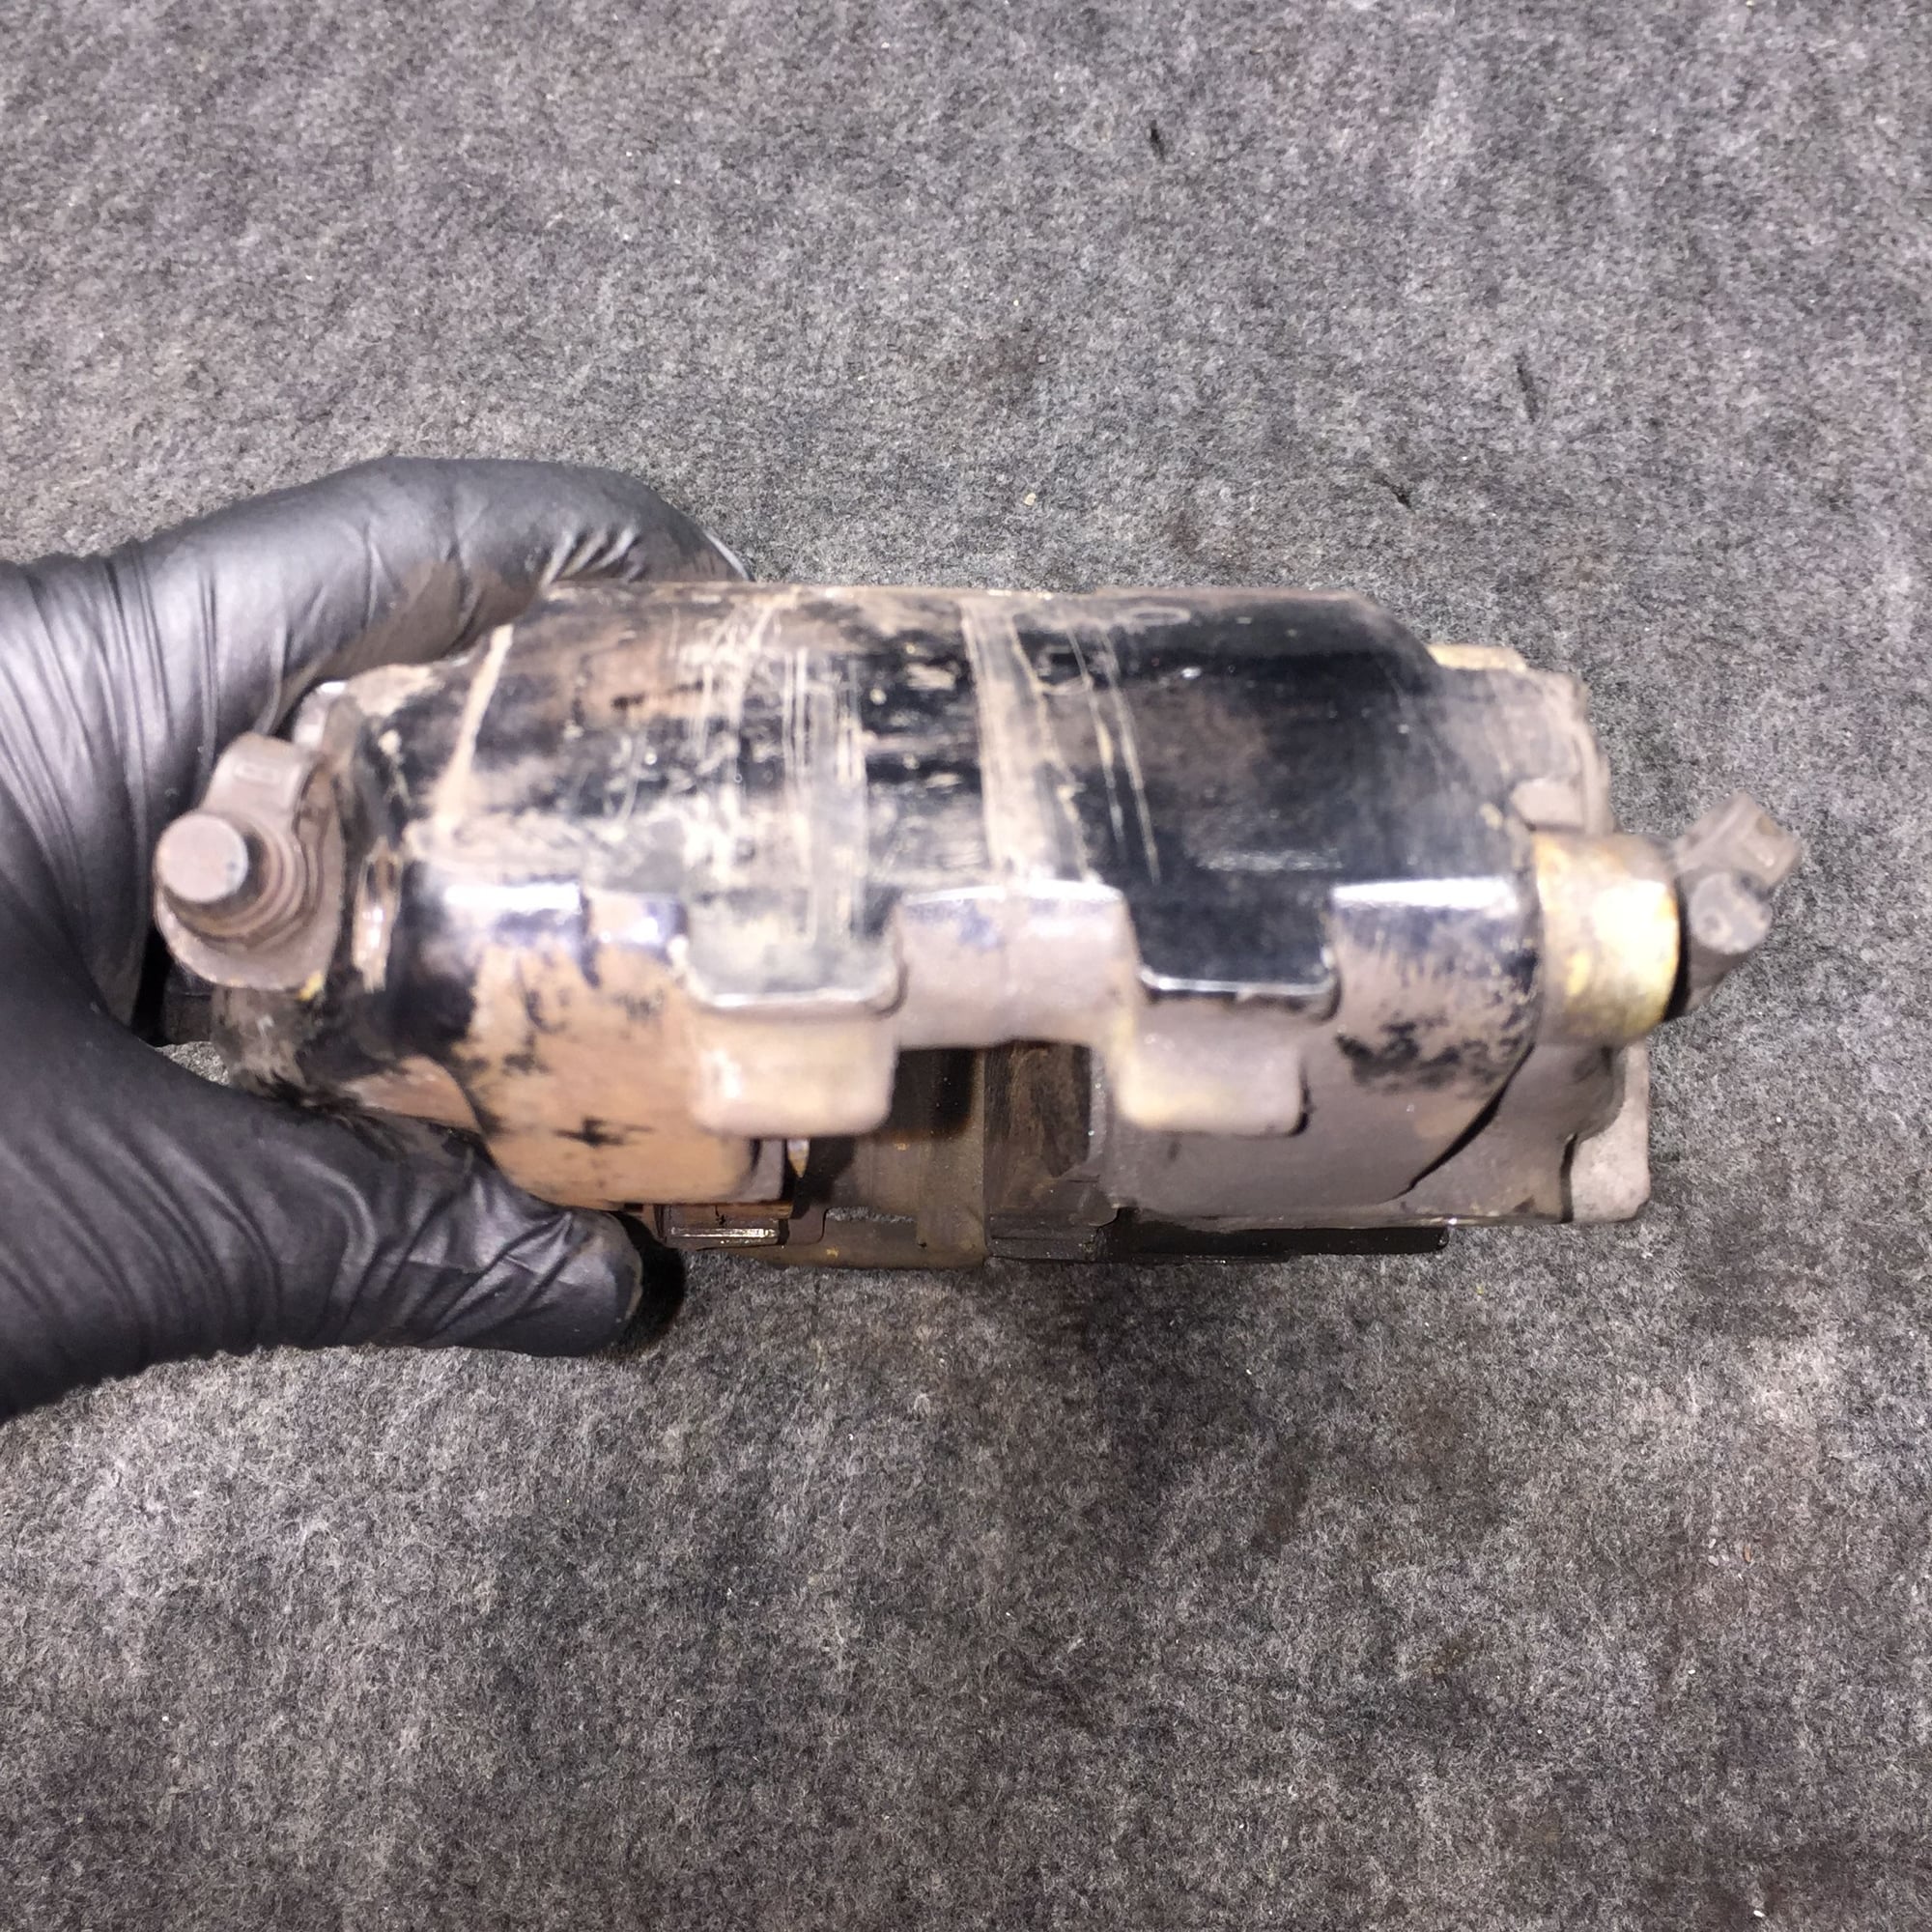
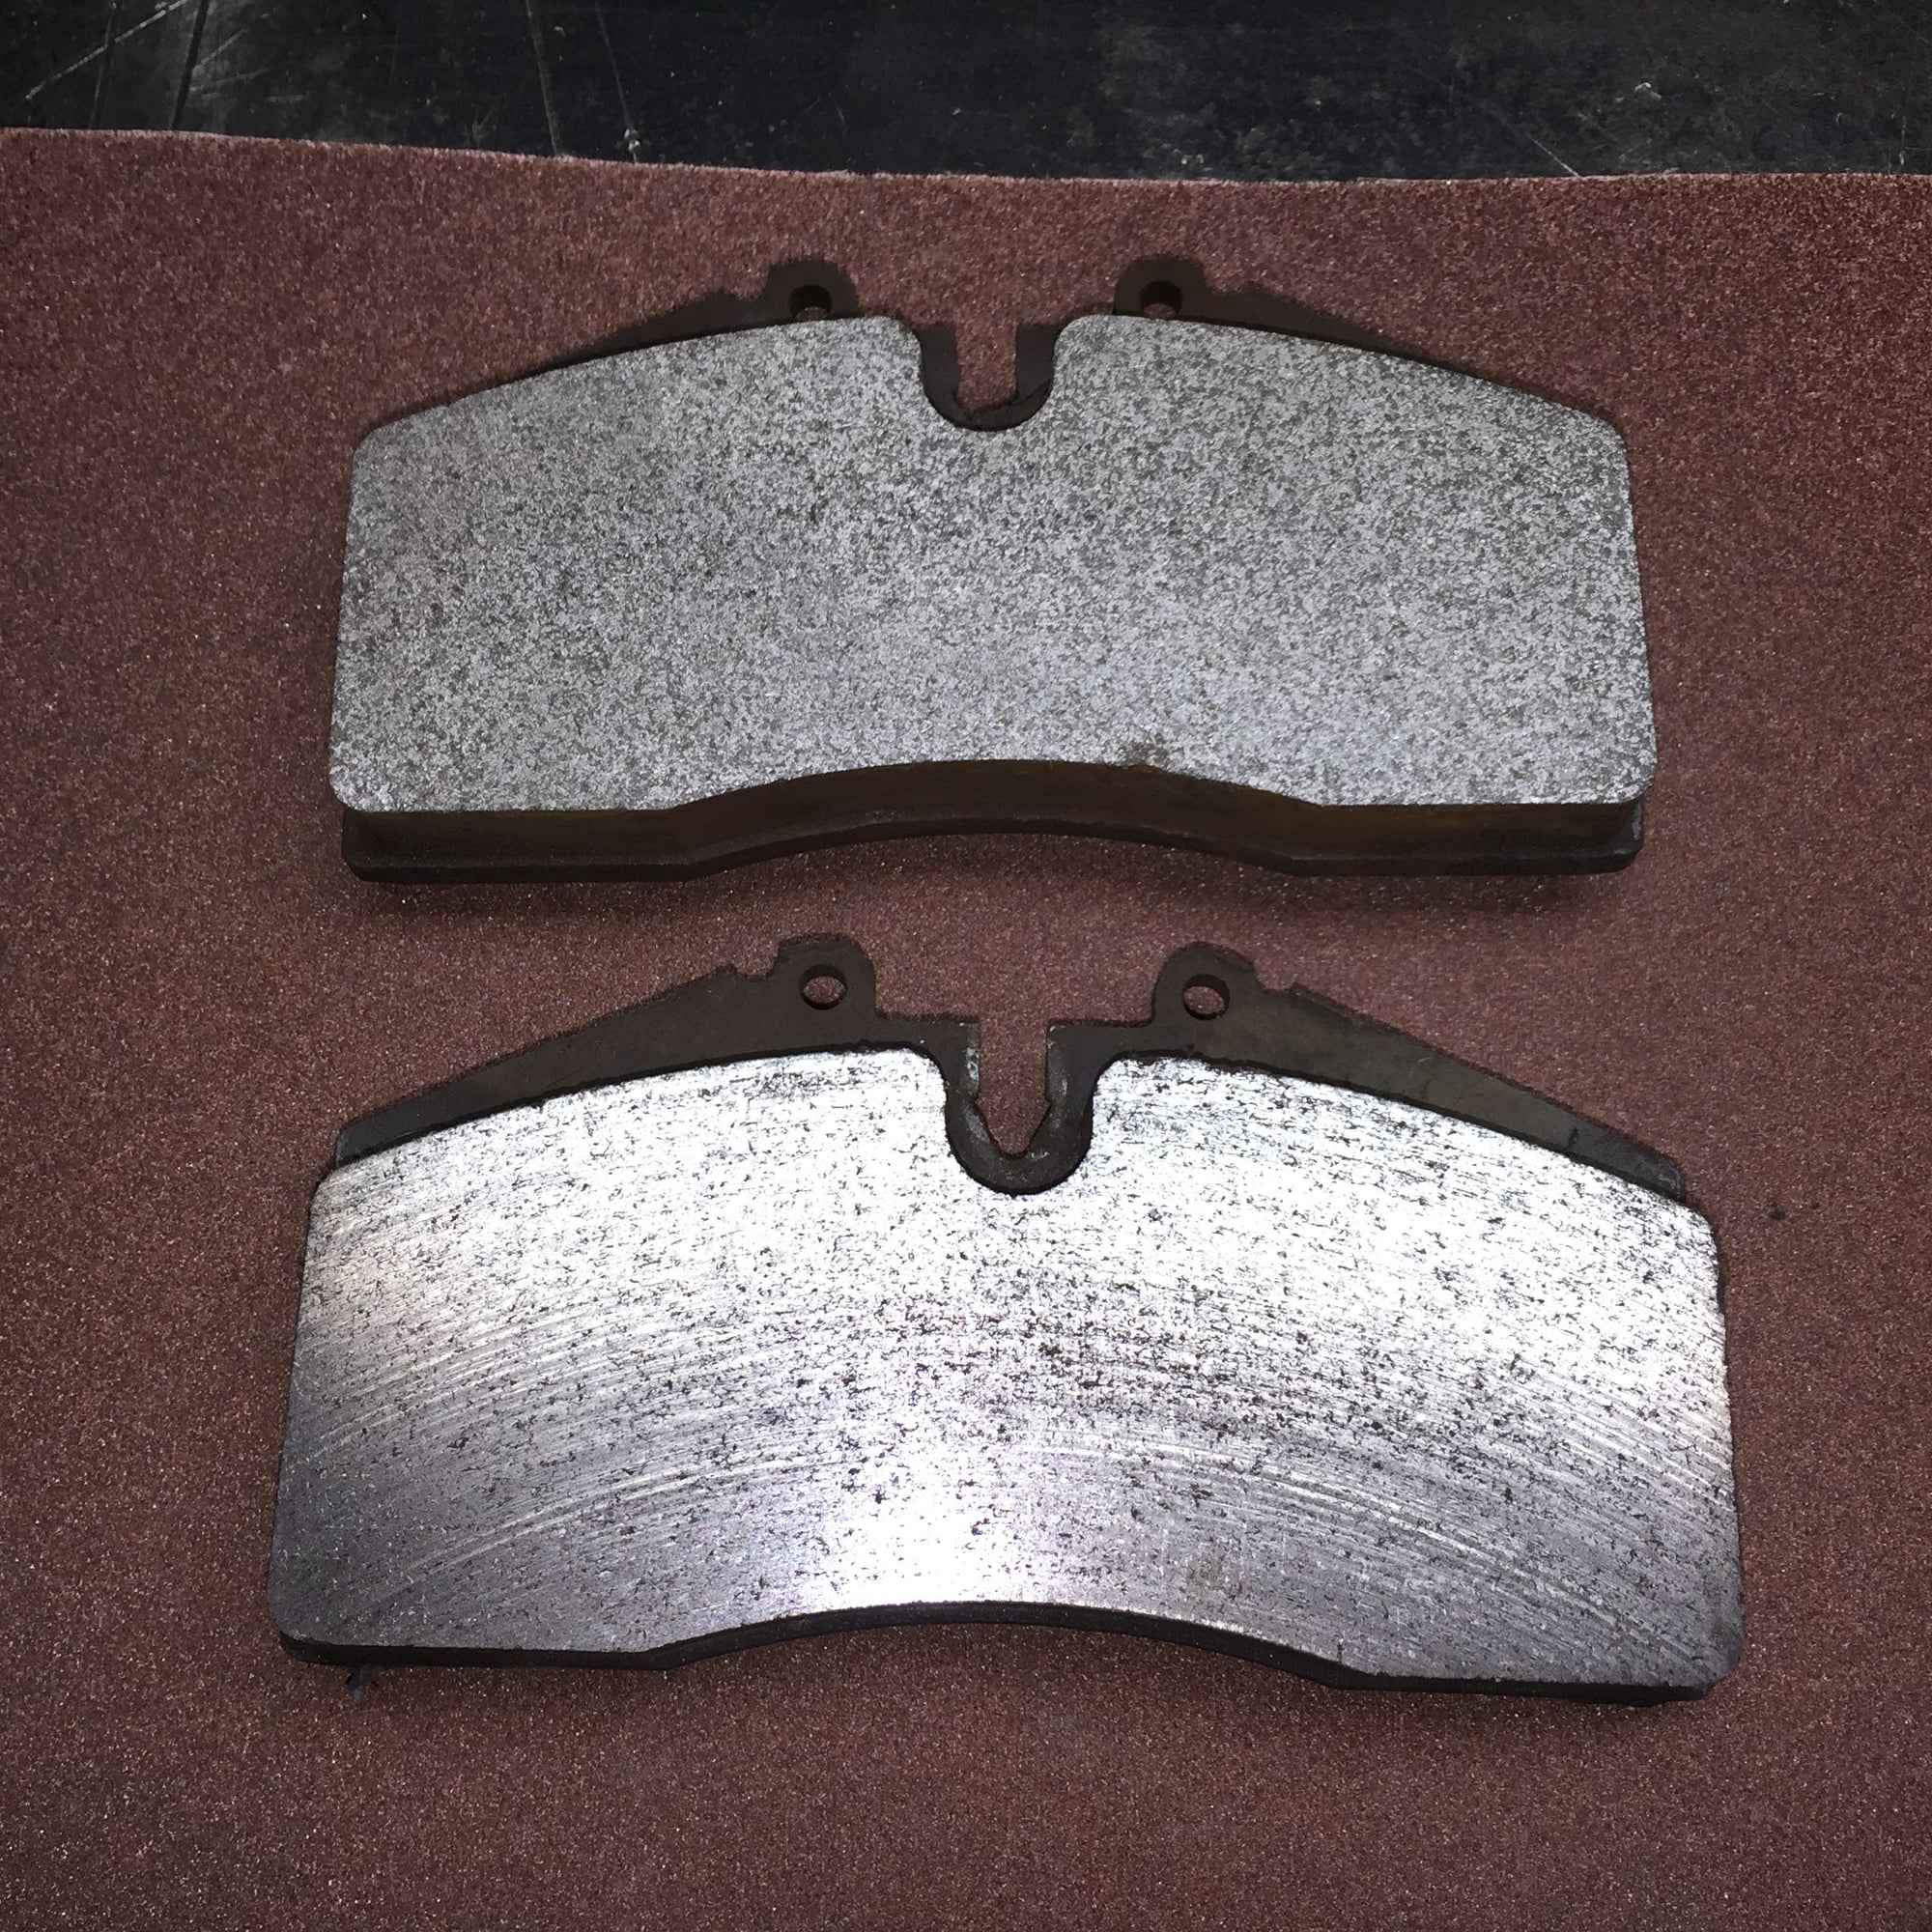
The pads showed a little radial grooving, matching the rotors, and looked to be a little glazed. I sanded both pads on 100 grit sandpaper on a flat table. They both cleaned up quite well, the grooving disappeared.
Note radial grooving, matching rotors.
Top pad has been sanded, bottom one has not.
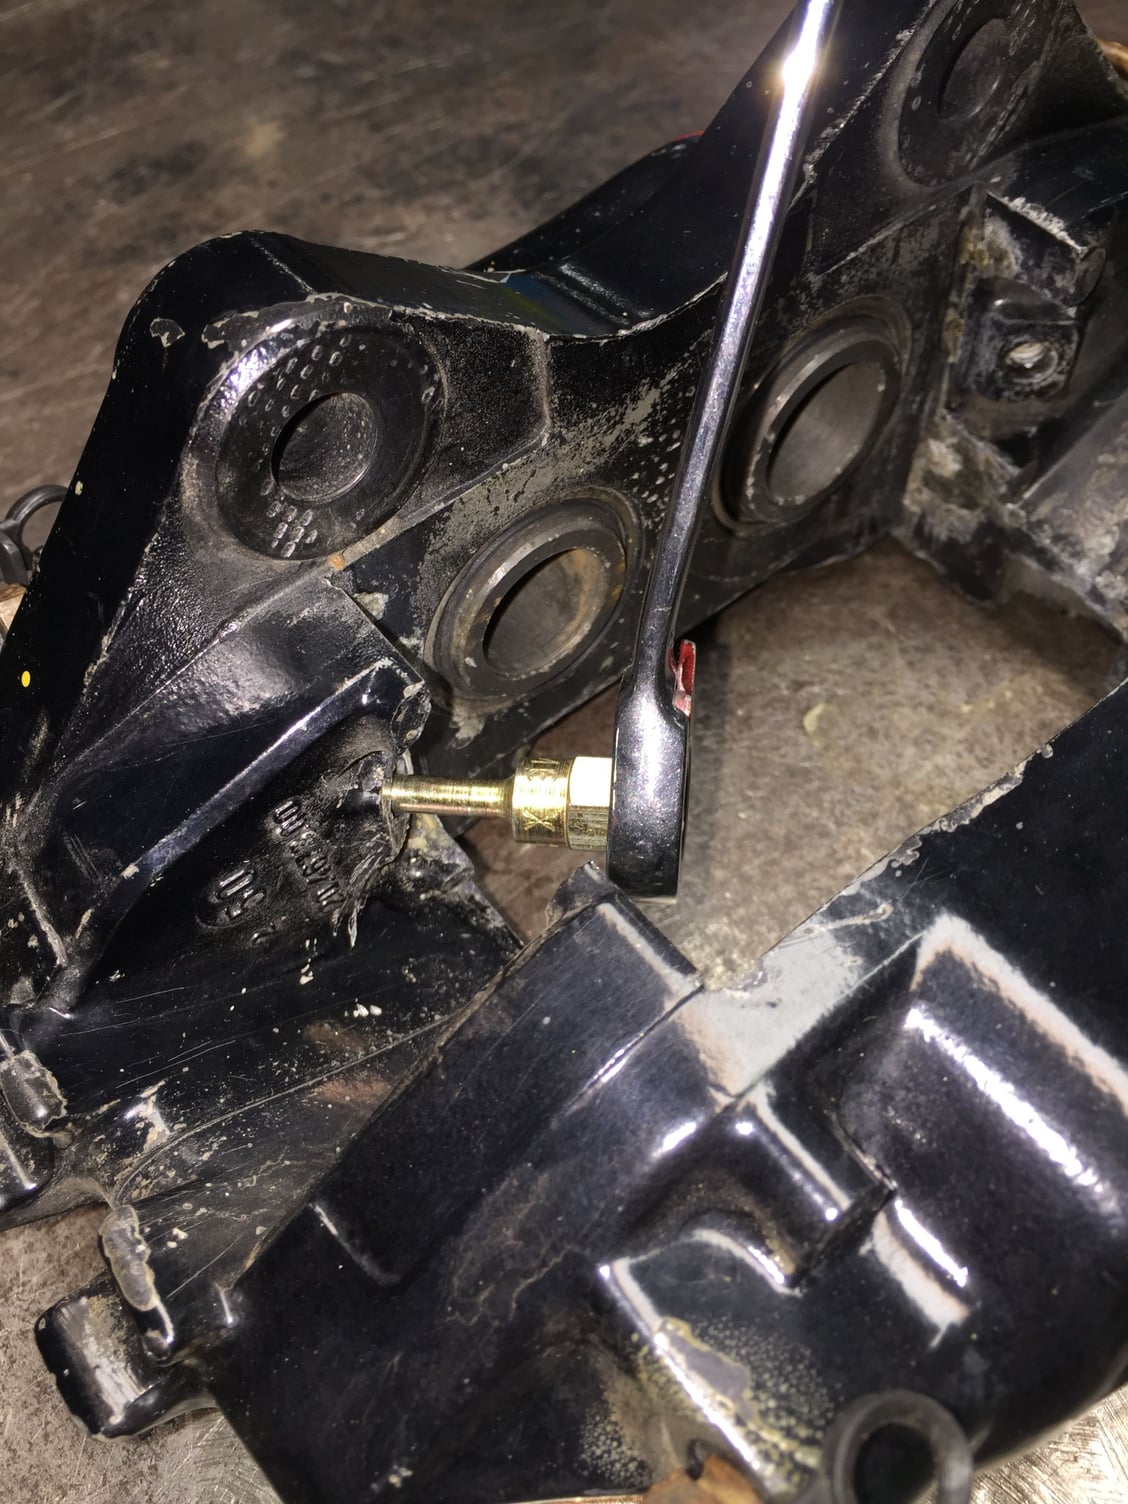
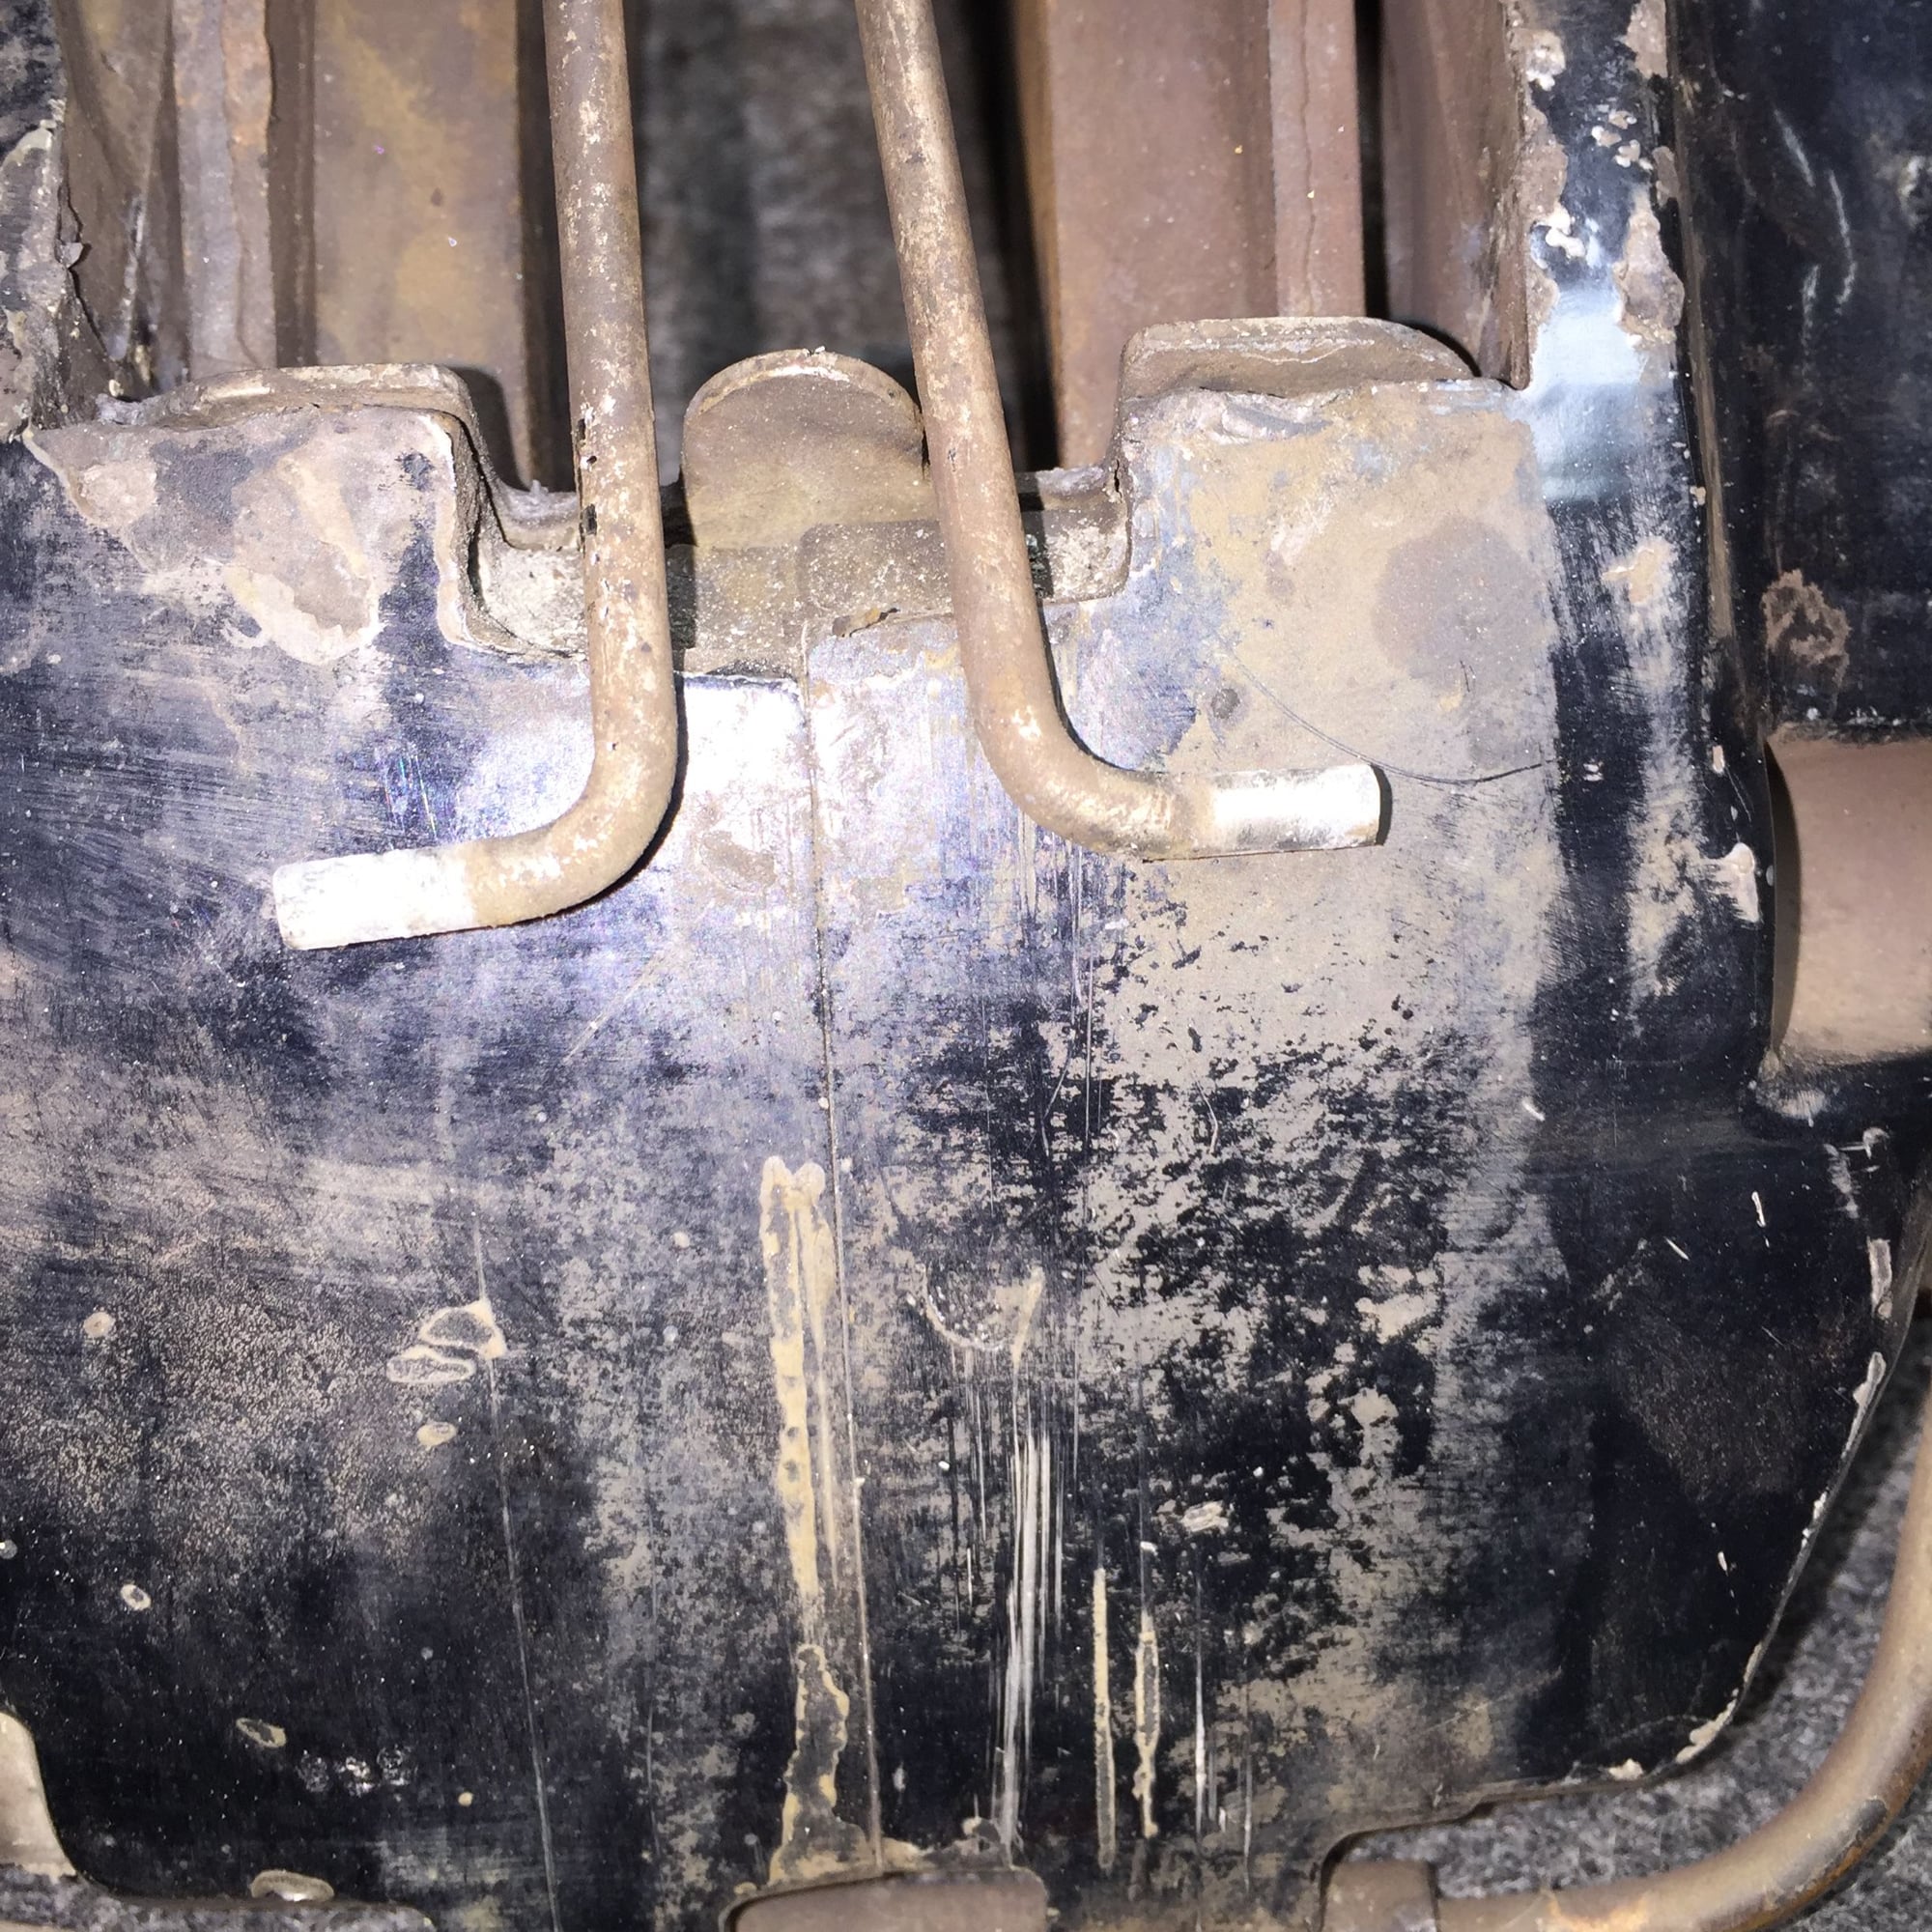
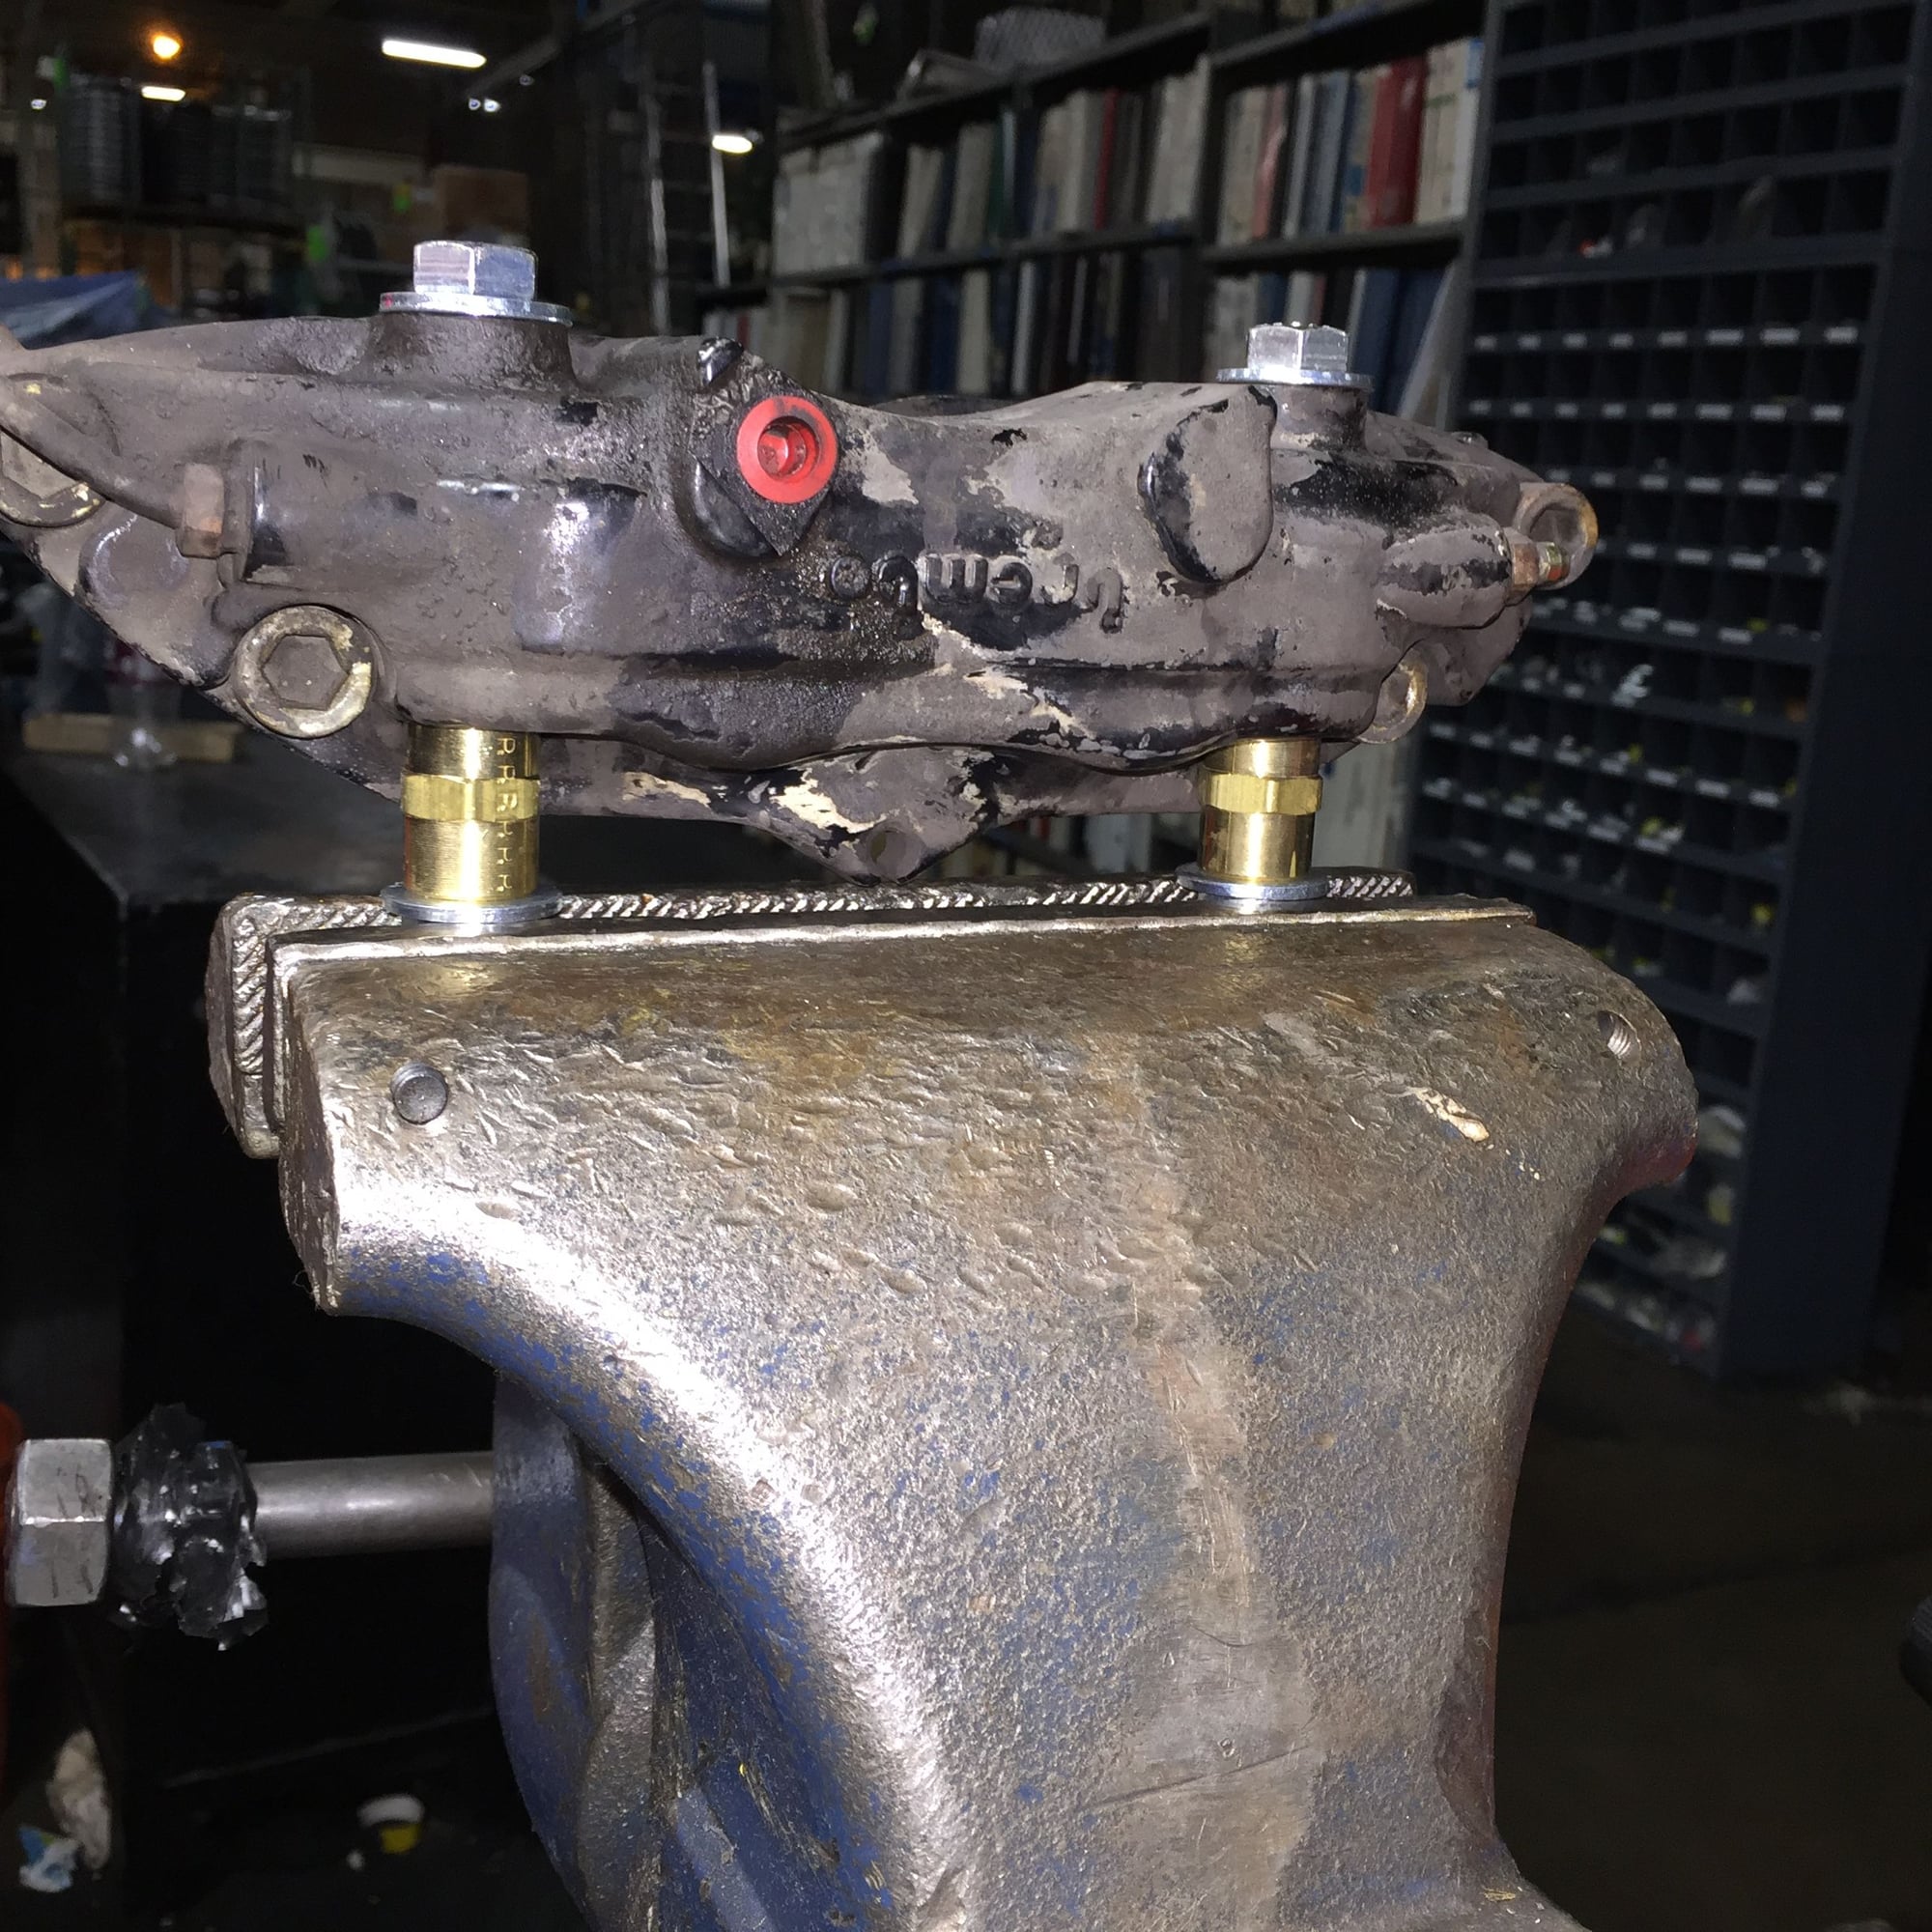
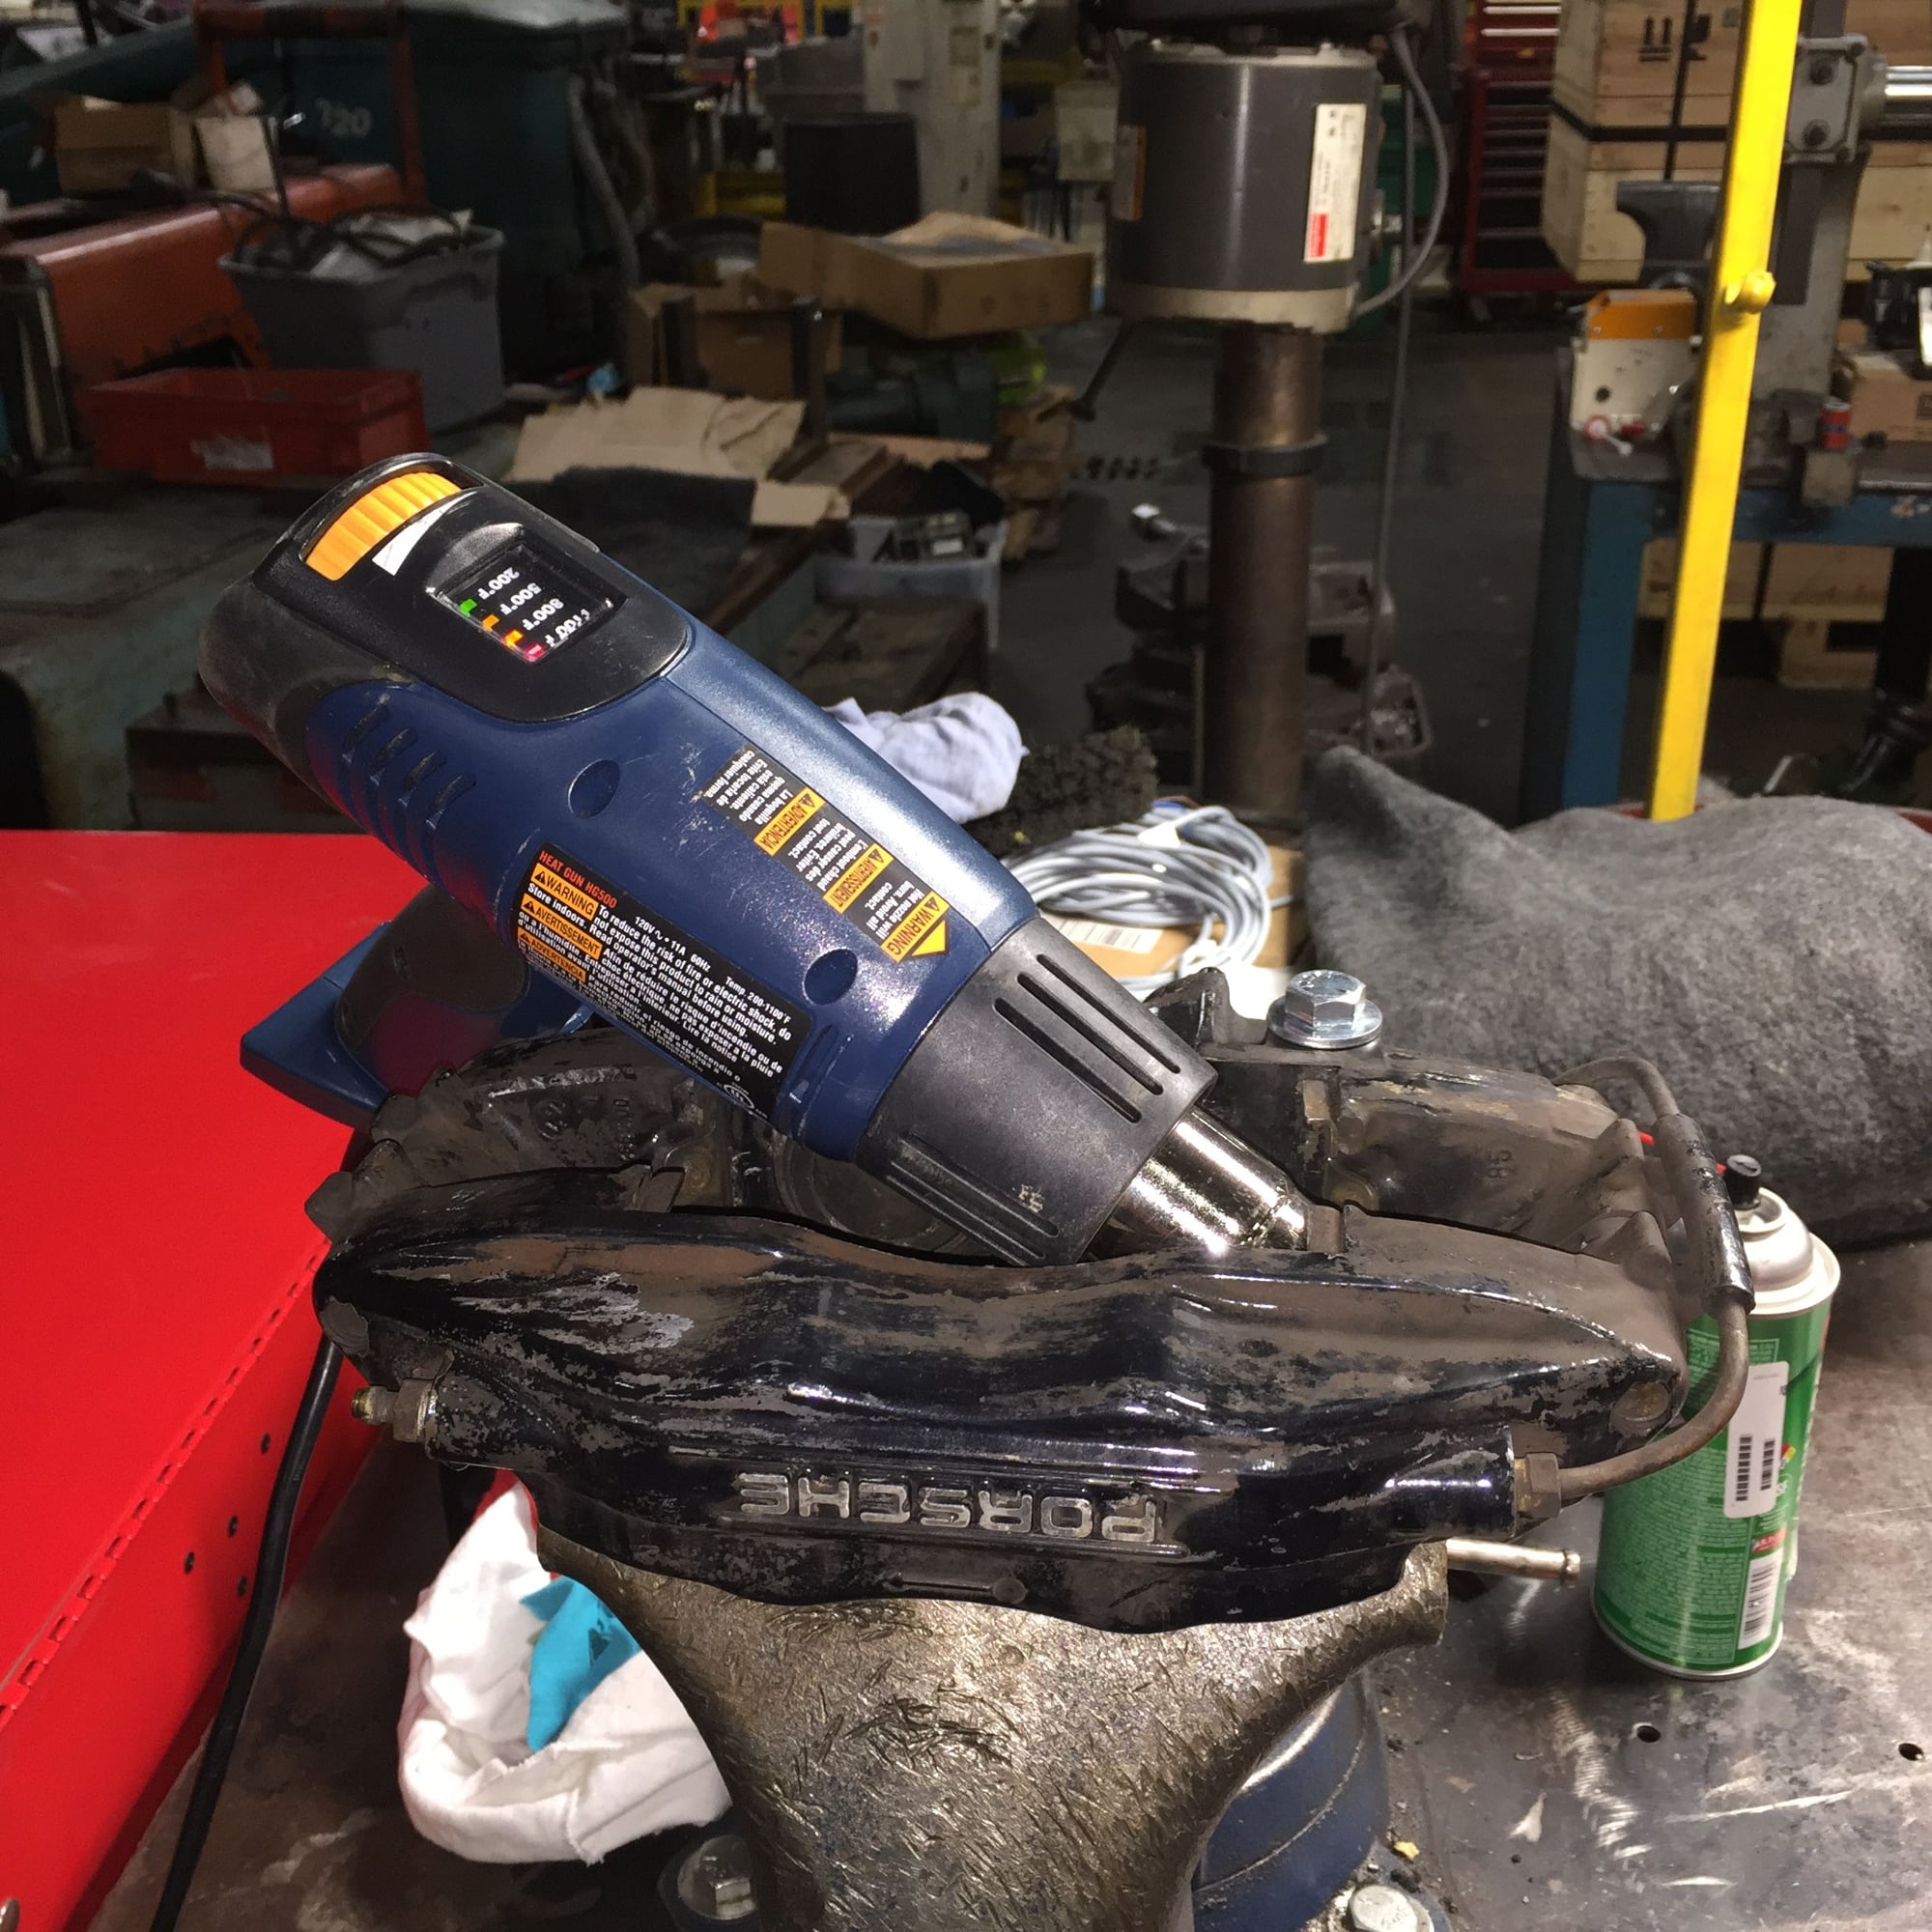
I refined my method of heating the spring plate screws. I built a jig for the caliper out of 7/16" bolts, nuts, and brass pipe fittings. I was able to hook the heat gun under the lip of the spring plate. This directed the nozzle right at the screw. I let each one sit for around 15 minutes. I was able to get all four screws out. Granted, there was violence required with a large hammer and chisel, and one of them took around 25 minutes of heat. However, all four are out and the holes are chased clean.
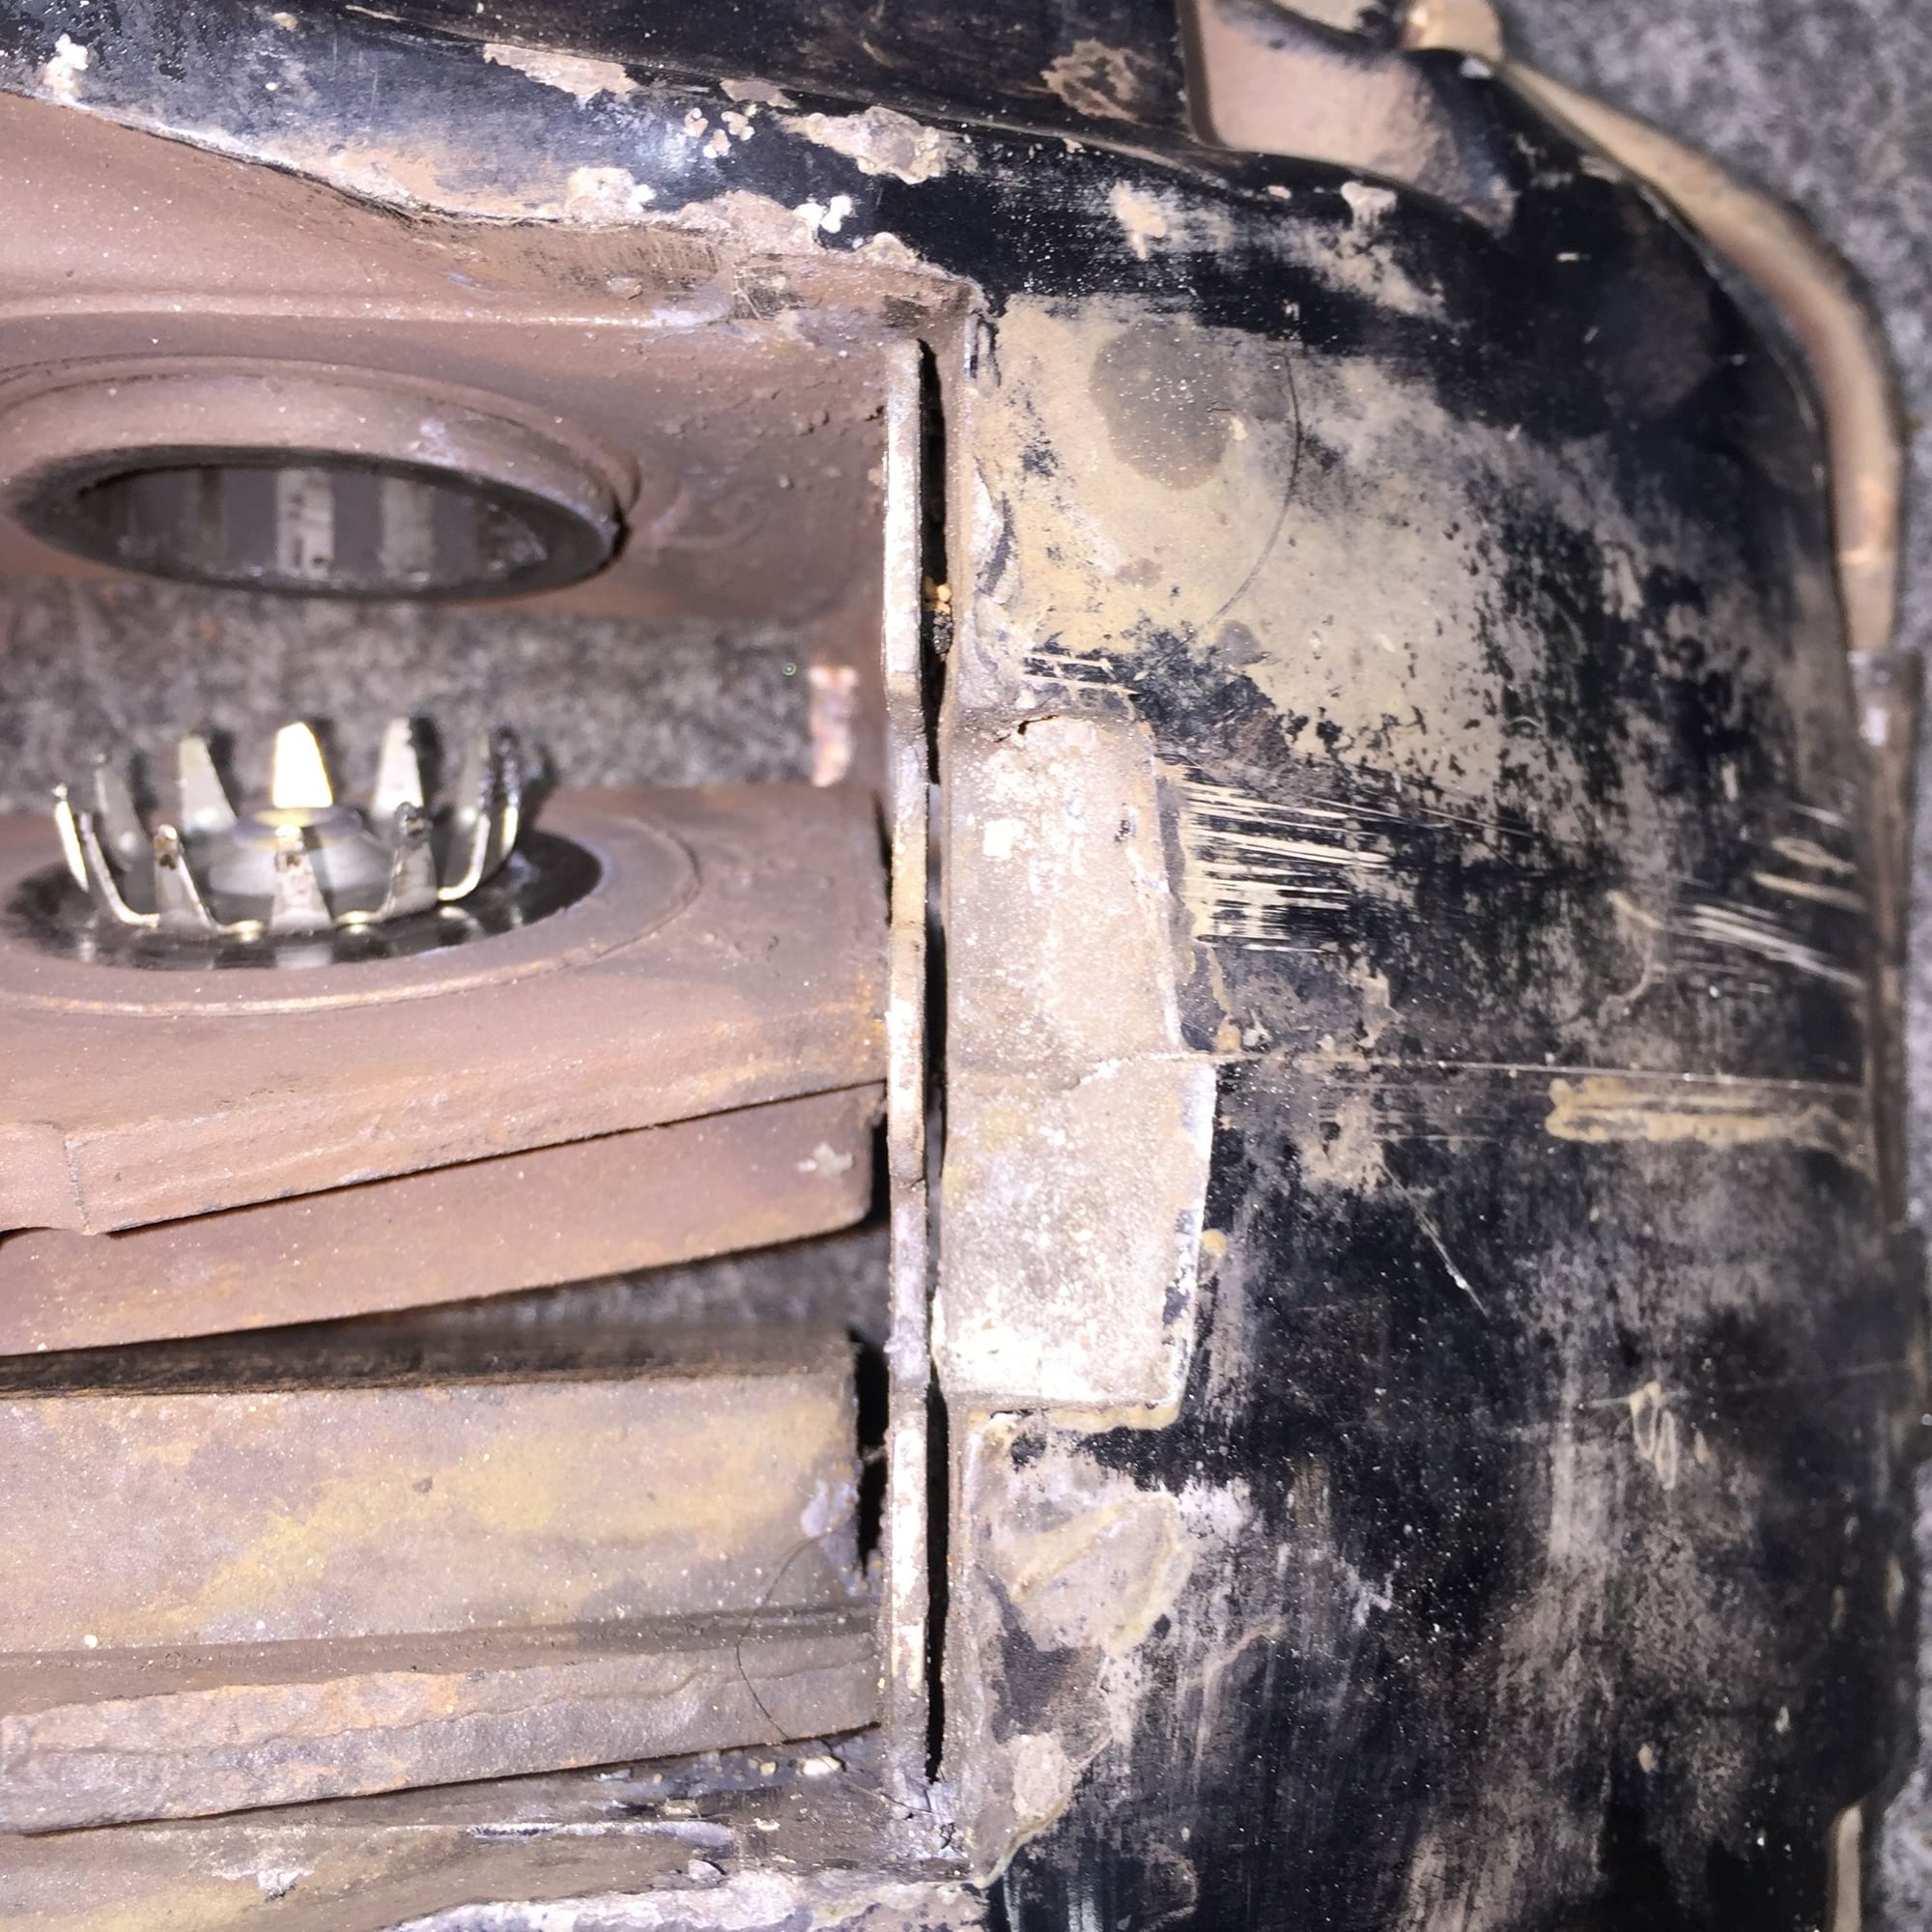
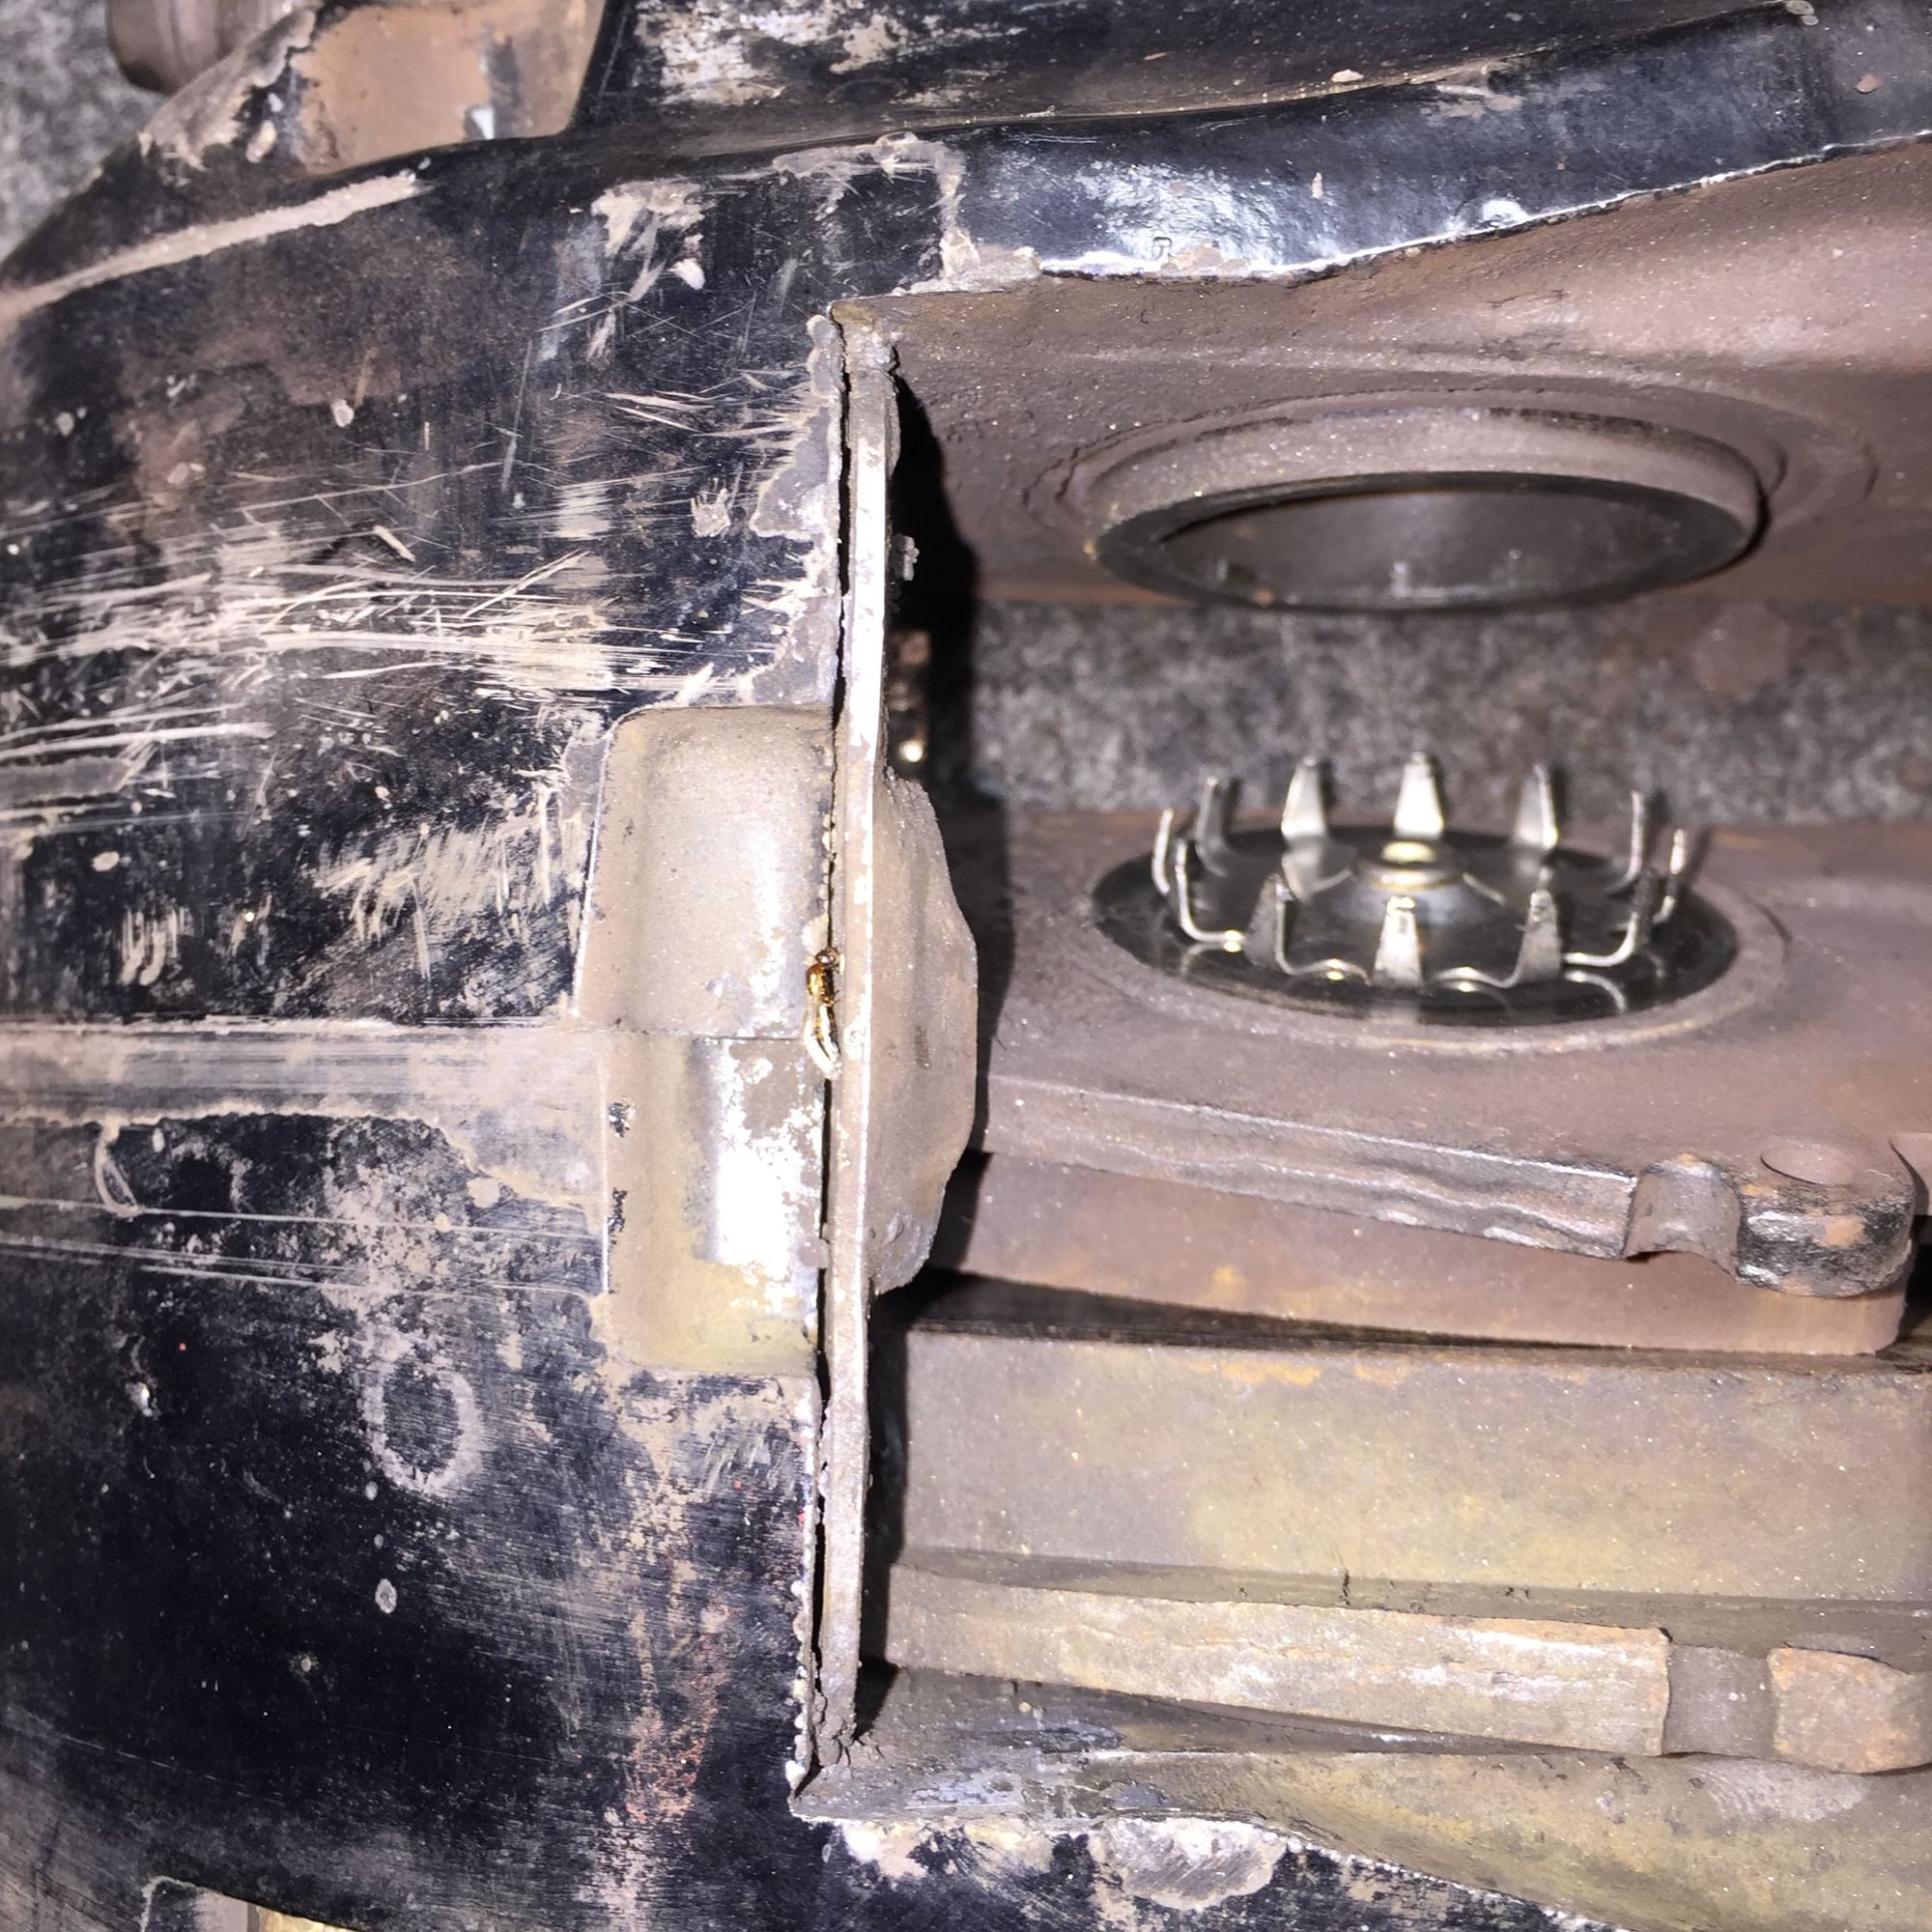
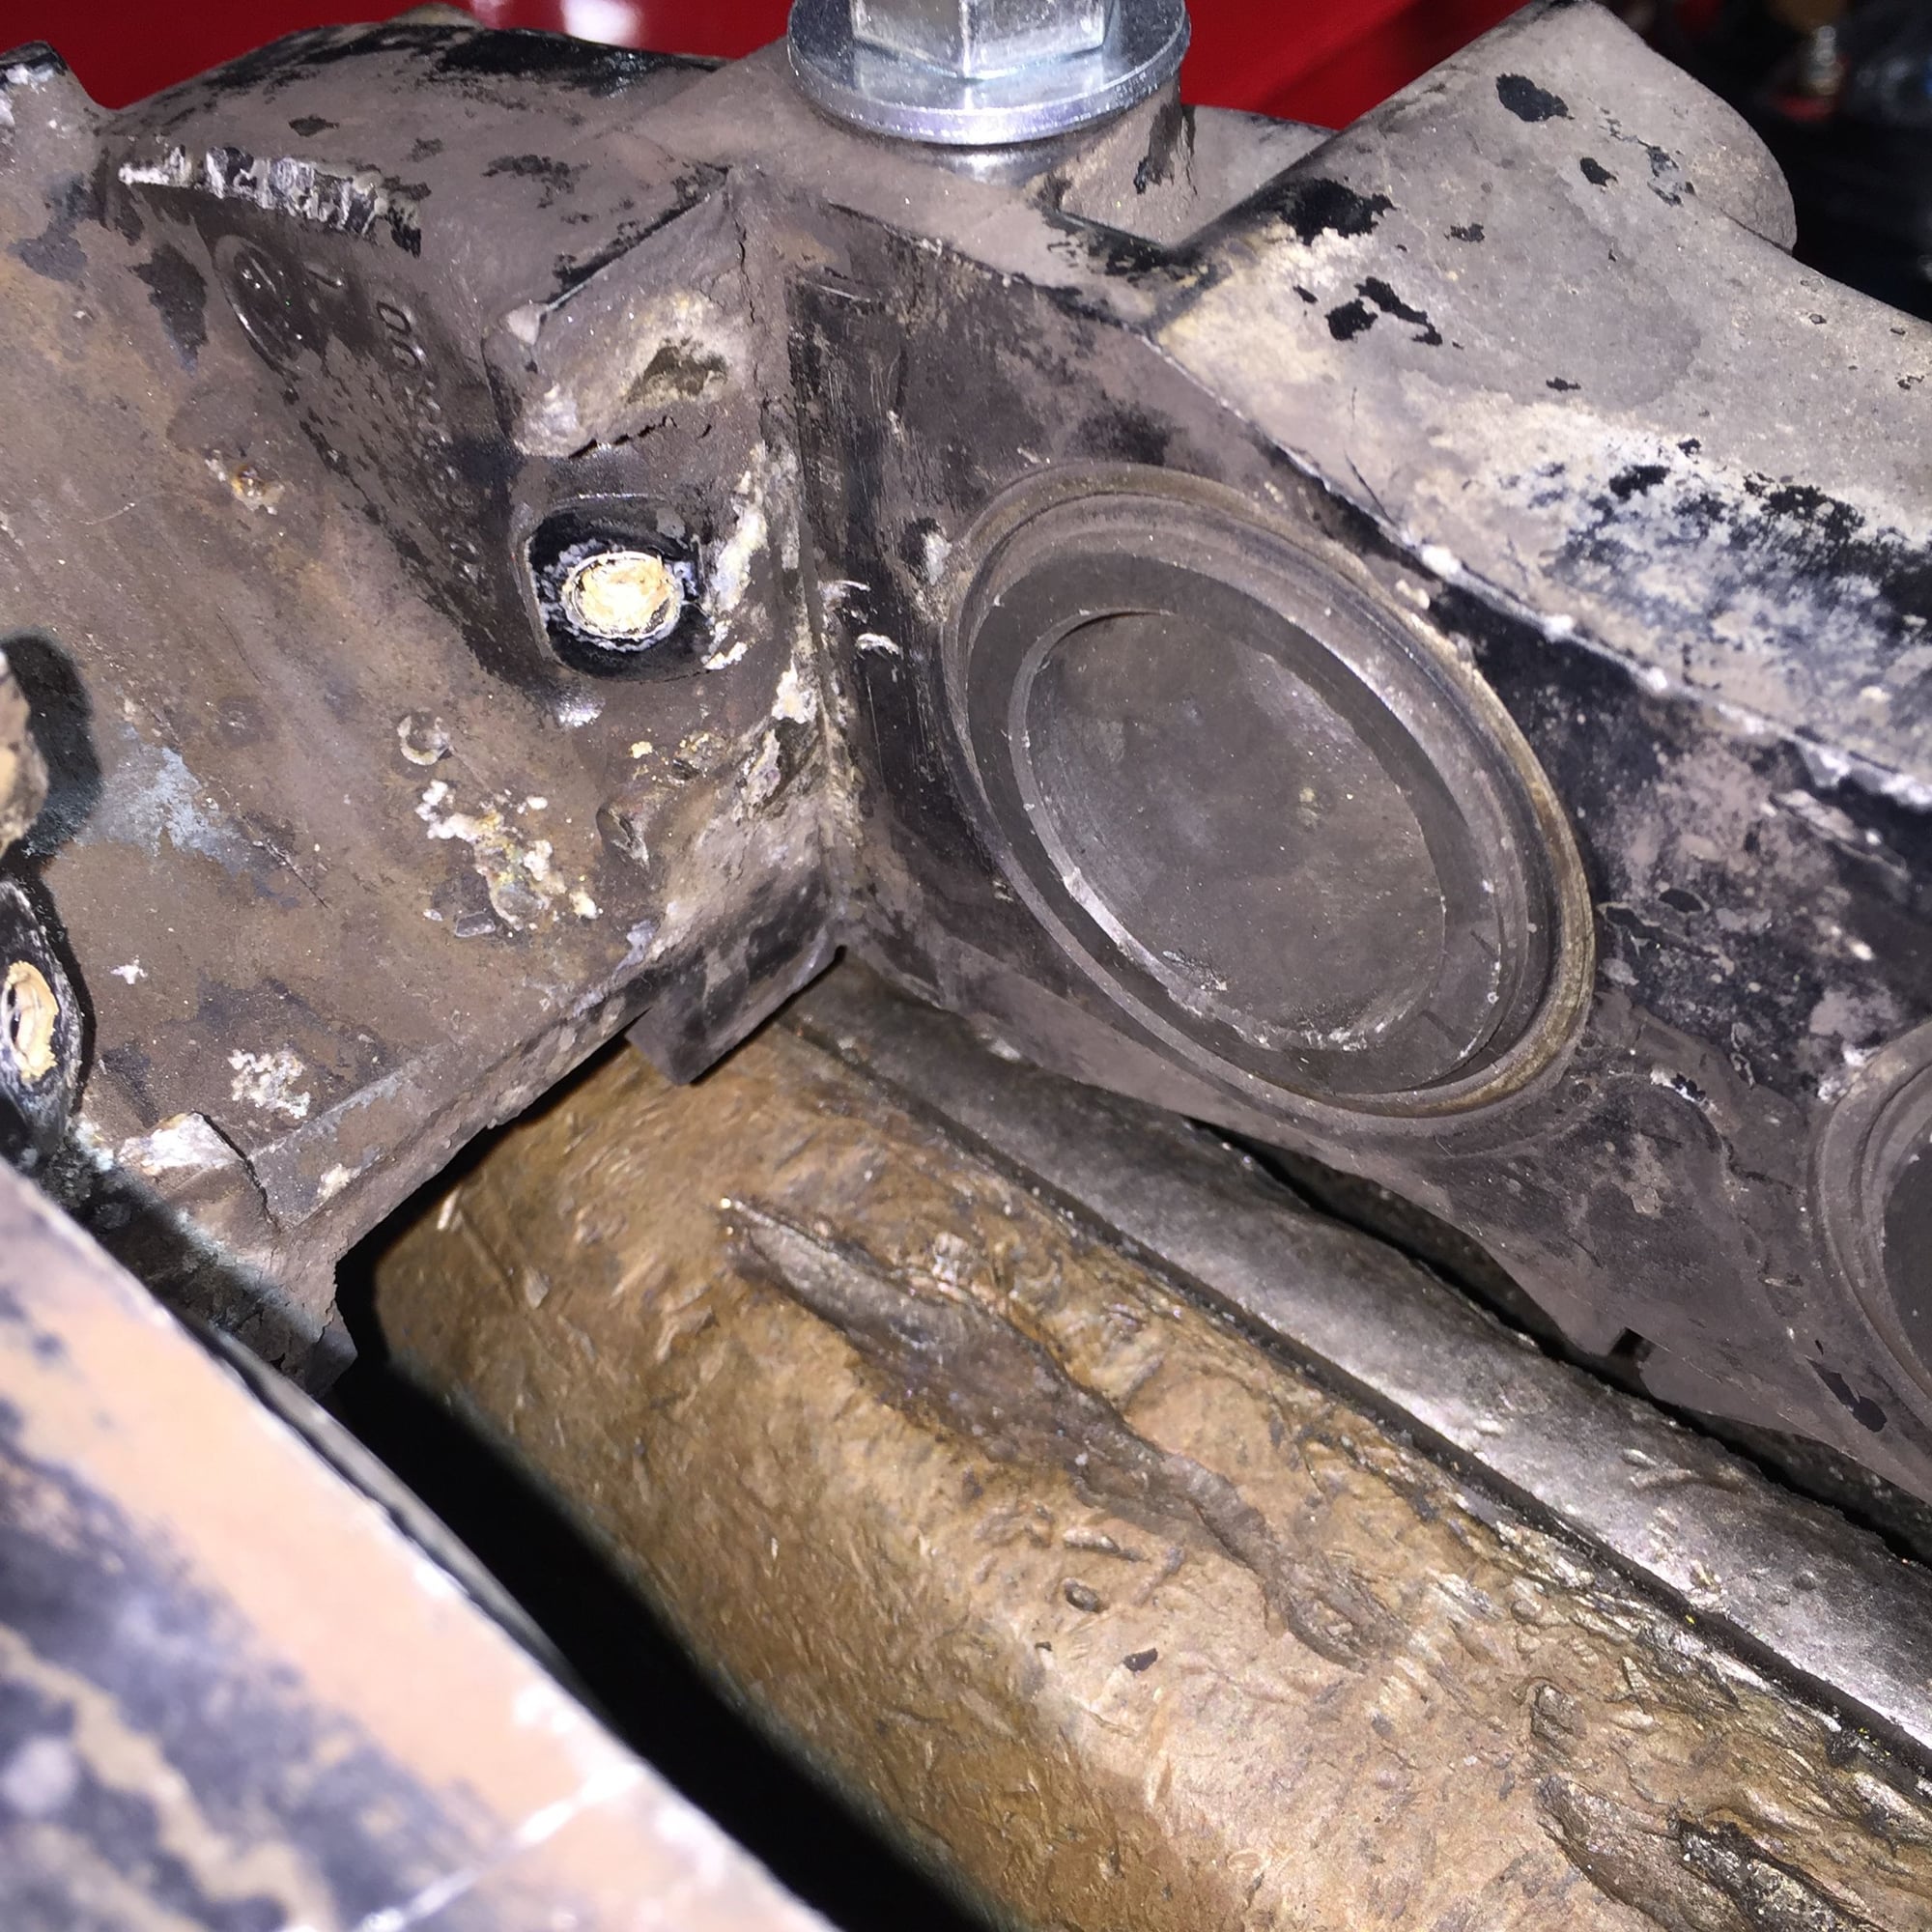
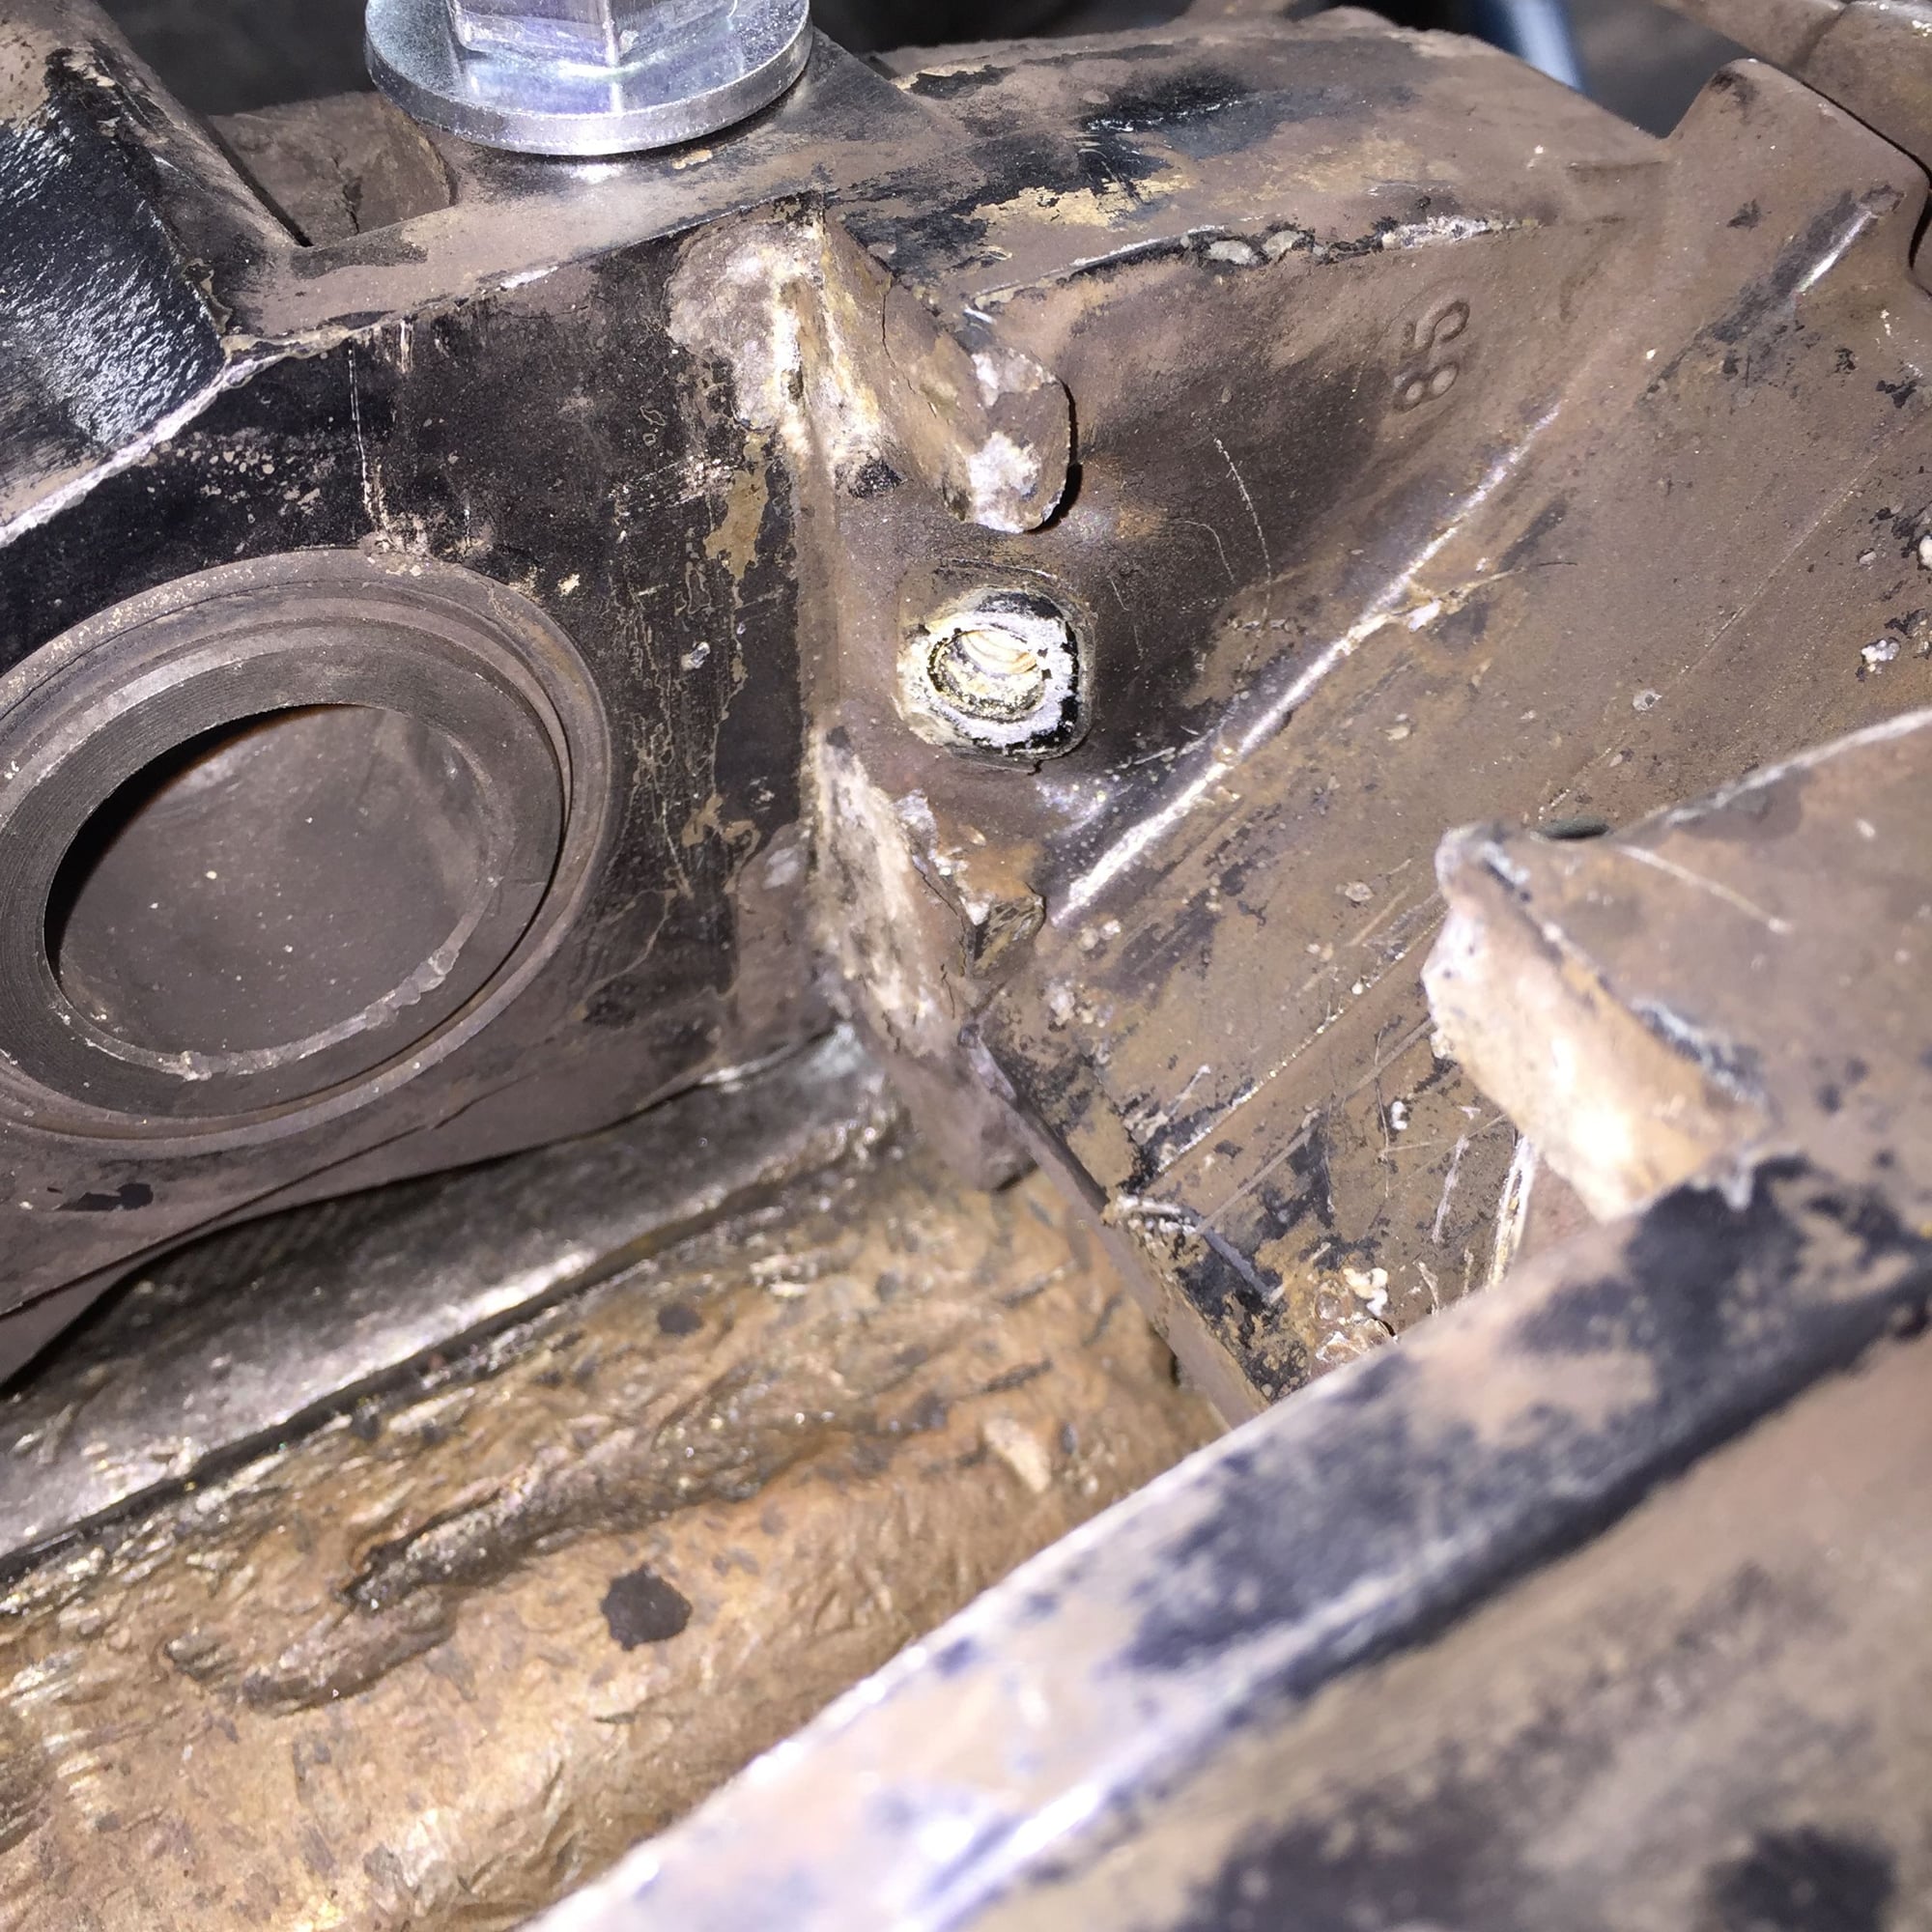
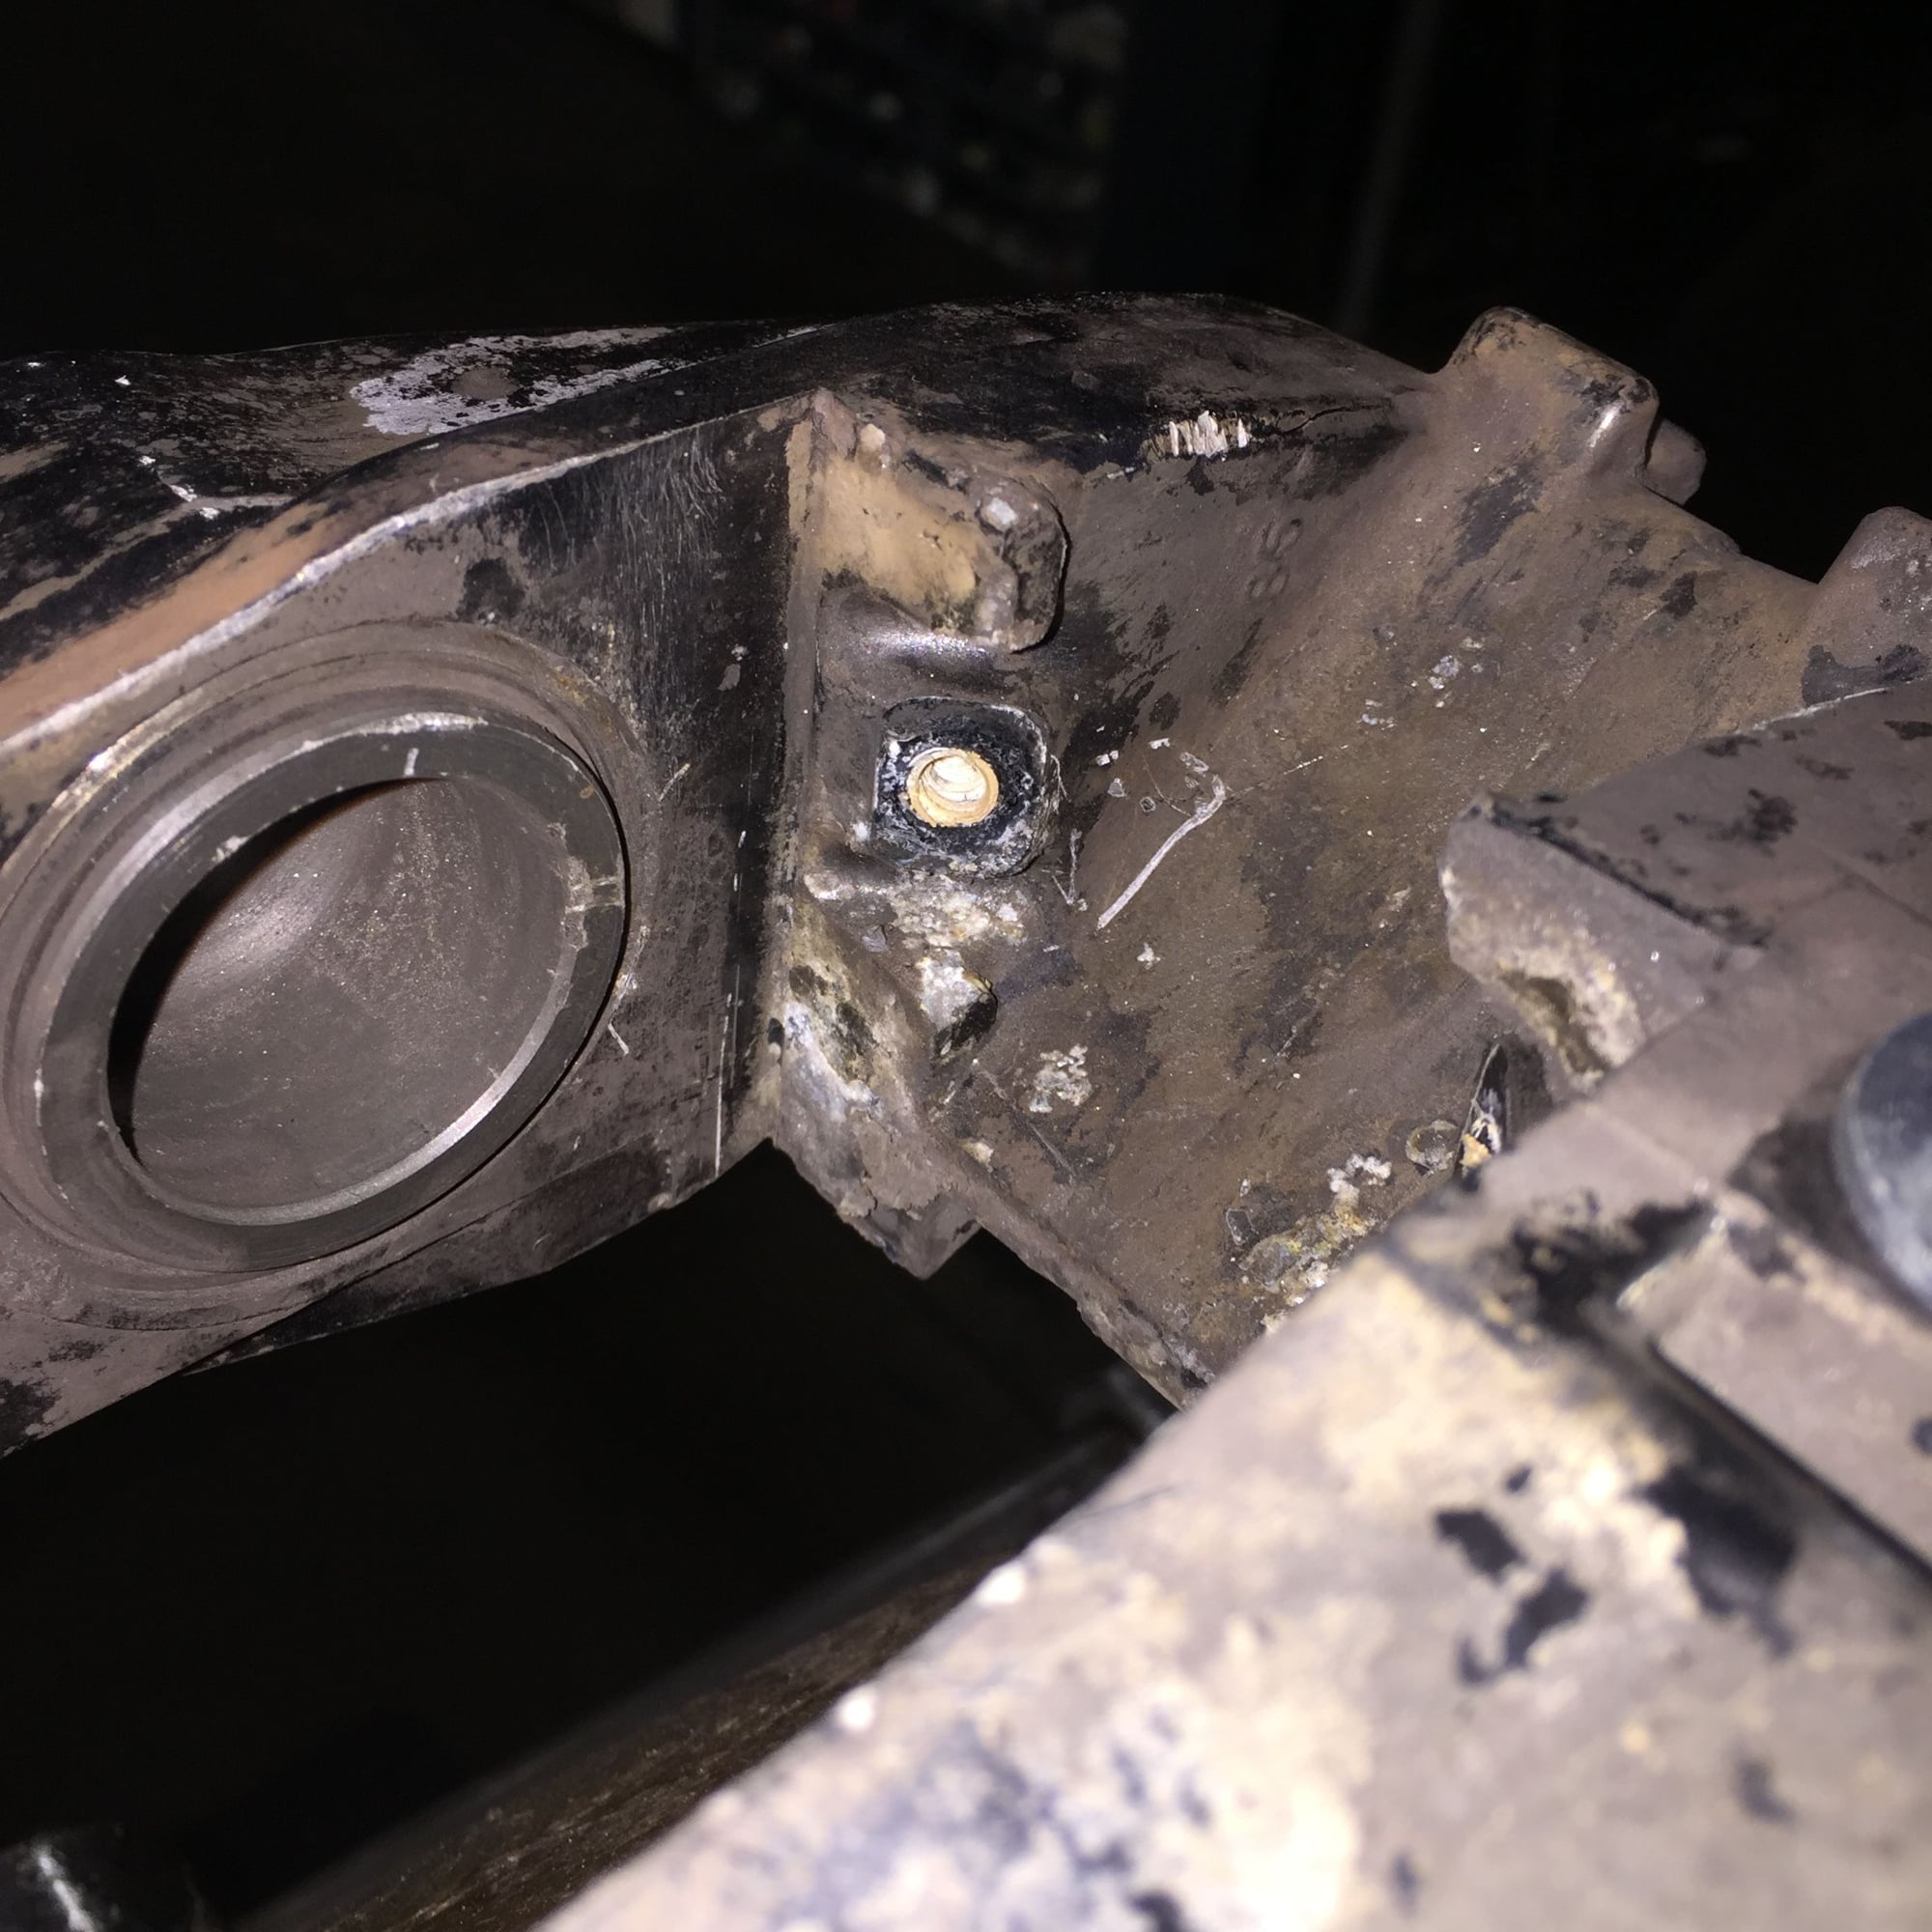
I did find some nasty corrosion under the spring plates. I am going to have to research how to neutralize corrosion. One of the spring plates had a slight bend in it from being pushed out from the corrosion. I am going to give it a tweak and see what happens. I am trying to avoid having to replace the spring plates at $65 a pop.
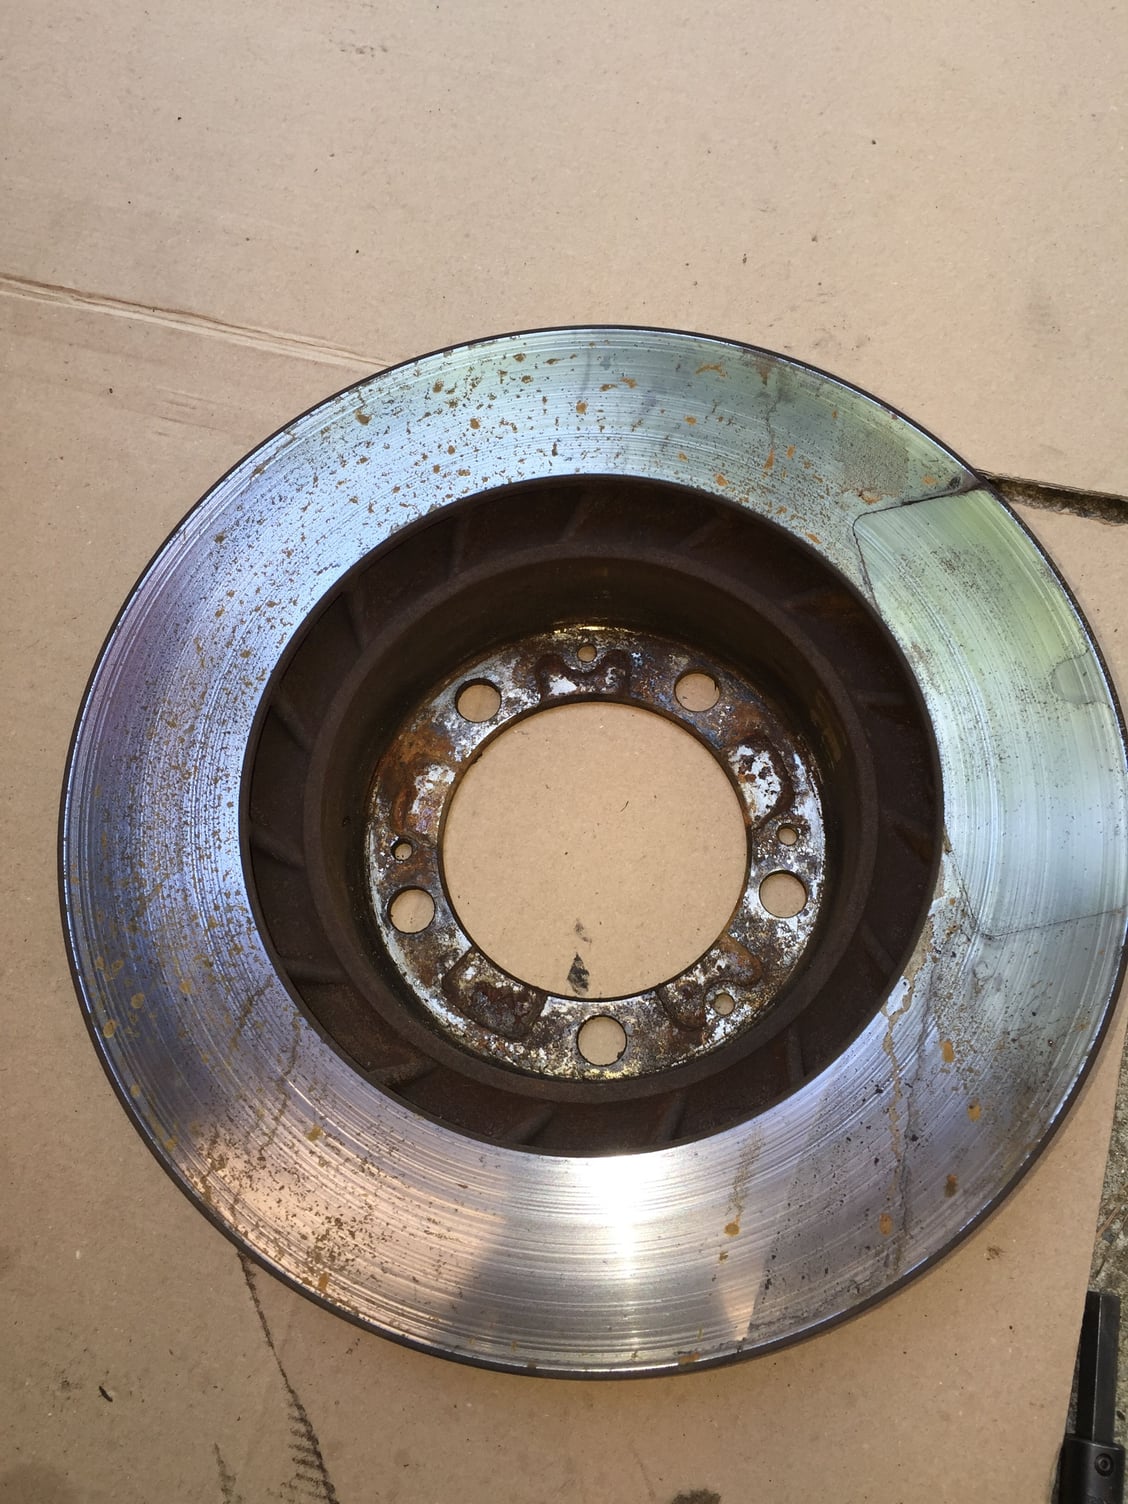
Friday night, I spent some time on the brake rotors. I wanted to chuck the rotors up in a lathe and run some 100 grit sand paper across the friction surfaces.
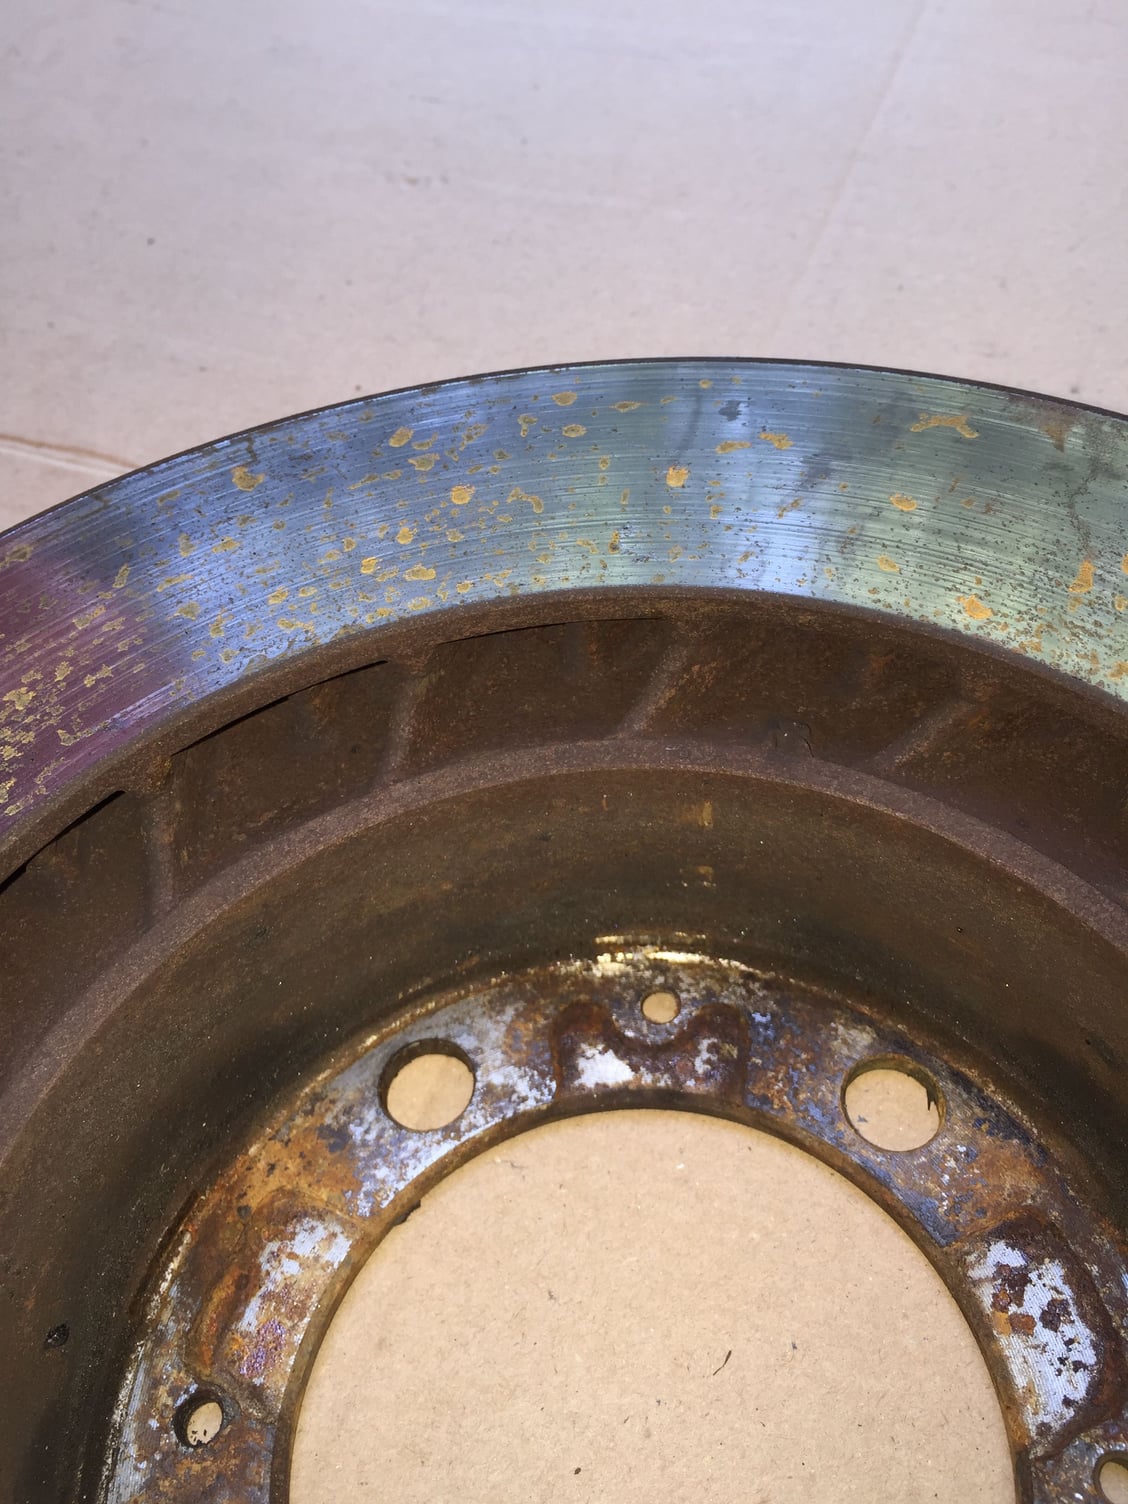
The front rotors are a little rougher than the rear rotors. They have some radial grooving along the friction surfaces.
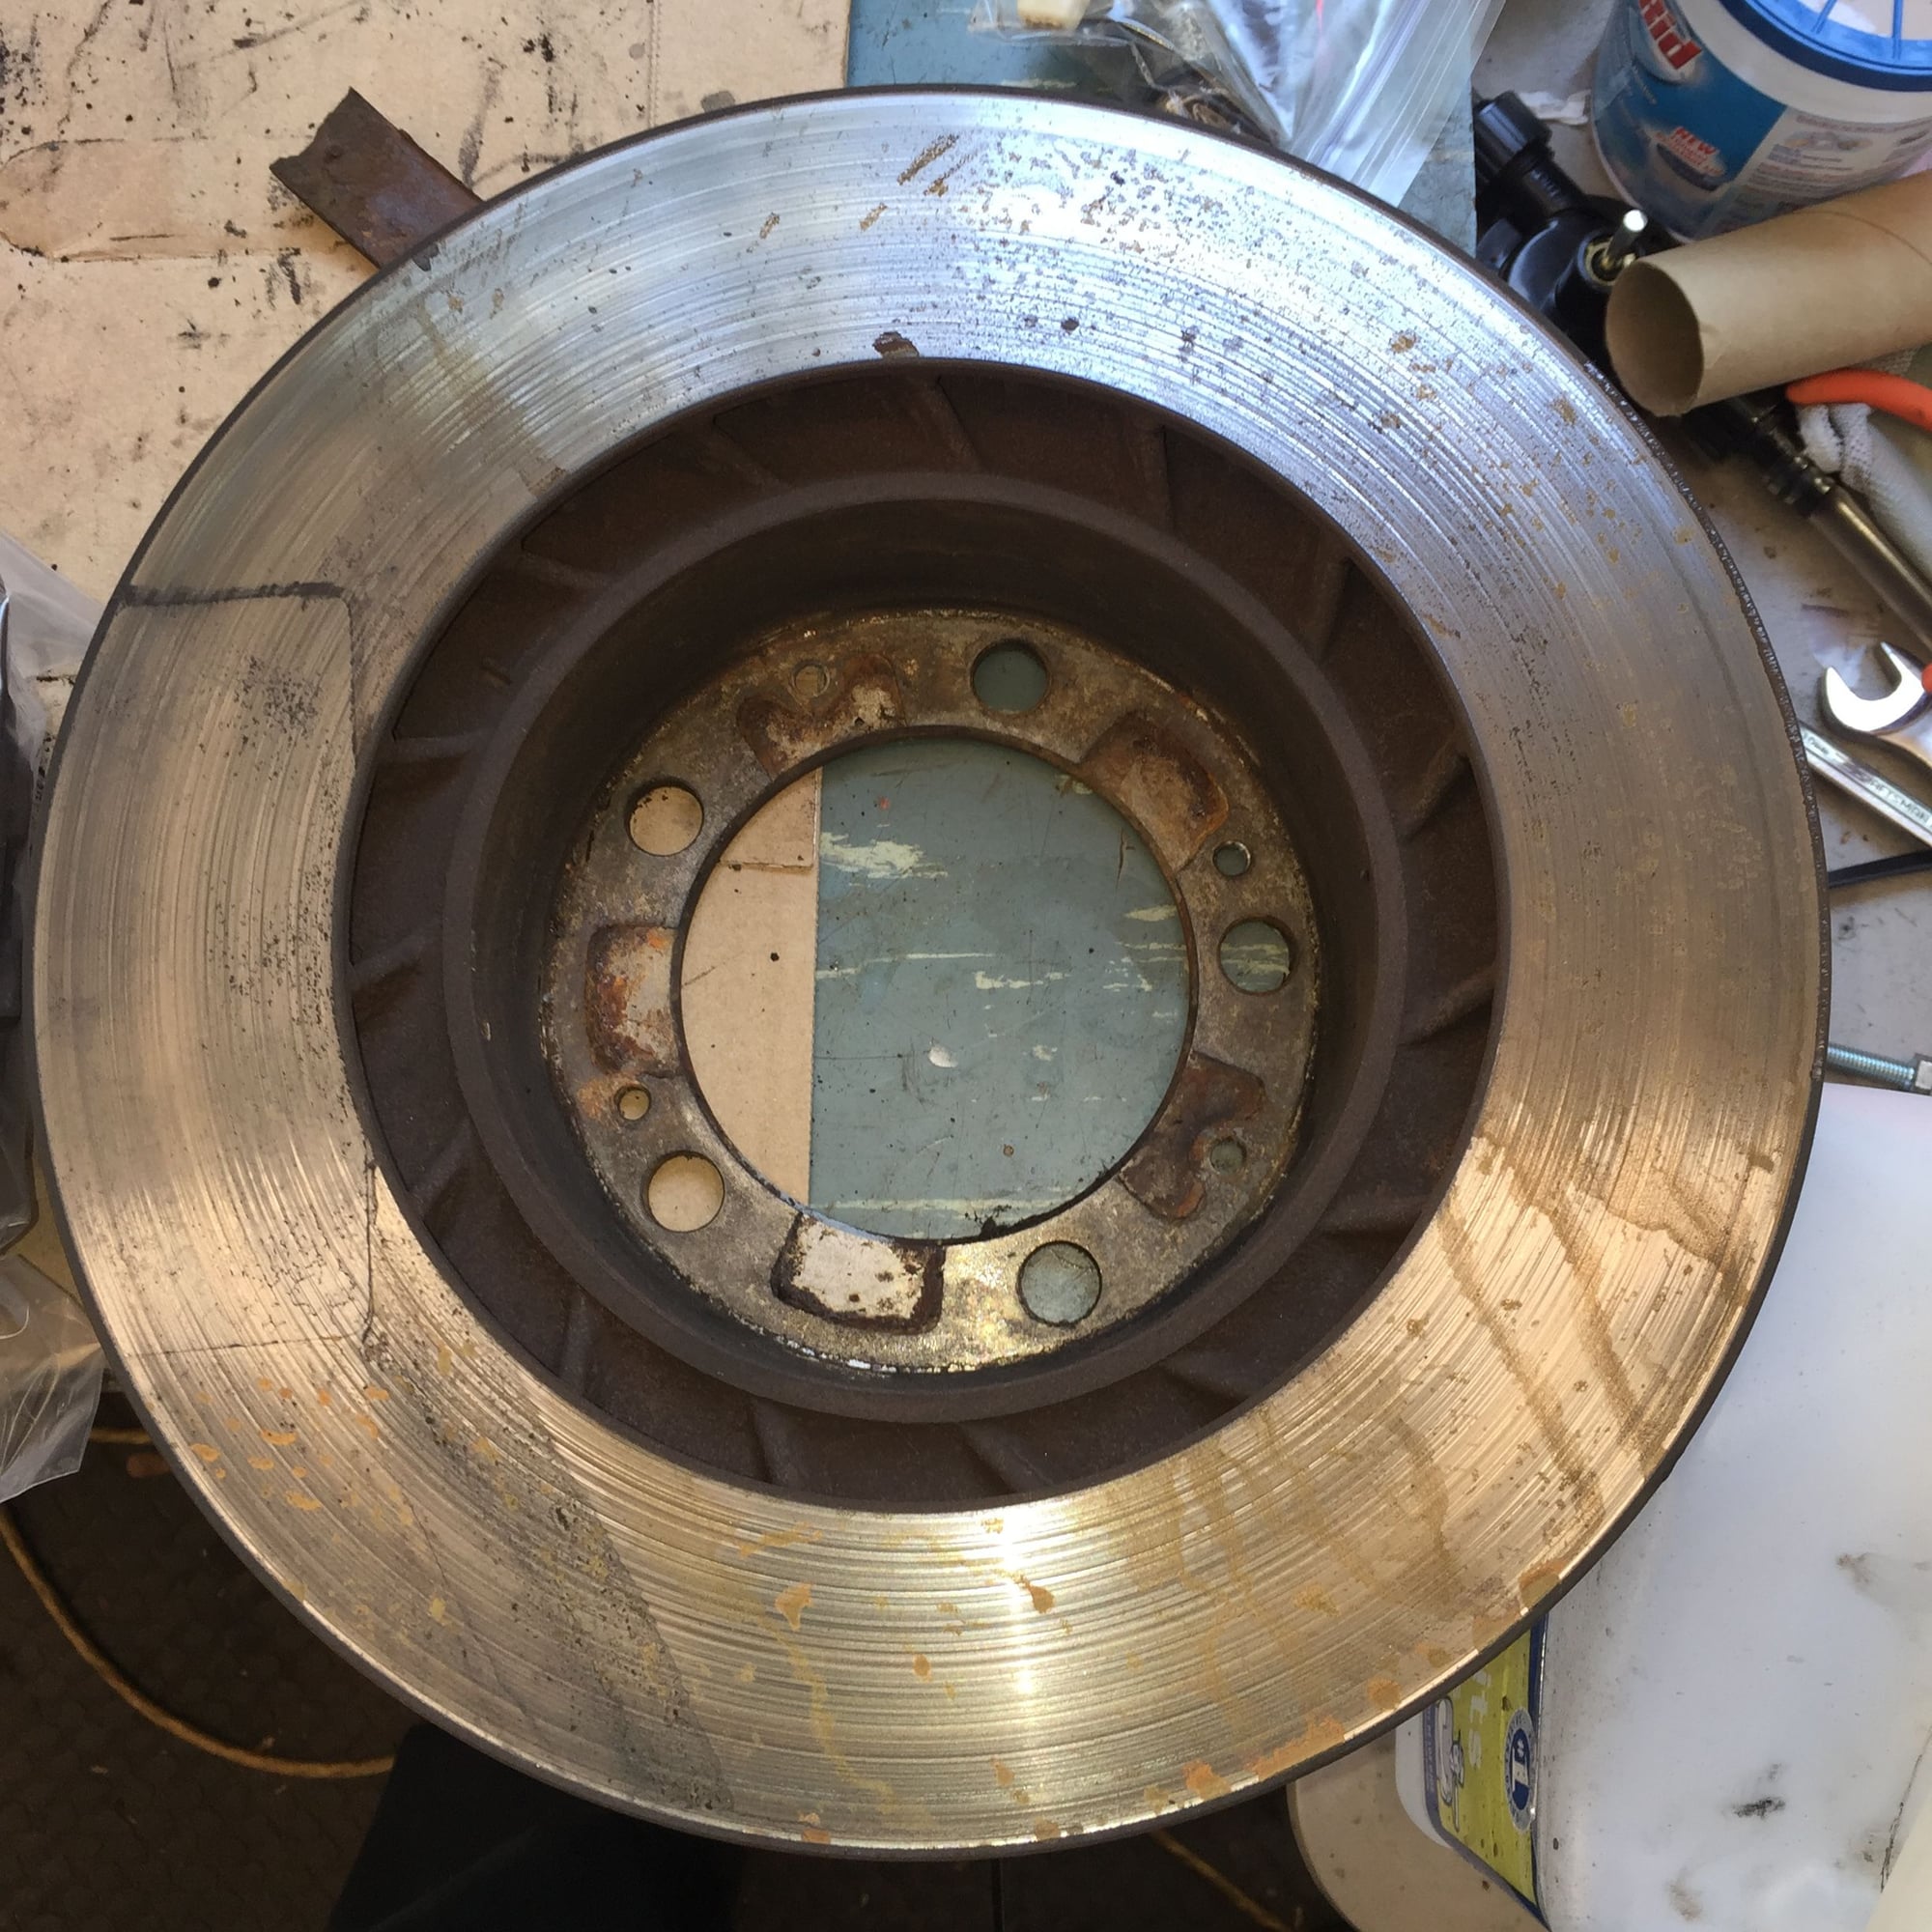
Well, my sanding idea didn't work out so well. The parking brake drum surfaces in the rear rotors cleaned up quite well. However, the friction surfaces of all four rotors just laughed at the sandpaper. I had better luck with an 80 grit roloc pad. However, I could not get to the side of the rotor closest to the lathe head.
I have said, '...to hell with it.' I am taking all four rotors to my machinist for turning. I would rather have them turned for fresh friction surface. Yes, this is definitely going on the WYAIT train.
On that note, I am having the rotors turned, do I need to replace the pads? I have sanded them all on 100 grit sand paper. The radial grooving has disappeared on the front pads. If I reuse the old pads, I am assuming I will have to bed them back into the rotors.
I'm not thrilled about using sandpaper or roloc on the rotors. You will end up with an uneven surface with the wrong finish. They need to be turned if anything. If you have a 1mm lip on each side (or 2mm total), you are at the wear limit for the rotors and they should be replaced, not turned. At least that's what Porsche calls for, even though they may still have a lot of meat left. WIth turned or replaced rotors, you can use your "refurbished" used pads. And yes, they should be bedded in.
Not sure how much it costs to get discs turned. In the UK pagid discs are available from about �30 to �40 each. I figured just buy replacements because they are so cheap.
Hello Bill, that makes sense. I was just trying to break the glaze, and had though doing it on the lathe would make it more even. Ultimately, having the rotors turned is the best thing. Normal braking was fine, but I noticed some vibration when hauling it down from 120mph.
I will remember to leave the sandpaper for the pads only in the future.
Good point about the WSM, I hadn't looked at that part. I did look up the spec on the rear rotors, 24mm, and that discard was 22mm. The passenger's side rear rotor measured 23.80mm by my calipers. I did not feel a lip on any of the four rotors. So, I belive they are turnable. PO's records show he had them installed new in 1997, and had no brake work done since.
Thanks for the advice!
mike77, I am getting the rotors turned for around $20 a pop. I definitely cannot get new ones for that. If these were badly worn down, I would go ahead and replace them. However, they have not been turned since new, so I think I can get away with having them turned.
Thanks!
I have another question: would soda blasting the aluminum corrosion on the calipers be a bad idea? I have been researching how to deal with the corrosion under the spring plates. I have a small spot blast gun I keep loaded with baking soda, for cleaning small engine carburetors. My intent is to mask off the pistons and seals with duct tape, then blast the corrosion in the corners where the spring plates sit.
Not sure about soda blasting in the configuration they are in now. Best to break the caliper completely down and remove all the non-metal bits before blasting (tape off the mating surfaces and plug any orifices). The benefit is of course you will be able to more easily remove the soda through rinsing that way. Problem is, if you go that route then might as well remove all the paint on the caliper and repaint and restore the fastening hardware. More time away from driving, but you won't have to touch them for another 30 years.
If you go that direction, I highly recommend picking up a DIY powder coating kit. I use the one from Eastwood. I picked up a used oven for next to nothing and have that in my garage. But for your calipers, you can just pop them in a toaster oven (one that you will never use again to eat out of btw). Whole set up will run you ~$100. I know, I know, you said you didn't want to get into restoration mode, but secretly...I think you do.

 07-19-2016, 08:00 PM