
1983 928S

 05-29-2016, 12:52 AM
#17
Burning Brakes
Thread Starter
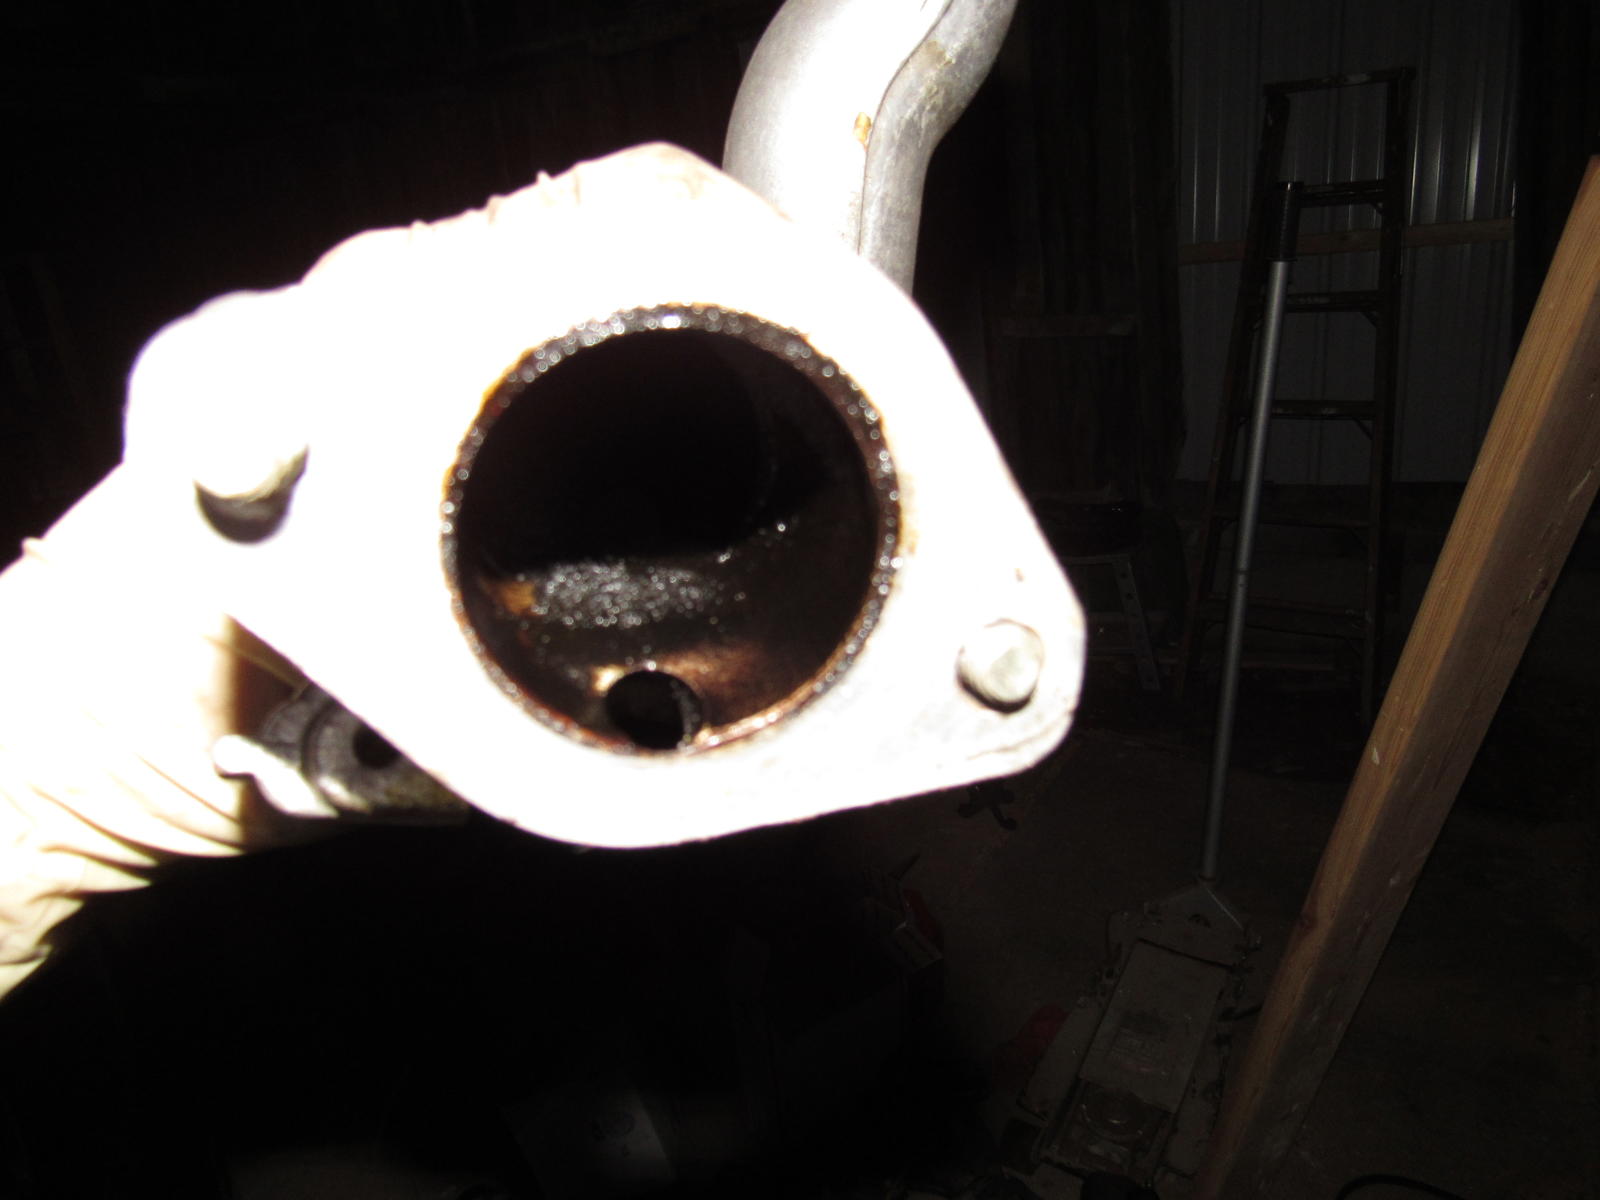
So another productive day is done. I've got the intake spider off but I'm concerned about lots of carbon buildup in the legs. I had a hard time trying to get a clear photo. The intake ports look a bit better.
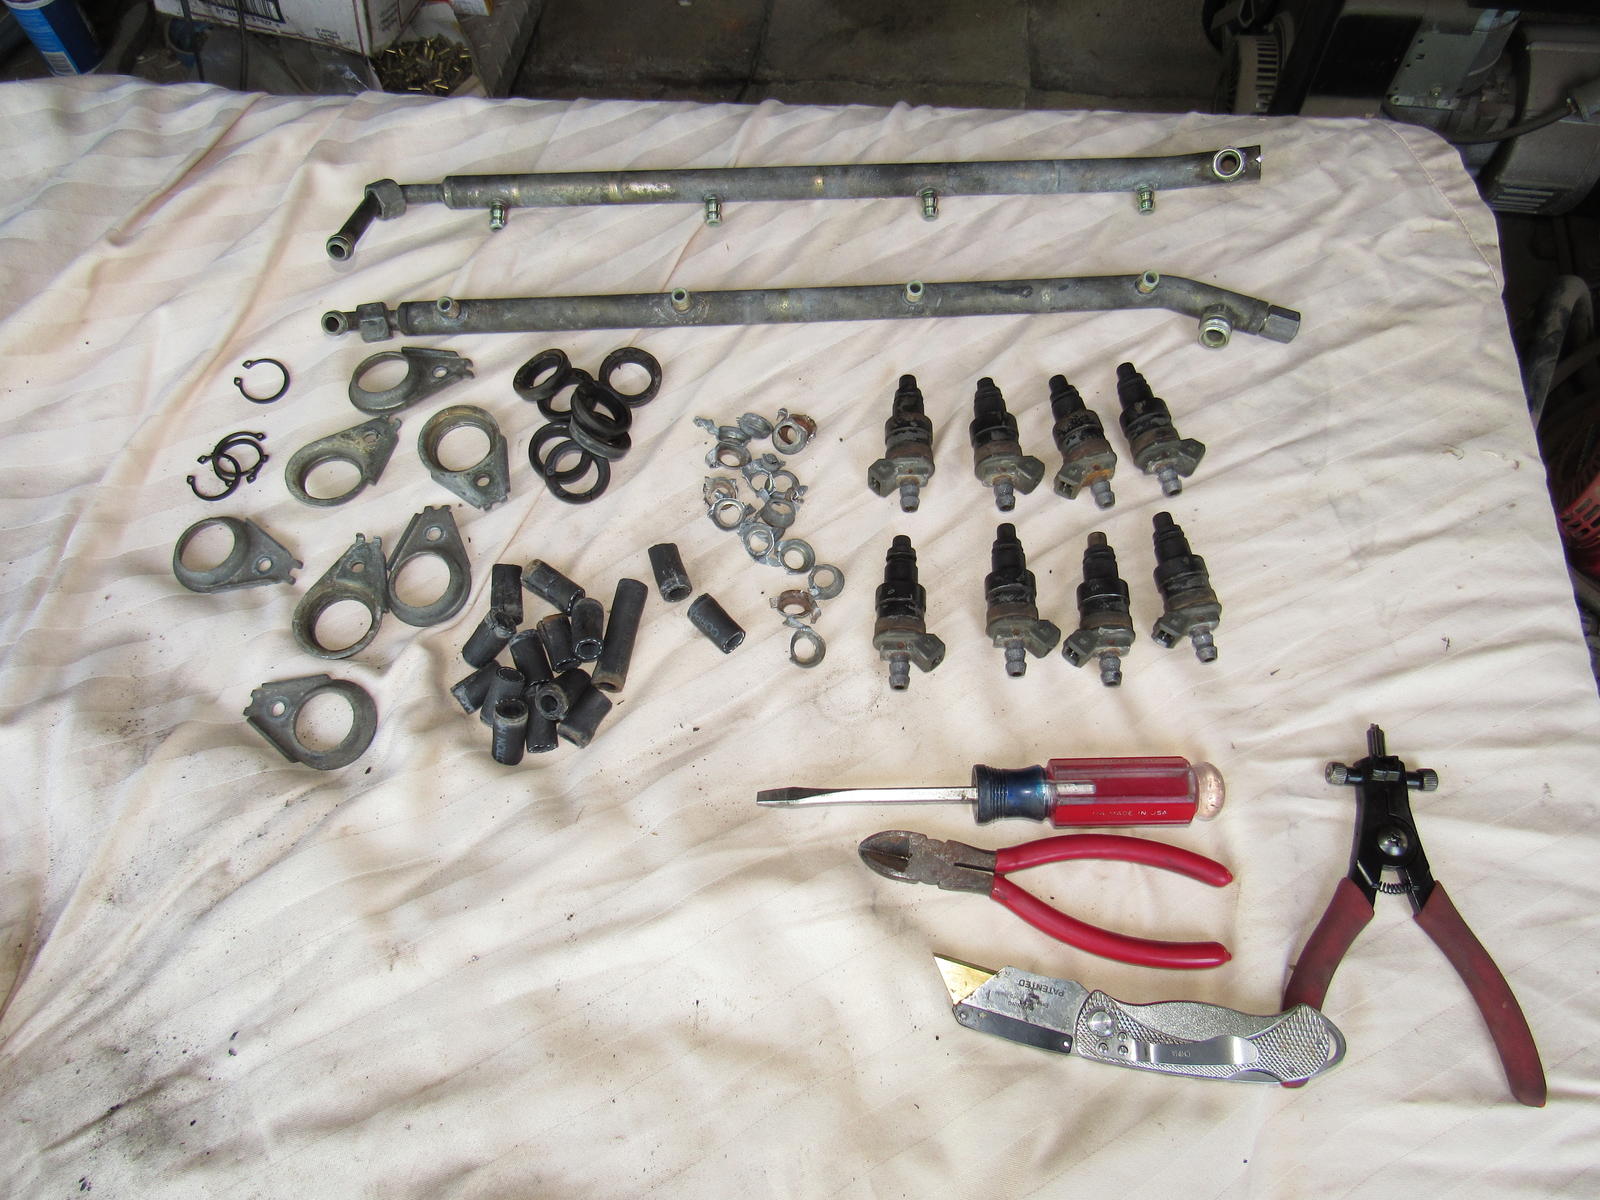
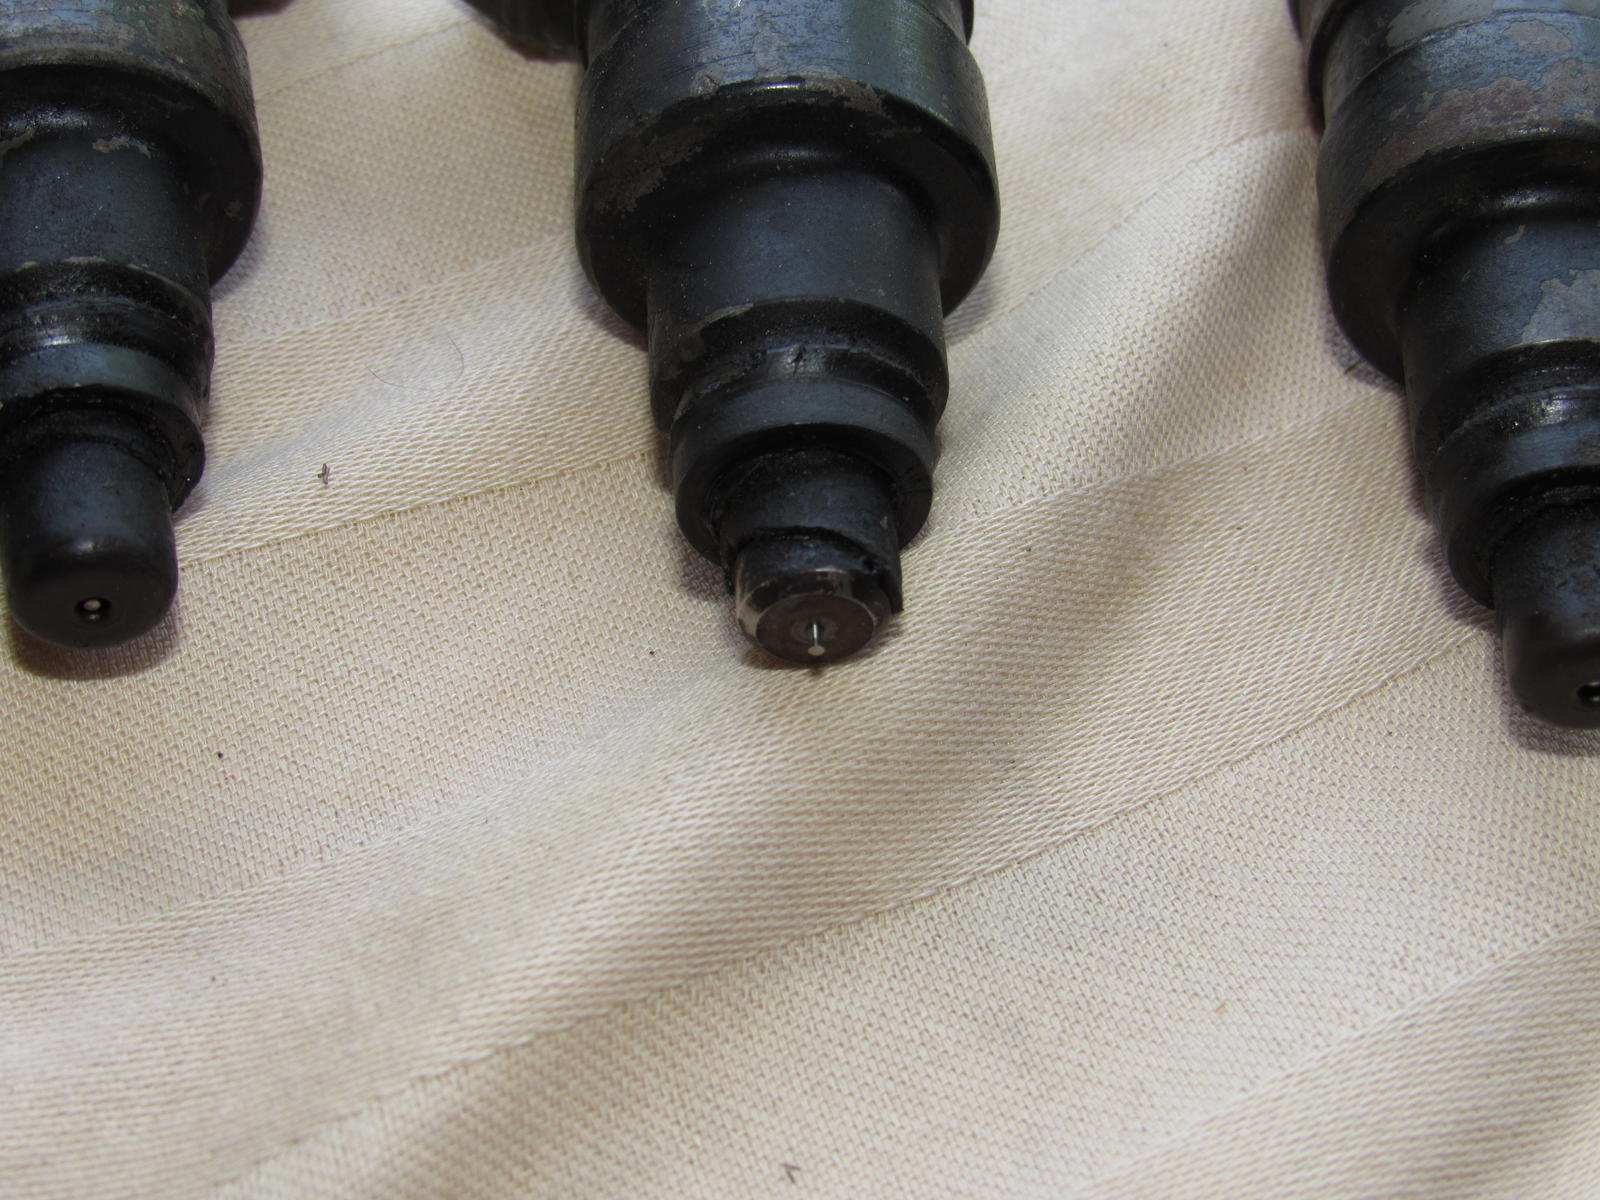
I got the injectors off the fuel rails to send them to WitchHunter for rebuild. This was really tedious using only wire cutters. I see that the one injector is not different but actually the pintle cap is broken. Not sure if that had any effects but clearly they are in need of a cleanup.
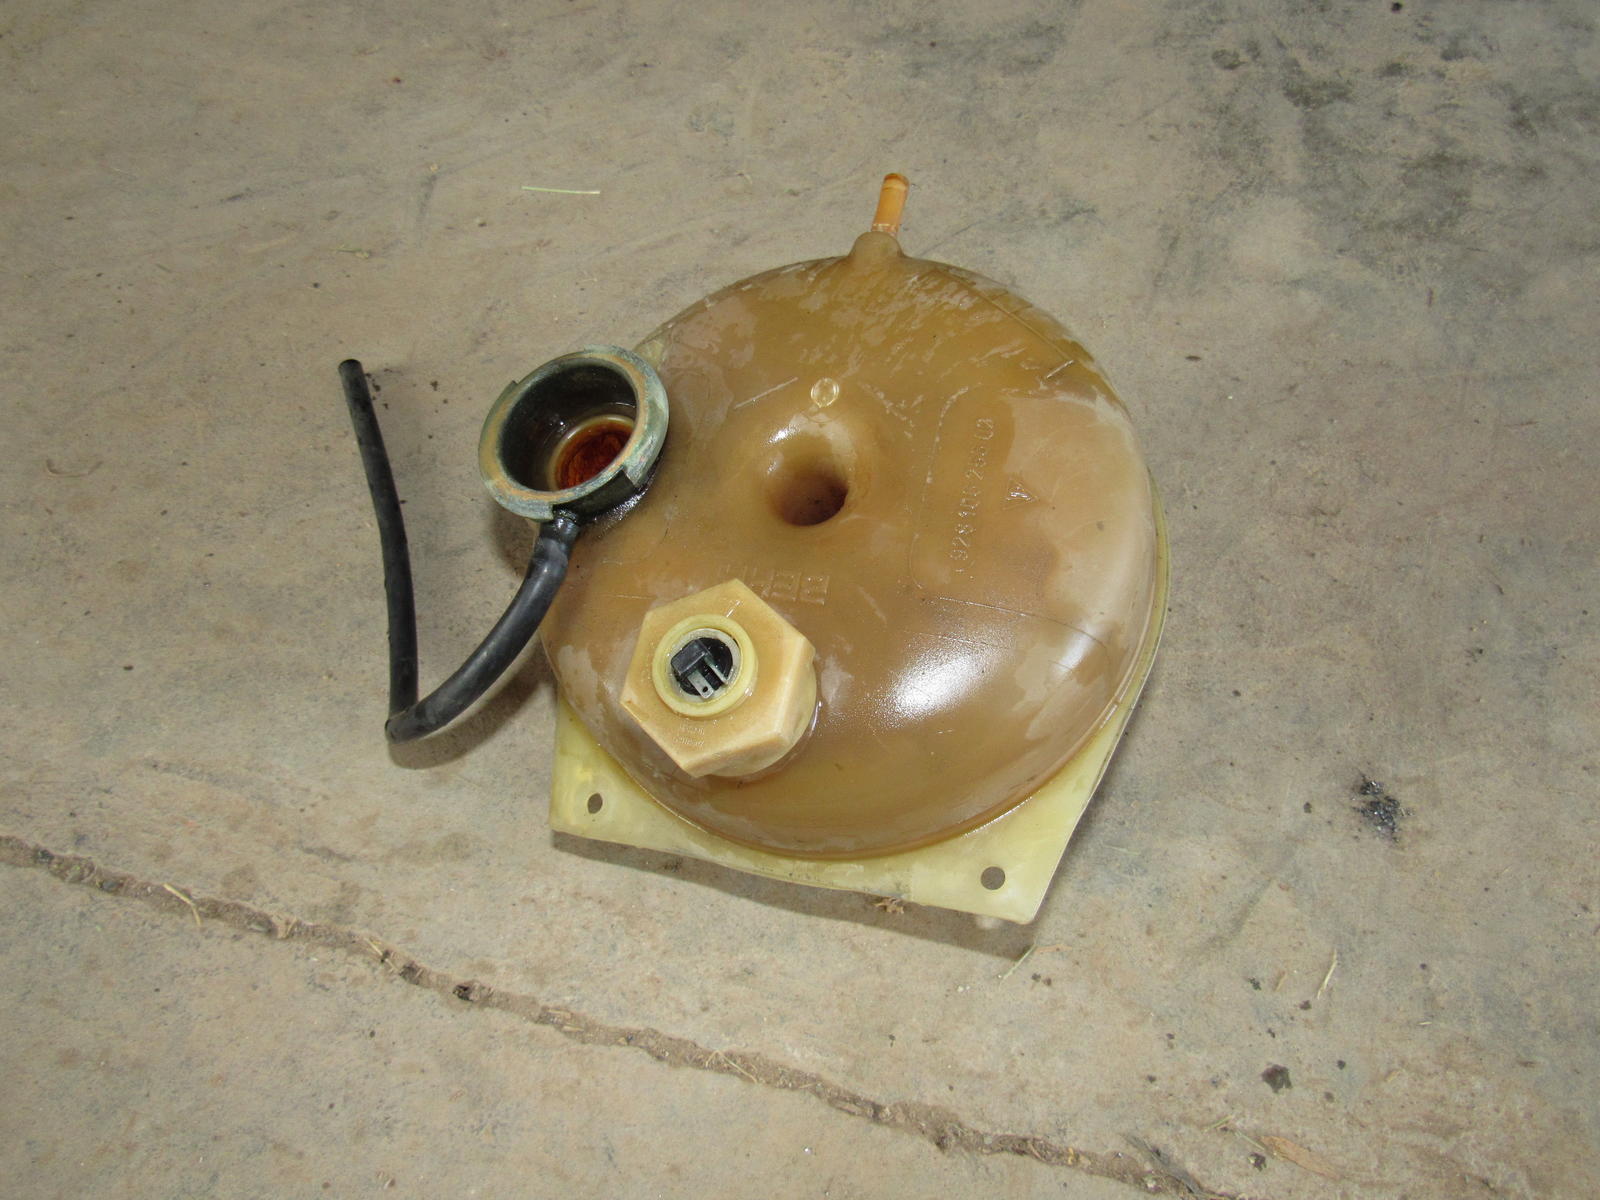
Then I drained the coolant and what came out is a disgusting murky brown liquid with lots of sediment. So that meant the radiator comes out and reservoir. Once everything is buttoned up I'd like to flush out the engine as best I can, are there any recommended products for this?
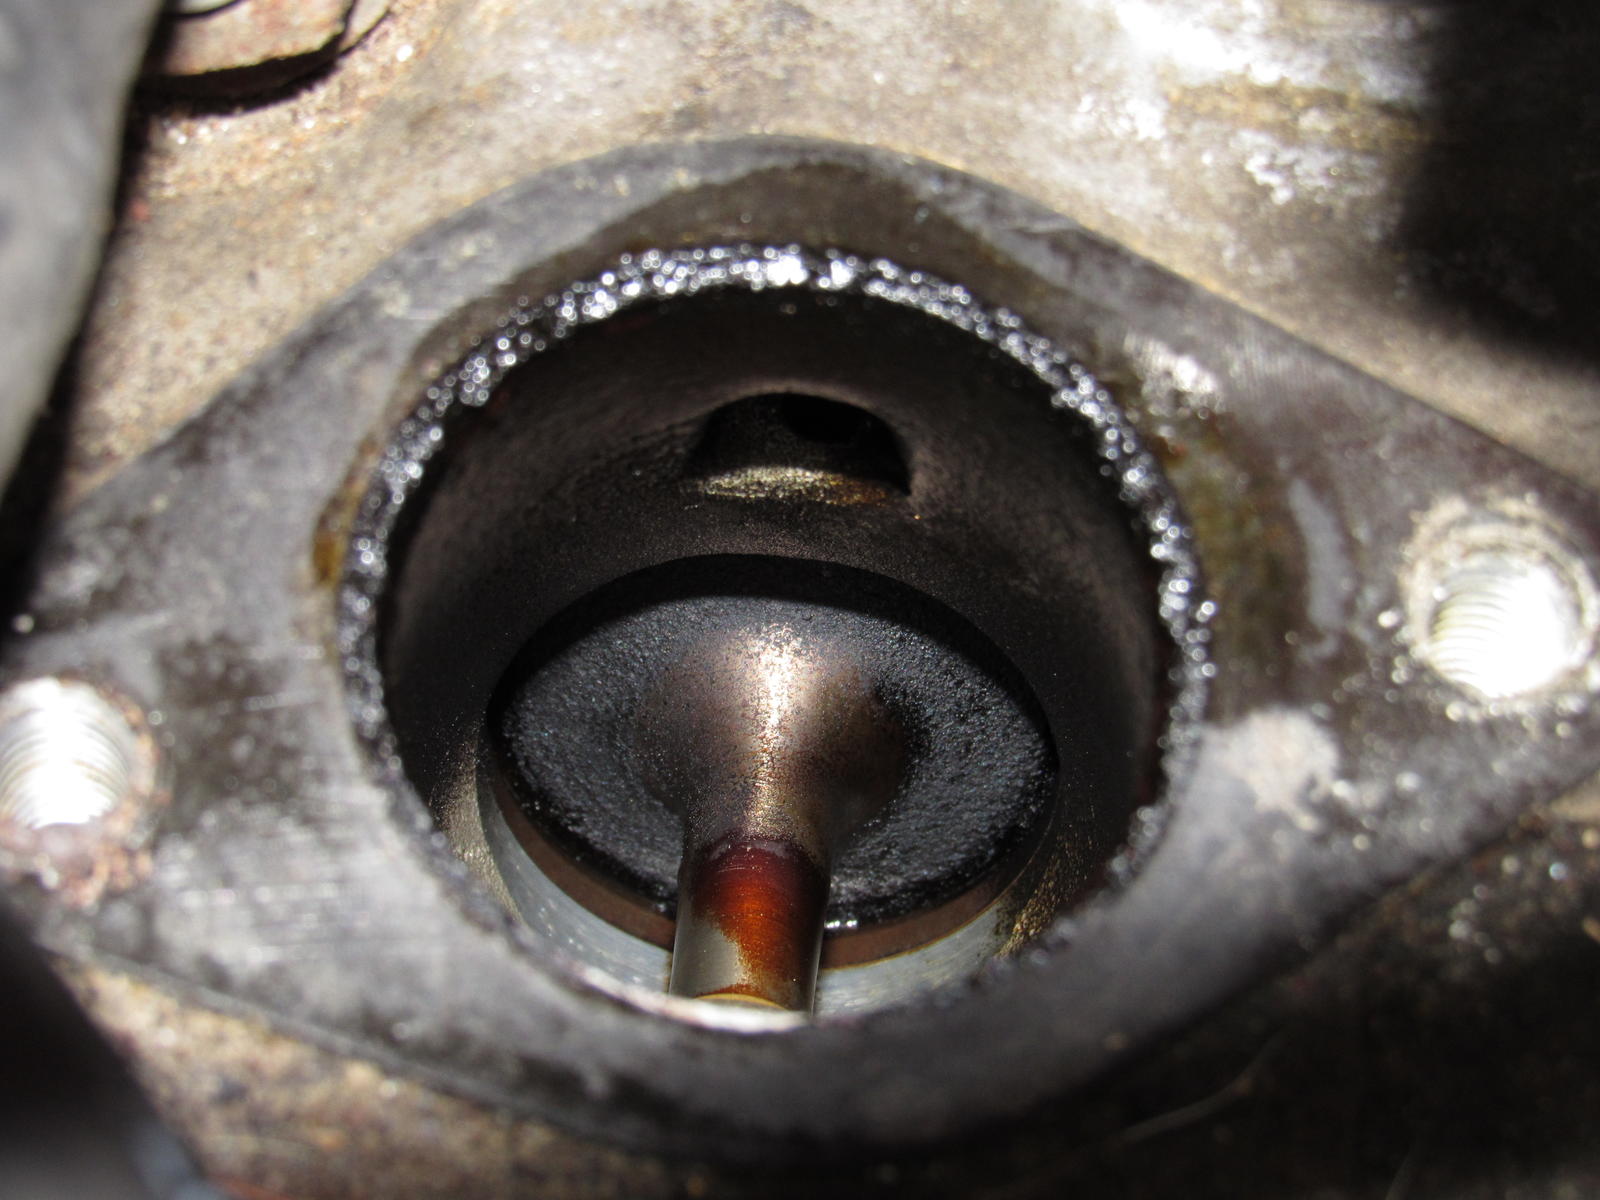
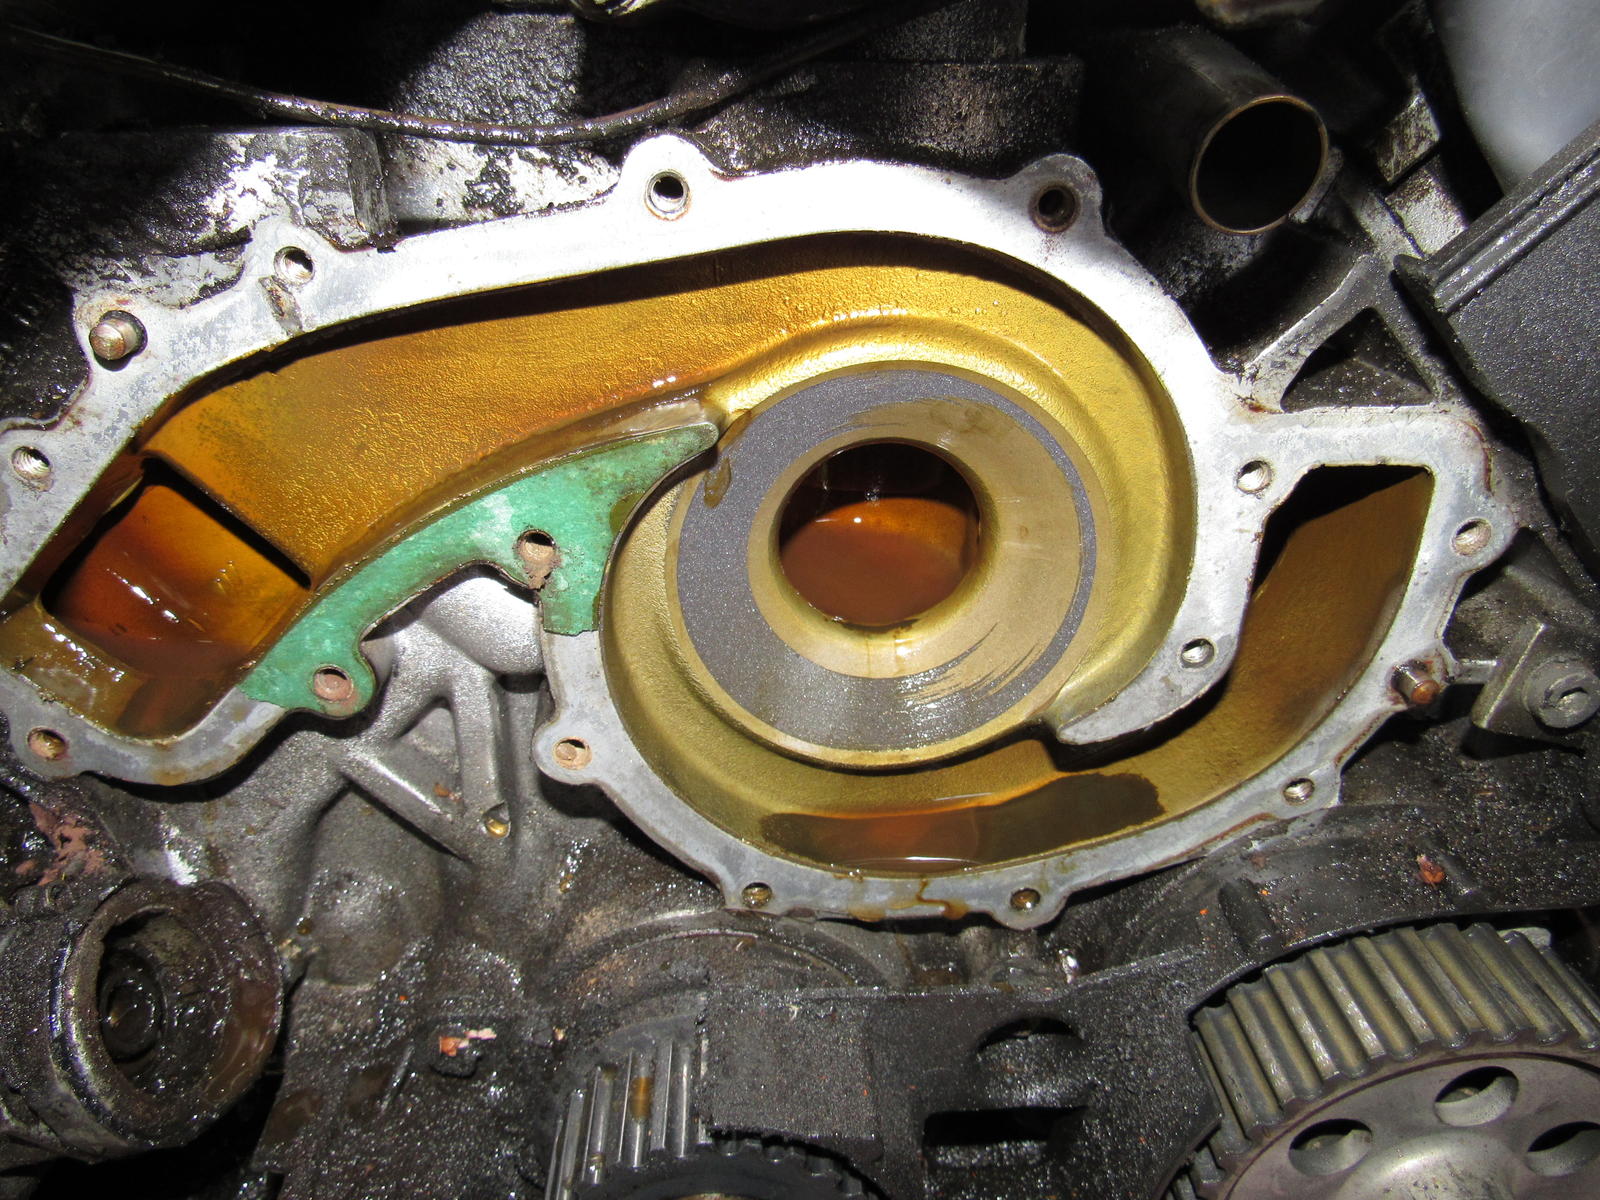
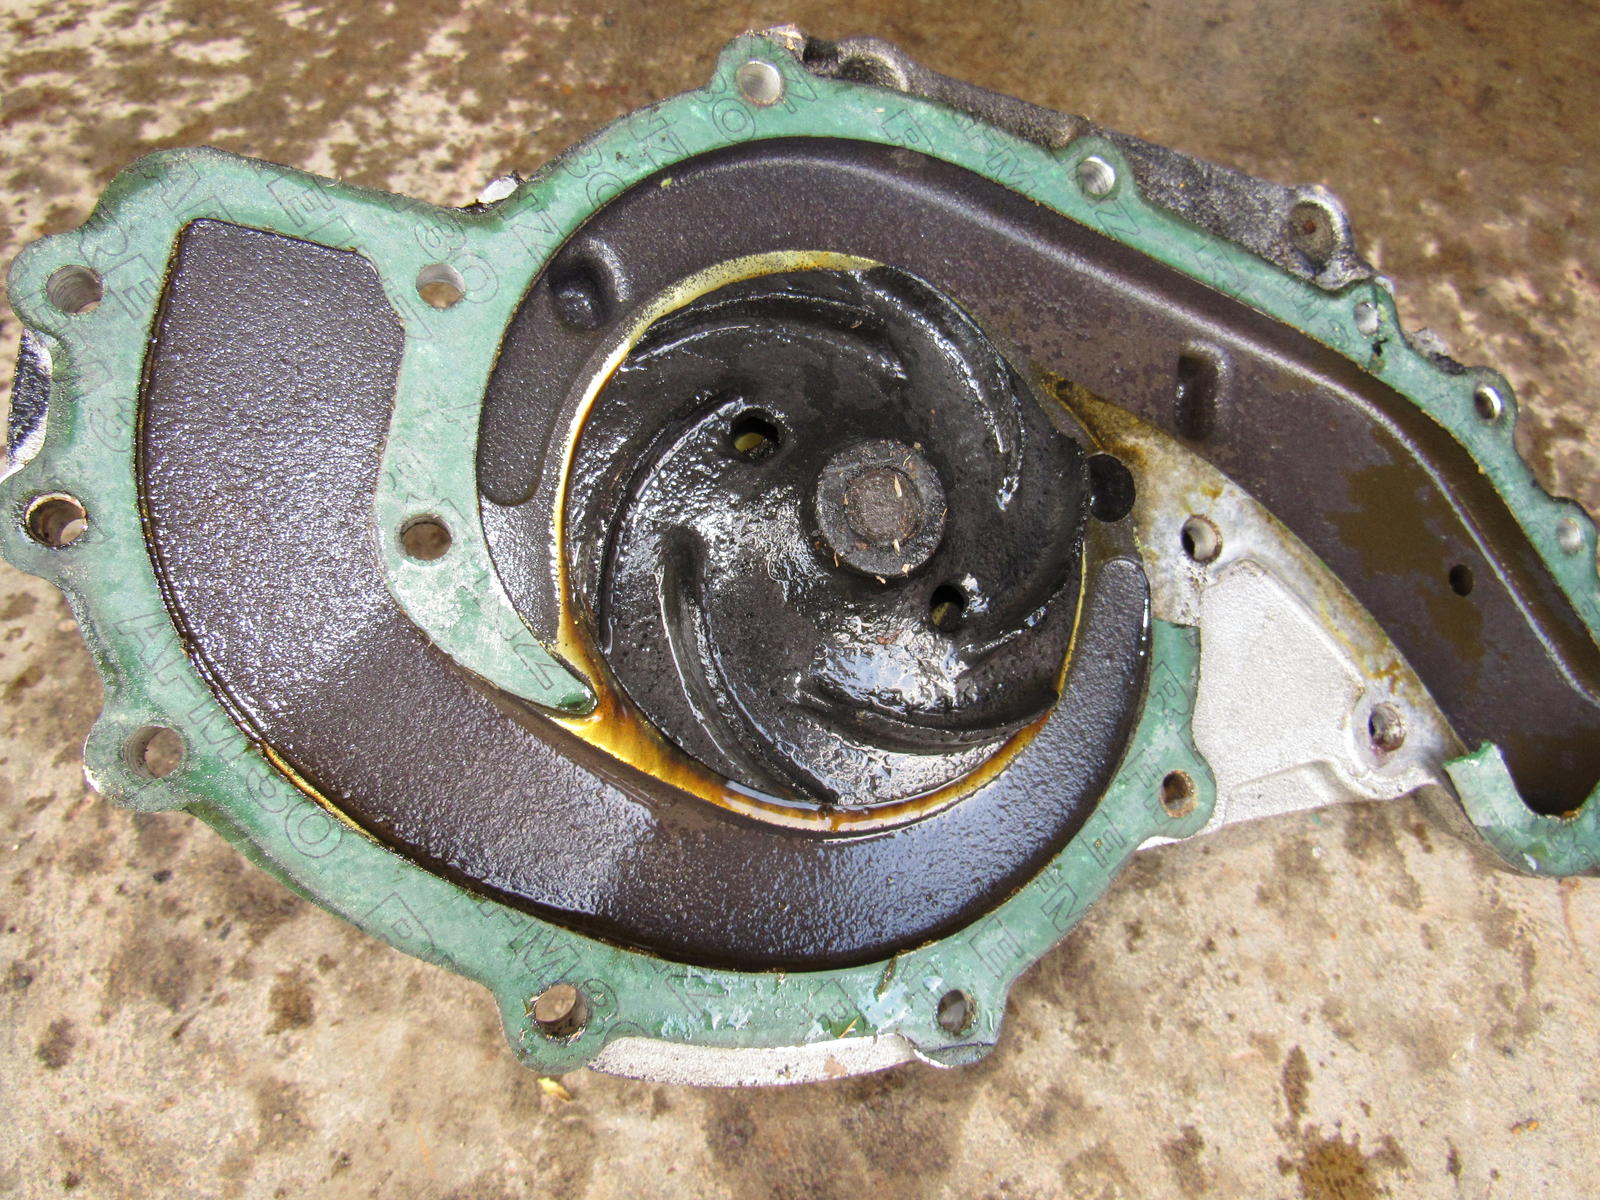
Here you can see the staining and sediment behind the water pump. A previous water pump started to bore into the block but this one was tight with no wear on the impeller. It probably didn't have many miles on it but I don't know the history so out it goes. The wear is barely discernable by touch.
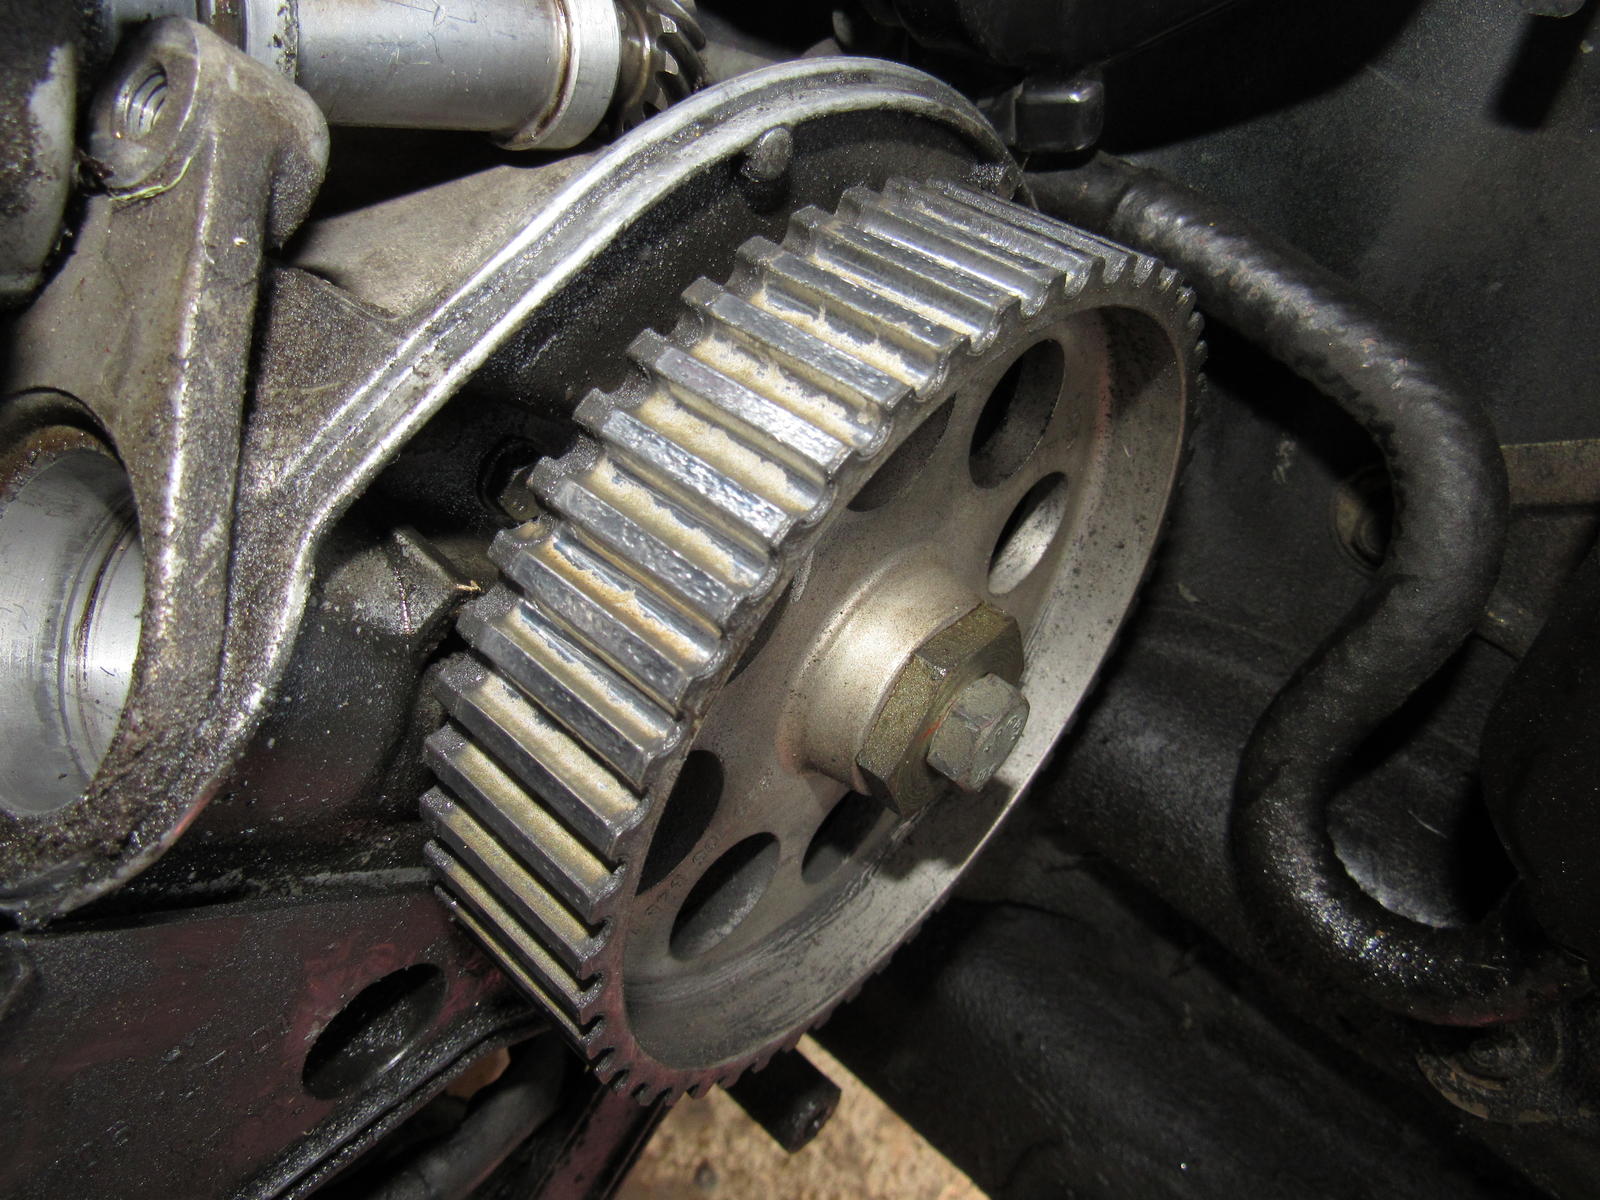
I'd like some advice, the cam sprockets are shiny but the shape is still good and the old belt, though I don't know how many miles it has looked great. Am I OK for the two to three thousand miles I will put on it this summer? In the fall/winter I have all the time in the world to replace them.
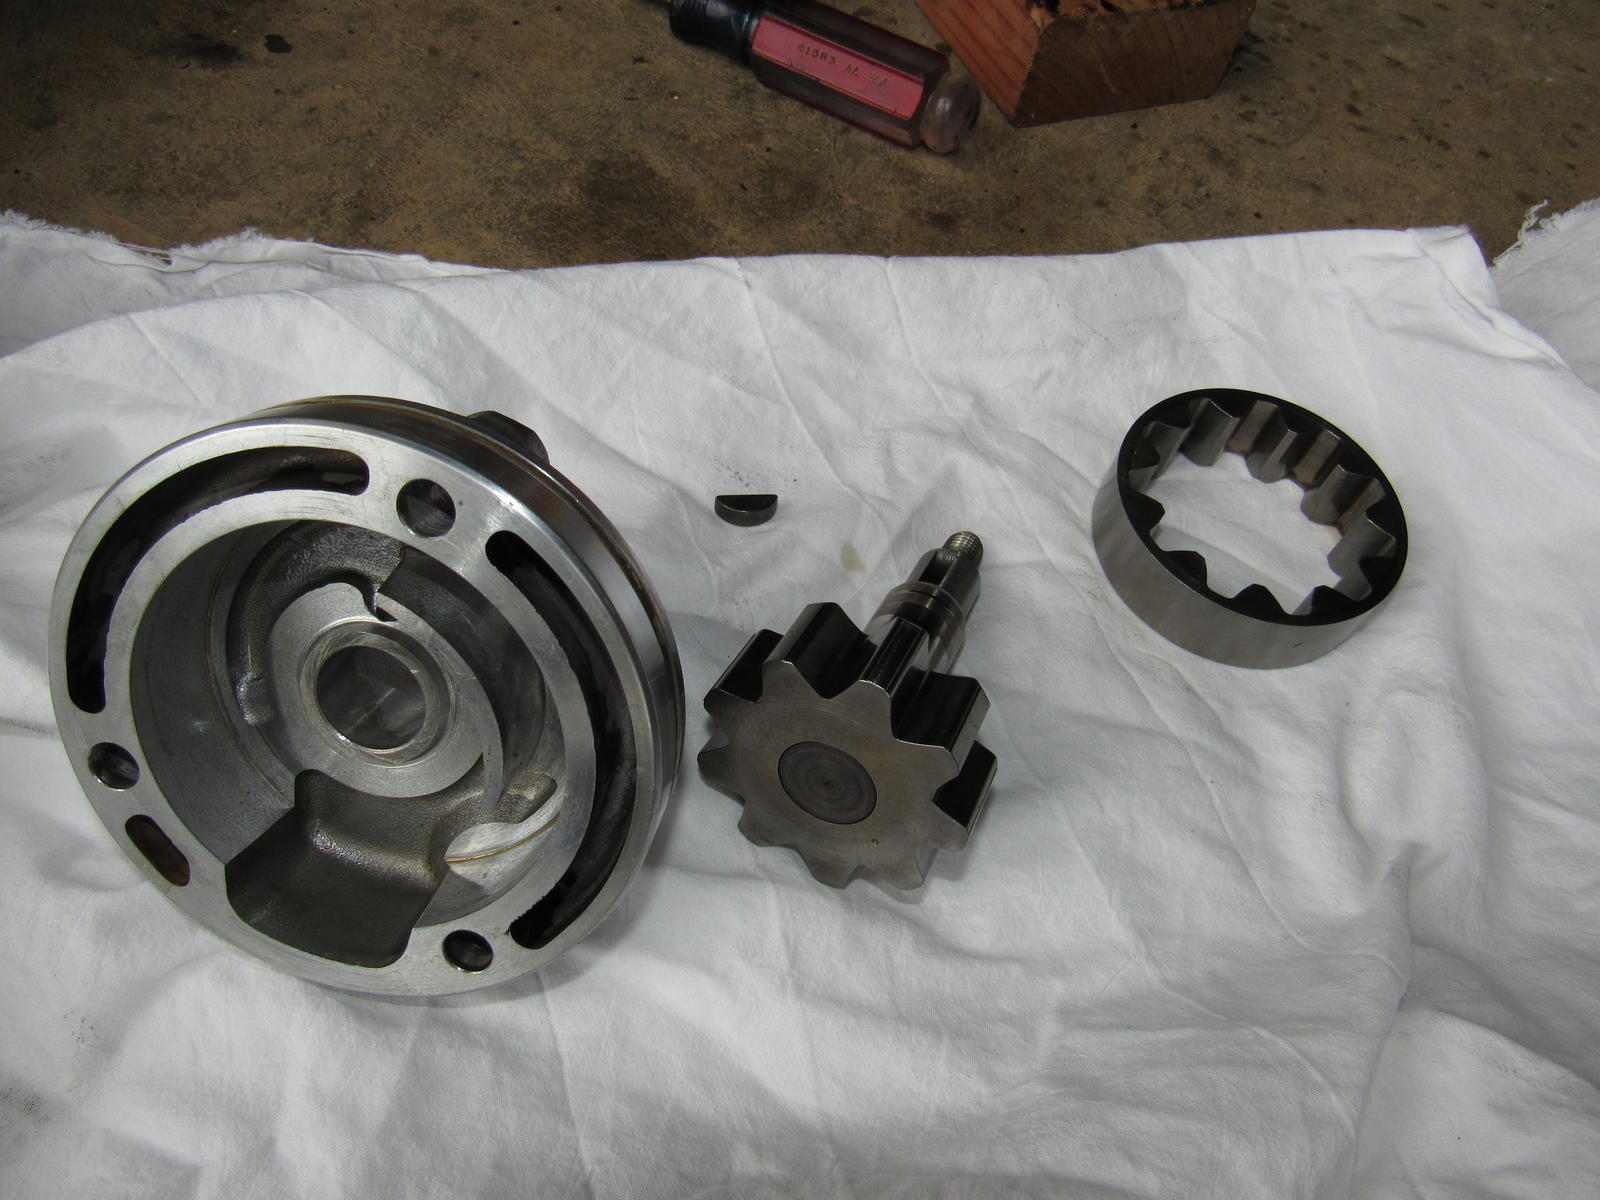
I took off and changed oring and seal on oil pump, everything looked good there, no play at all.
I got the injectors off the fuel rails to send them to WitchHunter for rebuild. This was really tedious using only wire cutters. I see that the one injector is not different but actually the pintle cap is broken. Not sure if that had any effects but clearly they are in need of a cleanup.
Then I drained the coolant and what came out is a disgusting murky brown liquid with lots of sediment. So that meant the radiator comes out and reservoir. Once everything is buttoned up I'd like to flush out the engine as best I can, are there any recommended products for this?
Here you can see the staining and sediment behind the water pump. A previous water pump started to bore into the block but this one was tight with no wear on the impeller. It probably didn't have many miles on it but I don't know the history so out it goes. The wear is barely discernable by touch.
I'd like some advice, the cam sprockets are shiny but the shape is still good and the old belt, though I don't know how many miles it has looked great. Am I OK for the two to three thousand miles I will put on it this summer? In the fall/winter I have all the time in the world to replace them.
I took off and changed oring and seal on oil pump, everything looked good there, no play at all.
Last edited by Majestic Moose; 07-07-2017 at 11:28 PM.
05-29-2016, 02:13 AM
#18
Rennlist
Basic Site Sponsor
Basic Site Sponsor
So another productive day is done. I've got the intake spider off but I'm concerned about lots of carbon buildup in the legs. I had a hard time trying to get a clear photo. The intake ports look a bit better.


I got the injectors off the fuel rails to send them to WitchHunter for rebuild. This was really tedious using only wire cutters. I see that the one injector is not different but actually the pintle is broken. Not sure if that had any effects but clearly they are in need of a cleanup.


Then I drained the coolant and what came out is a disgusting murky brown liquid with lots of sediment. So that meant the radiator comes out and reservoir. Once everything is buttoned up I'd like to flush out the engine as best I can, are there any recommended products for this?

Here you can see the staining and sediment behind the water pump. A previous water pump started to bore into the block but this one was tight with no wear on the impeller. It probably didn't have many miles on it but I don't know the history so out it goes. The wear is barely discernable by touch.


I'd like some advice, the cam sprockets are shiny but the shape is still good and the old belt, though I don't know how many miles it has looked great. Am I OK for the two to three thousand miles I will put on it this summer? In the fall/winter I have all the time in the world to replace them.

I took off and changed oring and seal on oil pump, everything looked good there, no play at all.

Although the timing gears are worn, they will not disintegrate in 3,000 miles. Kind of like brake pads on a rotor below minimum specification....might as well run the pads until they hit metal....isn't going to hurt the rotor any more than it already is.
Run them, fix later.
That black cap in one of your first posts, if you haven't figured it out, is for the brake pin that removes the caliper. There's two rubber boots on each side....the cap plugs the rubber boot to keep moisture and dirt out.
05-29-2016, 09:04 AM
#19
Burning Brakes
Thread Starter
Wow! You are ambitious and it would appear, moving forward. Keep up the good work!
Although the timing gears are worn, they will not disintegrate in 3,000 miles. Kind of like brake pads on a rotor below minimum specification....might as well run the pads until they hit metal....isn't going to hurt the rotor any more than it already is.
Run them, fix later.
That black cap in one of your first posts, if you haven't figured it out, is for the brake pin that removes the caliper. There's two rubber boots on each side....the cap plugs the rubber boot to keep moisture and dirt out.
Great, the car has 73k miles so I'm sure they are original sprockets. I carefully rotated the cam twice around so I know it is non interference. And about the cap, I recognized the "Alu" mark on it matched the mark on other parts so I new it came off the car but could not figure it out so thanks!
Now the vacuum decel valve; I suspected it was the cause of my up-and-down idle problem at startup. I took it off and was going to cap the ports but out of curiosity I played with it a bit. At first when I put vacuum on it I couldn't blow through the big ports but after a few cycles it started to open up right around 20 in. Hg. Anyone know if that is about right? Is there something I can spray in to juice up the seals? And if the ports were stuck closed before the cause of my problem is somewhere else I think.
05-30-2016, 02:14 PM
#20
Burning Brakes
Thread Starter
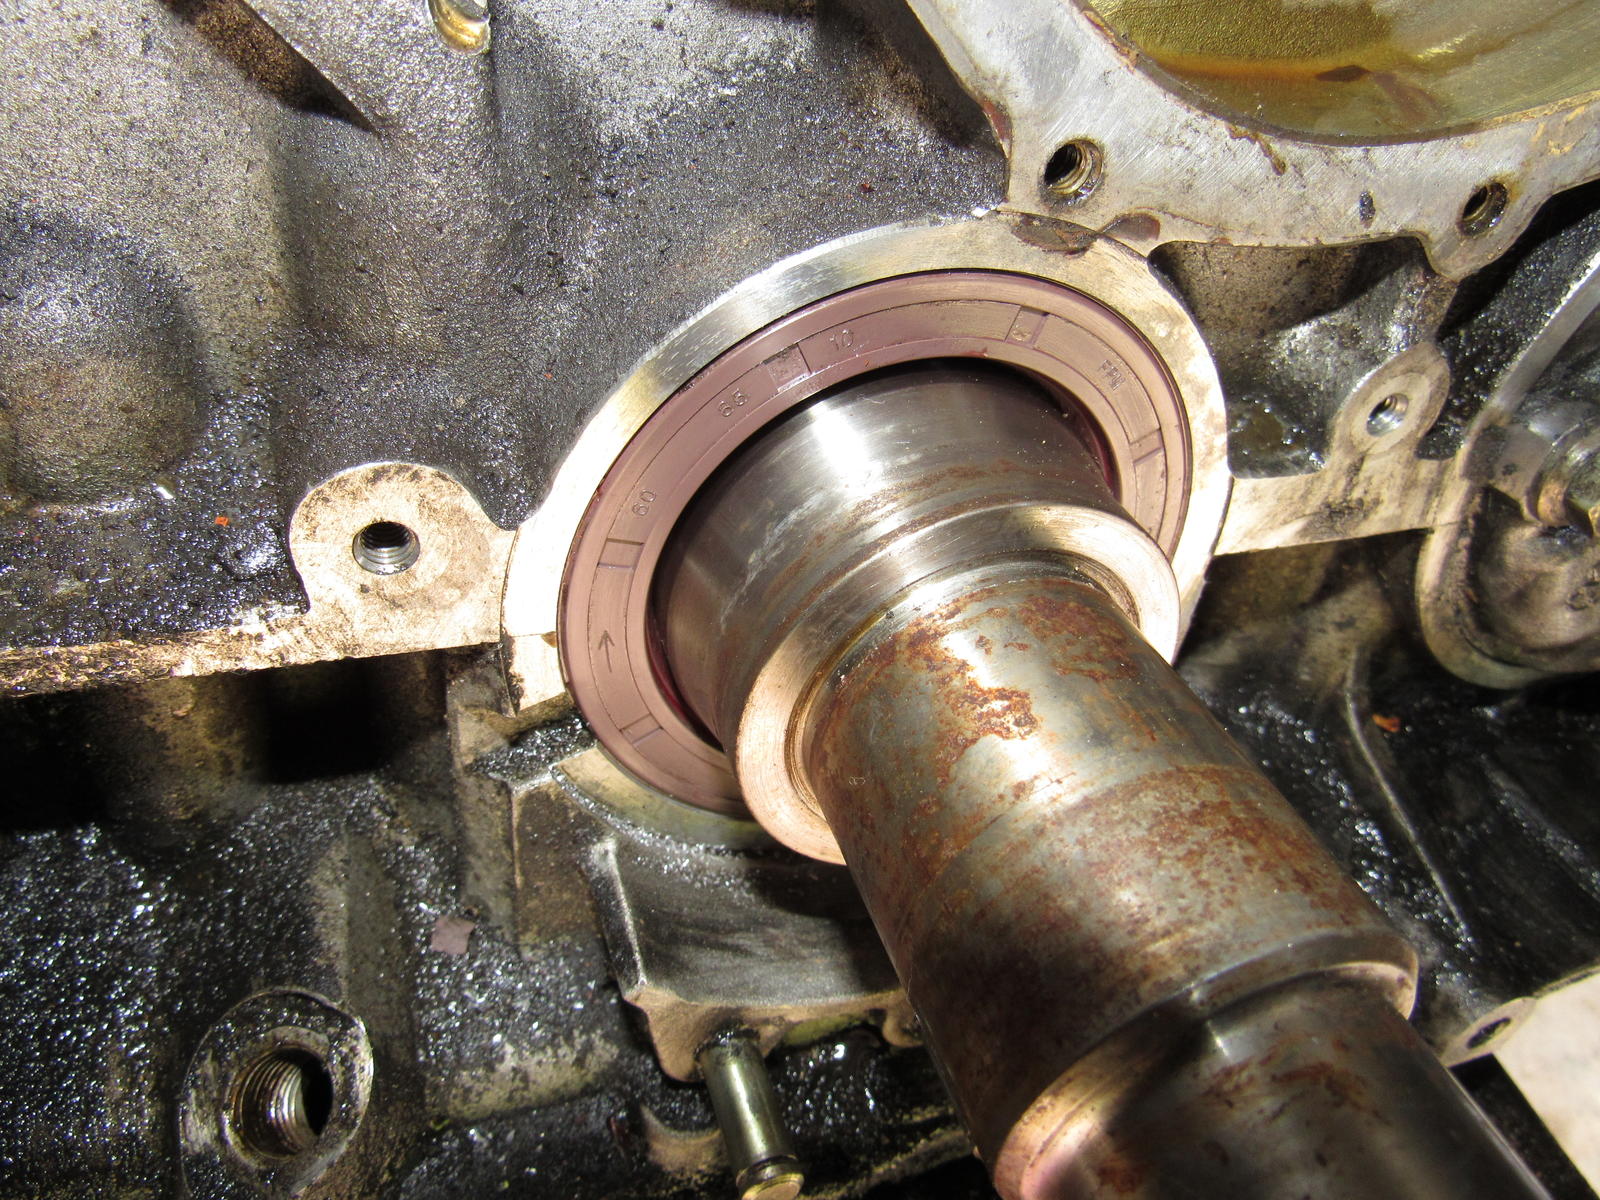
So I didn't have much time yesterday since I had to replace the wheel bearings on my daily driver but the accomplishment was that I got the crank pulley off. It was on there pretty well and so I had to sacrifice the washer behind it and use a two jaw puller.
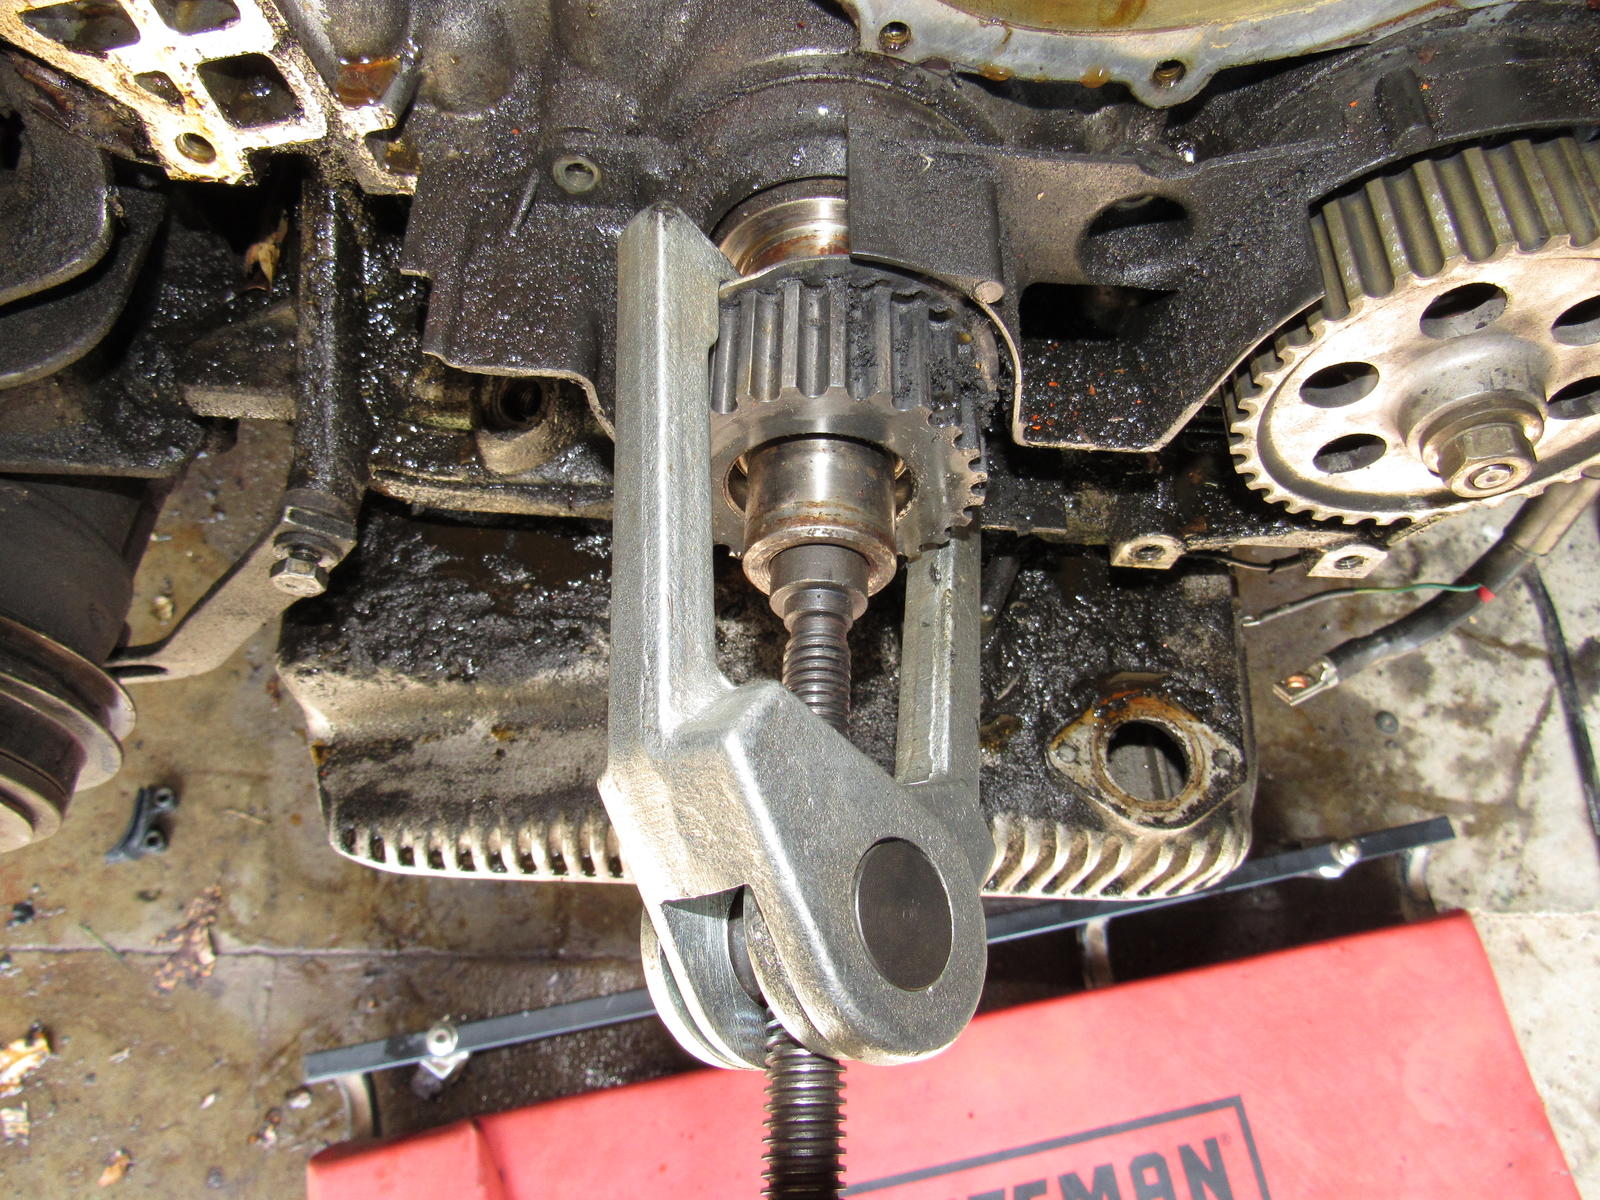
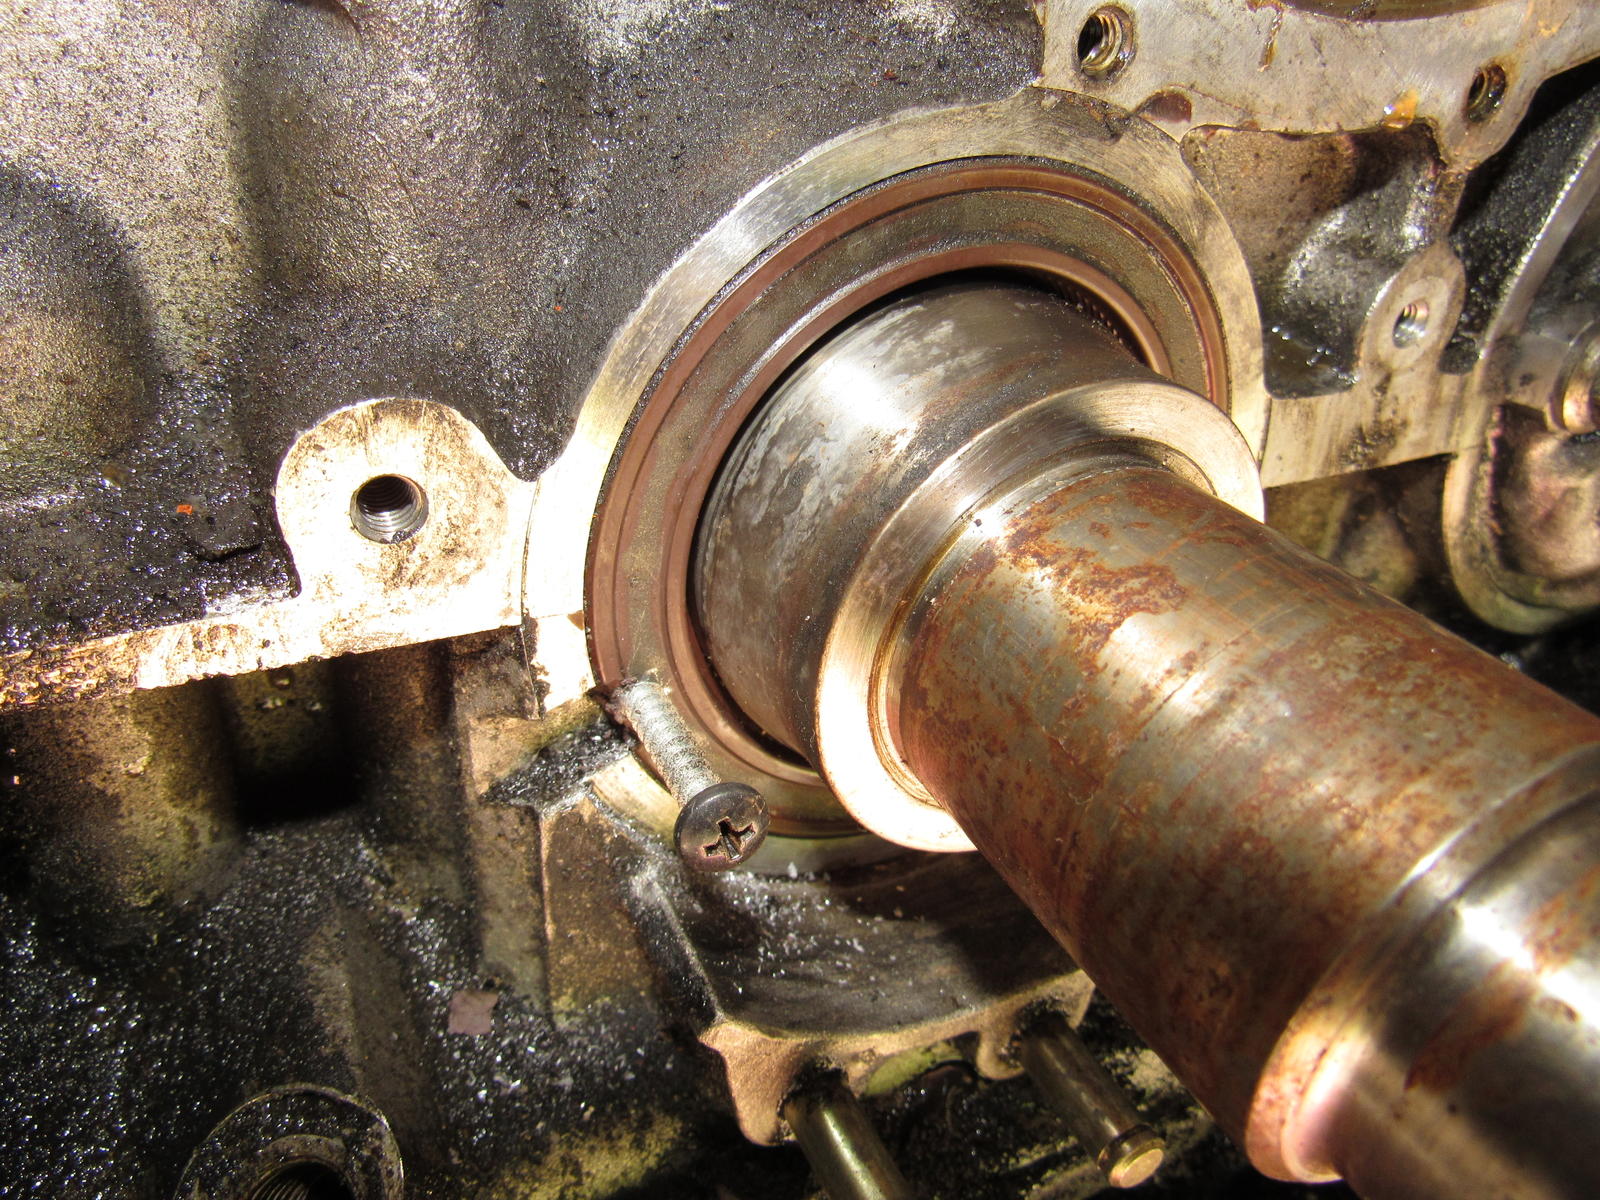
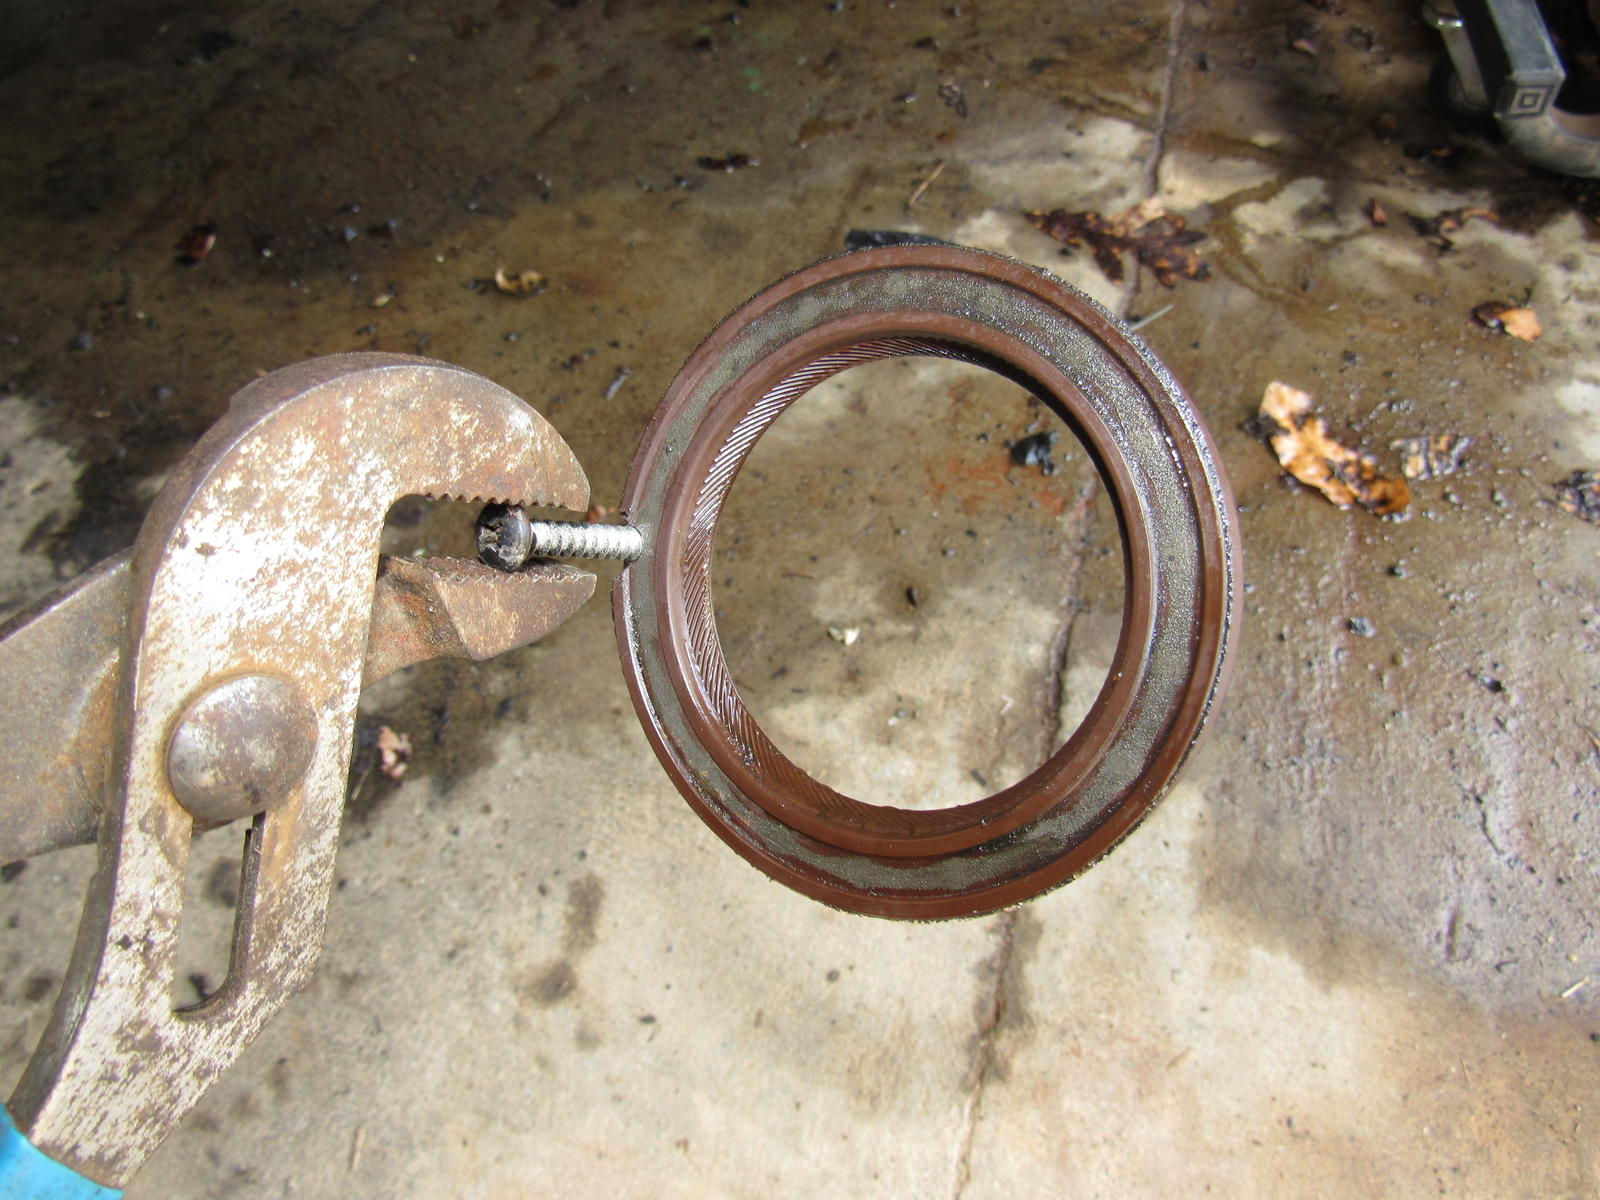
The seal was definitely the cause of most of the oil leaking, the belt was picking it up and whipping it around. I was going to replace all the front cam seals but I'll leave them alone for now. It was nice of them to leave a channel to remove the crank seal but it wasn't helping much so I did it the easy way; the old drill a hole and insert a screw method. It popped right out.
Now it's time to cut some 4x4s to support the engine following the guide at dwaynes garage so I can drop the cross member, oil pan, remove upper A arm, and replace engine mounts.
Last edited by Majestic Moose; 07-07-2017 at 11:33 PM.
05-30-2016, 09:48 PM
#21
Burning Brakes
Thread Starter
So I notice the clutch arm bushing is totally missing.
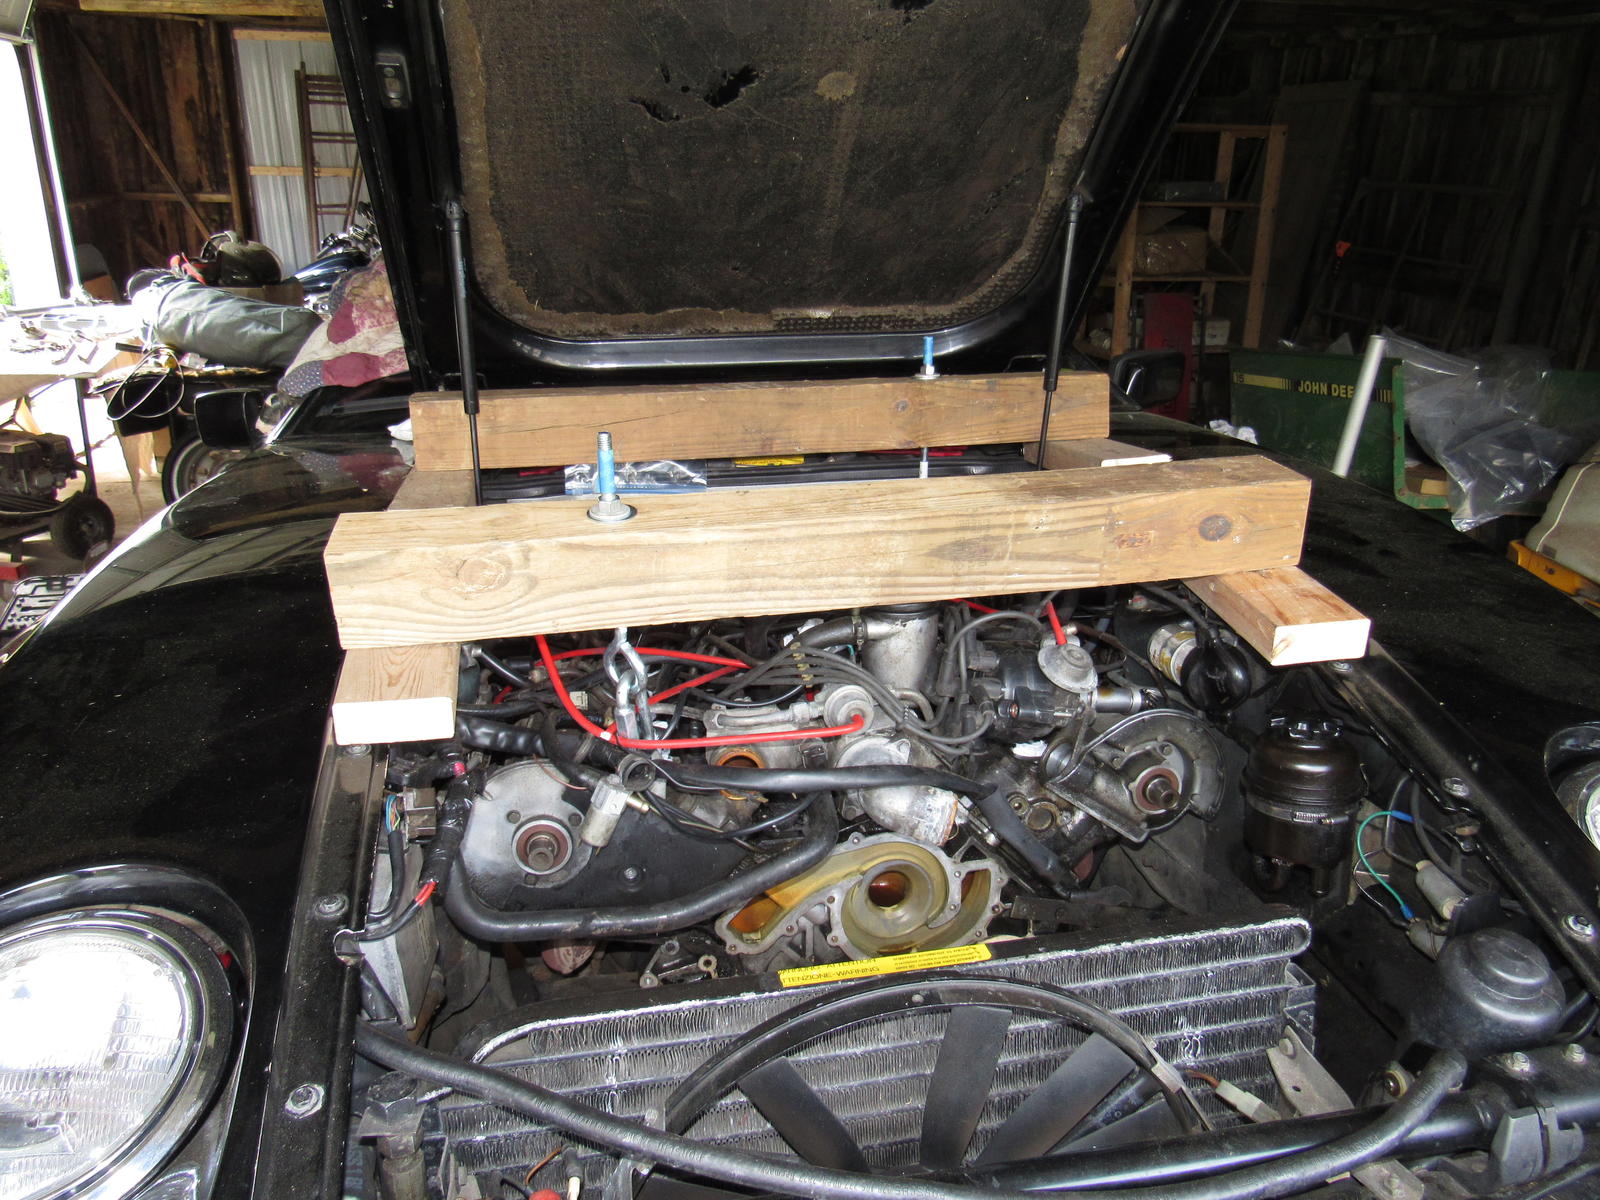
Here is my engine support system. I was able to avoid removing the hood by tying a rope to an overhead beam and around the latch.
Here is the cross member out:
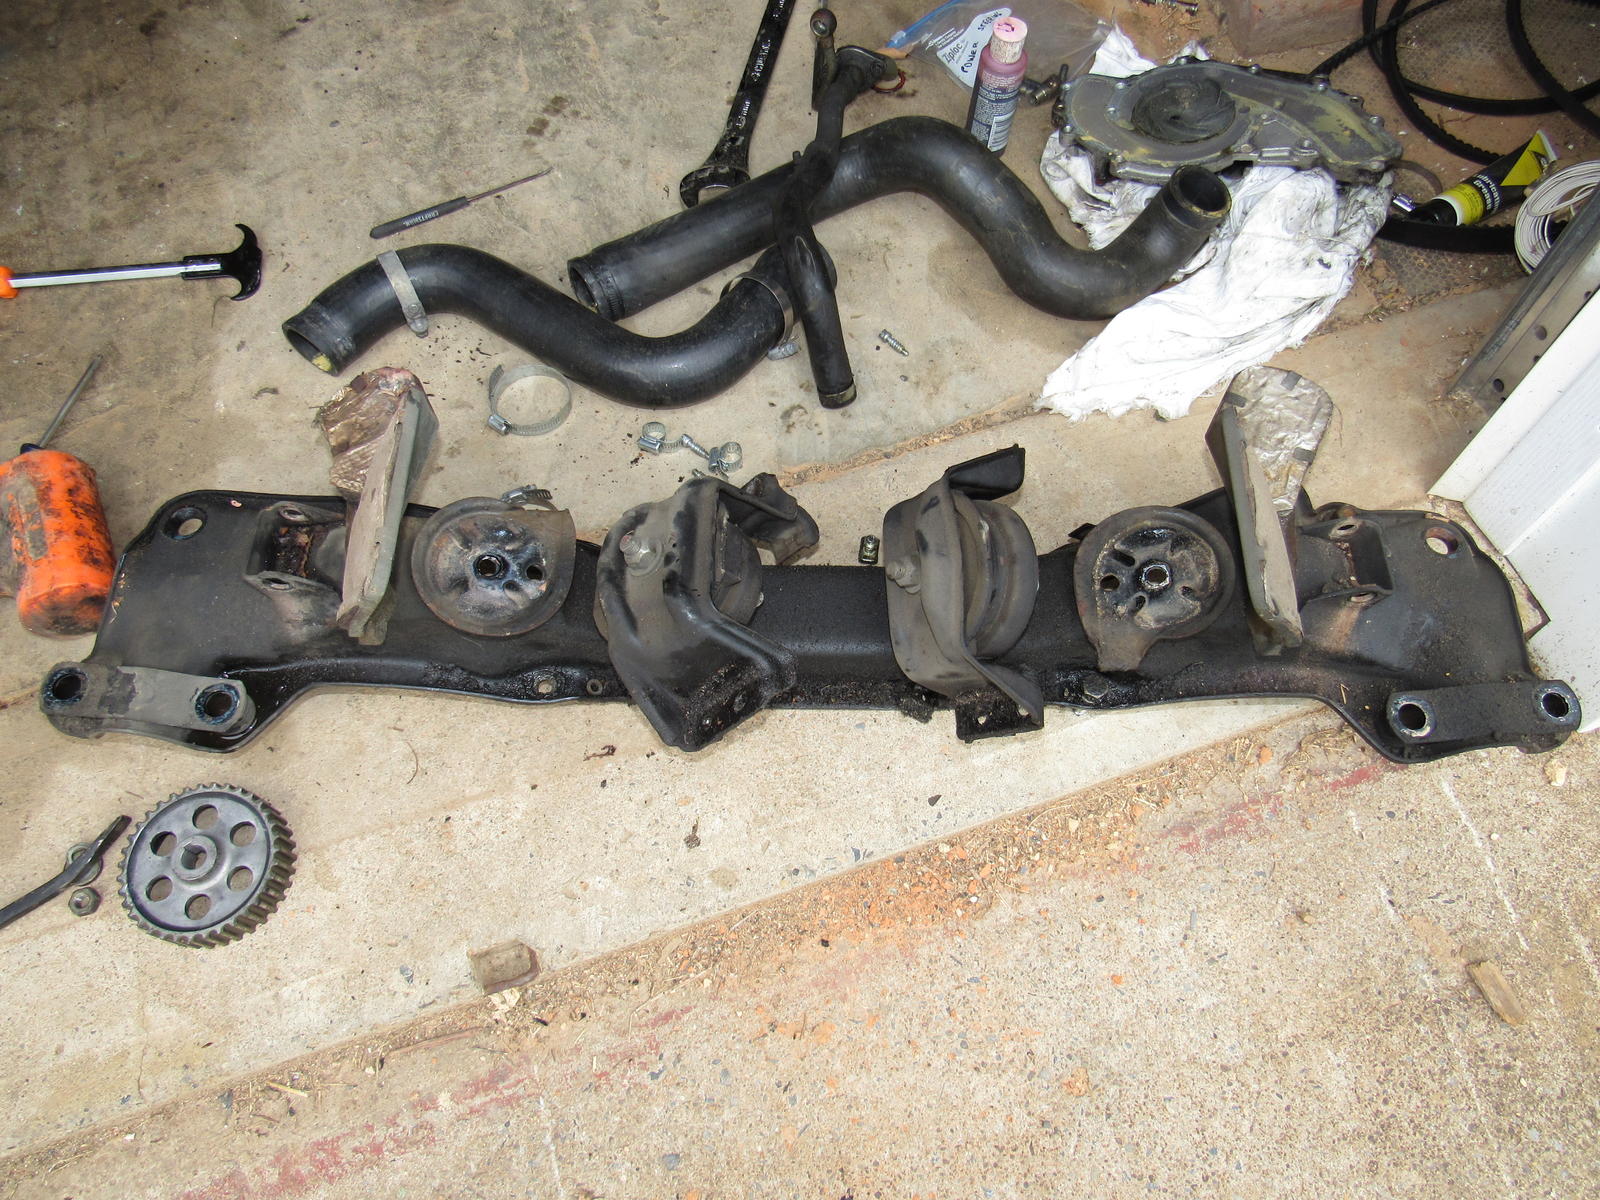
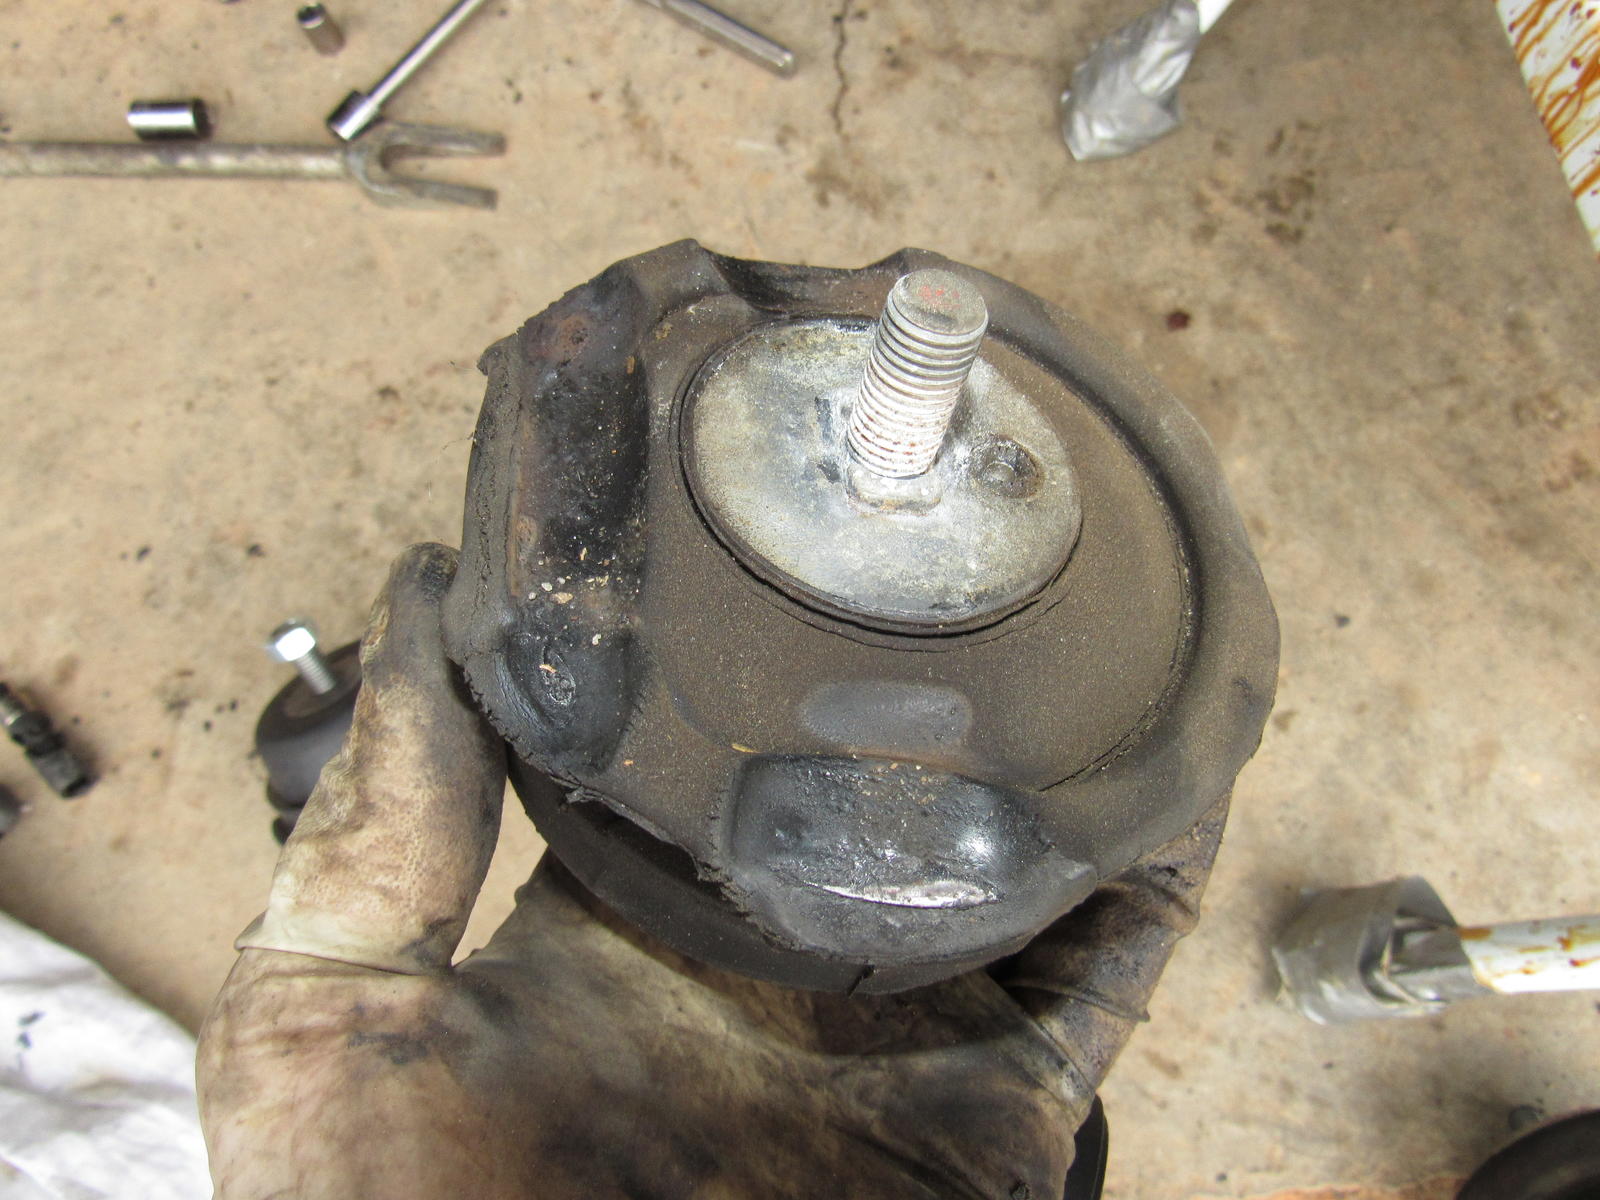
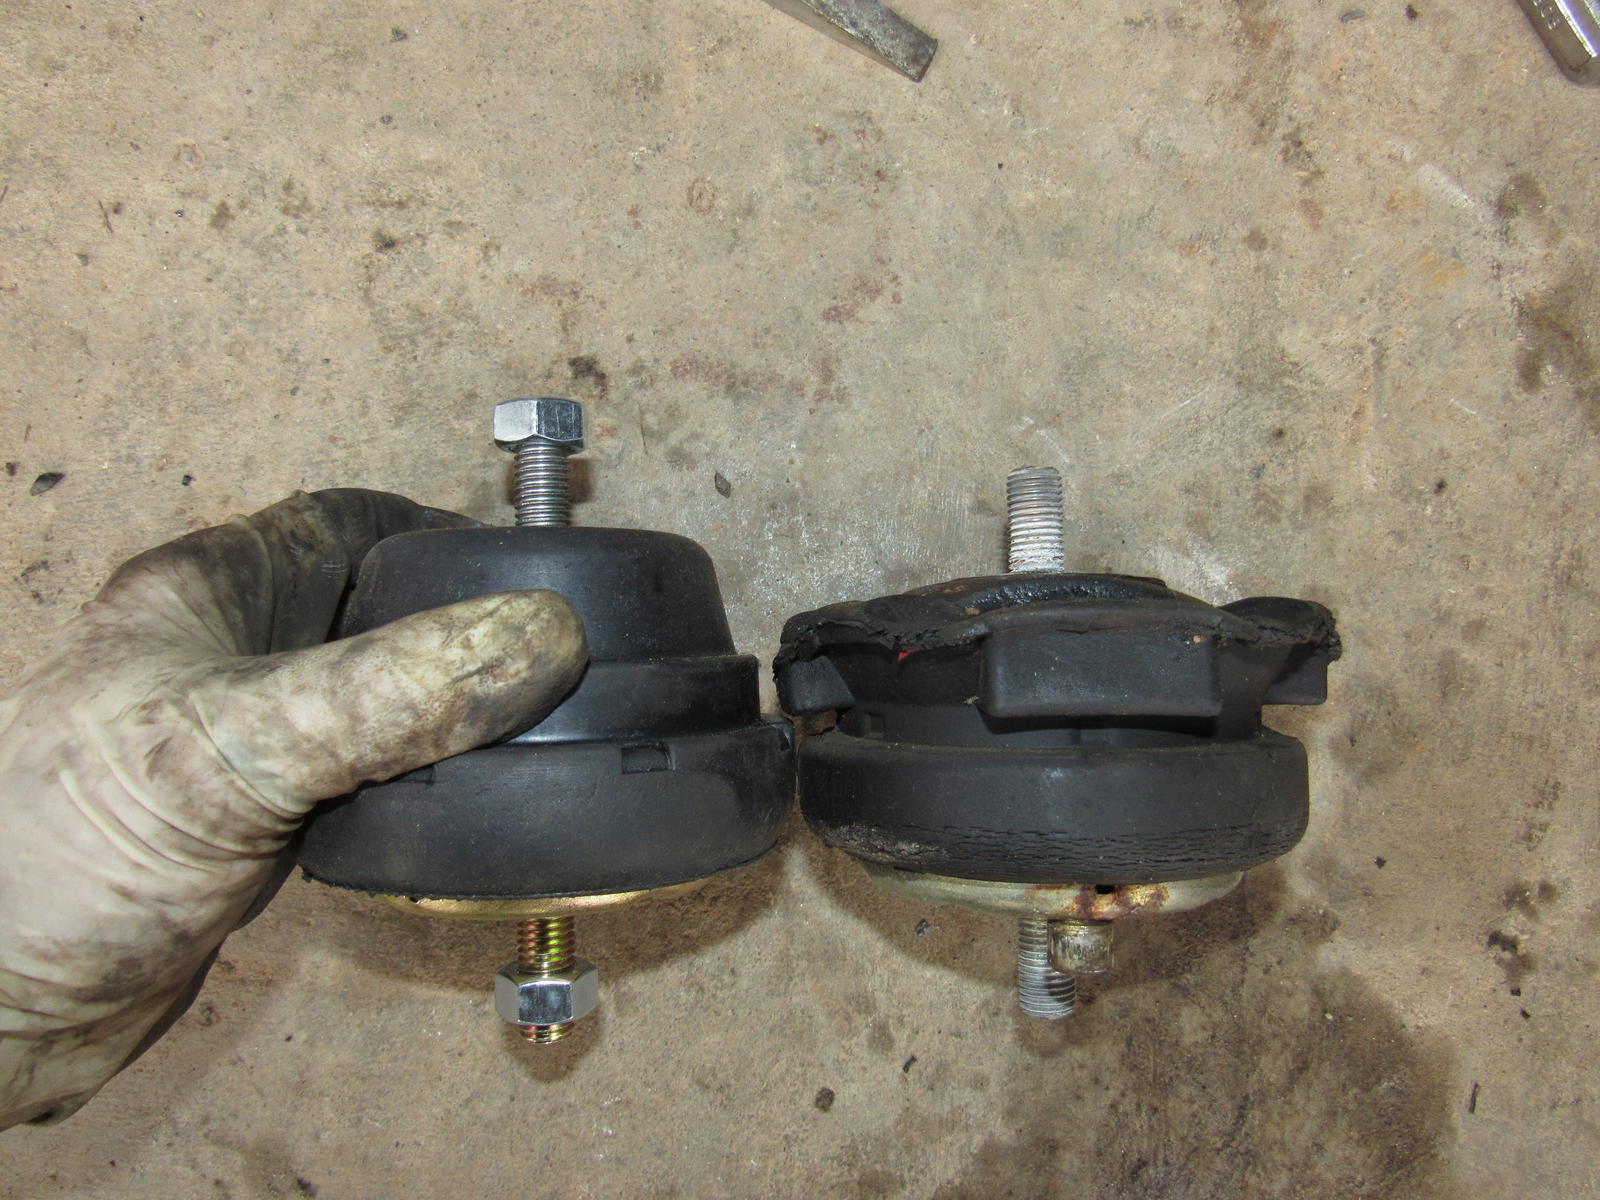
The engine mounts were pretty tired, especially the driver side.
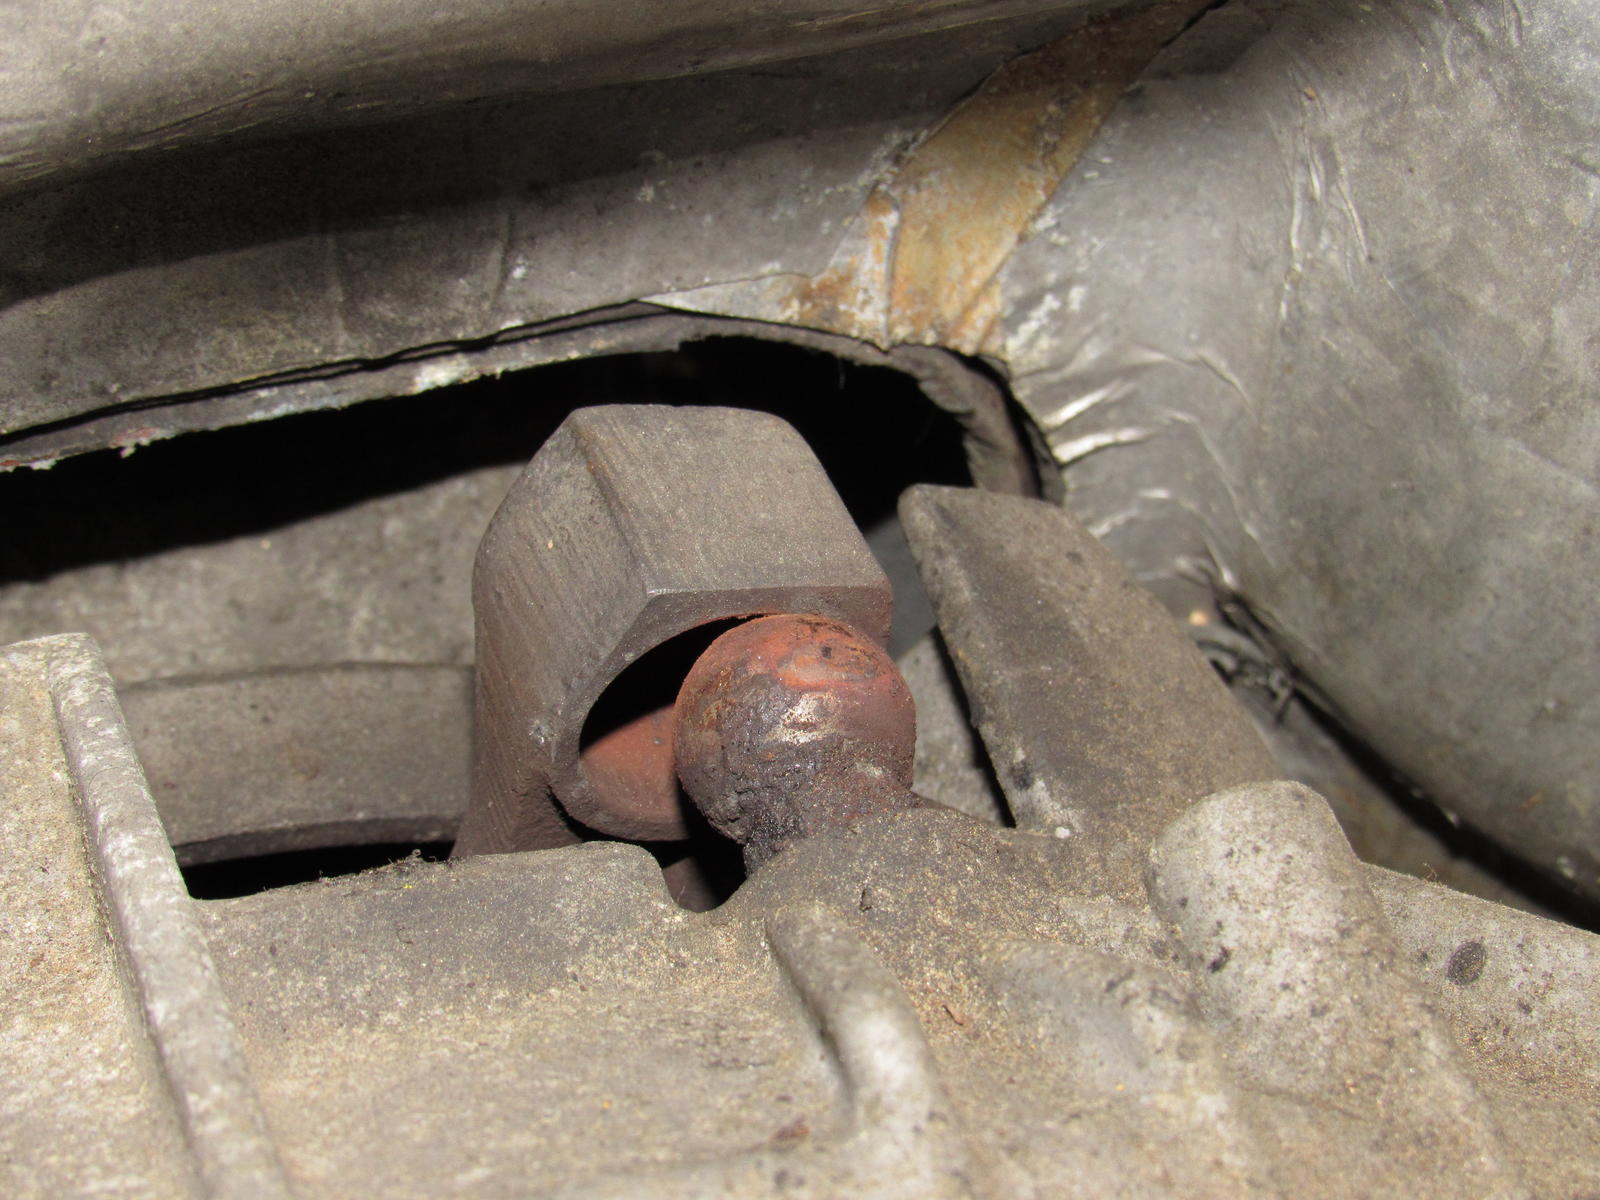
Even with the cross member out it is going to be a pain to get the exhaust manifold out. Two studs are missing and I tried the easily accessible one at the front and it was not even finger tight, though only half came out
Here is my engine support system. I was able to avoid removing the hood by tying a rope to an overhead beam and around the latch.
Here is the cross member out:
The engine mounts were pretty tired, especially the driver side.
Even with the cross member out it is going to be a pain to get the exhaust manifold out. Two studs are missing and I tried the easily accessible one at the front and it was not even finger tight, though only half came out
Last edited by Majestic Moose; 07-07-2017 at 11:40 PM.
05-30-2016, 10:13 PM
#22
Rennlist Member
Nice work MM, but close off those holes while doing work! I noticed on one of the above pictures where you are pulling the crank pulley off, and there is a gaping hole in the oil pan where the tube was removed. That hole is just waiting for a washer or a bolt to fall in there, without you even knowing it😩 I always close off holes into the block as soon as I open them. Paper towel, cardboard cut out whatever.
05-30-2016, 10:44 PM
#23
Administrator - "Tyson"
Lifetime Rennlist
Member
Lifetime Rennlist
Member
Now the vacuum decel valve; I suspected it was the cause of my up-and-down idle problem at startup. I took it off and was going to cap the ports but out of curiosity I played with it a bit. At first when I put vacuum on it I couldn't blow through the big ports but after a few cycles it started to open up right around 20 in. Hg. Anyone know if that is about right? Is there something I can spray in to juice up the seals? And if the ports were stuck closed before the cause of my problem is somewhere else I think.
Without the decel valve, anything but a "speed shift" the RPM's will fall to or below idle before you let the clutch out of the next gear. This can be very annoying in street driving since you should blip the throttle before letting the clutch out to match RPM's. These clutches are not cheap, no sense in beating it up with every "normal" shift.......
On a 100% dedicated track car, that's a different story. For street driving, you gain nothing by removing it.
With the valved removed from an L-Jet car, you should also disconnect the idle switch. That switch cuts fuel momentarily so the injectors are not spraying on decel wasting fuel and will also cause that "snap/crackle/pop" Camaro sound as that raw fuel is ignited in the exhaust. The combination of no decel valve and disconnected idle switch can also cause the engine to stall in between shifts.
05-30-2016, 11:09 PM
#24
Burning Brakes
Thread Starter
linderpat do not worry, the oil pan is coming off for a good power washing and new gasket 
Hacker-Pschorr what you describe is how the engine was acting before and I was having to blip the throttle between shifts because the revs dropped so rapidly. I think this was because the valve was not opening like it should have. Thanks for the advice, I will put it back on since it has unseized and appears to be operating as it should.
Hacker-Pschorr what you describe is how the engine was acting before and I was having to blip the throttle between shifts because the revs dropped so rapidly. I think this was because the valve was not opening like it should have. Thanks for the advice, I will put it back on since it has unseized and appears to be operating as it should.
05-31-2016, 02:28 PM
#25
Rennlist Member
MM,
Congratulations on jumping right in there to correct the deferred maintenance on this car.
I would use the silicon rear cam cover gaskets from Roger.
Also, if you are not done already, don't forget to raise your engine about an inch before attempting to reinstall the crossmember. You will need that additional space dealing with the new motor mounts.
Good job and good luck.
Last edited by soontobered84; 05-31-2016 at 07:12 PM. Reason: corr
05-31-2016, 06:14 PM
#26
Burning Brakes
Thread Starter
MM,
Congratulations on jumping right in there to correct the deferred maintenance on this car.
I would use the silicon rear cam cover gaskets from Roger.
Also, if you are done already, don't forget to raise your engine about an inch before attempting to reinstall the crossmember. You will need that additional space dealing with the new motor mounts.
Good job and good luck.
Rear cam cover gaskets are already done. The previous owner had silicon gaskets from an outfit in Tennessee I think. There was an orange label inside.
Yeah I raised the engine about 3/4" already but probably need a bit more space.
05-31-2016, 07:16 PM
#27
Rennlist Member
I meant to post "NOT done already"  Corrected my post, but not before you quoted it. Sorry.
If you raise the engine as high as it will go (the limiting factor is typically the firewall at the bellhousing), it does make it much easier to fit the motor mounts and the crossmember back in place.
Corrected my post, but not before you quoted it. Sorry.If you raise the engine as high as it will go (the limiting factor is typically the firewall at the bellhousing), it does make it much easier to fit the motor mounts and the crossmember back in place.
06-04-2016, 01:51 PM
#28
Burning Brakes
Thread Starter
So I am debating complete engine removal, the exhaust manifolds are giving me a good fight and so far three exhaust studs are broken - and I didn't do it! They were finger tight and the broken ends are dirty. There is just not enough room in there.
Then if I am this far I might as well do the headgaskets and piston rings but I really don't want to go that far. I'm still in good spirits but I just got deeper into the hole.
Then if I am this far I might as well do the headgaskets and piston rings but I really don't want to go that far. I'm still in good spirits but I just got deeper into the hole.
06-04-2016, 01:59 PM
#29
Administrator - "Tyson"
Lifetime Rennlist
Member
Lifetime Rennlist
Member
Are you planning on removing the cam towers anyway? With the cam towers removed, you gain a lot of access to the exhaust manifold bolts.
They are prone to leaking and Greg makes an upgraded rubber gasket over the factory paper one.
Once in that far, if you still decide to remove the heads, your most of the way there already.
Did you do a compression or leak-down? This isn't an iron block Chevy, unless there are compression issues people rarely do a ring job. I replaced the head gaskets on my 81 prior to supercharging and didn't touch the rings.
However.......doing the cam tower gaskets is a lot easier with the engine out of the car but it isn't necessary. I recently replaced the gasket on my passenger side cam tower.
With the proper two tools it's not the end of the world taking them off with the engine in the car:
http://www.928motorsports.com/parts/camtool.php
Had it been mentioned to upgrade to the stainless manifolds from an 85/86 car? I did this in my 81, you have to elongate a couple of holes on the manifold (the front ones I think) and add a spacer to the passenger side between your CAT pipe and the manifold. About 1 1/2" if memory serves.
06-04-2016, 02:24 PM
#30
Burning Brakes
Thread Starter
Are you planning on removing the cam towers anyway? With the cam towers removed, you gain a lot of access to the exhaust manifold bolts.
They are prone to leaking and Greg makes an upgraded rubber gasket over the factory paper one.
Once in that far, if you still decide to remove the heads, your most of the way there already.
Did you do a compression or leak-down? This isn't an iron block Chevy, unless there are compression issues people rarely do a ring job. I replaced the head gaskets on my 81 prior to supercharging and didn't touch the rings.
However.......doing the cam tower gaskets is a lot easier with the engine out of the car but it isn't necessary. I recently replaced the gasket on my passenger side cam tower.
With the proper two tools it's not the end of the world taking them off with the engine in the car:
GearWrench 9106 6mm Combination Ratcheting Wrench - - Amazon.com
http://www.928motorsports.com/parts/camtool.php
Had it been mentioned to upgrade to the stainless manifolds from an 85/86 car? I did this in my 81, you have to elongate a couple of holes on the manifold (the front ones I think) and add a spacer to the passenger side between your CAT pipe and the manifold. About 1 1/2" if memory serves.
I have 928 Motorsports headers coming that's the only reason I am messing with the exhaust.
Last edited by Majestic Moose; 06-06-2016 at 09:34 PM.