When you click on links to various merchants on this site and make a purchase, this can result in this site earning a commission. Affiliate programs and affiliations include, but are not limited to, the eBay Partner Network.
Felt it would be interesting to have a central meeting place for these particular years. Especially, since there seems to be an increase in interest lately. Anyone that has or has had a project revolving around one of these early cars, it would be nice if they posted pictures and information here. Might make searching for 78 and 79 information more easily obtainable.
This doesn't replace any stand alone thread/topic you may already have in process, about your restoration or project. This just centrally locates a lot of pictures and info to be absorbed by fellow OB owners.
Please post the year and the last few numbers of the vin. when posting. Post as many pictures as you like (inside, outside, engine compartment, underneath, etc, etc, etc...every picture is worth its weight in gold), ask as many question as you can think of and if possible...answer those that require help.
Let's see if this idea sprouts wings.
Brian.
Last edited by The Deputy; 03-29-2016 at 01:14 PM.
Reason: Removed the unofficial year...
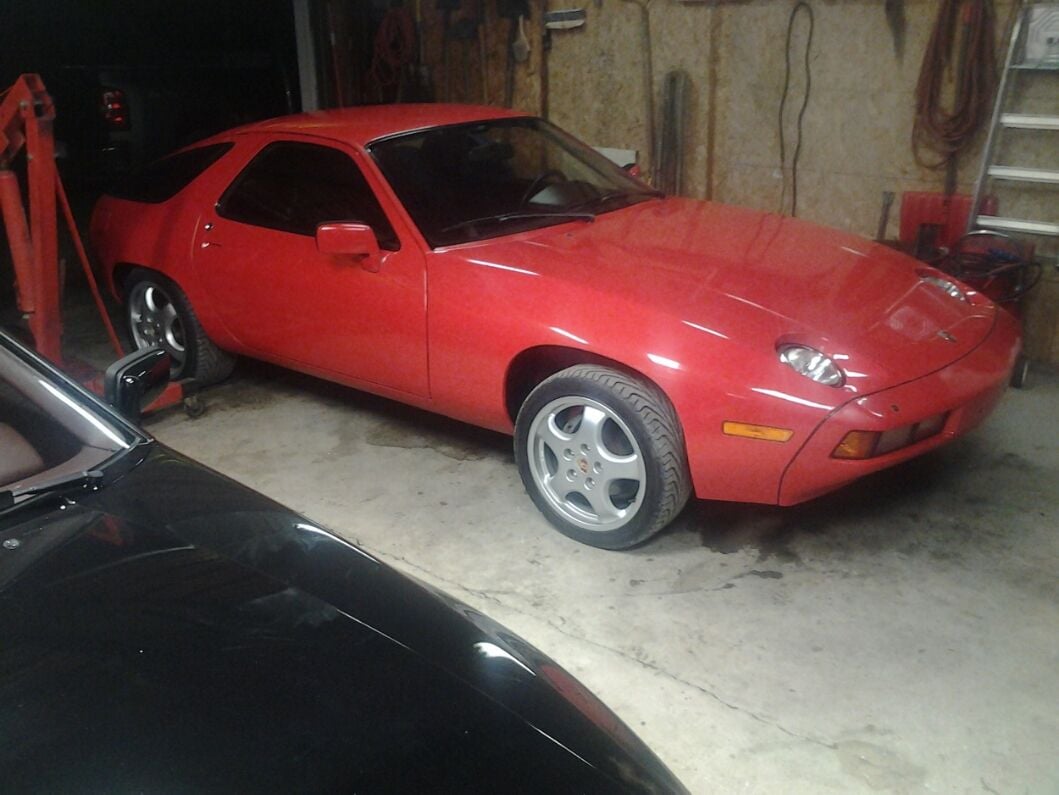
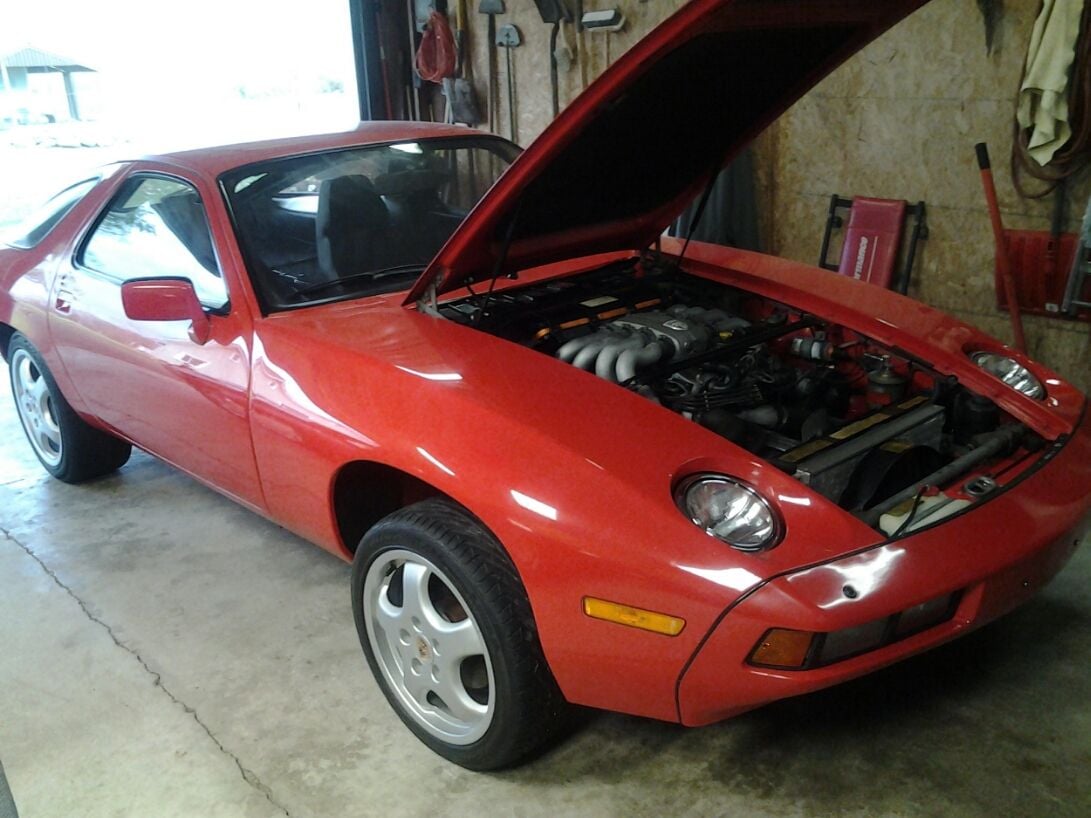
G'day from New Zealand, just arrived home with my first Porsche, Euro '79 928, Guard Red/ pasha, black/beige #1540
As you can see not totally original with spoiler and wing added, it came with the original Teledials and all history, including the April edition 1995 NZ Classic Car Magazine that it featured in!!!!!!!
Runs beautifully, well maintained mechanically, usual electrical glitches that I will ask questions about in the appropriate area.
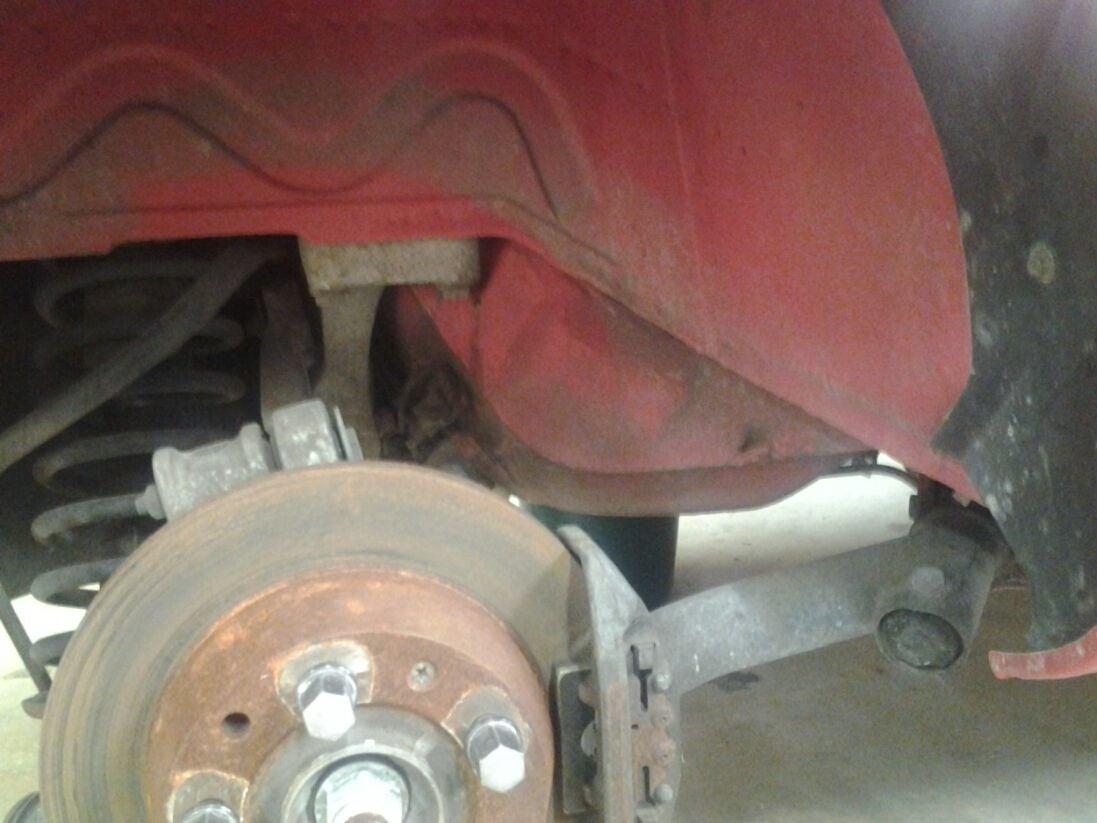
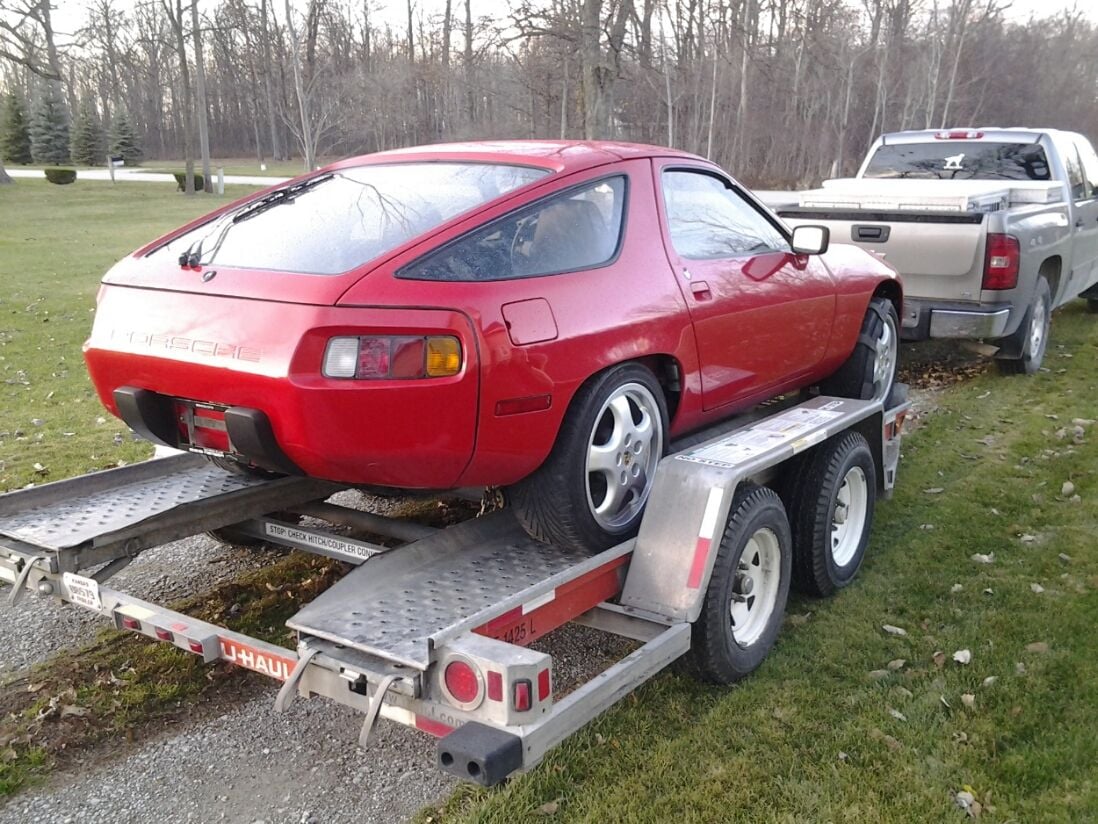
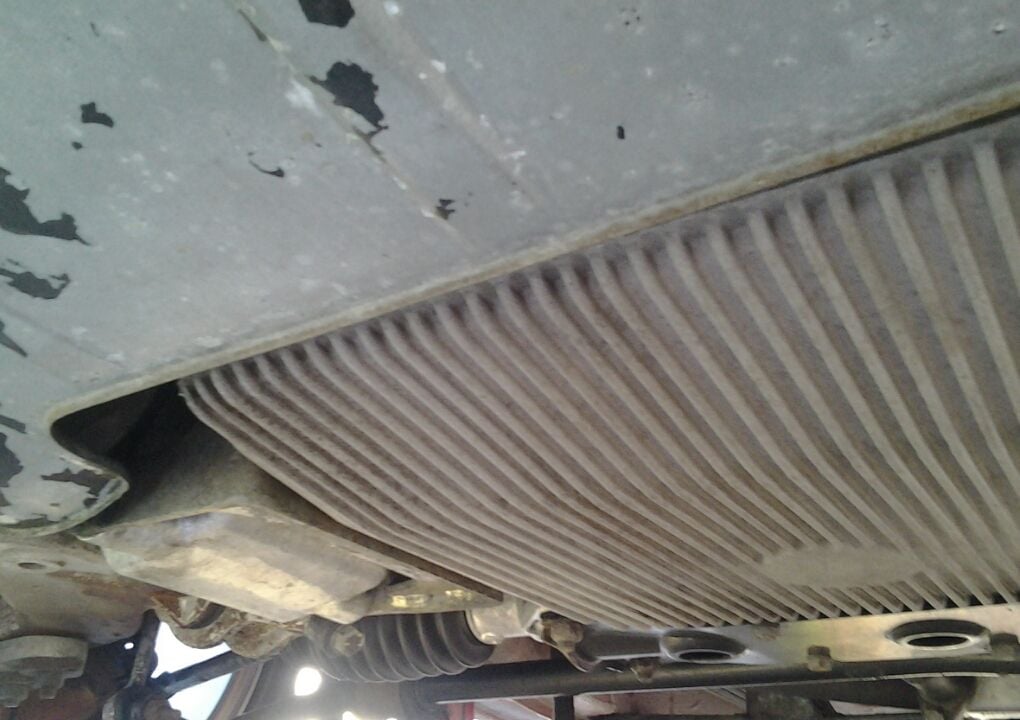
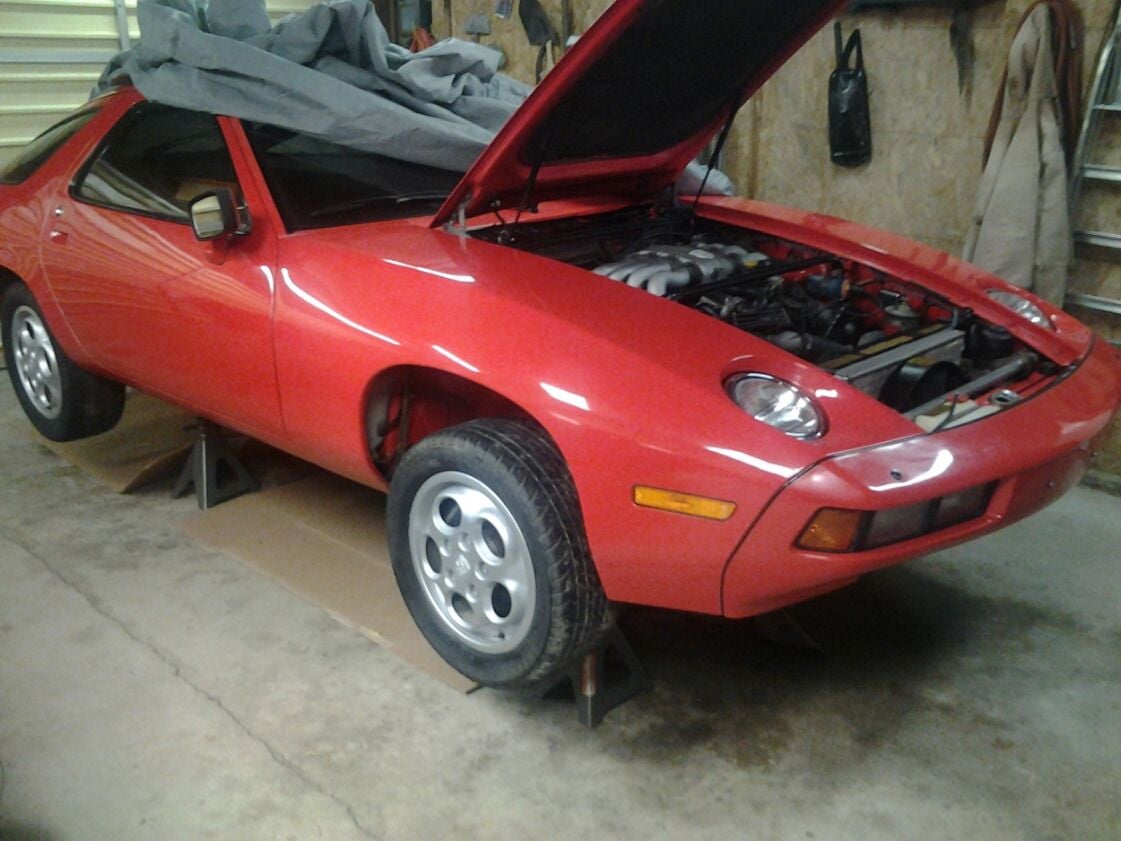
After disassembling another 78 (#613) and finally getting old red into the garage, I thought l'd start doing a bit of cleaning.
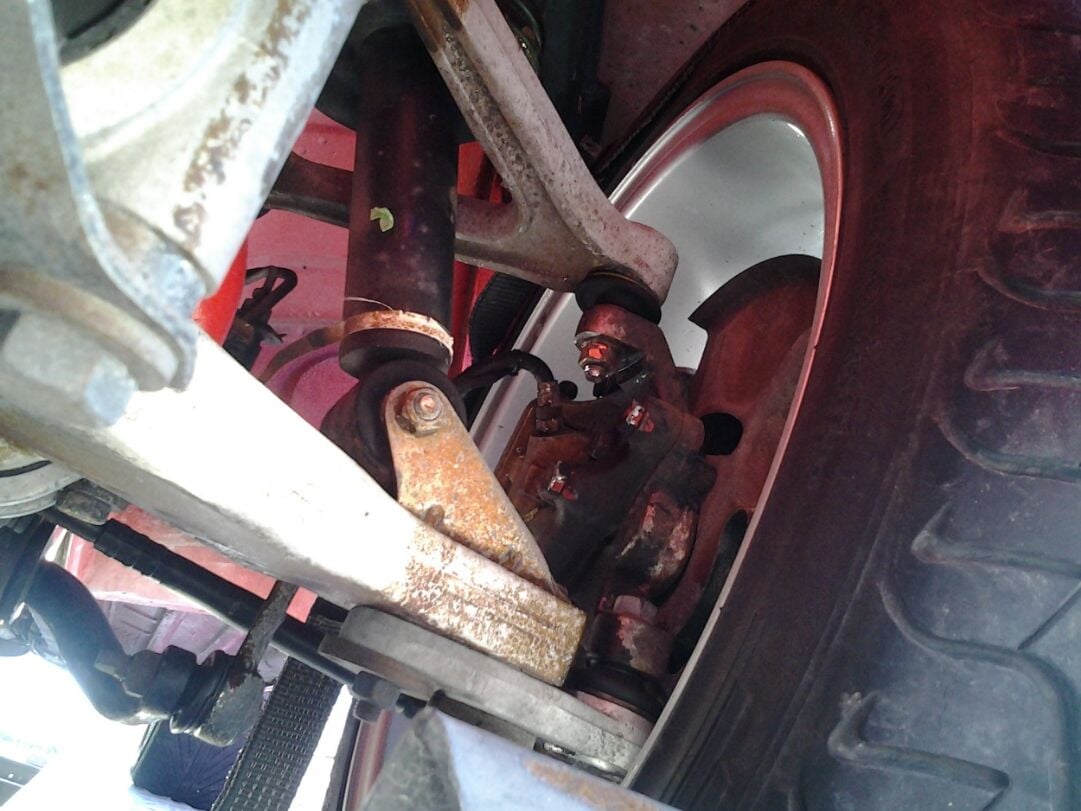
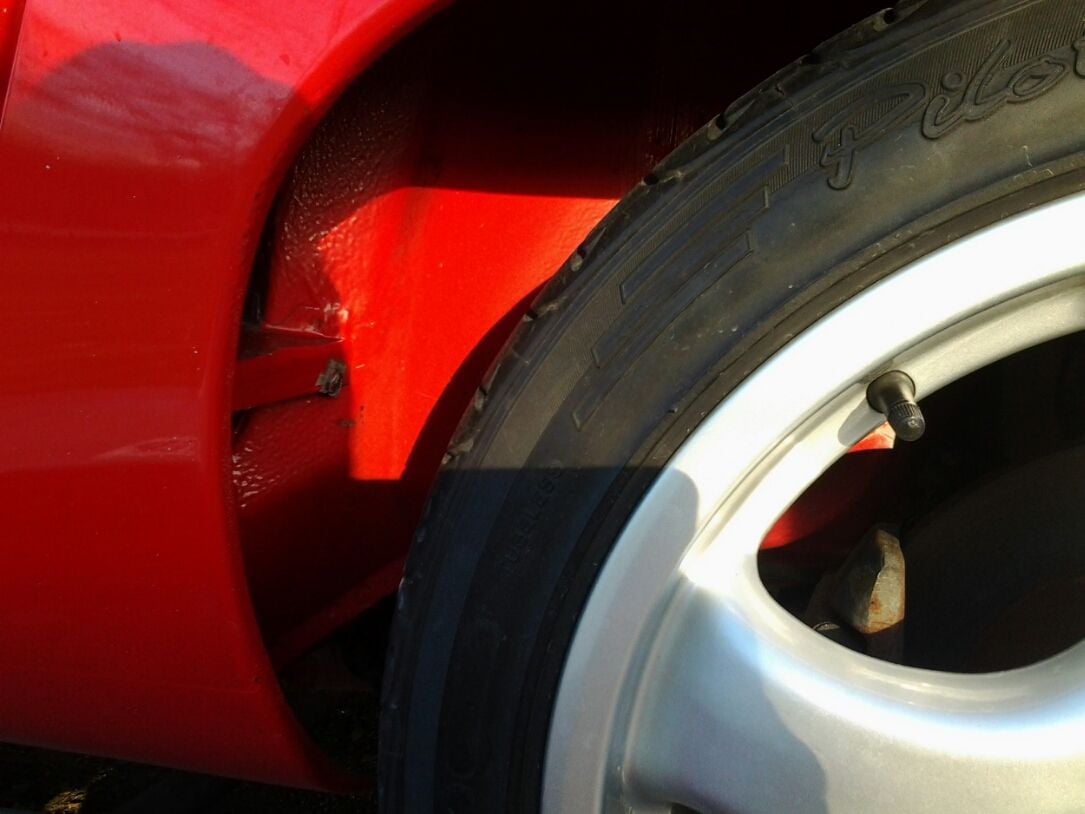
Got her on stands and pulled the wheels.
So, l stared cleaning with simply green and some elbow grease.
Tired quickly and thought I'd be better off steam cleaning her underside, like I did to old blacky. So, the wheels came back out of the basement and reinstalled.
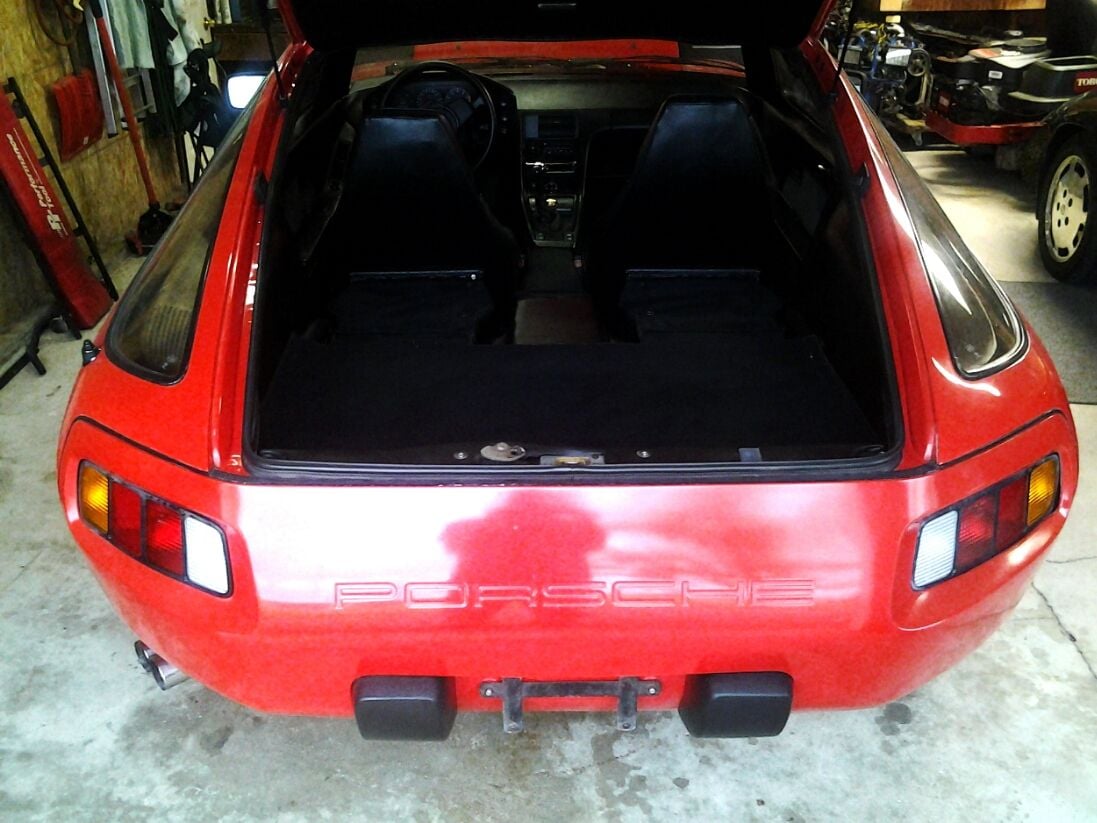
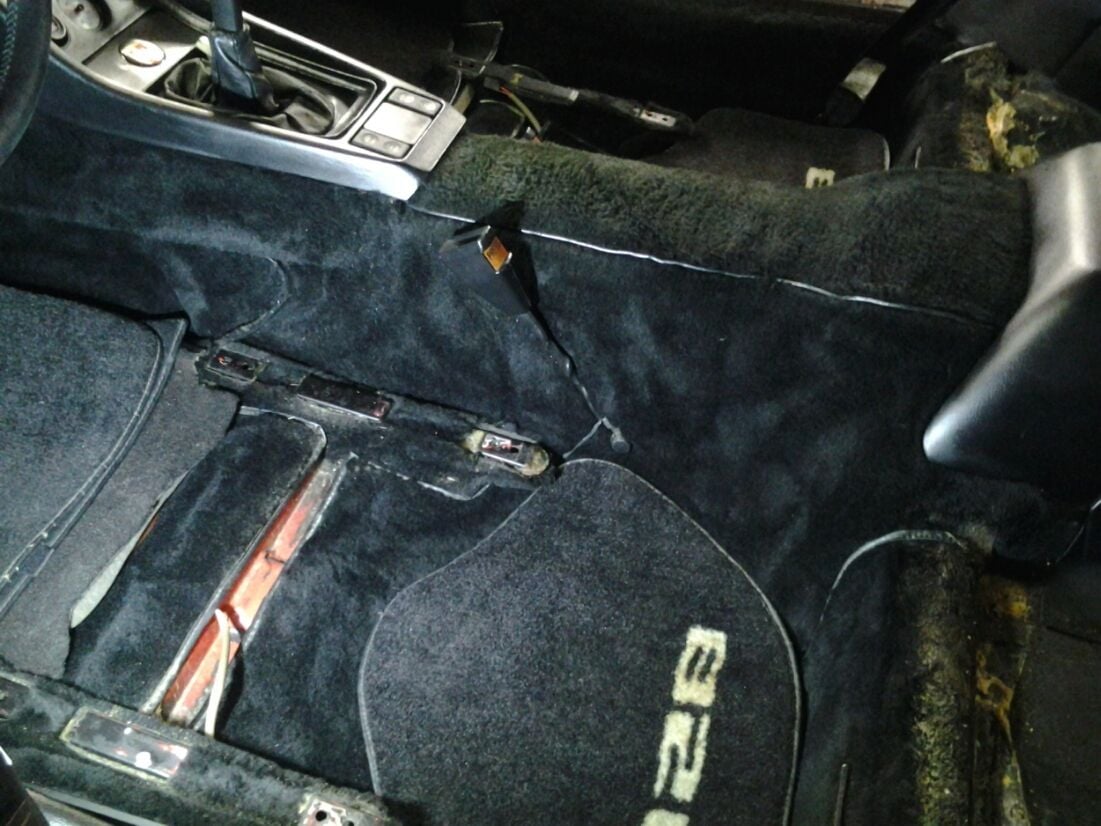
Did find some nice used black carpet pieces and floor mats from another RL member and installed them. Crappy picture, but this will be the trend...I'm not much of a photographer.
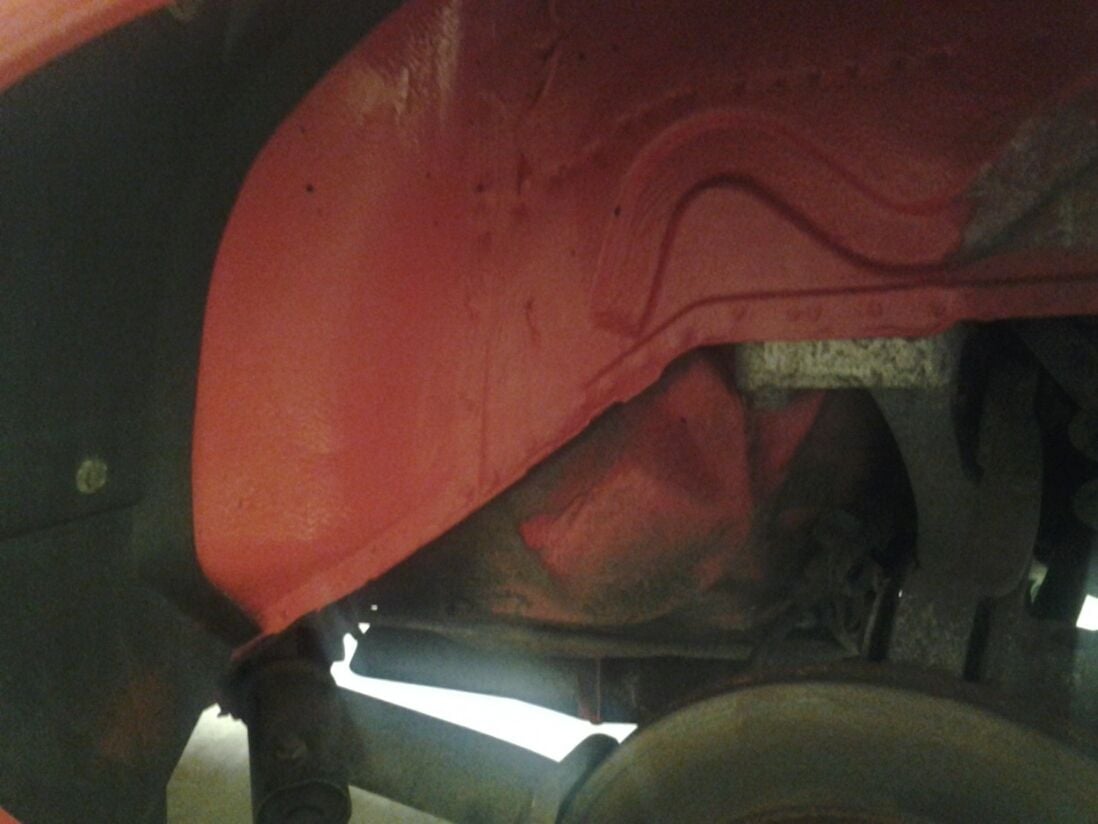
Even though it was steam cleaned...and given the mileage...I'm still surprised how clean this car is in spots.
Well, not really orders...but she recommended we get the seats and door cards done now, before Rob Budd decides to retire...or leaves Michigan for warmer climates and shipping cost become an issue. So, I will call Rob tomorrow and see if he can have us stop by.
Front seats out.
Hex head seat-bolts instead of allen head like my 84, much more tedious to remove. Had to grind down my favorite Snap On 10mm socket to get it in the slider rail, too, it had a shorter height than my cheapo socket...and socket height was an issue.
Rears removed.
Still firmly glued in place and much caution was used to not damage the inner foam cushion. There are also two phillips screws, each side, in the seat material along the rear hatch compartment edge.
Door cards out.
Very simple, remove inner door handle-lever guard, one screw, then slip your door panel tool around the plastic inserts, along top of door card, and pry gently until top portion comes free, then lift out of place.
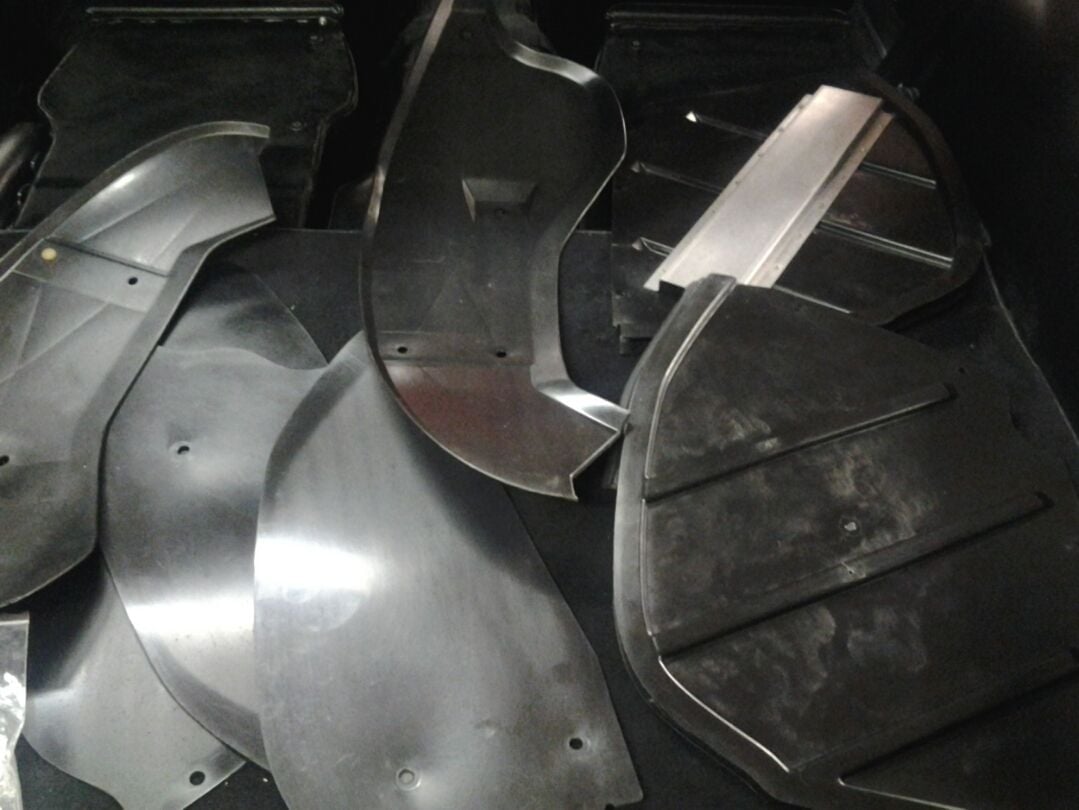
Drivers side pile.
Passenger side pile.
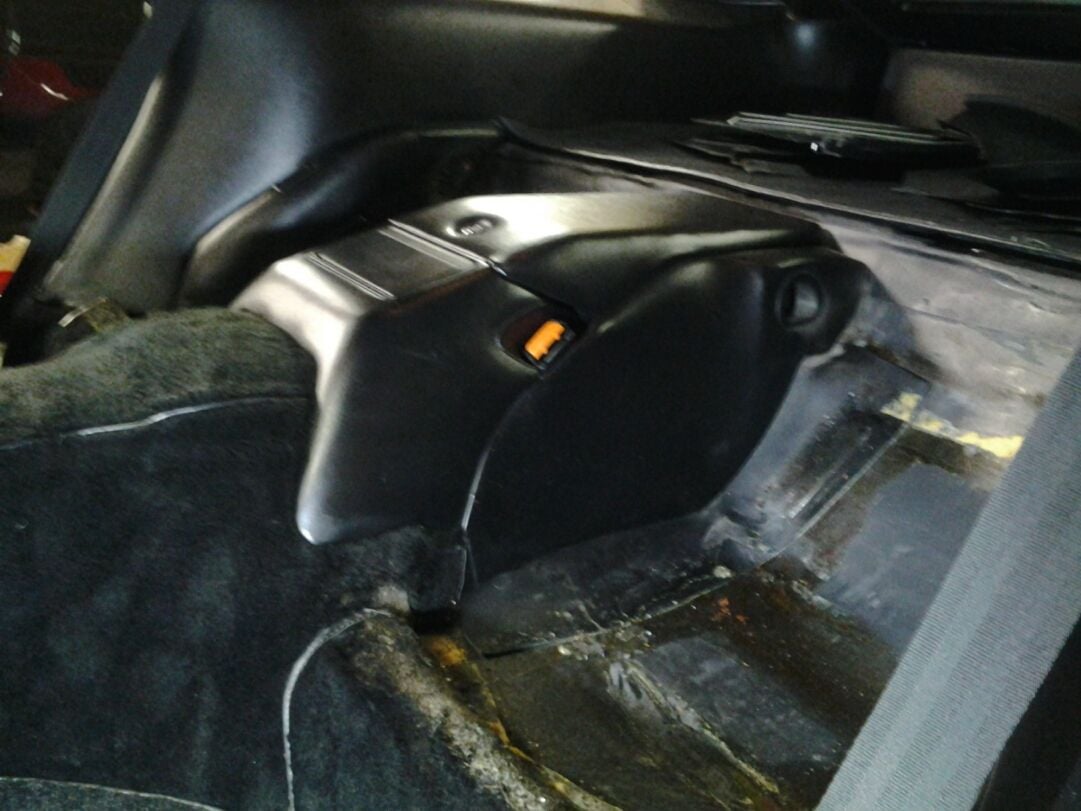
Everything was pretty straight forward, removal, and found no surprises.
Decided since the seats were out and the door panels need attention...I'd remove them. Plus, after removing the 84's without incident...I was getting pretty cocky with my disassembly skills...or I wanted to do it to the red car before I forgot how they come off...lol.
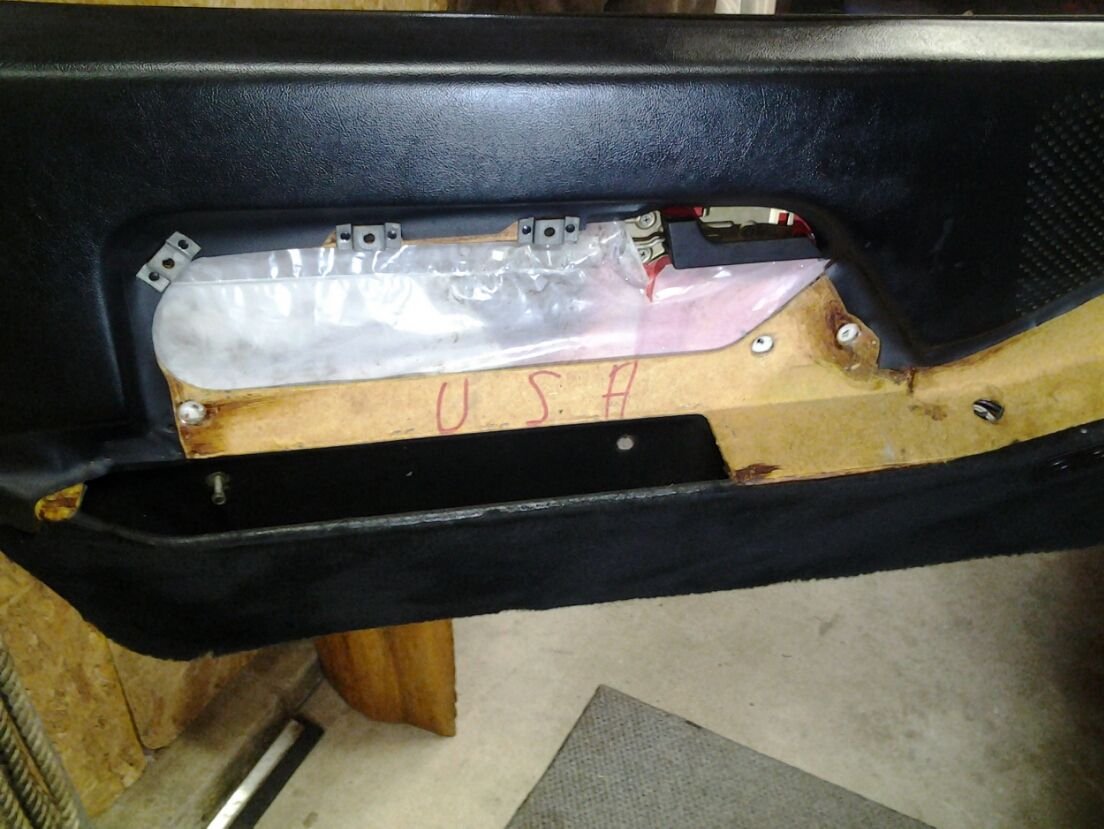
Looks like someone way-back-when wanted to make sure this door panel got on this USA car.
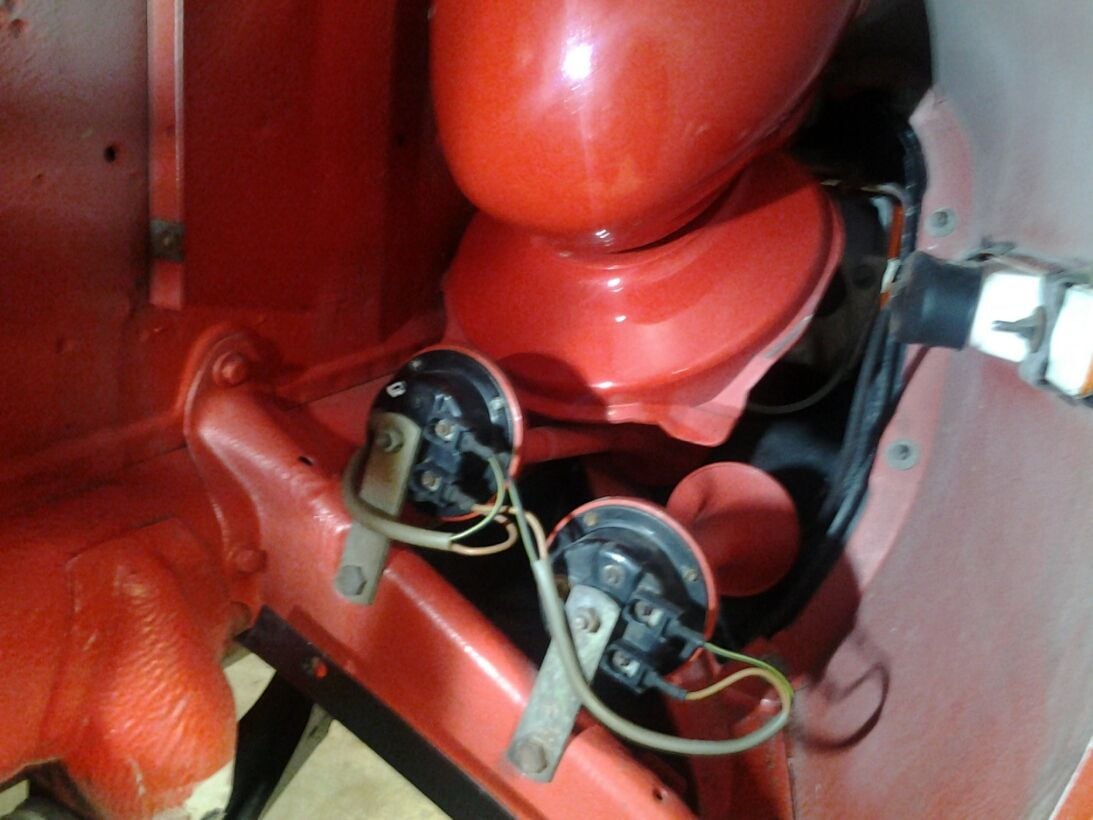
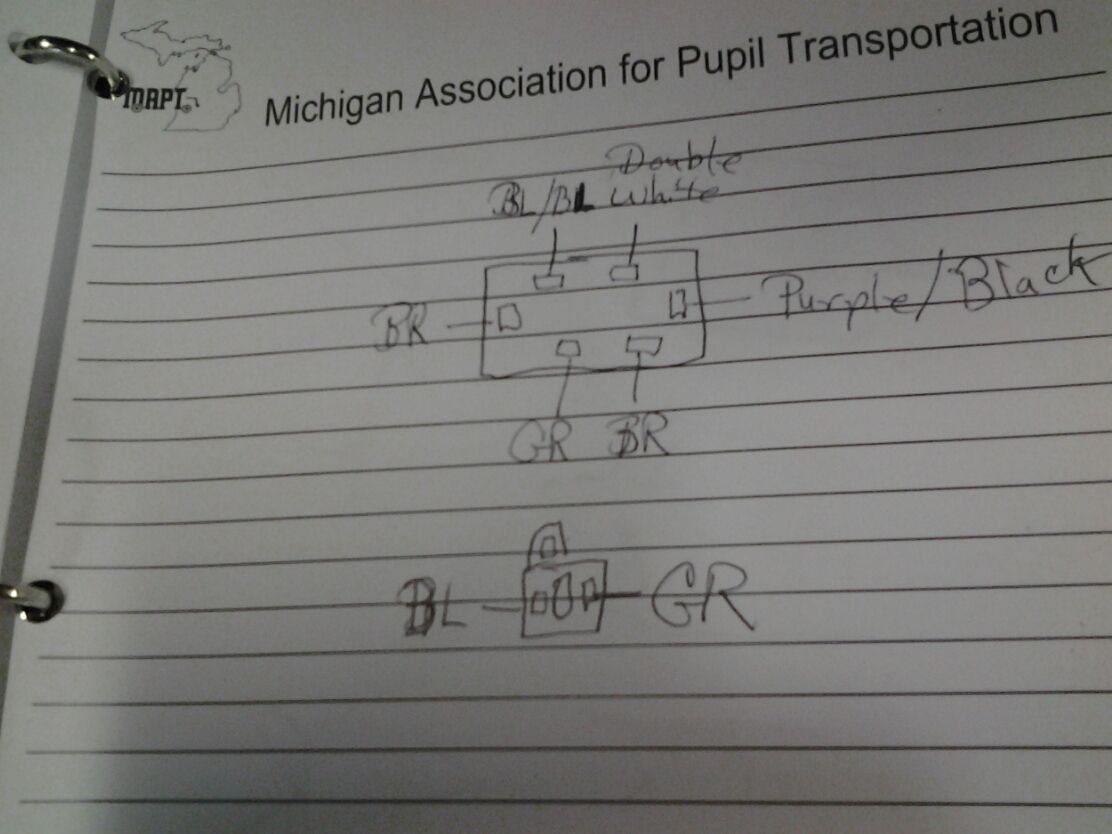
Drew up a wiring diagram of the electric mirror control switch, before removal.
Then removed the switch and saw this...oh well...better safe than sorry.
Date code of door panel.
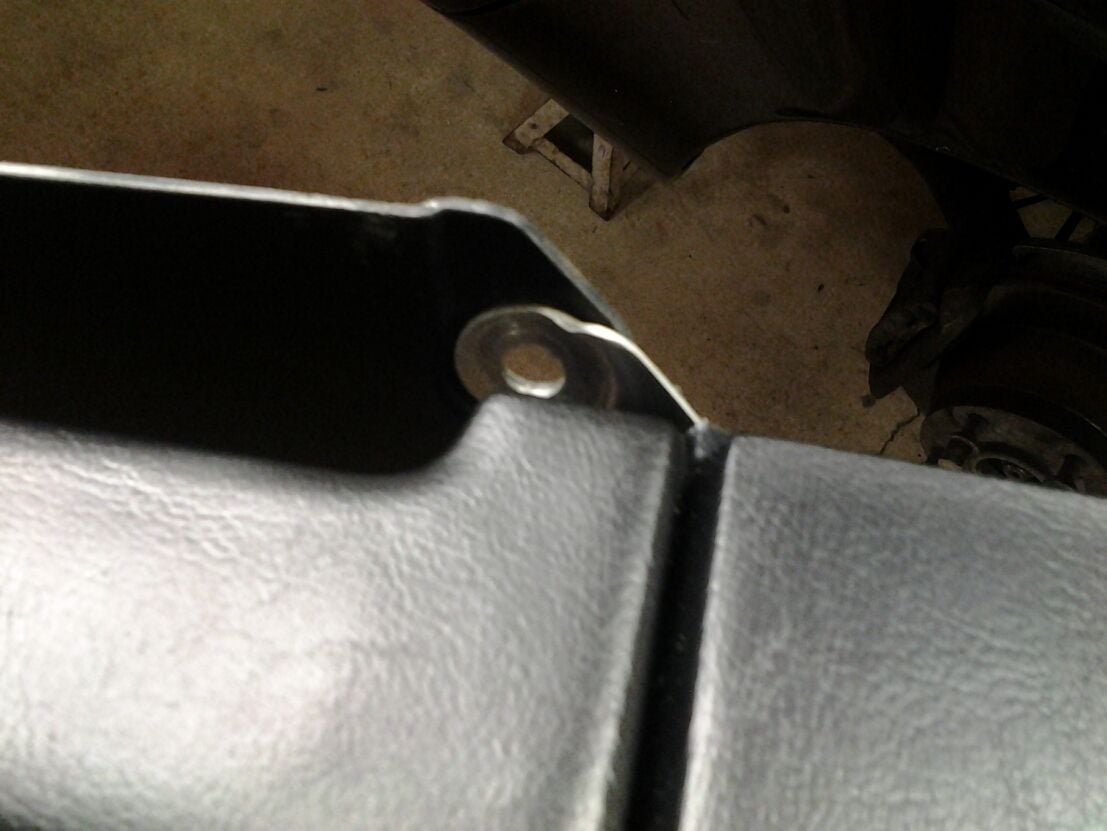
Strange little aluminum bracket on the panel, that does not appear on my 84.
It is pop-riveted in place.
Brought everything inside the house to be re-glued in areas.
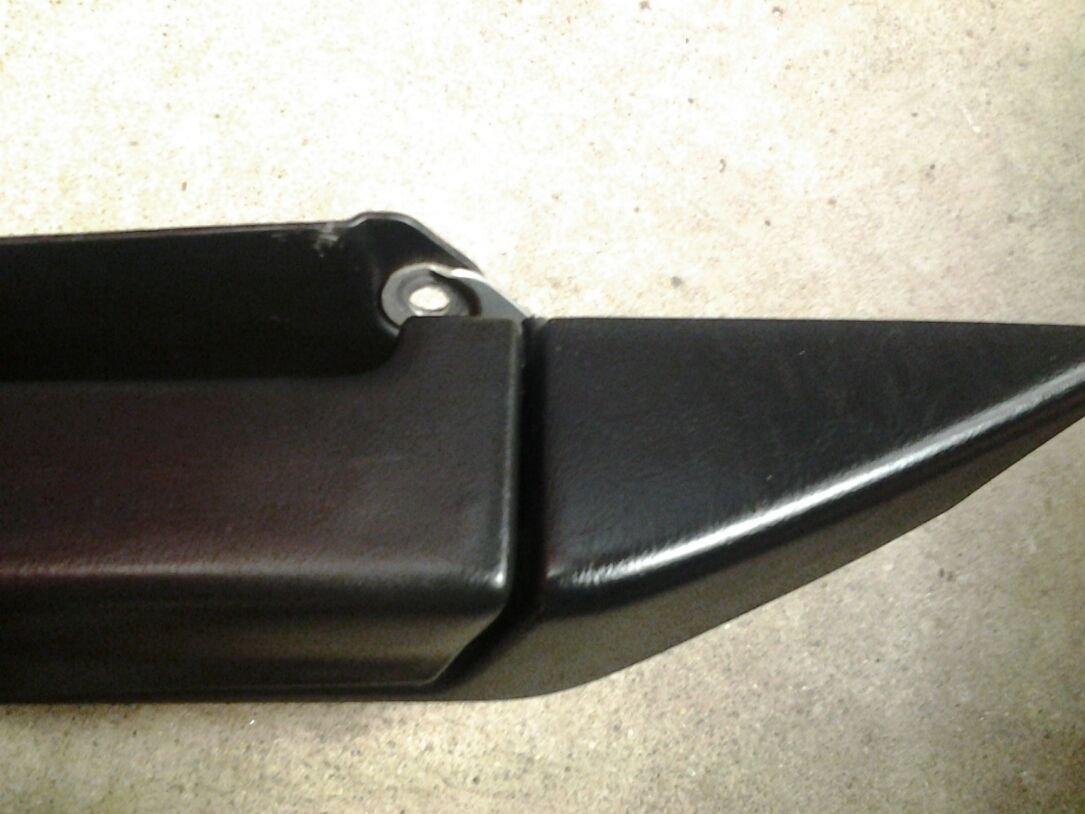
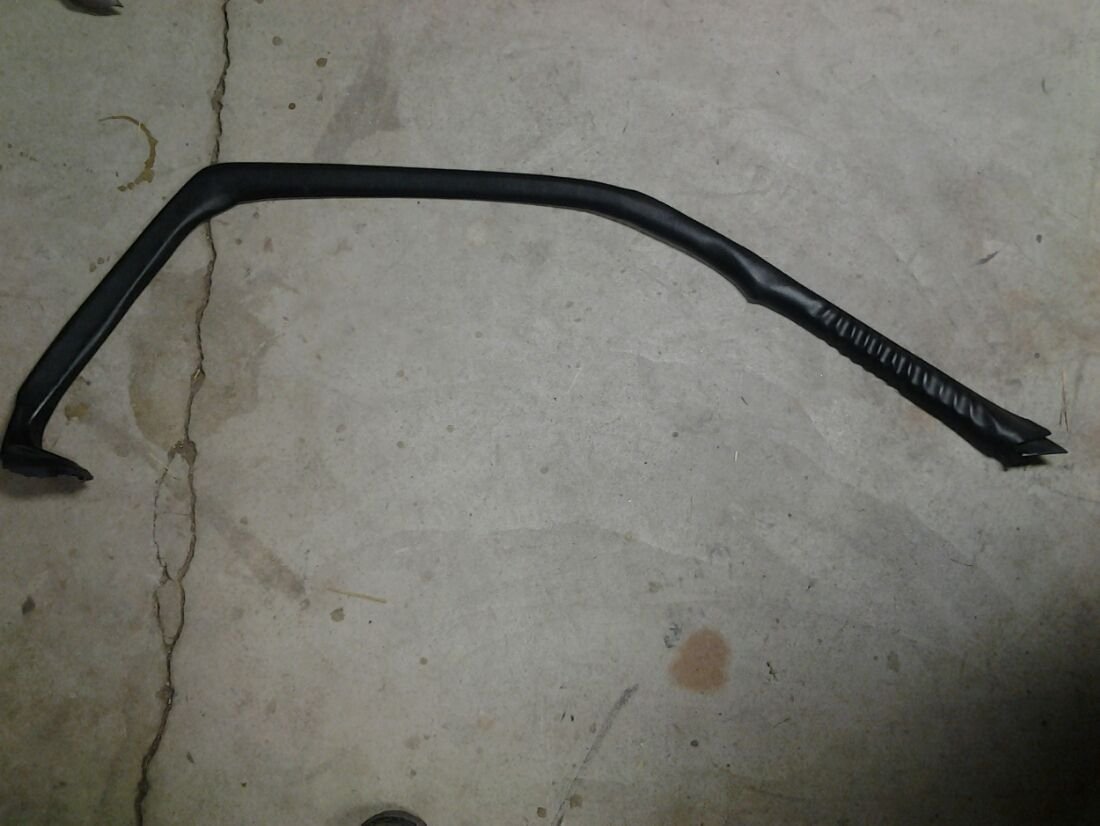
Now that the easy stuff was done, the lower portion of the door panels...I went after the upper door panel piece that runs along the top of the glass.
This piece made me a bit nervous, to say the least. I'd removed one off of #613, just to see how they came off and the clips that held them on were quite supercali-fragilistic-expialidocious fragile. So, before I dug into old red...I again went to the donor door and sharpen up my memory some. Started taking off the donor piece, promptly breaking the second clip from the molding piece..."see, told you l'd need a refresher course". Once it was off, l measured the clip distances from one-another and transferred those measurements to old red.
She's off without a hitch...whoo hooo! You can see how the vinyl had bunched up along the leading edge. The vinyl is still quite pliable, so re-gluing will be a cinch.
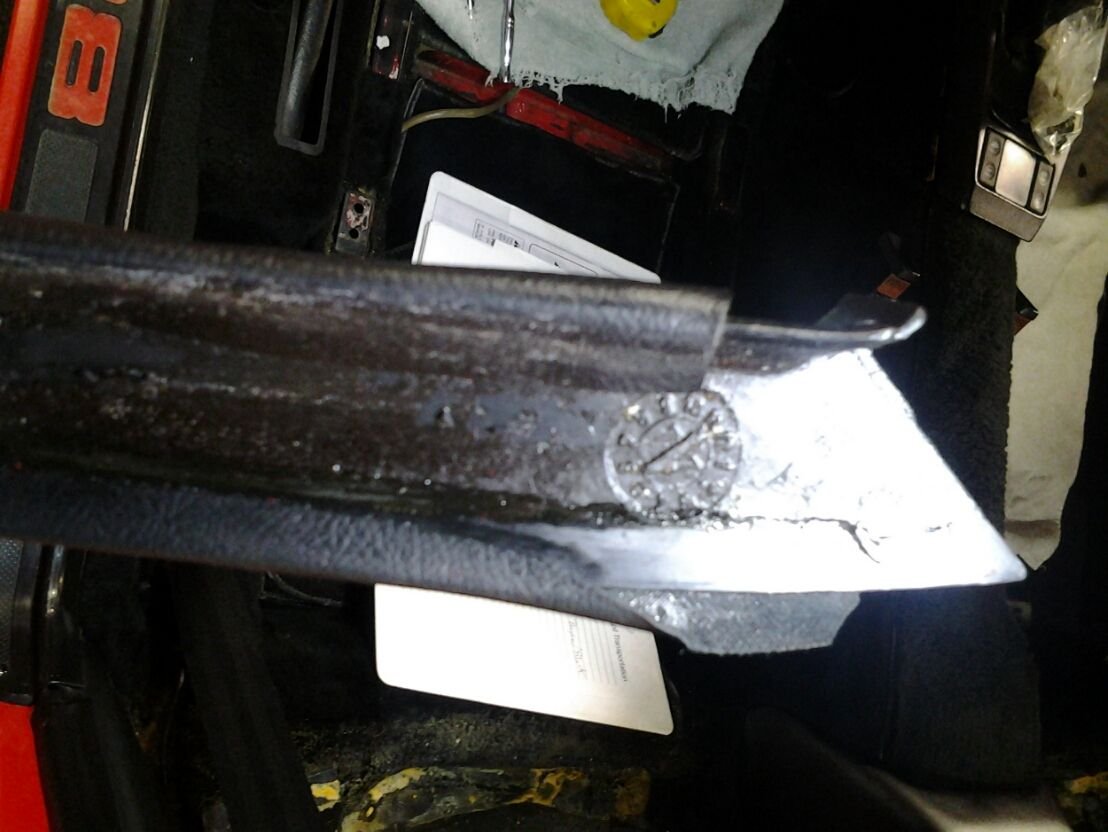
Date code.
To the basement for gluing. The passenger side was in good shape...so, I only had to sweat-bullets once.
Before...
After...
My wife's not to happy about the change...but...she understands the need.
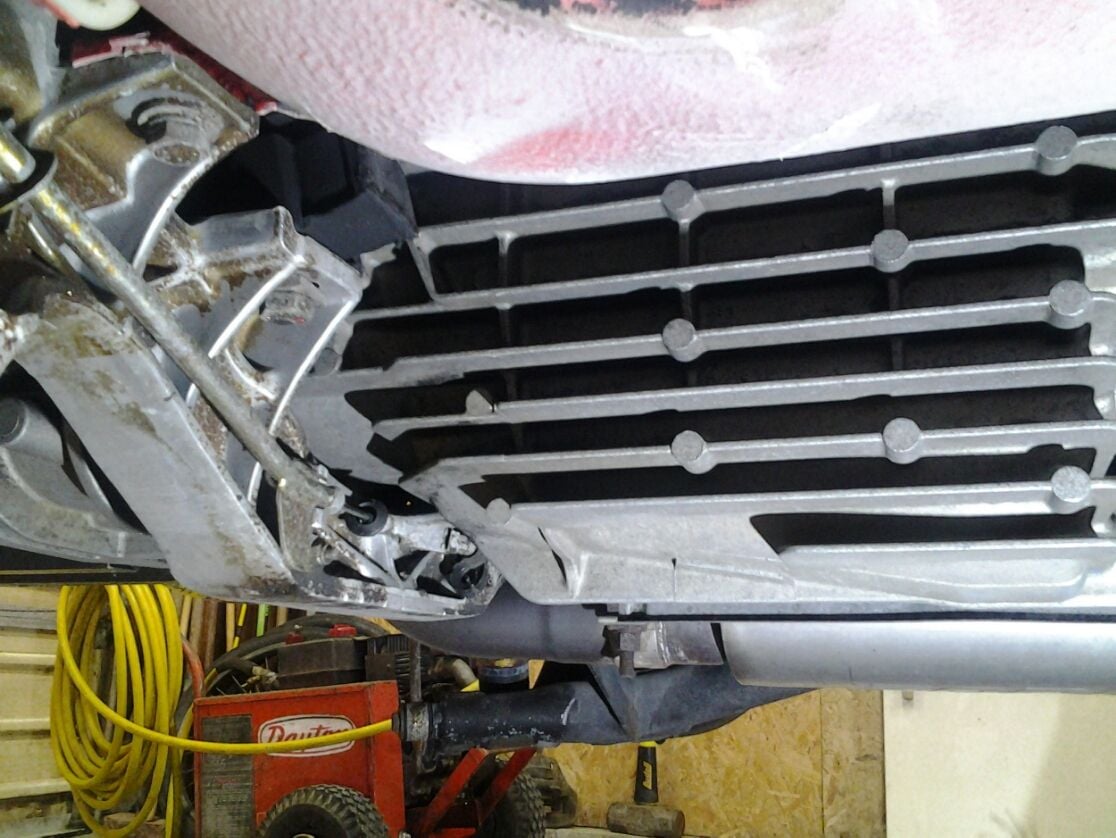
Nice to have an early 928 dedicated thread. My contribution is about my car that is slowly but surely coming together again after having done suspension, brakes, brake lines, underside, engine compartment, TT, axles, gearbox oil seals, fuel lines, etc, etc...
Picture with car on stands was taken while video recordings were made for a DVD about the design of the "Back to the future II flying taxi", yet to be released.
"Hard fuel line" in both end of filter, first I believed this was unoriginal until I saw Jims tread on number 6 which seems to have the same solution.
New filter installed, original Porsche and now in the right flow direction (the mahle filter that was there was upside down)
<img src="https://6anyqw.bn1301.livefilestore.com/y3me9XUB-B89wefmOZ5L739eTpNOj7MknQ-W57Dh2dIubIRqBNtRb9lojclDxmTYN8VXm3HQVFlJmk9vS47AKrnMupCYKDf9nAYXjcjo_pN uqdTuTng7gxxL1RZGMKWQROt6qiY4tpOo5J5kvvtU2rWRg?width=495&height=660&crop mode=none" width="495" height="660" />
Before I destroyed this original 77 feature with installing rear wiper
I found out later from pictures in Jims #6 thread that this actually was original.
<img src="https://6amuuw.bn1301.livefilestore.com/y3mfRwnm8lMbPzlxLpaOo-zdpvbbWqPofxv7BZa_Anbo-8VBJFM4dMnI4OLW6jKUksnZmwdl78Md5wYJlW0o-Z4h9A8D3rHFBRvjZgtCjOH79h1_VlBexU6sTn-S03fFRXcxSLFJ__ZsyowM_4ZzvJcJw?width=660&height=495&cropmode=none" width="660" height="495" />

 03-28-2016, 10:25 PM


 (the mahle filter that was there was upside down)