When you click on links to various merchants on this site and make a purchase, this can result in this site earning a commission. Affiliate programs and affiliations include, but are not limited to, the eBay Partner Network.
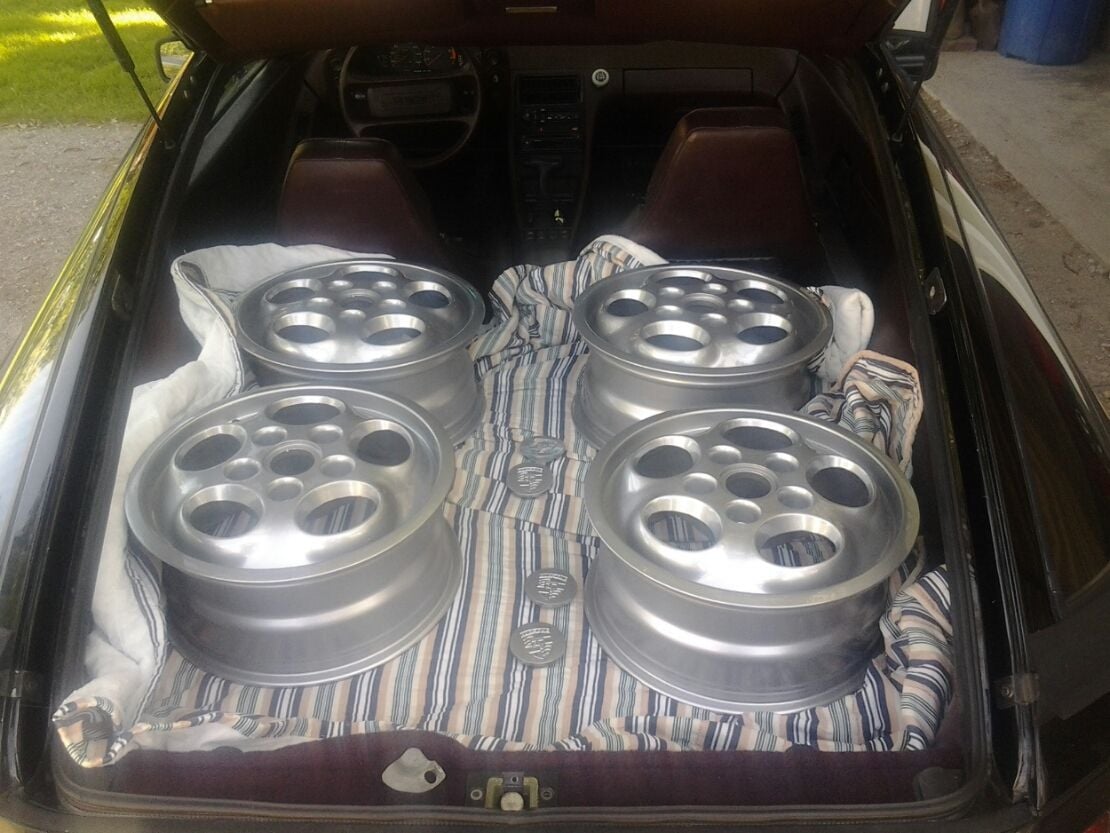
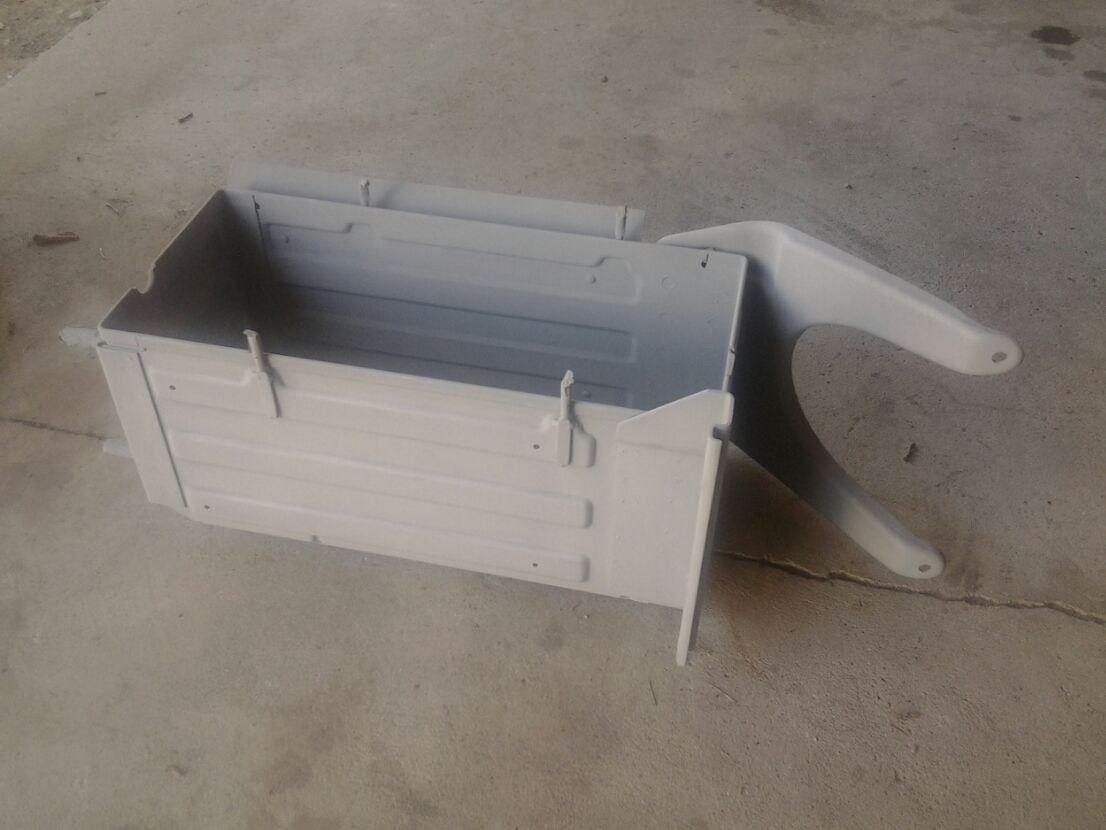
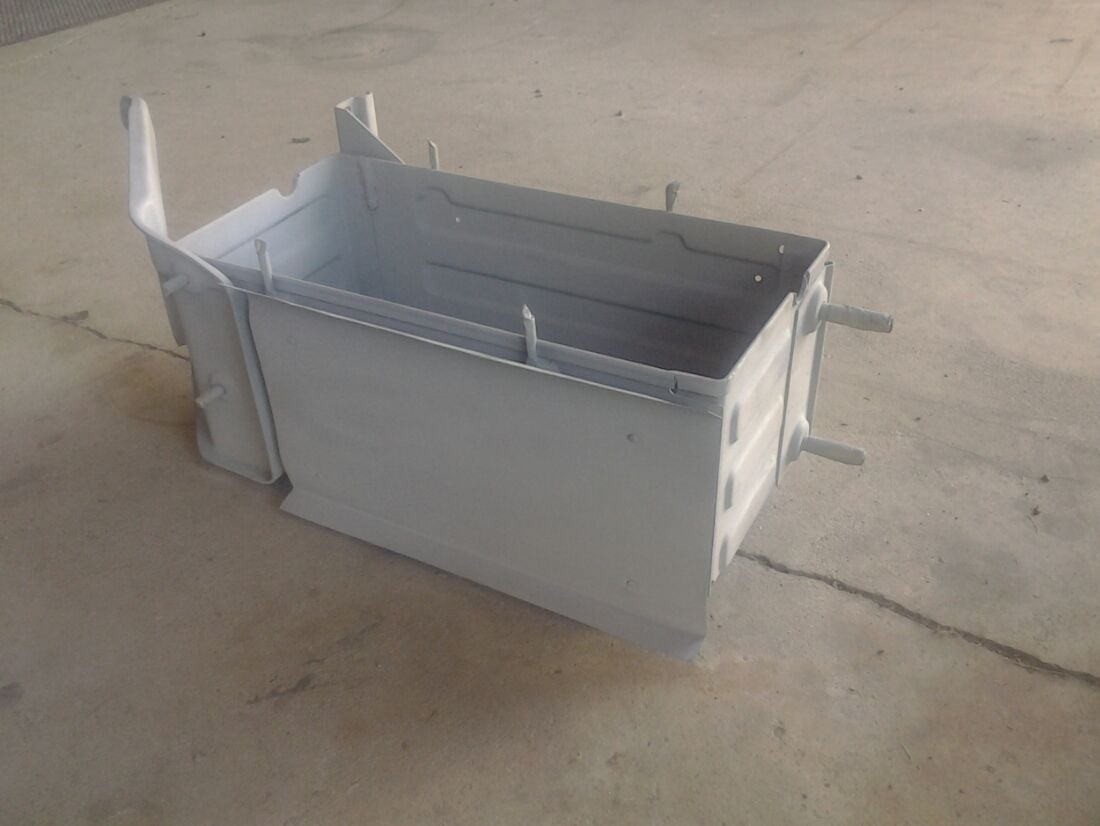
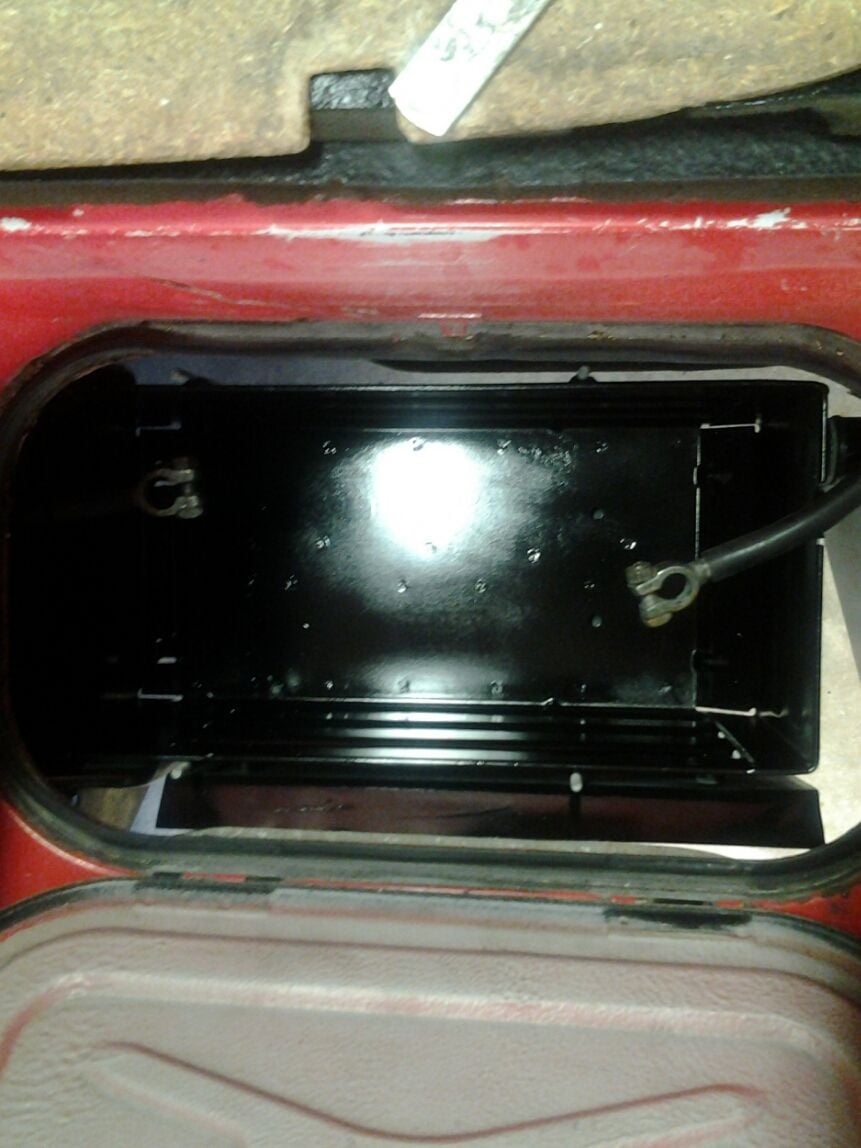
Wheels and battery box look great Brian, a lot cheaper than I would have thought too. I have a set of phone dials that need to be redone as well. Might be able to get them done sooner than I thought at that price. What's the name of the shop that did the work and where are they located?
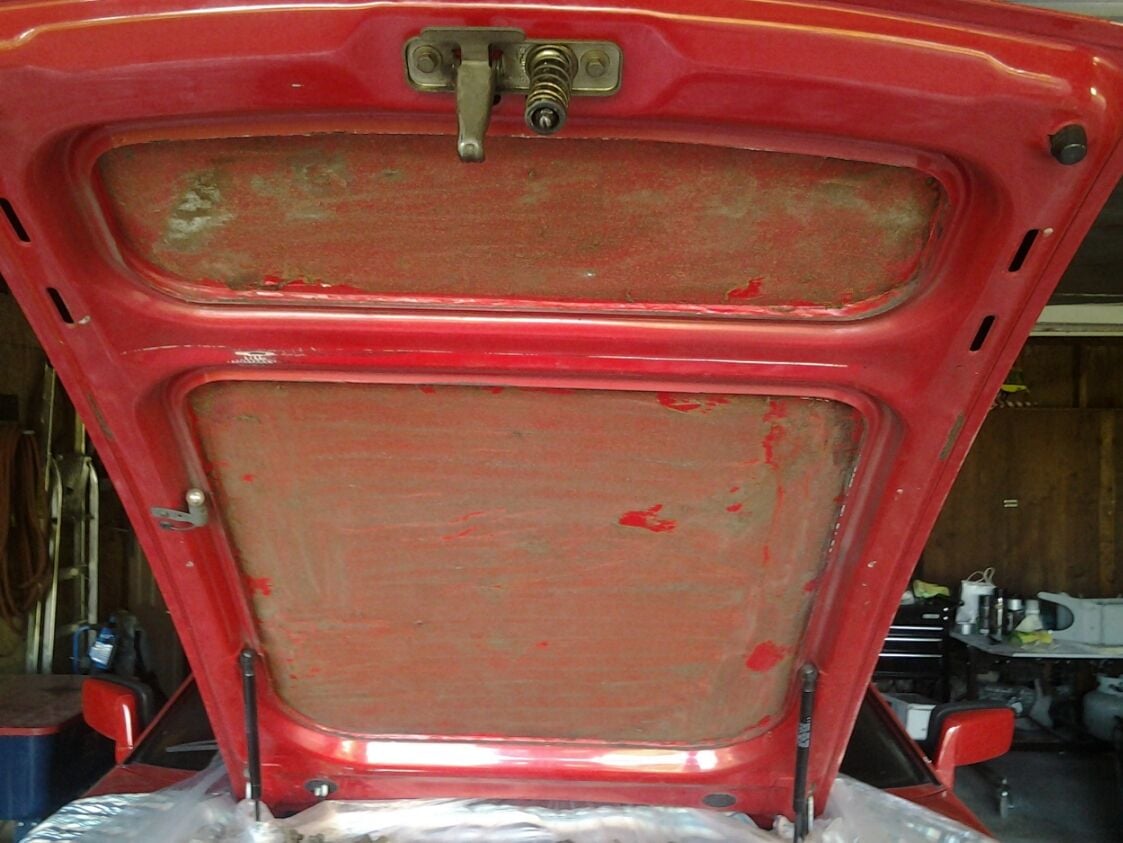
After reading "hr928's" (Haroldo) topic, and how he steals away a few hours a day to work on his car. It was inspirational enough to persuade me into tackling that ugly *** hood liner. Figured, if he can work on his car in Florida...then by God...so can I here in this stinking tropical heatwave we're having.
Old hoodliner scrapped right off, piece of cake. Should be done in a few more minutes, for sure.
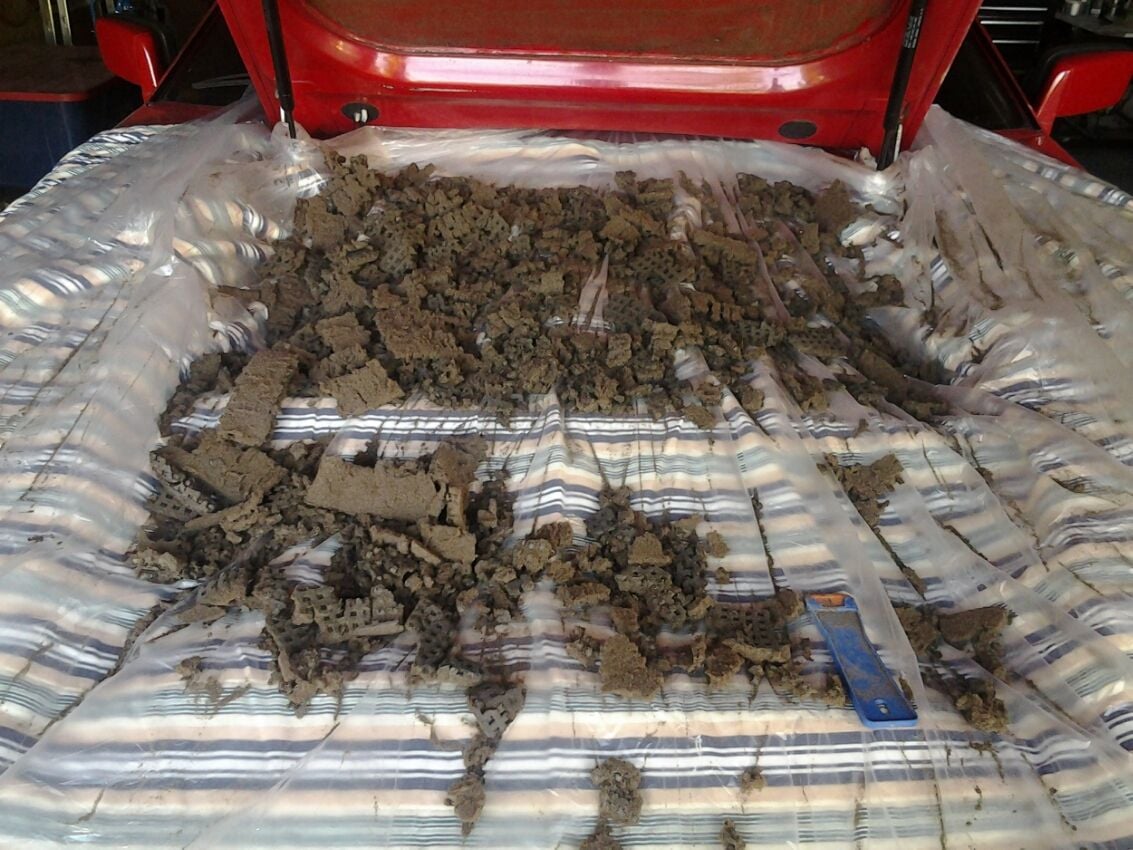
The bounties of my labors.
Then some mineral spirits got filled into a spray bottle...and the tedious part of the job began. About half way through...and as sweat poured from every square inch of my body...I thought this whole idea may have been a mistake, maybe Haroldo is half my age, maybe he's acclimated to heat like this, maybe he's twice the man I am, who knows? However, my pool of sweating mass continued on anyway. But, a lot can run through a persons head about midway on a job like this.
Finally...finished. One hour from start to finish.
Looks much better now, plus, no more crap falling on the engine and me, when I bump the hood with my head.
Wheels and battery box look great Brian, a lot cheaper than I would have thought too. I have a set of phone dials that need to be redone as well. Might be able to get them done sooner than I thought at that price. What's the name of the shop that did the work and where are they located?
Hood looks good. My liner was so crumbly that all I needed to use was a shop vac to remove it. Now just the old adhesive left. So are you happy with how the mineral spirits worked on that? I was thinking of trying some Goof-Off but MS a lot cheaper.
I've seen the the replacement solid black foam liners, but does anyone make an original waffle style liner?
Yes, I was satisfied with how long the MS took to complete the job. You have to work at it some, but the fumes aren't that bad and as long as you don't get all nuts on it...you won't take any paint off. Move around as you work, don't concentrate in one area to long or until done...the paint will become soft and you'll start to remove color. Break it down into quarters, moving from top to bottom and this will allow the MS to evaporate some, when you move to the next area.
I believe just about everyone has the waffle hood liner. Need two people to install, if doing while hood is on car and this is how I did old blacky. The hood on your 84 probably isn't completely painted like my 78, mine wasn't. Was hoping before I started that maybe they weren't so thrifty on paint in 78...and it would be solid color...and it was! I like it naked...but that only makes since...cause it's the same way I like my wome....eeerrr...woman.
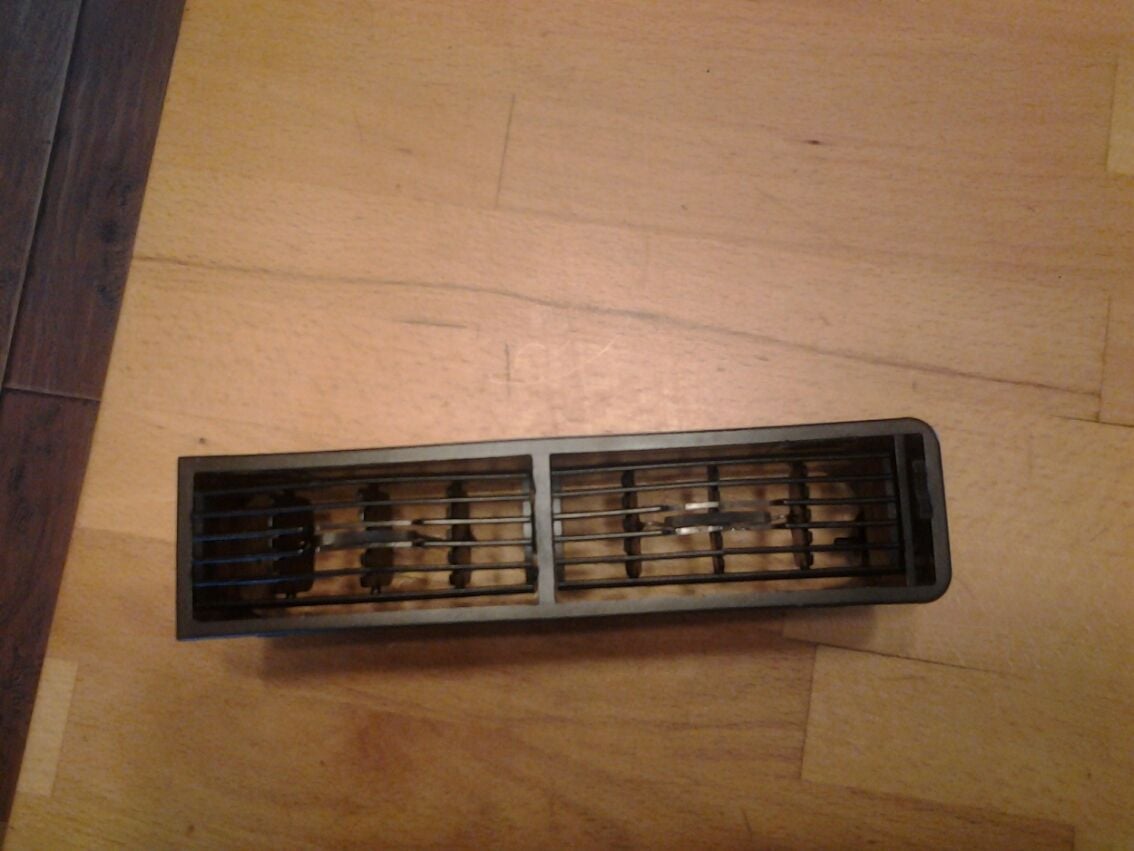
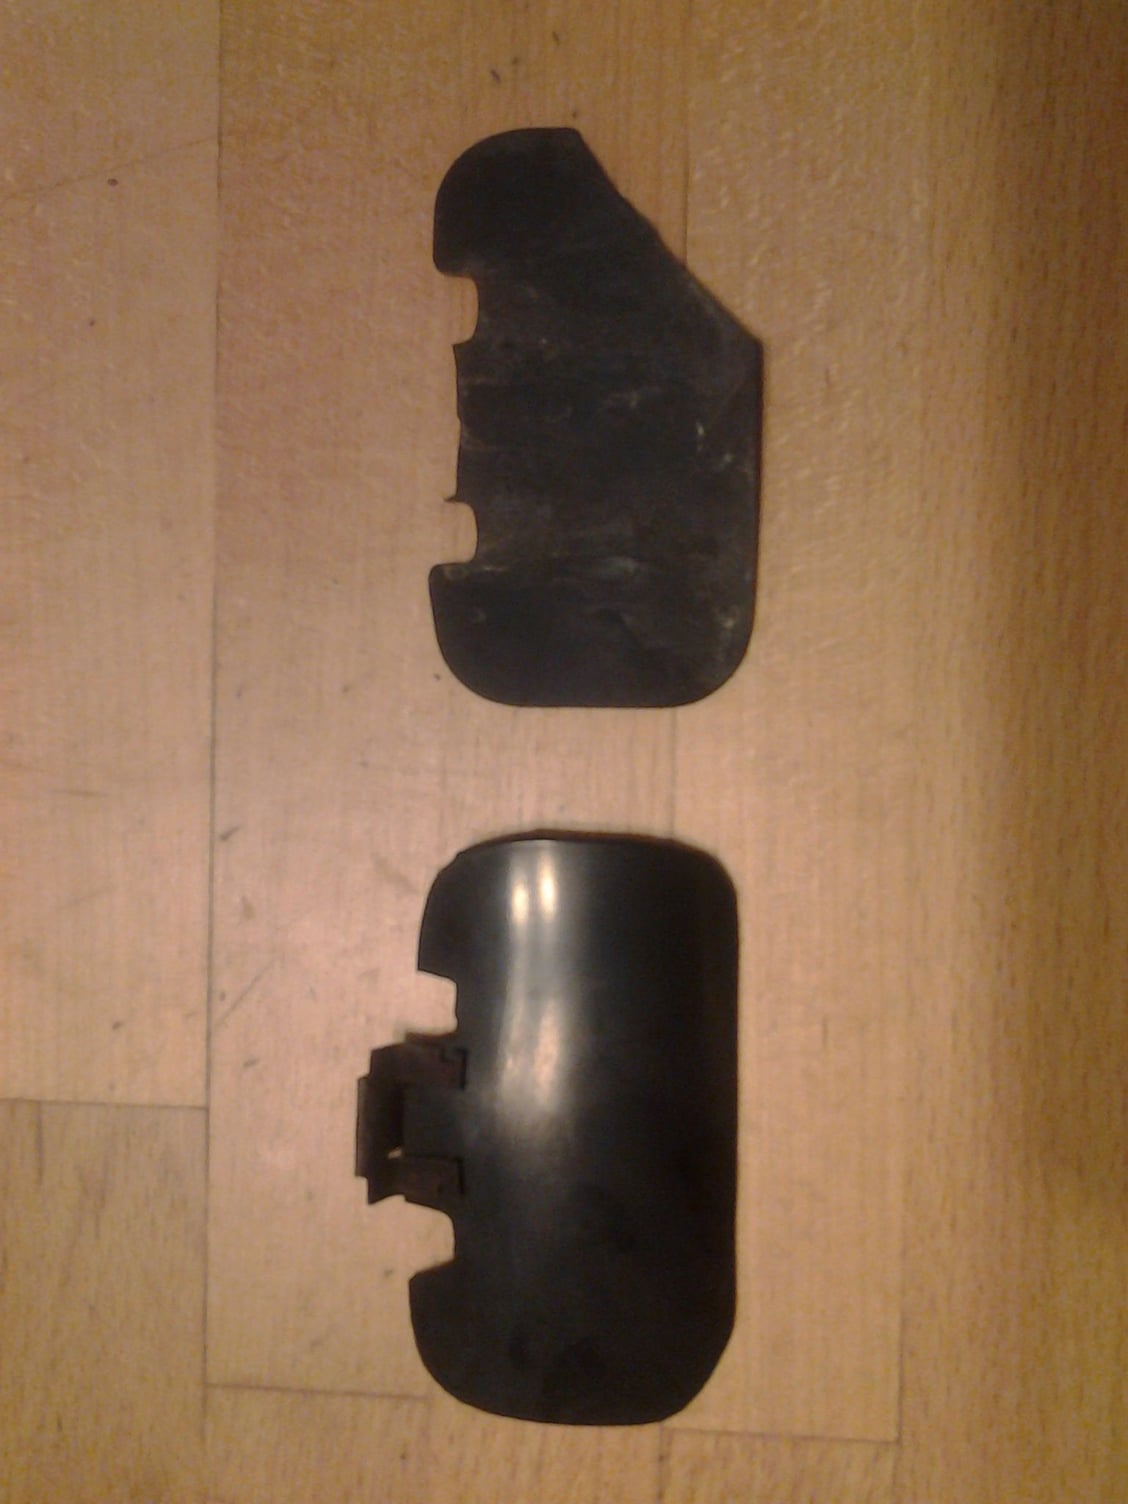
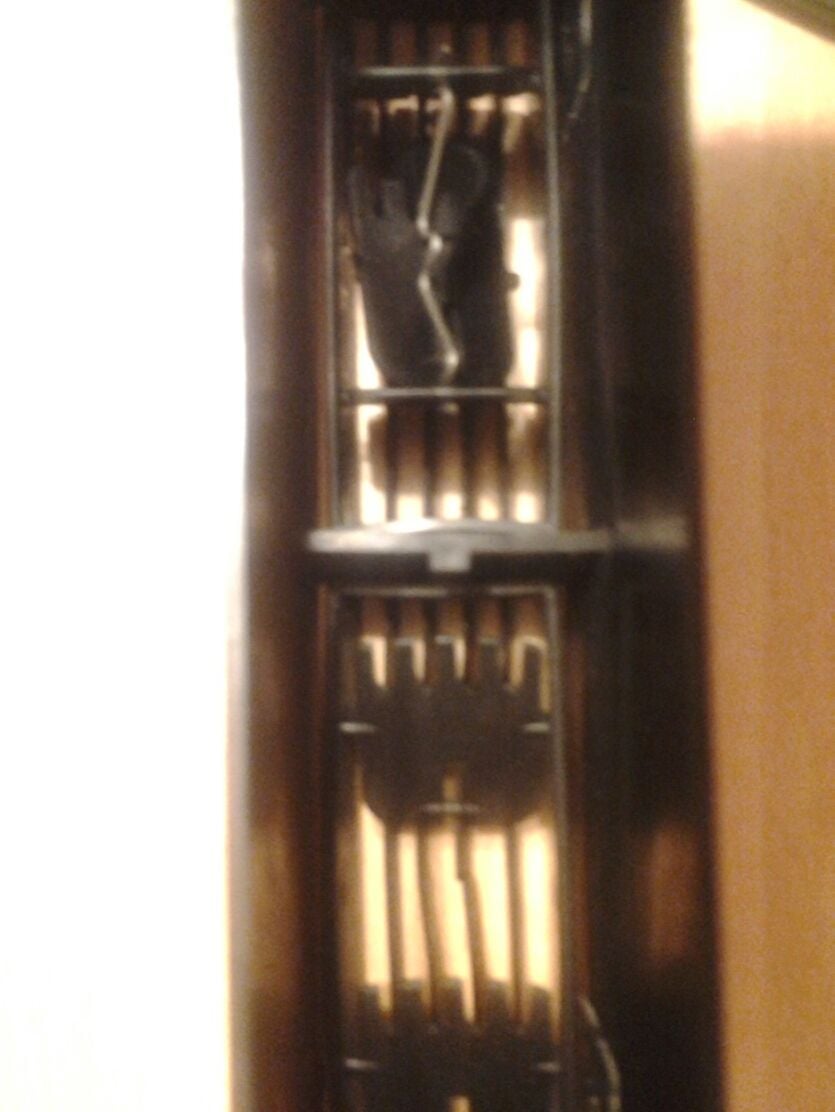
Worked on the door panel vents today. Typical problem, broke round nubs that insert in vent control housing. Plus, broken vent ribs in vent housing (not pictured).
Donor vent on left, broken vent center piece on right.
Took a razor knife and cut nubs off donor, then took a 1/16 drill bit and drilled a small hole in the center of the donor nub(s) and broken vent's center piece. Cut a short piece of 16 gauge wire and glued the nub to it, then cut to desired length (just long enough to bottom out in vent center piece hole) and glued the nub into the center vent (thumb) control piece.
Both vents done and in place.
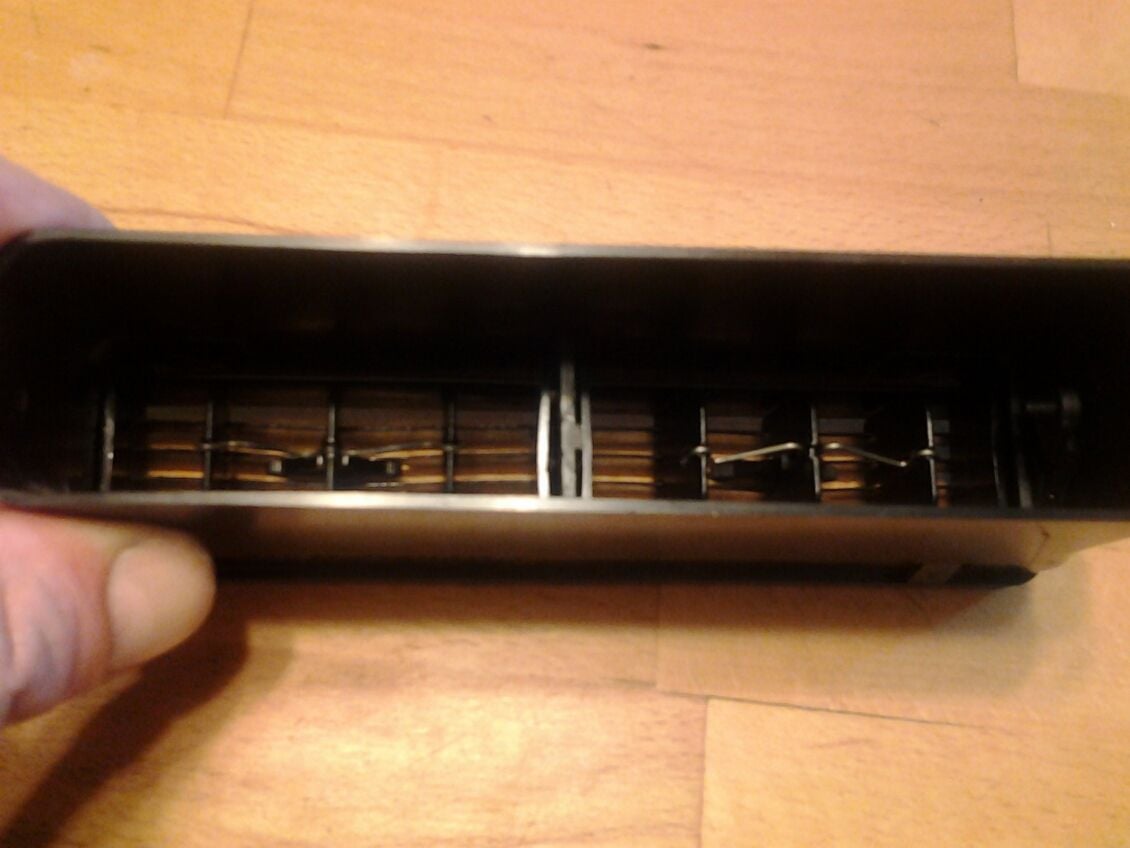
Had to make the small retainer wire that holds all three vents motion in unison, while moving the center vent thumb control. A bit of trial and error here. Used 18 gauge mechanic wire for the first one, failed. Was worried about the fact that it wasn't spring steel to begin with and my worries were jusified. Even tried heating the wire up cherry red and quenching it to harden it some, hoping this would make it more rigid. However, this didn't work well enough to find reliable.
Had an old choke cable off my push mower hanging on the wall in front of my face, so I pulled out the inner wire...and used that. It was much more difficult to bend, but did the trick. Old one on the right, new one on the left, above^^^^.
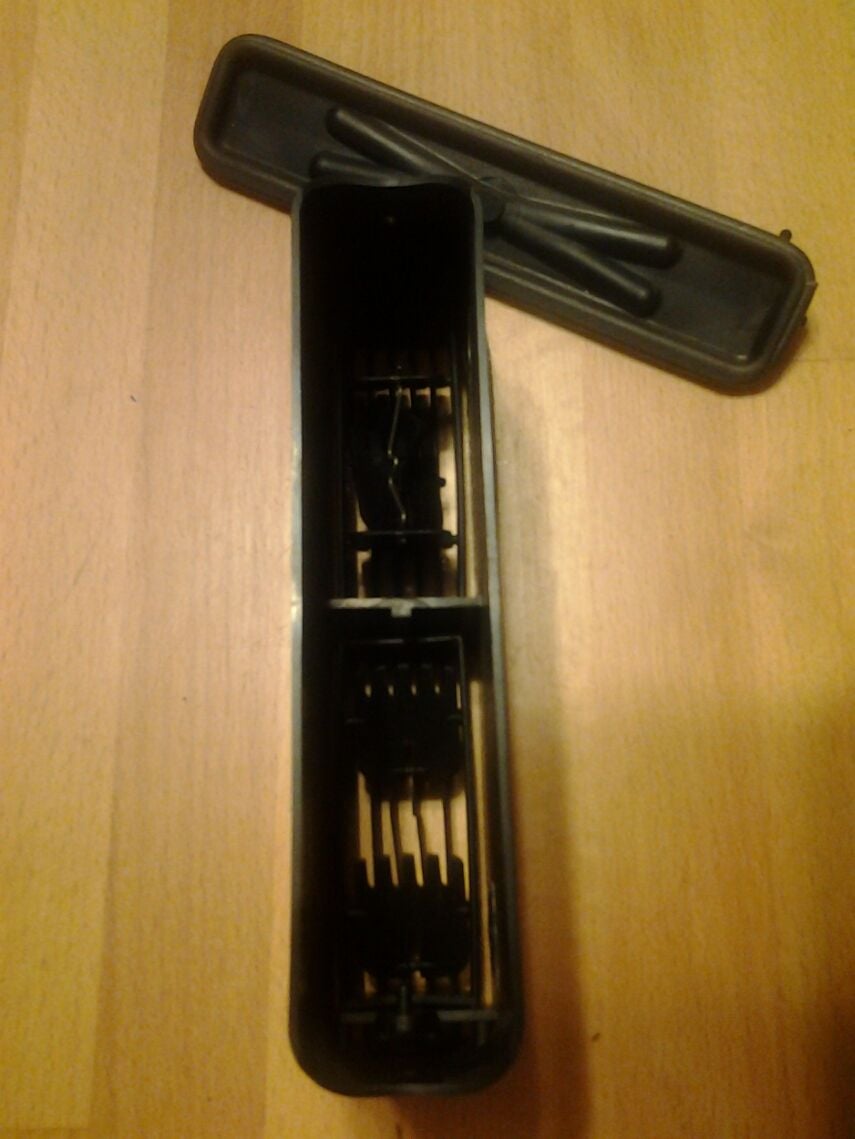
^^^^Worked on this part today, also. Cut new rubber gasket. For those still following along...name this part or give location.
Awesome work on the louvers! William found one of those springs in the bottom of Minerva's passenger side armrest, I need to take it up to Mark's and see if it's the same as that used on the later vents- if so there should be plenty of spares.
Yep, I'll try and come up with something more difficult for you...if there is such a thing.
Awesome work on the louvers! William found one of those springs in the bottom of Minerva's passenger side armrest, I need to take it up to Mark's and see if it's the same as that used on the later vents- if so there should be plenty of spares.
Wow Brian, nice work. Got about 20 of those for you to work on. When you coming over. I fought the 'battle or the hood liner' as well a couple times and it's misery at it's finest.

 07-22-2016, 07:20 PM