When you click on links to various merchants on this site and make a purchase, this can result in this site earning a commission. Affiliate programs and affiliations include, but are not limited to, the eBay Partner Network.
I'm thinking about tackling the hoodliner replacement on my 928, and I have seen it done with hood on and the hood removed.
For me, it will be s 1-man job and will be done in my driveway. I'm installing a new Porsche liner from Roger, so the adhesive is on the back already.
My thought is that this may be be easier to do this with the hood on for one person, as I won't have to worry about hood install alignment, plus the adhesive is on the foam, so repositioning and placement should be easier.
I can't imagine doing the replacement with the hood on. You'll be spending quite a bit of elbow grease getting the old adhesive off to begin with. Getting the new liner aligned correctly with the hood in place would be next to impossible IMHO.
R&R of the hood is not too difficult for a one man job. Just have plenty of clothes towels covering the body to avoid scratches.
Unbolt the hinges from the car, rather than from the hood. This will make reinstallation much easier. If you must unbolt the hood from the hinges, carefully tape around the hinges so you have some removable witness lines for reinstallation. Enlist the aid of a neighbor or family member for the R&R. Or do it in the garage with some suspension from overhead if you can't find help.
The aluminum hood itself doesn't weigh much and can easily be handled by one person when it isn't attached to the car. Getting it back in single-handed without damaging anything around it becomes the biggest challenge. Use service covers, gaffer's tape, moving pads, cardboard over the windshield and cowl panel, etc., during removal and replacement, and you can do probably do it.
Once removed, there's a lot of work removing the old liner. the foam falls apart as you scrape it, so your shop vac will be running continuously. Start off with a plastic scraper (drywall tools at your Home Depot or Lowes) with the corners a little rounded. You'll need to get ALL the old foam off. Getting the glue off completely isn't necessary if you are using the same solvent-based cement to hold the new liner in place. If you have a peel-and-stick liner, old glue must come off.
There might be a way to do all this with the hood in place, but unless you have a dozen hands helping with the new liner installation there's just no way to keep the new foam from having local uneven stretching as you push it into place. Then you have to trim it and deal with the consequences later.
I would also tape some cardboard over the top surface for protection while you've got it off. Last thing you want to see is a small ding after you get it all back together.
Jason when I do the foam pad replacement I take the hood off,
I replaced two of them with the hood on and it was a very hard thing to do.
Get a few thick towels and lay them on the grass,
once you have to hood off as suggested by Dr Bob,,
lay the hood on the towels,
scrape off the loose foam,
then get a fresh can of PB blaster and be generous and spray the all of the old adhesive,
then go have lunch,
in about 30 to 40 mins the glue will soften and you can use a bondo scraper to push the old adhesive into a pile and remove it,
once the old adhesive is removed,
some wax and grease removed must be used to prep the surface for the new pad.
Once the surface is cleaned, lay the new pad into the hood cutout without removing the plastic,
and use some blue tape to mark the center and the sides,
use these as your guide,
then remove one end of the plastic and carefully line up the tape and put it into the hood .
NOTE the edges of the foam get tucked under the edges of the hood so the glue may get stuck to the edge carefully lift the edge up and then tuck it under the ridge.
NOTE you only get one chance to get this right as the pad will instantly stick .
I have heard of some suggesting to use some soapy water sprayed onto the hood,
but the pad still sticks instantly. YMMV
Great suggestions, guys. It sounds like it is best to get the hood off. And I agree that getting an extra hand around makes sense. Now I have to figure that part out...
Although, I did have an extra set of hands (wife's).
Laid two old comforters (well, l thought they were old...wife...not so much...so be careful following this part of the directions...lol) over the engine bay and fenders/wings and then applied a tarp covering those. Cleaned the old liner/insulator off with a plastic scraper (looks like an old time scraper with a double-edged-shaving-razor type blades, but the blades are made of plastic). Then took mineral spirits and removed every bit of old adhesive...to the point where it looked good the way it was (without liner).
Applied adhesive to both hood and insulator, waited appropriate time and with the help of my wife...started at the bottom of the hood and worked our way up.
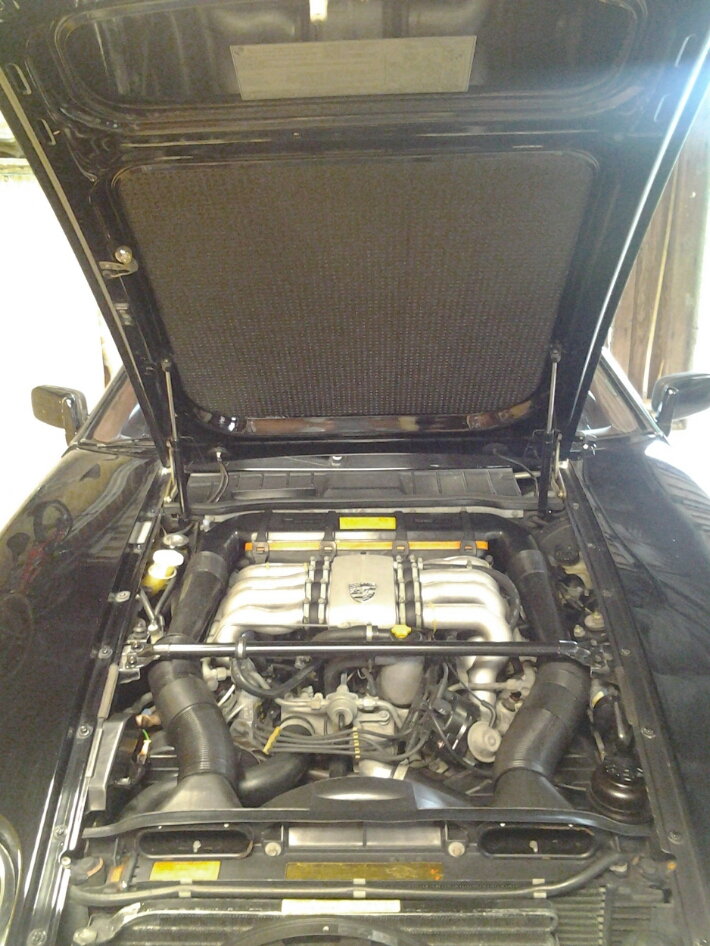
And yes...I have corrected the hood shocks position (upside down in picture).
Seeing that your hood insulator already has the adhesive applied, I would think it would go even easier than mine. I would start at the bottom of the hood, first just remove an inch or so of backing, then start tucking the bottom edge of the insulator into the bottom lip of the hood, making sure it is absolutely straight and aligned (putting pieces of tape on for alignment would be very beneficial), all while the other set of hands holds the upper portion a few inches from the hood, then remove more backing and work your way up the hood, while tucking the edges and working out any air bubbles. Used a small paint roller to work the air bubbles out, working upward as you go. Just go slow...it can be done.
However, if you feel like removing the hood is the way to go...you can do it that way...but I would still recommend an extra set of hands. I just single-handedly removed a hood, parts car, and there is no way I would have done that on a car of any worth. At least without several precautions being taken prior.
I have replaced the hood insulation pad on most of my cars and did not remove the hood at all. Just clean the residue of the old foam from the hood with a vacuum and wipe over the surface with white spirits or such. Absolutely no need to remove the old adhesive from the hood apart from granular material. The old adhesive acts as a primer and ensures even better adhesion.
Peel back the first 6" of backing and apply to the top of the hood. Roll down as you peel back the backing sheet.
These comments are only for the factory insulation with adhesive already applied to the backing.
__________________
Does it have the "Do It Yourself" manual transmission, or the superior "Fully Equipped by Porsche" Automatic Transmission? George Layton March 2014
928 Owners are ".....a secret sect of quietly assured Porsche pragmatists who in near anonymity appreciate the prodigious, easy going prowess of the 928."
I did mine with the hood on. I put a disposable drop cloth over the front of the car and went through plastic scrapers, mineral spirits, adhesive remover, etc. It was nice to have the hood in place so I could use both hands for cleaning. BTW if you get adhesive remover on you hood shocks they may fail prematurely.
The biggest mess is all the glue residue globs that get everywhere.
Good luck,
Dave
As everyone as said, can be done either way, if you do it with the bonnet on, unclip the struts, this will enable you to raise the bonnet higher, make/find a piece of wood etc to use as a prop, I use a piece of PVC tubing cut to size.
As bonnets go the 928 is very easy to remove and refit but I would say that being an ex bodyman, for a quick table to lay it on, two saw horses, sheet of plywood and a blanket works for me.
I have replaced the hood insulation pad on most of my cars and did not remove the hood at all. Just clean the residue of the old foam from the hood with a vacuum and wipe over the surface with white spirits or such. Absolutely no need to remove the old adhesive from the hood apart from granular material. The old adhesive acts as a primer and ensures even better adhesion.
Peel back the first 6" of backing and apply to the top of the hood. Roll down as you peel back the backing sheet.
These comments are only for the factory insulation with adhesive already applied to the backing.
+1... hood on. Not that difficult a job. Just take a couple of Motrin to ease the back pain that you may get from bending and twisting.
I got my new hood liner from Roger then watched Sean install it in about 15 minutes with the hood on! Took about 10 minutes to scrap off the old glue.
Hood on for me as well.
I layed down cheap plastic drop cloth and then started scraping w a plastic spatula as many others have done.
I didn't want to clean a blanket or anything after I finished.
As roger mentioned, use mineral spirits to clean off any remaining residue that will come off, leave the rest in place, it will NEVER come off.
Hardest part was lining up new liner.
Took me as wife about 10 minutes to install.

 07-26-2015, 11:56 AM


 George Layton March 2014

