When you click on links to various merchants on this site and make a purchase, this can result in this site earning a commission. Affiliate programs and affiliations include, but are not limited to, the eBay Partner Network.
FWIW make sure to remove the blue towel over the oil filter hole just prior to lifting the pan into position.
Also remove any other blue towels from around the engine,
you wouldnt be the first to notice low oil pressure after a pan gasket RnR only to find a blue towel covering the oil pickup
Stefan - Thanks. You and anyone who does this job outside get extra credit
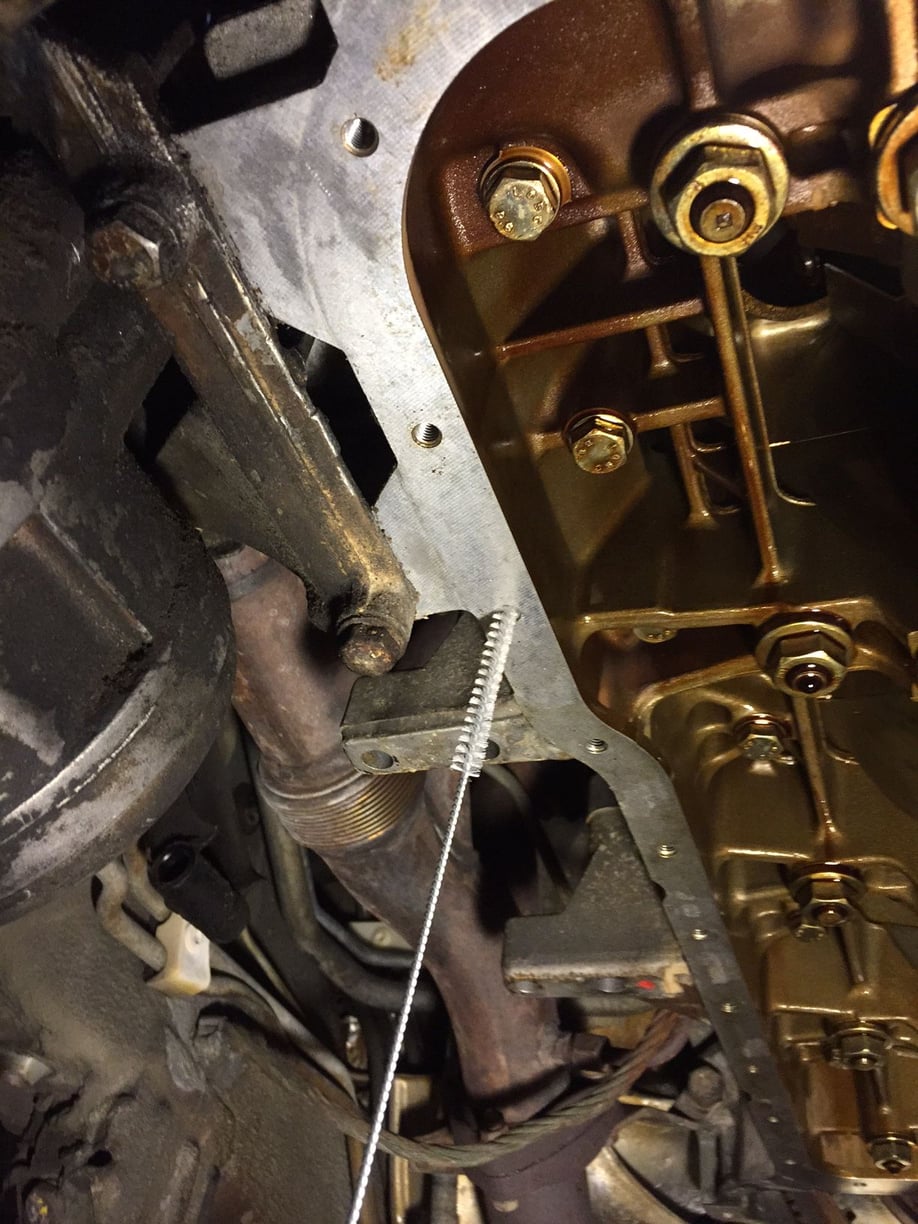
Stan (MrMerlin) - I've put the pan up with two bolts just to cover everything. The zip ties are holding the OPG in place. I'll pull that towel out of there first thing in the morning.
I mostly cleaned today after going to HF and buying a compressor and a few air tools. Cleaned the pan bolts, used a razor scraper to remove some residual "glue" from the cork gasket that remained on the mating surface on the block and oil pan, then cleaned all the surfaces with clean rag and brake cleaner. Messed around with the new compressor. Cleaned the cross member more thoroughly. Finally zip tied the OPG in place and put the pan up with two of the shorter bolts (dry...just temporarily). Tomorrow I'm picking up a belly pan from Michaelathome and then back to finish installing the pan bolts, blue Loctite on each. I marked the bolts I put in today to remind myself to remove them and put the Loctite on them. Then starts the long criss-crossing drill of gradually torquing the bolts evenly.
Removed picture of OPG zip tied to the crank case holes. I realized the hard way that the OPG should be zip tied to the PAN holes to assure gasket stays in position around the pan.
Last edited by Captain_Slow; 12-22-2014 at 07:34 PM.
Reason: posting pics
Jon it may make no difference, but I zip-tied the gasket to the pan - not the crankcase - using 4 or 5 ties. That way I could confirm that the gasket was in correct position all the way round. The way you have it zip-tied to crankcase, the gasket may get pushed out of position as you attach pan (because gravity makes it flap down), and you may not spot it.
Jon it may make no difference, but I zip-tied the gasket to the pan - not the crankcase - using 4 or 5 ties. That way I could confirm that the gasket was in correct position all the way round. The way you have it zip-tied to crankcase, the gasket may get pushed out of position as you attach pan (because gravity makes it flap down), and you may not spot it.
I knew I should have read the forum before going back to finish up. Soon realized I'd made a mistake attaching the gasket to the crankcase. At front right the gasket was collapsed inside the pan. Same at the rear. After messing with it for awhile I snipped the ties and reattached the gasket to the pan.
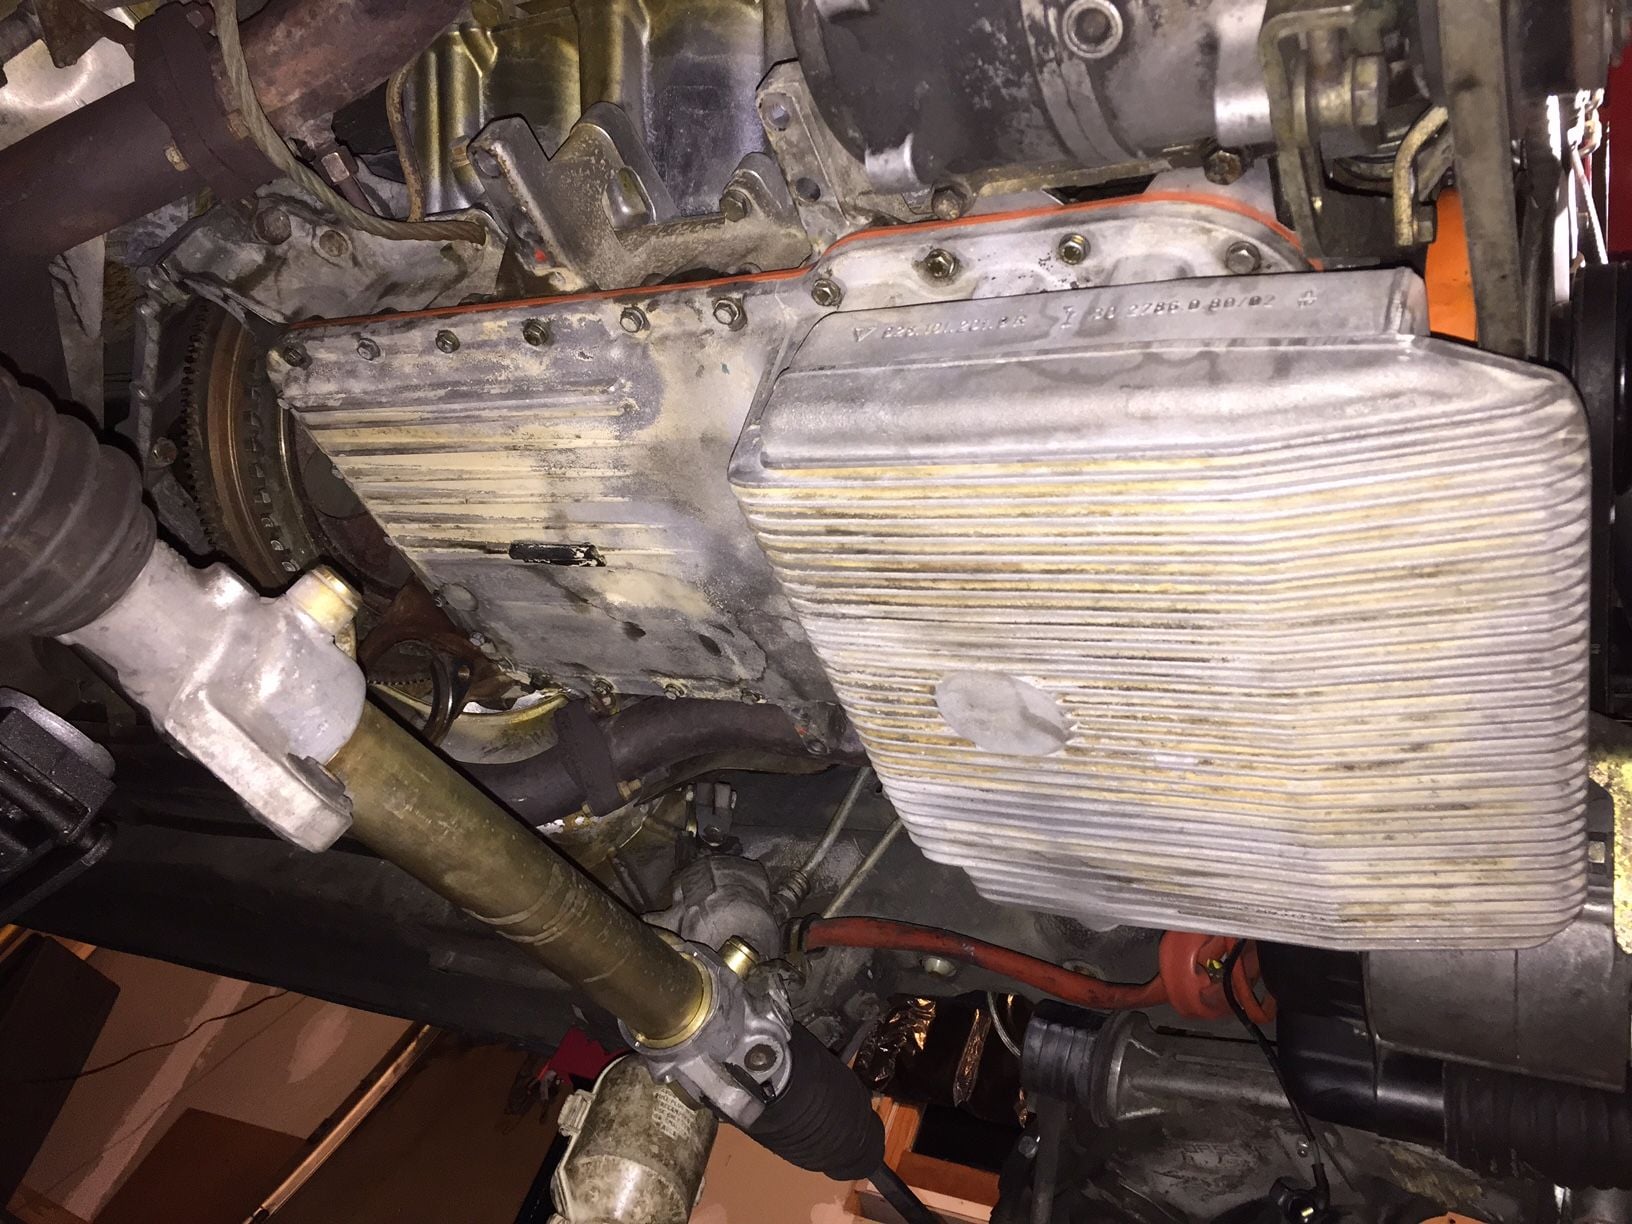
So...OPG is done. It did go back together easier than it came out. Funny how installing the front bolts wasn't as difficult as I expected, even with bolts coated with blue Loctite.
I knew I should have read the forum before going back to finish up. Soon realized I'd made a mistake attaching the gasket to the crankcase. At front right the gasket was collapsed inside the pan. Same at the rear. After messing with it for awhile I snipped the ties and reattached the gasket to the pan.
So...OPG is done. It did go back together easier than it came out. Funny how installing the front bolts wasn't as difficult as I expected, even with bolts coated with blue Loctite.
Congratulations Jon - job looks a "good 'un" as we say over here!
Pan area is transformed without the drips/grease isn't it? I think just clean/dry working area helps all the bolts go back more easily.
At this point it looks really easy to replace the rack bushes...rack hanging down invitingly in your photo of installed OPG!
Congratulations Jon - job looks a "good 'un" as we say over here!
Thanks... Yes, it does look and feel like a much more durable and effective gasket. Of course any gasket looks great with an empty crankcase!
Delrin steering rack bushings are on my "job creep" list. Roger is keeping a growing order list for me. I noticed the upper control arm ball joint boots are just starting to split.....and since an alignment will be needed after all of this it seemed like a good time to replace the front shocks....but then the rears need to be replaced and it's better to pay for an alignment once, so... We all know how this goes
Oh...and I did rip that oil level sensor boot. Need a replacement or a clever fix.

 12-20-2014, 04:16 PM