When you click on links to various merchants on this site and make a purchase, this can result in this site earning a commission. Affiliate programs and affiliations include, but are not limited to, the eBay Partner Network.
I just took a look at the last few bolts and it just seems it would be a lot easier without the alternator in place. I removed an alternator on an 86.5 easily to repair
a leaking power steering return line. The area around the alternator on the S4 looks much more crowded, and the lower radiator hose and fan pack appear to make removal of the upper alternator bolt difficult.
Wasn't planning on removing the alternator, radiator hose and fan pack, but if it's the best way to get the job done..OK.
Hey Jon I did have alternator down when I did OPG. Didn't lower to improve bolt access but I was changing steering supply line at same time and it makes access round pump connections easier.
May be significant that when I looked at your diagram I didn't recall problem with so many bolts at front left. Certainly corner one was easy and the hardest one in that region was behind oil sender! 2 or 3 at front were also challenge. The hardest bolt of all was one behind a/c compressor - to get to it I loosened compressor belt and swung compressor as far out as possible away from block.
So long way of saying dropping alternator may make job a little easier, but it's not essential. If you want to remove then lifting fan shroud a few inches allows alternator pivot bolt to come out.
When I did OPG I remember thinking it would be easier with fan shroud completely out. That way less contorting neck to sight bolts, and more room for hand/wrench to get comfortable access to trickiest bolts.
StratfordShark-
Funny how things are all relative! I found it rather easy to remove all the bolts near the AC compressor. My cardboard bolt holder is reversed because I wasn't paying attention to how it was laying the new OPG when I traced it. There is more room between AC compressor and oil pan. The alternator is really close. I can probably get all the bolts with a flex-head gear wrench.
I'd already planned to change the coolant right after adding fresh oil and filter. So I may still drop the alternator and remove the lower radiator hose. Lifting the fan pack to make a bit more space to work would be nice when reinstalling the bolts (which will have blue Loc-tite on them).
So today was kind of net-zero day. I'll go buy some flex-head gear wrenches tomorrow. That will make me feel better
I just took a look at the last few bolts and it just seems it would be a lot easier without the alternator in place. I removed an alternator on an 86.5 easily to repair
a leaking power steering return line. The area around the alternator on the S4 looks much more crowded, and the lower radiator hose and fan pack appear to make removal of the upper alternator bolt difficult.
Wasn't planning on removing the alternator, radiator hose and fan pack, but if it's the best way to get the job done..OK.
That alternator bolt omes out a lot easier when you are able to adjust the height of the engine. Otherwise risks interference with the fan console frame/motor supports.
StratfordShark-
Funny how things are all relative! I found it rather easy to remove all the bolts near the AC compressor. My cardboard bolt holder is reversed because I wasn't paying attention to how it was laying the new OPG when I traced it. There is more room between AC compressor and oil pan. The alternator is really close. I can probably get all the bolts with a flex-head gear wrench.
I'd already planned to change the coolant right after adding fresh oil and filter. So I may still drop the alternator and remove the lower radiator hose. Lifting the fan pack to make a bit more space to work would be nice when reinstalling the bolts (which will have blue Loc-tite on them).
So today was kind of net-zero day. I'll go buy some flex-head gear wrenches tomorrow. That will make me feel better
Relative indeed! I wonder if it's variation in the belts, and how far they need to stretch for correct tension?
Or maybe the MY88 has different a/c compressor and bracket from my MY91? That part certainly changed over the years, and PET itself is confused about precise a/c bracket and tensioner arrangements for different years.
Anyway you will find the install goes easier than removal, even if it's just familiarity or your fingers have learnt strange new positions!
This evening I returned to the garage thinking I'd be happy if all I accomplished was the removal of the remaining difficult OP bolts up front near the alternator. Once again taking several days away from the car paid off. Armed with a 10 mm flex-head Gear Wrench and with tips from StratfordShark in my head...I got them out in less time than expected (laying on my back, feet toward front of car, and clamping the long handle of a small angled mirror between my molars allowed me to see the most hidden bolt.
Cleaned the engine above the OPG more thoroughly than last weekend, then got started on removing the pan.
I loosed the four bolts I'd left in about an 8th of an inch, gently pried the pan in a few spots and then it lightly popped and was gently caught by the heads of the bolts. Put a jack with wooden block under the pan and removed all the bolts. Then lowered the pan on the jack. Easy.
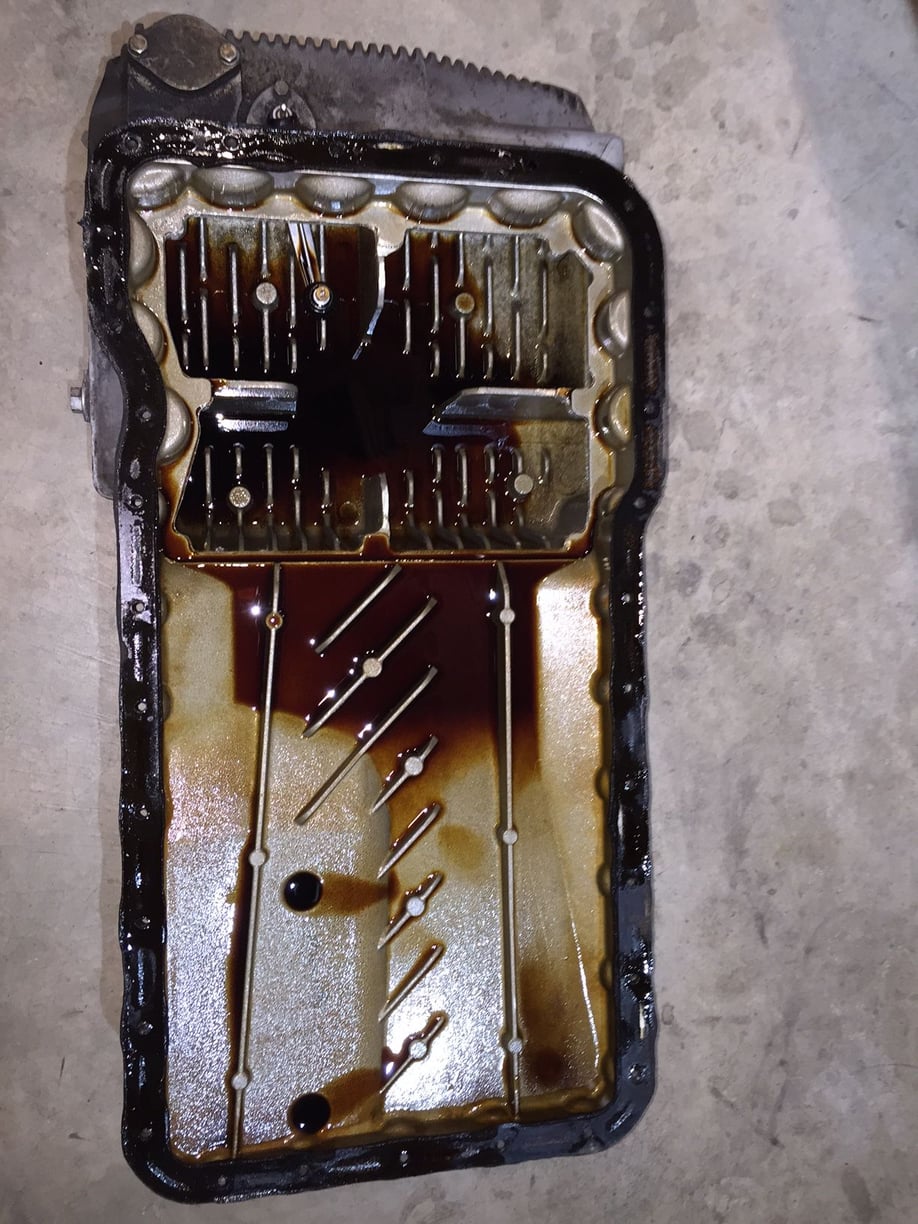
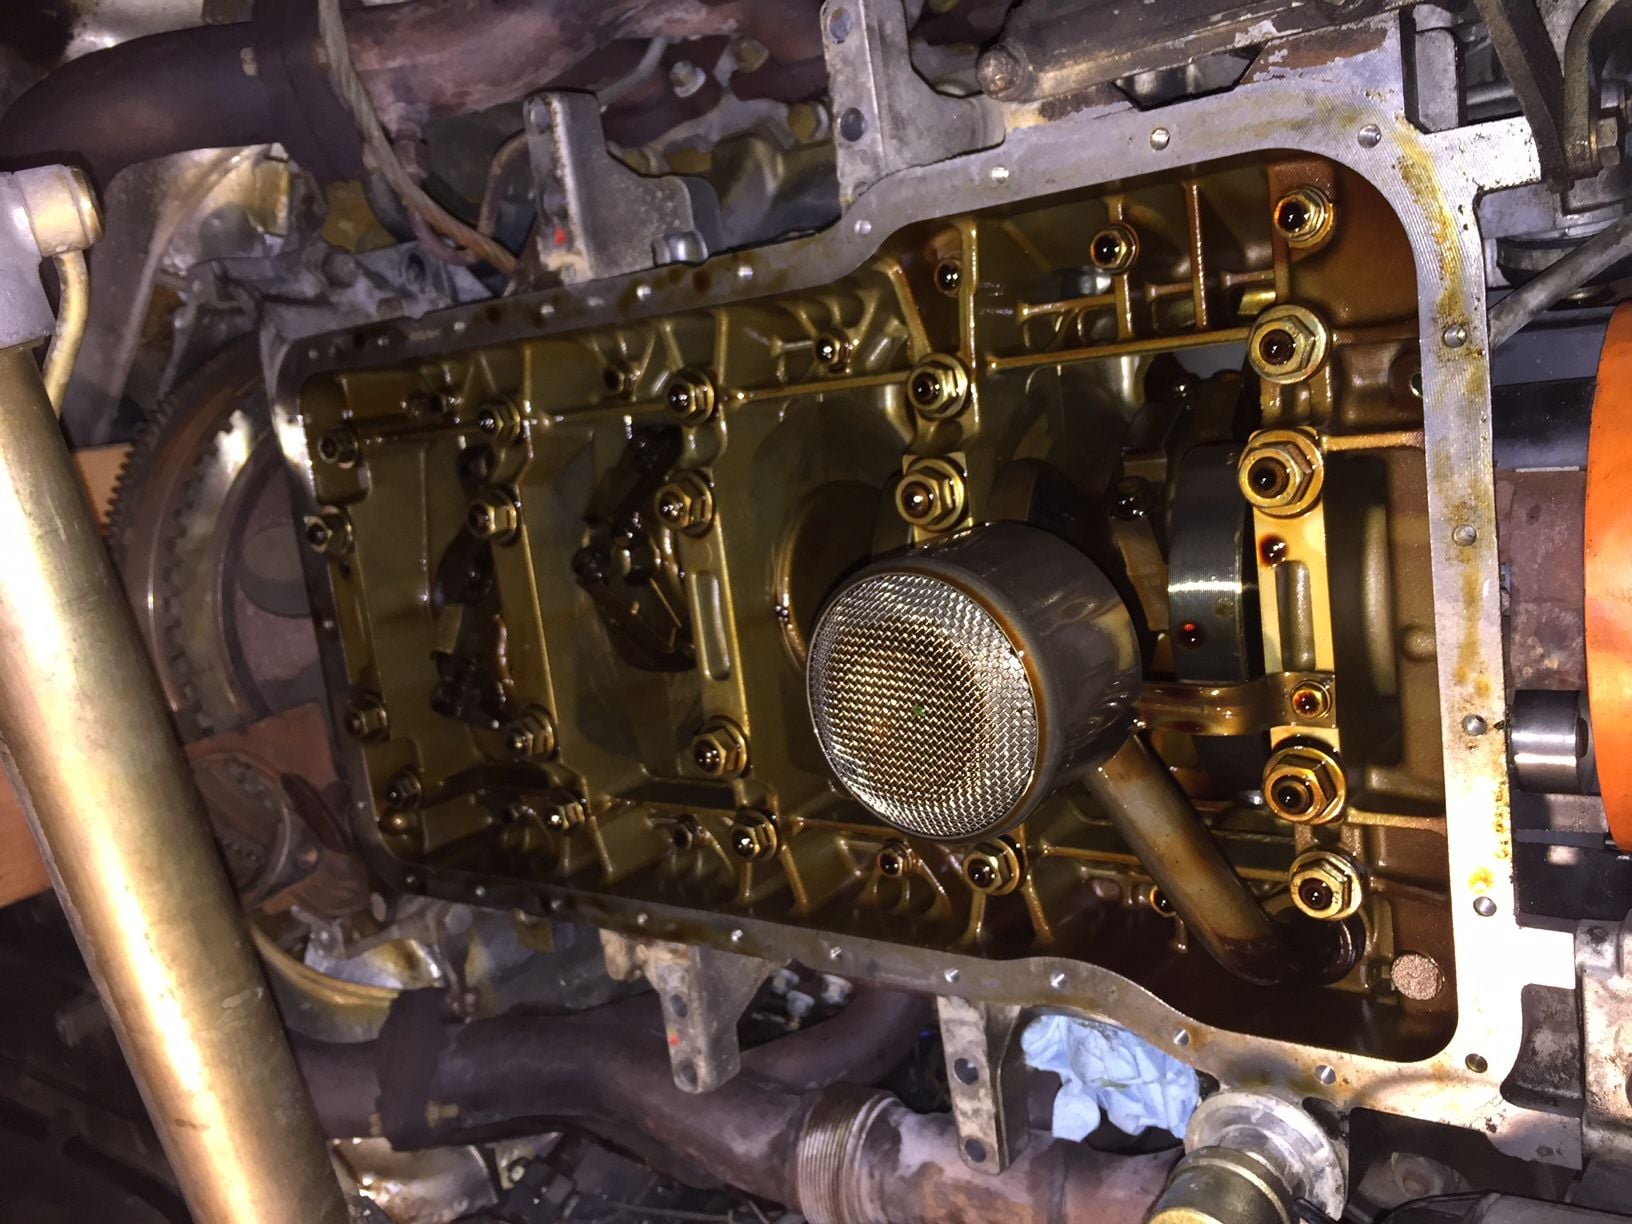
Amazed to find that there was zero evidence of ANY metal particles in the pan. Not even the glitter of super fine particles in the oil. No metal or bits of anything in the pan.
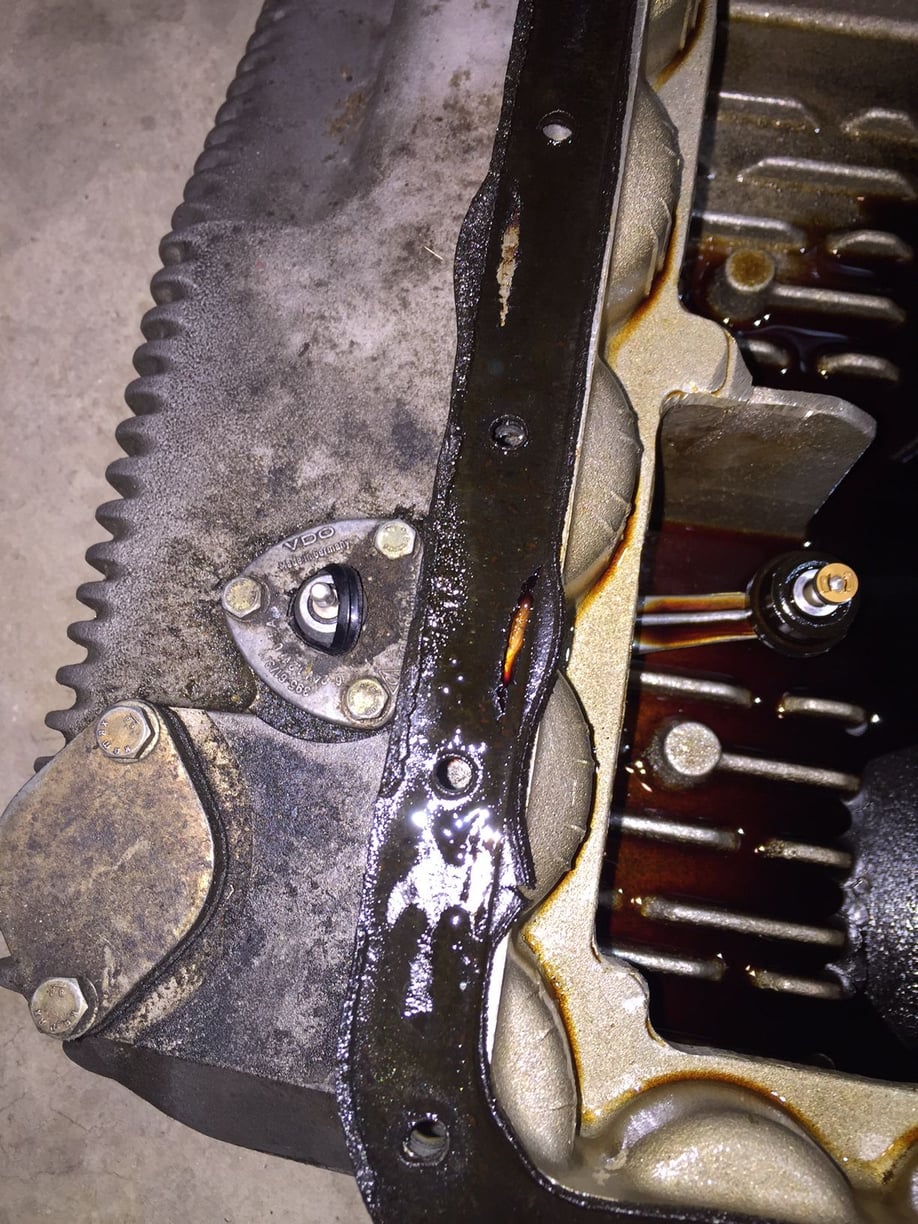
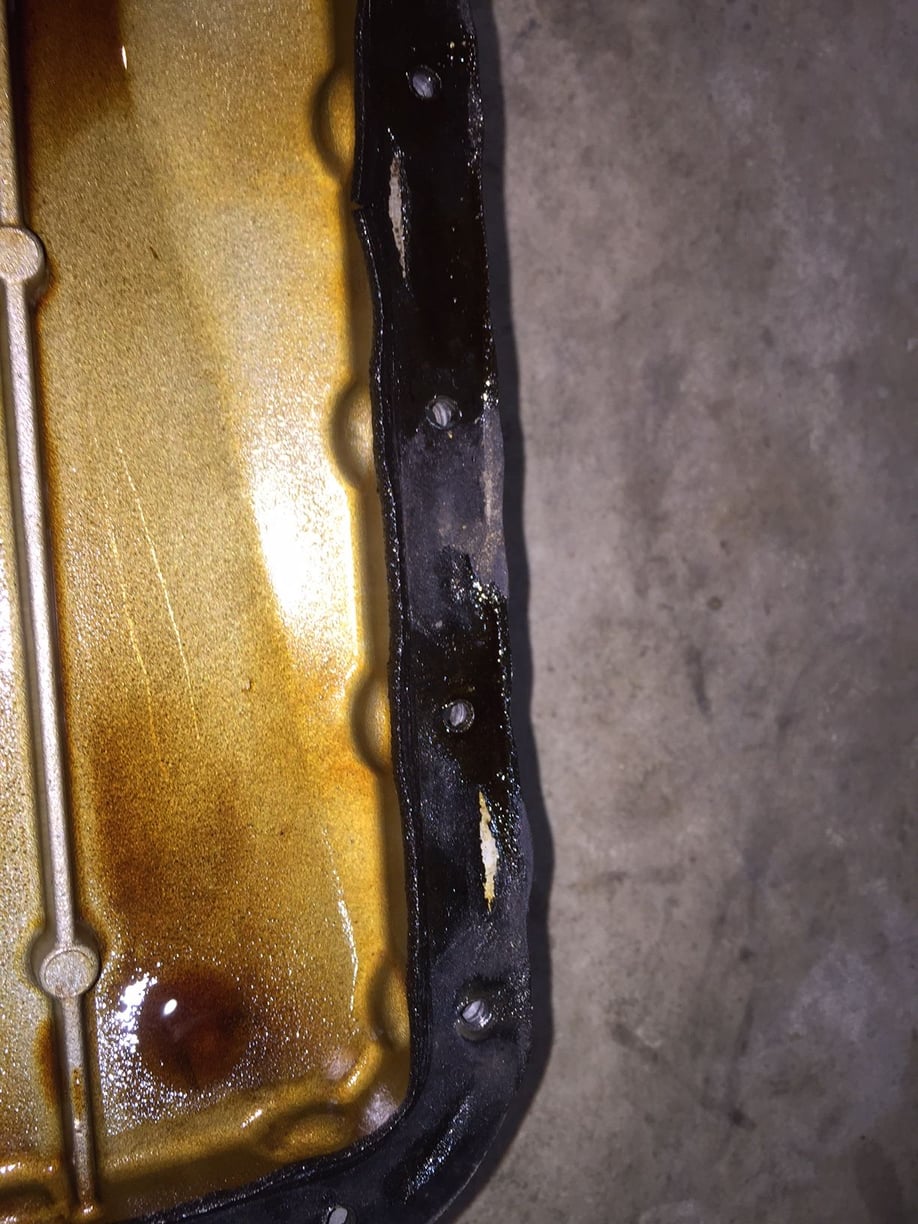
Did find splits in the cork gasket EXACTLY where the oil was weeping out of the seal.
That's great progress Jon, and the pan looks clean enough to eat out of!
That looks like torn rubber base of the boot of the oil level warning connector?
When I removed the boot (it came off ok without tearing), I thought the join of the wire to the metal tube that fits on the terminal on the pan looked and felt very fragile. I was worried it would fail in future and be awkward/impossible to repair with pan in place, so I cut back to fresh wire and crimped onto a bullet-type connector. This was perfect, positive fit onto terminal but was too long to allow the boot to fit fully back on to the pan. Not a worry as the connector is fully enclosed by hard rubber or plastic sheath so should protect the connection ok.
May be worth checking if your level warning wire is firmly connected (solder joint) to the thin metal tube.
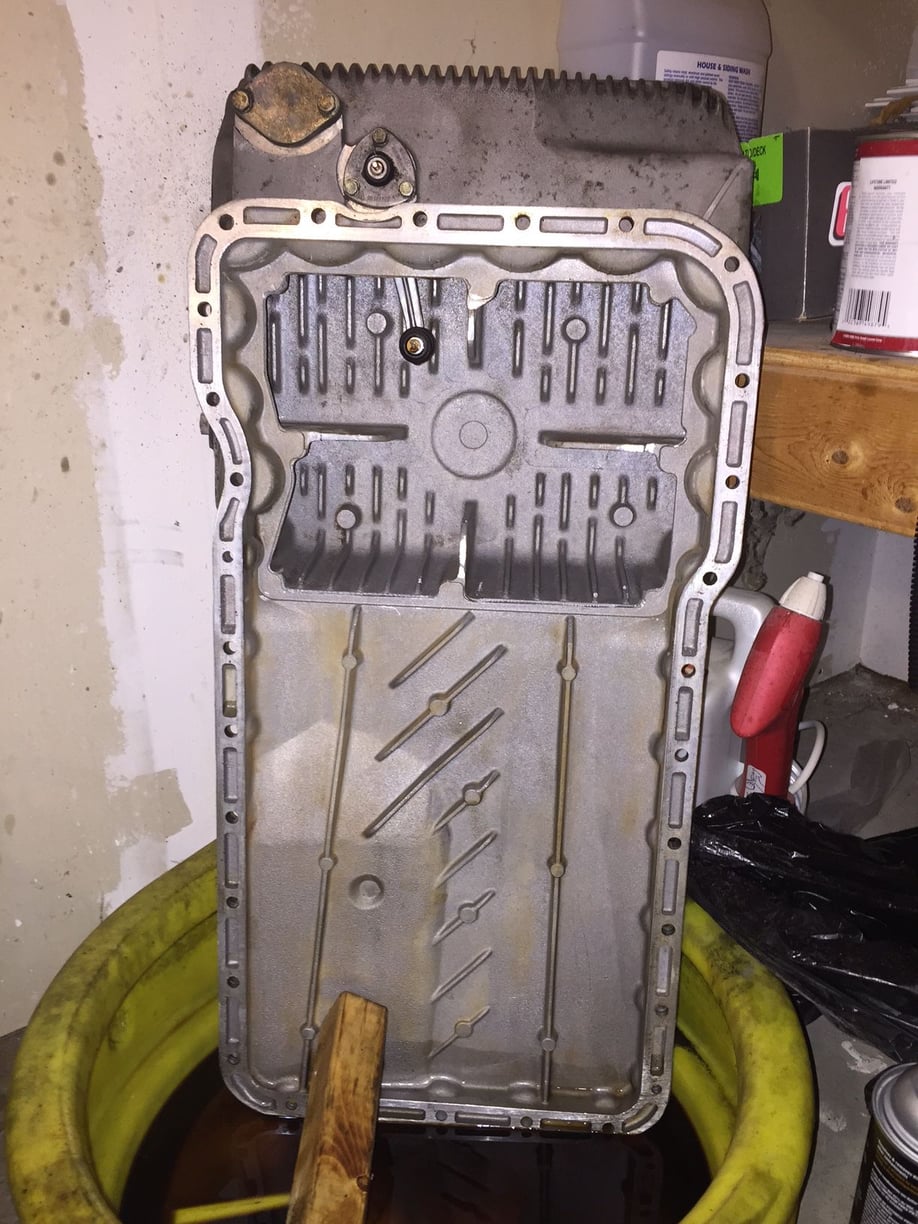
Nice view of crankcase. If it will be a while till you fit new gasket you should wrap plastic bag or something over it to prevent and dust or dirt finding its way in.
I thought I ripped the boot also, but I'm not so sure. What you see I pressed back down. It appears to be a tight ring with a catch ring for the boot to attach to. The boot has ribbed "ears". Looks like the ribbed ears are there to pull down the boot on to the ring base until it clips on. Not 100% sure of this, but I'll be looking at it again soon. My plan is to put the oil pain and gasket on Saturday. I'll start early.
I have an almost 4 year old son and a 4'11" wife weighing less than 100 pounds... I really thought about enlisting her help. Oops...I forgot....she's 5 months pregnant.
the first summer i had my car i had to do the TBWP job. i was in a scamper to get it done before SIMT. It was a really hot day and we were heading out o the bot, but i needed to get a few things wrapped up with the car....
My wife was in her new two piece and i had her help before we headed out.
Cant remember what we were doing but i do remember her on her tip toes leaning over the fender reaching in to get some bolt started that my hands were too big for...GRRR....
I use tie wraps to hold the new OPG in place to the pan whilst refitting it. Put the bolts in loosely and when you get to one that has a tie wrap, just snip it, remove it and insert the bolt. Some people use thread. I like tie wraps. DO NOT overtorque the bolts. I used a stud kit for my cars. After cleaning the hole with brake cleaner, I used Red Loctite for the studs into the block and then nylock nuts. They generally don't come loose.
I'm reusing all the bolts, cleaning them with brake cleaner, then applying blue Loctite.
Using zip ties to hold the OPG in place for reassembly.
I'll use the high-lift floor jack and a block of wood as "my third hand" to hold up the pan while I move around installing the bolts. I position the jack entirely under the car...handle pointing to the rear of the car. Doing it this way has the jack reaching in from the rear of the car to hold the pan, giving me a completely open work space up front where the bolts are a bit challenging. It's really nice being able to take a break during the job and not have a shaking arm trying to hold up the pan.
Nice work... I remember doing the same job before I built our house, outside, in the cold, on my back in the driveway turning each of those front bolts a fraction at a time looking up at the stars. Pretty satisfying to have it done.... leak free for 3 years!

 12-14-2014, 05:13 PM