When you click on links to various merchants on this site and make a purchase, this can result in this site earning a commission. Affiliate programs and affiliations include, but are not limited to, the eBay Partner Network.
Picked up the shark today and all gauges now operational!! Odometer and trip odometer working as well as oil pressure, voltmeter and I can actually see the gauges at night! Rebuilt power steering rack installed, Greg Brown PS hoses installed, power steering pump rebuilt and Bosch 4 hole injectors installed.
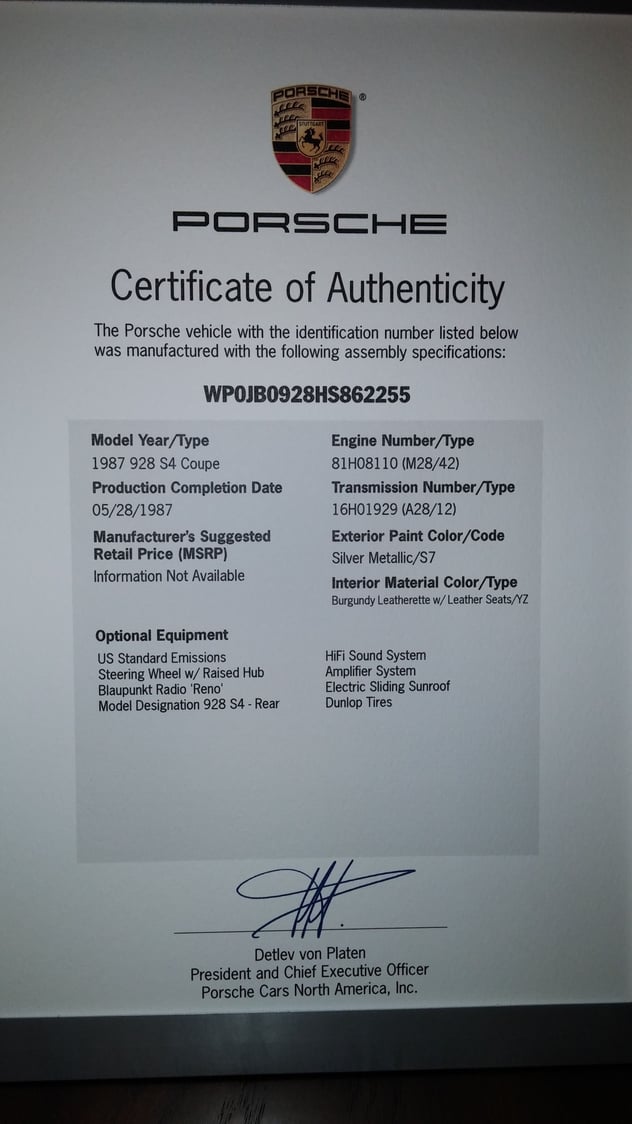
When I got home this evening I finally received my Porsche COA in the mail. Everything listed as Rob Edwards had sent over when I asked for VIN decoder except that I have an option "Dunlop Tires" on the COA.
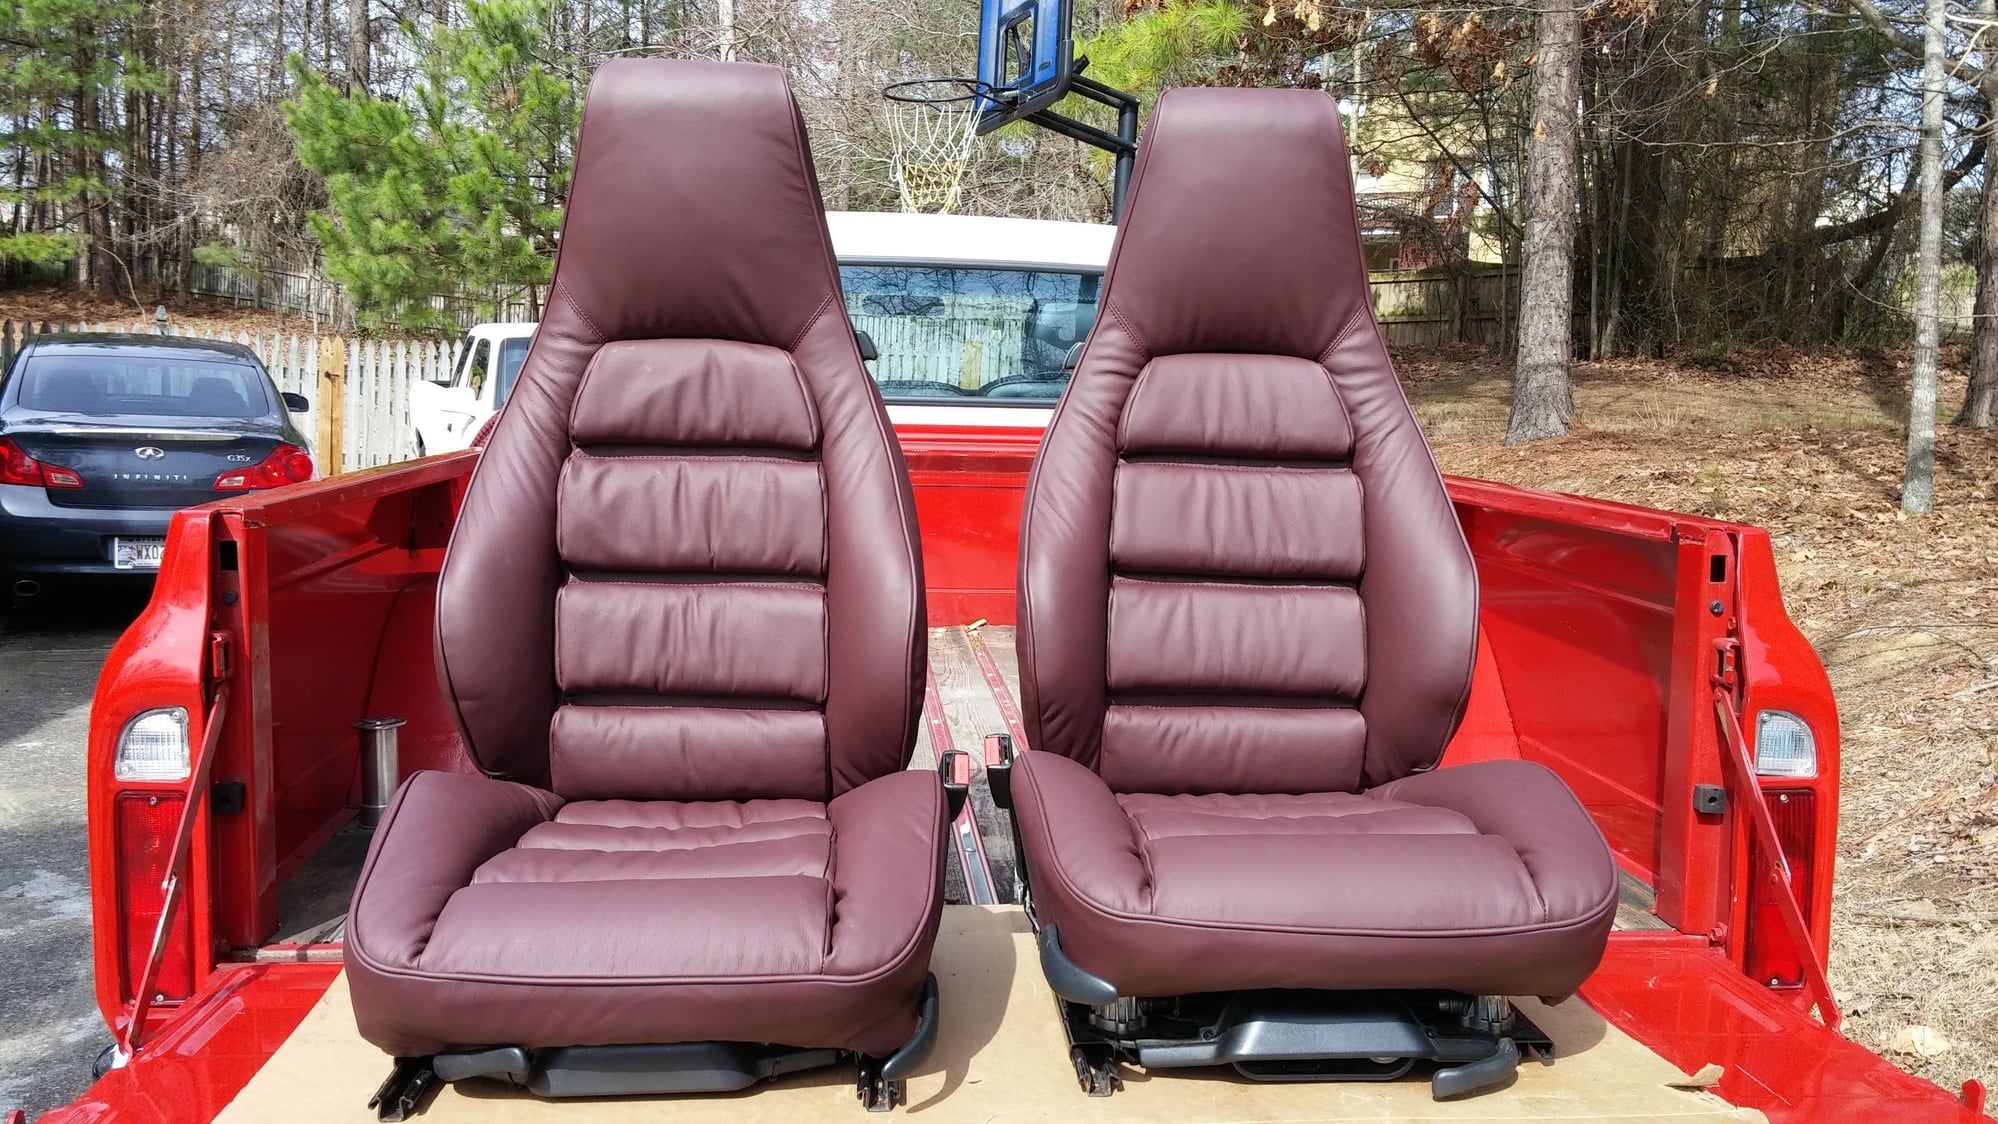
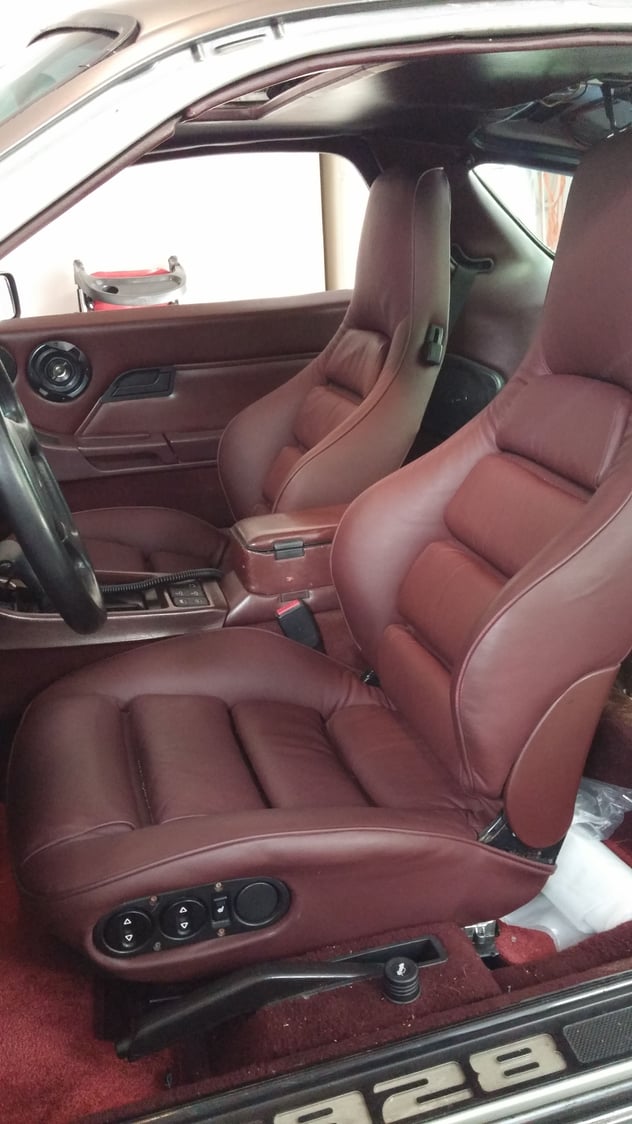
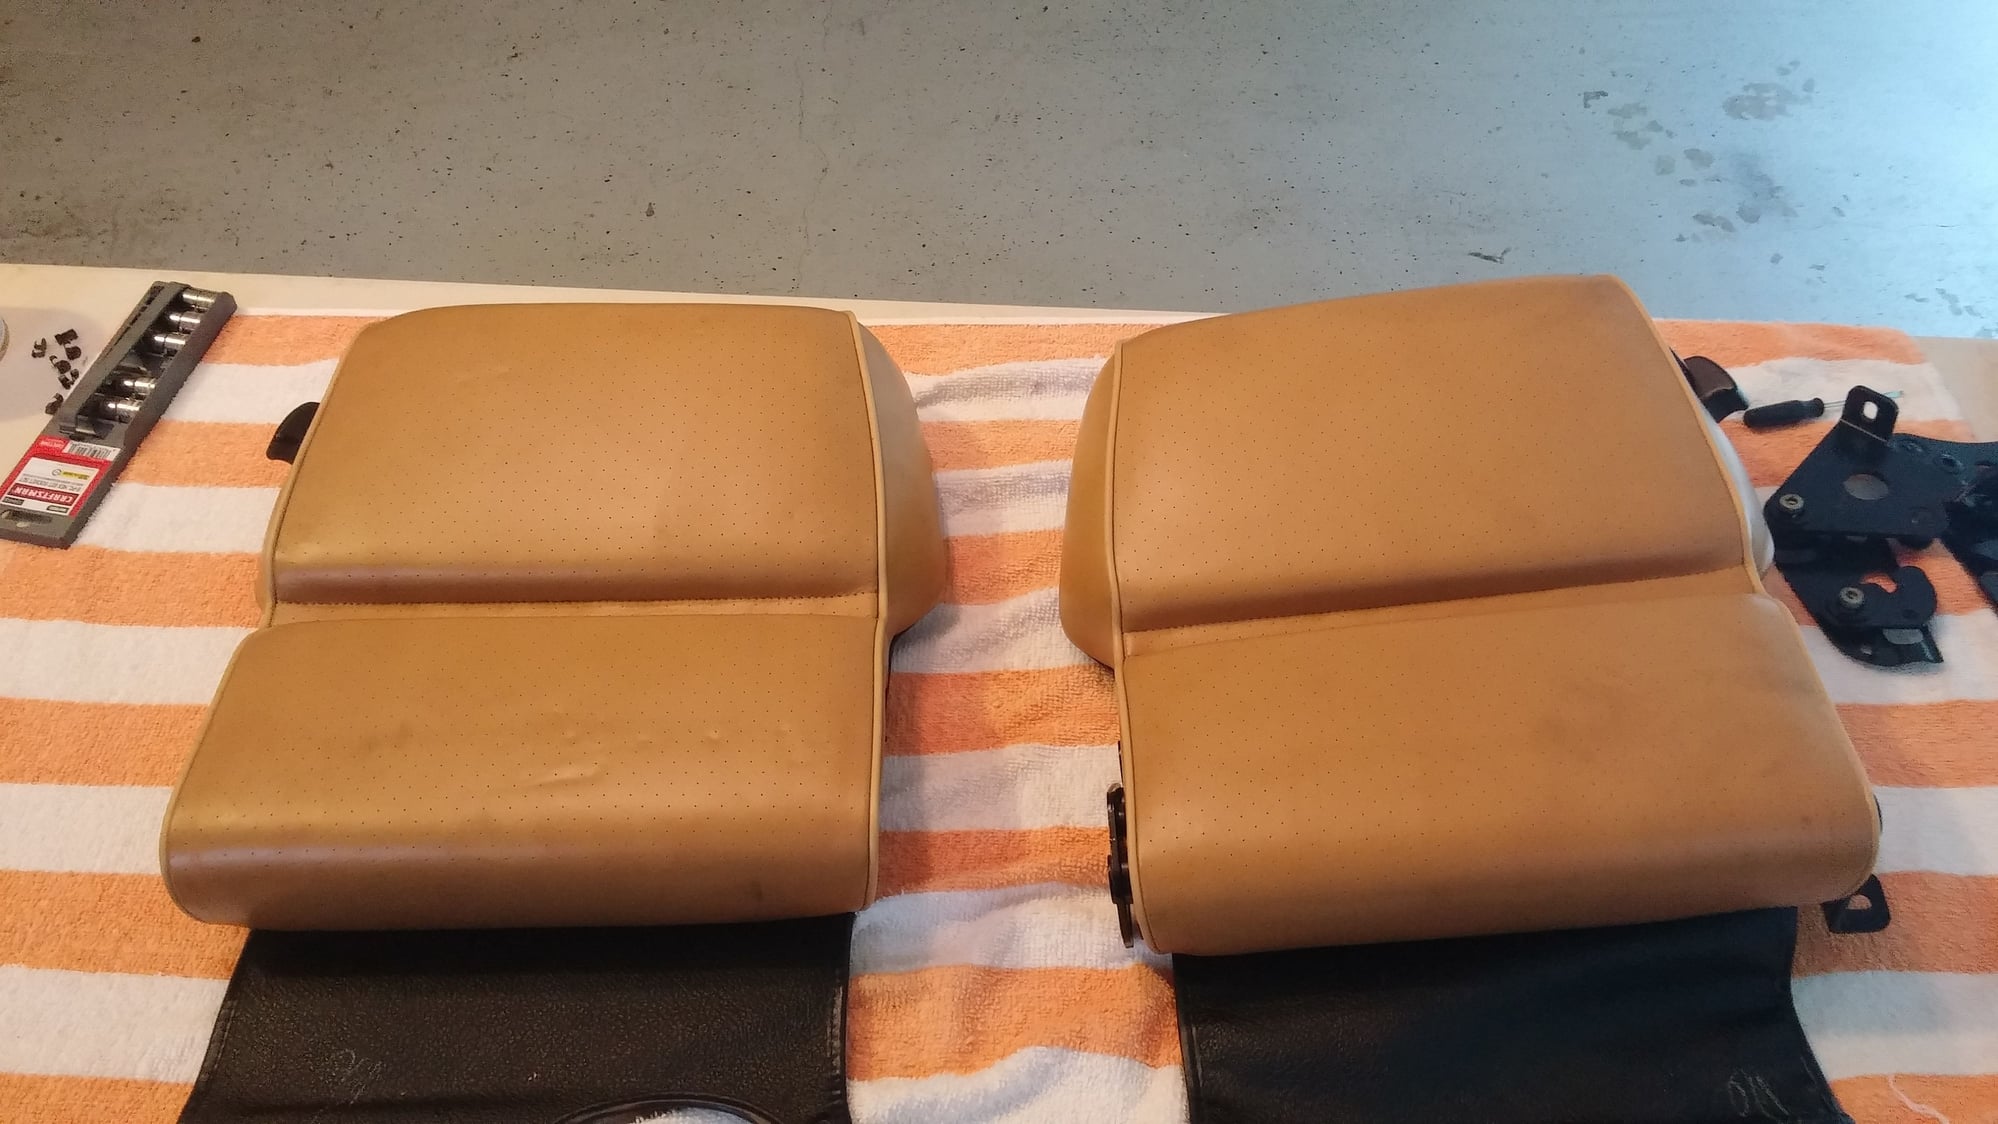
It's been awhile but things continue to progress. Got the sport seats recovered and they turned out pretty good.
Painted my headlight buckets as the paint was peeling in several places, the paint job from PO is horrible and she will be repainted this fall. Not a bad result from a rattle can job.
Last, with help from Bill Graff (stray cat) installed a New ISV, passenger side chain tensioner, Bosch 4 hole injectors and new injector connectors.
All I can say is damn! Now I know what she should run like!! next up is A/C, carpet, outer window seals, rear seat backs and then paint and she will be finished...with initial refurb.
Took delivery of her a year ago Easter, she would hardly run and left me stranded on side of road several times, now wouldn't hesitate to jump in her and drive cross country!
It's been a good couple months and now its time for a beer
Those seats look very nice. Would that be considered supple leather?
Jwyatt8171, it is the perforated leather. The covers have tightened up quite a bit after sitting in them. I am traveling but will add a pic of them in the car when I get back.
Decided to get my power locks working so pulled the door panels. Passenger side motor inop and drivers side motor missing the 2 allen screws that hold motor bracket to door so the motor just rotated up and down when actuated.
So after making a list of parts needed, decided to install the new door seals. I decided to remove wiring harness and door stop so I could put seals on in one piece. Its really amazing how much tighter the doors are now!
And since wire harnesses are out of the doors I installed new trim pieces that are at end of each arm rest.
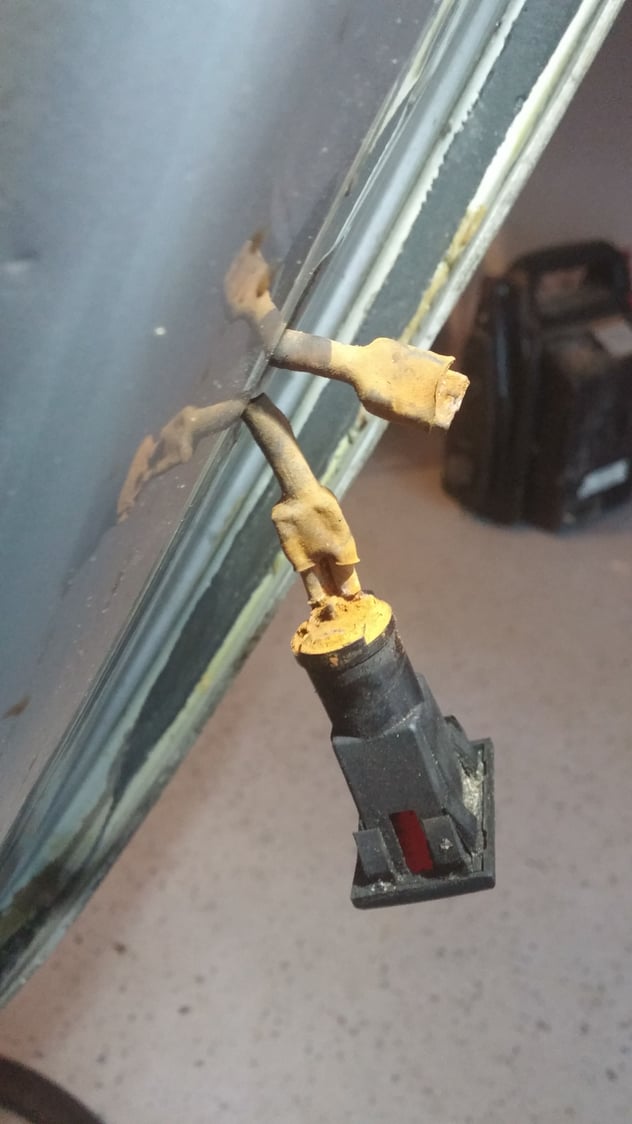
Also decided to see why red lights at end of each door weren't working so pulled boot off end of lights and found out why they don't work....add to parts list.
Last thing to check out were the inop mirrors. Apparently these are not original, or were removed, as the wiring to each mirror was cut and just hanging inside the doors. Not to mention the mirror control switch as severly corroded...add to parts list.
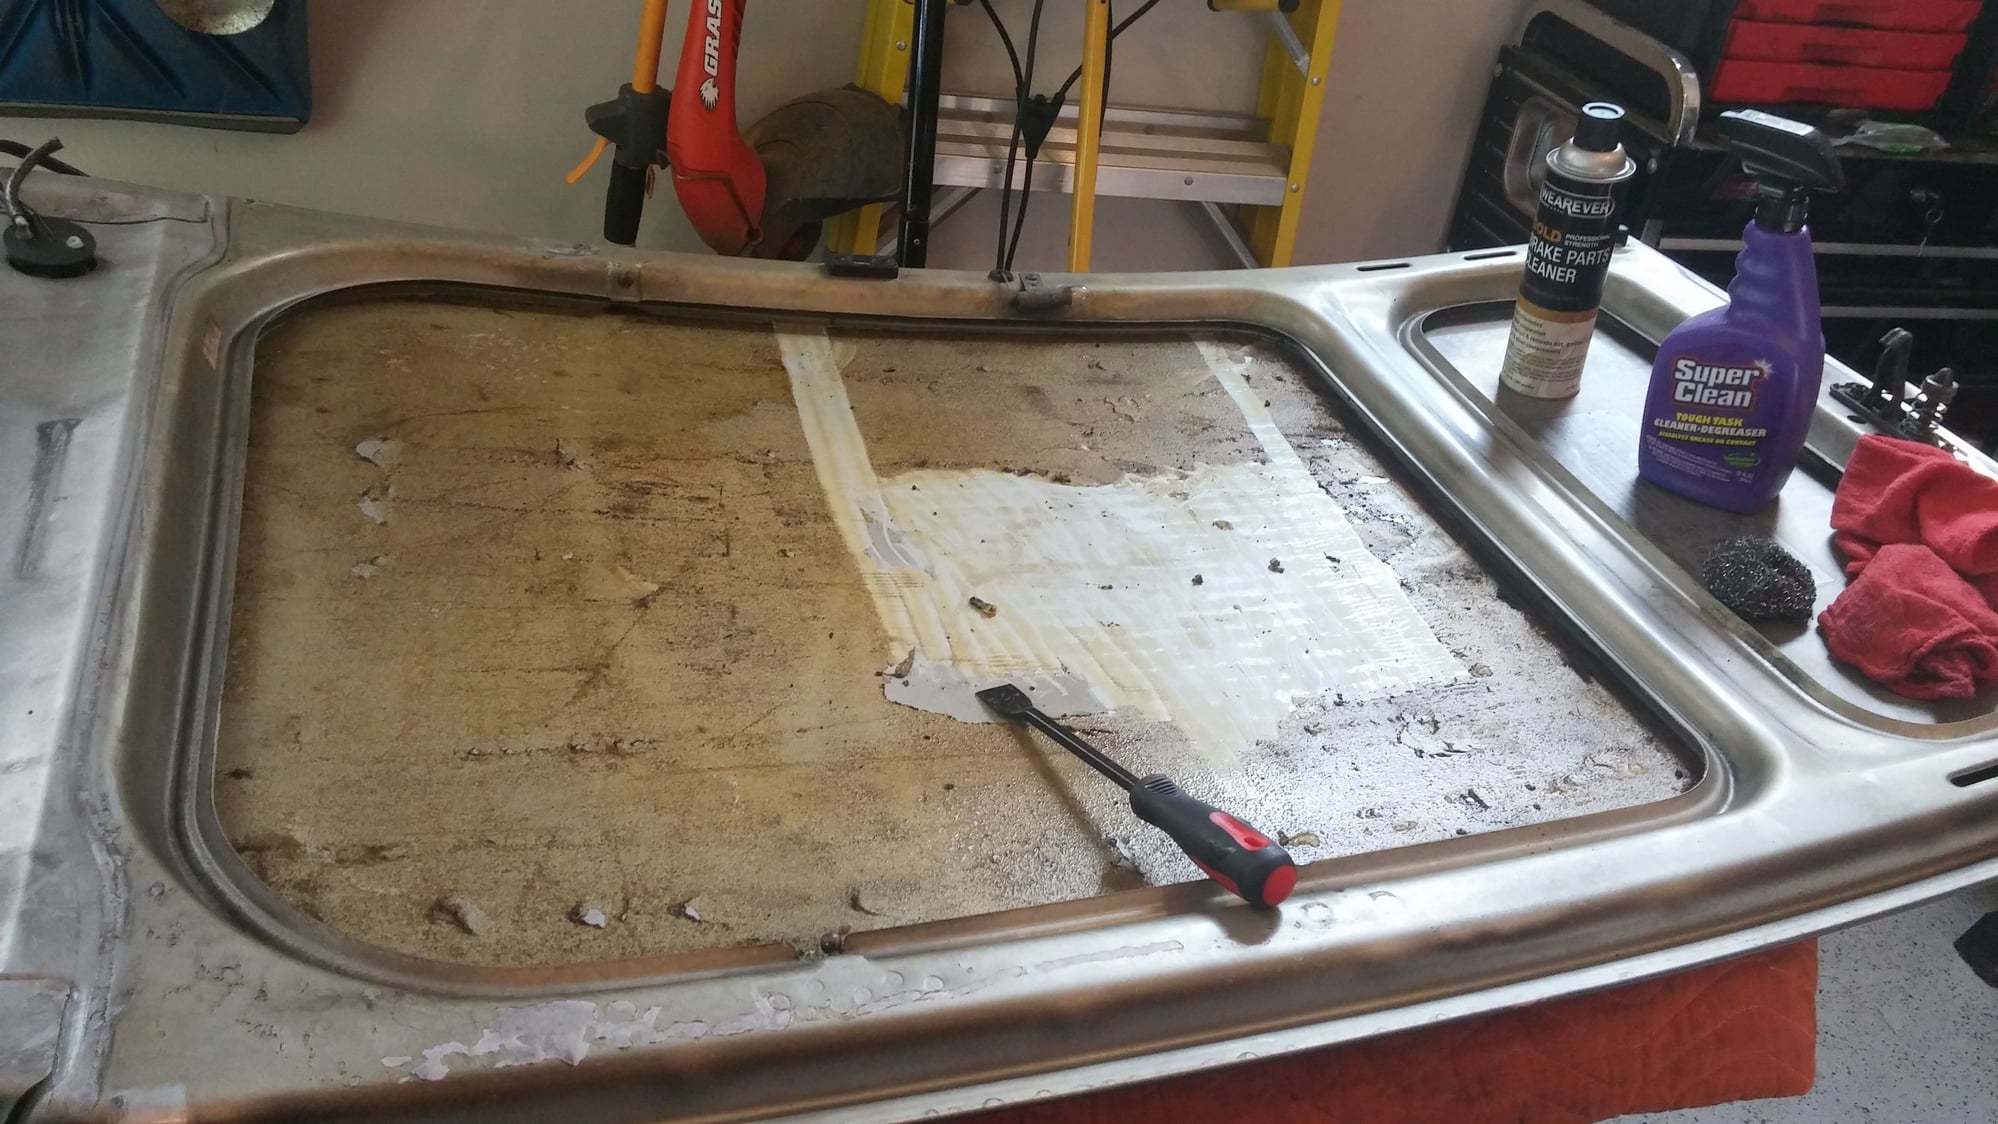
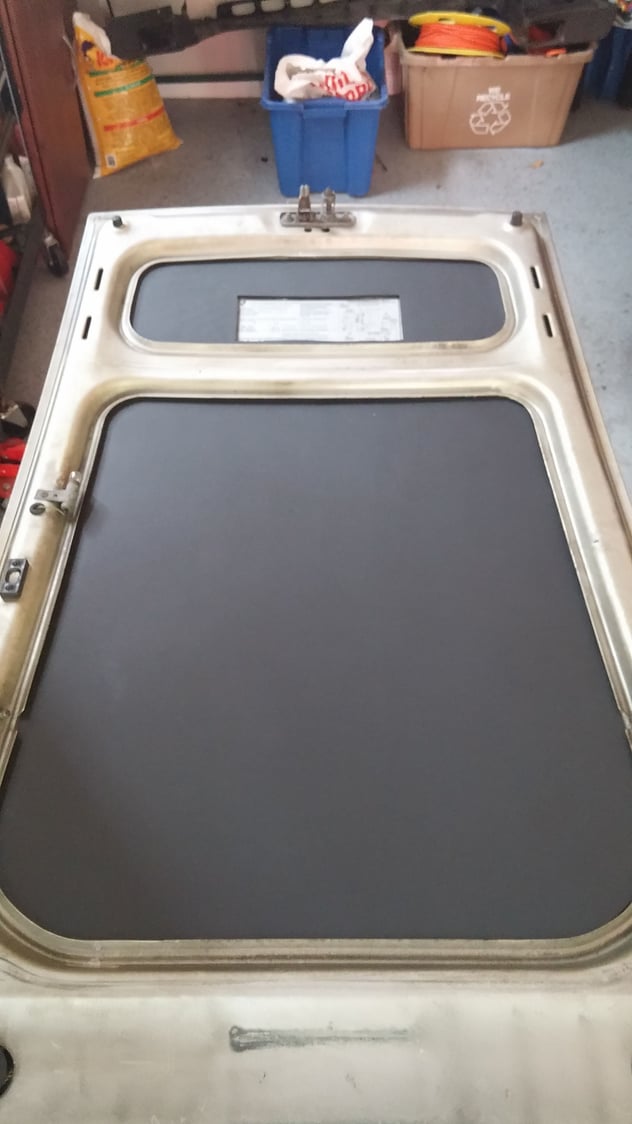
Today decided to install the hood insulation. There was quite a bit of old adhesive and after a couple test methods, settled on brake cleaner and a gasket scrapper. The first round took off most of the adhesive.
After most of it was off I used a scotch bright pot scrubber and Super Clean to get residual off.
Applied some 3M headliner adhesive and installed the insulation. I didn't want to lose the vacuum diagram so made a template and cut out a hole in insulation for that. I think It turned out pretty well.
About 2 hours start to finish. a good Sunday afternoon project.
Whose hood pad material is that Kevin (where did you source it)?
The ones I've installed have all had a waffle textured pattern.
That one looks like a smooth surface...
You're doing some great work, and your car is really coming along.
Can't wait until the next time I get to see it in person again...
Mark, it is smooth. Can't remember off hand where I got it but will dig up receipt as soon as I get home from DC tomorrow.
EDIT: Mark got hood insulation from Jager (www.jageng.com) can get with custom logo as well.
Last edited by jetson8859; 05-12-2015 at 10:54 PM.
Today finally got the power locks to work. Now putting the key in either door locks or unlocks the doors. It's amazing how satisfying getting all the small things working is! Had a bad motor on passenger side and sourced a good used one locally from Kevin in Atlanta. Also wired up the passenger side mirror and buttoned the passenger side all up. Hopefully will get the inner window seals and mirror switches from Roger this week and will get this project all finished Memorial weekend.
Things continue. Have the sport seats installed and what a difference! The new foam is mucho comfortable!
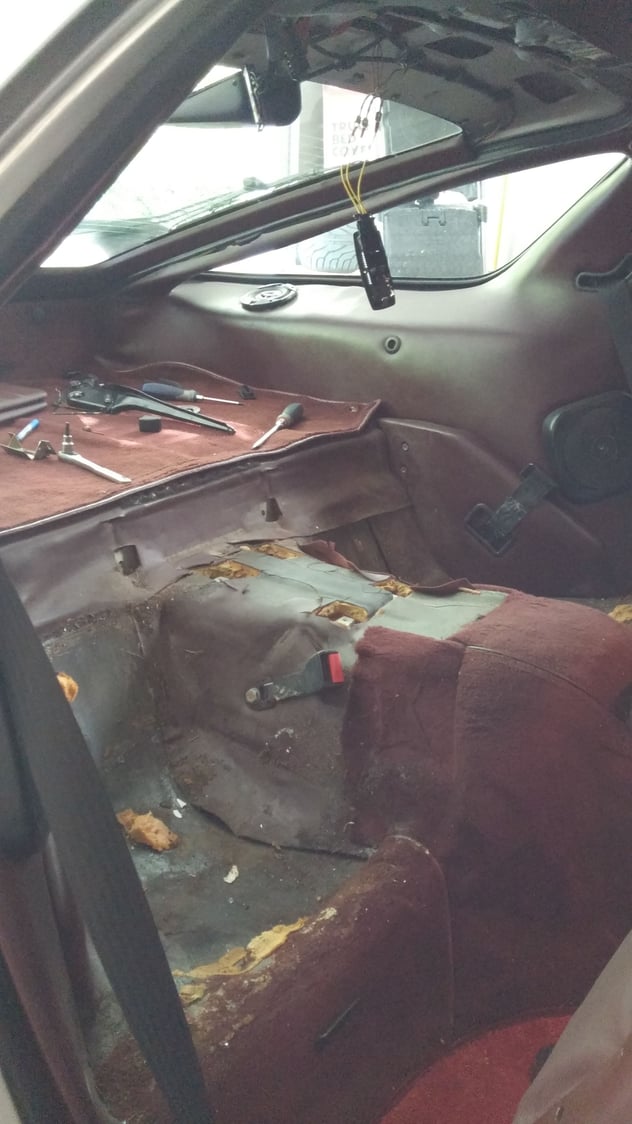
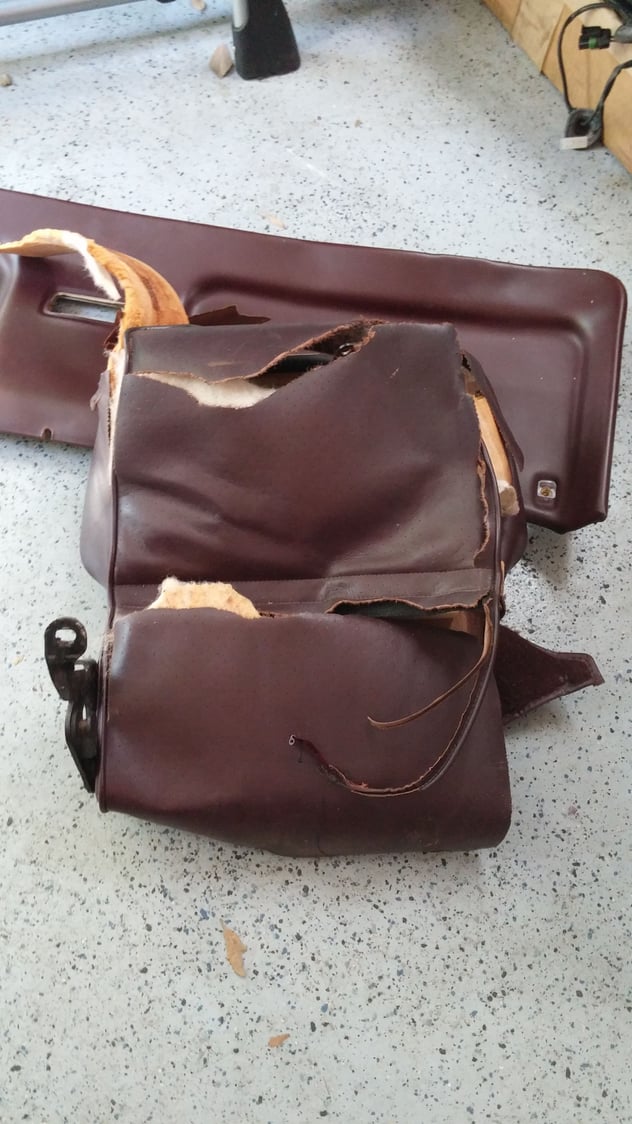
I pulled the back seats last weekend and as was described in another post it wasn't fun as the latches were rusted shut on one side. Finally got it out and have a good seat coming from Herman K.
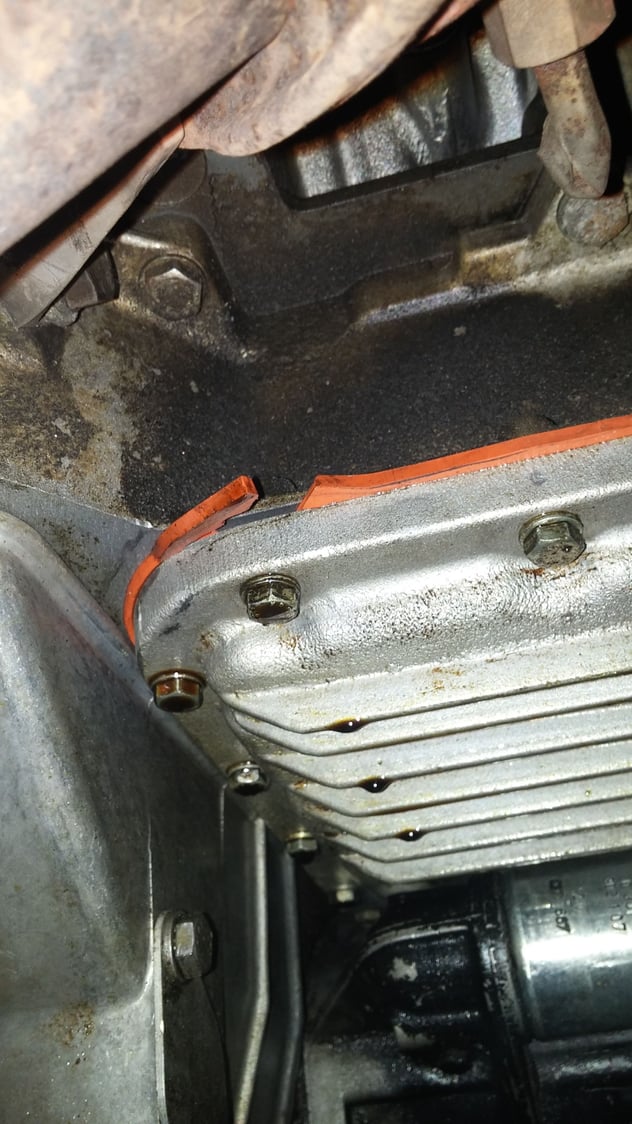
New MM/OPG this weekend along an oil pan stud kit. Will also be dying the rears seats and center console and she should be good to go for SITM!
That is the carbon canister purge solenoid valve- it is a little misrouted. On every car I've seen/worked on, it typically sits right on top of the 'shelf' of the waterpump, underneath the upper radiator hose.
All smog/air pump equipment has been removed. Was just showing torn oil pan gasket
Received my replacement seats from Herman K yesterday and spent the afternoon cleaning and applying some Color Plus Soffner.
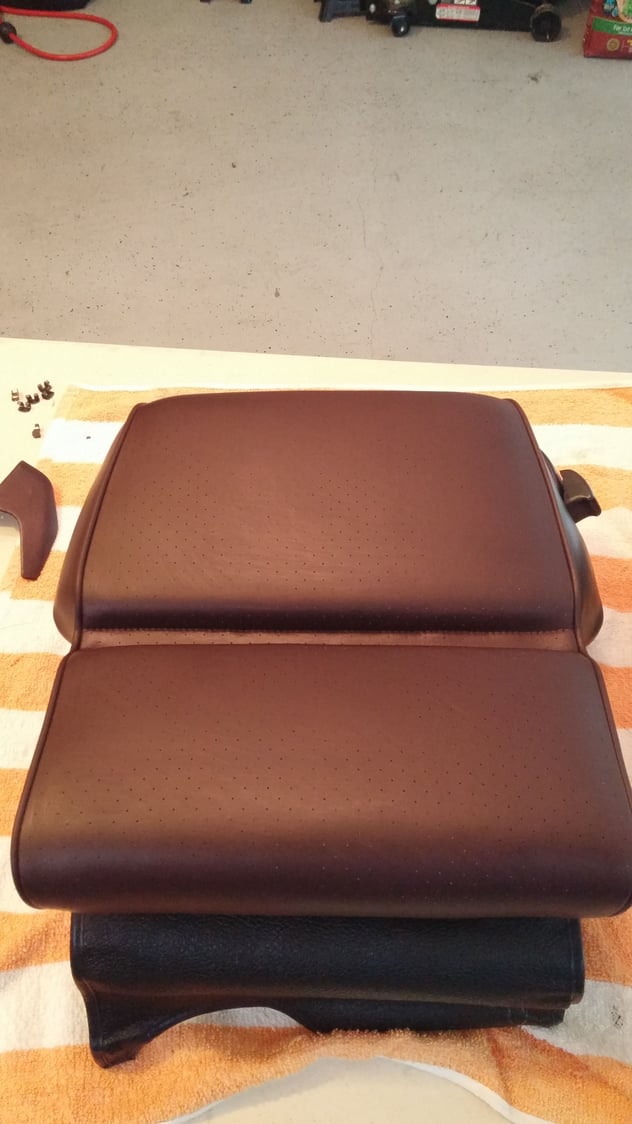
Today I removed the hardware and did a scuff using 400 grit sandpaper. After that a quick wipe down with some lacquer thinner. After lunch I applied 3 coats of Color Plus Burgundy 968. They turned out really well, it's the first time I have used the Color Plus and was very happy with it! Here are a few pictures.
looks great! Did you spray or wipe on the dye and did you have any issues with the perforations getting filled with the colorplus ?
I used a soft natural bristle brush. Didn't have any issues with perforations getting filled. I did do very thin coats as suggested. Here is a close up.
Sorry about the flash reflection but you clearly see all perforations.
This was coat 2 of 3, you can still see some brush marks as it was still drying and uneven coloration at bottom of picture. The 3rd coat took care of all these issues. Will post final picture once I am back at home as they will have had time to completely dry
Last edited by jetson8859; 06-01-2015 at 08:19 AM.
Reason: Additional INFO:

 02-24-2015, 02:01 AM