When you click on links to various merchants on this site and make a purchase, this can result in this site earning a commission. Affiliate programs and affiliations include, but are not limited to, the eBay Partner Network.
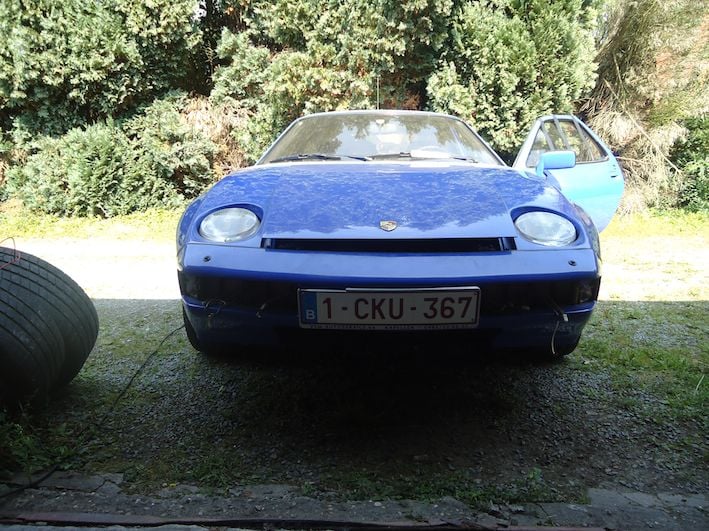
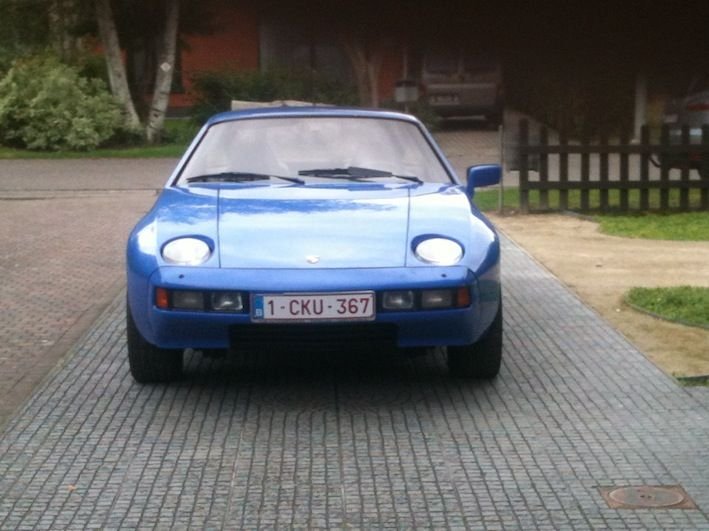
“We’re prepping the car for a trip to Normandy but with the illness of the dog the trip was shortened. Nonetheless with a healthy dog and shark the trip will be better fun!”
Keep this quote, from the previous post, in mind.
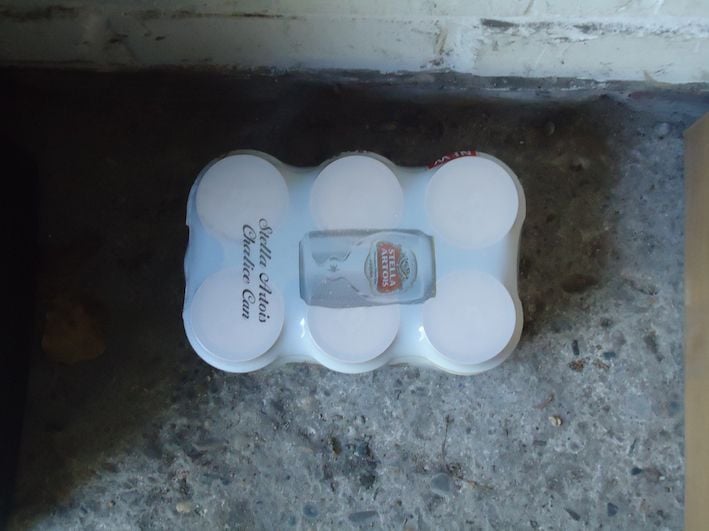
The new day (07/31) is born under a bad sign; the crate of beer is empty and can only be replaced with a six pack. The local supermarket doesn’t stock crates of my favorite brand (Stella) anymore.
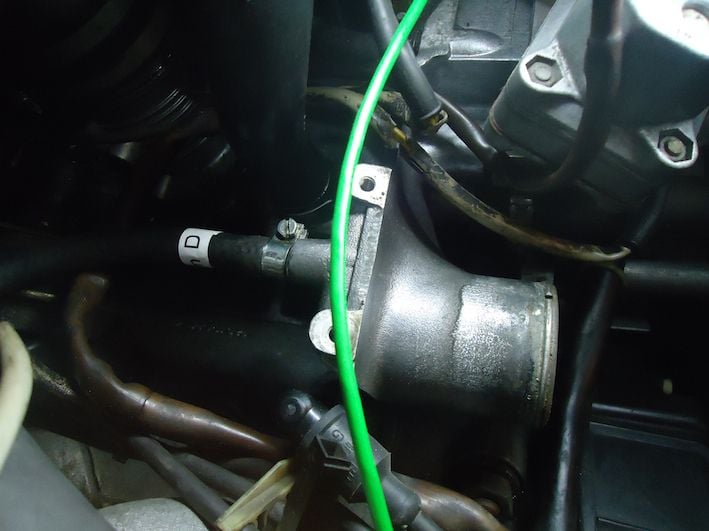
The shark did show it’s disapproval about the empty crate last night and refused to start. It was the first attempt since replacing the green wire, but this morning, on the second attempt, the engine didn’t roar either. I doubt that the lack of a crate of beer is the cause of a non starting engine, most likely my doubts about the position of the rotor of the distributor, are right. Patience is the only way to deal with this problem. Turning the rotor a click at the time, we can have a maximum of 8 possibilities to get a start. The 6th proves to be the correct one.
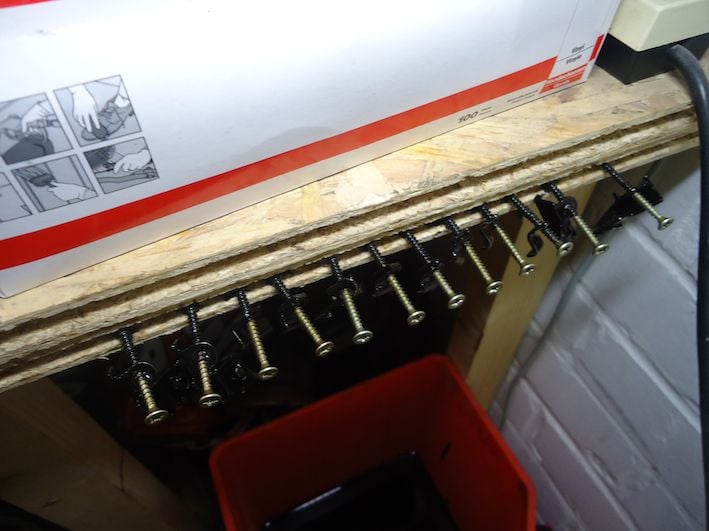
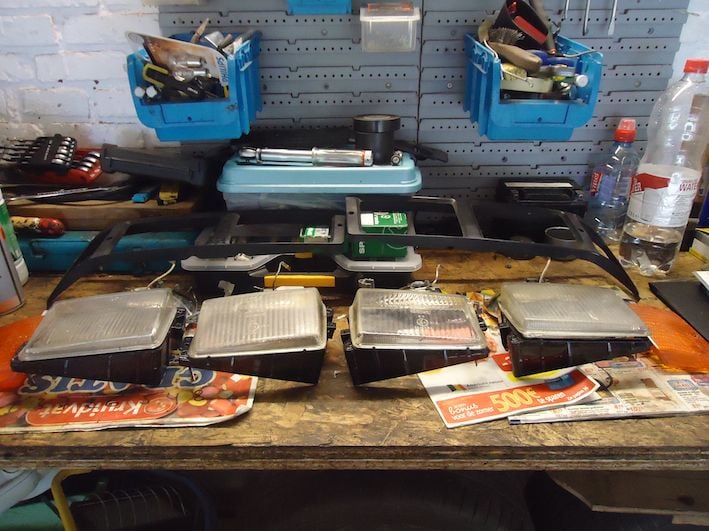
The heat of the engine speeds up the drying of the RX5 painted nuts and bolts of the lighting system. I gave them a bath after getting the six pack. The day after, they get a bath again, RX10 this time and while they are drying, time is spend putting the window motors back. It seems that the window motors and door trim don’t feel like going on a trip to Normandy as they do not co�perate. Nonetheless, at the end of the day the job is done.
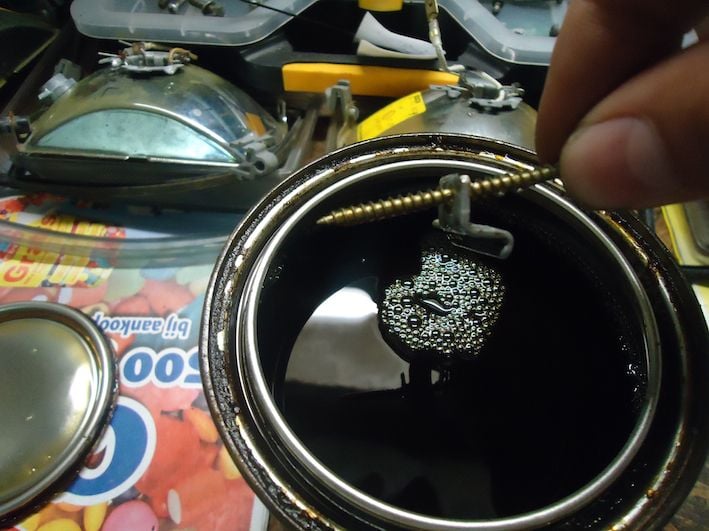
With the date of travel only a few days away, time is of the essence, but renewing the shark’s oil and coolant and putting the lighting system back is all that’s left to do. We’re well on target.
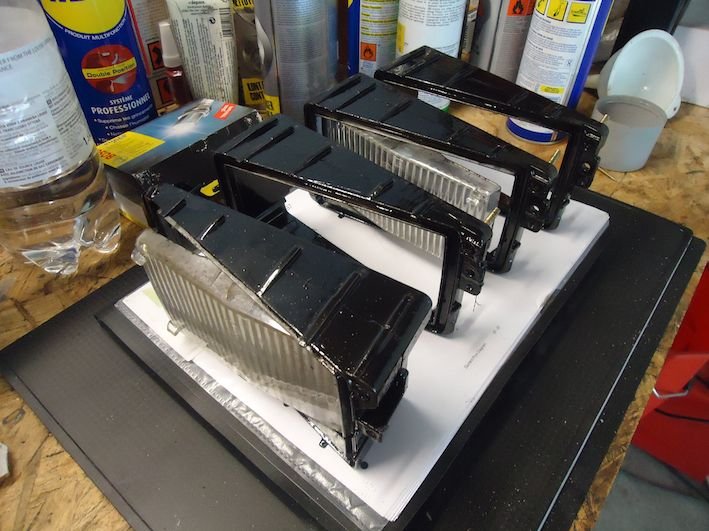
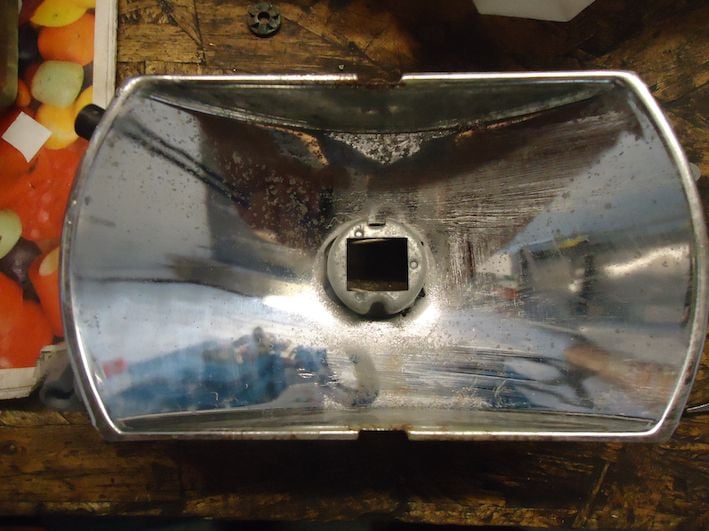
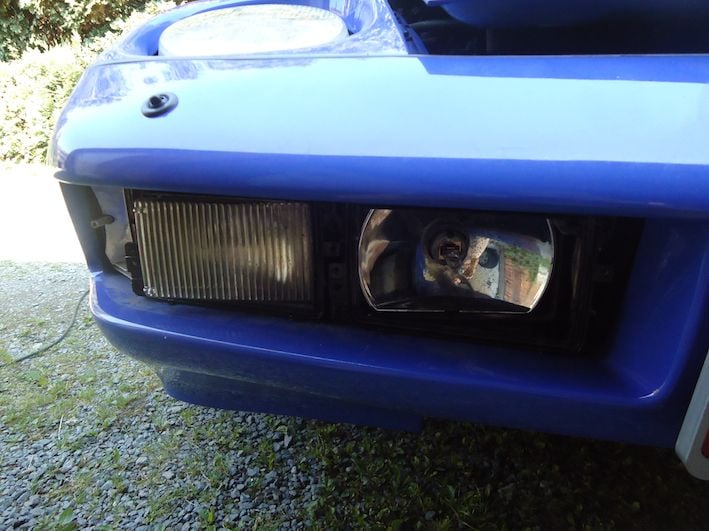
Unfortunately the lighting system doesn’t seem to be keen on Normandy either, putting the lights back is proving to be a laborious process. Two days it takes to get it done...almost. With a simple crack, the F..K.NG *&@/!% lens of the last light puts an end to al plans of a shark-trip to Normandy. It takes a day to let it sink in and accept that the DD will take us to Normandy. Seeing the extra time as an opportunity to plan an extra trip and make an improvement to the shark brings some solace. I will enjoy Normandy with some full and empty beers in hand and sometimes a “what if” on the wonderful D roads.
nice documentation, it looks like your car is in good hands.
I hope you get it running perfectly.
FWIW since your refresh of the CE panel,
any relays with corroded pins and boards should be opened and inspected for water damage,
its not uncommon for water to fill the relay then cause damage that cant be seen.
I see you used contact spray on the CE panel.
I would also suggest to get a can of deoxit spray and do the front and back of the CE panel along the fuse holders as well as for the relays,
this will greatly enhance the connectivity of the contacts you cant really see.
Also if the CE panel has gotten wet,
then its also a good idea to drop the Blower box and refresh the seal and clean out the well.
Drop the CE panel then place a towel over it,
then drop the blower box ,
the blower motor will also come out the bottom with the box removed,
Then you can clean it and lube the motor.
Thanx for the advice. Relays with corrosion have been opened but no damage was seen.
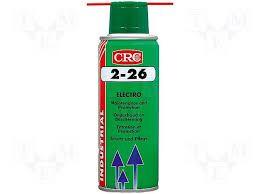
I haven't seen Deoxit spray over here in Belgium but I've been using
CRC 2-26 spray after using contact cleaner. I guess it does the same?
Blower motor is added to the to do list
The idea is to get the car running for 2 years now and then go for a body off restoration. I'm not doing it now because those two years give me time to plan the endavour and also to present a running car to any specialist that 'll have to take part in the resto. Good knowledge about a 928 is almost none excisting in Belgium. Most likely I'll take it to England (Paul Anderson). Engine and transmission rebuild will be his part with me doing as much as possible on all other things, but as I said nothing is planned for now.
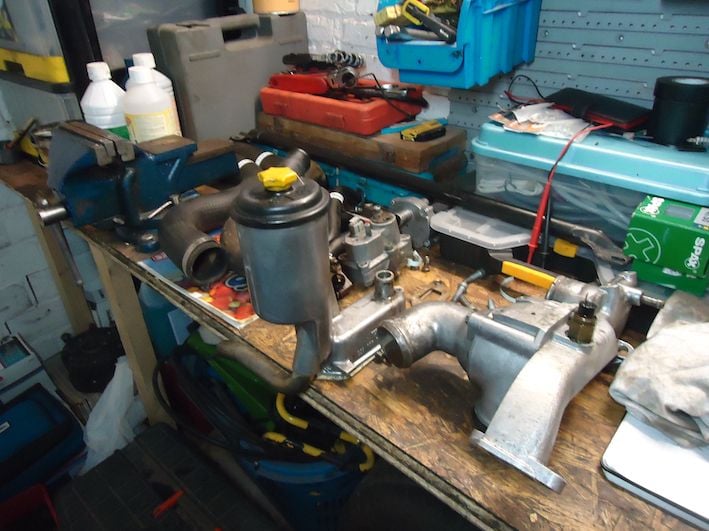
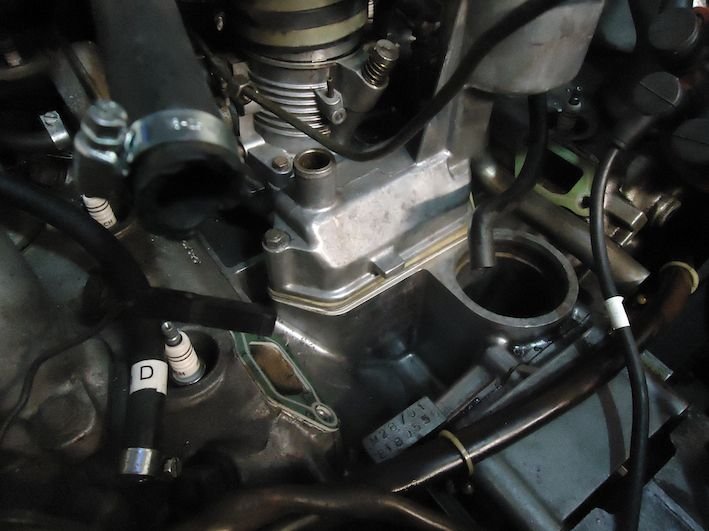
Two days before leaving for France I flush the engine again and separate the OAS and water bridge from the engine. A block plate has been ordered at 928 classics. With a bit of luck it arrives just before I return from France. If so, there�ll be about a day of wrenching left.
After my return from France it has taken 2 more days for the block plate to arrive. Despite it had been in Belgium for four days already, customs needed these 4 days to calculate that I owe the SA Belgium 25�.
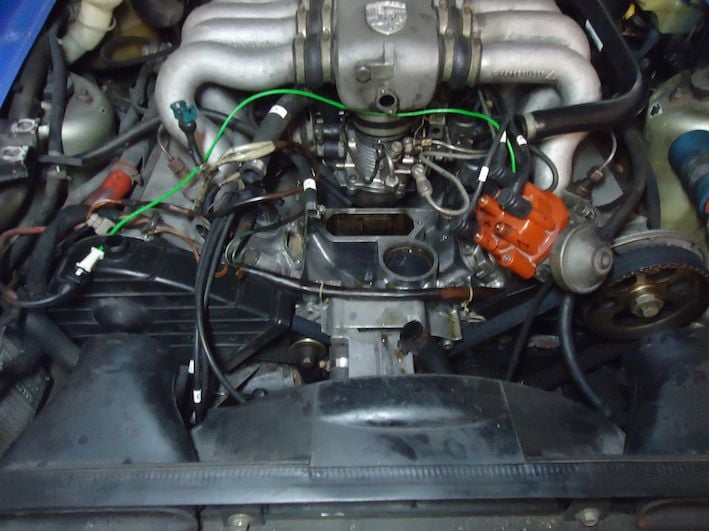
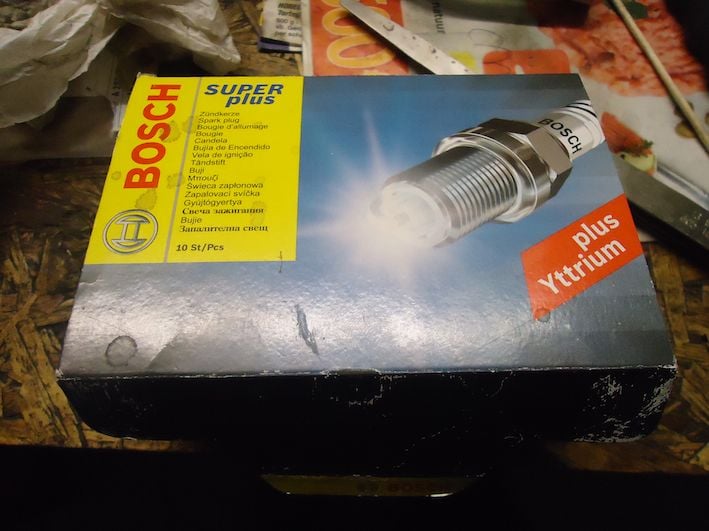
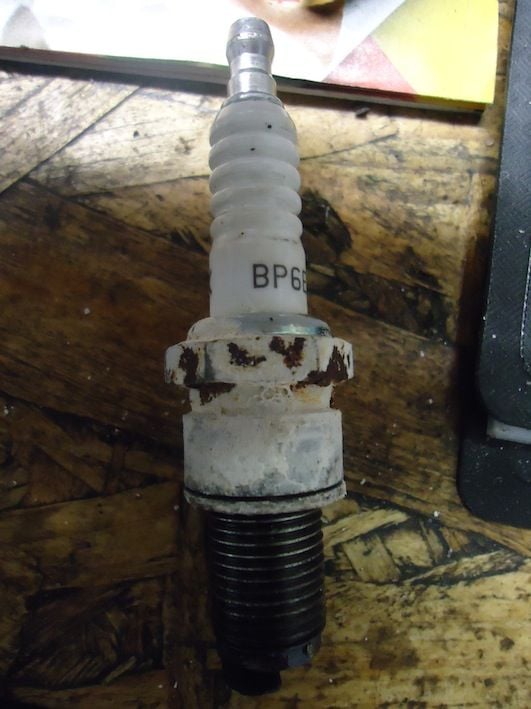
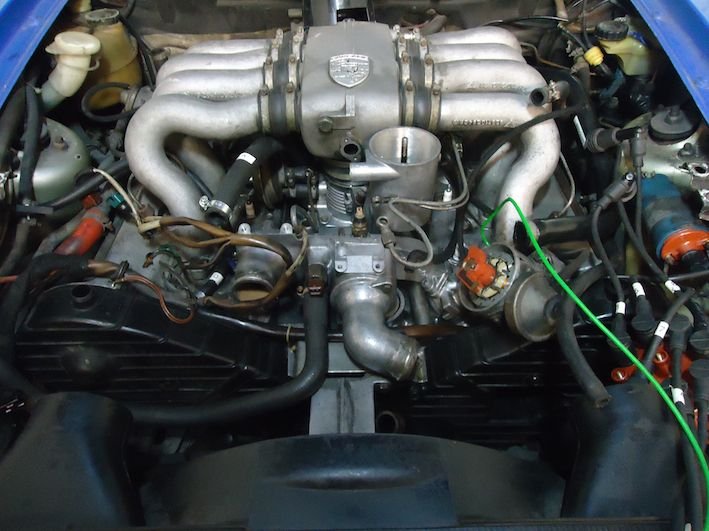
Replacing all spark plugs, an easy job with the OAS out of the way, starts the rebuild.
Two of the spark plugs seem to be old warriors. I do not believe that new spark plugs were part of the package when I bought the car 3 years ago.
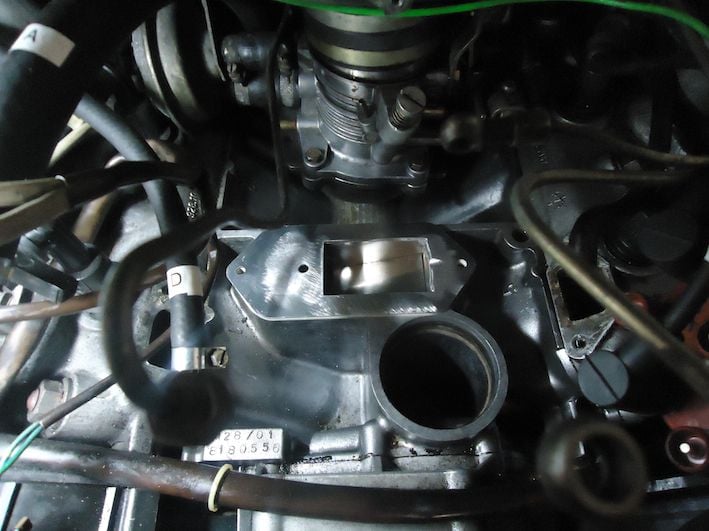
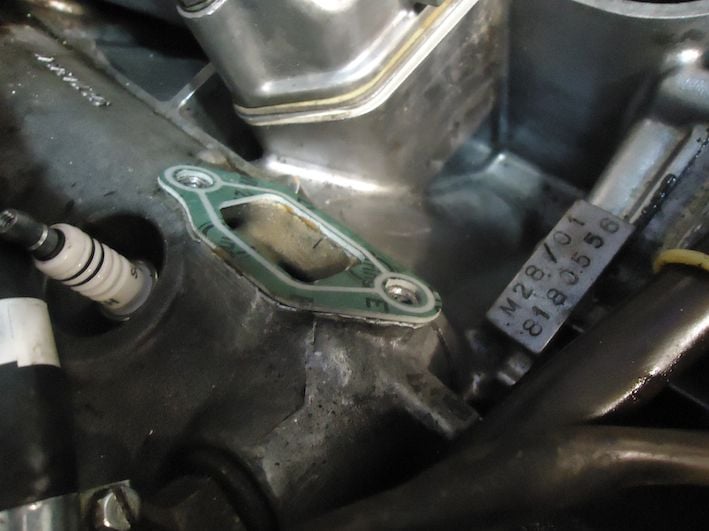
Placing the OAS back is an easier job now that it�s the second time. My home made gaskets are replaced with proper Porsche ones. Liquid gasket keeps them from moving about, as a consequence my hands are free to put everything in place. The bolt from the waterbridge that�s underneath the OAS remains a PITA but we�re making good and easy progress.
Still, not everything goes swiftly: because off the block plate that�s now underneath the OAS, the two bolts are just a bit too short and can�t be torqued as they should.
I�ll get some new ones, after that it�s a matter of filling the car with oil and water. I can start stressing about the vehicle inspection already :evil:
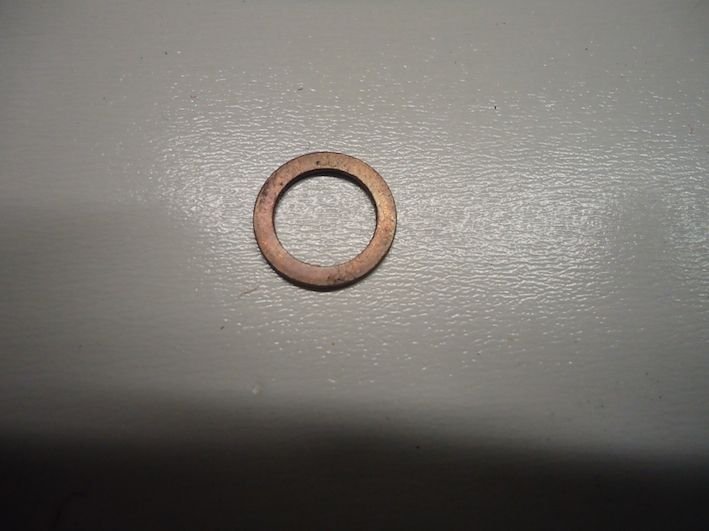
I sleep late today, despite my impatience to start the car again, so work begins not before noon. A gasket finds its way to the fuel line quickly and at the first attempt I’m greeted with a nice growl from the V8.
With a grin from ear to ear I take the car for short spins around the block, stopping in between to add oil and water.
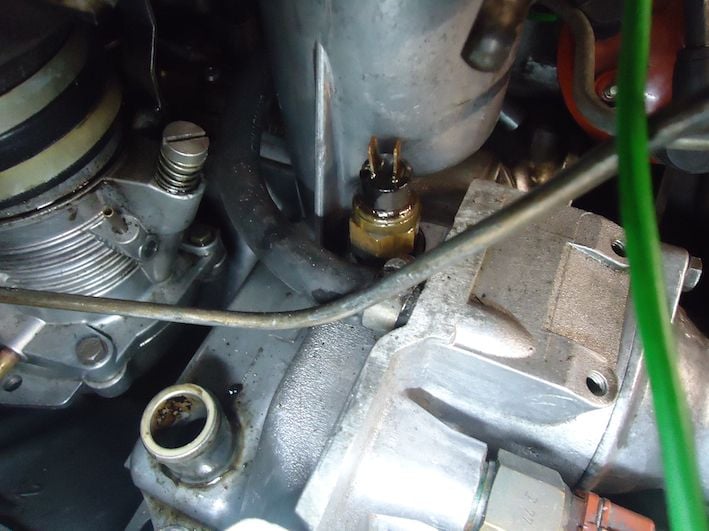
And still, not all is perfect; the oil warning signal keeps blinking and as a consequence too much oil is filled. The shark has to be drained again, but this time when filling up, I limit the amount of oil to 7liters, as stipulated in the WSM. The warning light keeps blinking but the dipstick shows that the oil level seems to be fine.
I did change the oil pressure sensor so I’m thinking I’ve made a mistake. The car is running great but as long as I’ve got a blinking light I will not enjoy it care-free.
Today is semi-final day with tomorrow�s vehicle inspection being the final.
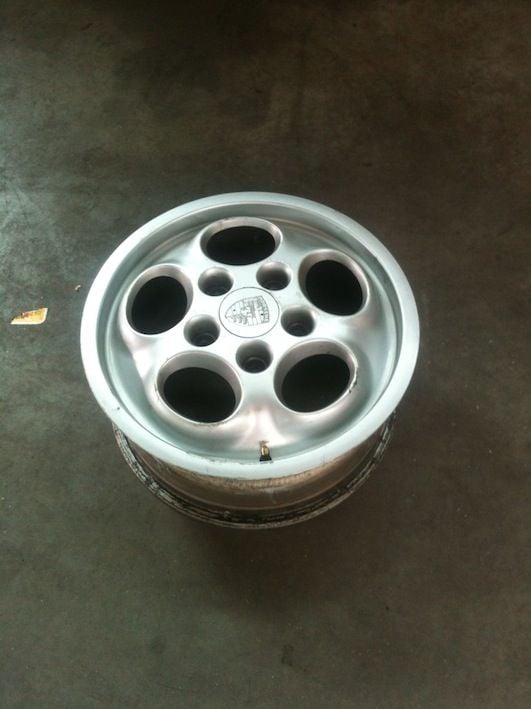
The blinking light problem is solved, I had switched the wires from the oil pressure sensor. The oil meter is still pegged at 5, same as before, but for now it can wait �till after inspection. The front tires are gone and are replaced with a set that was on my Gullideckels. A final check up of the headlights and a quick clean up get�s my armed and ready for inspection.
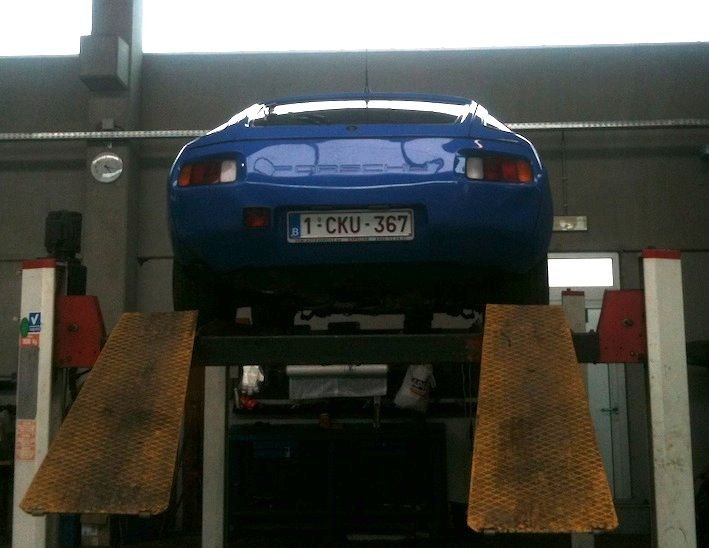
Yes, we�ve passed vehicle inspection! There was only a small remark about the gas tank cover and lid. Both officers (In Belgium Vehicle Inspection is state operated) were interested in the resto and even took time to chat about the car. With the official approval of the SA Belgium, we can take the shark to the road!


 08-18-2014, 08:39 AM


 Thanx for the advice though, some will need a good clean up. A crate supplier has been found btw.
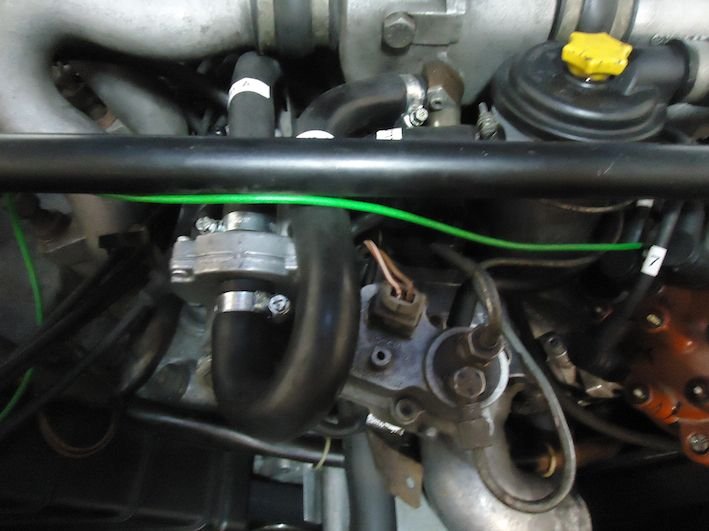


 Have some other issues though, but those I will put in a question topic. Enjoy!

