
Bikini Spoiler--HOW TO
 09-23-2013, 06:35 PM
#1
Rennlist Member
Thread Starter
I think now may not be a great time to start this project, since Tony77 seems to be gravitating away from his passionate desire for something like this, and he may be the only customer for this item if it comes to anything.
Nevertheless, I have found the need to put some creative juices into doing this project, and then decided that since I haven't done a HOW TO thread for a while I'll do it in that form, for some additional fun.
I had continued to look at the little rear spoiler on a prototype 928 that Tony frequently shows in the wiper delete threads, and I have looked at the one Fixer has incorporated in his project 928, so I decided that I would give making my own version of the Bikini Spoiler a shot. Actually I kind of like the way it seems to be shaping up, so, contrary to my previous statements, I may even incorporate one in one of my project 928s.
The main thing that I think has stimulated me to take this one on is that I figured out a way to mount it without drilling any more holes in the hatch. That is, at least for the S4 and later cars. For those 928s I will be making this spoiler so that it uses the wing holes and the wiper holes, since this is going to be a rear-wiper-delete kind of spoiler, which, of course, is where the stimulation for this project originates.
Unfortunately, this project does little or nothing to solve the problem of how to fill the wiper delete sweep void in the S spoiler, unless one is inclined to delete the wiper and then delete the S spoiler in favor of one of these.
What I anticipate doing is making one version of this Bikini Spoiler for the S4 and later cars which will have extensions going foreward far enough to catch the 4 wing mounting points/holes, and then another version that will not have the extensions that will somehow be mounted where the center section of the S spoiler now is.
Another feature that I may try to incorporate is the inclusion af a third brake lite in the spoiler, like so many you see on the road these days, but that will be only an option.
What this spoiler will amount to is a fiberglass creation made using two or maybe three segments to the mold and wherein the segments can be changed out to make any of the configurations desired. That will all be fairly new to me since I have not done much work in fiberglass and none for a very very long time.
This is a kind of long intro, so I'll close it and do another post with how the project is taking place, with some pictures--actually about three additional posts. However, here is one picture to help get us started.
 09-23-2013, 06:52 PM
#2
Rennlist Member
Thread Starter
I started this project by taking some plywood that I have around here and ripped it into about 3 1/2 inch strips and the took one of them and cut one edge of it to the contour of the rear area of the 928 hatch. That takes a little work to get it pretty close using the bandsaw and the belt sander, but I wanted it pretty close so when I get it to fit exactly it will not take too much epoxy to fill the slight void(s) between it and the hatch surface.
I then made a pattern of the rear edge of the hatch and used that to make another piece of plywood to that shape so I could form the first piece to that curvature. In order to do that I cut several slots in the first piece so that it becomes pretty flexible, and then screwed it to the trailing edge shaped piece. This give me the backbone of the new spoiler mock-up.
Then I had to trim and contour the combined strips of plywood so that the surface of the new spoiler shape can be attache to it.
Then that combination can be afixed to the hatch so that pieces of wood shaped to the profile of the spoiler can be afixed to it to obtain the desired shape.
What I had in mind for the final shape is to have the spoiler have a decent shape in terms of air flow, rather than an abrupt intrusion into the air lilke Fixer's seems to have. Since there is already a sort of bevel around the rear glass in the 928 I thought I would join up with that and then provide a smother fow of air curving upward to the top of the spoiler.
This spoiler is going to be about 4.5 inches tall from the hatch surface,. and will have an angle of attack at the top that I have just eyeballed, so it is more aesthetic that scientific.
Last edited by Jerry Feather; 09-23-2013 at 08:17 PM.
09-23-2013, 07:03 PM
#3
Rennlist Member
Thread Starter
Next I made a pattern for the profile of the spoiler and cut several of the profile pieces out of 2 by 4 s and a few out of 1 by 4 pine, enough that I can glue them all on the backbone as shown in the picture with the first post.
Then I clamped the backbone lightly in place on one of my spare hatches and began the process of developing some wood to make the extensions to reach the two wing mounting points on each side of the hatch. Here is what they come out looking like, in very rough terms, since all or most of this will need to be filled and sculpted into the final shape, which I haven't yet even decided on. The process becomes sort of organic in nature, so we will just have to see how it shapes up, literally.
Then I clamped the backbone lightly in place on one of my spare hatches and began the process of developing some wood to make the extensions to reach the two wing mounting points on each side of the hatch. Here is what they come out looking like, in very rough terms, since all or most of this will need to be filled and sculpted into the final shape, which I haven't yet even decided on. The process becomes sort of organic in nature, so we will just have to see how it shapes up, literally.
09-23-2013, 07:40 PM
#5
Inventor
Rennlist Member
Rennlist Member
What I had in mind for the final shape is to have the spoiler have a decent shape in terms of air flow, rather than an abrupt intrusion into the air lilke Fixer's seems to have. Since there is already a sort of bevel around the rear glass in the 928 I thought I would join up with that and then provide a smother fow of air curving upward to the top of the spoiler.
This spoiler is going to be about 4.5 inches tall from the hatch surface,. and will have an angle of attack at the top that I have just eyeballed, so it is more esthetic that scientific.
This spoiler is going to be about 4.5 inches tall from the hatch surface,. and will have an angle of attack at the top that I have just eyeballed, so it is more esthetic that scientific.
 09-23-2013, 07:53 PM
#6
Rennlist Member
Thread Starter
Maybe these last pictures will show the currect status of this project.
What I plan to do next is to start putting all of this together with some epoxy. I think that will include, at least in a second step, the profile pieces being installed. When all of the is done then I'll expect to use some bondo to fill in the voids and then start sculpting the whole thing into what will become the final shape.
First I'll lay the backbone on the hatch over a strip of wax paper and lay it in a bed of epoxy so that the base of the spoiler is exactly the shape of the hatch. Then I'll start triming the profile pieces, at least roughly, and glueing them onto the backbone and to each other. I'll be filling in the foreward lower edge all around to match the contour of the bevel around the hatch window, and then shaping that to the desired fairly thin shape needed to minimize the air flow transition from the glass to the spoiler.
This part of it is a lot of fun except that I will have some difficulty in shaping and sanding the concave contour of the foreward face of the spoiler. I am wondering if there is something like a ball sander that I might obtain and use for that shaping. I'll go on eBay and see if there is such a thing.
I do a lot of my sculpting with my 4 inch disc sander with a 36 grit disc. I find that it is both agressive but with a light touch, can be a fairly accurate means of sculpting.
09-23-2013, 08:01 PM
#7
Rennlist Member
Thread Starter
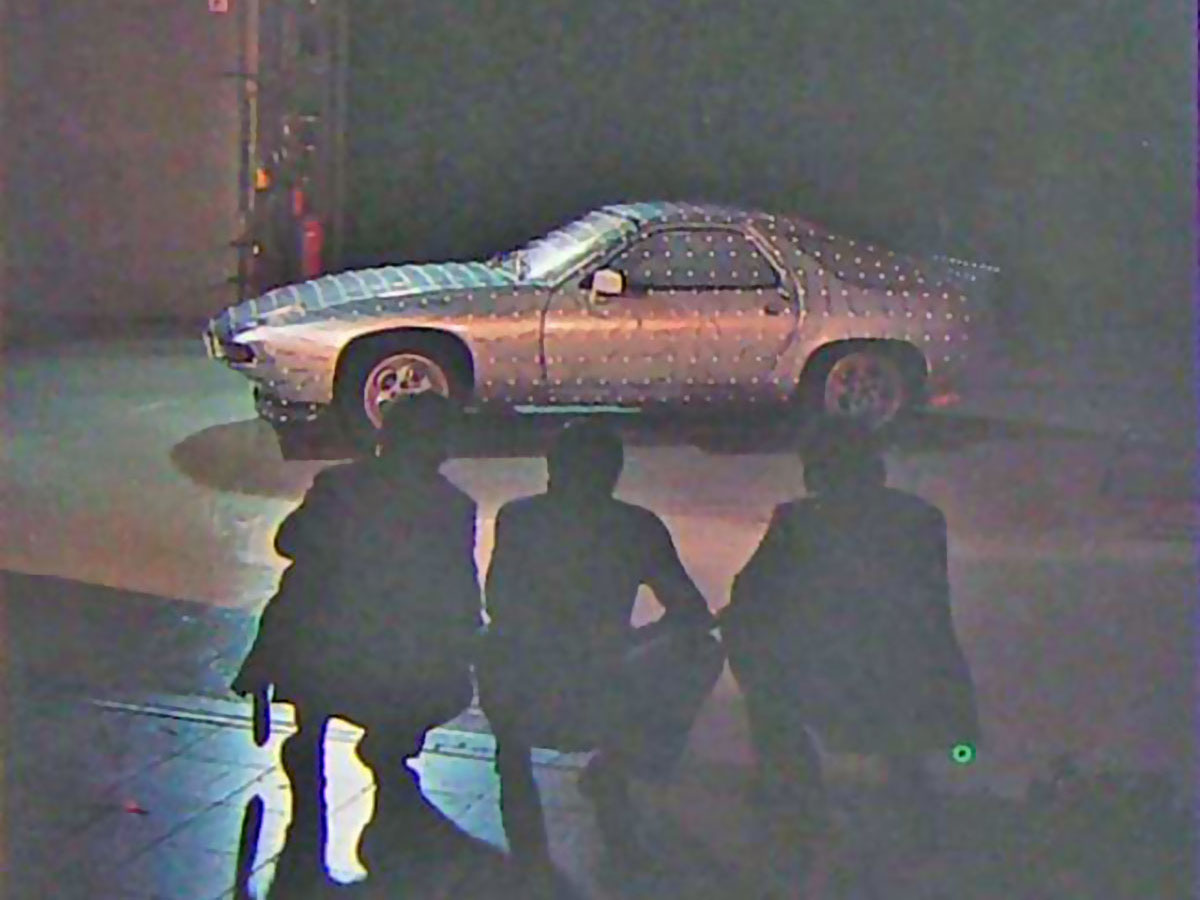
That's the picture that I referred to in the third paragraph of ny opening post about this project. That is the one Tony seems to be very fond of. That in fact is the model for the rear-to-front view of my Bikini Spoiler. However I have no idea what the cross section might be of that spoiler, nor can I tell what they are doing about access to the key slot for the hatch.
I will have to be incorporating some kind of recess for the key in my spoiler, but that will be something that I can put into the form near the end of its development.
I will have to be incorporating some kind of recess for the key in my spoiler, but that will be something that I can put into the form near the end of its development.
Trending Topics
09-23-2013, 08:04 PM
#8
Rennlist Member
Thread Starter
Actually, Ken, I think I can see in your post of that picture that that spoiler probably has a fairly thin profile and althought I think it is shaped much like mine in the front, it appreas to be thin enough to clear the key opening in th rear.
Mine will be covering the key opening except for the recess I will put in it to clear that area.
Mine will be covering the key opening except for the recess I will put in it to clear that area.
09-23-2013, 08:07 PM
#9
Inventor
Rennlist Member
Rennlist Member
The water one is just a flat plate, AFAICT.
Same with the one used in the wind tunnel, although it appears to be mounted lower and is taller?
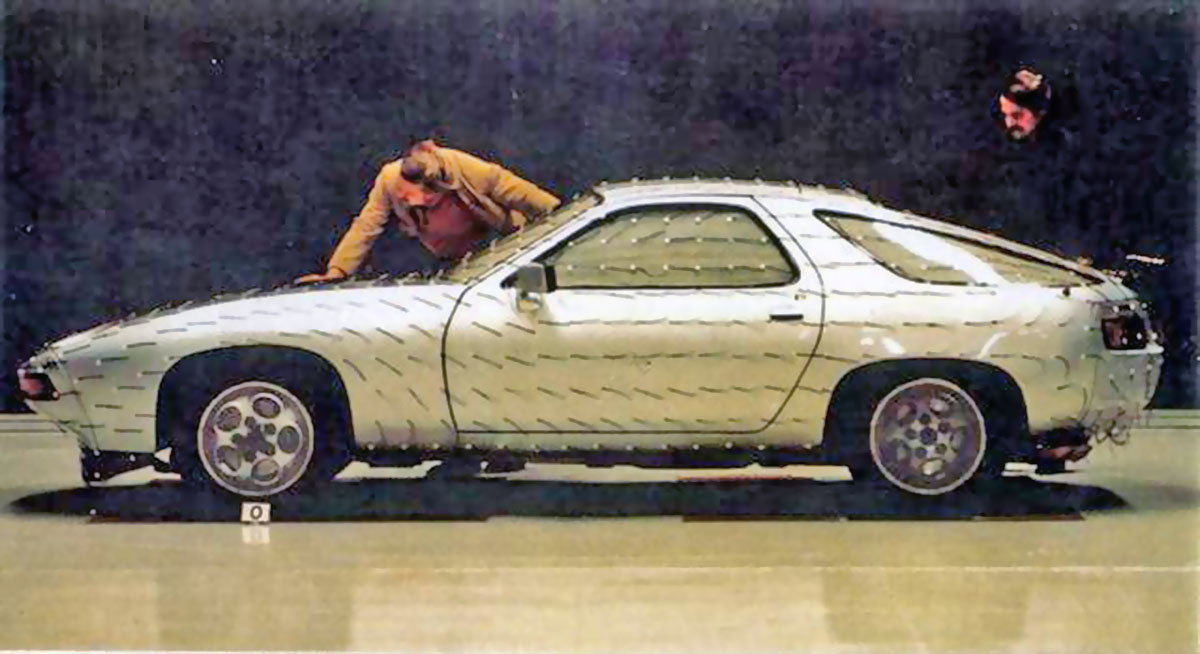
Same with the one used in the wind tunnel, although it appears to be mounted lower and is taller?
09-23-2013, 09:19 PM
#11
Rennlist Member
Interesting Jerry. I�m sure you�ve seen Matt�s.
https://rennlist.com/forums/10778742-post332.html
And now, about your title ���.
�Bikini Spoiler--HOW TO�
http://www.ebaumsworld.com/pictures/view/653357/
���. sorry, I just couldn�t resist.
https://rennlist.com/forums/10778742-post332.html
And now, about your title ���.
�Bikini Spoiler--HOW TO�
http://www.ebaumsworld.com/pictures/view/653357/
���. sorry, I just couldn�t resist.
09-23-2013, 09:33 PM
#12
Rennlist Member
Thread Starter
I have seen Matt's. It looks to me like it will provide more drag than negative lift. I don't care for its abrupt intrusion into the air flow at nearly a 90 degree angle. I don't think the angle at the end is necessarily incorrect, but the transition to that angle is just too abrupt for me. That is why I am providing more of a curved transition for the airflow. Too, I don't know why he didn't incorporate the bevel around the rear window into his spoiler. His has the airflow going over the bevel then over a flat area of the hatch then nearly straight up the sharp face of the spoiler. That does not make sense to me. But then what do I know?
09-24-2013, 07:42 AM
#14
Rennlist Member
This part of it is a lot of fun except that I will have some difficulty in shaping and sanding the concave contour of the foreward face of the spoiler. I am wondering if there is something like a ball sander that I might obtain and use for that shaping. I'll go on eBay and see if there is such a thing.
I do a lot of my sculpting with my 4 inch disc sander with a 36 grit disc. I find that it is both agressive but with a light touch, can be a fairly accurate means of sculpting.
I do a lot of my sculpting with my 4 inch disc sander with a 36 grit disc. I find that it is both agressive but with a light touch, can be a fairly accurate means of sculpting.
09-27-2013, 04:24 PM
#15
Rennlist Member
Thread Starter
Maybe you can tell from what I have posted so far, but this little bevel that surrounds most of the rear window is really talking to me in terms of the design of at least the inboard/foreward edge(s) of this Bikini Spoiler. What I have done in the last few days is to continue to shape the backbone so that a straightedge will lay onto the bevel and extend outward and lay on the wood I am using.
The result is that I have trimmed the backbone down quite a bit to match the bevel and have added the foreward extensions so that they do the same thing. In fact, I changed the extensions from what I first made and have now beveled them to match.
What I have done in the last few days, aside from the extra grinding at the bevel, is to add a couple of hooks along the rear of the spoiler so that I can hang it onto the hatch I have standing on its leading edge. In that way it is much easier to place and eyeball the grinding and other tasks without having to guess and measure its position each time I put it back on the see how I am doing.
Then I have put a layer of glue along the bottom of the backbone and placed that on the hatch with wax paper under it in order to have my backbone form exactly to the hatch where the spoiler will be mounted. I glued the extensions on at the same time and did the same to them.
I also glued one of the forming pieces on in the center as sort of a permanent mark for the start of all of them next. With the extra grinding on the backbone I find that with these forming pieces the spoiler is going to end up about 4 1/4 inches high from the hatch up to its top edge.
I am going to go out now and refine the surface of the backbone to be sure that it is an extrapolation of the bevel mentioned above and then start trimming the form pieces and gluing them on. That will give us a pretty good picture of just what this spoiler is going to amount to.
Last edited by Jerry Feather; 09-28-2013 at 09:54 AM.

