When you click on links to various merchants on this site and make a purchase, this can result in this site earning a commission. Affiliate programs and affiliations include, but are not limited to, the eBay Partner Network.
I have been slacking on updating this thread, but I have been busy.
I am on the final stages of the new transmission install. To recap, my original transmission had an open diff, and, recently began to leak profusely from the front seal. So I picked up a used transmission in very good shape, plus an early LSD and Carl's "Limited-Slip Differential (LSD) Upgrade for Porsche� 928" adapter kit. ( Which he just currently noted he is discontinuing) The first goal was to get the "new" transaxle ready to swap in.
General plan:
1. Clean and inspect
2. Install correct ring gear on LSD
3. Modify and install Speedometer ring on LSD per Carl's instructions
4. Replace front and side seals and side bearings
5. Follow WSM on shimming for centering, backlash and bearing pre-load
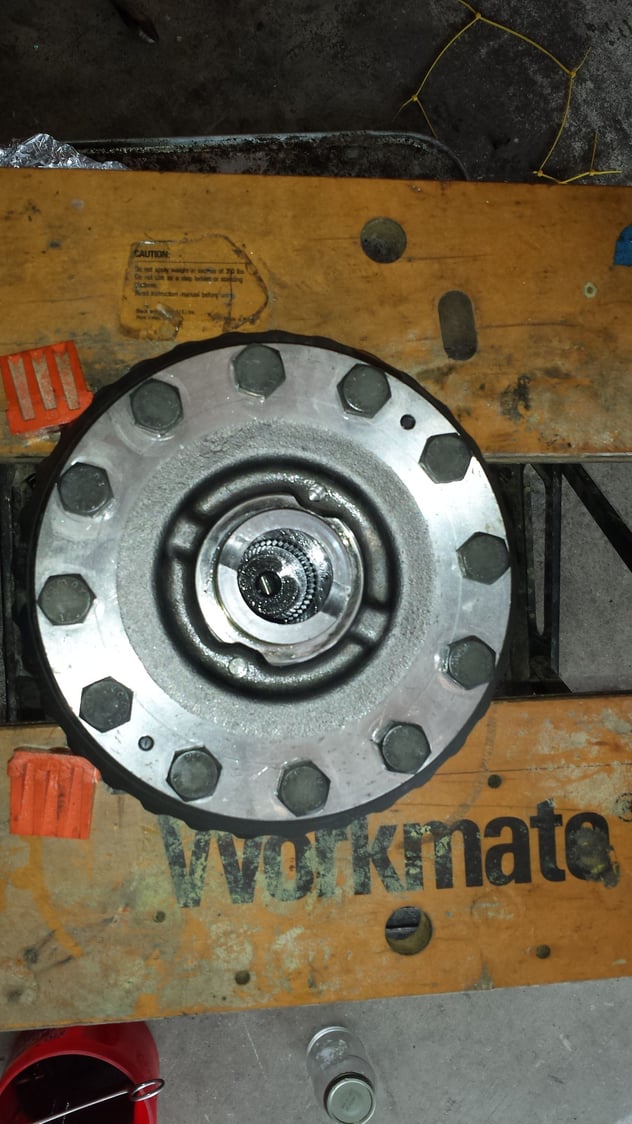
The initial cleaning pictures are already above, but more time with a wire wheel, pressure washer, solvents and elbow grease got it even cleaner.
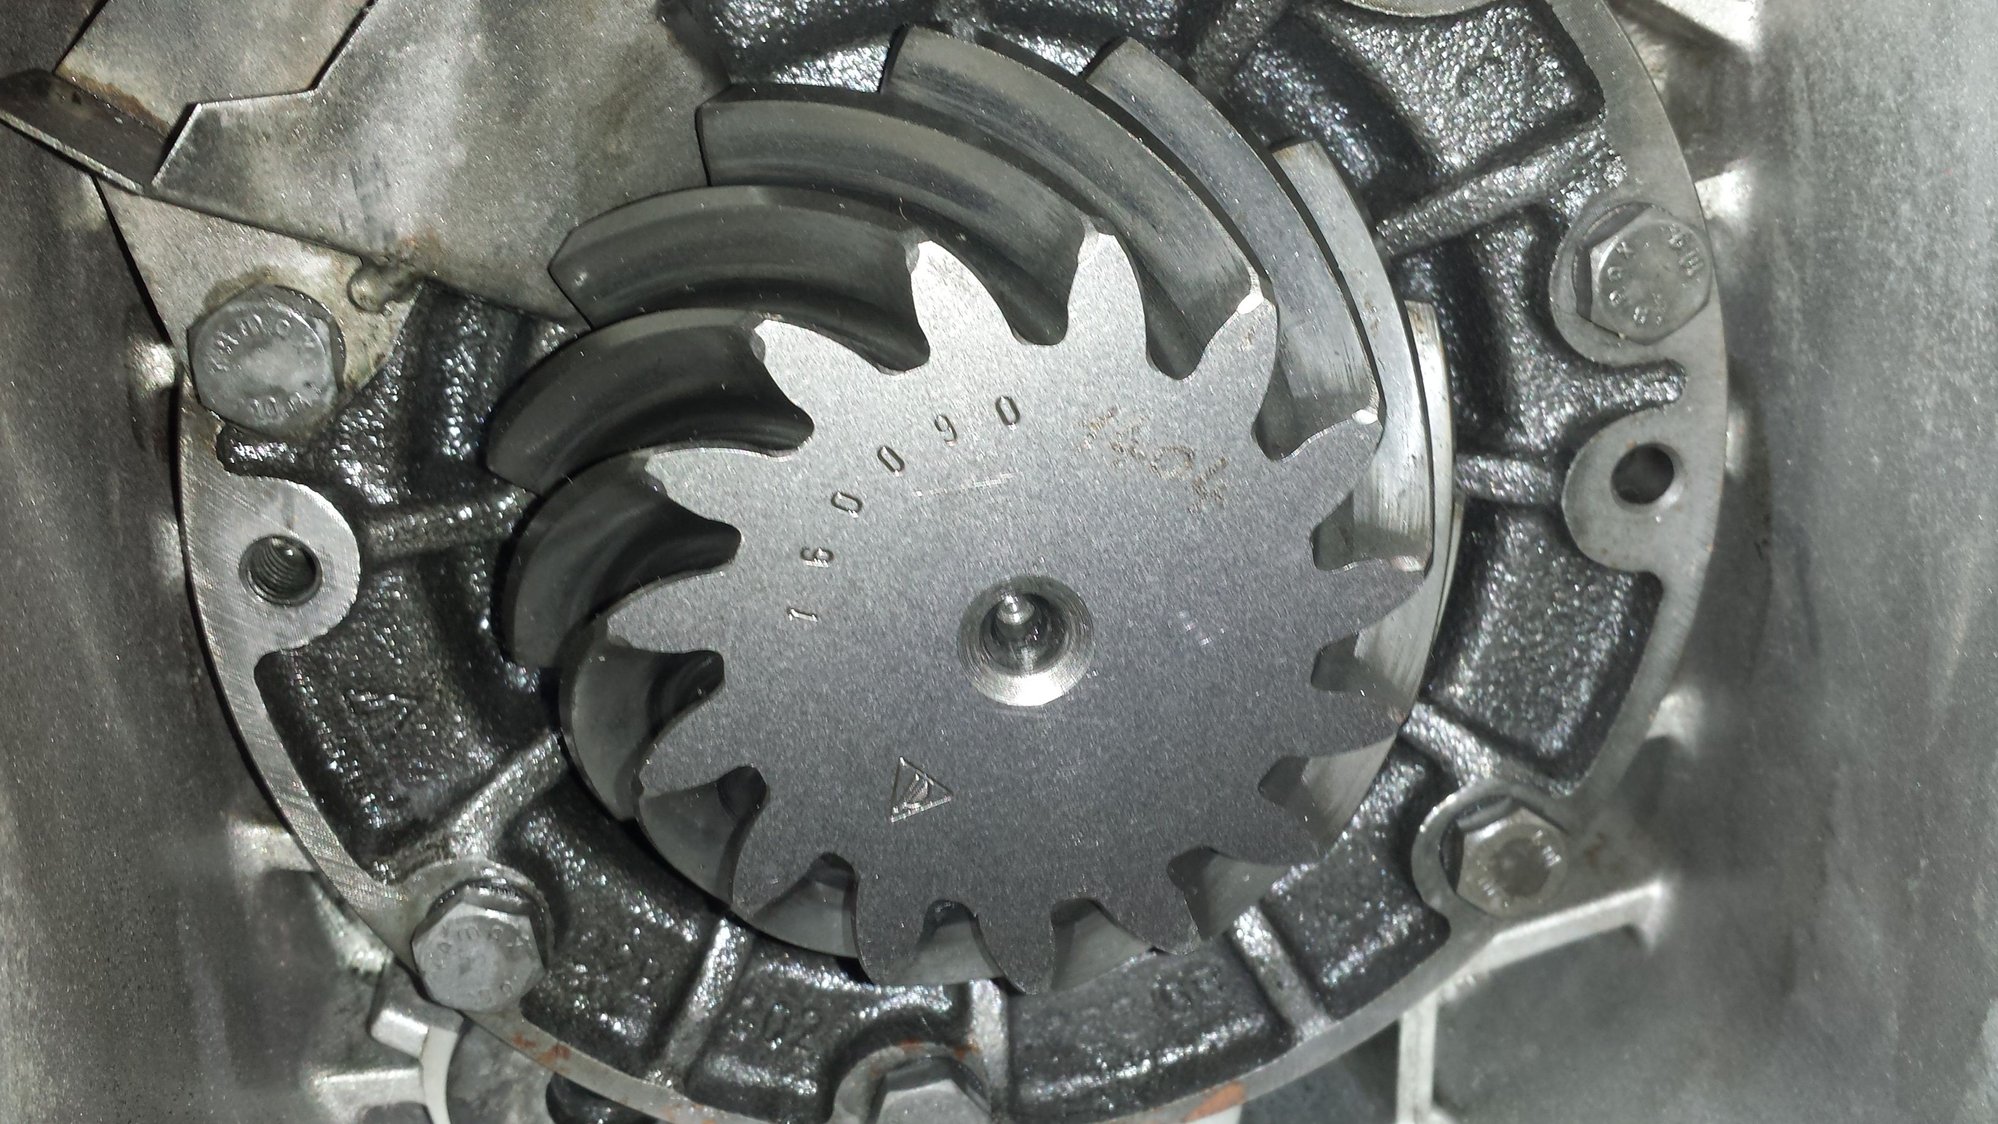
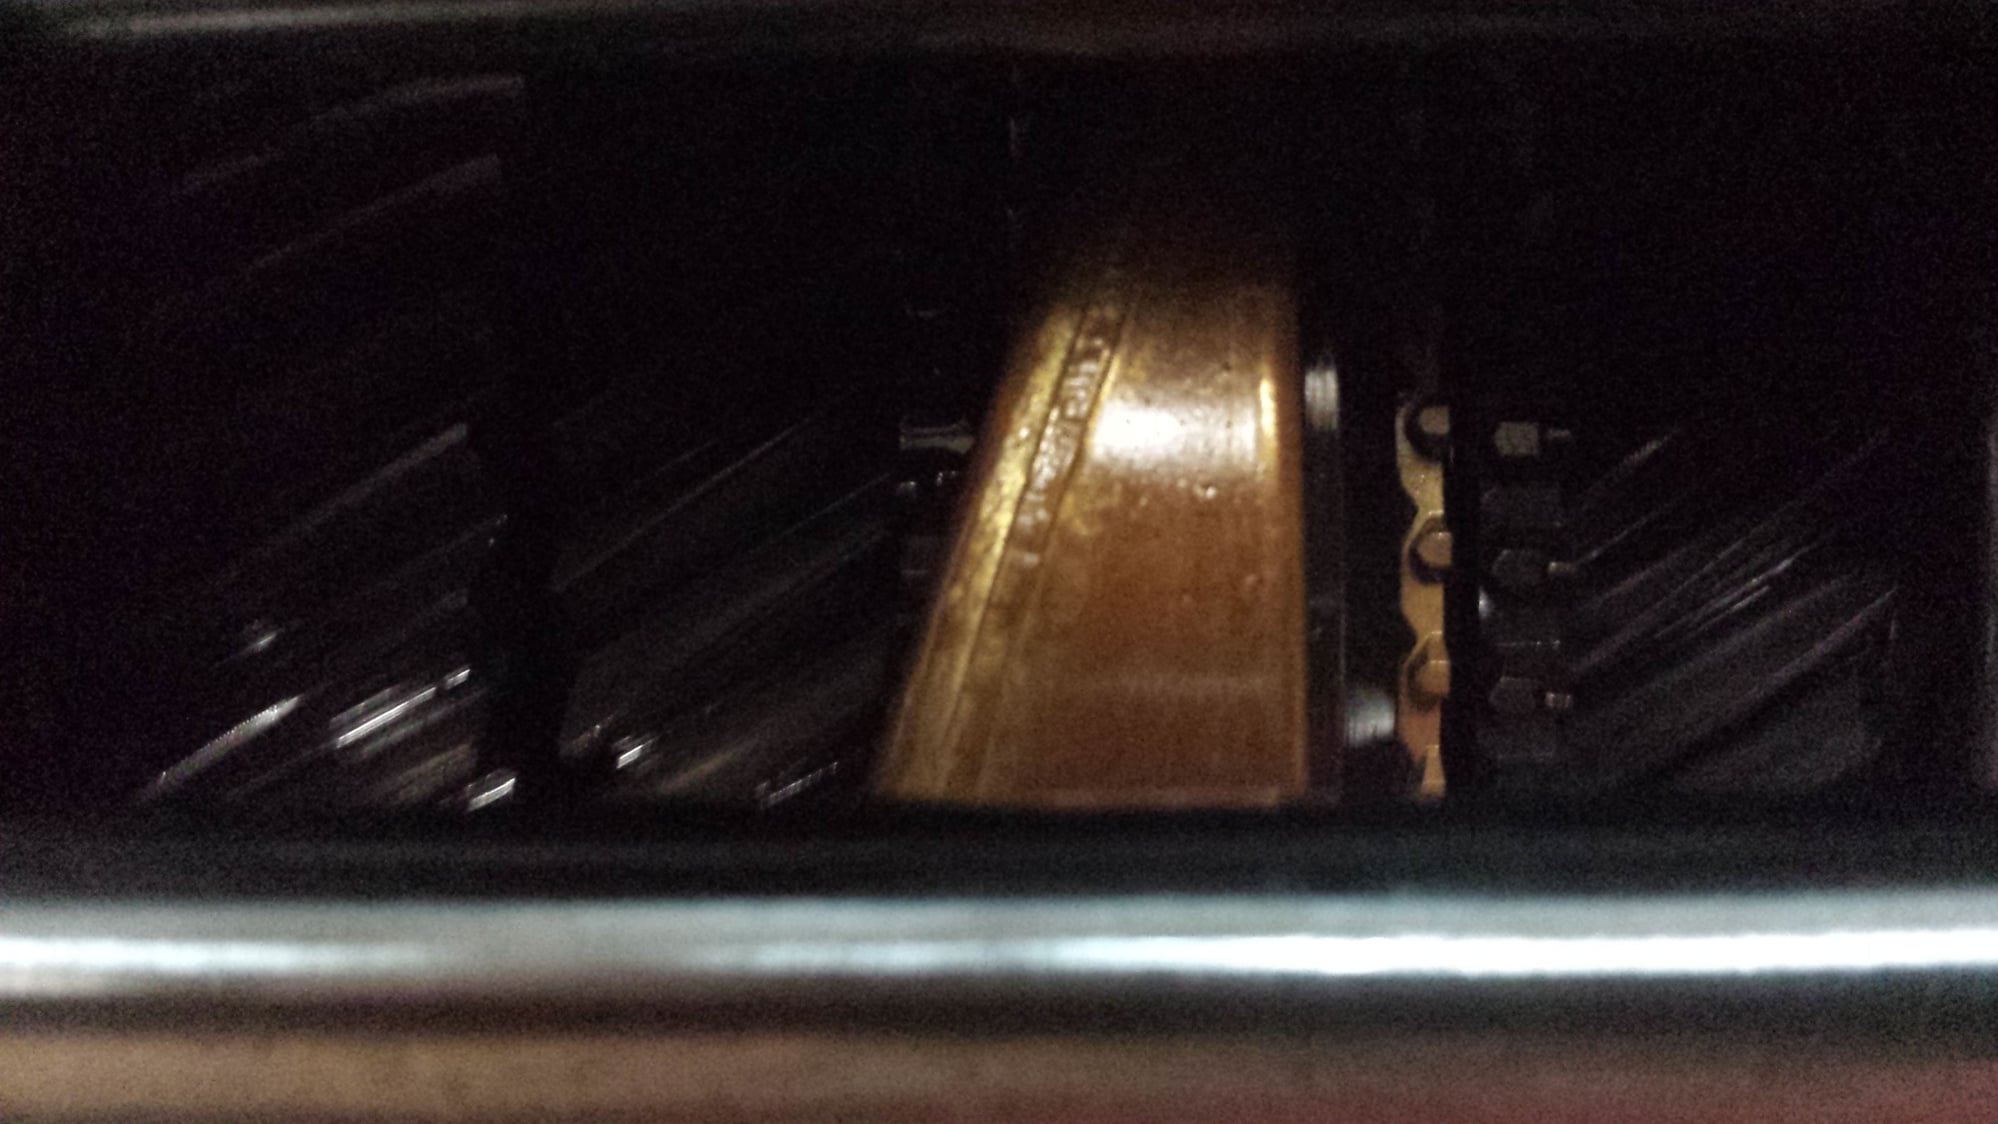
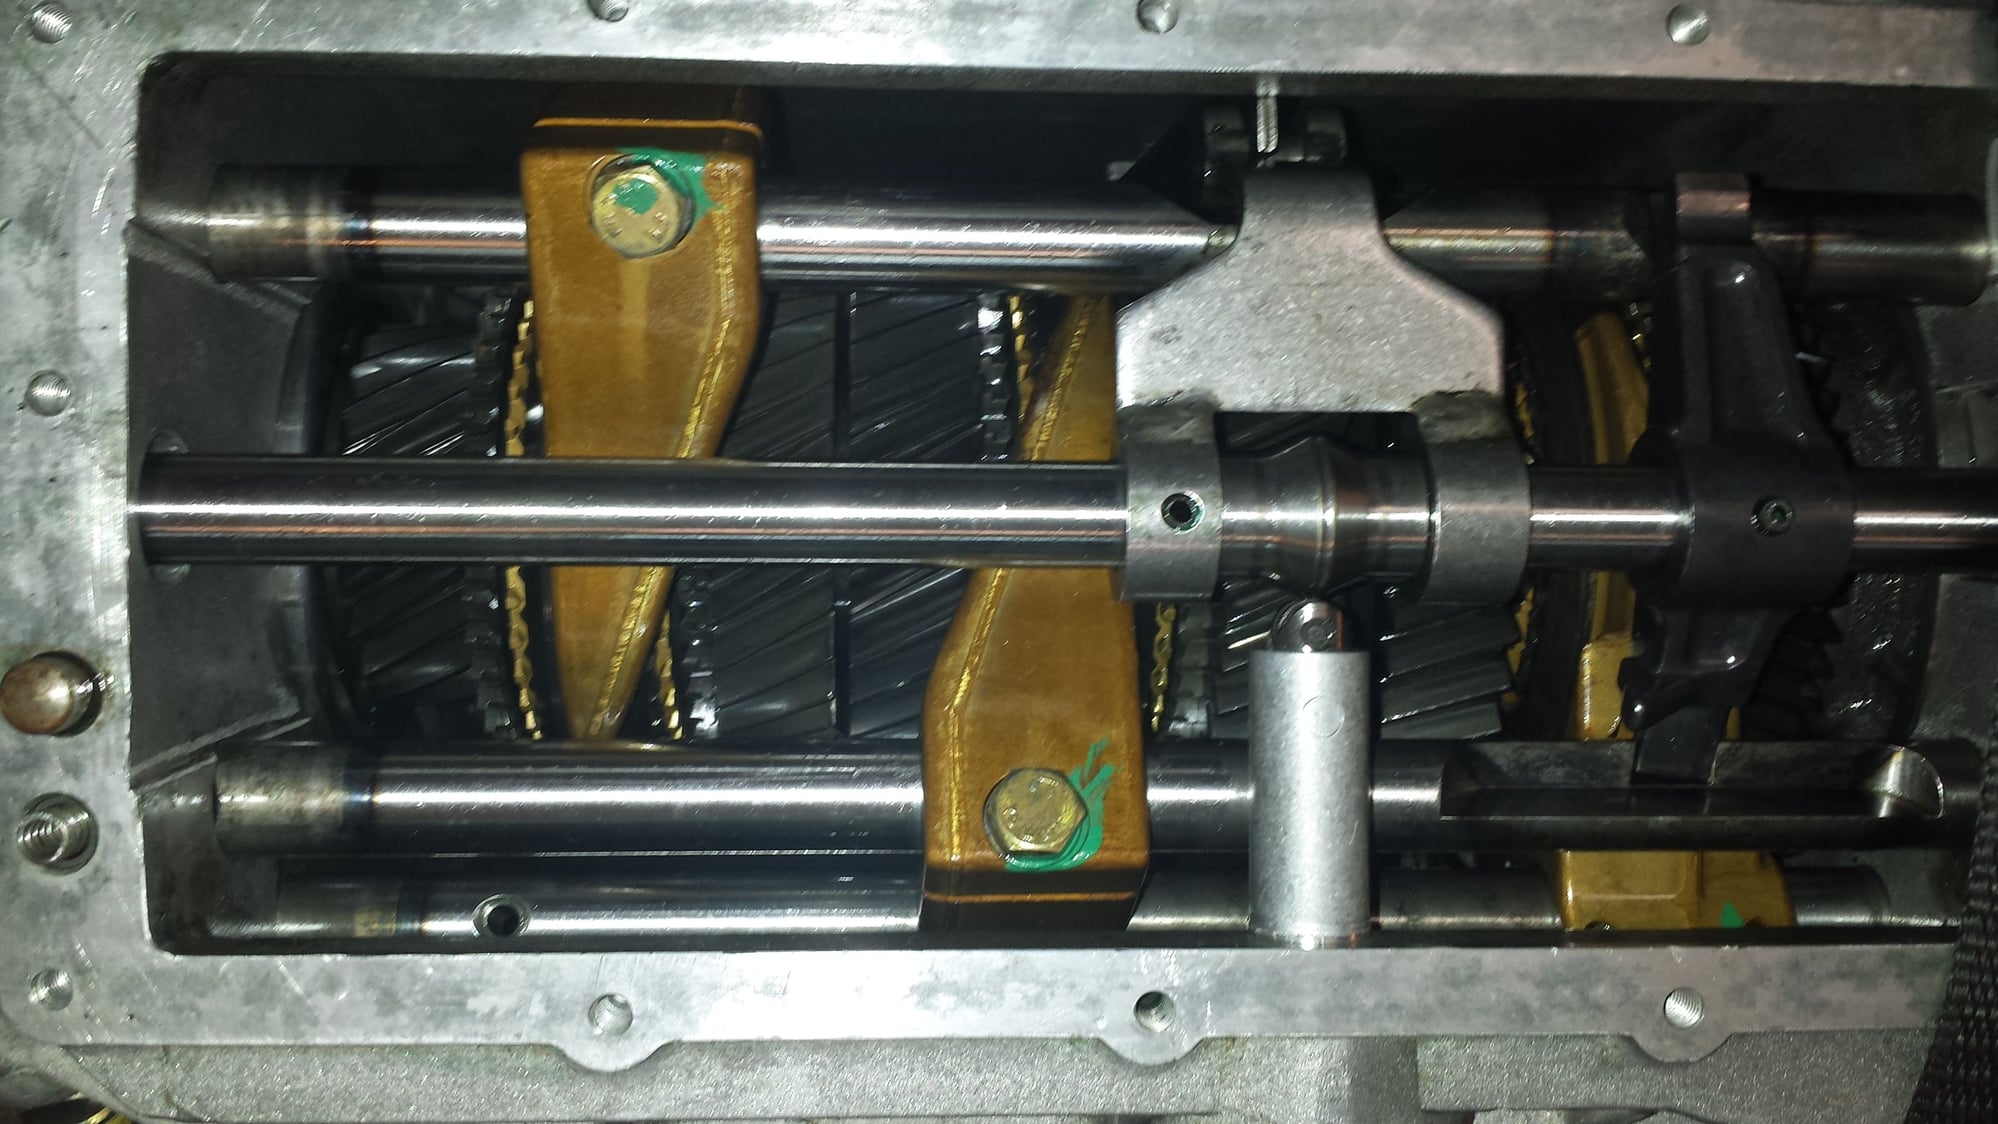
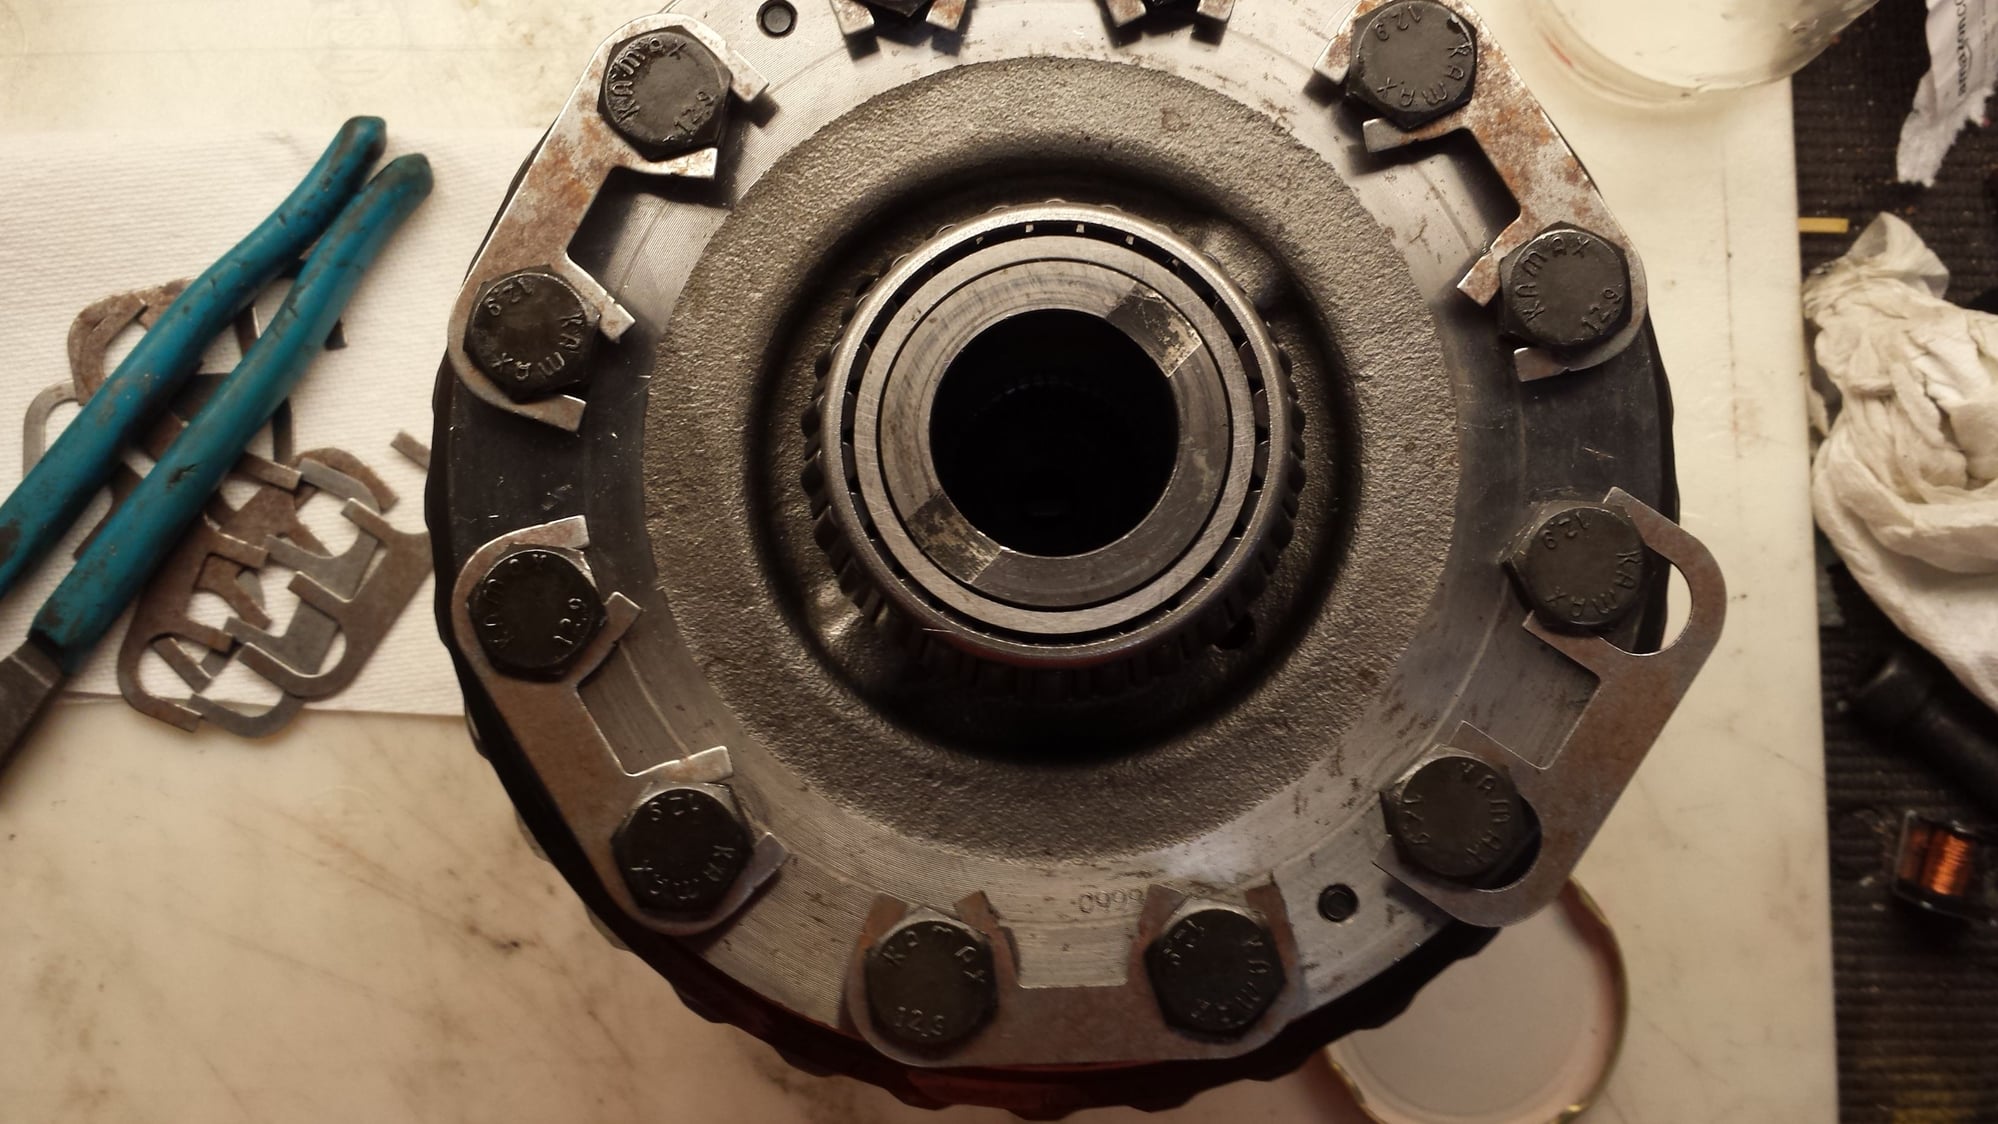
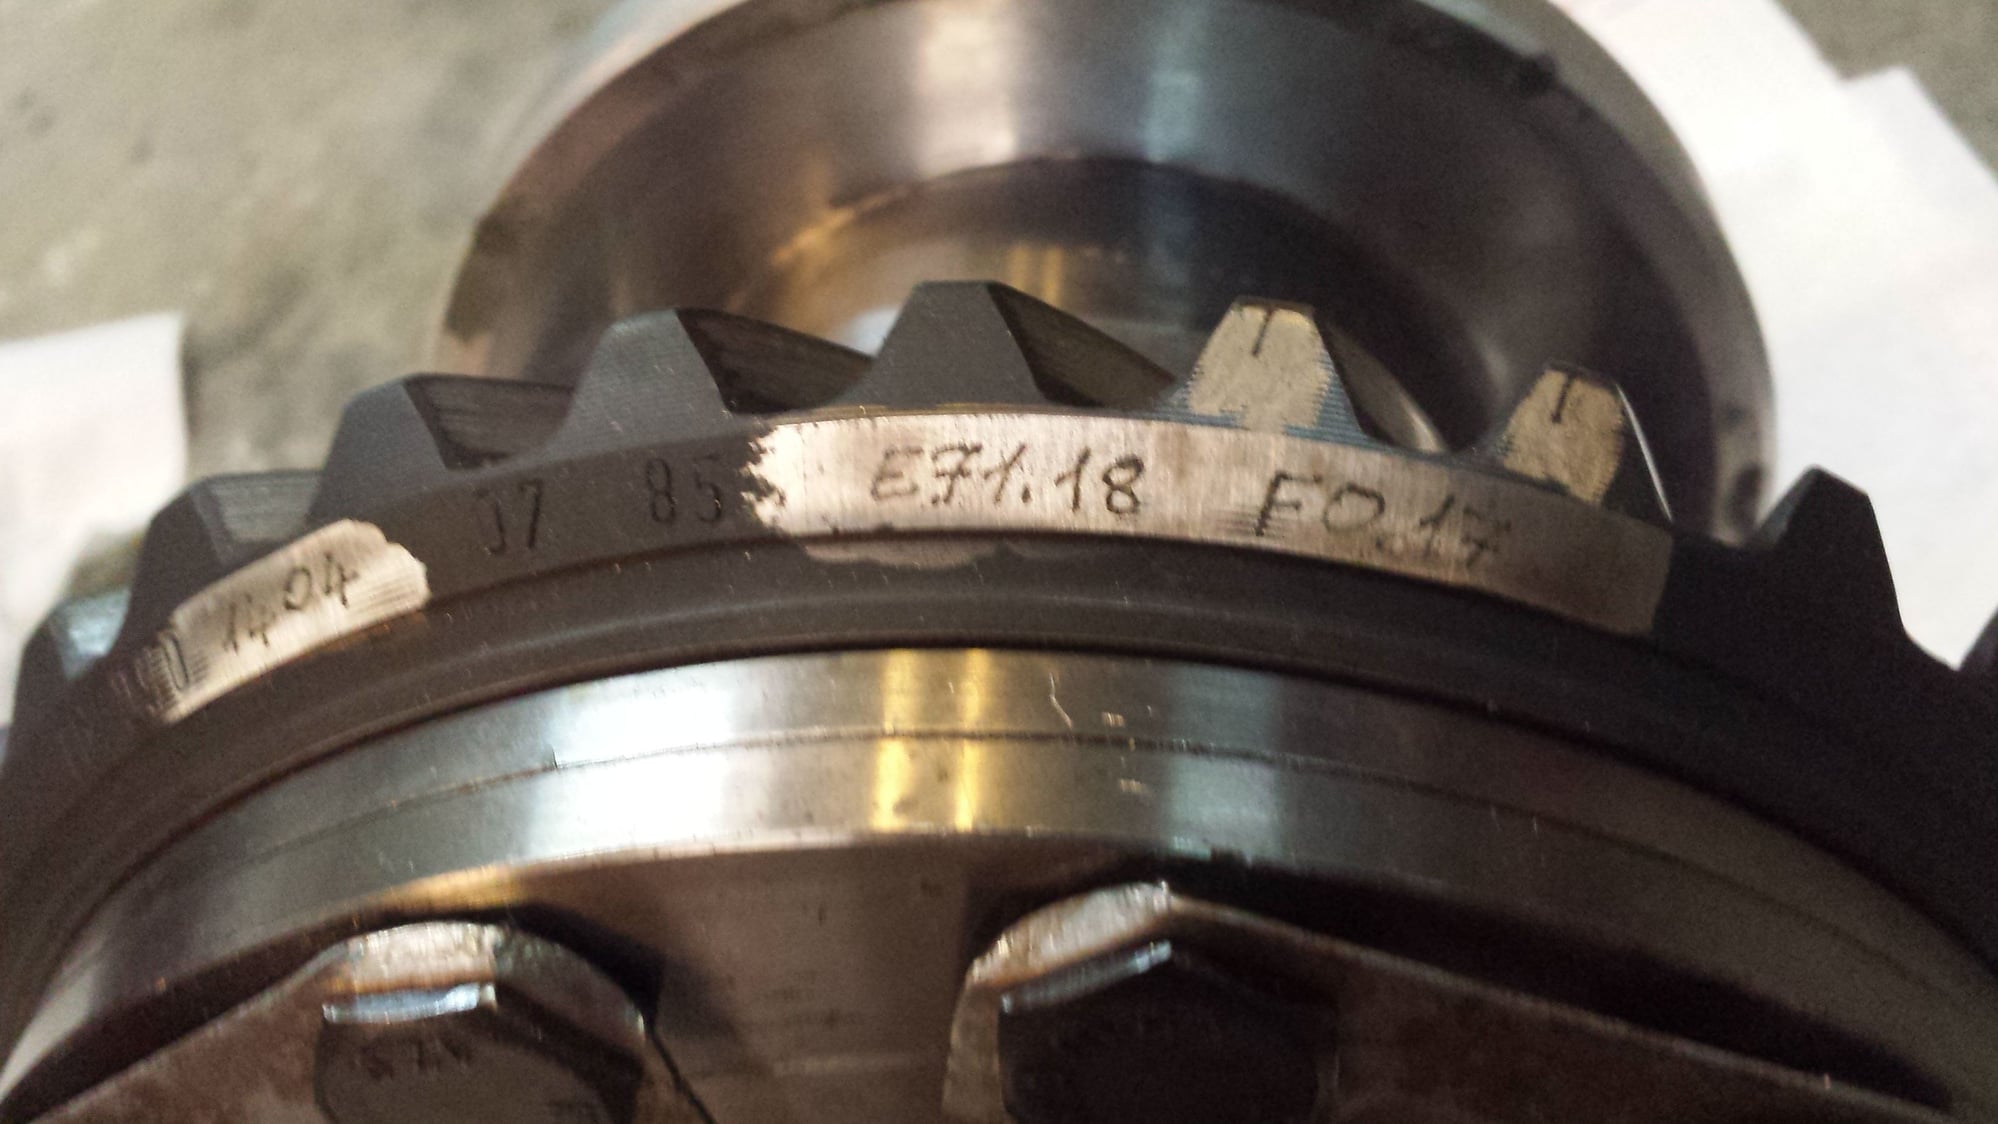
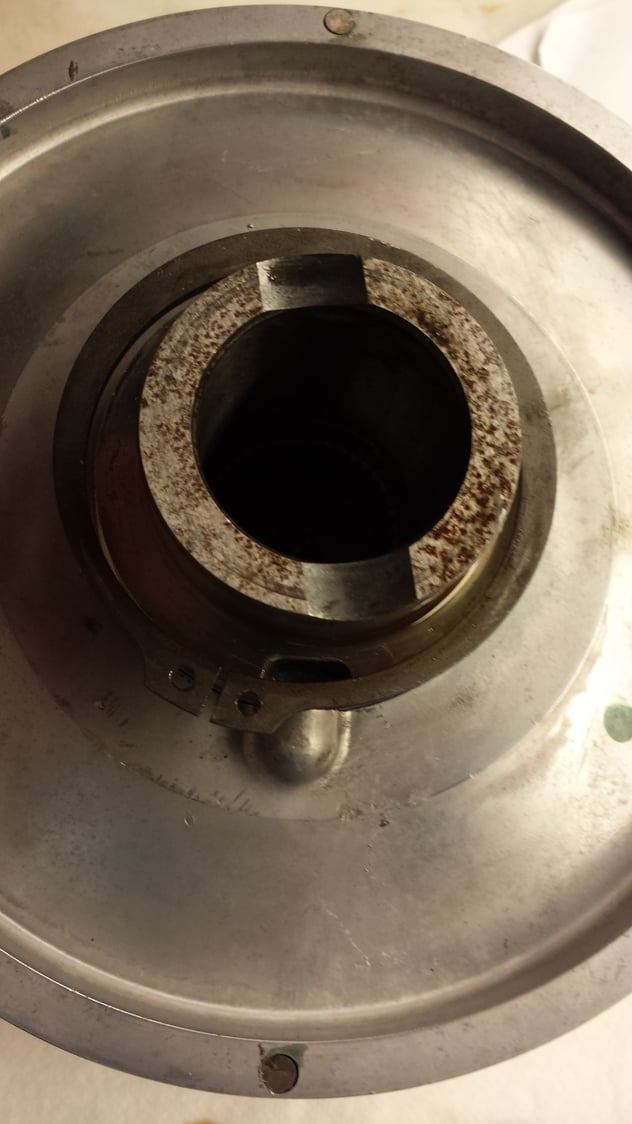
The insides looked very good to my untrained eye:
Next step was to install the ring gear that matched the installed pinion. It came with the "new" transmission. New hardware. At this point, also installed new bearings.
Next step was modification of Speedo Ring per Carl's Instructions
This is the first place I ran into drama.
Recall that Carl wrote his instructions on the assumption that your are pulling out an LSD and swapping parts, like the speedo ring. I was building up a new transmission, my parts list was a little different.
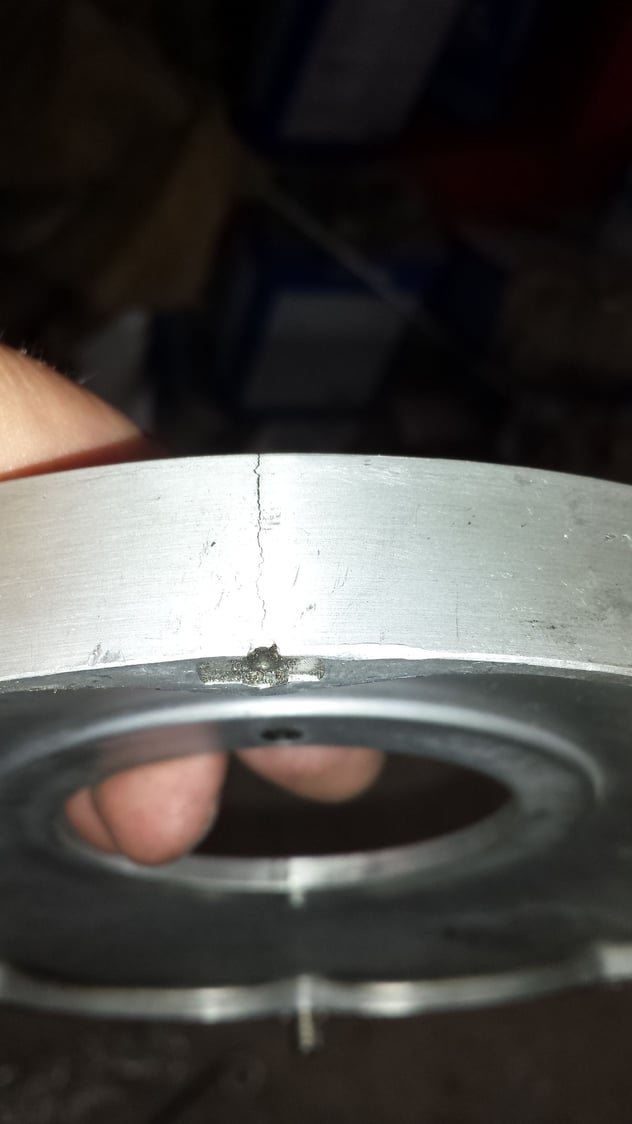
First the ring I had looked nothing like the ring in his instructions ( It was the ring from the "older" LSD, not the G28/11 transmission) and it was cracked:
So I ordered a correct G28/11 ring from Roger . It began to get interesting.
I suspect Carl based his documentation on his experience with later transmissions ( G28/13 and later). My guess ( and it is only a guess, as I have nothing to compare it to) is that there are differences here between G28/11 and later versions.
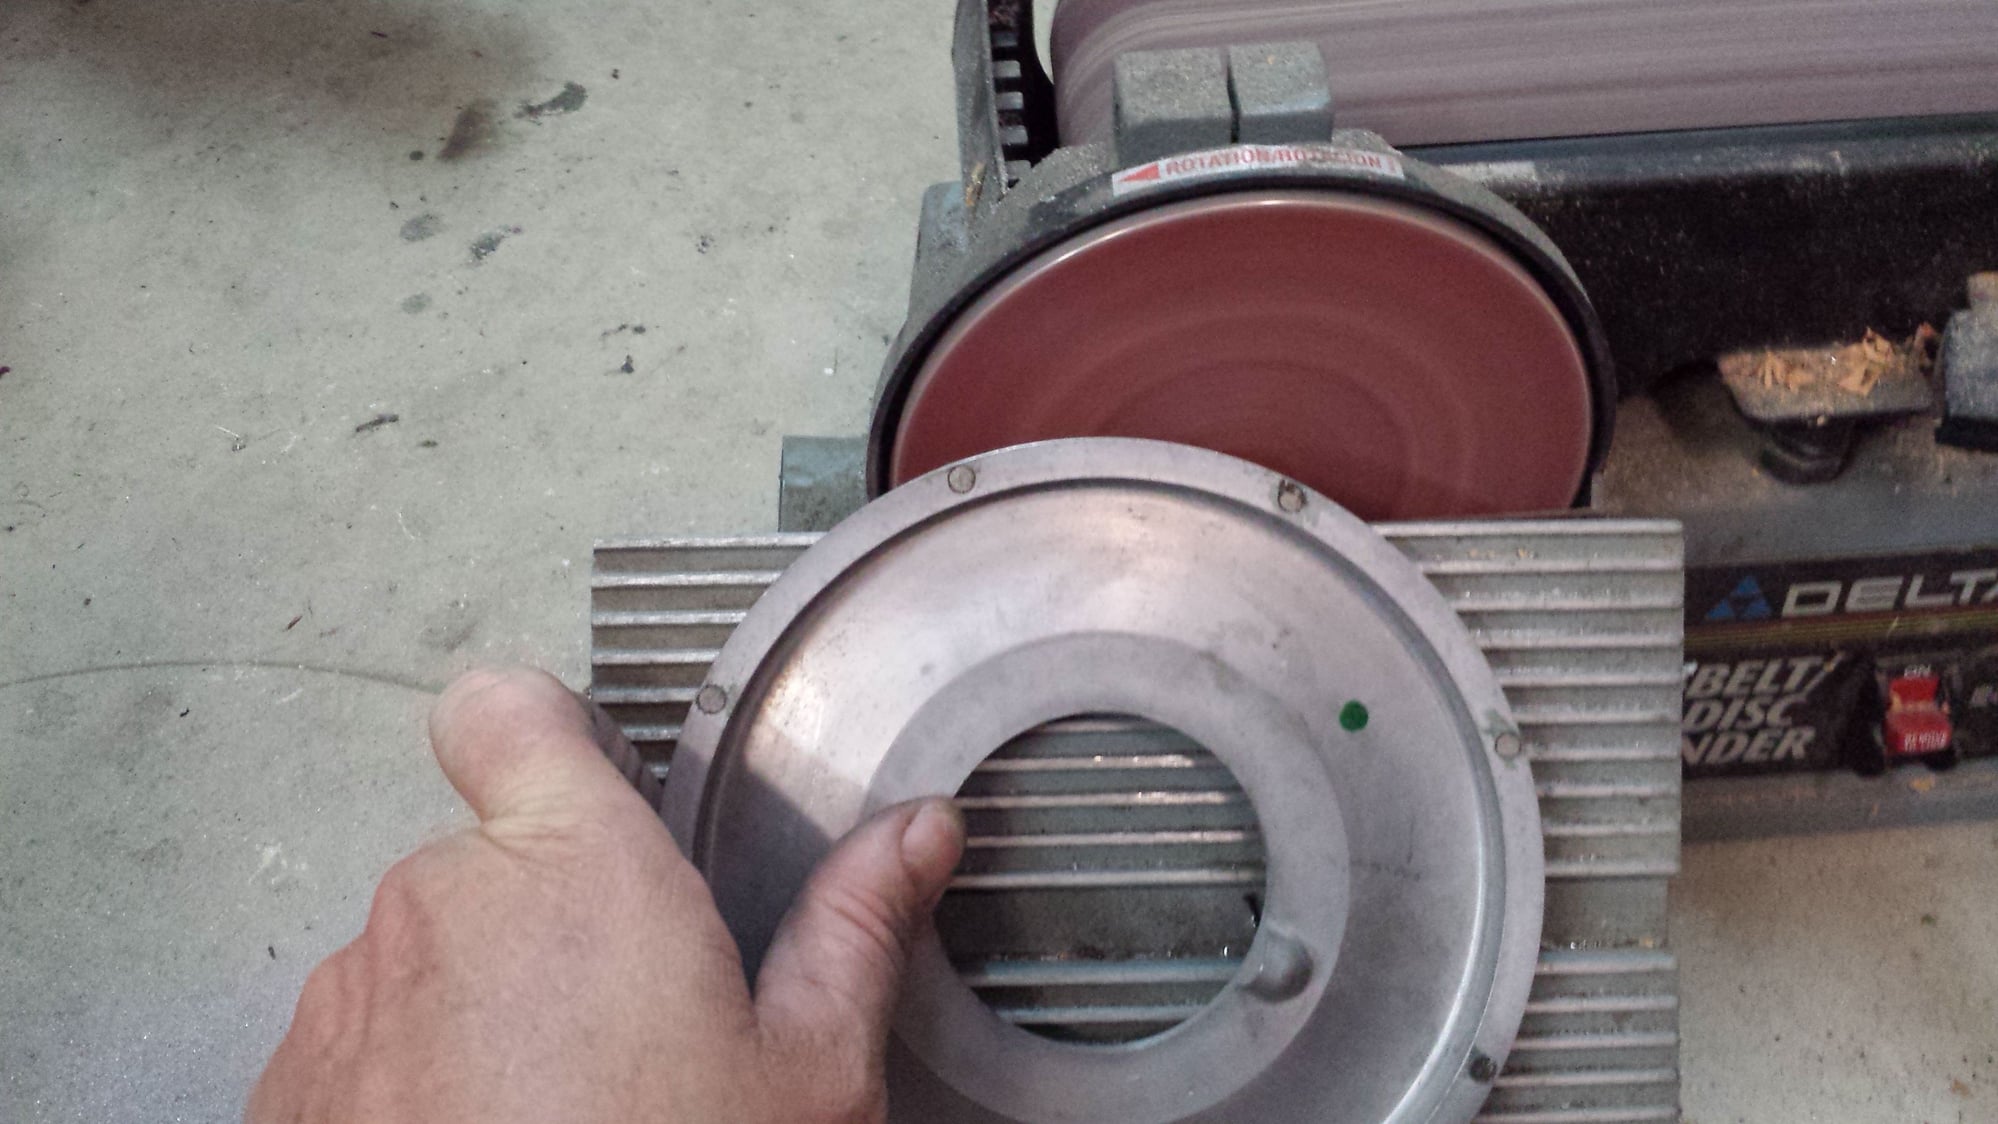
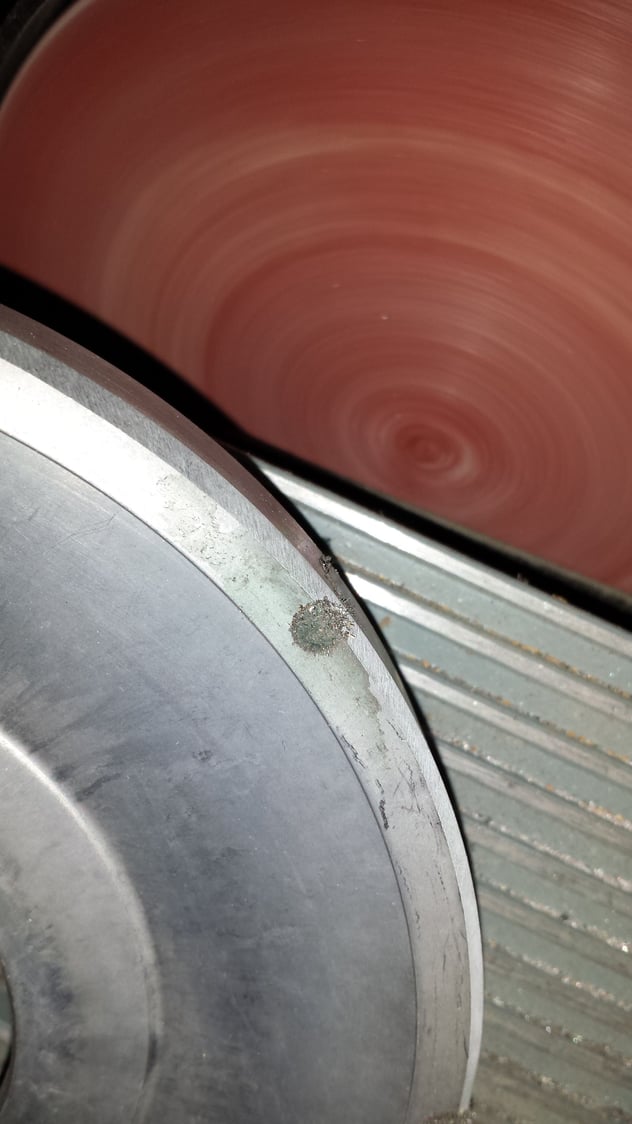
First I beveled the edge of the wheel and trimmed down the roll pin as instructed. I did not have a lath to do the beveling, but a disc sander worked surprisingly
well:
NOTES to avoid drama:
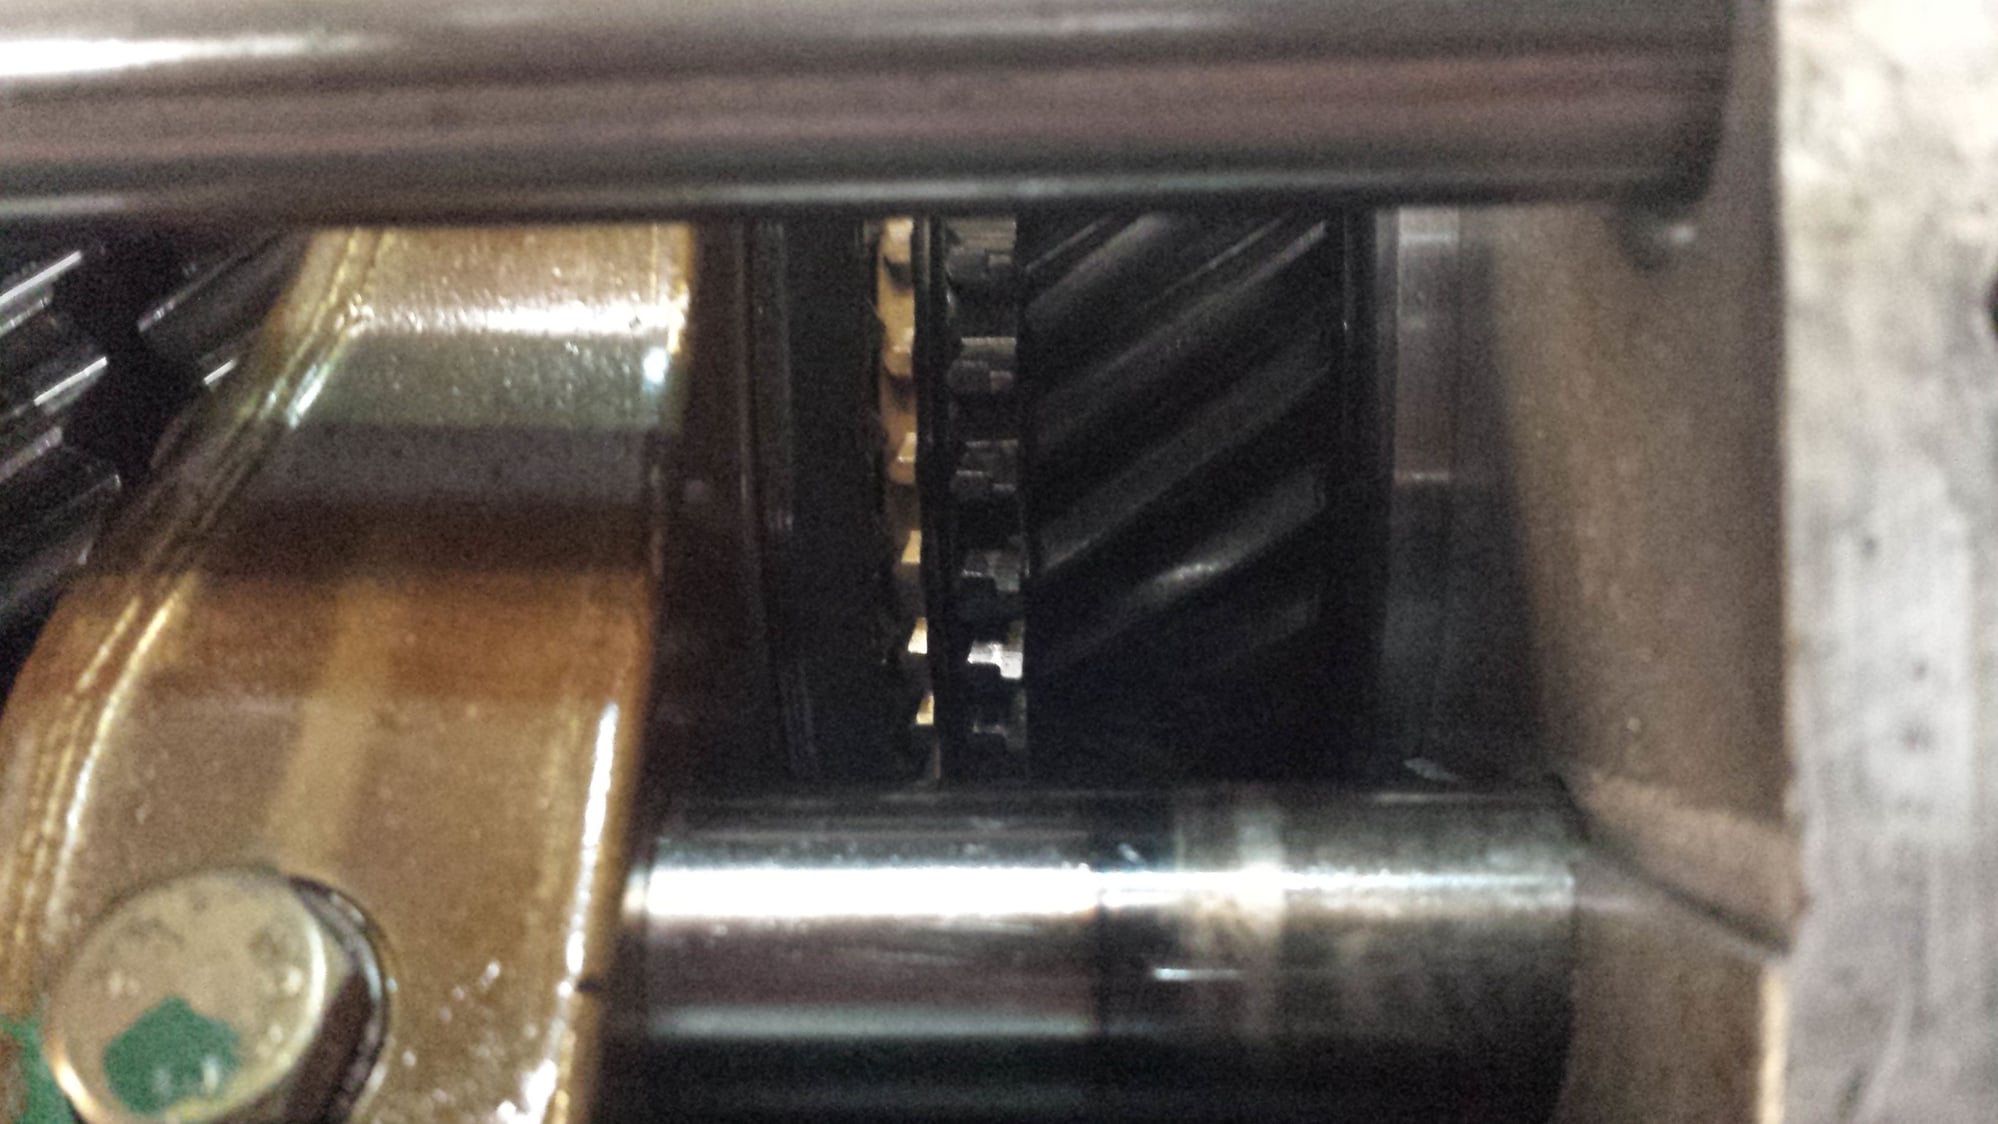
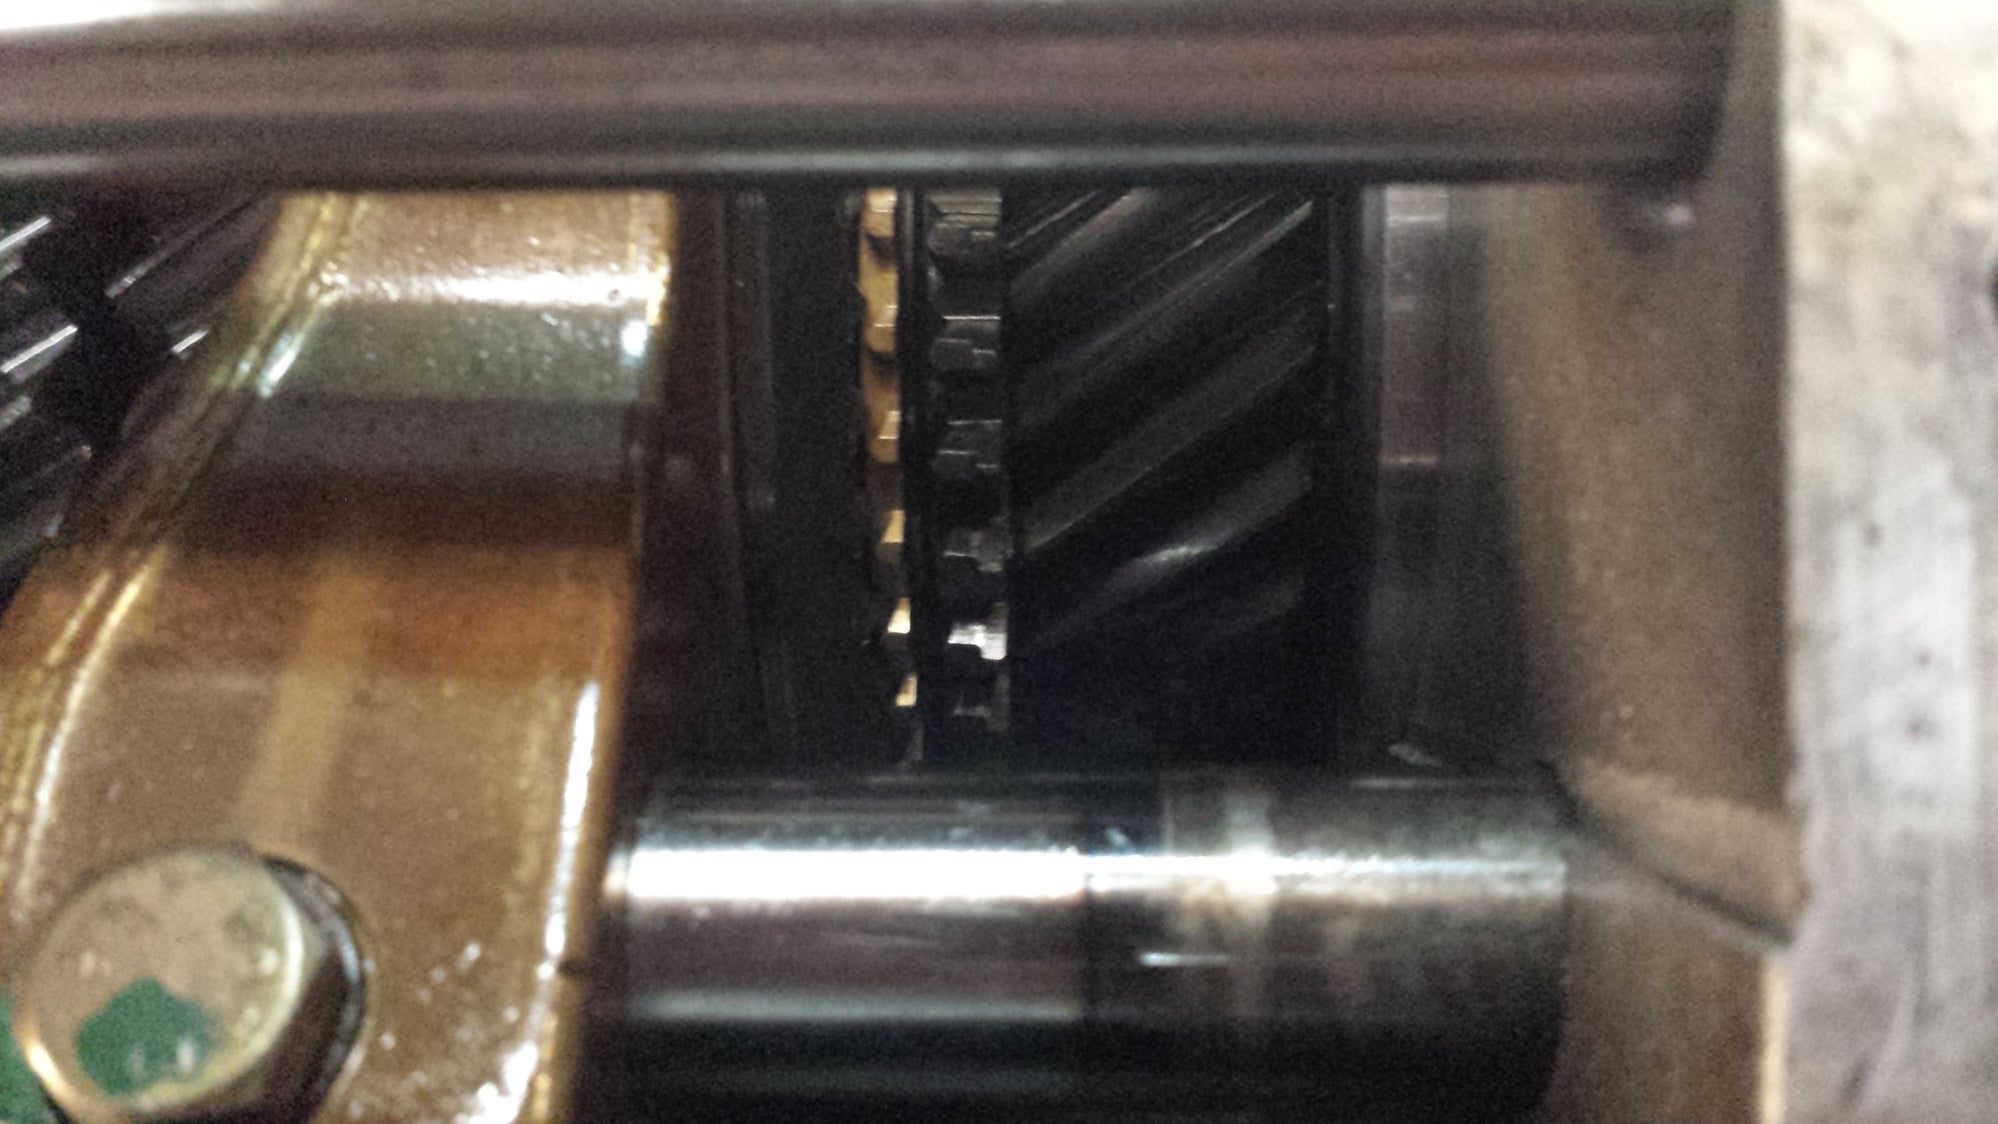
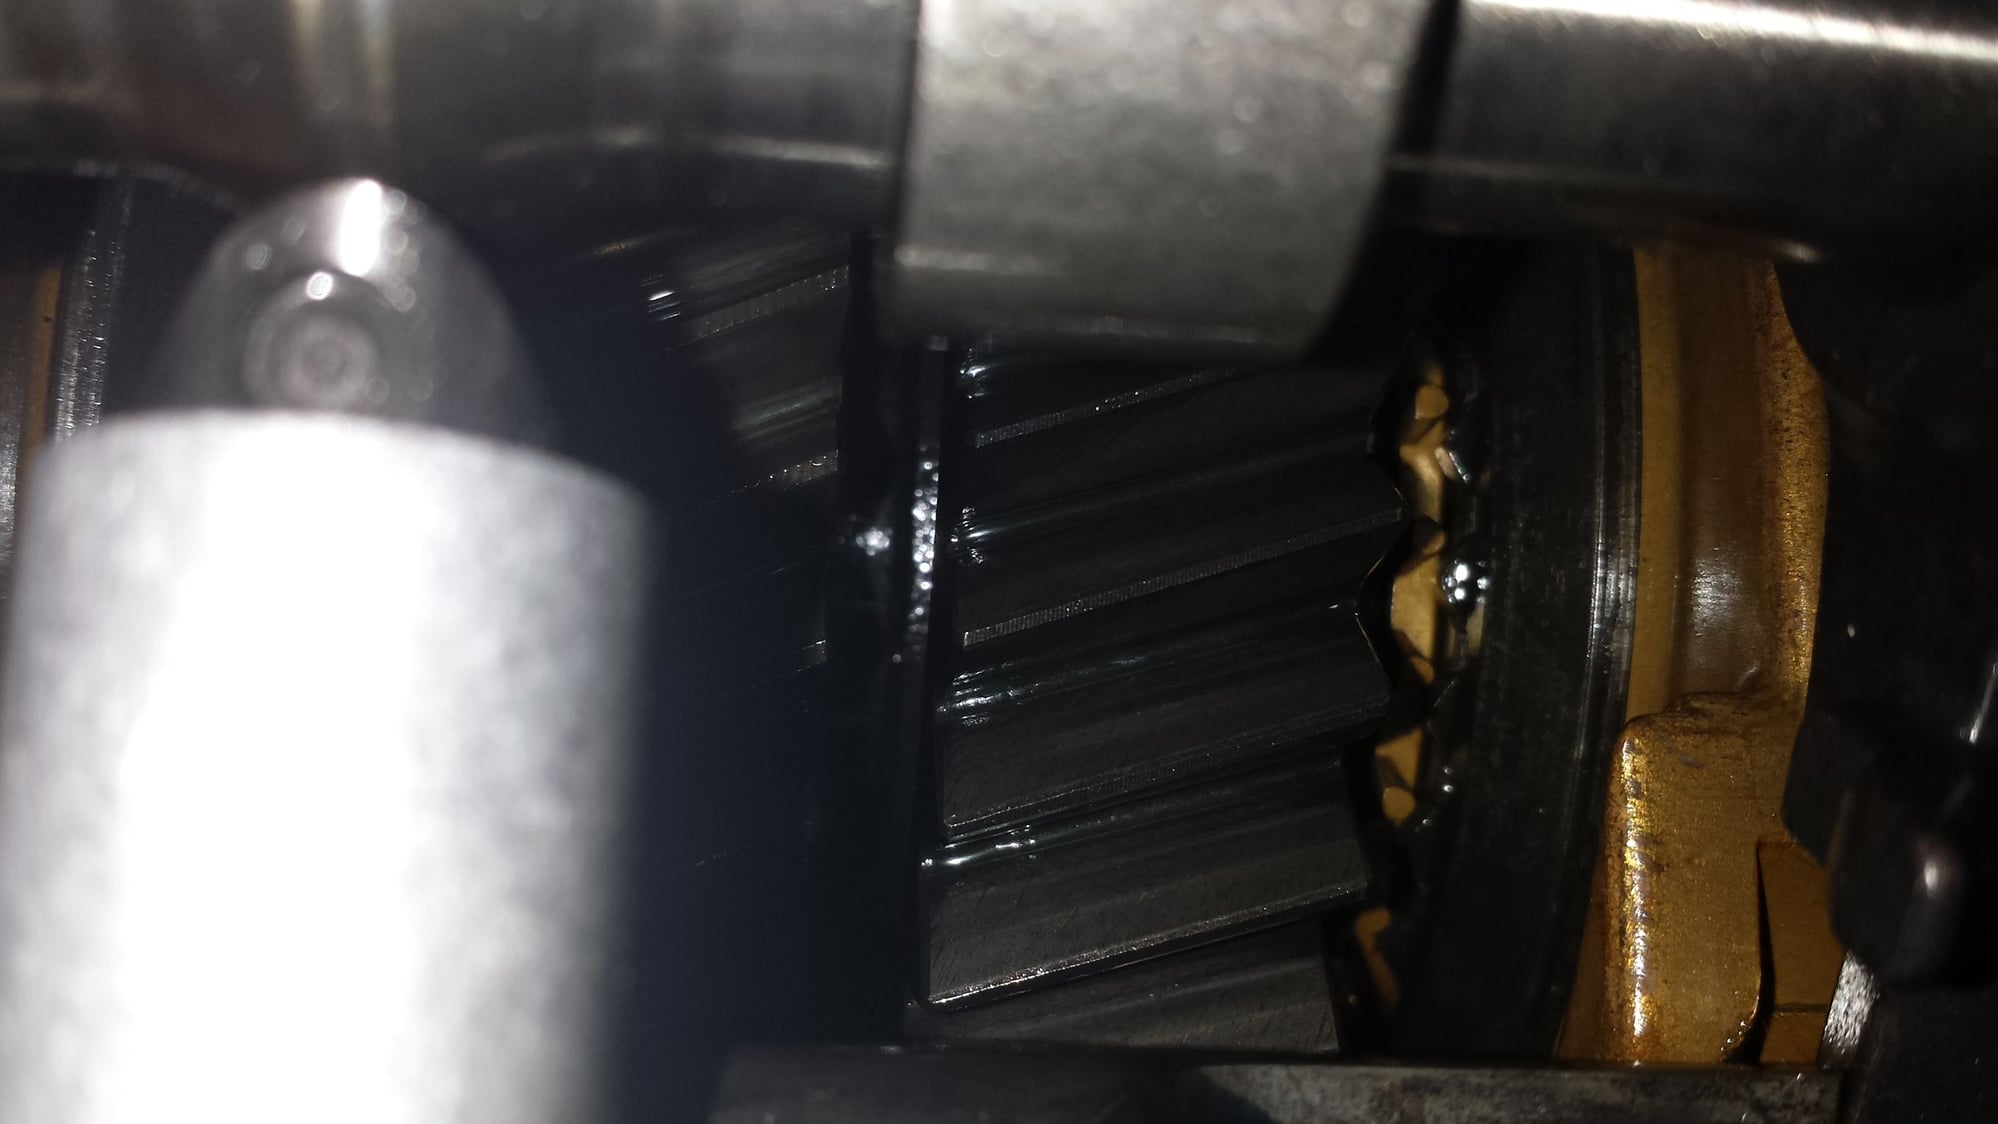
a.Bevel more than you you think you will have to. In my case clearance to the pinion gear was very tight, and if/when you have to take the speedo ring off again to do it more, it sucks because it means pulling the bearing too.
b. I trimmed the locator pin as instructed. However, the "hump" on the back side of that pin on the new speedo ring still made it impossible to get the snap ring I had in place to hold the speedo ring. I spoke with Carl about this, and he felt I may have had the wrong circlip, as clearly it does work with the lump intact based on his picture. Here is a picture form Carl's docs:
And here is a picture of mine with the snap ring. You can tell that the snap ring does not have clearance.
But I proceeded with what I had after trying to find the "correct" ring. I don't have pictures on the finished product, but with some clever and time consuming Dremel work, I cut relief space for the snap ring.
3. Even after all that, the speedo ring did not sit flush on the face of the LSD. I wish I had pictures, as it is hard to explain, but the dish and of the ring face hit the outer edges of the LSD face. Not by a lot, but enough that the groove for the snap ring on the other side was partially obscured. Again, with some painstaking Dremel work, I remove a few thousandths from the contact patch on the ring, allowing it to fully seat.
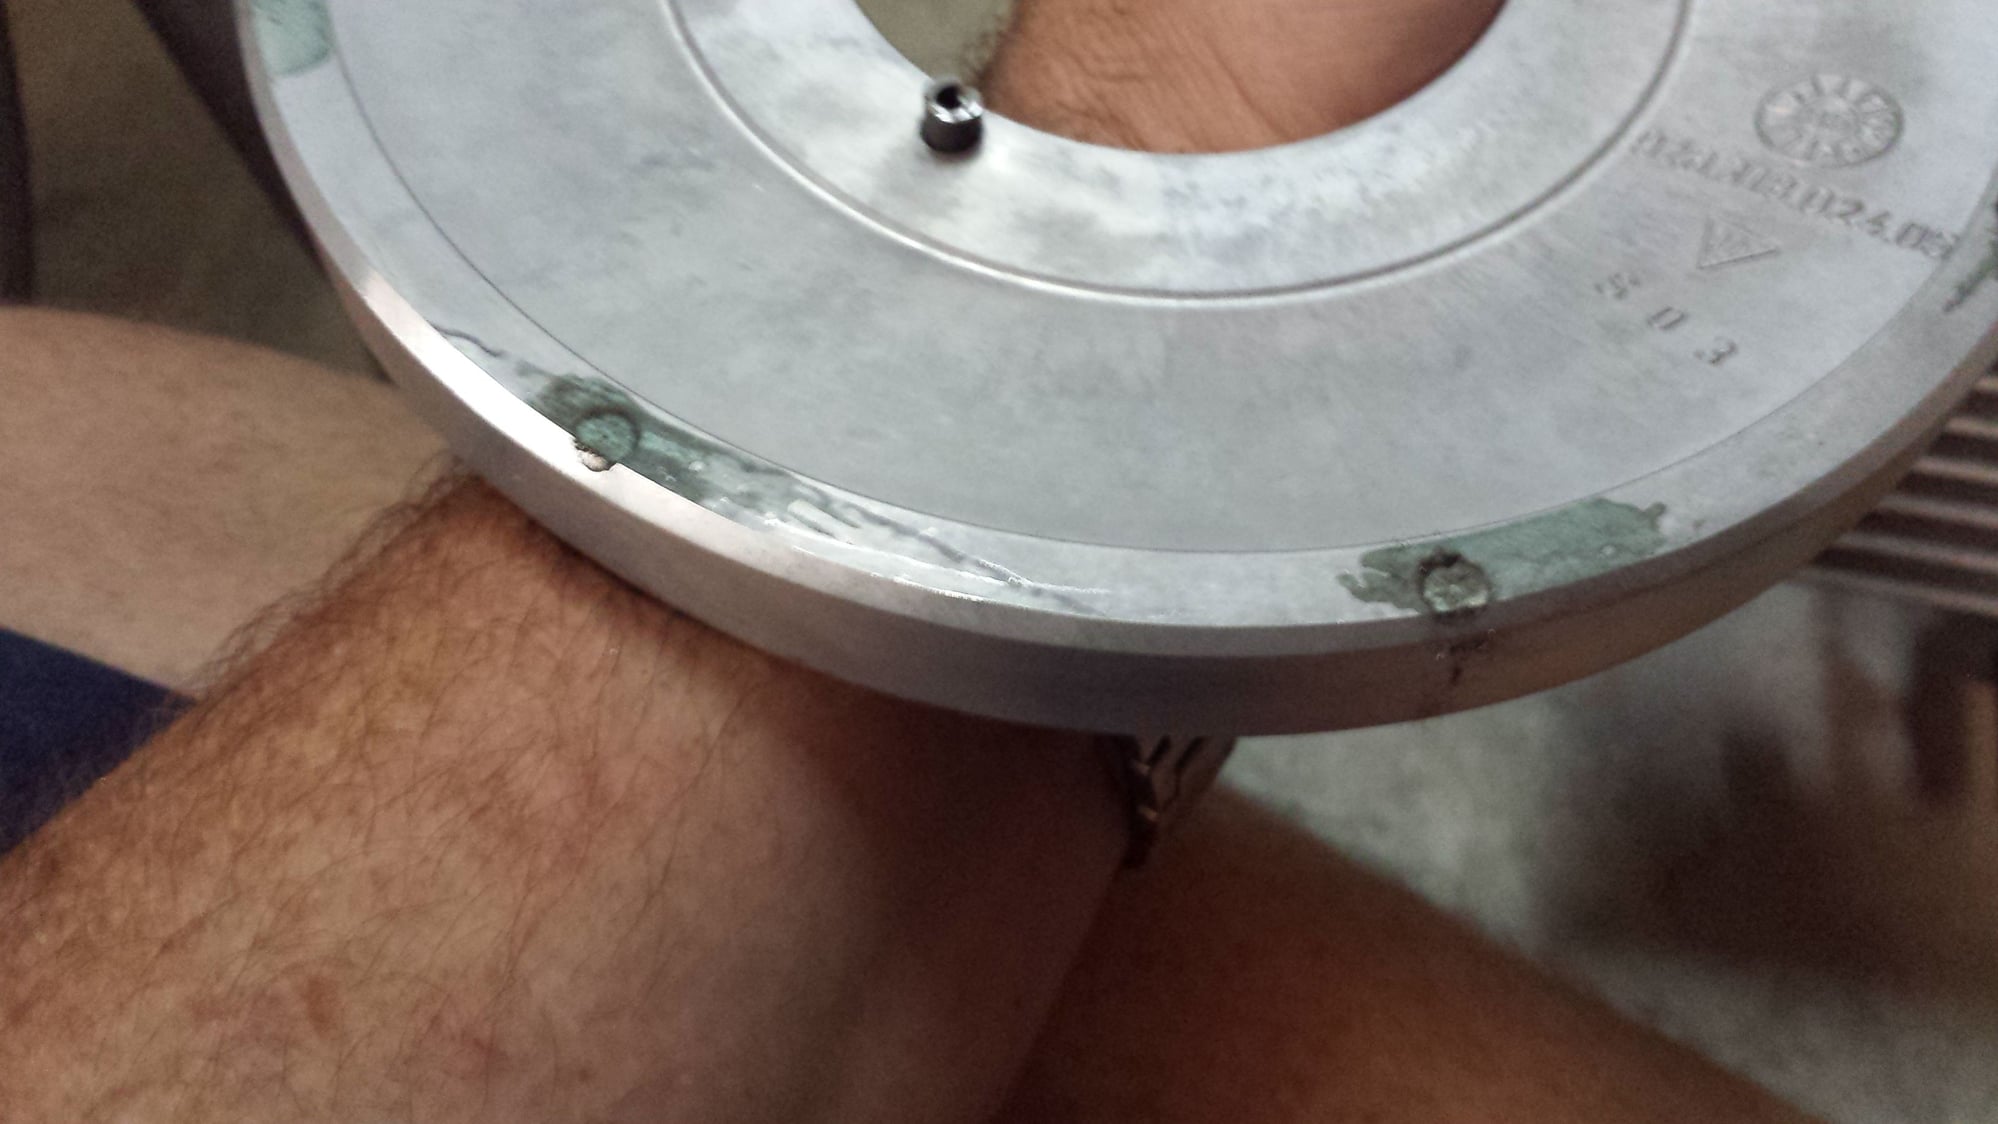
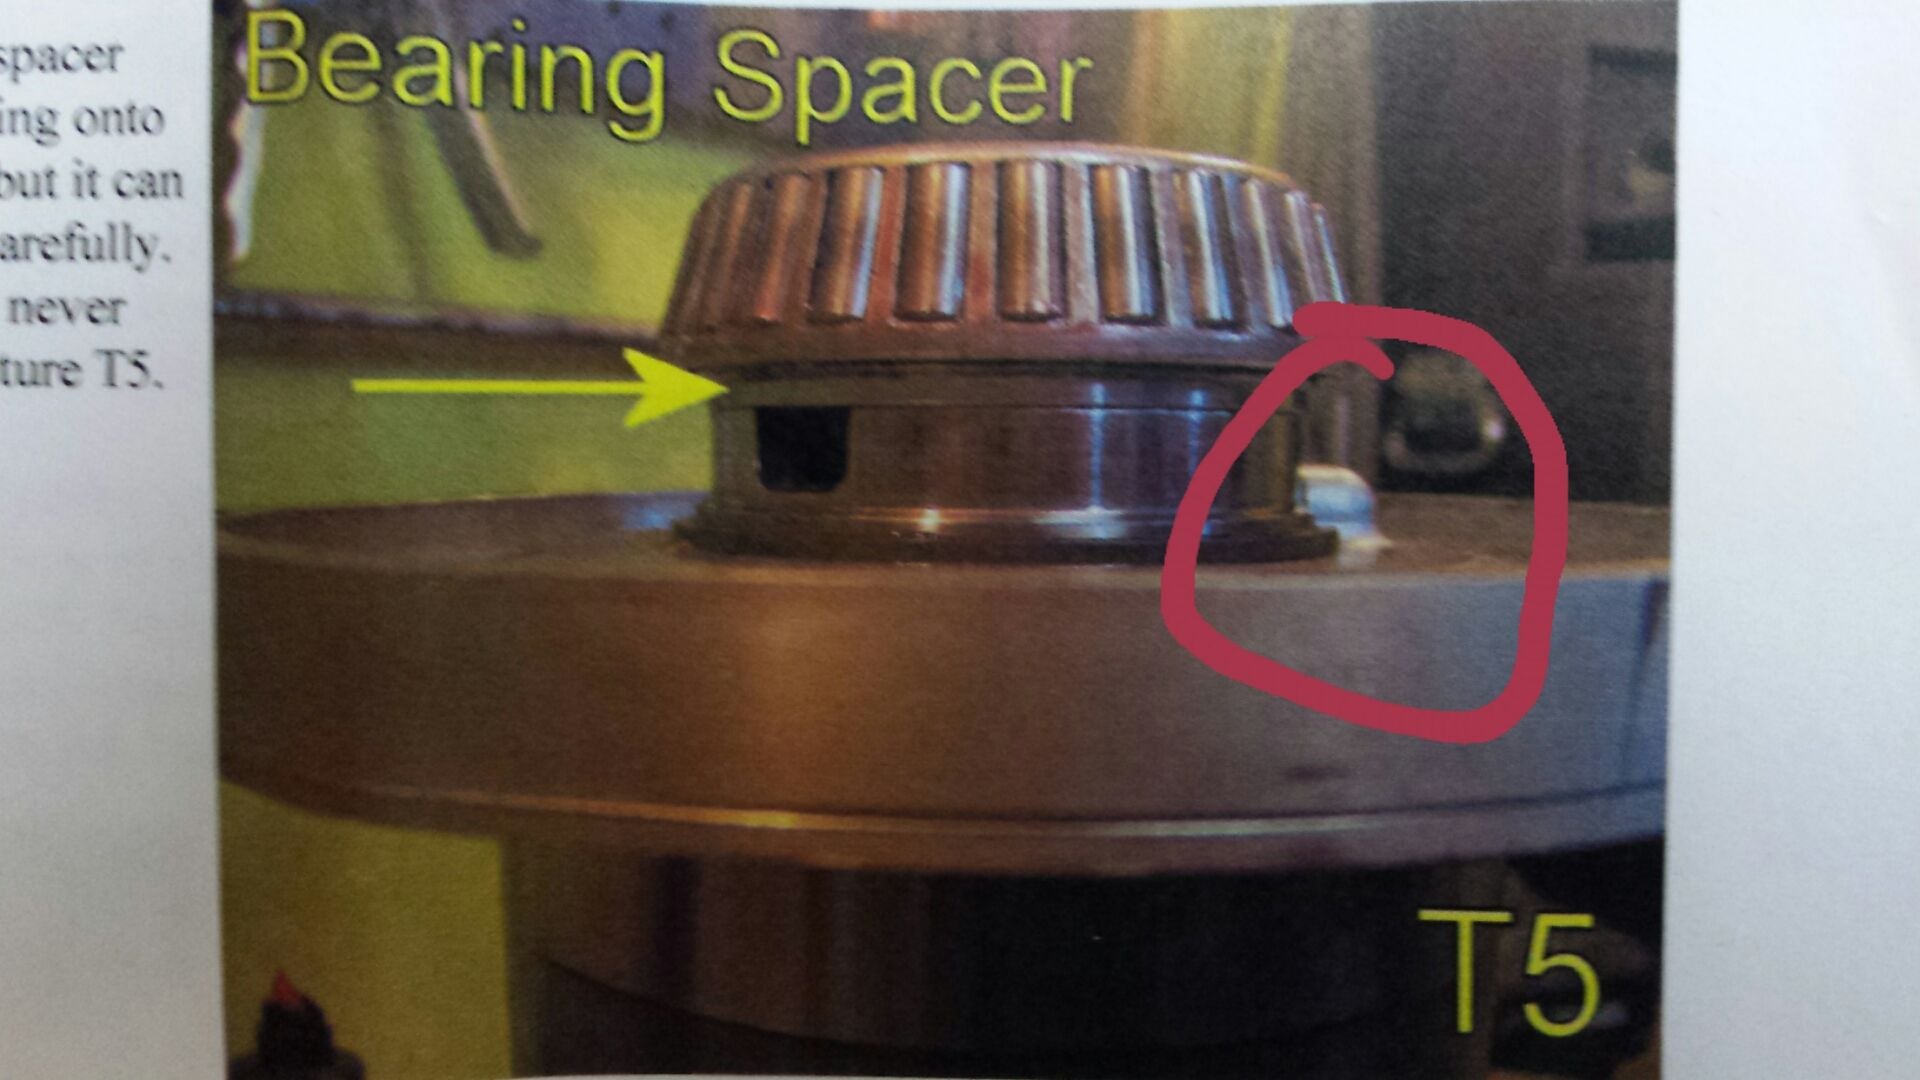
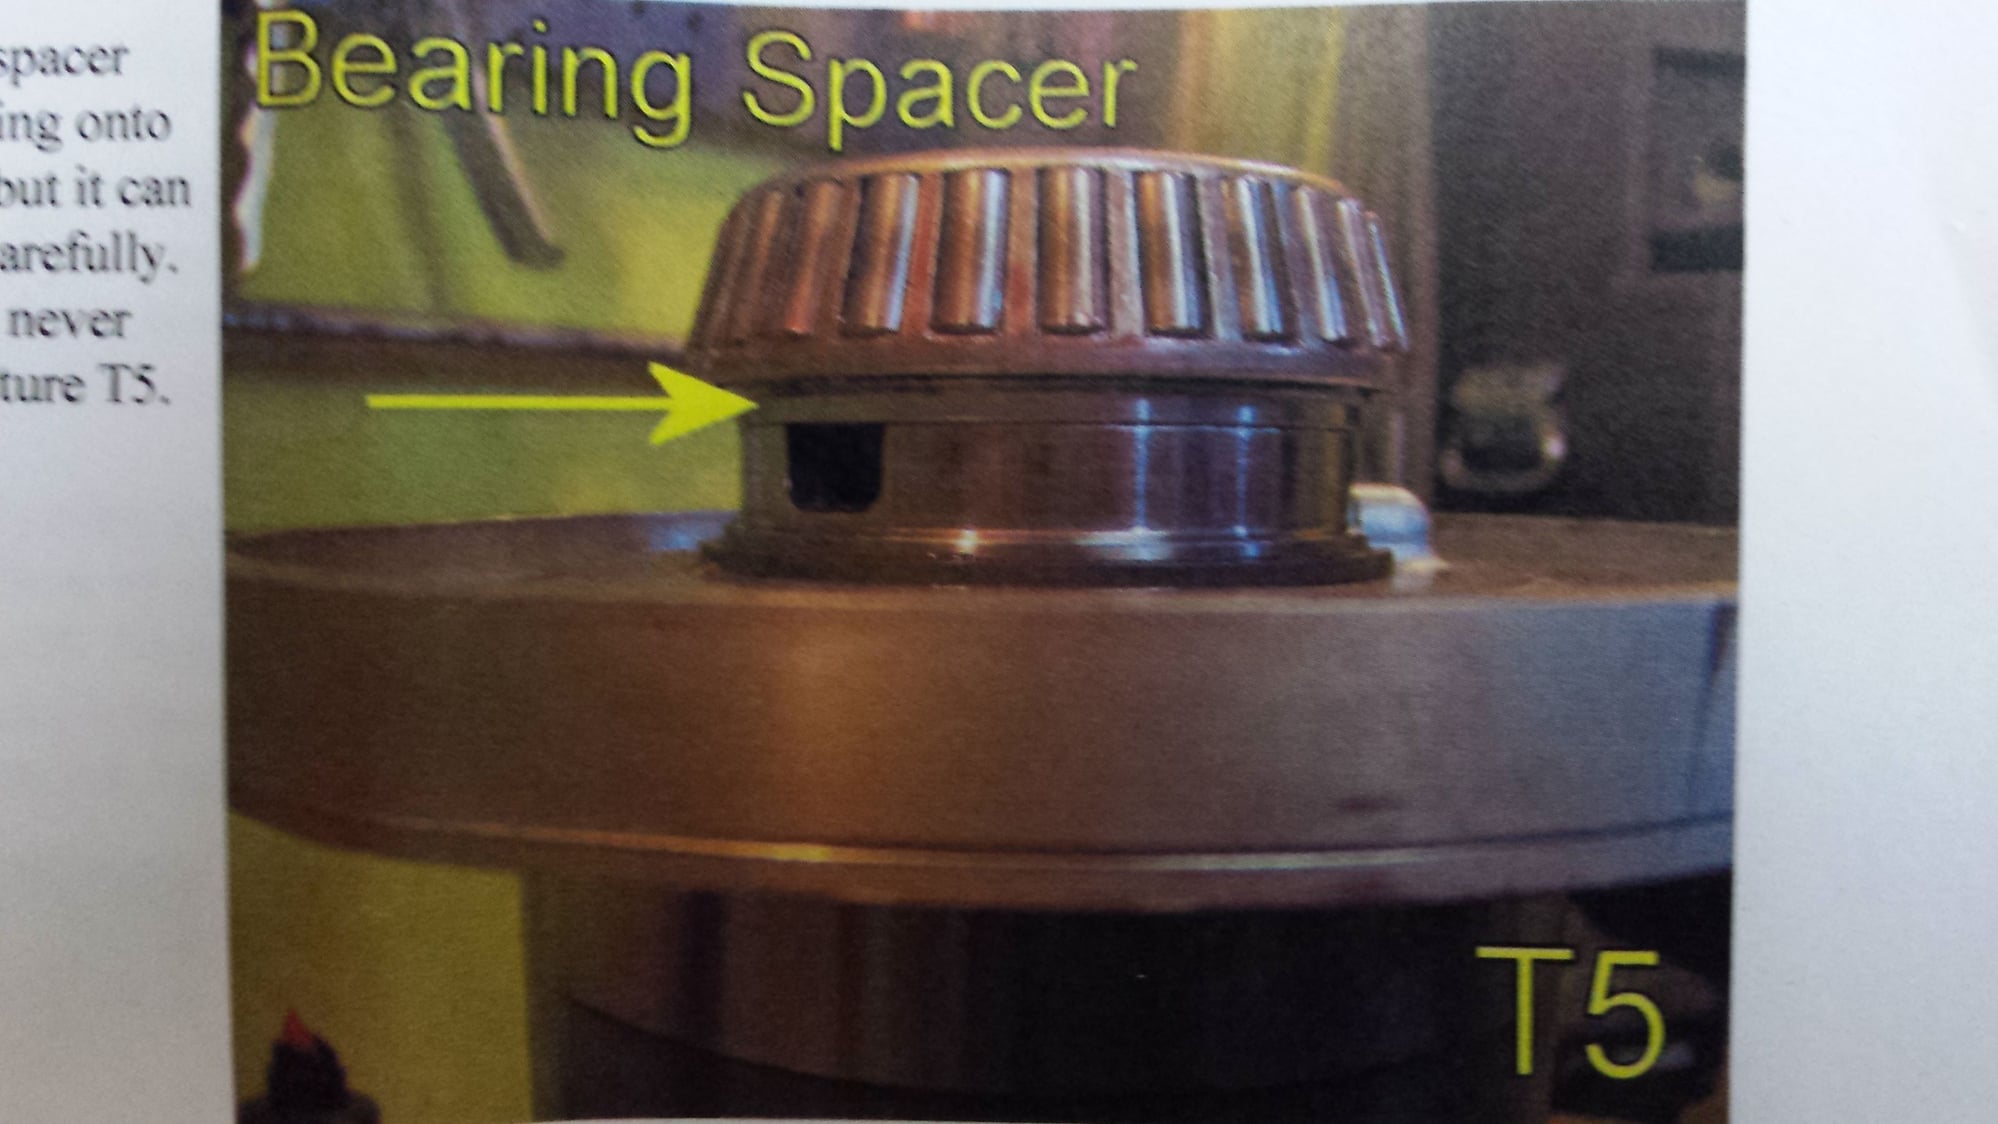
4. Final hint in this area. In the picture below, you can see Carl had supplied a bearing spacer. This was likely supplied to make the replacement LSD bearing spacing match the original bearing spacing so that the original shims could be used. I did not have the original shims, and indeed, if used this spacer, I would have needed about an extra ~1mm of shims on the passenger side. I deleted this spacer, but only after getting much further on in assembly, so this involved going back and pulling the bearing, again. You have been warned.
Next step was to replace seals in the front and sides. I had no idea if front seal was good, but Carl's kit came with side seal, and it seemed crazy to not replace them while the unit was out. I also replaced the o-rings.
The side seals are very easy.
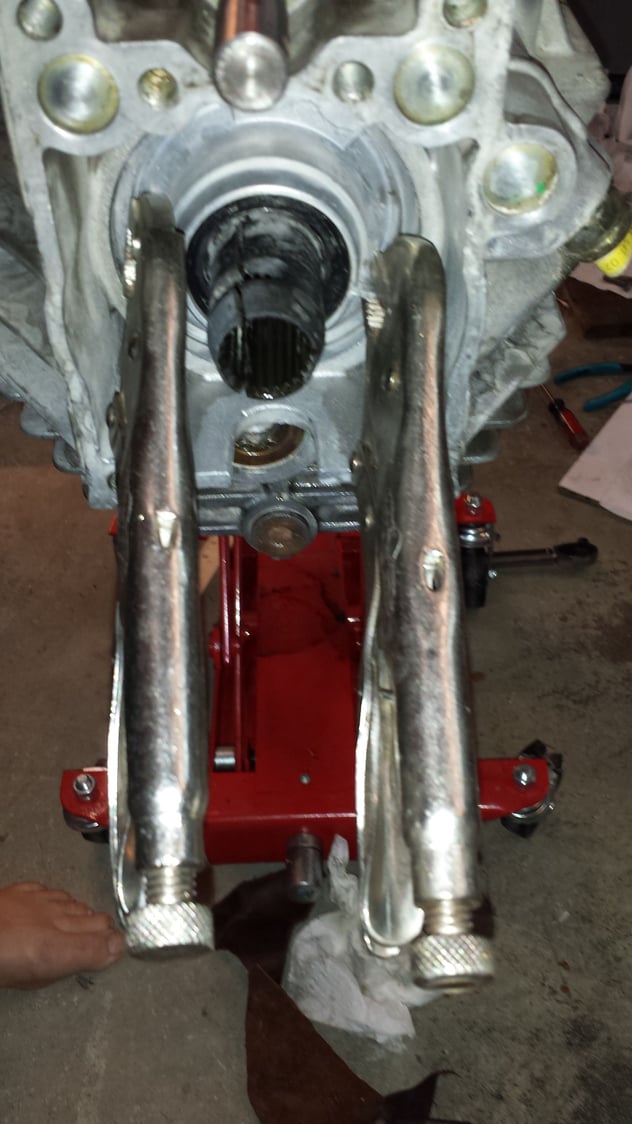
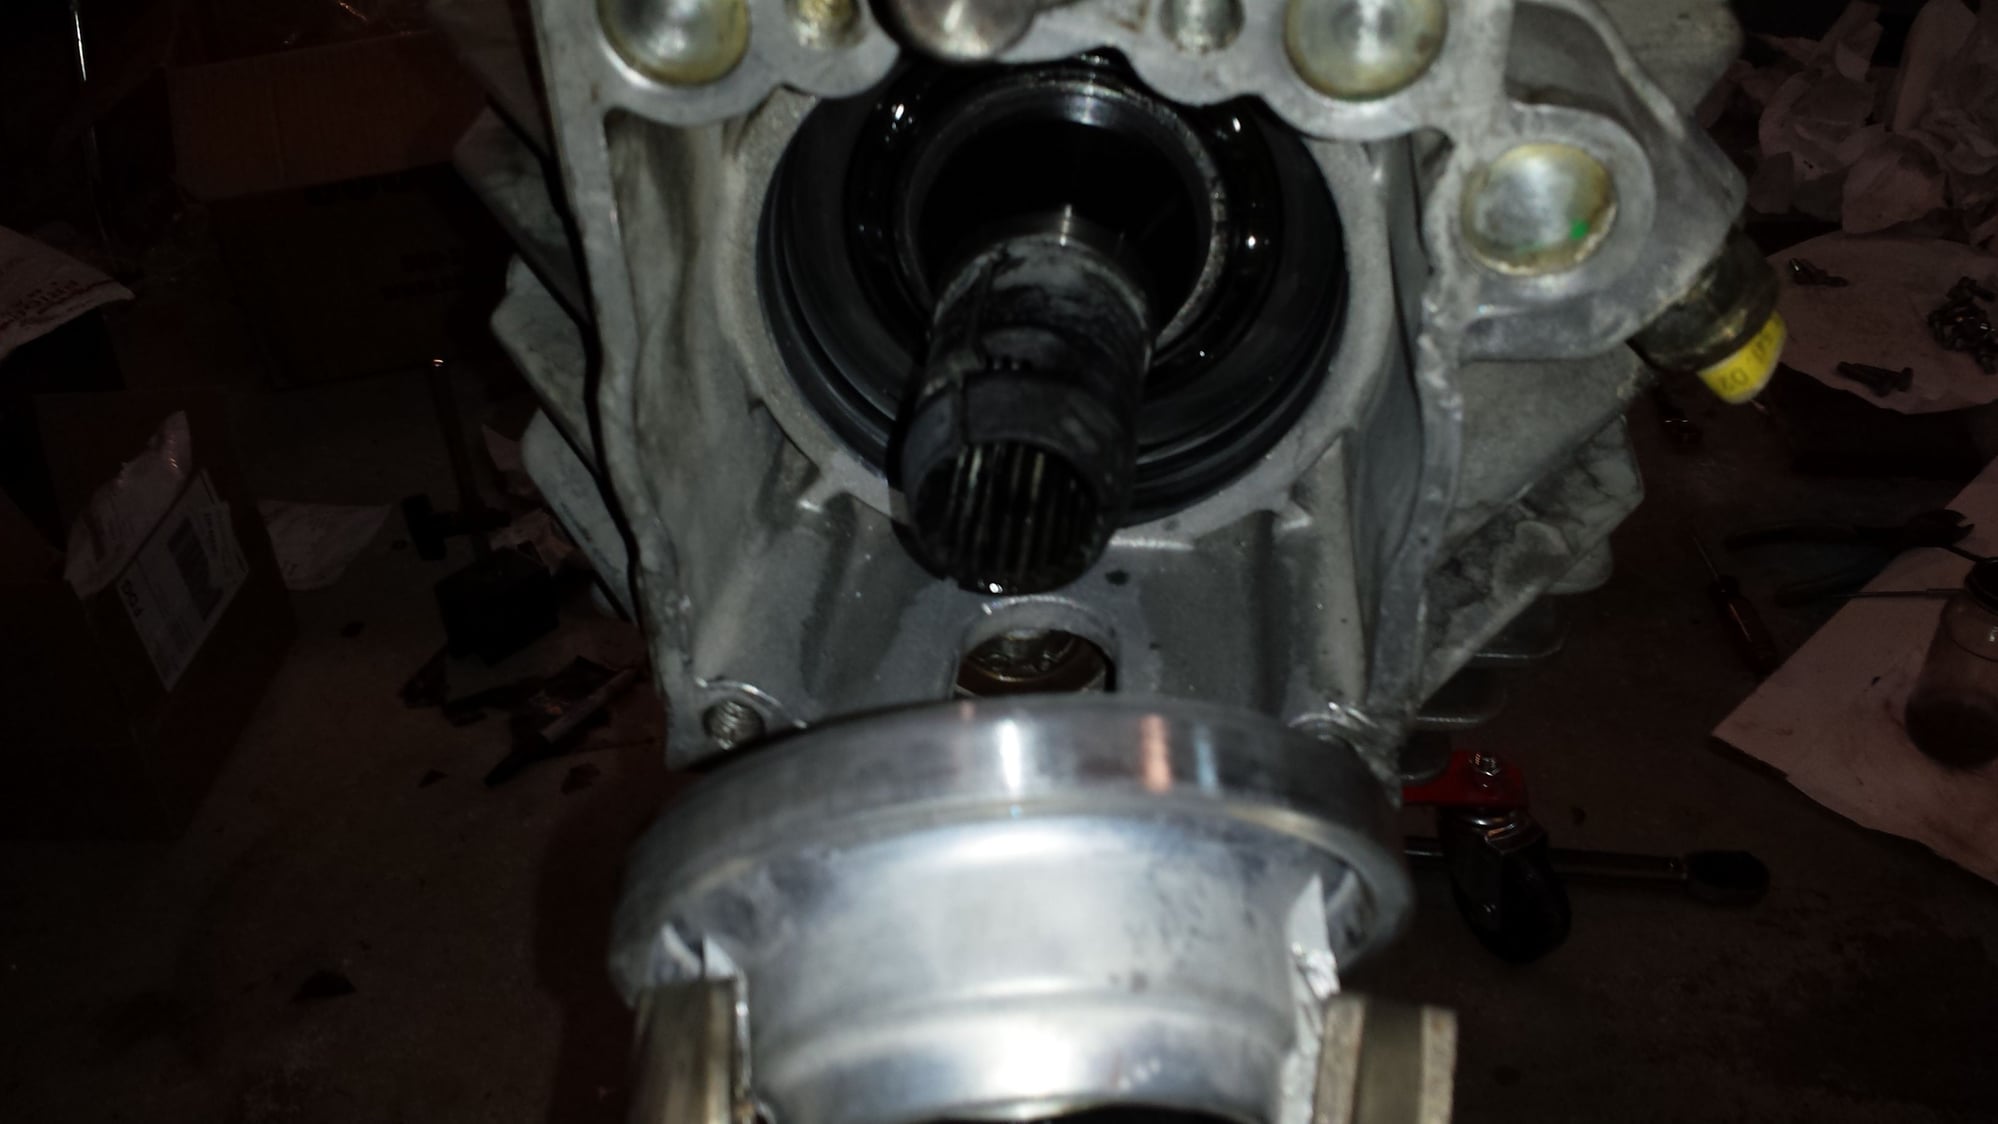
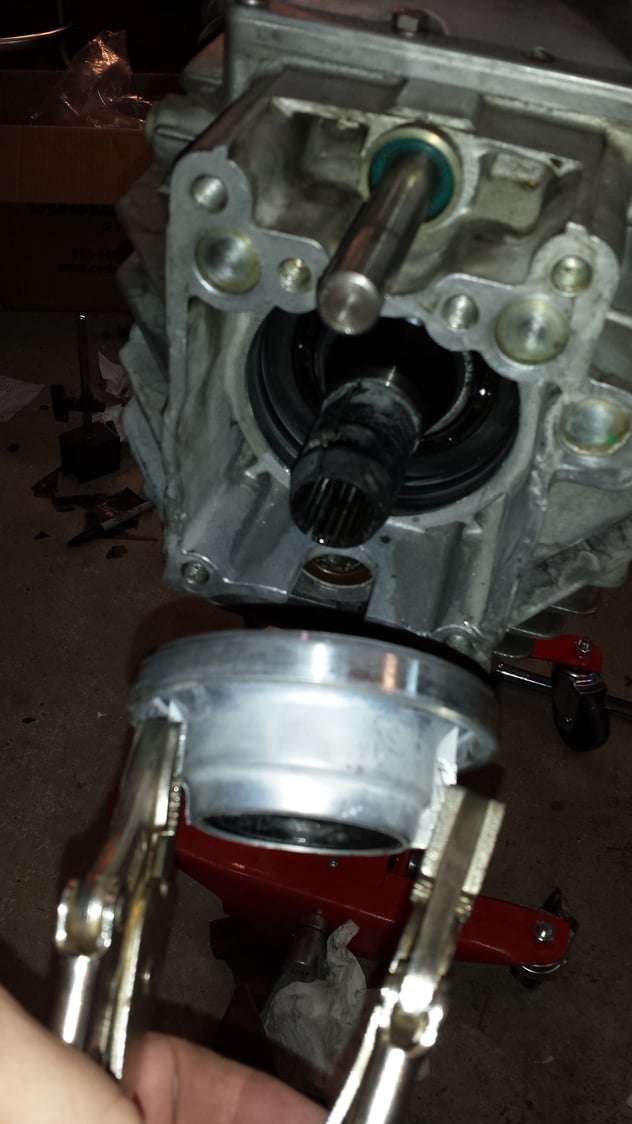
The front seal required patience and Rennlist research ( maybe it was Pelican, as I can't find the link).
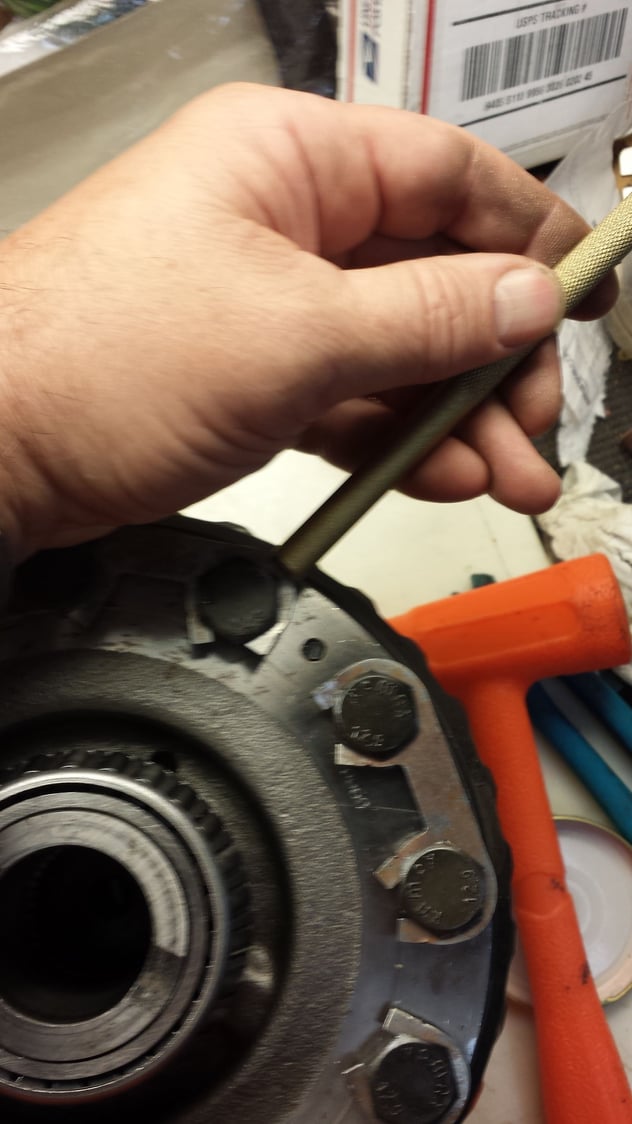
1. Remove the big *** circlip from the front. My circlip pliers were just barely adequate. Get the biggest ones you can.
2. Clamp on two vice grips to the ears and very, very very patiently tap them out slowly, alternating. The trick is finding a good place on the vice grips to tap "outward". It will come out. It will take several hundred gentle taps on each side . You may break off the ears. Take your time.
Finally, the shimming.
This was not incredibly hard, and the WSM manual provide pretty good guidance if you read over it several times ( Starts WSM page 39-18). It is time consuming, especially if you have to go back and add more bevel to your speed ring and/or remove a bearing spacer.
The mile high overview is:
1. Assemble everything without shims, push all the way to the side and measure the gap on the other side. That, minus a small amount ( 0.30mm) for bearing pre-load will give you total shim thickness ( s-tot).
2. Measure backlash.
3. Using the formulas provided in the WSM 39-20, put the calculated shims on each side.
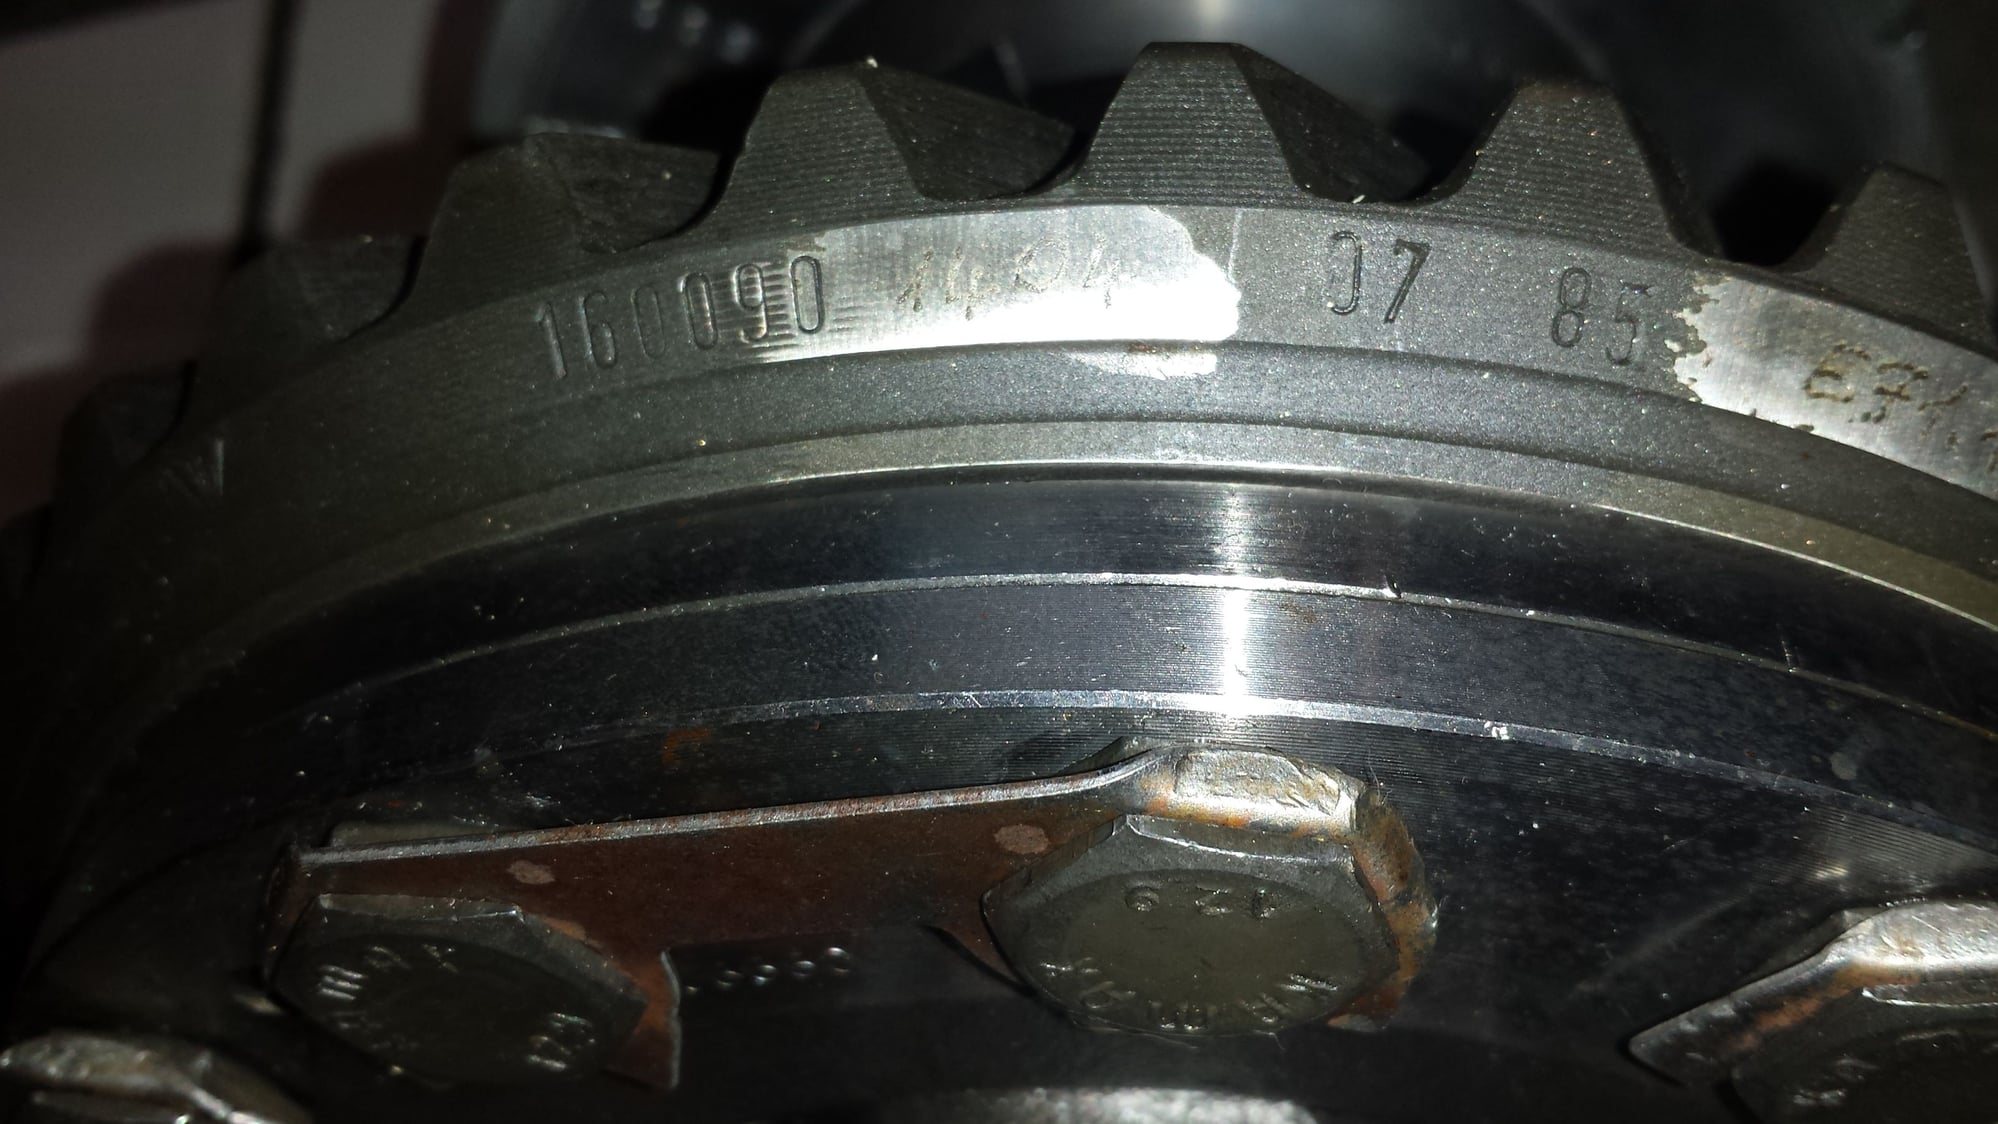
4. Measure backlash again, and adjust shims to provide actual backlash as inscribed on ring gear.
My notes and hints:
1. Of course there is a special and expensive tool for measuring backlash. My tool involved the dial indicator I already had plus a clever combination of clamps and magnets to hold it in the correct location. No decent picture of the rig.
2. The instructions for locking the manual transmission include a home built tool for keeping the pinion from rotating during measurement (WSM 39-19) by locking reverse gear up front. I could not get that to work well. However, the directions for locking an auto involved using a much simpler device, essentially a small pry-bar ( WSM 39-38). I used that approach, as from the pinion back, the system are the same.
2. You do not need to worry about the pinion gear shimming, if you have not touched it.
Big PITA:
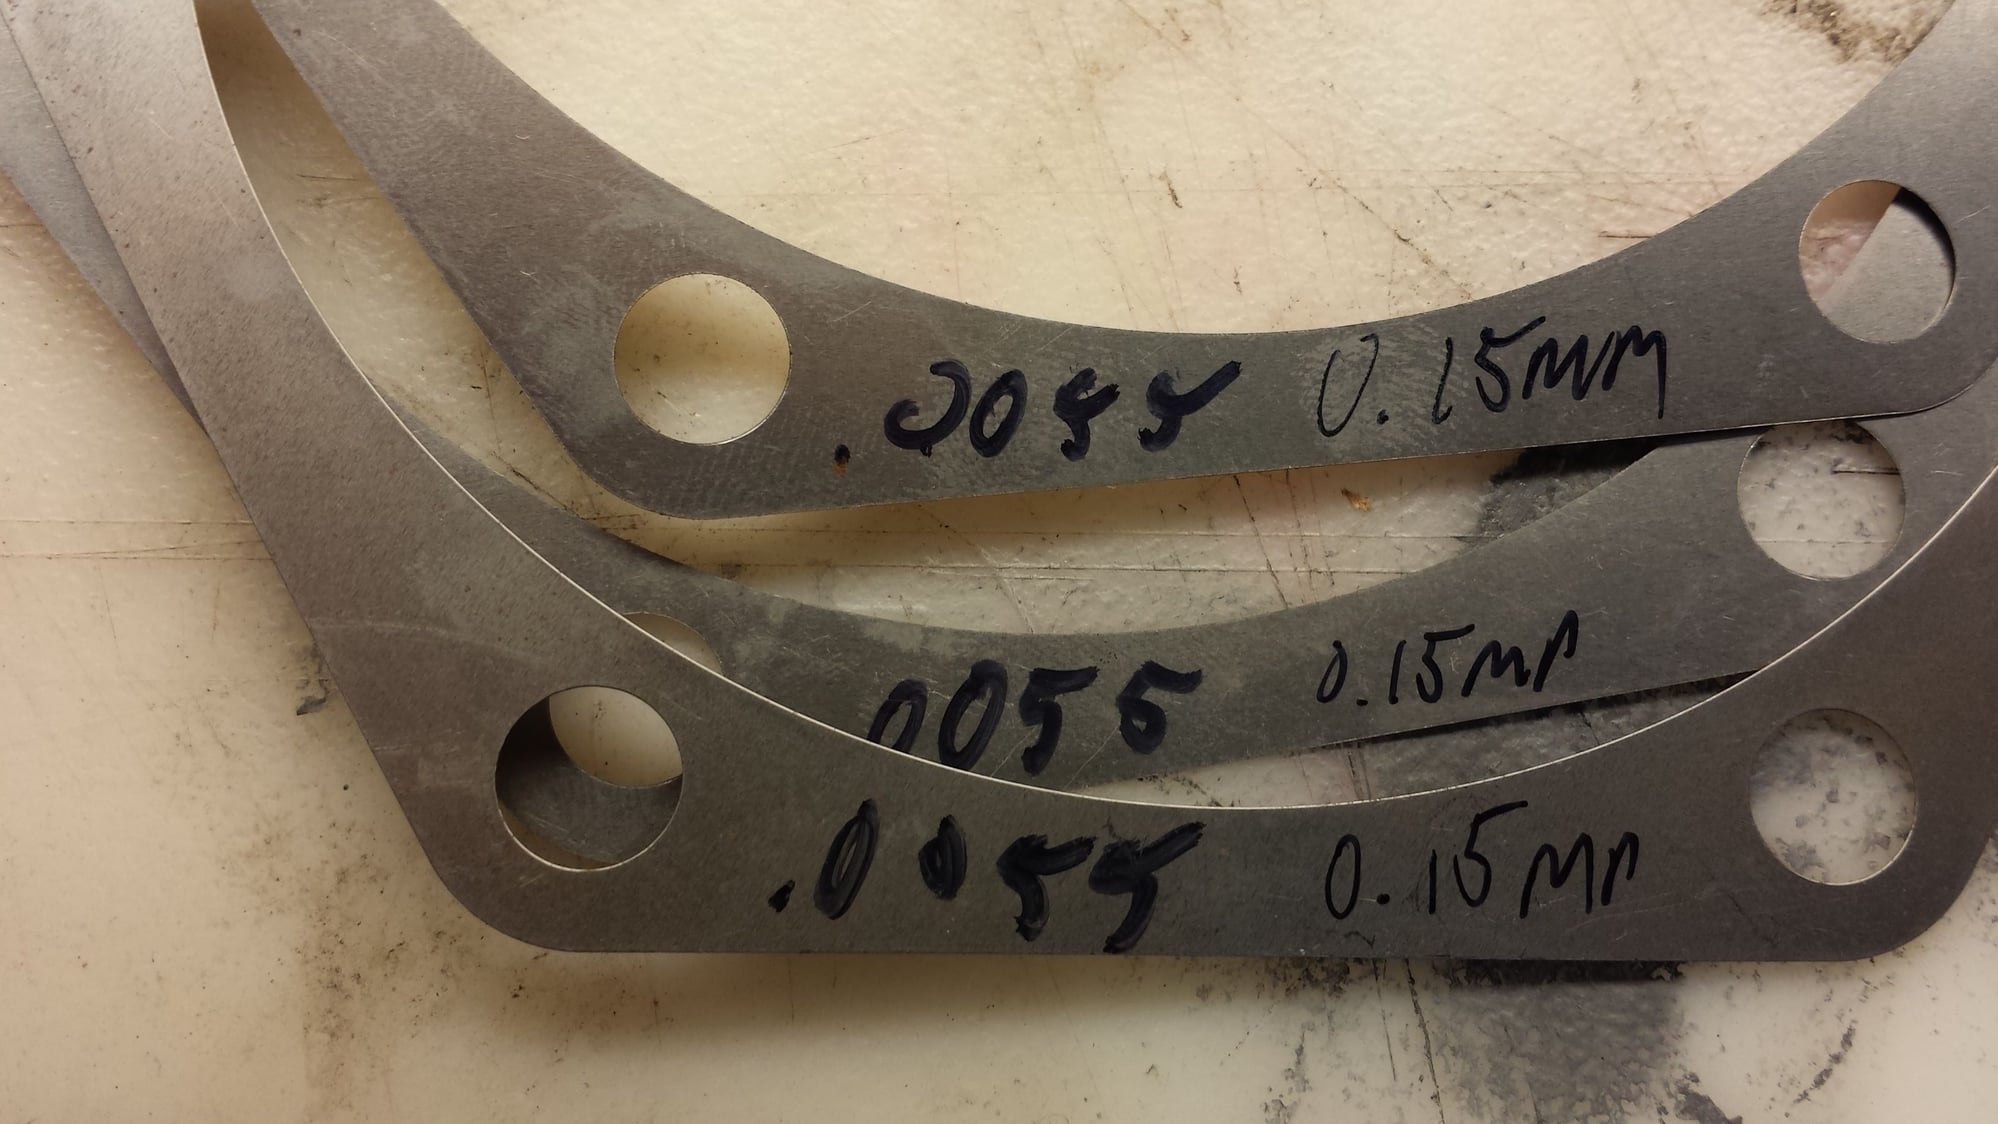
I had to order shims from Roger and from 928Intl ( for some NOS). Roger had to get them from Germany. Post office lost first order. AND PET is WRONG.
For example:
From PET, a 928.332.219.03 is a 0.30mm shim:
But the actual pack and my micrometer concurs that a 928.332.219.03 is a 0.50mm shim
and PET says 928.332.219.02 should be a 0.25mm shim, but my micrometer shows there are 0.15mm ( package label showed correct part number, but did not list size in this case)
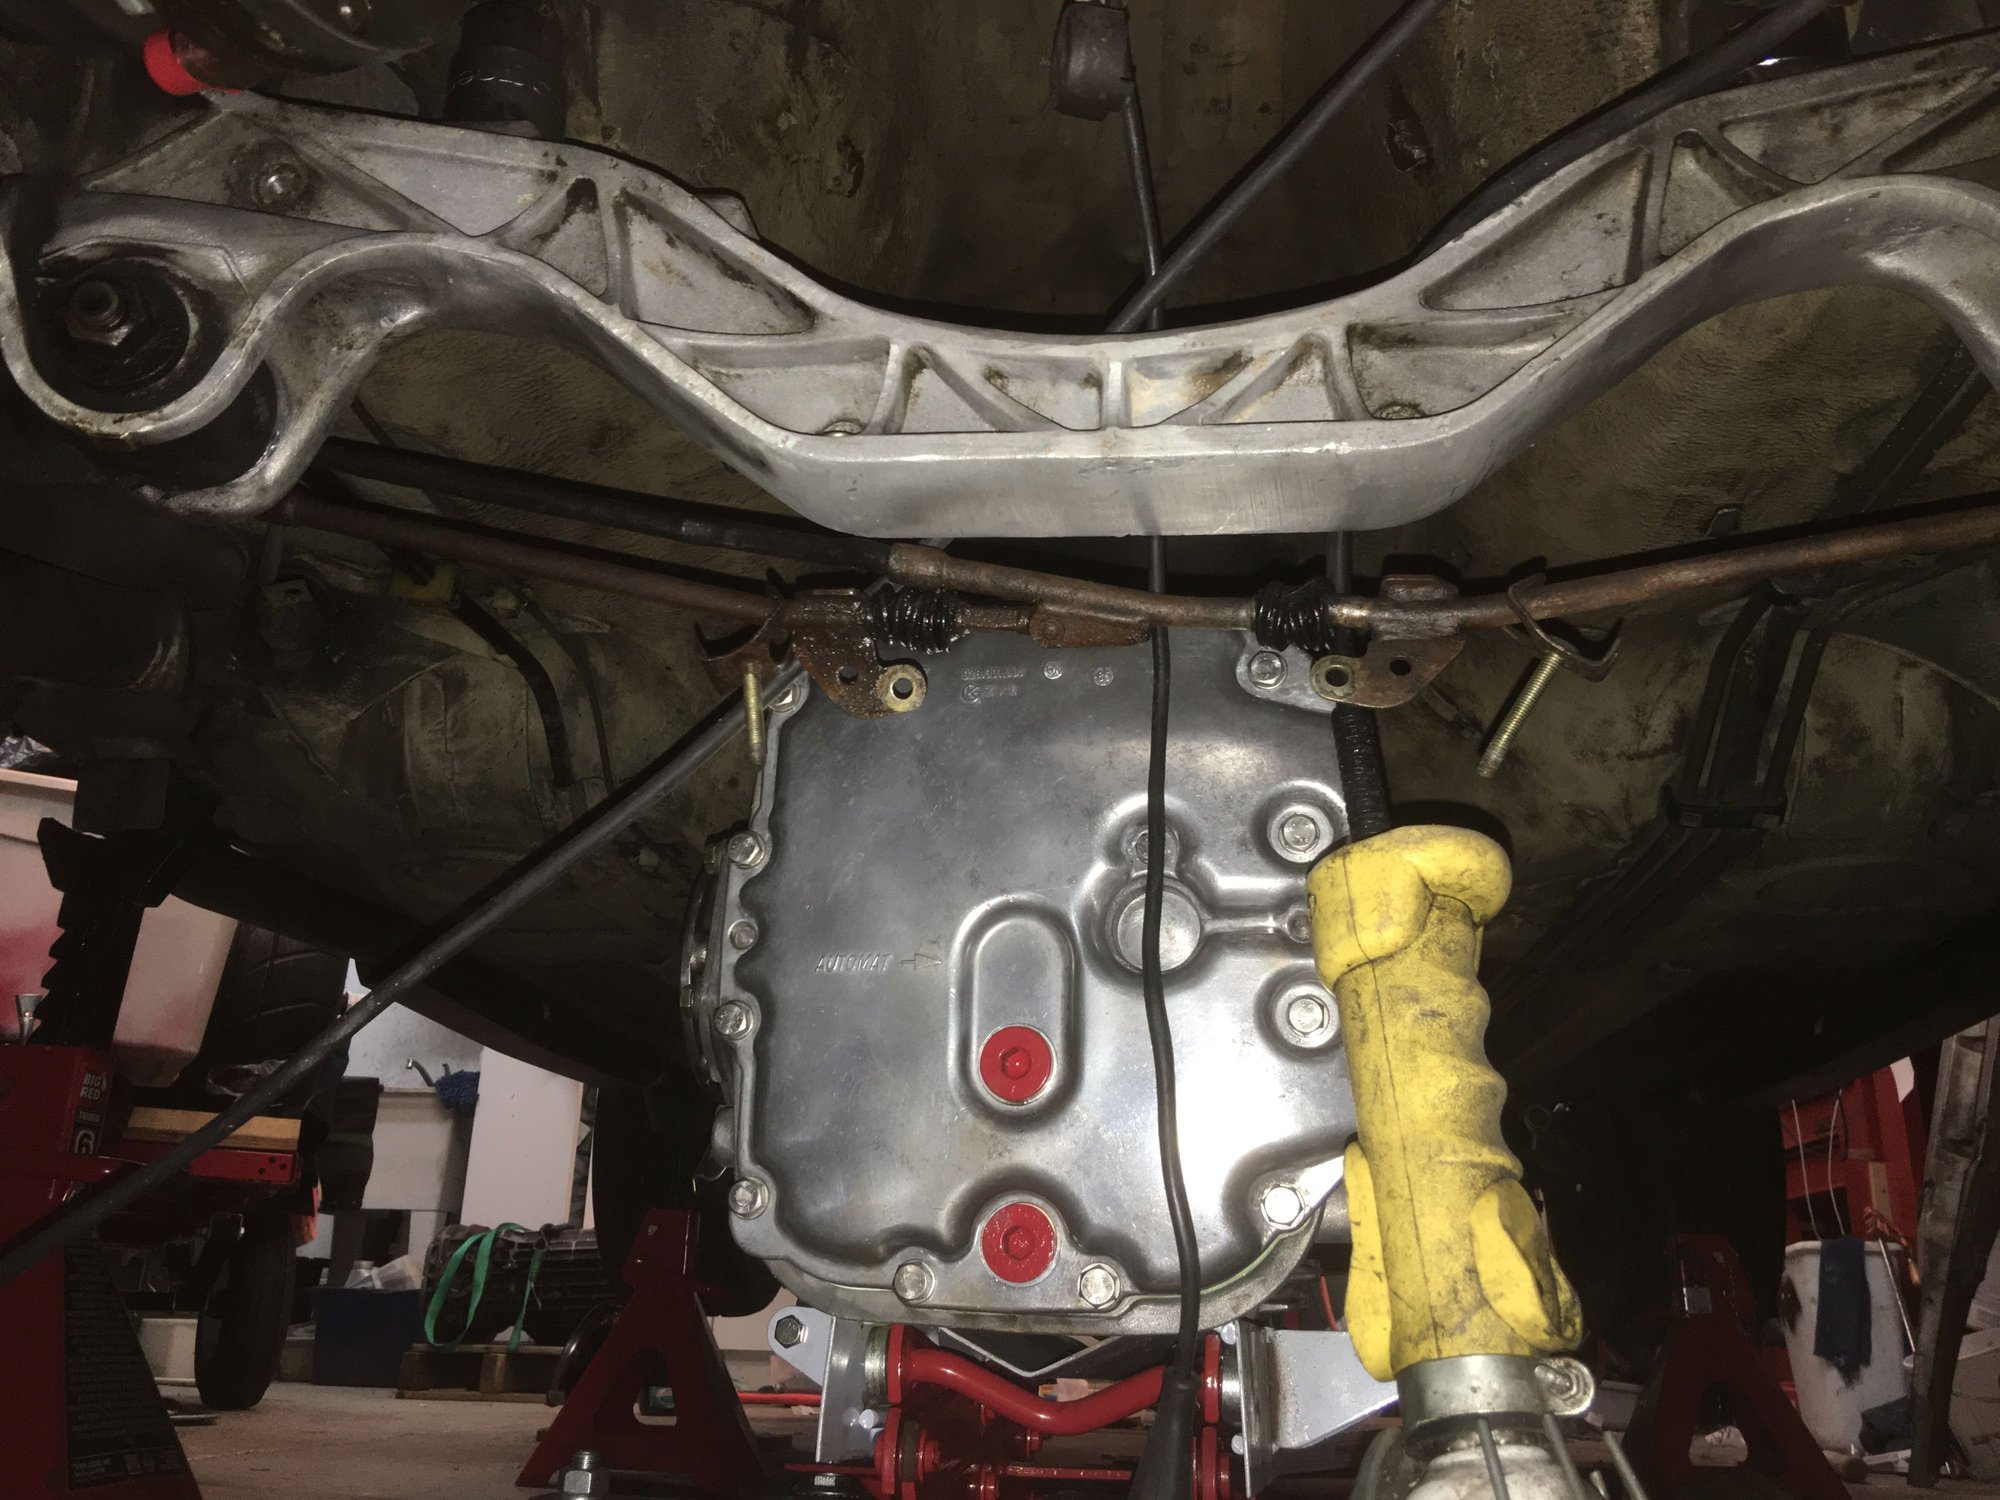
To swap out the transmissions, I followed this thread, which gives instructions on how to do so without completely dropping the rear end: https://rennlist.com/forums/928-foru...l#post12851539
Very little drama, and could have been done quickly if it wasn't for the usual WYAIT cleaning, painting, etc.
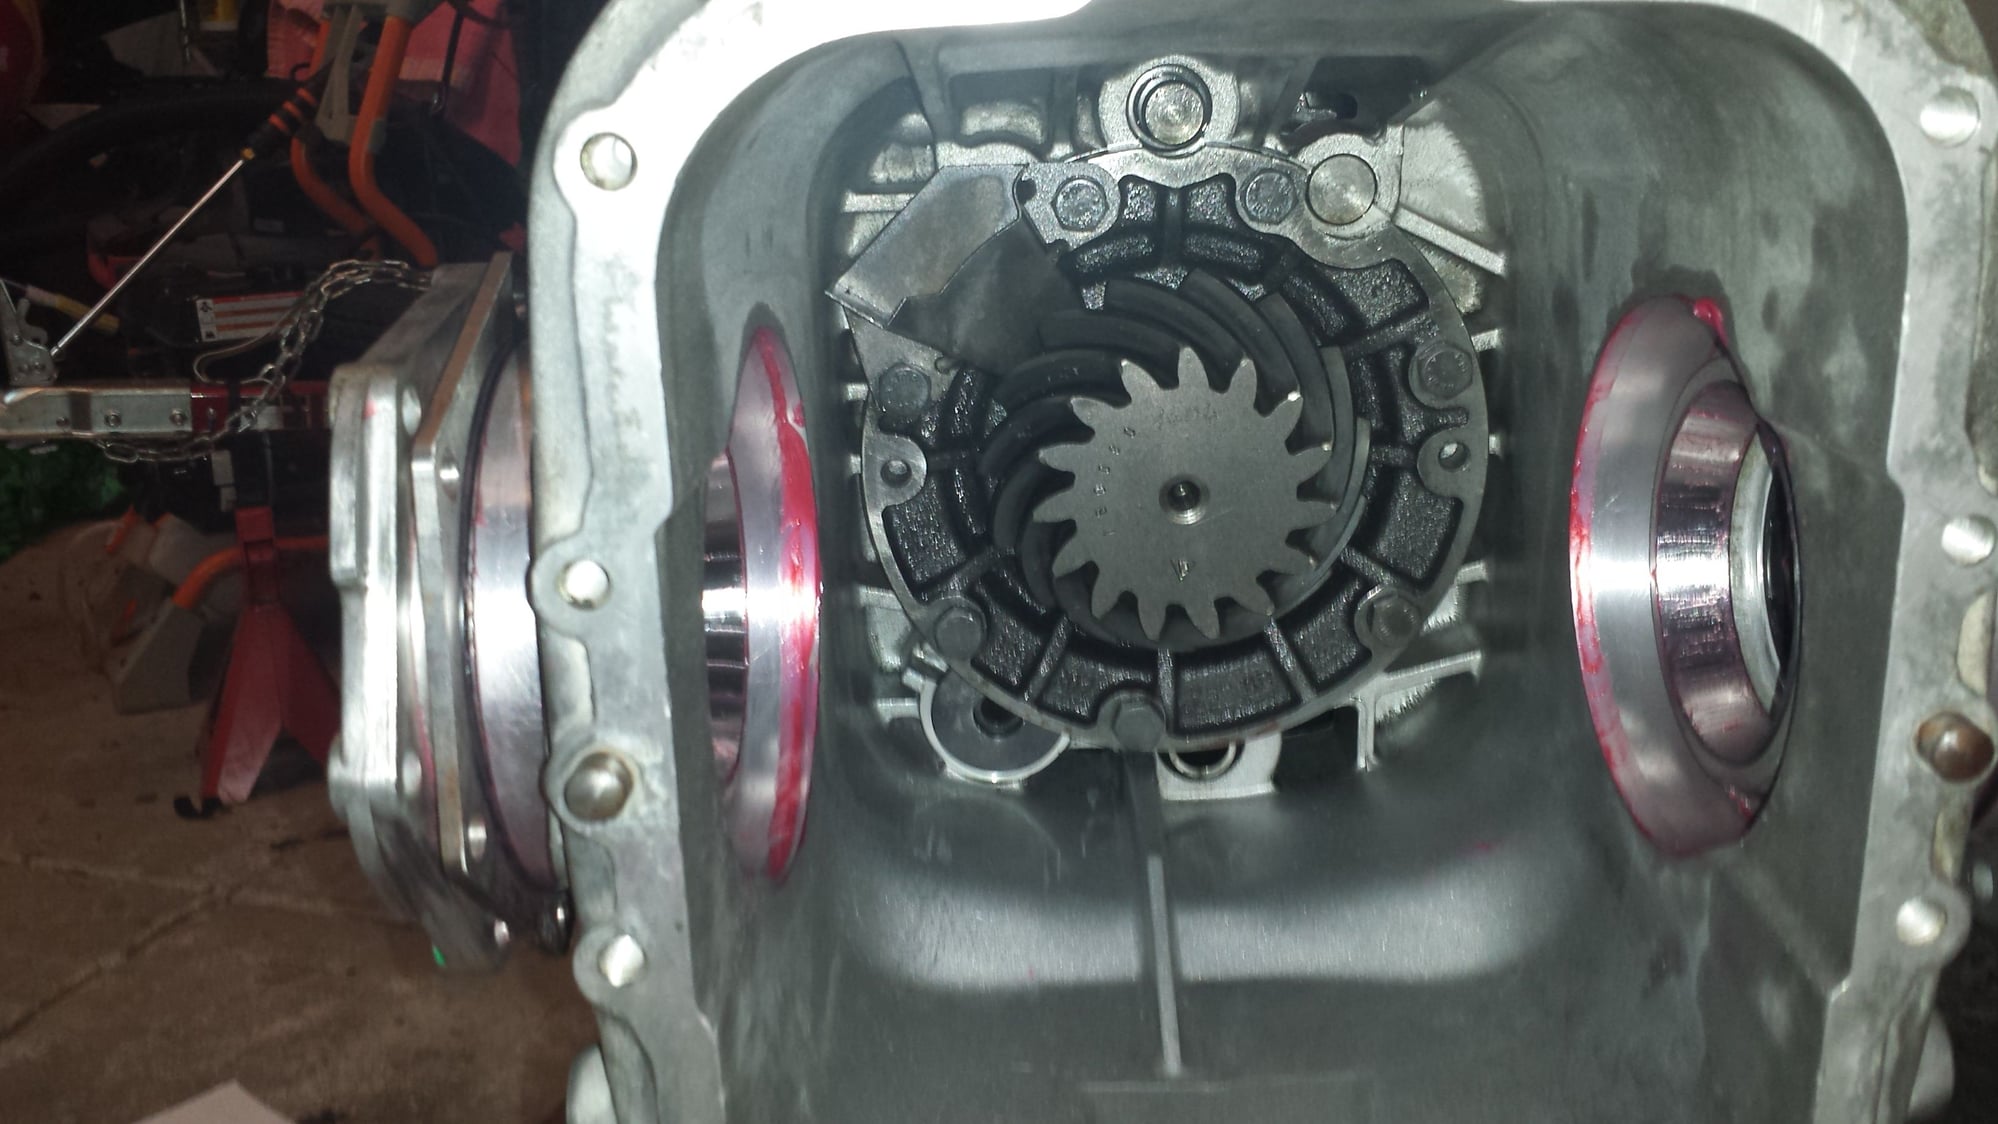
No great pics of the process, but here is one of the transmission staged for final install:
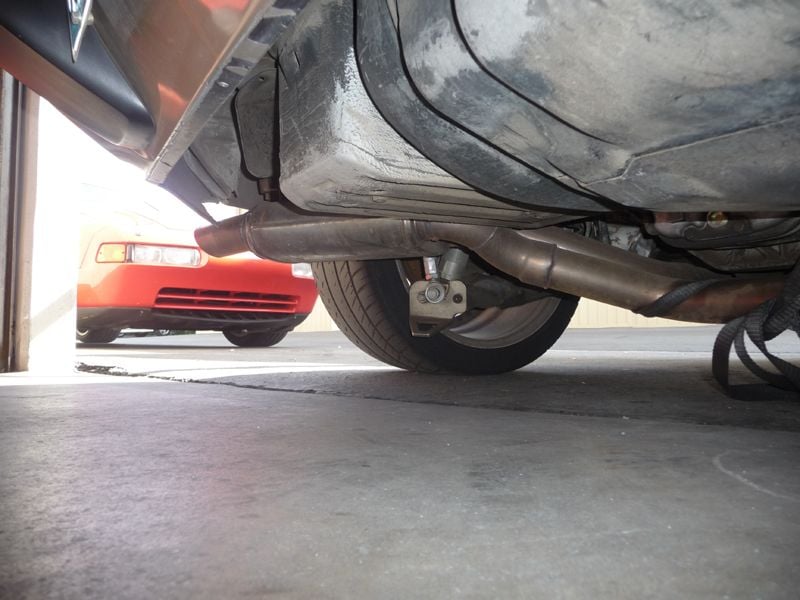
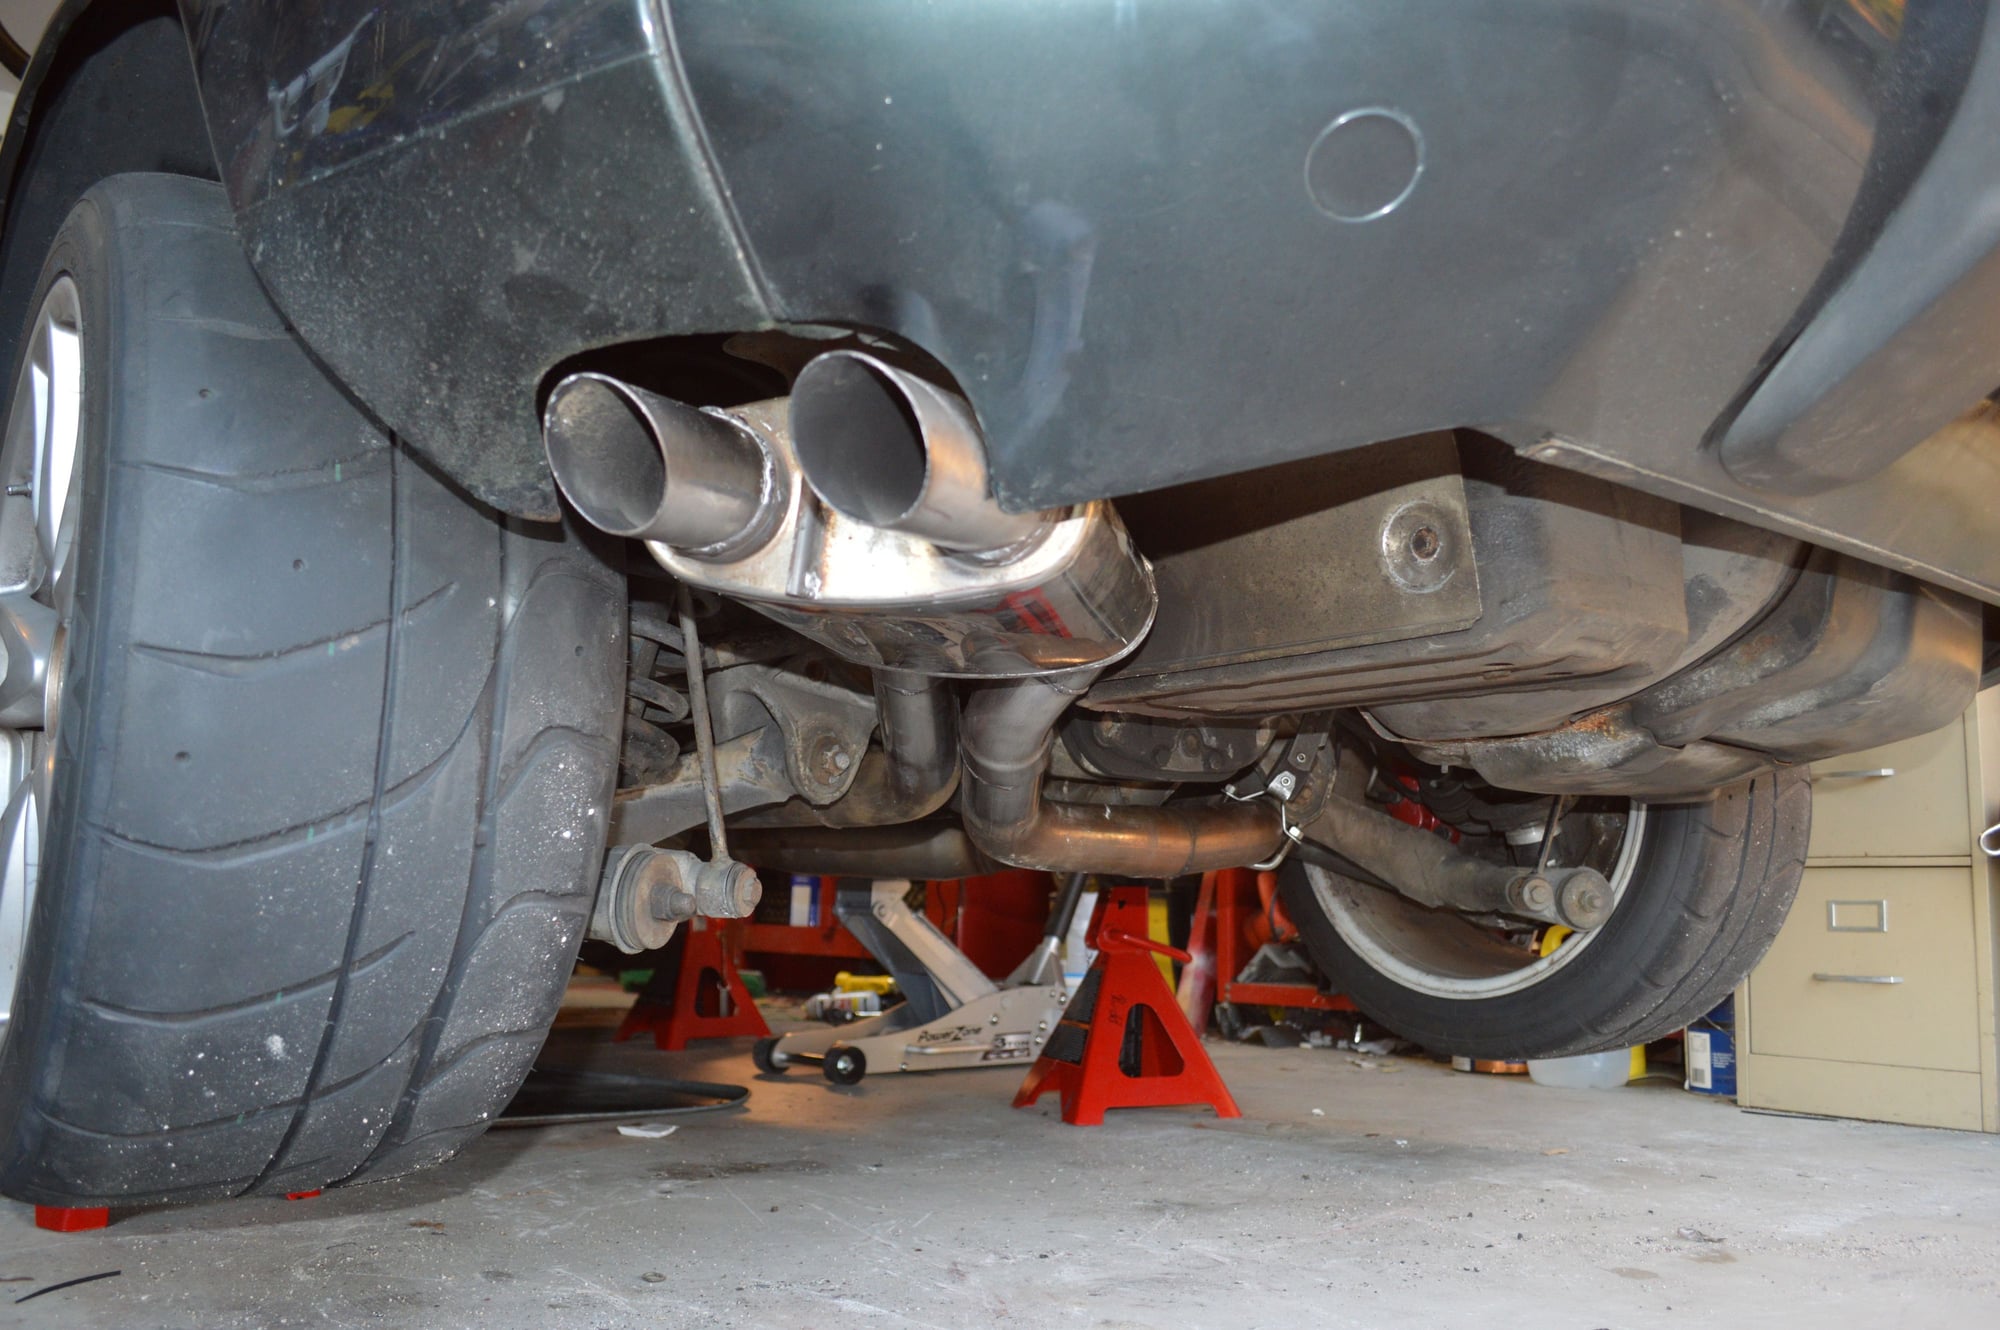
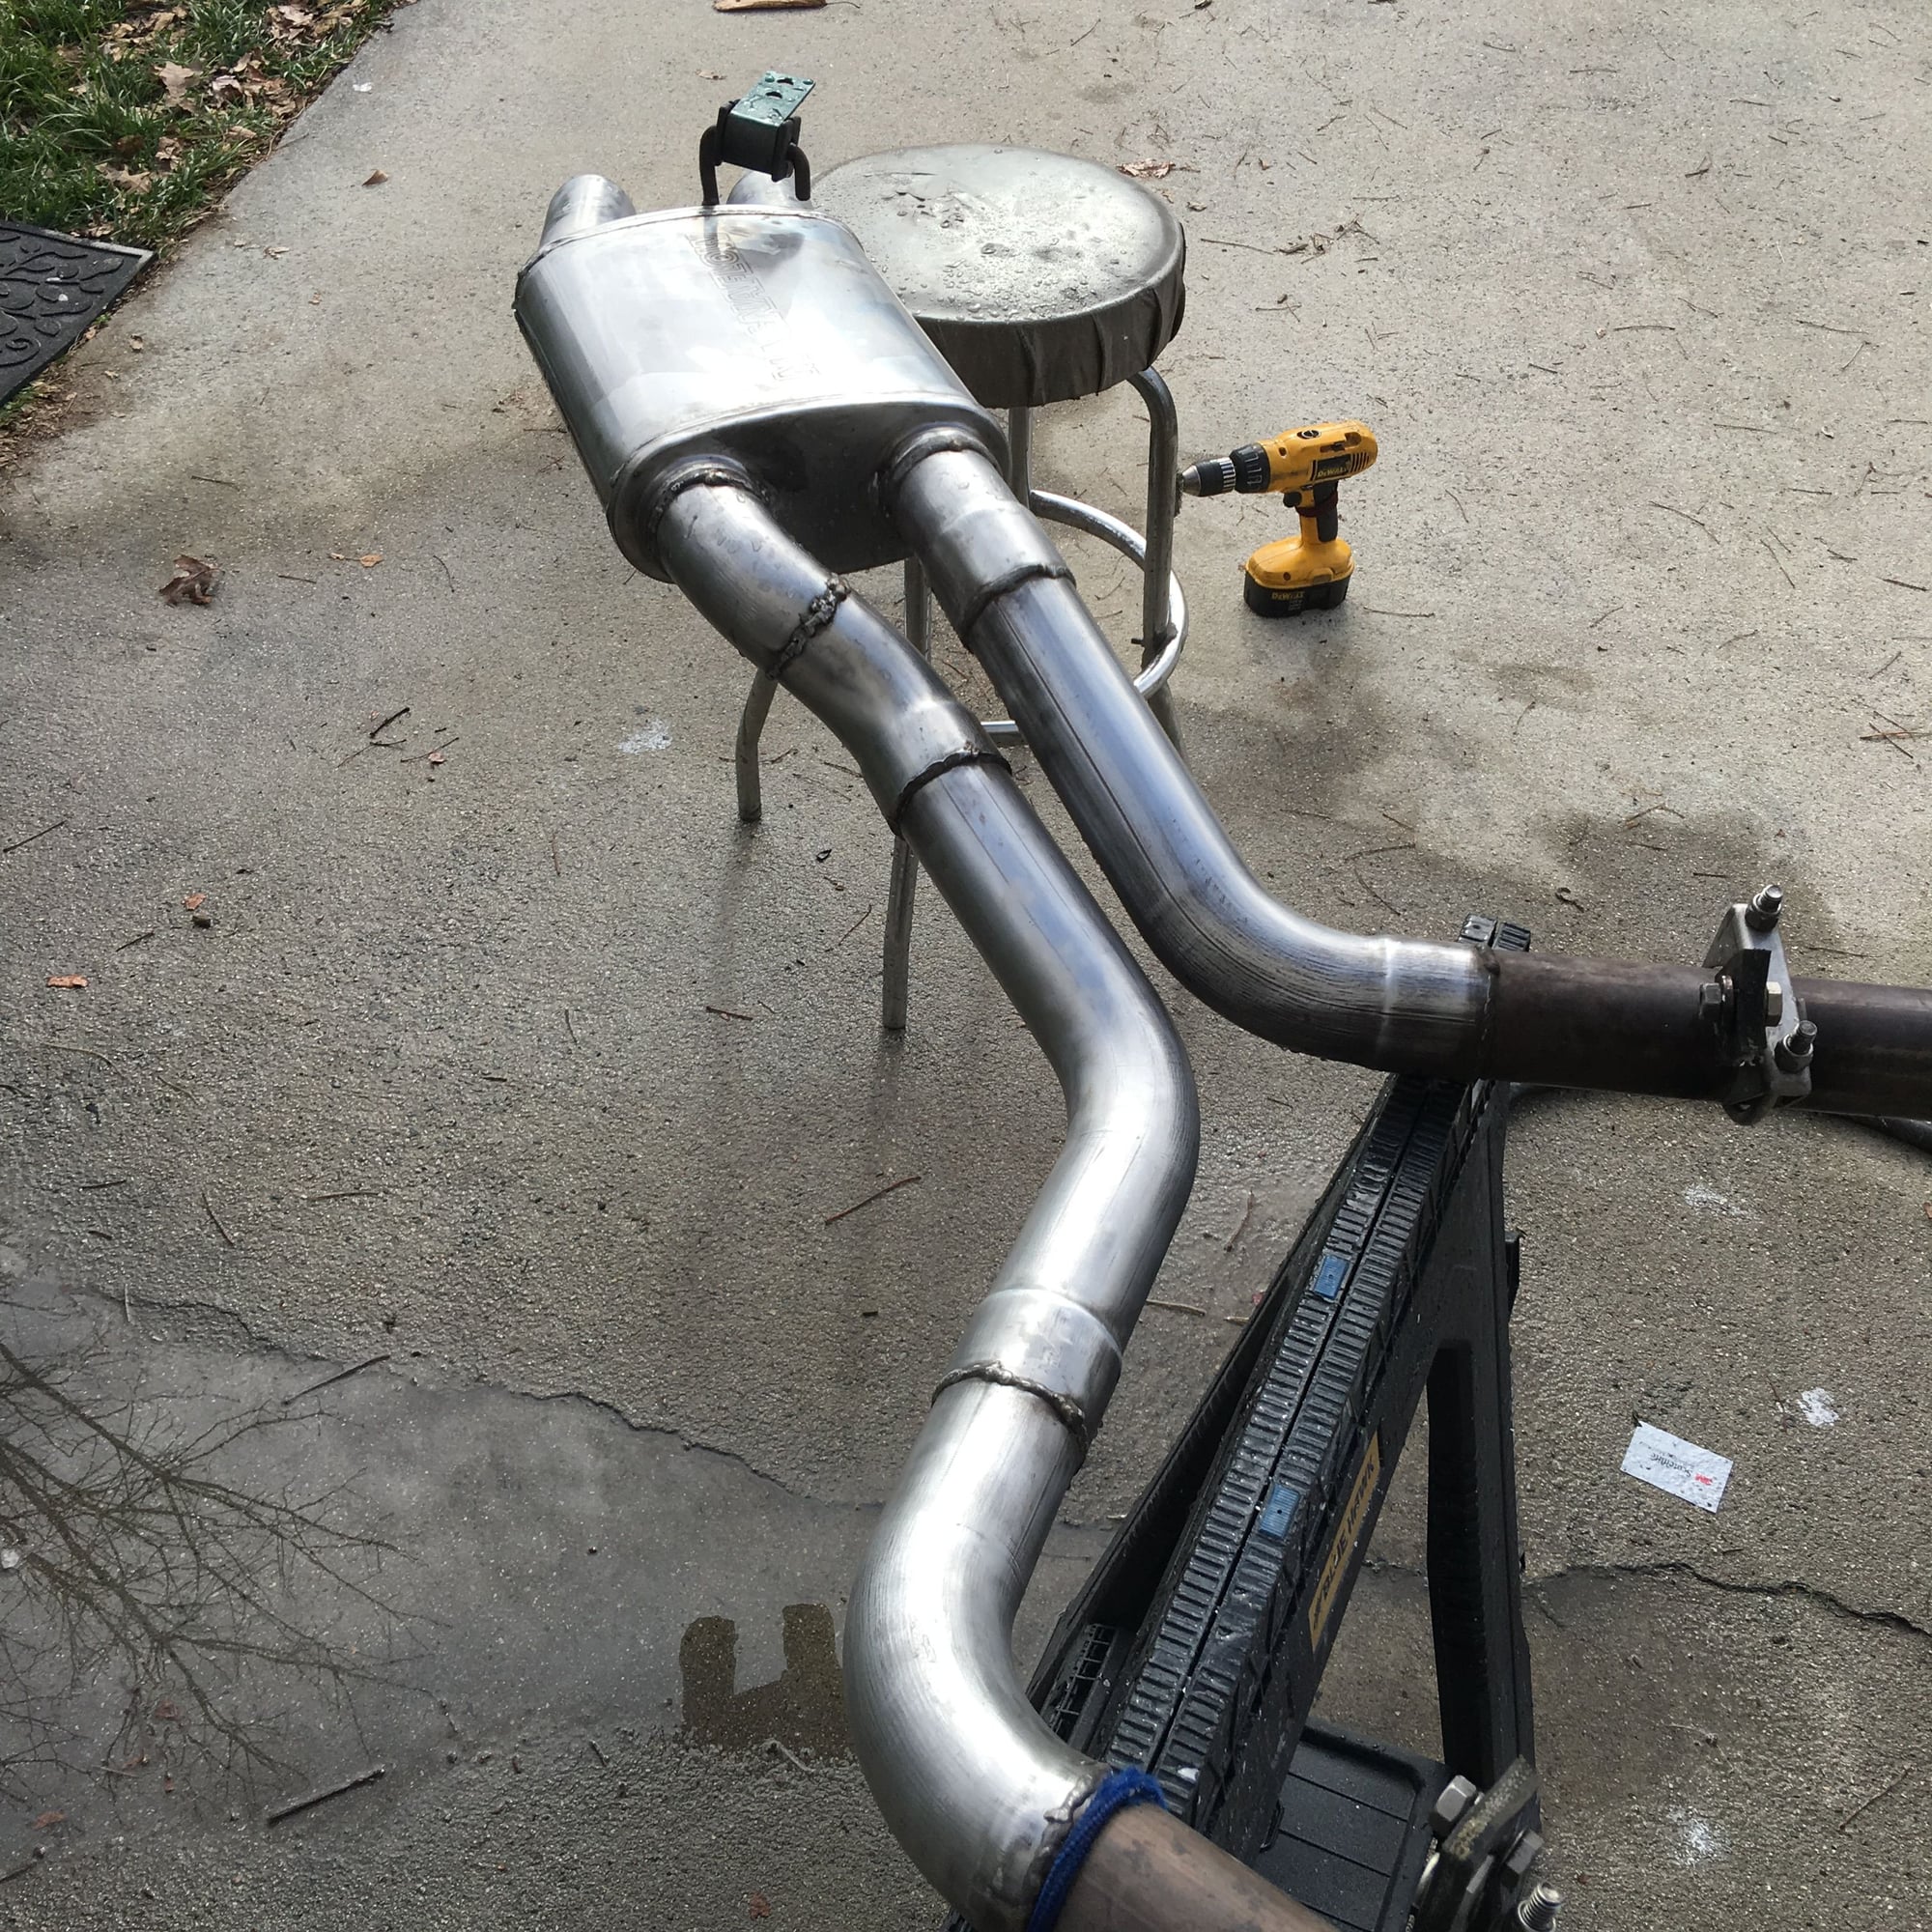
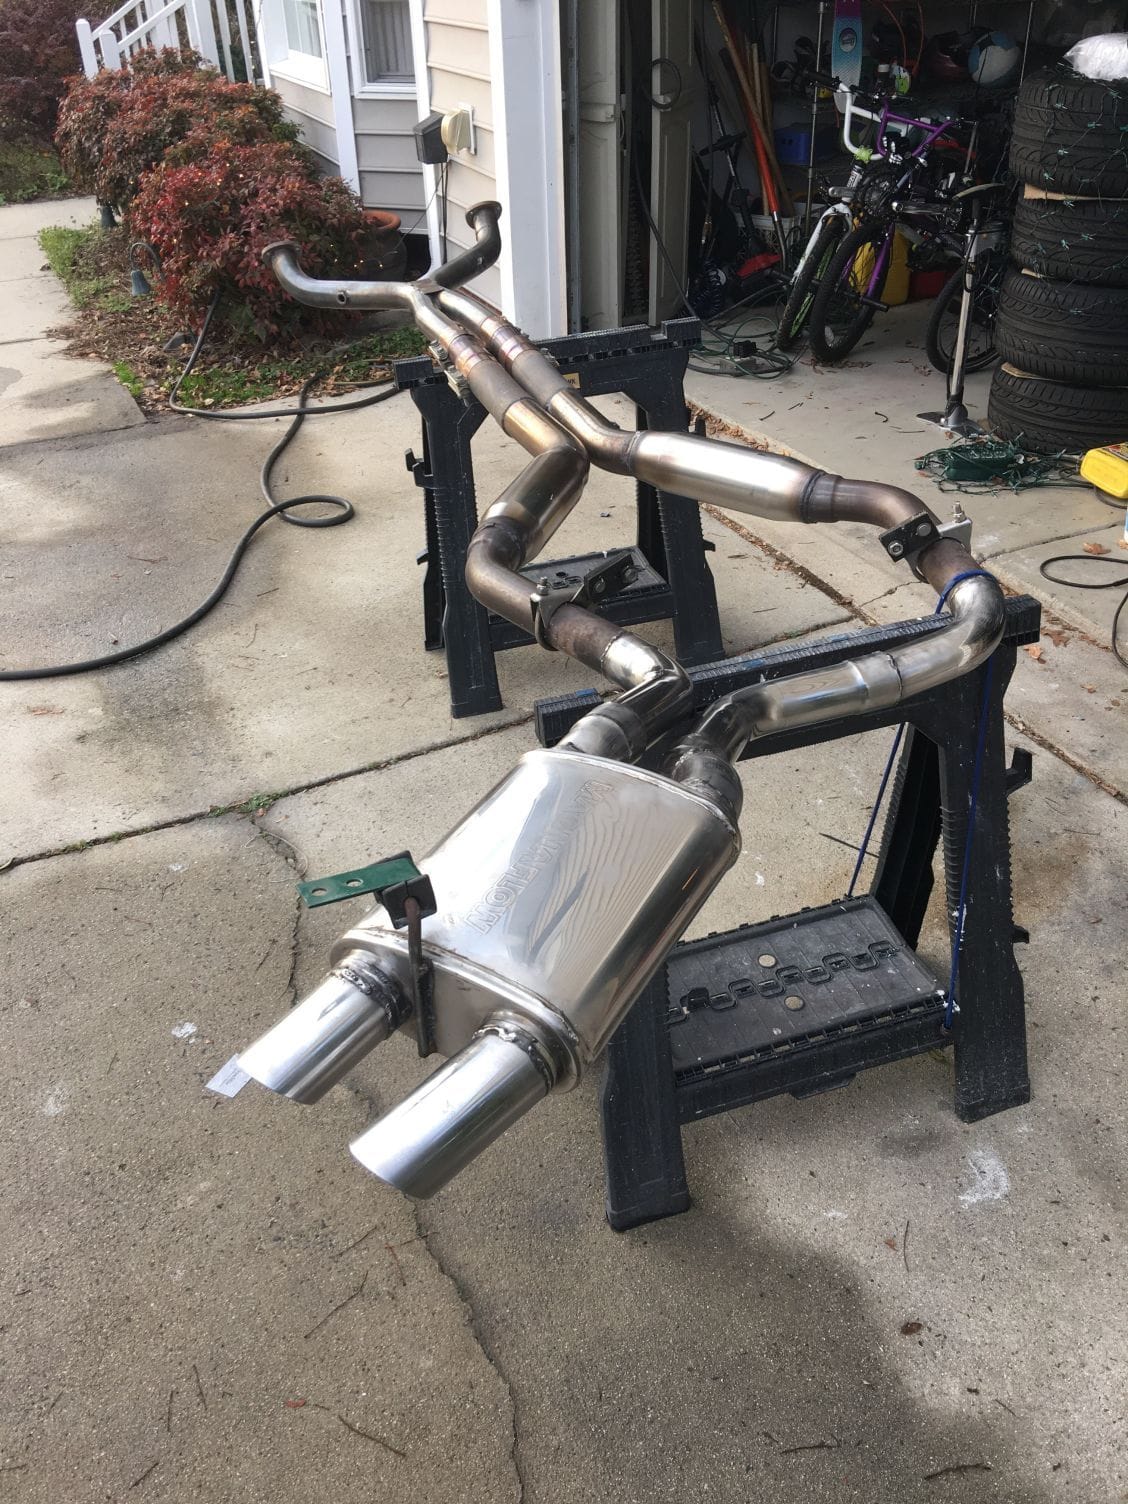
One of the WYAIT tasks I wanted to accomplish was cleaning up the rear exhaust. It had never been very pretty, and the oil caked on from the transmission seal leak did not help.
Here are some before shots, including before I had it:
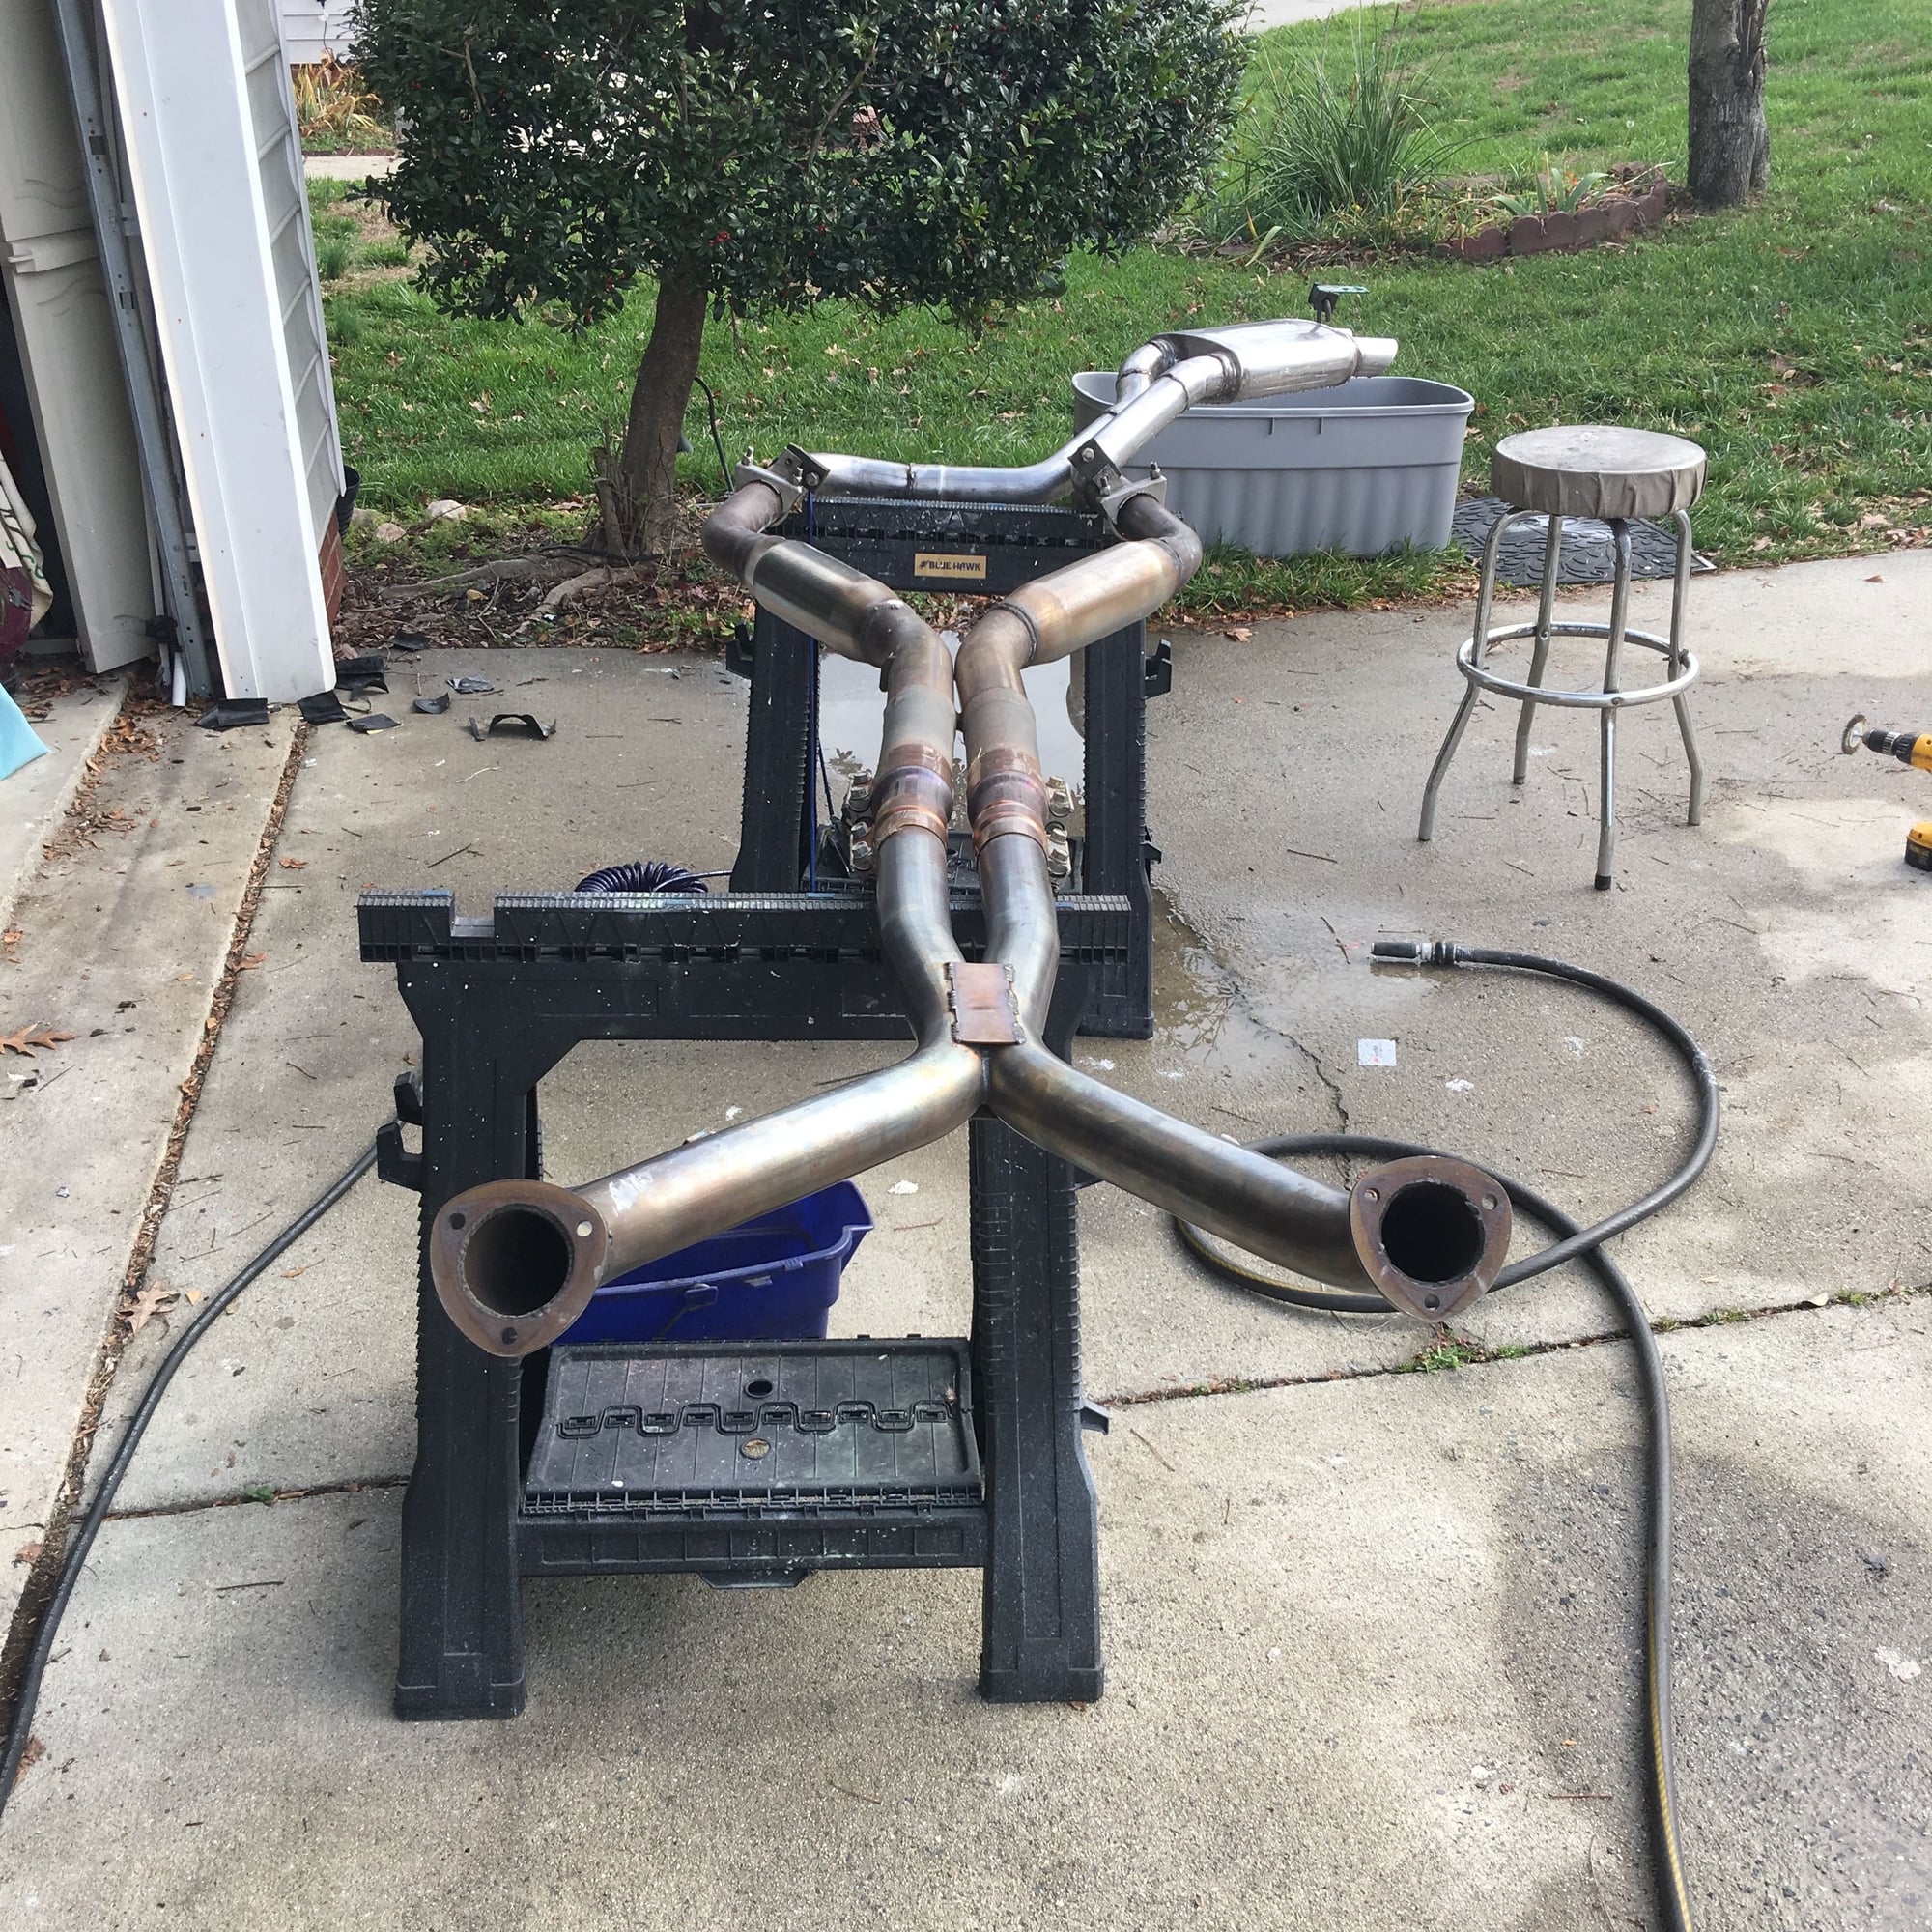
I stocked up on Wet/Dry paper, 320 to 2000 grit, Mothers Polish, Mother polish ball, a wire wheel, power drill and a pneumatic sander.
For anybody thinking about doing this: POLISHING RAW STAINLESS IS A MAJOR PAIN IN THE ***.
Exhaust tubing has lots of texture in the form of ridges, grooves, etc that are a result of the mandrel bending and other assembly processes. And stainless is MUCH harder than aluminum. This means it is very, very hard to "sand down to the shine", especially in curved, tight locations that prevent the use of power tools.
After a solid weekend of elbow grease, I was forced to lower my expectations. I wanted to get the whole thing shiny, from tip to header joint.
I was forced to settle with kinda shiny, with some imperfections from tip to the point where it crossed under the crossmember.
Some hints:
A steel wire wheel on a drill works pretty well as a first step to smooth out some of the grooves/ridges. It is surprisingly aggressive
I started with 320 wet/dry paper. You may want to start even rougher grit
Buy more paper than you think. I initially bought one pack ( 5 full sheets each) of 320, 600, 800, 1200, 2000 and went through all of it.
Use lots of water.
Power tools, as least those I had, were not much help.
Get some Advil for your arms and shoulders.
Use a grinder to get rid of weld splatter, but be careful it will leave grooves that are very hard to get rid of.
Did I mention, lower your expectations?


 07-03-2015, 01:43 PM